When you click on links to various merchants on this site and make a purchase, this can result in this site earning a commission. Affiliate programs and affiliations include, but are not limited to, the eBay Partner Network.
I installed my camshaft last night. Not huge deal but its some progress.
I would have installed the crank tonight but Napa Auto Parts was closed before I got home. I need to get some plastic gage.
I still haven't got the thermactor smog plugs out of the GT40 heads yet. I am thinking of bring them to the machine shop because I am buggering them up trying to get them out.
I tried removing one of the plugs from he original heads, there stuck on there too.
I actually have bolts for the mains, not studs. I think I am going to go ahead and use them. I have talked to a few people about using them without line honing and everyone thinks kind of like me. Sure it's better hone, but I'm sure it would be fine without. Especially for my application.
I set my crank bearings in place and checked my oil clearances with plastic gage tonight. Number 5 is right on the edge of allowable, .002", all the other are between 0.0015" and 0.002". I will hopefully bolt the crank place tomorrow night.
I'm have a pair for GT40 heads I picked up on EBay. I'm having a hard time getting the thermactor plugs out of them though. I need to run the air injection be street legal in California and the PO plugged all the ports.
Sorry I haven't posted anything in a while, but I haven't had the time to spend on the project car. Instead, all of my weekends and free time has been spent doing a massive front and rear yard landscaping project for my wife over the last three and half months.
I have some good news; however, I got the stupid thermactor/smog plugs out of the GT40 heads today
I feel like an idiot not being able to get them out earlier because they came out pretty easy with the right tool. All I had to do was cut the tip off the extractor bit to get a better bite on the plug, and it came right out!
While I was at it, I wire wheeled the paint off one of the heads. Not sure when I will work on it again, I'm hoping next month or June.
Maybe someone can help me with a quick question regarding piston ring gap on the 302/5.0L.
I am using Sealed Power rings with a moly top ring and cast second rings. I have measured be ring gaps and the values are not quite what I expected.
The top ring is measuring 0.018" to 0.020" - Ford spec is 0.010" to 0.020"
The second ring is measuring about 0.016" - Ford Spec is either 0.010" to 0.020", or 0.018" to 0.28".
I'm not sure why bottom ring is so tight and my top ring is so loose on a fresh bore. I am confident I have the rings in the correct order (top/bottom).
Do moly rings have looser gaps due to their material and this is normal?
To supplement my post yesterday, I am finally making some real progress this weekend. A few weeks ago I decided I was going to spend three solid days of work on the car and aim to have a long block by the end of the holiday weekend.
Yesterday I assembled the short block. I decided to go ahead with the rings the way they are. They’re not file-to-fit rings; I can’t grow ring material to make the gap tighter; I'm confident the engine was bored correctly because one is tight and the other loose; and I know I have the rings are orientated correctly. What else can it be but normal? It doesn't seem like there is anything I can do about it. I thinks they’re just designed that way. I guess I’ll find out later.
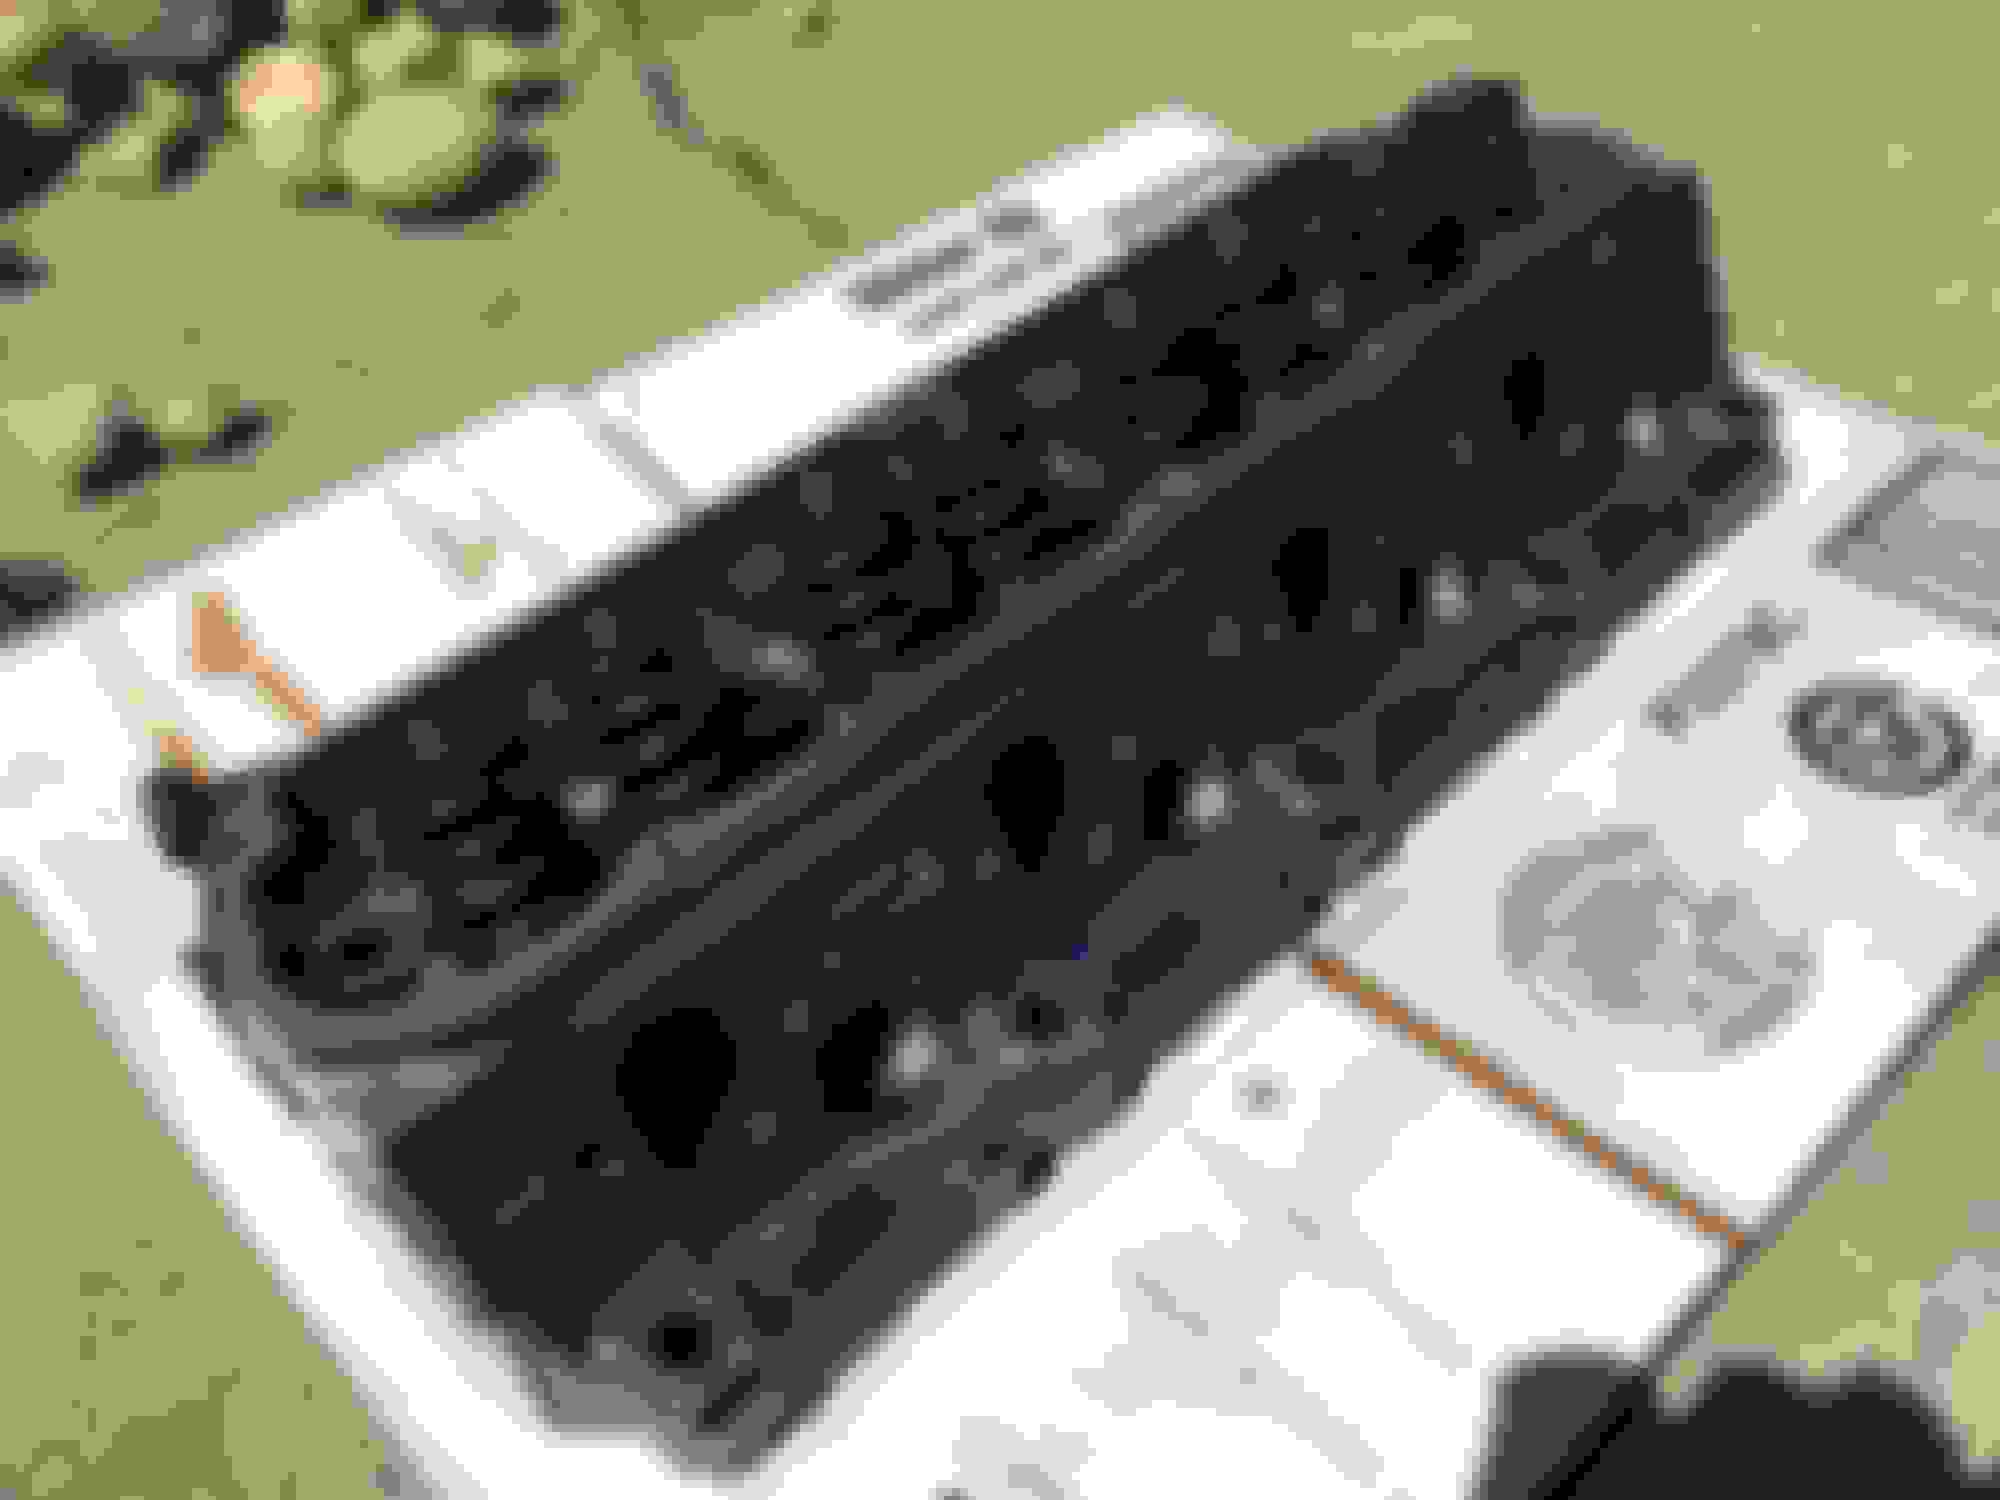
Today I managed to get the timing chain, oil pan, oil pump, timing cover and water pump on. Today a lot of time was spent cleaning parts and painting them. One head is painted and ready to go on; the other still needs some prep work.
I don't think I'm going to get to a long block tomorrow. But none to less I'm happy with the progress.
I have one question to ask.
Do the pedal stool style rocker arms from the stock heads fit the GT40 heads? I know the GT40 heads on the Cobras came with roller tip rockers, but I was going to reuse the standard rockers that came on my engine.
I need a set that is CA smog legal (CARB EO#). I original planed on using BBK because of the price and 2.5" collector, but I think I remember hearing somewhere that they didn't fit in the SA chassis very well.
I need a set that is CA smog legal (CARB EO#). I original planed on using BBK because of the price and 2.5" collector, but I think I remember hearing somewhere that they didn't fit in the SA chassis very well.
I have read that Lincoln logs as in Lincoln Town car 5.0 log style manifolds flow well and are fairly cheap and fit perfect
I used Sanderson CC2s on my chevy I wonder if they have something similar for Ford. Glad to see you making some progress, I just got my engine/trans back in the car and am finishing my wiring harness
The long block is assembled. I ended up going with the BBK headers. We'll find out later how well they fit. Things went together pretty smooth.
The only thing I am little afraid of is the intake manifold leaking. I forgot to clean out the holes for the bolts in the corners of the intake. The bolts all broke off during removal because they were rusted to crap. I should have cleaned the holes because the new bolts didn't want to go on so well. I of course realized this after I had put all the silicone sealer on the gaskets. Cross my fingers.
Next step are to:
- Reinstall sensors
- Finish plumbing the engine and installing odds and ends
- Clean wire harness
- Have injectors sent out to be cleaned/install
- Clean transmission and replace seals
- Finish cleaning and prepping engine bay.
Goal, to have engine sitting in car by Labor Day. Being more realistic, end of September.
awesome man! I think you could have issues with the left side header hitting the steering box though, my center dumps are super close to it. I love the wrinkle black on the valve covers, stealing that for mine! If you wanted to you could take the intake manifold bolts out and then clean out the holes or put a some grease in there and retorque
Yeah I'm hoping the headers work out. I did some research and these were the only ones I saw that were smog legal, 2.5" collector and had the OE flange on them. Supposedly these are direct bolt on for mustangs, so I'm hopeful it fits like the stock manifolds would in the RX-7. Emphasis on hopefull.
Im digging the valve covers too. I plan on doing the upper intake manifold this way too. A tip on this paint, go real freaking heavy. I thought I was putting it on heavy, but I should have gone a little heavier.
I got a few more things accomplished today. T-stat, injectors, fuel rail and heater pipe all installed.
I also spent some time creating a task list of things that I need to do. So many odds and ends I thought I would help keep on task and save time. It's amazing how all the odds and ends add up to much time and $$$.
I'm not sure how much will get done over the next three or four weeks. I leave for vacation in a week and will problem have a lot of work to catch up on when I get back.
TIP.
DO NOT put an exhaust ON while your car is UP on stands.
Find out how low the car is and then figure out Fabrication of your piping from there.
I did the BBK Long tubes on my FC and I am scraping speed bumps.
and too bad you had to run that emissions tube..I didn't have to and made block offs for that.I put exhaust gasket material in between the block off plate and the head.
Thanks for the tip on the exhaust. I don't think my header collector will be as low as your long tubes are. Because my shorties are a direct replacement for OEM manifolds, they don't require and exhaust modifications on a mustang. The collector is at the same height as the manifolds would be. Which is well above the bottom of the oil pan.
The oil pan is what I believe they call the double sump pan. It's off a '93 Mustang and will strattle the subframe and steering link.
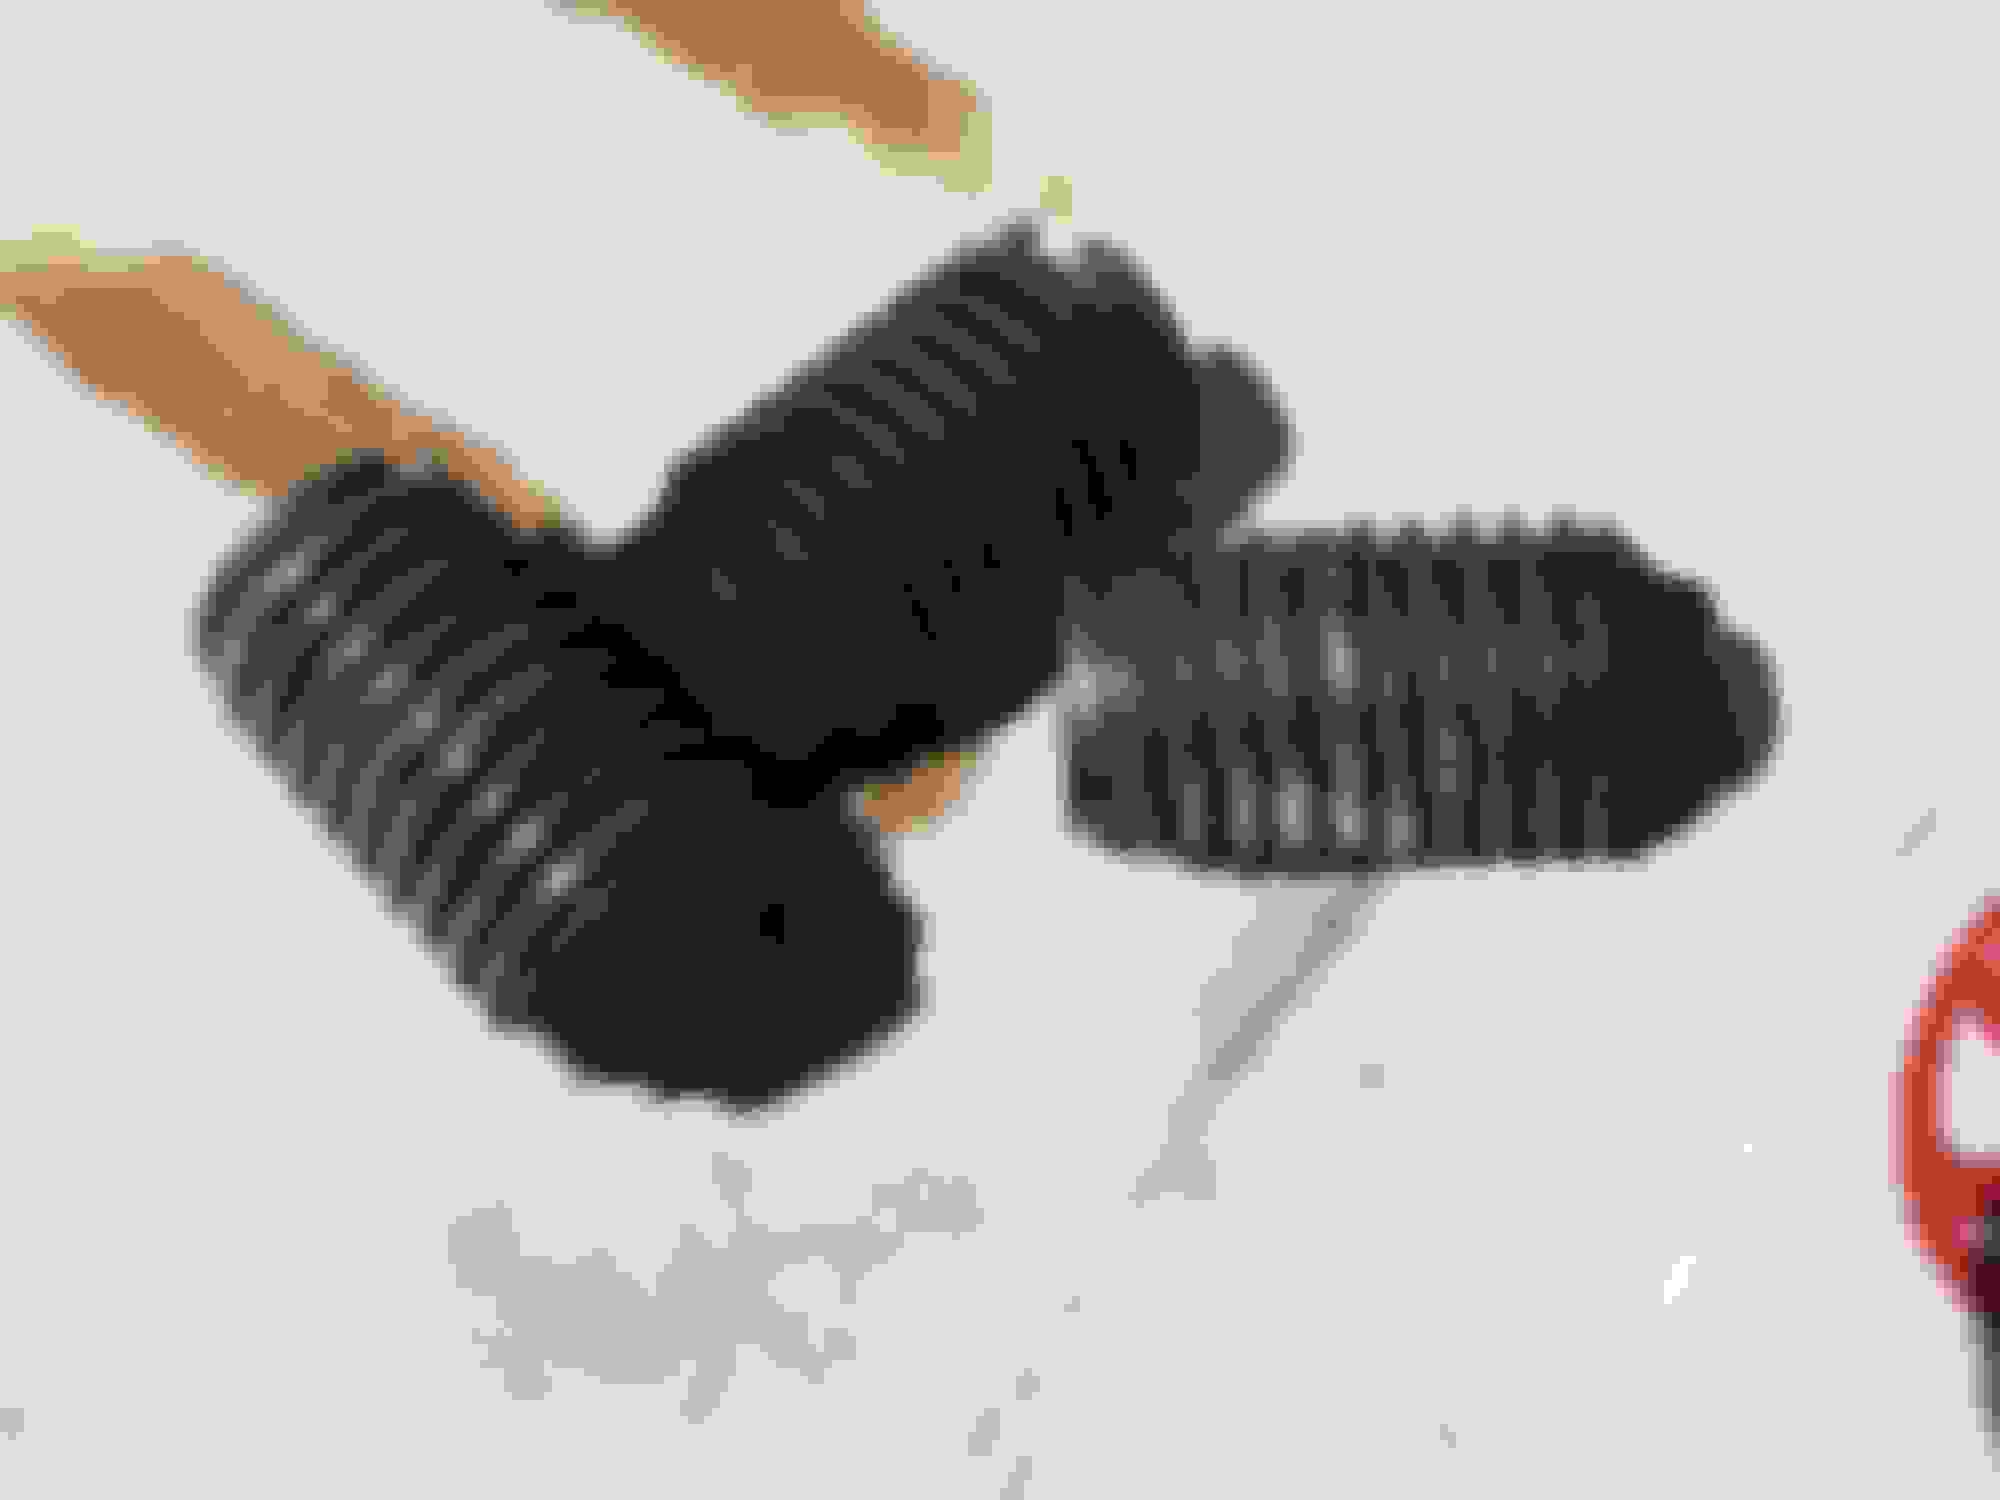
As for those block off plates plates you made. You can buy new thermactor smog plugs and screw them in. That last what I had trouble removing off my GT40 heads. The heads inpurchaed were previously used for "off road" and had the ports plugged.
 01-21-17, 09:05 PM