So i started my audio install
 01-21-07, 04:29 PM
#26
Boost Addict
Thread Starter

Join Date: Jun 2004
Location: ajax
Posts: 2,274
Likes: 0
Received 0 Likes
on
0 Posts
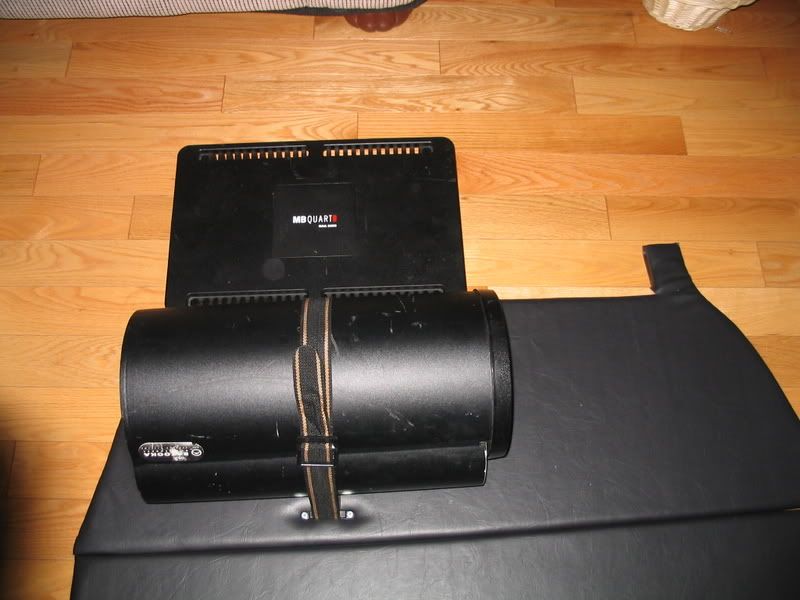
update rear hatch AMP and SUB install
here are some pics of the audio install i did in the rear hatch.
Cut out a template of the carpet, and then cut it out of MDF board. After I used 3m spray on glue and glued 1/4 foam to the msd board and wrapped in leather.

Cut out a template of the carpet, and then cut it out of MDF board. After I used 3m spray on glue and glued 1/4 foam to the msd board and wrapped in leather.
 01-21-07, 06:14 PM
#28
Boost Addict
Thread Starter
Join Date: Jun 2004
Location: ajax
Posts: 2,274
Likes: 0
Received 0 Likes
on
0 Posts
Originally Posted by purerx7
nice looks good, only problem with attaching it to the door is its going to rattle the **** out of the door panel. Either way nice and clean install.
I added a layey of silcon between the speaker mount and door pannel and no rattles. Mounted very securely yet has enough give inbetween the mdf board and panel to not rattle. Also have alil bit of foam between board and panal near the top where there is greater space.
 03-18-07, 02:44 PM
#31
Boost Addict
Thread Starter
Join Date: Jun 2004
Location: ajax
Posts: 2,274
Likes: 0
Received 0 Likes
on
0 Posts
speakers sound amazing with the MB quart amplifying everything. Sounded reall crisp no rattling. The sub sounded amazing. I ran the 2 front speakers on their on chanels and the sub i bridged the other 2 chanels i had left. The amp Im using is a 800w 4 chanel so it' worked out amaing. So plus the deck i got has rca outs for the sub out, and front speakers, and rear speakers. So now i can control all speakers through the head unit. So now only bass goes where bass should go and high and mids go where they should. Sounds crisp. And again no rattling. USed alot of hard core silicone and foam to make sure of that. Couldnt be happier.

Thread
Thread Starter
Forum
Replies
Last Post
trickster
2nd Generation Specific (1986-1992)
25
07-01-23 04:40 PM