When you click on links to various merchants on this site and make a purchase, this can result in this site earning a commission. Affiliate programs and affiliations include, but are not limited to, the eBay Partner Network.
Just a few bits today. Some get paint, some get powder. Front end is getting blasted with walnut here soon as the wire wheel method sucks and soda is messy as hell.
I have a portable 40lb soda, a 40lb pot and these were done with the bigger harbor freight cabinet that I modded with a metering valve, better gun, foot control, dust collector and a concrete vibrator.
I have coal slag in the cabinet and I'm waiting on some walnut for the pot to try on the chassis. I used 50lbs of soda already and while it's great for small areas it's not great for large work. That and EVERYTHING was covered in baking soda. The air tasted like toothpaste.
I need to do the front subframe but I'm not sure how as it won't fit in the cabinet. I'm thinking I'll submerge it one half at a time in EvapoRust and go from there.
For the inside of the frame I bought this spray gun with a 360 nozzle on the end of a tube you can stick in the frame.
One of the first things was to deal with the air. It's an old car so every bit of foam in the system was toast. The air in was full of a mouse nest, the evaporator was half blocked. The bands between the boxes were useless.
I disassembled all three boxes. Soaked all metal bits in EvapoRust, blasted, then painted them with black engine enamel. All new foam.
Took apart the actuators. Removed the old grease. Re flowed all solder and reassembled with new grease.
New blower motor. New resistor. Tessa and deoxit.
Going to try and use the EVAP from a Miata. It's close but needs some tweaking. Likely the same for the heater core. Just have to redo a bit of piping. Also the valve for the heater was toast and since it's NLA I'm going to use a generic one. After. Before paint and cleaning Nice rotten foam
those blasted parts came out great! that's something ion my wish list. if i can make some space for a setup, i'd get one, but that's neither here nor there.
as for the other work you've been doing, i say kudos. i respect guys that tear apart the dashboard. i admit, i am intimidated by it (and headliners, too) so i'm in no rush to try it.
i can relate to your work on the blower. that's something that i actually did a few months ago. same thing here, a lot of dry-rotted foam/sponge and therefore i had to improvise upon reassembly.
all in all, good stuff. i like what you're doing.
Thank you.
I enjoy taking things apart and cleaning them up. I do tend to go overboard a bit though.
I'm going to rewire the entire firewall forward with new wires, relays, fuses and plugs instead of trying to clean up the oem mess as well.
I wrapped everything in the interior with Tessa tape already.
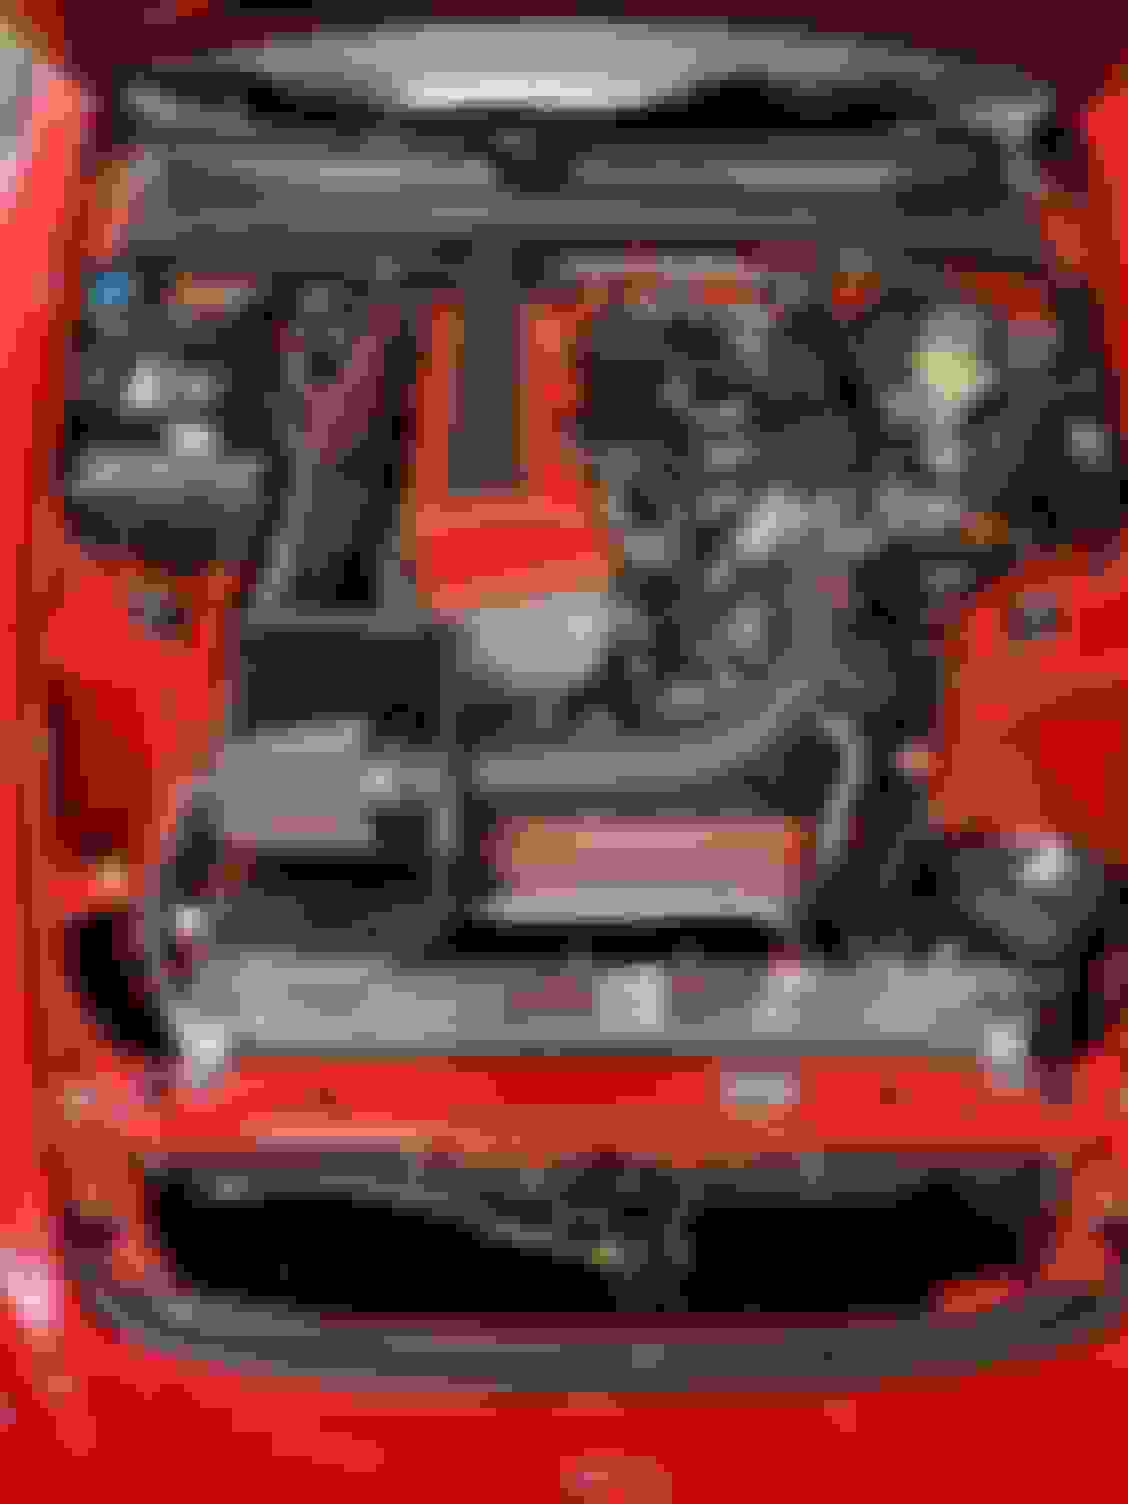
All these folks with real progress and here I am with a couple of painted bits. My cut down a/c bracket and the 6th port solenoids Driveshaft and manual rack housing
All these folks with real progress and here I am with a couple of painted bits. My cut down a/c bracket and the 6th port solenoids Driveshaft and manual rack housing
Painted bits are good progress, especially when they look that good.
What are you using the wrinkle paint in the background for? I used it on my intake manifolds and really liked the results, but getting it to wrinkle evenly can be a challenge.
Painted bits are good progress, especially when they look that good.
What are you using the wrinkle paint in the background for? I used it on my intake manifolds and really liked the results, but getting it to wrinkle evenly can be a challenge.
THe side brackets for the radiator. That paint is very finicky. It didn't all wrinkle.
I actually have some wrinkle powder but my cheapo gun got broken and the old oven I used at my last house I gave away.
I'm thinking of either finding an oven with a busted top on CL or just paying someone. I kinda want the subframe coated and not painted and it's too big for me to do.
I found the best results for the wrinkle paint were when you lay down 1-2 light coats for coverage, then 2 medium coats. Then after it flashes off go straight to the heat gun / oven to wrinkle it. It also isn't fully hardened for awhile after it wrinkles. I had the manifolds painted for months and they still only hardened after I actually ran the engine.
As for the subframe, if you can't powdercoat it I found that VHT Chassis & Roll Bar paint is really good. It can also be difficult to apply though, requiring several thin coats for adhesion and then multiple medium coats for thickness. But once it's completely hardened it's super tough. I wish I'd used it on all the chassis bits but I only discovered it towards the end of my suspension rebuild.
Not the rx-7. But it's car stuffsWas supposed to change fluids on my wife's car, ended up:PLM header(jet hot coated)Berk 63mm high flow(already had one I'm dumb)Apexi N1(replaced the q300 duals)new O2 sensorsNew spark plugs(iridium because they were cheaper than platinum)rebuilt charcoal canisterP2M rear lower brace(missing the OEM)New shifter bushings and urea grease(put it in backwards)Heater valve relocation bracket and valveDisassembled and cleaned main fuse box. New labels for bothNew grounds at battery to chassis, battery to block, block to subframe, block to chassisCleaned, blasted and repainted battery tray, harness brackets, EPS cover, other bitsJet hot coating on intake manifold, fuel rail and air valveRemoved all harness tie points, rewrapped harness in tessa and replaced tie mountsReplaced connectors for coils, injectors and other plugs due to age and heatHarness covered in heat wrap anywhere near the engineNew powder coat on valve cover with new gasketsBillman TCTSkunk VTEC solenoidSkunk 70mm TB(had it lying around)new coolant hoses for smaller runs(bypassed all IM points)new fuel return hoseRebuilt and painted starter due to coolant corrosionNew thermostat and coolant gasketsPainted water pump housing and tensionerNew pulleys and beltNew coolant reservoir (painted black)relocated vacuum canister and solenoid to driver's firewallPatched a couple of tiny mystery cuts on the topCleaned and re oiled filter, blasted and repainted boxBlasted and repainted heat shield, added thermal tape barrierStitched a new arm rest cover(poorly)
your car's going to look brand new by the time your done. Nicely done!
Yeah Ive replaced pretty much everything on the s2k and her crv at this point. All the S really needs is carpet and a repaint. The crv just got emissions today after being in the basement for two years with no engine. The people at the shop doing the emissions and alignment told me everything underneath looked new. I said "it is".
That lift is going to make working under the car 10x more pleasant.
It also enables you to remove the engine / subframe as a unit from the bottom, which is nifty.
I am afraid his height lift limit will be limiting. For removing subframe/engine/trans together, i use construction on wheels (remains of big old business printer) and i need to lift the car all the way up, to have needed clearance.