When you click on links to various merchants on this site and make a purchase, this can result in this site earning a commission. Affiliate programs and affiliations include, but are not limited to, the eBay Partner Network.
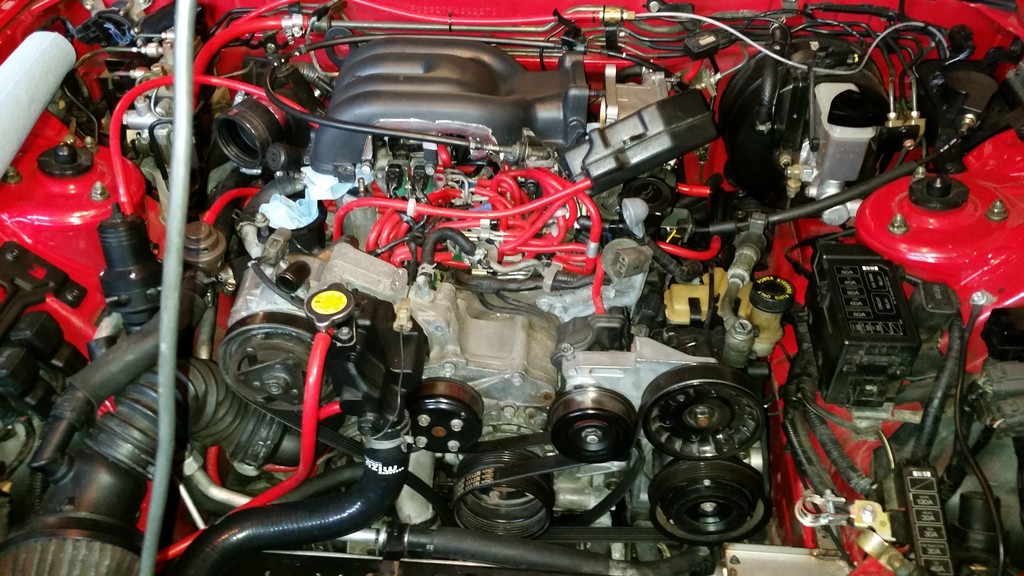
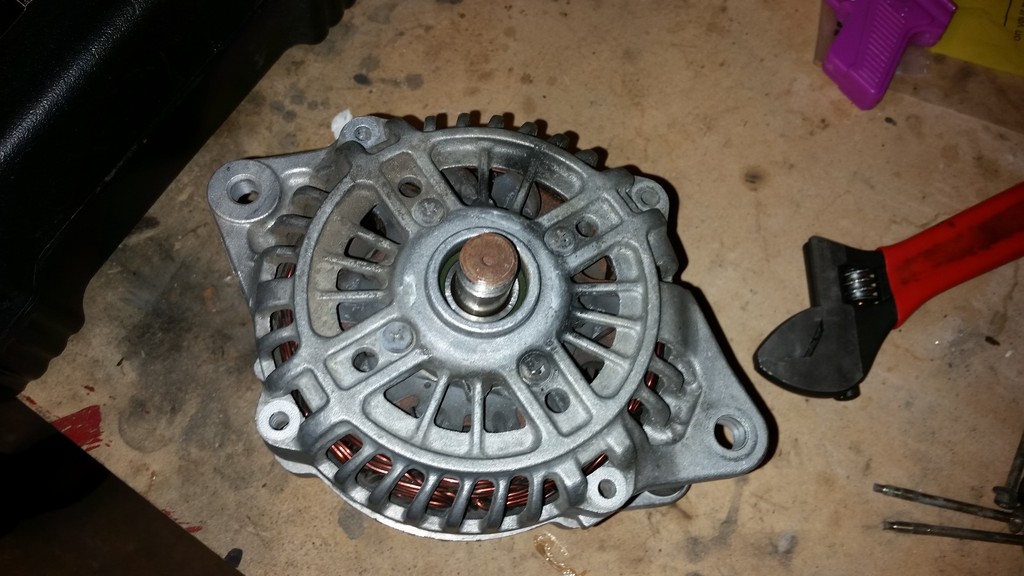
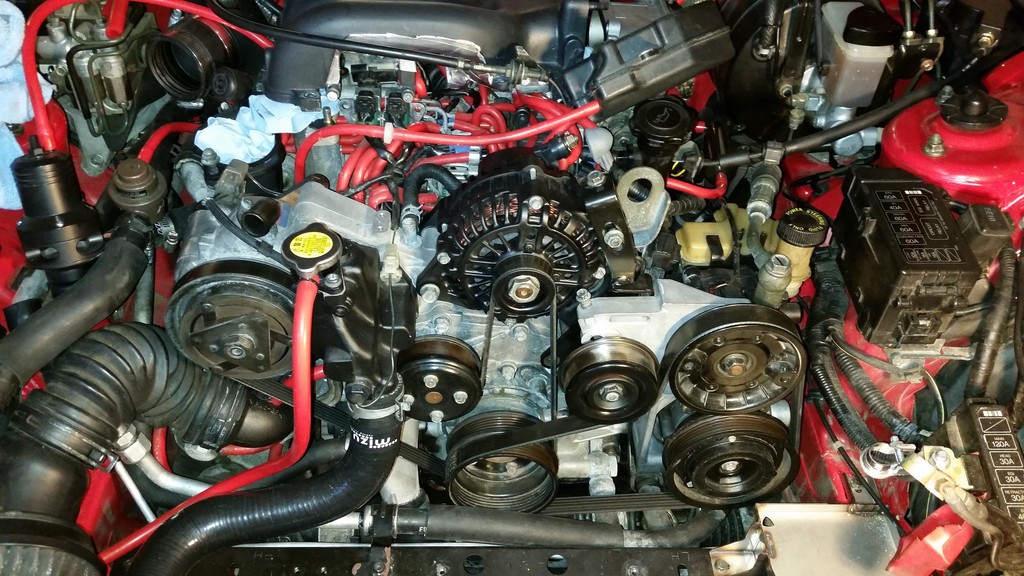
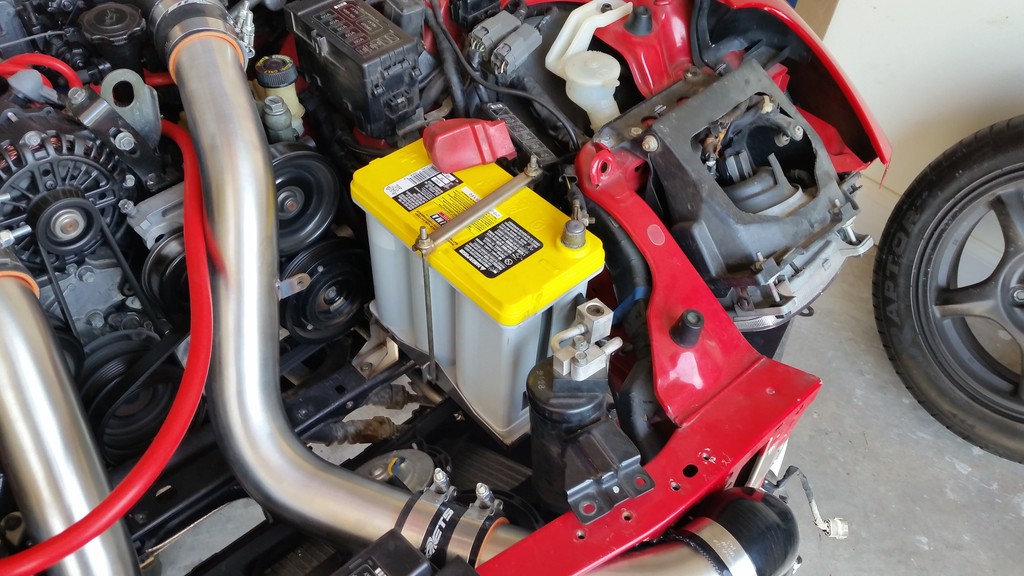
I like the boring black better than the polished alternator, do you think the spray paint will hold up under heat? Nice TurboJeff battery tray, the little rotary symbol is such a neat detail.
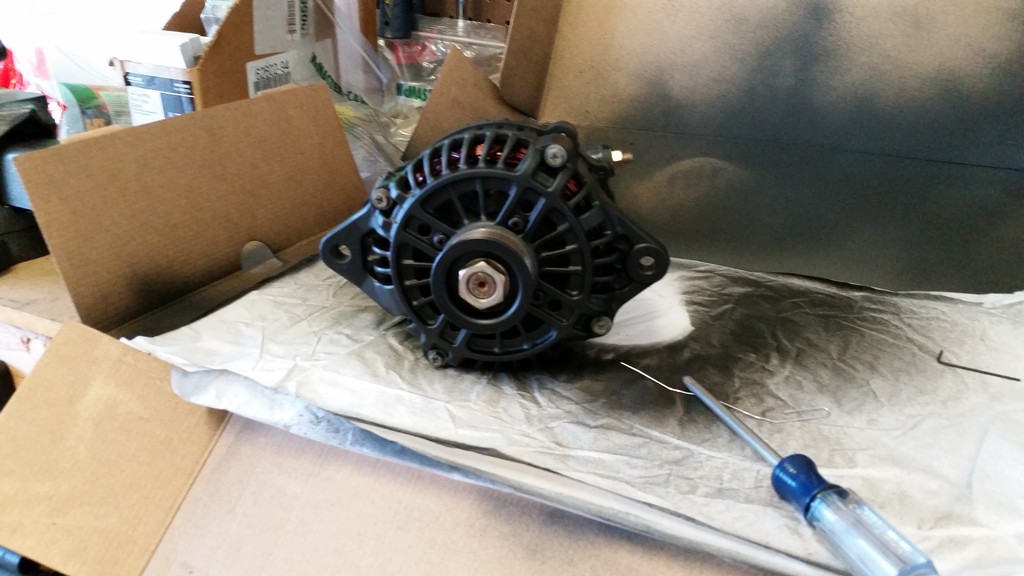
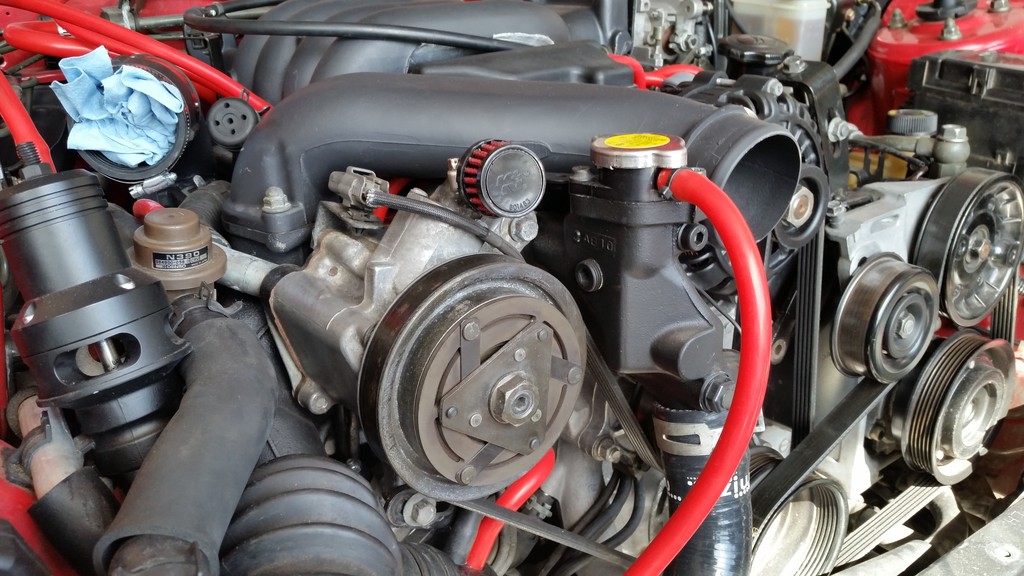
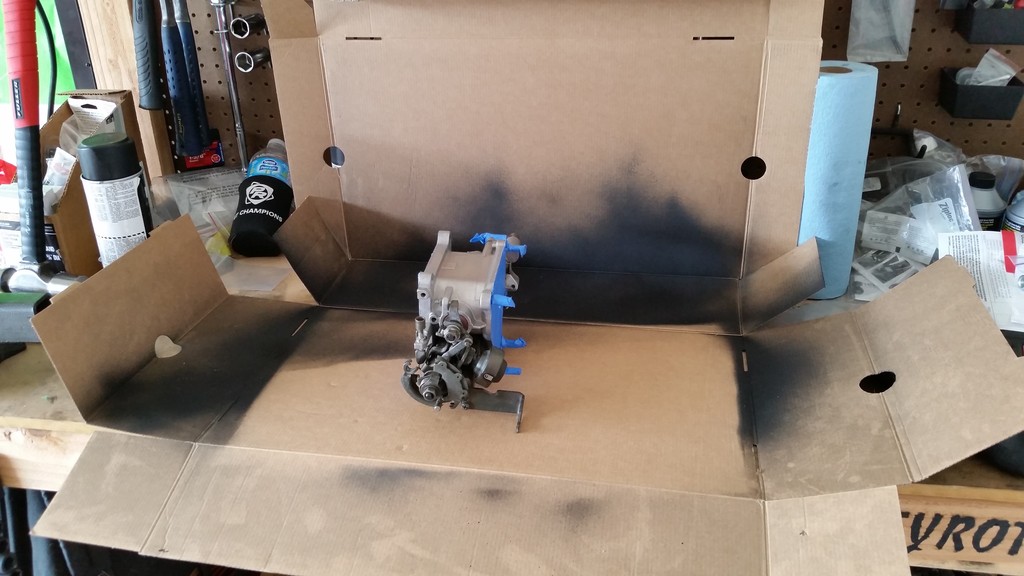
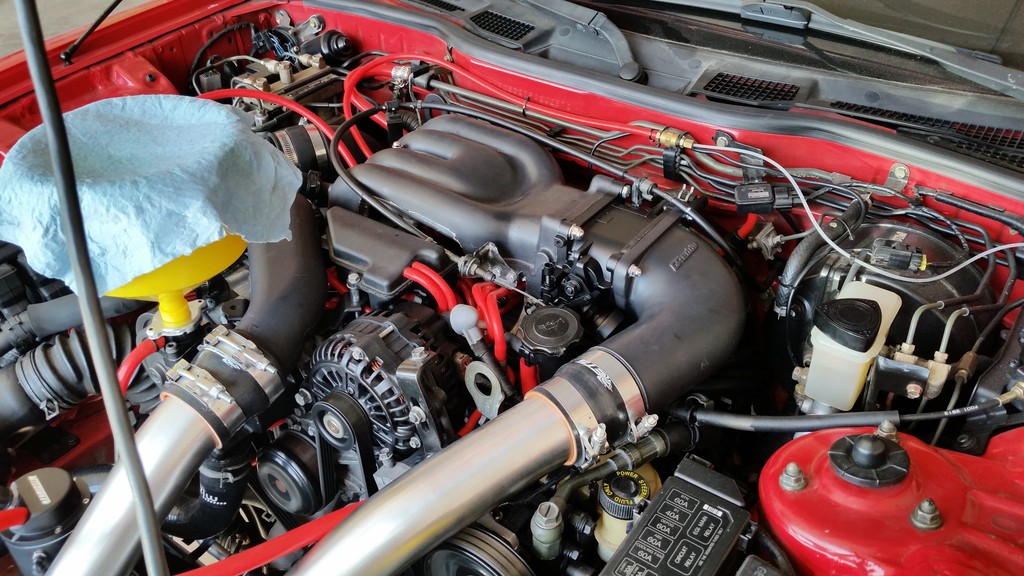
I am slowly murdering out my engine bay. I prefer the all flat black look. I think the polished look is more of a muscle car thing, but to each their own.
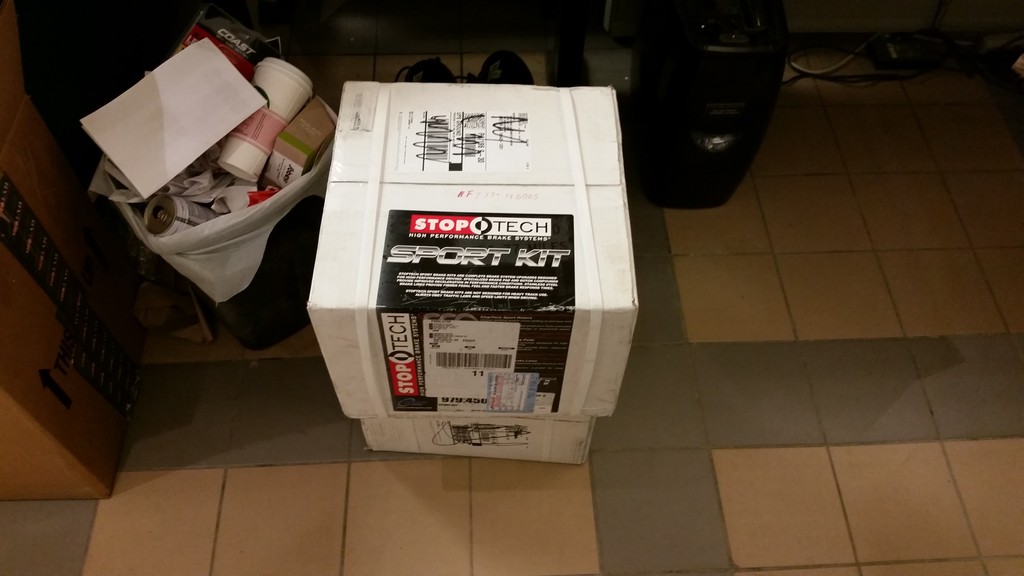
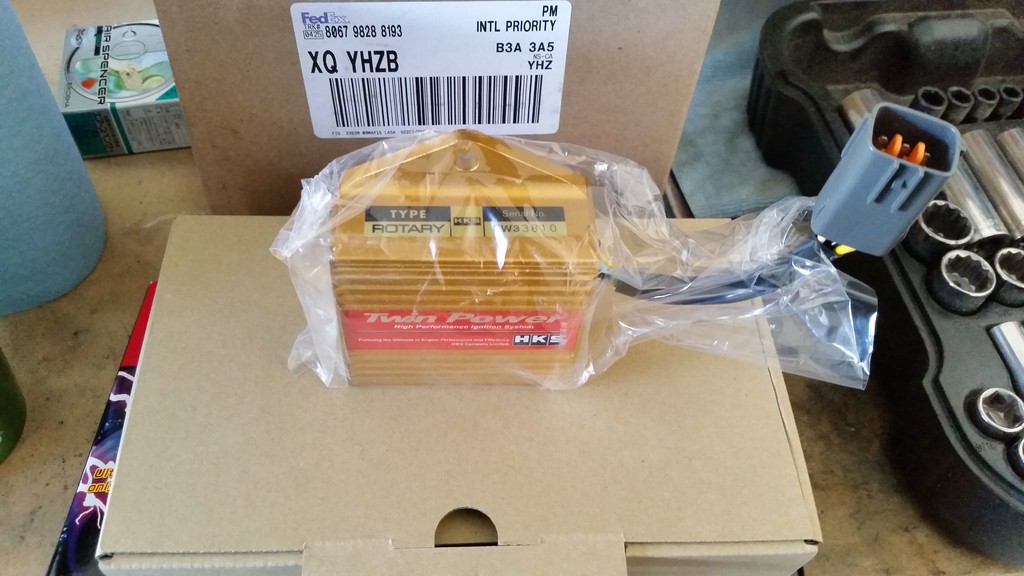
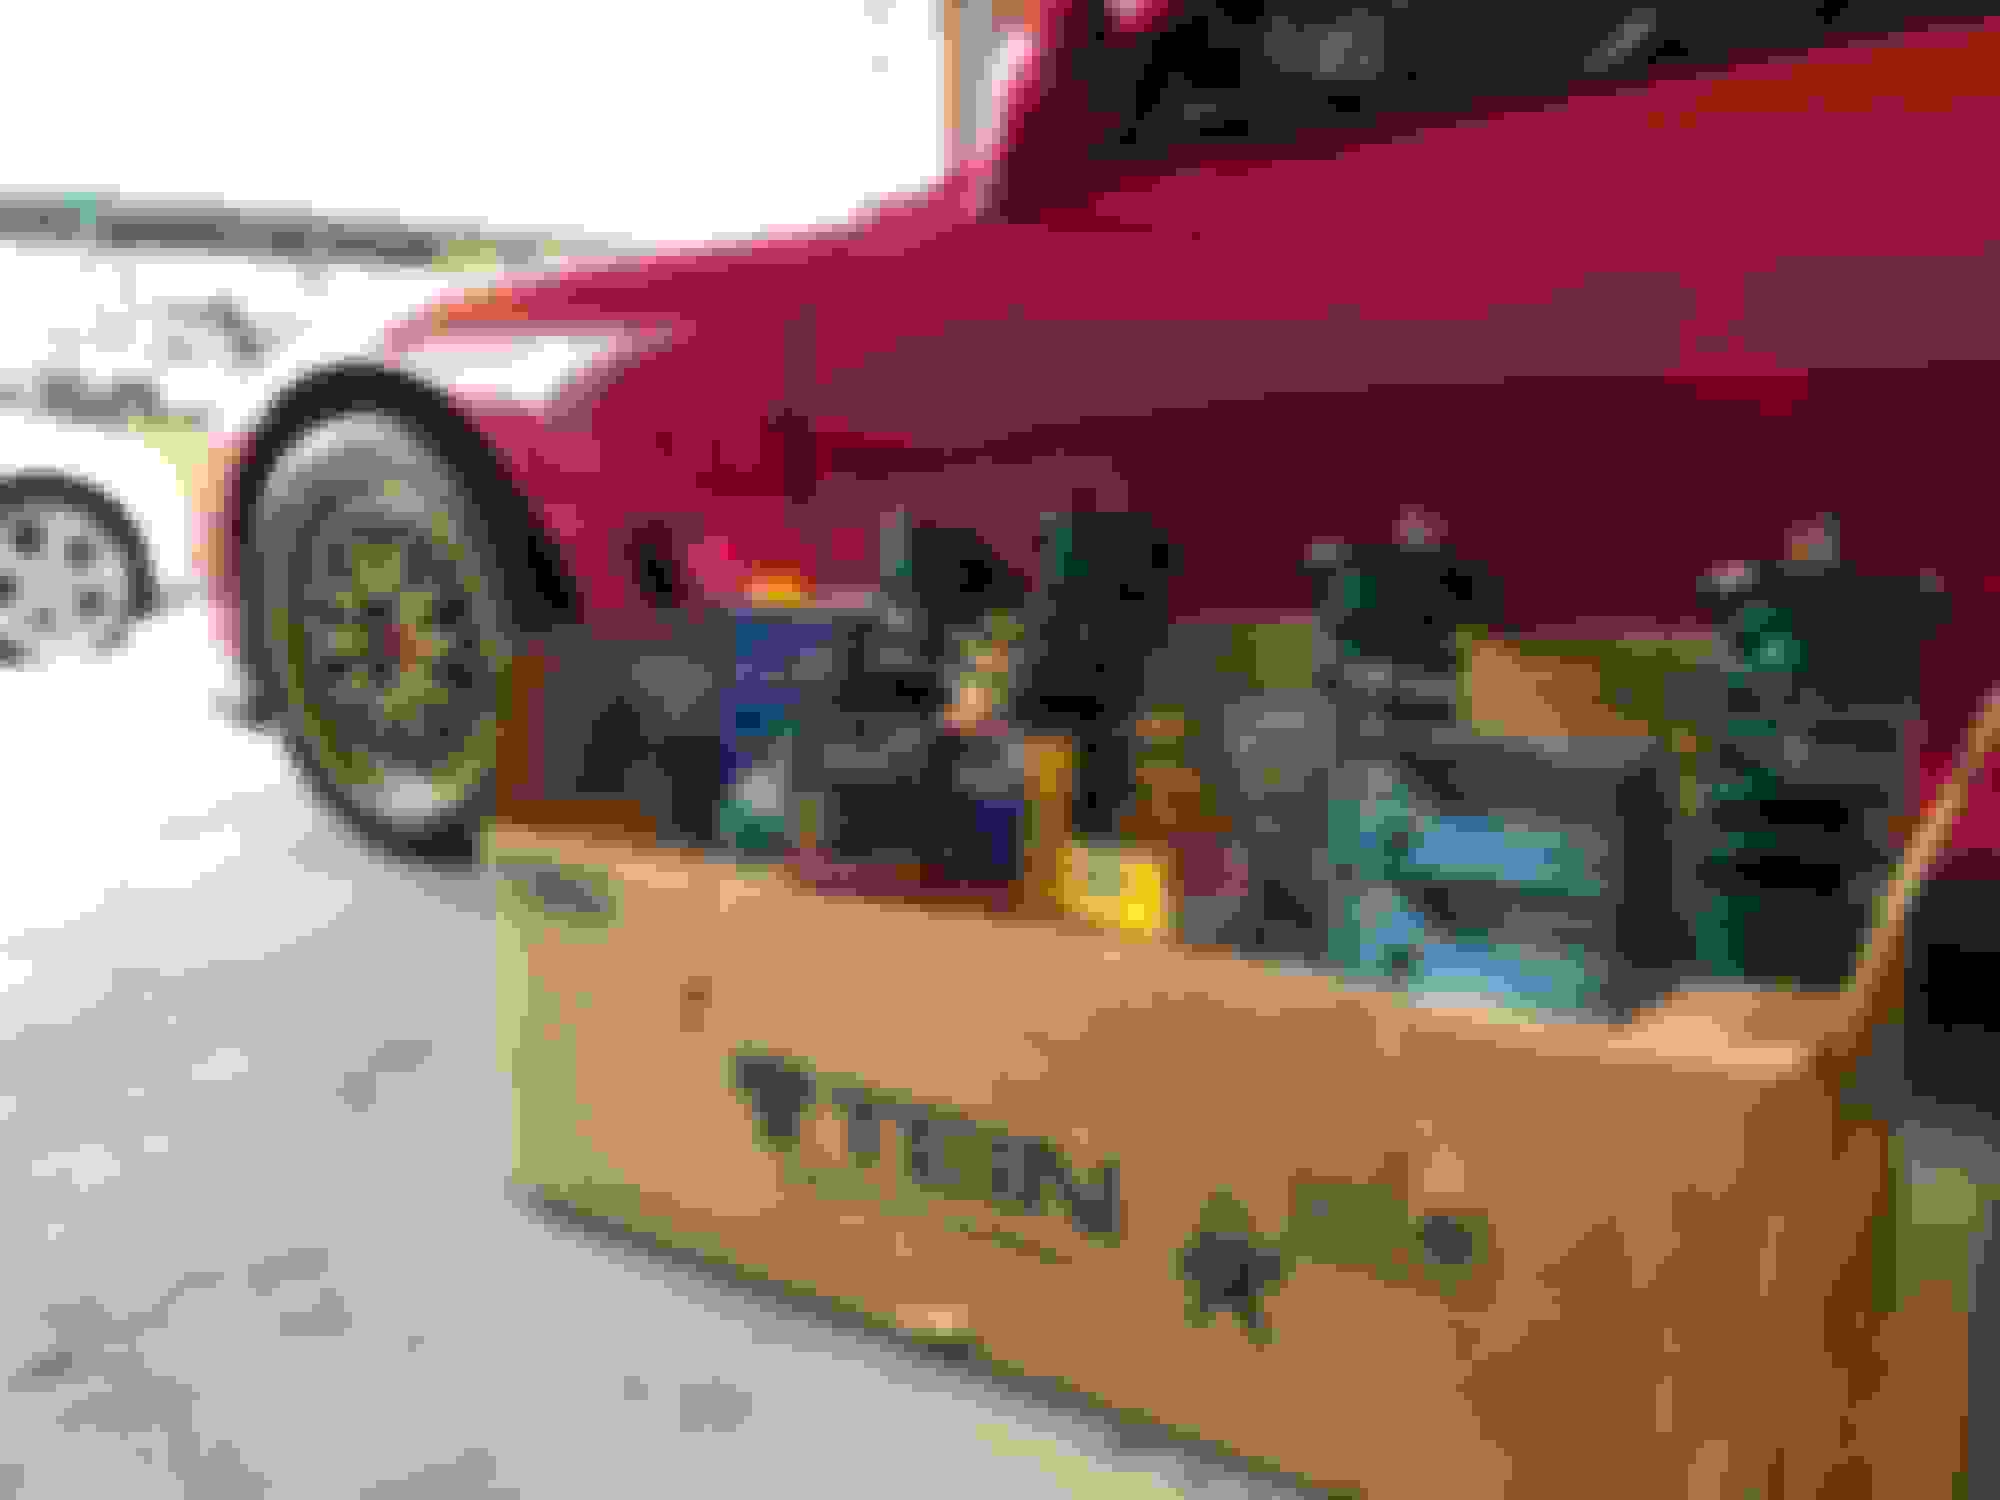
Started getting some parts in.
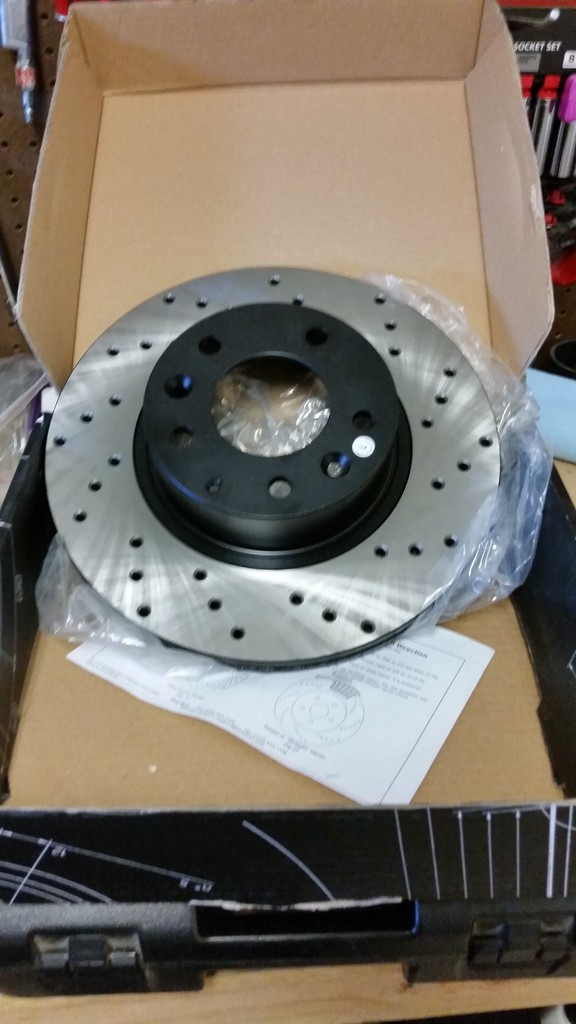
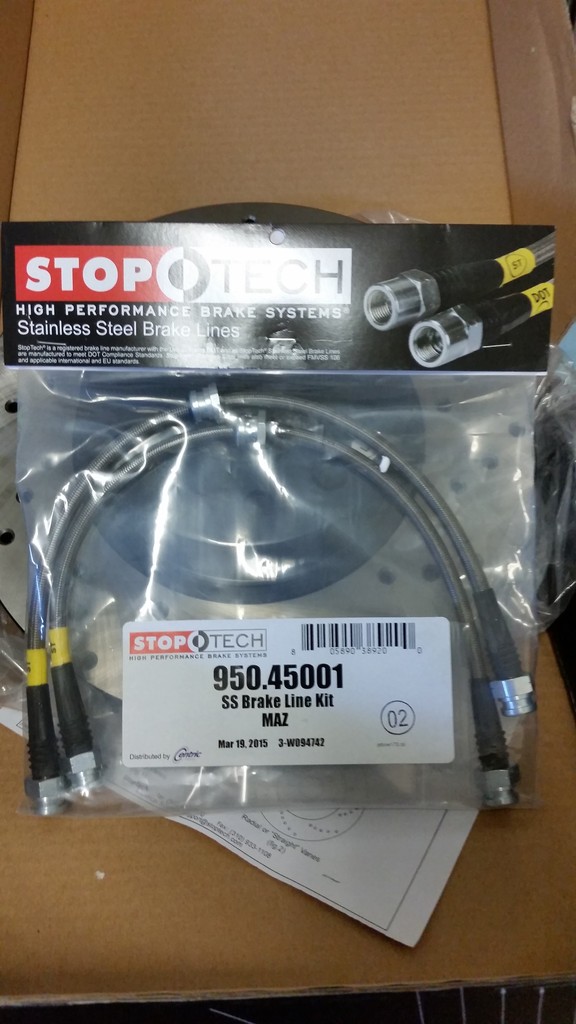
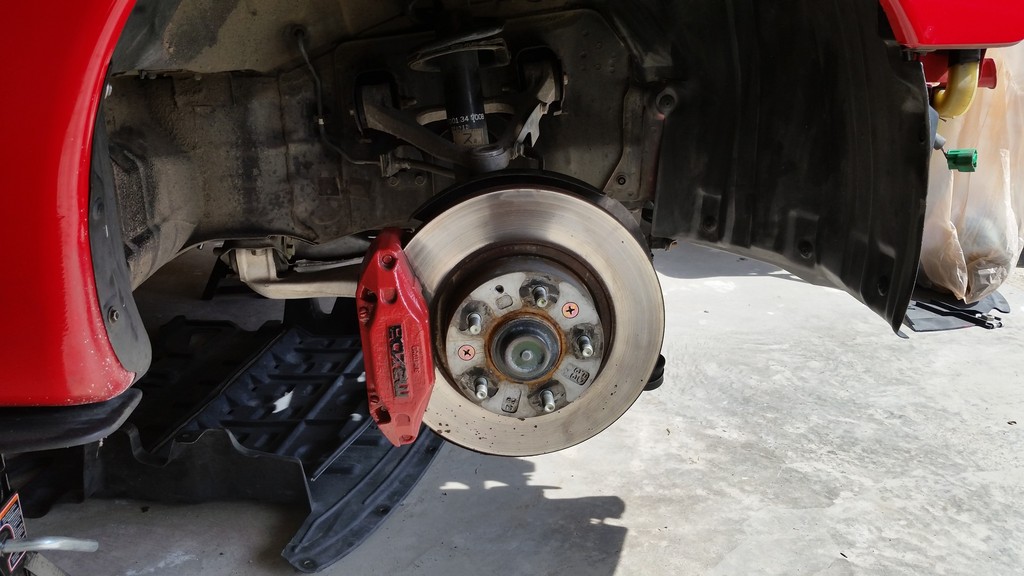
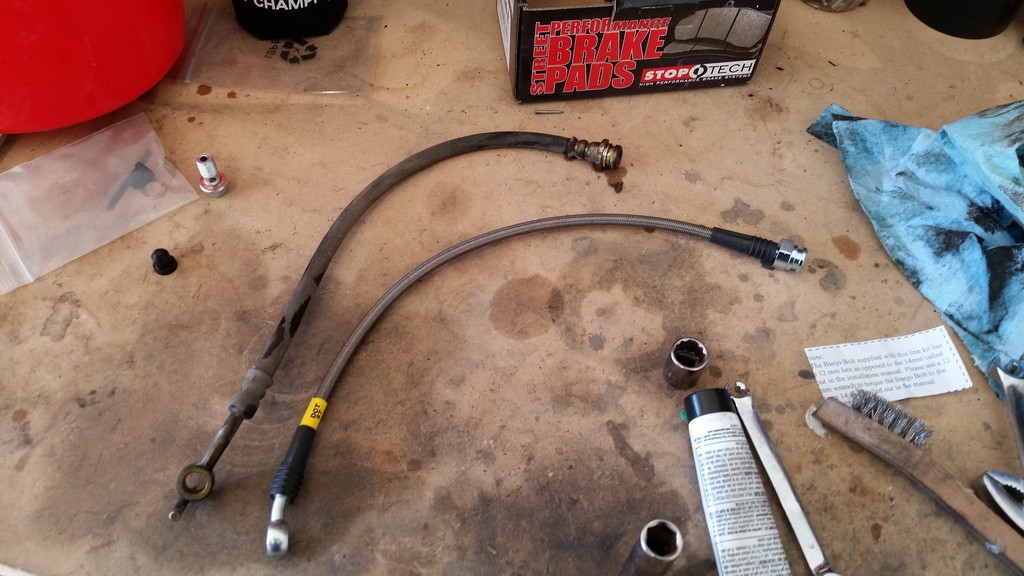
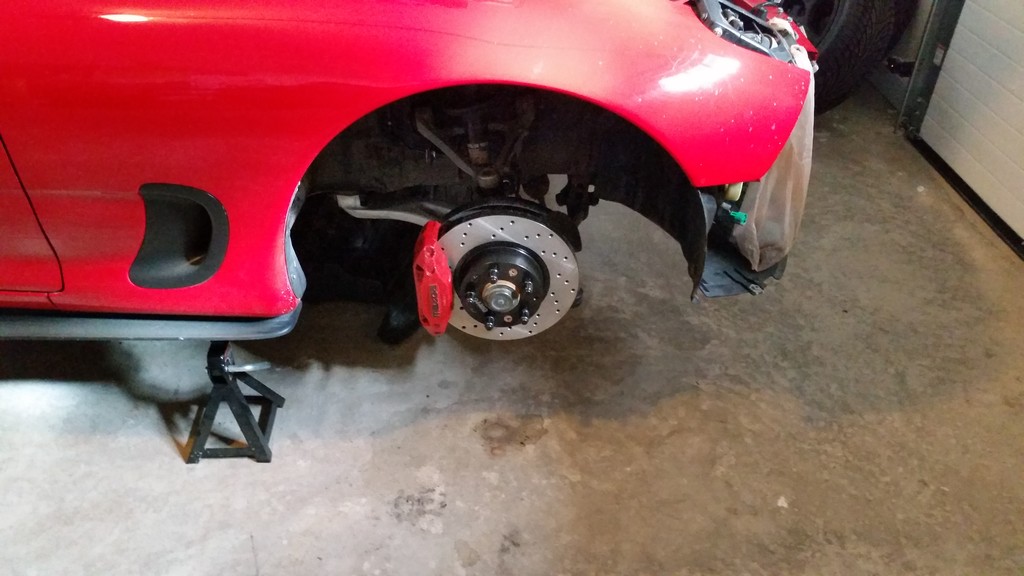
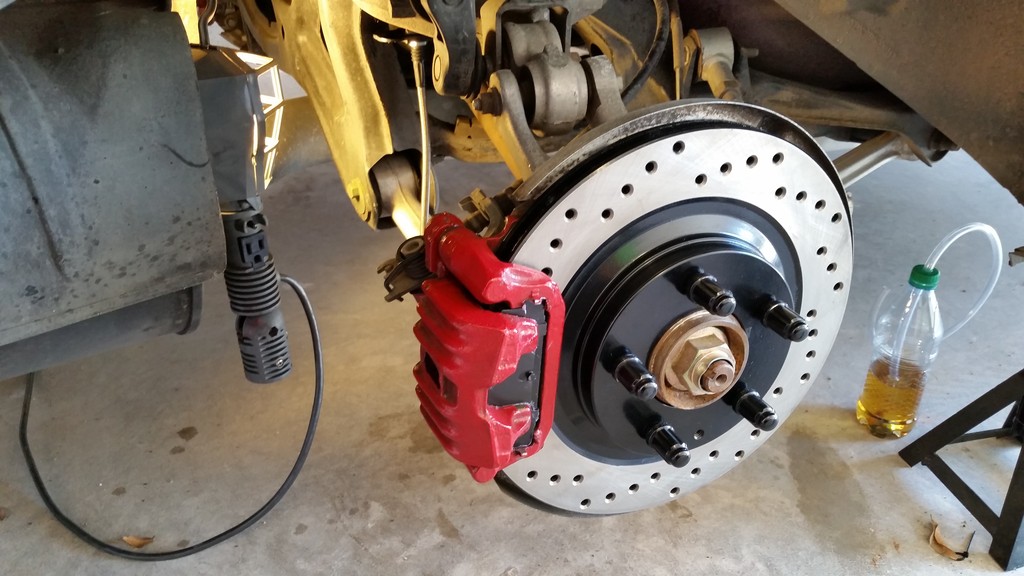
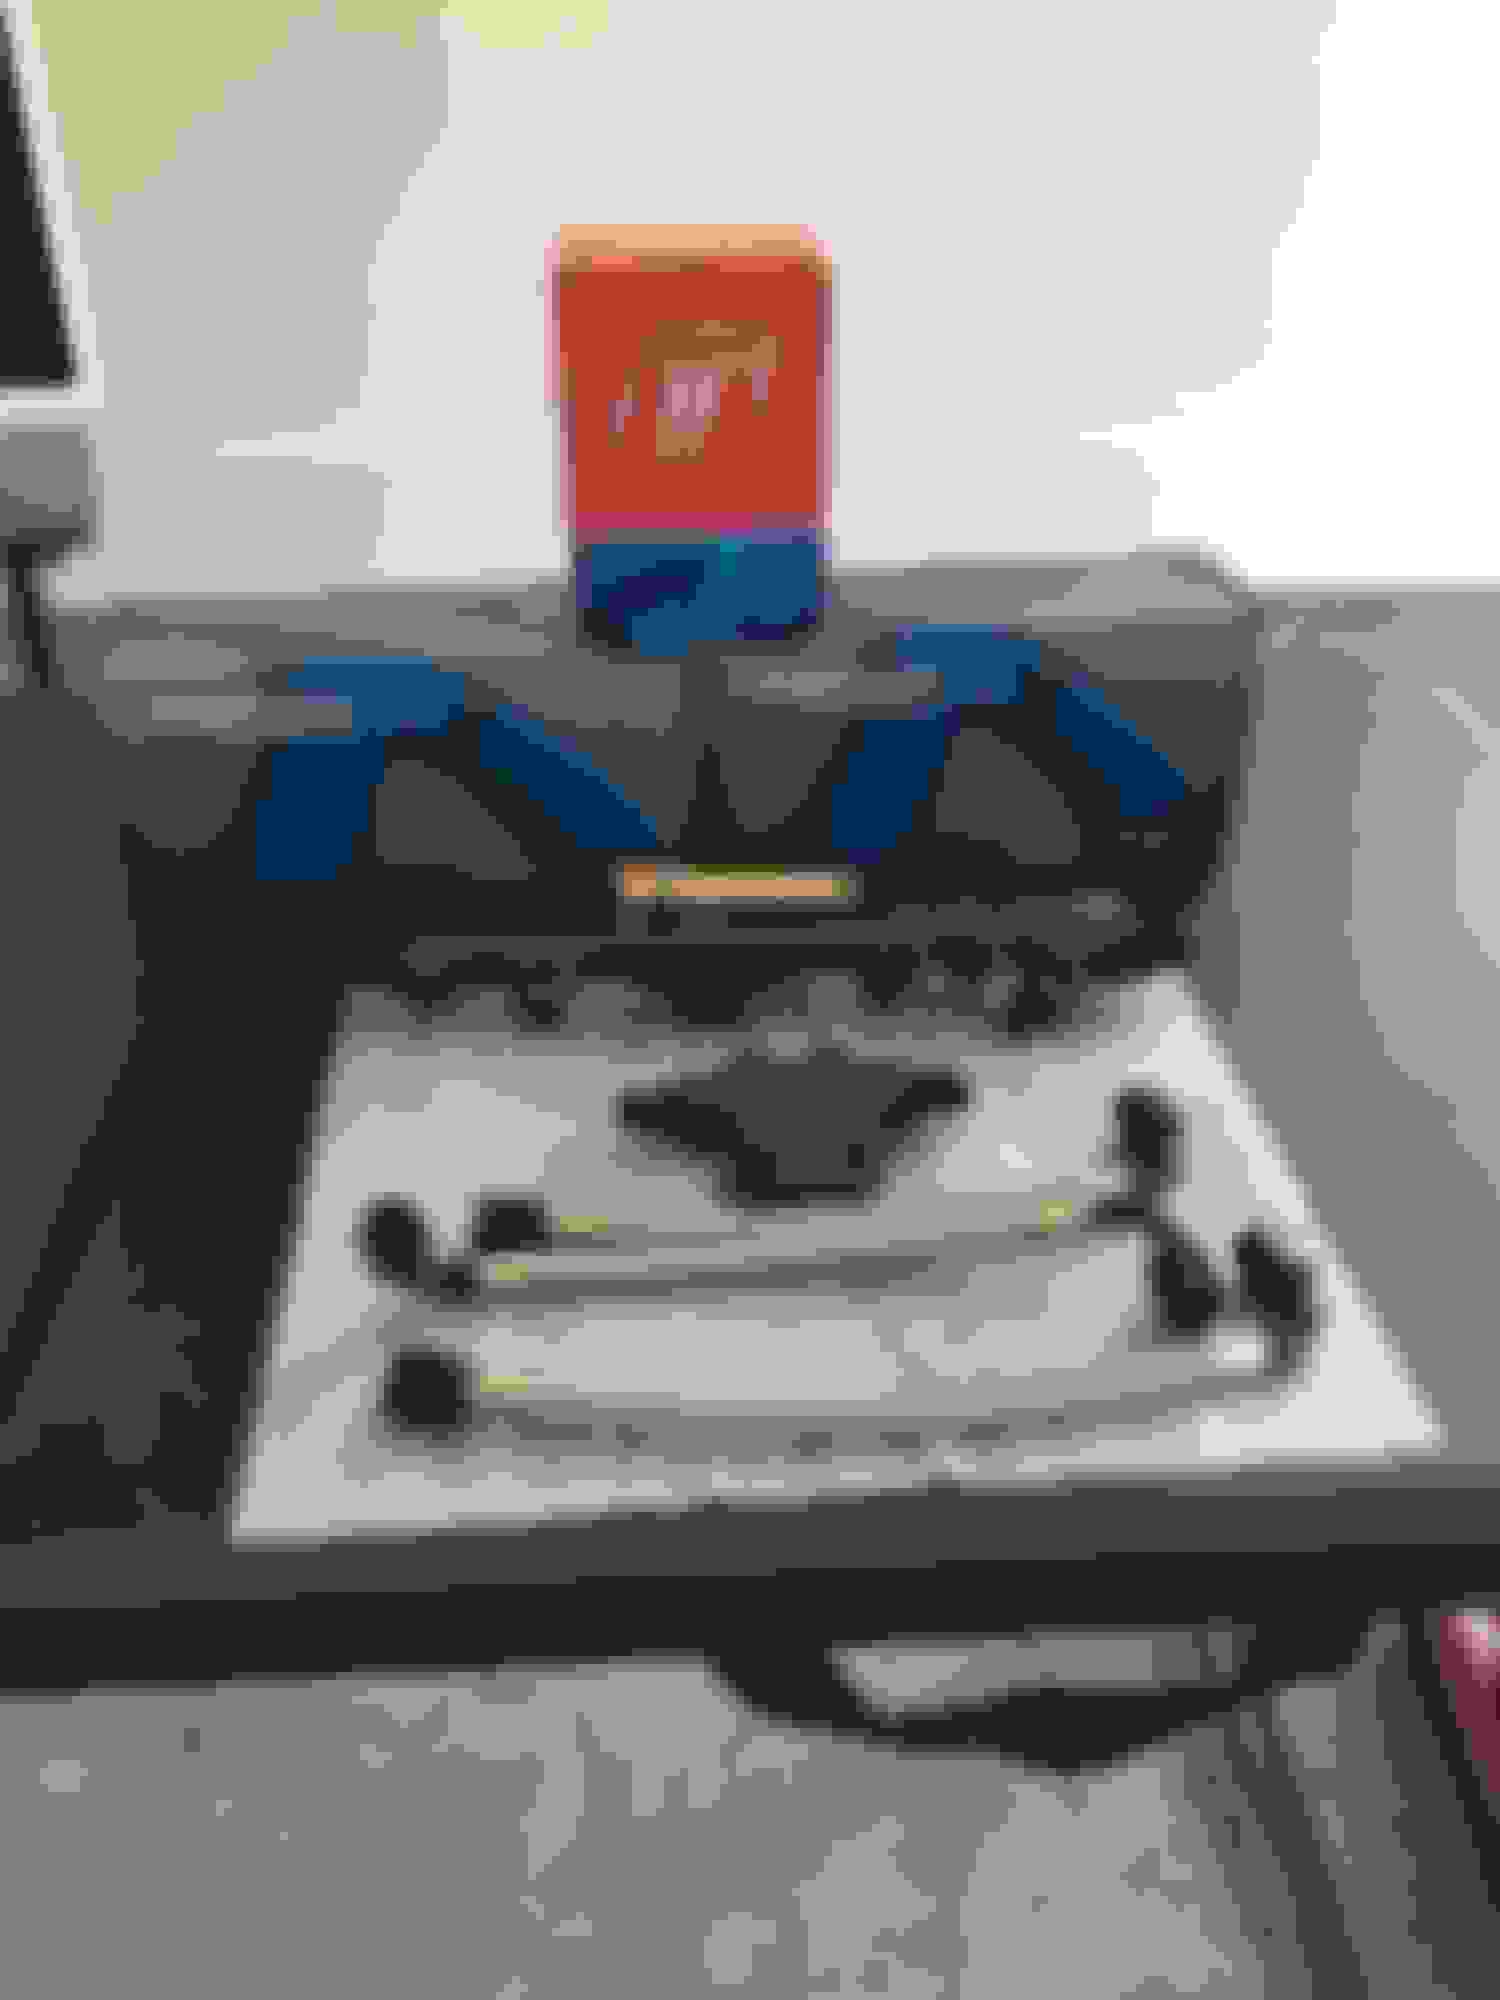
Stop Tech rotors, pads and lines for all four corners:
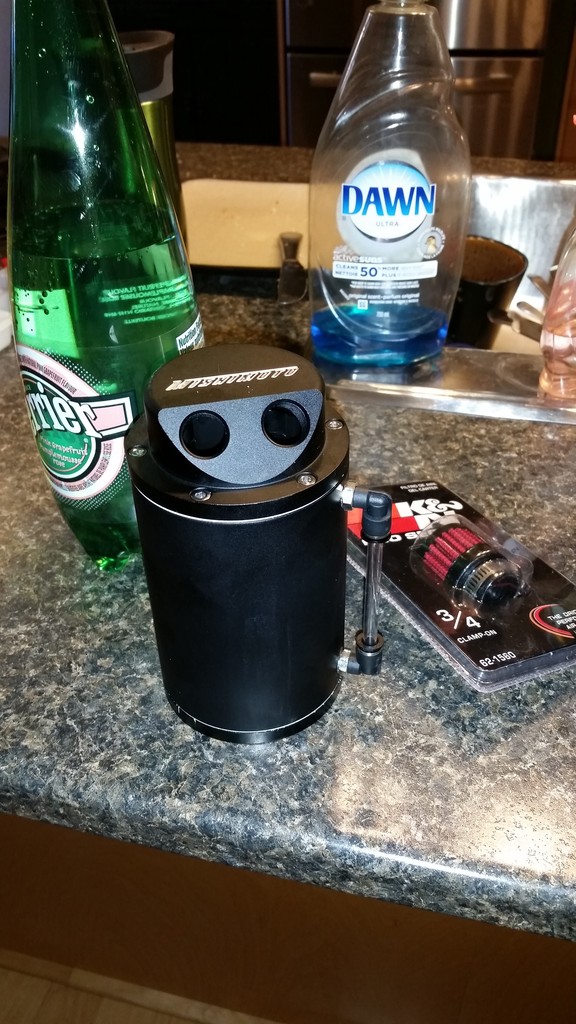
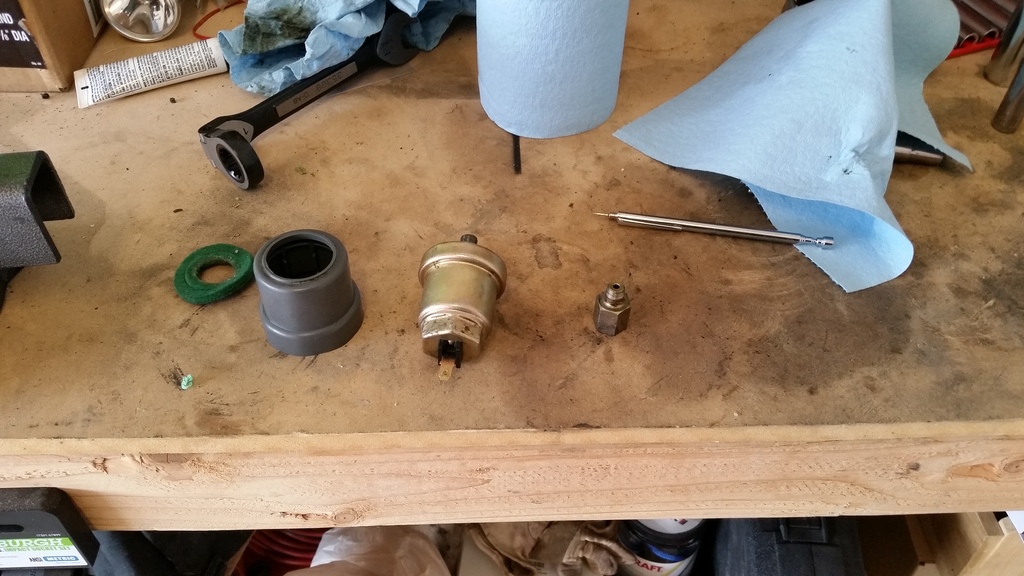
Catch Can and filter for the air pump also came in:
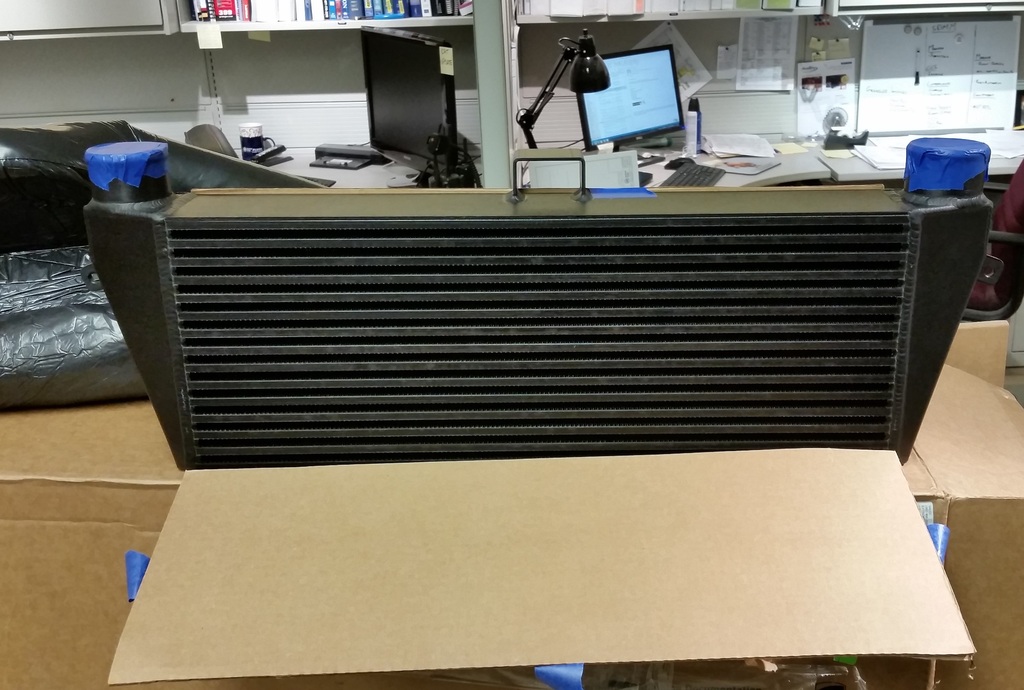
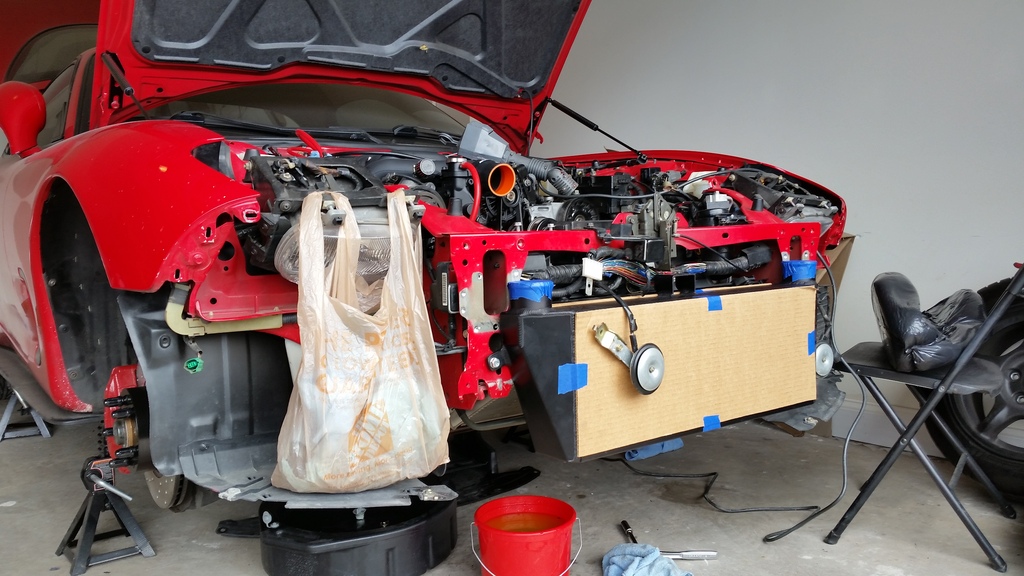
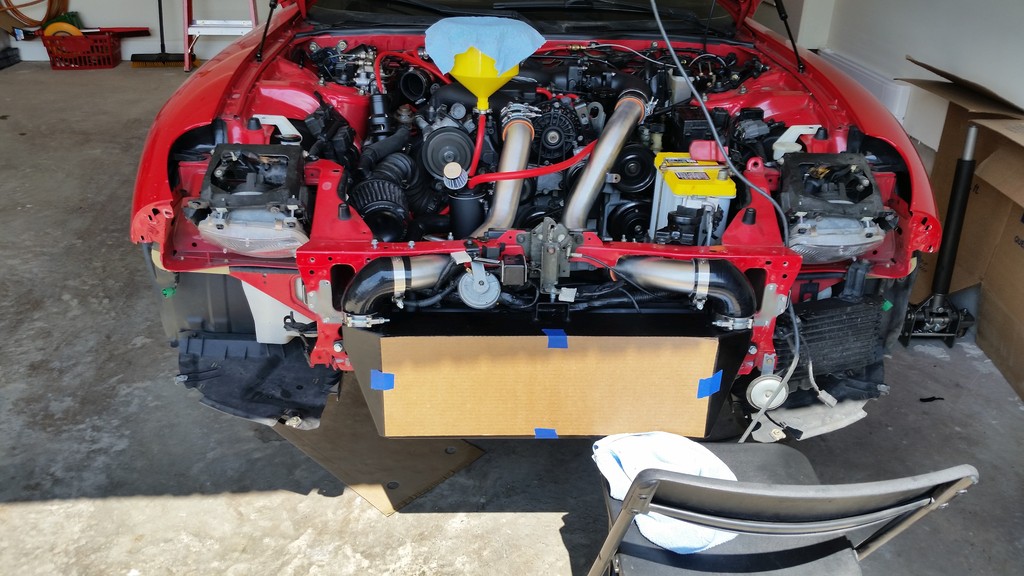
The intercooler FINALLY shipped. I hope to have the car all back together by May.
My fiance is back in the states for a few days and she is bringing back a few more goodies for me.
I really like the blacked out engine bay, it should stay clean. You're gonna install a second oil cooler, right?
Dual oil coolers are still on the list. Not going to happen on this tear down, but eventually they'll be installed.
There is still a handful of projects for this car. I'm still rocking the stock suspension, the school bus steering wheel needs to go, continue to black out the engine bay, thinking of pulling the air pump out, but don't really see the need to yet. AFR gauge and water injection are in the works as well.
Still just looking to make a car that is fast enough to have some fun in, but not too much power that it's not fun to take on a Sunday cruise.
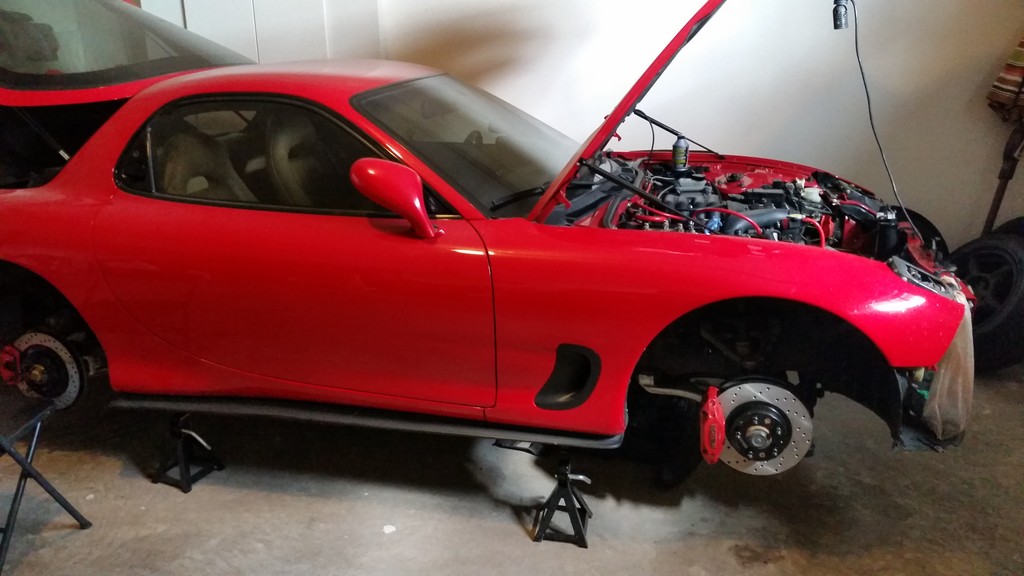
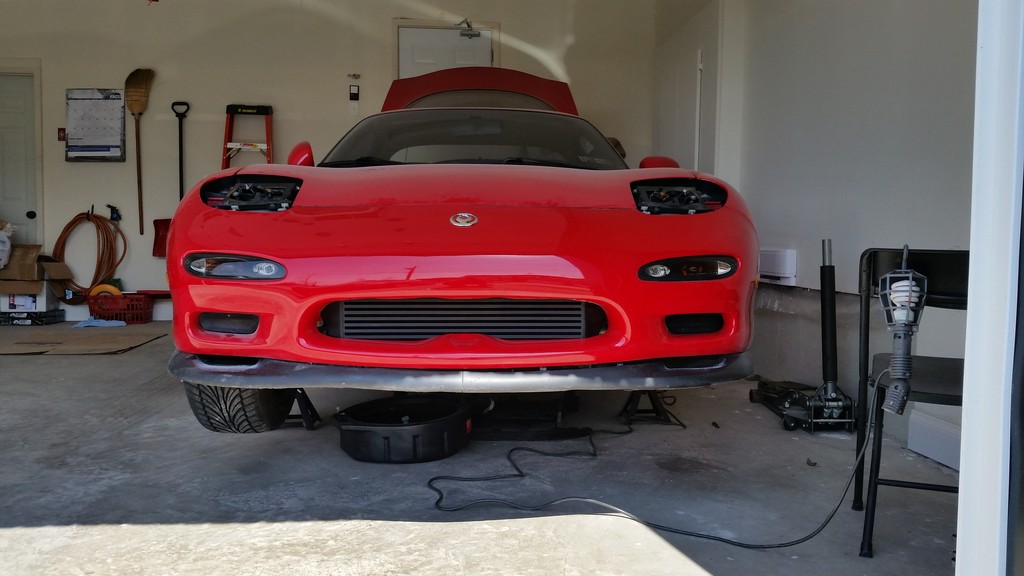
Still needs a thorough wash, but I trimmed the bumper and got the front all back together. Trimming and sanding the bumper was so nerve-racking. I probably took 10 times longer to do it than was needed, but I'm happy with how it came out.
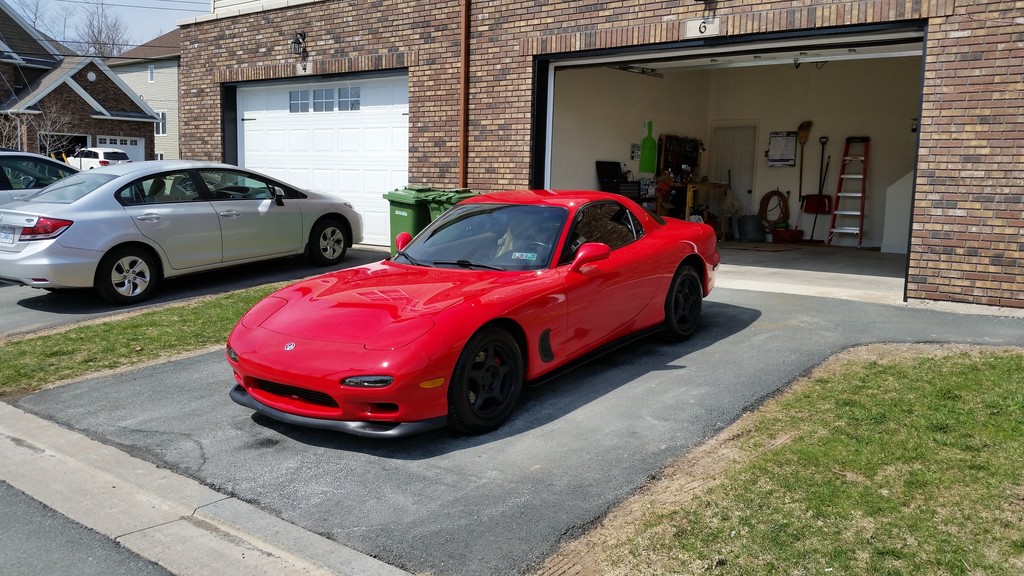
Put the 7 all back together and washed it up over the weekend. Felt good to finally have it back on the road! It's been hard to find a good spot to let it wind out here. Pot holes are still really bad. Only really get to do single gear pulls. Still exploring the Halifax area and getting to see a lot of the scenery though which has been pretty cool.
Well updated a few things and moved again... Twice
Installed dual oil coolers from a set-up I got from another forum member
Pulled the school bus steering wheel. Still one of my favorite changes:
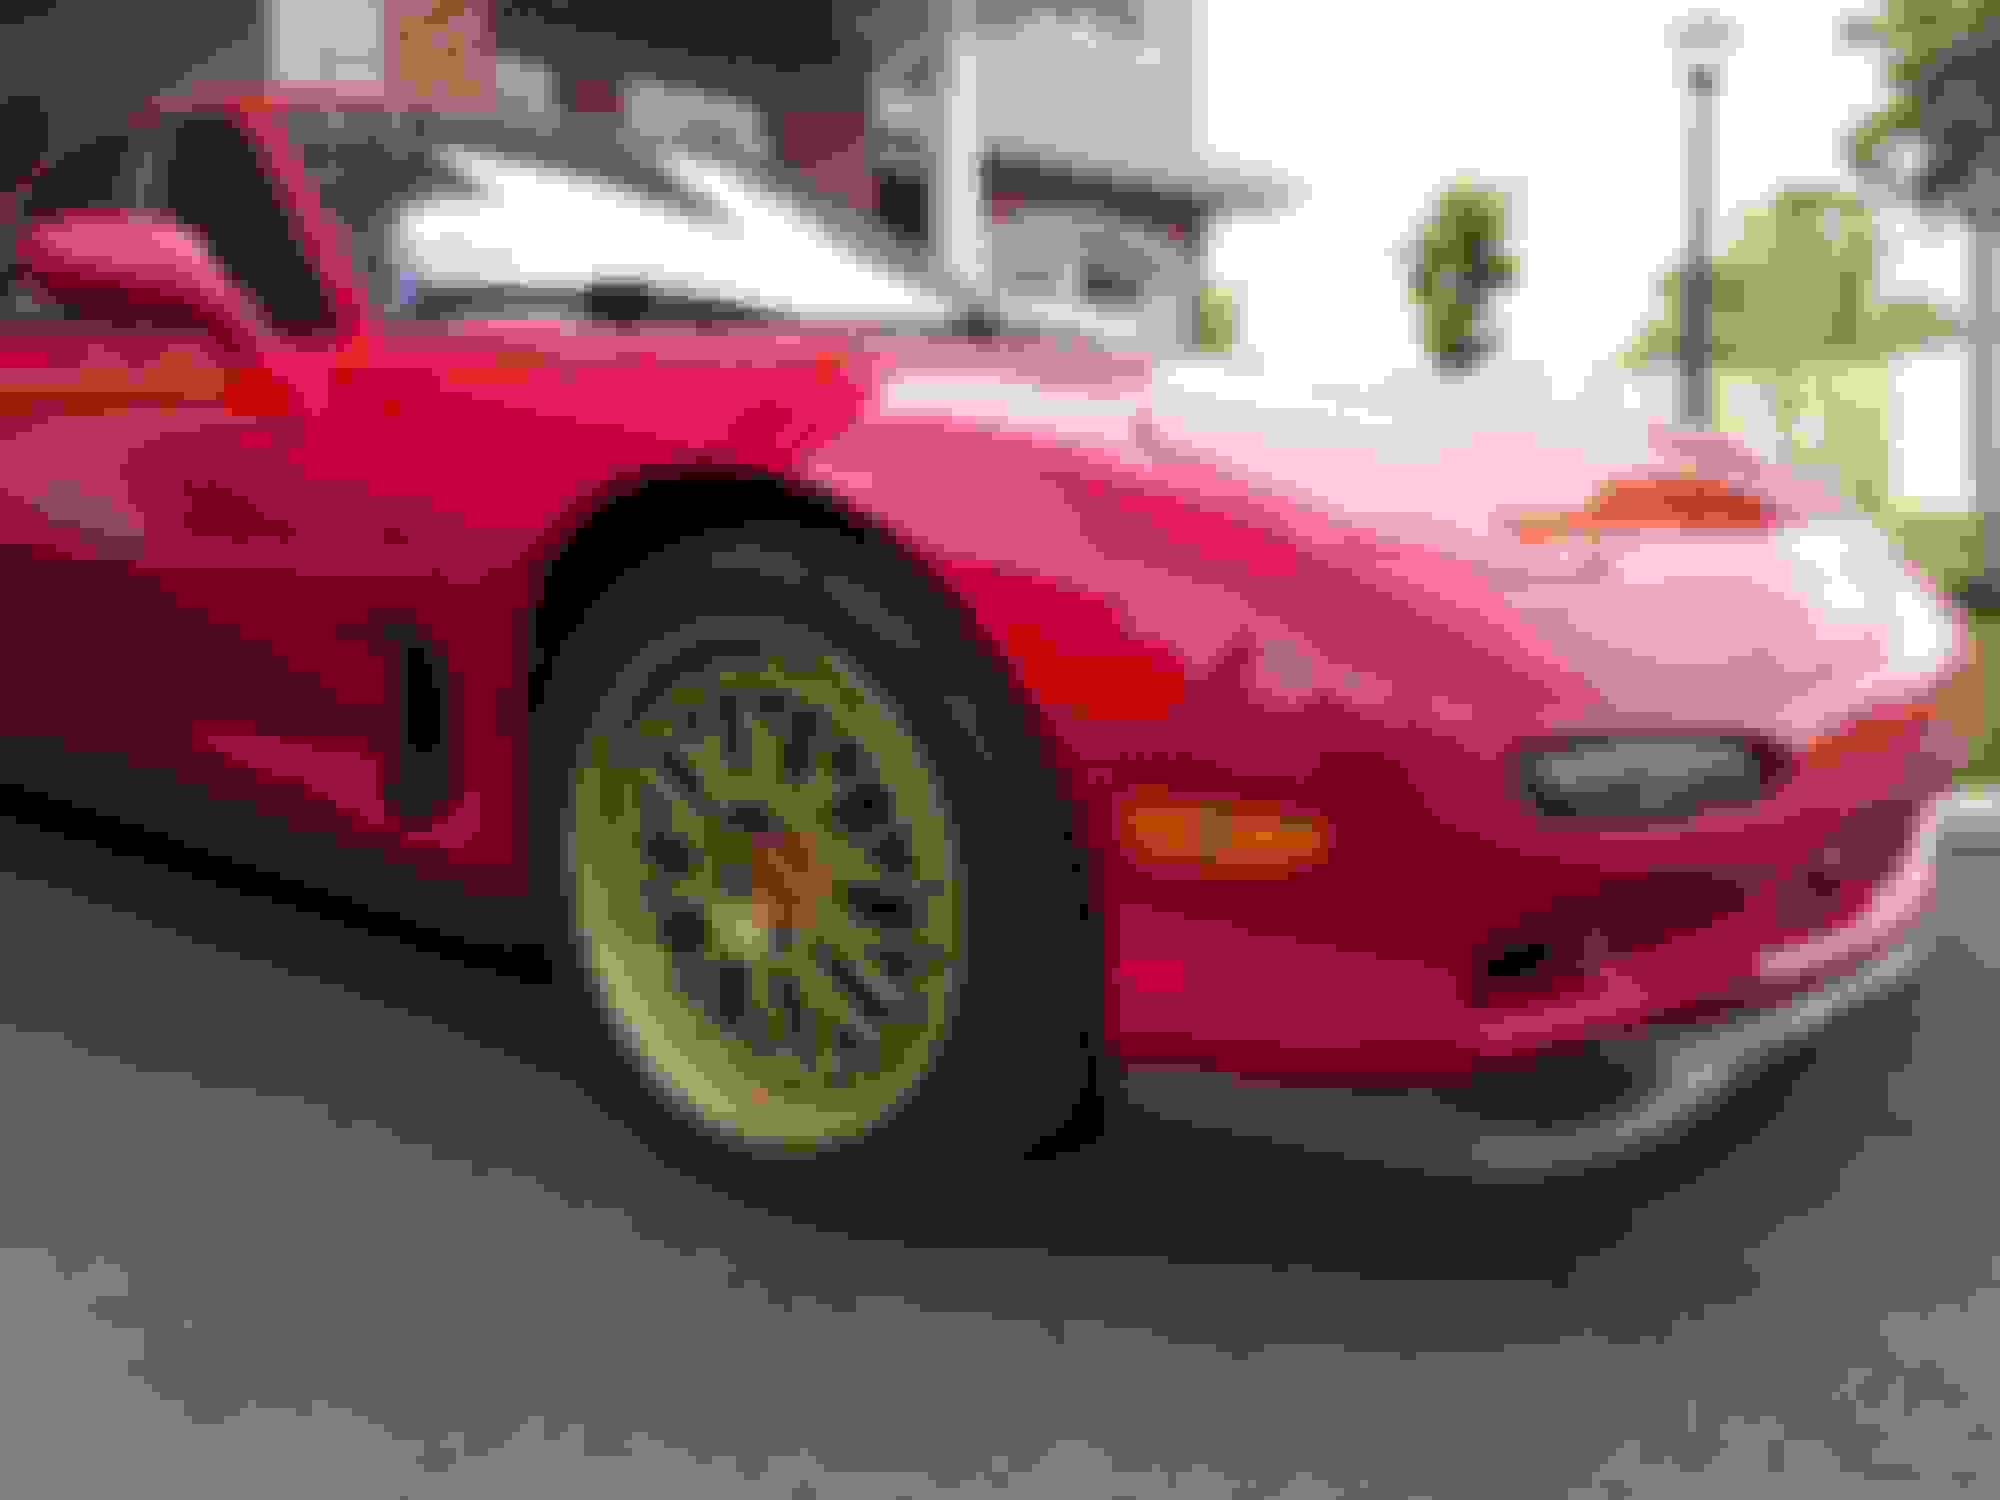
WHEELS! 17x9 F and 17x10 R
Dropped it low... Not really, But loved the new suspension
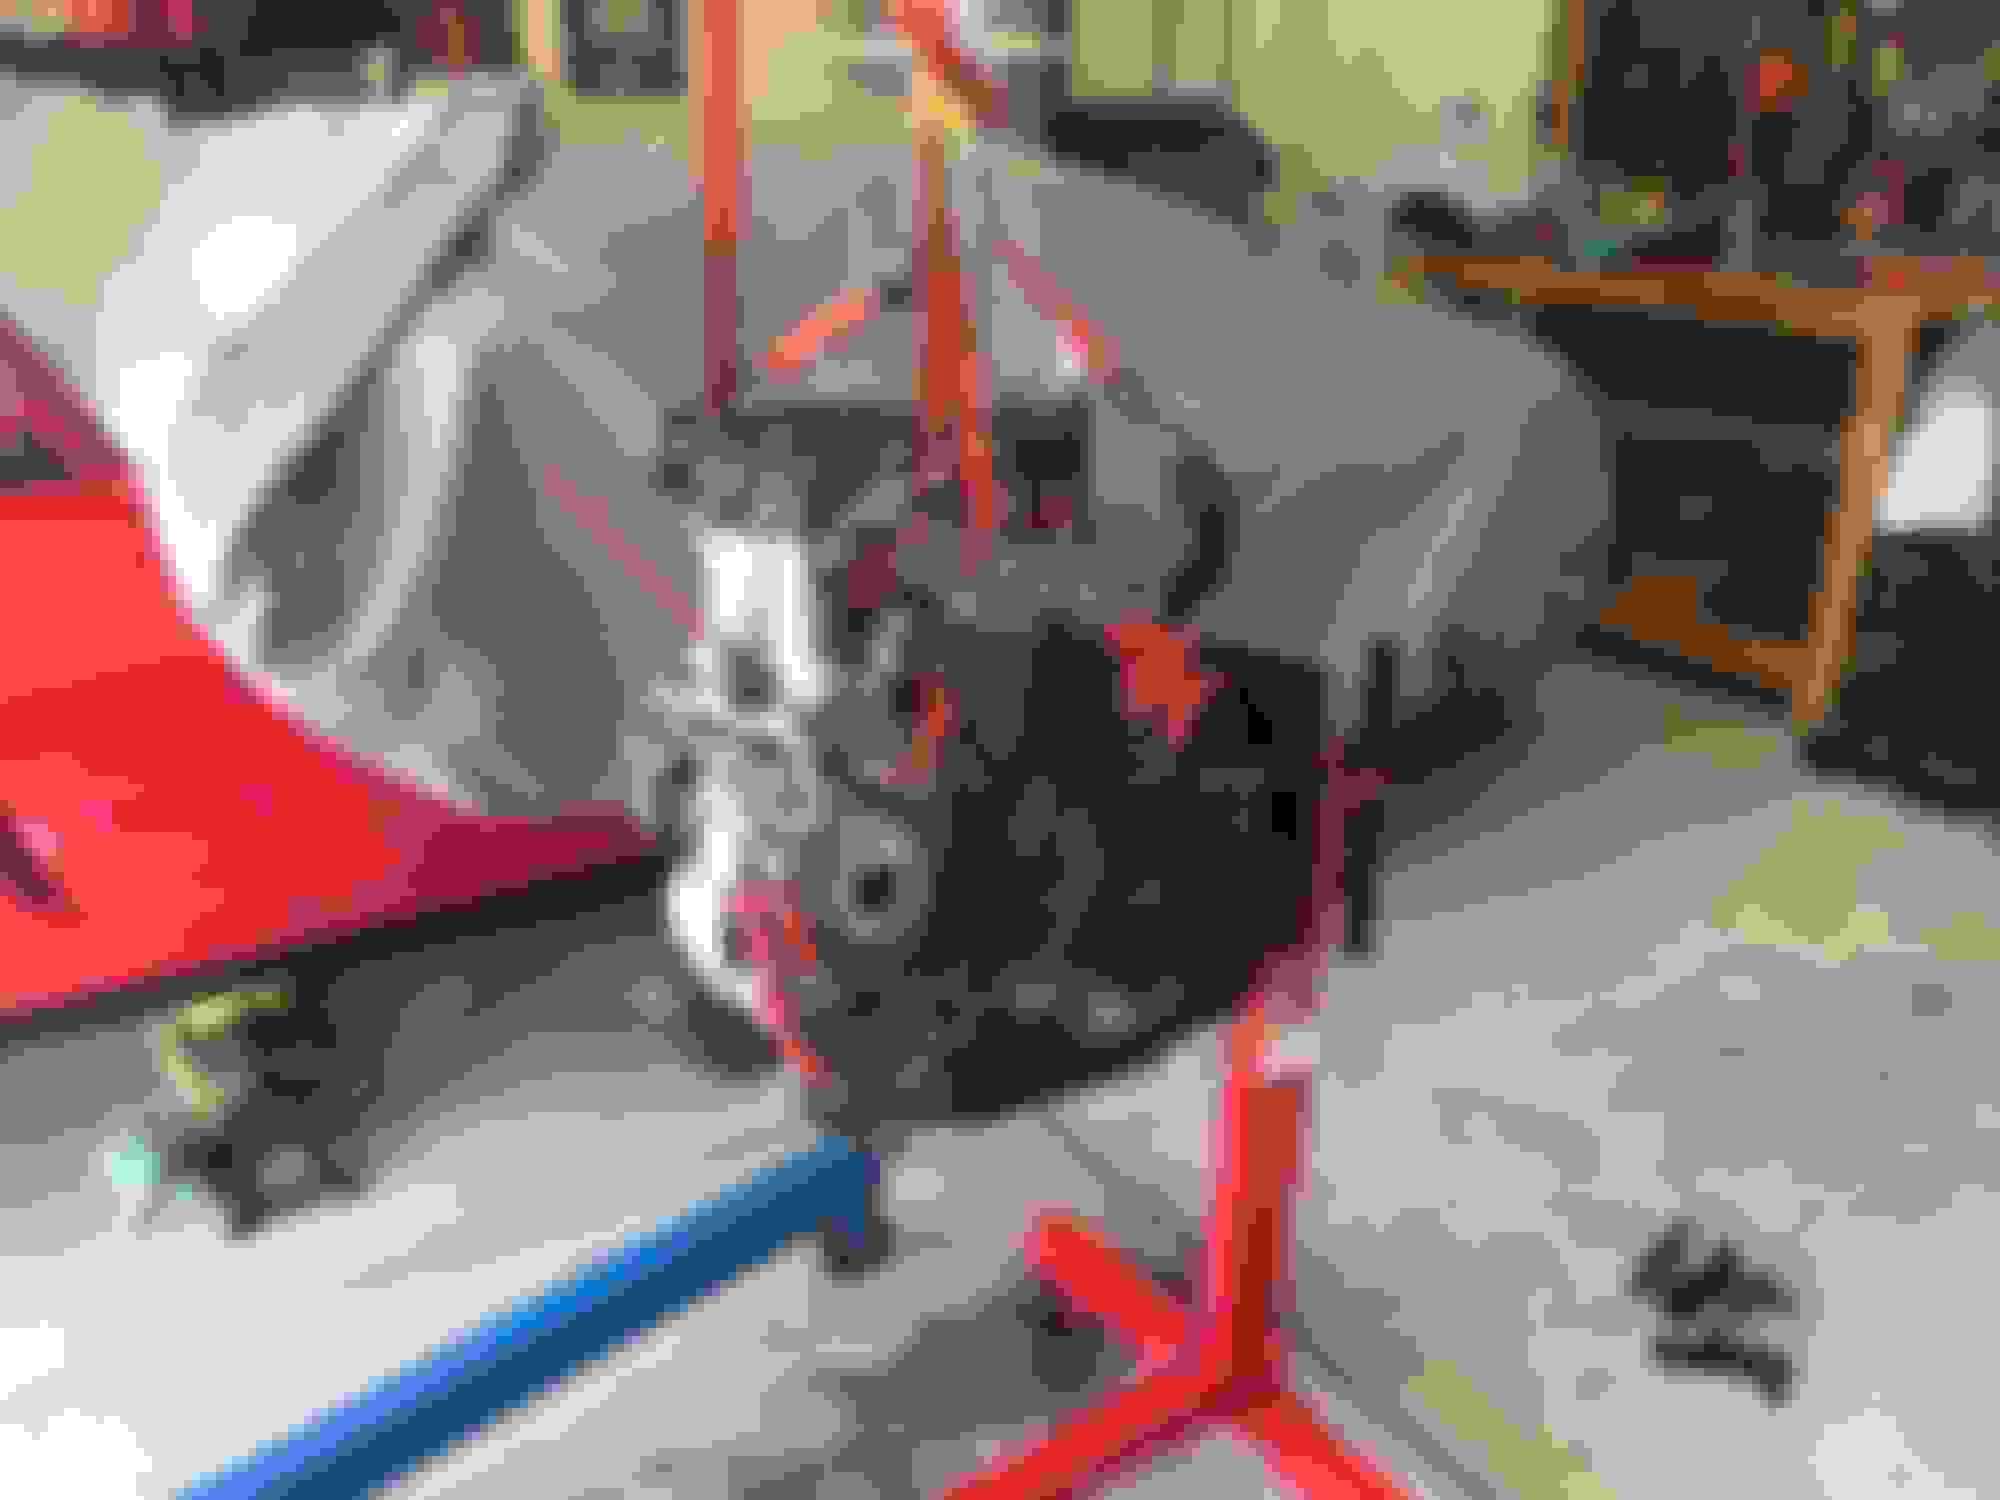
Then disaster struck
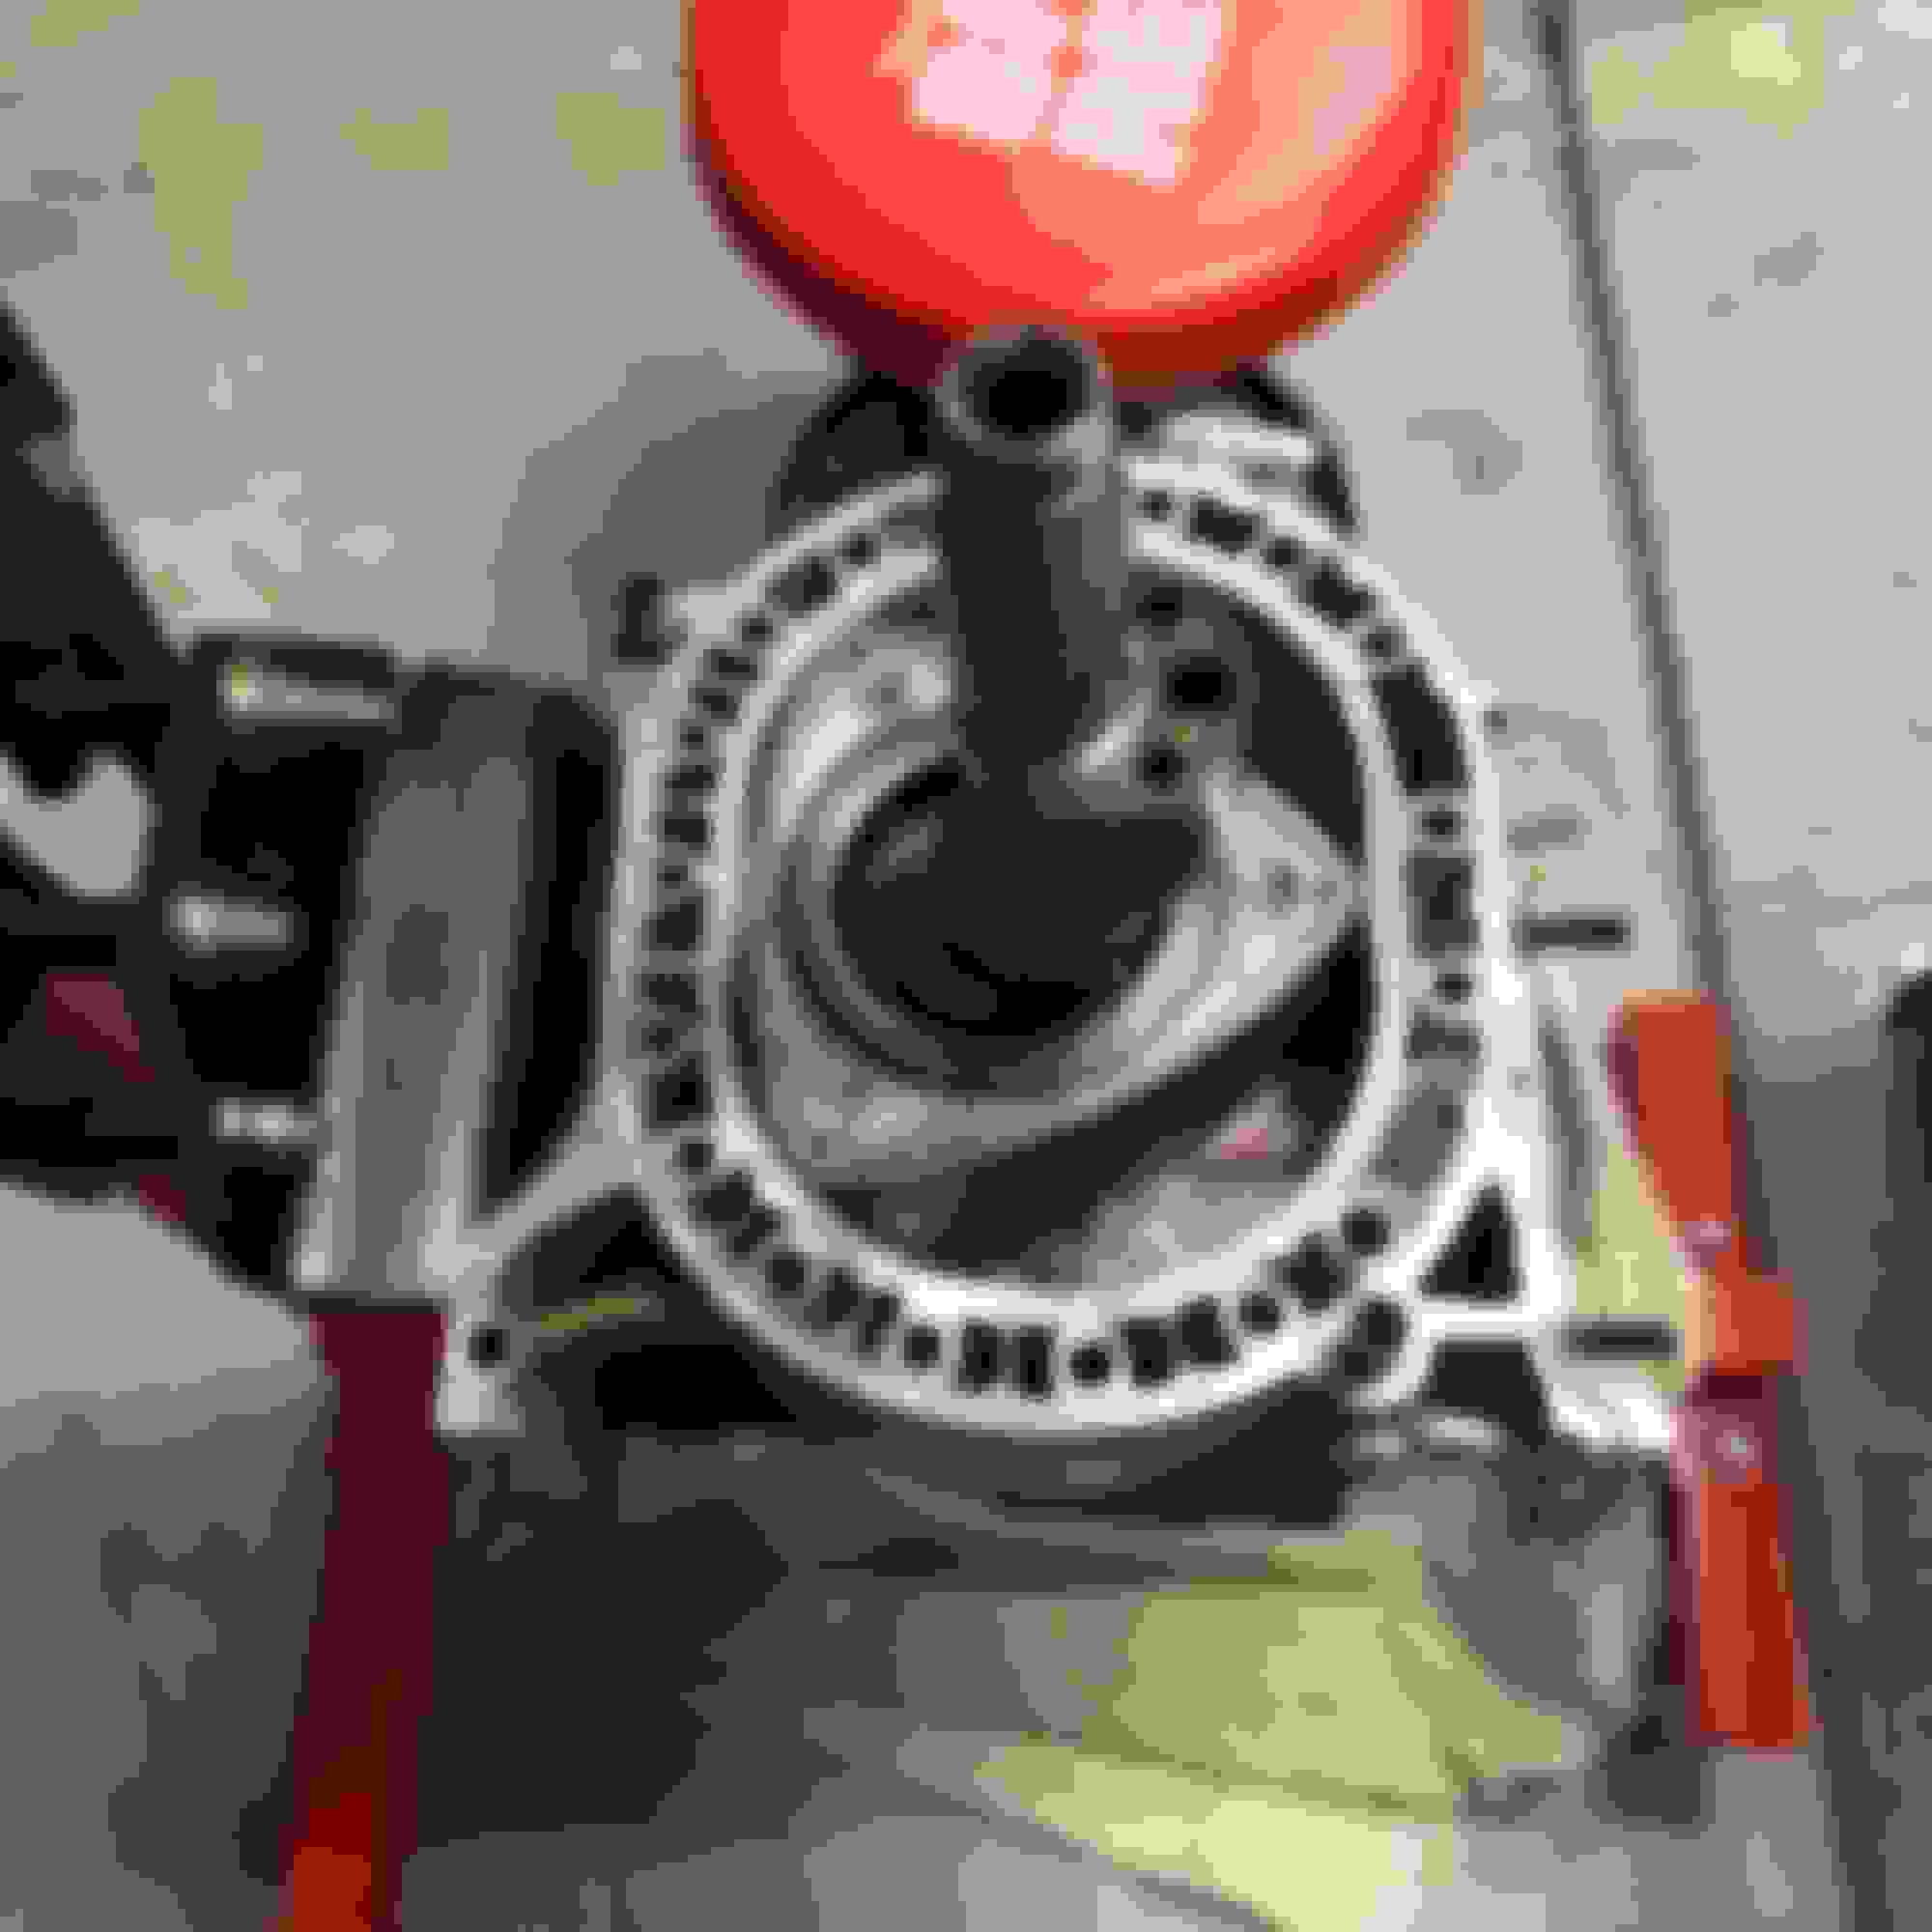
Over-boosted in 4th. Gt super lumpy, but still drove. Checked compression.
Front 70-7-75
Rear 60-0-0
I didn't sit around pouting though
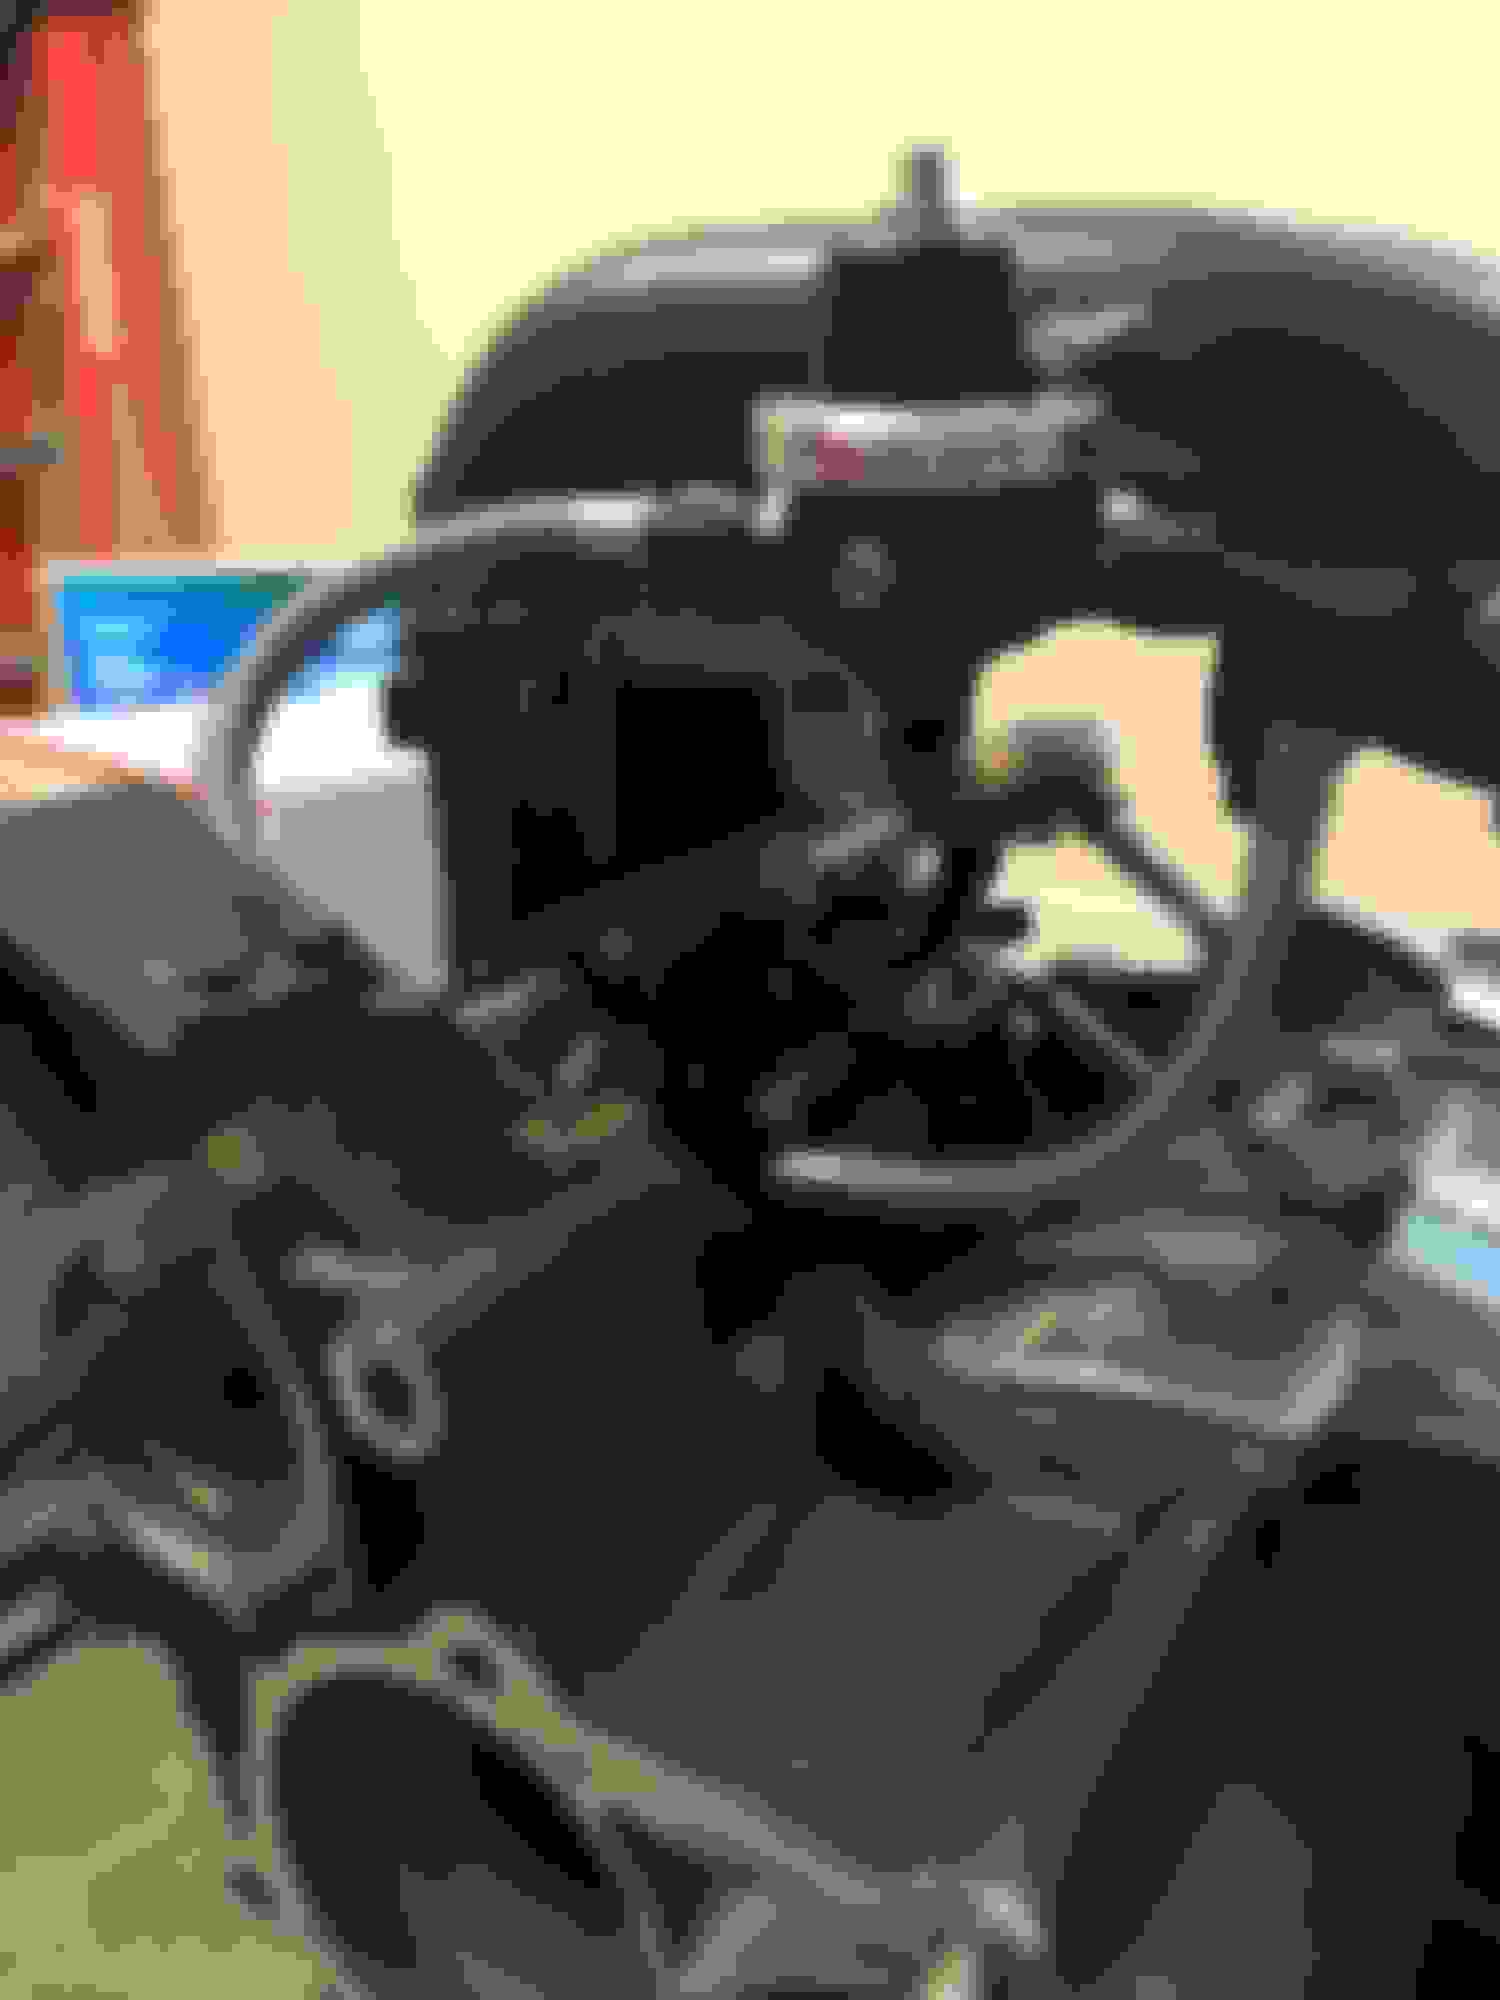
Got to say cleaning rotary motors without a parts washer really sucks.
But how she sits now:
A lot more to come soon!
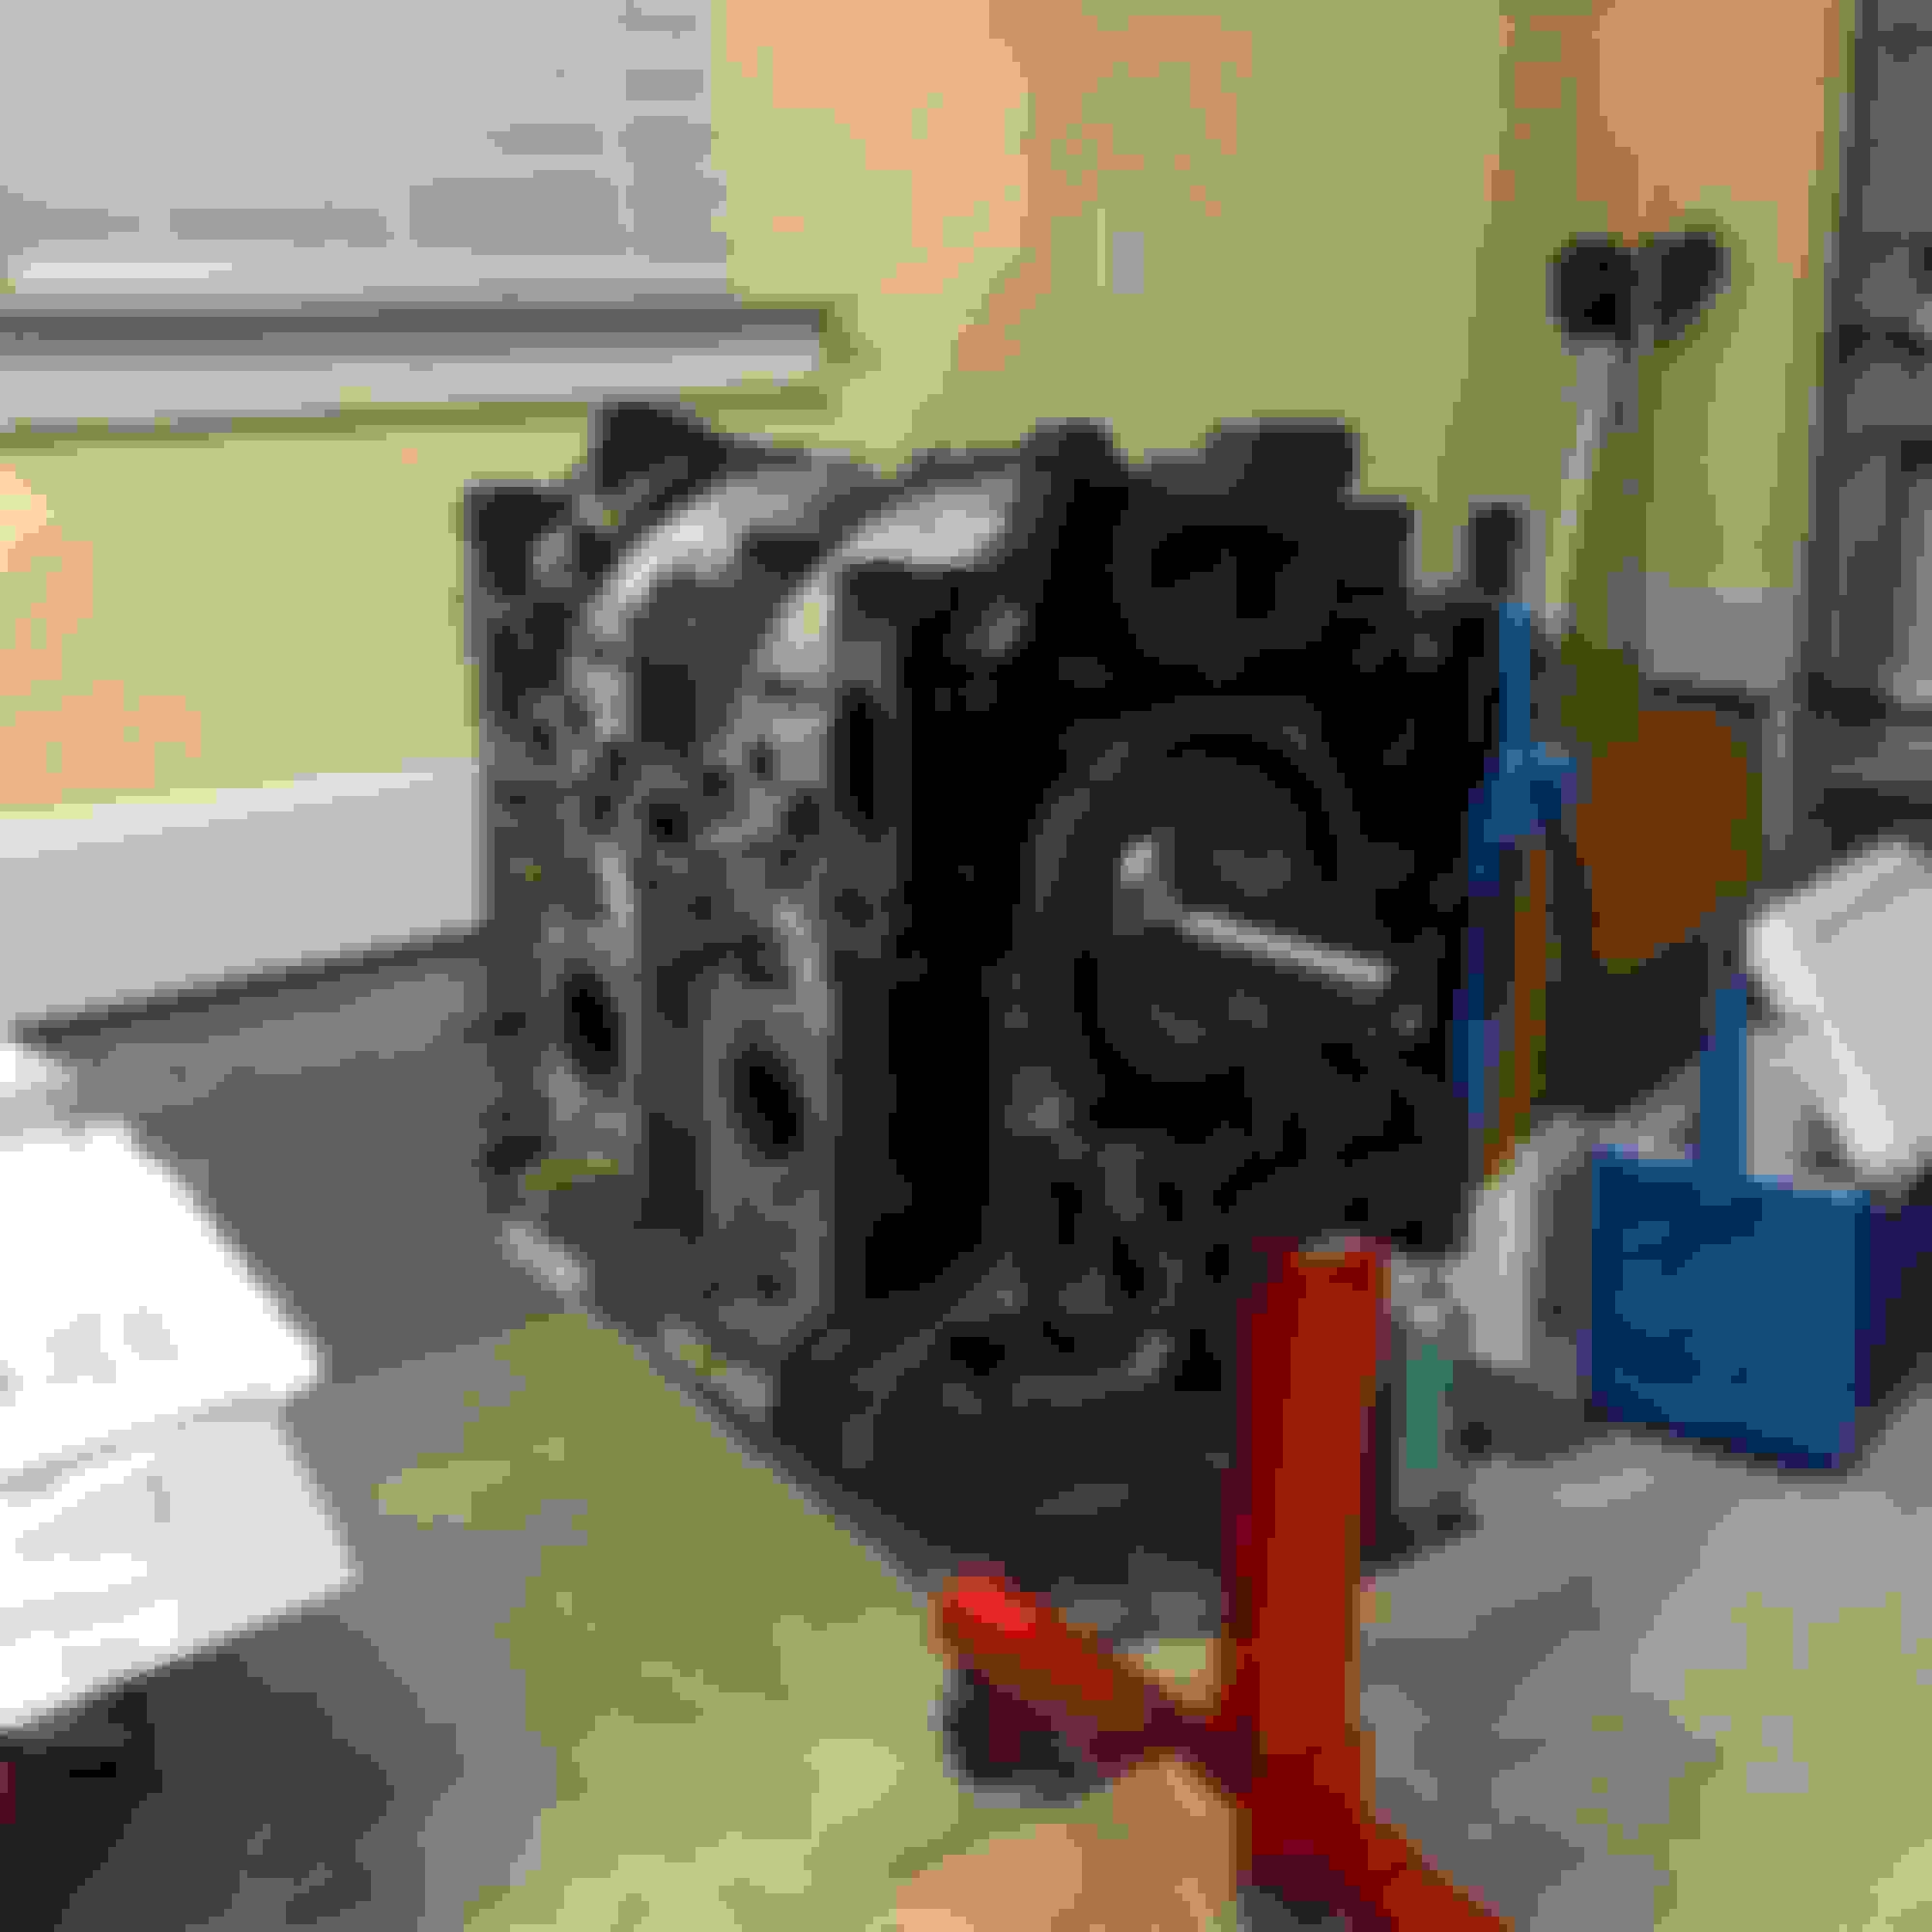
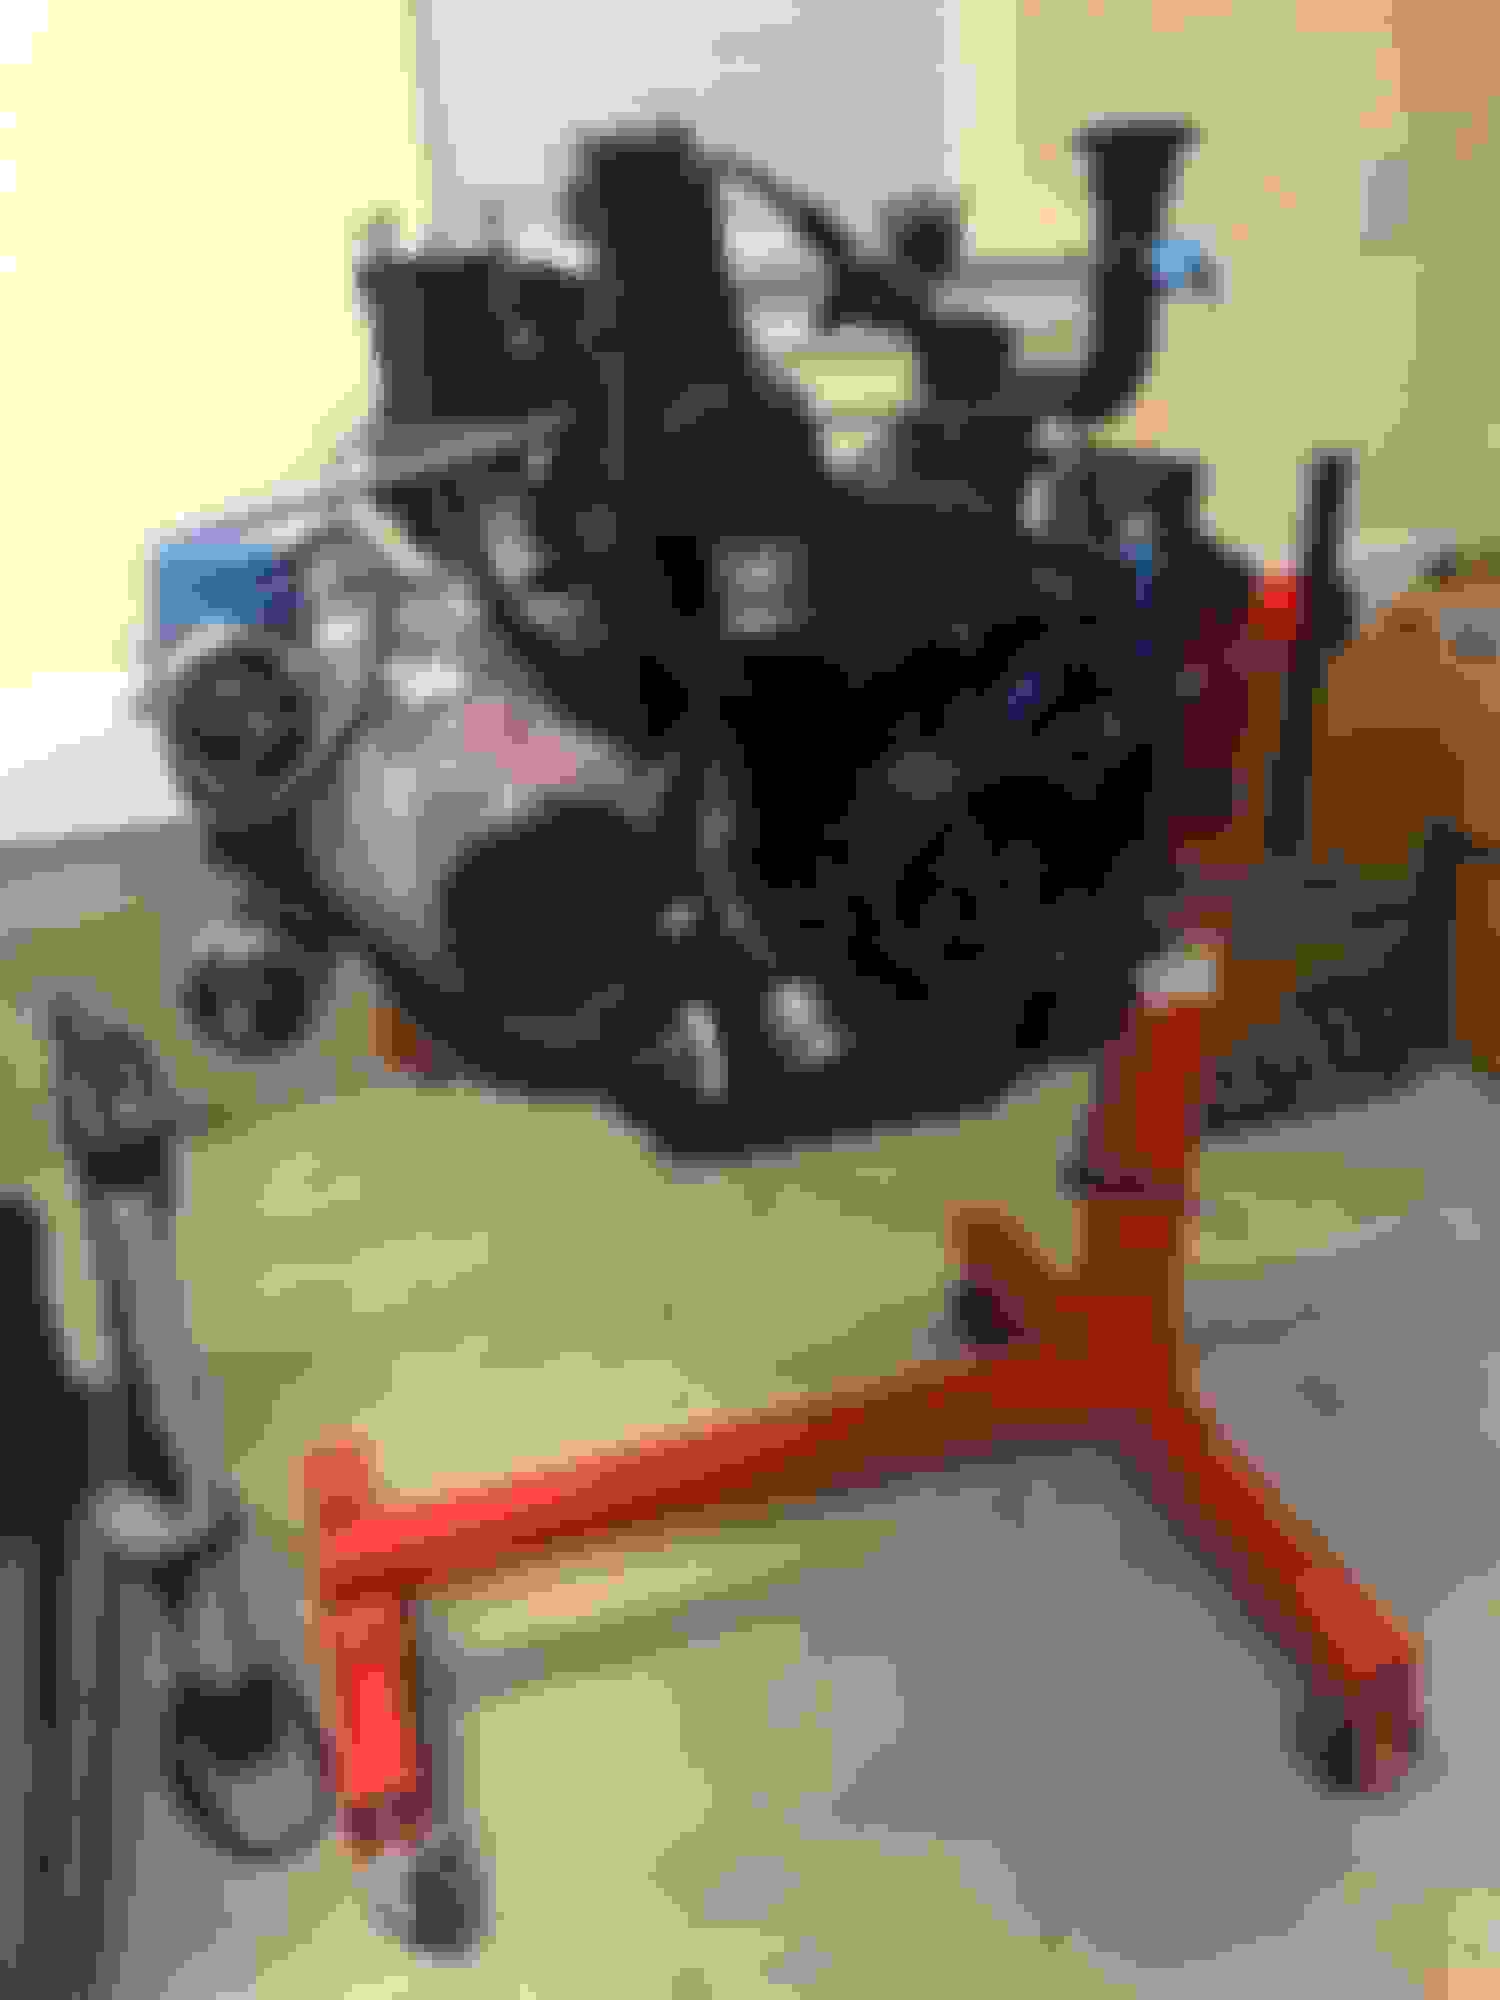
I rebuilt the motor using Atkins Closing Kit.
Had Goopy Performance hone the housings and used their 2mm Apex Seals.
I didn't take good pictures of the housings after getting them back from Goopy, but if you are thinking about it, I highly suggest it.
My housings were in good shape with only some minor flaking and surface grooves.
When I got them back they were like new.
The whole process from shipping to receiving them back only took about 2 weeks too. Excellent turnaround!
Happy to support the rotary aftermarket community and run a slew of upgrades as well.
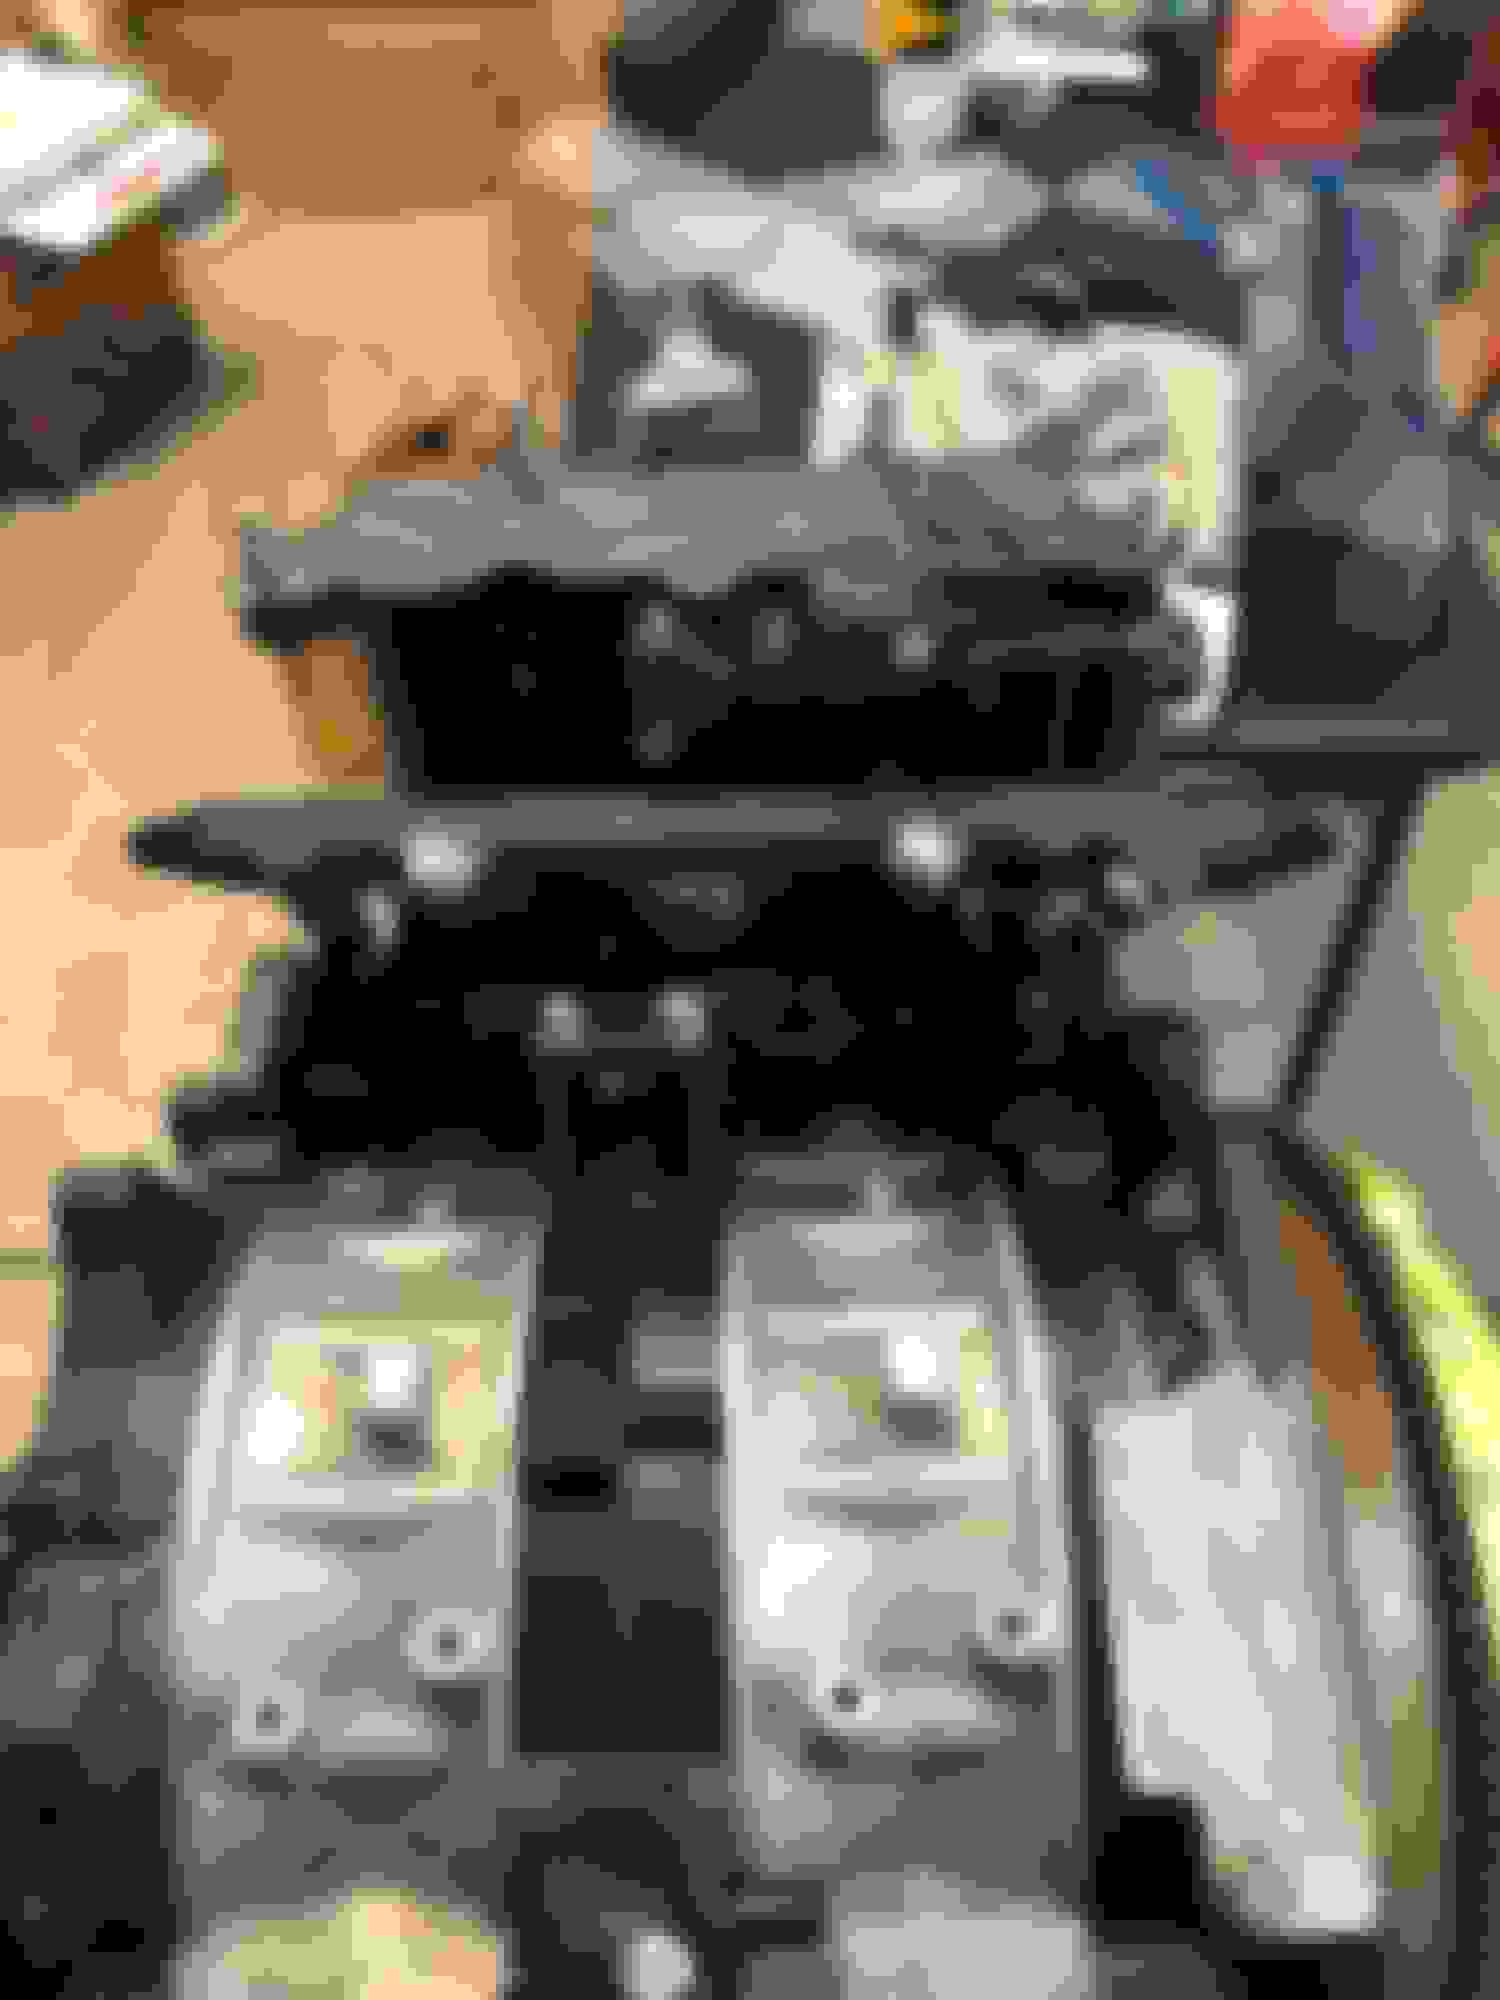
Installed the Banzai Racing Oil Pan Brace and Poly Motor Mounts.
Also pictured is the Sakebomb Garage Oil Pedestal.
The Oil Filter Pedestal is a sweet part! and I swear Sakebomb must overnight their parts because it feels like everything shows up next day!
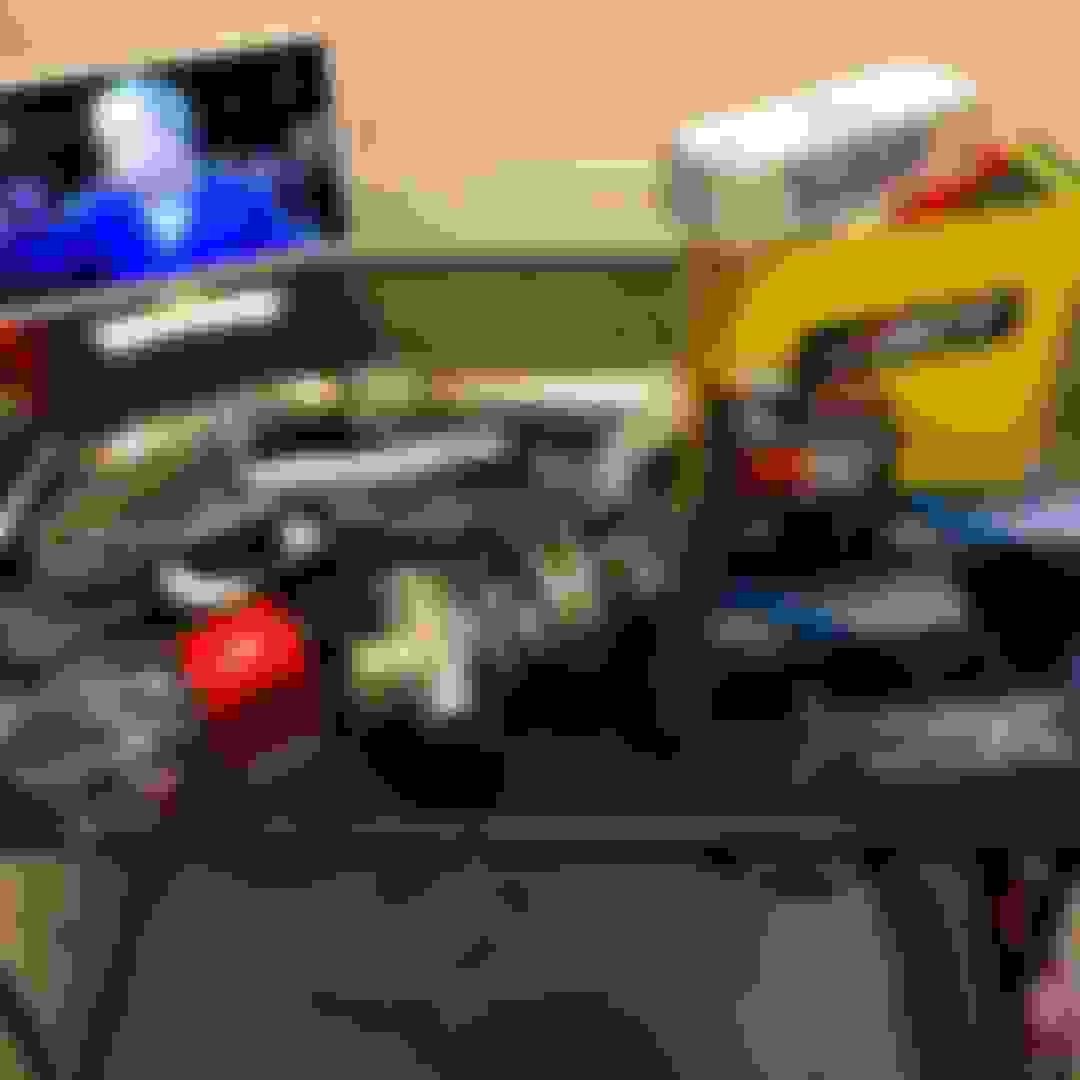
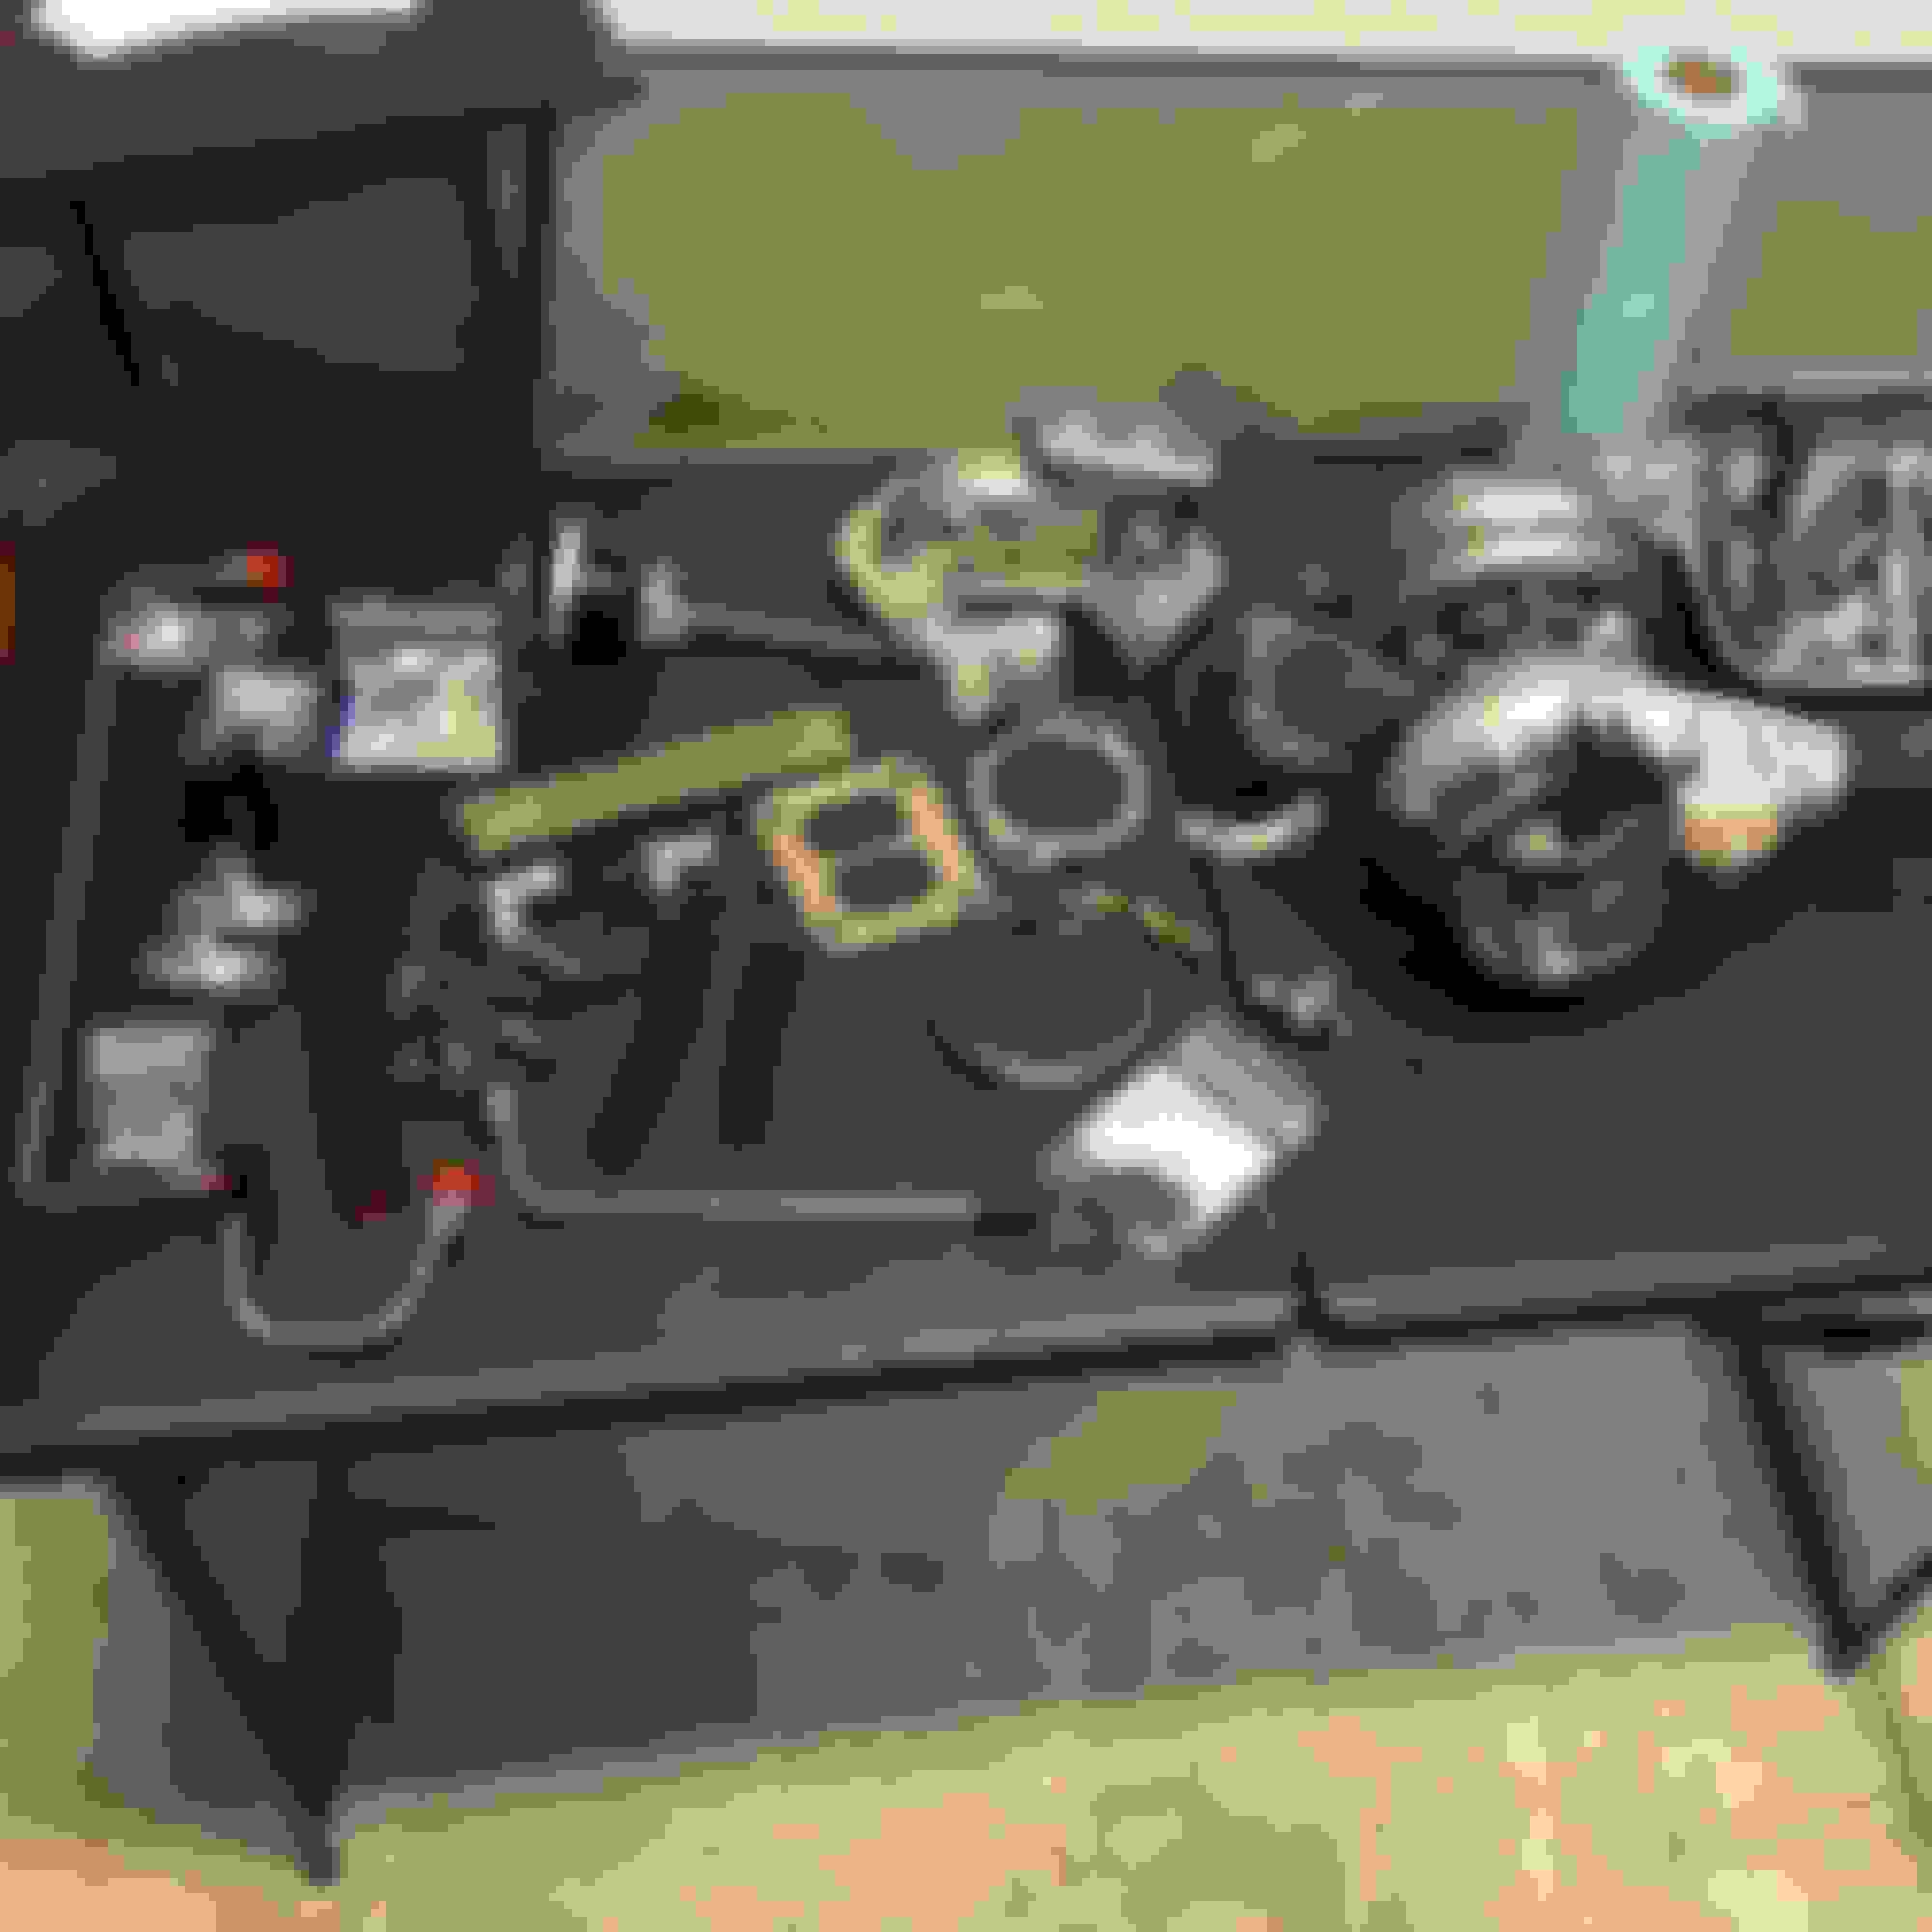
Put a lot of work in over the weekend. Wife went out of town, so I threw a TV in the garage and settled in.
I could have used a bigger table!
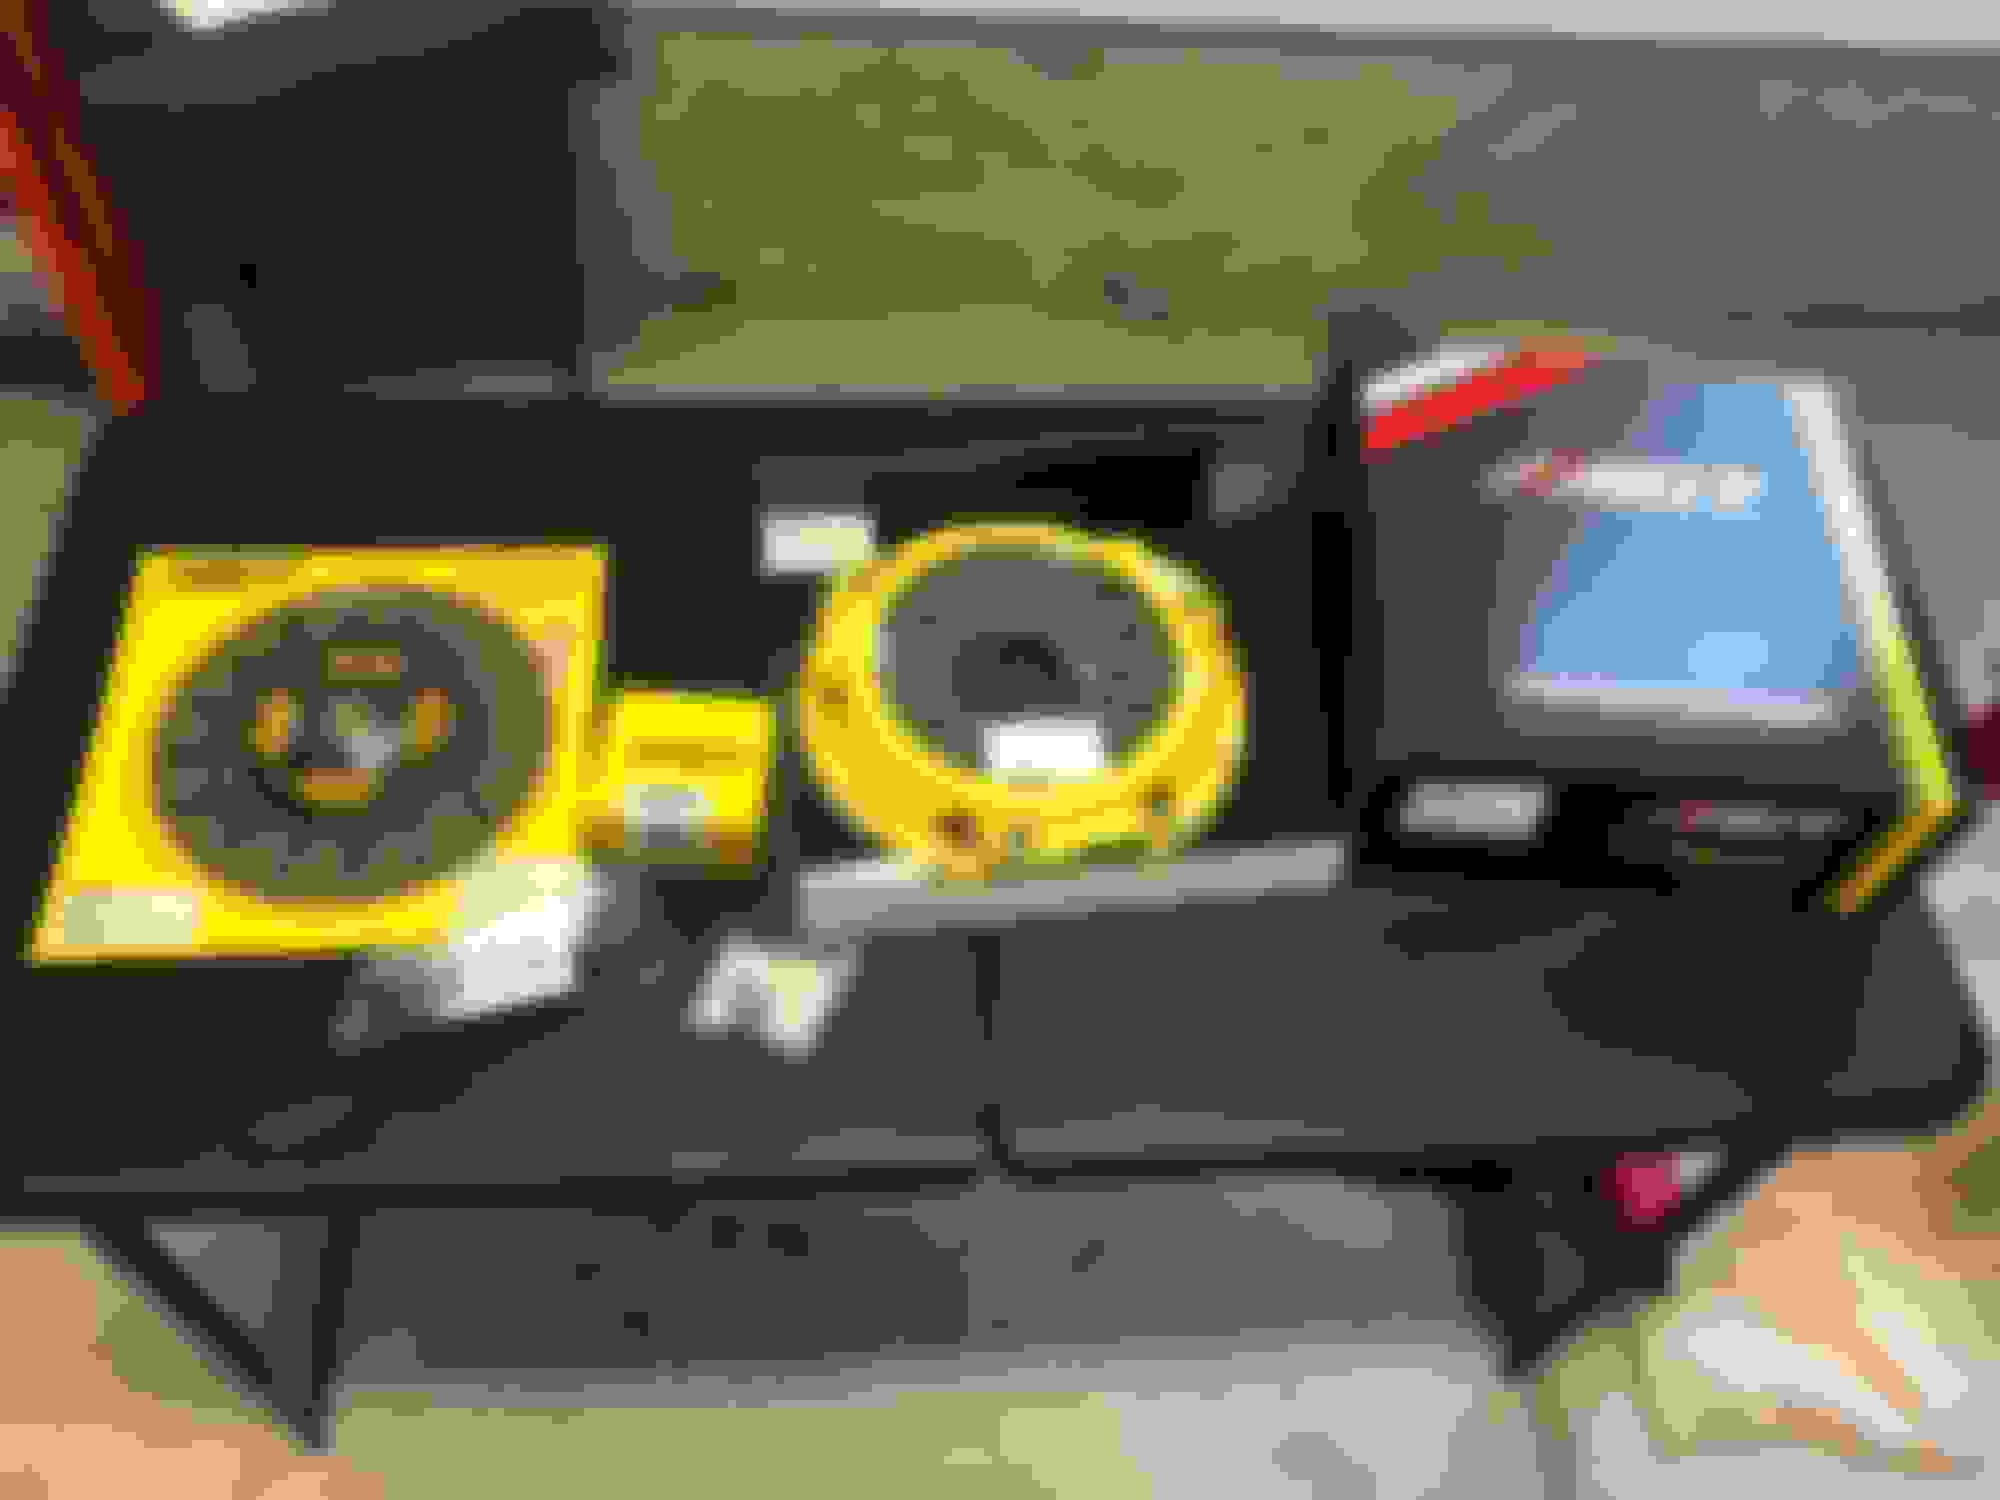
ACT HD Pressure Plate and Street Disc
Turblown Cast IWG EFR 7670 Kit
CJ Motorsports FPD Rails with Injector Dynamics 1300 Primaries and 1700 Secondaries
Turbosmart FPR 1200, Kompact BOV, and IWG 75 Actuator
Also fitted the Turblown EWP Block-off Plates
The Turblown kit is awesome! The cast manifold is really something special.
The CJ Motorsports secondary fuel rail JUST fits with the Banzai Block-off Plates.
Next step is to finish the wiring harness and add some heat protection.
Hoping to drop the motor in this weekend!!
The engine is coming together man. Looks great! With the 7670 you may not really need that much fuel, as it seems like you�re after response and not necessarily huge numbers. You may be able to use 4 1300�s instead or maybe even 4 1050�s and save a little coin? I�ve heard using same size injectors makes staging a cinch and allows the tuner to give you an almost OEM like transition.
The engine is coming together man. Looks great! With the 7670 you may not really need that much fuel, as it seems like you�re after response and not necessarily huge numbers. You may be able to use 4 1300�s instead or maybe even 4 1050�s and save a little coin? I�ve heard using same size injectors makes staging a cinch and allows the tuner to give you an almost OEM like transition.
Keep up the good work dude!
Nick
Thanks man! Yeah, the injectors are a little overkill for my immediate goals. I've been going through Sean and Elliot at Turblown to plan everything. They have been awesome to work with and extremely helpful! Picking out the injectors, we talked about running smaller injectors for my goals, but with this set-up I should never have to touch it again should I decide down the road to up the boost or up-size the turbo.
Put in more work over the weekend, but not as much as I would have liked. Pretty much ready to drop the motor in at this point though.
Finished the wiring harness.
Shortly after this picture, I remembered that I forgot to run extra wires for some other additions and had to unwrap the whole damn thing. But now it has the split sleeve on the whole harness. Give it a much cleaner OEM look. I hate that plastic loom stuff.
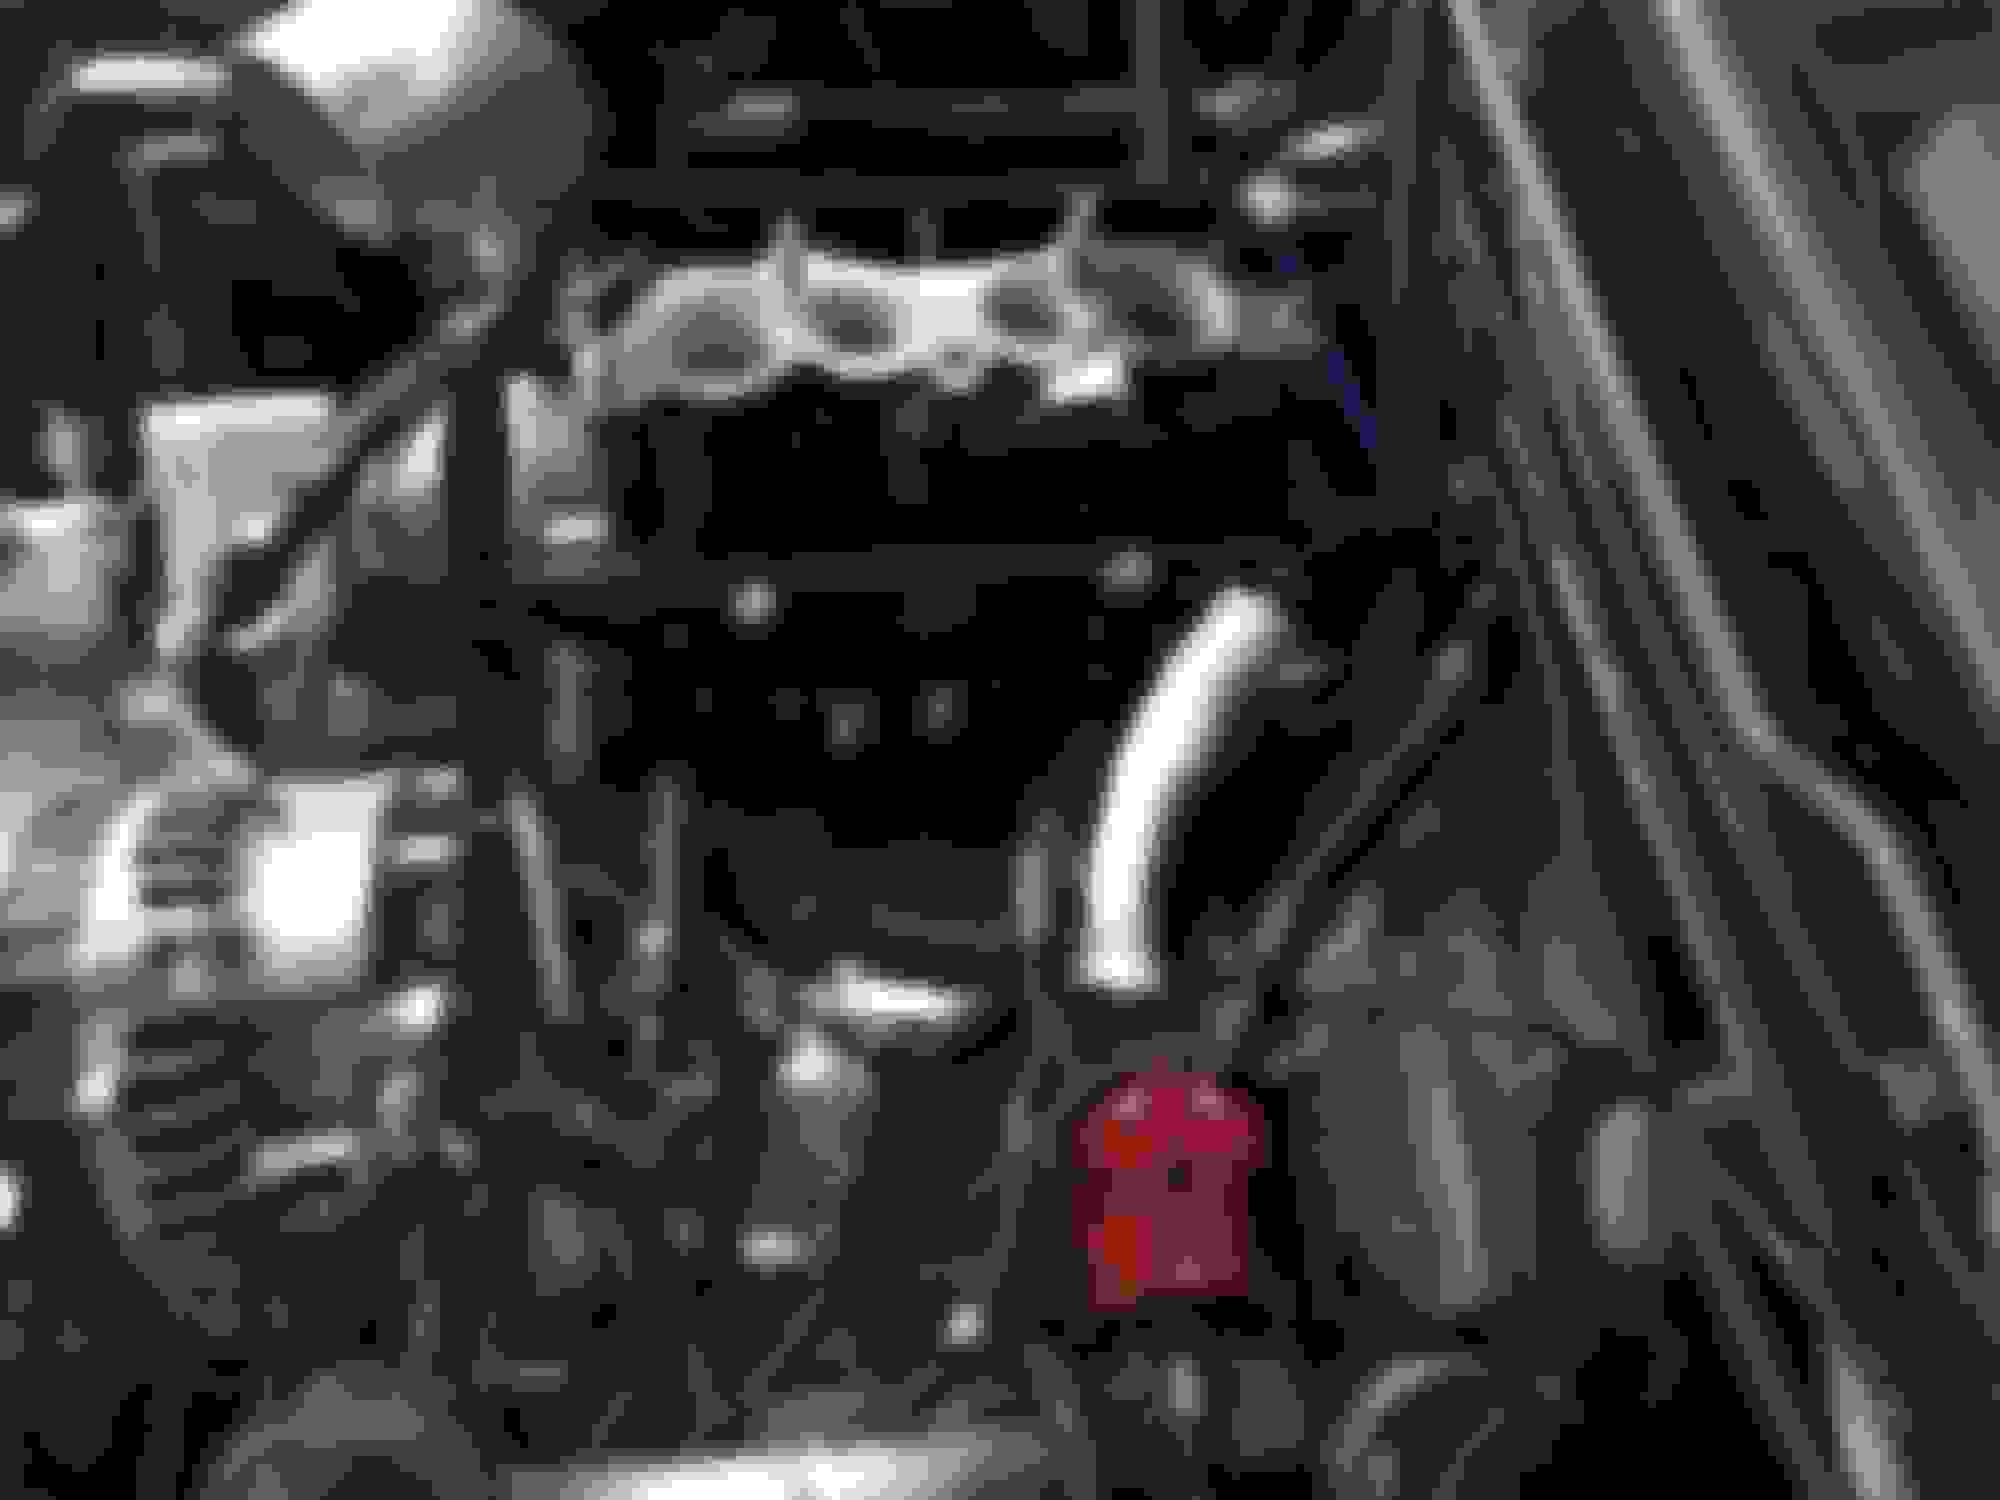
Final fitted the FPR and fuel lines. Used DEI Fire Sleeve on all the stainless fuel lines.
Finished off the Turbo plumbing and tucked the EFR all snug as a bug in it's blanket.
Finally cleaned out the bell housing and installed the new throw out bearing and SS clutch line.
And I would have never guessed that Advance Auto could get OEM parts.
Just need to work out where I can store the Christmas wreath now.
I love the blacked out engine man. When I need a rebuild, I will be doing the exact same thing man. It just looks so clean.
I did the same thing with my fuel lines too and wrapped them. I also copied someone else�s build thread with the FPR routing with a parallel setup. Just a teaser, cause I haven�t updated my build thread...
EDIT: Oh yeah, and throw that wreath in the garbage lol
Nick
Last edited by Brilliant7-LFC; Feb 19, 2018 at 01:33 PM.
Very similar! I think I'll eventually pull the water pump housing and tap that for an AN fitting as well for the turbo coolant line. Looks very clean. I like how you routed the secondary rail to the FPR.
But I think your Y-block is redundant. The secondary rail has a split in it to run to the primary rail.
Thanks man! Yeah I decided to water cool the turbo. It wasn�t hooked up and in fact my entire WP housing�s coolant passages were welded shut, so I had to tap them and thread them for the fittings. The key is the siphon effect. You�ve got to plumb the return from the turbo as high up as possible and the feed as low as possible so that after shutdown the hot water from the turbo flows up sucking or siphoning cool water from lower down.
The line from the secondary to the FPR was a little tricky because the runs are so short and there�s so little room for error. In the end it worked out and I love how tight it is. I didn�t like the line hanging out over the turbo or over the WP housing. With this setup, it remains totally tucked in and keeps the line well within the confines of the UIM and engine block.
I used the y block for two reasons. If I plumbed it the way CJ recommends and the way you�ve done, there is no spot for a manual fuel gauge and a fuel pressure sensor for my gauge in car. So, by using the y block I was able to free up the integrated y port on the rail for the pressure sensor and used the DEI product to cover and protect it. That then allowed me to free up a port on the FPR for the manual gauge on the front of it.
My thinking was that having a manual pressure gauge in the engine bay may help in situations where I�m having to diagnose fuel pressure issues and gives me some level of redundancy if my digital fuel pressure gauge fails or begins to read incorrectly.
Nick
Last edited by Brilliant7-LFC; Feb 19, 2018 at 05:29 PM.
I will be running the Adaptronic Modular PNP.
Turbosource/Turblown will be doing remote tuning on the car.
I am also running a slew of supporting sensors. Wideband, Dual EGTs, Oil Pressure and Temperature, and Fuel Pressure.
But needing to break the car in completely and make sure everything is sorted will probably mean it will be a while before I get to feel the difference the EFR and Adaptronic will make. It's a journey.
I feel ya, is that a flyrx7 gauge pod? If so, you will like it. I have it in mine and the wife's FD.
Not a flyrx7. It's the prosport gauge pod. Picked it up a little while ago. Finally getting around to swapping it over.
Gotta love fresh OEM interior!
But more importantly, after a long day at work I needed to get something accomplished. So I suited up!
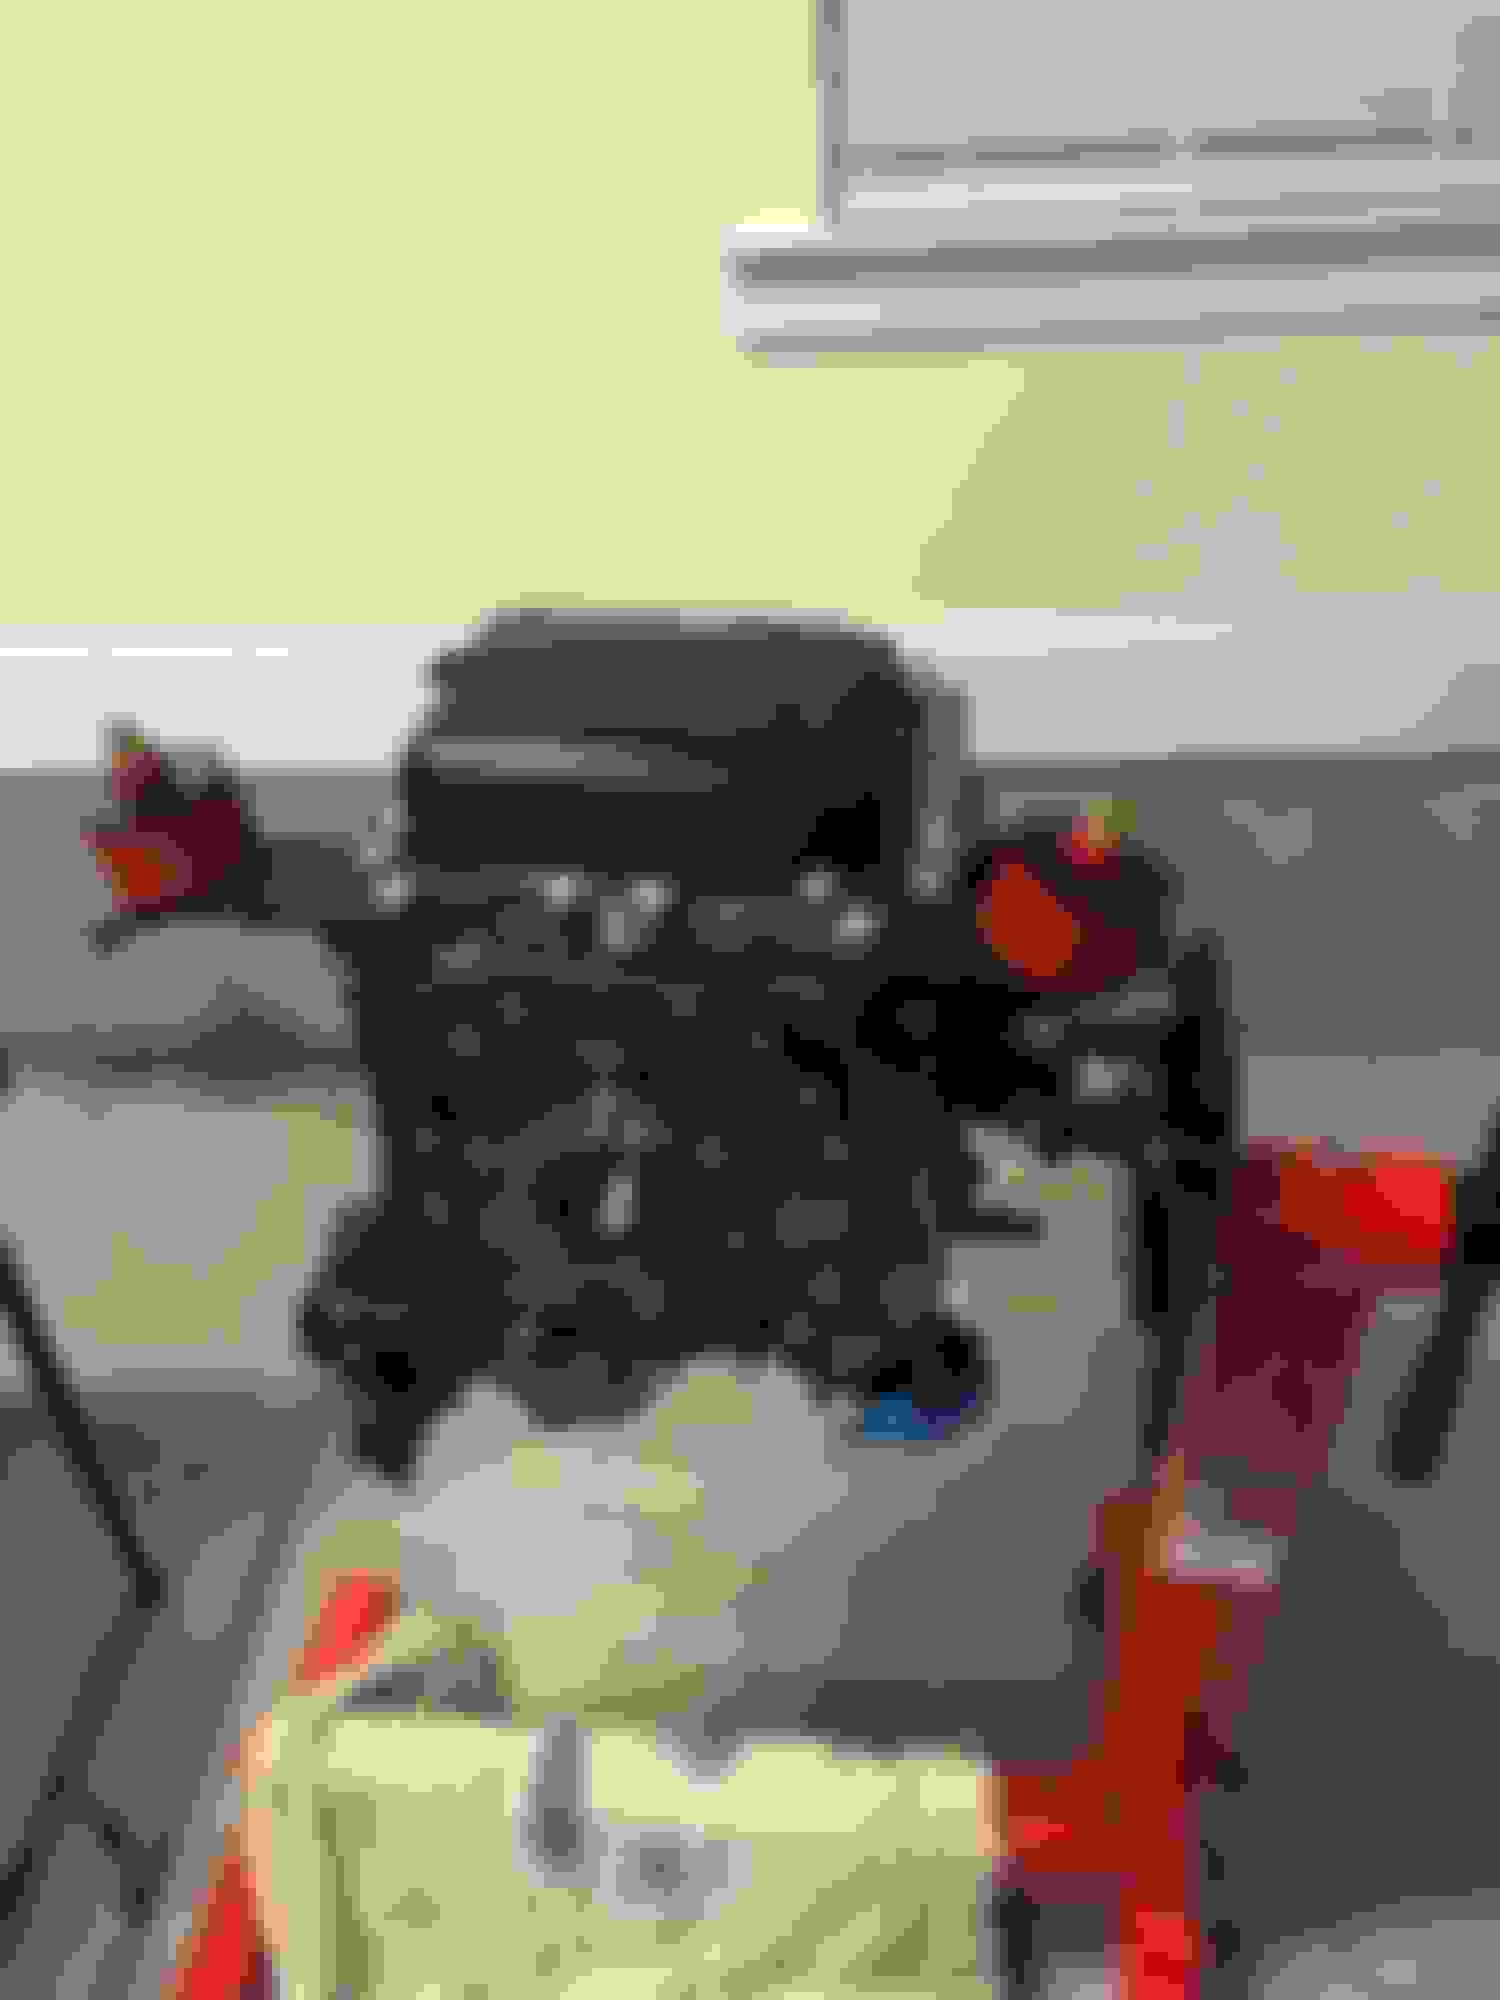
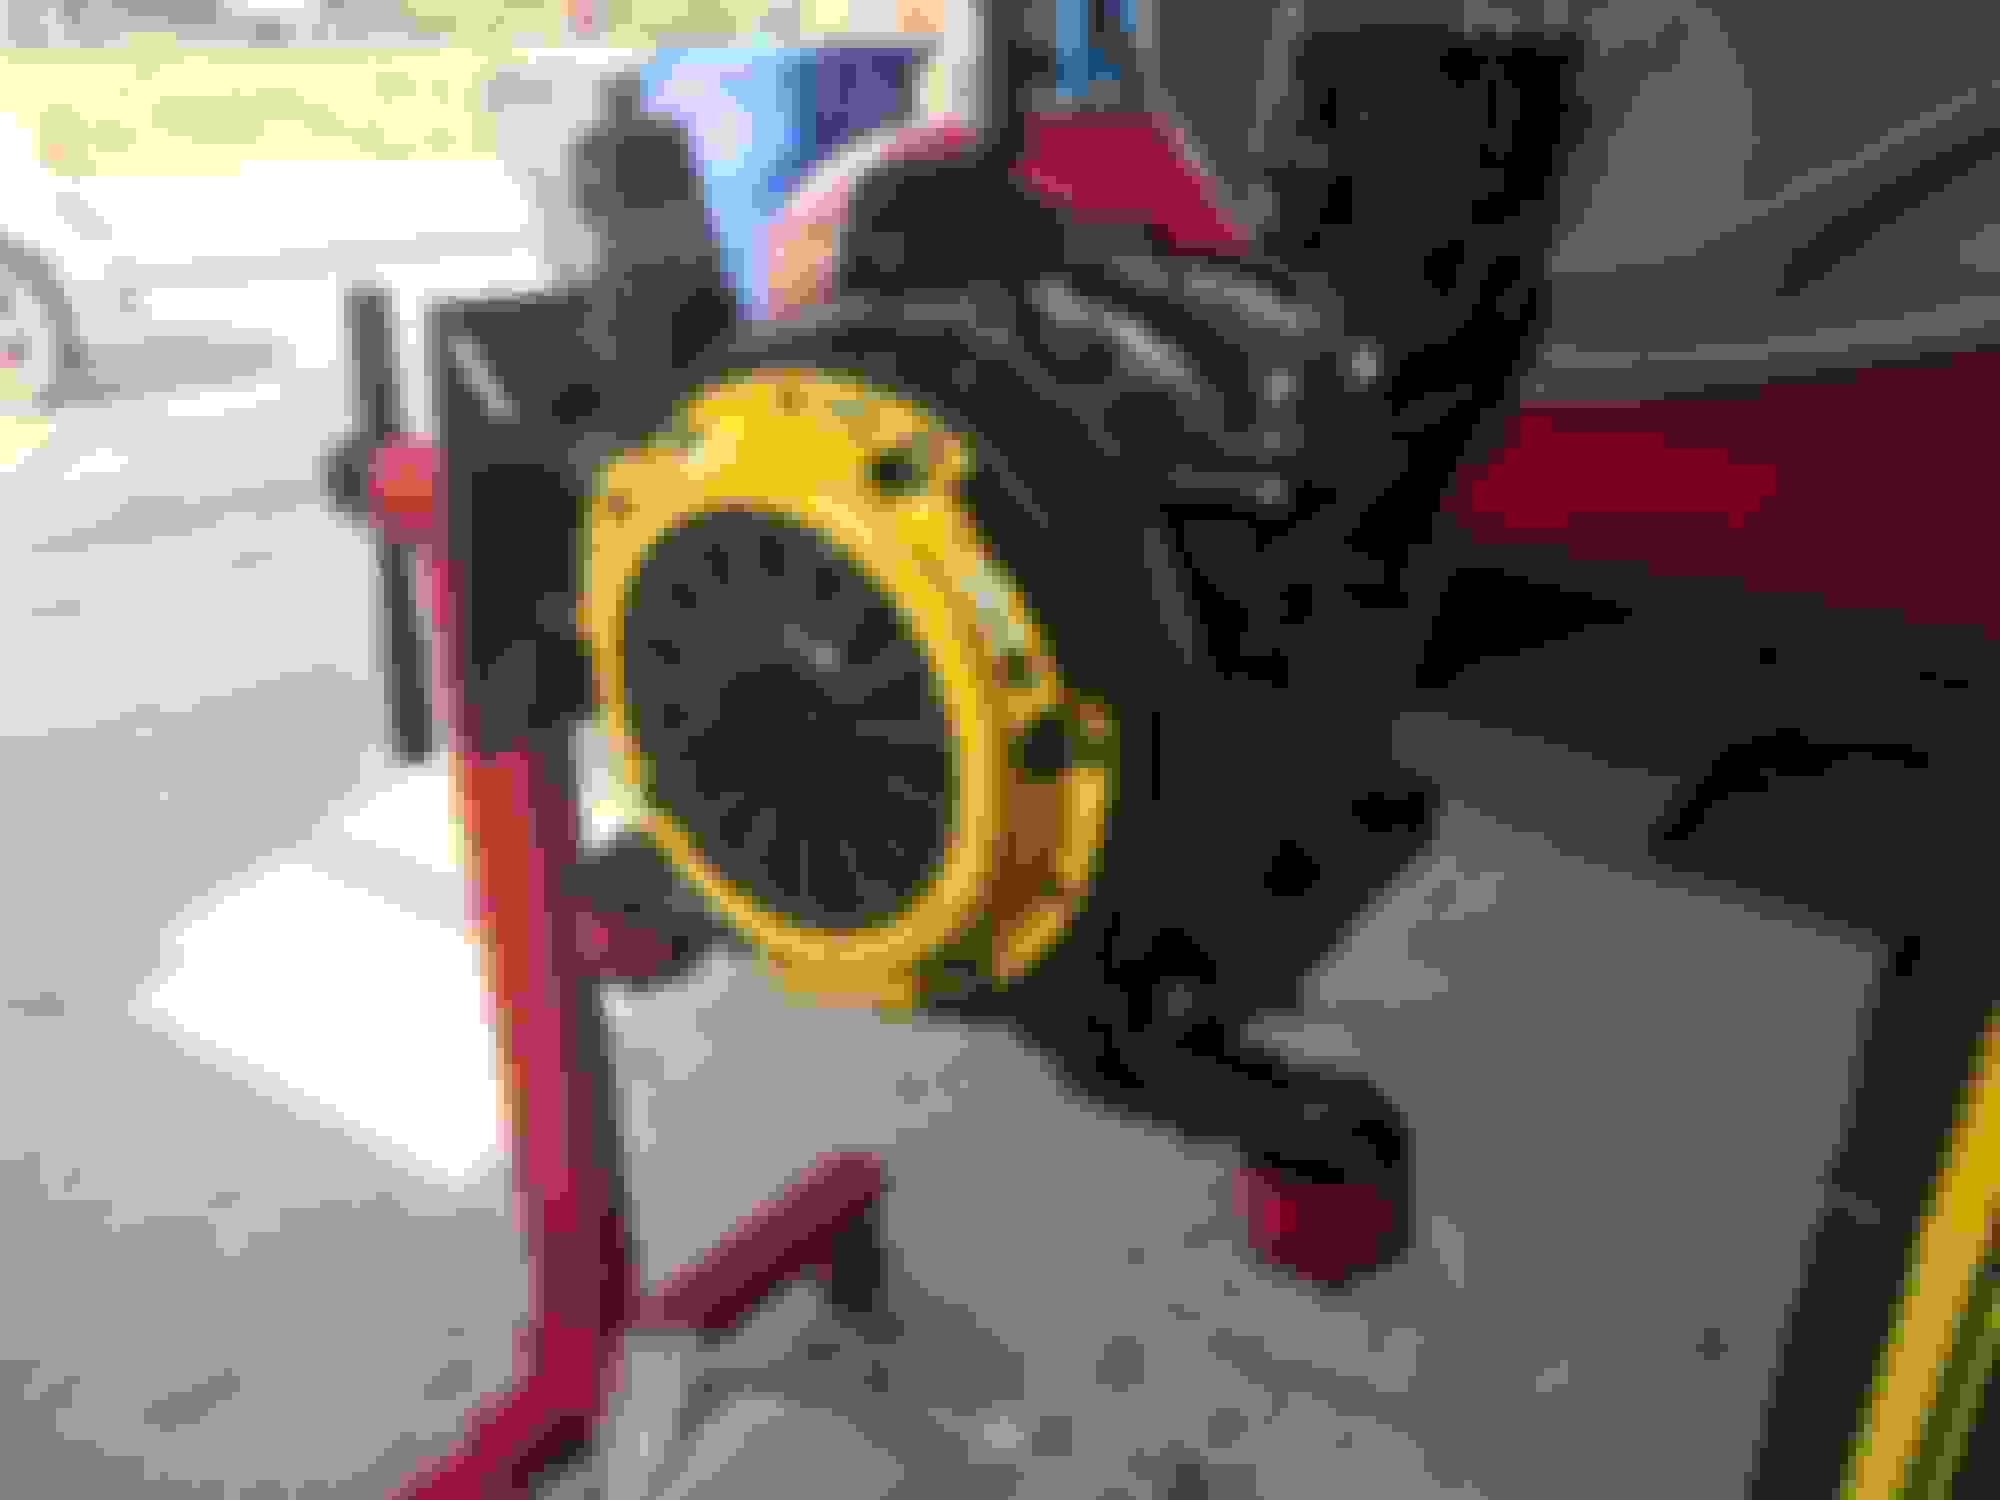
Sitting on the new Banzai Street Poly mounts and bell housing bolted up.
Didn't want to wait for the weekend or for help. So just dropped her in myself.
Still a long list of things to get installed and wired, but it's starting to look like a functional car again.
Plus my wife is excited to get her half of the garage back. It's only been a couple of months...
I second that! Is it all high temp engine enamel? I�ve thought about powder coating for more durability of the finish but I�m not sure if the ovens would warp something on the engine...?