JhnRX7's 2017 Season Track Tour: Rotary FD & MX-5 Powah'ed


Thread Starter


Joined: Oct 2002
Posts: 998
Likes: 30
From: Philadelphia, PA
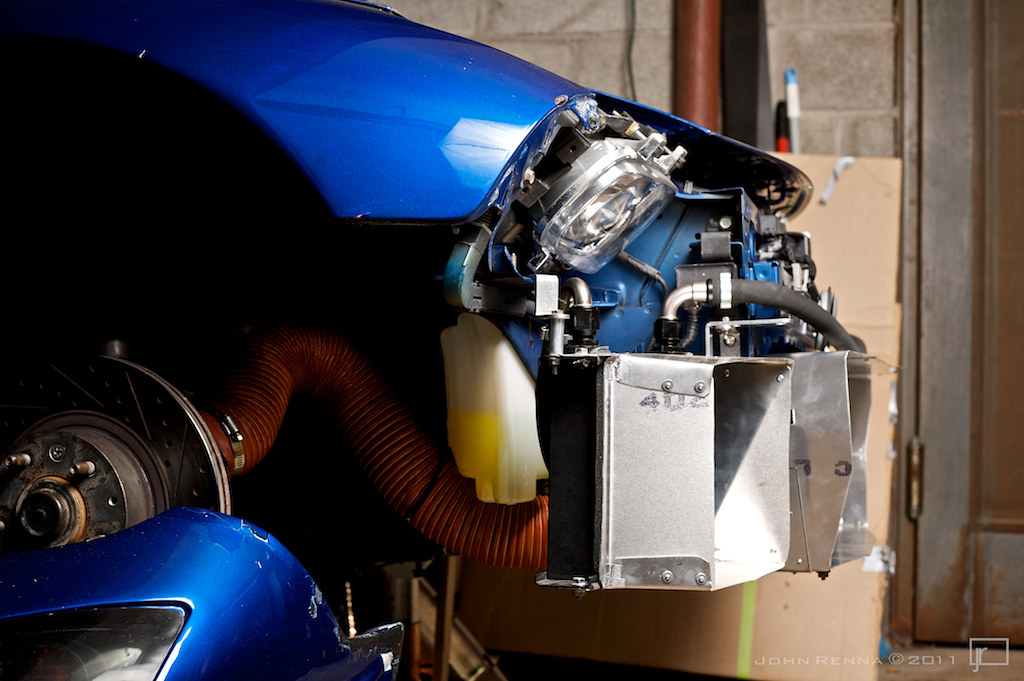
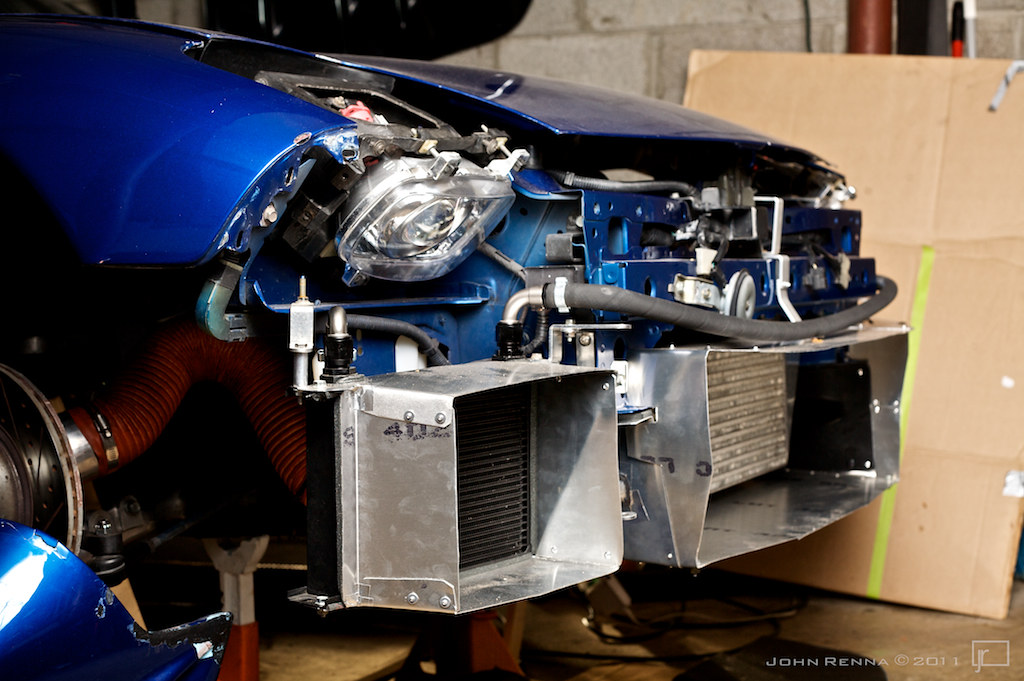
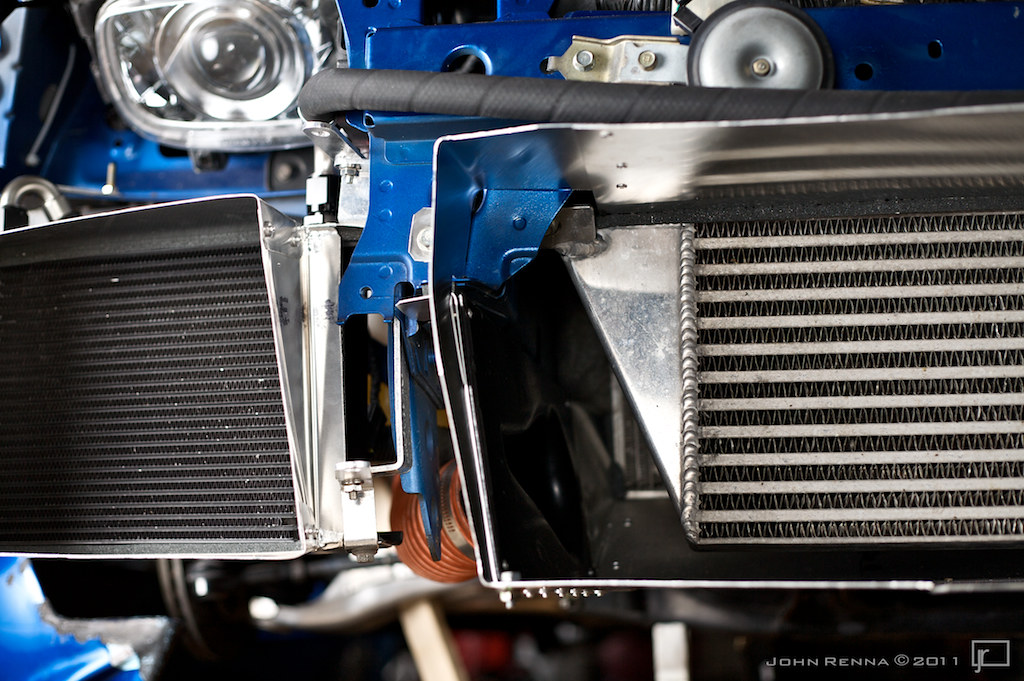
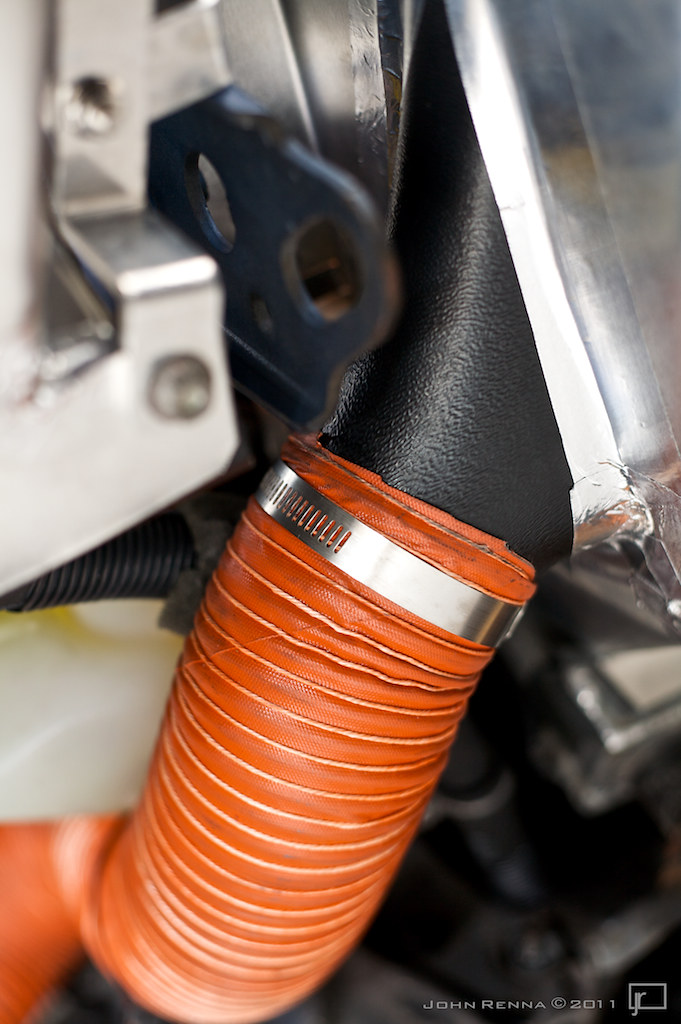
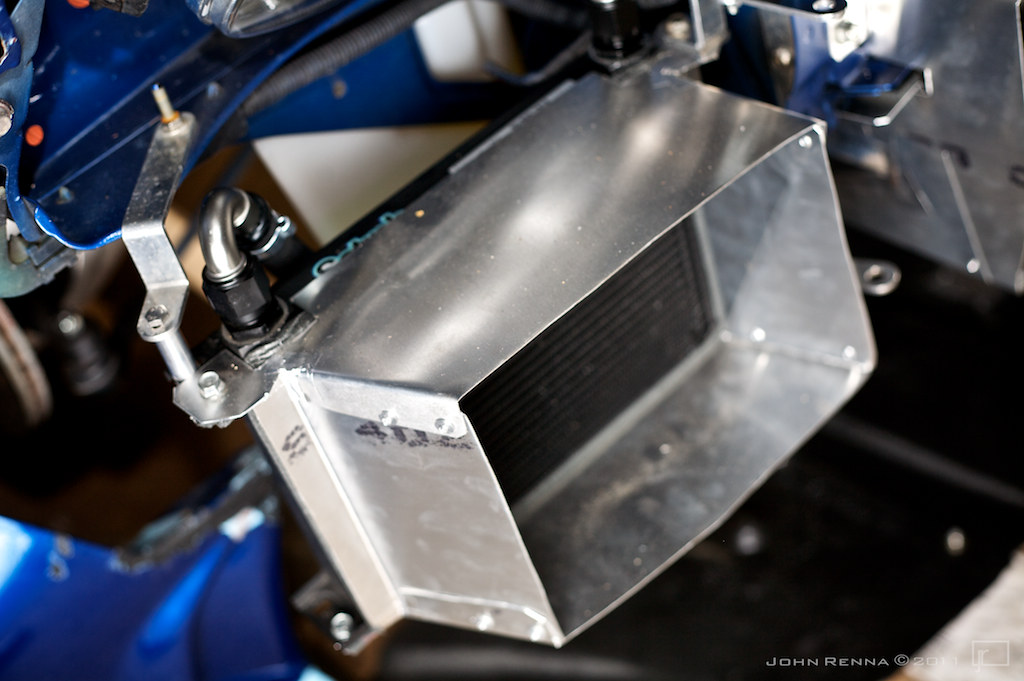
The oil coolers were simple as the Setrab coolers have brackets with mounting holes at each corner. I simply bolted up the ducting to those locations. And like the other ducting, I have used foam at any contact point.

Thread Starter
Joined: Oct 2002
Posts: 998
Likes: 30
From: Philadelphia, PA
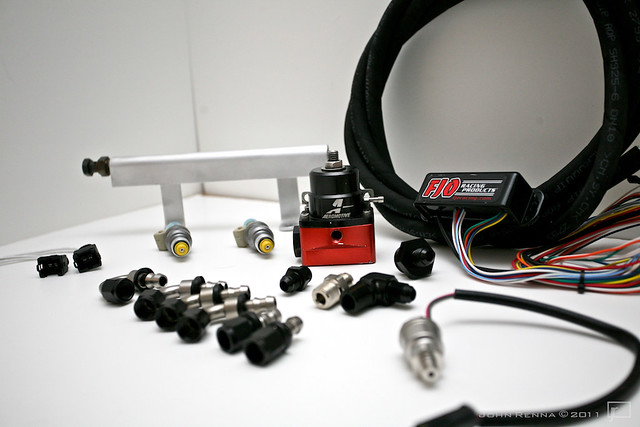
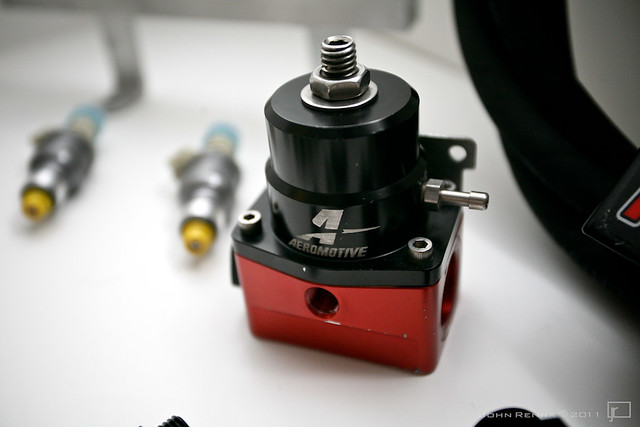
This build has primarily been focused on suspension and cooling modifications. There are two areas with the engine that I needed to address. Fuel and exhaust.
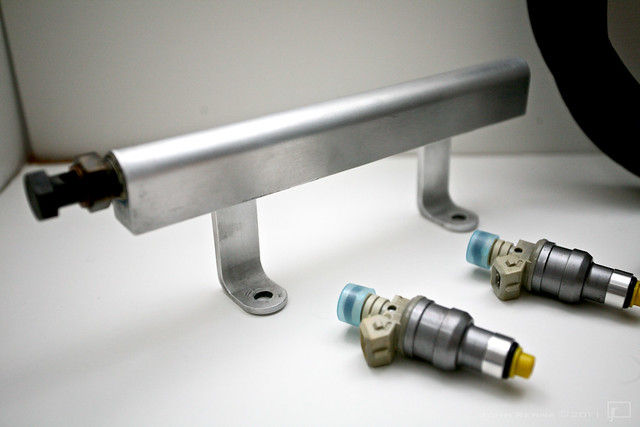
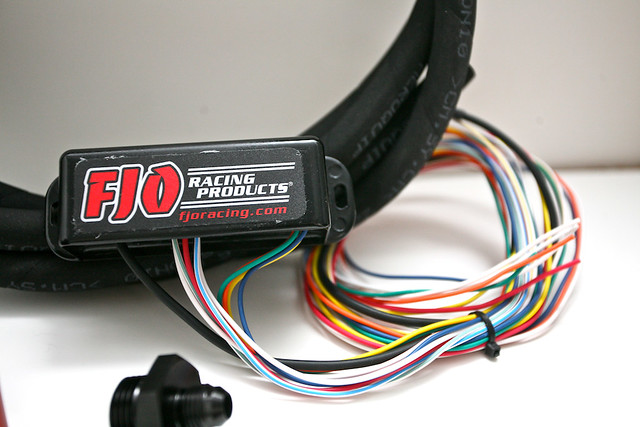
Previously, I was running 850/1300cc injectors. While these provided more than enough fuel I have never been satisfied with the 850c primaries. I decided to pick up a new set of OEM 550cc's for the primaries and upgrade the secondaries to 1600cc's. Instead of using resistors for the secondaries I picked up a FJO injector driver.
Onto the pics:
Thread Starter
Joined: Oct 2002
Posts: 998
Likes: 30
From: Philadelphia, PA
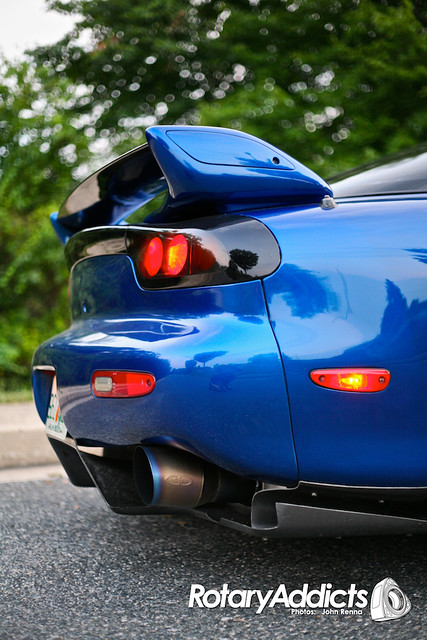
Exhaust.
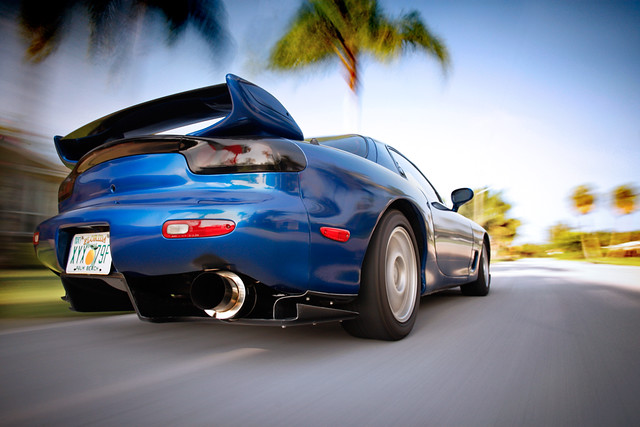
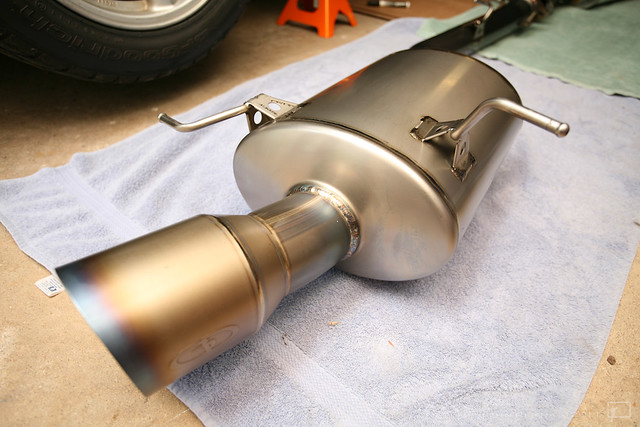
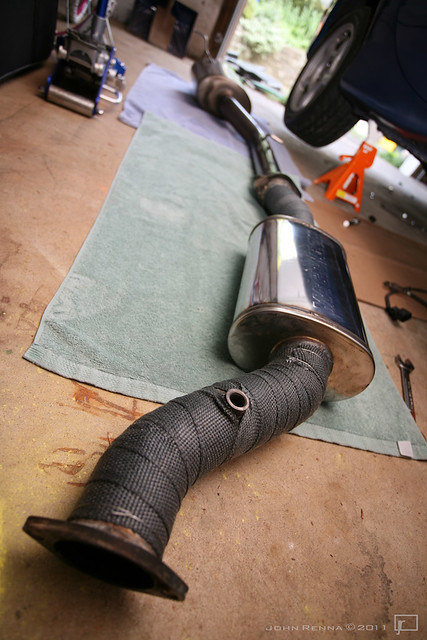
I decided to get rid of my old JIC canister style exhaust for something more quiet. I went with a Ganador Ti exhaust which I picked up from RX7Boutique. I also replaced my custom mid-pipe with an RX7Store resonated mid-pipe... The result was a significantly quieter car which was much more plesant to drive and im saving weight at the same time
Old:
New:
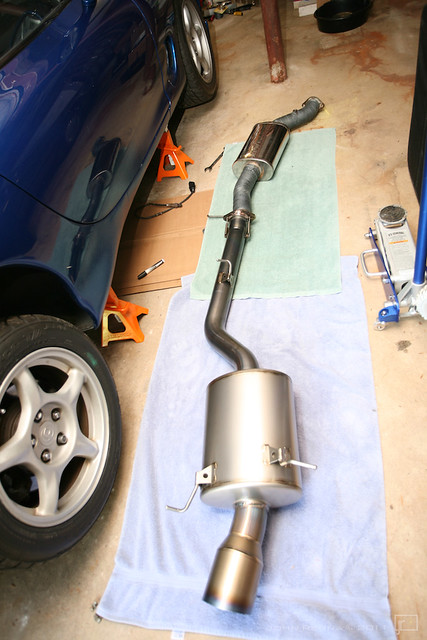
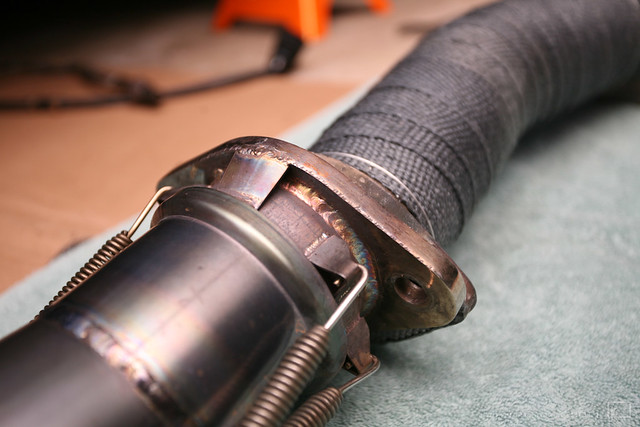
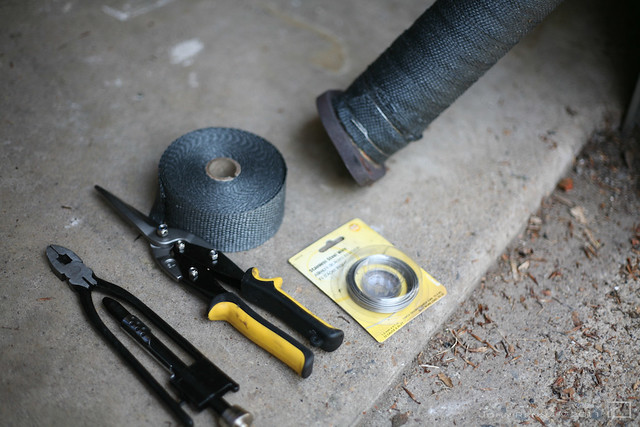
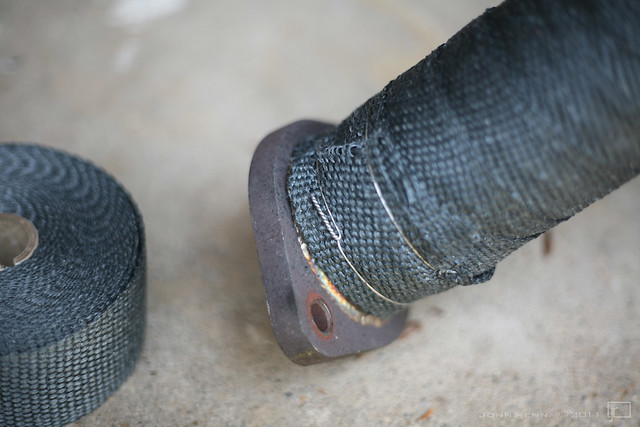
I also wrapped the down pipe and mid-pipe to reduce heat.
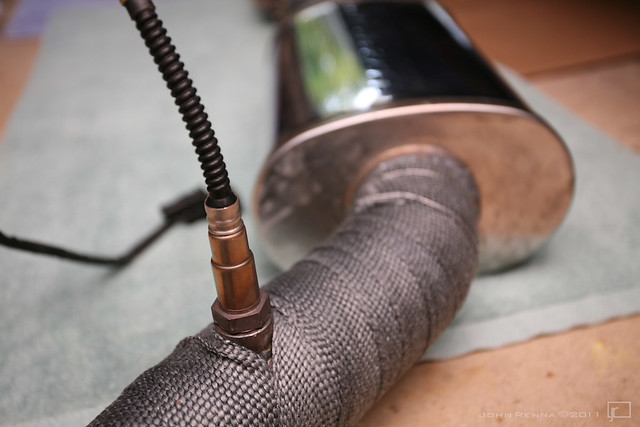
Custom bung welded into the mid-pipe for my wideband.
I decided to get rid of my old JIC canister style exhaust for something more quiet. I went with a Ganador Ti exhaust which I picked up from RX7Boutique. I also replaced my custom mid-pipe with an RX7Store resonated mid-pipe... The result was a significantly quieter car which was much more plesant to drive
and im saving weight at the same time Old:
New:
I also wrapped the down pipe and mid-pipe to reduce heat.
Custom bung welded into the mid-pipe for my wideband.

This build has primarily been focused on suspension and cooling modifications. There are two areas with the engine that I needed to address. Fuel and exhaust.
Previously, I was running 850/1300cc injectors. While these provided more than enough fuel I have never been satisfied with the 850c primaries. I decided to pick up a new set of OEM 550cc's for the primaries and upgrade the secondaries to 1600cc's. Instead of using resistors for the secondaries I picked up a FJO injector driver.
Previously, I was running 850/1300cc injectors. While these provided more than enough fuel I have never been satisfied with the 850c primaries. I decided to pick up a new set of OEM 550cc's for the primaries and upgrade the secondaries to 1600cc's. Instead of using resistors for the secondaries I picked up a FJO injector driver.
Mine fried due to a bad alternator plug popping my EGI fuse. FJO would not reimburses me. Thought I would pass on the knowledge.
Thread Starter
Joined: Oct 2002
Posts: 998
Likes: 30
From: Philadelphia, PA
You will like the FJO. A word of advice on the install. Put a 10a inline fuse on the power wire of the FJO. It is typically wired into the ECU power for ease of installation. However, the EGI fuse is a 30a fuse. Though it will protect the ECU, the FJO is more sensitive.
Mine fried due to a bad alternator plug popping my EGI fuse. FJO would not reimburses me. Thought I would pass on the knowledge.
Mine fried due to a bad alternator plug popping my EGI fuse. FJO would not reimburses me. Thought I would pass on the knowledge.

Thread Starter
Joined: Oct 2002
Posts: 998
Likes: 30
From: Philadelphia, PA

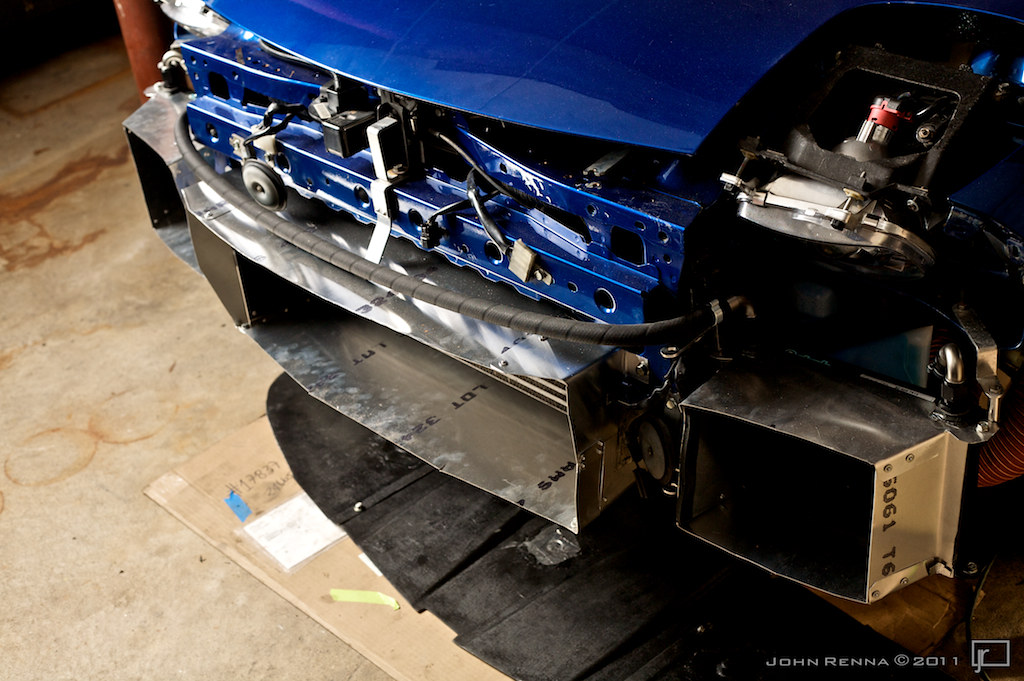
Note: rivits not installed yet in this pic
Thread Starter
Joined: Oct 2002
Posts: 998
Likes: 30
From: Philadelphia, PA
Update!
I have been collecting parts all winter, and now that it is starting to get warmer out Im really getting motivated to get the car back on the road.
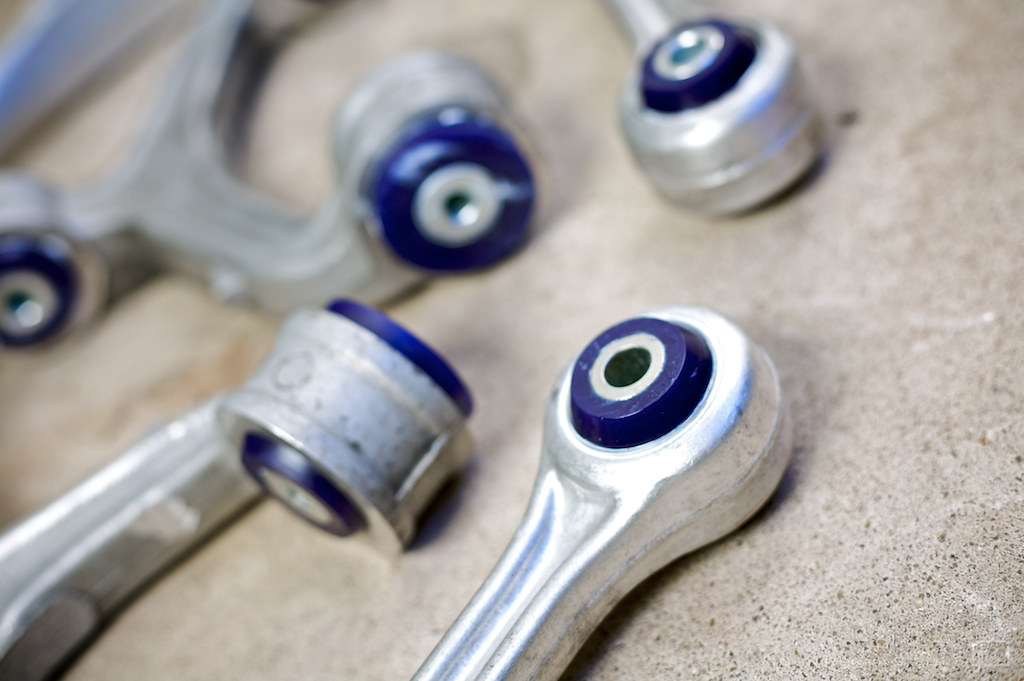
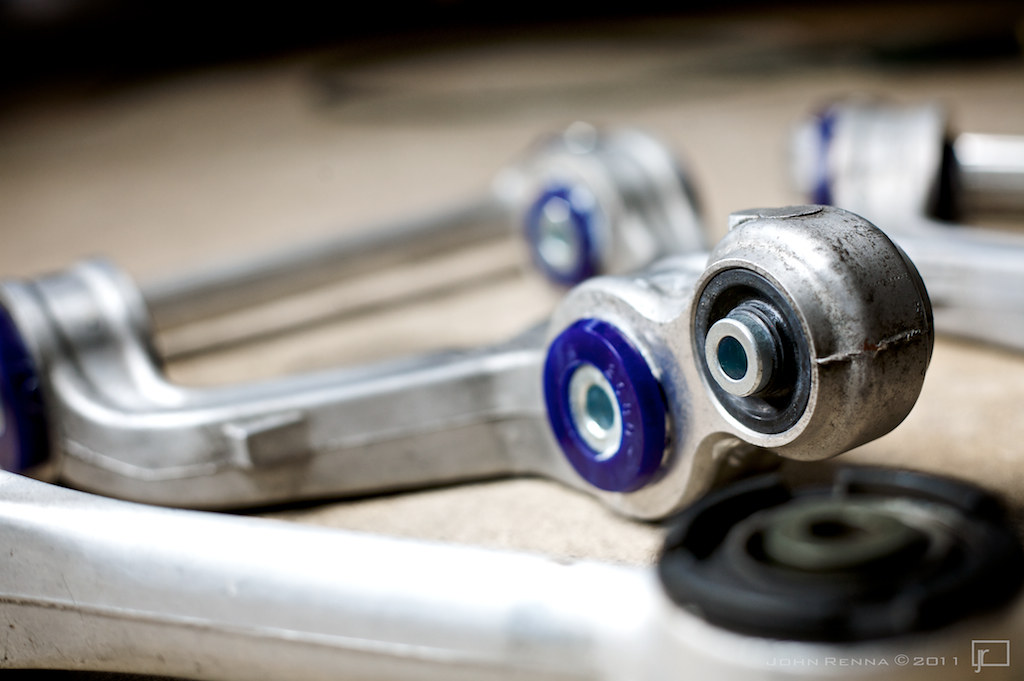
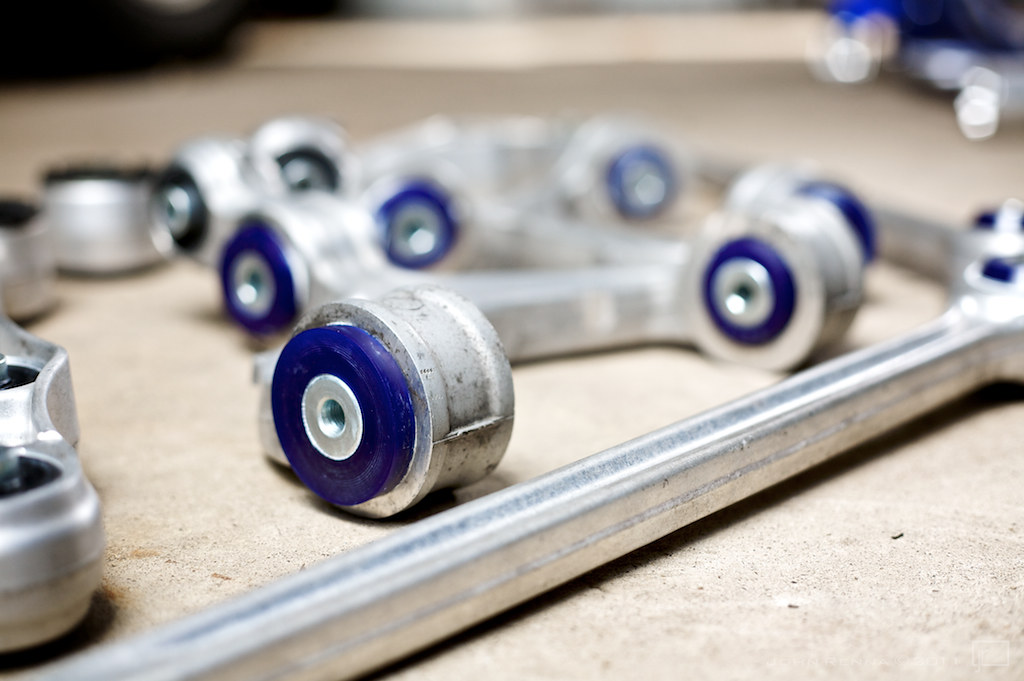
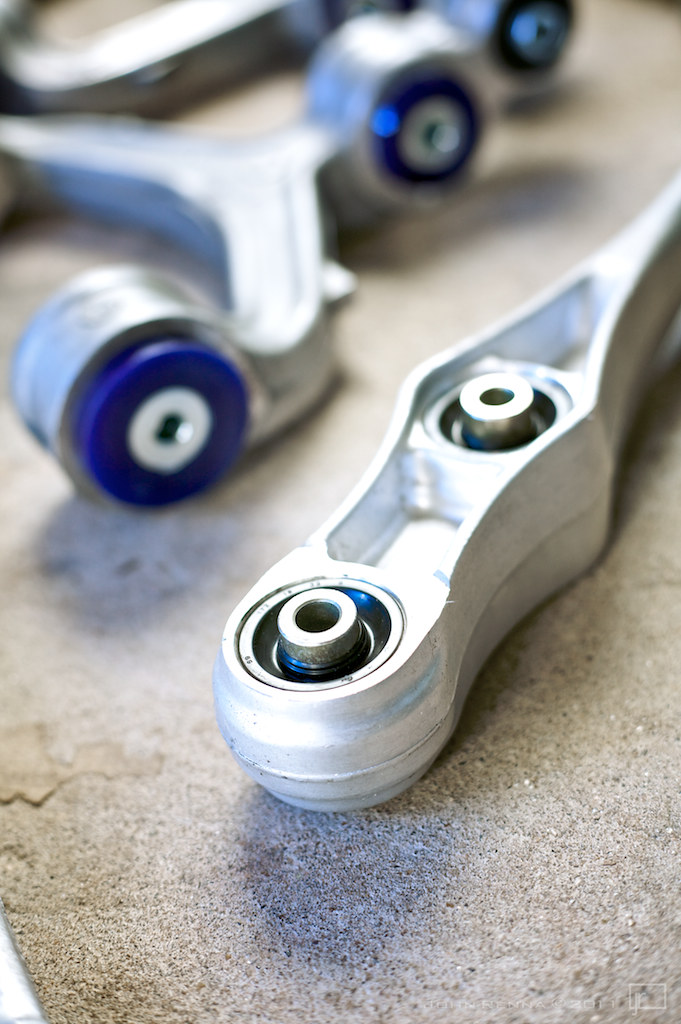
My collection of parts courtesy Ray Crowe as well as my full SuperPro kit I got from allrotor
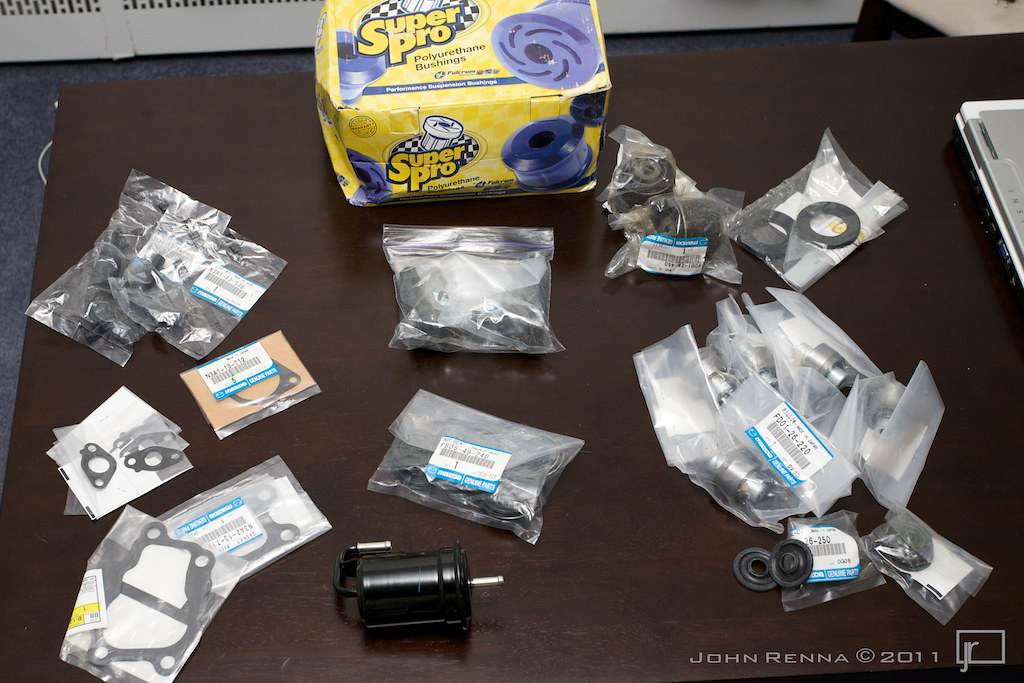
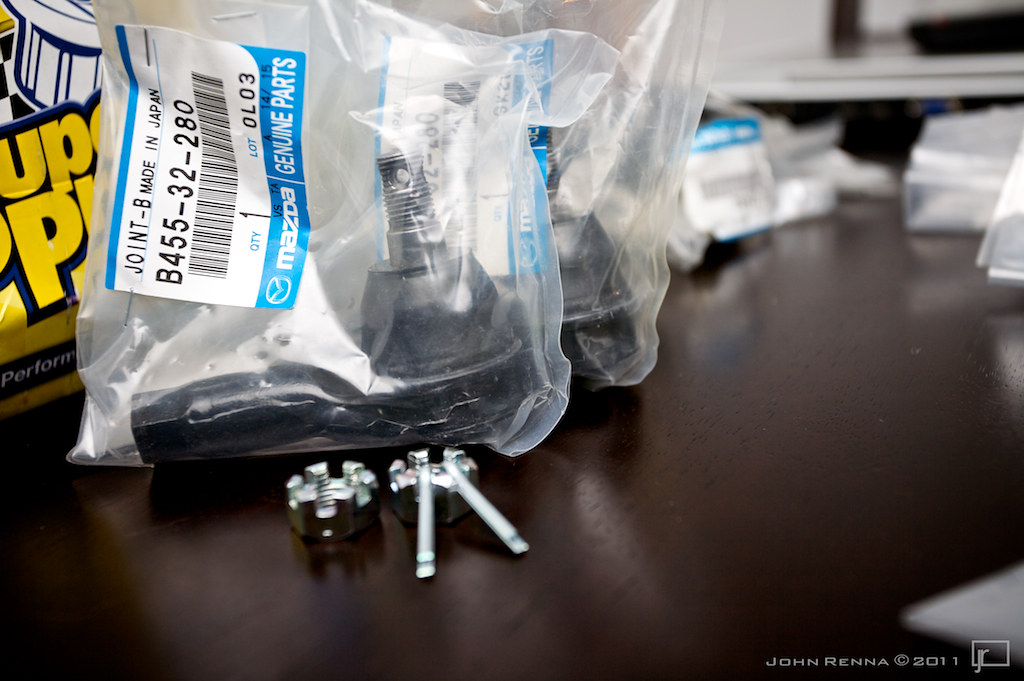
New tie rod ends to replace my old worn ones.
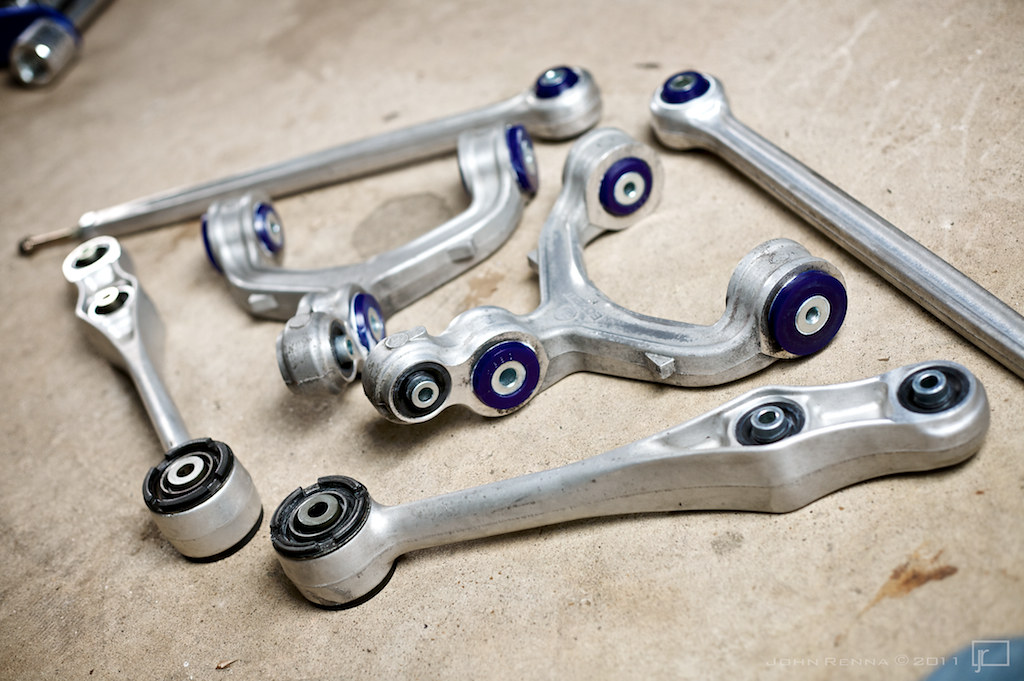
New pillow-***** and SuperPro's all pressed in with help from Scrubby Bubbles himself!
I have been collecting parts all winter, and now that it is starting to get warmer out Im really getting motivated to get the car back on the road.
My collection of parts courtesy Ray Crowe as well as my full SuperPro kit I got from allrotor
New tie rod ends to replace my old worn ones.
New pillow-***** and SuperPro's all pressed in with help from Scrubby Bubbles himself!
Thread Starter
Joined: Oct 2002
Posts: 998
Likes: 30
From: Philadelphia, PA
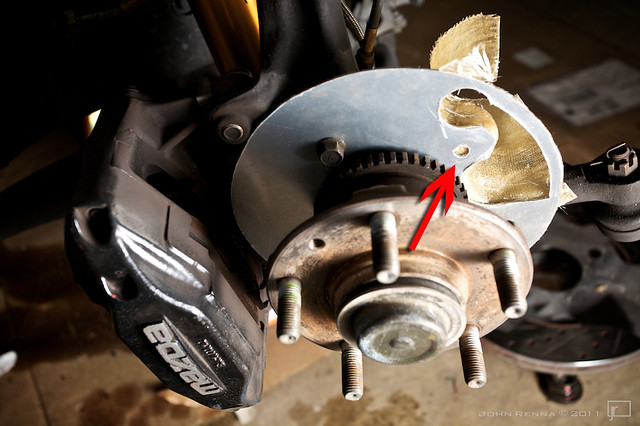
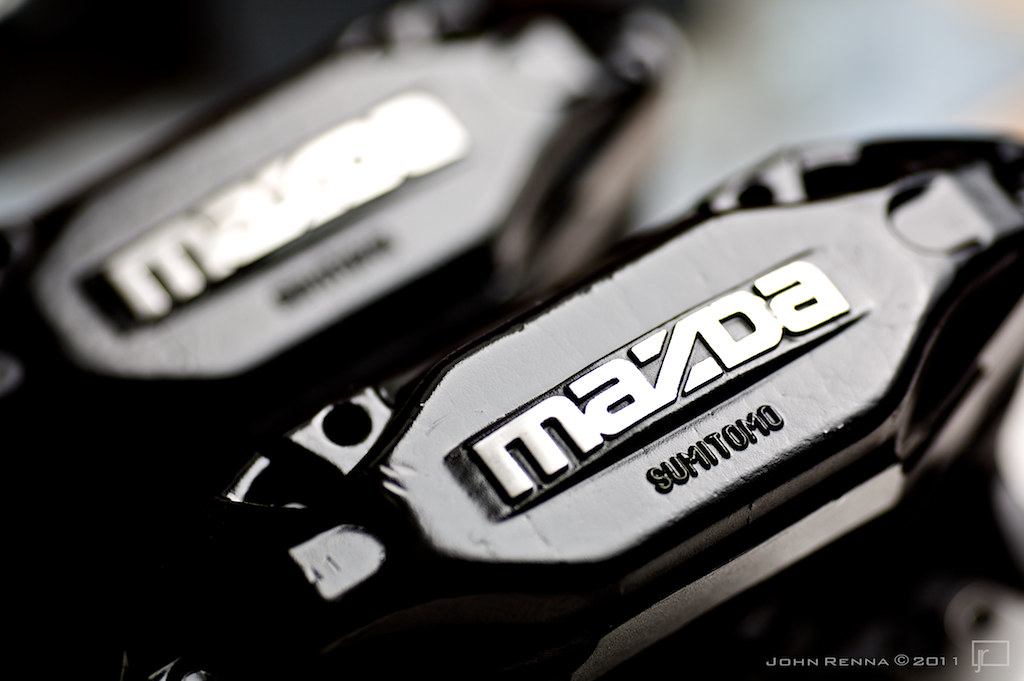
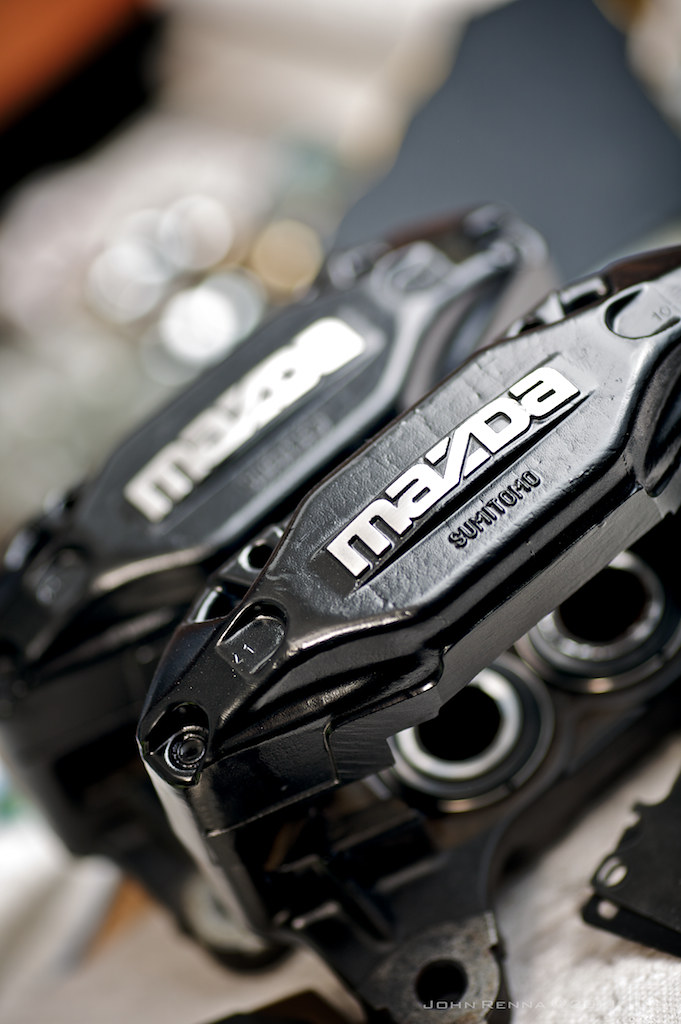
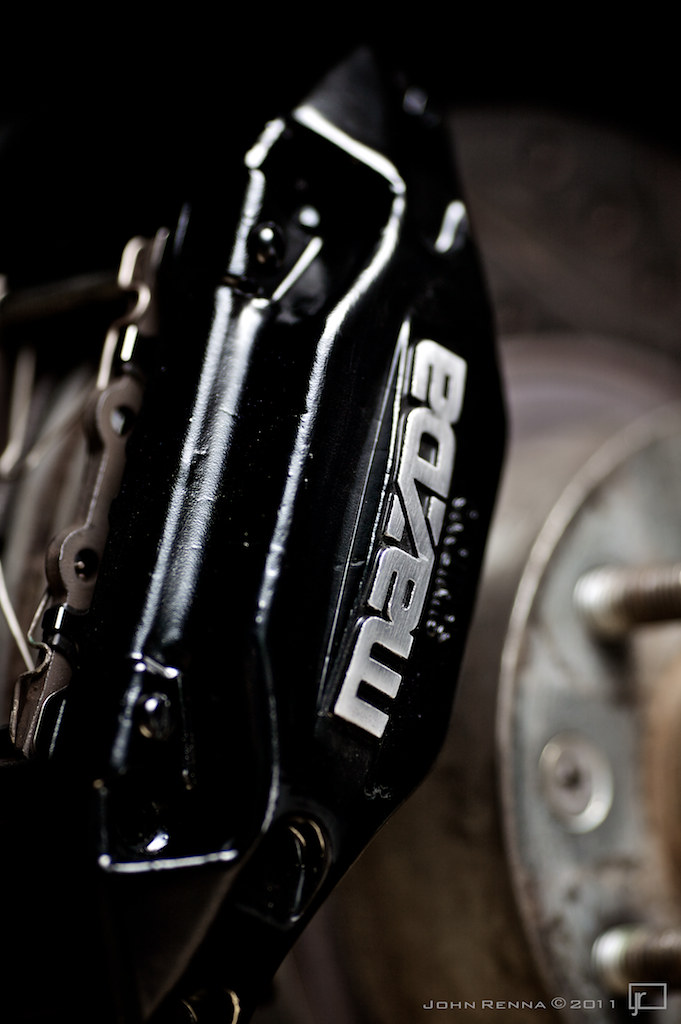
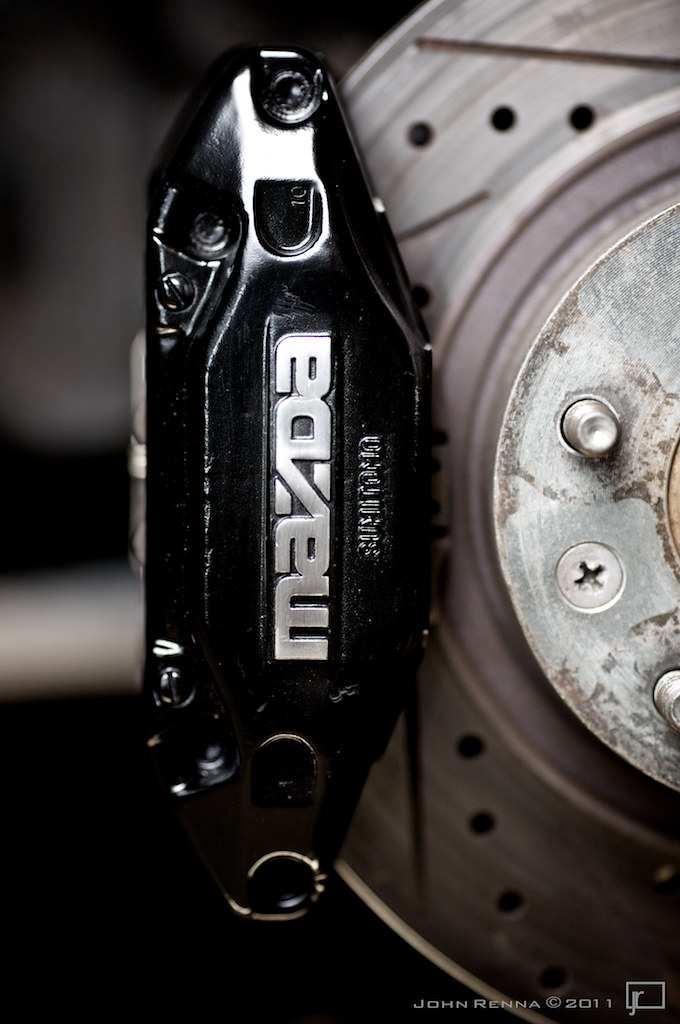
I also picked up a caliper rebuild kit from Ray
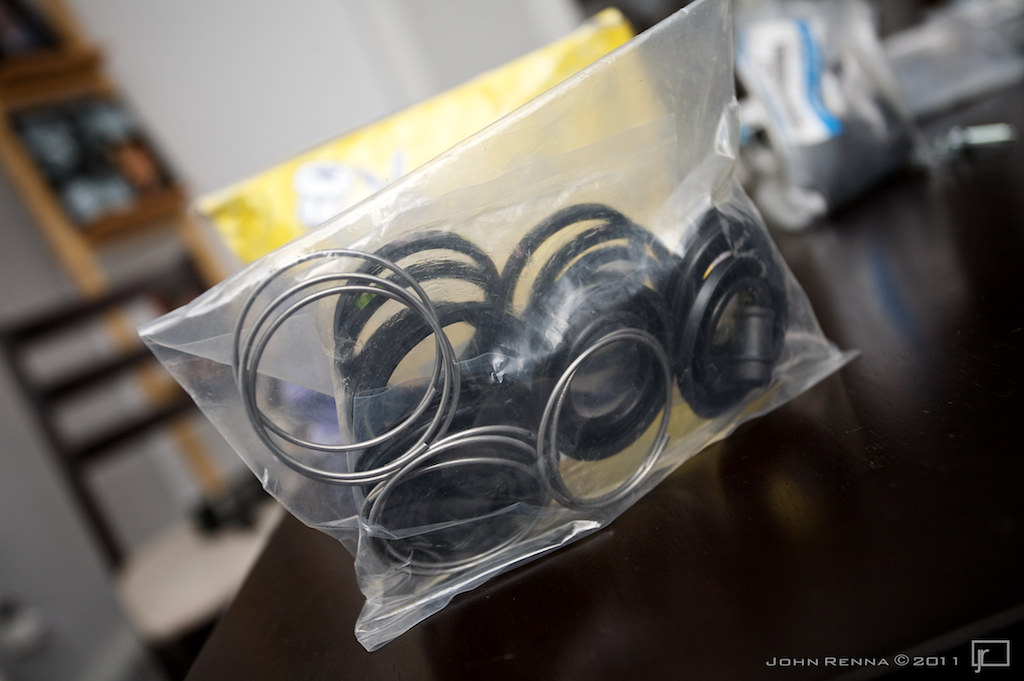
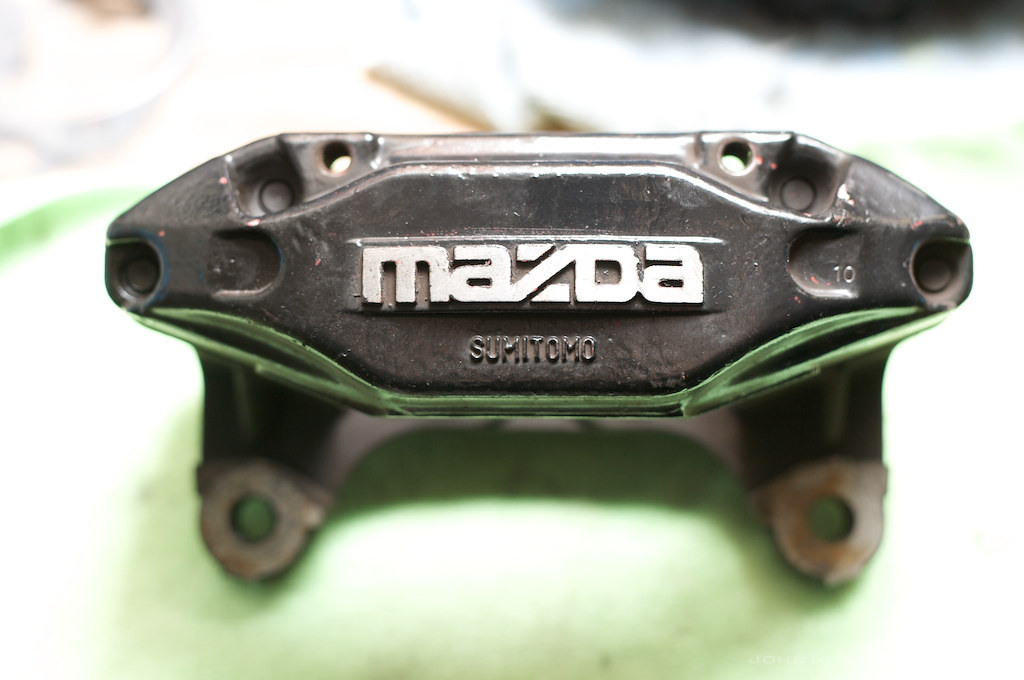
Original condition of my calipers:
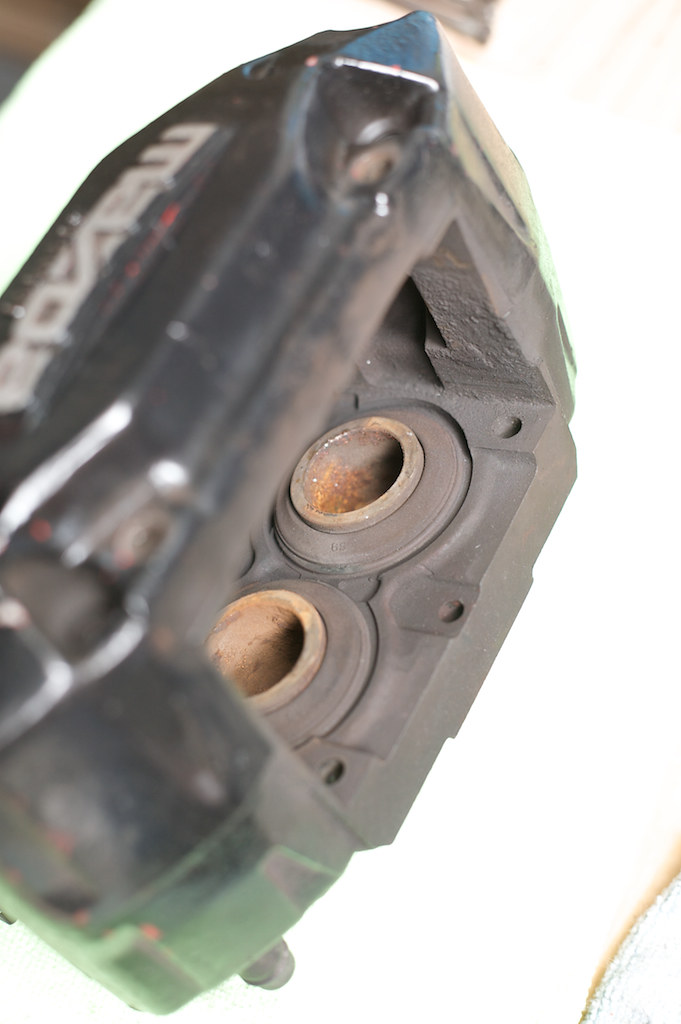
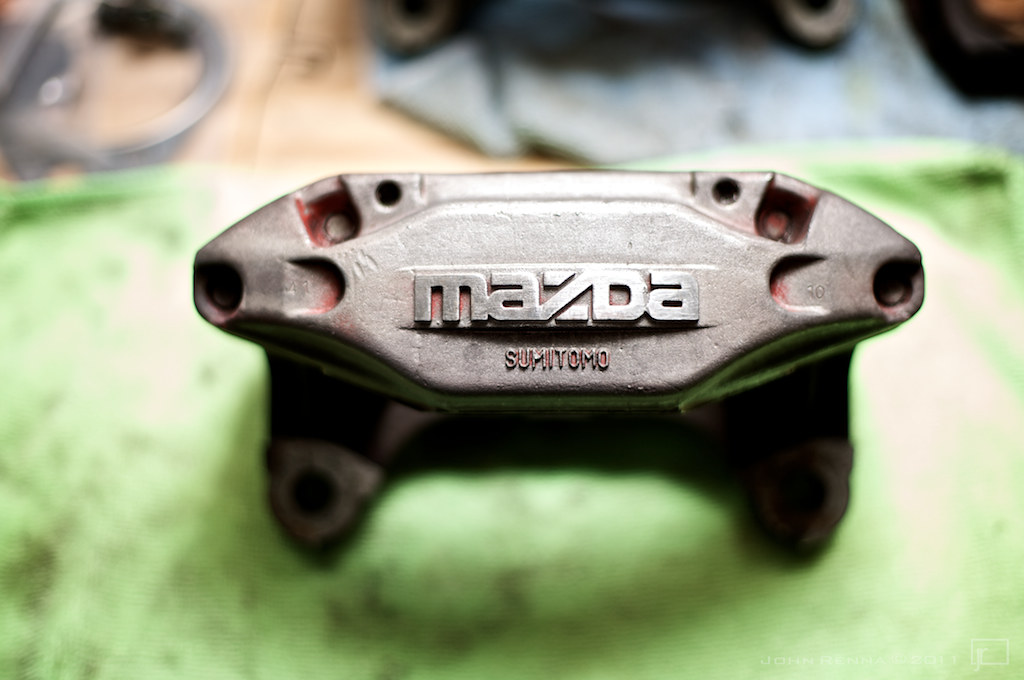
Multiple layers of paint stripped off and caliper all cleaned.
New seals all installed.

Nice fresh coat of High temp caliper paint.
Original condition of my calipers:
Multiple layers of paint stripped off and caliper all cleaned.
New seals all installed.
Nice fresh coat of High temp caliper paint.
Thread Starter
Joined: Oct 2002
Posts: 998
Likes: 30
From: Philadelphia, PA

Thread Starter
Joined: Oct 2002
Posts: 998
Likes: 30
From: Philadelphia, PA
Thanks. Chassis has about 105,000 miles. As for grease, I just used the standard white grease that was provided in the SuperPro kit. I have read that it is probably not the best, but I have a couple friends who have been running SuperPro bushings for years and have not complained of any noise or binding issues after using the supplied grease.
Thanks. Chassis has about 105,000 miles. As for grease, I just used the standard white grease that was provided in the SuperPro kit. I have read that it is probably not the best, but I have a couple friends who have been running SuperPro bushings for years and have not complained of any noise or binding issues after using the supplied grease.
Originally Posted by gmonsen
I think too many people put off doing their bushings and the difference between newer bushings and 20 year old bushings is amazing.
Thread Starter
Joined: Oct 2002
Posts: 998
Likes: 30
From: Philadelphia, PA
Yzf-r1:
I had read about that grease in another thread. I would be interested to see how it works out for you, but we won't really know for a year or two
Gordon:
The job was really not nearly as hard as I had expected. Removing the rear suspension arms is a simple task which takes maybe 15 minutes per corner. The actual pressing of the bushings goes much faster if you have done it before or have help from someone who has. I had help from Scrub who has done a few sets and to complete all of the rear bushings including the diff carrier probably took us about 3 hours. Factor in some more time for cleaning and reassembly and the whole process can easily be done in a weekend assuming you have your own press.
I think it definitely helps to have to have two people to tackle this job (esepcially someone who has done it before), or just break it up to multiple weekends if you have the time
Thread Starter
Joined: Oct 2002
Posts: 998
Likes: 30
From: Philadelphia, PA
Thanks Brian. That midpipe was the very first thing I purchased for my FD when I got it up north haha
Update!
I got a care package from GoodfellaFD3S last week!
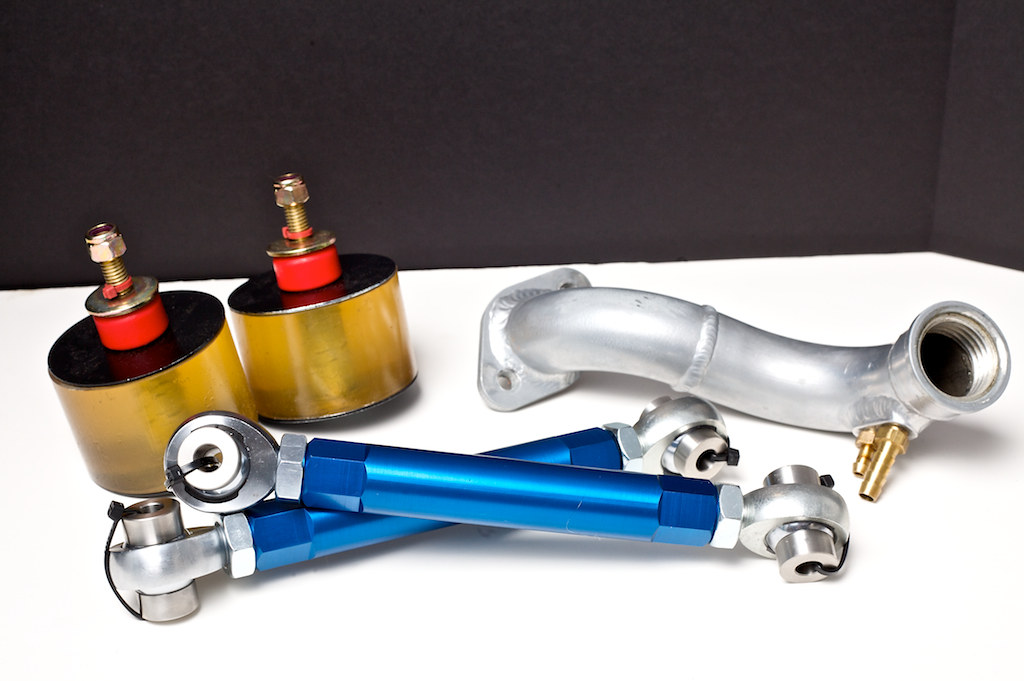
IRP motor mounts, RE Speed filler neck, and a set of Rotary Performance toe links.
I spent 12 hours down in the garage yesterday wrenching on the FD trying to get everything back together....
All that is left to do is refill fluids in the motor, and install my midpipe and exhaust back on and I will be able to fire it up for the first time since November
Moar pics:
Update!
I got a care package from GoodfellaFD3S last week!
IRP motor mounts, RE Speed filler neck, and a set of Rotary Performance toe links.
I spent 12 hours down in the garage yesterday wrenching on the FD trying to get everything back together....
- [*]
- [*]
- [*]
- [*]
- [*]
- [*]
- [*]
- [*]
- [*]
- [*]
- [*]
- [*]
- [*]
All that is left to do is refill fluids in the motor, and install my midpipe and exhaust back on and I will be able to fire it up for the first time since November
Moar pics: