3 beam light sleepy eye HD headlight conversion
 11-13-08, 09:27 AM
#1
Full Member
Thread Starter
Join Date: Dec 2005
Location: nyc
Posts: 108
Likes: 0
Received 0 Likes
on
0 Posts
3 beam light sleepy eye HD headlight conversion
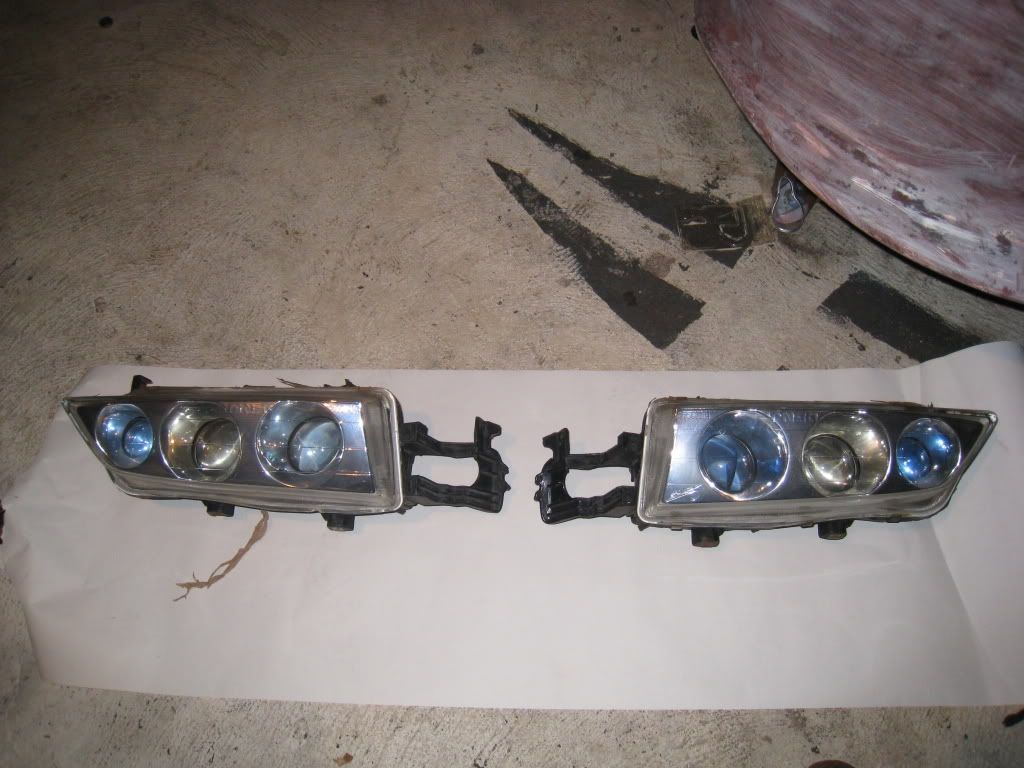
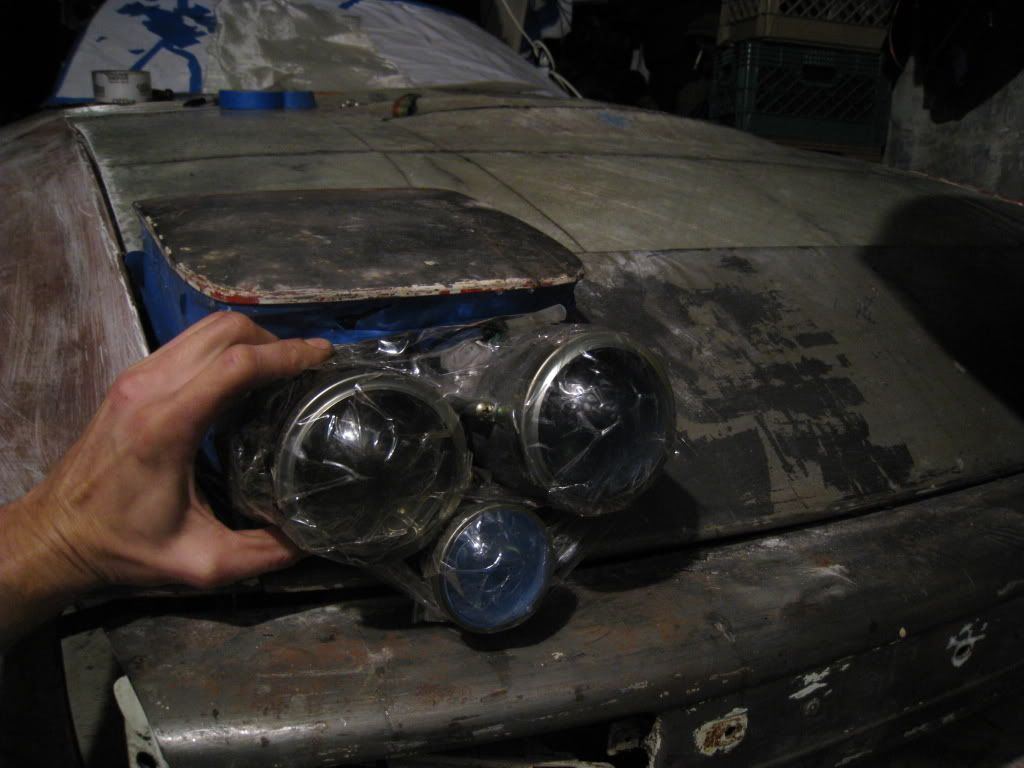
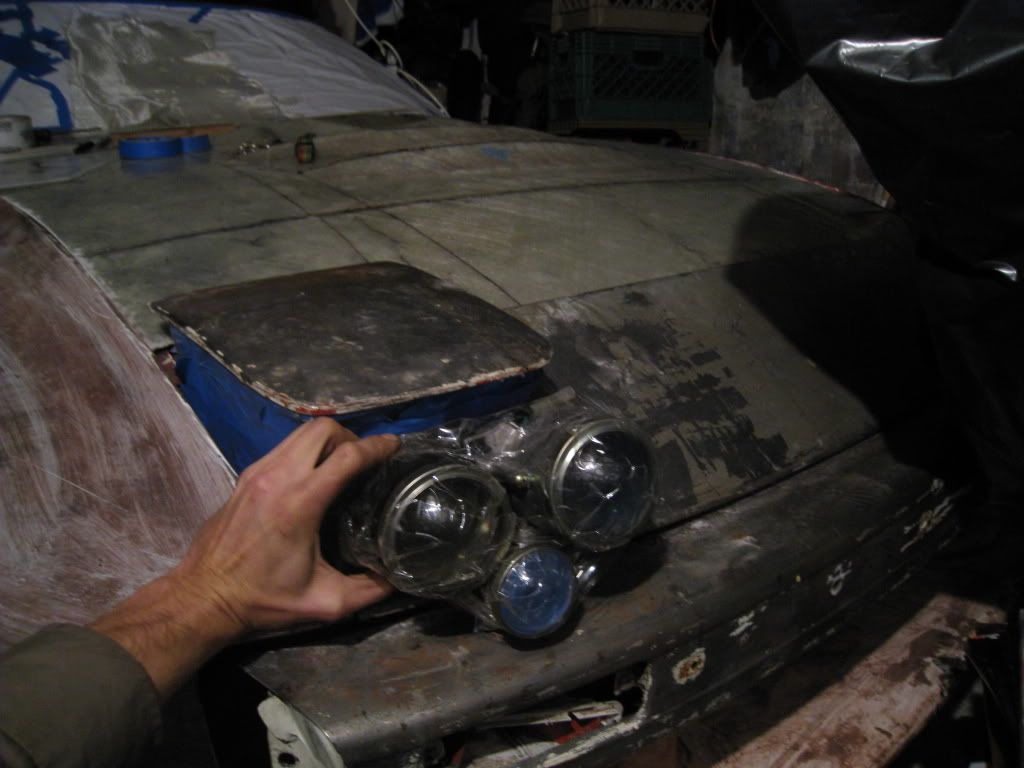
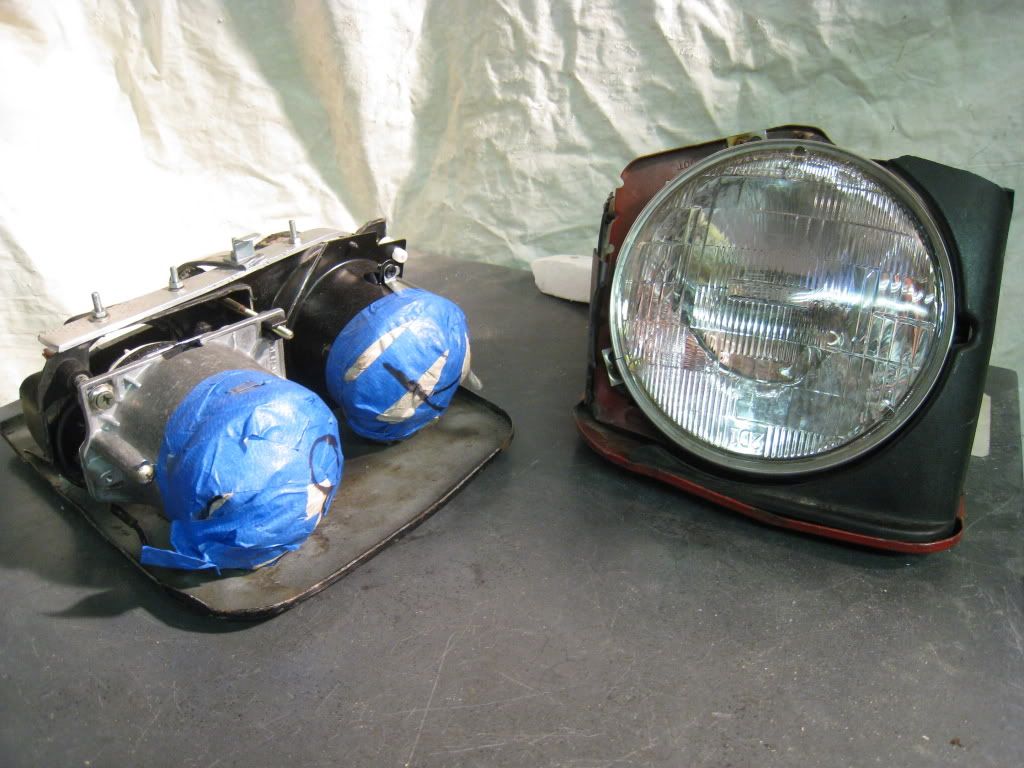
I have had an idea about low profile double sleepy eye look for a long time. Searching via e-bay, many for housings were found. BMW, Lincoln and Benz were the more desirable ones, but they were pricey. Housing itself run for about 100 bucks, and i had to chop it off (you know the level on uncertainty of messing it up or getting ones which will be too big) plus i still had to buy ballast and harness.
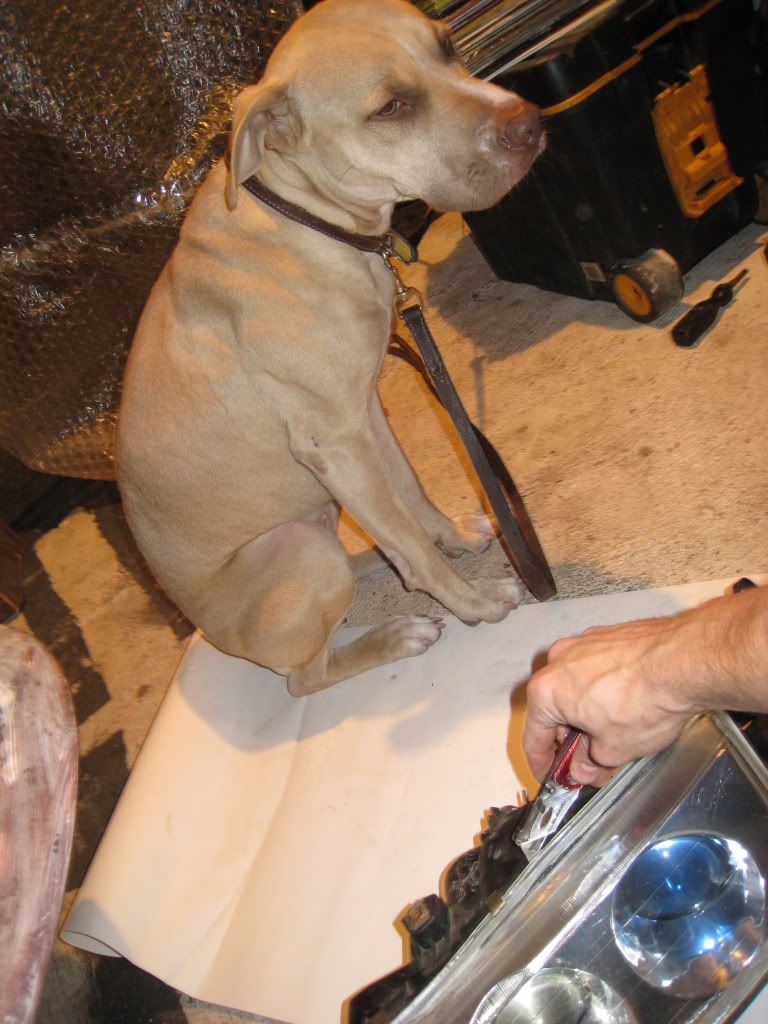
Well yesterday morning i got lucky. Chilling early morning at work, in some dirty *** parts of Bronx, among piles of cracked junk i fond these, and i could not believe my eyes. And here is a living proof of a man garbage that becomes another man gold.
Here is a little visual story:
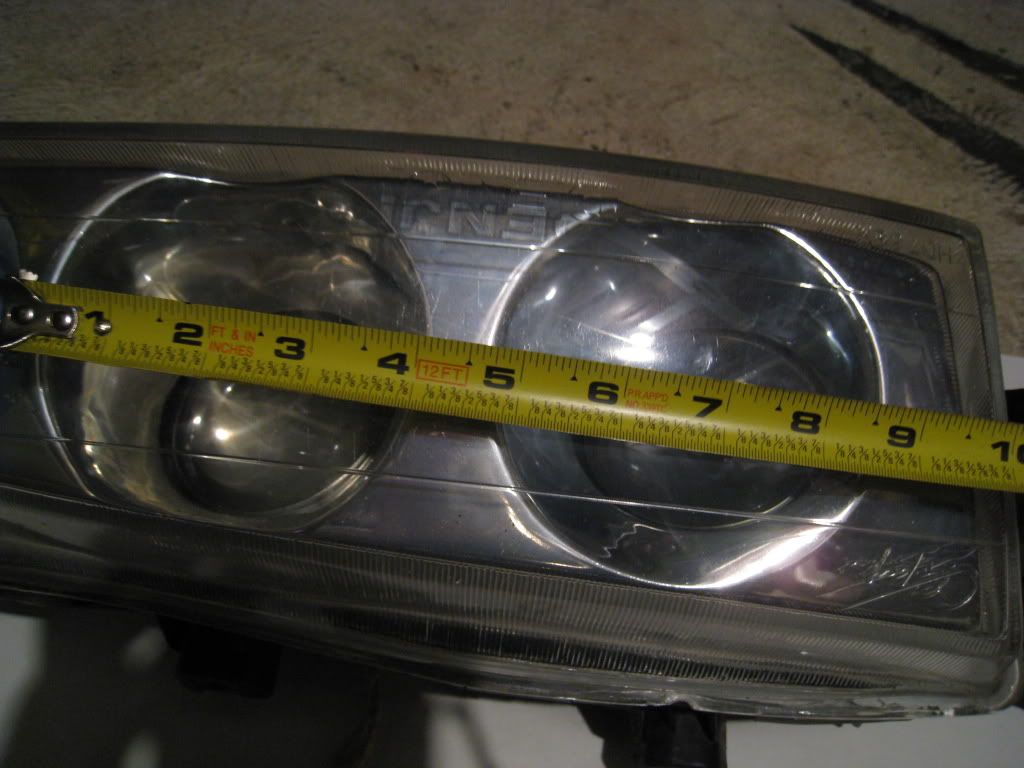
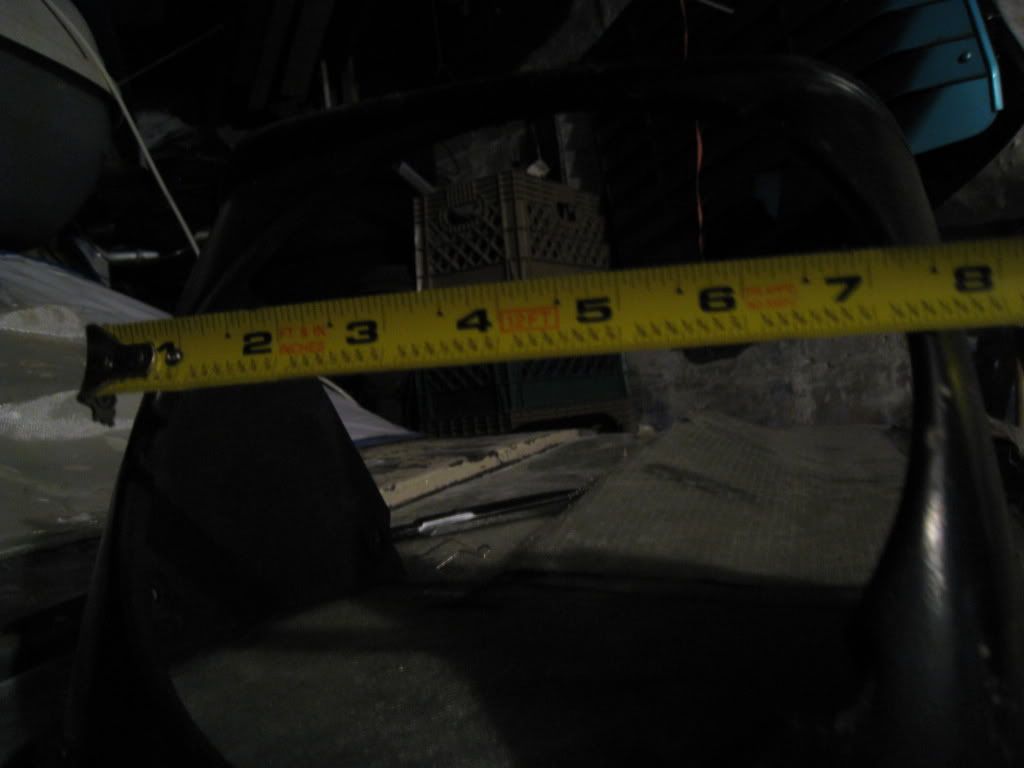
very close measurements. i might ever reuse parts of the reflection buffle
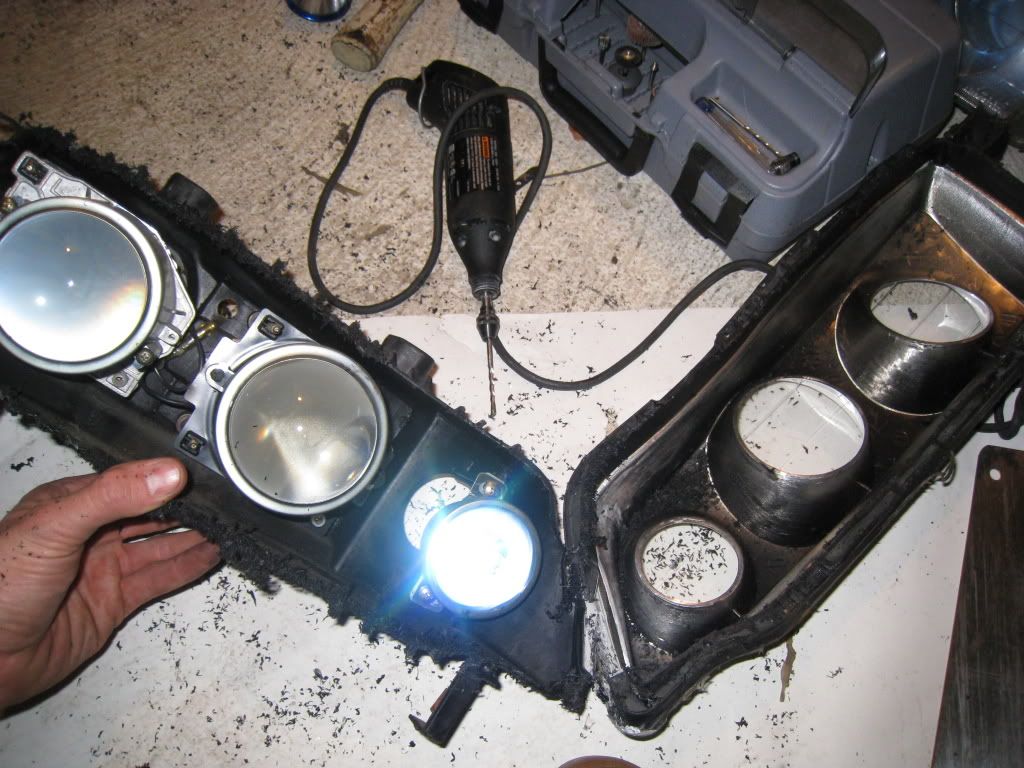
x-acto wont work
dremel rules
reworking housing bracketing
xxx
triple pleasere. I will eliminate heavy motor and run hydraulic or electric housing pop up.
lexan over/ or fiberglass 1 piece mold
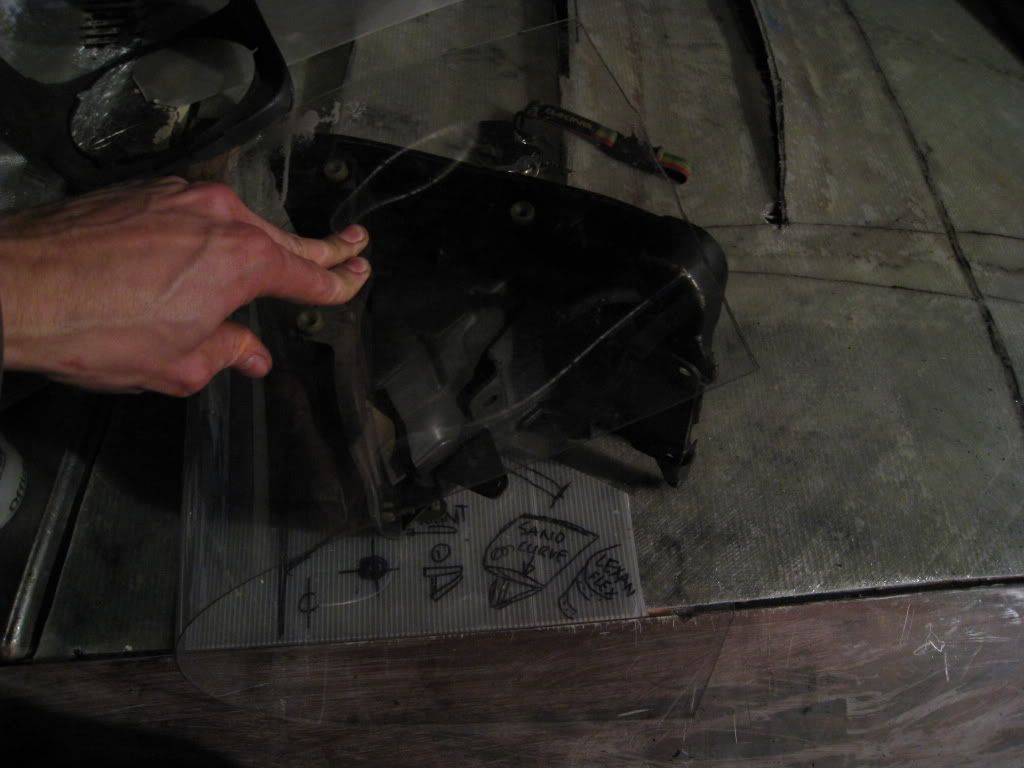
I was thinking about making a mold last night, i have just blocked off the opening to shot 3x foam for shaping ergonomic design, but i have
to wait untill triple beam and cover is set w/ adjusting brackets so the cover does not have to be altered
thanx for wieving the page
Well yesterday morning i got lucky. Chilling early morning at work, in some dirty *** parts of Bronx, among piles of cracked junk i fond these, and i could not believe my eyes. And here is a living proof of a man garbage that becomes another man gold.
Here is a little visual story:
very close measurements. i might ever reuse parts of the reflection buffle
x-acto wont work
dremel rules
reworking housing bracketing
xxx
triple pleasere. I will eliminate heavy motor and run hydraulic or electric housing pop up.
lexan over/ or fiberglass 1 piece mold
I was thinking about making a mold last night, i have just blocked off the opening to shot 3x foam for shaping ergonomic design, but i have
to wait untill triple beam and cover is set w/ adjusting brackets so the cover does not have to be altered
thanx for wieving the page
Last edited by drifted; 11-13-08 at 09:45 AM.

 11-13-08, 02:52 PM
#7
I touch my Wankel.
iTrader: (1)
Join Date: Aug 2007
Location: Muskegon, MI
Posts: 273
Likes: 0
Received 0 Likes
on
0 Posts
I think I'd just us the two lights in the headlight spot and then mold the smaller ones into the front turn signals as aux lights. Either way this will look cool.
Trending Topics
11-13-08, 09:19 PM
#11
Full Member
Thread Starter
Join Date: Dec 2005
Location: nyc
Posts: 108
Likes: 0
Received 0 Likes
on
0 Posts
Thanx for positive feedback, and now more for you picture hungry monsters
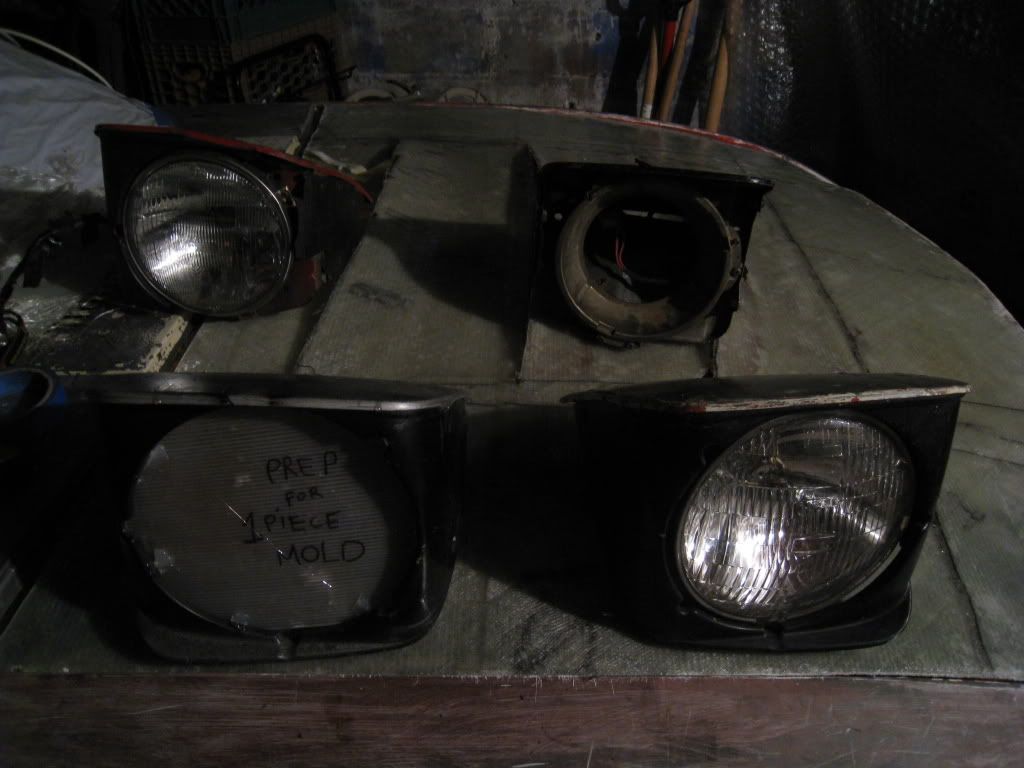
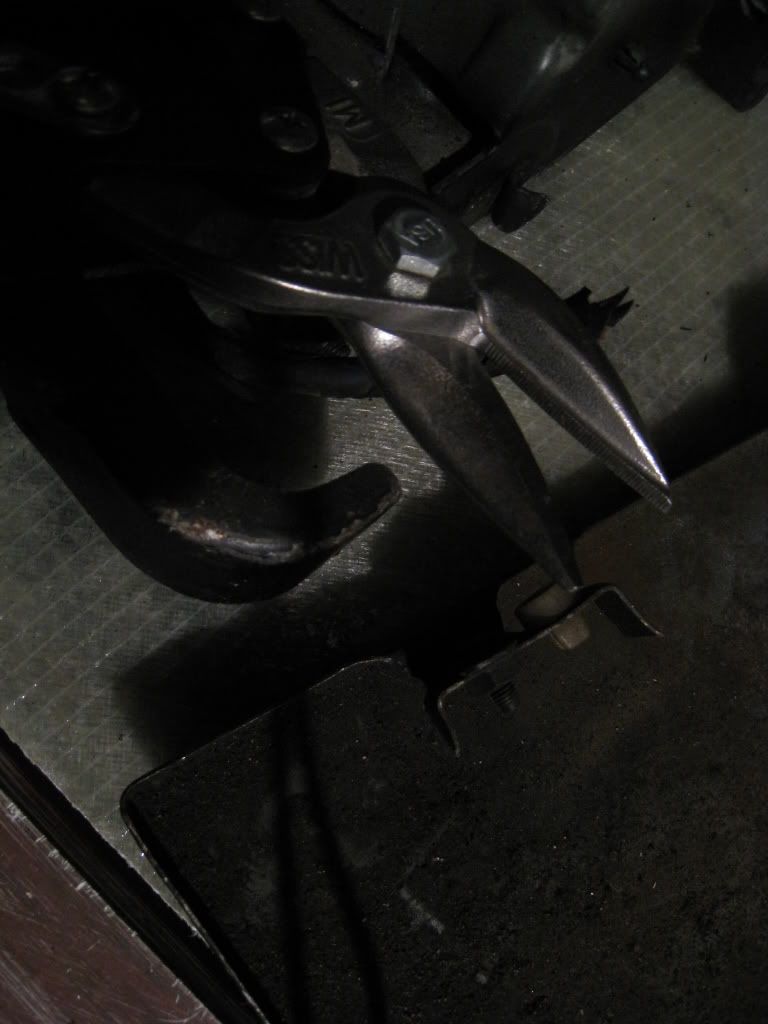
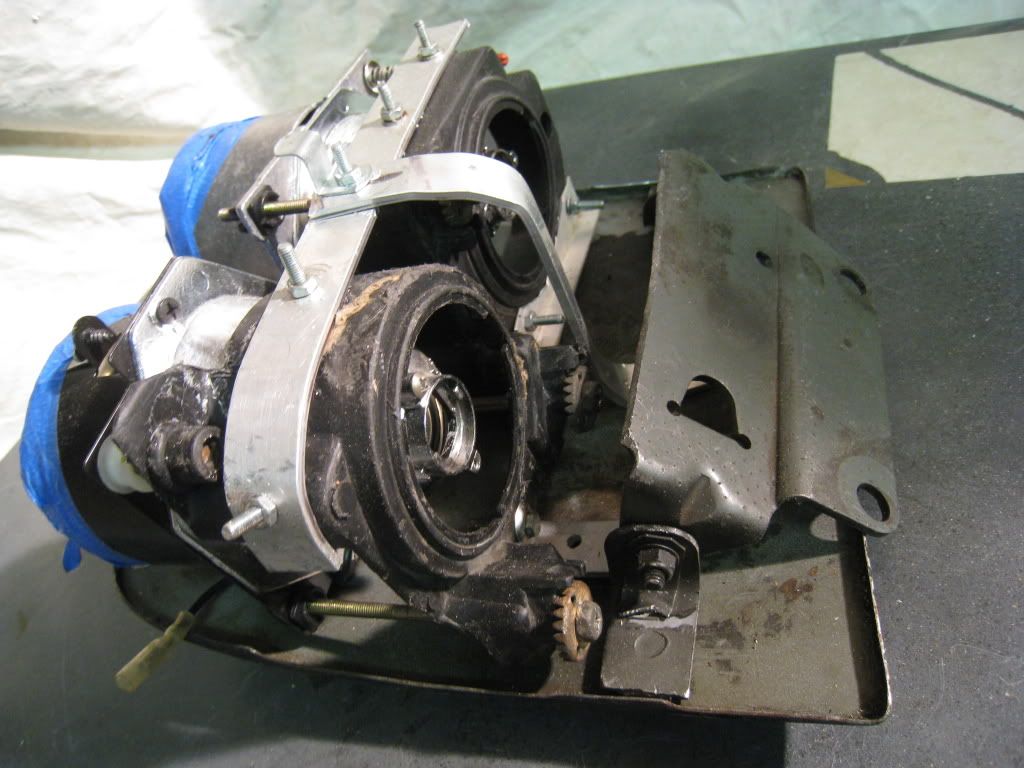
housing trimming best done by S.H.A.R.P (oi) snips, but you still need a dremel, to open it up
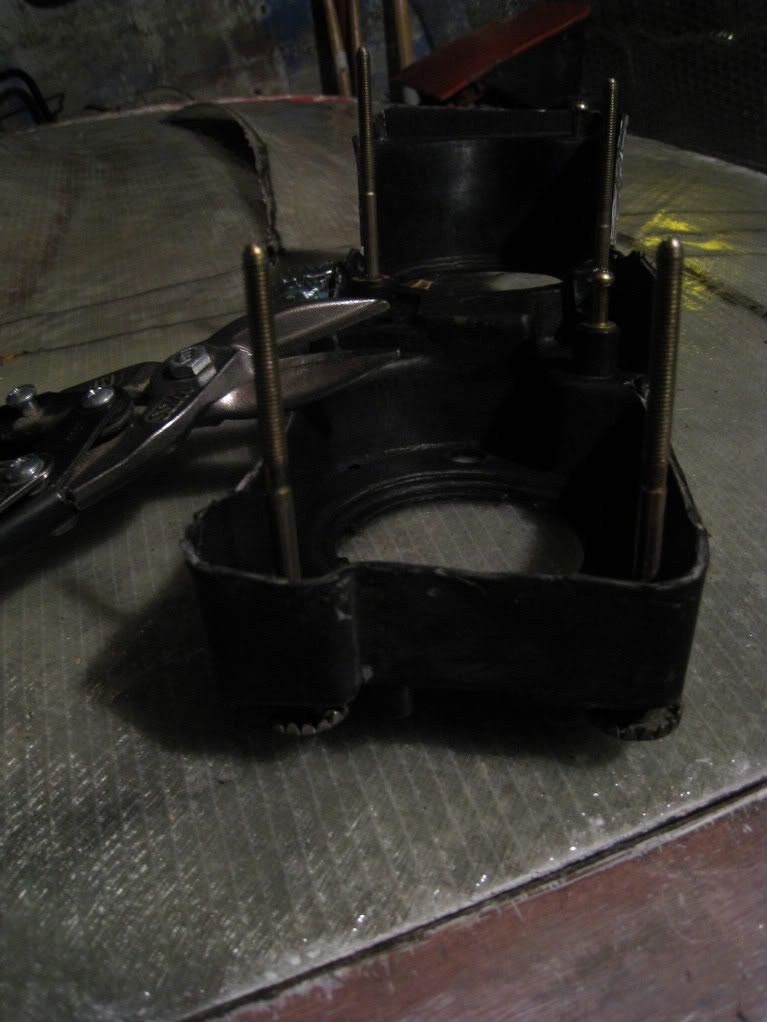
cut off the brackets- snips again
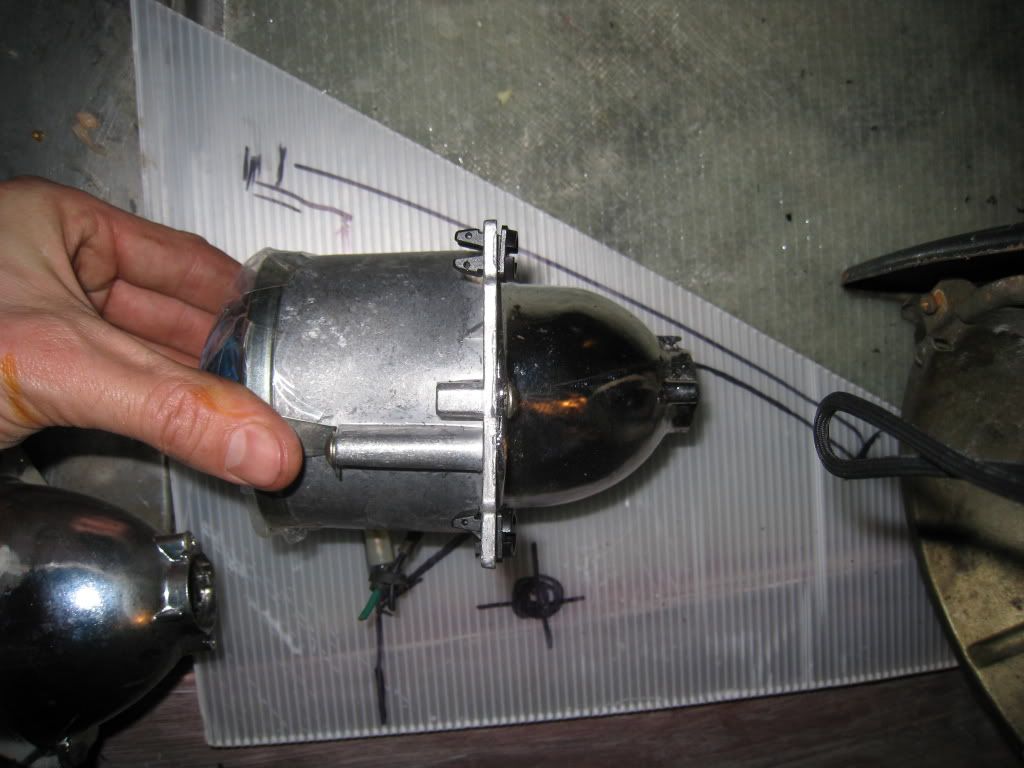
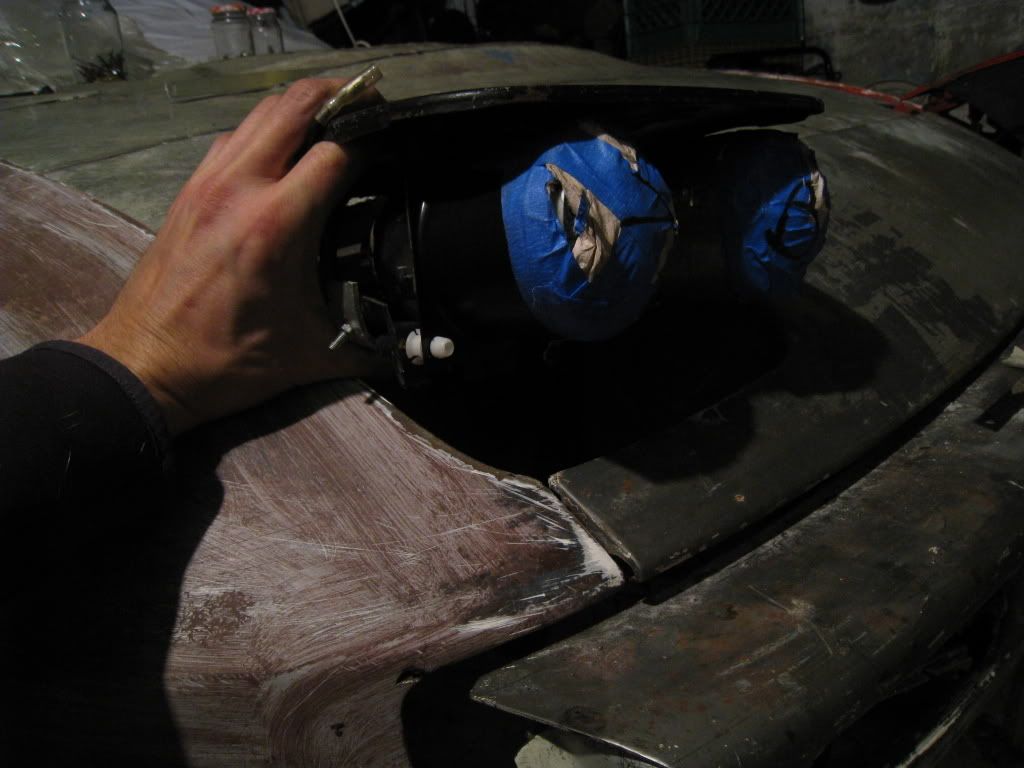
separate these two housings, and keep 90deg angle on plastic so you can mount it
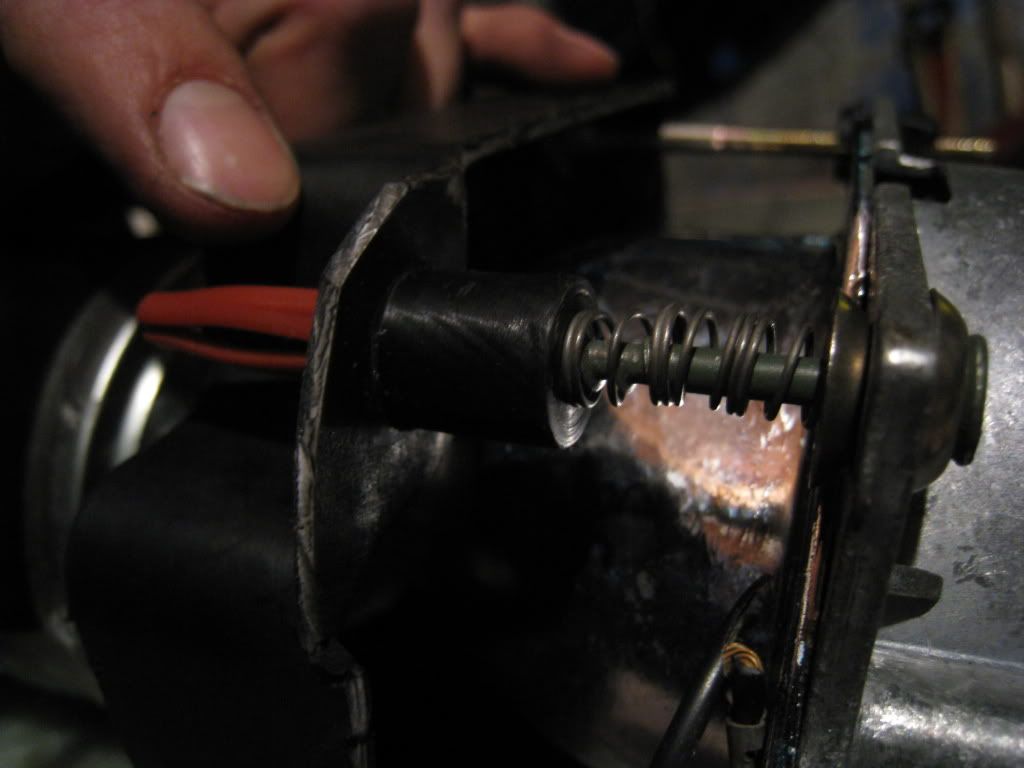
broken adjusters redone, also shows where i went too much with trimming and cut away section of 90 return used for remounting
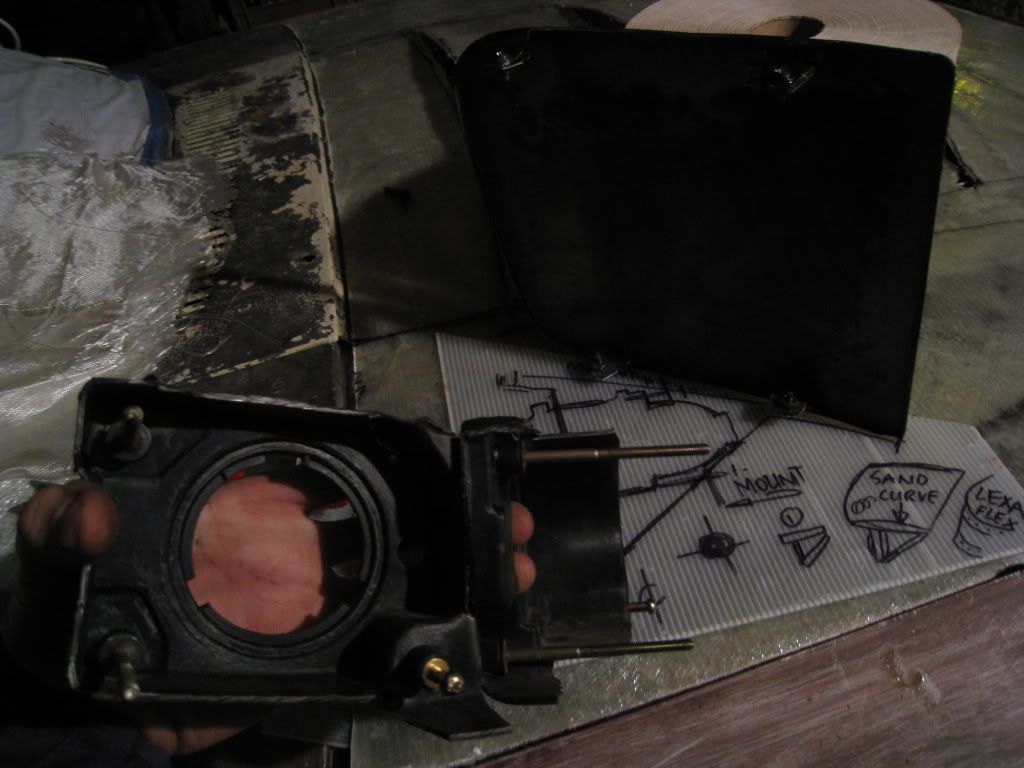
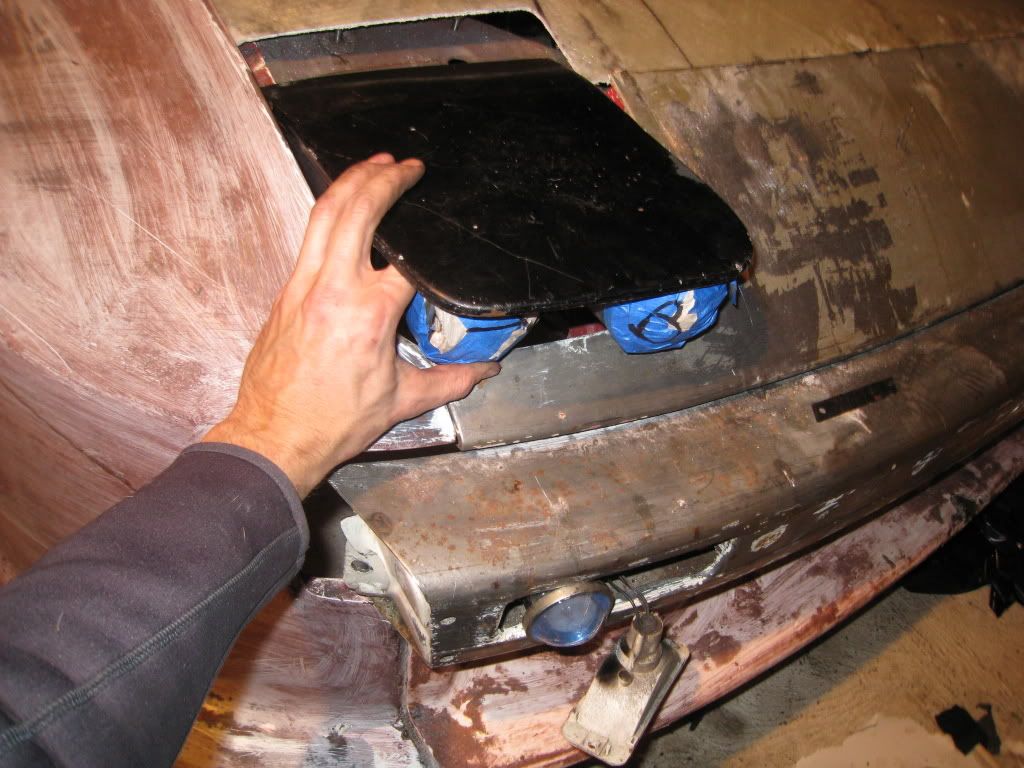
predrilled aluminum w bolt/lock tread. the aluminum tracking will be applied in a few more location in triangular form to gain rigidity. Remember to keep the bult socket away from the frame of the car (about 3/8 parts into the cover)

new housing mounted parallel to cover, but it will be separated from the cover for about 1/4"
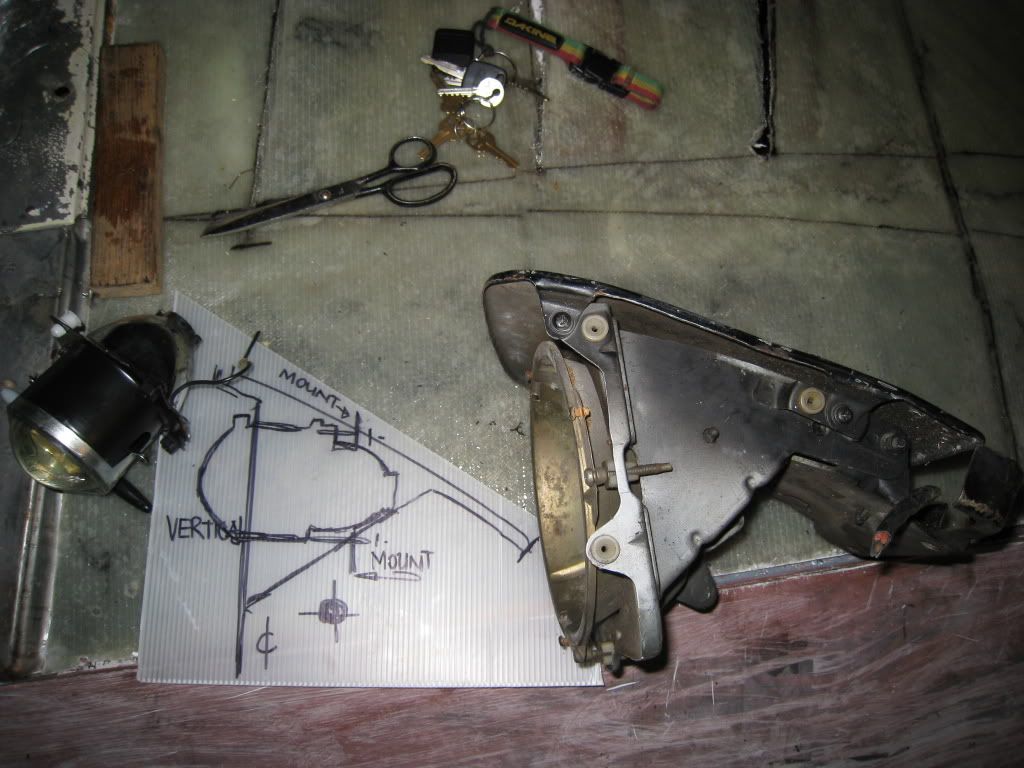
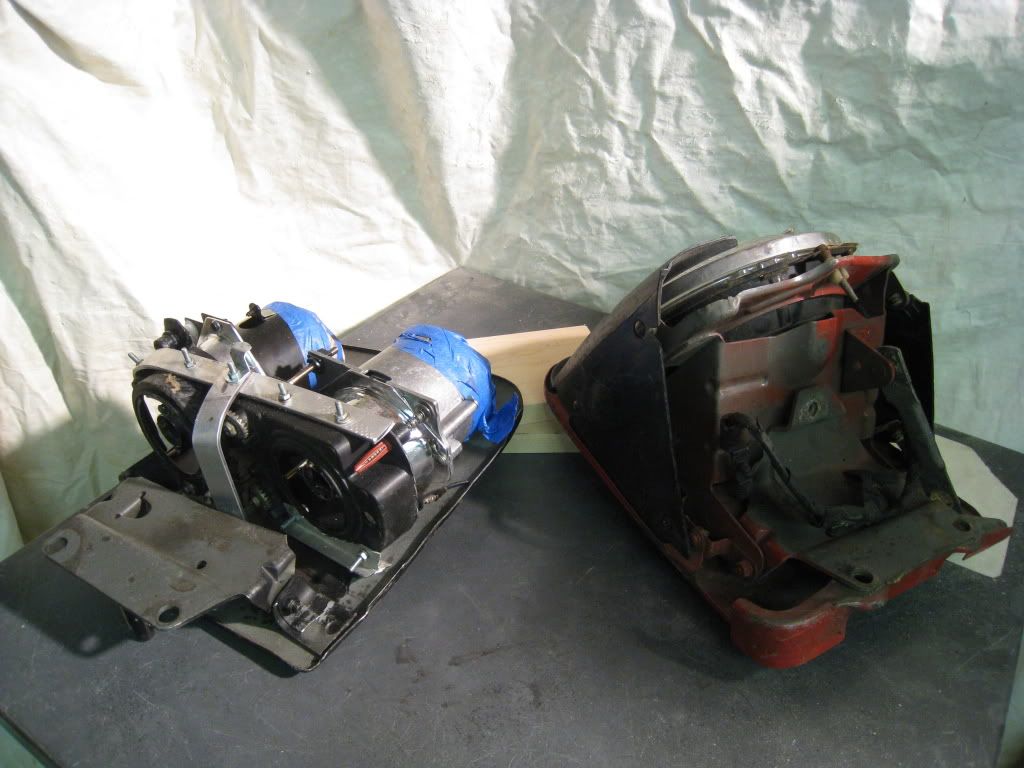
i'm not sure where the third lens will go but here some ideas
Now i have to catch up with the other side
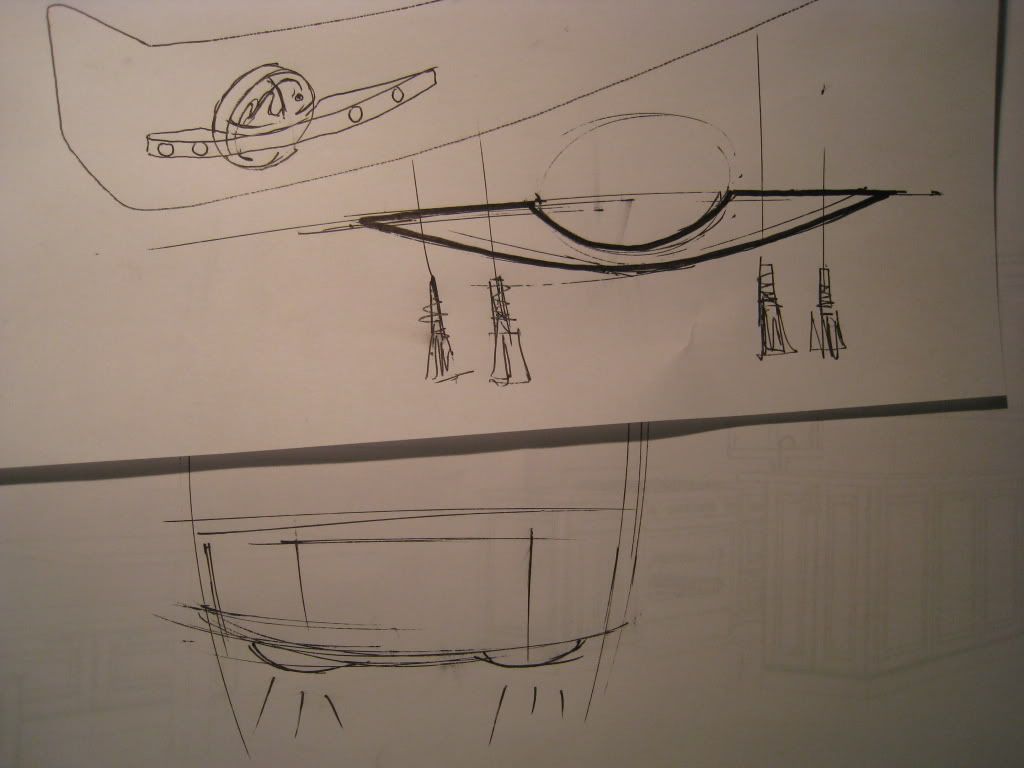
After all i still dont know if two or 3 lights will be used. Remember that this car has a little different visual flow than stock body, so 3 lights would look very tempting, and together with a hood and side skirts, they would aim towards "exotic look", also if the height level of flip up can be set to 2 positions, i could show only two of 3, or i could raise it up for highway driving,or blinding with all 3 lenses.
well vs, 2 on top and 3 on bottom look "cuter"
cut off the brackets- snips again
separate these two housings, and keep 90deg angle on plastic so you can mount it
broken adjusters redone, also shows where i went too much with trimming and cut away section of 90 return used for remounting
predrilled aluminum w bolt/lock tread. the aluminum tracking will be applied in a few more location in triangular form to gain rigidity. Remember to keep the bult socket away from the frame of the car (about 3/8 parts into the cover)
new housing mounted parallel to cover, but it will be separated from the cover for about 1/4"
i'm not sure where the third lens will go but here some ideas
Now i have to catch up with the other side
After all i still dont know if two or 3 lights will be used. Remember that this car has a little different visual flow than stock body, so 3 lights would look very tempting, and together with a hood and side skirts, they would aim towards "exotic look", also if the height level of flip up can be set to 2 positions, i could show only two of 3, or i could raise it up for highway driving,or blinding with all 3 lenses.
well vs, 2 on top and 3 on bottom look "cuter"
Last edited by drifted; 11-13-08 at 09:47 PM.
11-14-08, 12:50 AM
#12
Caffeine x3
Join Date: Nov 2008
Location: Somewhere in Russia...
Posts: 66
Likes: 0
Received 0 Likes
on
0 Posts
that's actually the most creative thing i've seen in a while...that's pretty cool that you were able to fabricate that **** out of a headlight casing, let alone find that **** in the garbage...crazy, 
11-14-08, 01:38 PM
#19
Full Member
Thread Starter
Join Date: Dec 2005
Location: nyc
Posts: 108
Likes: 0
Received 0 Likes
on
0 Posts
“3rd and final 7”
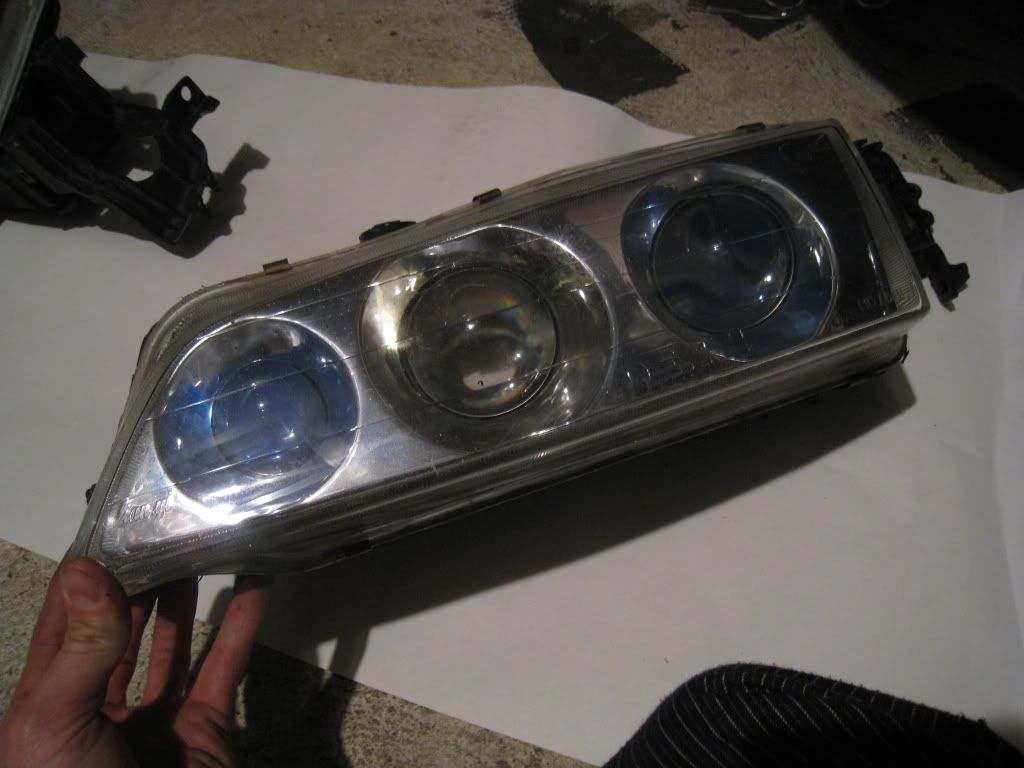
These are accord aftermarket lights. I would consider them very good quality, with thick glass cover, glass spherical lens, metal/hi density plastic housing and assembly. These have been used but I don’t see any discoloration of heat damage anywhere.
http://www.denji.com/dm.htm
“aws140”
Bumper is a SA, where I have taken out the rubber end caps, so paint stripper does not damage it. Here is more info about the build, it is kind of chaotic, but I just want to document the data first, and editing will be post restoration.
http://www.cardomain.com/ride/3020526
“cmanns”
I am not afraid of blue lens color, since I am speculating about an iridescent blue/burgundy-red/pearl/metallic/cosmic- bi tone direction for paint scheme (cold/cool colors).
xxx
Also since lights are smaller diameter, and just below covers they will mount parallel to cover itself. Sleepy eye opening of 2.5-3” will give a beam with center about 4 feet in front (incognito). 5” opening for driving beam, and higher for highway/brights. Having capability to adjust height seams to be “a must” to make full use of this rat rod system.In reference to finishing it: cosmetics will not be done for months, but assembly much shorter. I have more prep /template making for fiberglass skirts, rear wheel vents and the lights, but it has to be done outside. I have gone through last winter of stripping and glassing in garage, and still smells ultra toxic (even with hi-grade non blushing resin). I will do it spring time outside of the closed space where I see more light, and it can be finish glassed-body filler applied.
Last edited by drifted; 11-14-08 at 02:00 PM.


 11-15-08, 09:20 AM
#24
Full Member
Thread Starter
Join Date: Dec 2005
Location: nyc
Posts: 108
Likes: 0
Received 0 Likes
on
0 Posts
Directfreak
...pretty sleek and thats with keeping original housing, i wonder if original surround would hold to it (or at least the sides). What happened to the red.7 bonet on the underside?: )
ihatetheTZ250
.... i will make surround. it is very simple. 2(3) rubber bands, spandex, fiberglass and resin. place spandex over, catch the lens rings w/ rubber bands, saturate spandex w/resin, and after dries reinforce w/fiberglass on the inner side. Glaze w/ bondo, sand and trim.
Last edited by drifted; 11-15-08 at 09:33 AM.
