Video Blog - 1974 1976 Mazda RX3 Restoration
 11-18-12, 12:22 AM
#26
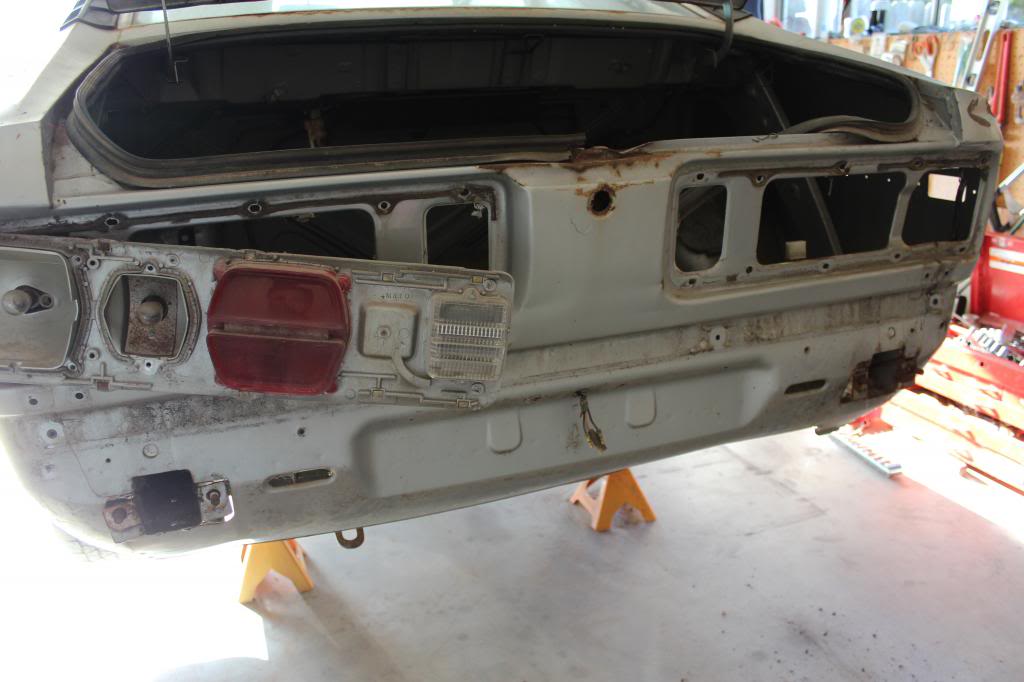
TODAY was a successful day in the shop. I had been trying to meet up with OzzyinCali to glimpse the exact placement of the front bumper bar bolt pattern on the frame of his 73 RX3 but life happens and we never met up where his car sits. 11th hour upon me before paint, I HAD to drill some bolt holes in the frame without a look at Mazda's exact spots. I hope its close enough to look original. That said, my bumper conversion is a done deal.
The body shop sheared off the rear frame protrusions & bolts and melded sheet metal to the rear lower panel to cover the square cut-outs and now it looks like a bonafide 10A bumper design in the rear.
I'll have more video as time permits but for now, its late, I'm off to dream of BR8EQ-14s

 11-18-12, 05:10 AM
#27
Full Member

Join Date: Mar 2011
Location: Australia
Posts: 84
Likes: 0
Received 0 Likes
on
0 Posts
Yea I wasn't sure how long untill the repro panels became available. I could've used a few myself but too late now.
Hopefully your bars fit OK, did any US RX-3's have the same bars as the Aussie versions other than the 72/73 series 1 cars?
My coupe was painted this week, check it out when you're on AR next. Look forward to the next vid.
Keith
Hopefully your bars fit OK, did any US RX-3's have the same bars as the Aussie versions other than the 72/73 series 1 cars?
My coupe was painted this week, check it out when you're on AR next. Look forward to the next vid.
Keith
Last edited by keithrx3c; 11-18-12 at 05:12 AM.
12-26-12, 10:25 PM
#28
Tow to the body shop
I hadn't removed body panels on a car before. It was kind of an enigma for me as to how to get the front guards off until I really took a close look. It was one of those things I wasn't looking forward to only because it was new and different (same with suspension parts but that's a story for another day).
KeithRX3 tried to give me the heads up about those bottom bolts but I broke 'em anyway.
Here's a vid where I point out the bolt locations followed by the trip to the body shop on a trailer...
KeithRX3 tried to give me the heads up about those bottom bolts but I broke 'em anyway.
Here's a vid where I point out the bolt locations followed by the trip to the body shop on a trailer...
12-30-12, 08:22 PM
#29
Some body details...
A wrinkle here...
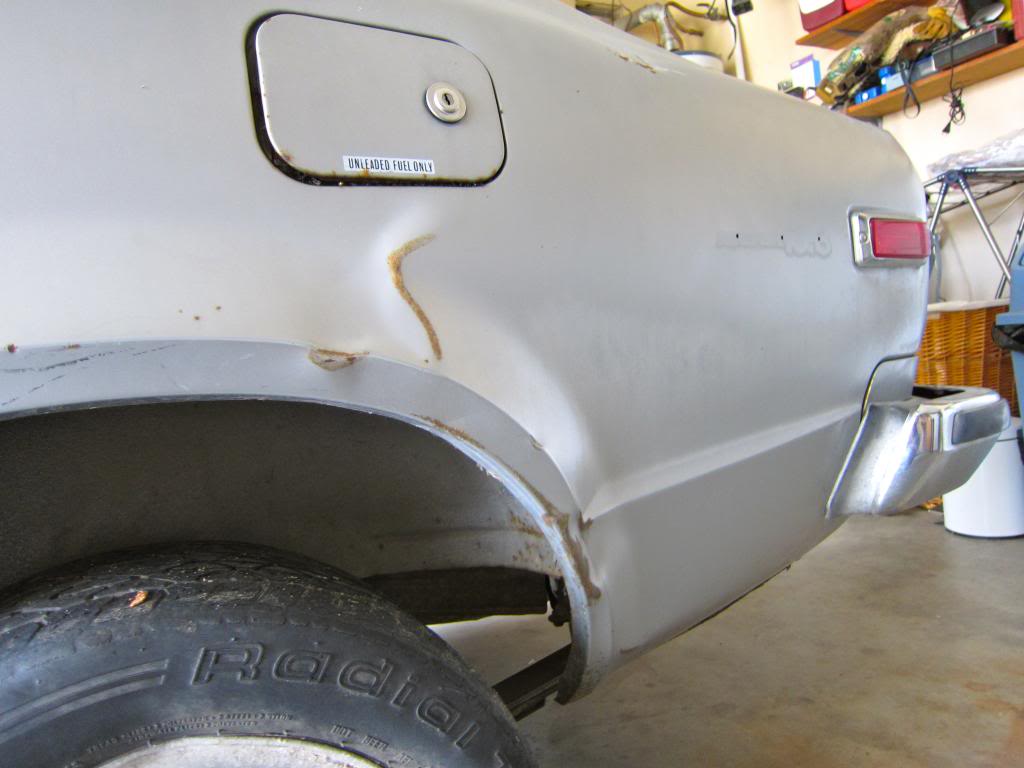
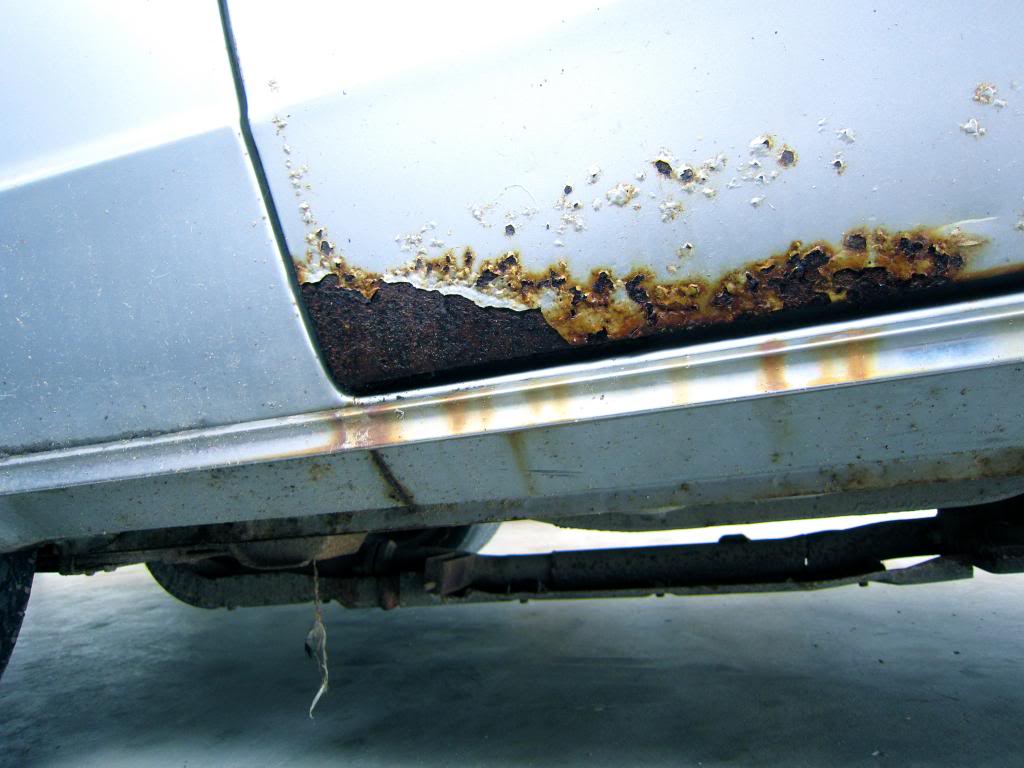
Rust on a door I won't be using...
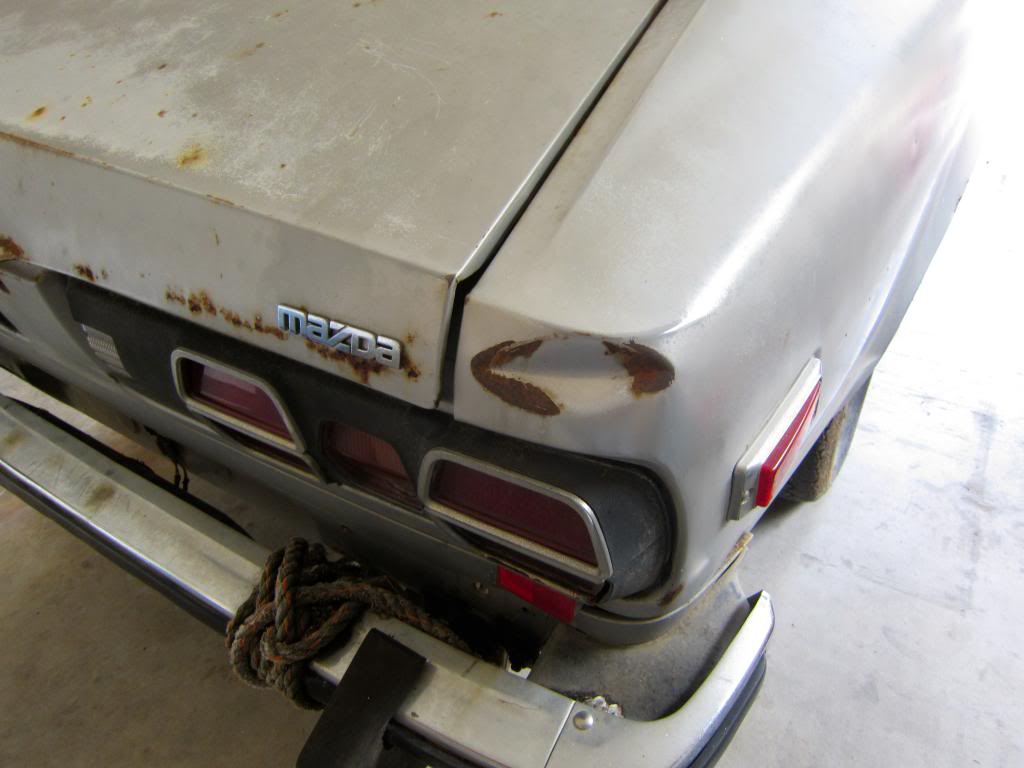
And a ding there...
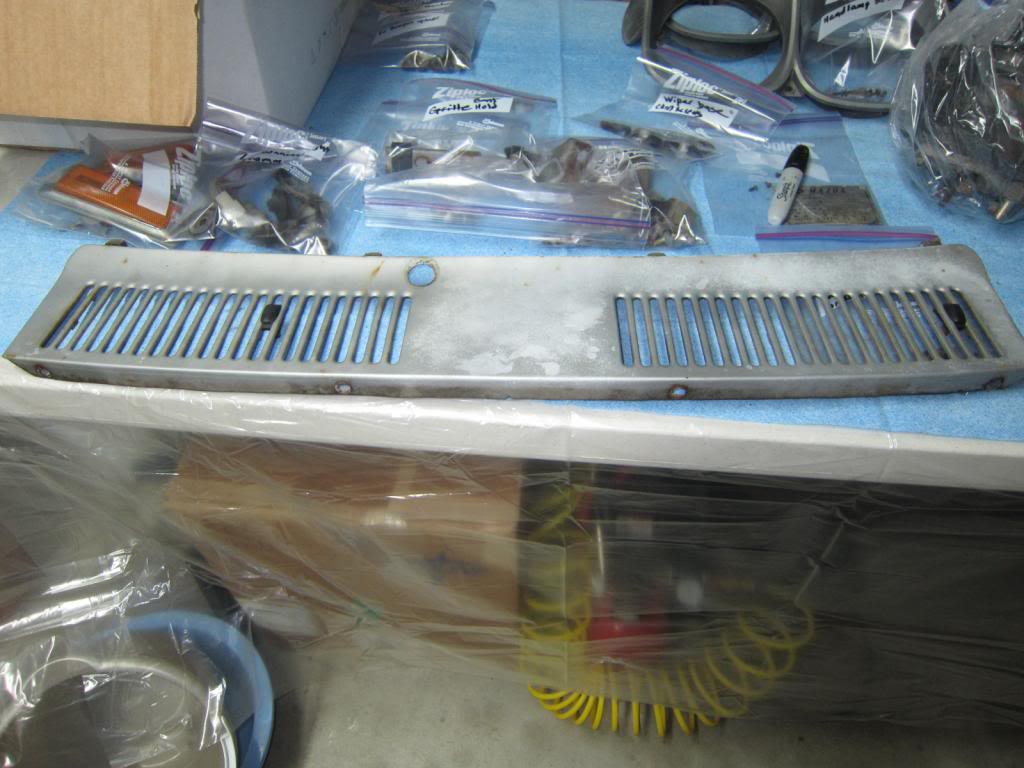
I've been careful to place all parts with associated nuts, bolts, washers in labeled ziploc bags...
Pulling the left rear tail brought trouble. The top left nut stripped the plastic surround that blocks the flat tang from moving. Had a heck of a time getting a grip on it. My imitation vise grips from Harbor Freight wouldn't hold the tang tight enough to loosen the nut on the back. Thank God for Perfect Neighbor Mike who had an honest to God Vise Grip that held on tight...
The body shop got to work pretty quick on my project. Seen here is the green car's driver (left side) door which we ended up NOT using in favor of the original door that had a bit of rust at bottom. The rust turned out to be the lesser evil compared to some pre-existing filler & a dent that made the green door more work...
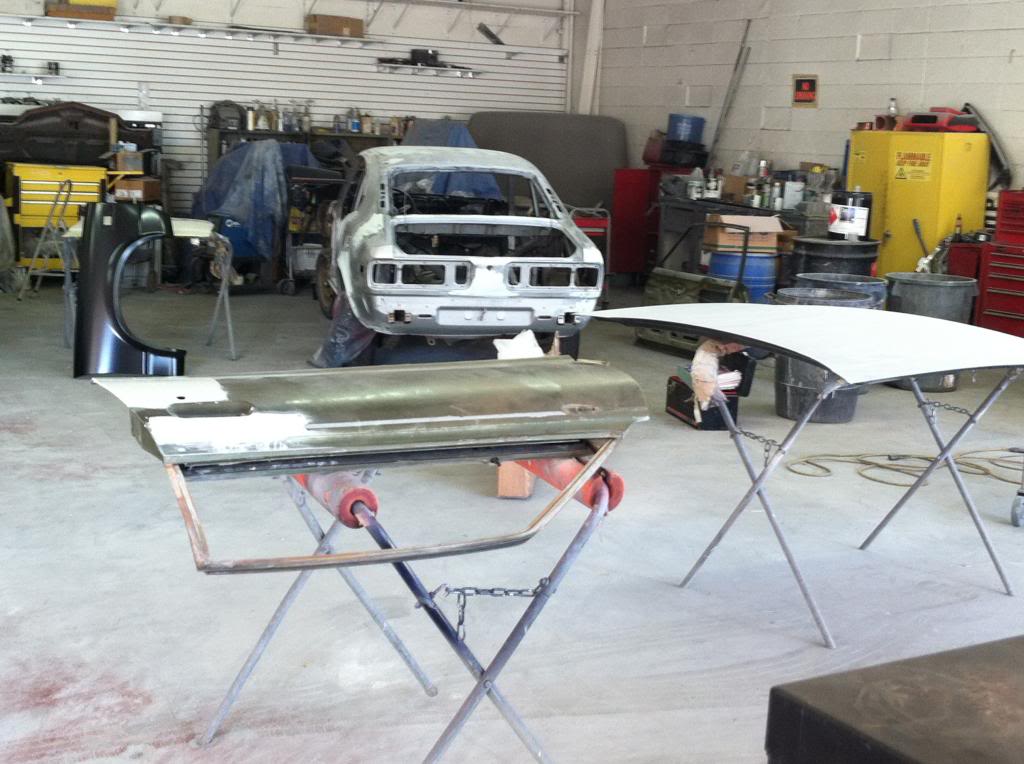
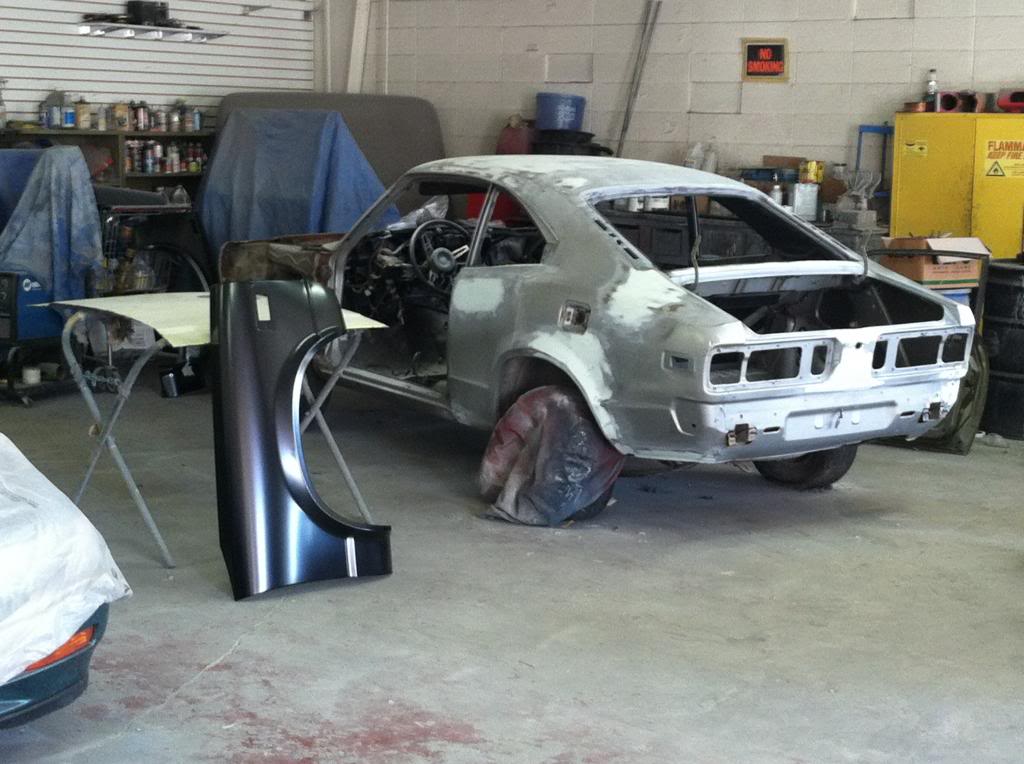
A front guard from Phil's Rotary sits awaiting attention. They DID have to monkey with the fenders to get them on. Hopefully Phil will get that production problem fixed...
Rust on a door I won't be using...
And a ding there...
I've been careful to place all parts with associated nuts, bolts, washers in labeled ziploc bags...
Pulling the left rear tail brought trouble. The top left nut stripped the plastic surround that blocks the flat tang from moving. Had a heck of a time getting a grip on it. My imitation vise grips from Harbor Freight wouldn't hold the tang tight enough to loosen the nut on the back. Thank God for Perfect Neighbor Mike who had an honest to God Vise Grip that held on tight...
The body shop got to work pretty quick on my project. Seen here is the green car's driver (left side) door which we ended up NOT using in favor of the original door that had a bit of rust at bottom. The rust turned out to be the lesser evil compared to some pre-existing filler & a dent that made the green door more work...
A front guard from Phil's Rotary sits awaiting attention. They DID have to monkey with the fenders to get them on. Hopefully Phil will get that production problem fixed...
 12-31-12, 01:56 AM
#31
So far, I am very happy with the fenders, but like I said before, the body man had to work them pretty good to fit them up.
03-04-13, 09:01 PM
#32
Parts
It's time to get some parts cleaned up.
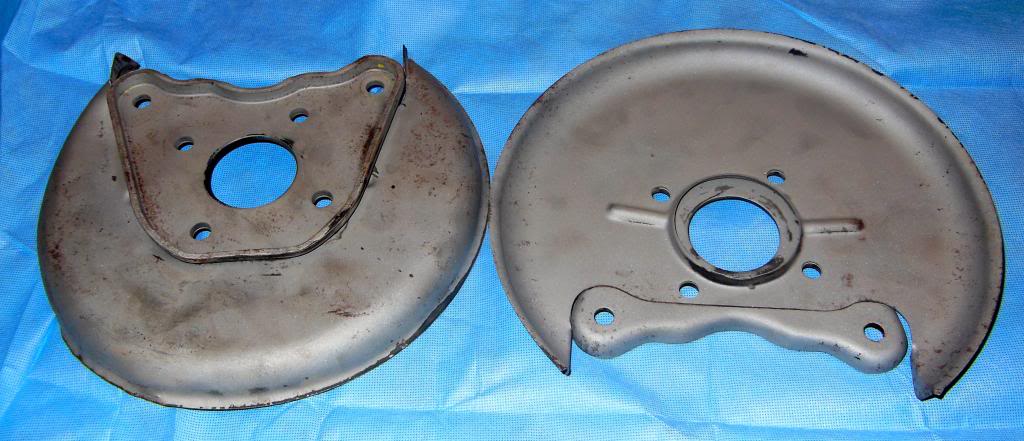
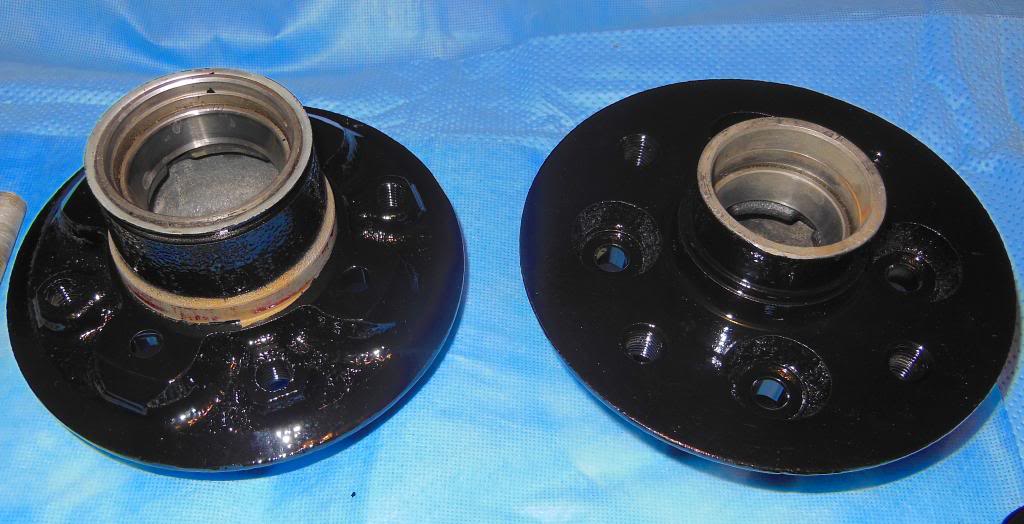
What better place to start than under the car? Just starting to get things bead blasted. Eventually they will be powder coated but here is a rough pass through the cabinet.
I need another left side brake backing plate (on left in photo). This one was damaged and getting back into shape has proven difficult.
 03-09-13, 10:57 PM
#35
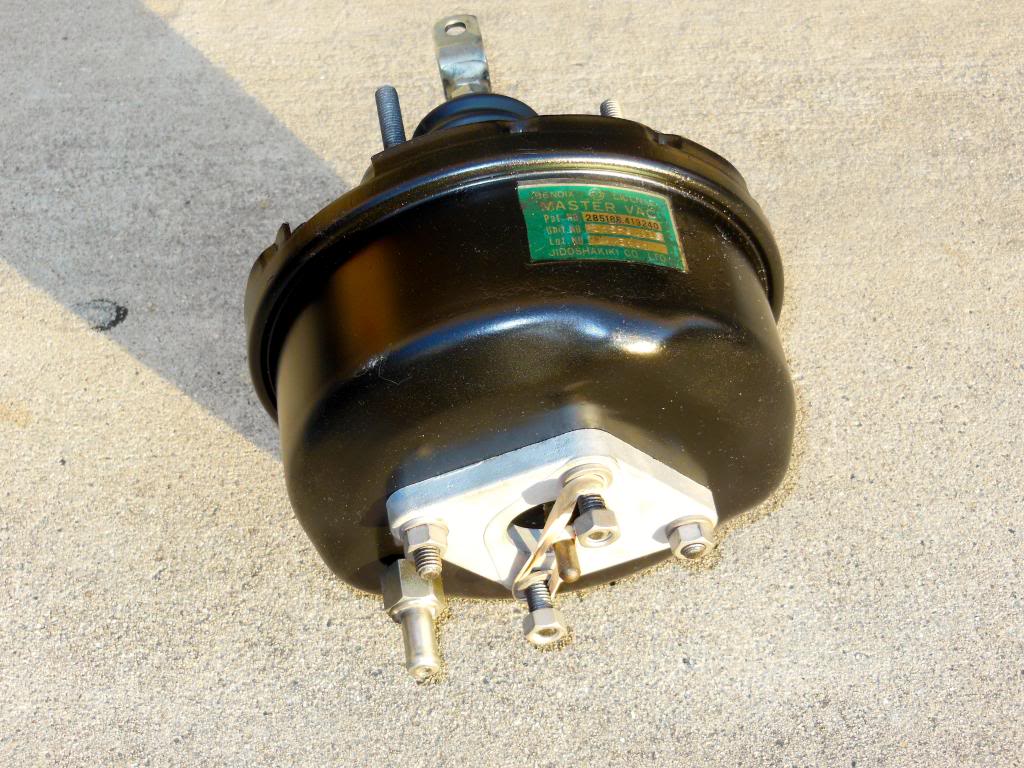
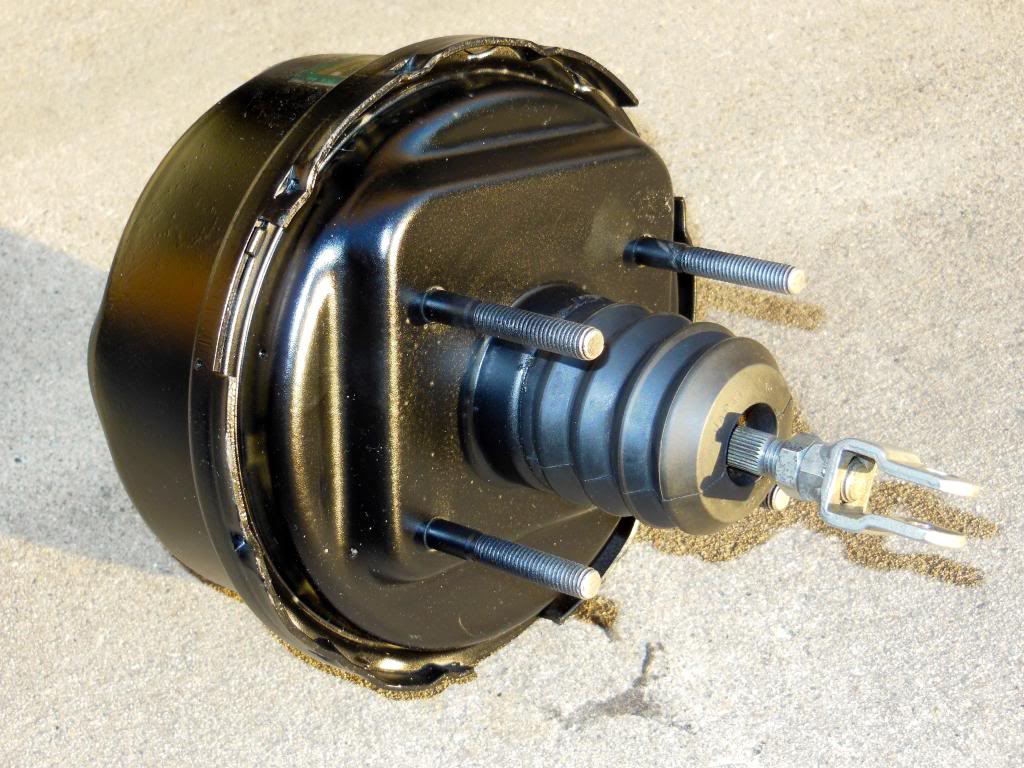
The brake booster was rebuilt months ago by San Jose Power Brake Exchange. They ship all over so anyone can send their booster (and/or master) in for rebuild...
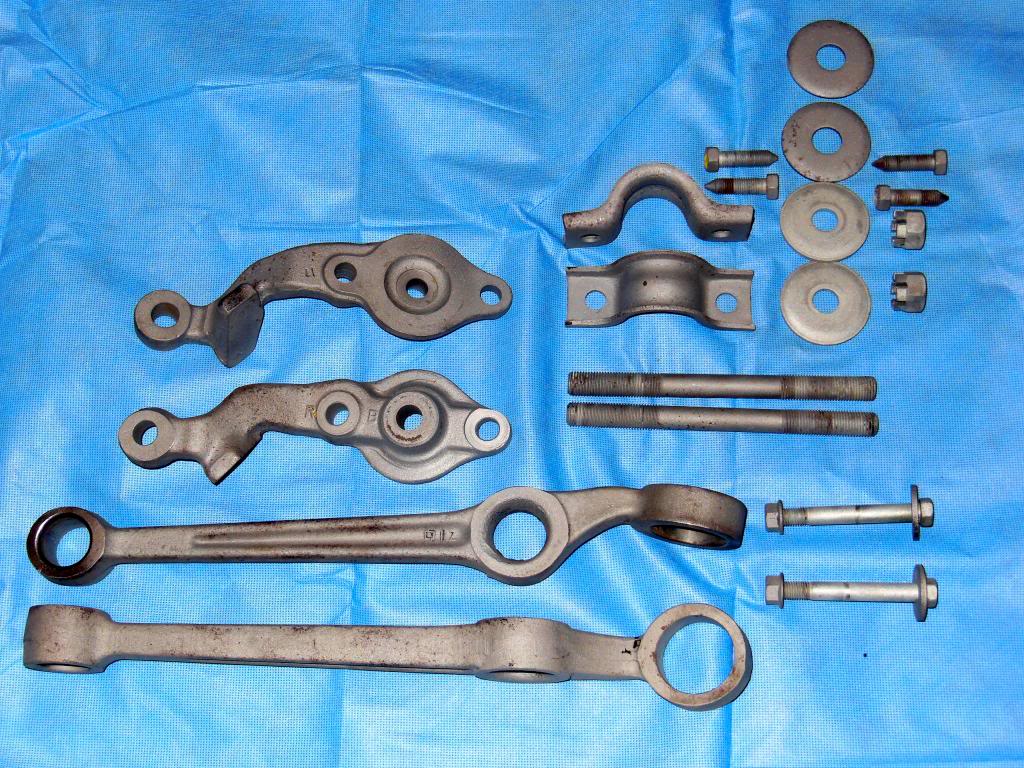
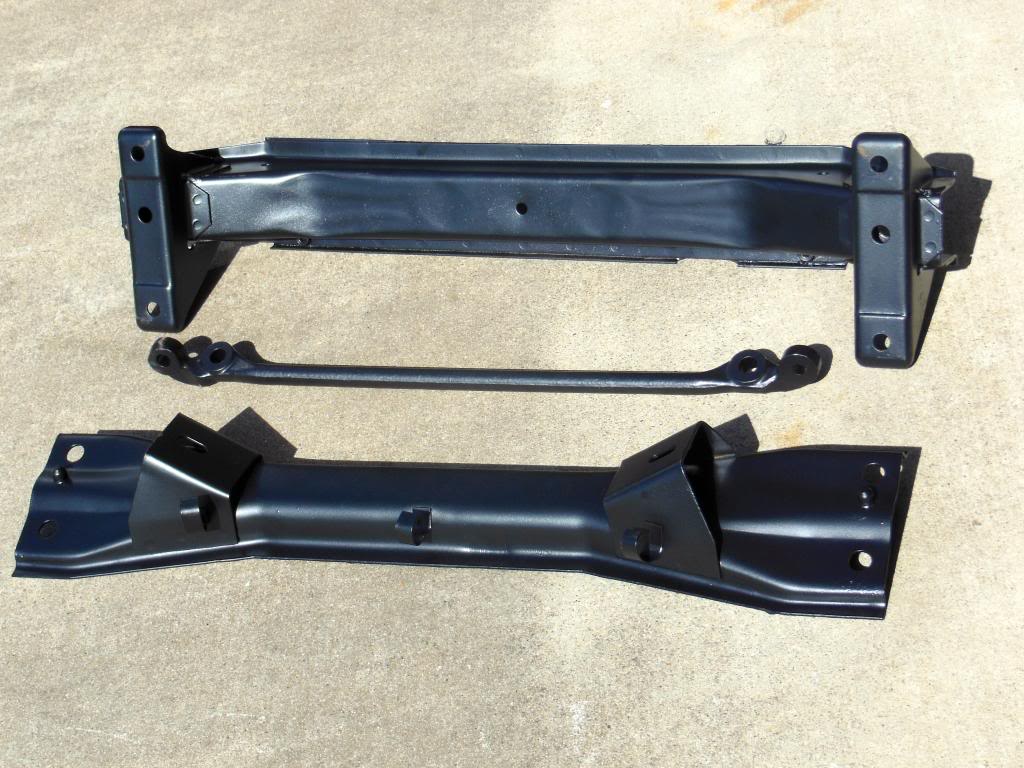
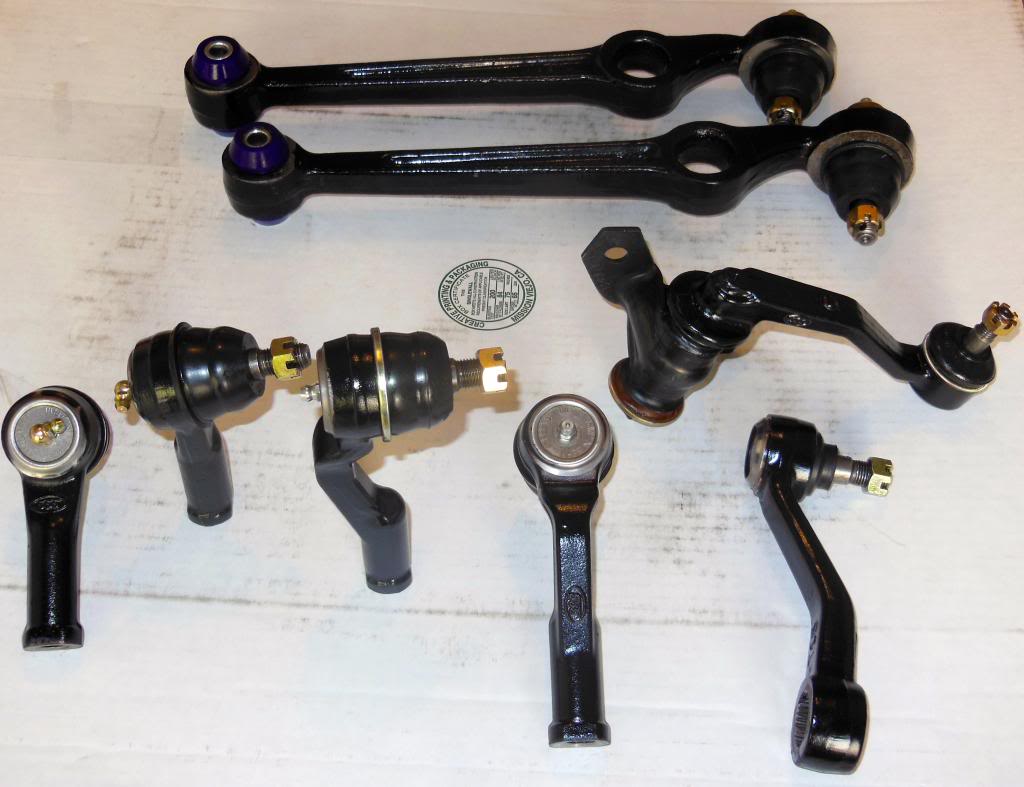
Thanks to Tony (OzzyinCali) for beautifying my cross members and centerlink. They came out quite nice...
Thanks to Tony (OzzyinCali) for beautifying my cross members and centerlink. They came out quite nice...
 04-16-13, 09:44 PM
#39
Ozzyincali helped me get started on bead blasting and powder coat. Thanks mate!!
He did a great job tending to my struts and sway bar.
I pulled the Carrera Racing springs out of my 74. They have a firmness to them I had been craving for years when the 74 was my daily. The Carreras only have prolly 10K - 20K miles on them. They cleaned up nice. I'm gonna go with them.
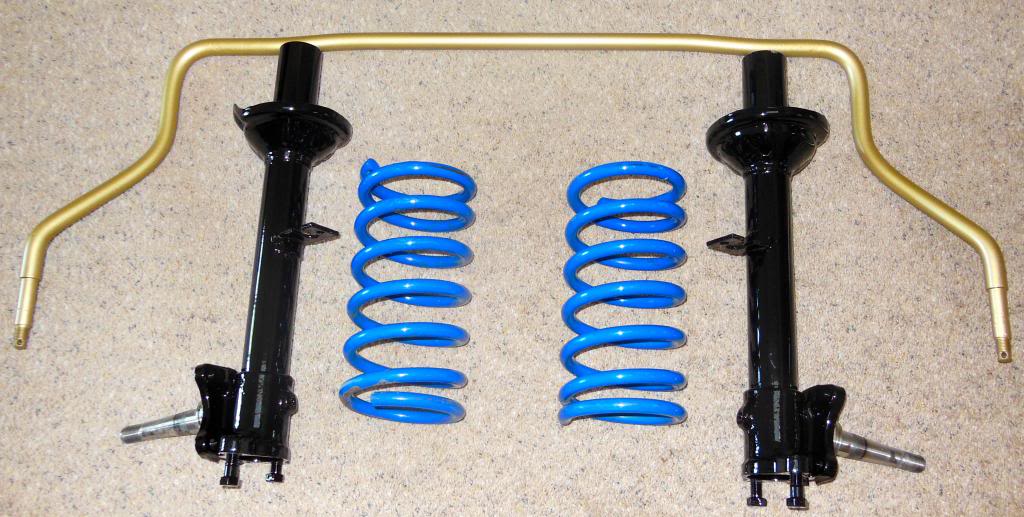
When I pulled the struts out of the 76 the right hand side had clearly been fiddled with. Some genius used a chopped nail as a cotter pin to hold it all together. I also noticed the right front rotor differed slightly from the left in its markings so I suspect it was not stock.
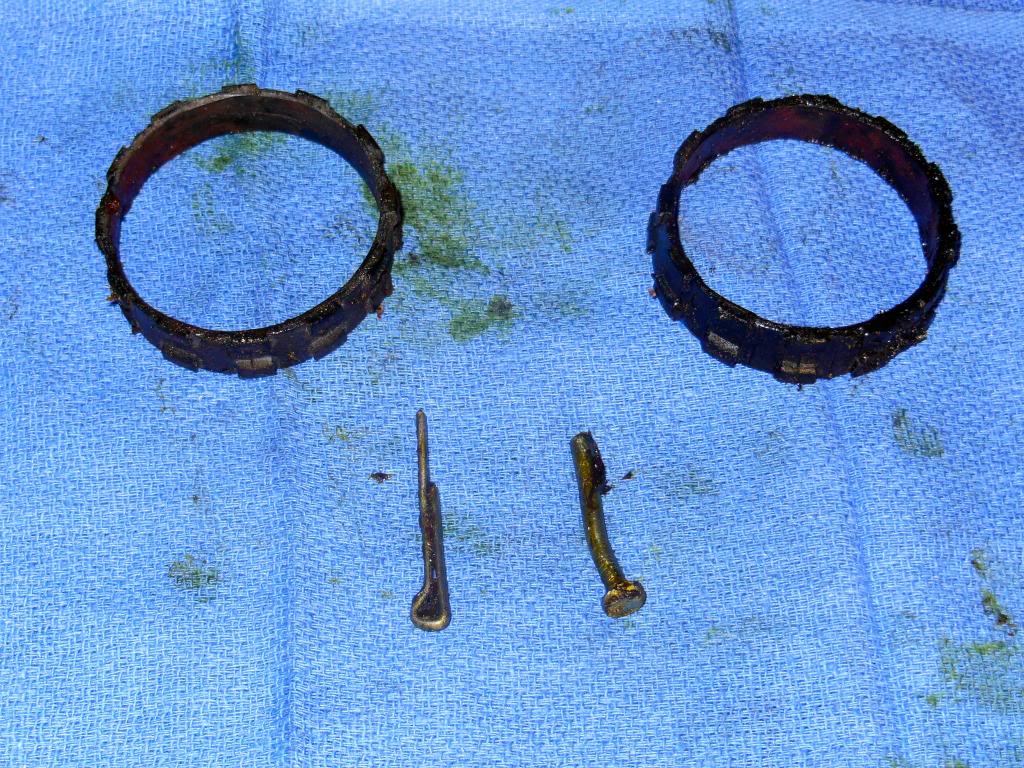
And someone please fill me in on the strut spacers. What are they for? Do I need them? I don't recall them ever being on my 74, or if they were I tossed them when I put the springs and strut inserts in. Are they necessary? Me doubts it. Looking for confirmation on that.

 I like what I see


The following users liked this post:
rx3wagon4me (01-02-19)
09-04-13, 03:11 AM
#48
Well my friends near and far LIFE has gotten in the big bloody way of my restomod fun.
I moved from one home to another - major work involved with that - kept me from my car for 2 solid months.
Garage door opener motor failed - no big deal you might think, but EH, the freshly painted car is in the way of the motor repair. Can't be dropping even the slightest nut on the car - even if its covered! Sorry, I'm a bit **** about that. But the problem lies in that there are NO wheels, tires, or front suspension on the car. How to move it out of the garage? AND at the precise time the garage guy can actually show up to fix the motor? That's where event coordinator experience comes in handy
I actually BEGAN REASSEMBLY when I had to bolt the crossmember back on to rest the frame on a dolly to roll it out the door.
Any hoo ... couple weeks after that repair the cables derailed for the garage door tangled on their pulleys. Getting the door to close required displacing rollers from their tracks and forcing it shut. More delays.
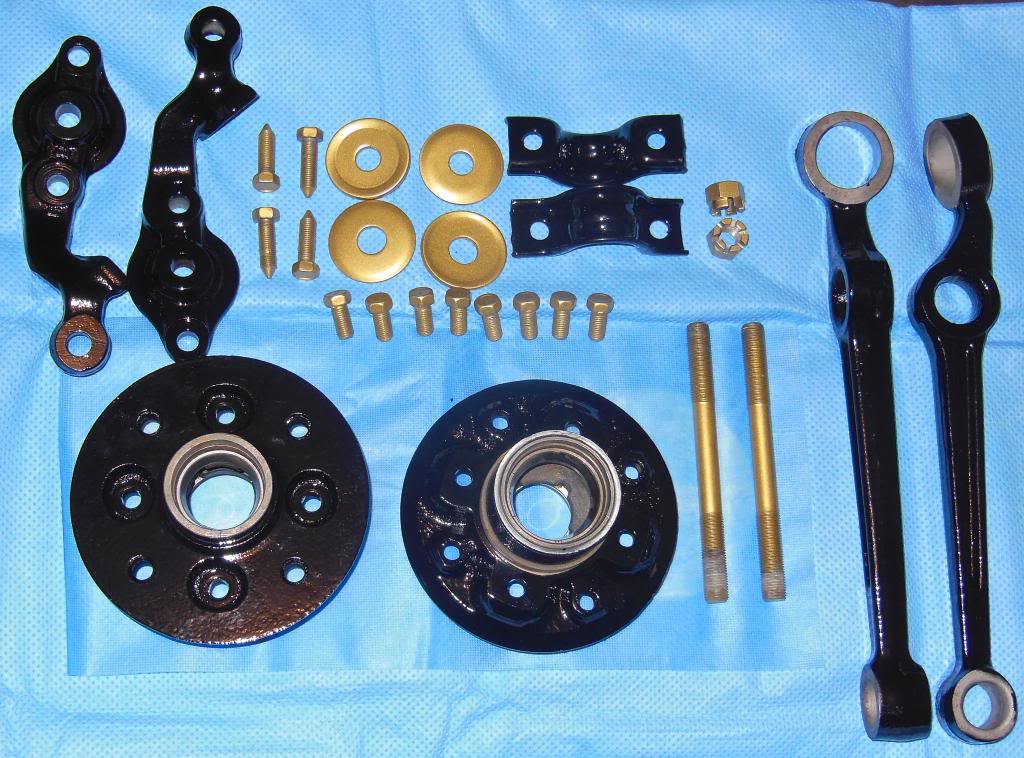
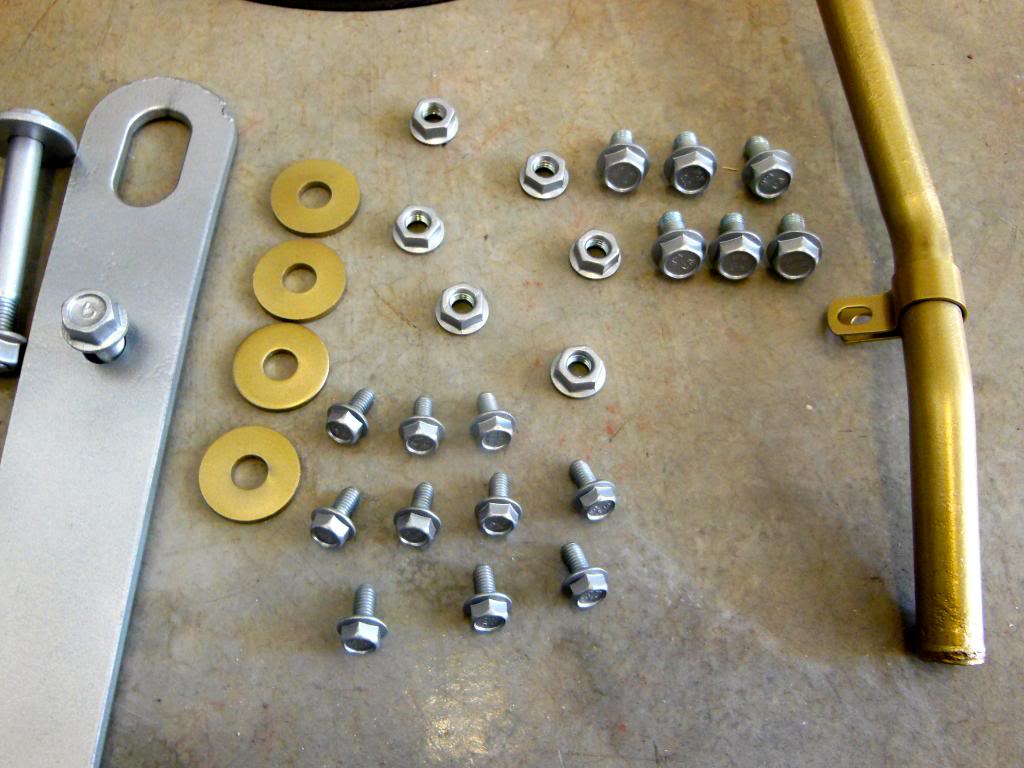
I DID get some small parts properly readied though...
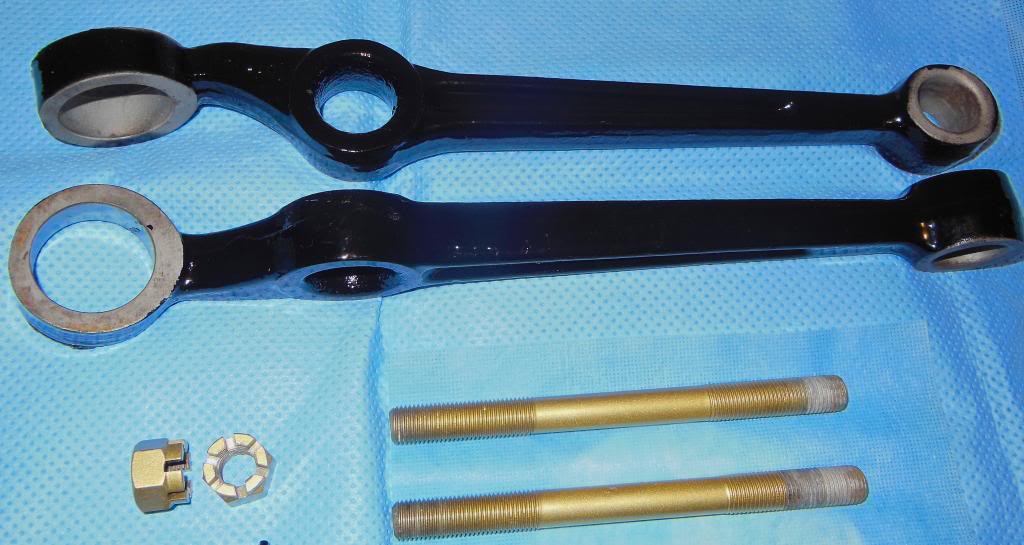
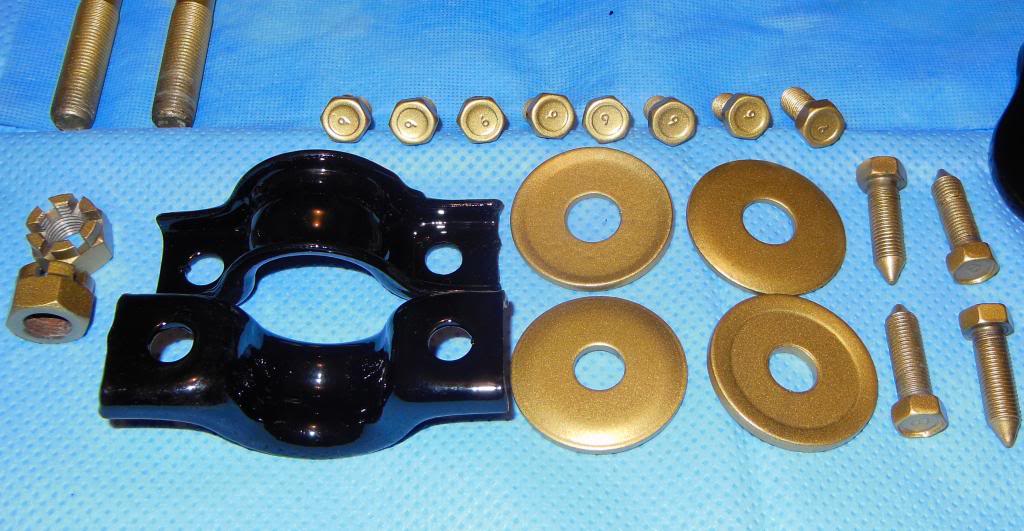
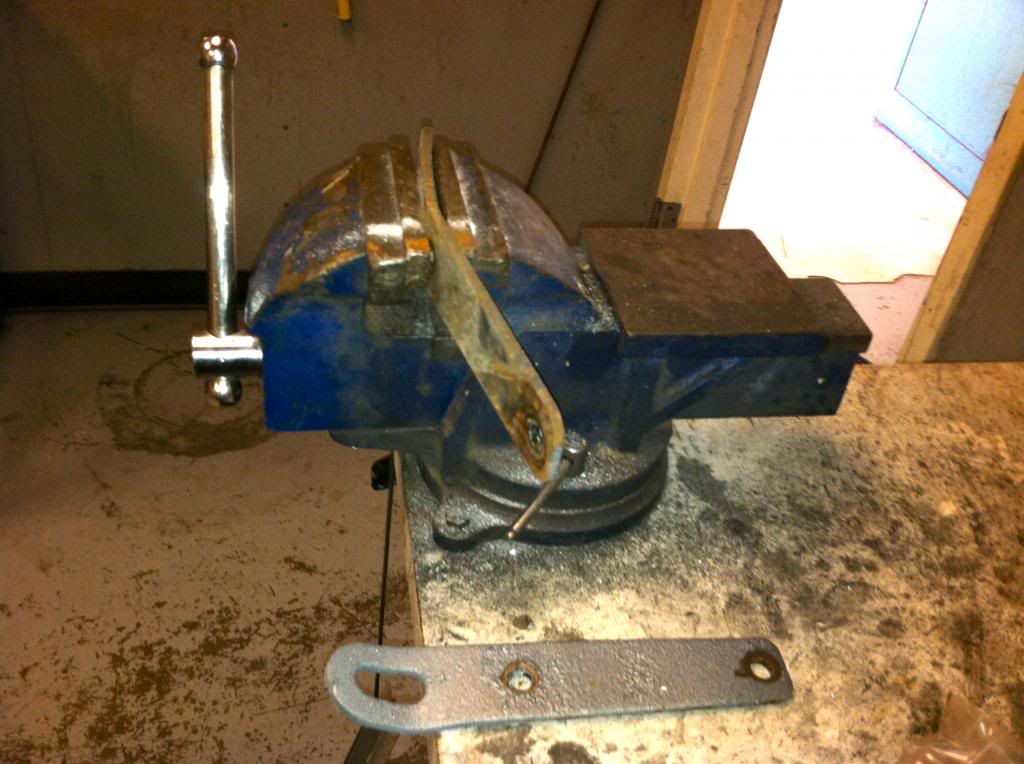
The tow loops that bolt to the front end were wicked bent so I did a bit of straightening before the blast cabinet.
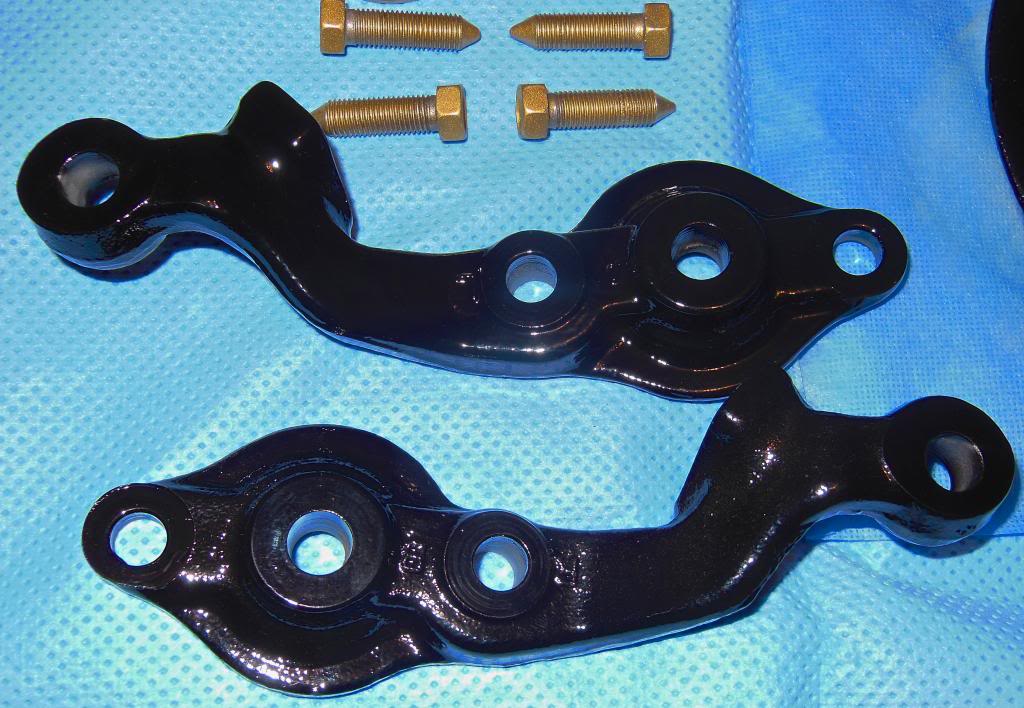
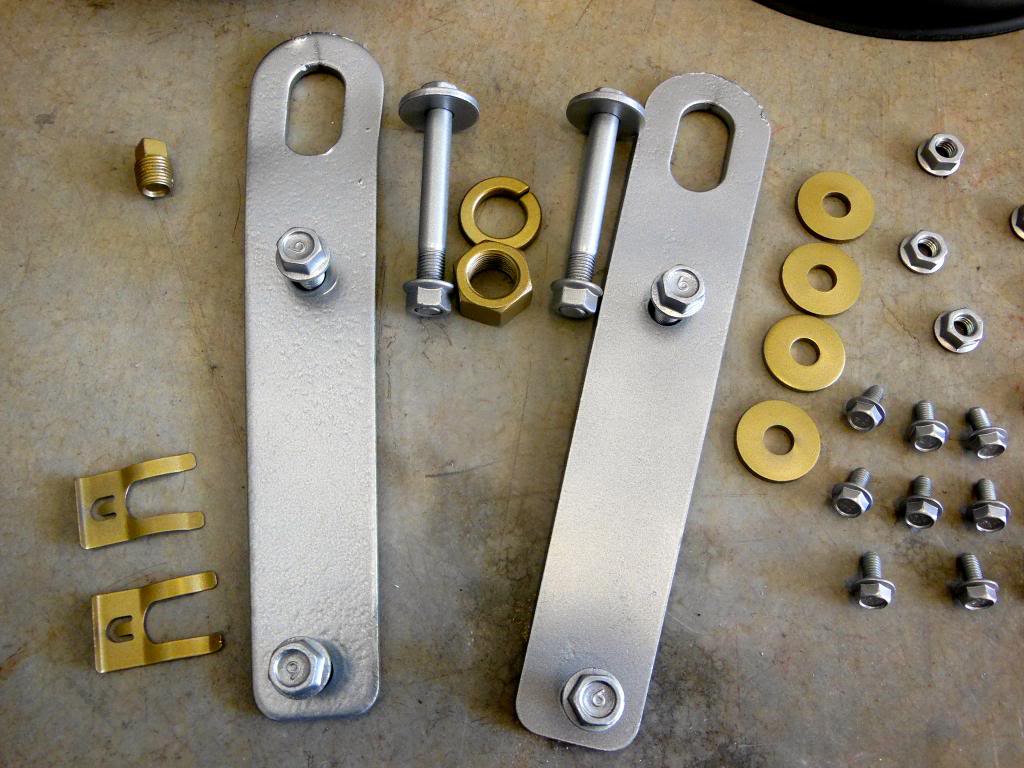
I powder coated the two loops and several nuts and bolts the car color, and a few other bits in gold.
Clockwise from top left are the gearbox plug, idler arm nuts & bolts, Pitman nut, crossmember washers, strut/tower nuts, hood bolts, fender bolts & brake line clips.
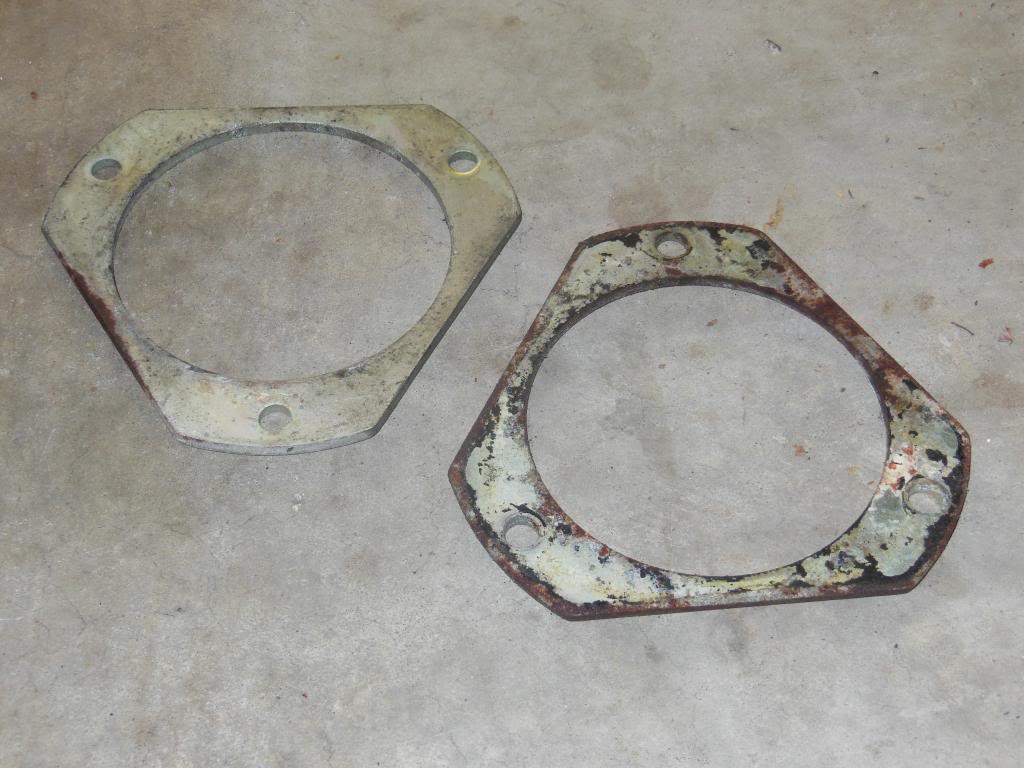
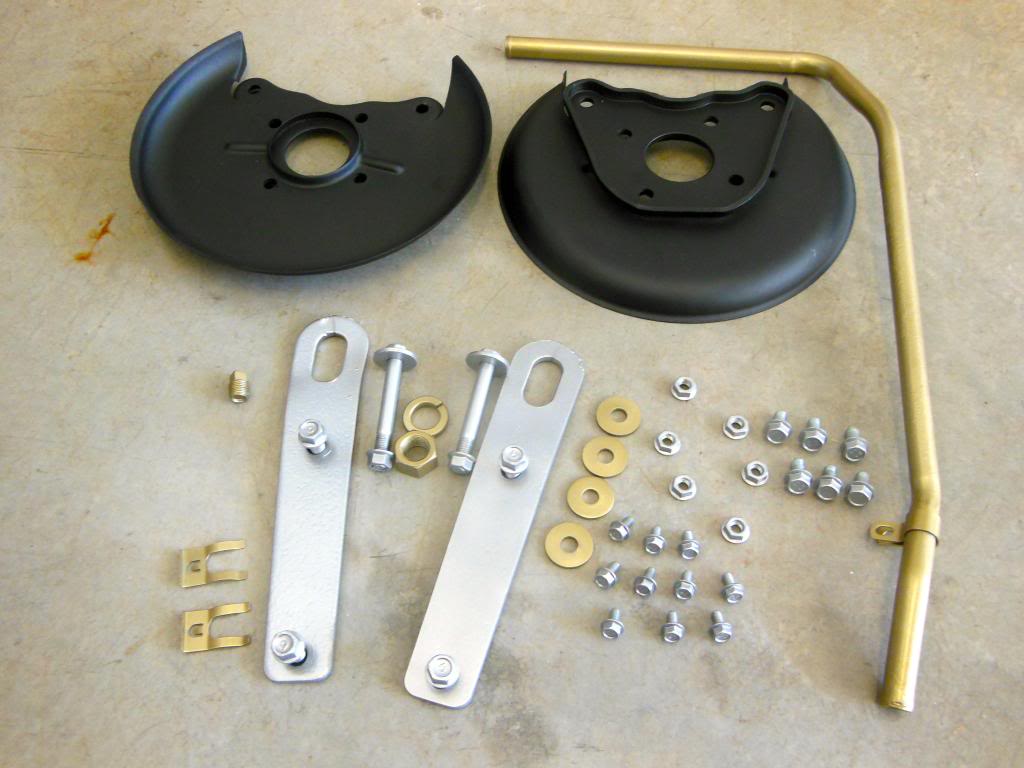
I also finished up the brake rotor shields. I had been on the lookout for a better shield as the two left side shields I had were both damaged. I ended up having a local rod shop caress, massage, and reshape the better of my damaged shields back to new again. Came out better than I expected for dirt cheap.
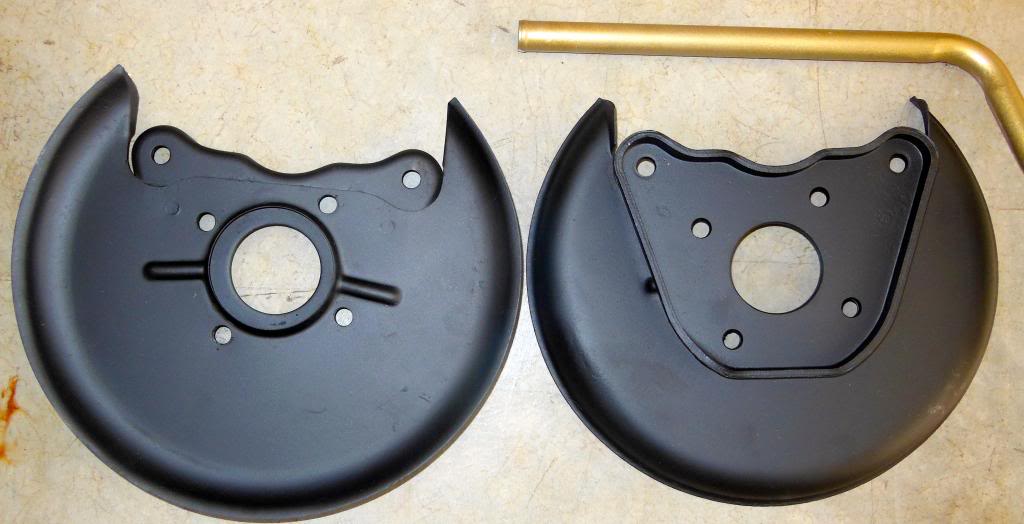
Oh, and we must not forget the heater return pipe....
I moved from one home to another - major work involved with that - kept me from my car for 2 solid months.
Garage door opener motor failed - no big deal you might think, but EH, the freshly painted car is in the way of the motor repair. Can't be dropping even the slightest nut on the car - even if its covered! Sorry, I'm a bit **** about that. But the problem lies in that there are NO wheels, tires, or front suspension on the car. How to move it out of the garage? AND at the precise time the garage guy can actually show up to fix the motor? That's where event coordinator experience comes in handy
I actually BEGAN REASSEMBLY when I had to bolt the crossmember back on to rest the frame on a dolly to roll it out the door.
Any hoo ... couple weeks after that repair the cables derailed for the garage door tangled on their pulleys. Getting the door to close required displacing rollers from their tracks and forcing it shut. More delays.
I DID get some small parts properly readied though...
The tow loops that bolt to the front end were wicked bent so I did a bit of straightening before the blast cabinet.

I powder coated the two loops and several nuts and bolts the car color, and a few other bits in gold.
Clockwise from top left are the gearbox plug, idler arm nuts & bolts, Pitman nut, crossmember washers, strut/tower nuts, hood bolts, fender bolts & brake line clips.


I also finished up the brake rotor shields. I had been on the lookout for a better shield as the two left side shields I had were both damaged. I ended up having a local rod shop caress, massage, and reshape the better of my damaged shields back to new again. Came out better than I expected for dirt cheap.

Oh, and we must not forget the heater return pipe....
