Schmitty's "Like it or Don't" Drift Build


 03-04-14, 12:10 PM
#129
So... here's a diary of progress since December 2013
From:
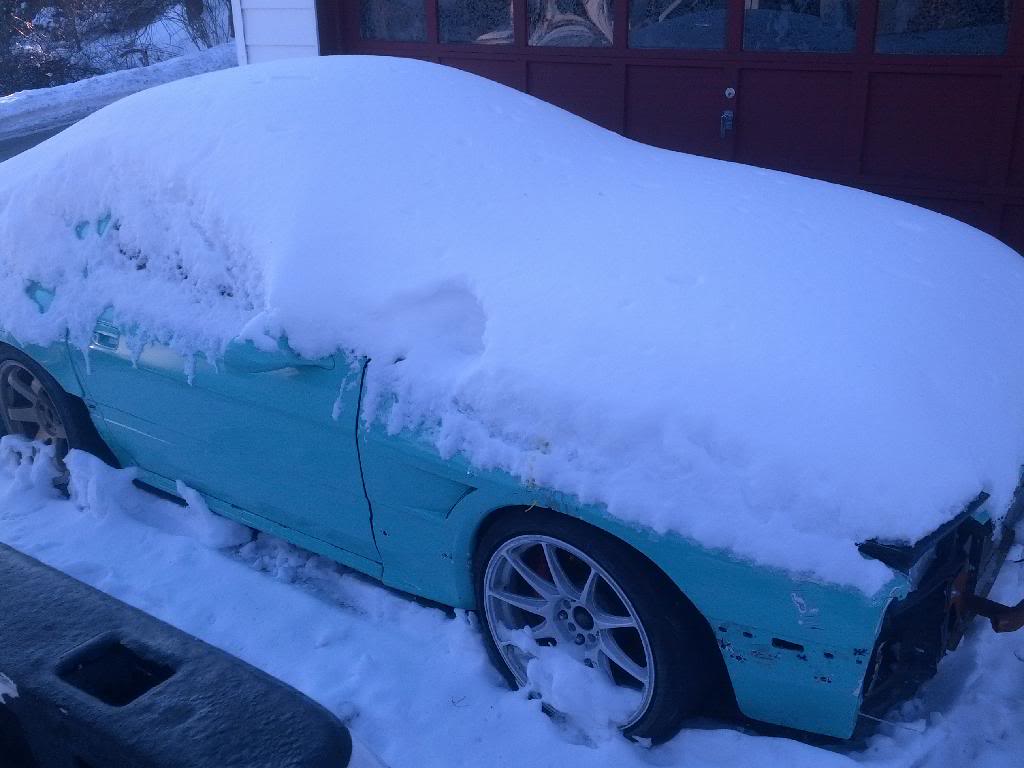
To:
As you can see, not much progress in the last few months. A broken foot, snow, a partially disassembled NA RX7 clogging up the garage and a general lack of time have kept me from working on the drift car.
In the mean time I've still been accumulating parts to get this thing together and back on track for 2014.
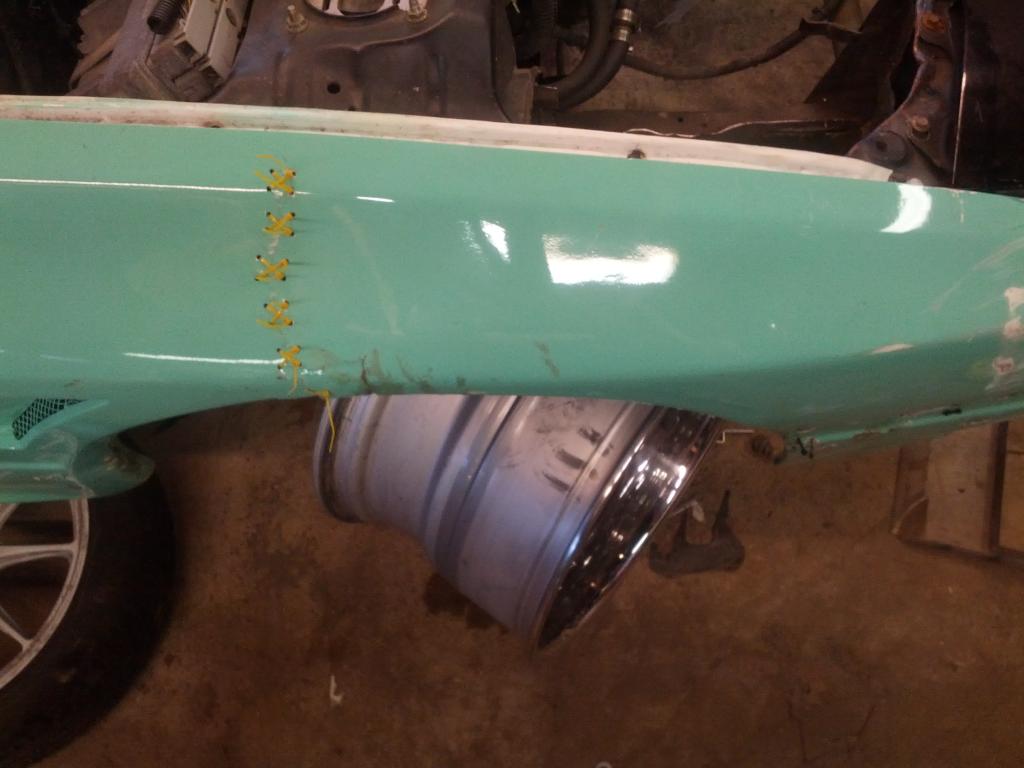
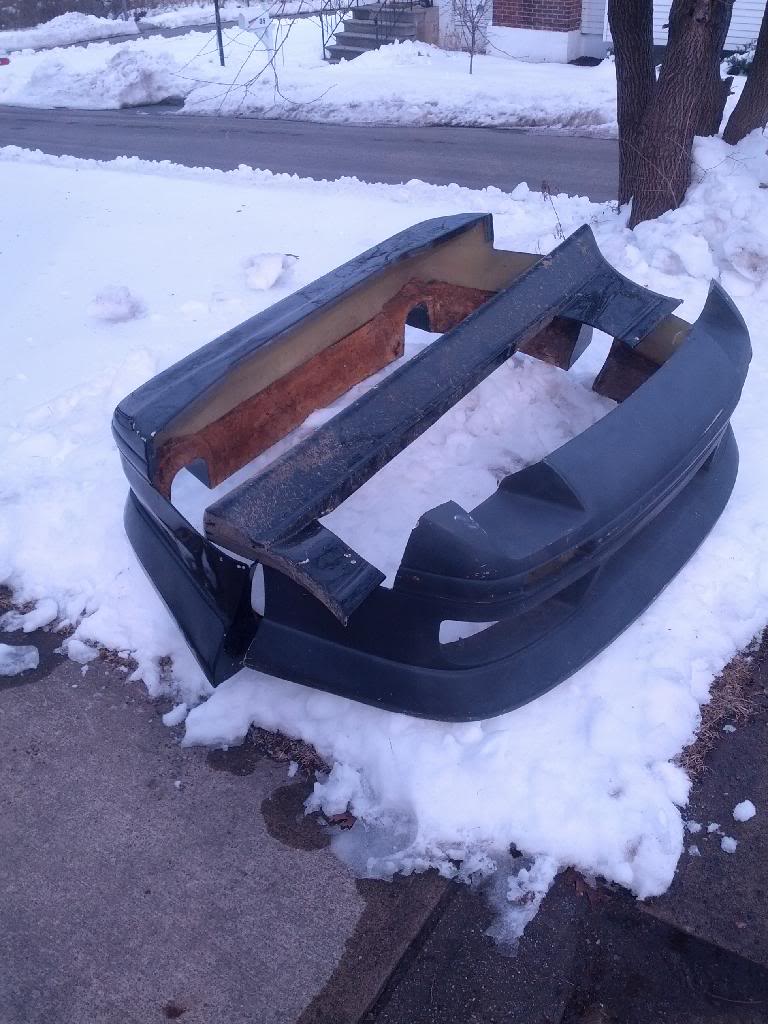
Picked up a new-to-me front bumper and spares for the rear bumper/side skirt from a fellow Clublooser Kovah41 on here
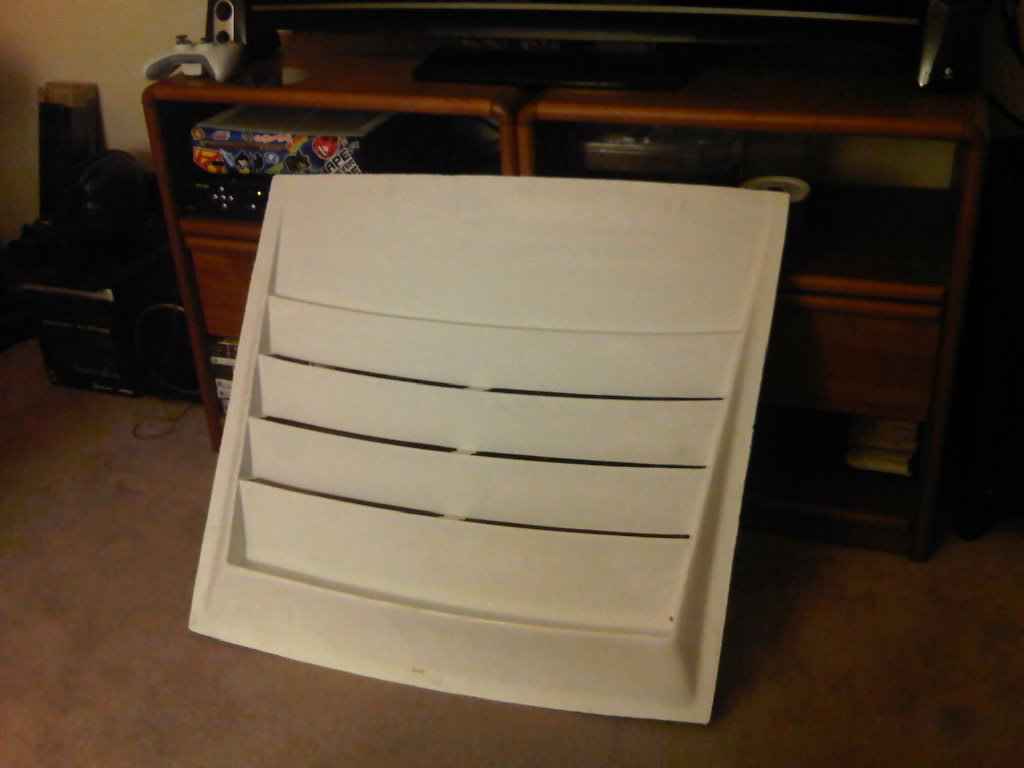
Picked up a "URAS Style" ebay hood vent to throw on a spare NA hood since I roasted my T2 hood last season
Picked up an oil cooler adapter for the LS1 with an internal 180deg thermostat to use with an OEM FC oil cooler core so that I can stop trying to deep fry my bearings with way too hot oil in the sump all summer.
and I picked up this car trailer so I can stop giving Uhaul $50-150 each time I want to go drifting.

It's a little longer than I wanted (18' deck with a 2' dove tail) but at $800 with all the correct paperwork, good tires, and brakes on both axles... I couldn't pass it up.
I'm planning on cutting off all the extra rails that the PO added and giving it a fresh coat of rust-oleum when the weather finally warms up.
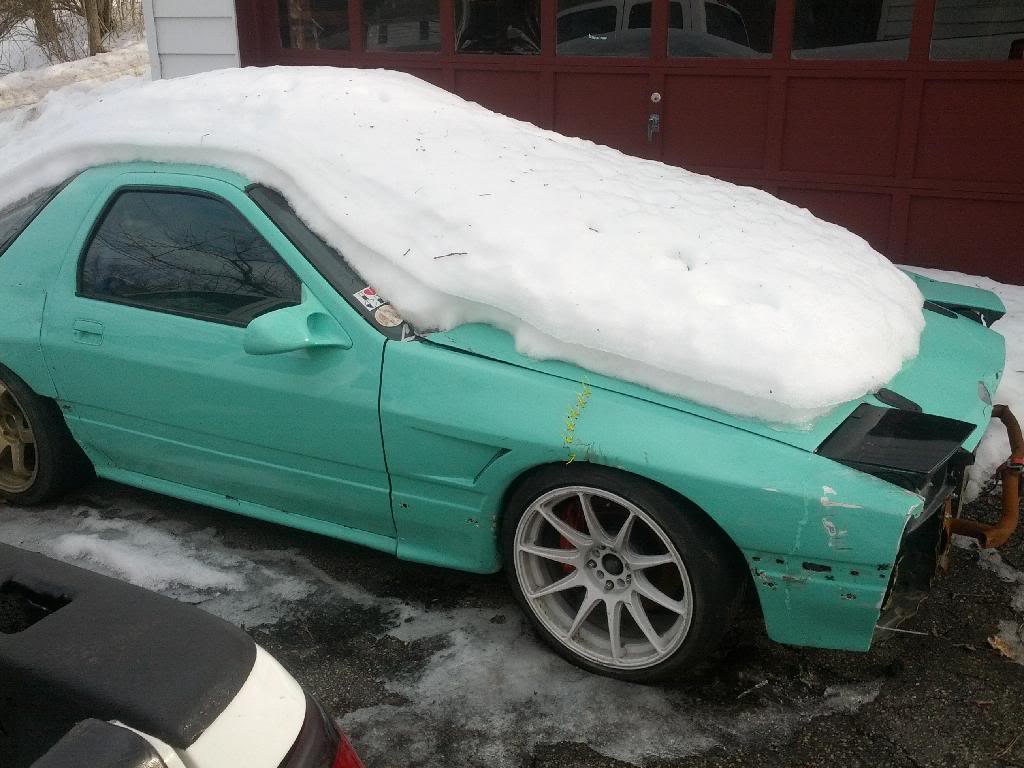
From:
To:
As you can see, not much progress in the last few months. A broken foot, snow, a partially disassembled NA RX7 clogging up the garage and a general lack of time have kept me from working on the drift car.
In the mean time I've still been accumulating parts to get this thing together and back on track for 2014.
Picked up a new-to-me front bumper and spares for the rear bumper/side skirt from a fellow Clublooser Kovah41 on here
Picked up a "URAS Style" ebay hood vent to throw on a spare NA hood since I roasted my T2 hood last season
Picked up an oil cooler adapter for the LS1 with an internal 180deg thermostat to use with an OEM FC oil cooler core so that I can stop trying to deep fry my bearings with way too hot oil in the sump all summer.
and I picked up this car trailer so I can stop giving Uhaul $50-150 each time I want to go drifting.
It's a little longer than I wanted (18' deck with a 2' dove tail) but at $800 with all the correct paperwork, good tires, and brakes on both axles... I couldn't pass it up.
I'm planning on cutting off all the extra rails that the PO added and giving it a fresh coat of rust-oleum when the weather finally warms up.
03-04-14, 05:56 PM
#130

Hey great thread, I believe you bought those tires from me back before 100 DoD, glad you put th to good use! My M3 will have a new owner this weekend, great car but I was ready to move on. I've actually been looking at FDs and reading about rotaries and the chassis for the past month. If you know anyone selling please let me know!
Not sure if I'll be driving at any of the early CL events though, have to find and sort out a car first.
Not sure if I'll be driving at any of the early CL events though, have to find and sort out a car first.
03-11-14, 12:35 PM
#131
Hey great thread, I believe you bought those tires from me back before 100 DoD, glad you put th to good use! My M3 will have a new owner this weekend, great car but I was ready to move on. I've actually been looking at FDs and reading about rotaries and the chassis for the past month. If you know anyone selling please let me know!
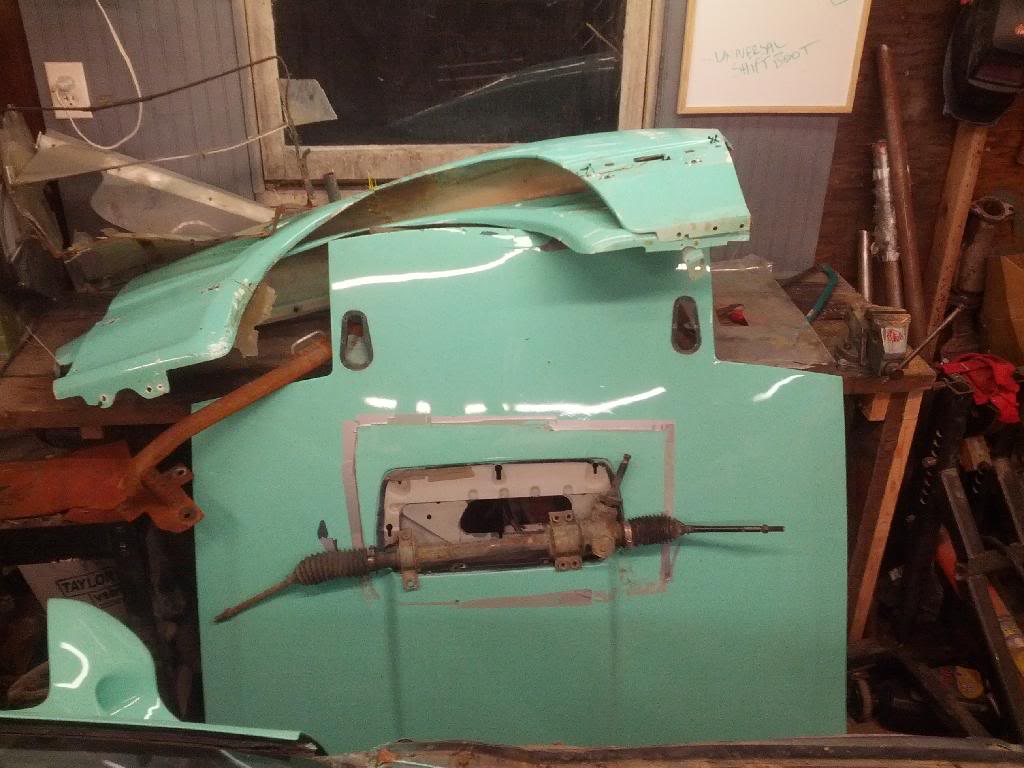
Not too much else exciting going on here. Picked up a power steering rack for use with the PBM super angle kit (the Manual rack has an inner tierod that has a different thread to mate to the rack than with the power steering) and an LS1 GTO power steering pump to push some fluid around.
03-11-14, 08:32 PM
#132
Oh hell yeah! I learned that after a few events, It seems like a deal but they wear so fast.. I used to get used for about $35 but went through 3 pairs of them in one day, even driving the C course in the back! The Achilles were about $75 but lasted me at least a full day, sometimes well into the next event. A lot easier to travel to the track on fresh tires you want to slide on, and only another pair stuffed into the car.
03-24-14, 12:28 PM
#133
Update! - got my rotary RX7 re-assembled and running again and am one large step closer to getting the V8 car into the garage to start the winter 2013 build. Turns out you can't lock a car in the garage for 6 months and expect it to re-assemble itself... who knew?
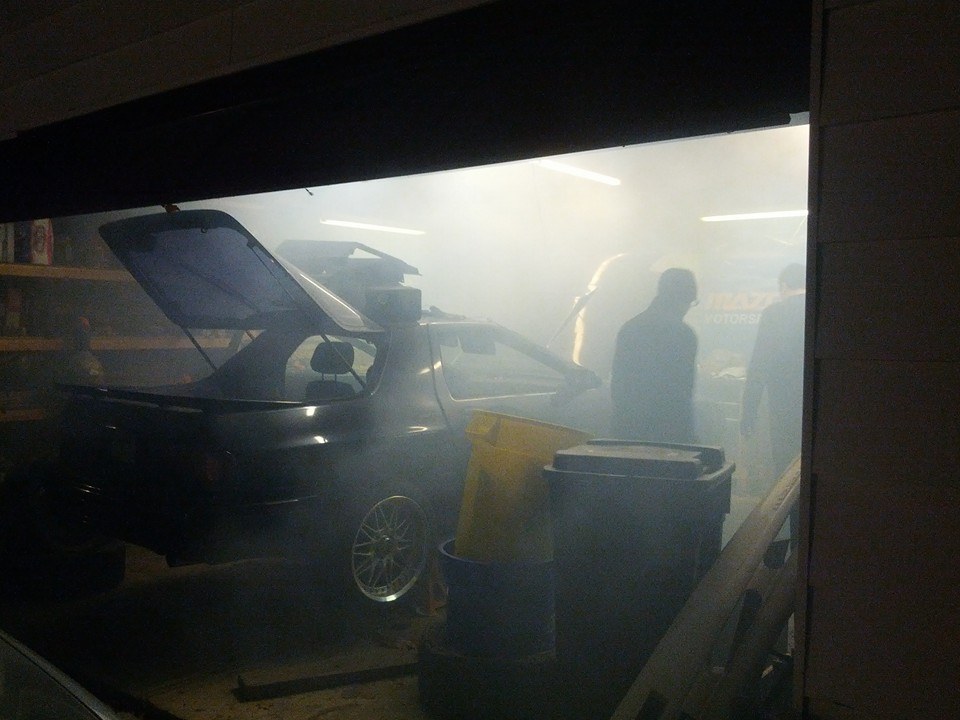
Smoking out the entire neighborhood on first start up. #Justrotarythings
Smoking out the entire neighborhood on first start up. #Justrotarythings
04-16-14, 10:39 PM
#134
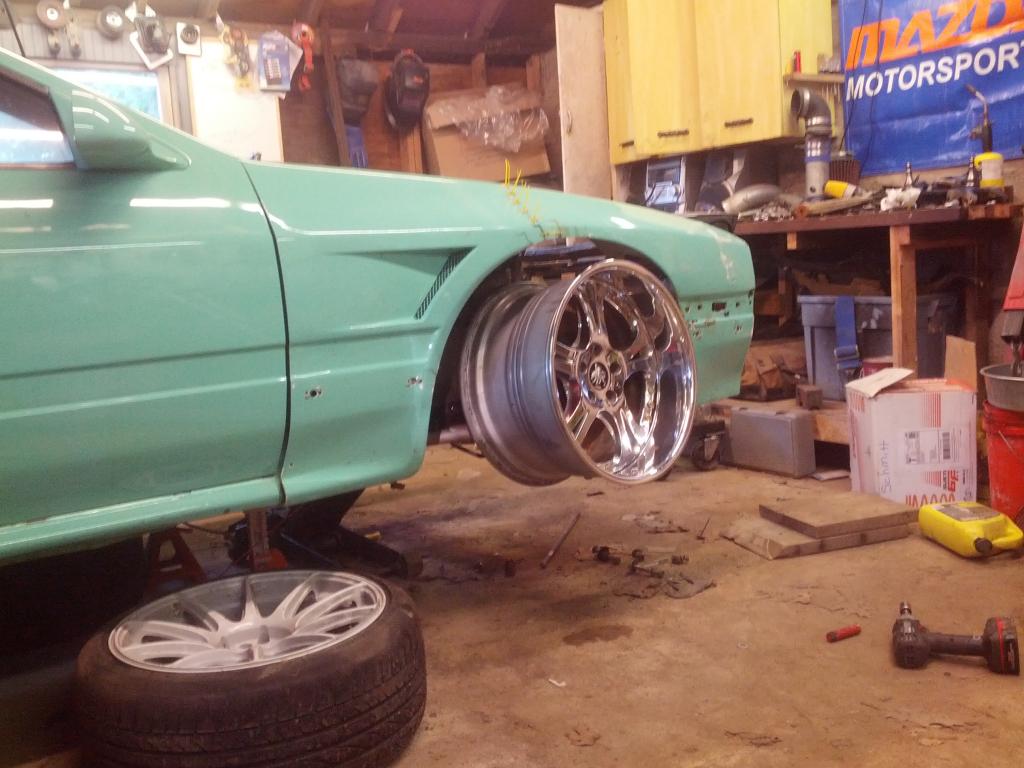
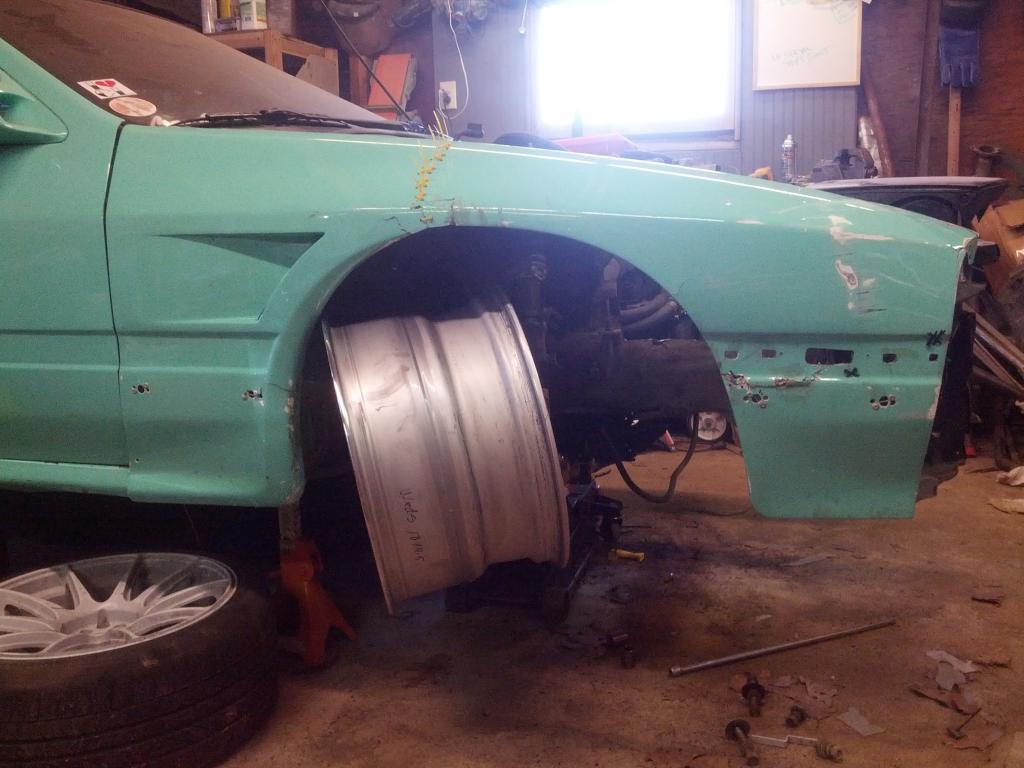
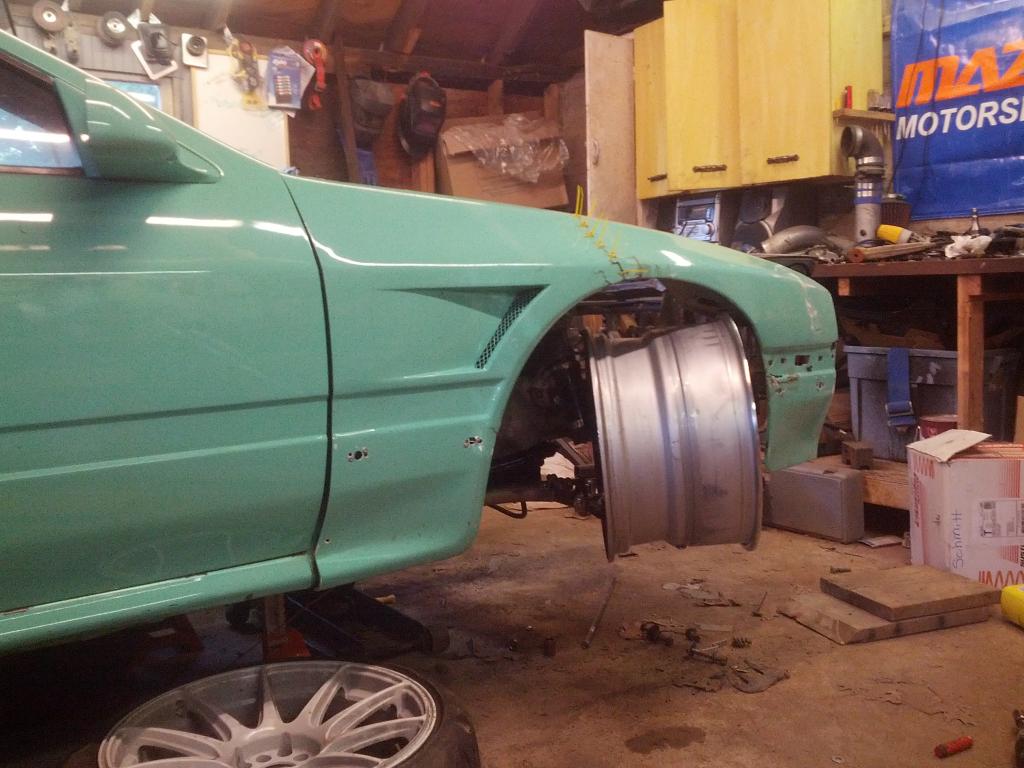
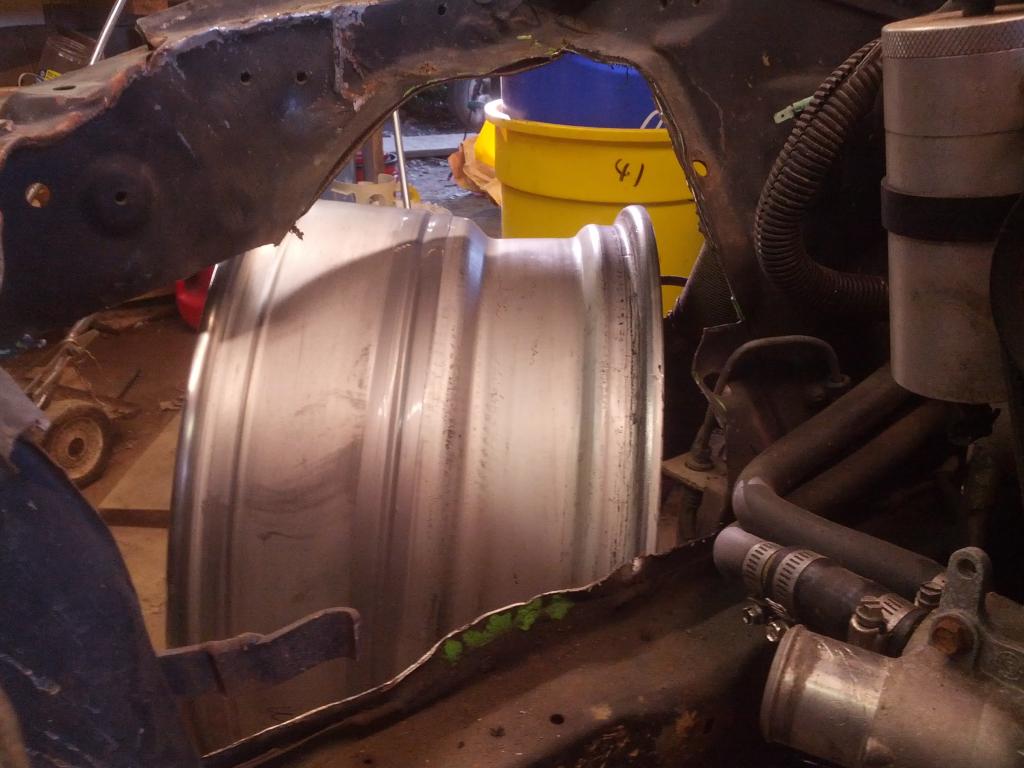
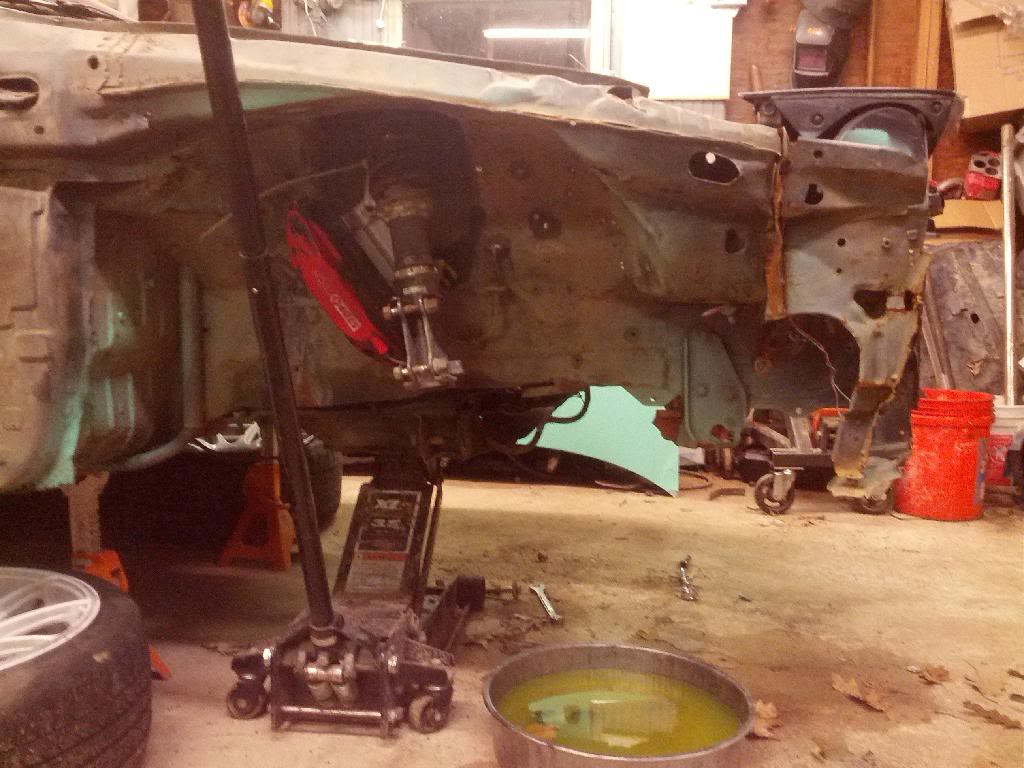
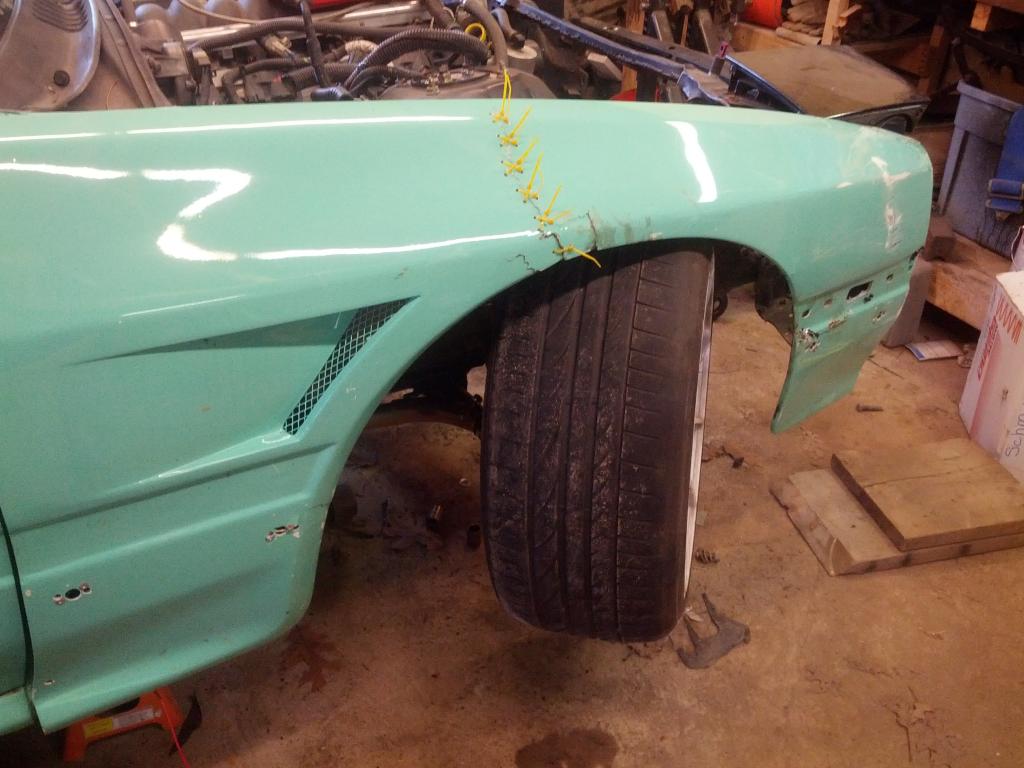
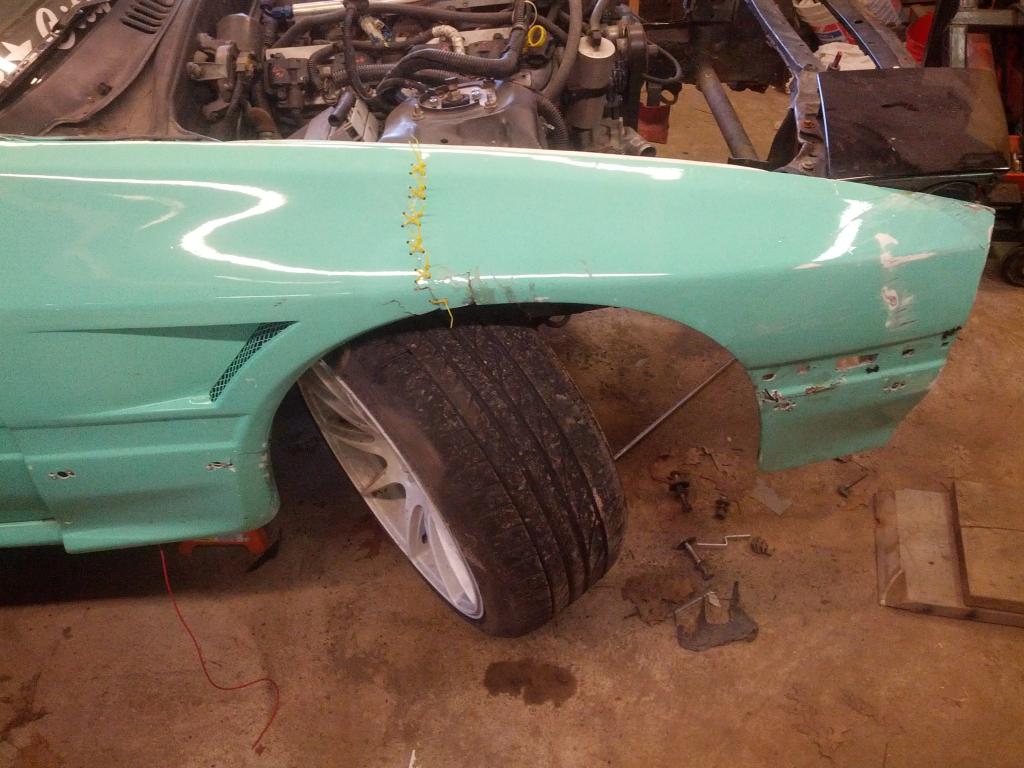
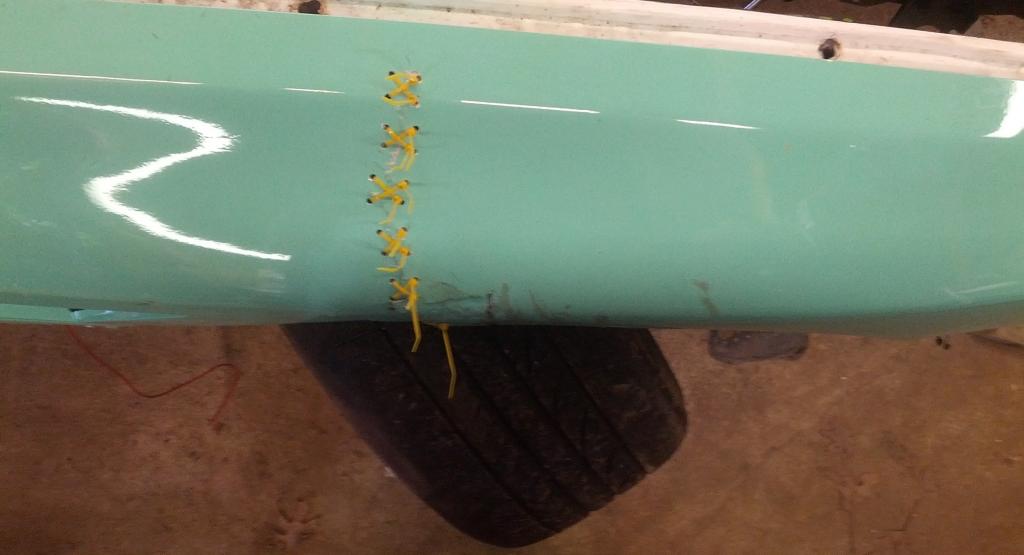
Finally got around to working on the track car.  I pulled off all the damaged panels and all the front end suspension that will be replaced by the PBM Super Angle Kit. (I also poked a hole in my radiator because I'm an ******* who shouldn't be let near tools... hence the pan full of coolant on the ground)
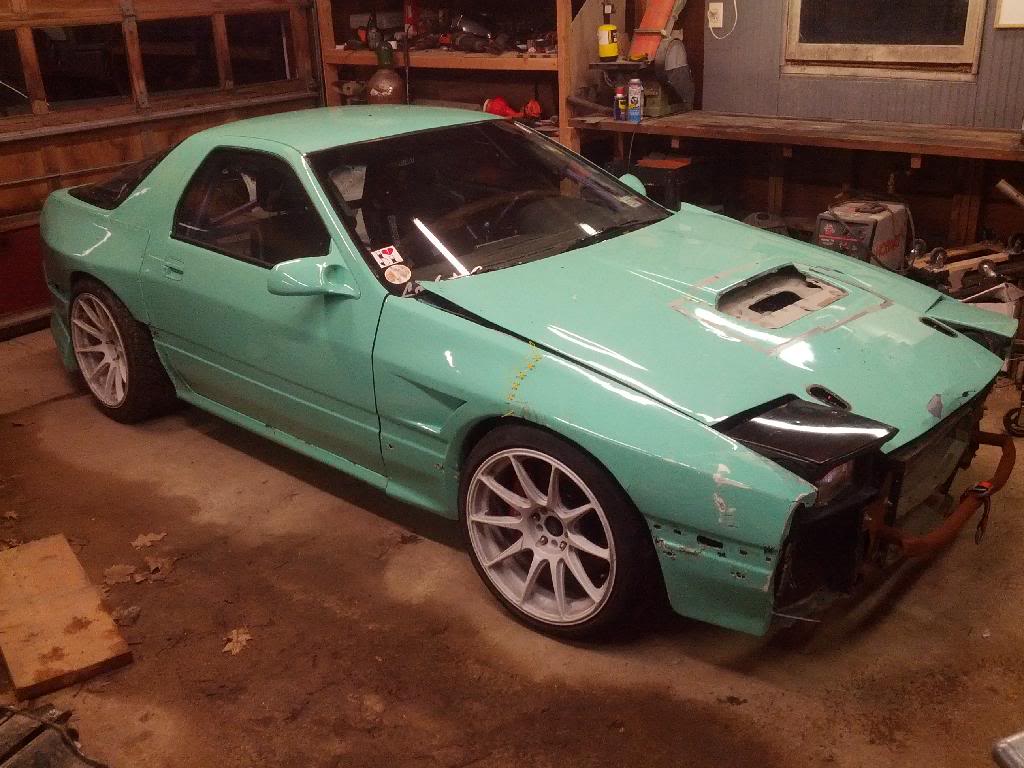
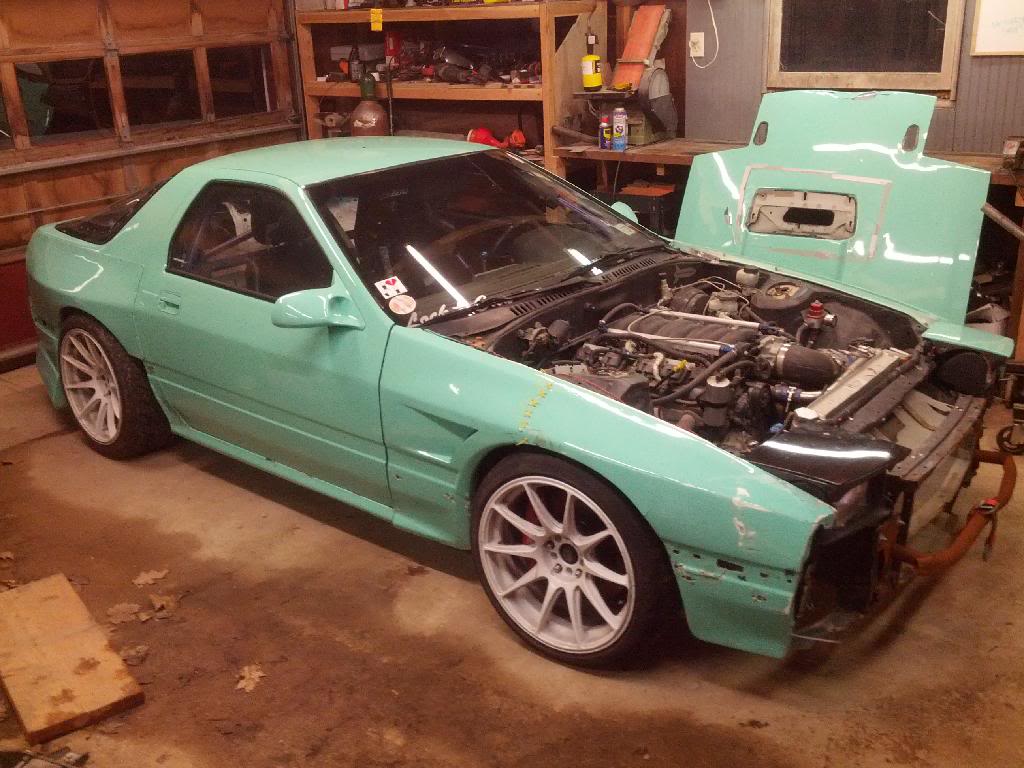
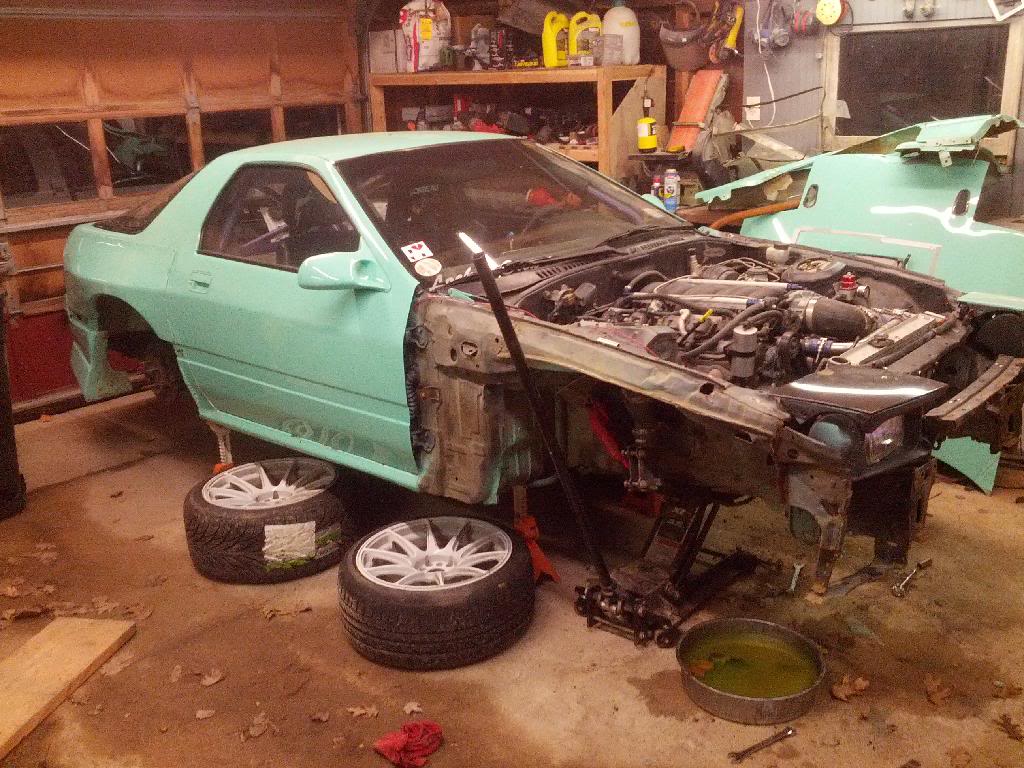
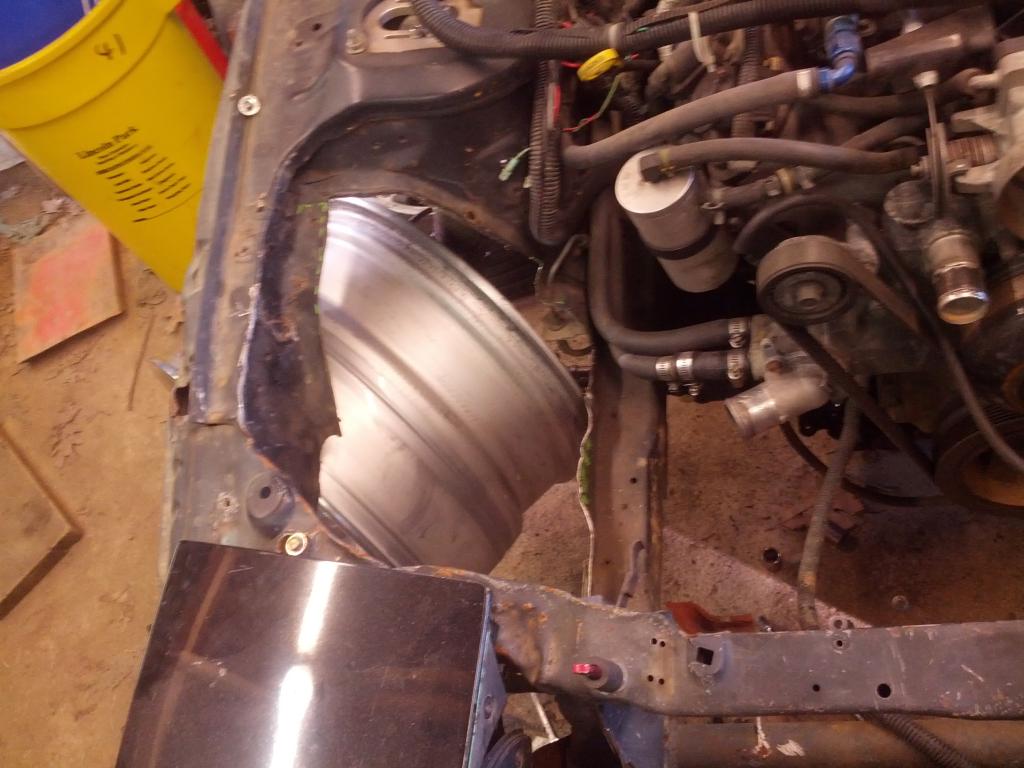
Needs a little cleanup and some fresh paint before the PBM stuff can find a home here
Excess parts and damaged goods:
Needs a little cleanup and some fresh paint before the PBM stuff can find a home here
Excess parts and damaged goods:
 04-17-14, 10:11 PM
#137
Me too! I've got to clean up the undercarriage first though so it doesn't keep becoming more and more of a pile of dicks each season before I can put the nice parts on.
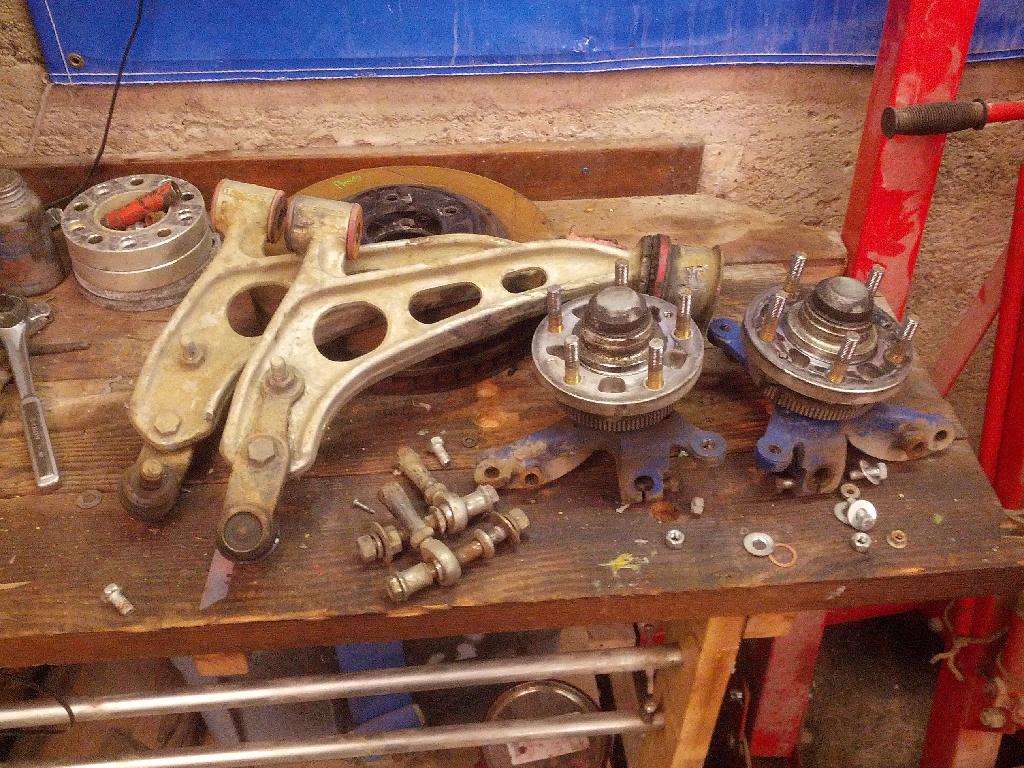
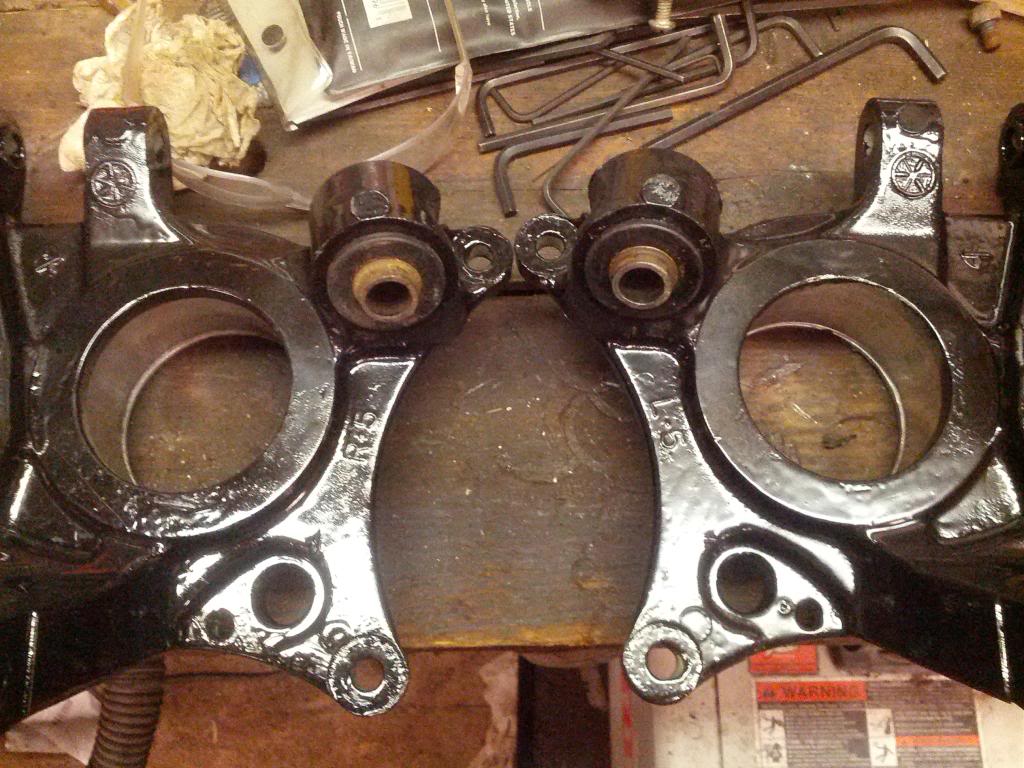
Got the rear suspension blown apart and ready to send out to be sand blasted and coated before loading it up with PBM goodies. I'm also going to replace both wheel bearings while the hubs are out.
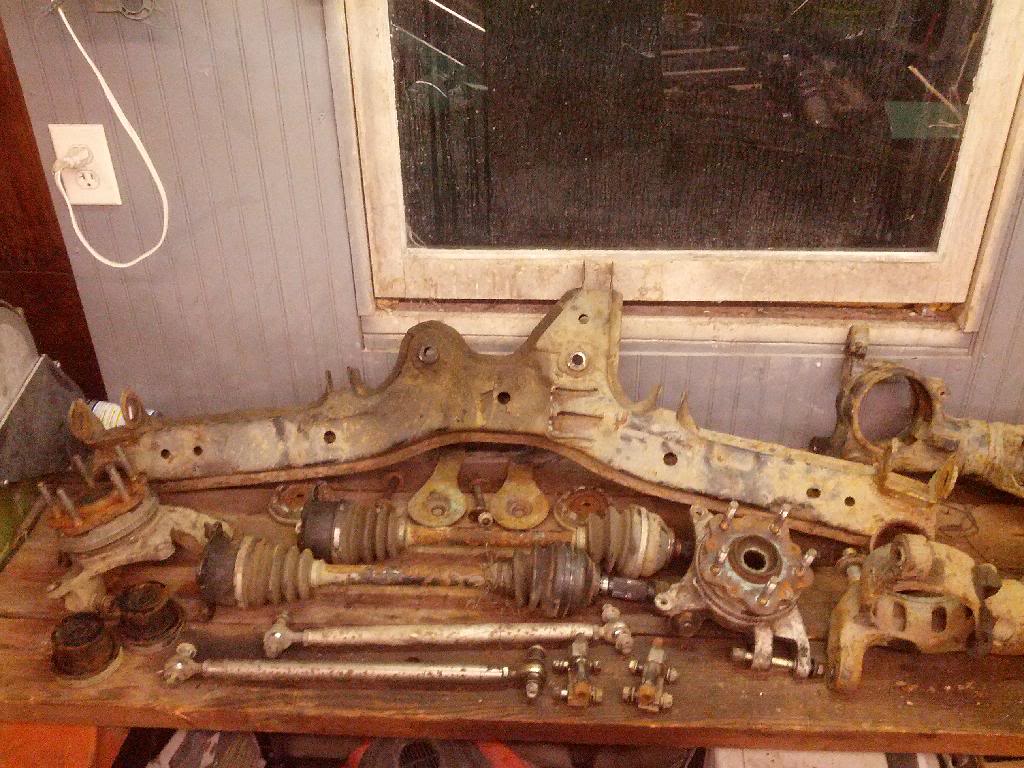
Protip: Don't buy a car that has spent most of it's life in upstate NY... way too much rust on everything.
Got the rear suspension blown apart and ready to send out to be sand blasted and coated before loading it up with PBM goodies. I'm also going to replace both wheel bearings while the hubs are out.
Protip: Don't buy a car that has spent most of it's life in upstate NY... way too much rust on everything.
 04-21-14, 03:32 PM
#139
I'm hoping to get this thing back together ASAP and drive it again. I keep seeing all the media coming out from the last few Clubloose events and it's killing me to have my car up on jack stands rather than being out on the track.
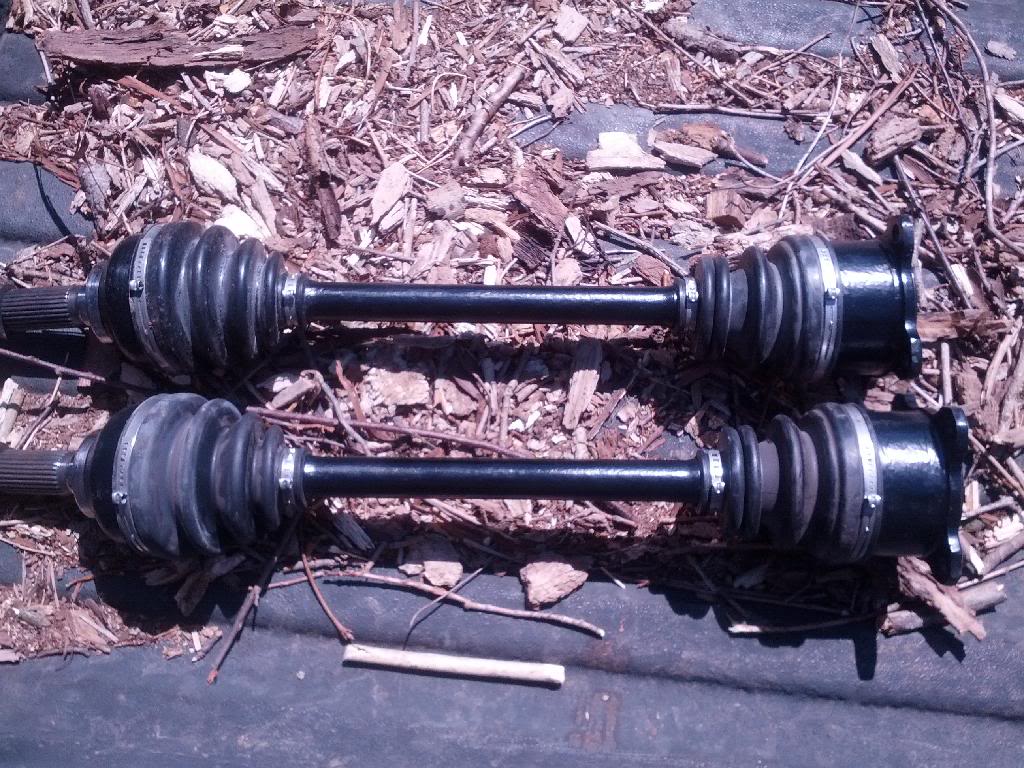
Got my axles inspected and refurbished. I know these are getting pretty hard to find, and rebuilt units are pretty much non-existent. Mine sat all winter with water in a torn boot, so I wanted to get them cleaned up, inspected, re-greased, and re-booted rather than risking breaking something by having worn out joints or rust in the ripped boot section. They came back with a clean bill of health and are ready to rip.
I also got 2 quotes for about $620-650 to sand blast and powder coat my sub frames and trailing arms. That's way more than I want to spend, so it looks like I'll be cleaning these up and applying POR15 myself.
05-06-14, 09:20 PM
#140
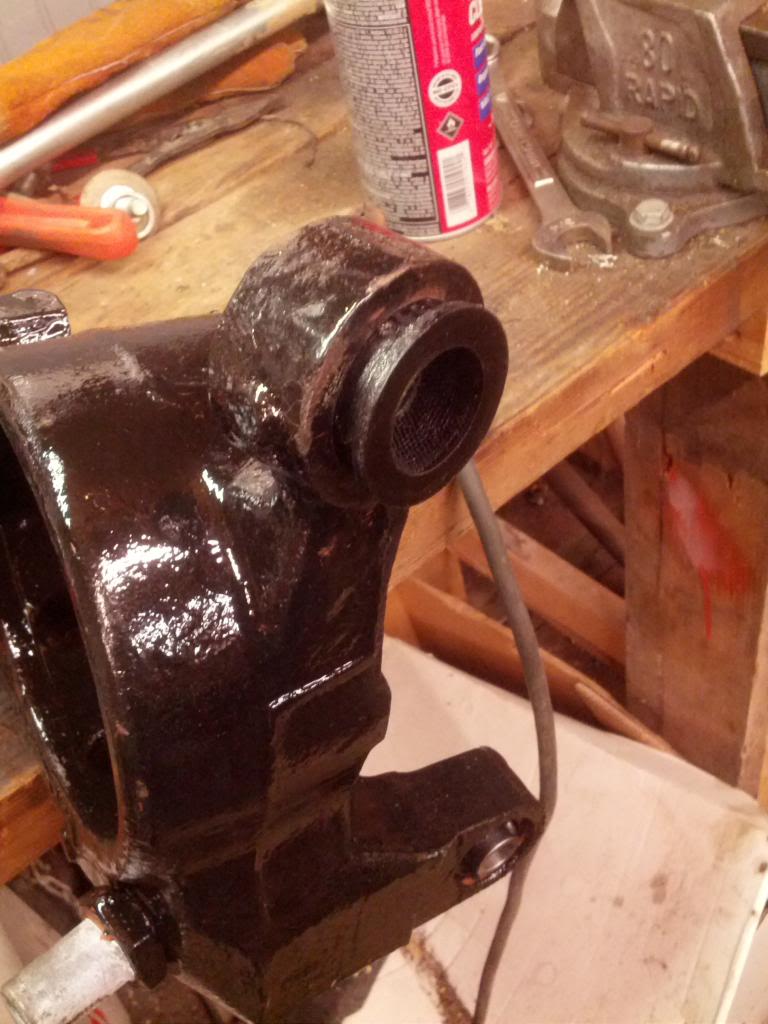
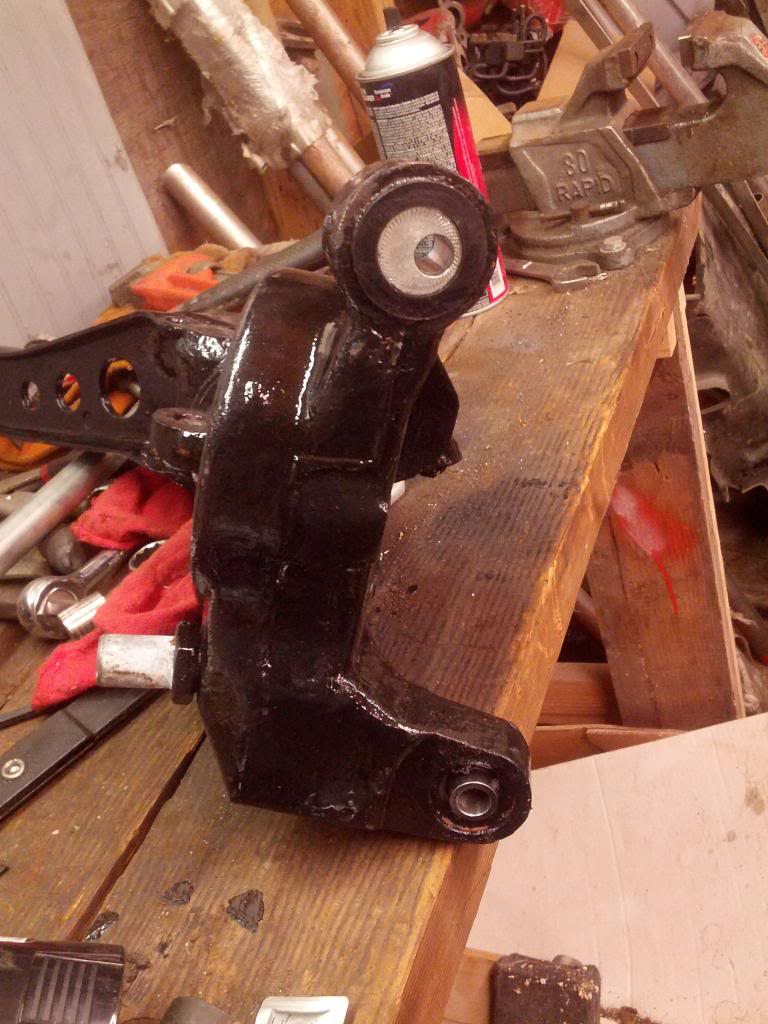
Spent the last couple weeks stripping and prepping the suspension and subframes for paint. Finally got a coat of paint on everything last night so now I can start pushing bushings and bearings back in.
Racing Beat DTSS eliminator re-install:
Pretty standard stuff. Wheel bearings and hubs are the next to go in... still trying to decide if I want to put the ABS tone rings back on or not. They seem to offer some protection to the bearing, but on the flip side I found a bunch of tire strings jammed in behind there when I took every thing apart so that can't be great for the bearing either... any advice?
Also I saw these things over in PremiumRice's build thread when they freshened up their rear suspension back on like page 1. I had just ordered the PBM Rear upper trailing arm bushings... but saw these and got to work ordering them as well.

Source: pro's build thread
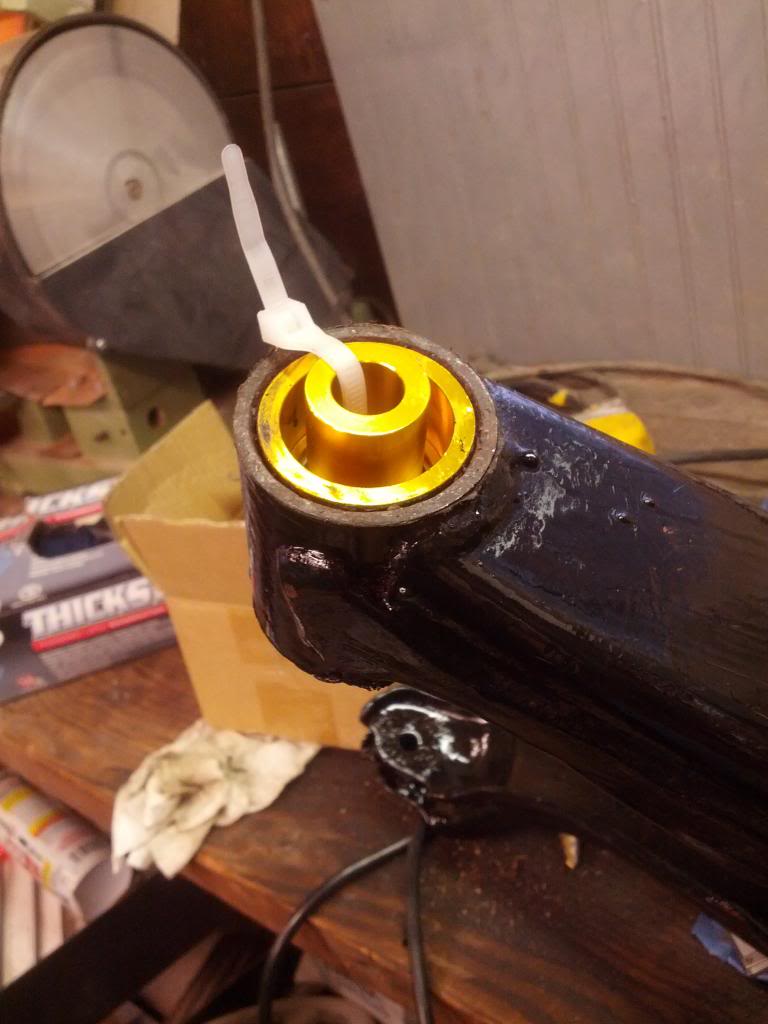
So, no part number to go off of, but I figured that based on the yellow bushings that they were Whiteline joints... well lo-and-behold... here they are
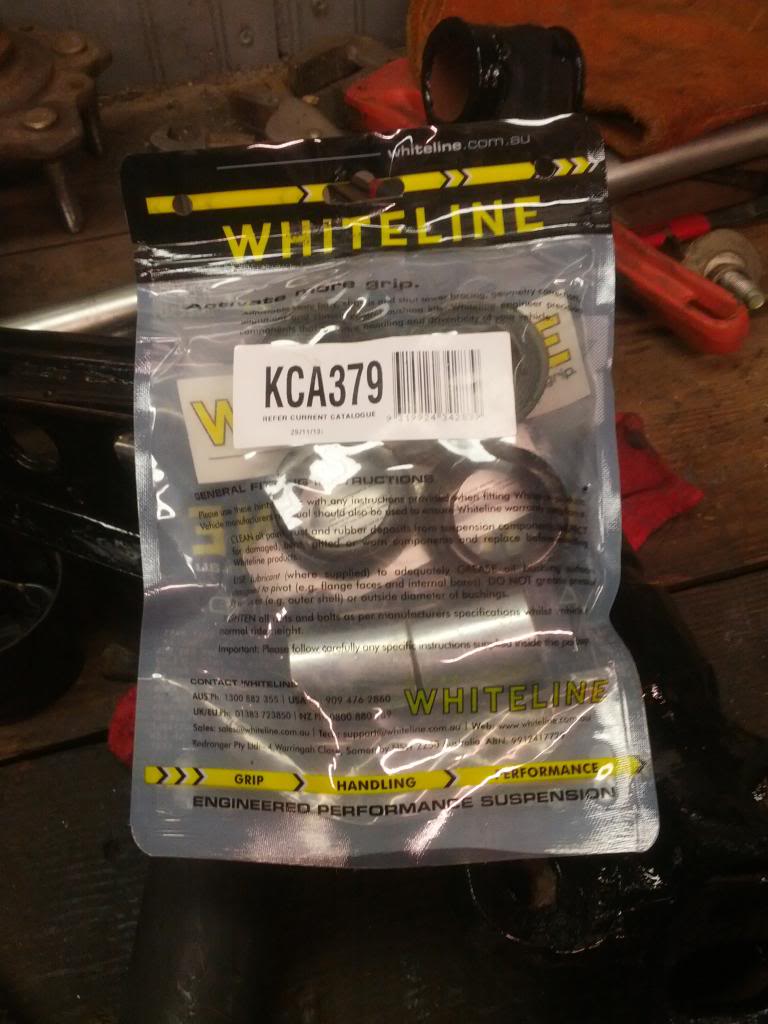
The offset hole will give you like +/- 1.5 degrees of camber. I've got mine installed to dial out some additional camber since the individual camber links were maxed out last year and I still had some negative camber giving me uneven tire wear.
Next step is getting the PBM trailing arm sphericals installed, the Racefab dual caliper kit on, and all this junk back up under the car.
Racing Beat DTSS eliminator re-install:
Pretty standard stuff. Wheel bearings and hubs are the next to go in... still trying to decide if I want to put the ABS tone rings back on or not. They seem to offer some protection to the bearing, but on the flip side I found a bunch of tire strings jammed in behind there when I took every thing apart so that can't be great for the bearing either... any advice?
Also I saw these things over in PremiumRice's build thread when they freshened up their rear suspension back on like page 1. I had just ordered the PBM Rear upper trailing arm bushings... but saw these and got to work ordering them as well.
Source: pro's build thread
So, no part number to go off of, but I figured that based on the yellow bushings that they were Whiteline joints... well lo-and-behold... here they are
The offset hole will give you like +/- 1.5 degrees of camber. I've got mine installed to dial out some additional camber since the individual camber links were maxed out last year and I still had some negative camber giving me uneven tire wear.
Next step is getting the PBM trailing arm sphericals installed, the Racefab dual caliper kit on, and all this junk back up under the car.
05-06-14, 11:07 PM
#141
Nice man stoked our build could give some ideas. As a wood of advice you may wanna file down the end of the metal center piece and the bushing flanges to make it a little skinnier. They were too fat for us and wouldn't let the hub slip back over it. Good luck!
05-07-14, 06:35 AM
#142
I noticed that was going to be a problem when I tried to test fit the hub carrier last night. I figured the solution was going to be grinding on something... looks like I'll be popping them back out to clearance everything properly.
05-07-14, 09:25 PM
#143
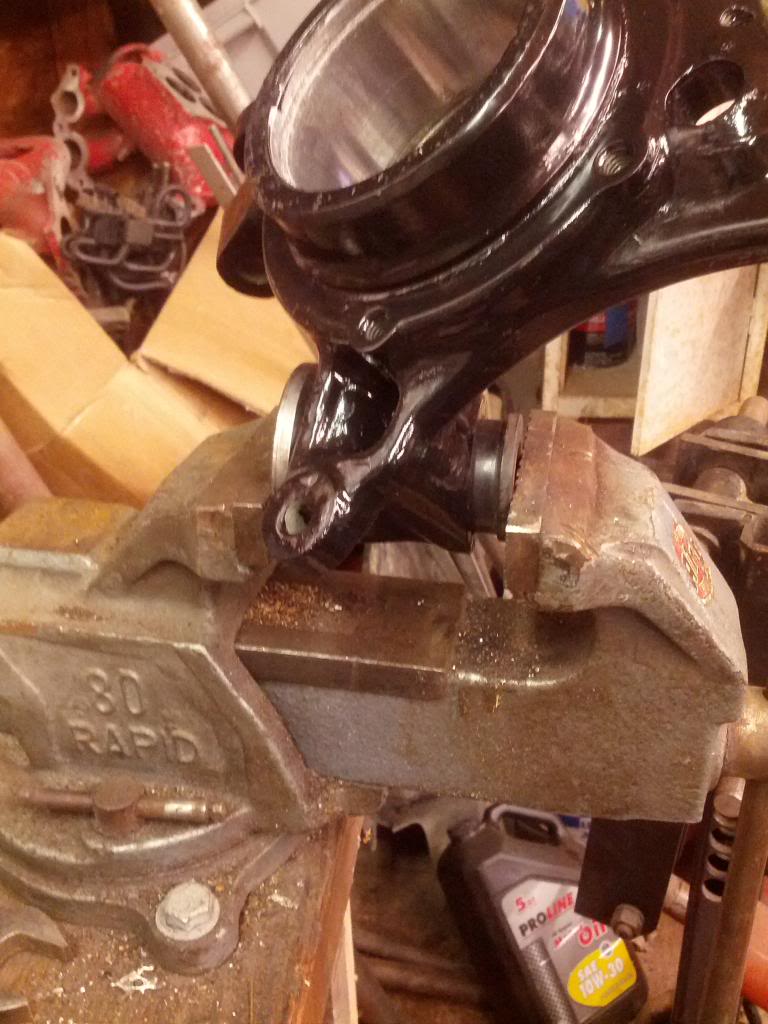
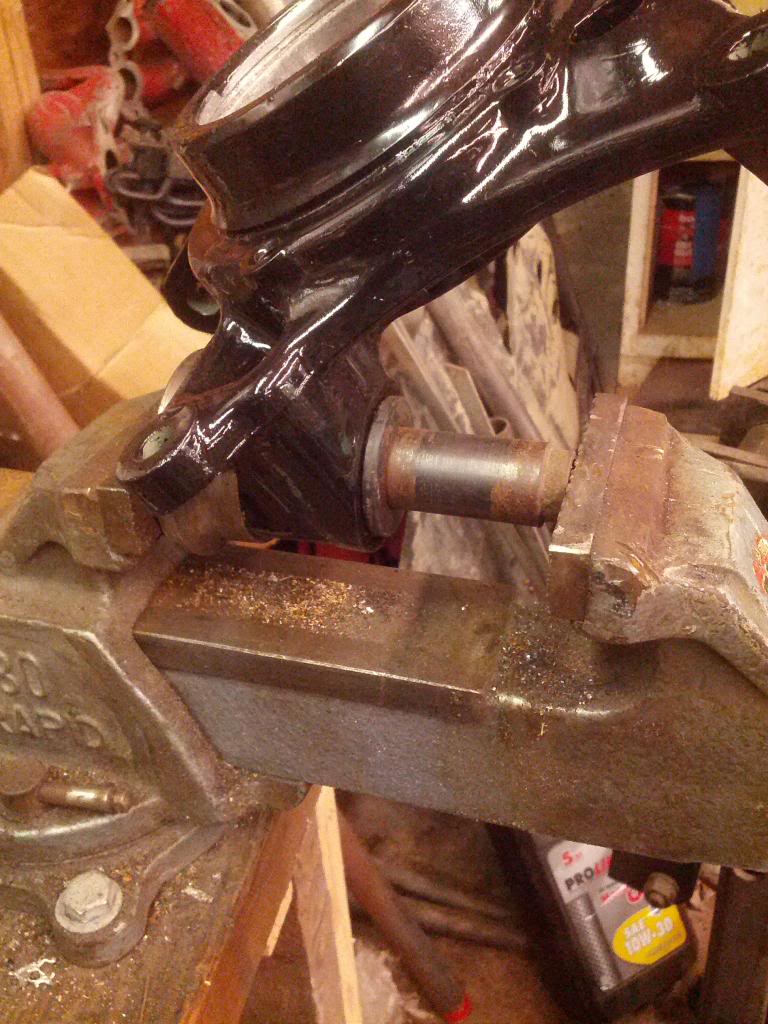
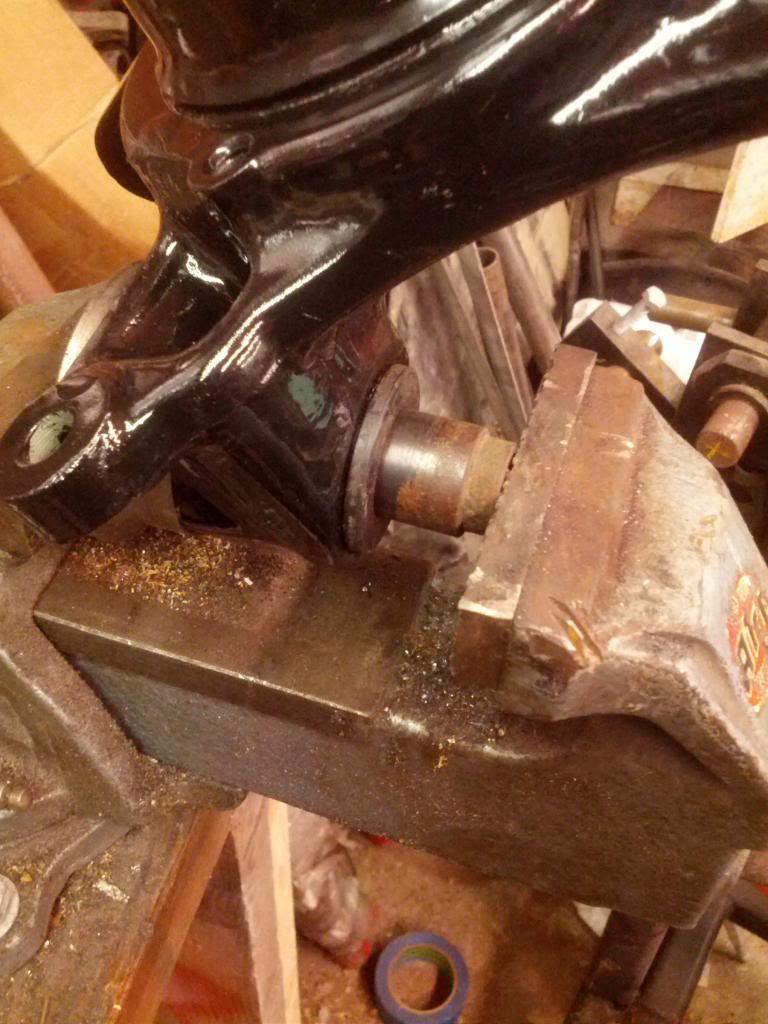
So here's the skinny on what you need to do to get those whiteline rear upper trailing arm bushings to fit...
See that little guy?
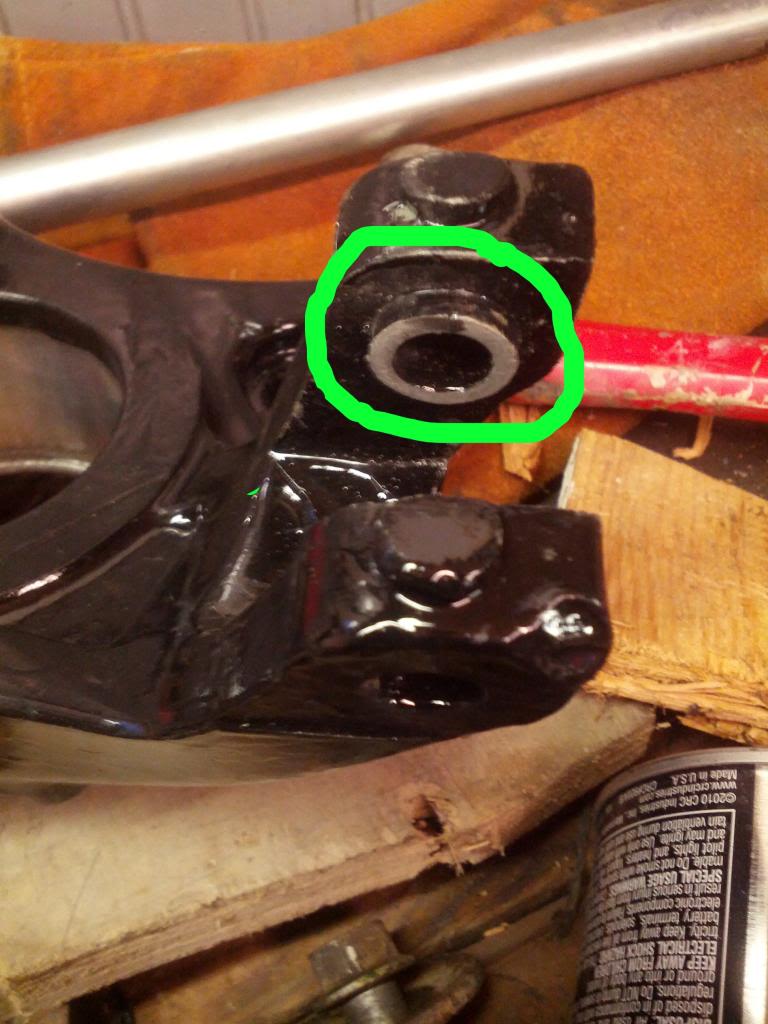
you gotta push that back to flush.
Get a C-clamp and a socket and go to town
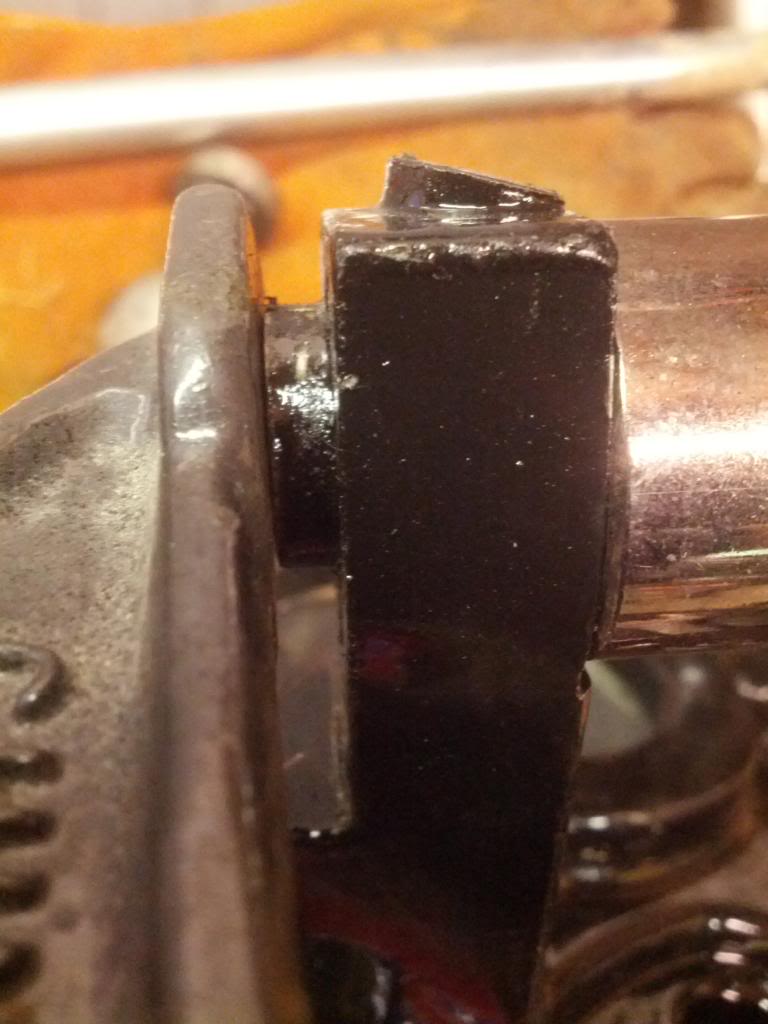
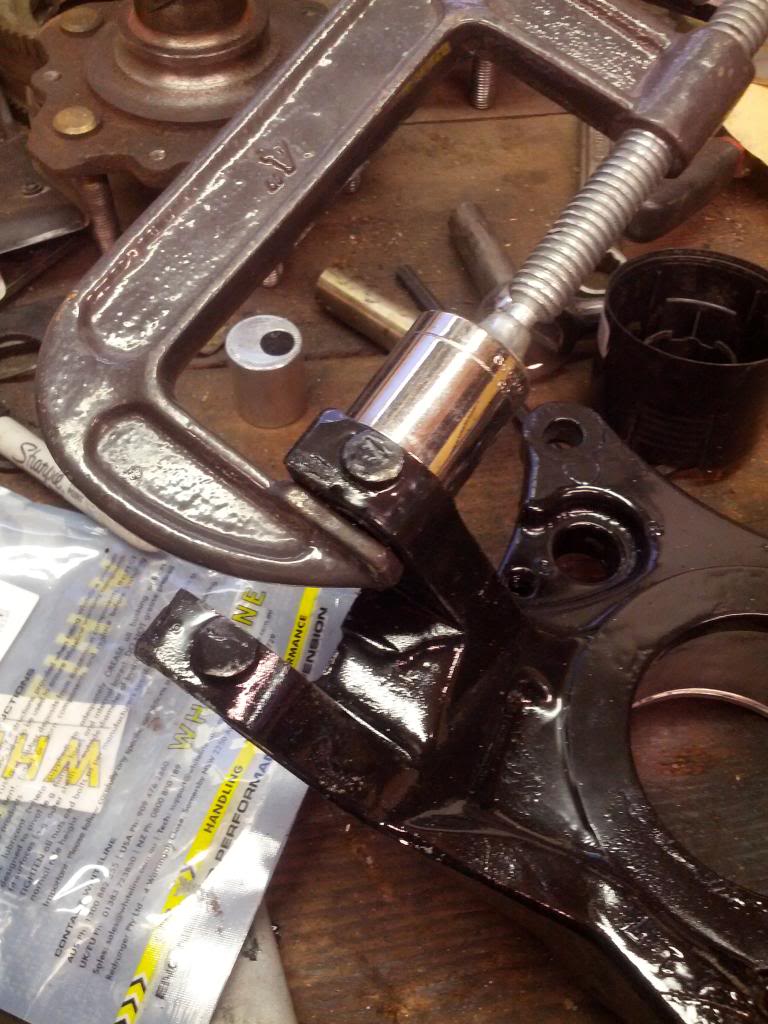
Then you need to take a bunch of material off of the metal insert and bushing halves. I didn't take any pictures of this, but I just stuck everything on the belt sander and let it ride until it fit. Not really though, I broke out the calipers and kept checking the dimensions and I carefully took off material with the sander. The gap where the bushing needed to go on my knuckle is 1.21". The Metal insert from whiteline came in at 1.24" I took it down to about 1.205" and it fits mint. The poly split bushings came in at 1.305" when assembled in the trailing arm. I took material off both ends of both bushing halves to get them to fully seat in the trailing arm boss and to have a total thickness of 1.19" when assembled without the metal insert. Once the metal insert was pushed back in they squeezed out a little but still allow the knuckle to be installed.
Also got the PBM trailing arm sphericals in... cannot wait to drive on these!
See that little guy?
you gotta push that back to flush.
Get a C-clamp and a socket and go to town
Then you need to take a bunch of material off of the metal insert and bushing halves. I didn't take any pictures of this, but I just stuck everything on the belt sander and let it ride until it fit. Not really though, I broke out the calipers and kept checking the dimensions and I carefully took off material with the sander. The gap where the bushing needed to go on my knuckle is 1.21". The Metal insert from whiteline came in at 1.24" I took it down to about 1.205" and it fits mint. The poly split bushings came in at 1.305" when assembled in the trailing arm. I took material off both ends of both bushing halves to get them to fully seat in the trailing arm boss and to have a total thickness of 1.19" when assembled without the metal insert. Once the metal insert was pushed back in they squeezed out a little but still allow the knuckle to be installed.
Also got the PBM trailing arm sphericals in... cannot wait to drive on these!
05-08-14, 11:03 AM
#144
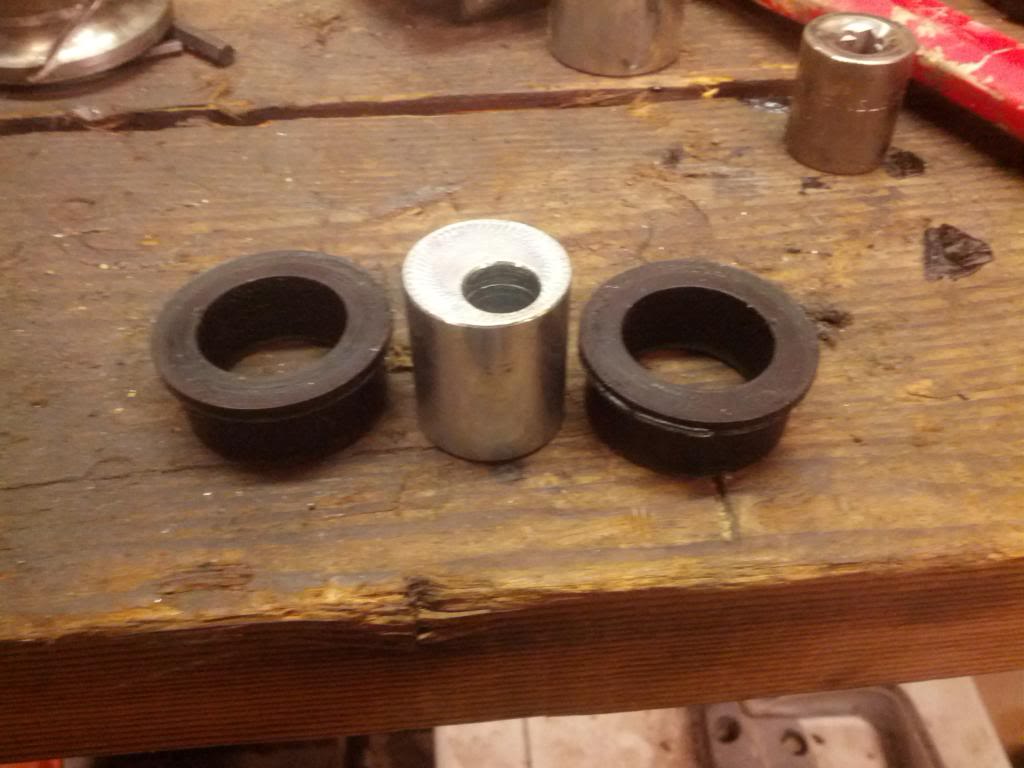
Some notes on the PBM Trailing arm bushing install -
Before installing the bearing-bushing set into the trailing arm you need to assemble the bearing into the aluminum sleeves. I used my vice to press the three pieces together and fully seat the bearing and make sure everything came out straight. Once that's done you can press it into the trailing arm as an assembly. It took almost everything my Harbor Freight 20 ton press had to get these fully seated in the trailing arm. If you don't have a 20+ton press make friends with someone who has one. I was pretty sure something was going to break and that I'd done the install wrong... but it looks like archaphil had pretty much the same experience getting his installed once PBM let the cat out of the bag that the pieces needed to pre-assembled before they get pressed into the trailing arm.
Before installing the bearing-bushing set into the trailing arm you need to assemble the bearing into the aluminum sleeves. I used my vice to press the three pieces together and fully seat the bearing and make sure everything came out straight. Once that's done you can press it into the trailing arm as an assembly. It took almost everything my Harbor Freight 20 ton press had to get these fully seated in the trailing arm. If you don't have a 20+ton press make friends with someone who has one. I was pretty sure something was going to break and that I'd done the install wrong... but it looks like archaphil had pretty much the same experience getting his installed once PBM let the cat out of the bag that the pieces needed to pre-assembled before they get pressed into the trailing arm.
05-08-14, 11:31 AM
#145
Some notes on the PBM Trailing arm bushing install -
Before installing the bearing-bushing set into the trailing arm you need to assemble the bearing into the aluminum sleeves. I used my vice to press the three pieces together and fully seat the bearing and make sure everything came out straight. Once that's done you can press it into the trailing arm as an assembly. It took almost everything my Harbor Freight 20 ton press had to get these fully seated in the trailing arm. If you don't have a 20+ton press make friends with someone who has one. I was pretty sure something was going to break and that I'd done the install wrong... but it looks like archaphil had pretty much the same experience getting his installed once PBM let the cat out of the bag that the pieces needed to pre-assembled before they get pressed into the trailing arm.
Before installing the bearing-bushing set into the trailing arm you need to assemble the bearing into the aluminum sleeves. I used my vice to press the three pieces together and fully seat the bearing and make sure everything came out straight. Once that's done you can press it into the trailing arm as an assembly. It took almost everything my Harbor Freight 20 ton press had to get these fully seated in the trailing arm. If you don't have a 20+ton press make friends with someone who has one. I was pretty sure something was going to break and that I'd done the install wrong... but it looks like archaphil had pretty much the same experience getting his installed once PBM let the cat out of the bag that the pieces needed to pre-assembled before they get pressed into the trailing arm.
05-08-14, 11:55 AM
#146
Shrinking the inserts in the freezer might have helped them slide in easier... but you are still gonna need a press to force them in. I should have measured them (and the trailing arm hole diameter) before I went to town with the press so I could offer PBM some feed back... but I didn't, so I'll be of no help to them.
05-08-14, 12:28 PM
#147
Rotary Enthusiast
iTrader: (1)

Join Date: Nov 2012
Location: bloomington, mn
Posts: 1,100
Likes: 0
Received 0 Likes
on
0 Posts
Yep, Was a bitch. well... after a trip to a friends shop with a big press, it slid right in.
Looking good schmitty! I can't wait to run this setup and compare to my old and busted stock frame.
Looking good schmitty! I can't wait to run this setup and compare to my old and busted stock frame.
06-07-14, 06:36 PM
#148
It's been a month since I worked on this pig...
Knocked out the rear subframe:
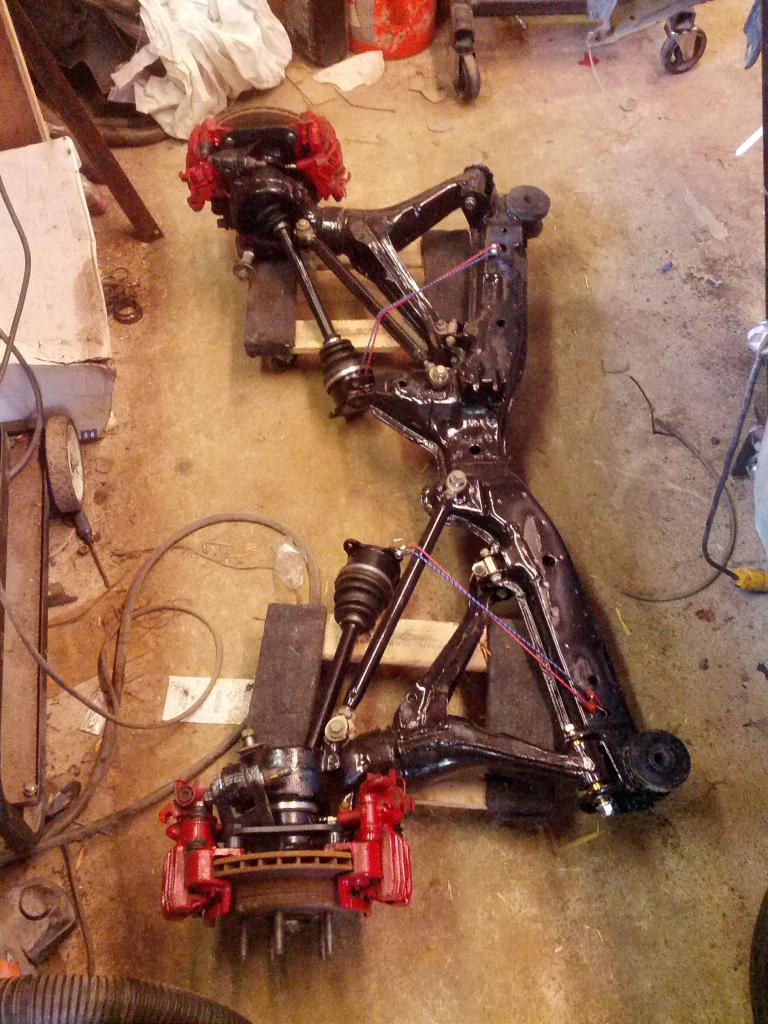
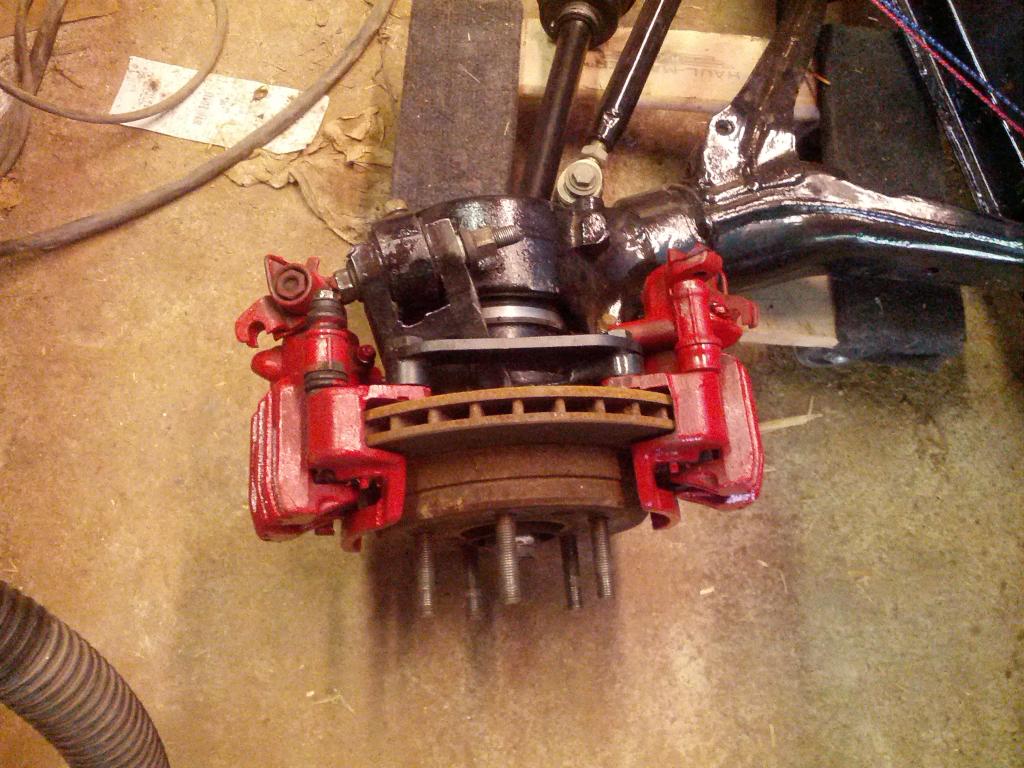
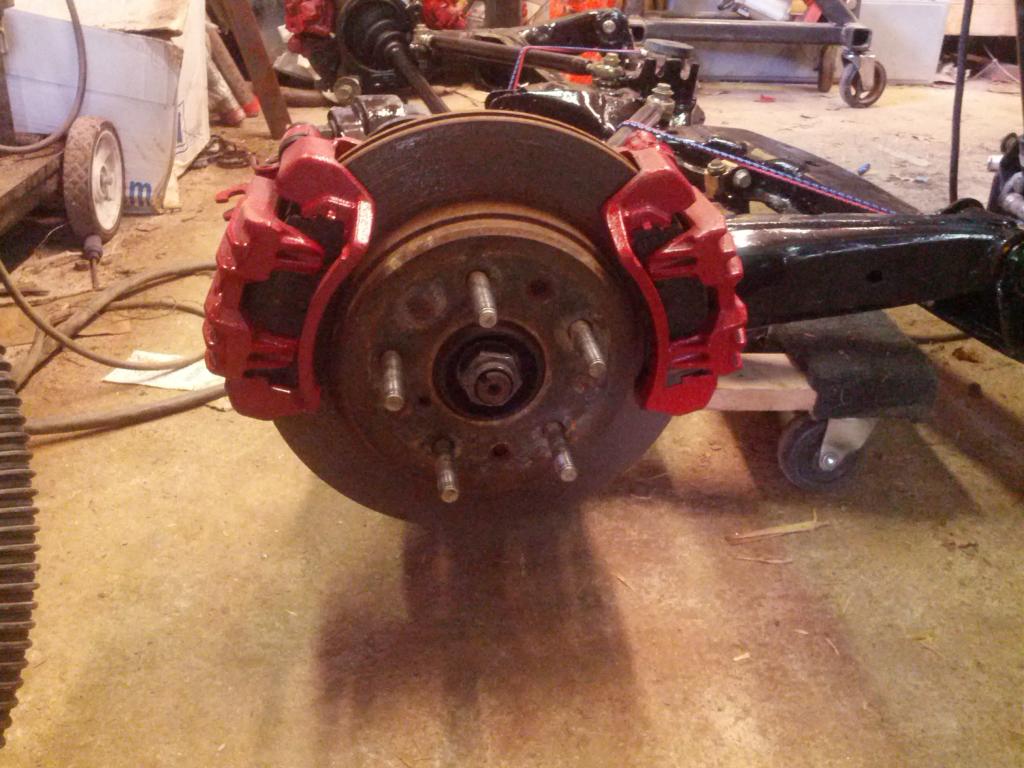
Big thanks to RaceFab for the dual caliper brackets, PBM for making cheap trailing arm spherical bearings, and the previous owner for paying up for the adjustable toe rods and individual camber adjusters.
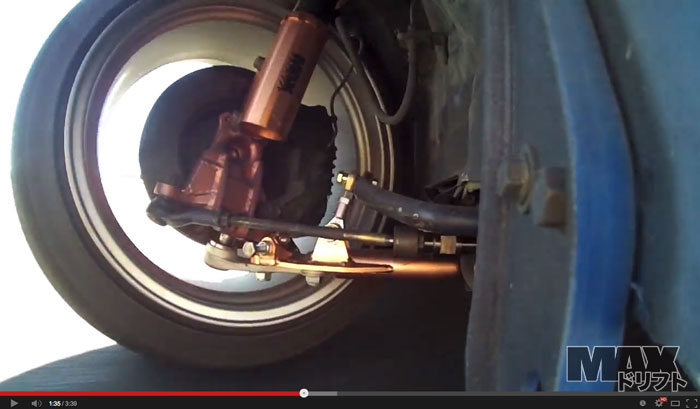
Also got the front subframe reinstalled and the PBM angle kit installed:
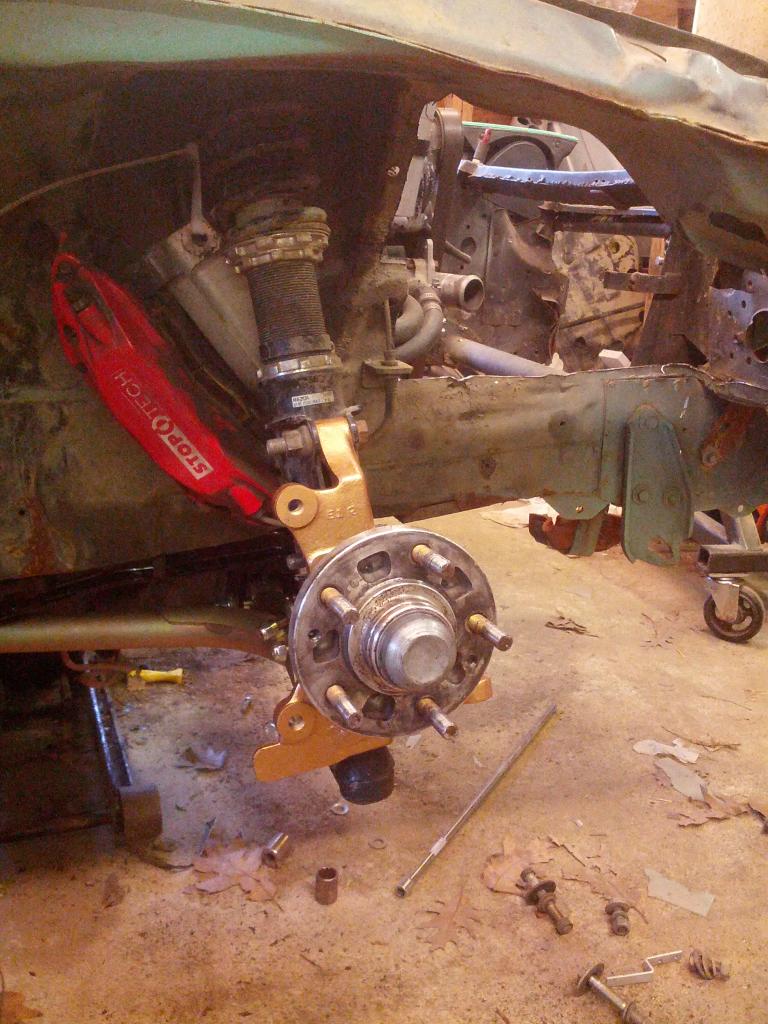
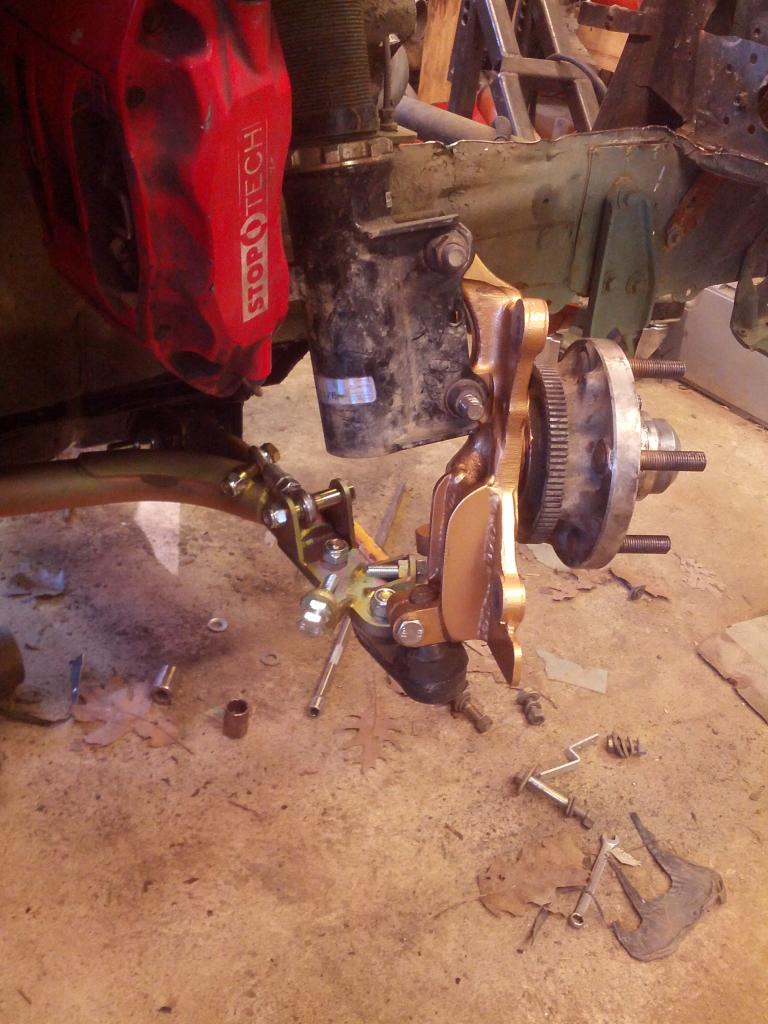
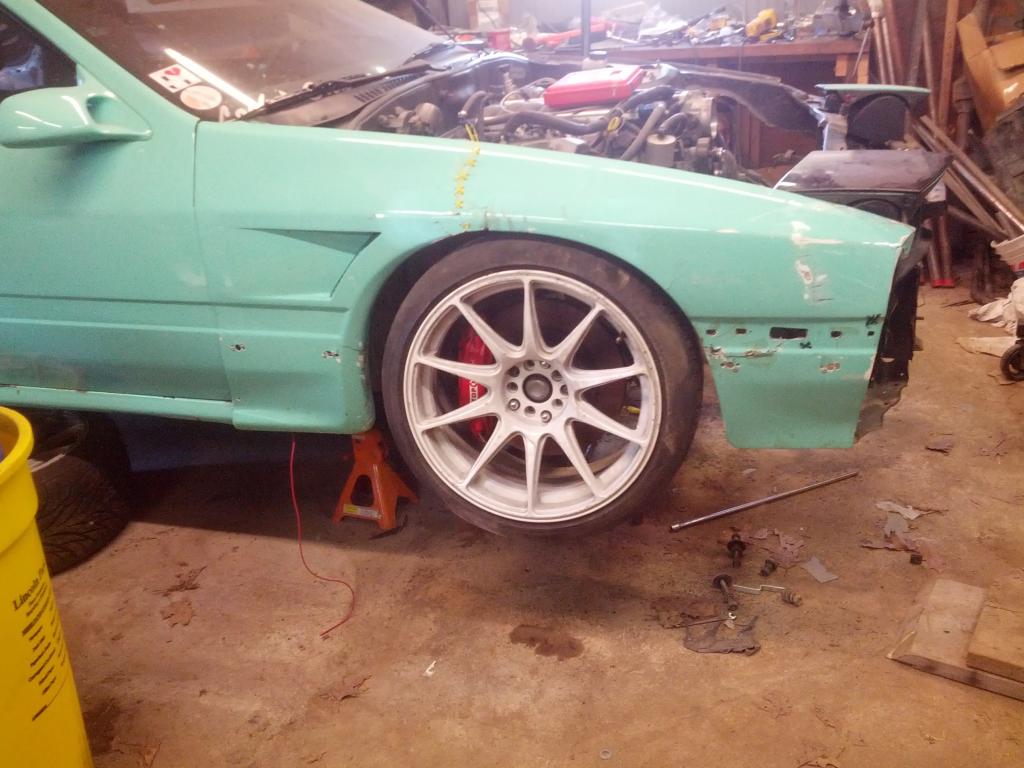
Super sneak preview:
Knocked out the rear subframe:
Big thanks to RaceFab for the dual caliper brackets, PBM for making cheap trailing arm spherical bearings, and the previous owner for paying up for the adjustable toe rods and individual camber adjusters.
Also got the front subframe reinstalled and the PBM angle kit installed:
Super sneak preview: