Schmitty's "Like it or Don't" Drift Build
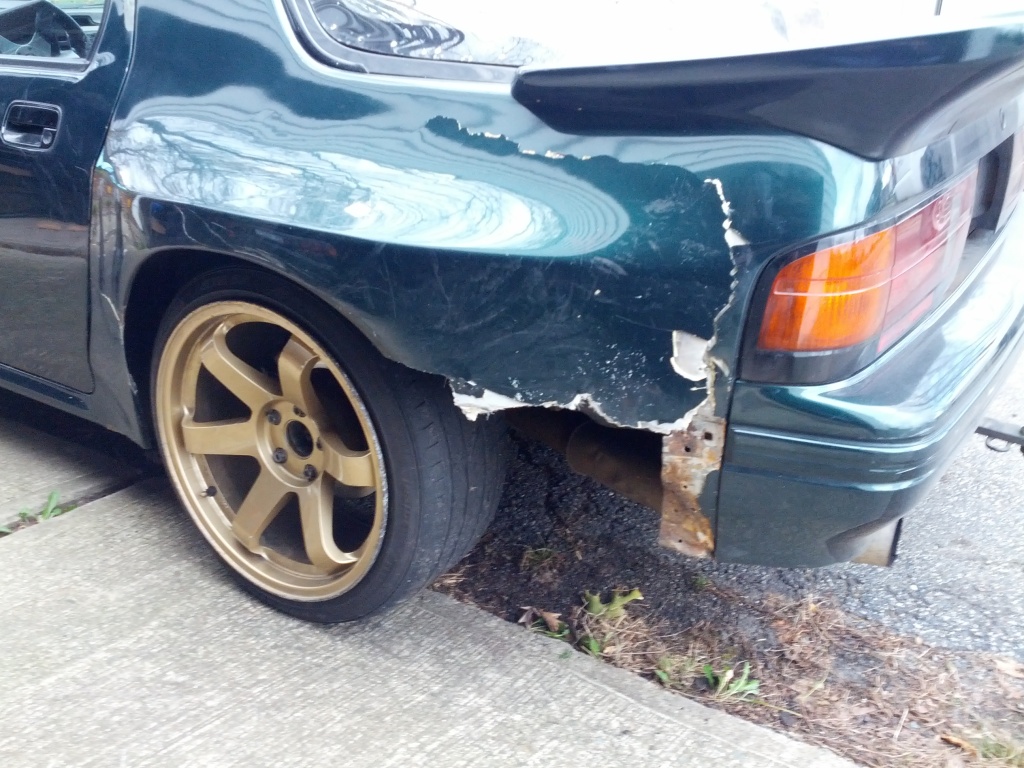


 hate it all you want! it's not going to keep me from ripping this thing around as often as possible!
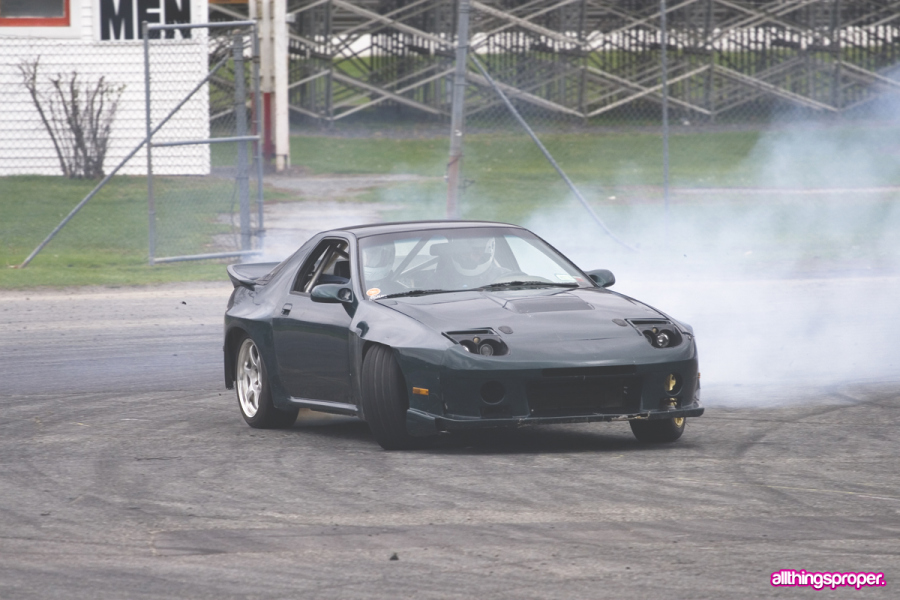
 11-21-12, 07:52 AM
#30
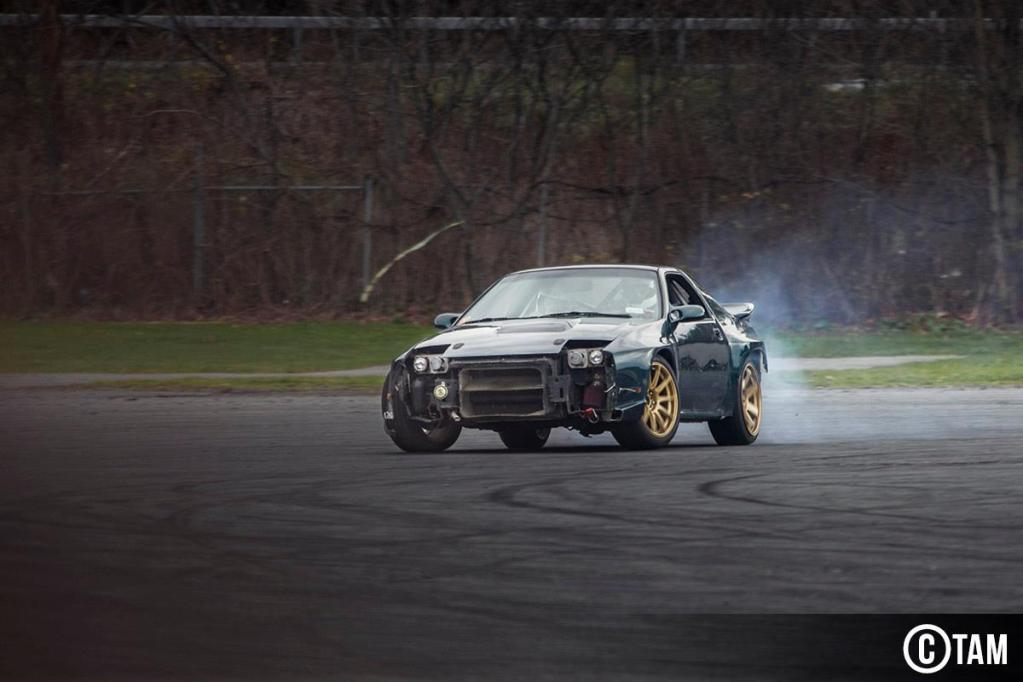
So I guess this is really more of a photo-journal of all the driving I've been doing... I promise I'll do some work on this car this winter and post up the "build"
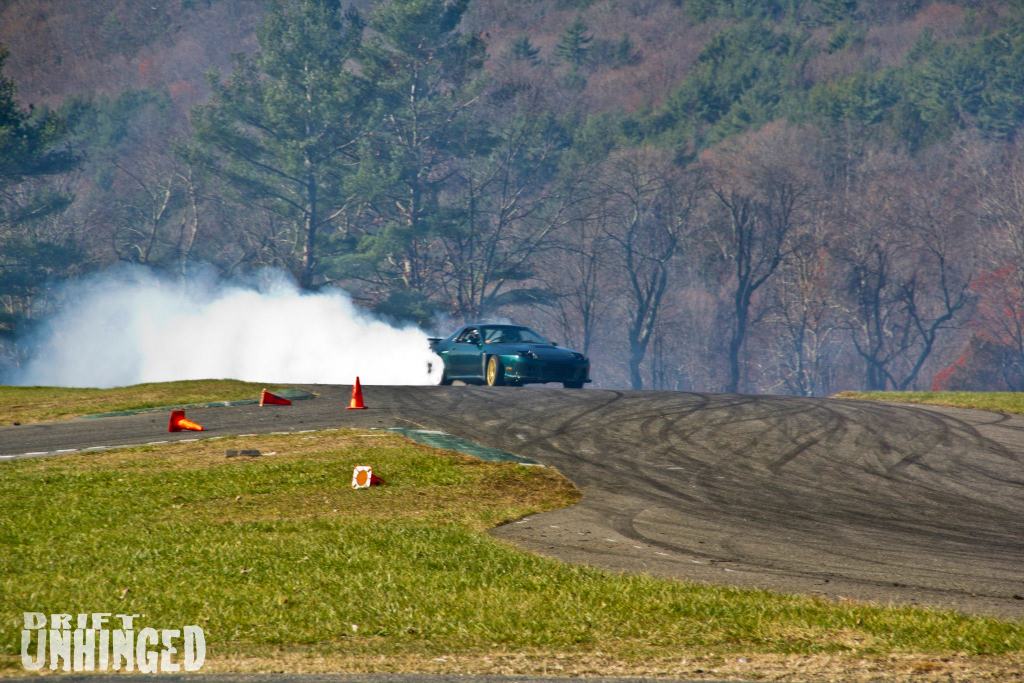
Smoke
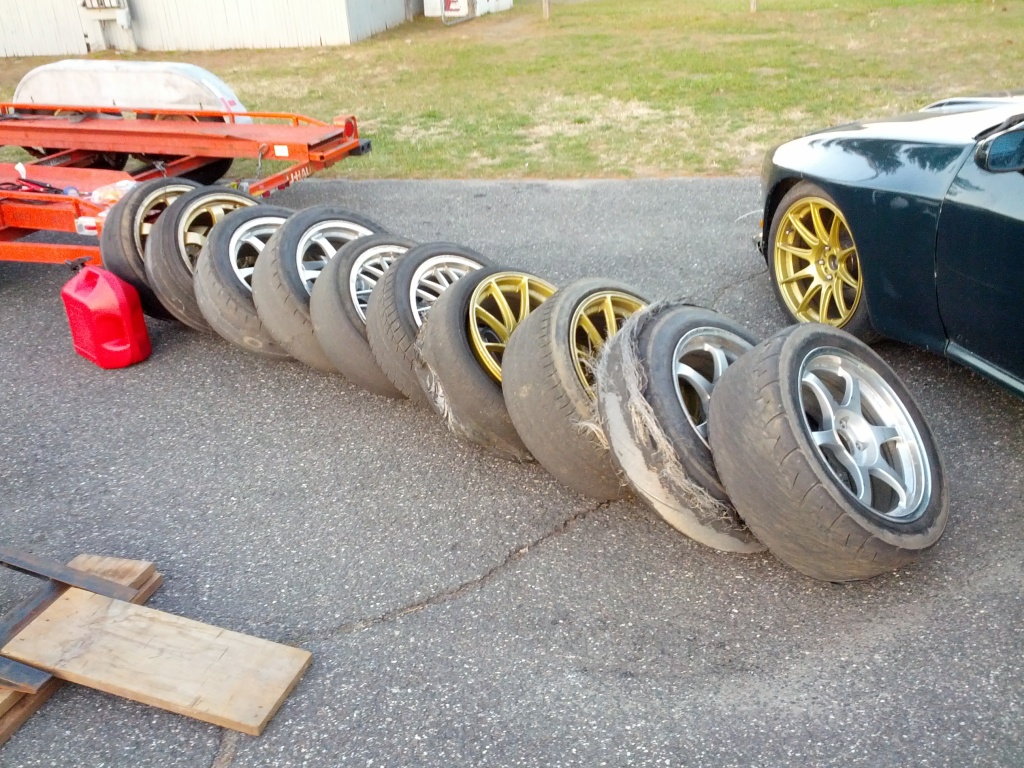
SuperHellaUnFlush

Ain't nobody got time for hitting the apex

Other
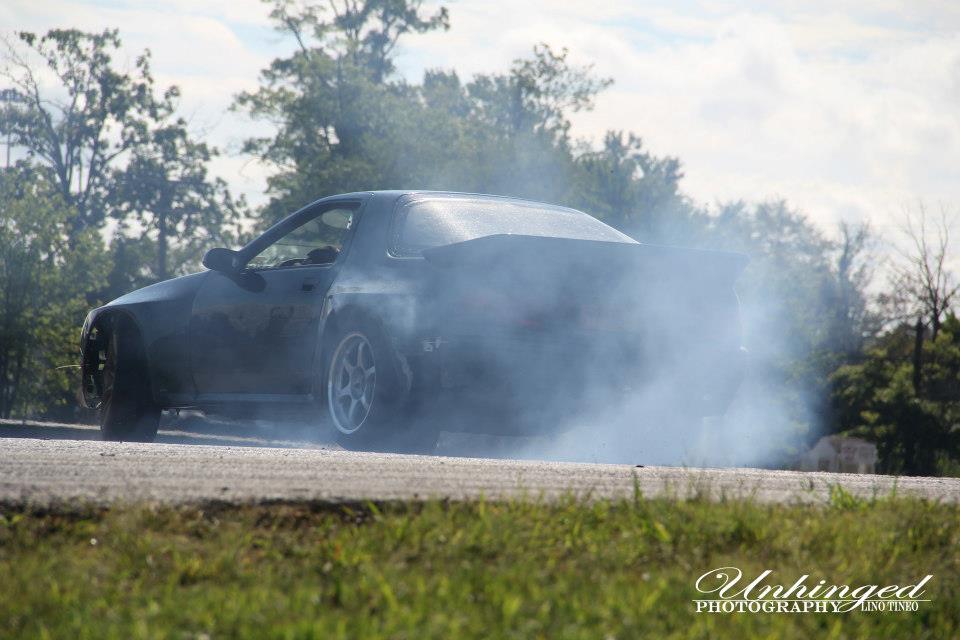
Smoke
SuperHellaUnFlush
Ain't nobody got time for hitting the apex
Other
02-07-13, 10:04 PM
#33
After 2 months of being lazy I finally got back to working on this POS this week.
Pulled the exhaust (one piece from the headers back... so dumb)
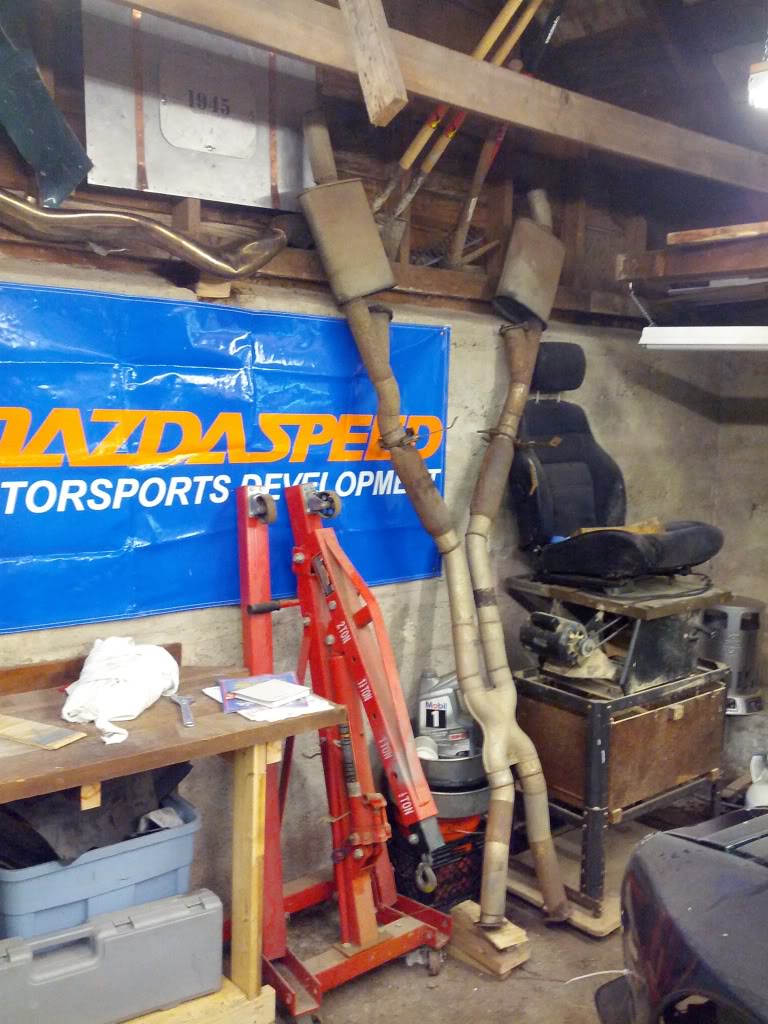
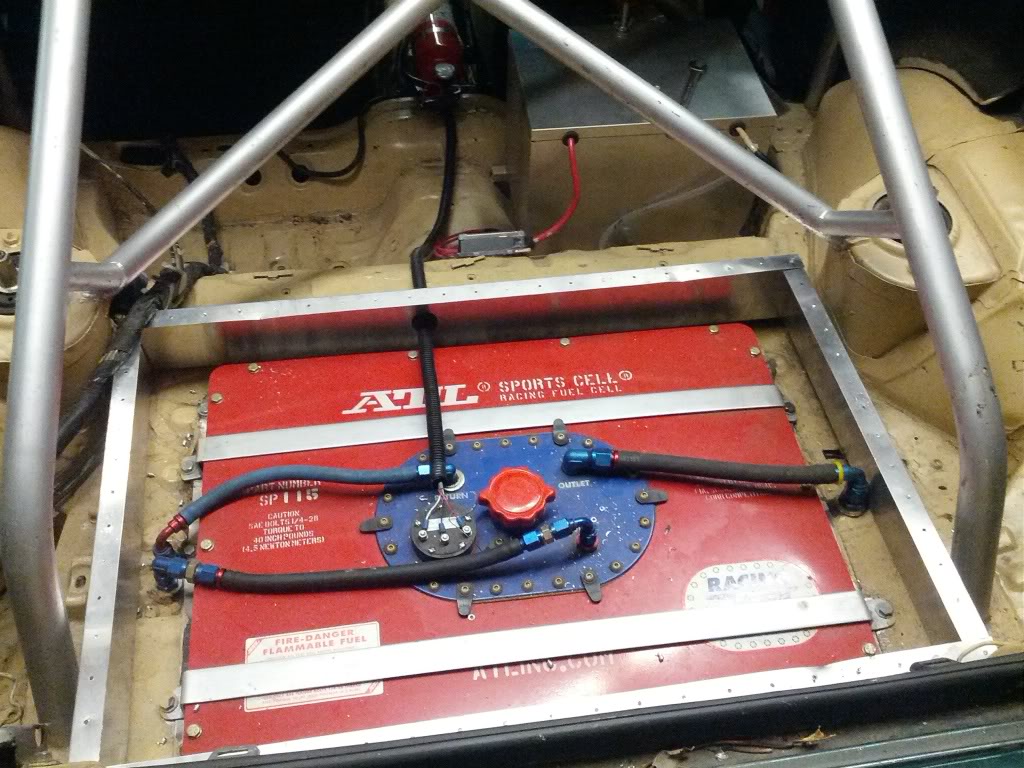
Pulled the fuel cell firewall cover to reline the fuel cell
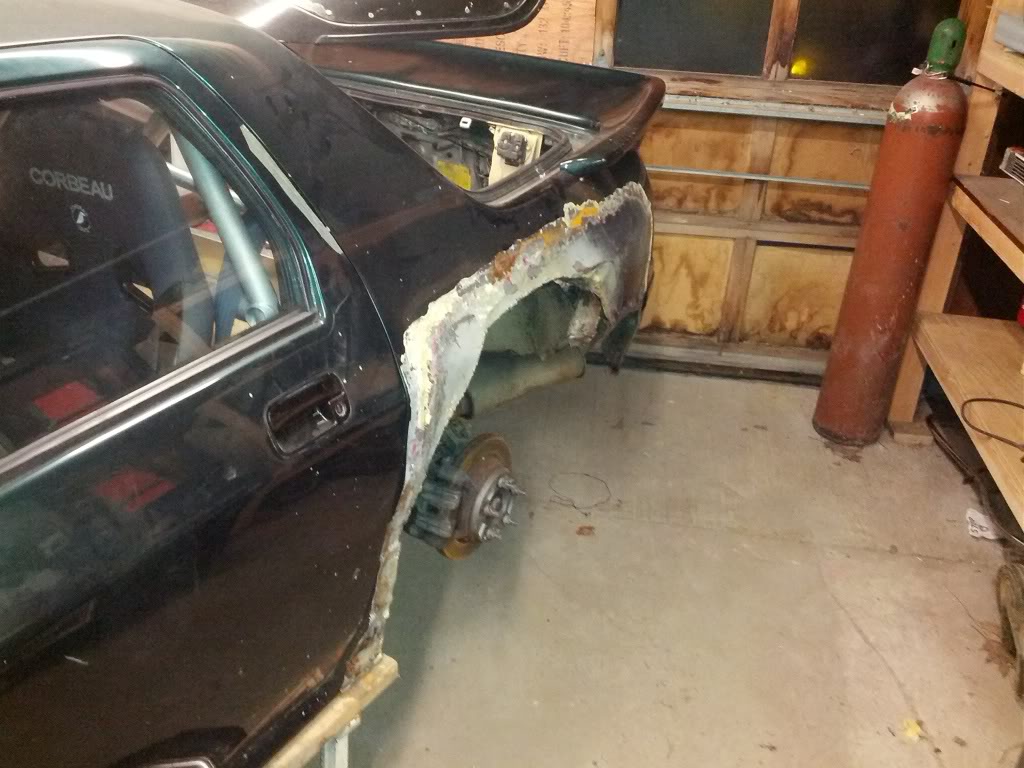
Pulled the Wide body off
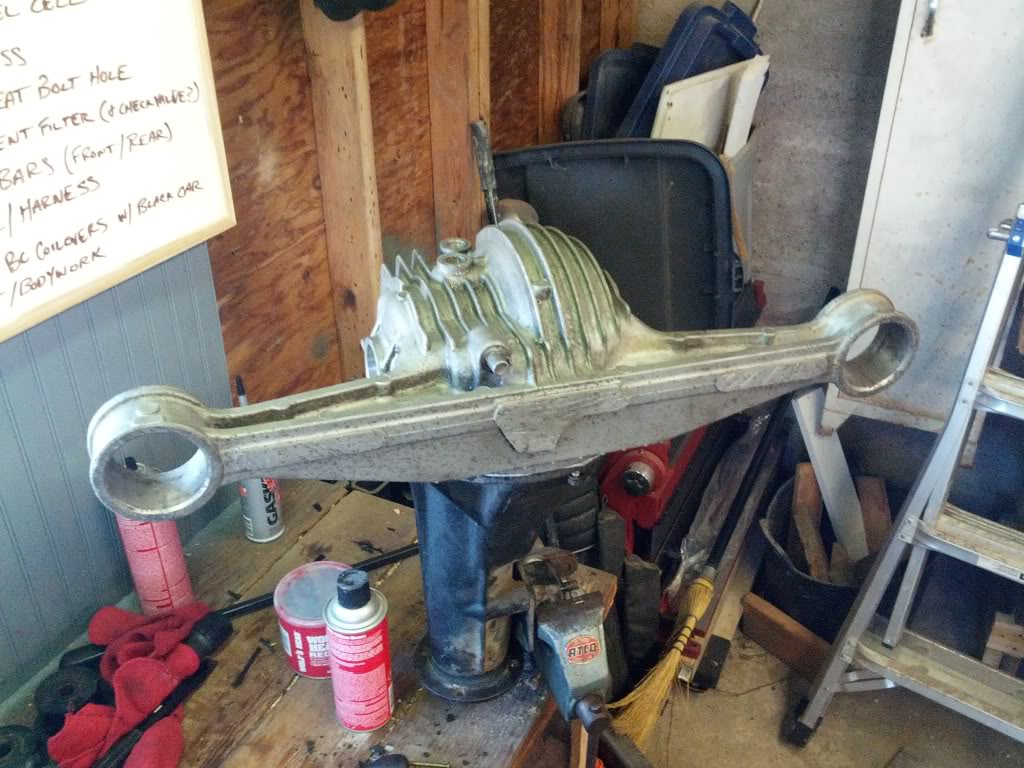
Pulled the rear subframe to get at some worn out bushings and a worn out differential
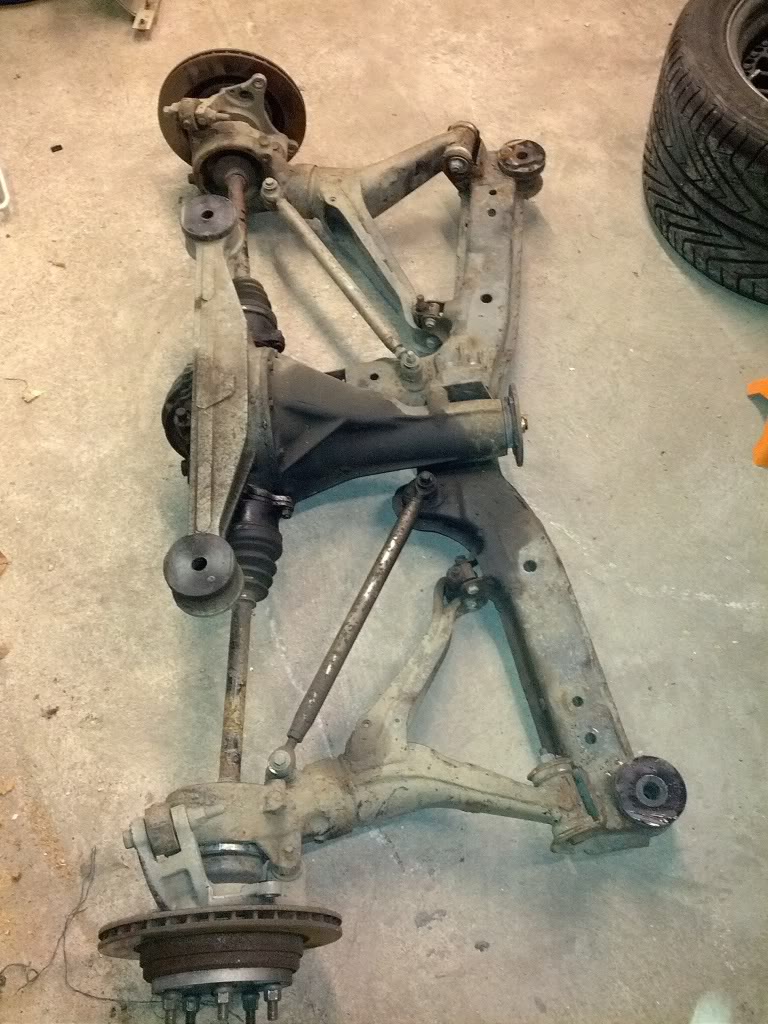
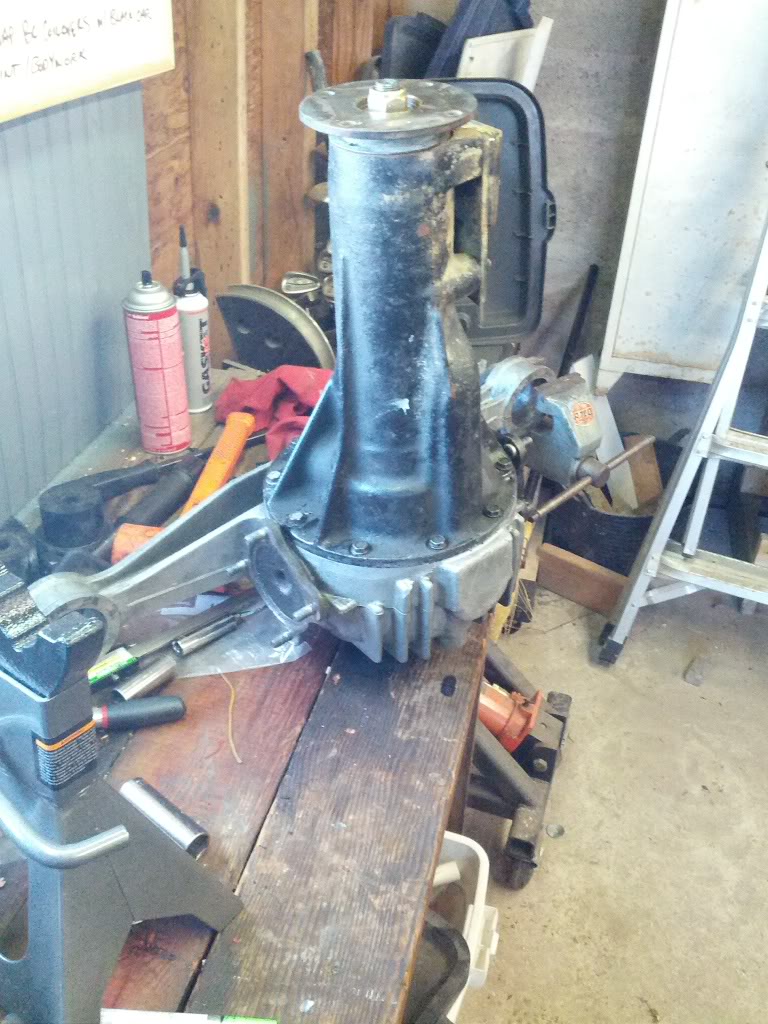
Pulled the Differential
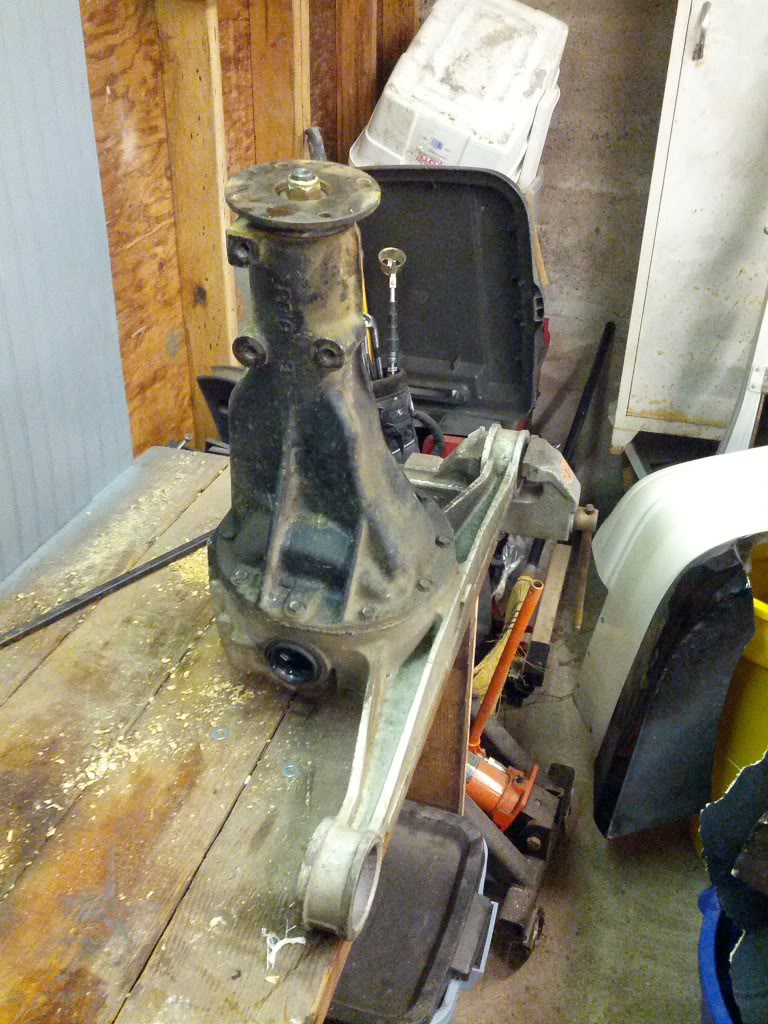
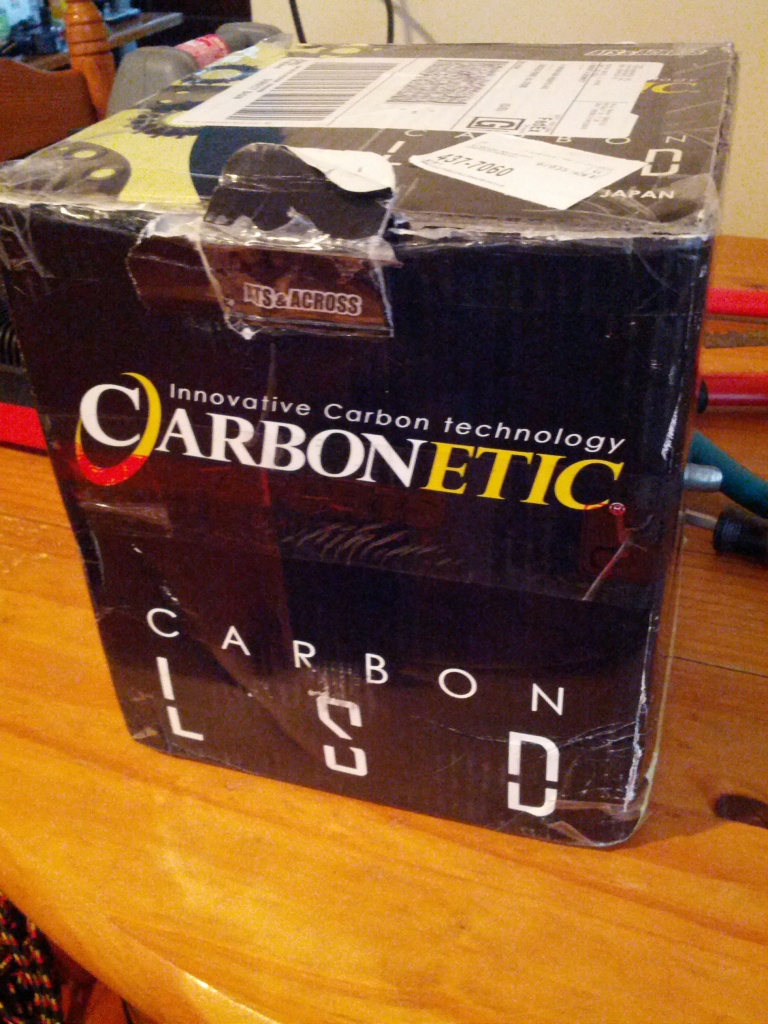
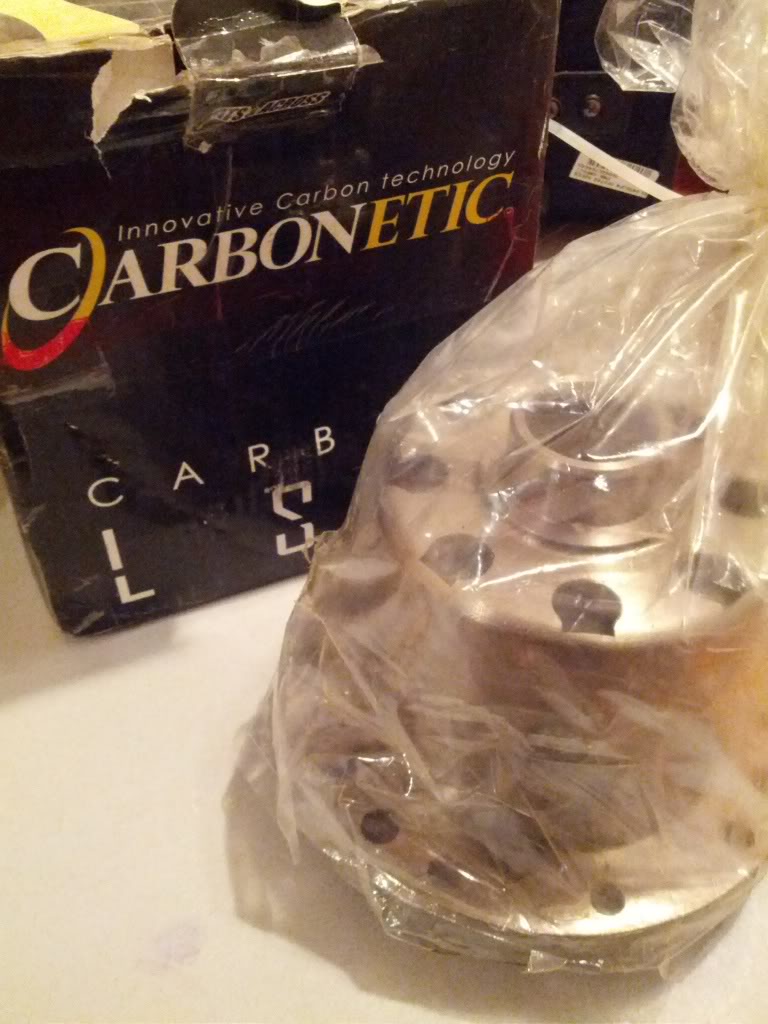
and pulled it apart to make room for the Carbonetic 2 way
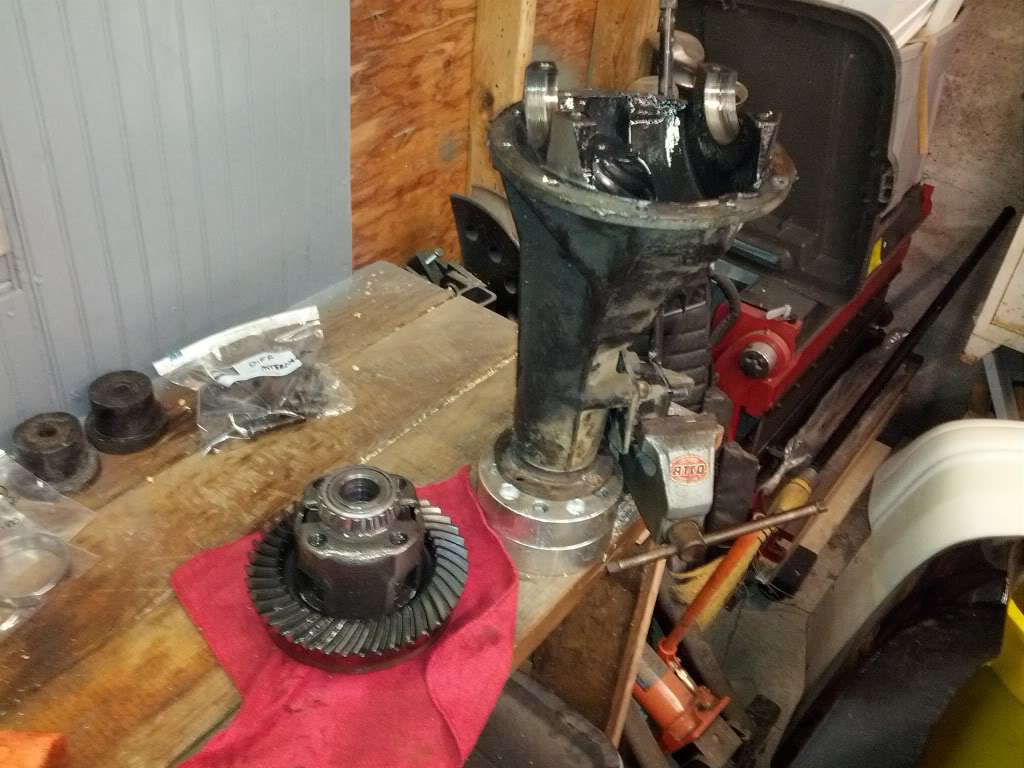
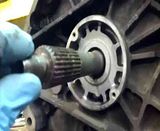
I'm planning on reusing my bearings and seals if I don't ruin them while pulling them off the stock diff since they only have ~4000 miles on them, they look brand new.
Seals came out fine with my HomeDepotRacing plumbing-isle spec press
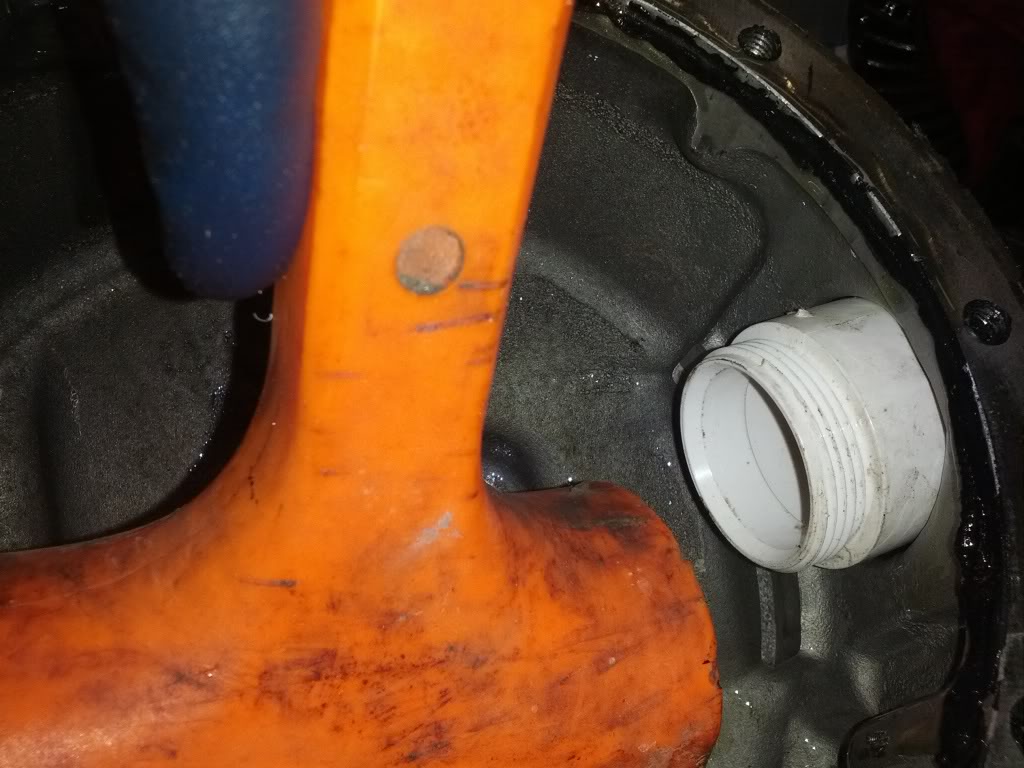
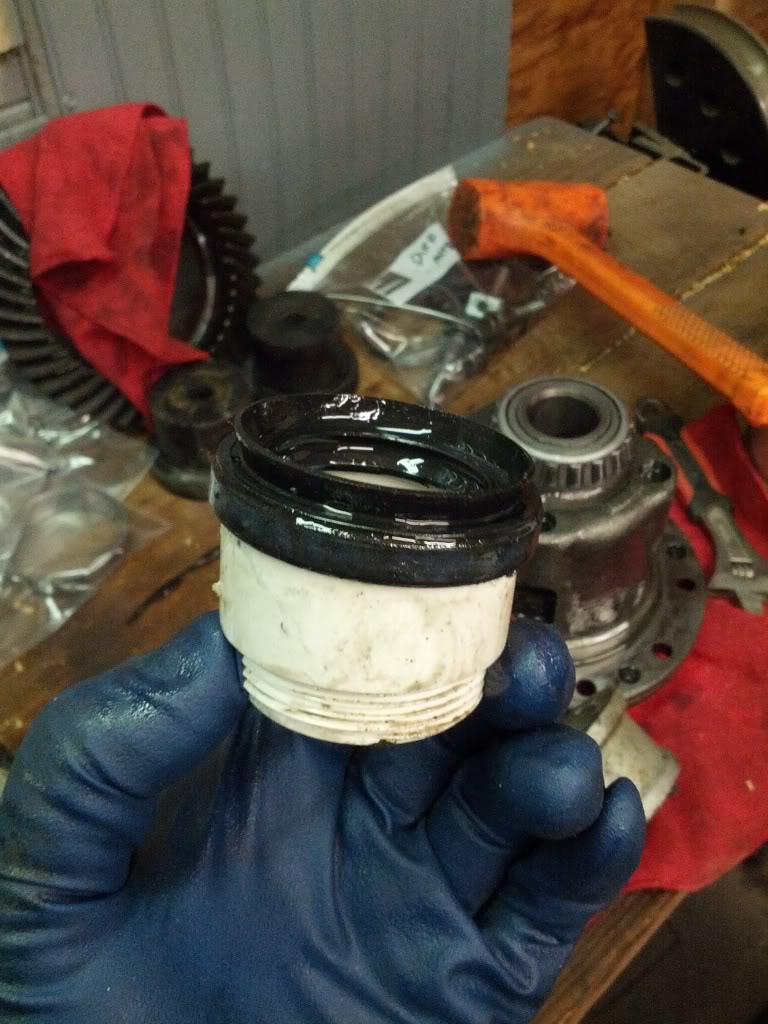
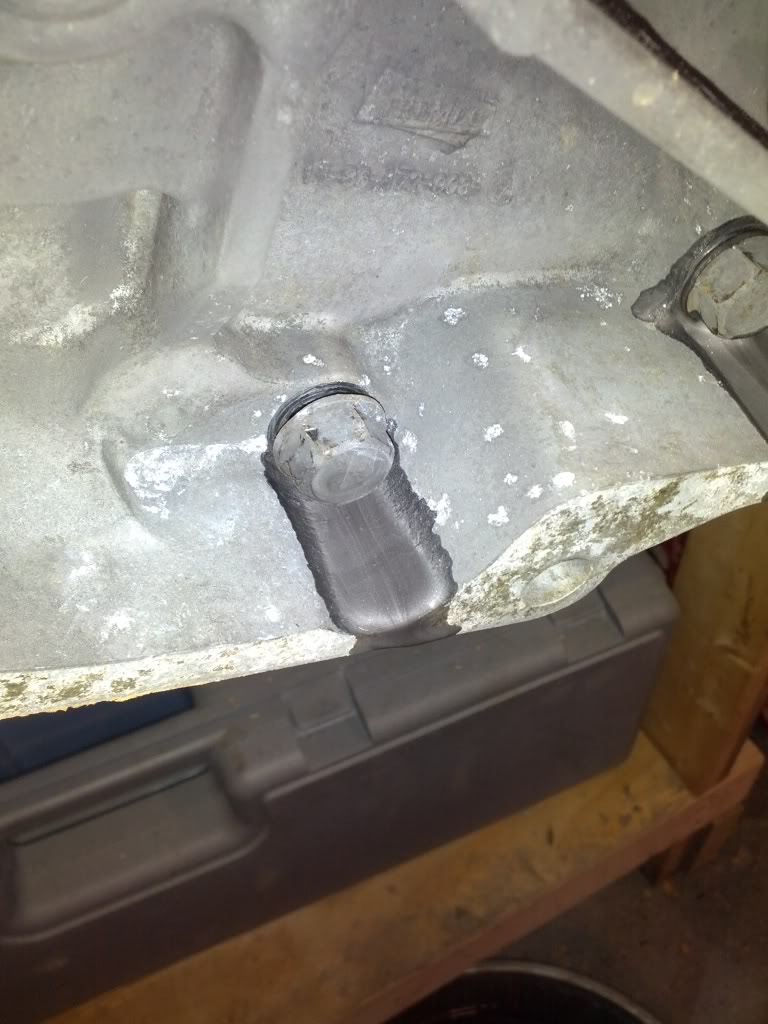
The only issue I may have is the stub shaft length... Mazda changed them to a shorter shaft halfway through 1987... and I'm not sure whether the new diff takes the long shafts or the short shafts... I've got the short shafts . I'll find out if it all works soon when I try to put it all back together.
Pulled the exhaust (one piece from the headers back... so dumb)
Pulled the fuel cell firewall cover to reline the fuel cell
Pulled the Wide body off
Pulled the rear subframe to get at some worn out bushings and a worn out differential
Pulled the Differential
and pulled it apart to make room for the Carbonetic 2 way
I'm planning on reusing my bearings and seals if I don't ruin them while pulling them off the stock diff since they only have ~4000 miles on them, they look brand new.
Seals came out fine with my HomeDepotRacing plumbing-isle spec press
The only issue I may have is the stub shaft length... Mazda changed them to a shorter shaft halfway through 1987... and I'm not sure whether the new diff takes the long shafts or the short shafts... I've got the short shafts
. I'll find out if it all works soon when I try to put it all back together.
02-08-13, 10:49 AM
#34
Insane Stance and Offset
this car is nasty lol. only really thing im not a fan of the headlights but thats all to personal preference. im really diggin the trailer addition too lol. im sure people see it out and are like wtf is there there a hitch on it hahaha. damn nice build though man
 02-16-13, 10:13 AM
#36
Finished up the differential rebuild yesterday afternoon.
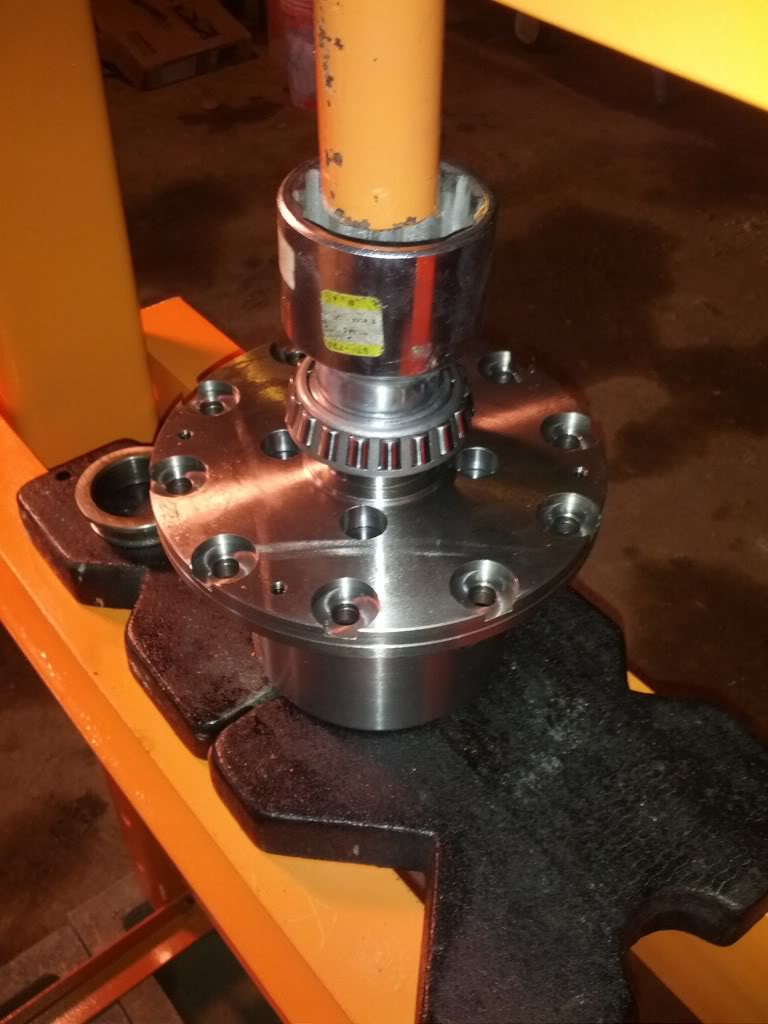
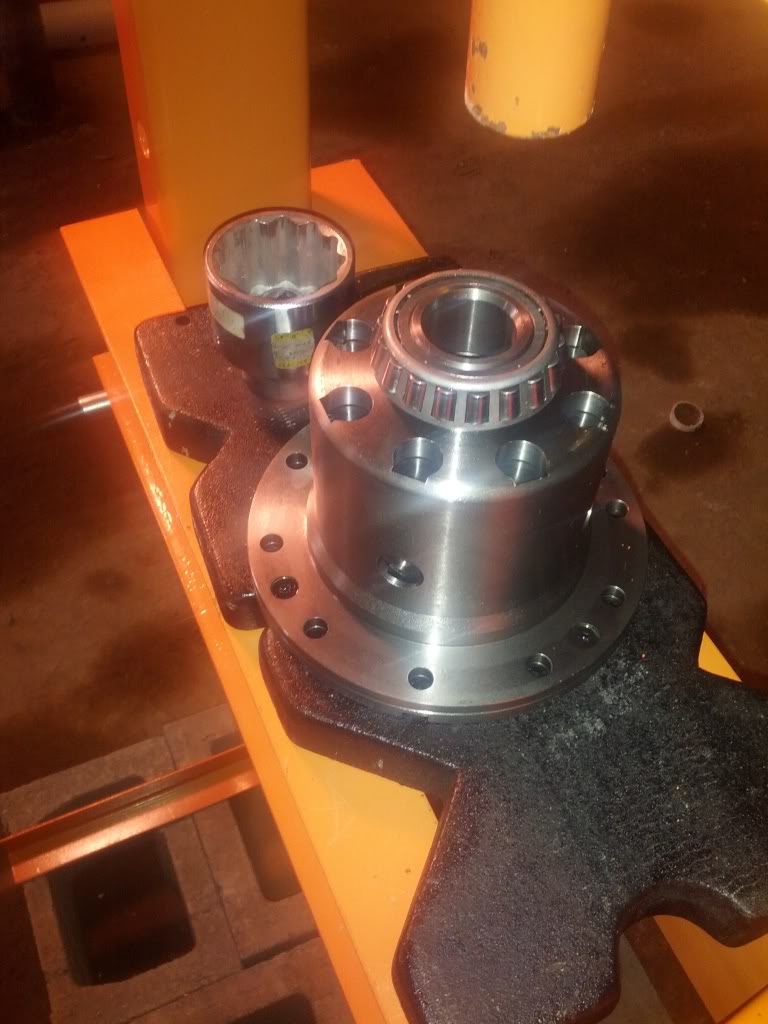
Bearings getting pressed onto the new differential
Ring gear reinstalled and back in the carrier.
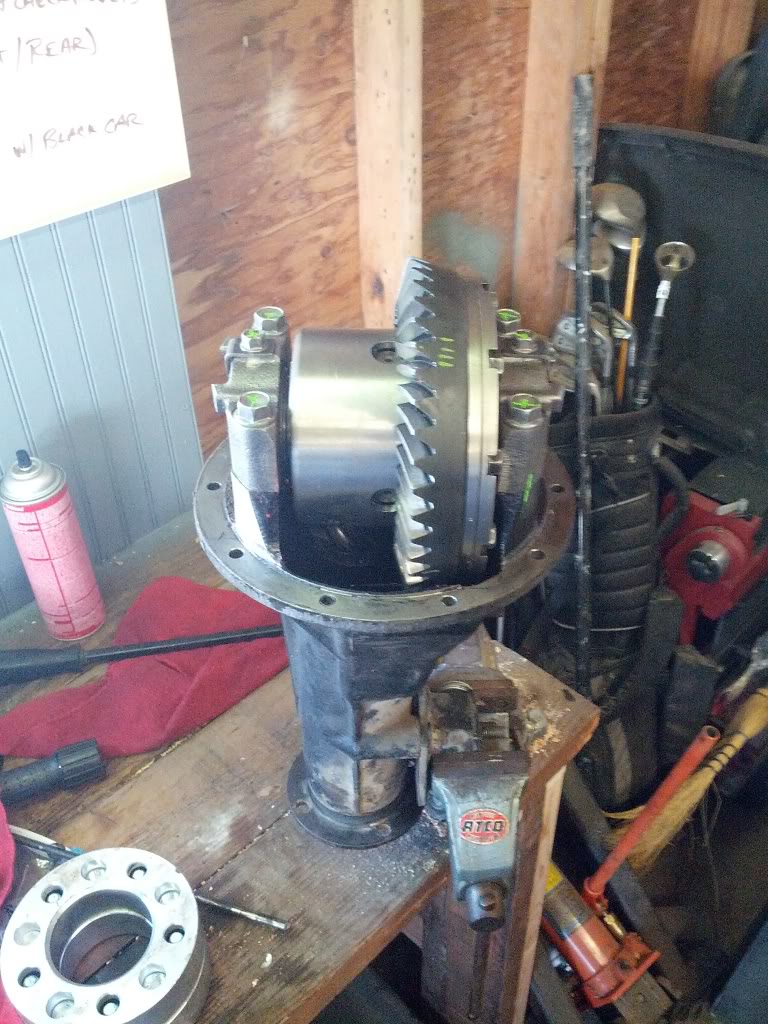
Setting up the backlash
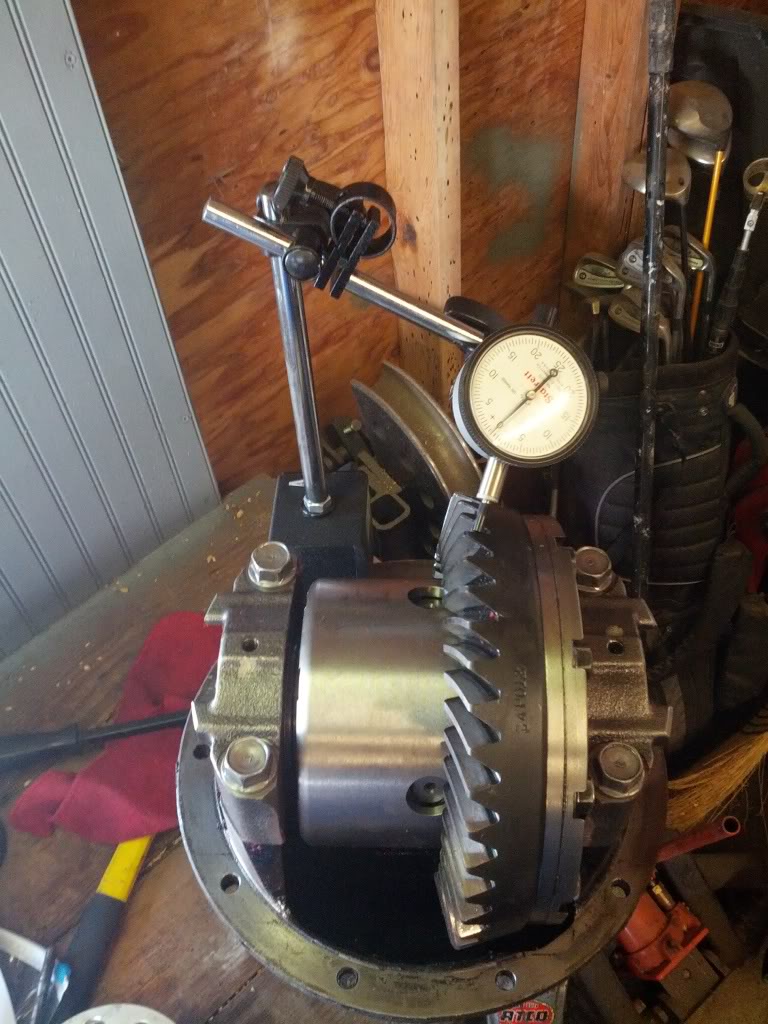
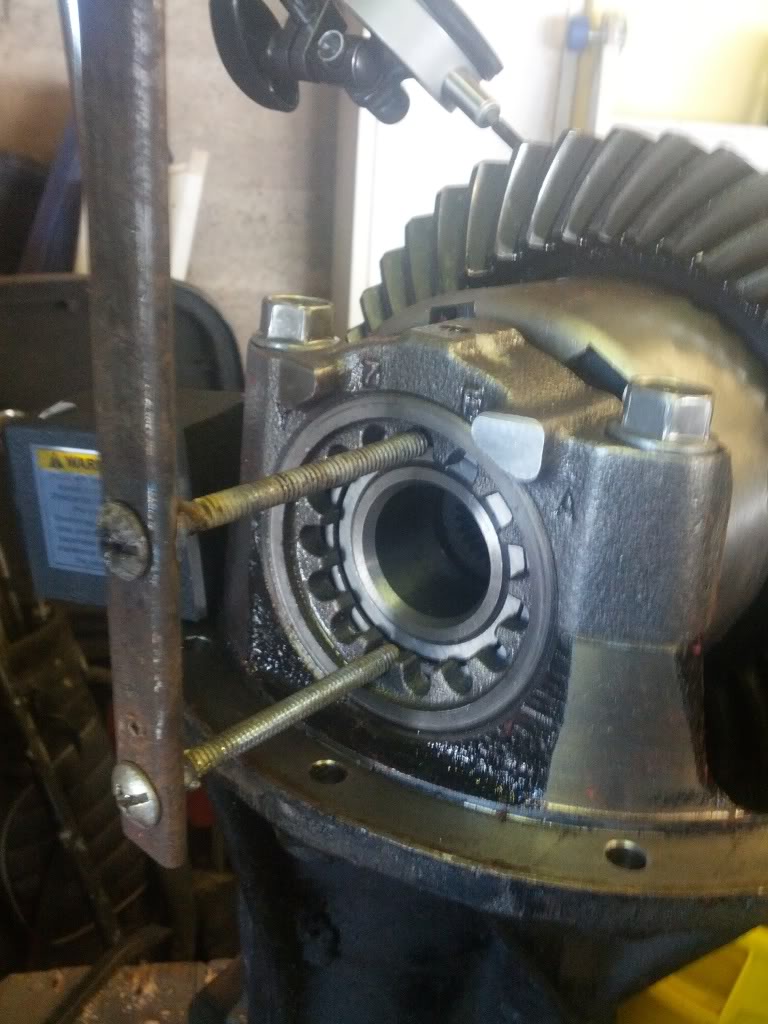
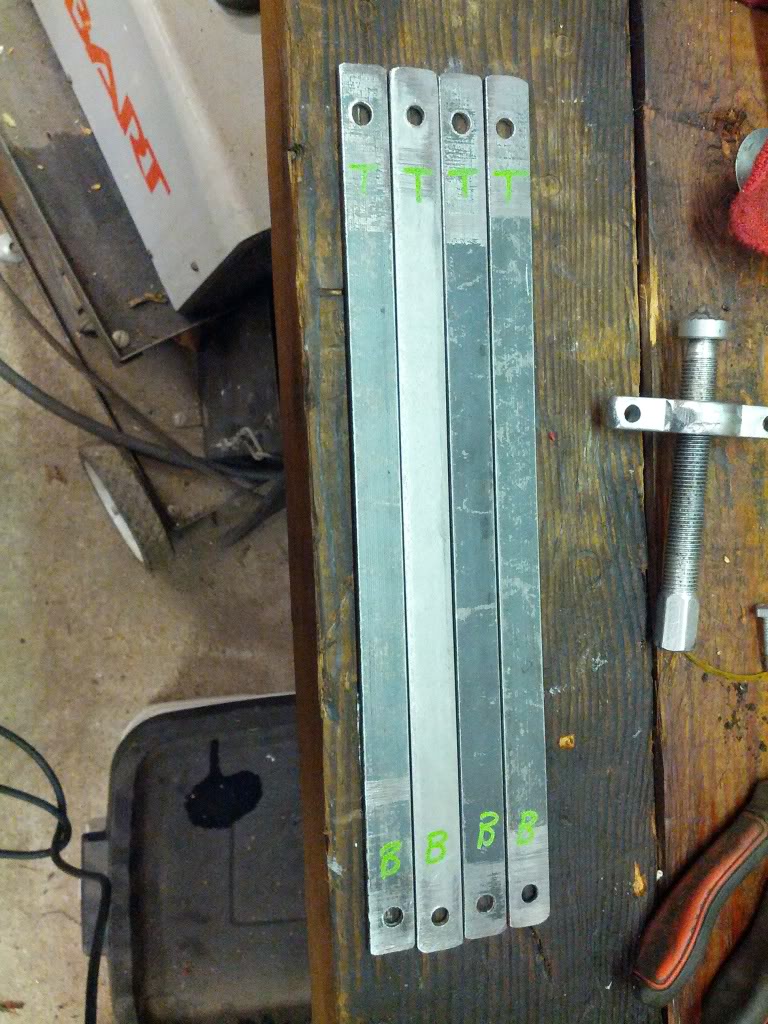
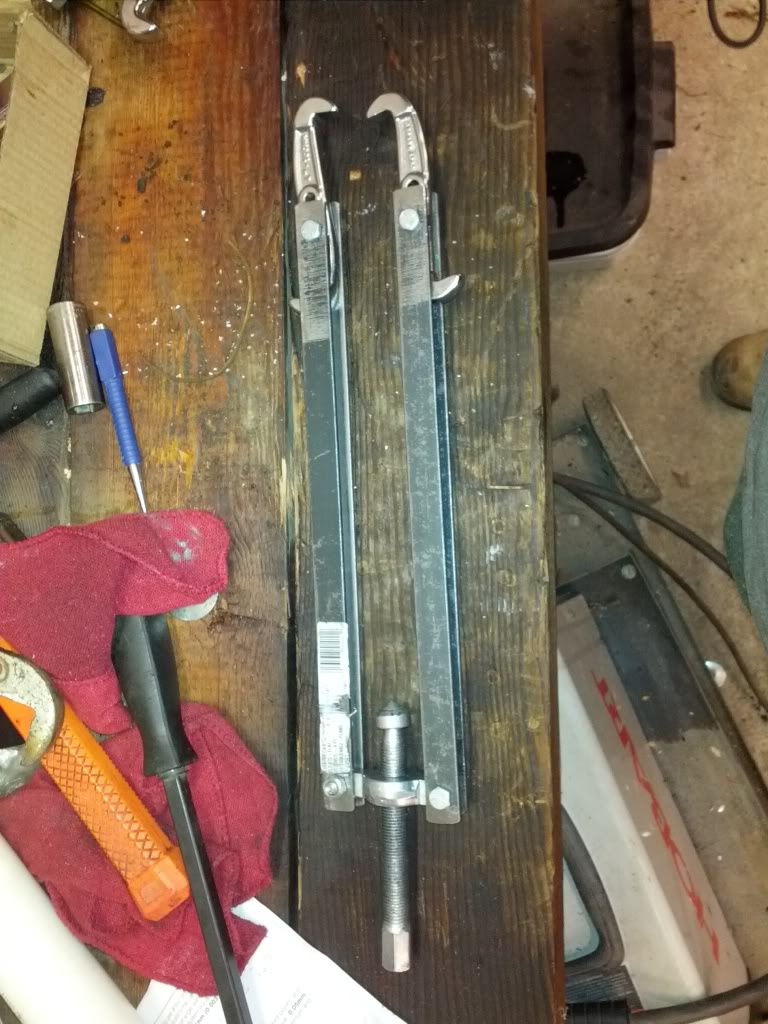
I had to make a tool to adjust the bearing race retainer preload and set the backlash
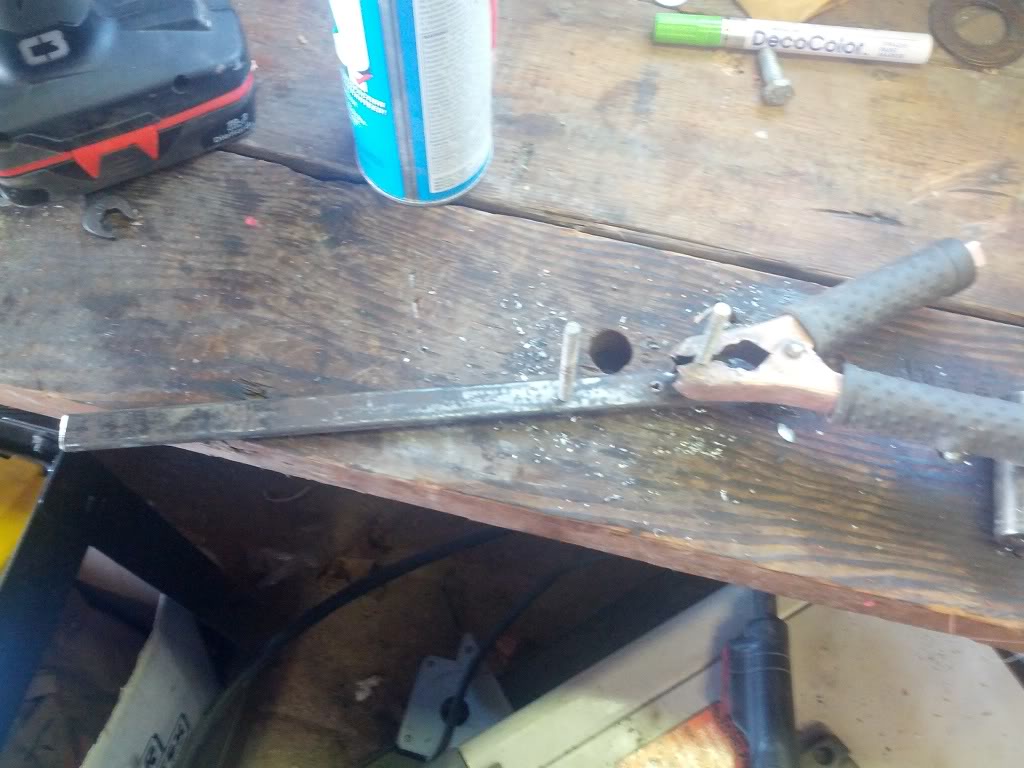
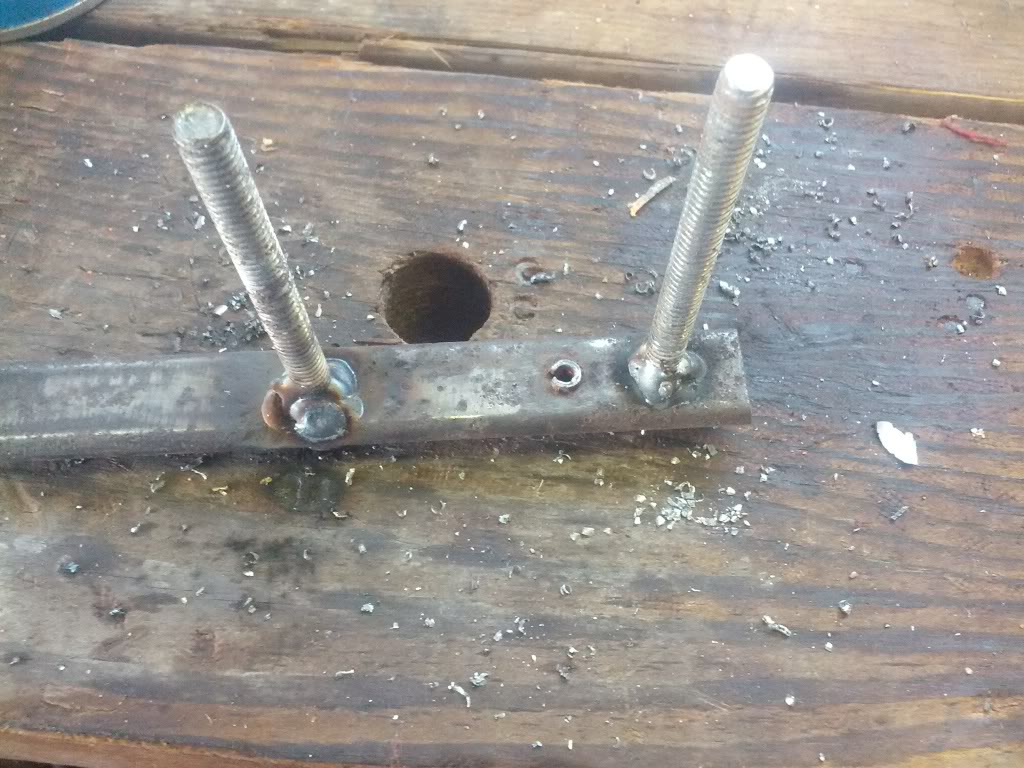
I ended up cutting the threaded rod down to about 1" to keep them from bending under use.
Not shown is checking the pinion to ring-gear wear pattern. My bright yellow gear marking compound did not show up on time so I ended up using white lithium grease. The results were hard to see but despite not touching the pinion shaft spacing the contact pattern was dead on.
sealed up and ready to rock!
Next project is the transmission rebuild.
Bearings getting pressed onto the new differential
Ring gear reinstalled and back in the carrier.
Setting up the backlash
I had to make a tool to adjust the bearing race retainer preload and set the backlash
I ended up cutting the threaded rod down to about 1" to keep them from bending under use.
Not shown is checking the pinion to ring-gear wear pattern. My bright yellow gear marking compound did not show up on time so I ended up using white lithium grease. The results were hard to see but despite not touching the pinion shaft spacing the contact pattern was dead on.
sealed up and ready to rock!
Next project is the transmission rebuild.
02-19-13, 10:42 PM
#37
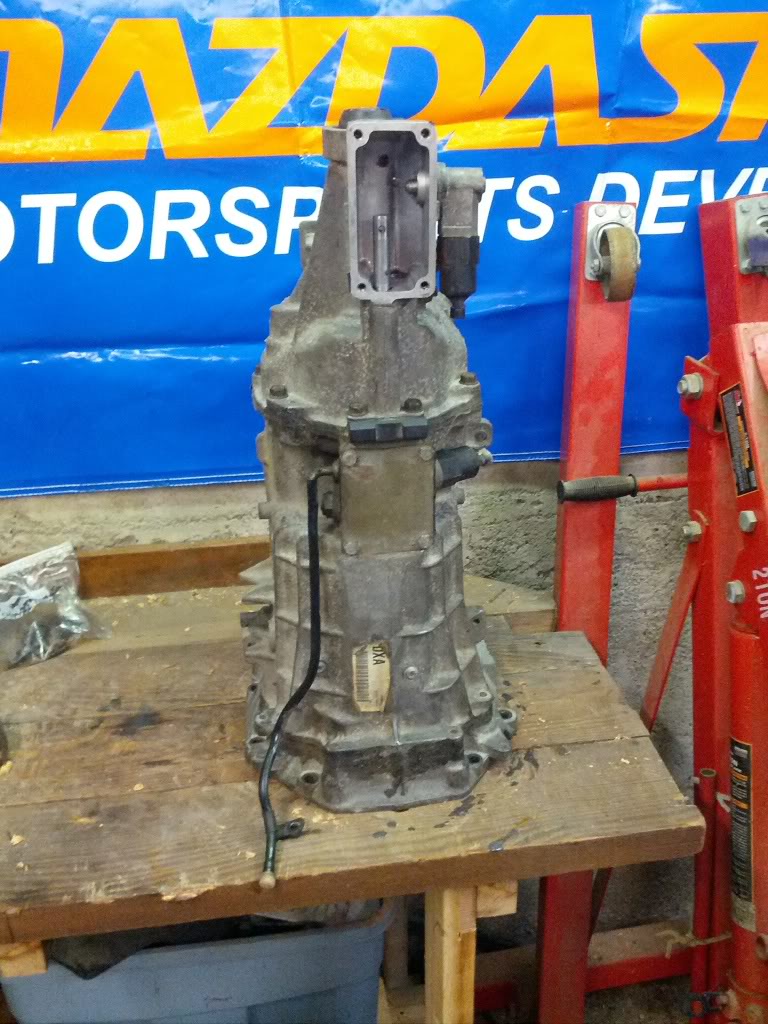
Started tearing into the trans tonight to see why this trans won't shift into second without a powershift (has been like this since I got it with 600 miles on the build). The previous owner claims the trans was rebuilt (with standard upgrades) when he put the car together, should have approx 3800 miles on it now (3200 of them mine). This will be my first trans rebuild... I'm using the Tremec Service manual and a few DIY T56 rebuild threads for reference. I hope I don't screw it up
Draining the fluid out of the front of the trans before standing it up
This fluid should be red (ATF - Dexron III)... I wonder what I'm going to find inside.
Has a little side to side play on the input shaft... A few threads that I've read say that a little movement is normal and that the pilot bearing will locate the input shaft and constrain this when it is installed... but it would be easy to tighten this up now rather than find out its an issue once it's back in the car.
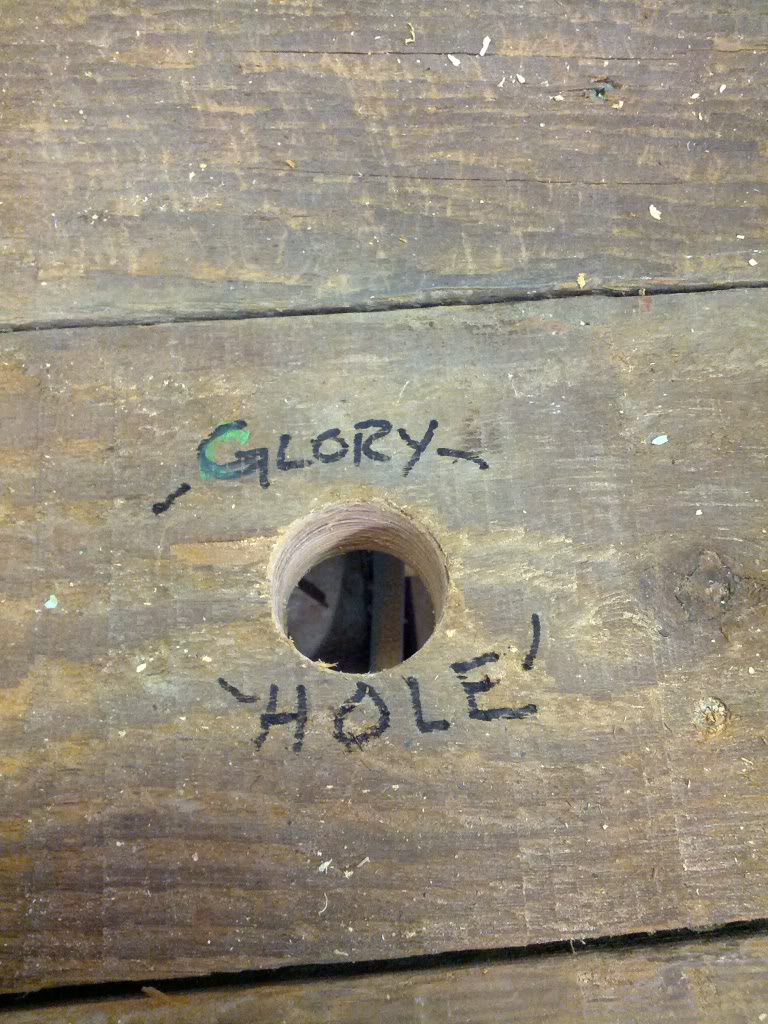
Had to modify the work bench with a hole for the input shaft so the trans can sit vertically on the work bench...
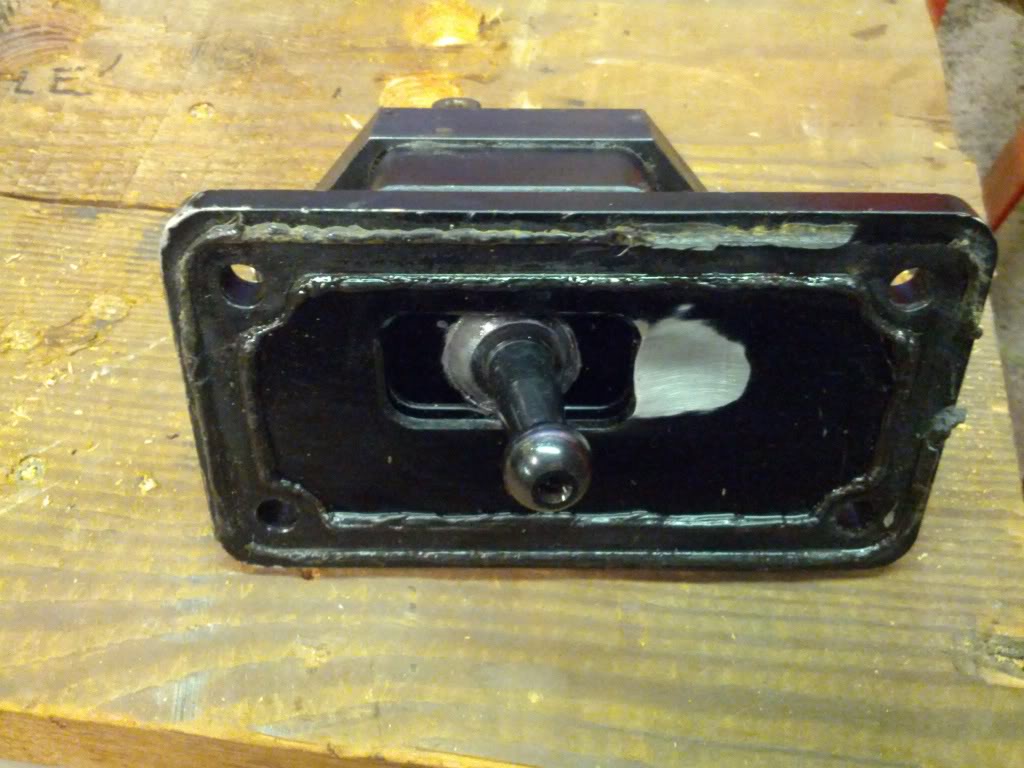
Removed shifter assembly and selector block (rear offset lever).
Shifter assembly - Bare aluminum area is where the rear offset lever is rubbing against the bottom of the shifter housing.. that's not supposed to happen is it?
Pulled the rear housing

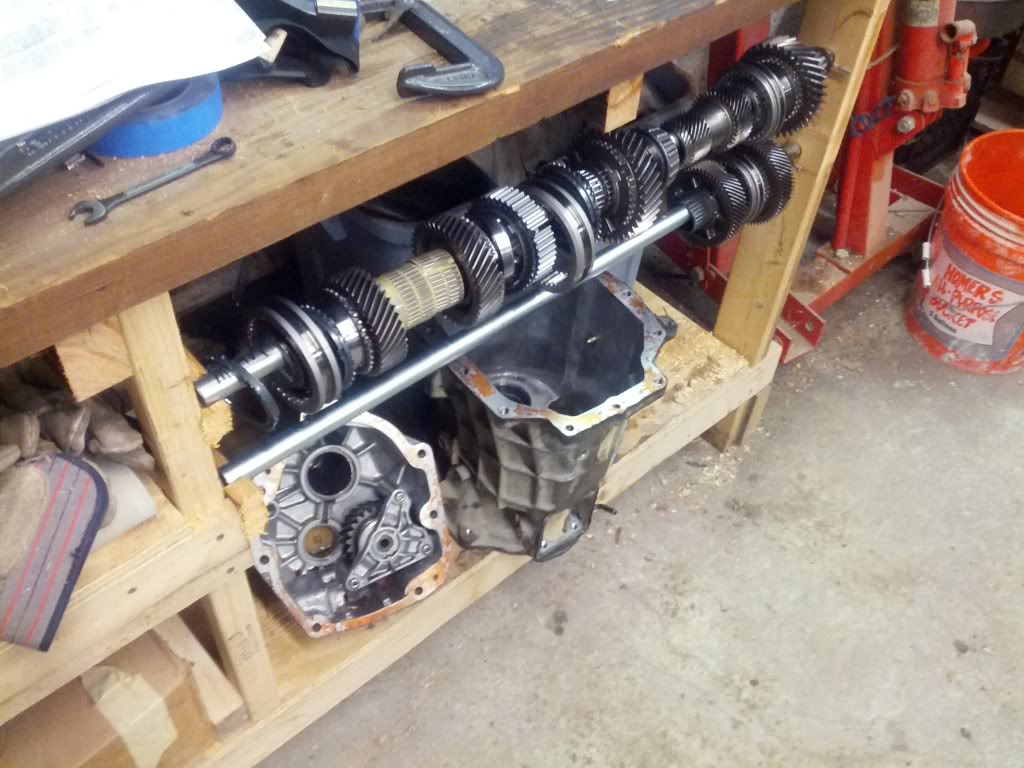
Started pulling stuff off the main shaft
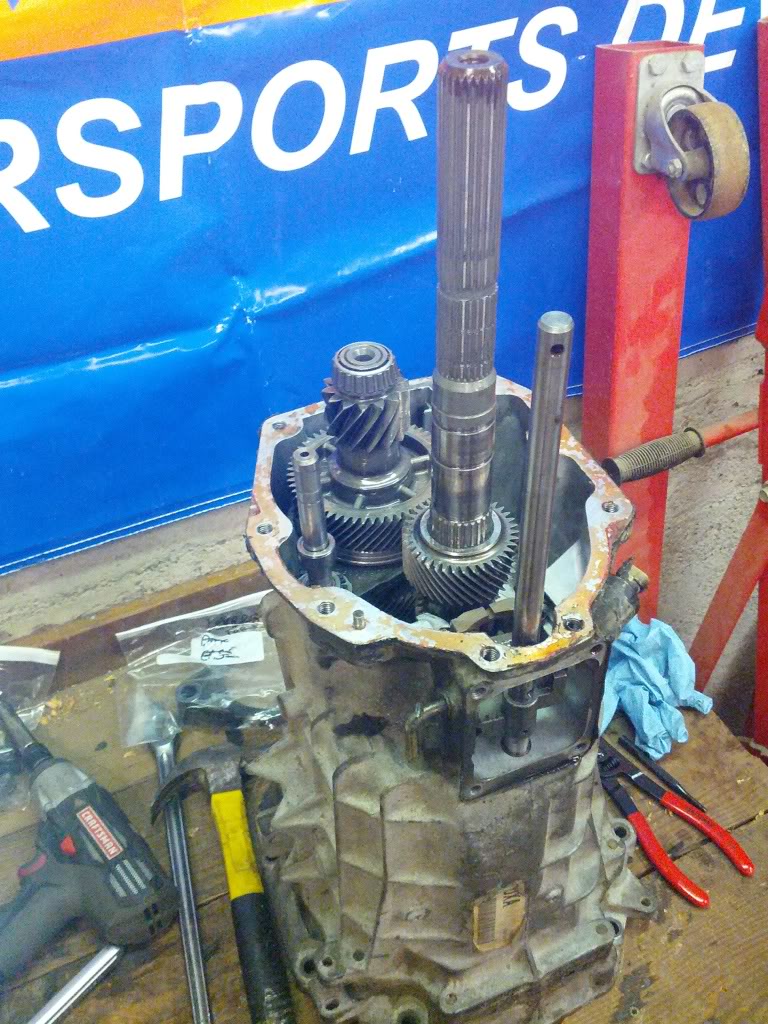
I'm using a piece of conduit to keep everything that comes off the main shaft in order (and in proper orientation).
Bronze shift fork pads... maybe this thing really was rebuilt/upgraded by the previous owner (I'll have to wait to see if there are billet syncronizer keys when I pull the next set of gears off.There were still plastic shift fork pads and stamped metal keys on reverse)
There's a couple chipped teeth on 5th gear too
The next step is to pull 5th/6th off the main shaft and countershaft and then I can pull the rest of the case off and see what's going on with 2nd.
Draining the fluid out of the front of the trans before standing it up
This fluid should be red (ATF - Dexron III)... I wonder what I'm going to find inside.
Has a little side to side play on the input shaft... A few threads that I've read say that a little movement is normal and that the pilot bearing will locate the input shaft and constrain this when it is installed... but it would be easy to tighten this up now rather than find out its an issue once it's back in the car.
Had to modify the work bench with a hole for the input shaft so the trans can sit vertically on the work bench...
Removed shifter assembly and selector block (rear offset lever).
Shifter assembly - Bare aluminum area is where the rear offset lever is rubbing against the bottom of the shifter housing.. that's not supposed to happen is it?
Pulled the rear housing
Started pulling stuff off the main shaft
I'm using a piece of conduit to keep everything that comes off the main shaft in order (and in proper orientation).
Bronze shift fork pads... maybe this thing really was rebuilt/upgraded by the previous owner (I'll have to wait to see if there are billet syncronizer keys when I pull the next set of gears off.There were still plastic shift fork pads and stamped metal keys on reverse)
There's a couple chipped teeth on 5th gear too
The next step is to pull 5th/6th off the main shaft and countershaft and then I can pull the rest of the case off and see what's going on with 2nd.
02-24-13, 07:05 PM
#39
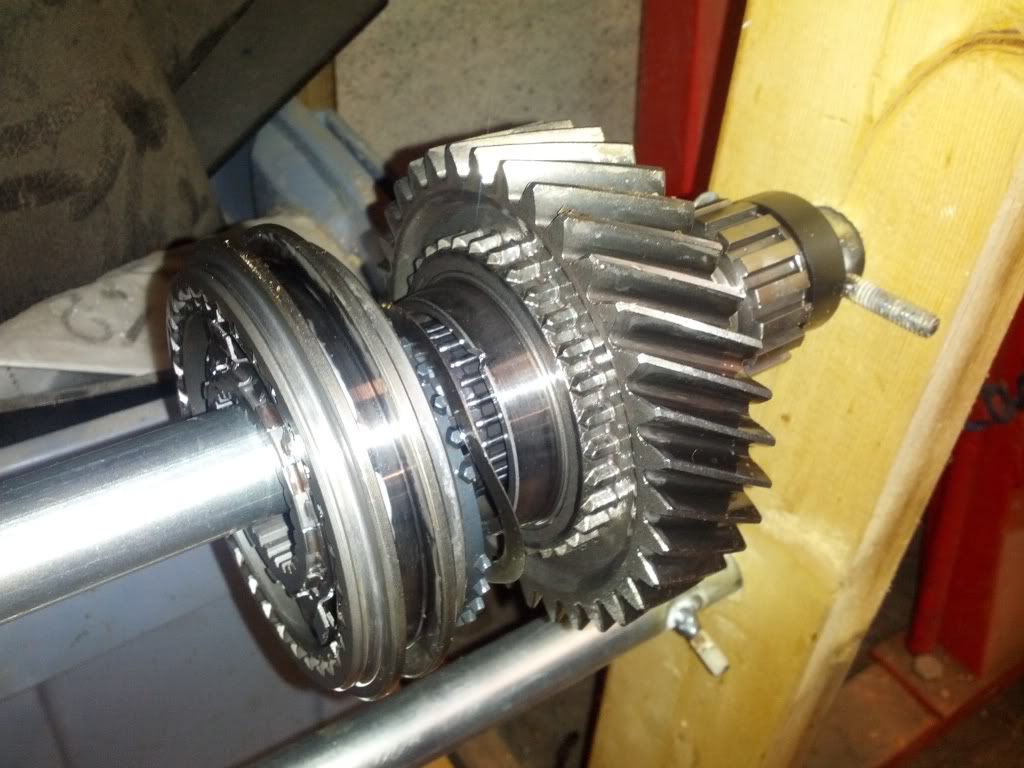
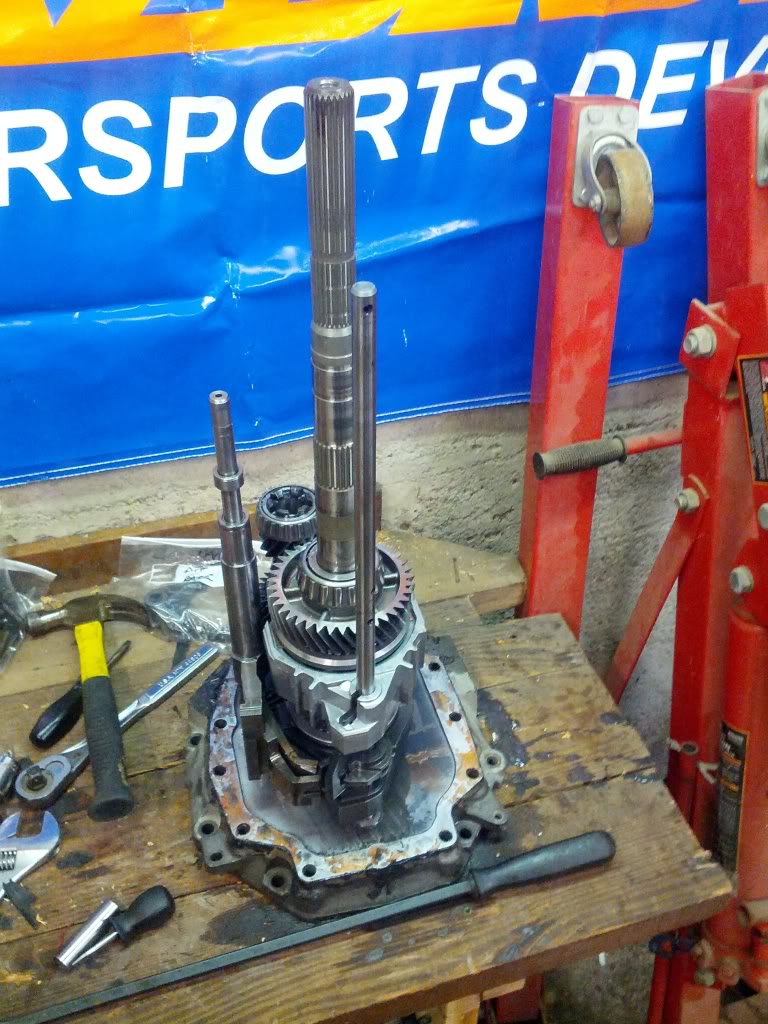
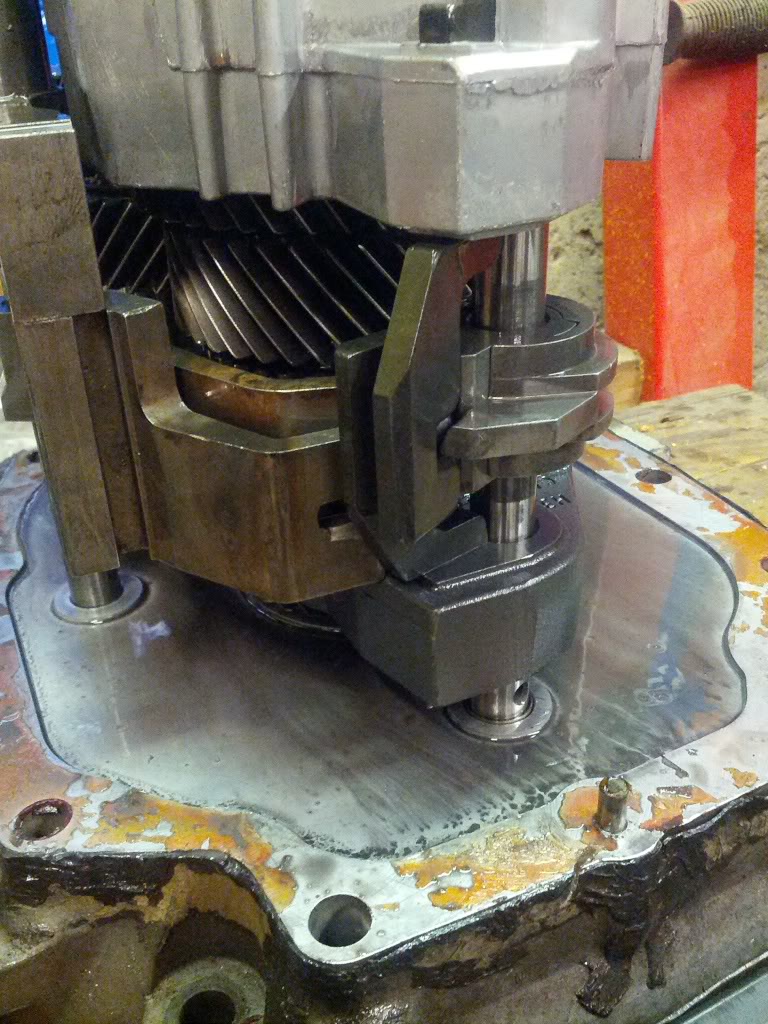
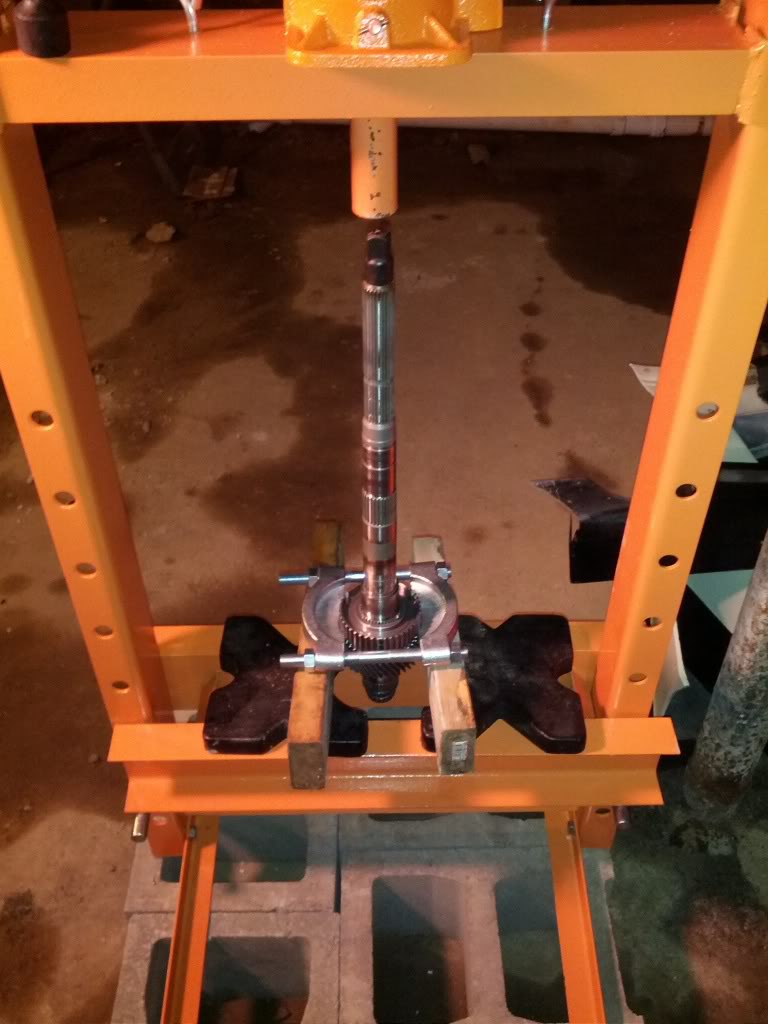
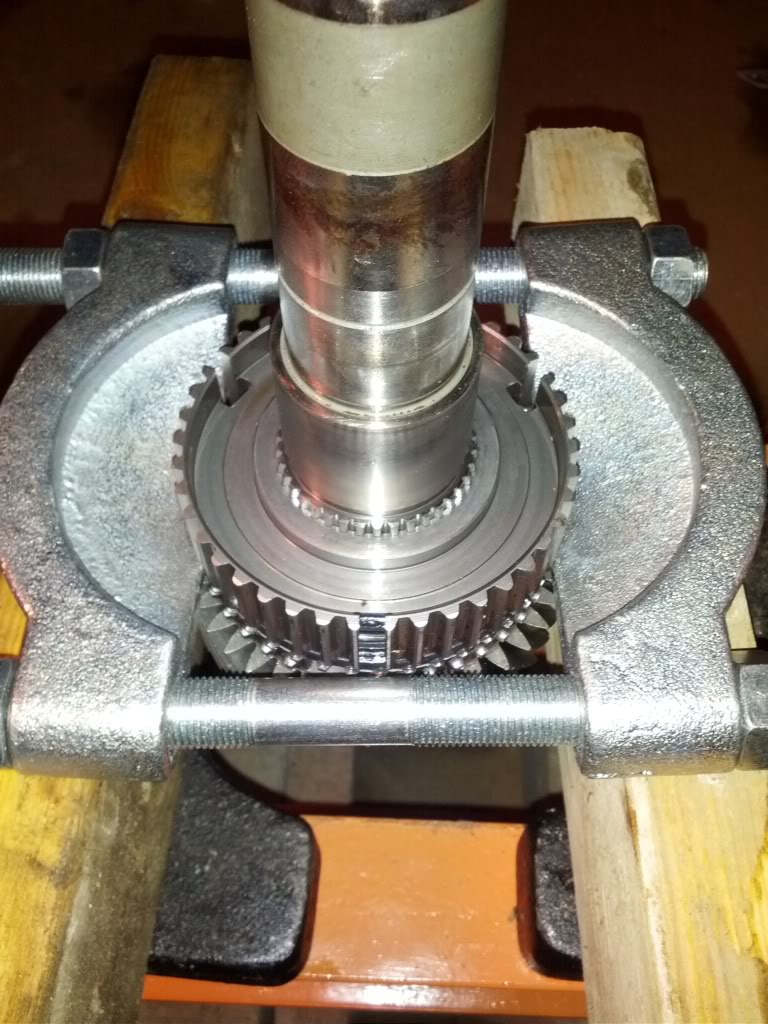
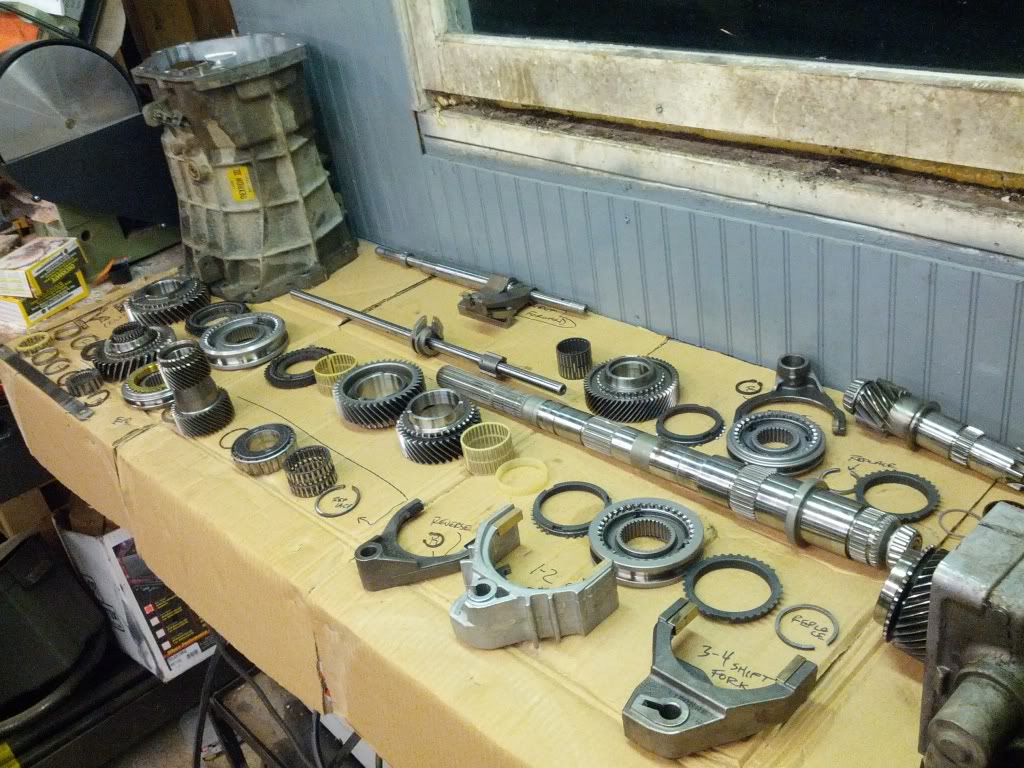
I had to make an extended puller to get 5/6th gear off the main shaft.
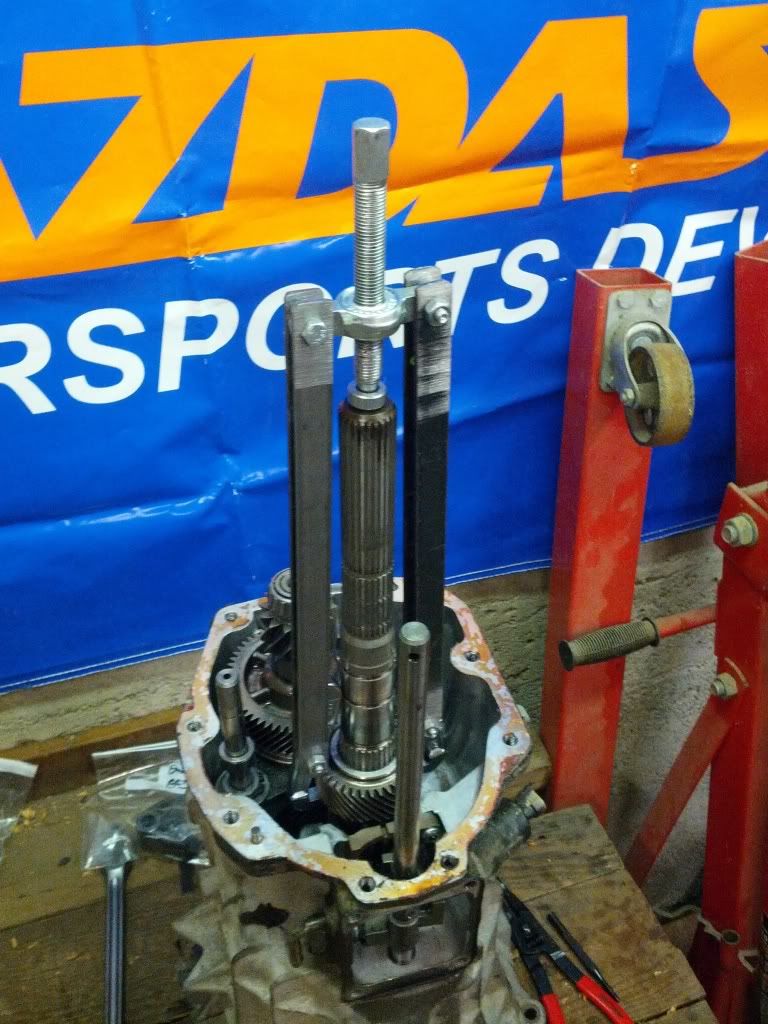
5/6th out
This was extremely difficult to pull off of the shaft, some people report that they just slip right off without a puller.... that was not the case for me. I had to heat the larger gear (5th) with a torch to get it to expand and slide off with the puller.
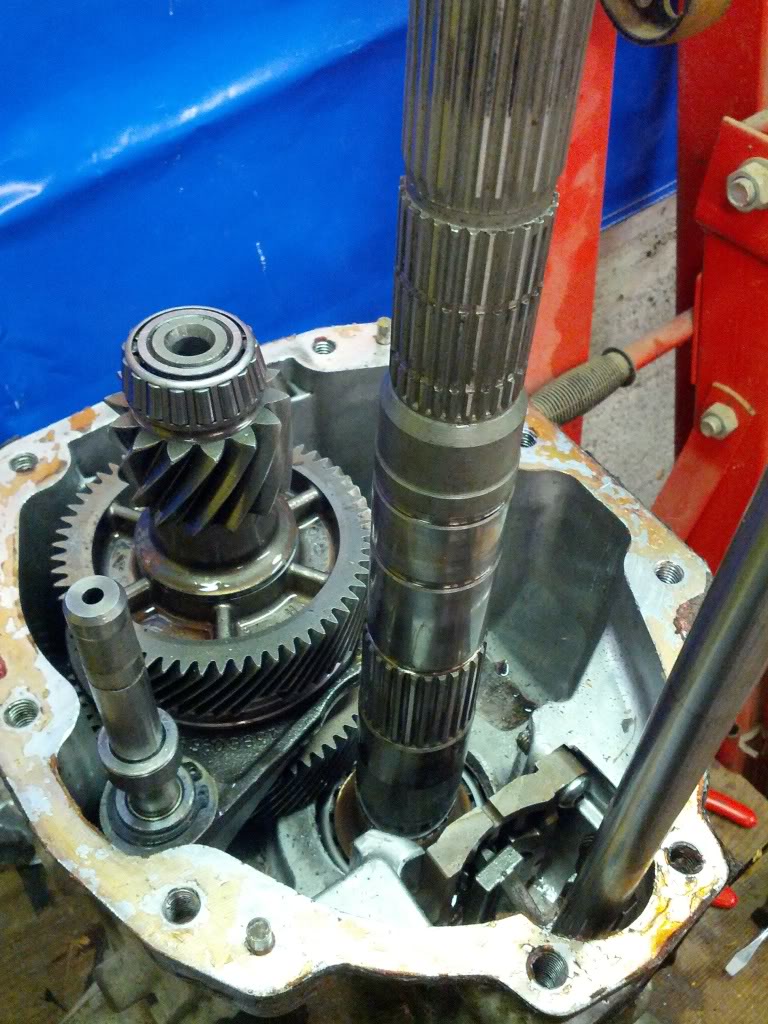
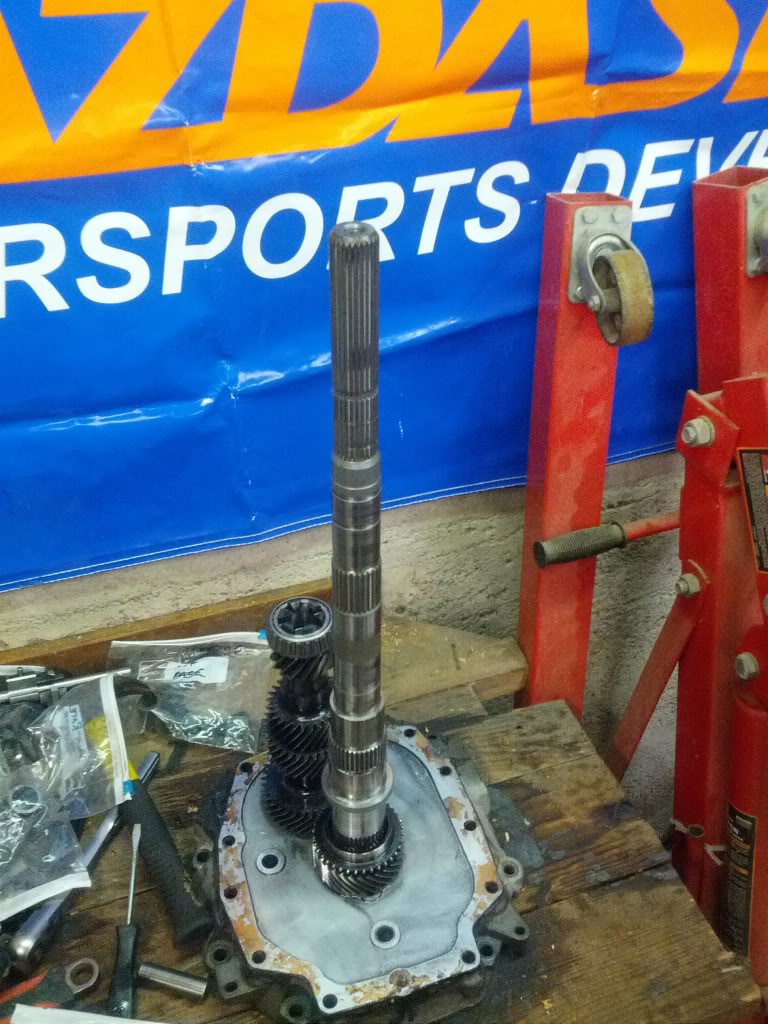
With 5/6 off the main shaft the rear section of the counter shaft and the 5/6 shift fork can be removed allowing the next section of the case to come off too.
This is with all the shift linkages apart before pulling the rest of the gears off the main shaft.
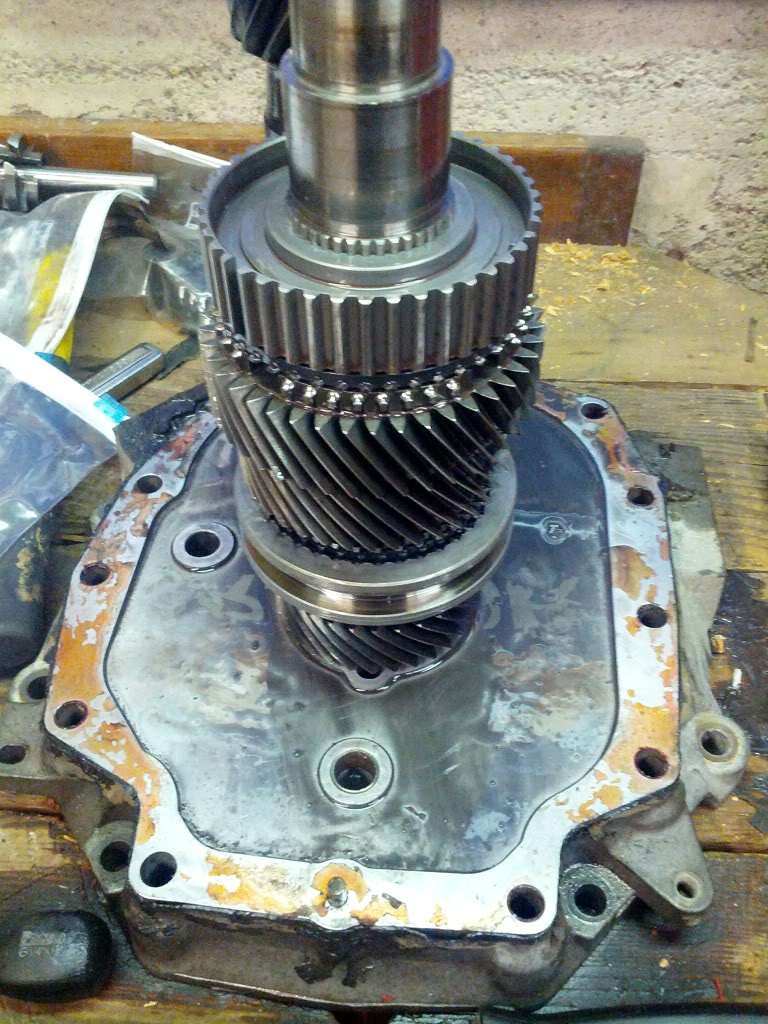
So far I've found out that the only upgrades performed when the trans was rebuilt were the bronze shift pads and 3rd/4th viper shift fork... everything else is stock.
This is probably the cause of my 2nd gear issues (popping out, not shifting in, grinding, etc).
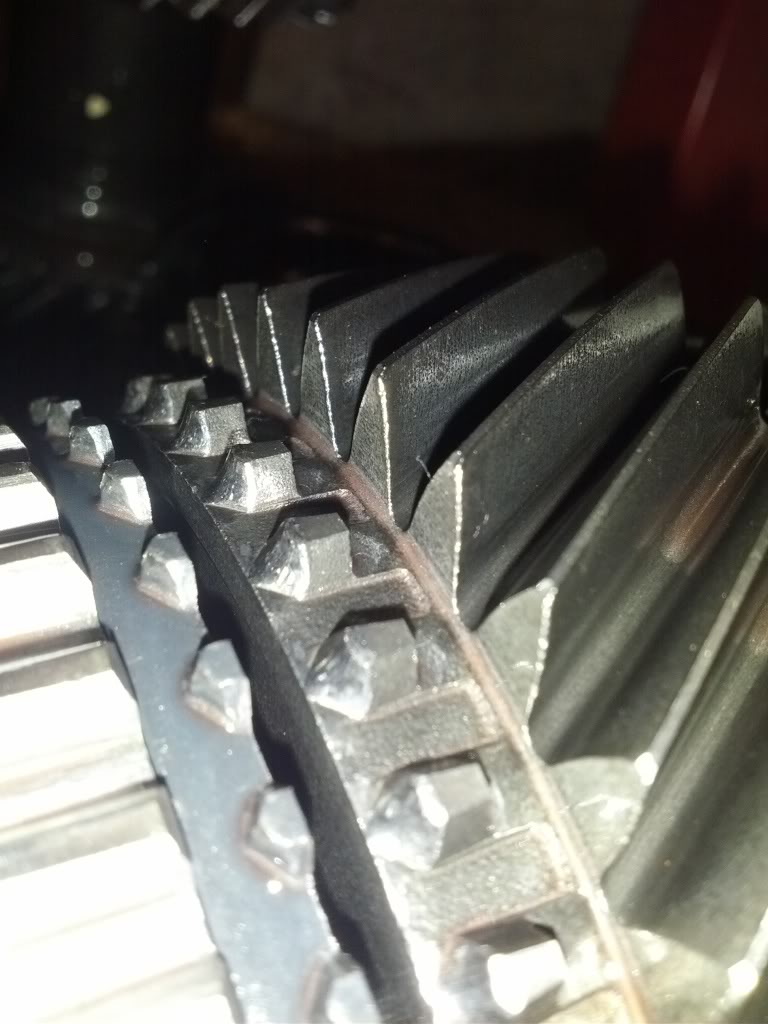
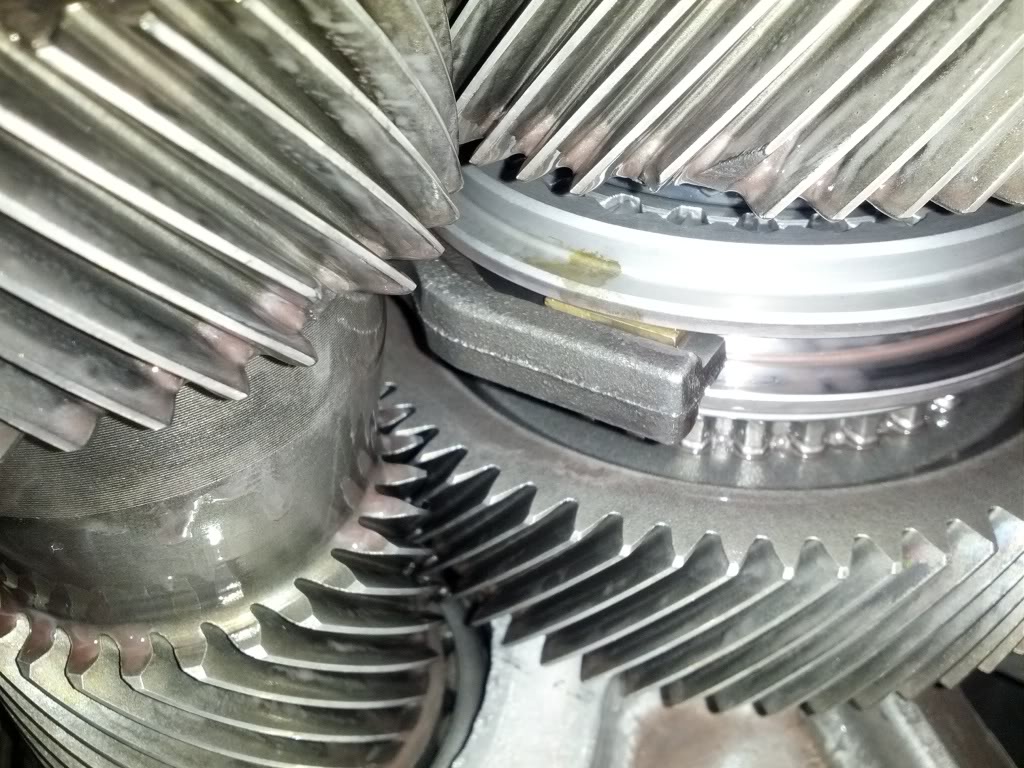
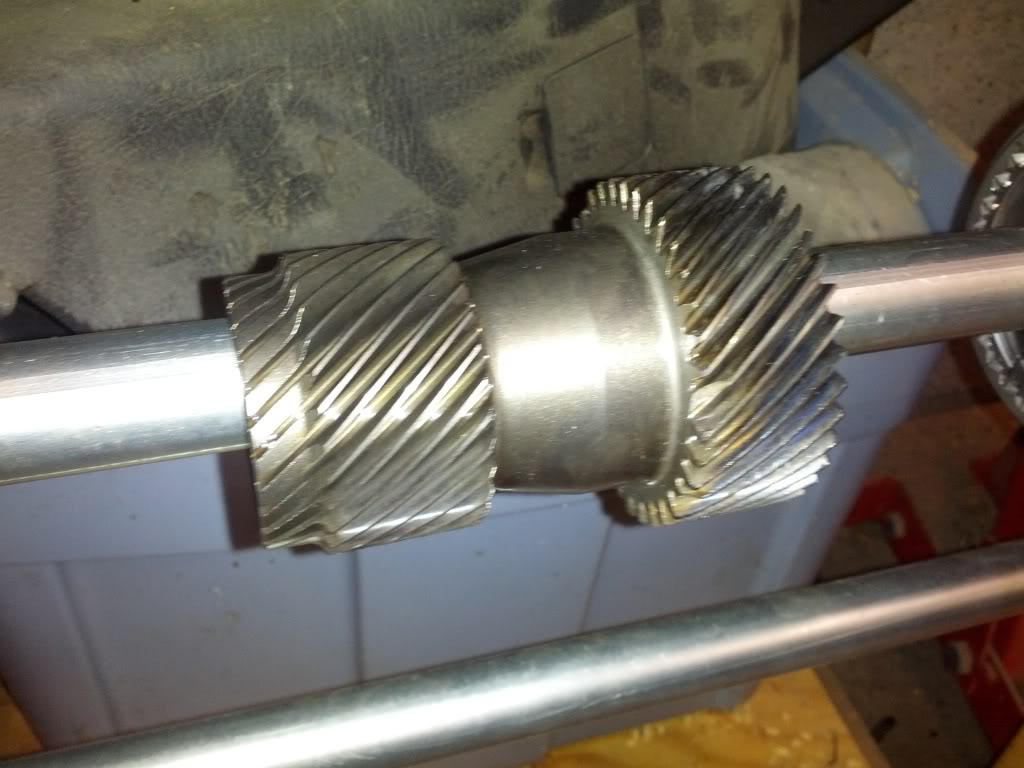
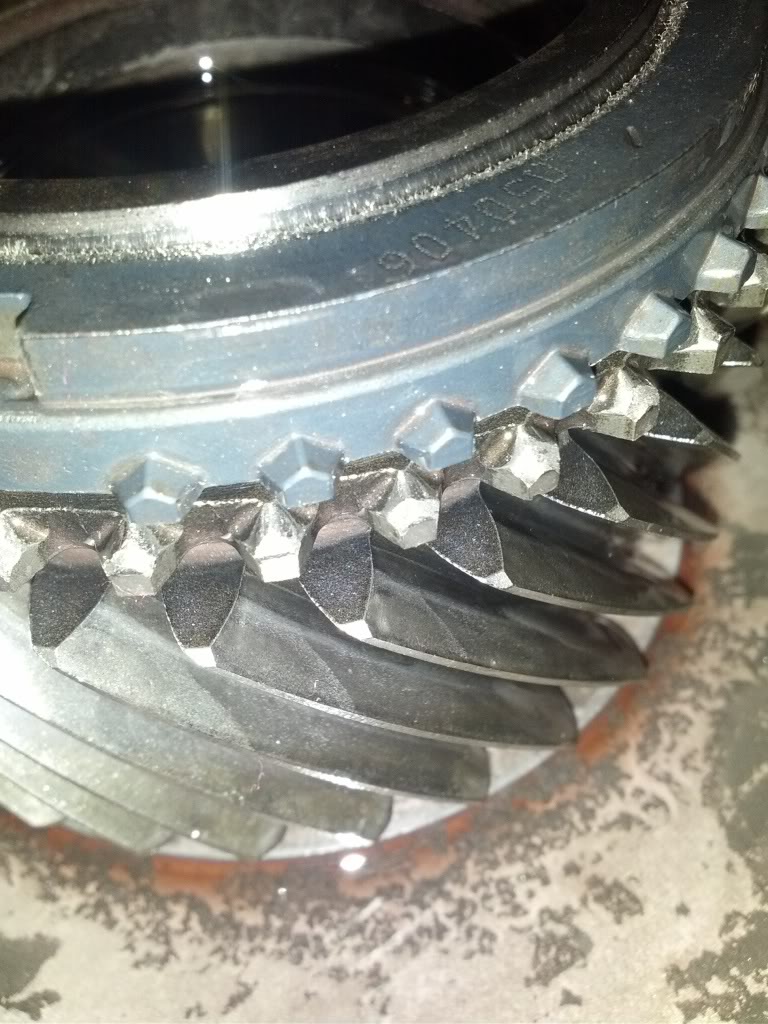
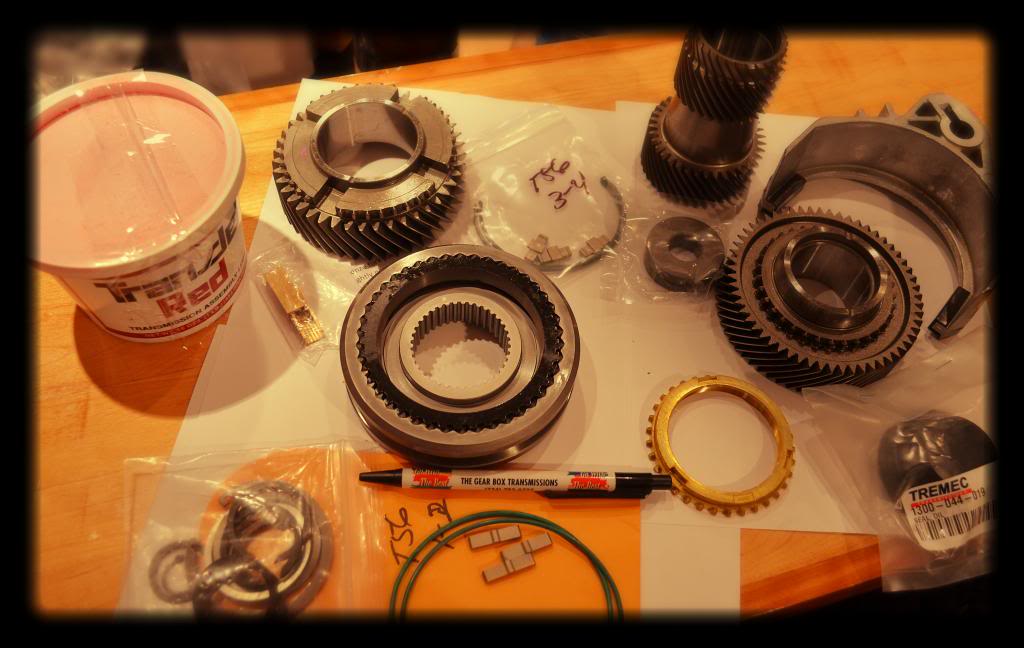
The syncro blocker ring looks fine and is probably reusable if the carbon fiber clutch material is still intact on the inside taper... but the mating interface for the syncro sleeve on the actual gear is completely rounded off... those should have sharp points just like the blocker ring on 4th gear in the pic below.
This is 4th gear which is in much better shape (blocker ring is the slightly blueish piece on top).
Looks like my parts list to get this trans back together is going to be:
5th gear (drive)
5th/6th gear casting (driven)
1st/2nd, 3rd/4th hub/sleve assemblies
2nd gear (drive)
Billet shift keys 1-4
1st/2nd syncro blocker ring set
Snap ring set
02-26-13, 05:54 PM
#42
Grabbin My Wankel
iTrader: (2)
Join Date: May 2004
Location: Yonkers N.Y.
Posts: 722
Likes: 0
Received 0 Likes
on
0 Posts
Hey I just got new Diff Bushings from Drop engineering and they feel loose. Like you don't need a press to put them in. You can just drop them in and wobble them (About 1mm of play) Were yours like that? I feel like that's not right.
02-26-13, 08:26 PM
#44
Grabbin My Wankel
iTrader: (2)
Join Date: May 2004
Location: Yonkers N.Y.
Posts: 722
Likes: 0
Received 0 Likes
on
0 Posts
I figured it out. These urethane ones compress and fill the space as you tighten them to spec. How's the trans rebuild going? I want to do the same on my T56
02-26-13, 10:30 PM
#45
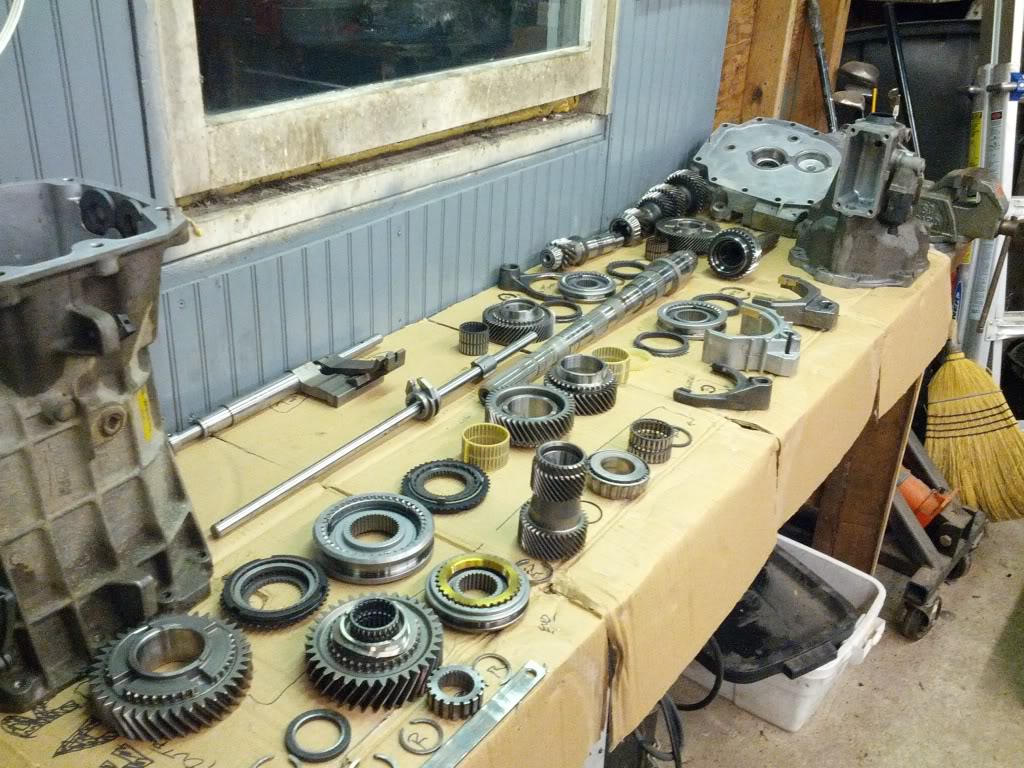
The T56 rebuild is coming along slowly since I only get to work on it a few hours a night a couple nights each week. The list of parts I think I need to replace keeps getting longer since I'm not sure where the reuse/reject point is because I'm a complete noob at this.
I got the rest of the gears off the shaft and now it's time to clean all the parts, order the replacements, and get on with the reassembly.
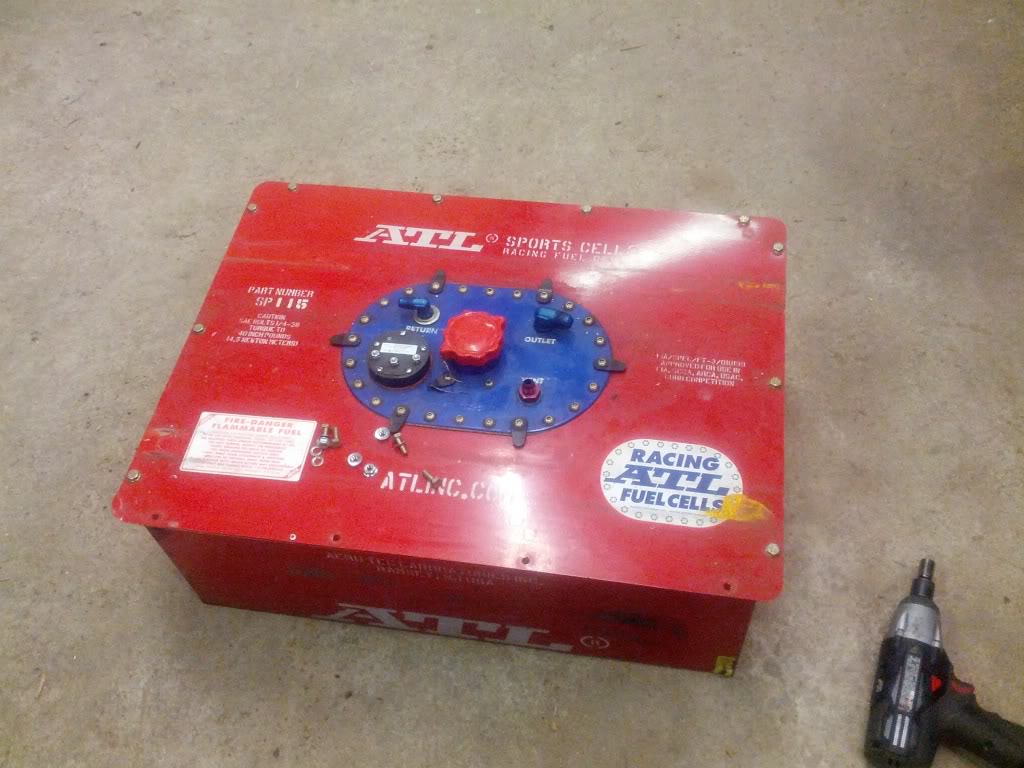
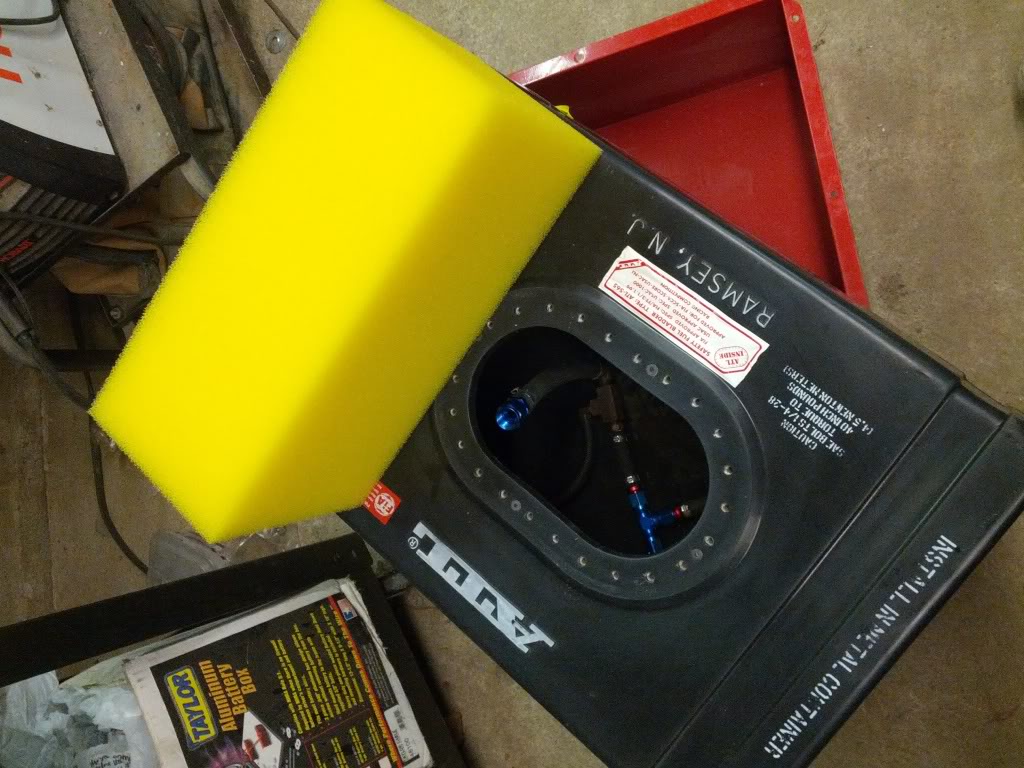
I also took my fuel cell out and apart tonight to see what was going on in there... I was having some fuel starvation issues and plugging fuel filters at the end of last season.
From here:

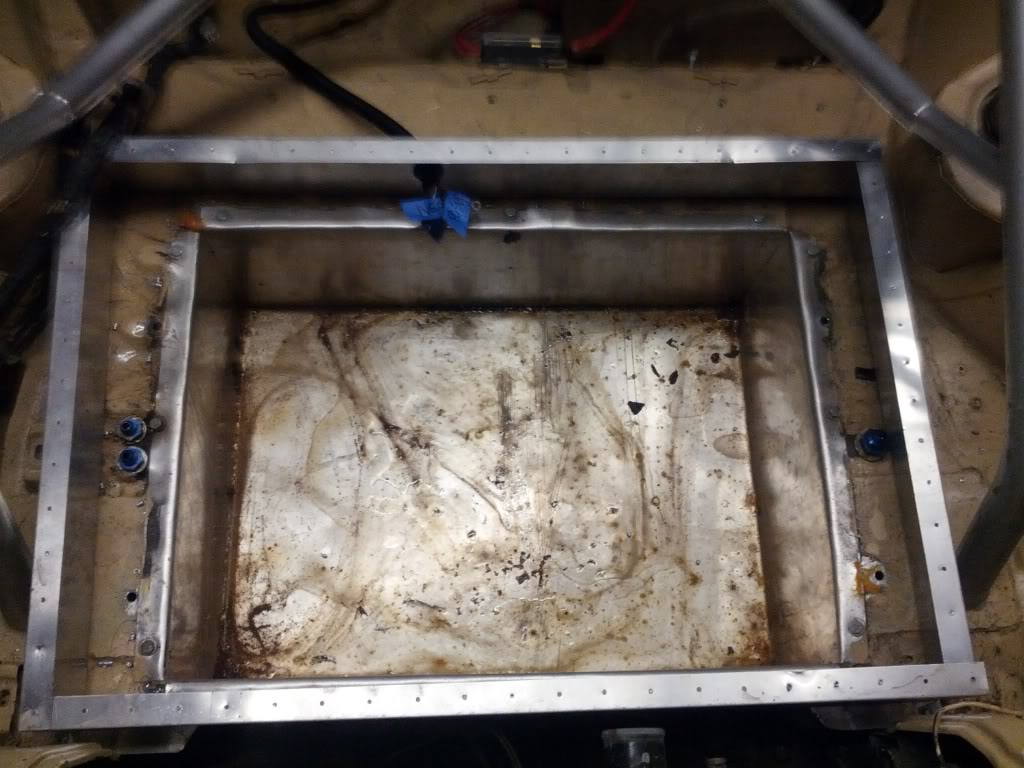
... to the floor
Issue #1 - the 3 fuel pickups at the bottom of the tank were not connected to the outlet hose... so I was drawing my fuel through the open end of a -8an hose 2 inches off the bottom of the tank since it had slipped off the barbed fitting on the splitter to the factory pickups.
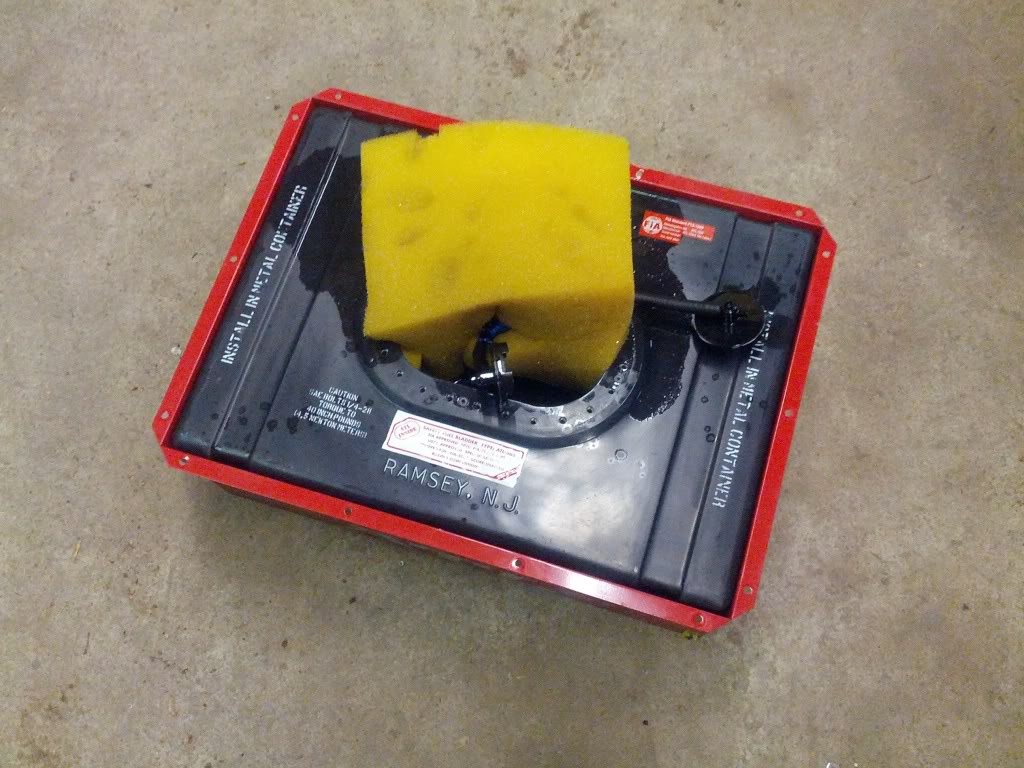
Foam looks to be in decent shape but I'm not sure how old it is. Any reason why I shouldn't reuse this stuff?
I thought it was breaking up and clogging my fuel filters... but I don't really see any breakdown at all.
 03-11-13, 06:02 PM
#46
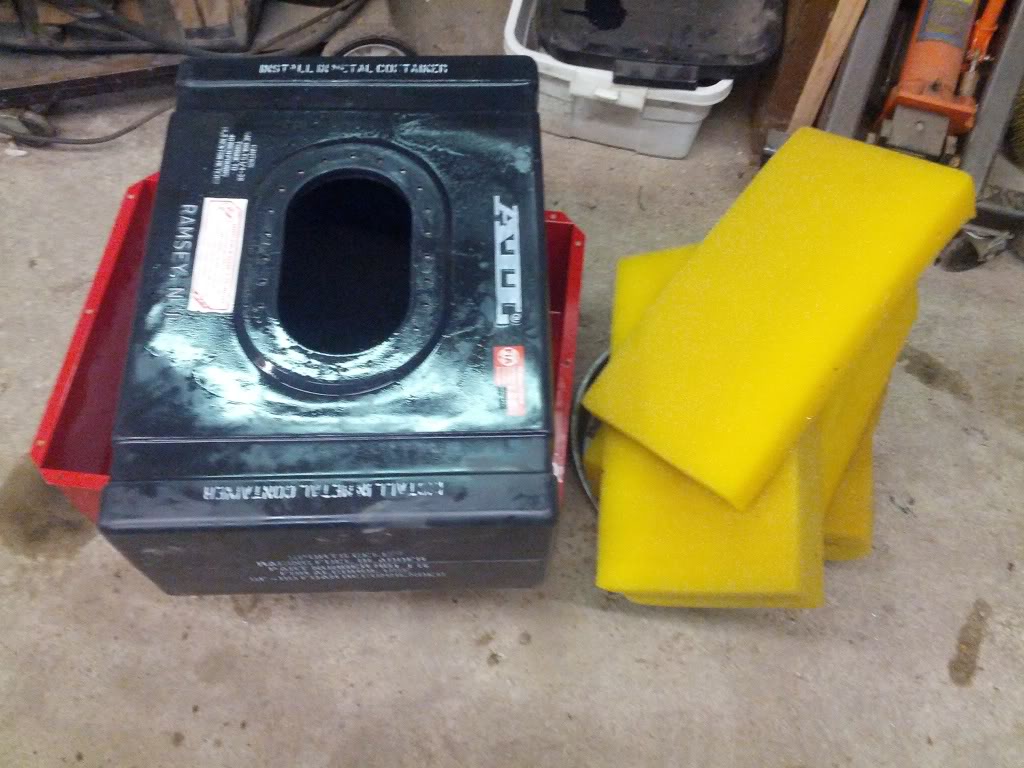
Got the new fuel cell foam in:
3 pieces of foam like that and its full again. I also replaced all the rubber lines in tank and secured them with stainless Oetiker clamps this time so they will not fall apart again when the rubber swells.
Trans parts came in today so I can get on with putting that back together. $800 to rebuild a "built" trans that was never built and would have been better spent towards a Jericho 4-speed
3 pieces of foam like that and its full again. I also replaced all the rubber lines in tank and secured them with stainless Oetiker clamps this time so they will not fall apart again when the rubber swells.
Trans parts came in today so I can get on with putting that back together. $800 to rebuild a "built" trans that was never built
and would have been better spent towards a Jericho 4-speed
 03-12-13, 02:06 AM
#48
Full Member
Join Date: Sep 2012
Location: Toretto's hot rod heaven
Posts: 59
Likes: 0
Received 0 Likes
on
0 Posts
03-12-13, 01:27 PM
#50
-New 1-2 Syncro Assy
-New 5th Gear
-New 5th/6th cluster gear
-Billet Syncro Keys 1-2, 3-4
-Bronze 1-2 Shift fork pads (1-6 had bronze shift fork pads already, 1-2 had abnormal wear)
-New 1-2 Shift fork (Still aluminum but it was $17 so I'm not messing with the old one if it were somehow bent)
-New Seals
-New Snap Rings