When you click on links to various merchants on this site and make a purchase, this can result in this site earning a commission. Affiliate programs and affiliations include, but are not limited to, the eBay Partner Network.
I’ve been meaning to add a build thread on here for a while now, and with another forum going to the wayside, I figured I’d get caught up and continue with it here. This forum is where it all started for me, so I really should have an archive here. May take a couple posts to get caught up, so here goes:
ORIGINALLY POSTED ON DEC 4, 2020:
Fair warning, this will be more of a wordy-style thread vs a pic heavy technical one, so here's your TL;DR: don't buy a clapped out she'll...buy a running driving car.
Background:
Long story short, my first car was an '86 Sport that I bought when I was 16/17 (around '98/99), and was hooked on rotaries right away. Virtually immediately, I slowly began to 'bench build' my ideal FD (which I would evolve over the next 20 years). After selling my second FC ('89 GTUs which I TII swapped) I left rotaries for a GC8 for a bit. During that ownership, I had slowly been saving up for an STi swap into it….but for some strange reason, I decided to visit the rx7club one day….and the rotary passion was rekindled immediately. I realized my (relatively) stock 2.5RS was a perfect daily, and my extra money should be spent on my dream car: an FD
The Hunt:
Since the majority of my (at the time) roughly 10 year rotary research had been done on the FC platform, I knew I wanted to do a deep dive into the FD chassis before making a decision on a car. I spent about a year or so just reading every thread I possibly could. From the FAQs, technical threads, build threads, to watching the classifieds to monitor pricing trends on cars and the 'cool' parts I've always dreamed of. During that time, I had actually been disappointed twice, missing out on two cars I had been trying pretty hard to buy. But that was a blessing in disguise, because I decided I wanted to wait for my ideal chassis: a '94 or '95 black on black base (or R2) non sunroof car. Reasons:
Updated interior plastics
I also like the cleaner tach of the post '93 clusters (this would become irrelevant later on)
Better baffling of the gas tank (this too would become irrelevant)
Slightly softer rear sway bar (I didn't know if I'd be a good enough driver to utilize the more aggressive bar on the '93/R1)
No single turbo conversion
A/C, power steering, cruise, abs intact
There were a couple other criteria for my criteria but I can't remember them at the moment….but as you'll see soon, those reasons were all moot, and the only thing that I really needed to look for was: black on black and no sunroof.
So in October of '13, I found (what I thought) was the ideal car: A '94 black on black, manual, base that had some bolt on mods, but was essentially a roller. The engine was still in the car (of course the previous owner said 'ran when parked'). The car had been sitting for 3 years and you could tell it had a janky paint job at some point, because the paint had been burnt off, but it was a Florida car, so I was hoping the rest of the car would be fine. '94 black on black, manual base models don't come up often, so I jumped on the car sight unseen, and had it shipped to me. That decision would turn out to be far more of a nightmare that I could have imagined.
Needless to say, when the car showed up, it was in much more disrepair than I anticipated. More parts were missing than was described and the lack of use had not been kind to the interior. Most concerning though, was the powdery orange dust around the water neck and AST, that looked suspiciously like rusty water that had dried. Disassembly of the engine confirmed my suspicions:
I had some other pics of the state of the entire car (interior, exterior, and engine bay) on an old phone, but unfortunately those are long gone, but I think the engine teardown speaks for the state of the car.
Goal and Vision for the Car:
As I alluded to, I've been building an ideal FD in my head for many years. That build has evolved as my tastes have change or found out about cool/rare parts (the 'Rare Parts Defined' thread was like crack to me). It was around the time I got the car that I noticed the OEM+ trend starting to form. While I think this is a cool way of doing a build, I've always been much more interested in how the runners of japan were building the cars in the 90s. In particular the kyosozoku/roulettezoku racers. The kind of cars that were just as at home sitting on the floor of the Tokyo Auto Salon as they were racing down the Wangan. So, I developed my own theme: 90s+. Cool 90s/early 2000s parts visible on the car, with a more modern mentality on the engine build and electronics (ecu, ignition, etc).
There were a couple parts that were on my 'dream' list:
Knightsports headlights
knightsports duel-tube downpipe
C's short shifter
Mazdaspeed A-Spec Type II bumper
RaceShop roll bar
Throughout the years, I was actually able to find a lot of these parts, along with many more. I began trying to purchase as many of the parts as I can as I've found them, because I never knew when they would come up again. This constantly affected the budget of the engine build, and of course the timeframe. Everytime one of the above parts came up, or some of the other interesting parts I've acquired, it almost always reset the budget of getting the car running back to nil. Eventually though, I was able to find a running engine with the goal of just getting it in and running. But I was working on the road at the time, so even this wasn't happening quickly
IRP has long been the shop I envisioned for my ultimate engine build. I had even chosen my ecu based on the idea that I would take it to IR to tune the car, and I knew they were familiar with the AEM (this along with the AEM allowing me to keep PS, A/C, twins, OMP, etc). With the slow progress the car was making, I decided to bite the bullet and just build the engine. Since my plan was to stick with twins, I discussed porting with Ihor at length, and his suggestion for my goals was their 'stage 2' or medium streetport. I wasn't chasing HP numbers, and I wanted something that would complement the power delivery of the twins. We also discussed the twins themselves at length, and although the J-Spec nerd in me wanted to go knightsports twins, BNRs won out based on the experience IRP has had with them. So, the basic rundown of the build started as:
-Stage 2 streetported engine
RXParts seals
Goopy studs
Garfunkel oil pan brace
ID1000/ID2000
FFE fuel rails & blockoff plates
Rotary Aviation OMP adapter (w/Mikuni pump)
Powder coating (going this far, may as well, right?)
BNR Stage 3 twins
ACT street/comp clutch & lightened flywheel
-AEM Series 2 ECU (purchased before taking to IRP)
Wired by Cody Marstrand
AEM smart coils (SBG mount)
Flex Fuel sensor
AEM Wideband Failsafe
-90s Tuner Parts (bought throughout the years)
ARC standard SMIC (plan was to swap this out for a KS or FDMotorsports unit in the future)
Knightsports intake
Knightsports downpipe
Knightsports midpipe
Before the engine went to powdercoat, I was able to snag some MS-01S wheels (in white), so I decided to send them over to IR and have them powdercoated with the same bronze:
IRP would also be painting the engine bay while the engine was out.
Of course, there were many issues found with the car during this time, most of which were not planned for. Things like the gas tank/fuel hangar being beyond repair, the heater core being cracked, and since the car had baked in the fla sun, most interior plastics were toast. This did afford me the excuse of upgrading to the '97+ gas tank, which has even better baffling than the '94.
As the longblock came together, a serious snag came up. The BNRs were just not cooperating for whatever reason. After cracking two exhaust manifolds, logic won out, and an IRP single turbo kit was fitted (8474) and a Greddy Vmount was also installed.
This was a bummer on a couple levels for me. First and foremost, I had collected several different cool and rare parts associated with the twins. That was a huge part of the 'vision' I had for the build. And that vision was developed largely because I believed the twins were the purist way to experience the car, and I should at least see how I liked them before doing something drastic (like a single turbo). I think I would have fought harder to keep the twins had I not picked up another car during the engine build.
So, I have been able to experience factory sequential twins, albeit strapped to a 20B. My infatuation with the twins has always been an irrational one. Experiencing the twins on the Cosmo was able to confirm this. The complexity, of the system, weight, and mainly the extra heat made the system not make sense for what I want to use the FD for. [aside: the heat the twins produce at the firewall/trans tunnel of a RHD are really making me want to change them out of the Cosmo as well. But the story of that, and of the car as a whole, is a story for another time]
Anyhow, with the engine now in the car, and a few more bits added (SBG water/meth kit, Drake's column pod for the AEM failsafe, and a Mazdaspeed front sway bar), we began finding all the other issues present with the car. The trans was all but shot, so a rebuilt unit was installed. The breaks were all rebuilt and stoptech rotors installed. The gauge cluster was dead (more on that in a bit). And, of course, the suspension was completely shot. Luckily, I had a set of RE-A Aragosta coilovers several years ago. I was hoping to put these in myself, but the circumstances called for me to send them out to have them fitted at IRP.
With the car now drivable, it was sent back to me for break in.
The first thing I did to the car myself was put in a new cluster and cluster hood. I was able to find my 'ideal' cluster: a 30th Anniversary. I sent it to Michael Gagne to have it looked over and to have the spedo converted to read in MPH as well as the odometer to miles. The green backlighting of the cluster is a bit off-putting compared to the amber backlighting of the rest of the interior, but I guess there are some sacrifices that need to be made. Maybe I'll revisit this issue sometime in the future.
That pretty much brings it to where it sits now in winter storage. I was able to get 500 miles on the break in and get the first oil change done before putting it away. So, at IRP's recommendation, I'll need a bit more on it before taking it back out to get the final tune. Until then, here's where we stand:
ENGINE
IRP medium street port
Goopy studs
RXParts seals
Garfunkle Oil Pan Brace
ID1000/ID2000
FFE fuel rails & blockoff plates
Rotary Aviation OMP adapter (w/Mikuni pump) and external reservoir
ACT street/comp clutch & lightened flywheel
IRP 8474 turbo kit
Greddy V-Mount (retaining AC)
Catch can
SBG/AEM W/I kit (w/ 'rear washer's tank)
ELECTRONICS/INTERIOR
AEM Series II Wired by Cody Marstrand
AEM smart coils (SBG mount)
Flex Fuel sensor
Boost trim switch
AEM Wideband Failsafe w/Drake's column pod
Brand new harness (modified for single turbo by IRP)
AEM W/I controller
Mazdaspeed 30th Anniversary cluster (converted to MPH/Miles by Michael Gagne) and 'new' '94 cluster hood
Brail battery in rear bin
SUSPENSION/BRAKES
RE-Amemiya spec Aragosta coilovers
Rebuilt stock calipers
Stoptech pads/rotors
Mazdaspeed front sway bar
Mazdaspeed MS-01S (powder coated to match engine)
Parts Still on the Shelf
During the winter storage, I'd love to get as many of the parts I've been holding into the car, as well as some regular maintenance type things necessary because of how long the car has sat. The goal for the winter includes:
Knightsports headlights (HID version)
A-Spec Type II front Bumper
New headlight covers
HPP 2in1 diff cradle
Pre-Garage Alpha rigid collars
Pre-Garage Alpha pedal set
Innovative strut bar
RE-A dolphin tail (TI)
Greddy hood struts (have to be able to show off IRP's nice work)
Evo-R fender mirrors
Raceshop rollbar
Decide between the C's, Mazdaspeed, it JP3 shifter (I may do a comparison of all 3, then decide which to stick with)
Raceshop Rollbar
Some of the other issues I've noticed that need attention: The molding of the windshield looks to be dry rotted and brittle, and the windshield leaks a bit during heavy rains, so I'll have to get new moldings and reseal that up. The rear end clunks like crazy (not surprising), so all new bushings are planned for when I drop the rear end out for the rigid collars. I'm leaning towards mazdacomp bushings.
Reflections up to This Point
While I'm happy to finally be realizing my vision for an FD, in hindsight, I should have listened to all the advice that says not to buy a project car. Even though I bought this car before the inflated prices started, I still have more into it than a good running and driving example would cost me today. And as rare as a '94/95 Black on Black, manual, base is….most of what makes it a '94/95 car had been changed out anyway, so even from that perspective I was a bit narrow minded in my original search.
Then again, the slow burn of this build has afforded me the opportunity to pick up some of the parts I've dreamt of for the past 20 years. So I guess it's all how you look at it. Plus, I was able to save an FD chassis from probably being parted out or worse….and that's always a good feeling.
Small update. Took advantage of some (relatively) warm temps today. Got the heavy *** old exhaust off the car. I have no idea what brand the thing even was. But I got my RE-A dolphin tail Ti put on that I've been hording away for like 6 years.
I don't have pictures of it, but I also changed out a garbage no-name straight pipe for a Knightsports resonated midpipe.
Not much progress on the FD over the winter. House projects kept me preoccupied for the most part. That means unfortunately, the FD was nowhere near ready for DGRR, so my focus turned to the Cosmo to get ready for the trip. Luckily, all that really needed was an oil change, a bath and inspection. It was kinda depressing to hear that, even though I was 6 months overdue for inspection, I had not even put 1,000 miles on the car since the last inspection. Oh well, I'd change that last weekend.
While there had been gatherings of just as many Cosmos in North America in the past (3 cars), I don't think there have ever been as many owners together in N.A. before (5 owners with a total of 7 Cosmos between us). Ironically, the two guys with no Cosmos at the event were the guys who own multiple JCs 🤣
Anyhow, it's only the second time I've made it to the event, but it's definitely the definitive rotary event on the East coast, so I hope to keep my streak alive next year and make it three in a row.
Still no real progress on the FD, but I finally got my hands on an RE UIM/LIM combo. Been trying for one of these for a long time, and always seem to be literally minutes late when they go up for sale.
ORIGINALLY POSTED OCT 15, 2021 October seems to be a bit of a milestone month for my car:
October 2013, bought the car
October 2016, the car was taken to IRP
Now, October 2021, I feel boost for the first time.
With the engine finally broken in to IRPs specifications, and it being so late in the season here, I've decided to hold off on taking the car back to IRP for the time being, and try and enjoy the car a bit for the last few weeks of nice weather. There was one problem, the startup tune (originally set up by EBTurbo, and modified a bit by IRP to accommodate the changes we made since Cody originally had setup the AEM) was perfectly fine for putting around town at sub 4k and low engine load. However, the fuel settings were not sufficient for pushing the car even the slightest bit.
So, a friend of mine, who has tuned many of his own cars in the past (including his FD) was willing to give me a few lessons, and get me started down the path of tuning. The goal here is not to chase any power, just be able to safely push the car to wastegate pressure. We've left the very conservative timing maps alone (I'll let IRP do the power tuning), and I won't be getting into flex fuel tuning or anything like that either. Just looking for nice safe AFRs up to wastegate pressure (~9psi). Hopefully this will also help IRP when we go for the power.
As I alluded to in the post, I'm blown away by the feel of the car on the most basic of tunes. Even though I know for a fact my Cosmo would smoke the car as it is now....it FEELS much faster than the Cosmo. But I have a feeling this thing will gap the 20B once a real tune is put on the car, and certainly once it starts drinking a bit more corn juice.
Last edited by REnaissance_Sle7in; 11-02-21 at 08:28 AM.
Best of luck - looking forward to this coming together!
Big fan of that GC8 too
Thanks! Unfortunately, the way I end up working on this car....this will probably be the only time there are rapid updates hahahaha.
I was a huge fan of that GC8 also. Unfortunately, the Pittsburgh winters finally won out and the rust had taken over. The day I tried to put the car up on jackstands to fix an exhaust leak, and found my pinchweld to be more rust that structure, I knew it was time to move it along. I sold it to a buddy who was able to take some parts from it and use them on his own build. So it's kinda like the car lives on, and it's still local. I'm just glad I was able to snag that one pic with the two of them.
It's coming along! I'm always happy to see an FD that was destined for the junkyard get a second lease on life. Just keep chipping away at the small stuff, don't feel like you have to do EVERYTHING in one giant push. Eventually all the little things add up to a big difference.
It's coming along! I'm always happy to see an FD that was destined for the junkyard get a second lease on life. Just keep chipping away at the small stuff, don't feel like you have to do EVERYTHING in one giant push. Eventually all the little things add up to a big difference.
Keep at it!
Dale
Thanks Dale. I agree. Feels good to save one....it's just been a lot of time and money do go this route. I definitely won't be pushing to get anything done...hell, it's taken my 8 years to get to this point, and you can barely tell by just looking at the car haha. I just want to have the car I've always wanted...however long it takes to achieve that is how long it will take.
These stories always resonate with me because once I was able to purchase my CYM and get ingrained in the rotary community, is when I realized how very few of these cars are left on operating condition. Once I'm at a comfortable place with this one, I'm definitely looking forward to saving one from a life of rotting away. Cheers mate, and I'm looking forward to reading the rest of this story!
Aw, man. Are we doing period-correct stuff in here? I'm vibing.
That was the plan, however, abandoning the twins and all the associated 90s goodies in favor of a modern turbo really hurt that goal. I do have some ideas to make the turbo system appear more retro. We'll see how that pans out. I also chose a bigger sized turbo option to try an re-live a bit of that anticipation and drama that I associated with older turbo technology. I figured if I'm getting away from optimizing the linear powerband of the twins, I may *** well go the other way and hold on for some old school boost lag. However, after feeling the 8474 spool at just wastegate pressure, I may not have achieved that goal. The turbo still spools surprisingly quick (to me at least). Not that that's a bad thing, quite the opposite, it feels great.....it just doesn't have that drama of of the older turbos: That feeling of nothing.nothing.nothing.ALL THE BOOST.
I'm also still hunting 2 or 3 exterior pieces that are very period correct, and will at least make the car look the part.
Yah I remember that old tech… my red FD ended up with a GReddy T-78 kit. It was laggy but man when boost hit at 4K it was nasty. Watching the boost needle sit at 0 and then slap over and the wheel spin occur… wastegate dumping under the passenger seat… glorious!
Wasn't able to get as much done with the car over the winter as I had hoped to, but the past few weeks I've been able to get to a couple things to get ready for the driving season. First and foremost being the position of the front relay box with the Greddy V-Mount. A while back, I had found a bunch of water in there after a TNS relay issue, so it been something I've wanted to address ever since. Finding that Greddy themselves actually amended the directions for mounting this with their Ver.2 kit, it seems like they feel the same way. The silicone used to try and keep water out certainly made getting the box apart a chore and lead to quite a few broken clips that hold the bottom portion of the box on (hence the zip tie in the photo). But I finally got it apart and back through the core support, and mounted as per the new instructions. However, this is causing another issue that will need addressed: this pulls the harness down and out of its channel in the top of the core support, and now it's making getting the IC shroud back in place difficult, as they are both trying to occupy the same space. The picture on the Greddy website indicate that this is what you are supposed to do, but I can seem to get everything to sit nicely and not have the IC ducting pressing directly on the harness. So anyone with experience on this step, I'd greatly appreciate any input.
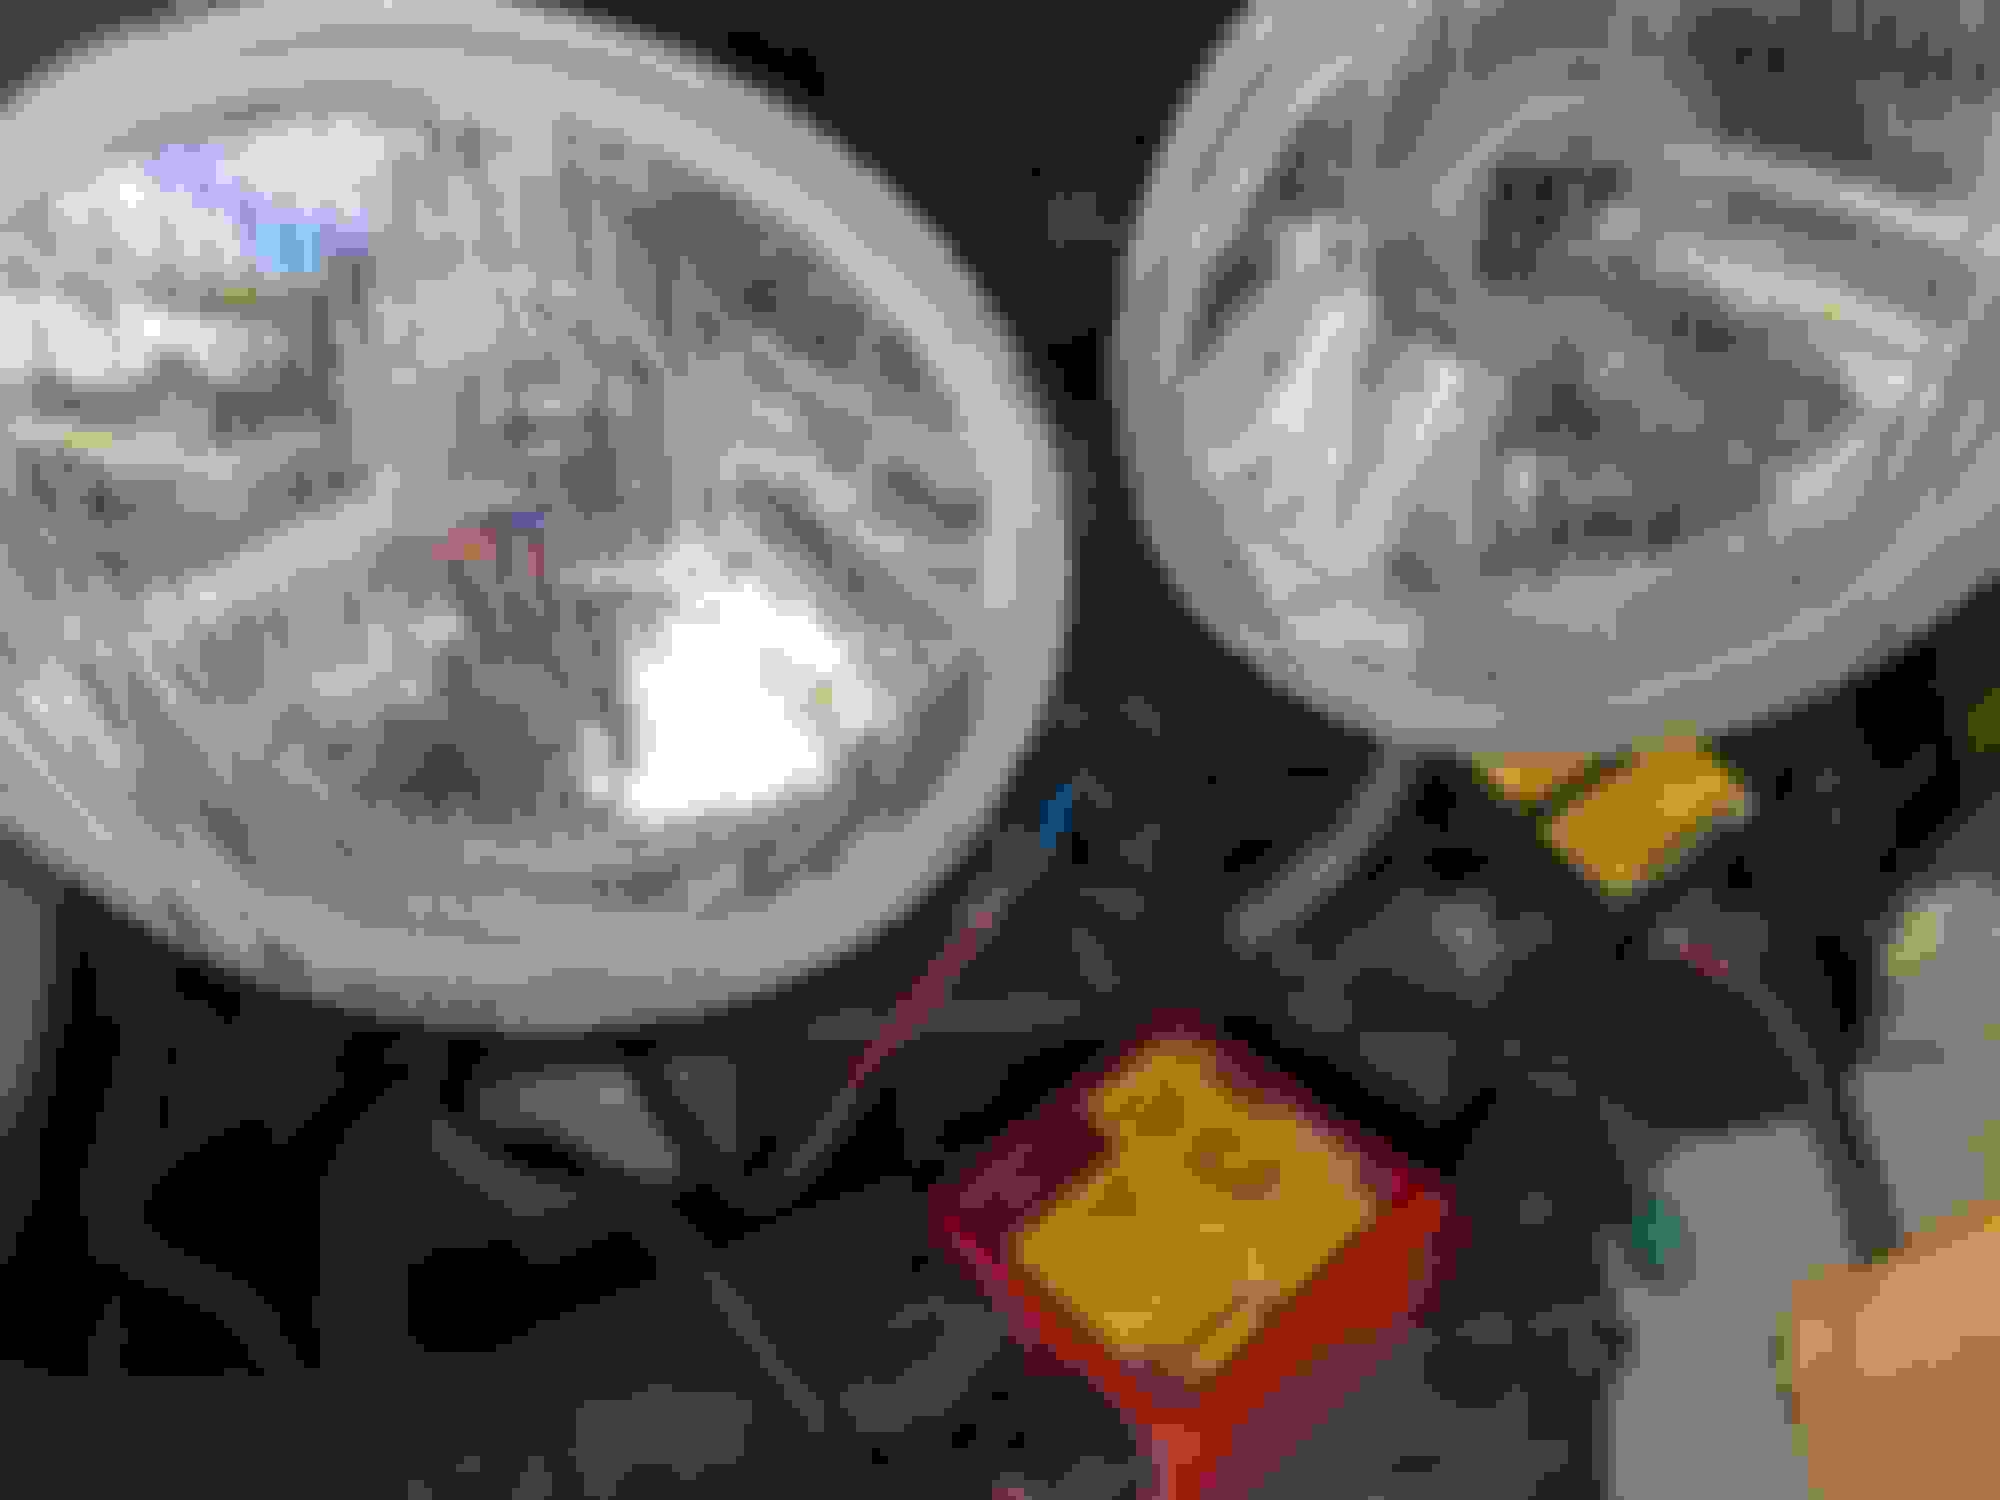
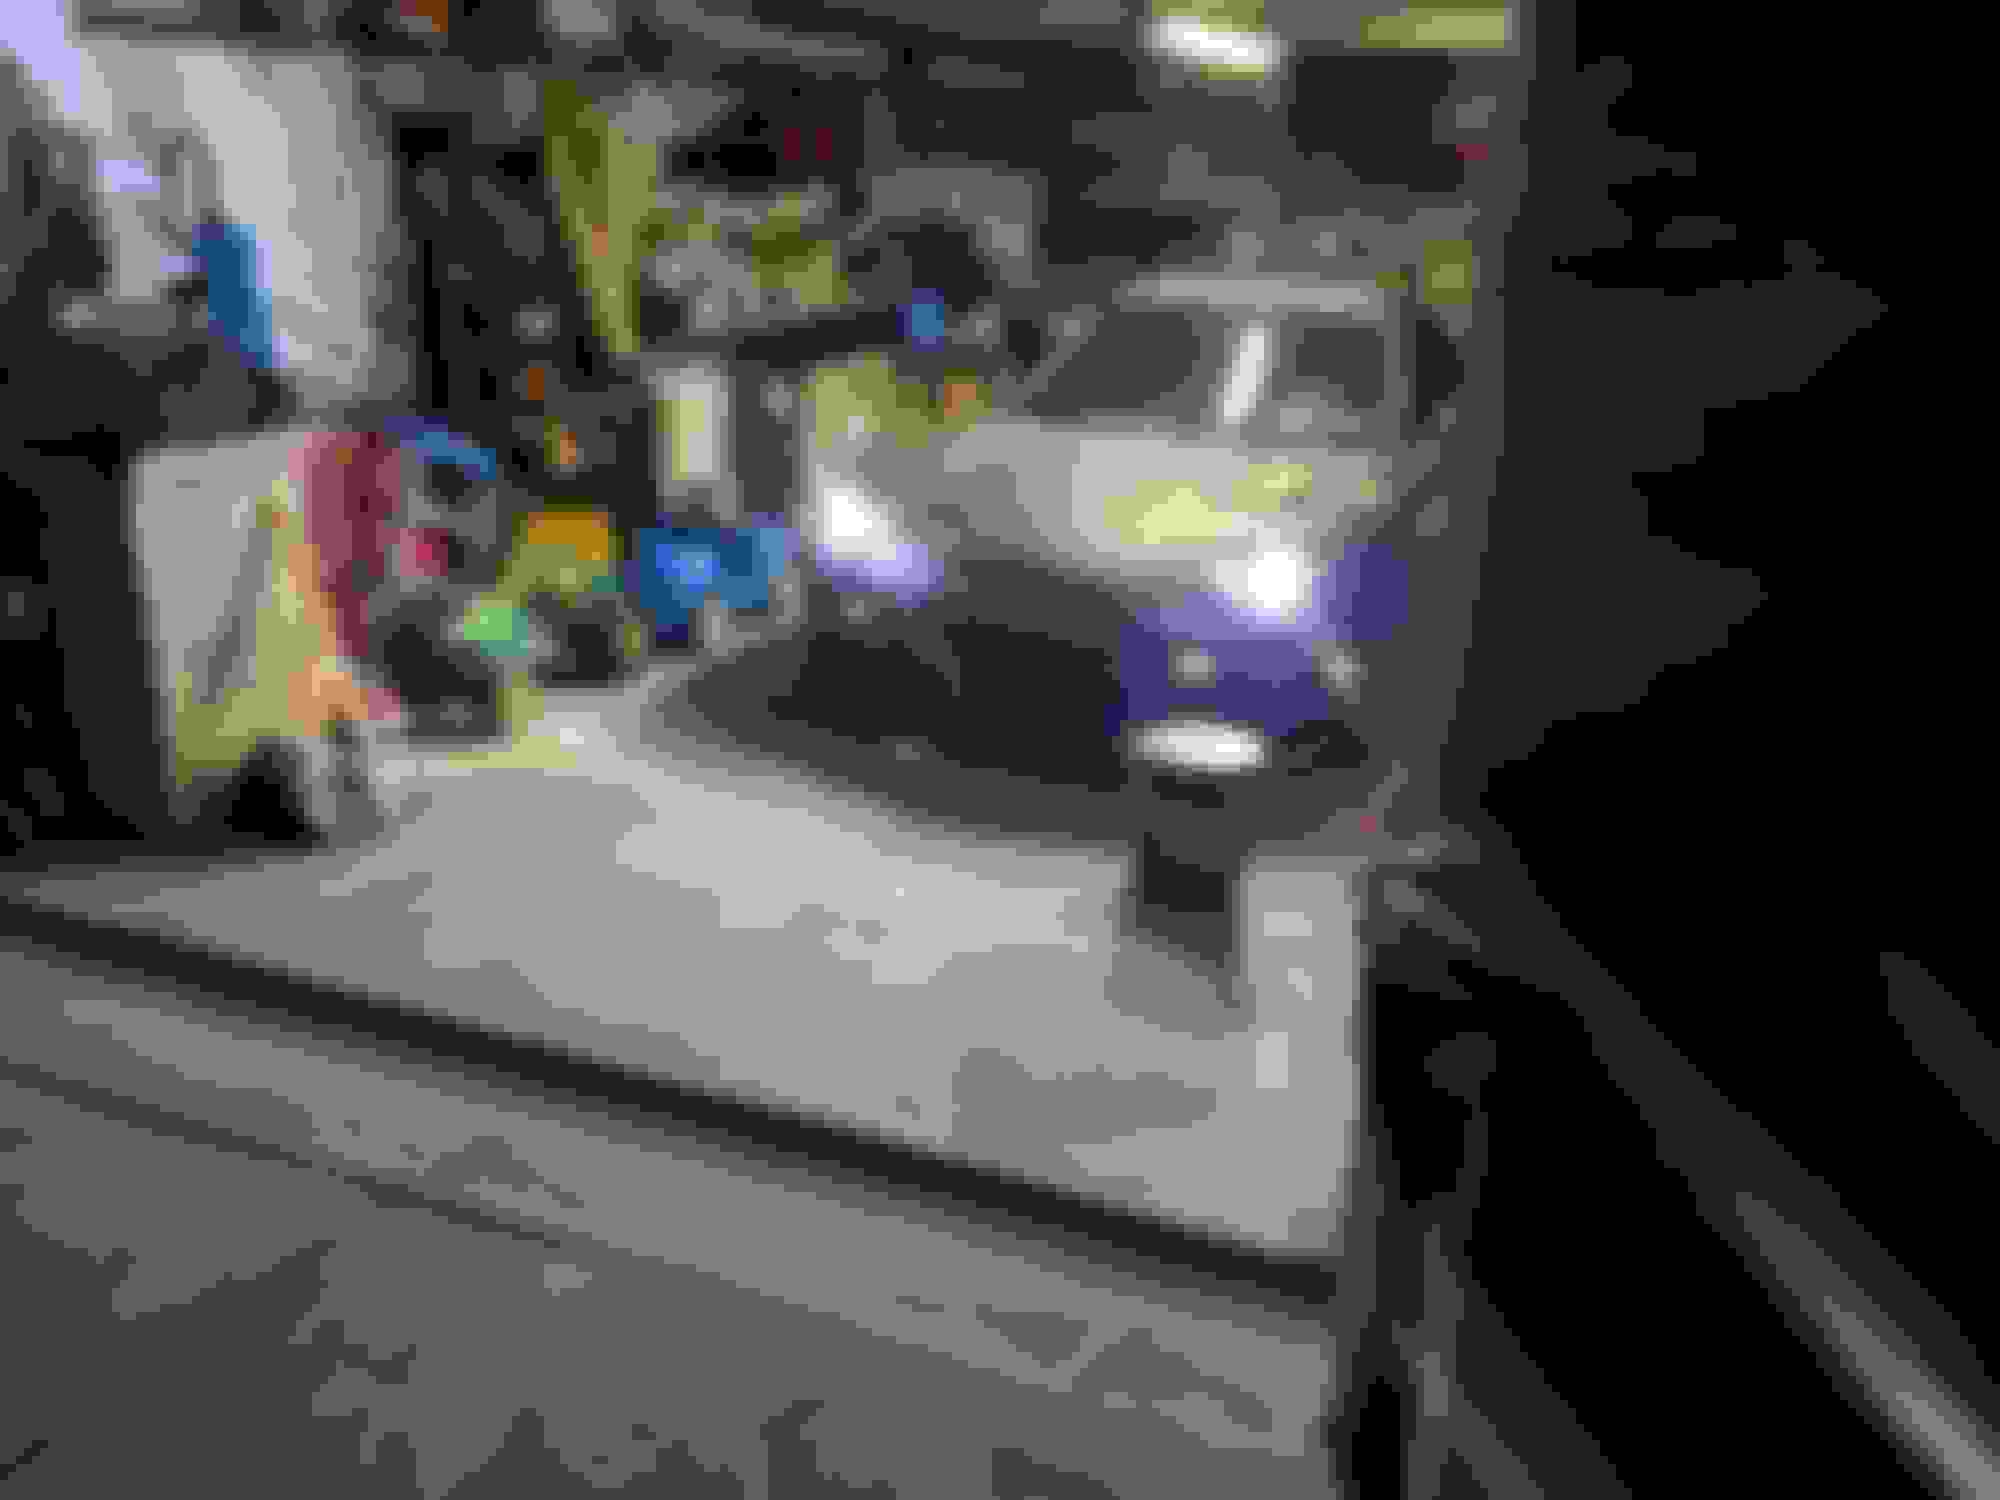
On a more productive note, I was finally able to start to install one of my favorite 90s era pieces: knightsports HID headlights from Purerx7/RX-7boutique. I've had them sitting collecting dust since 2015, so getting the buckets installed and lights mocked up felt awesome to do. I plan on making a new modern harness for the lights/Bellof ballasts, but it's was really awesome to see them on the car.
I also started cutting my replica Type II bumper to fit with the Greddy V-Mount. I figured I'd start here, and cut this one before cutting up my genuine Mazdaspeed one.
Next on the list is to cut the rebar to accommodate the fog lights of the bumper. Then I need to install the@JP3 Motorsports fuse block bracket. While I have the IC out, I'm also sealing up the slight gaps where the ducting meets the IC. Seems insignificant, but I figure I may as well while I have it out.
Took a lot longer to get to this point than I had hoped..but current update:
JP3 fuse block bracket install completed
Next, I completed cutting up the rebar to fit the Type II bumper. I wanted to keep as much as I possibly could as to help support the heavy fiberglass bumper.
As for the Knightsports lights......that's what has taken the most time. First and foremost, the car must have taken a slight bump to the right front at some point in its life. I had to 'clearance' some of the mounting holes where the bracket attach to the chassis to bump the whole assembly towards the fender. It was the only way I could keep it from interfering with the hood. Second issue was getting new headlight covers and the knightsports shrouds all aligned and gaps looking good. Again, the passenger side isn't perfect. I couldn't get the shroud and cover to meet up perfectly, so I have a bit of tape covering the small gap between the two for the moment. I'll have to revisit this in the future, but I think just doing a bit more modifications to the cover, I can tighten it up. The last issue with the lights was the wiring. The harness that came with the lights was....outdated. Wiring really isn't something I'm comfortable with, but luckily I have a coworker who is a bit of a headlight junkie. He was able to show me how to make a new harness which is all water tight and keeps the Bellof ballasts. We still need to connect up the high beams, but we made provisions in the harness that will allow the low beams to stay on when the high beams are activated. Not exactly the 'legal' way of doing this (at least here in PA), but this should obviously help with lighting when it's needed most and also keep the on/off/on/off of the HIDs to a minimum.
Put the stock bumper back on, just cause I really wanted to drive the car. Seems like the lights were aimed pretty well during my first night drive (no one flashed their high beams at me, so that's a plus as well). Another note: with all the trouble I had getting everything to fit well, I was really annoyed that I couldn't get the bottoms of the shrouds to sit flush to the bumper. However, after looking up some old pics of cars with these lights, this just simply seems to be how they are.
I've got some green tape in the fenders for my next 'mod'. I figure since I have to take the passanger side fender off soon to fine tune the headlight fitment, this is a good time to figure out where I want to mount the RE-A fender mirrors. Using the tape as a guide while driving, this seems like a good spot to mount them. Trying my best to not do things twice. I also think I'll need to slide the hood back a touch. The headlight covers rub the hood ever so slightly when they are up, so that will be a good time to install some Greddy good struts. I'll be able to show off the great work IRP did on the engine bay without having a hockey stick holding the hood up 🤣🤣
Slow moving on mods to the car, but I have been able to do a couple of things (still haven't gotten those damn fender mirrors on though). Mainly I've just been tinkering with the tune, which I'll touch on in a bit. First thing I did this season was to fit another of my ideal exterior pieces: a Top Fuel wing. Truth be told, this is actually the Ronin Speedworks rep of that wing, but I have had 0 luck in finding a genuine one. At some point, this car was fitted with an R1 wing.....but definitely not from the factory. It was definitely a backyard job, and there wasn't even a provision for one of the bolt holes. Honestly though, it was pretty well centered and you couldn't really tell that it wasn't a factory job with the R1 wing, but since the Top Fuel wraps down along the fenders, it has to be perfectly placed on the hatch. So, it took almost a full day to hog out the existing holes and make the wing 'fit.' It will still need some attention when the car eventually goes to paint though. The wing is still contacting the rear quarters when closed, so it will need to be clearanced and body worked on the underside as to not ruin any nice paint. Luckily at this point, it doesn't really matter as the body is what it is.
I also removed all the rear plastics and will be doing sound deadening and rear speakers while everything is out. I also took this time to install my JP3 rear hatch strut. Since the car wasn't an R1, the hatch struts couldn't hold the weight of the stock wing, so I don't think it would have done much better with the Top Fuel version. Very sturdy and highly recommend (as with all of their products)
Most recently, I finally installed my Works Bell short hub, quick release, Mazdaspeed buckskin wheel, and Blitz horn button.
I'm not crazy about the gap behind the WB hub. You can actually see in behind it, so if any of the more experienced guys have a solution to this issue, I'm all ears
Even with the short hub, the quick release brings the wheel out a bit too far for my liking....but the goal for the quick release is to be able to switch between wheels easily in this car as well as the Cosmo. I have a signed RE-A wheel which I'm mating to a GReddy edition WB quick release, I also have a Momo which would just be for non-special occasion driving, plus the Nardi that is currently in the JC.
As I mentioned earlier, I've just been using this summer to tinker with the tune. Over the winter I bought the Evans Performance Academy AEM Series 2 training courses, so I've been going through and really learning about the ECU and it's capabilities. I found a bunch of stuff that wasn't optimized which caused me to go back and re-do a lot of the tune. I've also been talking with Cody (EBTurbo) a bit to make sure I'm heading in the right direction. I think my goal is to see if he can do a remote tune on the car once I get everything straightened out. His knowledge of this ECU is just second to none. I am still just on WG pressure as there is some sort of wiring issue. No matter what duty cycle I send to the WG, it simply doesn't respond. So after talking with Cody about the issue, I hope a friend of mine is able to come out this weekend and we can trace the signal and get that sorted out. I think after that is working, I should be ready for a final tune.
On that note though....man is this car still a blast on WG pressure. I was even able to run into a newer Mustang on the highway the other night who was willing to play around. I was pleasantly surprised when I actually pulled on him. Granted, it was dark, so I wasn't able to see exactly what trim level the Mustang was (all I could tell was it definitely had exhaust and what looked like carbon front fenders), but to get a win in a roll race as it stands, makes me very excited to see what it can to at the track when I can get some boost to it.
Well it took over a month....stuff was taken apart, put back together, re-taken apart, and re-put back together....but we finally have over WG pressure. Ran into several issues during the process (mainly self-inflicted) which added to the timeline, but all's well that ends well I guess. Long story short, the WG solenoid was wired to the Turbo Pre-Control wire in the OE harness and the jumper harness was connected to the Wastegate Control wire on the ECU side of the OE harness. I should have figured that out the FIRST time I dug into the harness under the UIM, but apparently I was getting some sort of phantom reading on my multimeter, because I could have sworn I saw continuity and signal being sent to the WG solenoid plug when I tested it. So instead of tearing the harness apart under the UIM again, we just repined the jumper harness and away we went. FINALLY!
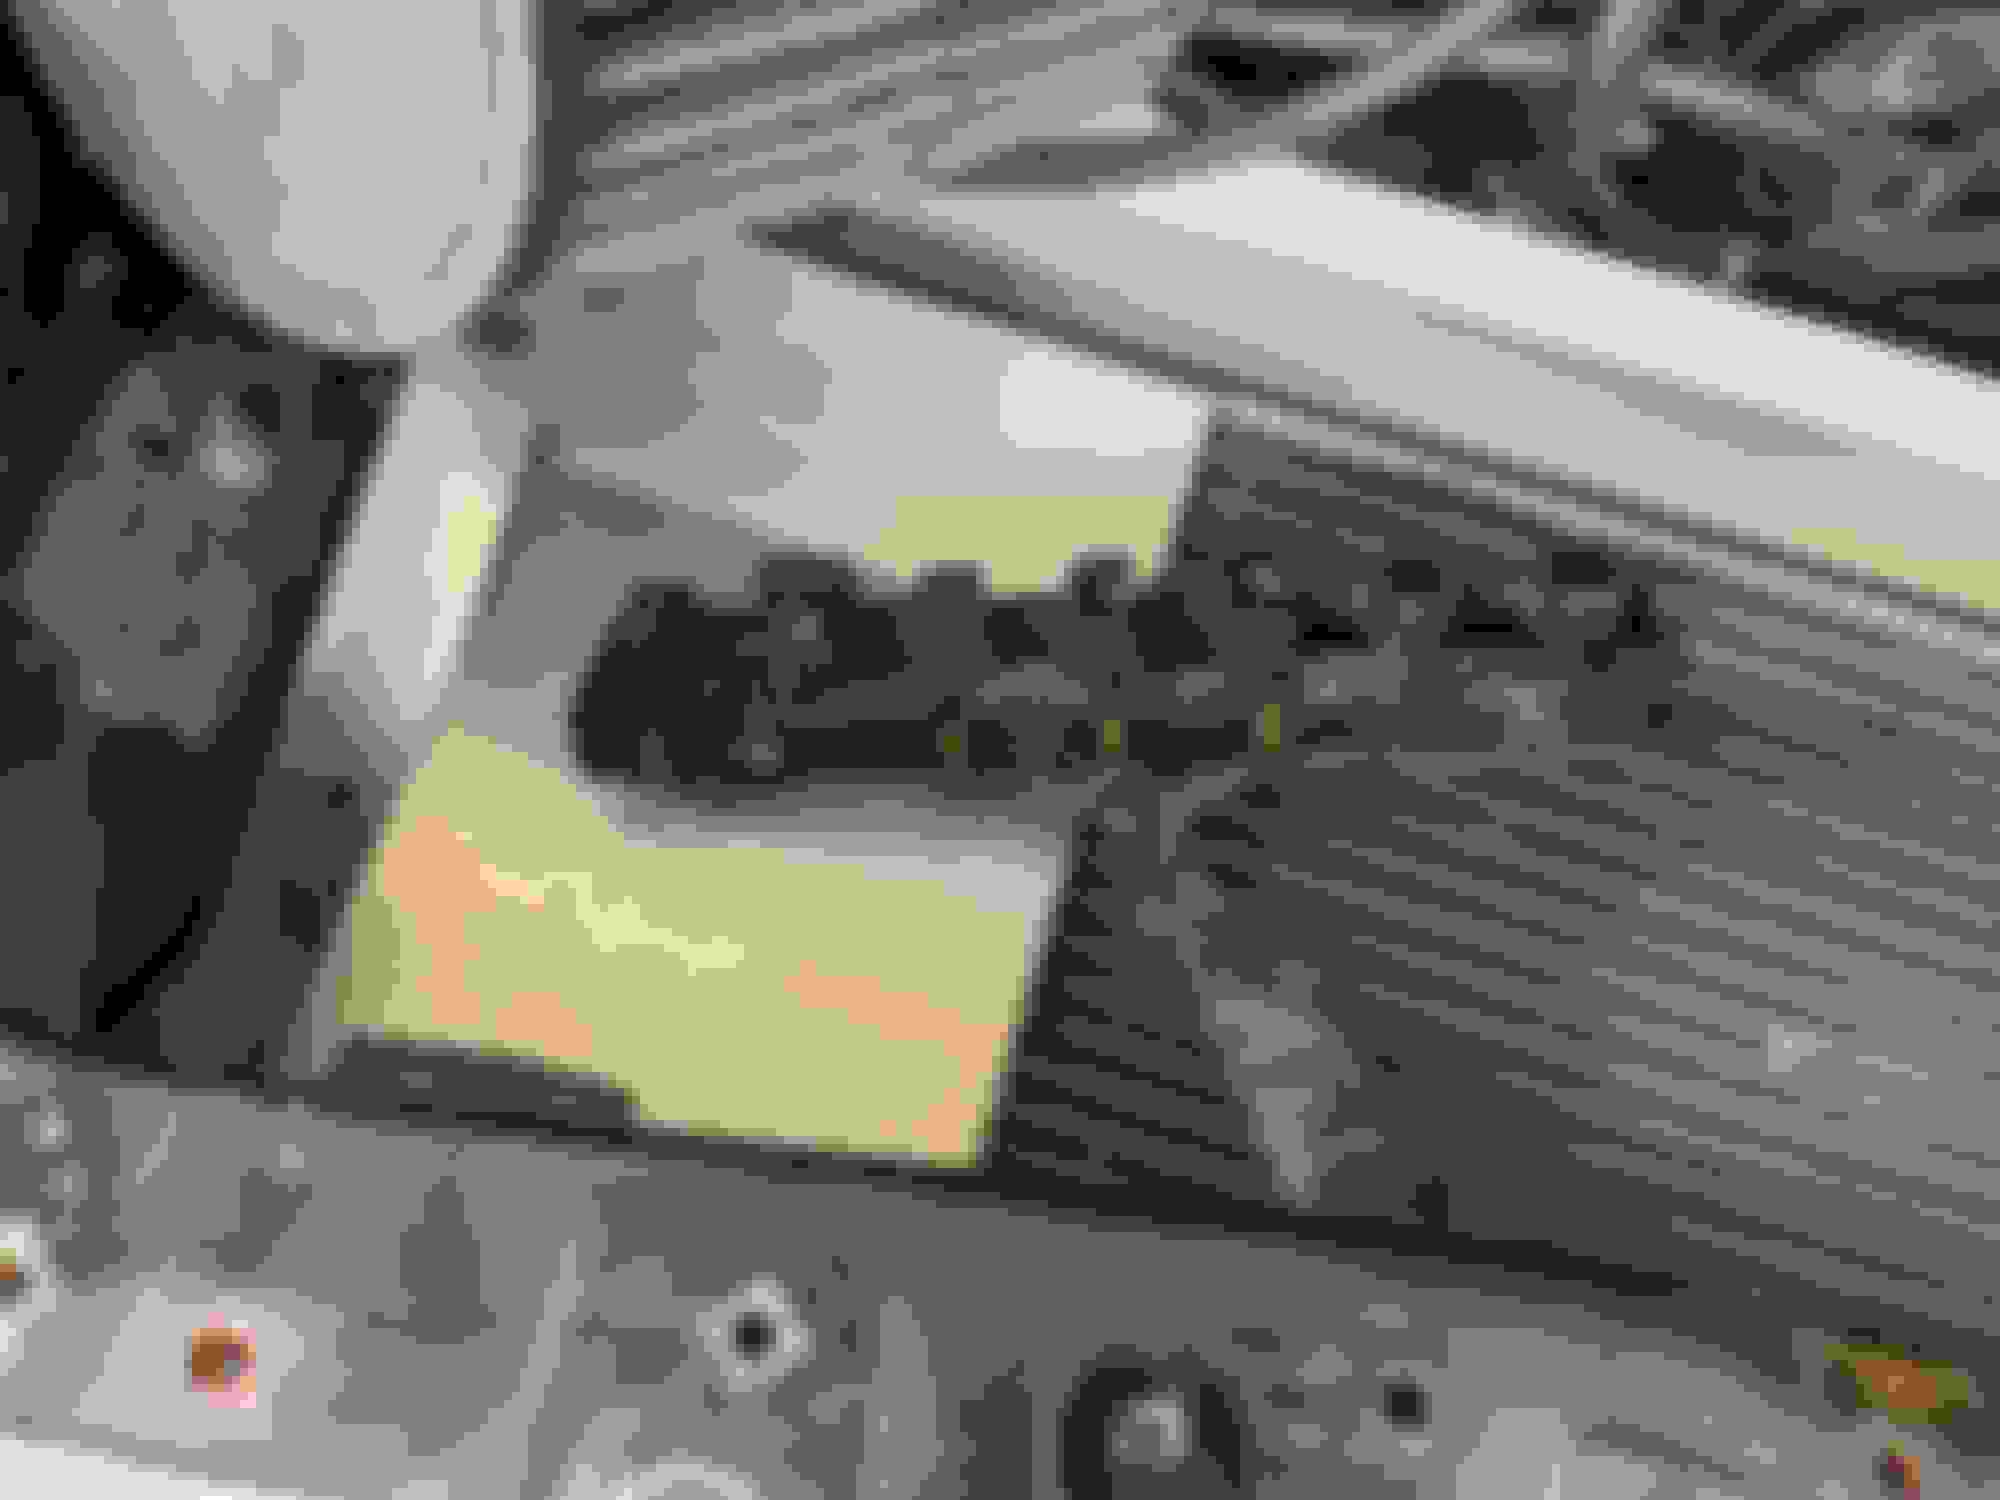
Pics of the wire colors under the UIM just in case anyone ever runs into something similar, or needs to find a signal wire for their boost control. I'm sure this is common knowledge to those a bit more well versed in wiring, but hopefully I can help someone like me (who is NOT a wiring person at all haha) in the future. (NOTE: My research has shown me that the Haltech PNP is wired as to need the Blue/White Wastegate Control, so this is your wire as well).
Above, you can see the plug was connected to the Blue/Yellow Pre-Control wire
The Blue/white wire shown to the left of the above pic is the Wastegate Control wire you want. The Black/White wire is your switched 12+ power for reference.
While we are on the subject of wiring, let's talk about some of my follies during this little project that should have taken me just a day or so....
The first day I dug into this, I had a local rotary friend who is more knowledgeable with wiring. We did some troubleshooting, but were limited on time, so we were really only able to confirm what the issues were not. So, at the end, we put everything back together and wanted to take the car for a little drive. Keep in mind, we just had the car running to help test some things, and it ran perfectly fine. However, when we got in and started it up to go for a drive, the car was running PIG rich. I pulled out the computer and started to look through what was going on, and I noticed the MAP sensor reading was all over the place. So we parked the car again, and I went on to do some testing on the Map sensor, and checking for vacuum leaks etc. I couldn't imagine the MAP sensor working one minute then just up and dying the next, but I tested the sensor, within spec; checked for vacuum leaks, found none. So just before trying to dig through my stuff to find my OE Map sensor (I'm using a Denso 3 Bar for reference), I decided to check continuity from the ECU to the sensor.....and before even pulling out the multi meter, I found the issue:
I think what happened here, is when IRP did the ECU connection, the MAP sensor wire broke and they added a bit of an extension to it to connect it. All fine, but I guess while we had the ECU out in the footwell, and were trying to check continuity to the WG solenoid, we were moving this connection around enough that the wire from the OE harness snapped at the butt-connector. Reconnected that and fired the car, and all was right in the world.
Since I had that solved, I figured I needed to change the oil and plugs after how rich the car was running. Pretty straight forward, right? Well, a bit of back story, I’ve been changing oil in these cars the same way for like 25 years. I’ve always taken a screw driver and punctured the top of the oil filter to compromise the anti-drain back in the filter. This way I’d avoid a bunch of oil dripping onto the engine and the ground. Always made sense to me, and I never had a problem. Hell, I even had a special “Oil Filter Screwdriver.” Well, this time I couldn’t find that screwdriver for some reason…so I just grabbed on out of the toolbox. I ended up picking up the biggest flathead I had, but I punctured the filter and everything seemed normal….until I went to remove the filter. I noticed it was insanely difficult to remove. This was weird to me, because I never go more than had tight with the instillation of a filter. I got it off, and then noticed getting the new filter on was also difficult. Looking a bit more closely at everything, I saw a small hairline crack in the filter pedestal. Welp, I dug through all my parts from the engine that came in the car, and of course that wasn’t on the iron for some reason, and I couldn’t find it anywhere. Figures, right? After looking through the classifieds for a used replacement, I decided to go with a Banzai Pedestal. I liked the idea of a nice easy spot for tapping for oil pressure/temp sometime down the line, and I’ve always felt the sandwich plates were just another spot for a potential oil leak. I really like this as an alternative. While waiting for that, I also decided to get a new oil pressure sensor while I was at it. Mine was leaking a bit, and the rubber boot wasn’t even connected anymore, so I figured it was a perfect time to address that as well. That all went as well as it could. It’s a pain to do with the engine in the car but still doable.
While I was waiting for the pedestal and sensor, that is when I was digging into the harness to check for the WG solenoid issue. Also, I figured this was a good time to take my BAC valve off and clean that in an effort to get a bit better idle control. Well, I think I f’ed that up as well and got some cleaner into the stepper motor, because my idle was even worse than before. So, for the time, I’m using the AEM to control the idle with some timing while I wait for a new one of them to show up.
Anyhow, the car is all back together and running great (outside of the idle issue). I’m working on boost control now. I figure I’ll keep the boost at about 12 psi until I get the W/M all set up. I also got some new rear tires mounted and got the car aligned using Howard Coleman’s specs. So hopefully, as the 10-year anniversary with the car comes closer, I’ll get the car on track and start to shake it down from there.
I didn’t get to get the car on track at the end of last year. During the last autocross of the year, it would have been more appropriate to take a jetski over a car, so I wasn’t able to get on track before winter. But, I'd say this has been the most productive winter working on the car since I had children haha....and even saying that, I didn't get anywhere near as much as I would have liked to done.
From the mechanical side of things, I wanted to try and eliminate any chances of no starts. I had brought it up in the past, and cleaning the all the grounds had worked up to a point last year, but eventually the no start came back. So, this winter I went all out on any electrical gremlin that could have caused it. Security relay was bypassed, I installed a Banzai starter relay, and I even bypassed the clutch switch. Hopefully starts all year this summer, if not, I think I'll have to dive into the fuel pump wiring, because that would be the only thing that could be still causing issues (it got a relay and wiring done at IRP while the car was there, so I'm hoping that is a non-issue).
I also swapped out my cpu #2 for one from @tomsn16 . The seatbelt light would constantly blink while I was driving, so I'm hoping this will fix that issue. Before swapping it in, I also did the @DaleClark flasher mod. This was in anticipation of the big job for the winter.
I've been agonizing for years about what to do to modernize the lighting on the Type II bumper. I think it would have been easy to swap in some type of modern pod system, or some thing with halo rings around it would probably be the more modern approach....But, as I've stated previously, I don't really wanted a modern aesthetic to the car, but I did want better (useable) light vs what came with the bumper. I settled on an led fog light from JW Speaker and a Morimoto MC Endcator for the turn signal (pretty appropriate, considering I believe the lights for the original bumper were a motorcycle headlight and turnsignal). The end result is a TOUCH more modern that I would have wanted, but it checks all the boxes from a functionality standpoint: good lighting and cutoff form the fog light; turn signal that not only fits in the area, but is also visible from the side profile of the car (it's even got a provision to be able to run as a daytime running light, but I'll probably have to revisit that feature in the future); and best of all, the electrical load on this combination should be almost identical to the stock S6 bumper lights. Meaning I should be able to run this through the factory wiring and have it work just as stock did (the fog light just becomes the parking light). This is something that I was not very comfortable with from the original MS bumper setup. I felt that the draw from the fog/turn signal was much greater than the stock lights, which could have overloaded the circuit. It took some significant trimming/modifications to the JWSpeaker mount to get everything to fit, but eventually everything fit and we are in business. I'll paint the outer ring of the bracket black once I know everything is working as it should.
Next was to mess around with finally fitting the fender mirrors, so @Narfle ...2 years later and we are finally there haha. It also took a bit more fitting and cutting to get the bumper to work with the rebar. I think I had mentioned earlier, but I wanted to give this heavy hunk of fiberglass as much support as I can to avoid any sagging. This is the GroupA replica bumper, and you can see in the pics that it does not fit perfectly. There are some areas where I can compare it to my genuine one and see how that one would seemingly fit better. But I’m still hesitant to cut that one in order to fit with the VMount (also, the genuine one has definitely had some significant body work in the past, so that may also attribute to it appearing like it would fit better). Side note, you can see the RX-Lights replica lenses in some of the above pictures as I was test fitting the lights and making sure everything cleared underneath them.
Here are some pics as it sits now all put back together. I added some covers for the holes of the OEM mirrors from Drakes for the time being. Also, while doing the front bumper fitting, I needed to finalize the fitment of the passenger side fender, so with that in place, I finally installed the Greddy hood struts. It is kinda sad to leave behind my hockey stick hood prop. It has become a bit of a signature for me around here, so some of my friends don’t want me to stop using it haha. But I’ll be happier to be able to open the hood on a windy day. Not to sound sentimental or corny, but I’m super excited that my vision for the engine and exterior of the car is finally starting to come together. I started this rabbit hole over 20-freaking years ago, so to have this is a bit humbling. My high school-self would be very happy. I still have a few exterior bits that I’d like to acquire, but things are really moving now.
 11-02-21, 08:10 AM