When you click on links to various merchants on this site and make a purchase, this can result in this site earning a commission. Affiliate programs and affiliations include, but are not limited to, the eBay Partner Network.
Another productive weekend. My parts I ordered last weekend came in and I was able to make use out of them.
The EGR delete was an easy install. A simple plate and electronic delete. If I wasn't so anxious to get this thing running I would have built my own and wired in some resistors. But this was a simple fix and allowed me to work on other stuff. The plug is where the $$$ is at because it keeps the CEL off.
The focus was mostly on the exhaust, however. I used these Walker ball flanges, O2 sensor bungs, clamps and some 2.5" pipe to mate to some flex pipe.
I slipped the 2.5" pipe into the Walker flange and drilled a hole for the O2 sensor. The O2 sensor bungs are from Summit. They are nice quality but are flat on the bottom. So it didn't exaltedly sit nice on the pipe. So I took a curved file and filed in an arch to minimize the gap and get it to hold tight.
I then used my novice welding skill to weld the flange, pipe and bung together. I can't say it looks great, but it will works.
After it was welded together, I bolted it on to the headers. The fit is way better than the X-pipe I was thinking of using. And after this task, it reinforces the fact that building my own exhaust with pieced together mandrel bent pipe would have taken me a long time and probably would have been over my head. So I am glad that I am going this route.
The plan was to jack the mufflers off the donor Mustang rotting in my back yard. But when I went out there to take them off a suddenly remembered that I threw them away some time ago. Oops. These would have been a no-cost option to get me by, so I guess I'll have to buy some cheap mufflers for my hacked exhaust.
So things are coming along, and my Christmas wish may come true after all. I have set a target date of 12/19 to start it for the first time. Between now and then I need to:
- Finish installing hanging mufflers.
- Modify and install the O2 sensor harness.
- Added oil, coolant and fuel.
- Check for leaks
- Plug in the gauge/switch cluster a made a while back
- Figure out a couple of fuses rating for circuits that Ford originally had fusible links on (I can't find any sort of Ford cross reference on the internet).
- Do a key on test.
But I had to work my *** off to make it happen this weekend. Saturday was spent finishing up the exhaust. There really isn't much room under these cars to do this, and I struggled with finding spots to bolt the hangers onto. I didn't want to drill holes in the floors for temporary exhaust. The rights side I just about said f#%@ it - and hung the rear of the muffler with a bailing wire - lol.
Today things started off really well checking off miscellaneous loose ends. I took my time doing the electrical checks to make sure it was all good. When I went to build fuel pressure I had a fat leak coming from one of the hard lines. The leak was caused by a poor double flare I made a year ago. So I had to cut some tube off, re-flare it, and remake a steel braided hose.
When I went to start it, it did not want to fire. I finally was alerted to the problem after a few tries when I got huge backfire from the exhaust - timing. I discovered the I stabbed the distributor 180 out.
After fixing that - she fired right up and sounded great.
There are some other things I need to go back and take car of. I'll share those at another time because I am beat.
Thanks for all the support folks. Next hurdle - getting driving.
That is awesome!!! So satisfying to get it running. glad all the issues were small. Don't forget to do a good break in on the rings and such
As I work in the garage making brackets for the computer and coil, reading your posts !!! glad to see you're successful in starting it,
good work it keeps giving me courage to continue
thank you
As I work in the garage making brackets for the computer and coil, reading your posts !!! glad to see you're successful in starting it,
good work it keeps giving me courage to continue
thank you
I played around with the car this weekend. There were a few things that I wanted to check up on after last weekend.One is a pesky leak from the thermostat housing. One of the damn split collar washer boll is leaking � through the washer and bolt. I took the bolt off and put some thread sealer on it thinking that may have been the issue. But nope � it still leaks, barely. So at some point I will probably need to go back and reseal it. When I do, I�m contemplate an 180F t-stat. It currently has the stock 195F.The other thing I dealt with is the electric fans and the relay. Last weekend my fans never came on automatically when running the engine. They worked fine with the manual switch, but not with the temperature control. So I decided it would be easier to try and set the on/off temp for the sensor in a more controlled environment. I removed the sensor from the car and submerged it in a tin can full of water. I proceeded to heat it up with a torch while monitoring the temp so I can accurately set the turn on temp. The target temp being 205. But as I hit 200 with the fan controller set at the lowest temp, there was no fan action, I knew something was wrong. I ended finding one of the wires from the controller broke off the terminal at the controller. So I removed the pin from the connector and re-soldered it back on. I than managed to set the fan to come on at 206 and turn off at about 194/195.
One I got it all back on, and the car running again, they turned on fine, but they don�t seem to be cool the engine down to a point where they are turning off. This worries me on a day that is rainy and only in the 50s. But, it did keep the engine at a stable 210. I�ll wait to draw any conclusion until I get the car driving and some real air passing over it.I also set the timing and played around with the idle. It initially wanted to idle around 1100rpm. Which seems pretty high. I ended up screwing out the idle adjustment and got it down to 850 or so. I really not sure why it was so high. My list of things to do is now growing again as I start to shift my attention to the driveline and brakes to get it driving. This will probably take me a minute because I have an upcoming house project. I�ve obligated myself to remodel my daughter�s room for her.
FWIW I am ver dissapointed in that radiator. I'm in S. FL and have more fans on mine. I got it to hold about the same temp as you, but with more fans. I've tried multiple thermo's, coolant additive etc. I'm blowing a HELL of a lot of air over that thing too. driving it's fine, but i hope i never get caught in a traffic jam.
like to hear freskiers opinion on that radiator when idling.
The Granny's radiator?? The biggest thing is making sure all the air is blocked off around the radiator. I actually made a shroud for my fan. I was also dissappointed with the cooling when I had a cheap Ebay electric fan, I actually overheated and blew a headgasket that way. I bought a SPAL 16 inch high performance fan and now when I go drifting the car never gets past 230 when actually drifting and the fan pulls the temps down to 200-210. With drifting I am doing my run full throttle for 60 seconds or so and then sitting in a line for 10-20 minutes without moving. I am running just water and water wetter.
In short, the radiator is good but I think you need a good fan because it is so thick and the cheap fans are not powerful enough. I was gonna go to a 160 tstat, but am staying with a 180 because now it cools so well with a good fan
I don�t think the radiator it�s self is the cause. More the airflow. The radiator must be 3 or 4 core aluminum, dual pass from Ron Davis. It�s hard to imaging it isn�t capable of doing the job.
I did buy the best fans, SPAL, that would fit. But due to where the radiator sits, I couldn�t fit a puller fan because it would contact the swaybar. So I�m stuck with the duel 8� pusher fans for now.
If things dont work out, we�ll just have to do some more cutting and welding. Lol
We�ll see how it goes. Like I said, I won�t jump to any conclusions yet.
I cut at the core support and reloacted the front tie bar to move my rad away from the swaybar. Ironically I know don't even run a swaybar.
I think mine is a combination of S. FL heat (it's hot man), my intake choice and high compression (no rear crossover on the intake for the heads to circulate) and like yolo said the location limits fan selection. I have a puller flex fan on the motor and it has a shroud I built, a center pusher in front, mounted above the support) which I wanna say is 8in and 2 more in front of that that are 10-12in and the radiator sides are blocked off properly etc. Running 180 thermo and they fans kick on at 180 as well. i.e. it's done right andI can't imagine getting any more airflow, it's just that damn suypport bar prevents it from being centered properly on the radiator. The mechanical engine fan sits above center on the radiator, as does the center pusher do to the bar-so both main fans are not located properly.
sitting in a garage in 100 sweaty *** FL with zero airflow it took me a while to get it to hold decent temp idling. after typing all this I guess it's probably not the radiator, more situational........lol
yolo do you run the rad straight up or tilted ?
i'm puzzled on the same issue as you
the stock rad is too close to the water pump so i thought about relocating a aluminum rad titled fotward in the nose of the car more.
differant people tell me not to do this as getting air pockets due to the cap being too low
so maybe a custom made rad to fit the area straight up
Sorry for the delayed response. I do run my radiator straight up. The Granny brackets fit it that way, and I think it would take a lot of cutting to do it differently. The tie bar in front is very close. I think tilting it would cause it to hit there. Some day I might cut the bar out and move it forward like others have. This would allow more flexibility to mount the radiator so you can fit better fans.
So I am not dead, but have been busy with some other stuff around the house and work. I have finally squared away everything and I am ready to dive back into the car and get it driving. The goal, get it to the drag strip for a shake down by Labor Day (okay this year sometime might be more realistic for me).
The next task on the list is go through the brakes/steering/suspension. This car hasn’t been on the road in a decade now. So anything with rubber is probably going to be changed out.
So earlier on, I mentioned that I have a 1983 rear axle with disc brakes that I want to swap into my 1980. I know there will be some differences with the master cylinder, and it looks like there are some other differences. I am hoping someone may have some experience and can point me in a direction of what all needs to be, or should be done.
Some of my questions are as follows.
Are the connections at the M/C the same? Booster & brake lines.
Does the proportioning valve need to be replaced? Assuming so. Are the brake line connections the same?
The brake hose between the chassis and axle, is it different? Can it be solved with an adapter if it is?
Do yourself a favor and put the 83 pumpkin in the rear you have. If you want to use the complete rear you will need to change everything you mentioned for it to be right except the booster. The threads on the hydraulic lines don't match either. The big problem is the rear calipers. No one stocks them and there aren't any re-builders doing them over. I was looking at Miata rear calipers as an alternative but when I realized the 83 pumpkin would bolt in with no problem in spite of what some tech sites claim I just did that. Unless this is a drag race only car your 1 st gear is useless using a t5. If it is a drag race car and you are using sticky tires or slicks the 83 rear won't last long any way. I am already looking for an 8.8 rear. Remember you have all the brackets to copy or switch to the 8.8 off of the 83 rear If you have some skill and a welder you can also narrow the rear and just have to source shorter axles . Plus the 8.8 comes in traction lock and a lot of desirable ratios. Good luck.
Last edited by twan374; 04-17-19 at 06:55 AM.
Reason: addition
Thanks for the suggestions. I am not too worried about calipers. Before Black Dragon went out of business I purchased a pair of rebuilt ones. Plus, about a year or so ago, I found a set in the junk yard ones that looked in decent shape. So I have two sets.
Do you know if the thread pitch is different at the master cylinder and/or proportioning valve? The fitting at the rear axle might not be too big of a deal. Mazdatrix has a brake line set that makes it sound like it exactly what I need to convert, plus all the other lines.
So, I have been busy shopping over the last week and a bunch of boxes showed up over the last couple of days.
I decided to move forward with using the whole rear disc axle. I purchased a new M/C (for 1980 MY) and will delete the factory proportioning valve. In the valves place, I will install a Summit adjustable one inline with the rear brake circuit. My friend said this worked well for him, so I will give it a shot. I'm not too afraid of bending and flaring some brake lines in the M/C area. Worst thing is I'll have to cut the RF and RR brake tubes and install a 3/8-24" tube nut (no one sells anything to join M10x1.25 IF connectors).
My current goal is to refresh the chassis to get it driving. In my purchases are mostly all stock replacement rotors, shocks and parts to rebuild calipers. I did go for all poly front bushings. I also purchased the Mazdatrix SS brake hose kit designed for the rear axle swap. My reasoning for these low budget choices is to just get the car running and make it to the track. I've never driven the car, so before I put more into the money pit, I'll keep it going down this road. We can always upgrade and change things later.
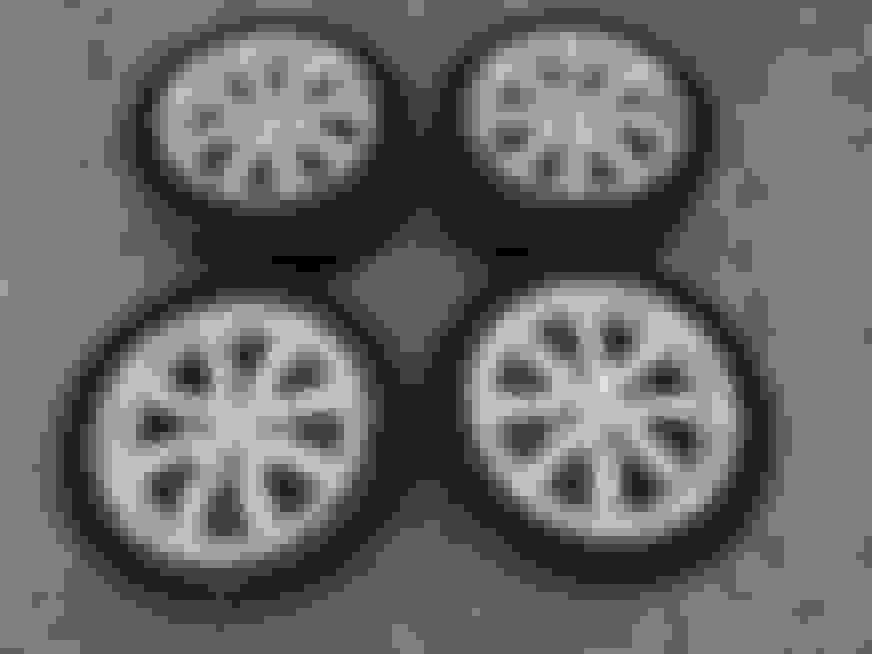
I did come up on a CL score. Or think so at least. A guy who is moving on from his FB project was unloaded some nearly new Konig Rewind 15" wheels with tires. For $460, I got these, all the mounting hardware and a set of 4 piston calipers from an FC if I ever decide to do that front brake upgrade.
As for actual work on the car, I removed the diff from the rear disc axle to make sure everything looked good, and it was. I resealed it and then removed the stock drum axle from the car. Waiting on some axle seals and the new one will go in.
I'll keep you all updated as I go. I should have some time this weekend to move forward.
 12-02-18, 08:28 PM