When you click on links to various merchants on this site and make a purchase, this can result in this site earning a commission. Affiliate programs and affiliations include, but are not limited to, the eBay Partner Network.
Hey everyone. I know I've been MIA here the last few months. I've been taking care of some projects around the house to keep the wife happy. I've put irrigation in, built a fence and some other things. This last weekend I finally finished up the projects. So I have some things to clean up around the house and will hopefully get going on the car again soon.
I'm fighting some demons with the car, however. I was fortunate this last weekend to go to an open track day here in Northern California and drive my friends 2017 Shelby GT350 around the track. First, what car!!! Second, it makes me wonder why I'm spending some much time and effort making my car street legal when I could just make it a track car. I guess it's because I think I would rarely spend the money or time and actually make it to a track (A track car probably cost more in the end too). Where a street car you can hop in at anytime and take a spin. I think I will be staying committed though. I have spent too much time and money at this point to bail on getting it smogged and street legal.
A questions for you all. Has anyone had any issue with too much heat coming up from the exhaust on the driver's side? I'm a little worried with no heat shield and am think about how to fab some heat shields up. /suggestions welcome for those who have fabbed up some devices.
No big issues with heat from me so far, I kinda expected my seals on the steering box would start to fail but haven't seen it yet.
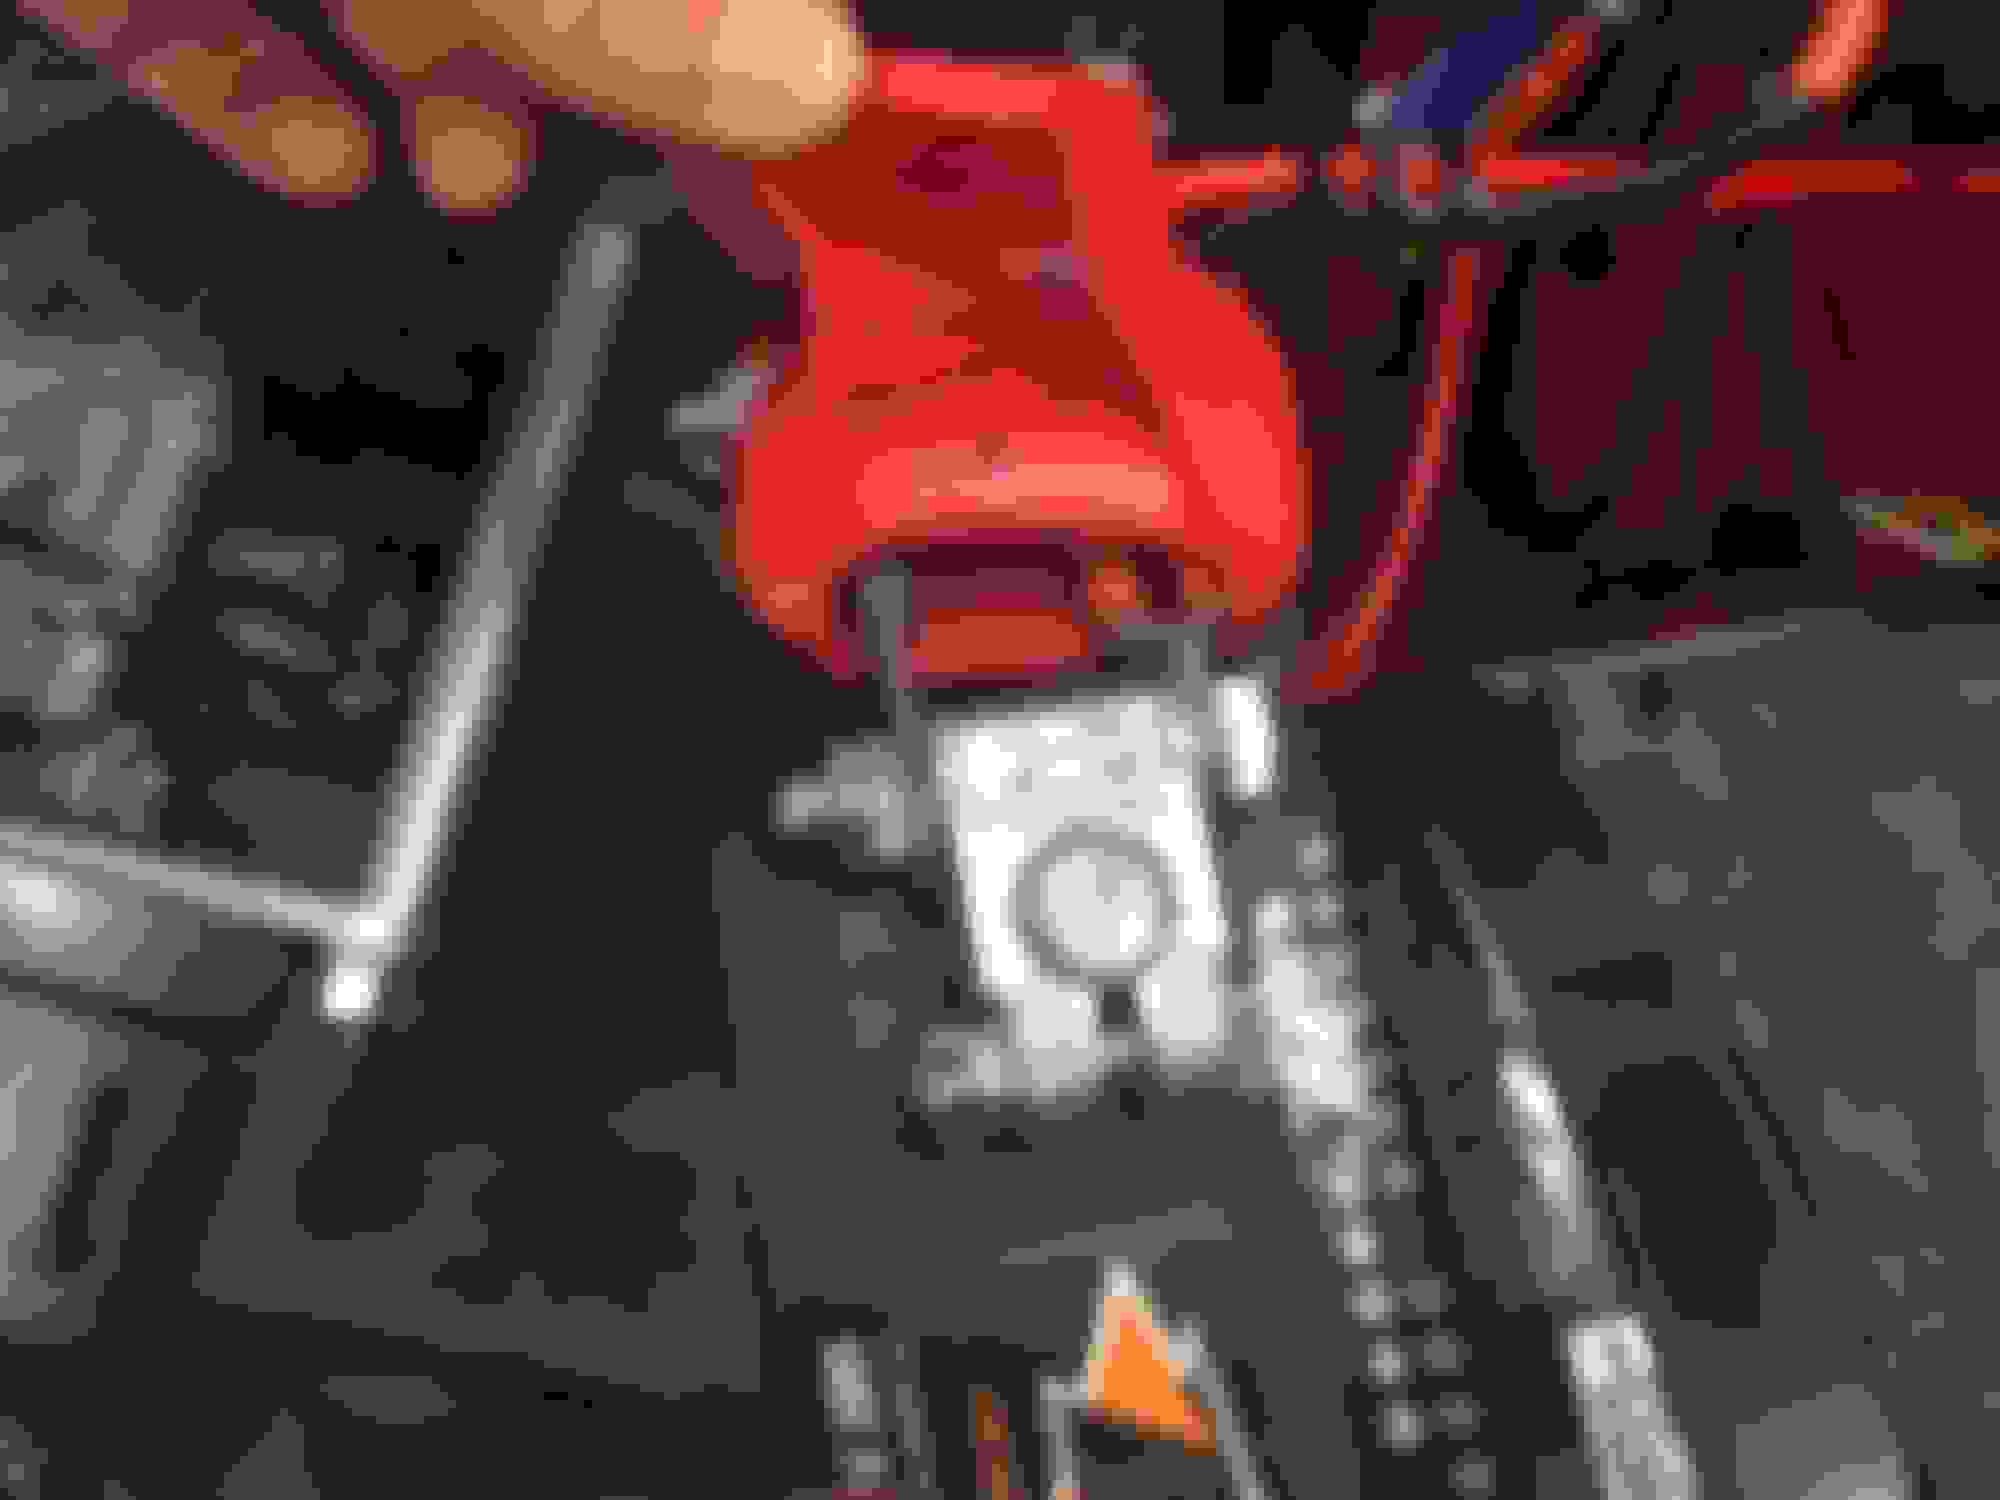
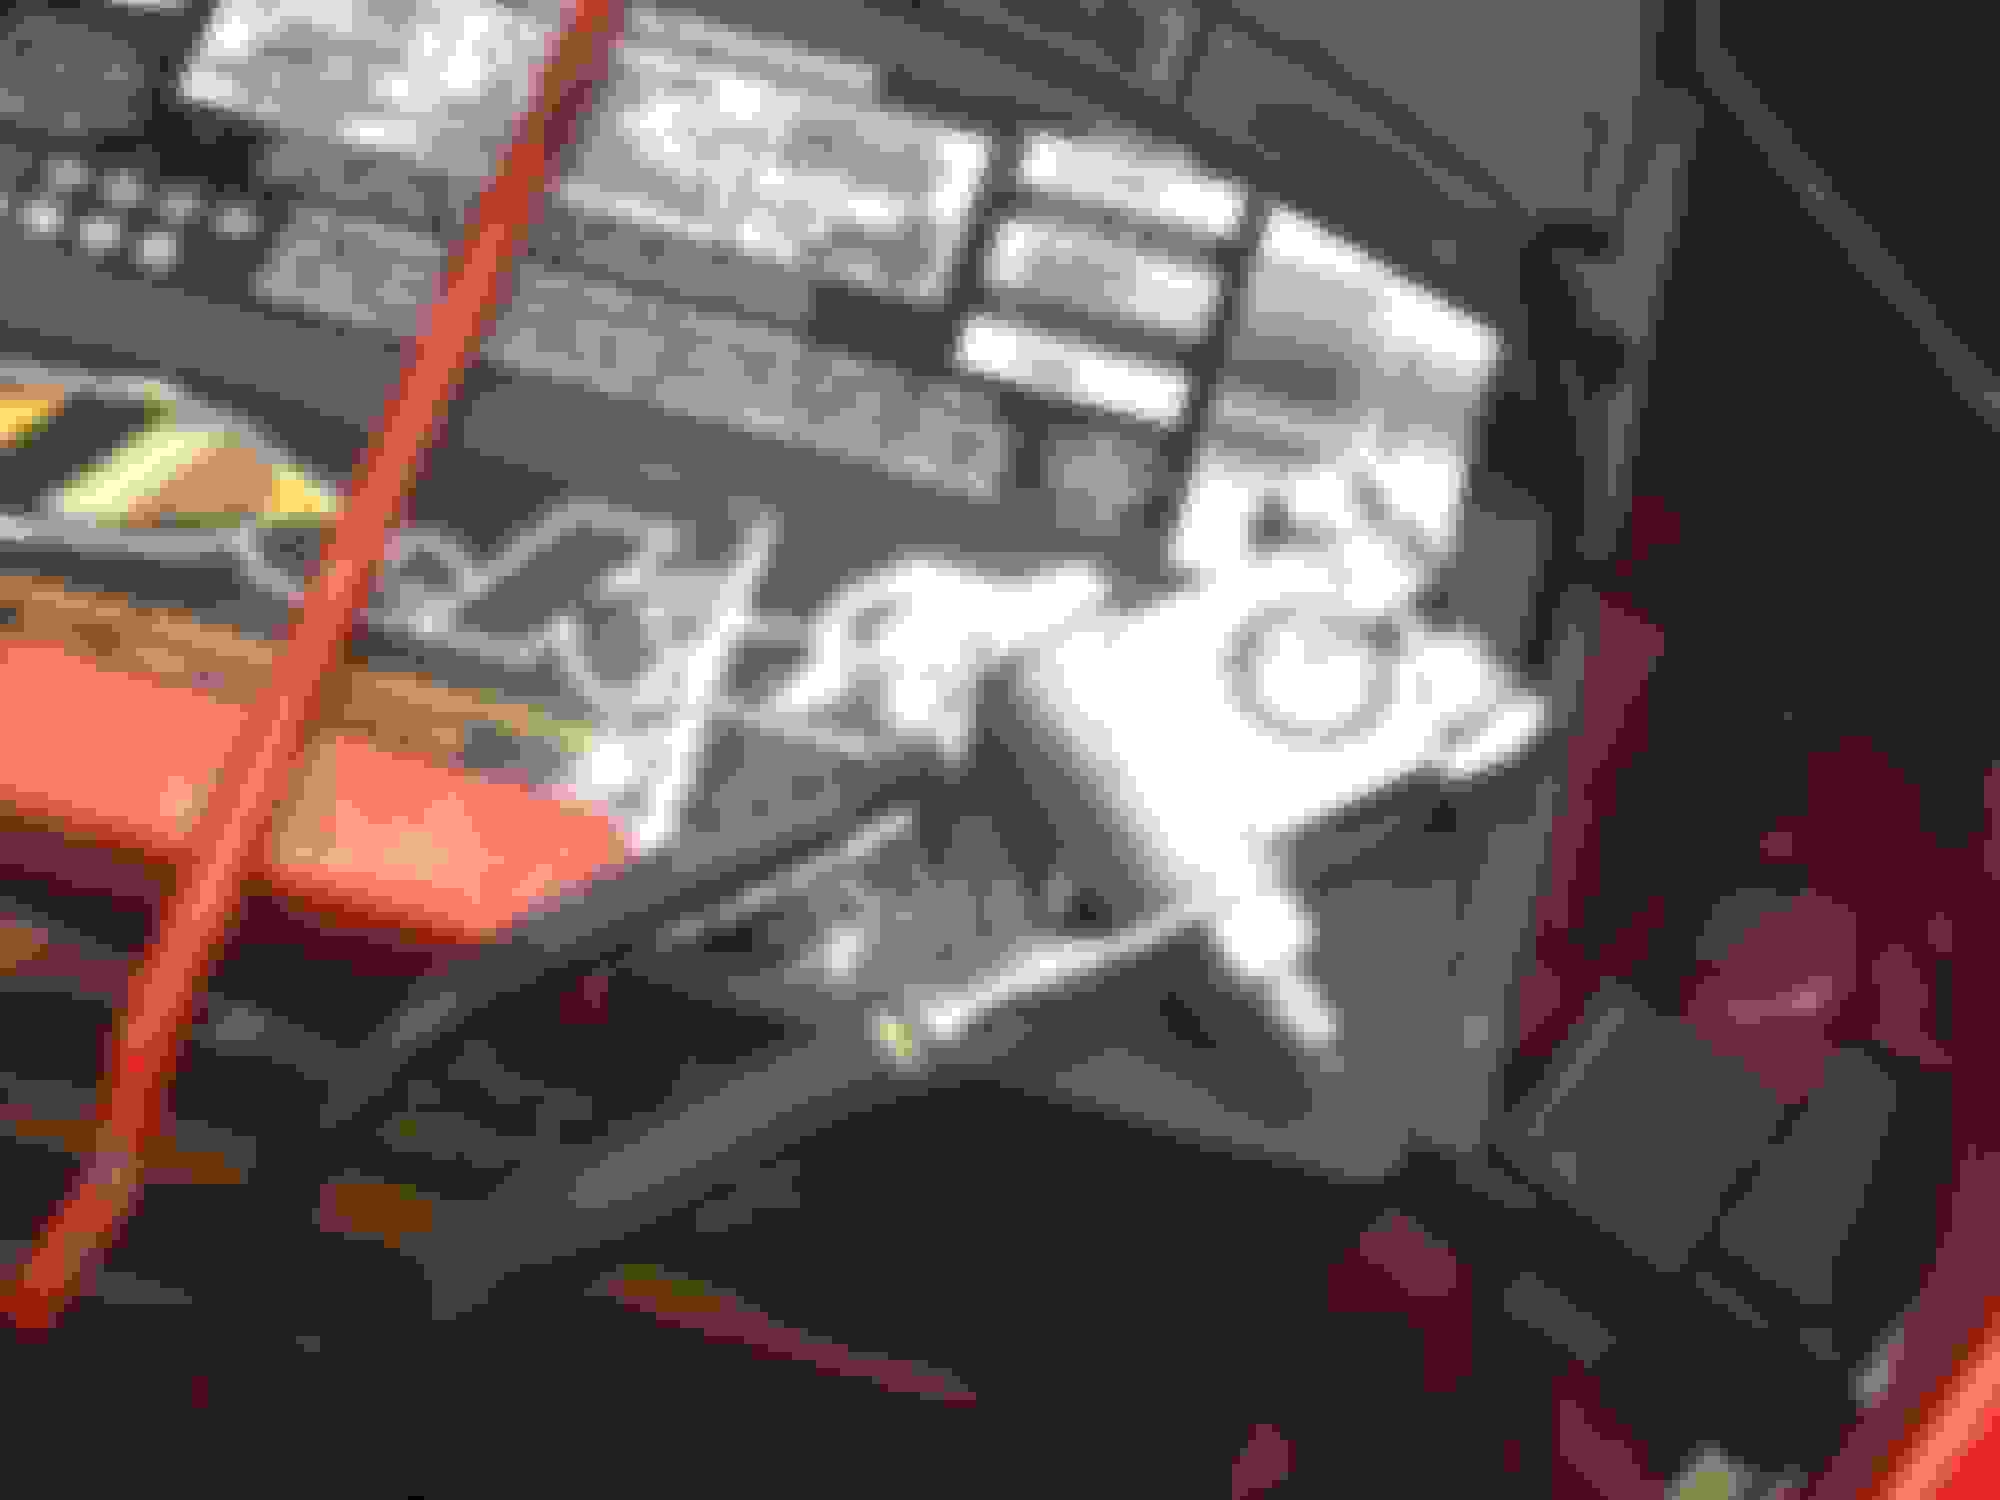
I posted this question under the First Gen section over the weekend but haven't had any responses. Does anyone recognize these connectors? One 8-pin connector that goes somewhere near/below the combo meter with wires than run to the kick panels on both sides, into clear 4-pin connectors. I am thinking they are for power mirrors, but I can't seem to locate a wiring diagram that confirms it. I don't have power mirrors, and I don't recall unplugging them.
I want to remove or repurpose these wires for some of the wire mods for the conversion.
As for an update, I have been going through the wiring to determine where I left off a few months ago. Also double checking my work - don't why to fry anything after all.
In the process I've been cleaning up some of the wiring, I feel like it's going well. I'll try and share some more details over the weekend.
I managed to get a few hours put into the project this weekend. The focus was to finish getting the C110 and C212 Ford connectors completely spliced in. I took my time rechecking over my previous work and making sure everything is correct using wire diagrams and various continuity checks - all was good. The Mazda dash/front harness came in and out of the car a few times. In the process I have either completed splicing the two connectors in and should have all the needed wires ran or staged to their final connections on the left side of the car.
I started off by cutting a hole into the transmission tunnel to run the Ford transmission wire harness through it. I then ran the Ford harness forward to the bulkhead, up and above the steering column and then over to the left kick panel. There it connects to the Mazda harness via a spliced in Ford connector (C212). While the cut-off tools were out I decided to enlarge the shifter opening and temporarily installing a shifter.
After all the splicing and connection making I cleaned up the wire harness by cutting off zip ties, cleaning up loose wires, and taping up the harness. I then placed it back in the car. Beside putting loom cover over it, this harness is basically done. And I'll tell you, this is all time consuming working keeping it clean looking.
Next on the list is to set the dash back in and find a place to mount the ECM and finishing the wiring for the Ford EEIV system. Followed by:
- Gauges
- Fuel Pump
- Charging/Starting Systems
In the back ground I'm also placing some more thought into exhaust.
Shifter Mounted
Fan Controller Wired In
The hole and grommet for the Ford transmission harness.
So I guess its been a little bit since I last posted. I've had some opportunities on and off to get some work done. What time I have spent on the car, has still been working on the wiring. As most of you can tell at this point, I'm kind of meticulous. Which means a lot of things take me longer than they probably should. But when it comes to electrical, I'd think we would all say it's better to spend the time on it and get it right. The good news, I'm really close to being done with it.
The dash harness and gauges are just about done. I have to wrap some wires to protect them, heat some shrink tubing and secure a few wires to the car and it's done. I've got most of the HVAC bolted back in, and I am working on trying to find an air duct that bypasses the evaporator box that was used on non-AC vehicles. Then the dash will go back in after that.
The engine wiring is also nearly complete. This weekend I painted and riveted in the bulkhead pass through plate and secured the entire EFI harness in the car. Beside the F/P and WOT relays to secure, EFI harness - DONE.
Today, I wired in the fuel pump. I installed the Ford inertia switch on the ground side of the circuit for some protection. I mounted the switch near the left rear shock inside the car. The wires are all secured in place and I have one last connection near the right kick panel to splice the F/P wire with the Ford harness. Fuel system - one butt connection away from being done (beside adding fuel and checking for leaks).
This weekend I also spent some time cleaning up some general wiring and plumbing to make it look neater.
Next on the horizon, is mounting the battery and building some battery cables. I ordered some 2ga and 8ga tinned lug terminals from Amazon last night and they will be arriving tomorrow. The local Napa auto parts has 2ga welding wire and 8ga wire at pretty generous price and sold by the foot. So with luck, I will have the battery, charging and starting system completed next weekend.
So things keep chugging on long little by little. I'm trying to stay focused with a task list to keep progress up. I've been leaving some small 30 minute projects and tasks during the week and it's been helping. Work and a camping trip in the coming weeks will keep me busy, however. Hopefully I won't loose too much momentum.
And so the work carriers on. I put a good six hours in this weekend and it was enough to finishing wiring the battery, starter and main grounds. The cable lugs and tool from Amazon worked like a champ and made for an easy install. All the lugs were soldered on as an extra precaution. I chose to go with military style battery terminals. The kit on Amazon was highly rated for a good reason. I like this kit for two main reasons: easy to use for customer applications and second because I like how it came terminal covers.I started by repurposing the main starter cable from the Mustang (only cable any good from the donor vehicle), running it straight up to the battery. To secure it to the car I started by making an L-shaped bracket and secured it the right engine mount and installed a rubberized clamp. The wire then runs down to the sub-frame were drilled two � holes and used two more rubberized clamps. Besides drilling holes in the sub-frame, I�m happy with the install. I then made a cable for the starter solenoid and relay using 8ga wire. I secured this cable the main starter wire using tie straps and convoluted plastic tubing. I lost my nut for the starter so I�ll have to get one, otherwise, it�s done. Next I made two wire for the battery and ran them to the starter relay and fuse block. Napa was short on red 8ga wire so unfortunately one of them was made using black wire with red shrink-tubing on the ends.
Next were the ground cable. I ran an 8ga wire to the stock Mazda ground location on the lower-left strut tower. Here I have picky-backed all the Ford and Mazda grounds. I then added a ground cable for the engine. This one was made with 2ga welding cable as Napa did not have any black 2ga wire in stock. The two ground wires will need to be secured to the car below the battery, but otherwise the battery is wired in.
Next on wiring will be alternator and cooling fans.
Here is my updated list. While many task are completed they get replaced with new ones. But the list does seem to be shrinking.
A quick update on the build. I'm steadily making progress. Since the last time I was on here I've been cleaning up some of the wiring and working with the cooling system.
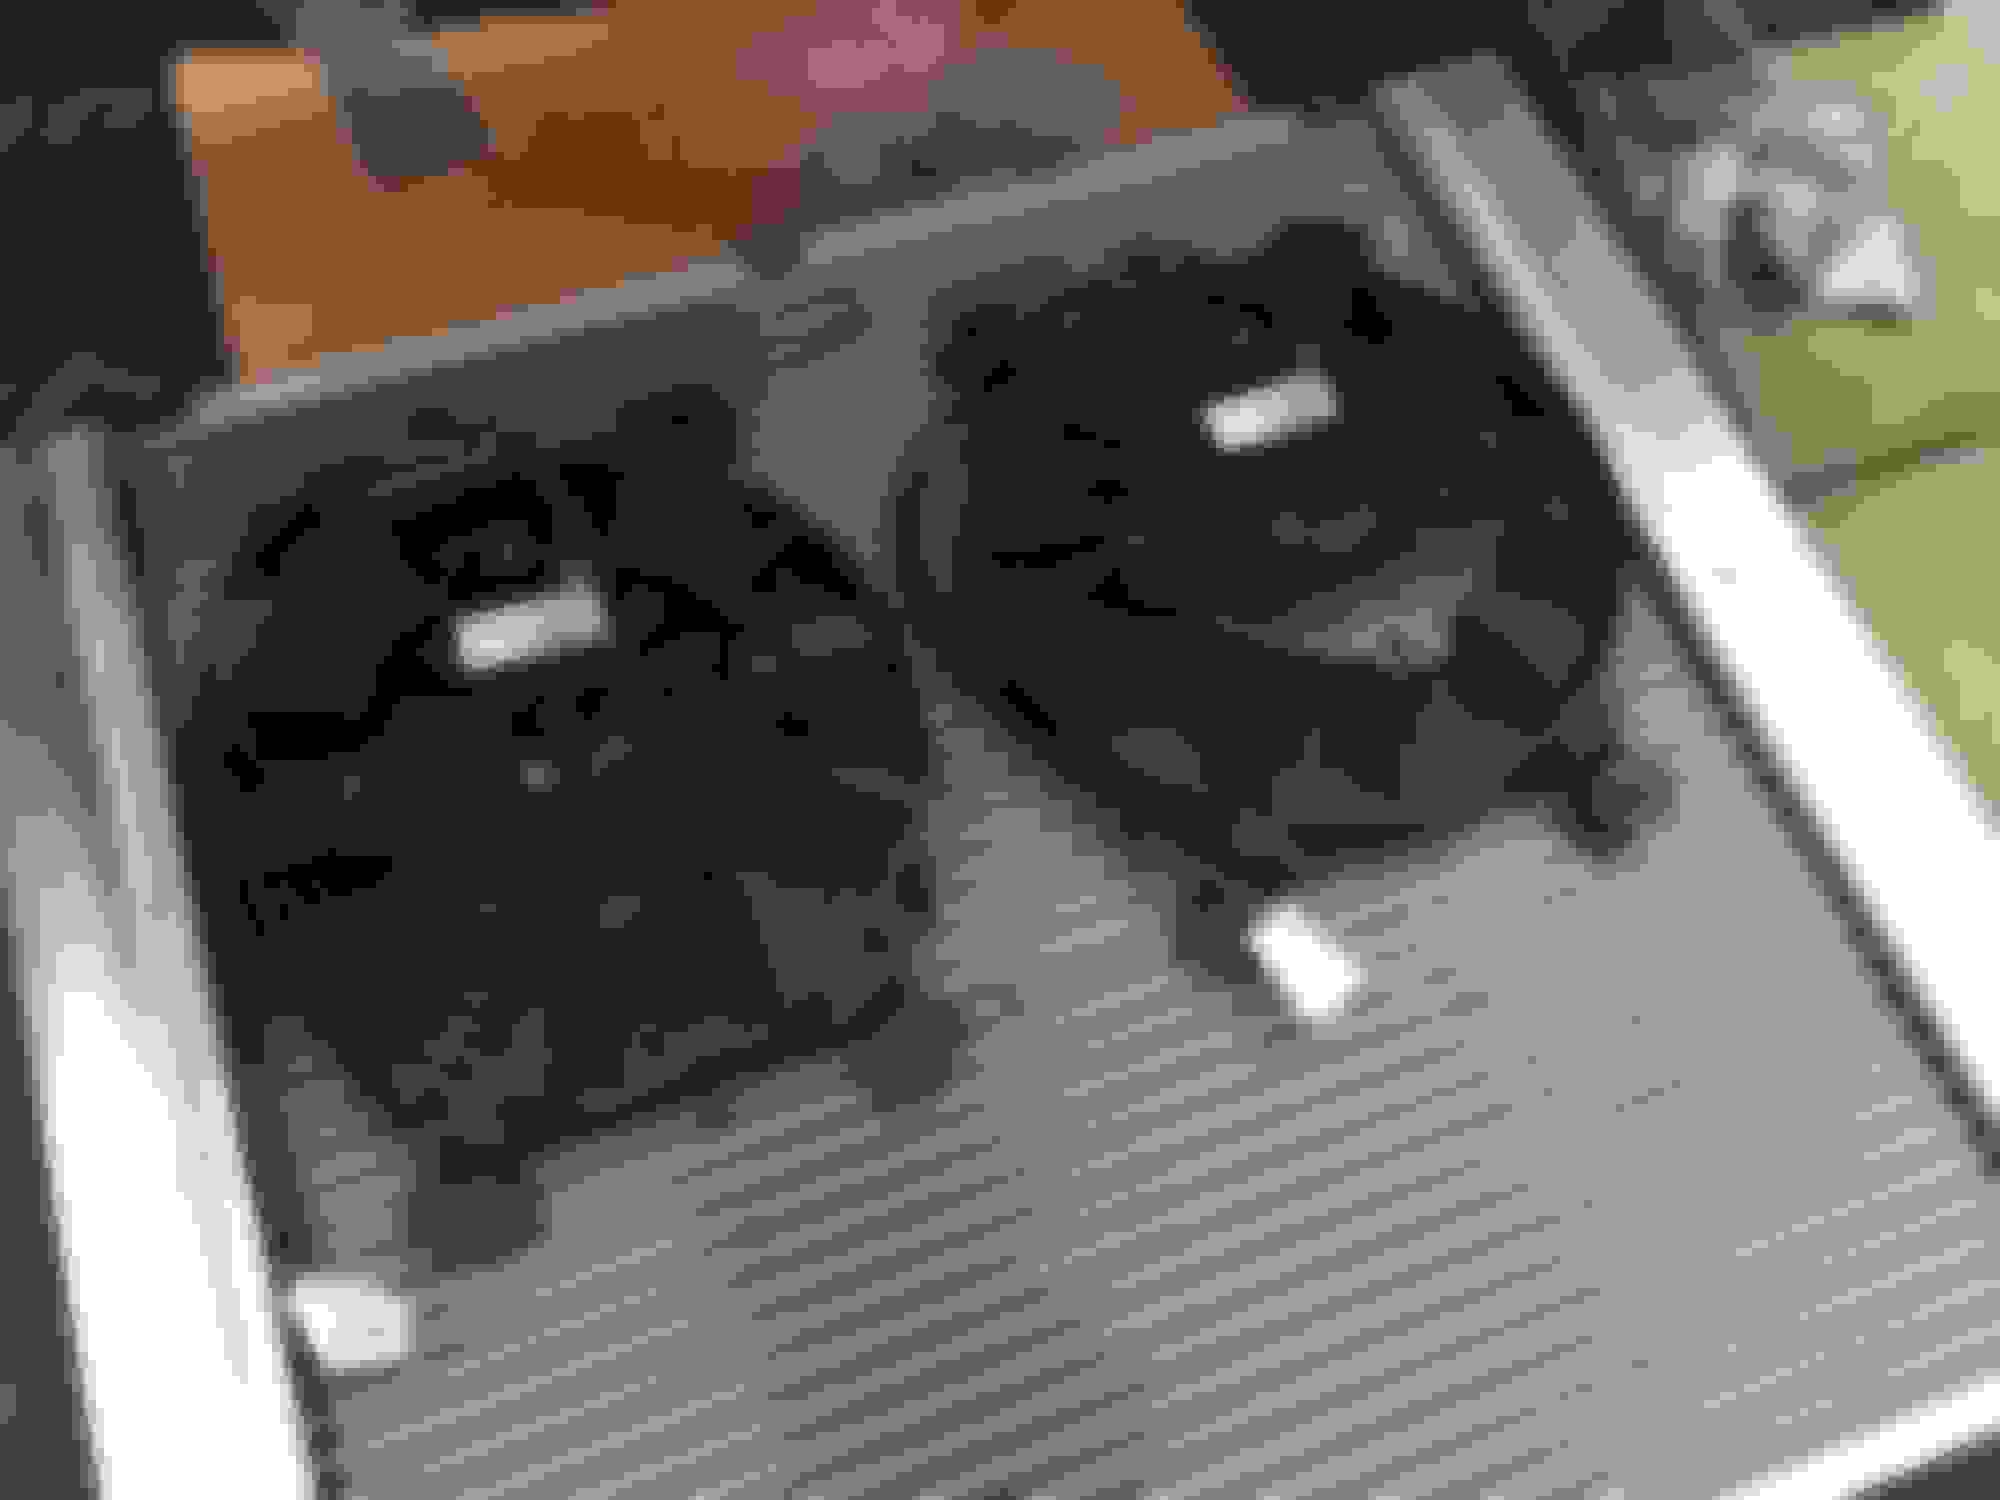
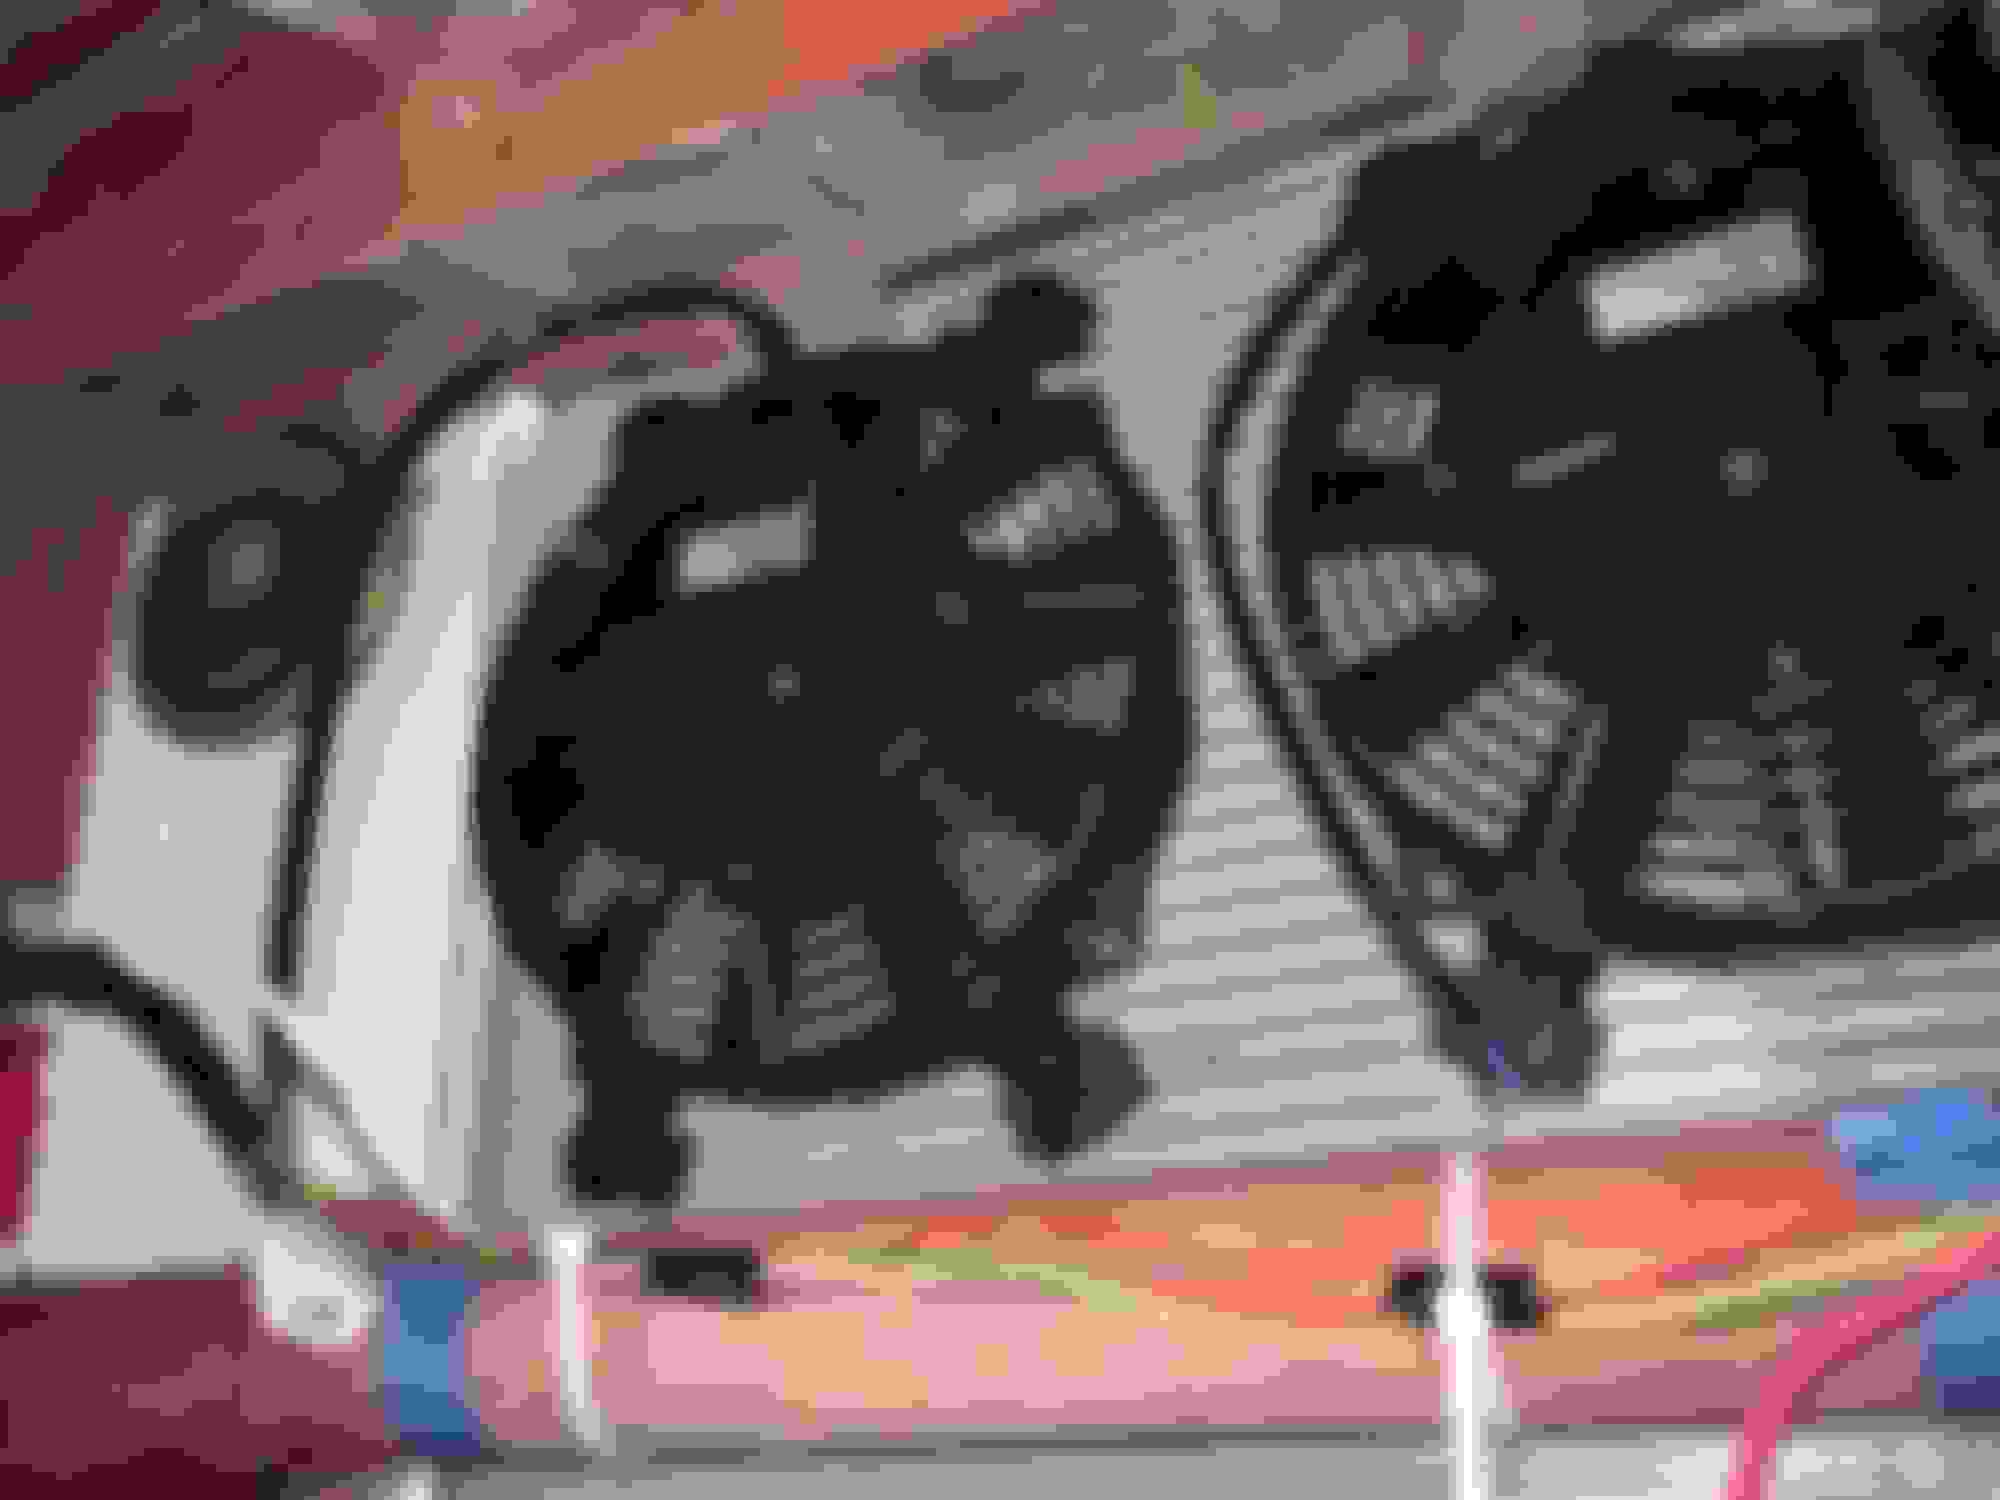
I installed the Granny radiator side seals and took some time to add foam and other things to keep as much air as possible from bypassing the radiator. This will be important because the two fans I have purchased look really wimpy when compared to the size of the radiator. I temporarily installed the radiator to mount the fans, and then proceeded to wiring the fans. To wire the dual fans, I bought a terminal barrier strip from Amazon. It's okay quality, but I like how it came with a plastic cover and insulated bridge buss bars. The fan controller and terminal block are both mounted to the front core support area behind the left head light. With this completed I think my electrical work is now limited to the O2 sensors.
On Sunday I spent about an hour and half at the Napa auto parts trying to find radiator hoses that work. The lower hose was pretty easy to find but I couldn't find the right one to use as the upper. So bought a hose that has a couple angles that work and bought an inline hose connector from Jegs that includes a wig nut style drain/bleeder. The upper hose is the highest spot in the system, and this bleeder will be extremely valuable when it comes to bleeding the air from the system. This part should arrive on Friday.
A few other things on the way are some materials to finish wrapping the harnesses and a starter solenoid/plunger. The starter solenoid had a stripped stud for the trigger terminal. I found a new solenoid for half the cost of a reman starter.
This weekend the goal is to finish installing radiator, retorque the engine accessories, finish cleaning up the wiring and possibly mount the distributor and upper intake. I'm at that point where there are a bunch of tiny details, so we'll see what we get done.
The biggest thing on the list is the exhaust. I'm starting to research what materials I want to use and need. I think I will play around with the Mustang exhaust and see if I can rig it so I can at least turn the key and hear this sucker run.
I'm getting excited!
Peace out.
Dual Fans Mounted on Radiator
Radiator Set in Car
Side Seal in Place and Fan Controller and Terminal Strip
I would build a shroud for those fans as well since they are so small
It seems like it would be hard to do a shroud on a pusher fan setup without blocking air flow to the radiator. If you have some examples to help me understand that would be great.
I definatley have some ideas for some other stuff to assist with flow past the radiators in the future.
It seems like it would be hard to do a shroud on a pusher fan setup without blocking air flow to the radiator. If you have some examples to help me understand that would be great.
I definatley have some ideas for some other stuff to assist with flow past the radiators in the future.
I did not know it was pusher... definitely just block off all the open areas around the rad
Over the weekend I played around with the Mustang exhaust seeing if there was anyway it might work. But unfortunately the catalytic converters coming off the down pipe hit the floor boards and the pipe runs strait into the transmission cross member.
So I've been spending the evenings this week thinking about and shopping for exhaust. I am thinking of buying a Mustang off-road H-pipe and using the pipe and flange coming off the header flange as a starter. From there I can chop up the rest and combine the pieces with some mandrel bent tube kits to form the rest of the exhaust. To me, this seems the easiest and cleanest option. Mac has an h-pipe for about $130.
The big leap of faith in doing this - I think I am going to buy a 110V welder and learn to weld it myself. I figure why go through all the hassle of loading the car on the trailers and bringing it someone who won't care about the car as much as do and pay them as much, or more, than what the welder costs. I think if I weld it up myself it will really add to the accomplishment of a car that I built. I will eventually need a light duty welder for some body work too. So it will serve more than this single purpose.
I'm targeting a welder from the Eastman company.
This weekend is my daughter's birthday. So I am going to try and spend as much time with her as I can - or at least as mush a tween want to hang with her pops.
Perhaps the holiday on Monday will allow me a few hours.
I am at the same point, cut off the cats to get some kind of down pipe, temp supporting the trans until I get the exhaust past it then work the crossmember around the exhaust
I am at the same point, cut off the cats to get some kind of down pipe, temp supporting the trans until I get the exhaust past it then work the crossmember around the exhaust
Thanks for the positive vibes on the welding. I'm looking forward to learning.
I ended up getting a few hours on the car thanks the holiday. I buttoned up a lot of loose ends and man I am close to running. Here's a few picture at the end of the weekend.
Thanks Gordie. How�s your build going? You�ve been quiet this summer.
well
so far 2018 has been one to forget
my parents live with my wife and i too care for them in there eldery state
this spring dad took a turn for the worse and passed away on june 13
and as a result my daily prelude has not started or moved yet and has not turned a wheel this summer
with mom alone now there is no time left
so as for the rx7 it has not had my hands on it since may
i will post a update on my thread soon


 05-01-18, 09:38 PM