When you click on links to various merchants on this site and make a purchase, this can result in this site earning a commission. Affiliate programs and affiliations include, but are not limited to, the eBay Partner Network.
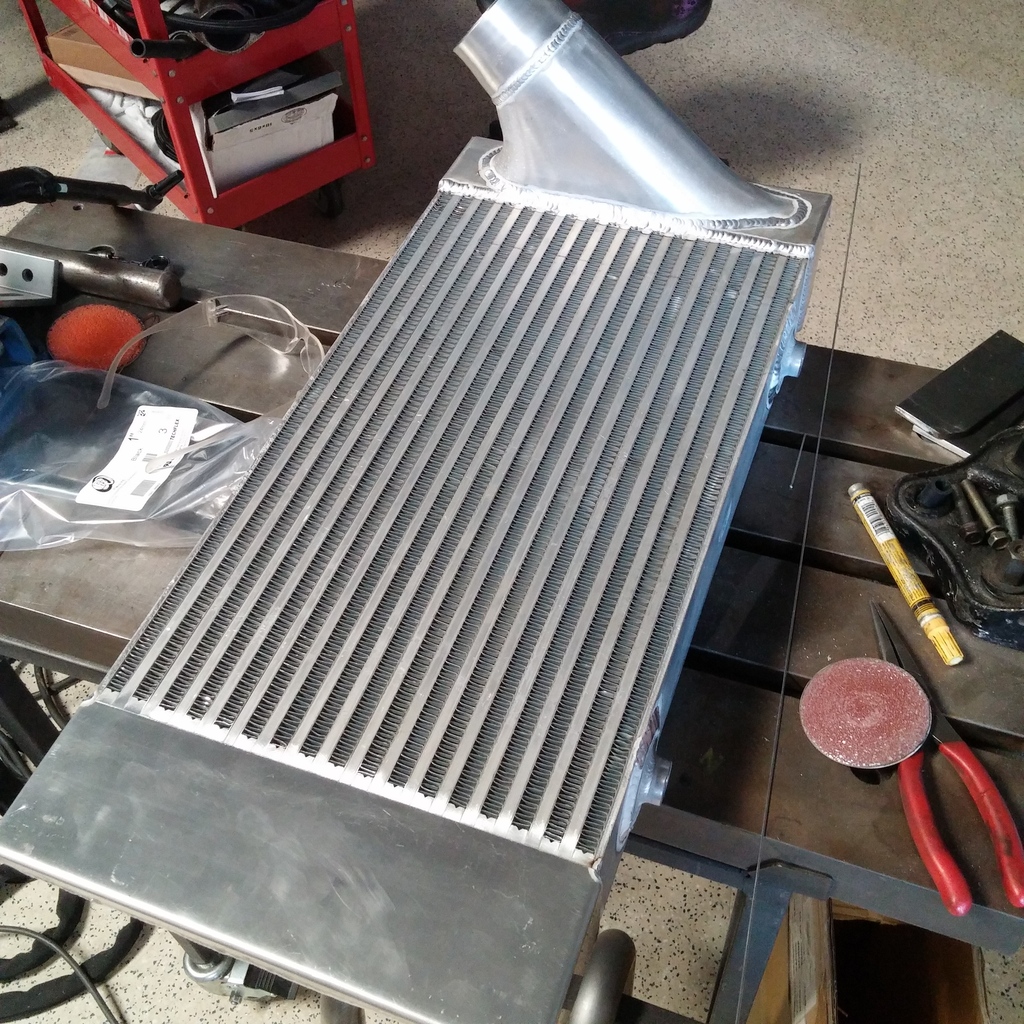
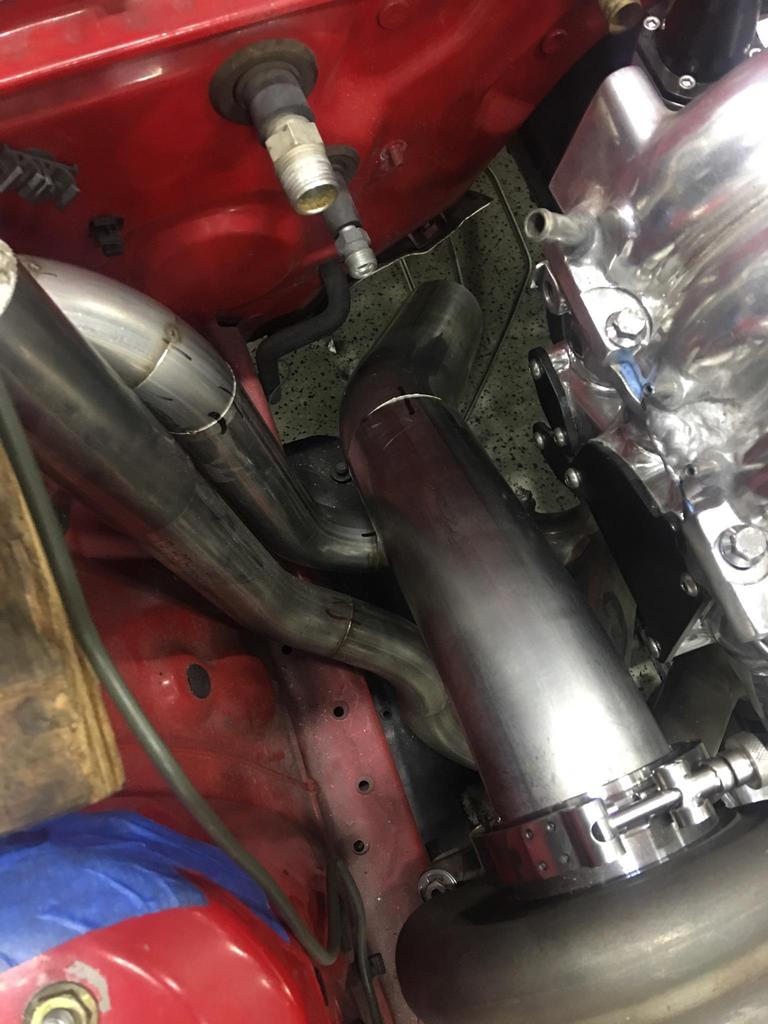
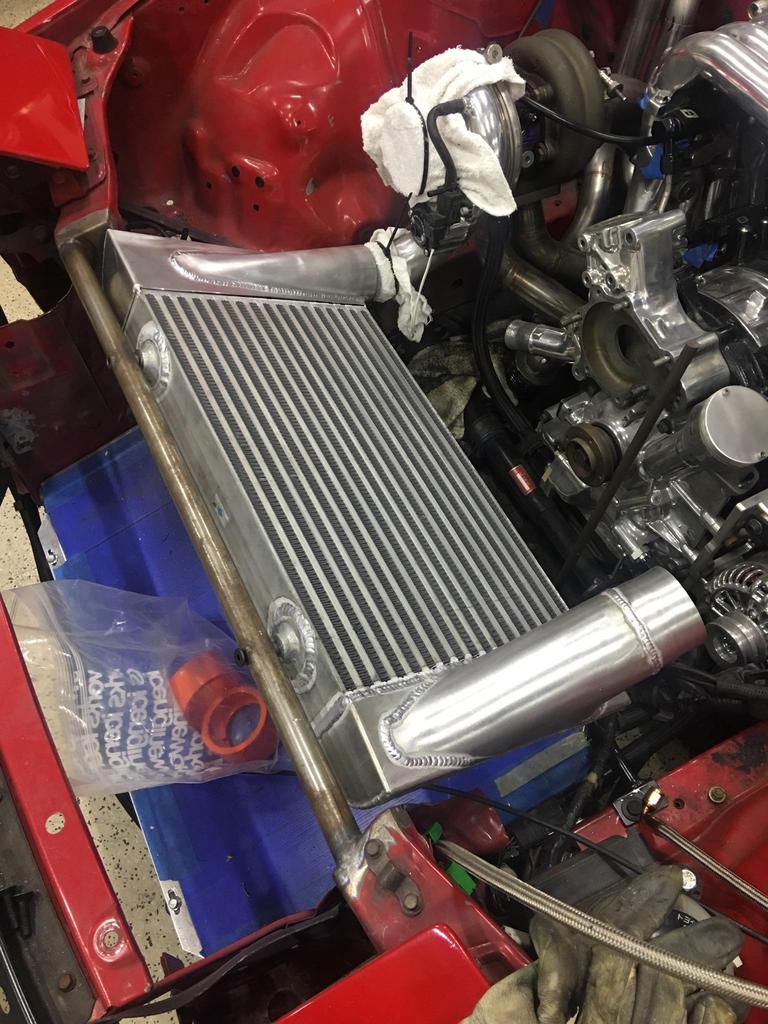
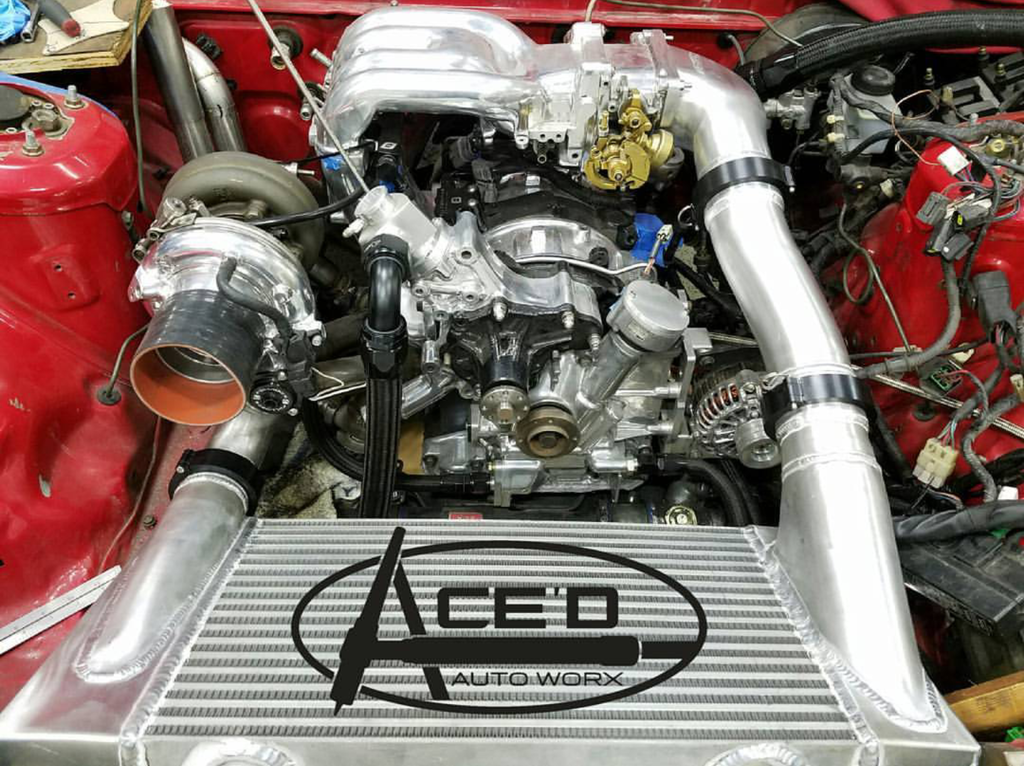
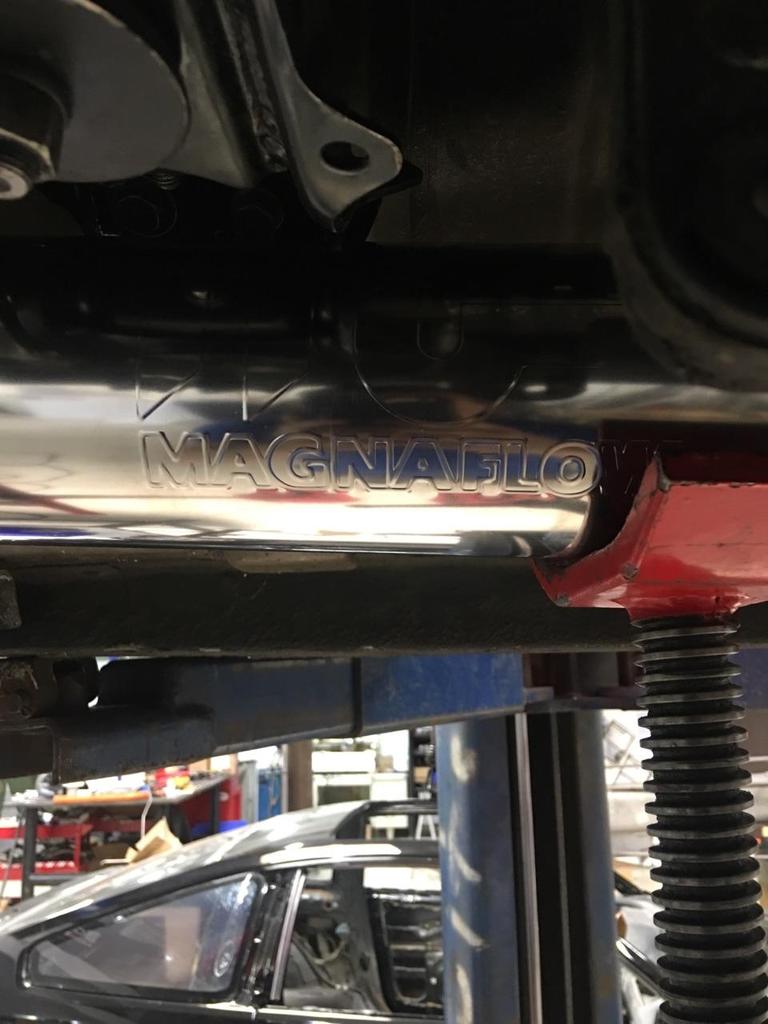
Good news- intercooler is almost finished and im really liking how short the piping is gonna be. The turblown manifold puts the turbo so far forward that it'll connect directly to the intercooler on the other side without even needing piping in between.
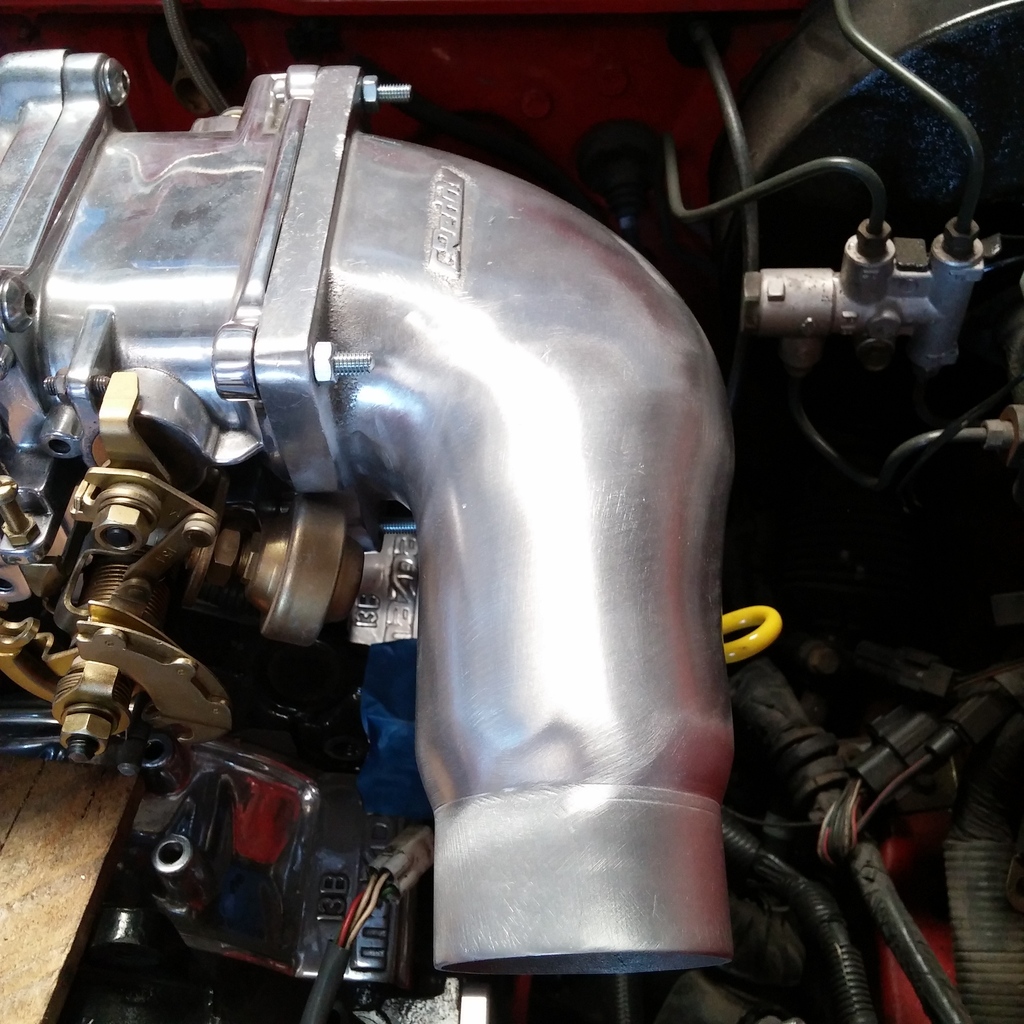
The greddy elbow was cut and rewelded to line up better with the intercooler outlet. Its not gonna be a perfectly straight shot as i would have liked, but the curve will be minimal.
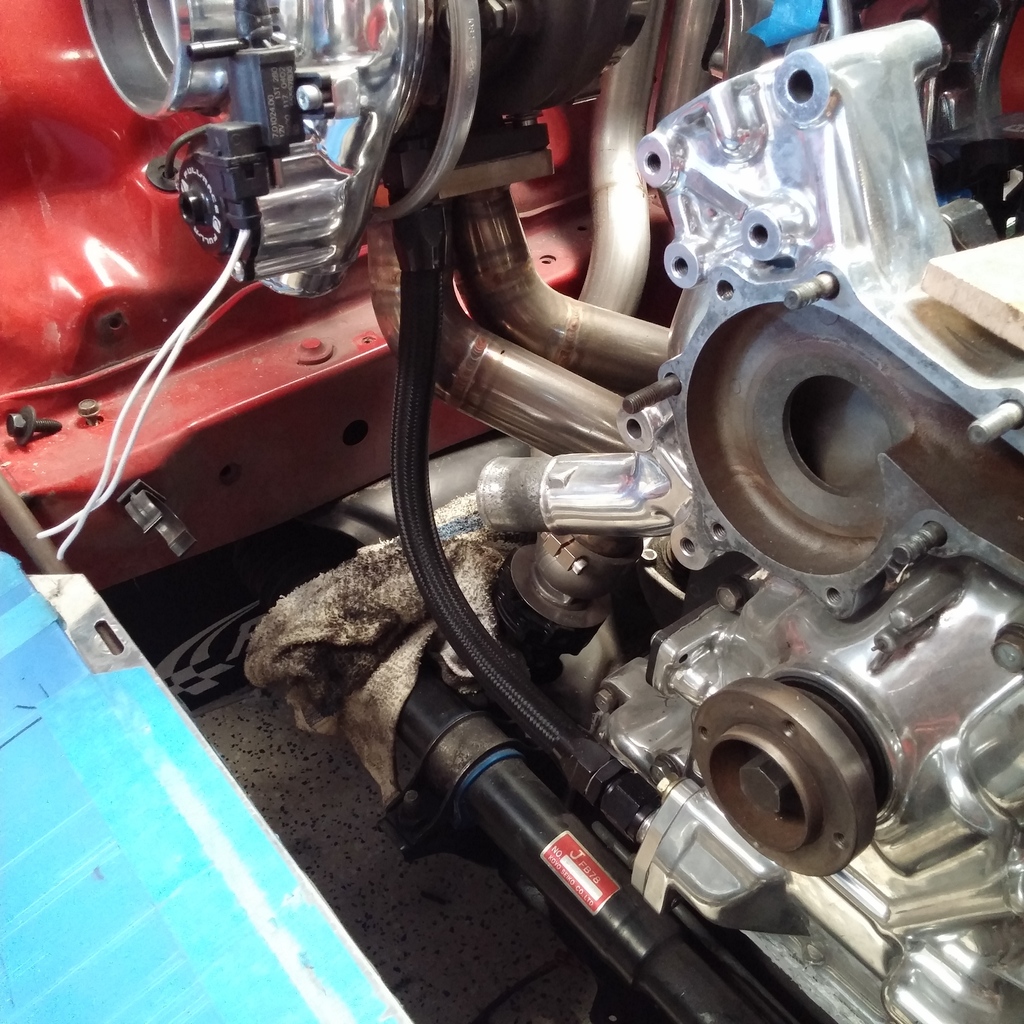
Aside from that, a whole grip of plumbing went down.
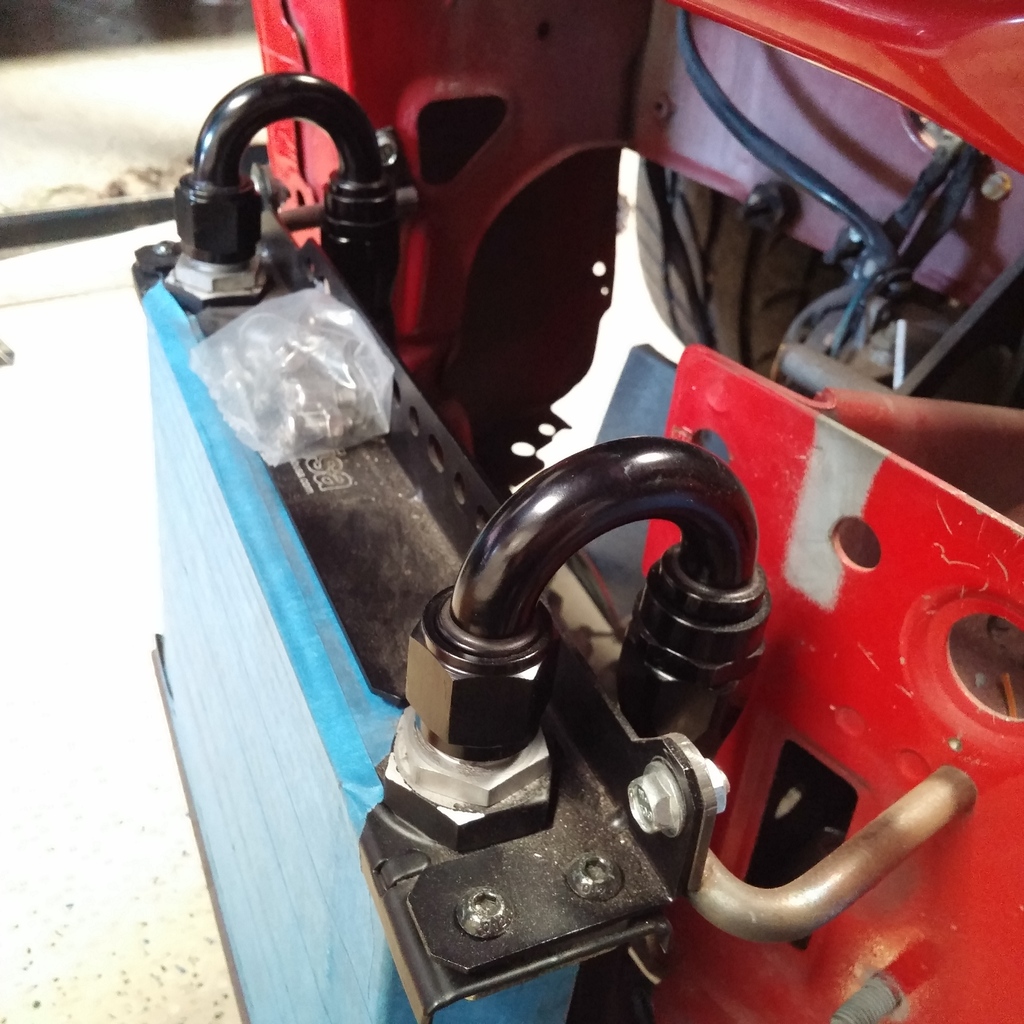
-10 turbo drain:
-10 through to both oil coolers. They are set up in a sequential setup, rather than parallel, but before you get your armchair engineer jimmiez in a bunch, i went this route for 2 reasons: A) being the fact that you need way more lines, fittings, and -10 T's cost a fuqload. Reason B) being the science of course says parallel is better because you're maximizing the efficiency of the coolers by splitting the oil but the fact remains - I havent seen any 7 owner claim that switching from sequential to parallel has made a SIGNIFICANT difference. No one. So for the sake of simplicity, here i am
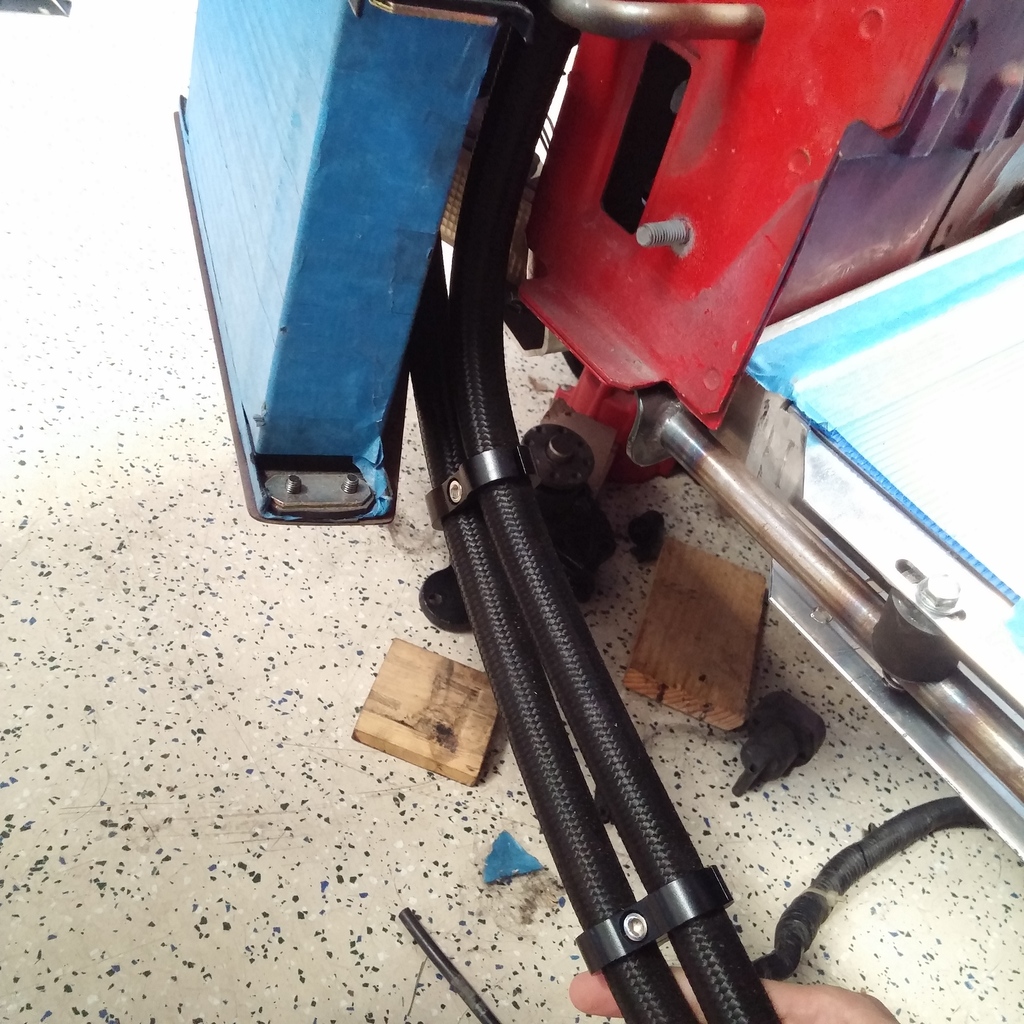
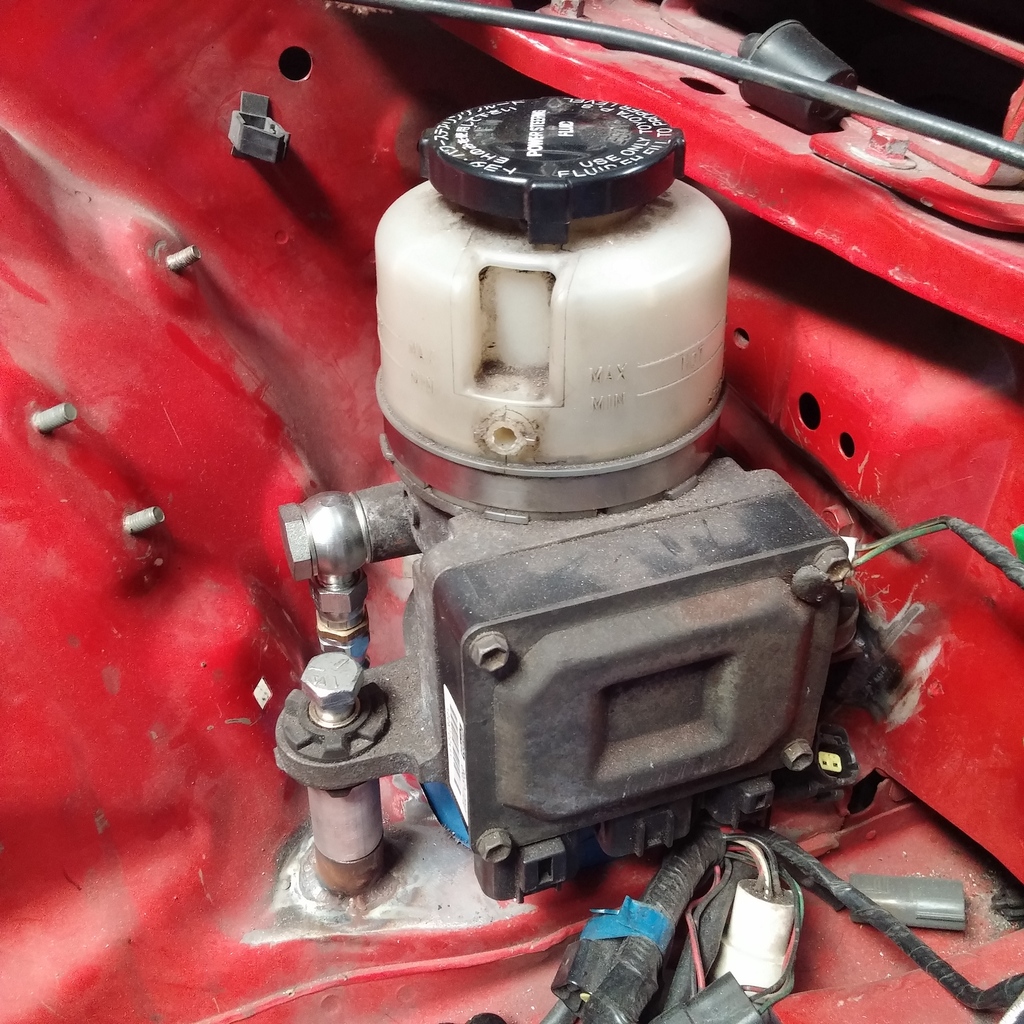
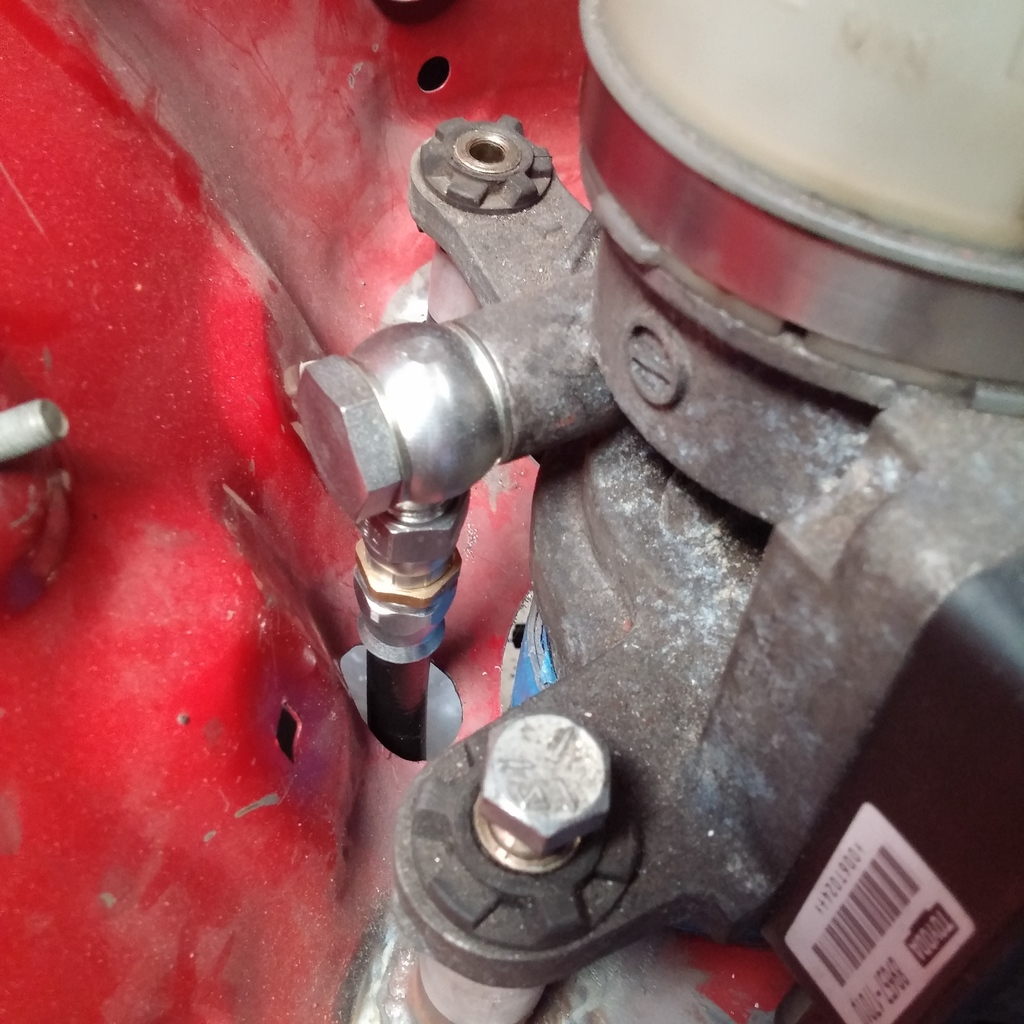
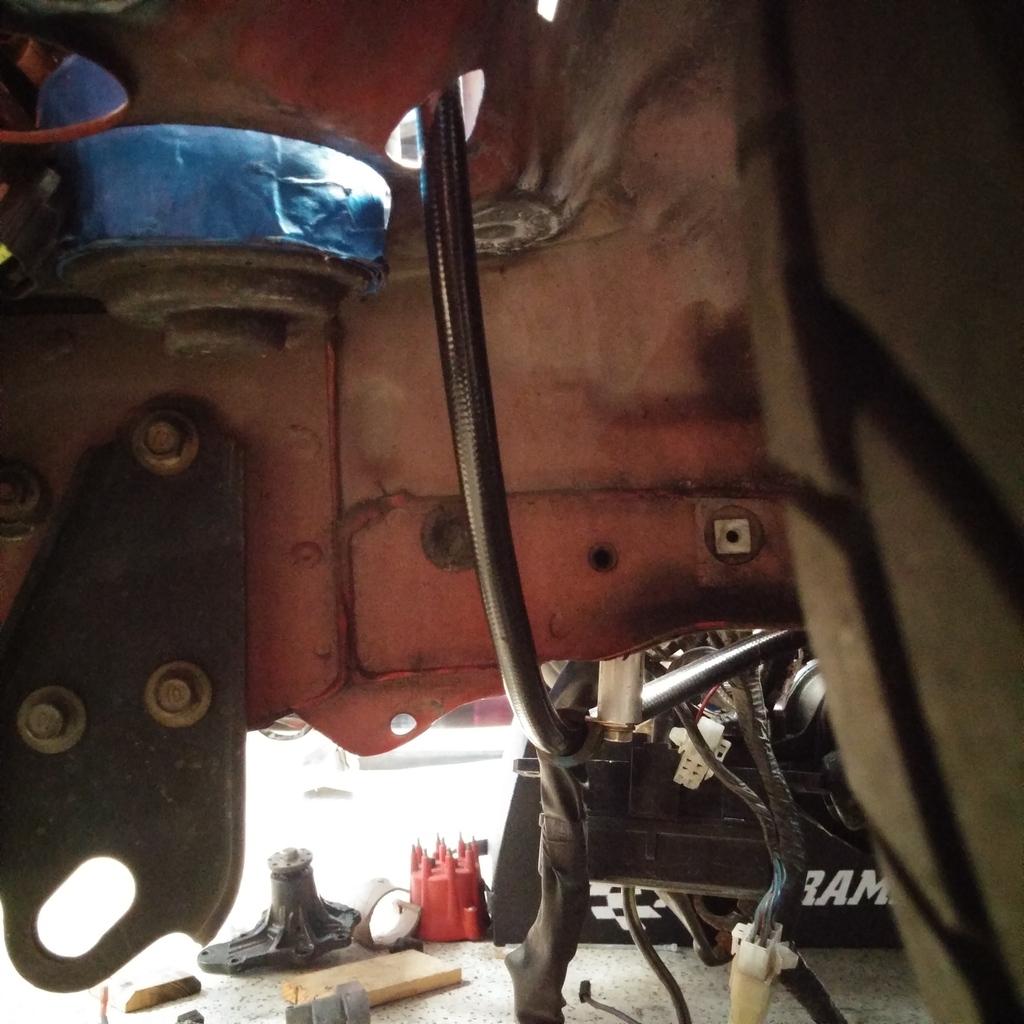
The ps pump got some work too. High-pressure fitting to the rack done.
instead of the line cutting across the engine bay and getting tangled in the oil lines and everything else on the right side of the motor, i did something cleaner:
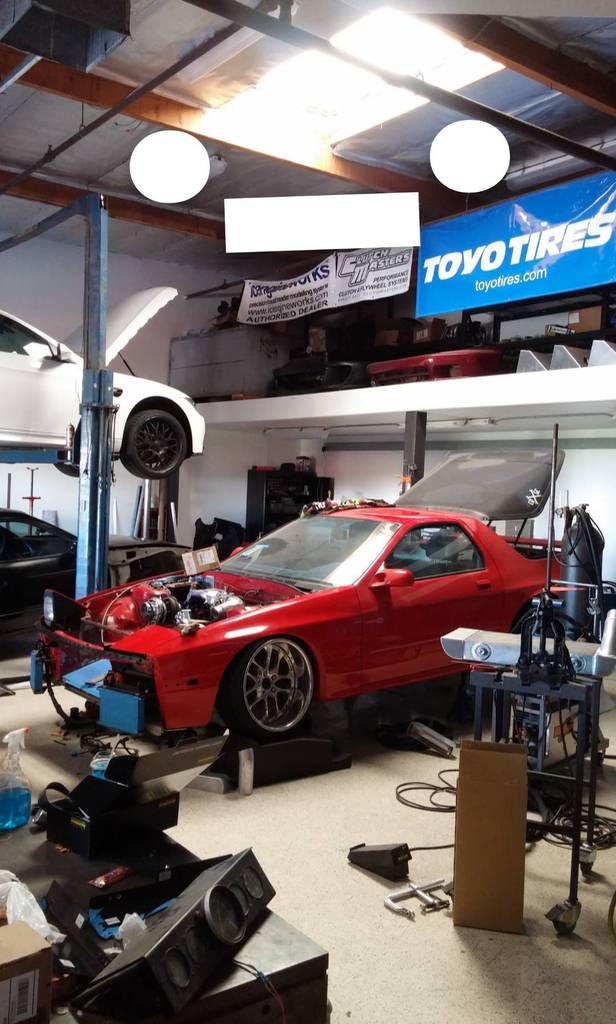
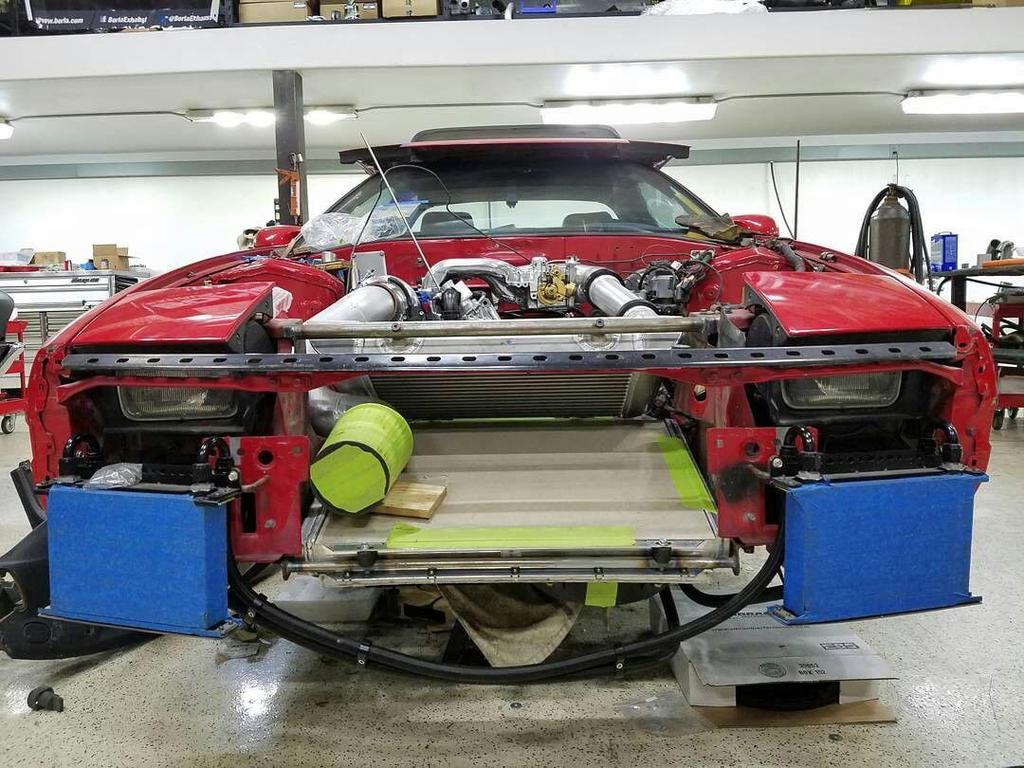
and heres how its sitting (still). I really dont wanna get my hopes up, but as of right now the car looks like its on track to be done at the shop in february and ready to come back home for me to finish up the final bits of work.
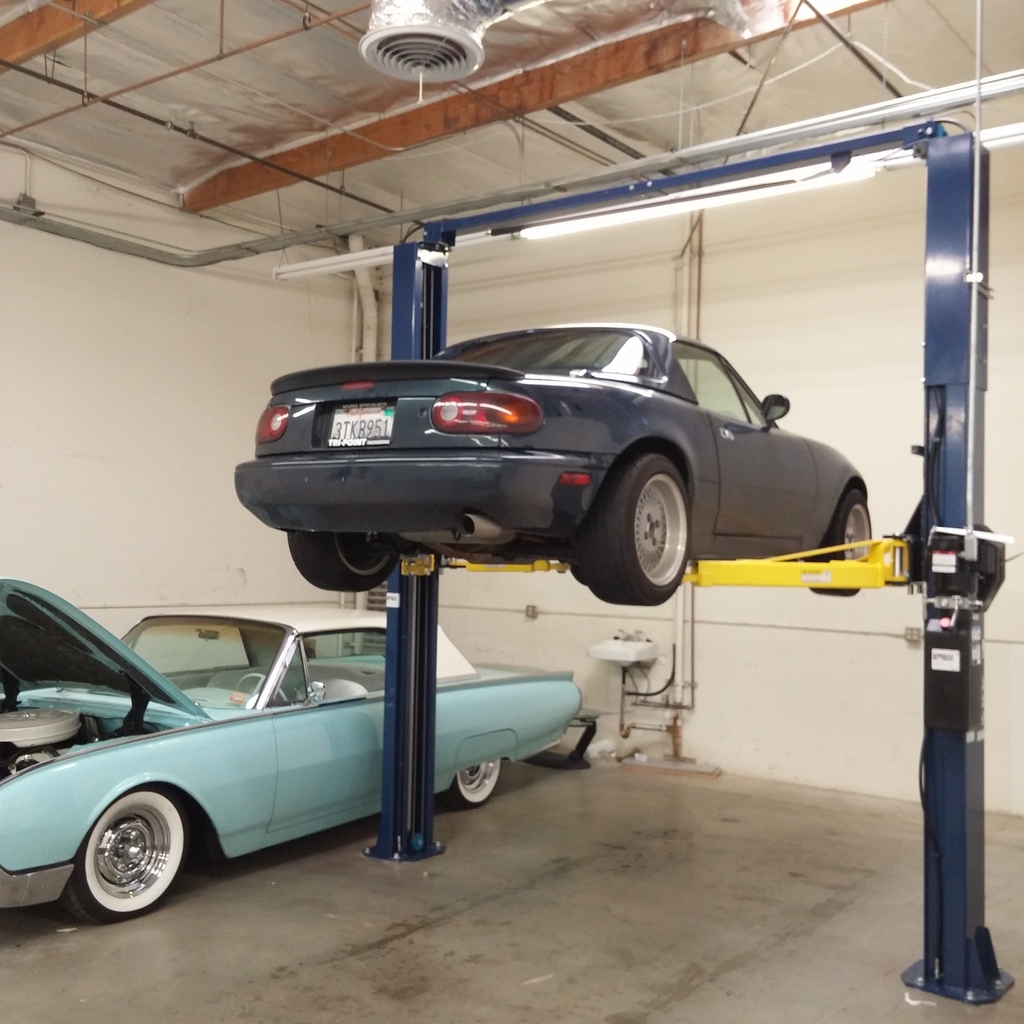
Extra-curricular activities consisted of fixing broken stuff on the miata i got sick of dealing with
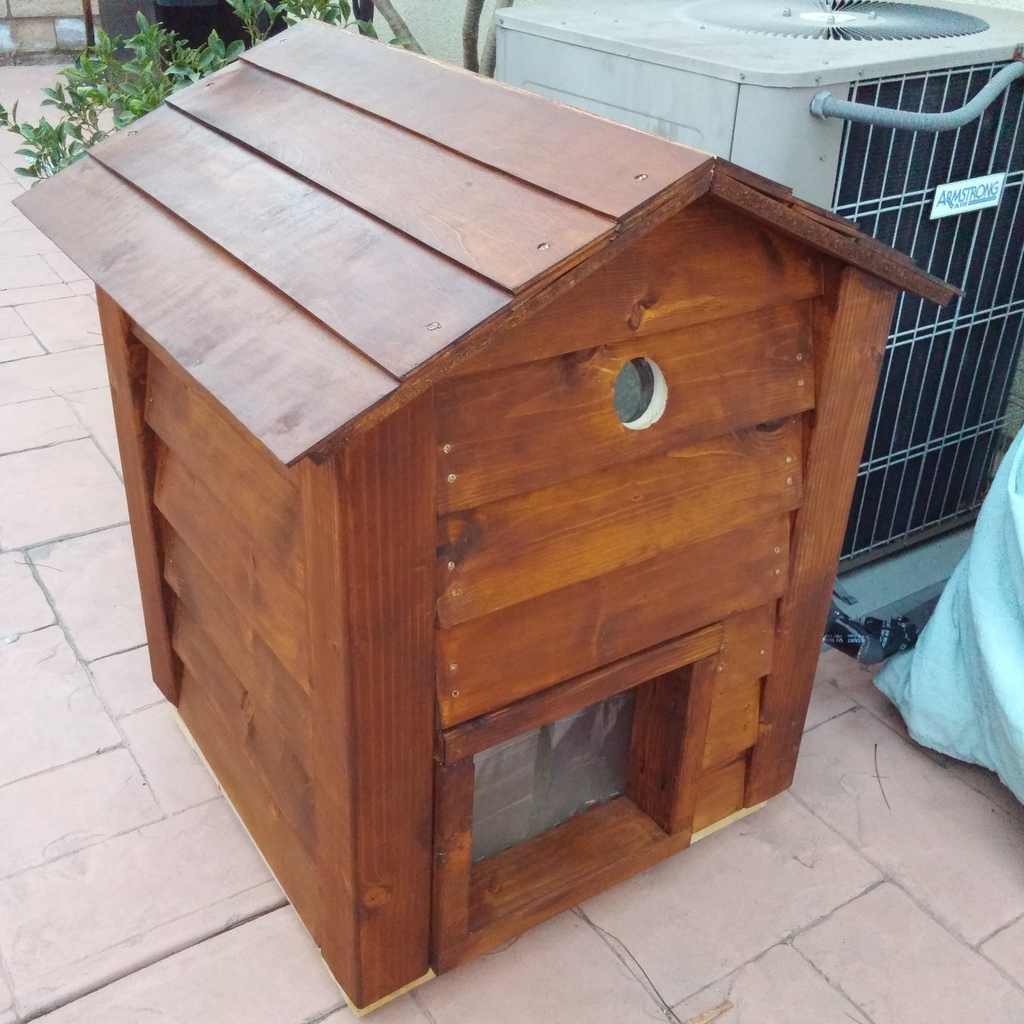
and spent too much effort making this house for my car who doesnt even appreciate it. tite
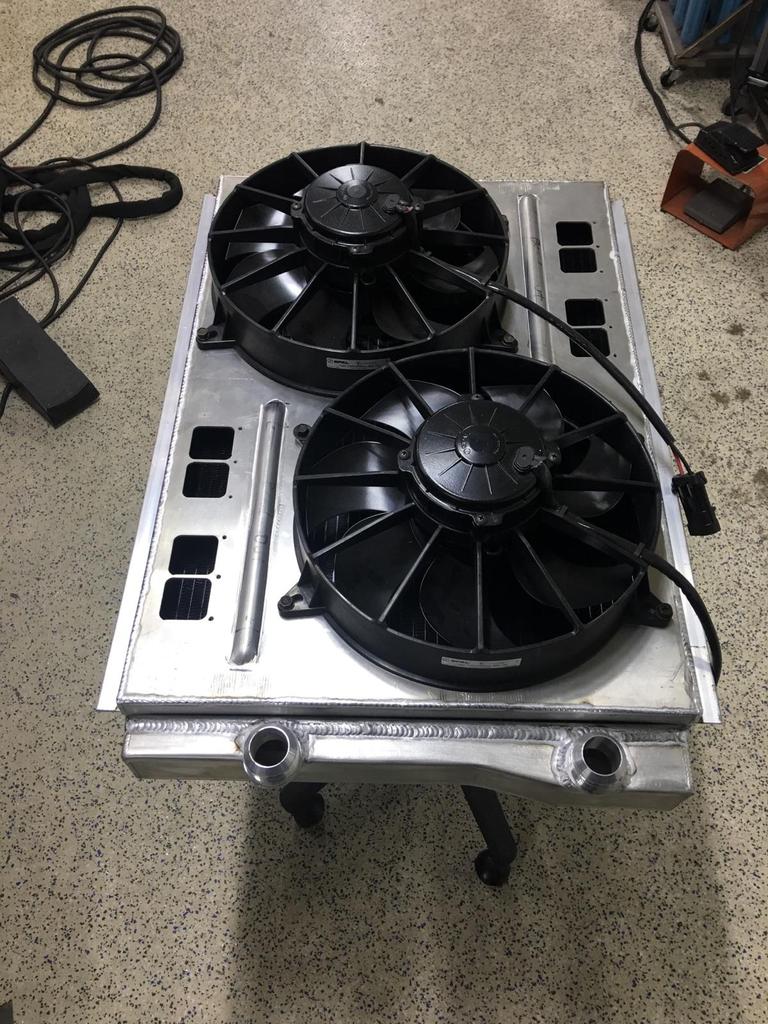
Wiggins clamps will be getting welded on shortly. Hose clamps are for jabroniesss
Radiator is set up as a dual pass. The small square holes are an idea my fabricator had. They will be covered with these thin rubber flap things that stay shut at low speeds, but open at higher speed for better air flow.
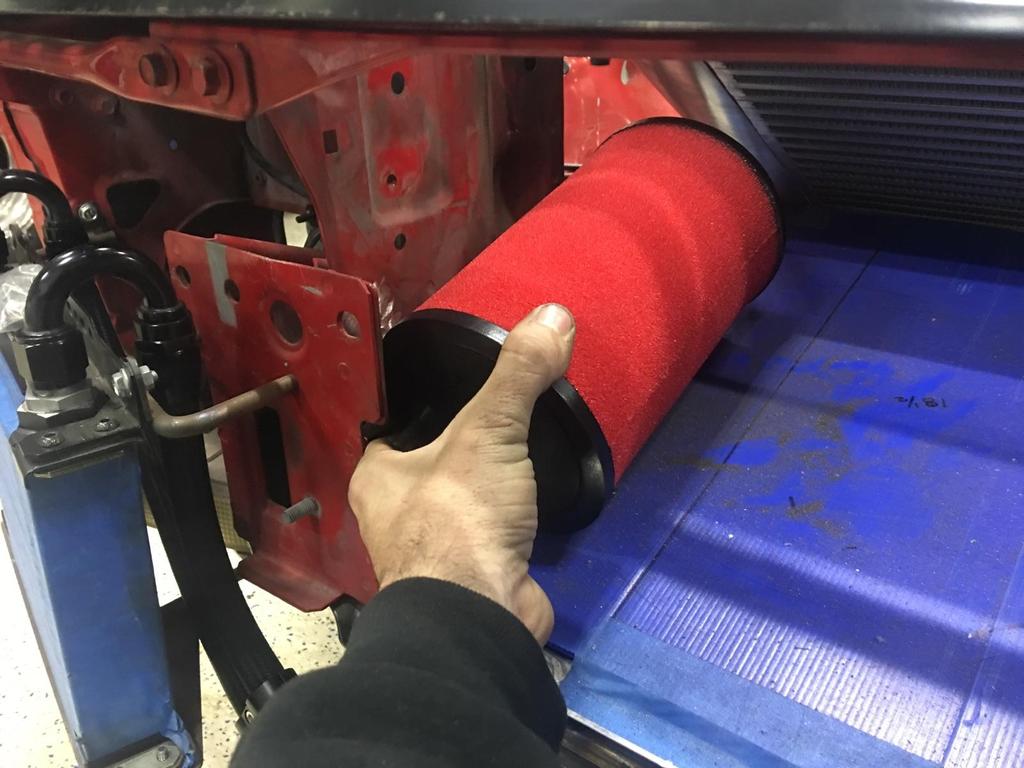
This isnt the filter im using, but it will be set up like this. From what ive seen, placing it out of the engine bay like this makes quite a difference in power and IATs.
Turns out driveshaft u joints dont like being neglected. It managed to grenade the tailshaft of the miatas transmission during the 2 hour drive back from my girls house, so now im stuck with no car and $700+ spent on new parts to fix everything. Cant really blame the little car though, it was my own fault for being lazy.
Did the fab shop end up finishing up all the work?
Still waiting on it to be finished....its a real drag. It should be getting the exhaust made right now, which is the last major thing left. He did send me this picture tho, which got my jimmiez tight
Hoping i have more update before i decide to abort this entire build and get on with my life.
**** that looks awesome! It's sucks losing motivation but you're so close and it will be amazing once it's done. What's left to do once you get it home?
**** that looks awesome! It's sucks losing motivation but you're so close and it will be amazing once it's done. What's left to do once you get it home?
Mainly wiring. Gotta tuck that mangled mess of spaghetti or the right side there plus, guages and the other new **** like fans, P/S pump etc.
Well this threads a major snore-fest but im doing what i can. Cars about 1 week away from coming home for wiring and the final touches. You could say my fab guy had a bit of a set back.....
Exhaust is done. All TIG'd 3" stainless mandrel bent. I tried to calculate the size of the mufflers best i could to give me ground clearance, deep sound and just obnoxious enough with out going over the top and getting ref'd by the cops. I ended up with a 4x14" center resonator and 6x14" rear muffler.
Dump tubes basically done, just some minor trimming. Just screams 'smog legal' doesnt it?
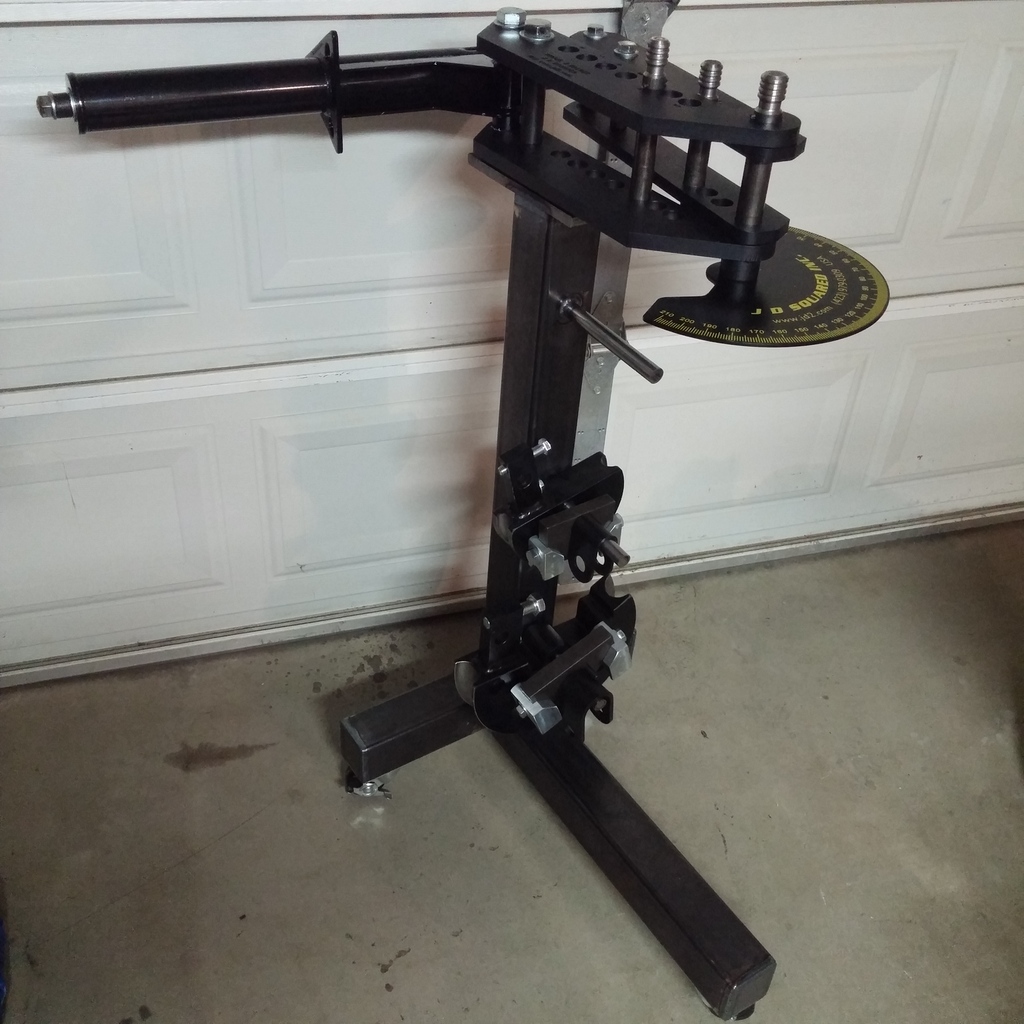
Ive been keeping busy by doing some fab work myself, too. Built out a stand for my tube bender so now i can use it. I adapted a trailer jack to power the bender because manual bending is for animals.
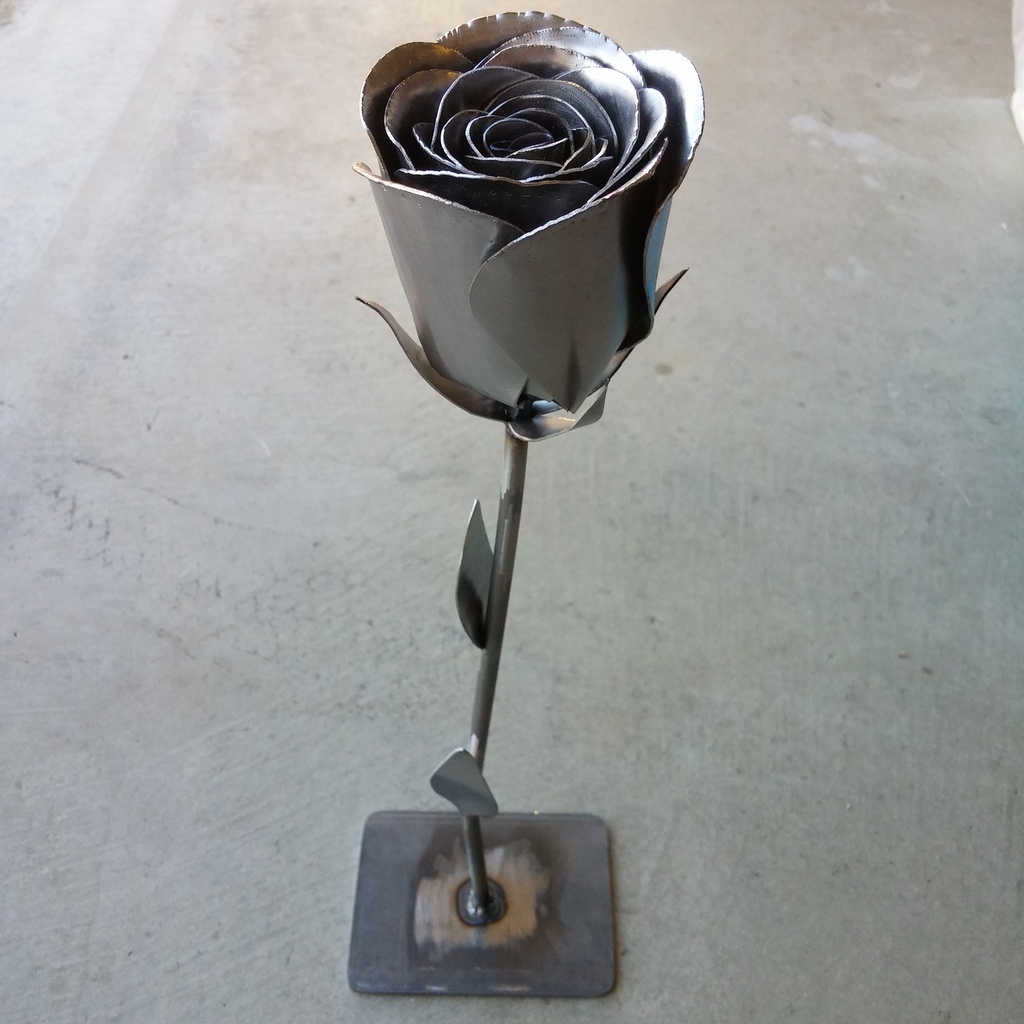
Also whipped up this for the girlfriend as an anniversary present. Never again.
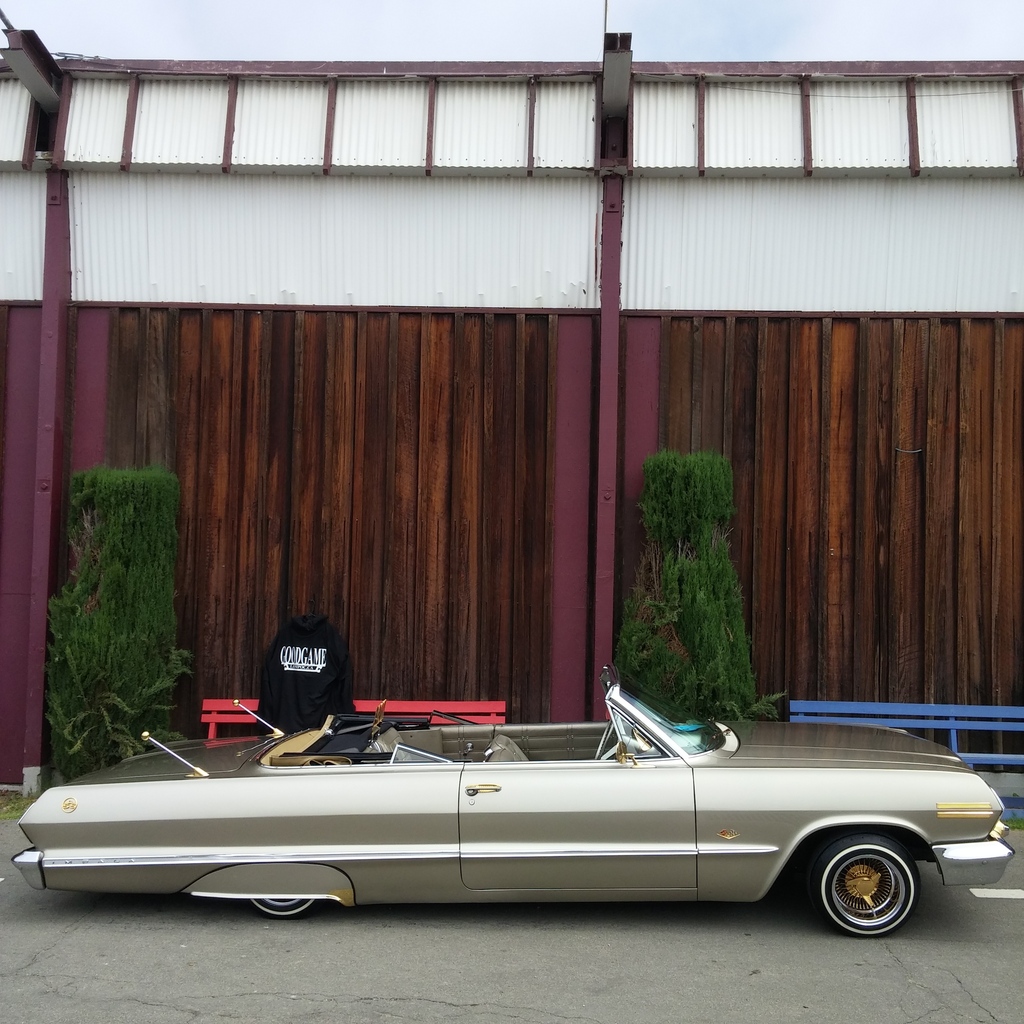
Bonus picture from the low low show i went to last weekend:
Last edited by Premiumriceonly; 06-16-17 at 12:59 PM.
Sorry guys, photobucket really F'd this thread over. There's 0 chance of me paying them money after that stunt, so ill be trying to figure out another option for image hosting.
In the meantime, if you want to stay updated on the build, feel free to follow me on instagram @russellstiltzkin
So the good news is it looks like Photobucket finally realized they F'd up and put all the pics back. I've since switched to flickr so I don't have to deal with them anymore.
As far as updates the car is now back in my care after over a year and half of getting dicked around by flaky shop owners and it will never go to another shop again. When i got it back, it STILL wasn't finished and the shop owner managed to lose my hood prop and a few other parts....
Since then i've been tryna bang out work while juggling projects (see below), my job and girlfriend. I made some proper length spark plugs to the AEM coils using MSD stuff.
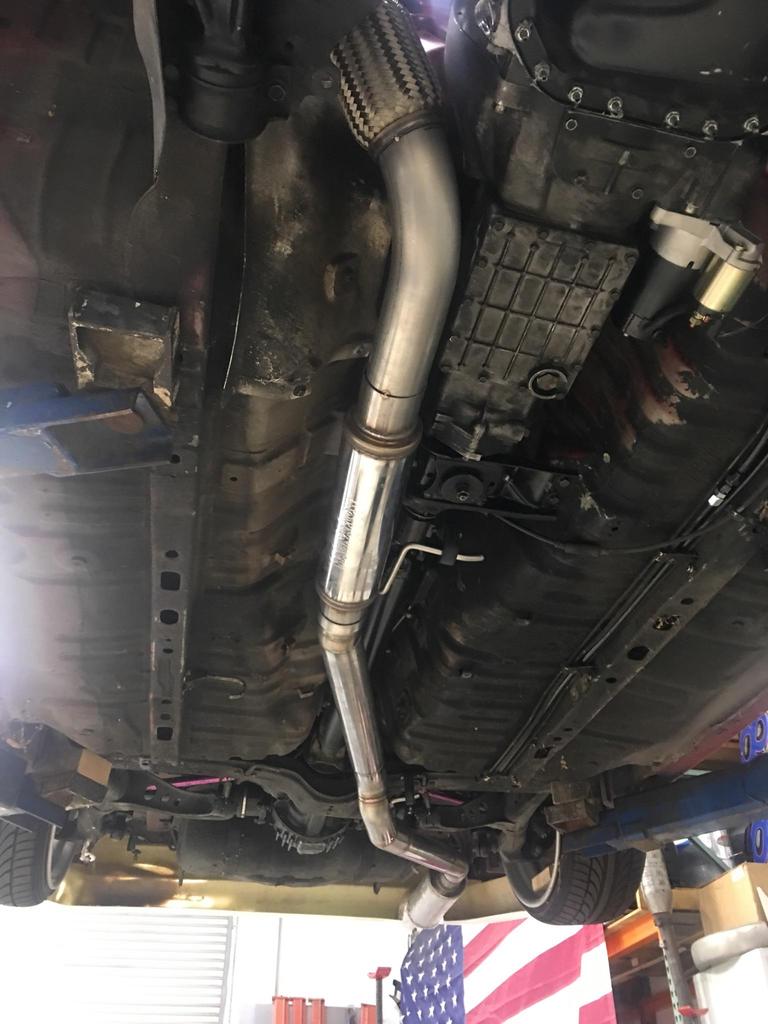
Got the dump tubes and downpipe wrapped. Remind me to NEVER move the dump tubes again-took about an hour of playing with the positioning to get it to sit right again.
Not sure im super fond of the catch can placement right now. I dont want it to be that close to the heat of the exhaust. I may scrap them completely and go with completely new reservoirs, but still deciding.
Got the aeromotive installed and wired up. For the amount of work it took i could have just gone with the bosch or walbro anyways but OH WELL. Its hard to see but i completely removed the stock pump support bracket and welded on my own to make room for the new fittings.
Using a -6 bulkhead for the feed and installed new teflon-sealing bulkheads for the pump power leads rather than running through the connector.
One of the other projects ive been working on is making some rock sliders for my brothers F gay cruiser. Time consuming but fun at the same time.
So the good news is it looks like Photobucket finally realized they F'd up and put all the pics back. I've since switched to flickr so I don't have to deal with them anymore.
As far as updates the car is now back in my care after over a year and half of getting dicked around by flaky shop owners and it will never go to another shop again. When i got it back, it STILL wasn't finished and the shop owner managed to lose my hood prop and a few other parts....
Since then i've been tryna bang out work while juggling projects (see below), my job and girlfriend. I made some proper length spark plugs to the AEM coils using MSD stuff.
Got the dump tubes and downpipe wrapped. Remind me to NEVER move the dump tubes again-took about an hour of playing with the positioning to get it to sit right again.
Not sure im super fond of the catch can placement right now. I dont want it to be that close to the heat of the exhaust. I may scrap them completely and go with completely new reservoirs, but still deciding.
Got the aeromotive installed and wired up. For the amount of work it took i could have just gone with the bosch or walbro anyways but OH WELL. Its hard to see but i completely removed the stock pump support bracket and welded on my own to make room for the new fittings.
Using a -6 bulkhead for the feed and installed new teflon-sealing bulkheads for the pump power leads rather than running through the connector.
One of the other projects ive been working on is making some rock sliders for my brothers F gay cruiser. Time consuming but fun at the same time.
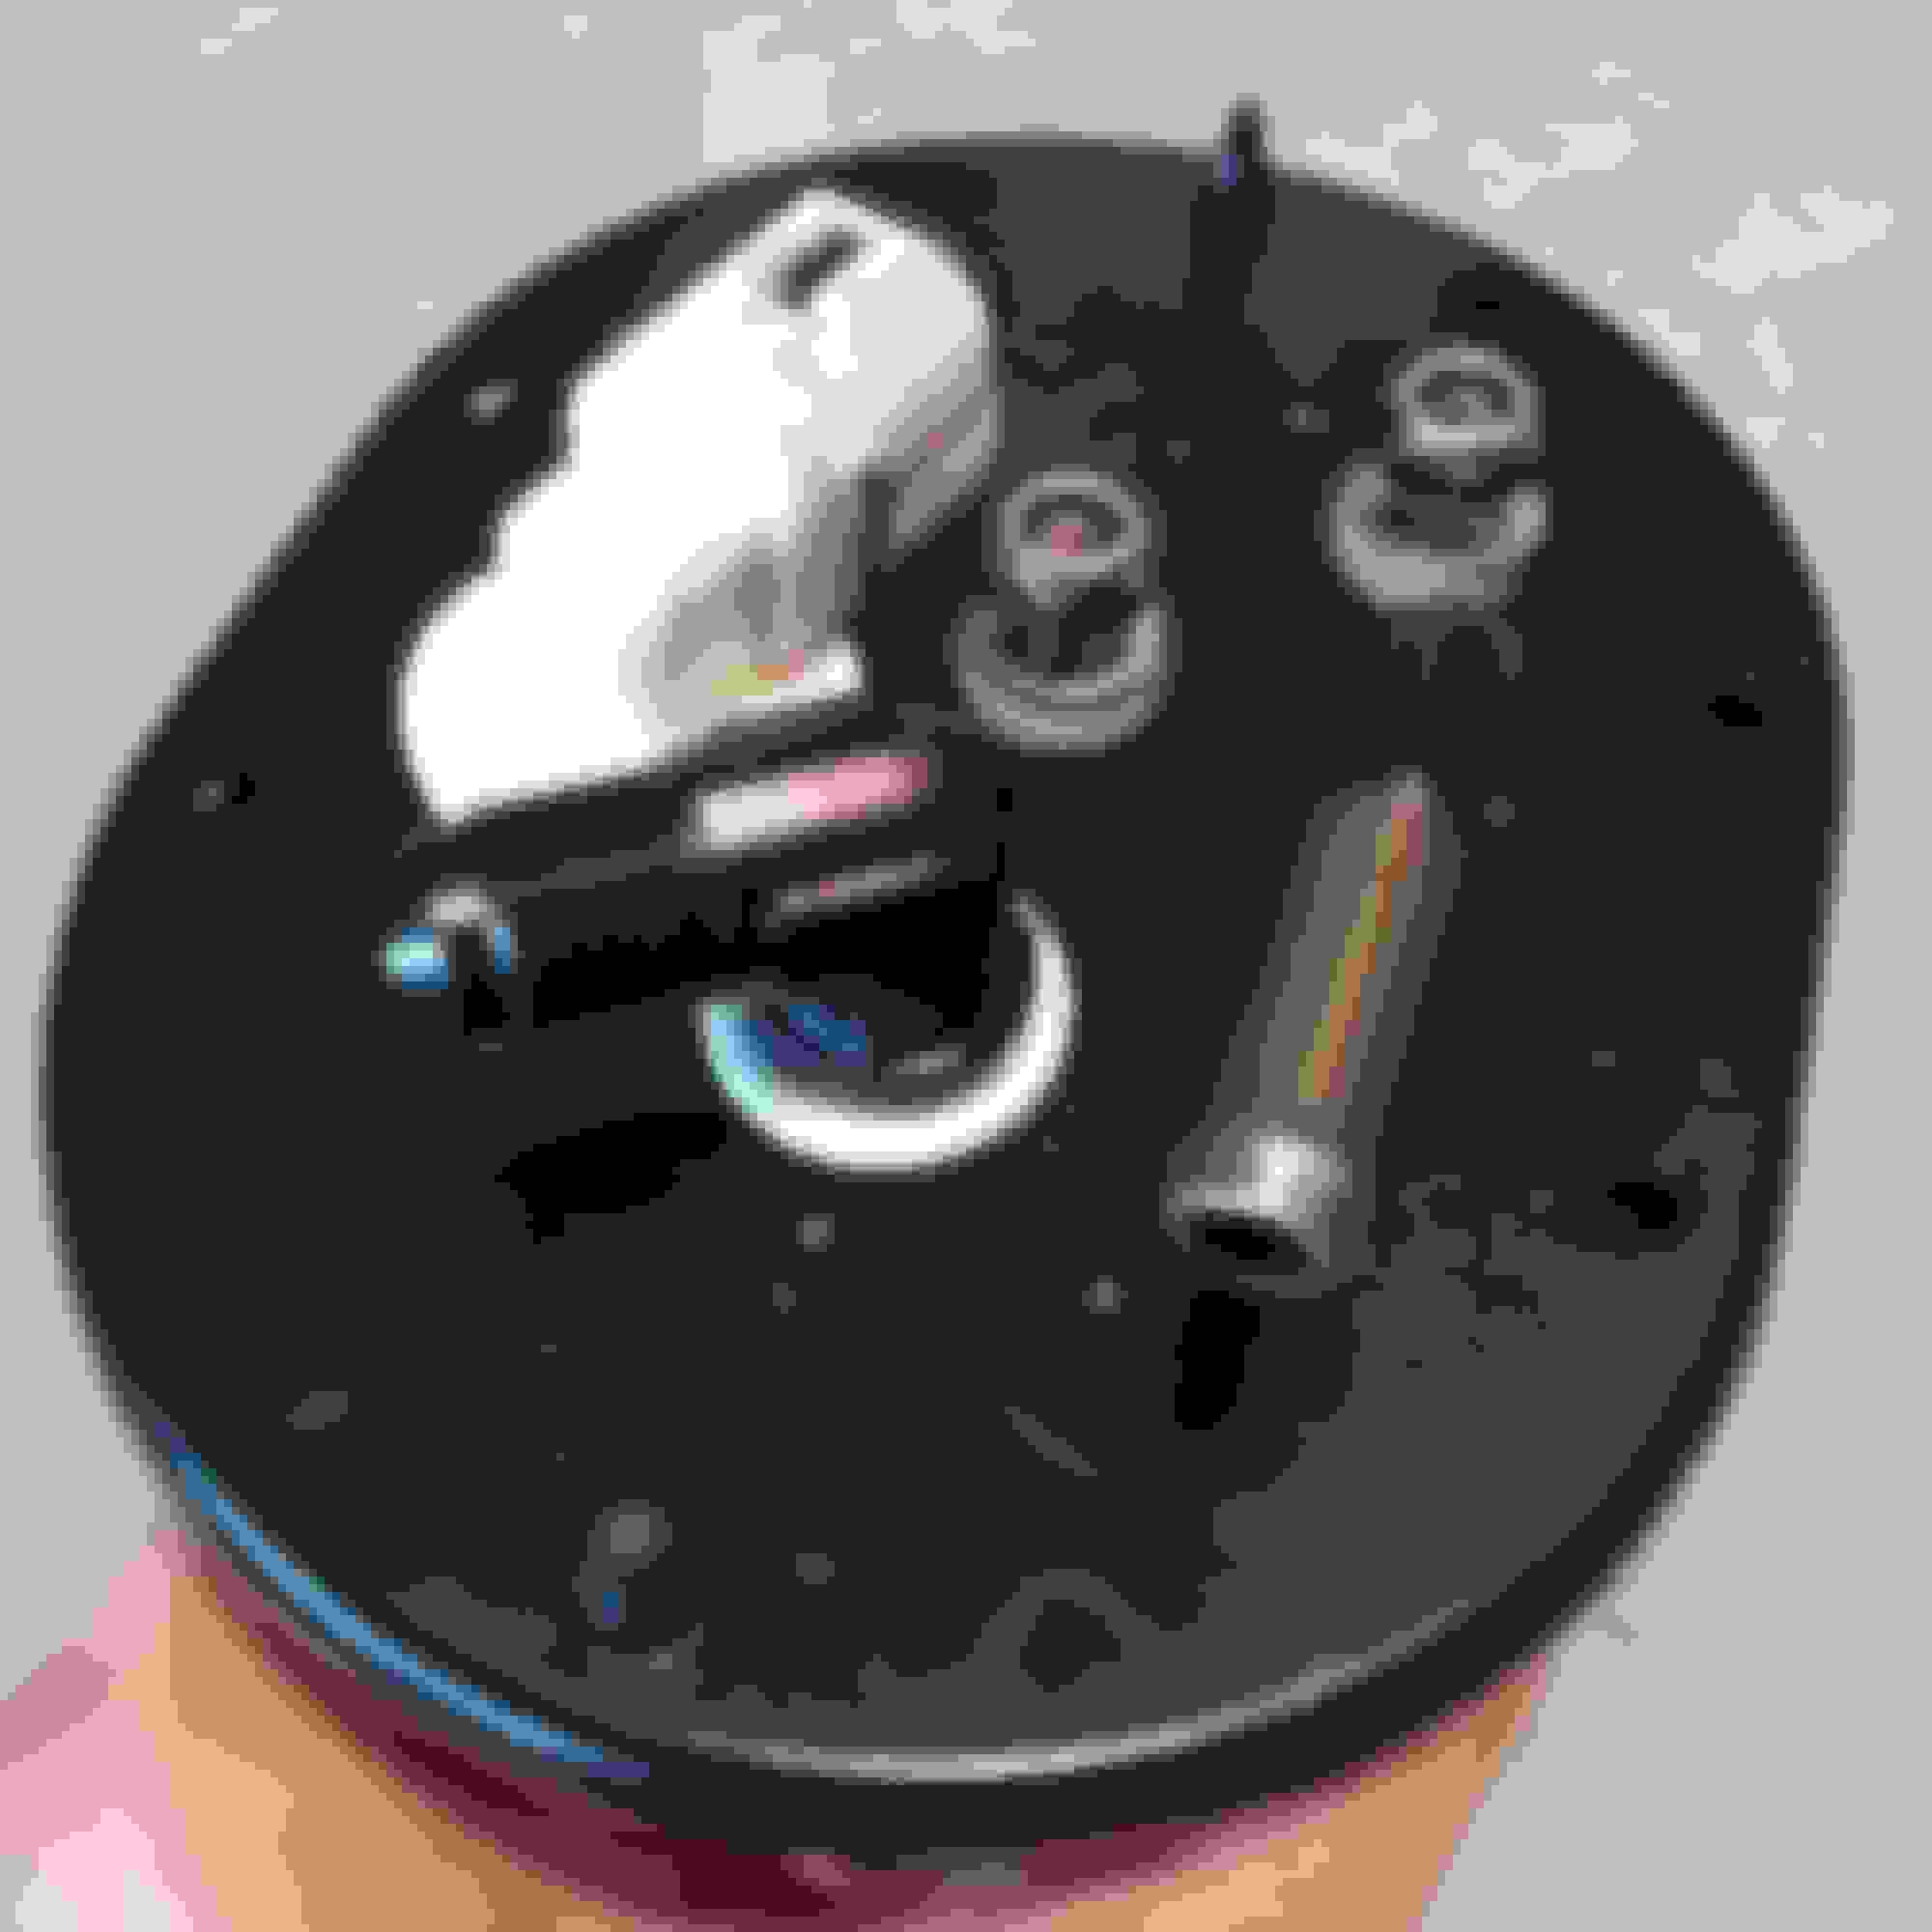
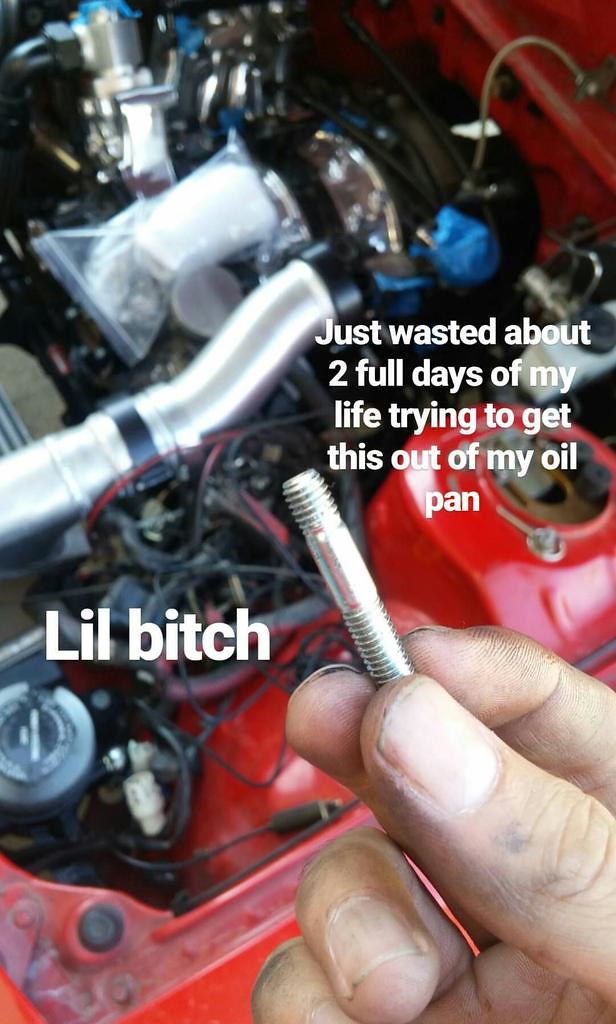
Havent got a whole lot of progress done on this lately - mostly due to me being a dumbass and dropping a stud down into the oil pan AND a piece of shop rag into the rear iron coolant passage so I got pissed and ignored it for a while. Good news is I was able to finally able to get the stud out without dropping the oil pan after WAY too much effort. Piece of rag is still to be determined....
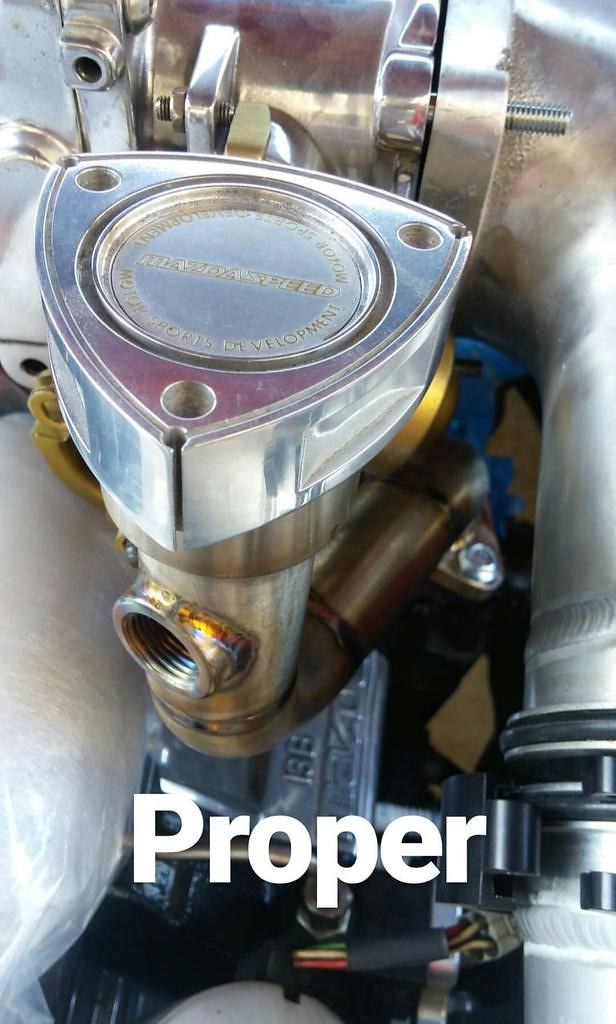
With that fiasco out of the way I was able to put the Elite Rotary stainless upper oil neck in. This piece seems to be pretty high quality and looks great on the engine. Its a nice new home for my Mazdaspeed cap.
Not something totally exciting but I got all of the new brackets and miscellaneous metal parts powder coated gloss black. Also forgot to take a picture like a JABRONIE UGH.
Next up will probably be installing the new speedo cable (not looking forward to) and picking up the remaining lines I need for the catch cans etc. If anyone wants to come over to my house and call me a ***** until I work on this more it'd be appreciated!
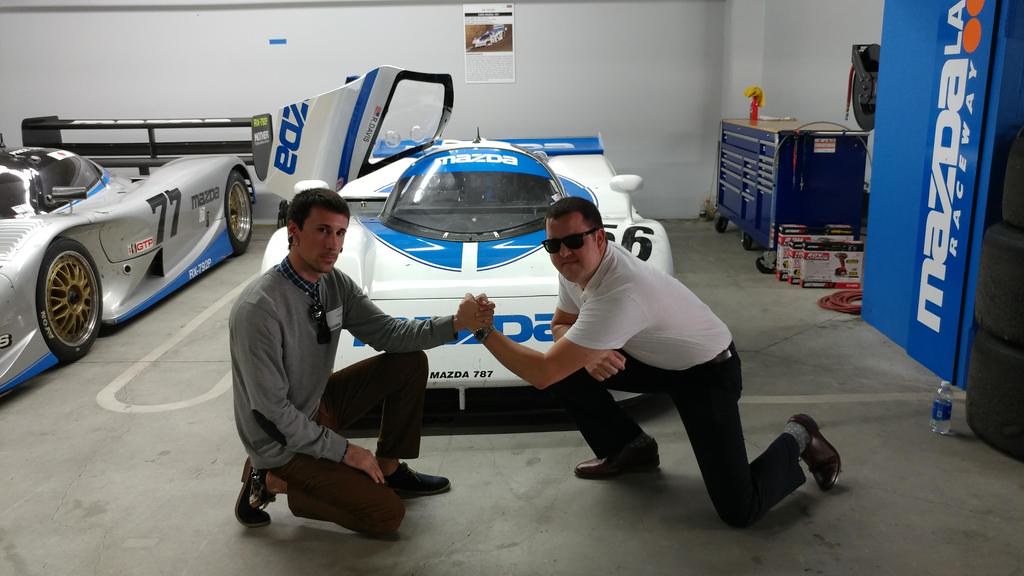
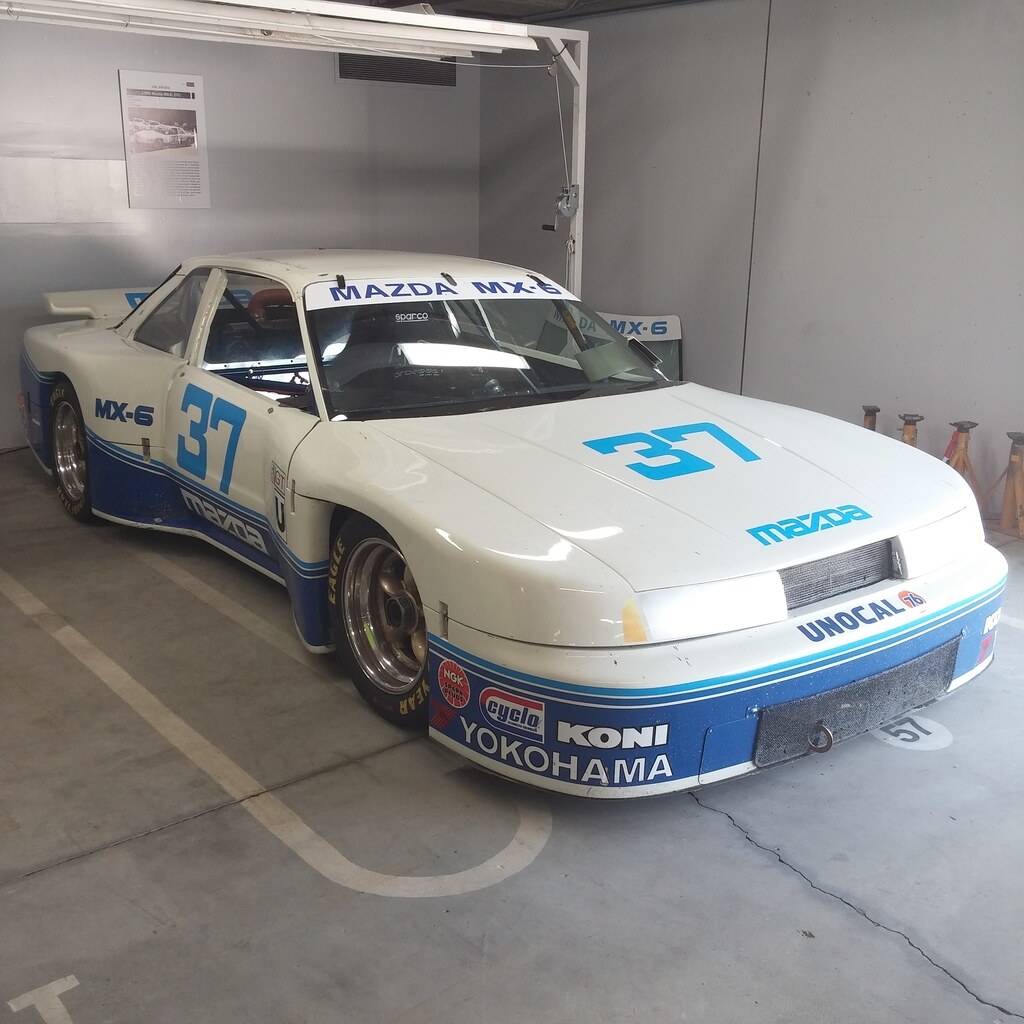
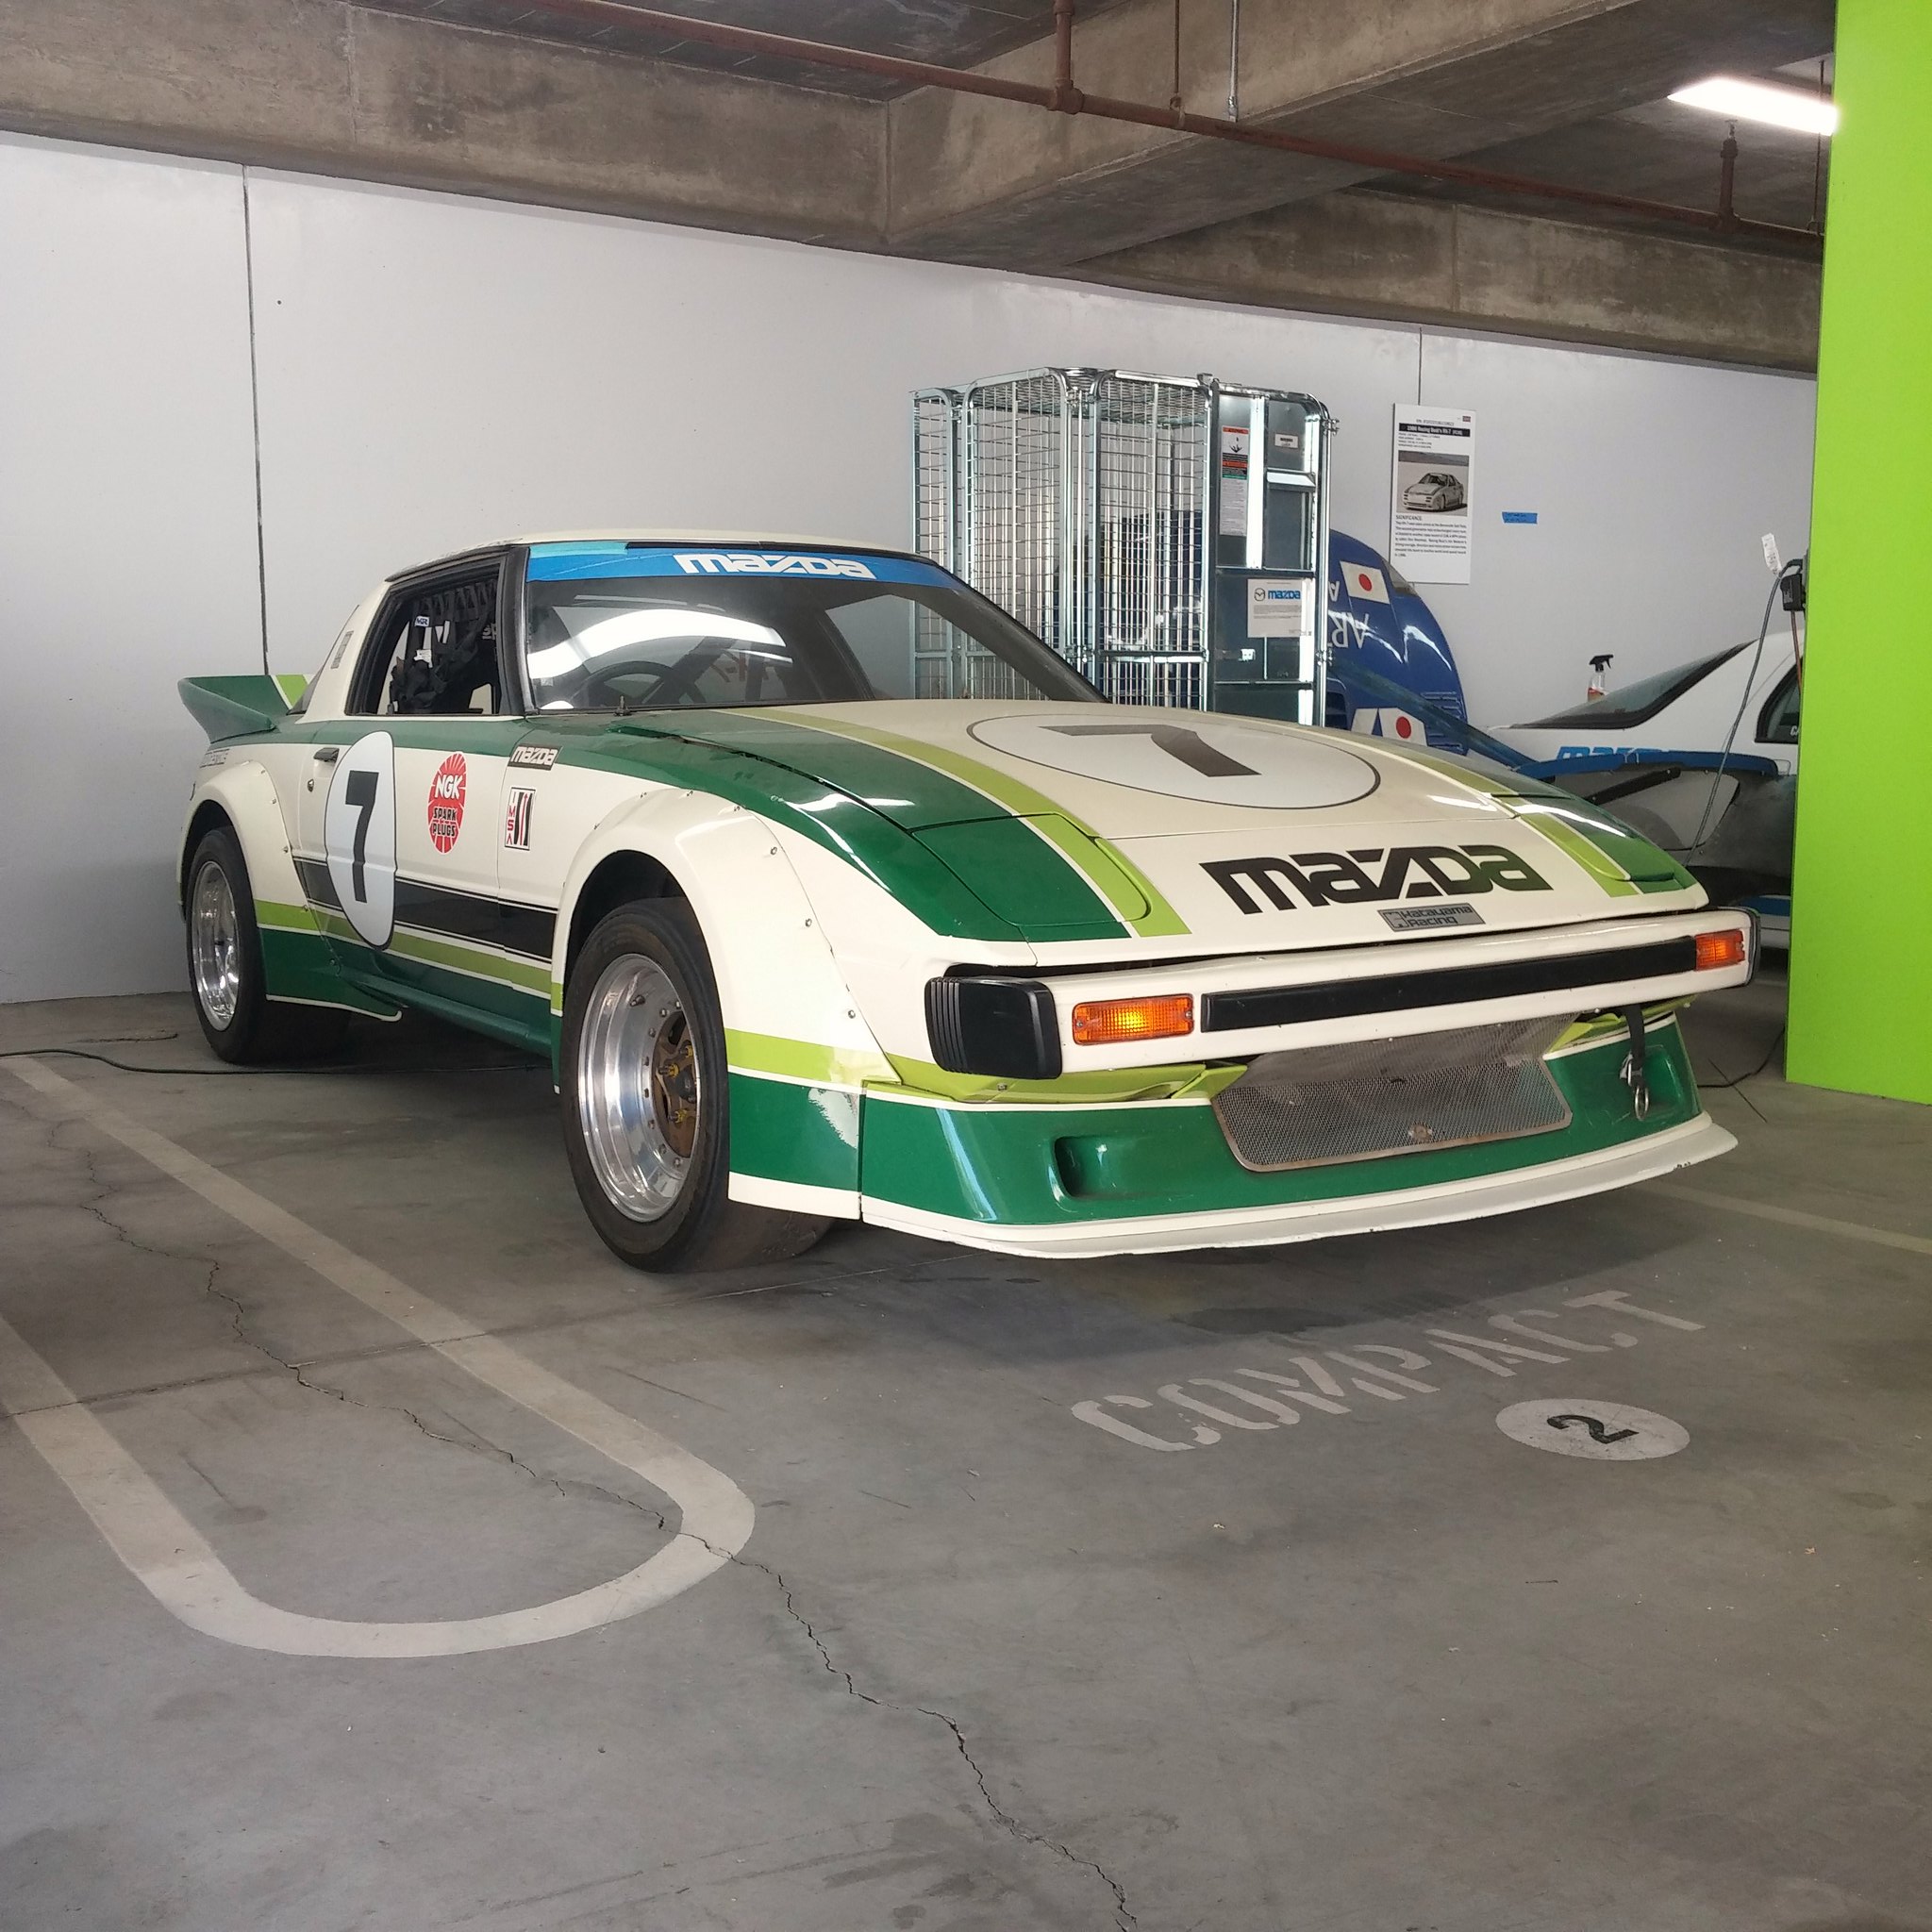
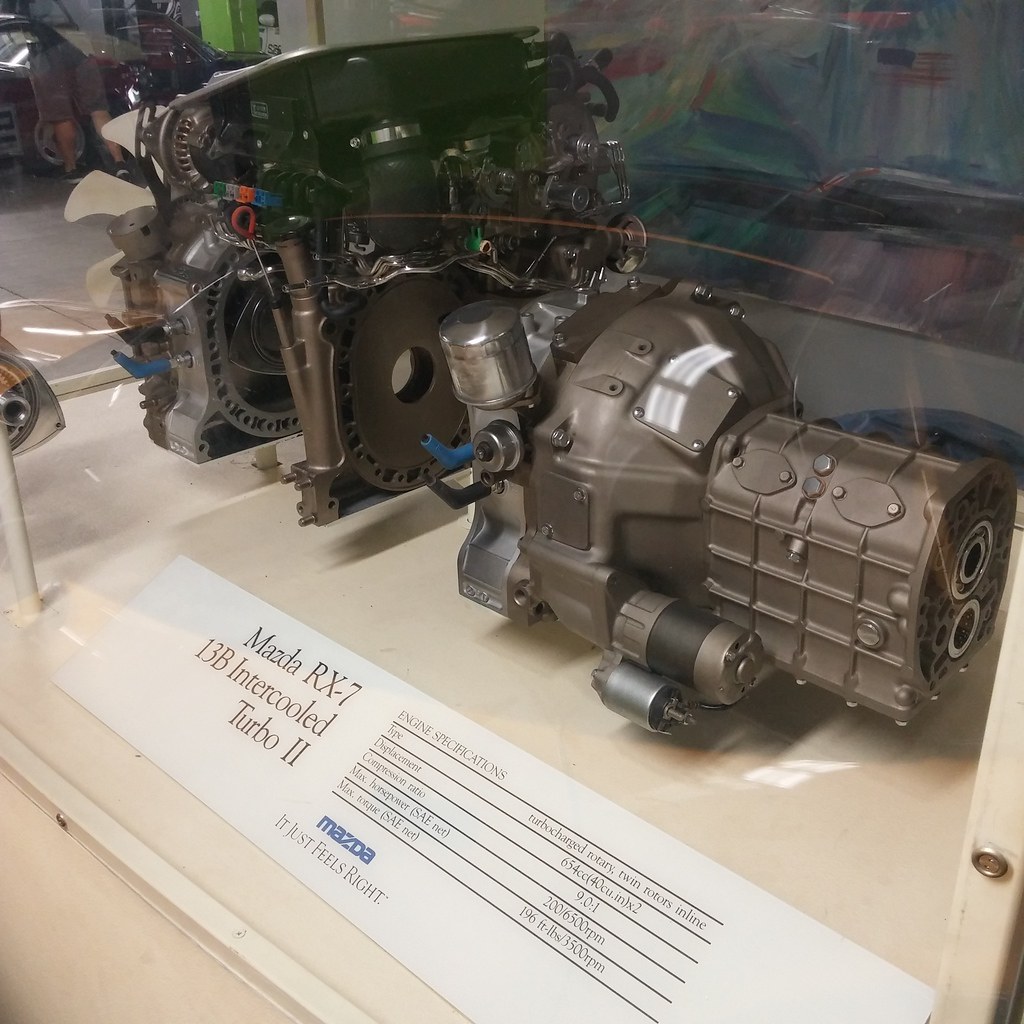
I was invited to come tour Mazda headquarters a few weeks ago, so here's a few pics of that to make up for the garbage update.
Last edited by Premiumriceonly; 10-05-17 at 06:41 PM.
Its more of a nightmare, but yes this is still being built. If anyone really cares i can throw some pics up. I just figured everyone in the drift section died...
Welllllll since at least 2 people still care, here's a quick overview of whats going on with the car. As it sits it's about 97% done. A lot of small miscellaneous things left to do but the last major part is installing the engine harness and finishing chassis wiring. The plan is to get the car ready to start and bring to Abel Ibarra's shop for a final look over and then base tune. Progress has been real slow since I have about 1/2 of a day a week to work on it realistically.
Got the interior gauges wired and installed in this slick pod from R spec carbon. I modified the length of the sensor wiring for the 2 temp gauges to fit perfectly where they install on the engine without having a ton of slack and reloomed with raychem DR-25. The idiot cluster harness contains all the signals you need for aftermarket gauges so i was able to splice in everything I needed to one spot instead of running wires all over the car. It's a REAL tight fit in that tiny space where the cluster goes but I got everything in there. I'm hoping to connect the wideband output signal to the adaptronic so it can measure A/FR's for a failsafe, so fingers crossed that works.
This piece is actually pretty neat. The shop kind of started building it and then I had to finish the final welding and fit up. I have to say it does look really good powder coated and adds to the clean look of the engine bay. I HATE hood pins so I did everything in my power to not run them after removing the core support for the Vmount.
Don't be like me and wait till your 5-digit motor build is complete to drill and tap the coolant passage. Probably the most stressful thing I've ever done but went slow, used grease and cleaned chips every half turn and somehow managed to not crack the rear iron. I dropped a piece of rag into the coolant passage that somehow disappeared into thin air but I'll call this one a win knowing my luck. Excuse the filthy engine bay in all these pics.
I started planning out the ducting for the Vmount but to be completely honest haven't got around to ordering the material to do it yet. I'm planning on making it out of 18 gauge 5052 aluminum. It will be completely sealed and built properly with consideration to air flow dynamics for maximum efficiency (science). Allow me to present version 1 and 2...L O L
When I got my catch can/coolant tank from the shop they were really just triangular containers and needed a few things to make them functional. I added some level indicators on the side of each one and a nice billet lid for the coolant tank. And yes, Hawaiian shirts are proper welding attire if its the weekend.
The outcome. My A/C definitely needs some practice but it doesn't leak so I'm not too worried about it. These will be polished along with everything else in the engine bay eventually...


 01-30-17, 10:05 PM