When you click on links to various merchants on this site and make a purchase, this can result in this site earning a commission. Affiliate programs and affiliations include, but are not limited to, the eBay Partner Network.
I bought this 93 Rx7 FD about two years ago with plans to make it into a nice street car. The guy who sold it to me owned a body shop and said it just needed to be wet sanded and it could be painted. I figured whatever, it was decently cheap so I bought it and took it home. It had been sitting in the back of a shop for about four years, so I decided to do the ATF trick. It worked out just fine and fired right up. Literally, there where leafs next to the the header and they caught on fire lol. It wasn't anything major and we put it out without any damage. I drove the thing around a little bit, but it ran like crap. It would build any boost and had a really harsh idle. I decided to replace the vacuum lines. While tearing some things apart, I found a ton of oil in the intake and boost piping. I got pretty fed up with it and tore the motor out with plans of doing a swap. It sat that way for a couple weeks until I got some motivation to do some body work. I didn't really trust the dude I bought it from so I started sanding all the primer off. What I found underneath was pretty horrible. It was covered in dents and just filled in with body filler. I don't even know how someone could damage almost every square inch of the car in that way. It's almost impressive. The more I started tearing into it, the more damage I found. Plans changed, and since it was in such bad shape, it became my drift car. Over the past few months, I have been working on it as much as I can. I was it to look as nice as possible, but it's not going to be perfect.
This is the day I bought it. It had primer on it with guide coat. It didn't look that great, but it was my first car which made me really excited, but super naive.
Here it is after I got it running and took it to a buddies shop. I found that wing in the shop and just set it on the car (looks stupid, I know).
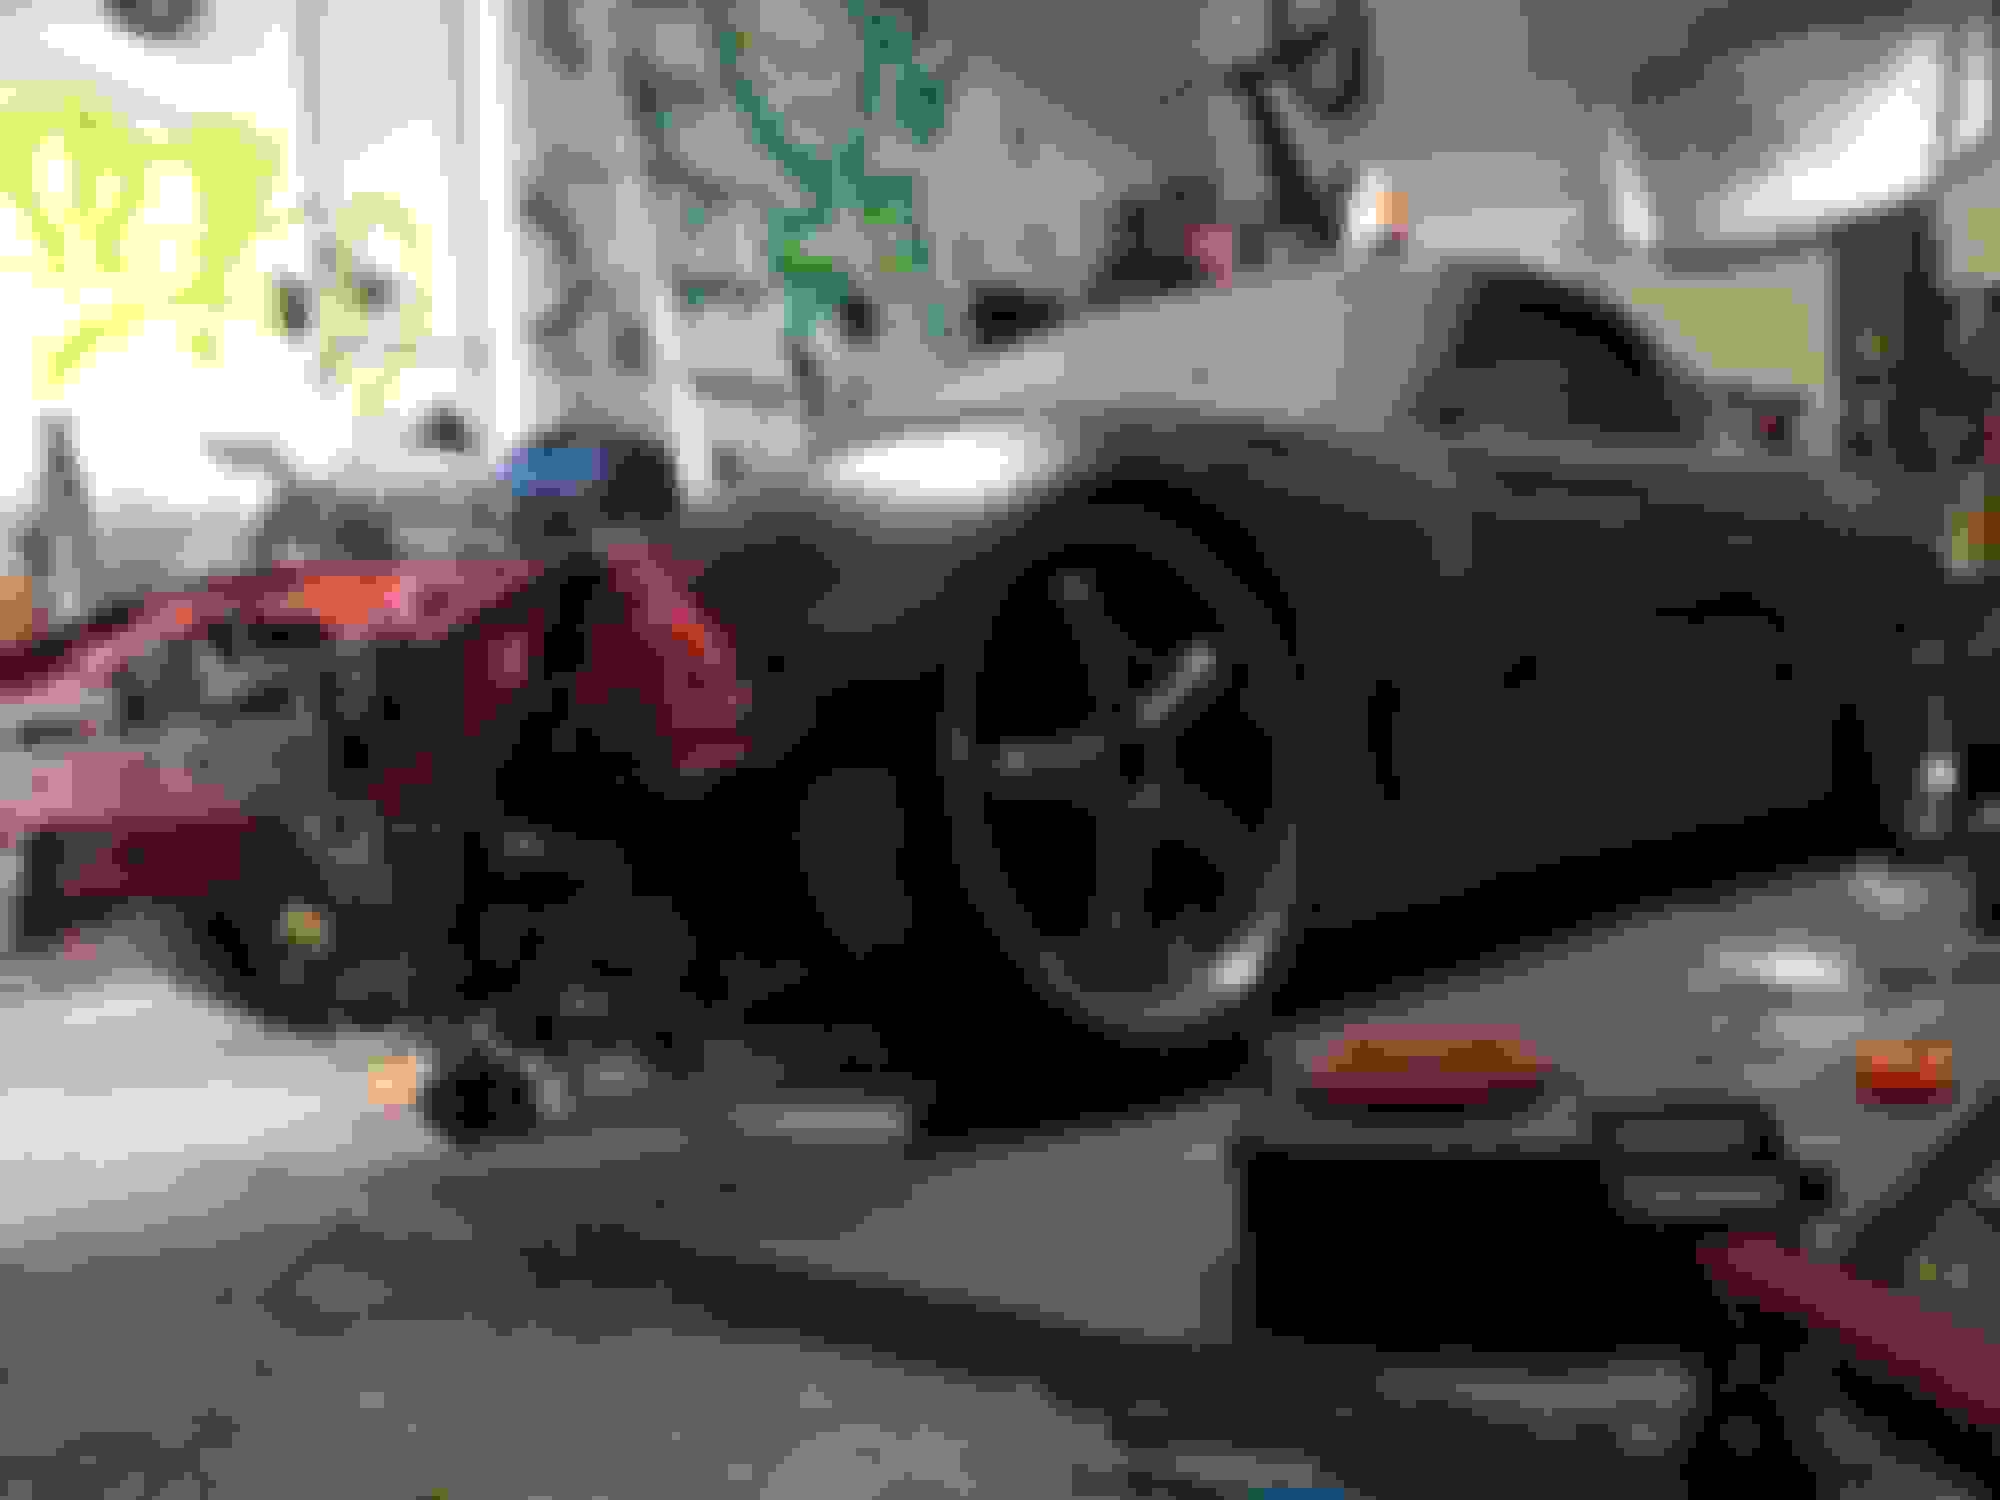
This is after I got tired of messing with the blown motor and yanked it out. I also bought a cheap set of TSW's for it.
I got it all cleaned up before I started getting serious about it.
I threw a set of these ISC coilovers on first.
I was messing around and wanted to see how low they would go lol.
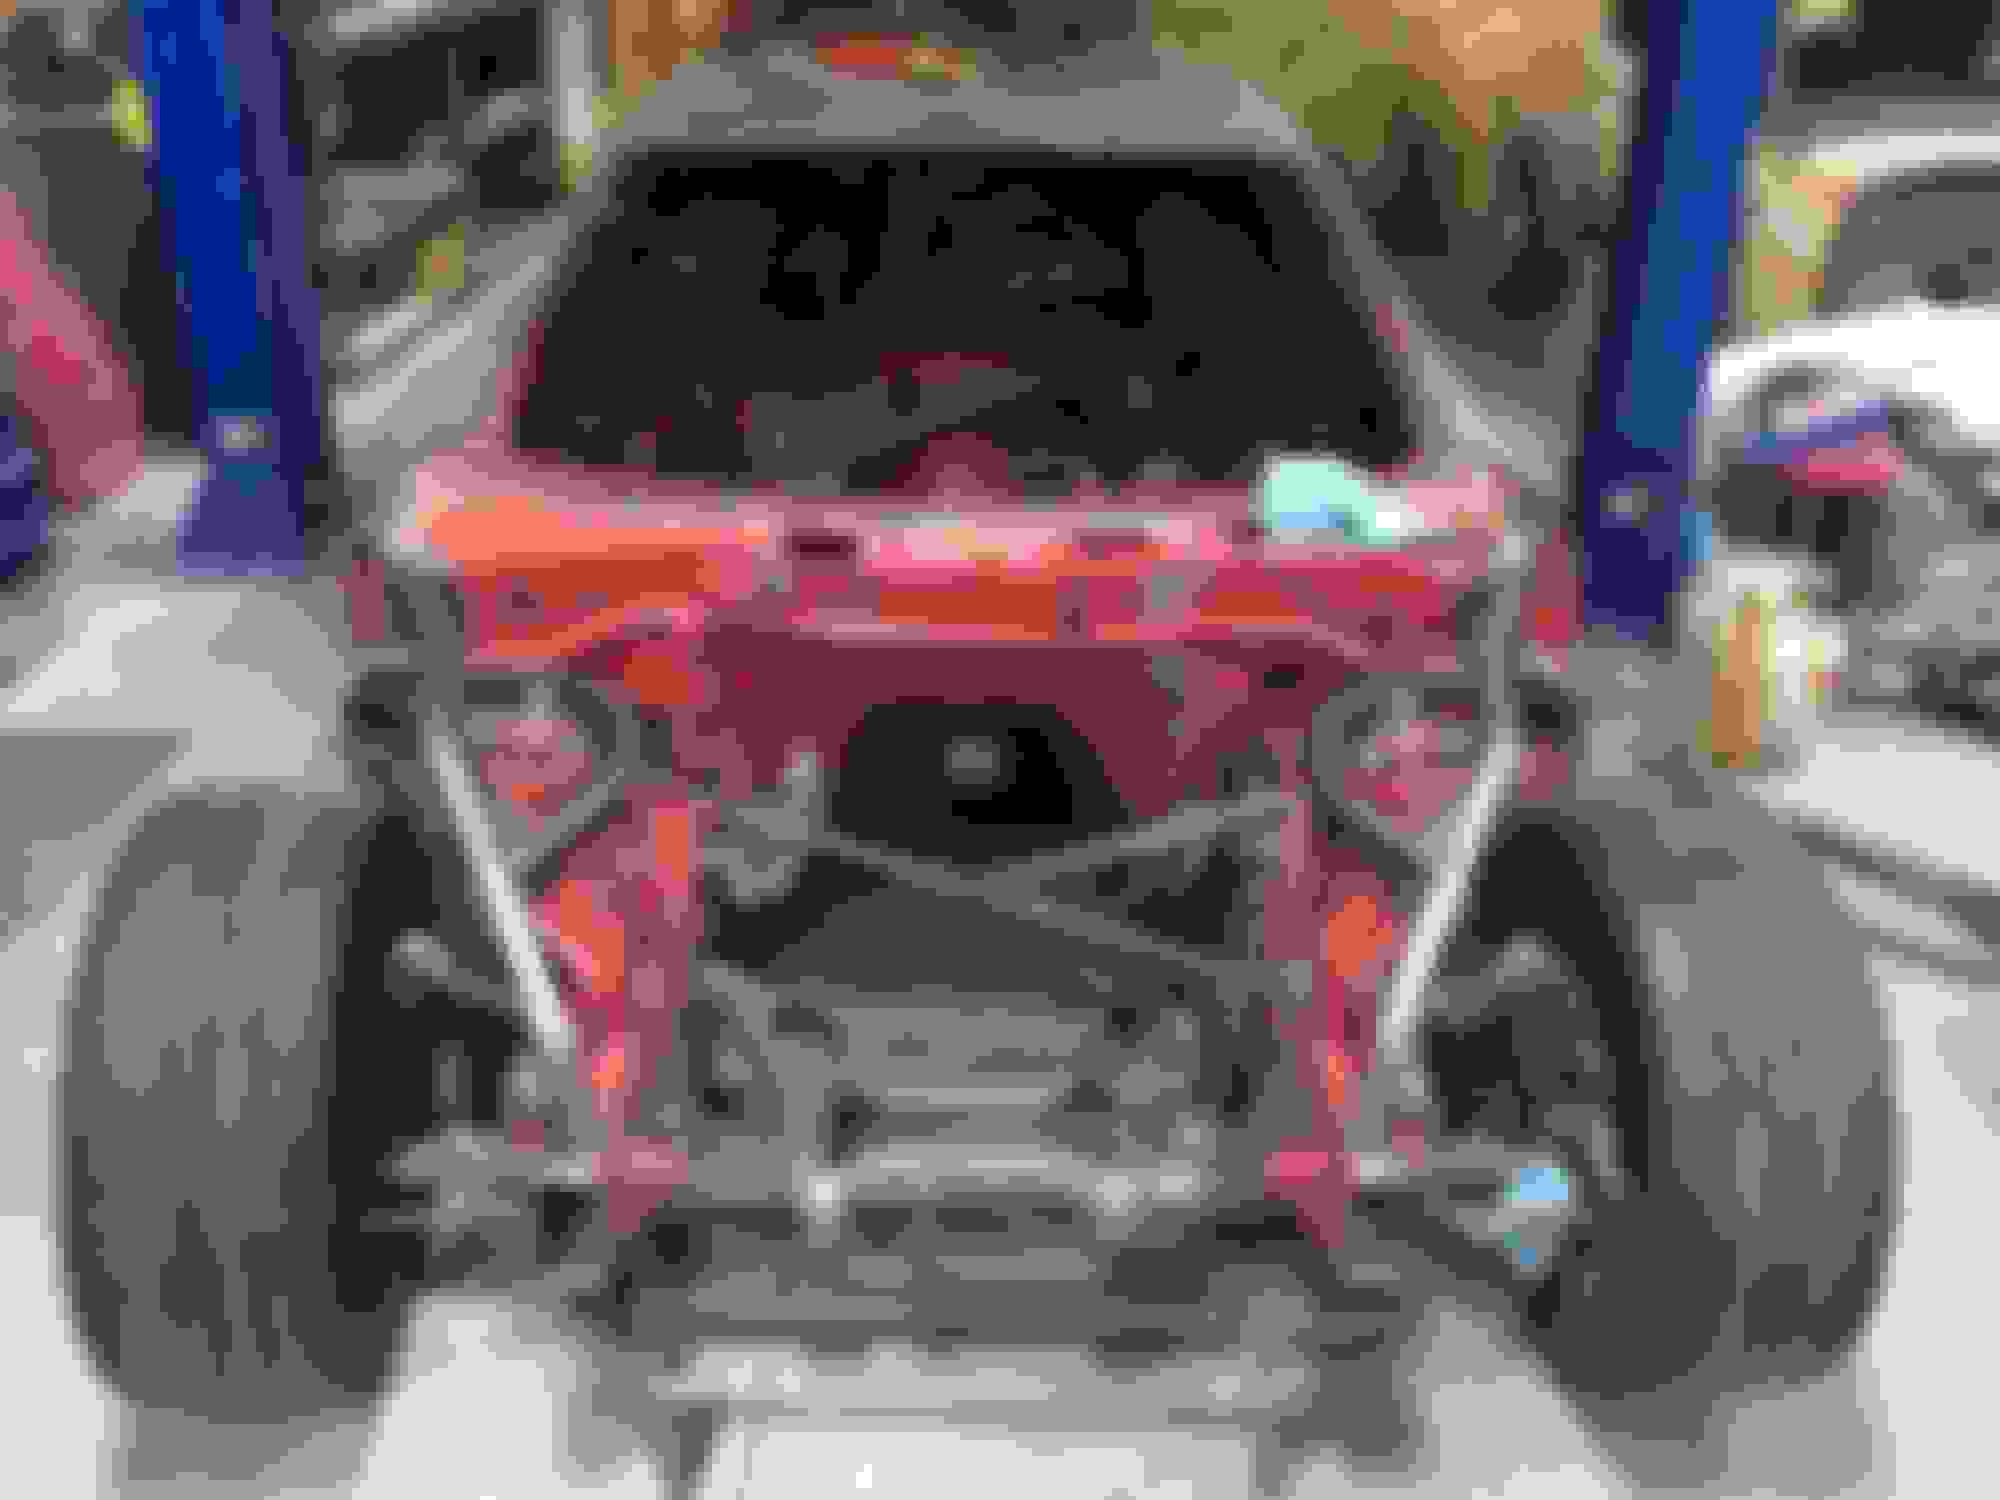
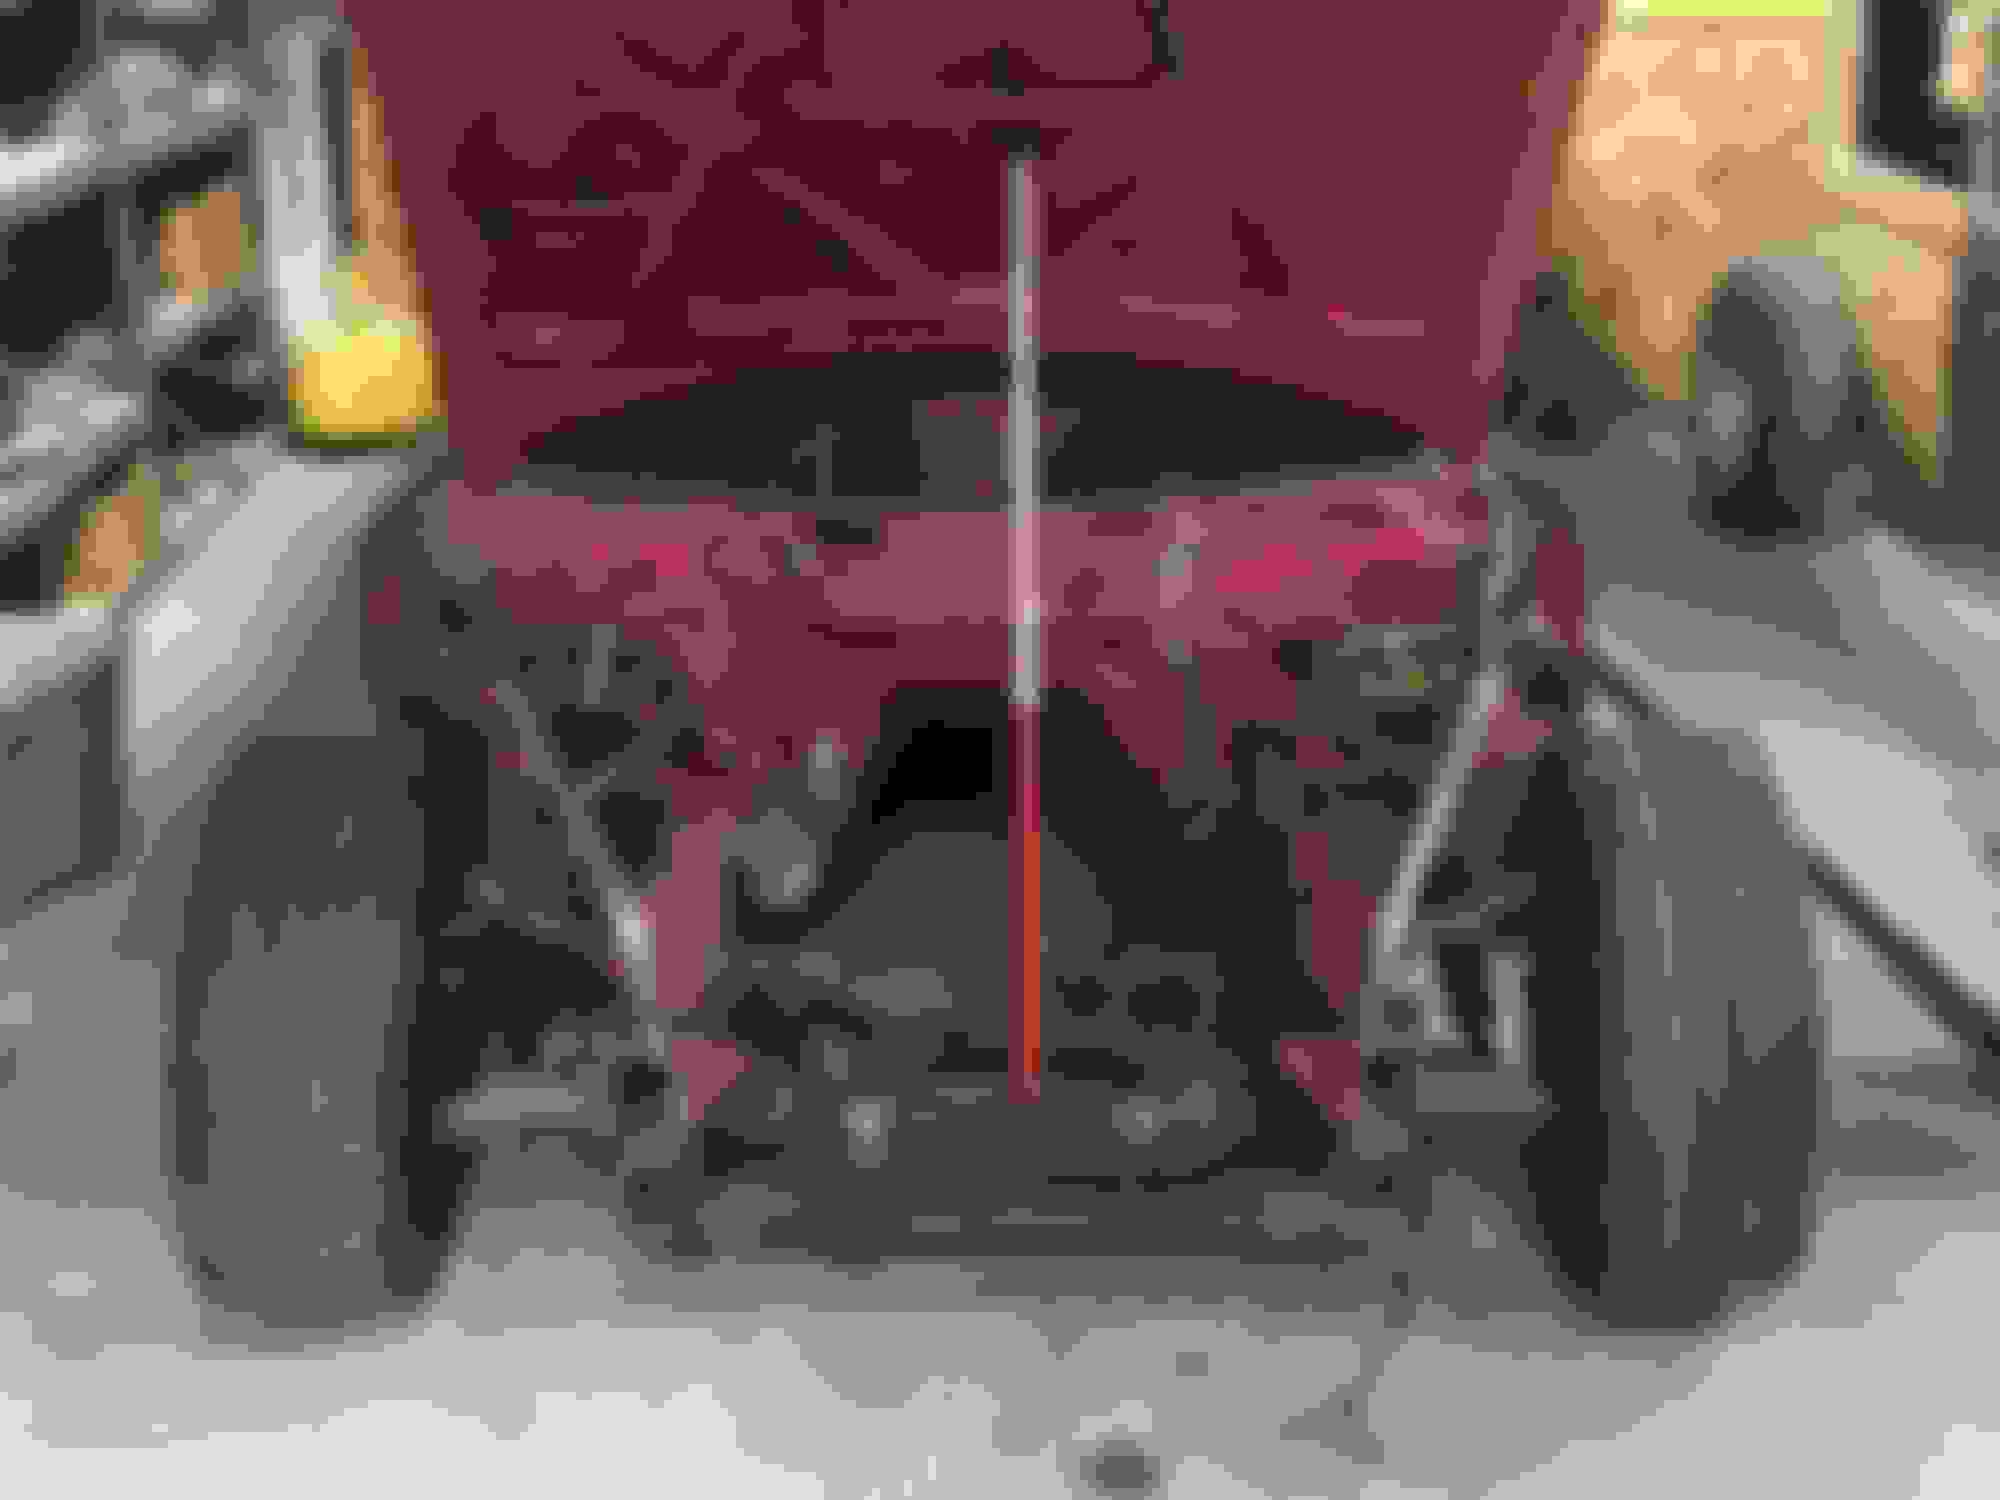
Then I got really serious and cut everything to the firewall and made my own tube front end. Everything was TIG welded.
Everything is in the stock location.
It worked out pretty well.
I ordered up a Shine Auto Project Spec GT kit and tested it out. I also threw on a gangster *** D-Drug GT wing.
Last edited by ColeWithTheFD; 01-15-16 at 08:45 PM.
The owner before me replaced the roof of the car for some reason or another (he was a hack). The body work was horrendous.
So I cut out the mess on each side and replaced it with new metal. It was all flanged and done correctly.
I bought another set of wheels for drifting and this was as low and I could get it so I went a little crazy.
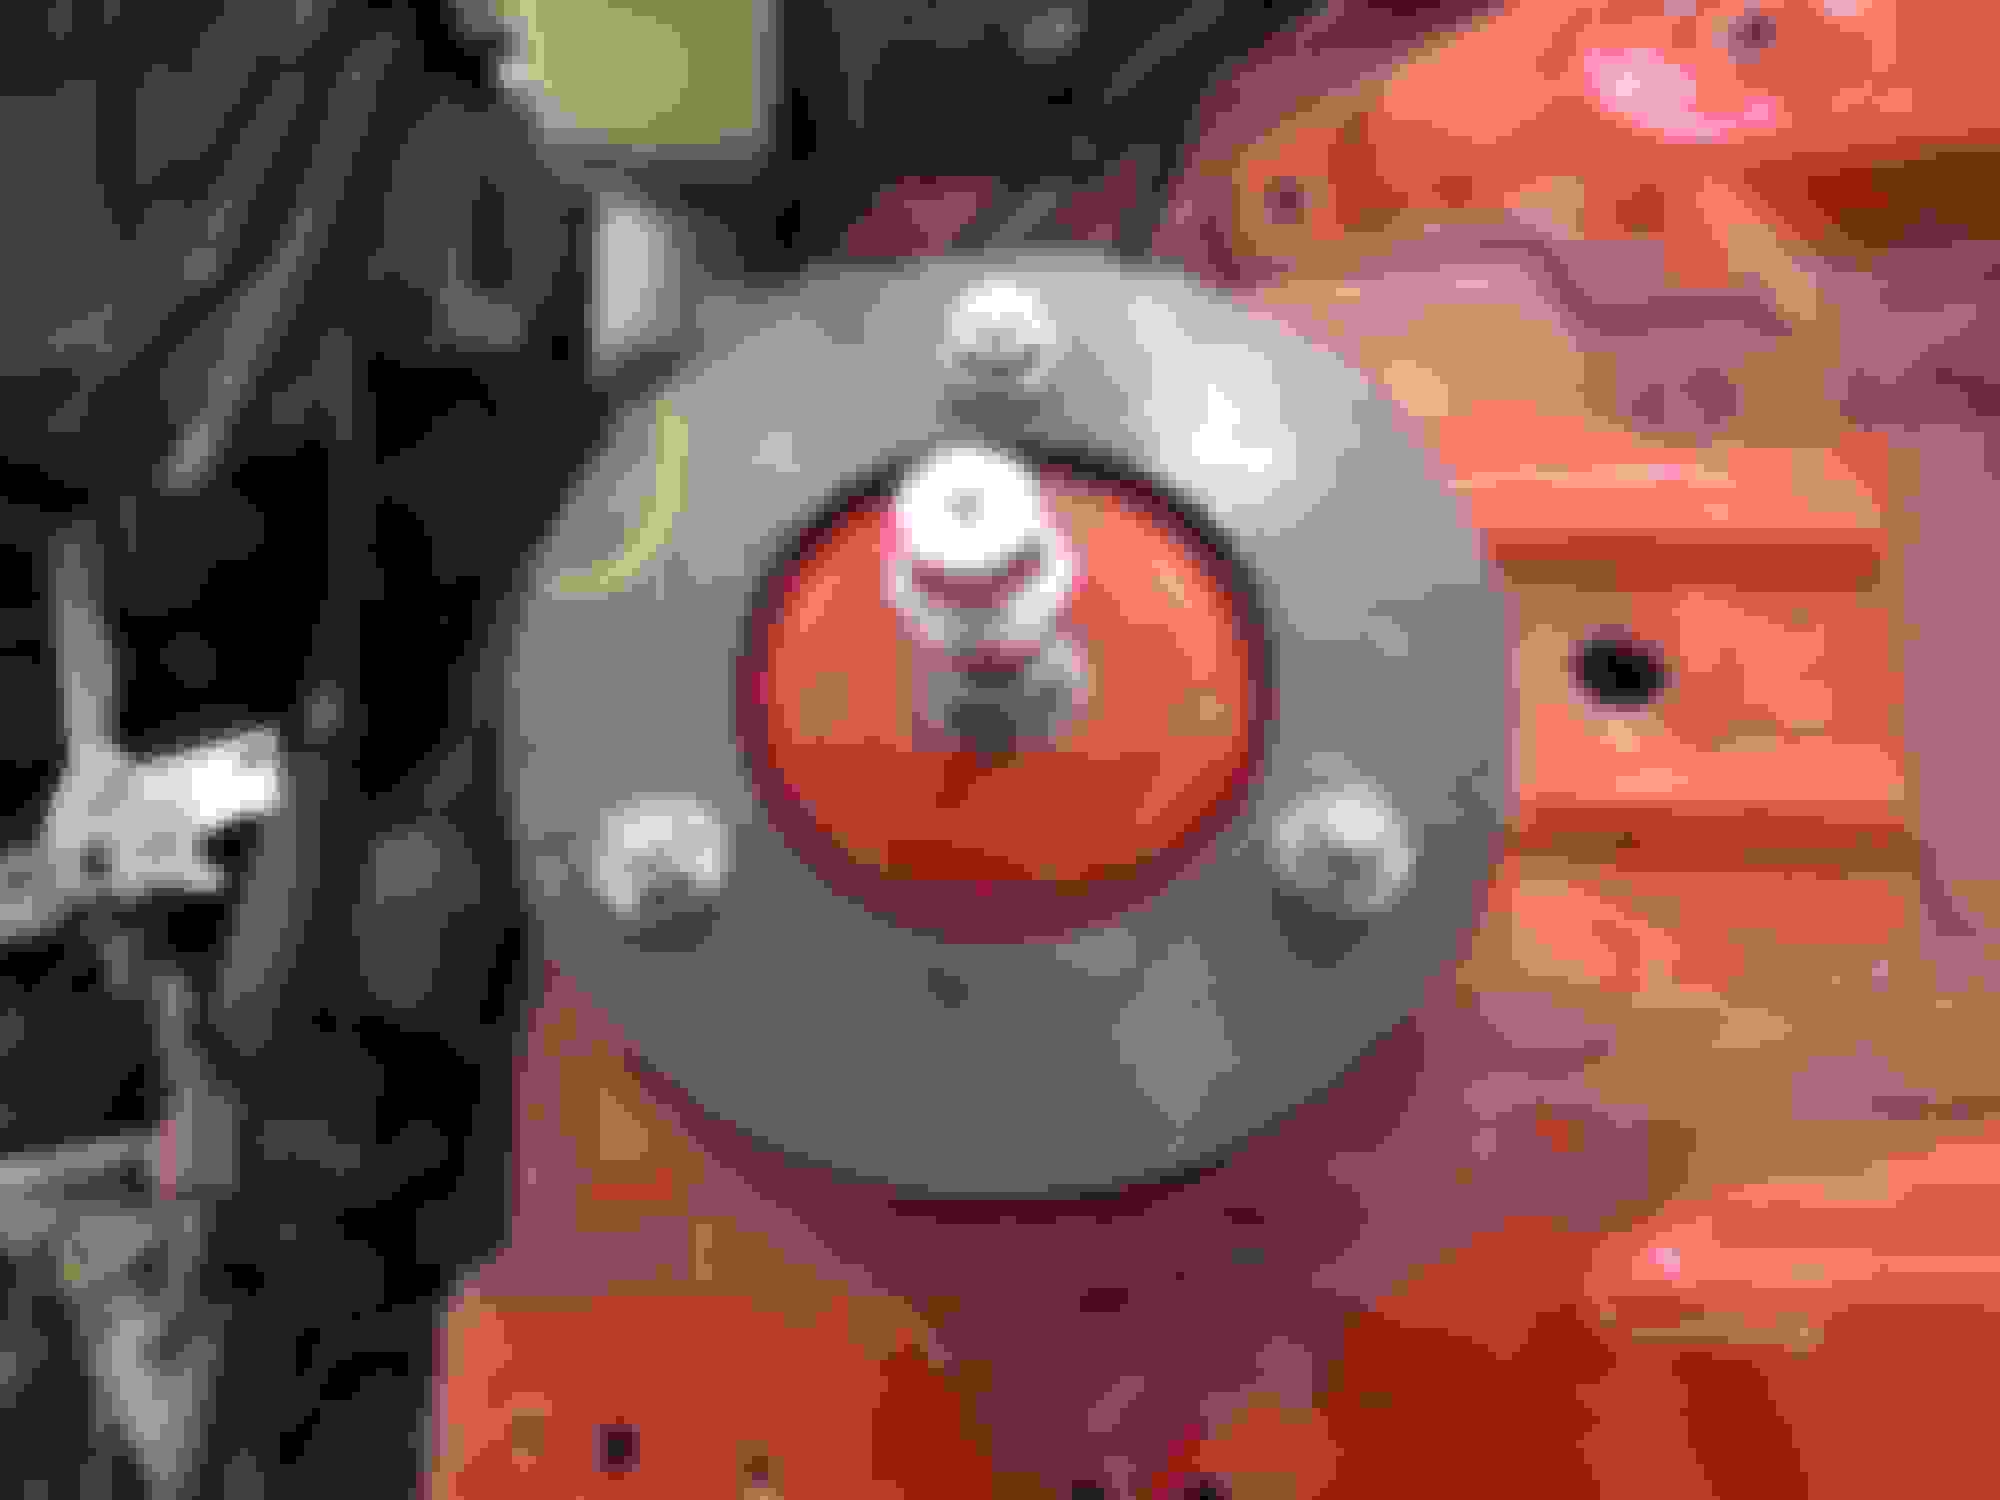
I raised my rear towers by using six inch pipe which I welded the same style rings I used in the front inside of them. It made it so I could lower it another three inches.
Everything fit nicely.
Now it sits like this. Sorry, I don't have any pictures of the quarter panels right now. I forgot to take them. The quarter panel is cut out about three inches in the center and tapers down to allow for the tire. There are tubs that fill in the space between the inner fender and the quarter panel making it look nice and neat. I didn't wan't it to look like crap when you looked at it up close. I didn't want anything to be visible under the over fender.
Here's how the front end sits. It's about and inch and a half off the ground at the lowest point haha.
After doing all of this I found out I don't fit in my car with a helmet on (I'm 6'1"). That really sucked haha. I cut out the old seat mounts so I'm pretty much sitting on the floor. I've got about and inch of clearance now.
I also got rid of all the sound deadening stuff.
Greddy likes to help.
I've still got a lot to go, but it's coming along. I've got some other parts on it that I don't have any pictures of. Like a Grip Royal steering wheel with NRG quick release and some Corbeau seats. I plan on ordering another 13B REW here in the next couple weeks that I'm going to bridgeport (I know I shouldn't, but I want it to sound badass) and throw my Precision 5858 CEA ball bearing on. With supporting parts of course. I would be stoked to make 450 to the wheels, but we'll so how that goes. I've got a lot of stuff I need to clean up and make look nicer, like most of the front end. The rear of the car from the firewall back should be in primer in the next couple weeks. Hopefully this heap will be ready for the first drift event this spring in Colorado.
Also, I'm sorry for cutting up one of the greatest cars ever haha.
Last edited by ColeWithTheFD; 01-15-16 at 08:40 PM.
Did some work on the steering rack. Put on a rack spacer and messed around with toe angle. I'm going to need adjustable tie rods and tie rod ends to get what I want. I will be cutting up the knuckle this week. The wheels will also have spacers to help with fitment and rubbing.
Stuck the front end back on to see how it all looked. I bought some 1/2" tubing to make the fender mounts and radiator support. I also can't seem to find any headlight covers that are well made and somewhat affordable.
nice work, I like where this is going. Whats with the 4 runner bumper? What are your plans for the motor?
This is my uncles shop so there are always parts around. I was just too lazy to move it for the picture haha. As for the motor. The plans are to put a 13b-rew back in. I'm tossing around the idea of doing a bridgeport on it. I'm looking for extremely quick throttle response which is why I'm using the Precision 5858 I have. It's pretty small, but I'm ok having a little less horsepower to have the response I'm looking for.
I made a bash bar over the weekend. The bumper mounts to the bottom corners and inside the main hole. I didn't want any mounts to be visible.
It's removable.
It bolts in through the side of the frame. I welded nuts inside the square tubing so I don't have to mess with bolts that go all the way through. The intercooler mounts will be made tonight, along with some more tubing to brace up the bottom of the bumper.
I finished up the front end and got the intercooler mounted.
I doesn't look too bad.
I put everything back on to make sure everything still fit. Next up is mounting the headlights (which I did get covers for) and maybe the radiator. I threw on a few ricer parts for the picture.
Last edited by ColeWithTheFD; 03-07-16 at 04:22 PM.
Are you keeping the pop ups? Dying to see someone mount pop ups on a tube frame, especially seeing how people have problems re aligning them on the stock chasis..
Are you keeping the pop ups? Dying to see someone mount pop ups on a tube frame, especially seeing how people have problems re aligning them on the stock chasis..
Pumped to see how this thing turns out!
The pop ups are definitely staying. I'm sorting out the clearance issues right now with the extra steering angle, but I think I've got it figured out.
This is my uncles shop so there are always parts around. I was just too lazy to move it for the picture haha. As for the motor. The plans are to put a 13b-rew back in. I'm tossing around the idea of doing a bridgeport on it. I'm looking for extremely quick throttle response which is why I'm using the Precision 5858 I have. It's pretty small, but I'm ok having a little less horsepower to have the response I'm looking for.
I would just stick with the stock ports or maybe a mild streetport... A bridge is only necessary on a turbo motor if the need for "brap" outweighs your desire for fuel economy, and low/mid range response and power. I have no personal experience with a BP, but I think, characteristically, they are a limp-dick until high in the RPM range when they slam you with power for about 2krpms.
I am also after quickest response possible with the exception of wanting to "brap" so I am planning on going with a half bridge. Might want to think about a bigger turbo as a bridge would spool a small turbo fast and max out before higher rpms.
Thanks for the advise guys. The motor is still a ways out. I don't even have one yet haha. Unfortunately I am probably going to have take my chances with a motor import company, which I'm not looking forward to. I will most likely put a larger turbo on to compensate for the bridgeport if I do go that route cause I really want an obnoxious idle. The 5858 is just one that I have laying around that I could use in the meantime. I just don't want to regret not going all out and have to tear the motor apart later. The half bridge is also a good idea. I've don't know anybody that has ever had one so I'll do some research on it. Thanks.
Thanks for the advise guys. The motor is still a ways out. I don't even have one yet haha. Unfortunately I am probably going to have take my chances with a motor import company, which I'm not looking forward to. I will most likely put a larger turbo on to compensate for the bridgeport if I do go that route cause I really want an obnoxious idle. The 5858 is just one that I have laying around that I could use in the meantime. I just don't want to regret not going all out and have to tear the motor apart later. The half bridge is also a good idea. I've don't know anybody that has ever had one so I'll do some research on it. Thanks.
If anybody was wondering. A universal Mishimoto radiator is almost the exact shape and size of a stock FD radiator and fits perfectly inside the stock mounts. The only differences are it's an inch thicker and about $100 cheaper. I'm not going to put it there though. It will be moved forward about five inches. I also got one fender and headlight fully mounted up. I will post some pictures once I finish both sides.
Mixtape dropping soon. It's fire.
Last edited by ColeWithTheFD; 03-17-16 at 01:09 PM.
 01-15-16, 08:00 PM