When you click on links to various merchants on this site and make a purchase, this can result in this site earning a commission. Affiliate programs and affiliations include, but are not limited to, the eBay Partner Network.
Hello, Chris here
I'll be posting all year my 2019 Final FC3S build to my knowledge, I'll end up getting something for more long distance and storage purposes. This is a 1990 Jdm S5 TII with all 1990-2000s inspired mods with some newer components.
This car was originally imported back in 2009 for drifting and show it most likely blew and was broken down and damaged enough times to be bought by me in 2015. We have quite a viscous car community that doens't mind burning bridges, so I didn't post much and kept to the track side the last few years. Due to those experiences and availability in places to drive, this could be my last year doing rx7 things so... That means I'll trying my hardest to get out to events this year and have some fun with friends.
Start: Lots of iterations two beat up old chassis, and the one was pretty much stolen completely. Leading us to this build and it's start for the 2019 show and drifting competition.
My two obstacles for this year will be a buying new clutch setup and alot of luck on a old motor and beat transmission. This year should be do-able with only 10psi and some S5 turbo II bottom end power with the right setup.
It's always best to start off with photos of course: This is how the year started for this car. Tear down and disassembly, rust repair, hole patching, fender cracking repairs and now to paint work.
This probably isn't functional, after changing out the extended S4 LCA to OEM S5. (I can't use much camber on long road trips) Cracking does happen when you roll past the point of no return. Welded up and soon to be undercoated. Fiberglass work as per usual. It also took me 3+ years of playing around until I really started to get good at it.
My buddy has the e36 in the garage. You can follow me and my friends drifting on instagram for the most part I'll #rx7club.
@chris_veux (Picture gold & brown fc) my local car Community channel stuff
Last edited by rotor_veux; 02-25-19 at 11:27 AM.
Reason: tags
More Progress on the overall shaping and sanding and fitment of the bodywork. I think all long-time fc3s owners know what this is all about. It works good as new, and weighs less. (negligible amount) Urethane, all the moldings and bumper trims
Slowly getting there. This would be roughly 2 weeks of constant body work to get around this point with rust and body repair.
I got a custom vent being installed with video and time-lapse as well as many more photos that will be taken with NEW LED LIGHTING! I'll keep updating a lot of body work and cleaning until I can get started on fitment and suspension once I trade or sell my old parts.
The custom hood vent install is going well, I found that just re-tacking the old steel back helped out with rigidity. (This helps to reduce bondo/filler from cracking) The first layer of short-strand down and showing the process. Here it's fully covered to get the shape started to straighten the body work,. This whole area has to be ground down for the best adhesion of filler to the hood.
Next update will be the finishing and final filling of body panels and interior hardware/electrical mounting and custom gauge panels.
Interior is getting rewired by fixing a lot of wire gauge issues. Which sadly is my fault from the past and the original drift spec wiring. The first full coat of filler, one more layer was needed. This was filled in with 2k high build and it will be get another coat next week as it's sanded out at this point. I have Huge plans to build this the right way and within reason of my own city streets limitations.
Interested in interior design? This is almost the finalized interior setup 4 gauges at the center console and 2 over the dash with a big tachometer ontop of the cluster . The hood with the final coating and the guide coat covering the hood to be sanded straight. This is after multiple coats over the hood (2 + touch ups) Another perspective on the finishing coats of the finalized custom piece .
Last edited by rotor_veux; 03-24-19 at 12:09 AM.
Reason: Grammer
Probably all of these photos are; work done a week and a half ago.
This concludes the custom hood and body work as of now, just painting and touch ups from here on out. No more fiberglass jobs please and thank you.
The hood was sanded too rough on base coat, so we will hit the whole hood again and edge off lines nicely. (In a week or two hopefully) Just the basic masking off with old base/clear and high build primer seen as well. Before After With some notable defects found, a buff or a re-shoot isn't far from possible. (Better vents to work wouldn't hurt...)
Last edited by rotor_veux; 04-24-19 at 01:57 PM.
Reason: grammer
A Few days later.
Tofu status unlocked. The plan would be to have the black covered in my cool sticker collection to use on a good last car. Custom tail light paint job and fix to cracked lens, which worked out quite nice. 1-1/2" Hood Spacer welded to hood on rear for mock-up and fitment test. (7.5/10) I custom welded the foot petal closer and inward. LHD has the trans tunnel in it's way but, it makes zero difference and works better for roll cages hands down. RHD isn't good in that a few of these minor aspects. The brakes are now installed and working with that it just leaves the coolant, plugs and a couple of hoses. (maybe a re-tune)
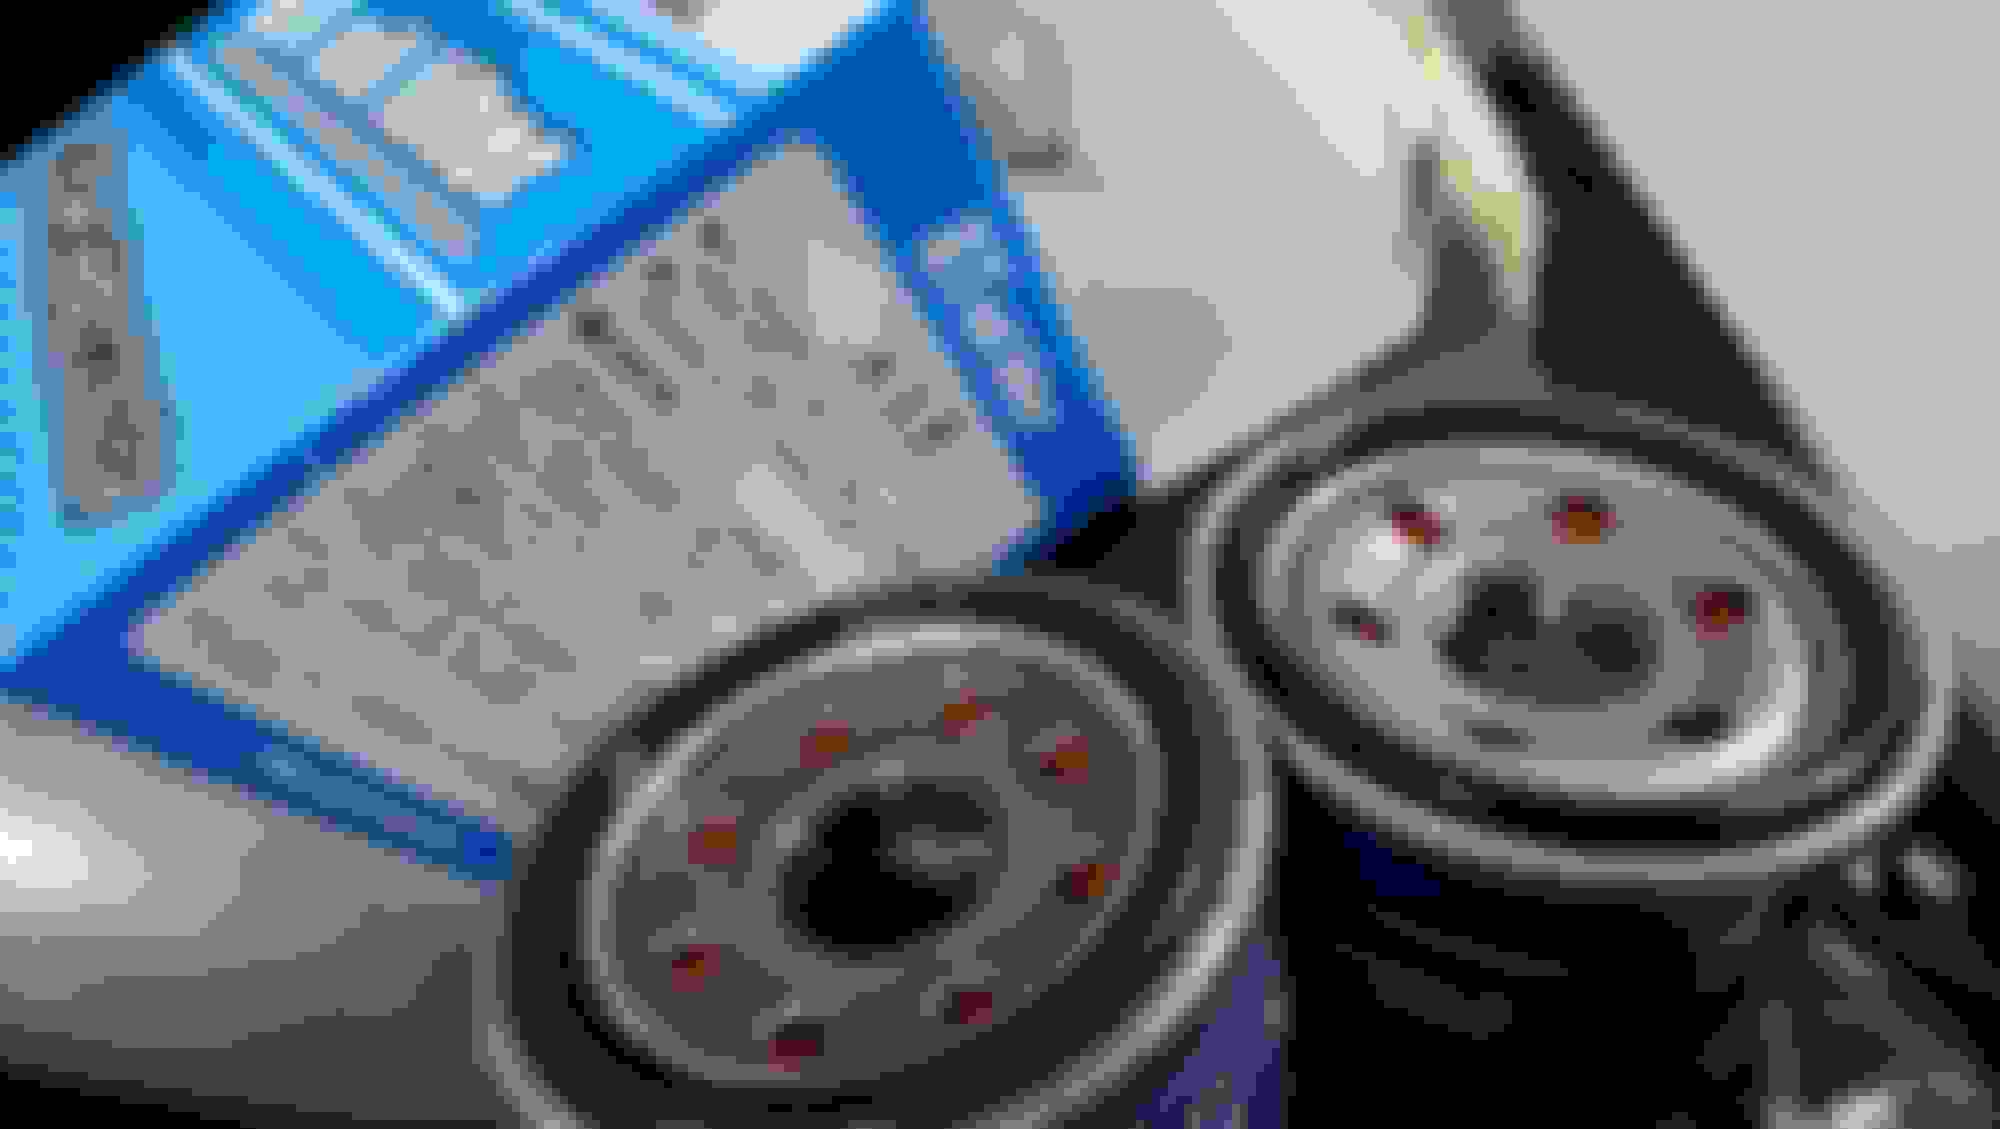
I should spell check more often especially after reading the above posts, so it's a good thing my posts are all photos. Took off the intake side, and hosed down the keg soaked in Power steering fluid. (I need a socks or wrist band for it) Banzai racing duel alternator pulley and bracket with belts supplied. Fitment and install seemed to be proper. Greddy Left vs RE Right Can't say much aside the seem similar as filters and construction minus the holes ontop SUPERTHERMO 72*C OPERATOR as it's called. My old stock mazda style Thermostat 82C with drilled holes for more flow. I don't mind trying it, if it's mostly water anyway. I will report one day back with my findings.
 02-25-19, 11:23 AM