When you click on links to various merchants on this site and make a purchase, this can result in this site earning a commission. Affiliate programs and affiliations include, but are not limited to, the eBay Partner Network.
Was tired of the cold solder joints in the idiot cluster/clock not working, So I broke out the soldering iron and solder, and redid the joints. The job itself isn't too complicated if you are savvy with that type of thing. If not, there are members on the forum that are more than willing to help out.
Solder joints on the idiot cluster side of the plug that need to be re done
Finished and back in the car, they now all work and so does the clock.
Pay no attention to my Rx8 hiding in the background.
Took a break yesterday for the fourth, but today i went out and pulled the CPU from the car and started work on the solder joints for that, hoping to fix the fact that the right side indicator is completely non functional. Left turn signals work front and back, right turn signals do not work period. Even with the hazards on, nothing. No right side indicators, and no flashing on the inside in the cluster either.
I didn't take pictures of every step but its fairly easy to remove/reinstall.
Start by using needle nose pliers on the I want to say three retaining pins for the trim cover. Once those are removed you will notice that it is joined together with the lower door trim. I was able to remove it by just undoing the one Phillips screw holding that piece on and wiggling it out, but If you want to be extra careful, i'd remove more of the screws holding this piece in.
Once that's done the trim cover will come out, take note to mind the wires/plugs etc.
The main plug should be removed first, and will probably take some finessing. Common sense, do not pull on the wires to get the plug off, last thing you need to do is add more fatigue to an already old harness. push in on the top clip and then wiggle the plug until it comes out. I was able to get it out significantly easier when I took a very small flathead screwdriver and pried a bit from the bottom side of the plug at certain points.
Once this is out of the way, grab a 10mm socket and extension, and remove the nut holding the cpu in place. To minimize the risk of dropping it into the black hole, I only used the ratchet to break the nut loose, then used my fingers to remove it the rest of the way.
slowly lift the cpu vertically, and it will come out of its lower holster in the body. Carefully remove the remaining plug, success.
Remove this screw, there is another screw on the bottom, near the flasher plug that I didn't take a snapshot of, that needs to come out as well.
Make sure to push in on every tab, and gently at that. It's easy to break the case.
Tabs
Tabs
More tabs..
And some more..
With the tabs pushed in, the covers should come out fairly easily, Just don't manhandle them, or you risk damaging the board. This is the main CPU board, with the Screwdriver I used in the mid ground.
Flasher board. I removed this by GENTLY pulling forward on the pins, taking care not to bend, as well as a few gentle taps on the case to coerce it out.
Removing the CPU board wasn't insanely difficult, I took a screwdriver and gently tapped on some of the prongs for the plug, alternating plugs/prongs to push the board itself out of the case. Take care when doing this, because if you push to hard and bend/break a prong..as the ski instructor in aspen says, You're gonnna have a bad time.
CPU and Flasher board removed.
Empty case.
It should be worth noting for those of you that might have missed it, this is for an S5 car. The FLASHER board is interchangeable between S4/S5, however the CPU is entirely specific. S4, S5 with airbag, S5 W/o, etc.
I didn't take any shots mid solder, but what you want to do is look at the prongs on the board that the harness plugs into, and on the reverse side, match up those to the solder joints, and re do those.
This may not do much if you are trying to correct the CPU on an S5, as it has an internal component that burns out, but its worth trying before you rush out and buy a new board.
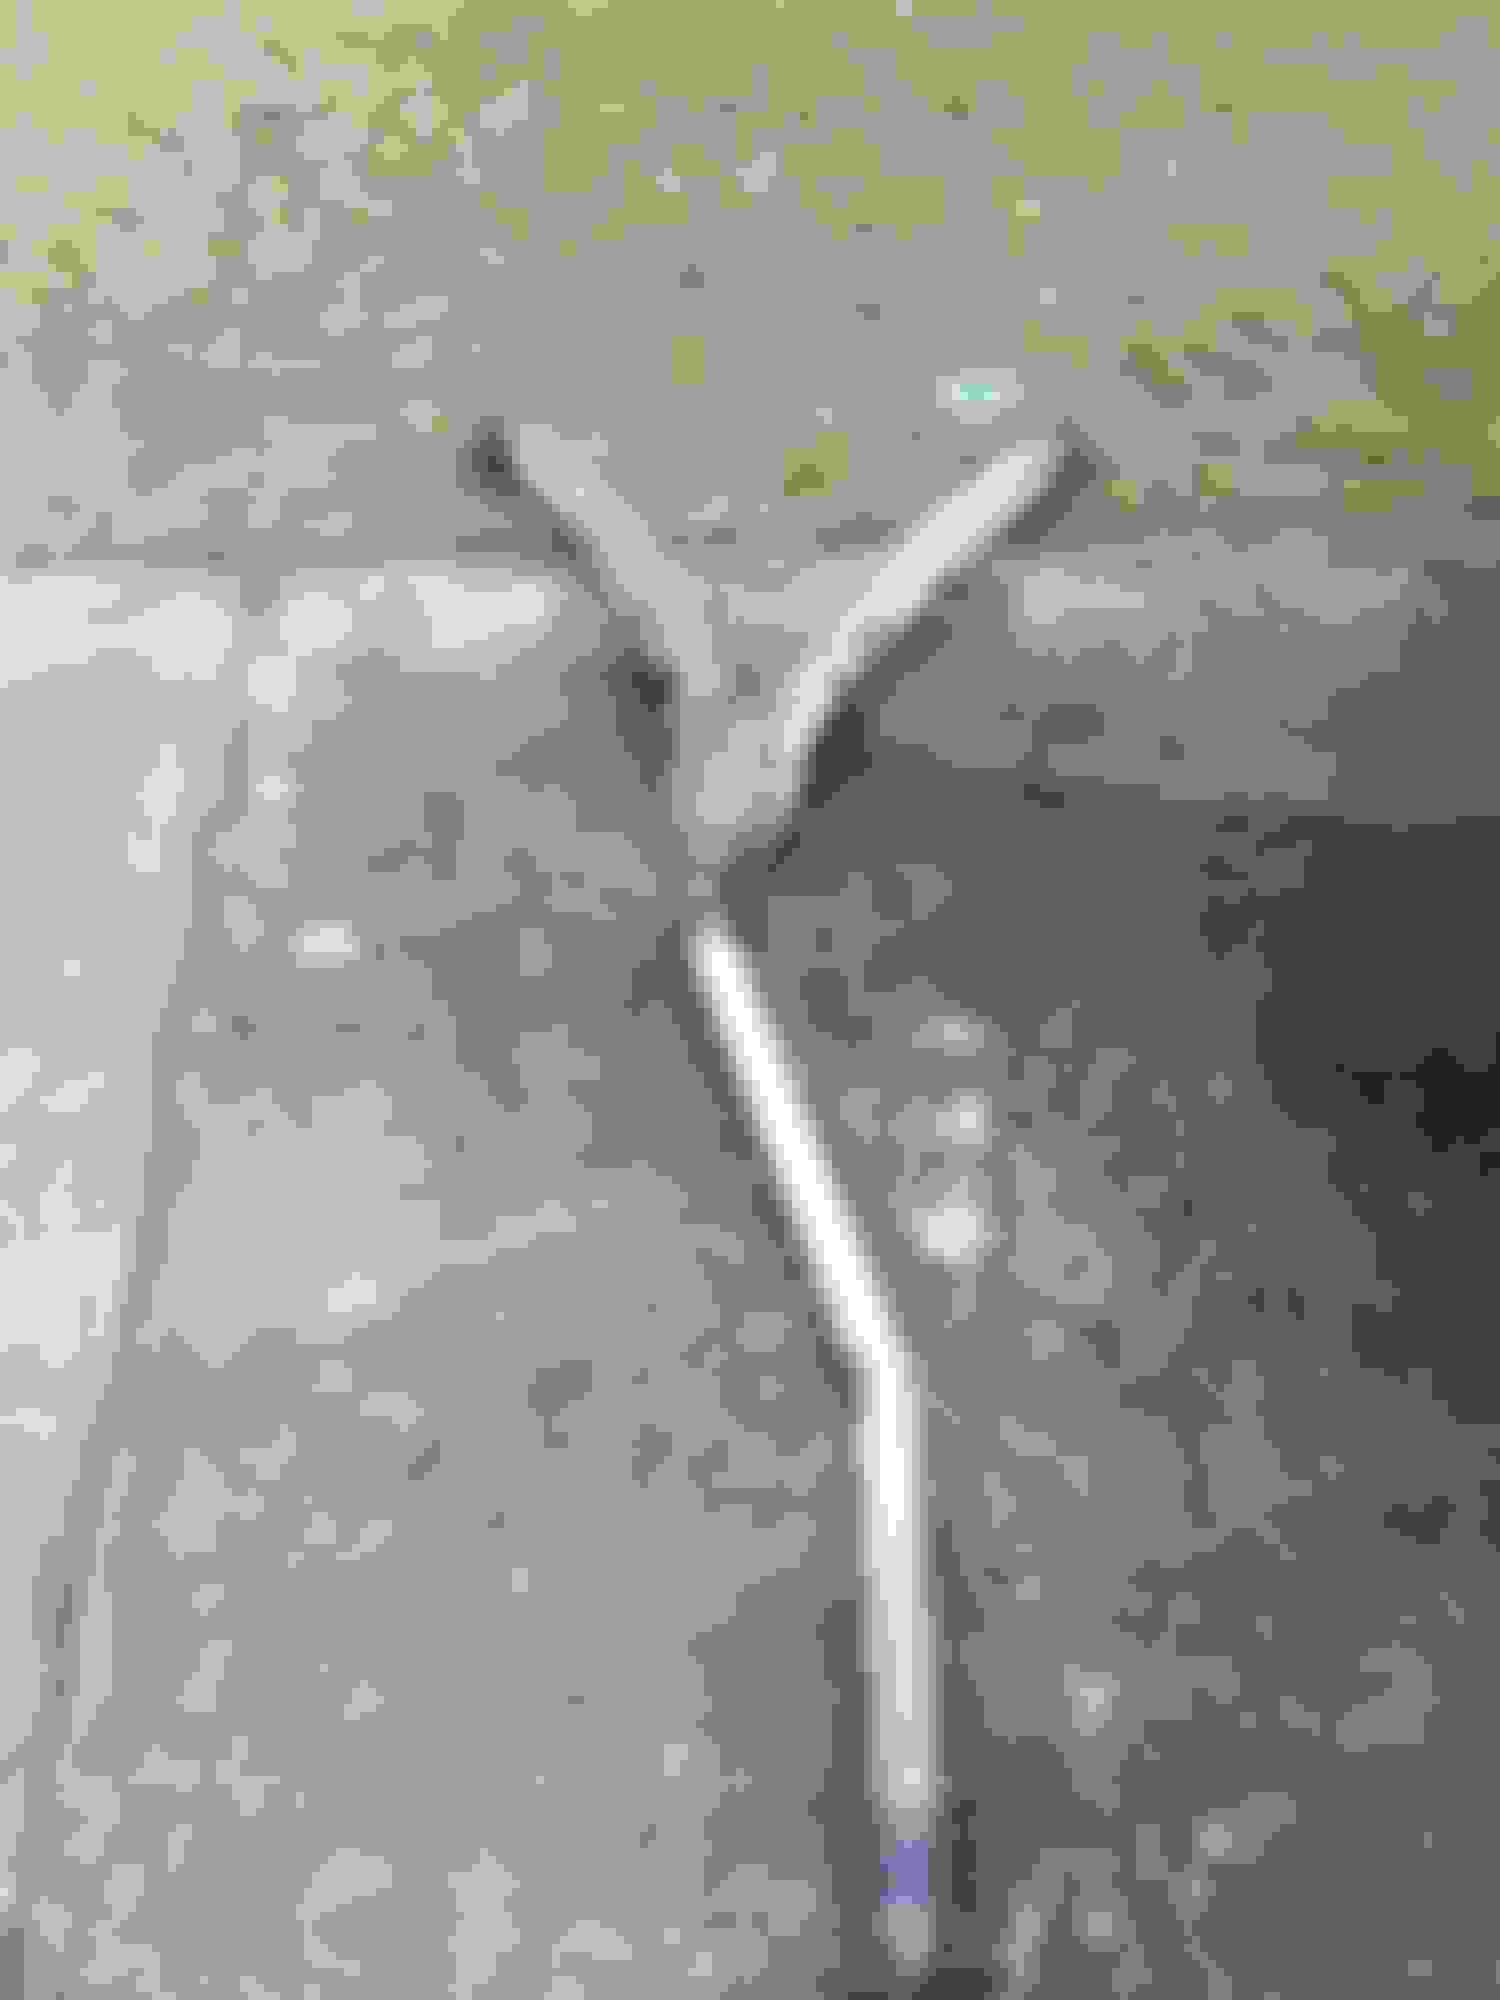
About a week after getting the car, I noticed the turn signal switch itself was falling into the cluster surround, so I assumed broken plastic that held the threads for the screw to go into, so I pulled the shroud to take a look. Note: if your car does not have a tilt wheel, you will have to remove the steering wheel. Not insanely hard to do, and takes all of ten minutes, but remember where the wheel is positioned before removal!
Broken off piece that holds the threads for the screws which keep the switches nice and secure. Superglue curing.
Switches removed from surround.
Take care when removing the switches/*****. the ***** PULL off, they do not screw on/off. Attempting to remove these by turning them will damage the switches and *****! <br/><br/>You can see here how they push on and pull off one way.
superglue isn't really a fix, if it even allows you to screw the switches back on before cracking again.
the best fix is nylon spacers with a close ID that they slip over the posts and can be glued in place as reinforcements. it's best to do this before they break completely. areas with a support beam can be trimmed with a dremel so the spacer fits like a scissor in between. epoxy it into place and epoxy over the base of the posts as well to reinforce those areas. you just have to check where the spacer can be placed without any interference or trim it accordingly.
Last edited by RotaryEvolution; 07-06-15 at 10:34 AM.
superglue isn't really a fix, if it even allows you to screw the switches back on before cracking again.
the best fix is nylon spacers with a close ID that they slip over the posts and can be glued in place as reinforcements. it's best to do this before they break completely. areas with a support beam can be trimmed with a dremel so the spacer fits like a scissor in between. epoxy it into place and epoxy over the base of the posts as well to reinforce those areas. you just have to check where the spacer can be placed without any interference or trim it accordingly.
I would have preferred to have done preventative maintenance myself. I took extra time to make sure I didn't get any on the threads, but we will see.
As I said at the beginning of the thread when I started the work on this build, A mandatory five speed swap was in order. After reading V8Kilr's writeup and comparing it to rotaryresurrections, I went V8Kilr's route concerning the pedal swap. It calls for removing the bolt and nut that the clutch and brake pedal ride on in the five speed car, and transferring that bolt over with the pedals.
This can be done in the car without any need for removing the entire assembly, dropping the steering column, etc.
The bolt and nut on the five speed car is required, as it is long enough to support the clutch bracket. Your Auto pedal assembly already has everything else needed to get the manual brake and clutch pedal to bolt up, minus the longer bolt and nut from the donor car.
All in all, removing the auto bolt/pedal and installing the manual brake and clutch pedal took me about two hours (not counting pulling this off the manual donor car.) Pulling the steering wheel and the drivers seat will make this considerably easier for the sake of working room.
If anyone has any questions regarding this process, feel free to ask.
For those of you that may have or had an auto FC that smokes horribly, read on.
Sometimes there is a part on the auto tranny the FSM refers to as a 'Vacuum Diaphragm' that can go bad, sucking up ATF and making the car smoke like a chimney on crack at idle/startup.
One way to remedy this is to buy the part, (I believe Atkins has it for 88.00 USD) new, Or cap the diaphragm off. Since I planned on swapping this car to five speed from day one, and it is already partially complete, it made no sense to buy an auto specific part when it wouldn't remain on the car long to begin with.
One of the members posted on this thread pointing me to this, and for that, thanks! An easy way to tell if this diaphragm is in fact bad is, get the car up on ramps, and look at the drivers side of the tranny.
Once you are looking at the tranny there will be a vac line about maybe five or six inches long running from the diaphragm to a hard line located near the front of the tranny, easily visible. Pull the line off, if there is ATF present, its toast.
A few dollars for a vac line cap set from Advance Auto, and capping both lines solved this issue. Car doesn't burn ATF anymore, and has a much smoother idle. (This diaphragm is supposed to help the transmission kick down, and without it, it won't kick down properly, but so far in the short test drive I gave it, I haven't had this issue.)
Changed the sparkplugs as well, no real guide needed there. Although, if your arms are small enough, like mine, you can do this from the top of the car through the engine bay without hassle.
Vacuum Diaphragm capped on the tranny and the hardline. Easily visible from underneath and easy to get at.
Fresh plugs. For any of you curious to know or those that don't know already, Ive included a fresh plug for the FC/FD on the right, and an RX8 plug on the left, just to illustrate the differences in case anyone was curious. (I have an rx8, just figured I'd post it for the sake of showing the plug differences between the regular 13b and an MSP.
i was gonna say, who dropped $80 on laser iridiums for an n/a rx7? lol
I couldn't believe the price of those plugs when I got my rx8. $80.00 and change for a set of four. I'm curious as to why they made the change in plug design. It's probably been explored on the forums in detail if I had to guess, though.
they were supposed to be high mileage plugs, able to last 100k miles. we know that isn't really the case in an oil burner such as the RX8. they also help emissions, power and fuel economy to a very small degree.
i honestly was thinking about trying a set of BUR9EQ plugs in my old 8 but i had too many of the proper plugs lying around to bother.
I've heard of people running rx7 plugs in an eight, but Its not worth the risk to me, lol.
I couldn't believe the price of those plugs when I got my rx8. $80.00 and change for a set of four. I'm curious as to why they made the change in plug design. It's probably been explored on the forums in detail if I had to guess, though.
the Rx8 plug is just the racing plug in a street heat range, they basically misfire less easily than the Rx7 style plugs.
Ordered a metal thermostat neck, will be installing that soon enough when I get around to it, debating on thoroughly flushing the system and converting to Evans.
I recently picked up a red s5 auto myself, although its not running currently (PO started to part it out before selling it) I was told it would start, but wouldn't stay running. I'll certainly keep an eye on your progress here.
Pulling an entire T2 5spd drive train , since I'll have both dashes out I'll just swap the entire pedal boxes.
Well, just when I think all is said and done recall wise...there's more! The car got back to where I park it Thursday night. I walk out to the car this morning to check it out, start it up and whatnot, and I notice something hanging down that obviously should not be hanging down.
I get in the car and look, and apparently when doing the recall on the passengers side belt, the techs broke the damn trim panel. Instead of telling me about it, they just tried to hide it with some adhesive spray, which thanks to the Florida sun fell apart between Thursday and today causing it to fall down and be visible.
I called and spoke with the service advisor that checked the car in Thursday, and he said that I should have gotten a disclaimer and signed saying they are not liable for breakage of interior panels due to the car being that old. (which I never got or signed, just to clarify.)
I now have to bring it back in on Monday, which I'm sure is going to be loads of fun, as the service manager told me when I was dealing with him Thursday that he hates rotary powered cars. So I can only imagine how badly they are going to try to jip me out on their screw up.
The same crap happened to me when the dealership did mine and the mechanic broke the trim in the middle >.
Luckily for me, they only did the driver side as my passenger side hadn't failed yet.
As soon as my passenger side failed they ordered the part and I installed it myself (which was pretty easy) without breaking anything at all.
Just had to return the old unit.
Job and other shenanigans have taken up my time, but I am pleased to say the car should be fully swapped by next week (barring any acts of god.)
Parts are arriving daily. At this point all I am missing is the flywheel, pressureplate, tranny, and driveshaft. (picking the tranny up tomorrow.)
Clutch disc for a total of 3.00! I love rock auto. Although that might turn out to be more complicated than I thought. The alignment tool I bought does not fit onto the disc, and the alignment tool has been verified through a few websites to fit the N/A Fc clutch. I'm going to try another tool tomorrow and double check. If not, oh well, i'll have to buy a used disc.
So its been awhile ladies and gents. But so far the swap is proceeding. Took some pictures, and I have some minor additions to V8KILRS guide that were left out, but to me are important if you are particular detail. I may also leave some information out, but i'll do my best.
I started by getting the car on jackstands, no problem there. after it was secured, there is a heat shield i wand to say held on by about 5-6 tiny tiny bolts, once this is out of the way you have access to the driveshaft.
Next I started off with the exhaust. Mine was custom, so it was probably more difficult for me than it would be for you. I just went from the manifold all the way back to the mufflers and pulled it out as one unit.
Next you will have unobstructed clearance to the drive shaft. Its simple here, make sure the car is in park, crack one loose, put it in neutral, rotate the wheel, put it in park, crack one loose, etc. until all four are gone.
Once the bolts securing the driveshaft are done, give it a wiggle wiggle and it will pop right out of the tranny, lay it aside.
Biggest issue for me was the starter, the bottom bolt, easy, the top one was obscured by wires and whatnot that I had to disconnect and gently push out of the way. It has a nut on the side facing the back of the car, and a bolt facing the front.
removing the shifter linkage isnt bad, pry up gently on the sound for the shifter and the SECURITY plate, there are two phillips screws under this that need to come out. as for the shifter linkage, there are wires that need to be un clipped, and the cords themselves are held in by little bendy retaining clips, just be gentle.
once the wires are out of the way, undo the nut near the ash tray holding the linkage in (I believe this is for the brake lockout), and undo the four I wand to say 10mm nuts holding the linkage plate in place. with this done, go under the car and you will see a cotter pin holding the linkage to the shifter, pull this, and the tranny linkage should come out fairly easily.
To avoid losing or misplacing any bolts, i generally thread them in a few turns by hand after removal right where they came from. Anyway, pictures so far:
Sitting pretty on the harbor freight jackstands.
Section of the exhaust I removed, as you can tell mine was customized at some point, so i just went from mufflers to manifold as one unit.
Lazy hangar broke when pulling the exhaust off...add that onto the final bill.
Tranny with driveshaft removed. you can see part of the other heatshield I mentioned on the right.
Burning the post midnight oil, thought I would post an update regarding something I had in the tech section. I went to go remove the "plug" that seals the hole where the master cylinder would be, and noticed that there were about four or five cables running through it into the passenger compartment.
Well, obviously thats where the master cylinders home is going to be, so that won't do. I did some investigating, its actually components to an aftermarket cruise control system someone installed in the car god knows how long ago. (doing my research, this car was a base gtu ordered with almost every extra available dealer option, why they didn't spring for cruise was beyond me, unless it wasn't offered.)
Anyway, in the pictures below you can see what i have circled, the components that were on the car and where they were mounted. I've never owned an Auto FC before, so at the time of purchase I just figured okay, maybe its specific to the auto tranny, nope.
Components circled in green.
Owners manual pertaining to this aftermarket system.
the mess of wiring i had to pull out from under the dash. some of it was tapped into various parts of the harness, but a quick snip solved that.
Also, random, my lower starter bolt. this is the exact one that came out of the car, however what worries me is it might have been the wrong bolt put in by a previous owner, note the grey on the bottom end? It threads in by hand by quite a few turns and then the socket gets it the rest of the way, but maybe im just being cautious.
Master cylinder at home..sort of.
Now, as I mentioned all of that crap was filling the space where the Master cylinder hole is feeding the cruise system into the cabin, after I took it all out, whoever put the system in must have used some...epoxy or putty or something of the like, it peeled off almost like half dry clay. can someone confirm or deny if thats what mazda used from the factory to block off the hole on auto cars? somehow I doubt it.
Anyway, so I just dried to squeeze the master cylinder in there myself, and it seems like it doesnt exactly want to fit completely flush with the firewall, the bottom right stud seems like something is in the way...anyone have any idea what to maybe check for? I'll probably grab a brush and try and clean off any remnants of that stuff...
worst case, would it be detrimental to thread it as far as it will go, then use the nuts on the other side in the cabin to torque it into place?
where is the clutch pedal pushrod? if it didn't go in its hole, it would cause the symptom you describe.
Mazda used a paper gasket on the clutch blanking plate, and actually its the same for the master cylinder. pic is from the parts catalog
The pushrod isnt even connected yet, the five speed pedal assembly is bolted on but the pushrod is just laying back on its own, not contacting anything. I'll double check to make sure im not an idiot.
where is the clutch pedal pushrod? if it didn't go in its hole, it would cause the symptom you describe.
Mazda used a paper gasket on the clutch blanking plate, and actually its the same for the master cylinder. pic is from the parts catalog
Well, I just happened to have a spare master cylinder laying around i bought from Kevin Landers as part of a bulk five speed swap purchase. I tried the one he sent me, bam, slid right in, mated perfectly.
the Koni-Seal (or Coni-Seal) brand new one I bought from rock auto must just have some sort of defect. that damn thing would NOT line up flush on that lower right stud.
put the one I got in from Kevin on, bam, no issue whatsoever. Time to process a return with Rockauto. I've had a few issues with them now, if I were you guys i'd start to tread softly. this makes the second time.
I've never had to do a return with RockAuto, but I did ask for a replacement alternator since the plastic on the one they shipped me was broken. They sent the new one right out and didn't even ask for the damaged one back.
Well, I just happened to have a spare master cylinder laying around i bought from Kevin Landers as part of a bulk five speed swap purchase. I tried the one he sent me, bam, slid right in, mated perfectly.
the Koni-Seal (or Coni-Seal) brand new one I bought from rock auto must just have some sort of defect. that damn thing would NOT line up flush on that lower right stud.
put the one I got in from Kevin on, bam, no issue whatsoever. Time to process a return with Rockauto. I've had a few issues with them now, if I were you guys i'd start to tread softly. this makes the second time.
it also depends on how much $$$ you spend on it, idk what the Koni's go for
 07-03-15, 07:02 PM


 .
.