When you click on links to various merchants on this site and make a purchase, this can result in this site earning a commission. Affiliate programs and affiliations include, but are not limited to, the eBay Partner Network.
Looks great! I see you have a 78 built car with a RH hood prop. Never noticed that before.
Yes sir it is! It has the speaker grille in the dash above the glove box also. Build date on this car is May 1978, #6906. When I replaced the doors from an 84 I welded up the mirror mount holes on the passenger door.
...Hey Qingdao! Yes, I have to get that done now before much more goes in there. I need to get my hands on a flaring tool... I have that to do....
Hey Mike, any chance you might fab up a second set if brake lines for cash? I�ve been thinking of doing a set myself since my lines are a little corroded. Let me know 😁
I keep researching rats nests and weighing the pros and cons of having them vs. removing them. Mine is pretty rusty. I've got my eye on one that is pretty rust free but haven't made my decision on keeping or going without it yet.
Pack up a flat rate box with the rats nest and some other small metal parts and I'll powder coat them for free. Just pay for shipping back.
Here is mine I did for my 1979
Last edited by KansasCityREPU; 03-11-18 at 07:24 PM.
Car looks great, what a great story and build. And you perfectly captured "embarrassed teen" face.
Thanks Toruki! It's been a very looooonnnnnngg build... And my son would be mortified to know that I posted that picture! He's actually in another pic in a previous post wayyyy back towards the beginning.
Originally Posted by Qingdao
For NA I'd stick with the rats nest. There is no reason to fight the gas pedal if you don't have to IMPO.
Exactly Qingdao. I was thinking the same thing.
Originally Posted by RCCAZ 1
Hey Mike, any chance you might fab up a second set if brake lines for cash? I�ve been thinking of doing a set myself since my lines are a little corroded. Let me know 😁
Hey Tim! I would do anything for a fellow enthusiast, but you're prolly first gonna want to make sure I can do this 1) right so that they are safe and 2) so that they look factory. From my experience at work, I know flare fittings can be hard to make up correctly so they don't leak. I'll post up some pics as I get them done and let you see for yourself. And I'd make you an offer like KC did below...
Originally Posted by KansasCityREPU
Pack up a flat rate box with the rats nest and some other small metal parts and I'll powder coat them for free. Just pay for shipping back.
Here is mine I did for my 1979
That looks AWESOME KC! I definitely will take you up on that, what a generous offer, THANKS!
Been a little while since I stopped in here - Great progress on this!
Thanks Sean! It's inching towards the finish line... Just hope nobody moves the finish line!
I got the brake lines all replaced and installed. I had to order new fittings, and found out that somewhere in this car's life a previous owner had fixed a hole with something OTHER THAN M10x1.25 threaded fittings... Ask me how I know... I also now know the difference between SAE/double flare, and a bubble flare. Ask me how I know...
My brake line adventure started with a 25 foot roll of 3/16" tubing from AZ at a reasonable price of 25 bucks. Not bad. I also picked up a "double" flare tool for about 20 bucks. Also not bad.
I retrieved my old brake lines from the loft and began measuring with anything I could find that would bend. Couldn't find my string, so I used a small roll of romex wire. Worked ok. I used a screw driver handle as a guide for tight bends, but otherwise the tubing is super easy to bend. I found that if I used masking tape as I went to bind the new and old brake line together I could handle the line better and get accurate bends as they go up, down and side to side. Having them secured to each other helped find the right bend direction and length. When I was done it looked something like this:
I also learned that the really tight bends at the ends of the lines are best formed if you cut the new line a little longer - say .... 6 inches or so - to make it easier to bend the last inch or so of the tube. It's hard to bend 1 inch of tubing by hand.... Top tip - add a few inches to the end of you tubing, make the bend, then cut down to size after it's bent.
I started out by reusing the fittings after much research on here about difficulties in finding new fittings. Maybe not difficulties, but nuisances... So, I bent the new lines, verified they were correct, and then cut the old fittings off, cleaned them up on my wire wheel bench grinder, installed them on the new tubing and then flared them. With the "double" flare tool. the flares came out great, but when I closely looked at the inside of a new brake hose, I could see that it wasn't gonna work.... So more research was required and I learned that these early 1st gens use BUBBLE flares... not DOUBLE flares! Ugh! Well, back to the internet I went to find a BUBBLE flaring tool. Only one place near me had it, and the reviews of the tool SUCKED. I had no choice though, and bought it. I am now the proud owner of not one but TWO flaring tools. I'm set for life now....
Double bubble....
I then had to cut off the incorrect flares and redo them with the correct BUBBLE flares... Good thing I left each end a little long. Just enough extra length to redo the flare on each end. Once. I ended up with some pretty good replicas of the original. It was at this time too that I decided that many of the existing fittings were just way to mucked up to reinstall and confidently say I had them tight enough so I ordered new ones. The right size and pitch for SA - M10x1.25.
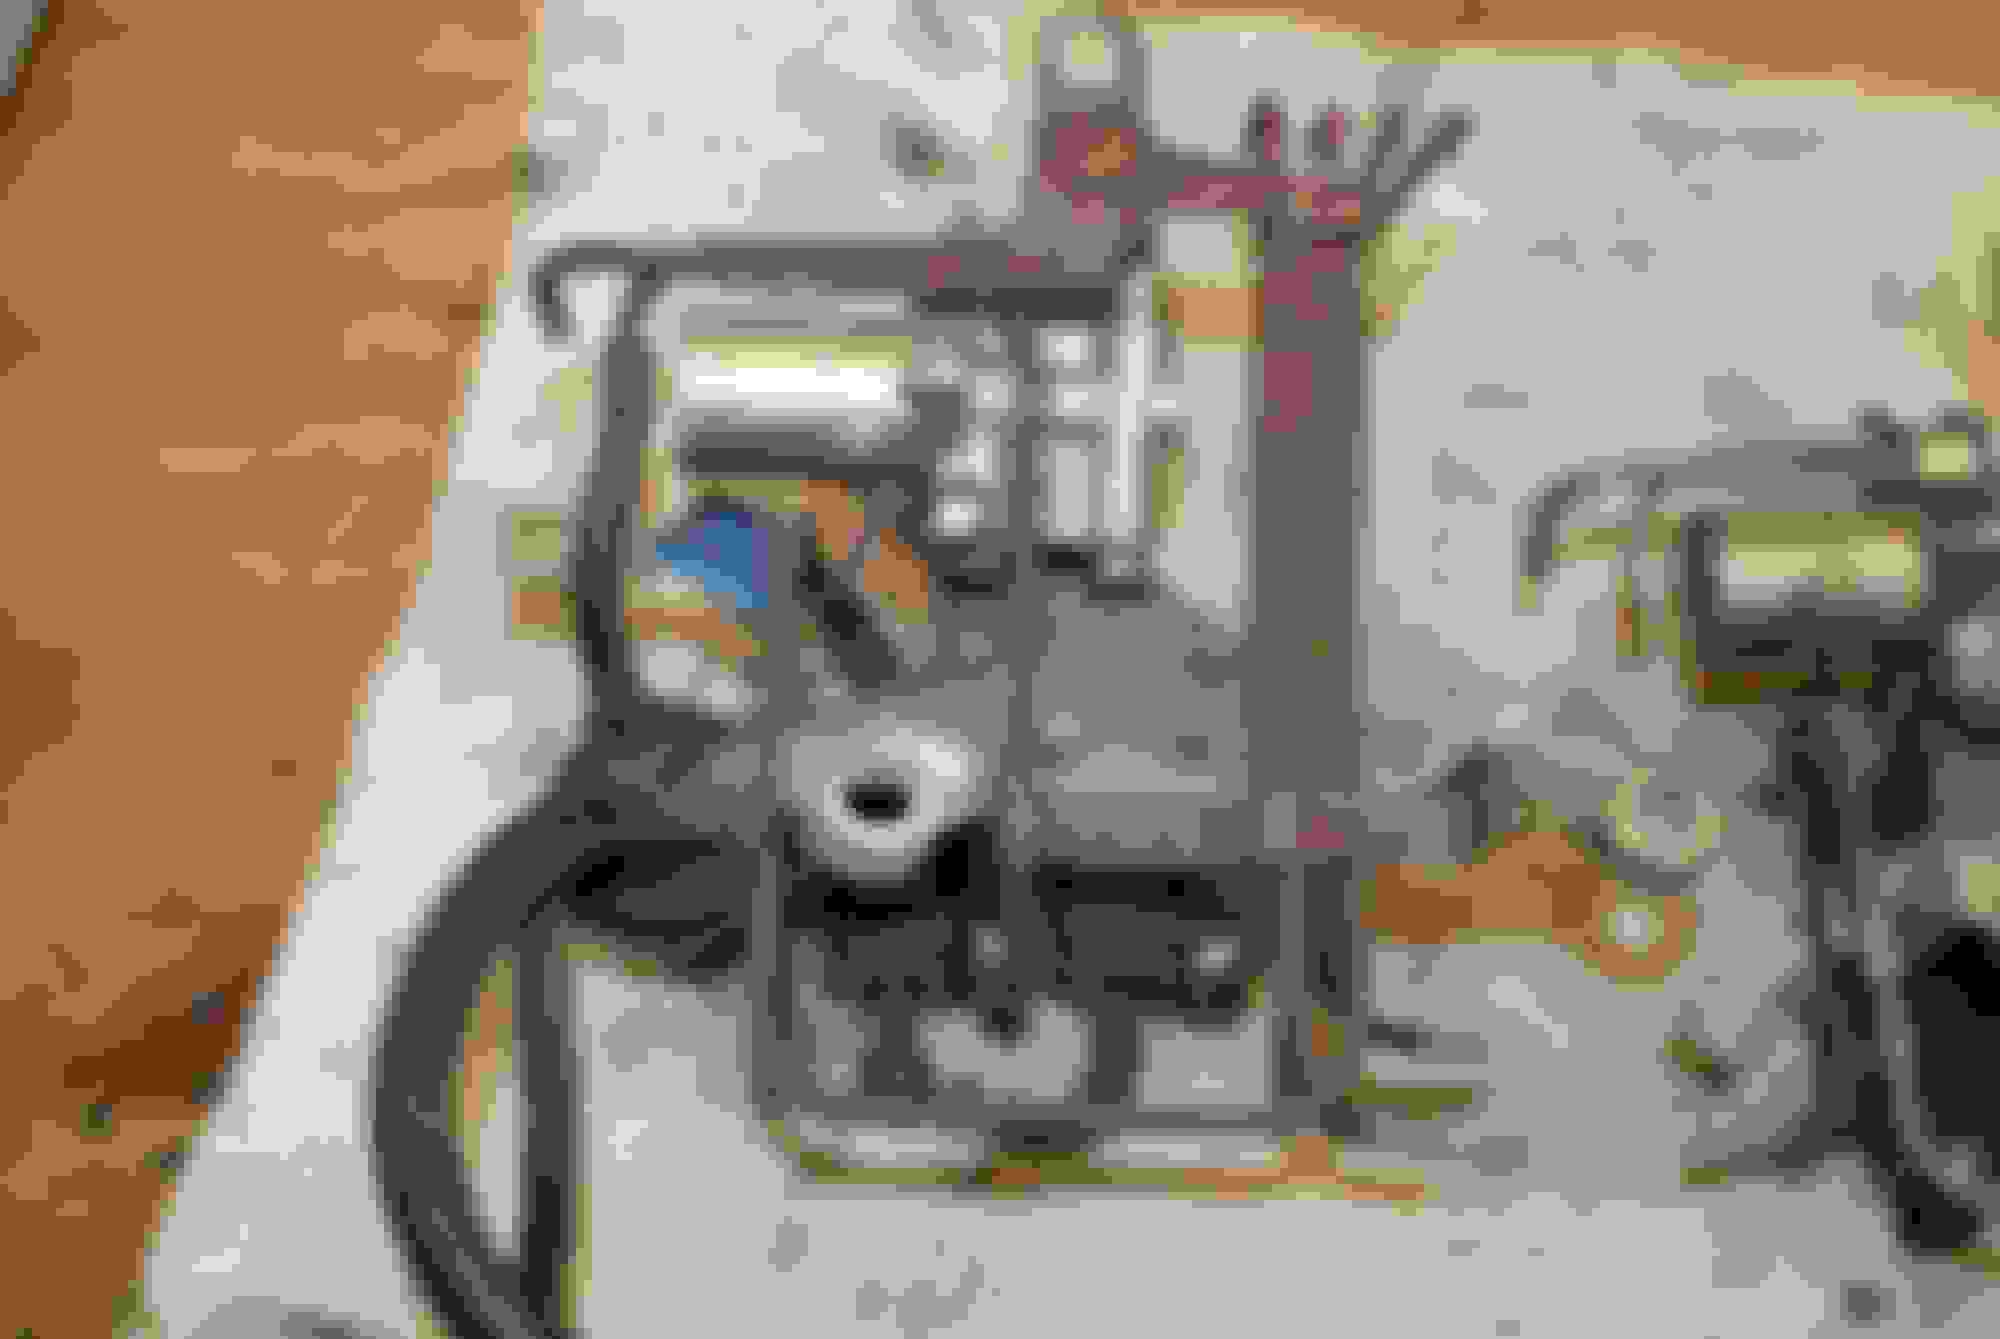
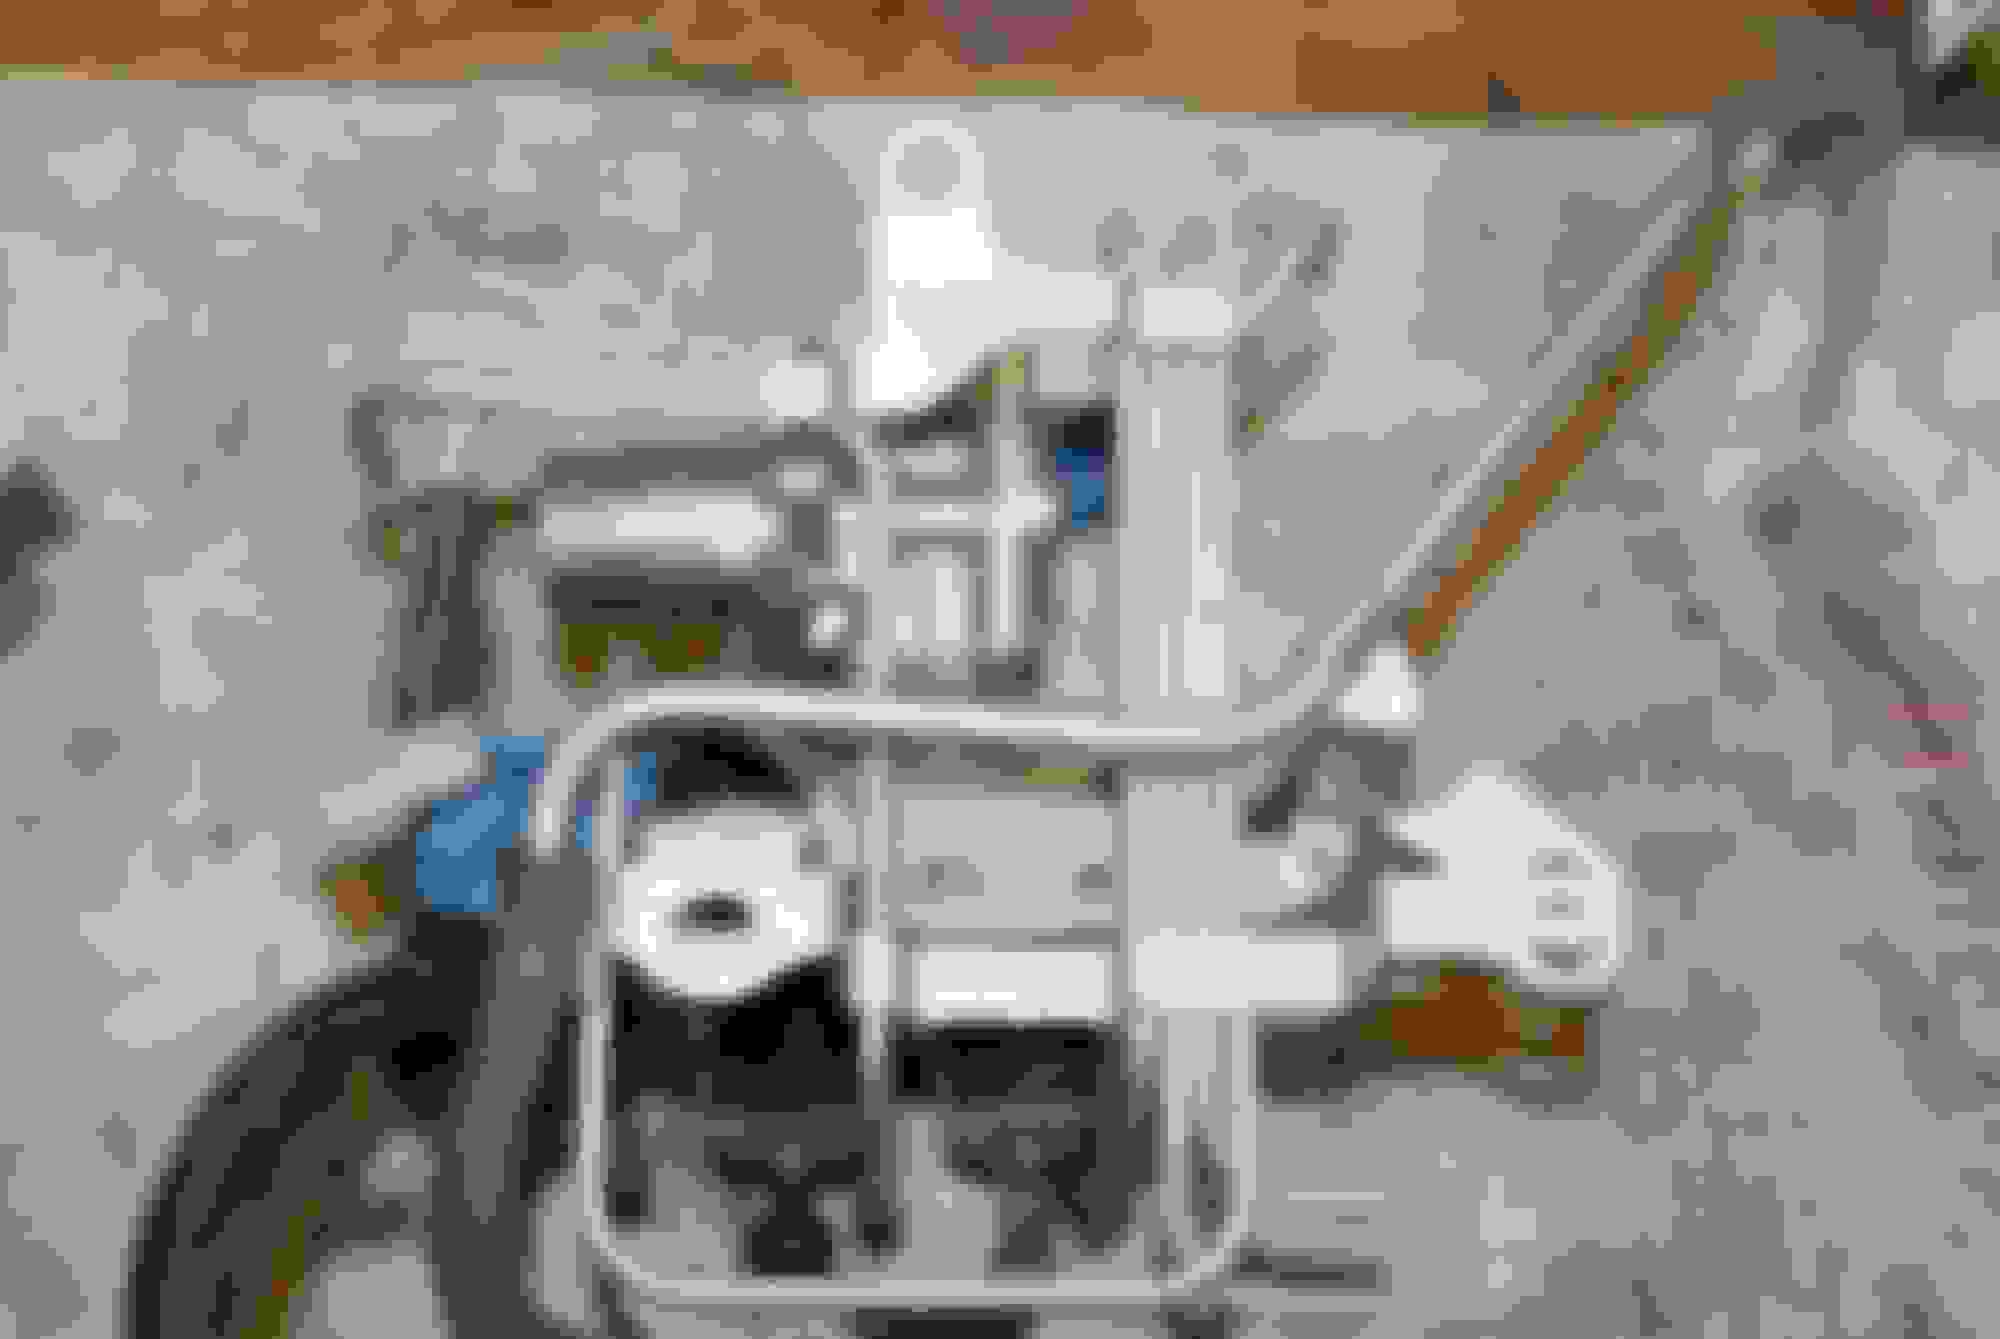
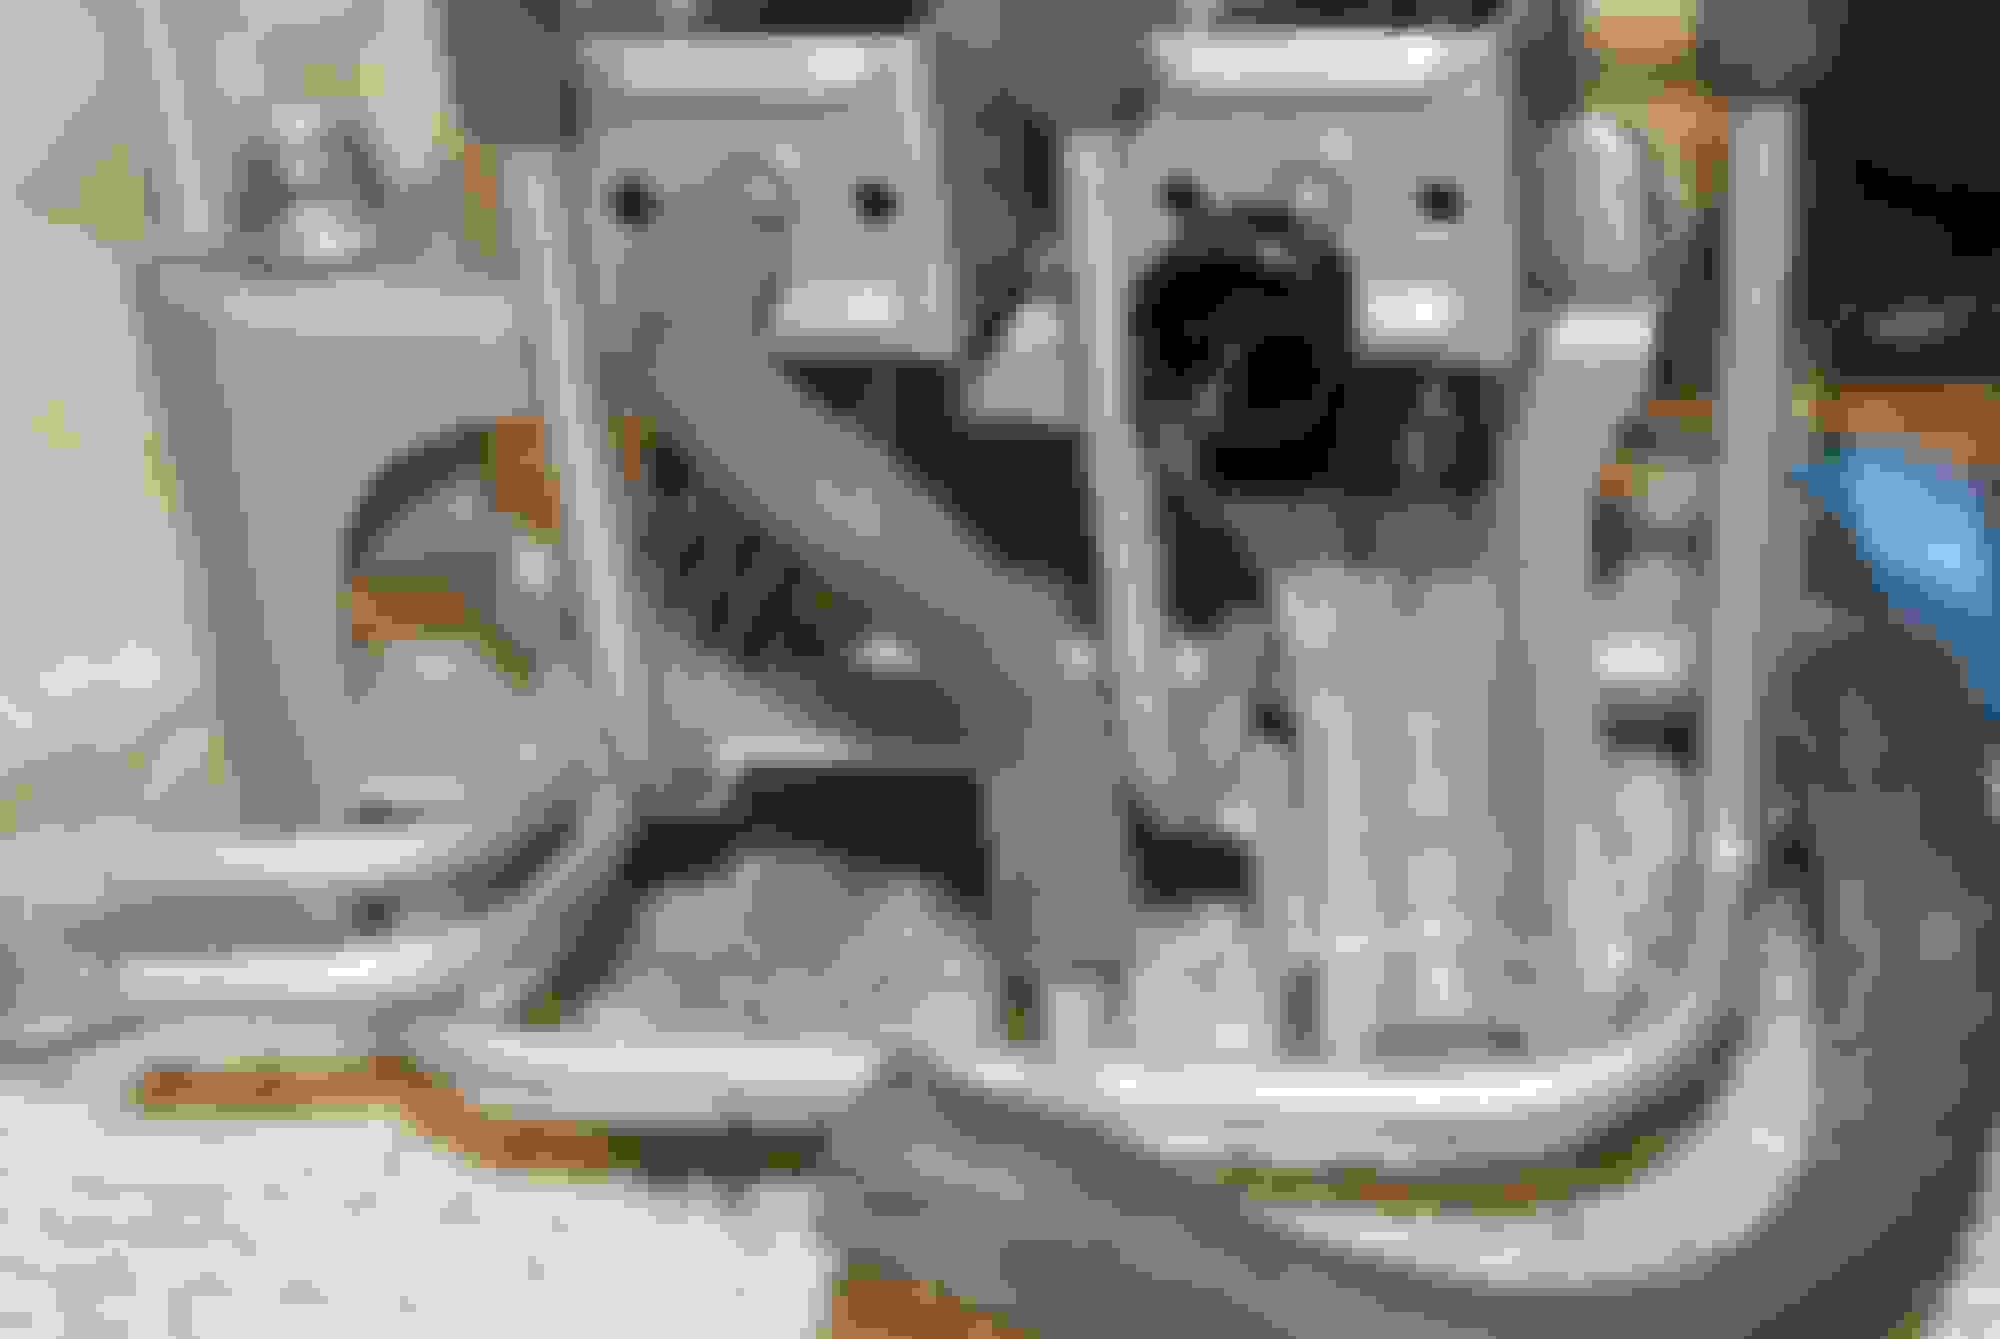
So having sorted out the lines I set about painting my new master cylinder and cleaning up the old proportioning valve, which was quite rusty. It cleaned up nicely though and I painted them both. I also swapped out the new reservoir tank on the replacement master cylinder with the original because the original has a switch on it that the replacement did not. I cleaned out the old tank, cleaned up the switch and installed them both on the new master cylinder. I like the OEM look the original reservoir lends to the new master cylinder. I have no idea how that switch works because it's encased in plastic and slides into a slot at the bottom of the reservoir tank but is external to the tank. It must sense level somehow, but for the life of me I don't know how!
They look good in there all nice and new looking!
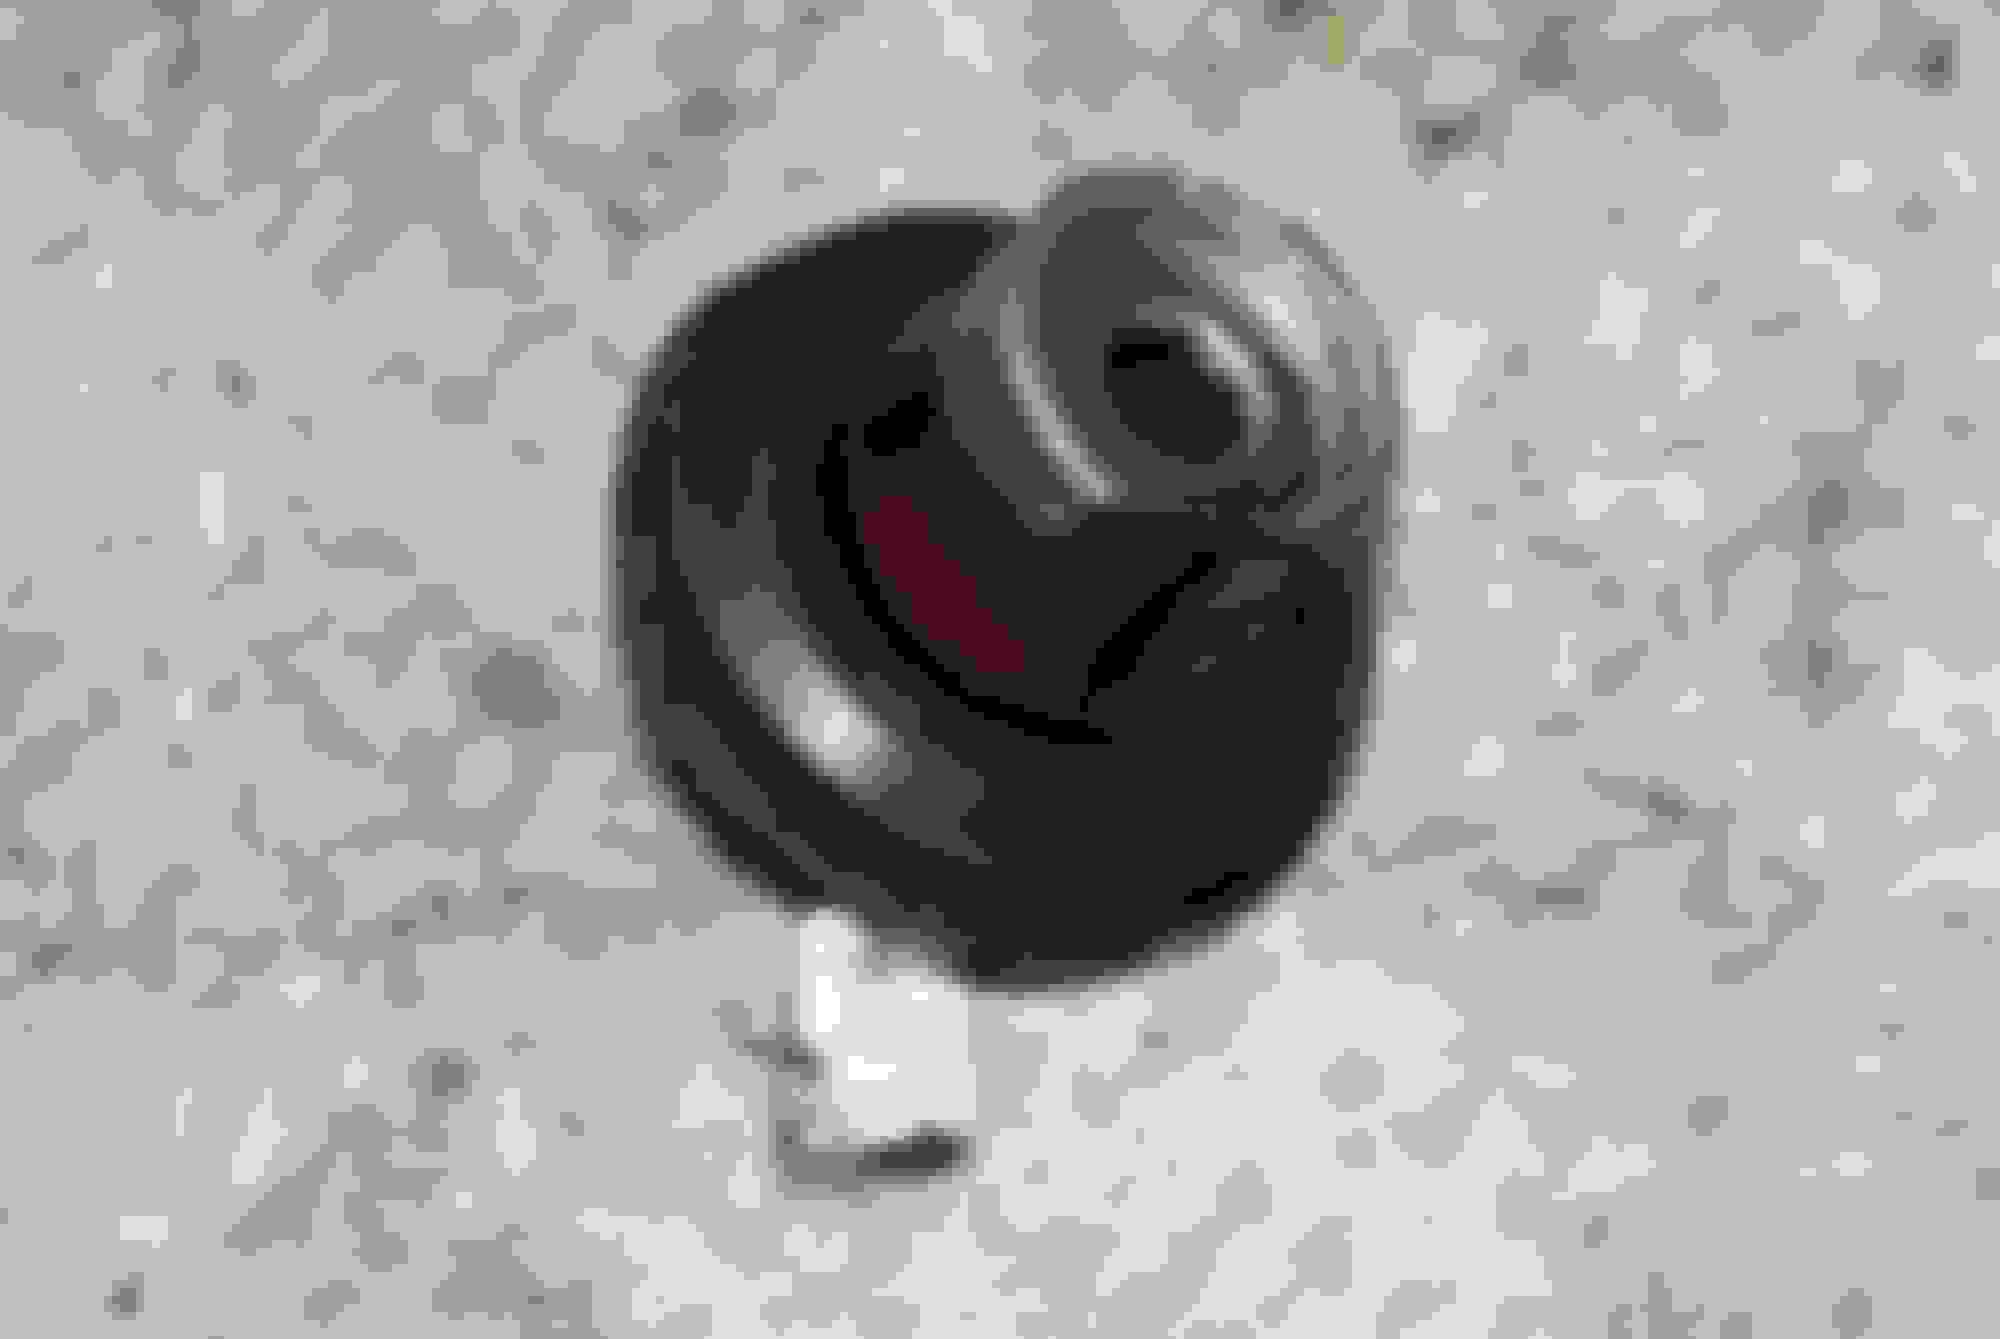
For some dumbass reason, I decided I did NOT need to replace the line that goes from the proportioning valve to the rear brakes. No idea why I thought that was smart. None. Needless to say, I found out how not good an idea that was. I filled the master cylinder with fluid and got my youngest son to help me with the "down", "down". "up", "up" method of brake bleeding. It wasn't long and i started to get fluid into the lines. I was trying to bleed the master cylinder but was getting nothing out of the bleeder yet the level was dropping. I refilled it and kept going, but still nothing. I looked under the car for leaks at the joints, and sure enough, I was spewing fluid all over from the middle of the line I did NOT replace.... Turns out I must have knicked it with the grinder when I was cutting the floors out... It's kinda hard to see in these pics, but there is obvious damage...
divot from what must have been a grinder...
You can see the pressure cracked the line...
Now I tried to get cute, which hasn't worked on this build so far but yet I keep trying... I realized that the original line had a female union and two male fittings. So I carefully removed them, cleaned them up, and estimated how much line I needed to cut out and make up the union joint. Unfortunately I failed to take into account the length of tubing that the flares take up when you make them, which for these is about 1/4 of an inch per flare. That meant that each end of the brake line was 1/4 inch short, which made it almost (almost) impossible to make up the joint.
It was also at this point that I learned that 1.0 and 1.25 threads almost (ALMOST) look the same. Well they did to me that afternoon - could have been the euphoria of almost completing something and/or the beer. I found out the hard way that they were not the same because I tried like hell to pull the two ends of the line together and ended up partially galling the inside of the brass female union. I used one of my NEW fittings to chase the threads hoping that it would fix the one turn that was messed up inside the union. Well, that's when I realized that the brass union was NOT 1.25 pitch. What a dumbass.... the lesson I learned is that just because the SA has old brake fittings, it doesn't necessarily mean they're all SA fittings...
Rather than order more fittings, I decided to do the right thing and replace the line entirely with new fittings. I also replaced the brake hoses - all of them. They were old, rusty and dry rotted. I also had to buy a new set of flare nut wrenches. Wouldn't you know that a M10 x 1.25 flare fitting has a wrench size of 7/16 inch? Weird. All told I have about $70 in tools to do this job. I've made worse decisions...
Once ALL the lines and the hoses were replaced, I enlisted the help of my lovely bride to repeat the bleeding process. The pedal gets somewhat firm, then softens and falls to the floor. I don't have any visible leaks, but I must have air trapped in the system somewhere. I think I'll borrow my neighbor's vacuum system to make sure I have no air trapped. Maybe not getting any air at the master cylinder bleed has something to do with it. Maybe having set for a few days will have allowed the air to settle where I can easily bleed it. At any rate, I'm close to having the brakes done... More to follow.
I also disassembled my rats nest, vacuum valves and boxed them up and sent them to KansasCityRepu for powdercoating. Can't wait to see what it looks like!
So I took KansasCityREPU up on his offer and sent him my very rusty, crusty and generally nasty rats nest and let him work his magic, and I was blown away with the results! This man is AWESOME!!! Check out how great of a job he did - it's now a thing of beauty! I just kinda threw it together for comparison pics, but this will look even better when I get new vacuum hoses installed. I can hardly believe it's the same part.
THANK YOU THANK YOU THANK YOU KC!!
KC, I can't thank you enough, honestly. I'm beyond happy with it and it looks terrific. What a HUGE improvement - THANK YOU!!
That was very generous of KansasCityREPU... I couldn't be happier.
I have been able to get to this project only sporadically these last couple months but I did manage to get all the fuel lines and fuel hoses replaced. I also got the gas tank professionally stripped, dipped, lined, and new fuel lines welded on. I took it to a local shop and had them check it out. It needed new lines as they were corroded INSIDE the tank. The guy told me that most of the time people don't think that they corrode, and you can chase vacuum leaks forever and never discover that the lines inside the tank have gone bad. I was pretty excited they were able to completely refurbish my tank, and the price was VERY reasonable.
All nice and painted up. It's as if it were brand new.
New lines welded in.
Inside view of the tank and the liner that they put in.
They saved the vent plug.
They were able to save the sending unit. I did have to go buy new stainless steel screws, but they looked pretty awesome when I reinstalled it.
I then set about replacing the lines and hoses. I have replaced every single piece of the fuel system, except the check valve that prevents fuel from emptying the tank if you flip the car, and the vent valve thing that's bolted to the frame. Not sure what that is. I replaced the fuel pump with an OE fuel pump. The original worked but is quite rusty. The protector plate that goes over the fuel pump was badly corroded also, so I used my electrolysis magic on it and painted it with truck bed liner. I reinstalled everything and made sure it was all coated well with paint. It all looks new!
As it was removed.
After electrolysis and a wire wheel.
Old vs. new fuel pump.
All nice and new looking.
I even replaced the foam strips between the gas tank straps and the tank with the foam I had left over from the heater core restoration.
I took my original radiator the the shop that did the gas tank and they were able to determine that the core is shot. It looked good when I looked inside the filler neck so it just goes to show that looks can be deceiving. They quoted me an outrageous price to re-core it, but I can find a nice OE looking radiator for 1/4 the price they quoted me from Autozone, so that's my next purchase. I already have new upper and lower hoses.
I also bought new stainless steel oil cooler hoses. I was going to have the old hoses replaced and reuse the fittings for an OE look and maybe save some money, but the fittings on the end of the hoses are badly corroded and I wouldn't reinstall them, so I sprang for new stainless lines. I'll have that shop check out the oil cooler too - it's cheap insurance.
The price of re-coring radiators has shot up dramatically the last 5 years or so. It is serious sticker shock. Aftermarket radiators normally take some finagling to get them to fit and line up right. Unless you go with an all aluminum one, the generic you buy at the auto parts store will have plastic tanks, which I'm still trying to get used to. Personally, I avoid autozone but whatever works for you. I'd hang on to your stock one, you may decide to have it fixed in the future. In the long run, the stock one fixed properly, would probably last for as long as you own the car.
For OEM style radiators, I'm fond of the Spectra brand. Look and fit like OEM. CU701 for 1979. I have the CU97 in my 1985 and work great. Haven't tried the CU701 in my 1979.
The price of re-coring radiators has shot up dramatically the last 5 years or so. It is serious sticker shock. Aftermarket radiators normally take some finagling to get them to fit and line up right. Unless you go with an all aluminum one, the generic you buy at the auto parts store will have plastic tanks, which I'm still trying to get used to. Personally, I avoid autozone but whatever works for you. I'd hang on to your stock one, you may decide to have it fixed in the future. In the long run, the stock one fixed properly, would probably last for as long as you own the car.
Yeah, I know what you're saying.... The lady that called from the radiator shop was really nice. She asked me if I was just trying to get something running, or if I was restoring it "because I don't want to insult you with our quote".... I told her I wanted it to look as stock as I could get it, and that's when she said the recore would cost $875.... I almost asked her: "American?"
Originally Posted by KansasCityREPU
For OEM style radiators, I'm fond of the Spectra brand. Look and fit like OEM. CU701 for 1979. I have the CU97 in my 1985 and work great. Haven't tried the CU701 in my 1979.
Thanks KC! I did some research on here about what folks were doing, and it's either an aluminum aftermarket, or the Spectra seems to be a nice OE replacement. AZ has the CU701 right now for a little over $225, so I'll probably go with that option.
Originally Posted by neektar
Amazing progress. Great attention to detail!
Thanks neektar! I've been trying to get it looking right and get it looking as stock as I can, with some tasteful mods here and there.
So I found an extra shift lever I had laying around and tried it in the gearbox... So far the transmission only shifts easily into first and second gear. It will absolutely NOT move into any other gear... Big time bummer. The shifter I have is SA, but no bushings and no transmission topper or boots, so it slips out of the transmission rather easily. Maybe I can get the gears to engage when I reinstall the shift lever and bushings for real.. Maybe if I fill it with gear oil it would help, but I'm concerned my transmission may be effed, but I don't have the shifter that I removed from the transmission (about 5 years ago now) which (I think) had the bushings but, I cannot for the life of me find that effing thing!... I KNOW I took it off, along with the rubber boot and three bolt cap, but I swear I have turned my garage upside down looking for that joker but have not found it yet. I even looked in my closet where I have my mint set of tail lights but nope, not in there... Hopefully if I find it and fill the transmission with gear oil the other gears will engage? Not sure. I lost a bit of sleep over the idea that I may have to remove the engine and transmission and then have the transmission overhauled. If I do, then the new radiator will have to wait.
I have an extra SA short Shifter. Send me 10 bucks for shipping and Its yours if you want. Includes everything you see, you'll need to get the 3 screws.
Aftermarket radiators normally take some finagling to get them to fit and line up right.
Originally Posted by KansasCityREPU
For OEM style radiators, I'm fond of the Spectra brand. Look and fit like OEM. CU701 for 1979.
I'm not sure they make one for the '79 but anyone reading this with an '84-85 should look at the Koyorad radiator. All reports say is bolts right up with no modifications. I've had my eye on it, but there's nothing wrong with my current stock radiator (yet).

 03-11-18, 12:16 PM


 I realized that the original line had a female union and two male fittings. So I carefully removed them, cleaned them up, and estimated how much line I needed to cut out and make up the union joint. Unfortunately I failed to take into account the length of tubing that the flares take up when you make them, which for these is about 1/4 of an inch per flare. That meant that each end of the brake line was 1/4 inch short, which made it almost (almost) impossible to make up the joint.