When you click on links to various merchants on this site and make a purchase, this can result in this site earning a commission. Affiliate programs and affiliations include, but are not limited to, the eBay Partner Network.
Hey everyone, so been an Rx7 owner for a long time, then took a long break for unknown reasons... maybe we'll just blame life for getting in the way. Anyway, about a year ago, I ran across an FD that became available. The ad had mentioned broken wing, no engine or trans, needs paint. I've always wanted to restore a car from the ground up, you know, show up with truck and have it follow you home kind of thing.
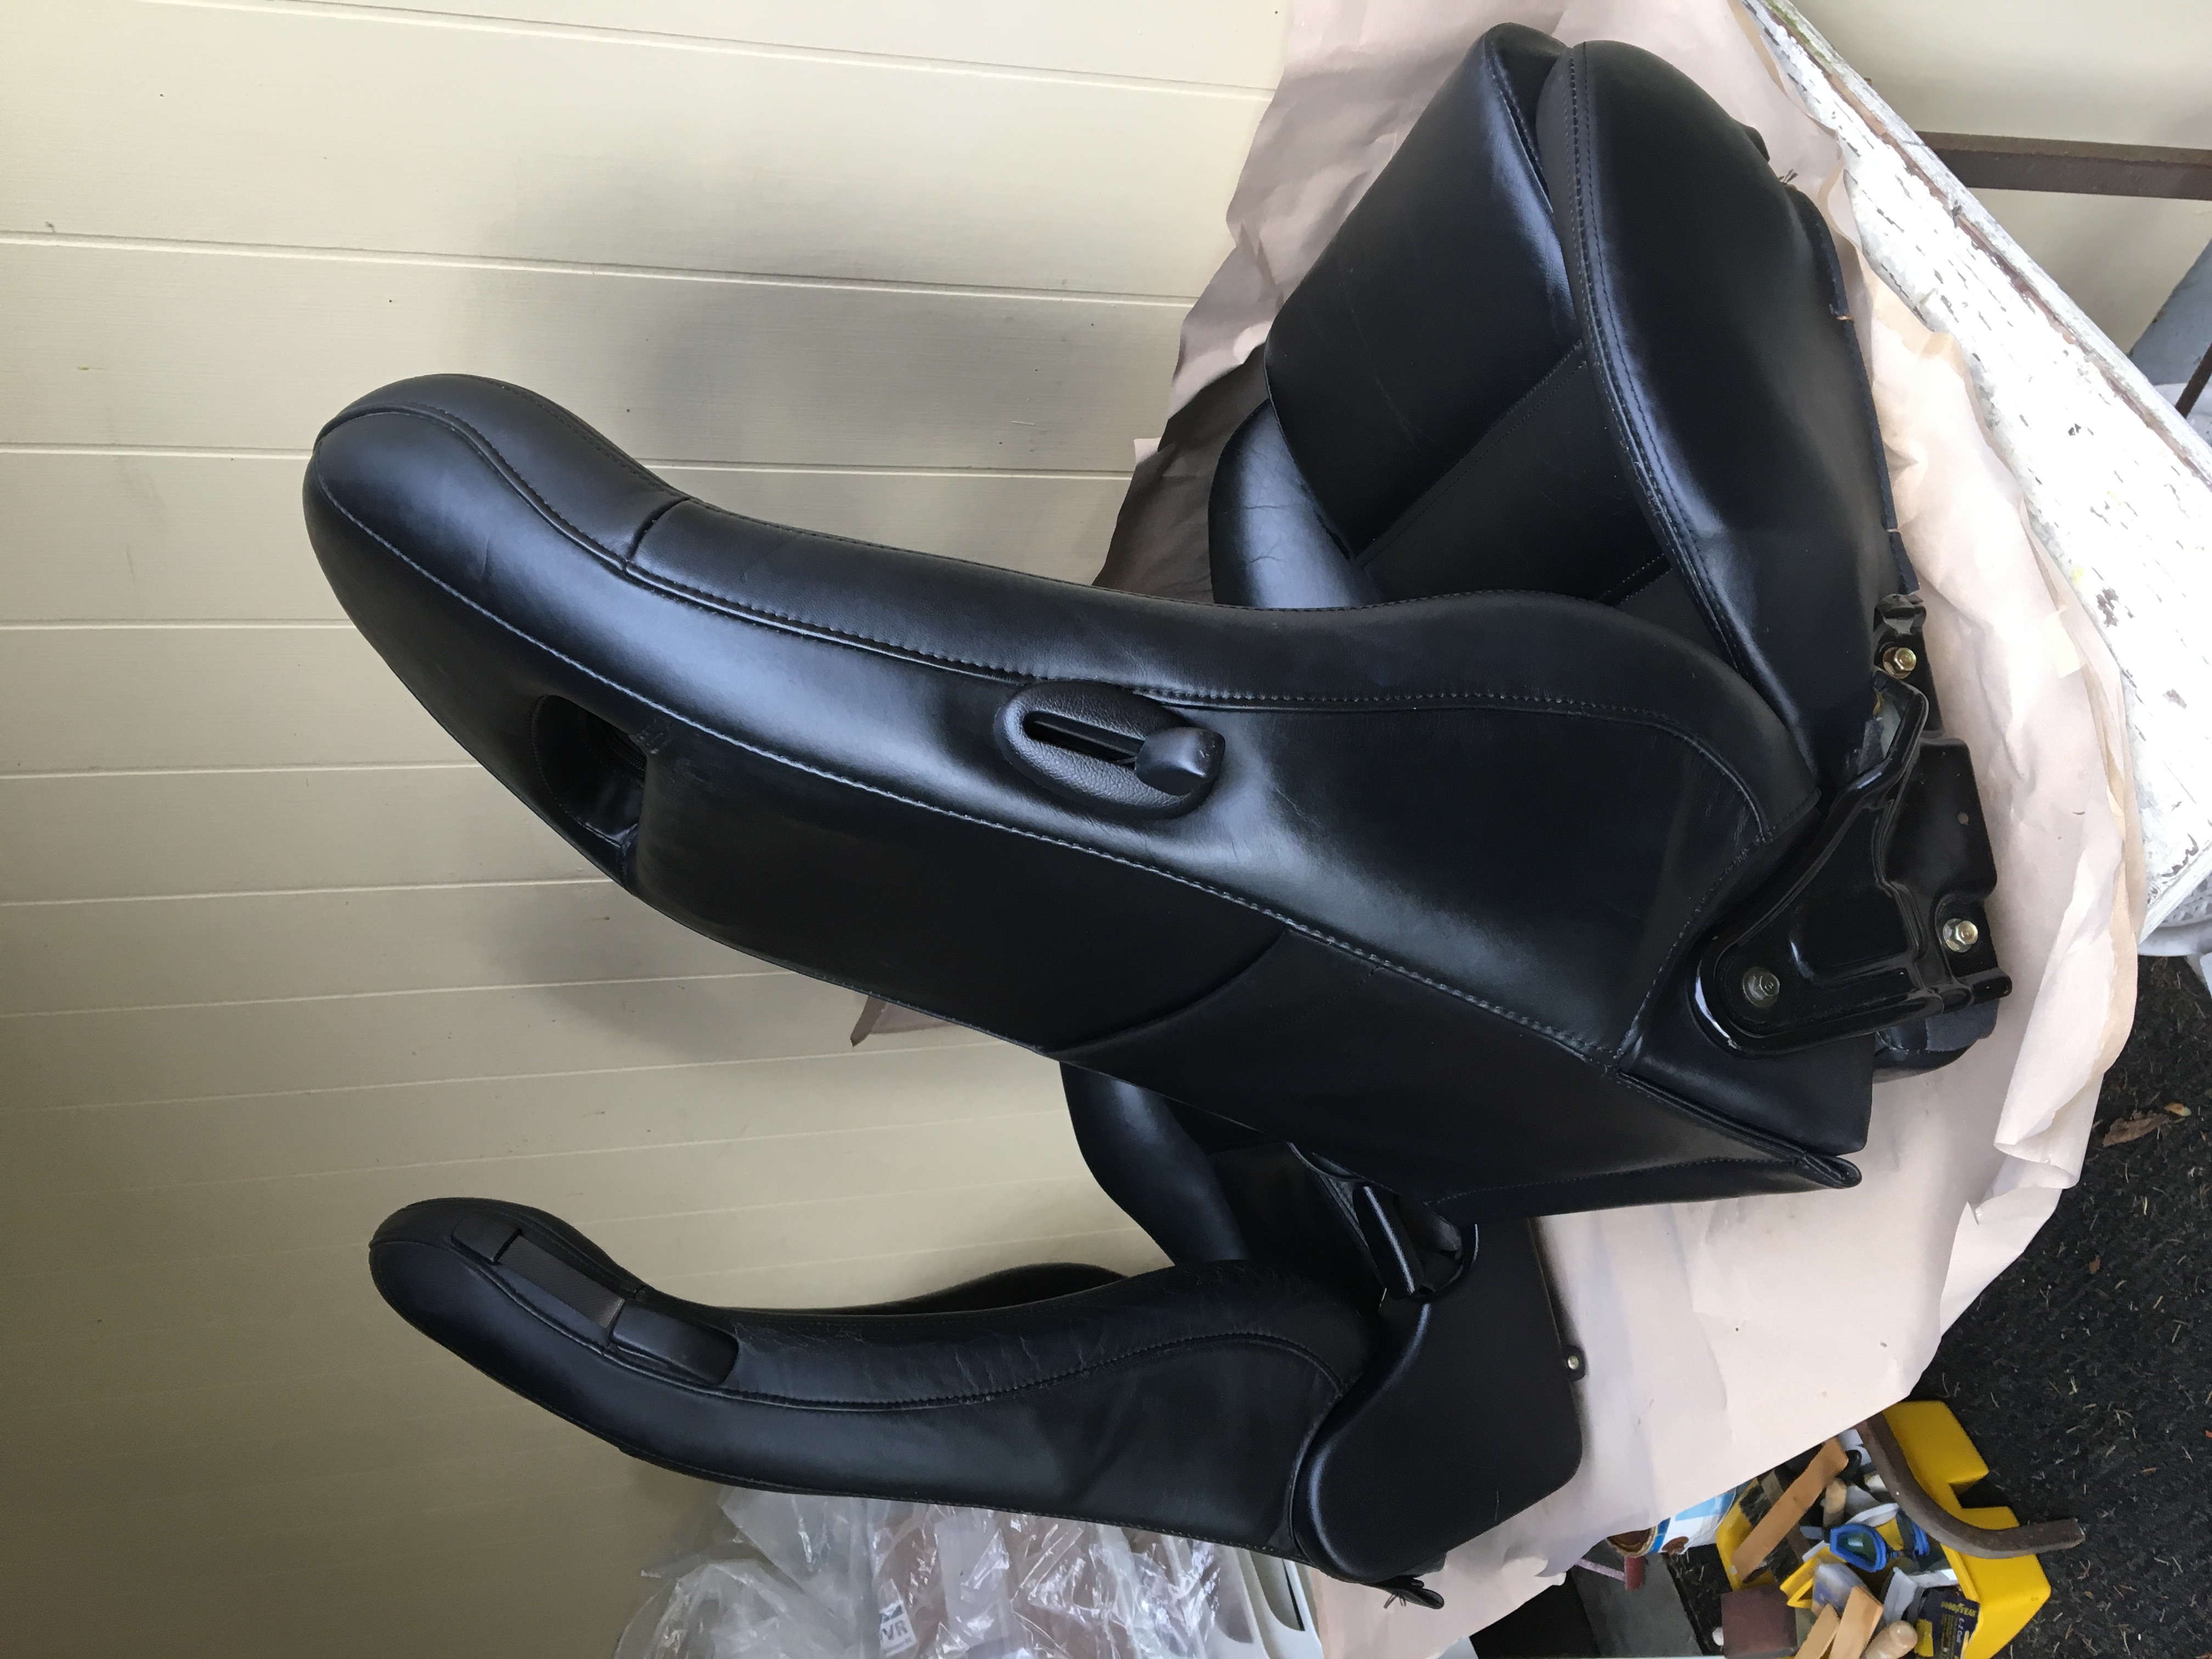
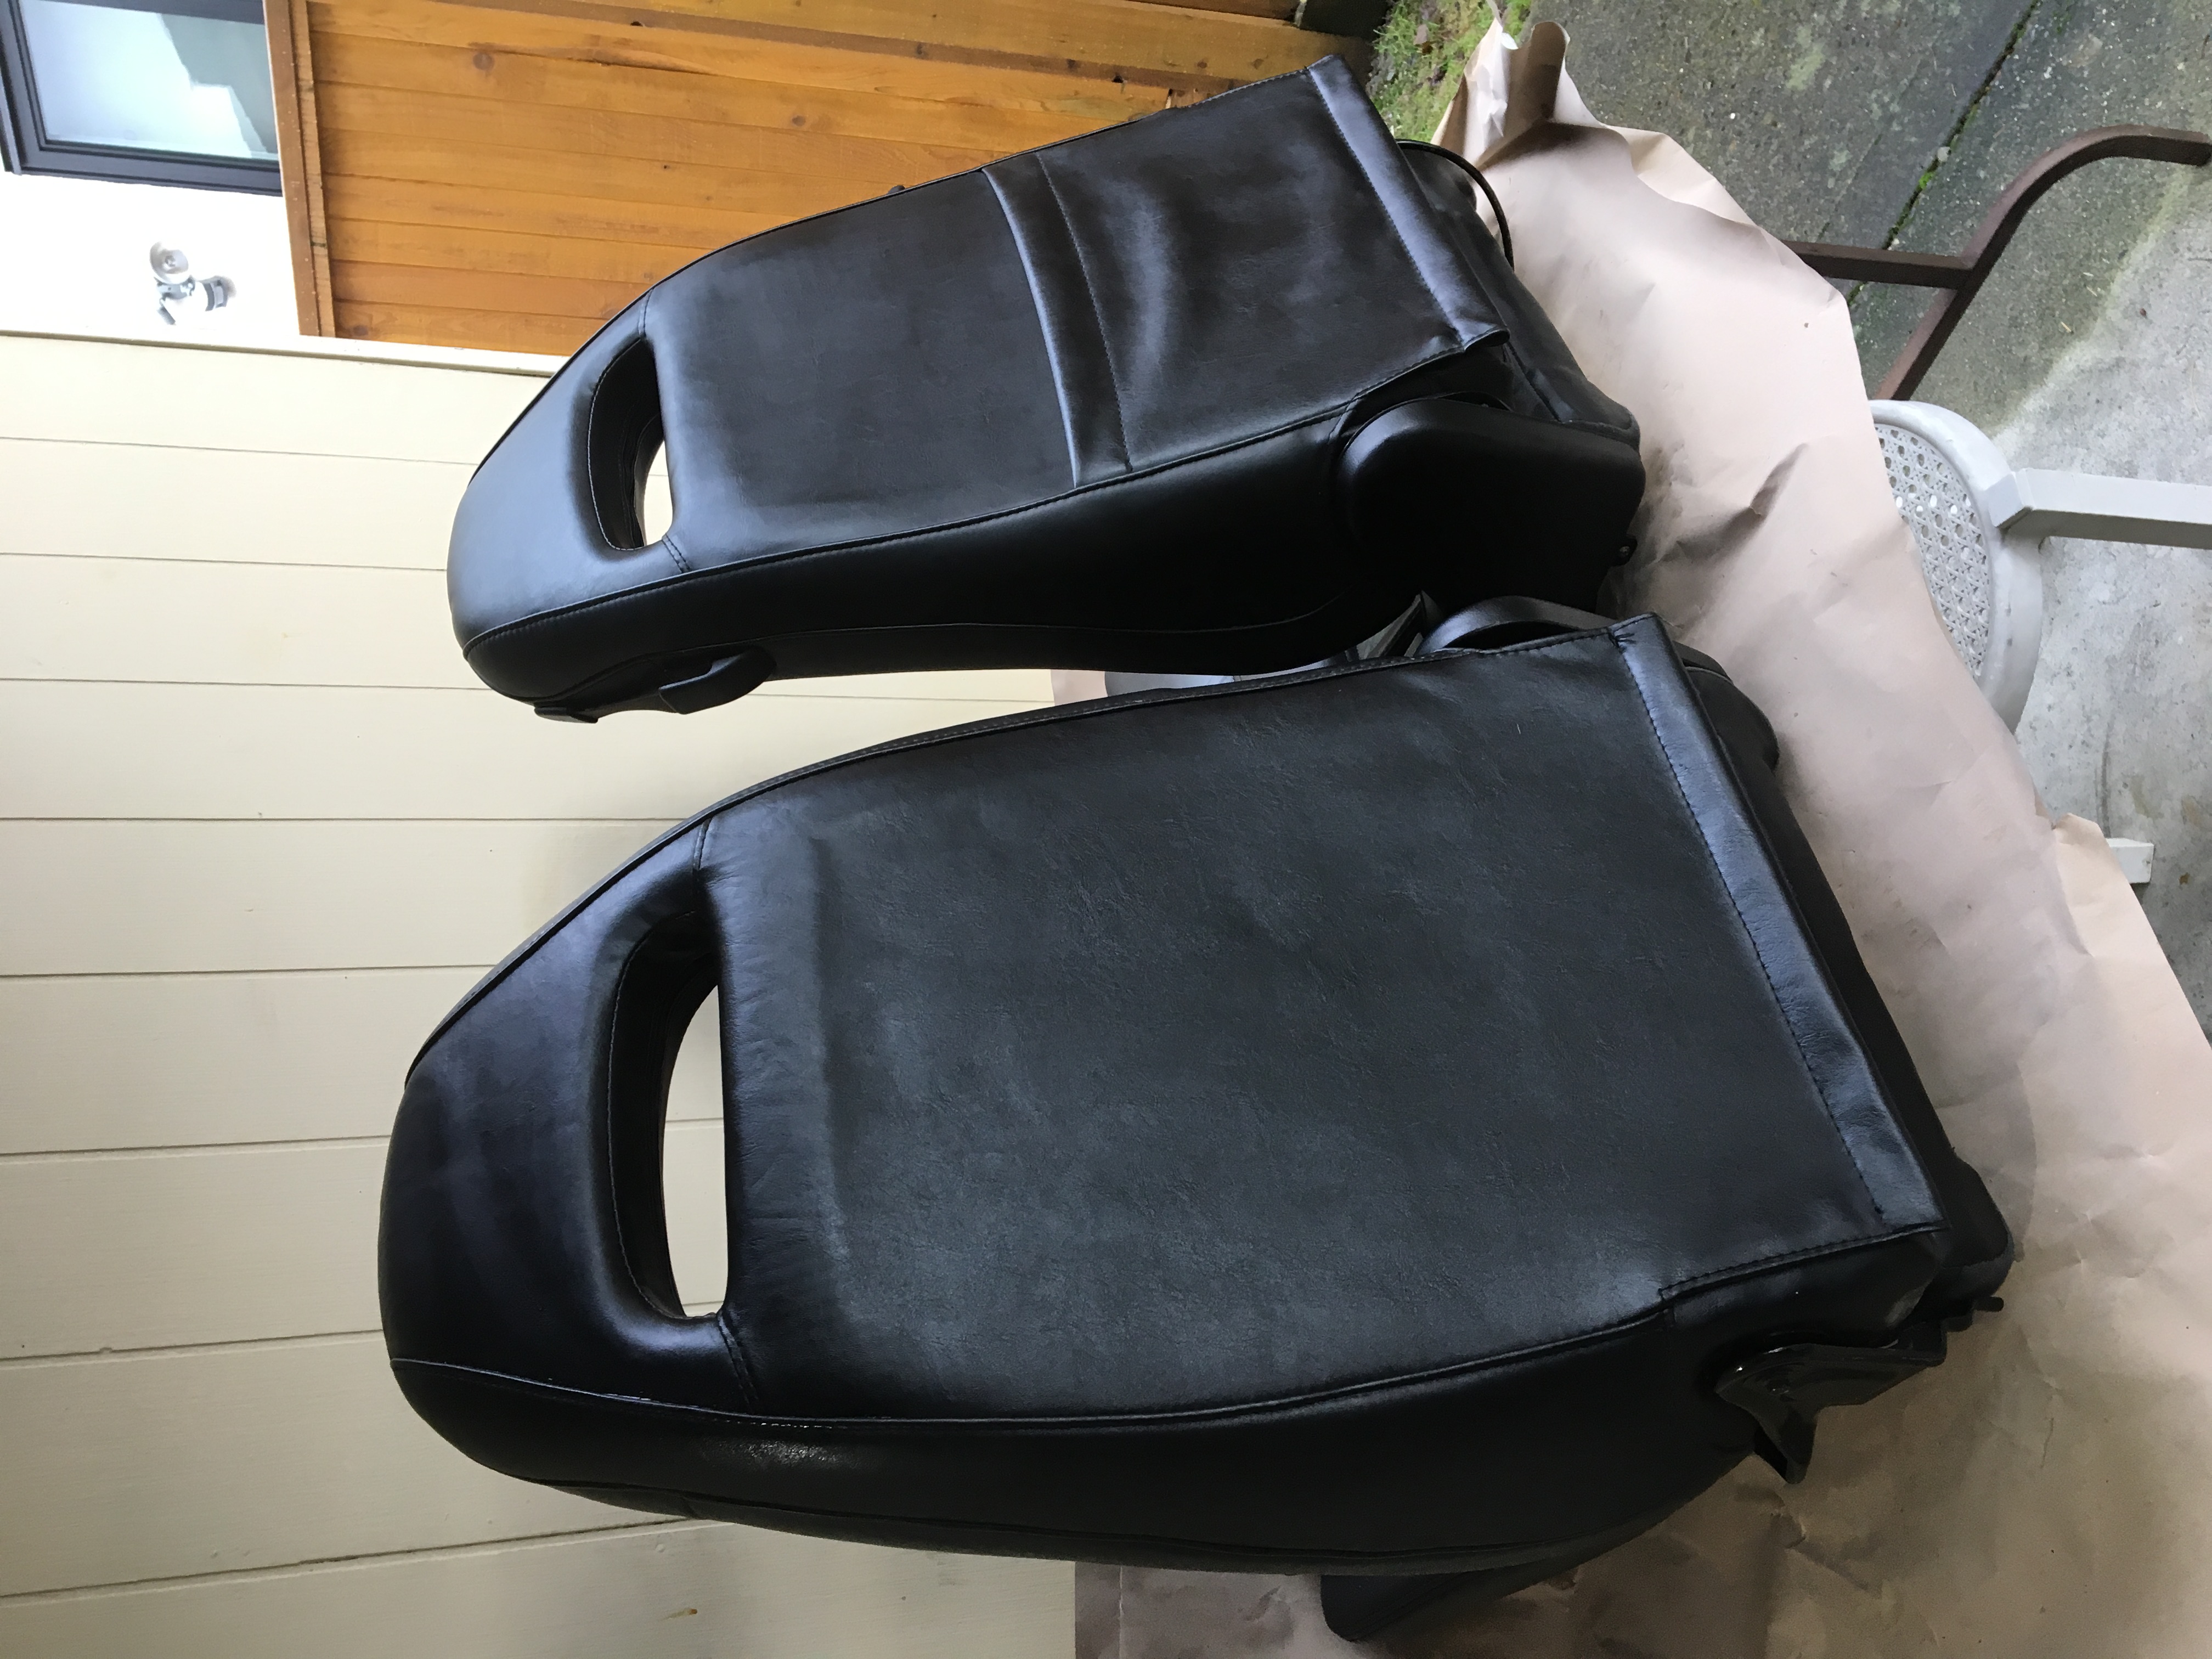
Well when I go look at the car, it�s basically missing everything... no interior, no carpet, it�s been basically stripped, aside from the seats, which are in terrible condition, and the dash which is there but missing everything. it hasn't been registered since 2002, and it�s an ugly mess. The price was right, so knowing this is going to be a big job, the body is in great shape and there was no rust, so I decide to take it home, FDs are my all-time favorite, and I have a real soft spot for that rotary sound so mine it was. Off I go home, knowing the wife is going to take one look at this thing and tell me our garage isn�t a junk yard� anyway I get it home and try to do a bit cleanup, just to get the major gunk out. By the way, the only way to get into the car was to crawl through the rear hatch, which was a pain to get open as it didn�t pop up very much. Both door handles were broken, so once the doors were shut, they stayed shut.I proceeded to clean out most what I could, took a lot of elbow grease, but once I was done, it was at least mildly clean. I plan on taking this build in phases, because you know I�m not made out of cash�. I have already done quite a lot, so updates here will happen often, at least for a while. Just wanted to get the thread started. It�s been fun so far, so stay tuned and let the fun begin!
So the door thing... that was the very first thing I fixed. Happen to find someone here on the forum selling both door handles that were brand new. So I jumped on that deal and got the doors fixed.
I ordered all new weather stripping for the doors, sills, and new window edge (plastic piece that goes right below the handle in the pic above), Did a whole other round of clean up, because yea it was that bad. So here is how I plan on taking the build.
Interior - I'd like to get the interior put back together, gather all the parts necessary, and restore them to a decent quality. I actually will have all the pieces wrapped eventually, but considering the sheer size of this project I'll probably get it back to a good state, then start the crazy stuff.
Drivetrain - Once the interior is back together, I'm going to address the drivetrain. I know some may think its backwards, but after careful consideration, I decided to go with this plan. it is also why I decided to not paint the car at this stage. Conventional wisdom would say this is the easiest time to get the thing painted. its already stripped. I wouldn't necessarily argue with that logic, though I would have a real nice shinny car in my garage and it wouldn't move for a long long time, as I would spend all my money getting it painted, so... paint can wait.
Brakes - Once I have the engine and transmission in, i'll replace the brakes before the thing can see the road.
Suspension - This one I'm still on the fence how to go about it, I wont be tracking the car, or racing it. it will be mainly a fun weekend rider that I'll take on rides. I'm leaning with just replacing everything with the stock suspension, and also a complete bushing kit and pillow *****, but I have time before I cross that bridge.
Paint - Final stage will be paint, looking to do a metallic Grey color, However lately the Montego Blue is growing on me,,,, hasn't made me change my mind, but.....
Interior updates coming up next, I'm dynomating the entire thing before putting in brand new carpet.
Maybe check to see if there are no major issues with the frame, before you do all that work.
Maybe look for a second car as a parts donor.
Buying in all that needed stuff one piece at a time will add up surprisingly fast.
It sure does! Frame is straight, no issues same as body. It has never been in an accident, no bondo or signs of body/frame repair anywhere. Parts cars are tough to find, specially in the NW. but I already have everything for it, check back for updates soon!
Alright, back for an update:So, with the car clean I proceeded to go through the interior. Ordered me a bunch of Dynomat for some sound insulation, and went to town on getting it installed. Installing this stuff is fairly simple, but very labor intensive. You have to make sure to cut out all of the holes for bolts and screws out, and it gets pretty sticky when you are cutting that stuff. Laying it down and using the provided roller helps smooth out and ensure a nice finish.Next I ordered me some Carpet from Tom Frederico, saw a post here while searching around for carpet replacement threads. Found one that had some nice steps, and where to get some carpet. Tom was super easy to work with and the carpet quality is top notch. There is a ton of cuts and trimming necessary when installing it, I had to pay special attention since I didn’t have a carpet to see where all the cuts are supposed to be to begin with. But slow and steady I was able to trim, cut, and install the carpet. While I was at it, I picked up a steering wheel here on the forum. Didn’t much like the stock one, and really like the look of these, so snatched one and got it installed.
Here is the rear hatch area:
Tested fitted the Bins to make sure everything fit well
The bins were brand new, I also picked them up here on the forum. still had the adhesive plastic on them from the factory. With this bit done, I now will move on to rebuilding all of the HVAC components, removing all of the actuator doors, and replacing all of the dirty old rotting foam with new, and new rubber seals, stay tuned!
Holy crap, new bins??? That's a unicorn you don't see every day!
This will be a really sweet car when it's done! Take your time and do it right. You have a lot of good resources for rotaries up in the Pacific NW, don't be afraid to call on them for help!
Well after some serious searching, and digging through all the forums here, I embarked on the journey to rebuild/repair my blower motor/evaporator and heater core assembly foam. it wasn't too difficult of a project, tedious, time consuming yes, but the end result was worth it. First I noticed that my blower motor wasn't working, after getting the engine in the car and trying things on to figure out what worked and what didn't, I couldn't get the blower motor to work in any speed, so I figured, if i'm removing that anyway, might as well rebuild all the foam stuff, so disassembly started:
In removing my dash, I noticed that the soft rubber was pulling away from the corner a bit where it meets the gauge hood:
So I fixed it by using some industrial strength super glue, and zip tied it overnight to make sure the bond was strong:
With the dash off, I quickly realized why my blower motor was not working.... no one told me the FD has TWO rats nests....
The blower motor assembly was packed full of this crap... from the bottom all the way to the top
So I took the whole thing apart, and cleaned it out thoroughly.
With that part out of the way, I tackled removing the rest of the heater/evaporator system from inside the car. it was then that I discovered, the jackasses from the body shop that painted the engine bay on my car, mangled the heater core pipe.... nice surprise...
So I finished pulling the heater core out, and sent it off to a radiator shop for pressure testing to make sure the core was still good. I managed to fix the mangled pipe by using the back end of a wrench, slowly working it into a round shape again. replaced the two rubber O-rings on the connecting pipes, and she was good as new. Next came pulling apart the boxes to replace all the rotting foam inside, as you can see here, this stuff was nasty and coming apart by just touching it.
So I went through and opened up both the heater core box, and the evaporator box, replaced all of the foam inside with brand new foam from Mcalister, and also replaced all of the seals around each of the boxes with new seals. All the credit on helping me accomplish this goes to "RaceDriver7" by making this awesome walkthrough:
I did do a few things different, I used a drill with a soft wire brush to completely remove all of the old foam and glue that were on each of the doors, basically bringing it back to metal, then I used industrial strength super glue, to help adhere the new foam to the doors:
I used a dynomat roller to help push the foam in evenly on the doors.
Here is a shot of the evaporator put back together and with new rubber seals on the edges:
I reassembled everything nice and neatly, added a few bolts that were missing so that the installation was solid and back to "stock". This was a pretty good size project, but it is worth knowing all of the seals are new, and the rubber on the doors are also brand new.
This one is about the journey of installing the engine. I managed to grab one of the brand new engines Mazda still makes from good ol Ray Malloy. Shinny new block
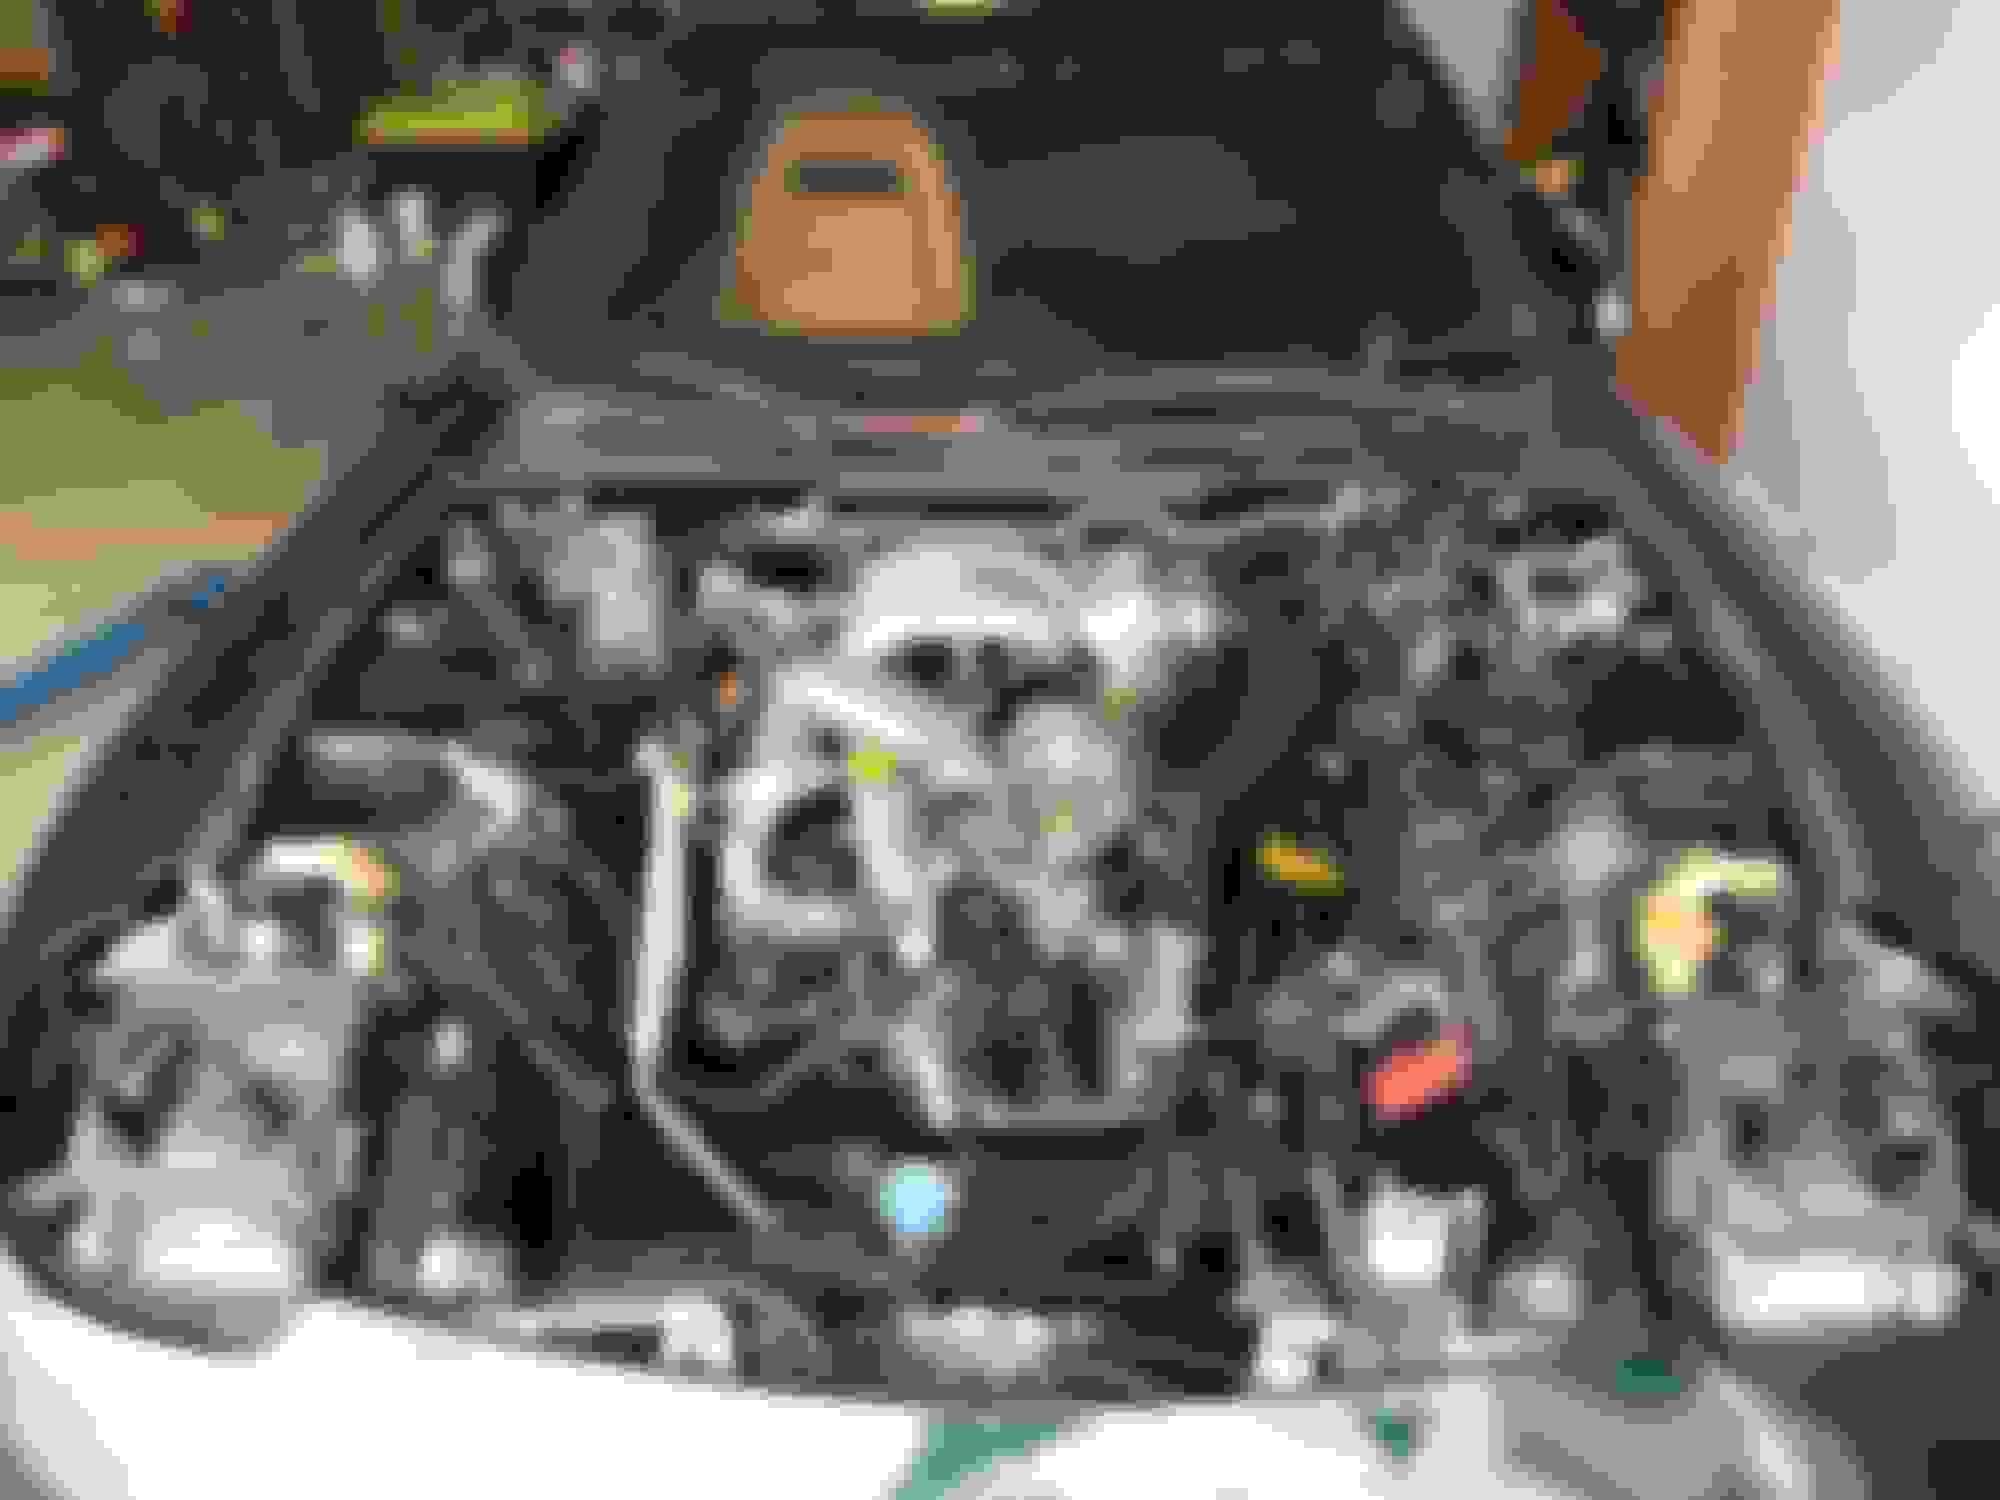
Next, since I had nothing to begin with, I purchased a JDM motor so I can use all the bits and pieces from it. I also grabbed a PowerFC, and proceeded to eliminate all emissions, and converted the turbos to non-sequential. here is a shot of the engine bay prior to paint:
So after lots of hours pulling things apart, cleaning, and moving parts over, I arrived at a complete block, ready to drop:
Took my time in getting it down in there, but it wasn't too hard to do. (no assistant on this job, so took me a bit longer)
I should mention that when everything was out, I dropped the tranny fluid, and filled it up with some royal purple synthetic gear oil, same for the Diff. Spent some extra time getting everything bolted down, fuel lines, cleaned out and hooked up (also installed a brand new Supra TT pump). Hooked up the PPF, drive line, high flow cat, and cat back system, took me a good two days as I didn't speed through it and made sure everything was done right. Also installed a brand new ACT Street/Strip clutch, which by the way was a giant pain in ***, as the Monoloc would not engage with the clutch fork.
So I needed to open the little service window on the transmission bell housing, and unbolt the pressure plate from the car flywheel so that the monoloc would engage. After I did that I tightened all the bolts back and it was good to go, but man giant PIA!! Next up will be the radiator, I also upgraded the thermoswitch to the FC version as recommended by just about everyone here (New Koyo NFlow) fans, battery, intercooler, etc. more updates to come soon
Man, I am enjoying these updates! Buying a JDM long block is a killer way to get all the little parts and accessories on an engine without buying things a little here and a little there, and you have a motor you can use for parts or sell as well.
New build thread up and running, take a peek. Unfortunately my garage isn't big enough for 2 7's and though I had a great time and loved this one, an opportunity came up that I couldn't pass up. So I had to sell this one.
 01-27-18, 01:34 AM


 .
.


