When you click on links to various merchants on this site and make a purchase, this can result in this site earning a commission. Affiliate programs and affiliations include, but are not limited to, the eBay Partner Network.
I recently purchase a 1992 FD Model-X. (Here's the auction pics)
The seller decided to get a different car for his kid and so he oem'd it.
He was still working on it and hadn't posted it for sale yet when I hit him up. He told me about the car and I loved it. It had Re Amemiya coilovers but were blown so we got HKS Hypermax S and he threw on some BBS 18x9" Rims.
I picked it up in Houston and drove it home after purchasing it. It was great, ran good, and handled amazing.
Got it home and my story begins.
-I immediately took off the old HKS filter that literally deteriorated on the way home. The replacement came next day so too easy.
-I removed the rear mounted battery to replace with a smaller one, and when i got it all out and removed the spare tire...i found car cancer.....ugh!! Rusted right threw the floor. Luckily the seller is freaking amazing and upon hearing this and seeing the Pic, ordered a new oem panel.
-due to the rot, I said to hell with it and shipped the interior to see what other cancer there may be. Luckily just a few surface rust spots.
-I had the entire interior detailed by a local guy who des professional detailing. Everything came out amazing...can't wait to put it all in. I did take out the Bose junk so ordered the carpet from a Japanese auction that was from a non-bose with back seats..score.
- I'm going to do a respray on the car and install a '99 spec rear wing with odula cf blade, an oem '99spec bumper with oem from spoiler, and oem '99spec sideskirts.
Once done with that, then finally all attention will go to getting the engine tuned, and safe.
About the car:
INTERIOR:
-MazdaSpeed CF cluster cover, HVAC cover, and Center console cover
-DEFI (4) gauges
-Stereo is non existent now, had some old alpine system with Waaaaaaay too much cabling that I stripped. Likely just going to put a dual din screen and some new speakers in the door.(will run cabling to the rear mounting points but since it was a bose, I have to get the impossible to find red speaker covers and speaker mounts for rear.
-The rest is stock Red, less the two seats currently in it Black R1 Suede(I have the passenger oem red to restore, but still trying to source the drivers side in red), I bought a spirit-r shift ****, spirit-r knock-off boot, spirit-r knock of e-brake boot, a red stitch (guessing miata) oem Nardi steering wheel( it's the closest I'm willing to go as I love the spirit-r esthetic....bandwagon I know), i also am going to eventually replace the ebrake handle stitching with red waxed thread....hate if y'all want I love the look hahah)
EXTERIOR:
-'99 spec taillights
-Currently oem stock all around (going '99 spec with respray)
ENGINE(well what I know)
-HKS T04 .70AR turbo.
-HKS divorced wastegate (atmospheric rn, will likely recirc down the line)
-HKS exhaust ending after the straight through cat.
-Kakimoto Catback
-Blitz FMIC with HKS IC piping
-injectors(unknown)
-Fuel system(unkown pump)
-boost controller(HKS Boost Contoller)
-ECU MGMT(HKS F-CON iS....yay :/)
-Clutch(unknowN)
-LSD(appears to be some sort of 1.5 way but unknown)
I'll post updates as I make progress, but I'd love feed back and any help or thoughts as i go along as im a previous s13/s14 guy....18years ago (did have an NA FC for a short stint 20 years ago lol but blew that up quickly hahaha)
Last edited by Driftergibbs; 02-18-24 at 01:58 AM.
I had something similar going on with my car (several holes in the spare tire well) and found out that there are some seals near the plastic triangle pieces near the tail lights that tend to dry out with age and shrink, thus allowing water to get in. I haven't gotten around to re-sealing that area yet but iirc the fix was to use some form of sealant on the plastic where the seal was. Don't believe I have any photos on hand but I will take one for you next time I'm in the garage.
Congratulations, this looks like it will be a great build!
Originally Posted by Driftergibbs
-Stereo is non existent now, had some old alpine system with Waaaaaaay too much cabling that I stripped. Likely just going to put a dual din screen and some new speakers in the door.(will run cabling to the rear mounting points but since it was a bose, I have to get the impossible to find red speaker covers and speaker mounts for rear.
If you still have the plastic "cubby bins" that the Bose cars had in place of the rear speaker grills, it's pretty easy to convert those into a pair of speaker grills so you can mount rear speakers behind them. I did that on my FD, here's the how-to thread on the speaker grill conversion: https://www.rx7club.com/3rd-generati...ed-fd-1141509/
Since the speaker grill fabric covers the entire "bose cubby", you can either use a black speaker fabric like I did, or search for a similar red speaker fabric.
Alternatively, you can try to find them used, or you can fabricate your own brackets out of sheet AL, which is what I ended up doing (JP3 wasn't making them back when I needed them!). There's another thread on here that talks to the DIY brackets, which is here: https://www.rx7club.com/3rd-generati...ed-fd-1140400/
Congratulations, this looks like it will be a great build!
If you still have the plastic "cubby bins" that the Bose cars had in place of the rear speaker grills, it's pretty easy to convert those into a pair of speaker grills so you can mount rear speakers behind them. I did that on my FD, here's the how-to thread on the speaker grill conversion: https://www.rx7club.com/3rd-generati...ed-fd-1141509/
Since the speaker grill fabric covers the entire "bose cubby", you can either use a black speaker fabric like I did, or search for a similar red speaker fabric.
Alternatively, you can try to find them used, or you can fabricate your own brackets out of sheet AL, which is what I ended up doing (JP3 wasn't making them back when I needed them!). There's another thread on here that talks to the DIY brackets, which is here: https://www.rx7club.com/3rd-generati...ed-fd-1140400/
spent the day fabricating in my wannabe garage... here's the results so far. Thank you @Pete_89T2
Last edited by Driftergibbs; 02-19-24 at 10:27 AM.
Love seeing more RHD build threads. One thing to note, if the car sat at all, I would pull the fuel pump and sending using to see if there is any rust build up in the tank for peace of mind.
Love seeing more RHD build threads. One thing to note, if the car sat at all, I would pull the fuel pump and sending using to see if there is any rust build up in the tank for peace of mind.
I was going to pull just to see what type of fuel pump there is...but great point @boostin13b
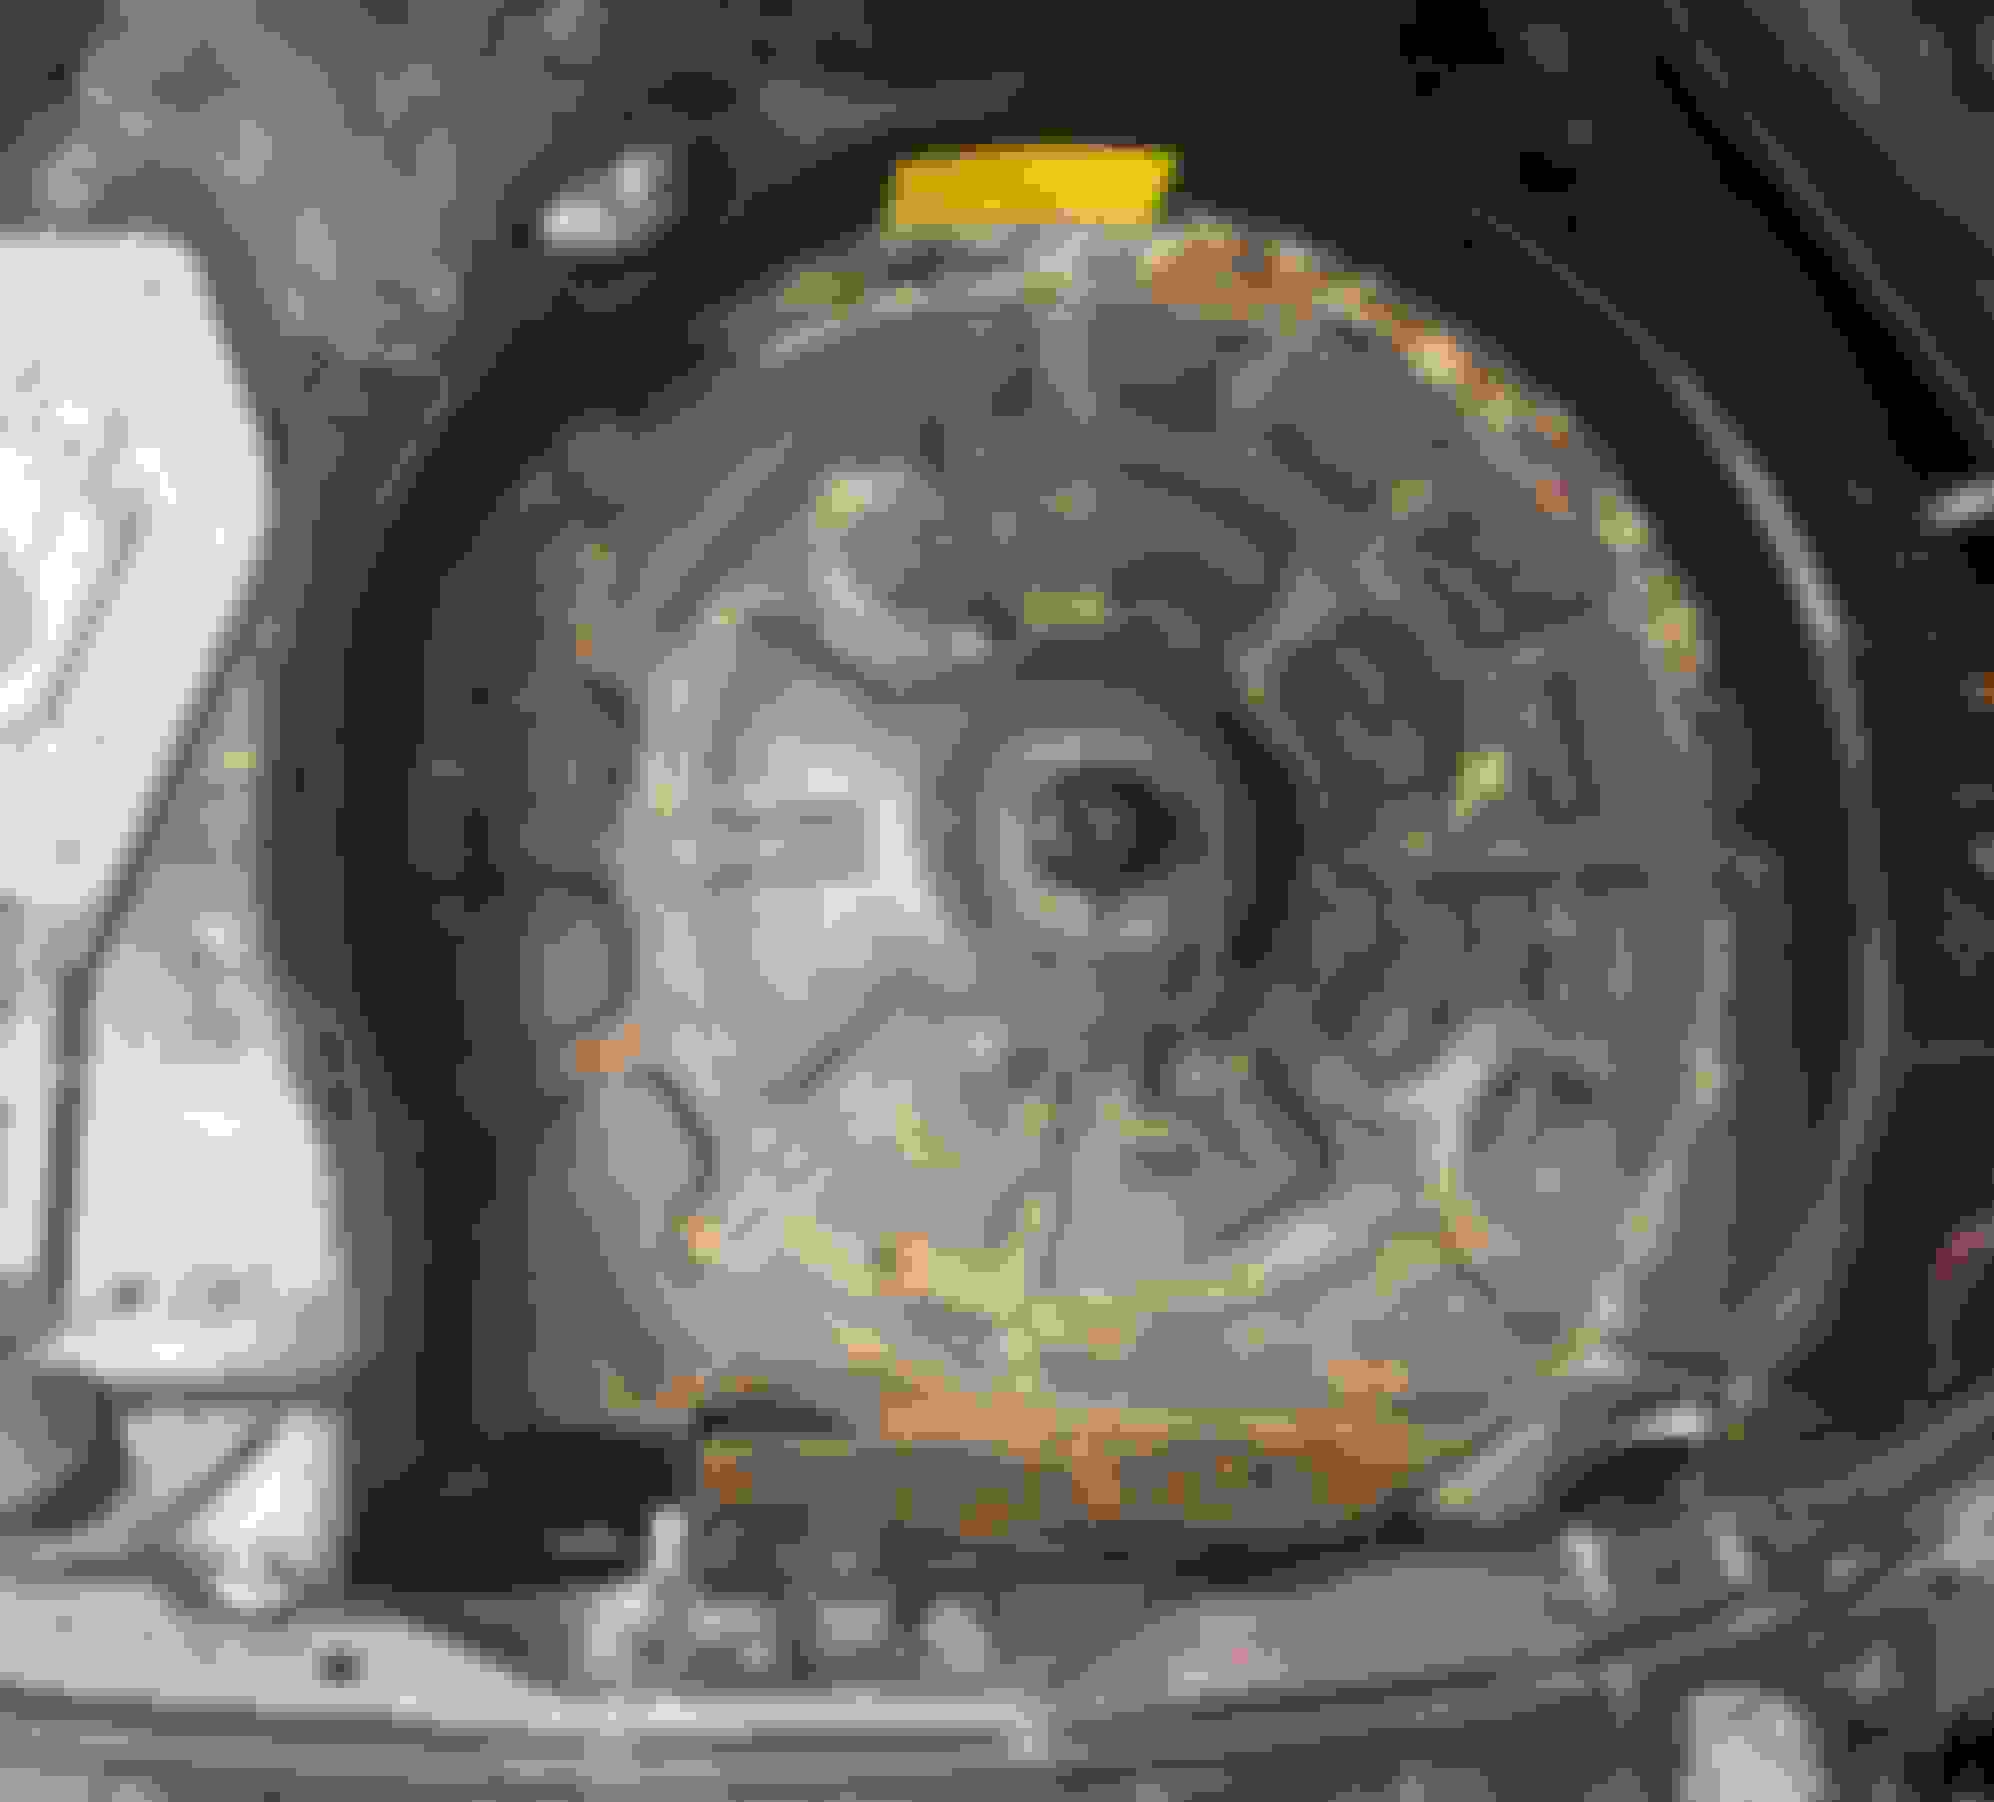
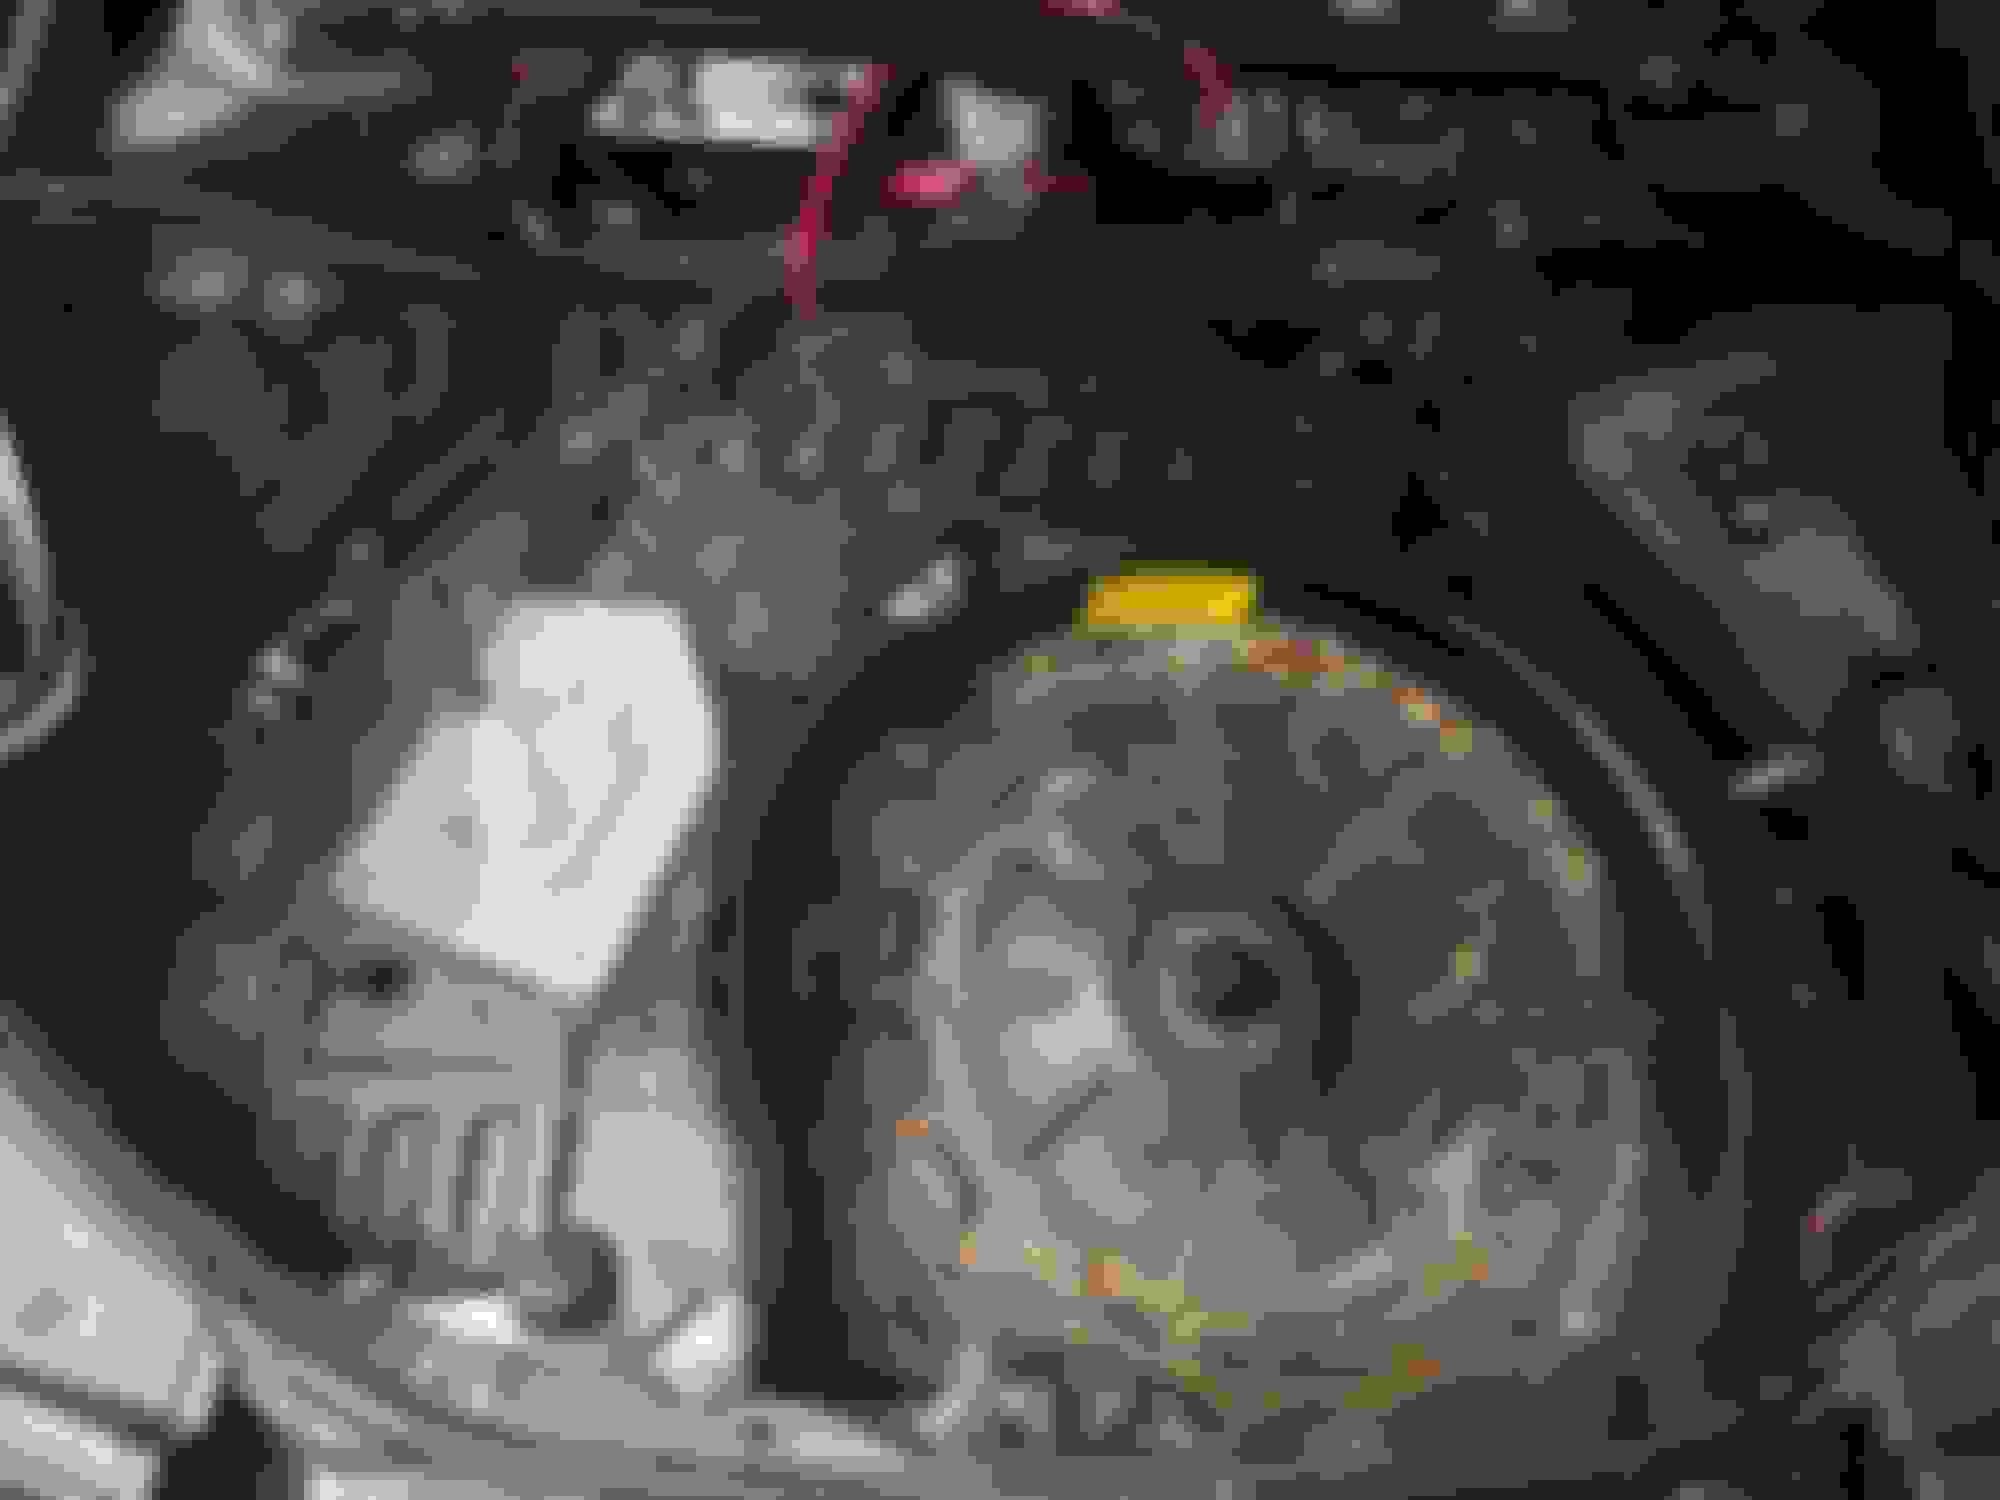
Driftergibbs, here is the area I was referring to earlier. Notice how the black seal under the white plastic piece that locates the screw has shrunk and fallen apart. If you can re-seal that, no more water should be able to enter. Also, if you want to open up another can of worms, the sound deadening mat will loosen at the edges over time and can wick moisture in between it and the panel and corrode. I saw some evidence of that on my car in certain areas, but it was extremely minor.
Driftergibbs, here is the area I was referring to earlier. Notice how the black seal under the white plastic piece that locates the screw has shrunk and fallen apart. If you can re-seal that, no more water should be able to enter.
Nice job on the speaker brackets!
holy smokes thank you!
And thank you on the bracket feedback.
I've decided to change direction.... im going to order the 6�9 jp3 bracket, sound deadening, and the 6.5 adapter for the front.
I proved that I'm capable of making an decent bracket, BUT I don't want to make two more whilst refactoring tor 6x9's....lol
Im going to order 100sqft of Amazon Basic sound Deadening....after reading all night there surprisingly have been great feedback on it. The car is SUPER loud with the divorced wastegate and the straight through exhaust. The goal is for an oemish street car....so I'm trying to make the ride inside quieter and the stereo decent.
Heading to park with the kids, after I'm going to take a stab at the sending unit and looke for the HOPEFULLY non-existent rust in it! Hahahaha
Really appreciate all the feed back guys! Makes the experience more fun to share and to have tons of eyes on to catch things I'd otherwise miss
Love seeing more RHD build threads. One thing to note, if the car sat at all, I would pull the fuel pump and sending using to see if there is any rust build up in the tank for peace of mind.
Dirty Cleaned before removal Stock? Going to run the PN....Google says R32 GTR! Lol Looks great Looks great
Last edited by Driftergibbs; 02-19-24 at 05:41 PM.
Everything is just about good for the interior to go back in(minus the rear hatch). The carpet came out great but still stunk...stunk up my whole office where it's been resting.
I researched the fd carpet smell, and there is a normal funk to them...but this smelled like a old water mold or something. So i decided to leave it upside-down outside in the texas sun to see if it'd help.
As i flipped it i noticed the padding was disintegrating and that's where the odor came from.
So current effort is removing it all and putting new pad down after an underside wash. I suspect the organic material in the padding with 30 years of moisture and varying tempatures is causing it all to break down. More photos as I get it off.
Oh BTW, some of the padding will peel off, the rest I'm using an orbital sander with 80 grit on
and I ordered this Amazon jute padding...it was next day vs standard jute....I'm sure it'll do:
Once today's Amazon orders arrive, I'll be running the rear Audio Cables, and adding the controversial Amazon sound deadening...fun times updates to follow.
Late night update.
-Got the 14 AWG OFC wires installed:
-Got about half way with the sound deadening...
Used 5 of 9 (18"x32" sheets) so we'll see how far it'll go. I have 9 more coming but Amazon has pushed package till the 28th now. Ugggggh. I did however order a box of smaller ones that'll be here in the AM.
The goal tomorrow is to finish the entire front, get the foam on the carpet, and get the carpet and dash back in tomorrow! We shall see
Check to see if your tach has the little window for the cruise control "hold" light. It is quite uncommon. Also RHD with cruise control are also more rare. The components differ from the LHD cruise control in a number of ways.
The RHD automated HVAC is also less common. Note that the system uses four sensor (compared to the normal systems two) and it takes a while for the systems black box to sort out the sensor inputs. As a result some people think the system has stopped working (and it may well have)., but it is just taking its time.
The "Sakura" pattern floor matts we a later option. They seem to attract good prices, even in quite used condition.
As you have probably researched, the red leather seats were re-introduced in the Spirit R, Type B, after being absent for the line-up for a number of years.
[QUOTE=Redbul;12594280]Check to see if your tach has the little window for the cruise control "hold" light. It is quite uncommon. Also RHD with cruise control are also more rare.
Although the fully automatic HVAC was offered on some LHD cars, the USDM owners manual does not seem to explain how it operates. The JDM owners manual takes six pages to explain. Here is a couple pages of that.
Last update today:
-installed new DEI padding
barely had to trim just rolled it out and cut the body holes and such.
-Installed carpet:
soooo excited to have it in...AND IT DOESN'T SMELL! Wooohoooo
-installed heatercore/blower:
...pretty straight forward...3 nuts and 2 plugs. Still need new coolant lines and to bleed system.
-Started to install dash:
...again pretty straight forward, so far I've plugged in 2 blue plugs behind the driver's side, 1 long blue on and 2 (blue or green) plugs on the passenger side. Then placed the dash in place for bolts.
and thats it for tonight! Hard push for me, but worth it.
I found what appears to be a light sensor that looks to sit under driver's side defroster....its dangling and doesnt appear to click in place. If anyone has any isight it'd be much appreciated!
 02-18-24, 01:52 AM


 ...fun times updates to follow.