When you click on links to various merchants on this site and make a purchase, this can result in this site earning a commission. Affiliate programs and affiliations include, but are not limited to, the eBay Partner Network.
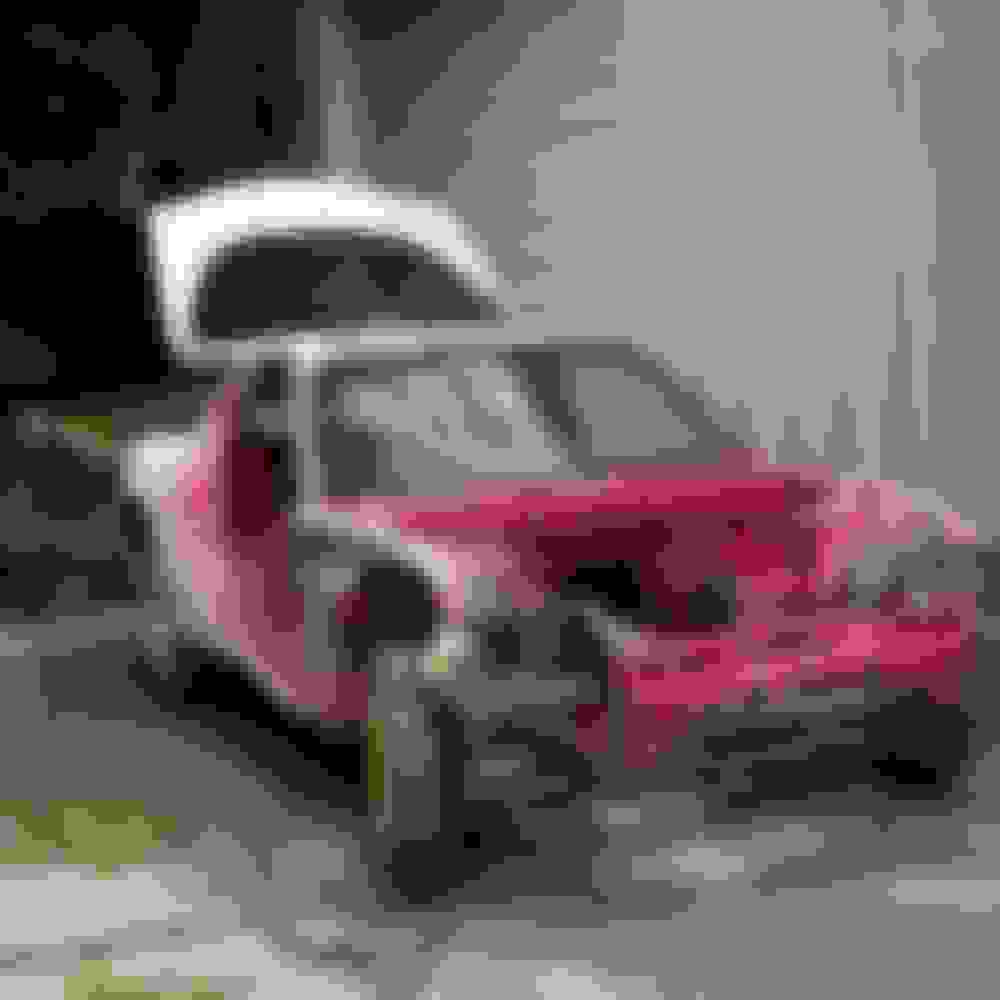
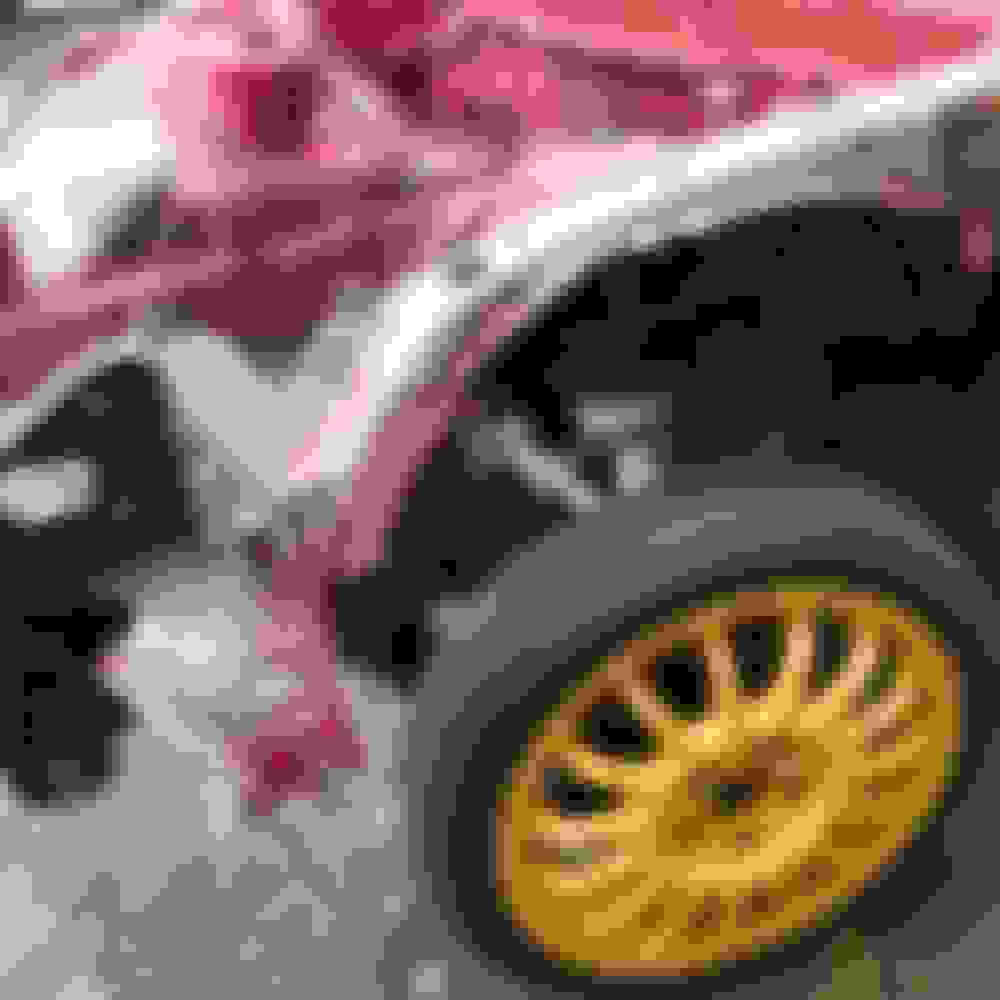
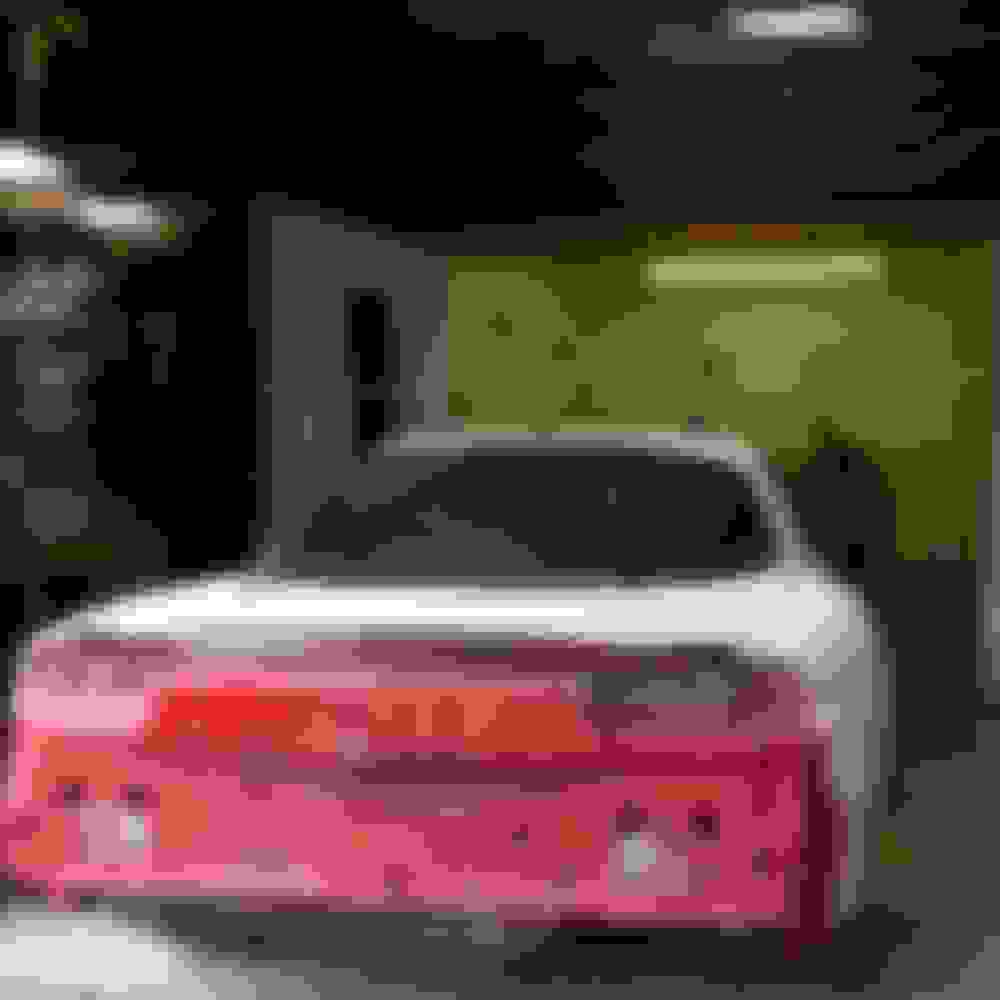
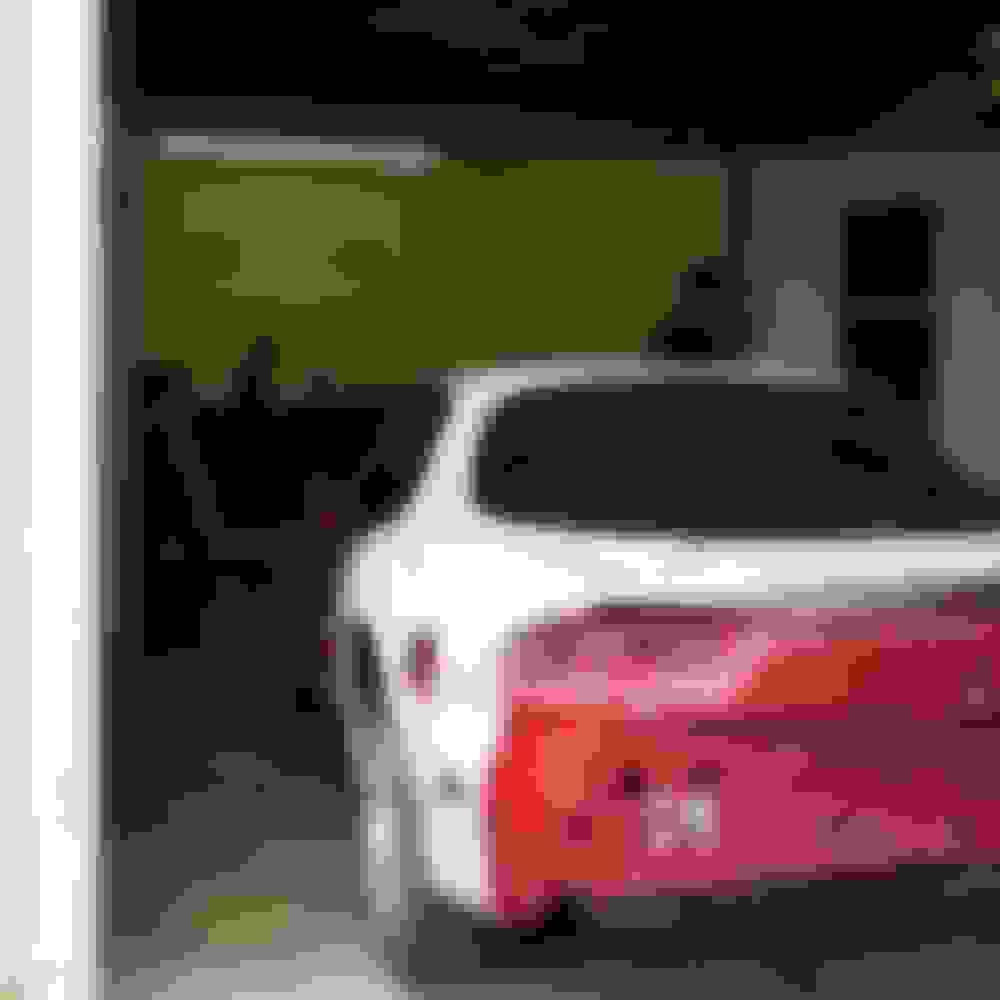
Alright, we have been working up to this for the past five years. our first was to restore one to OEM, the second was a true twin turbo 13B which was posted in the introduce yourself section, and now our 20B. I wanted to start this with a photo just to show how long it has sat and what we are going to do to it. I will be updating as we have progress.
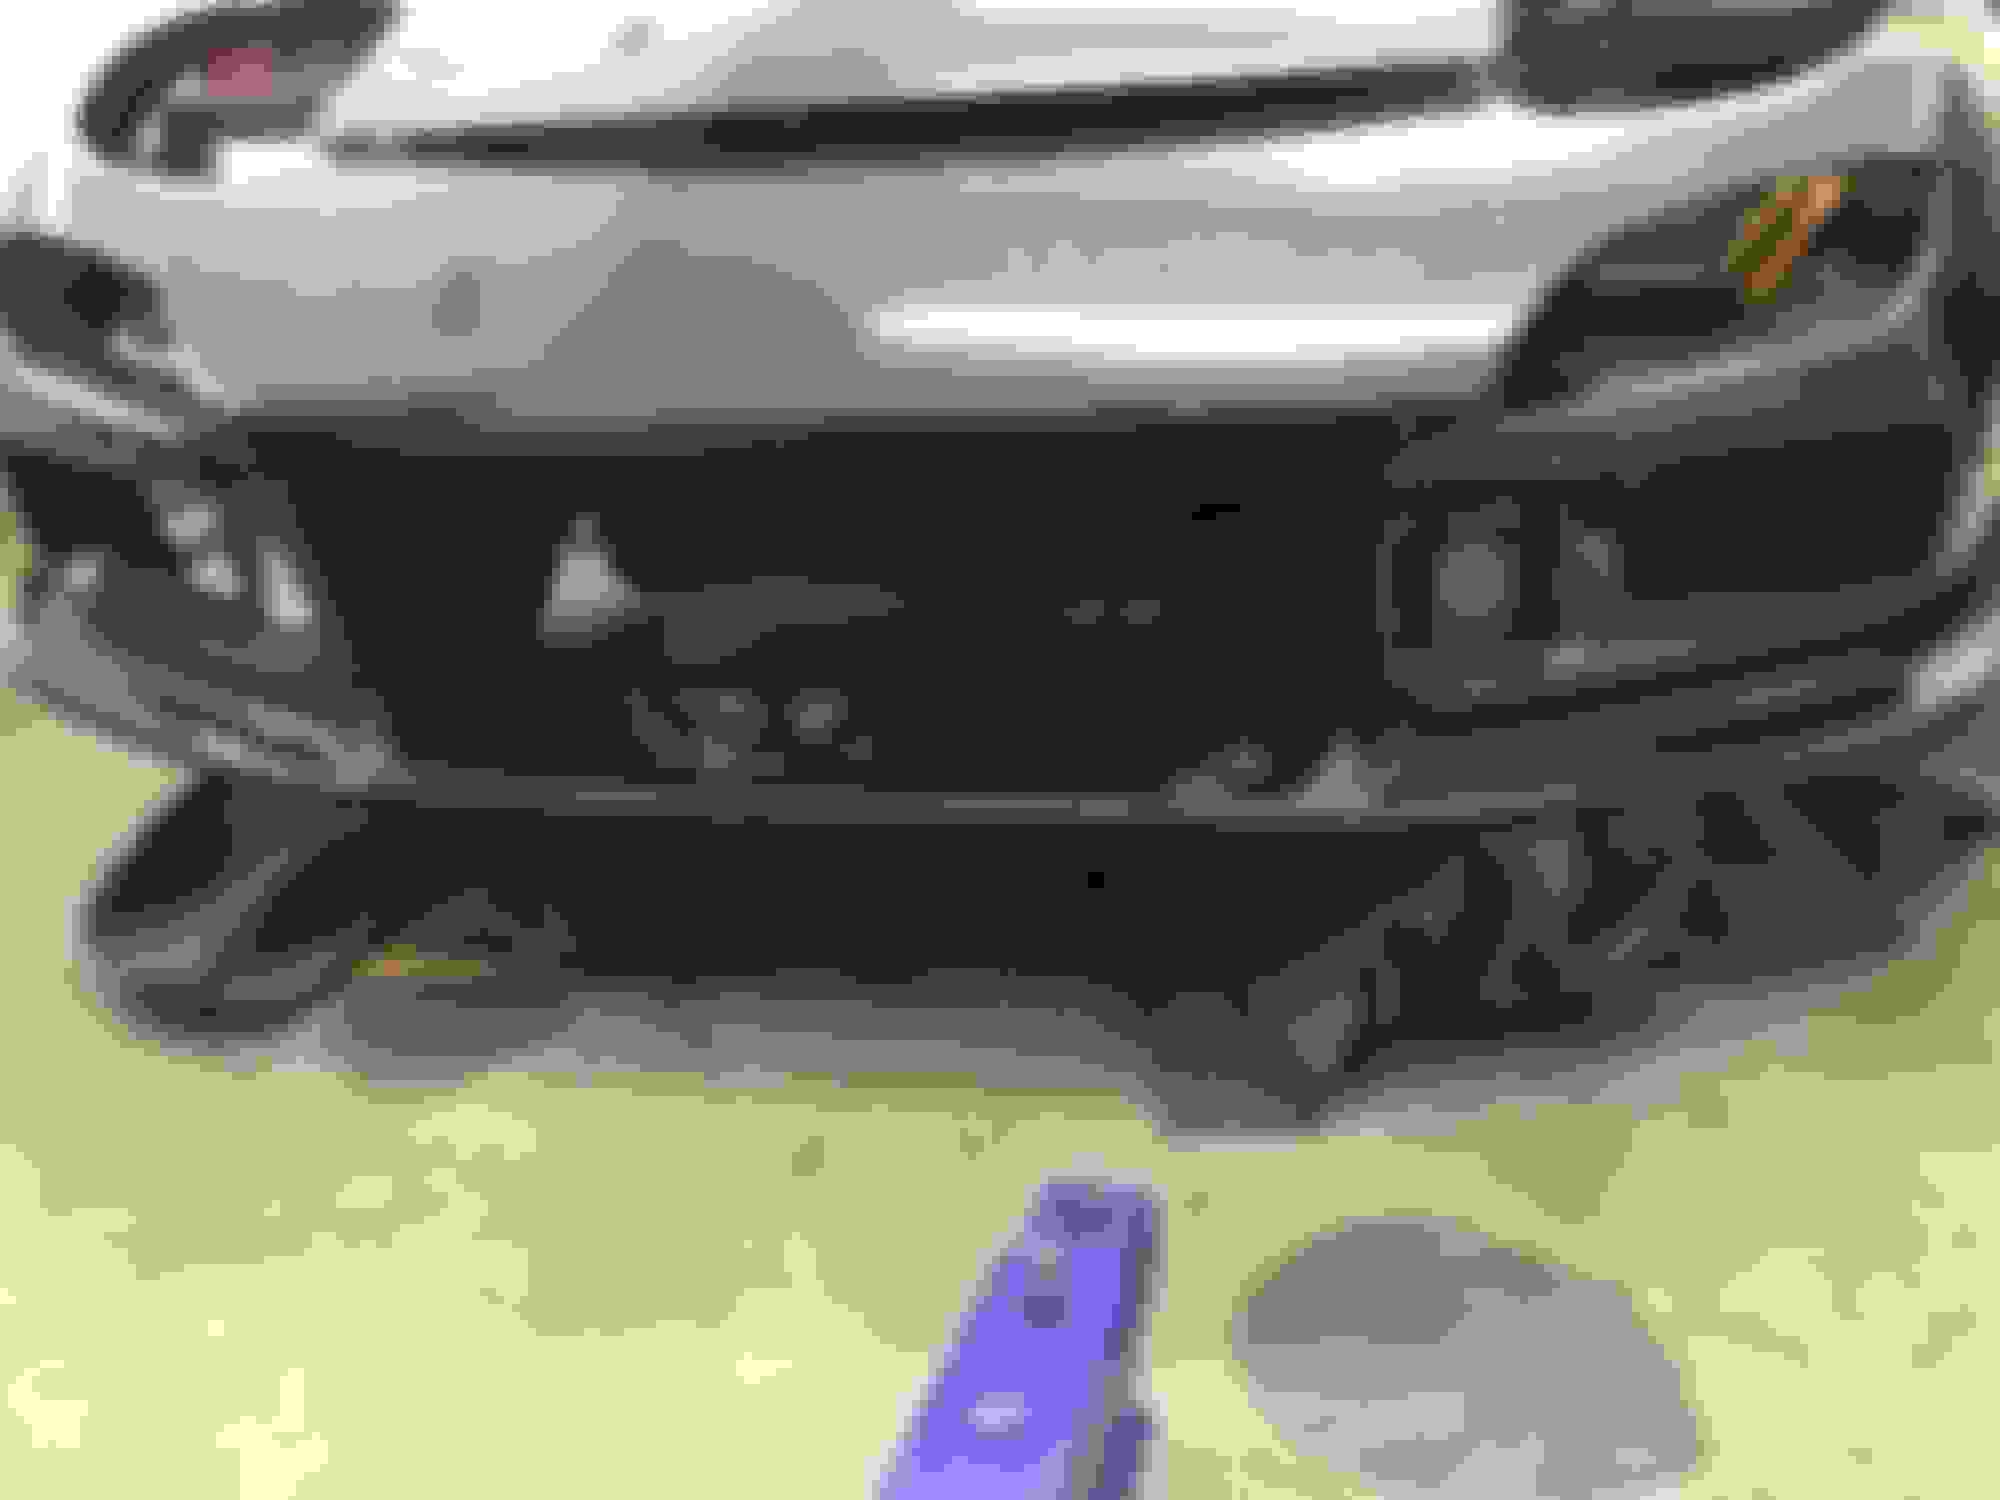
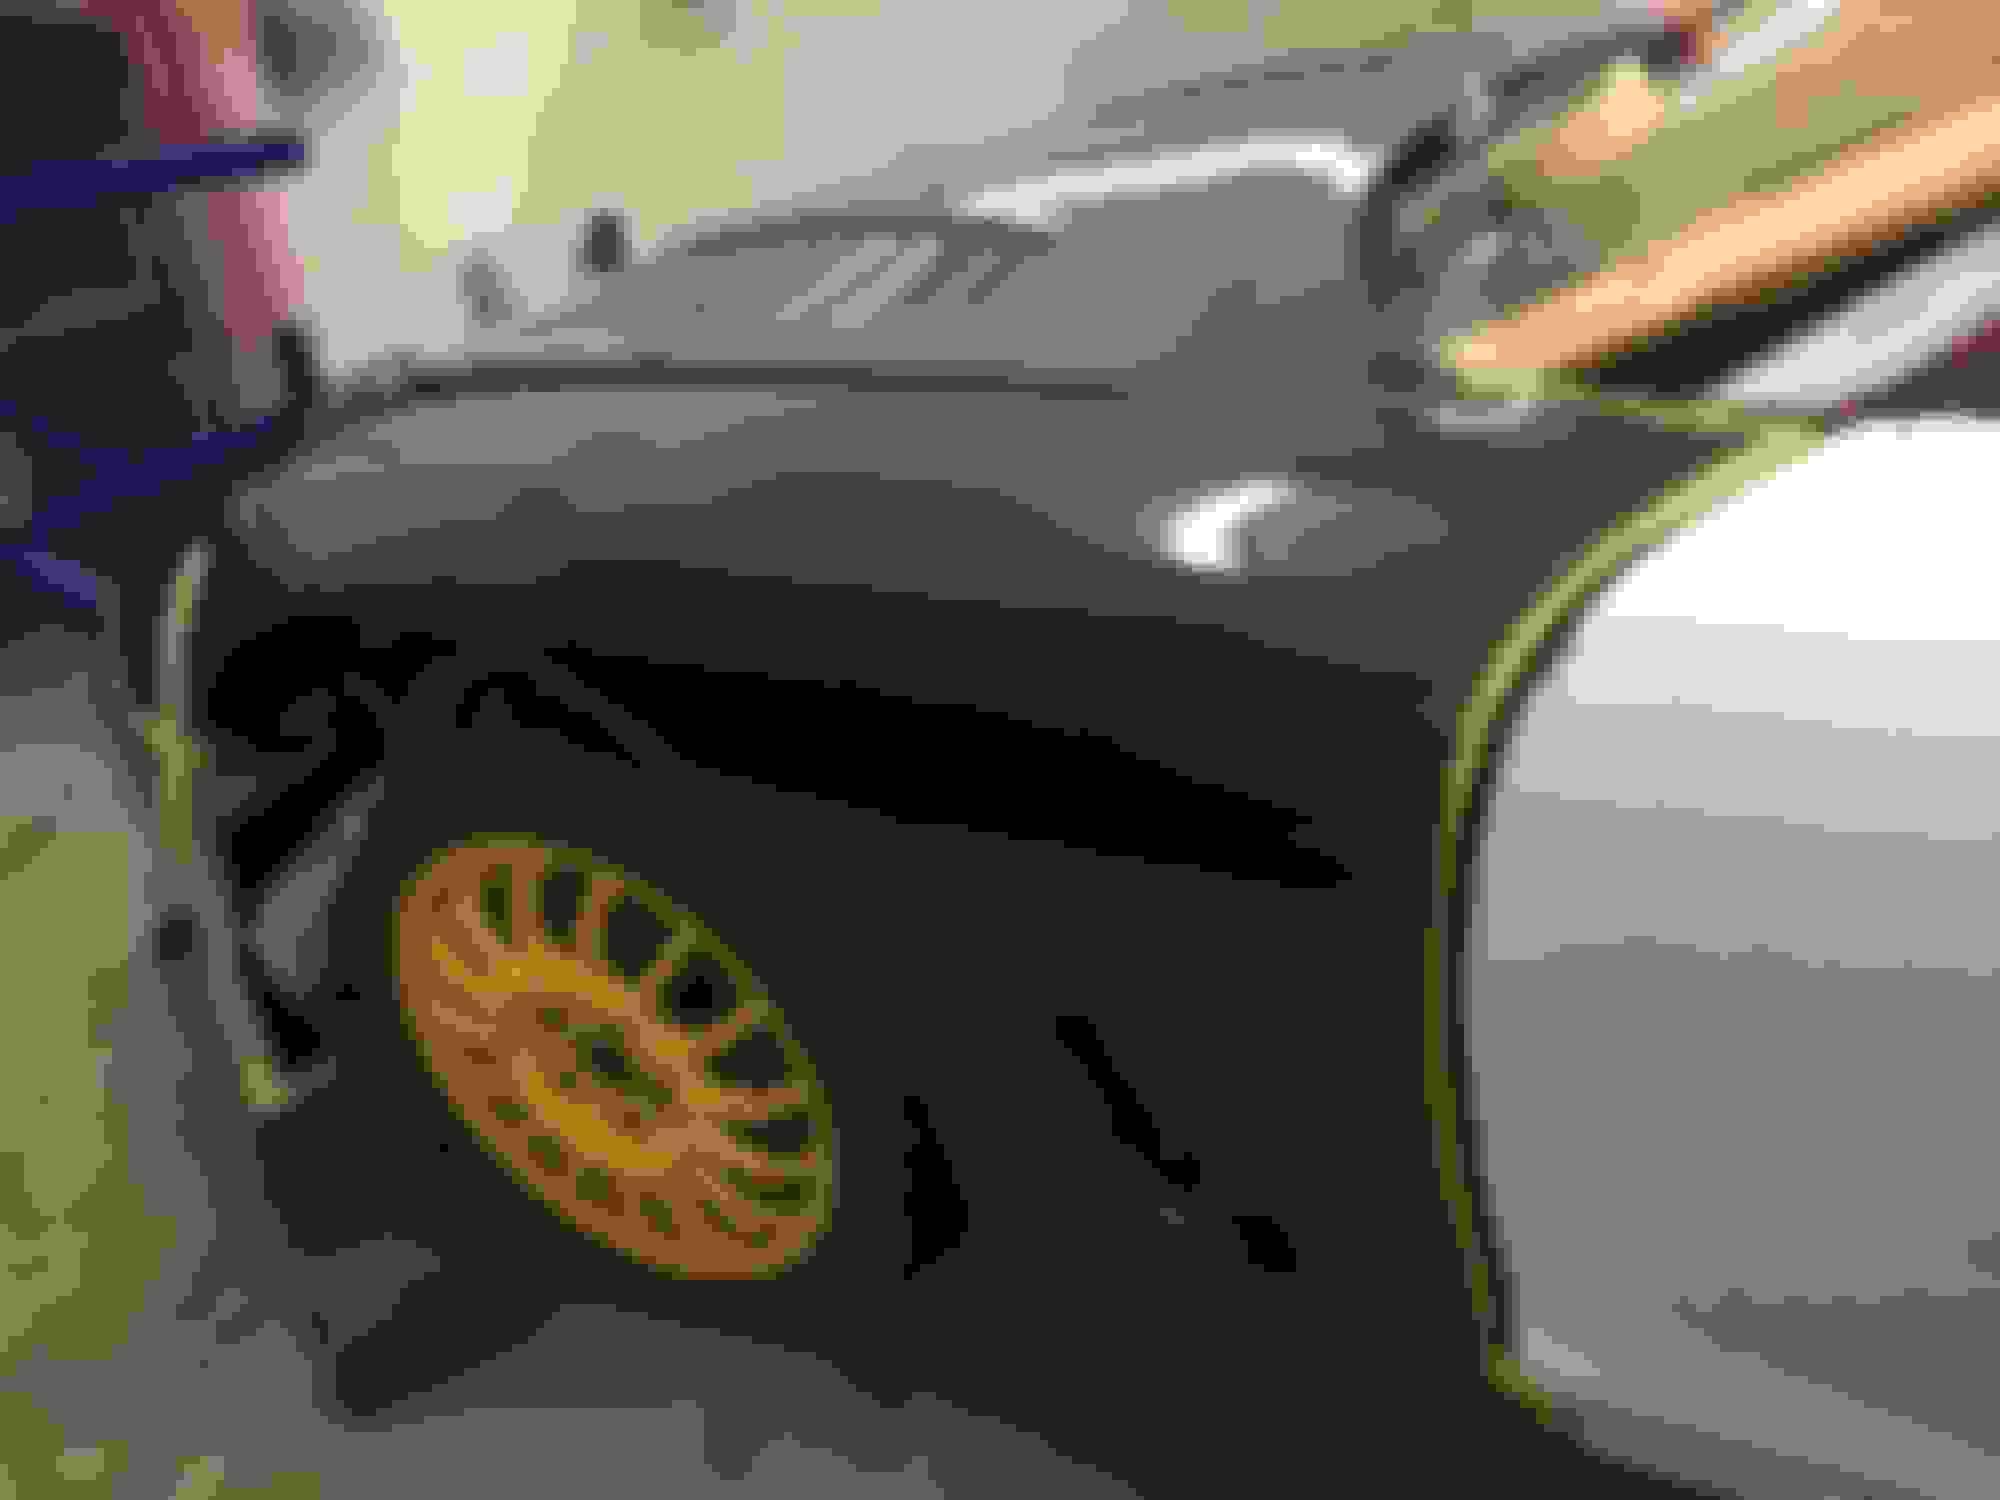
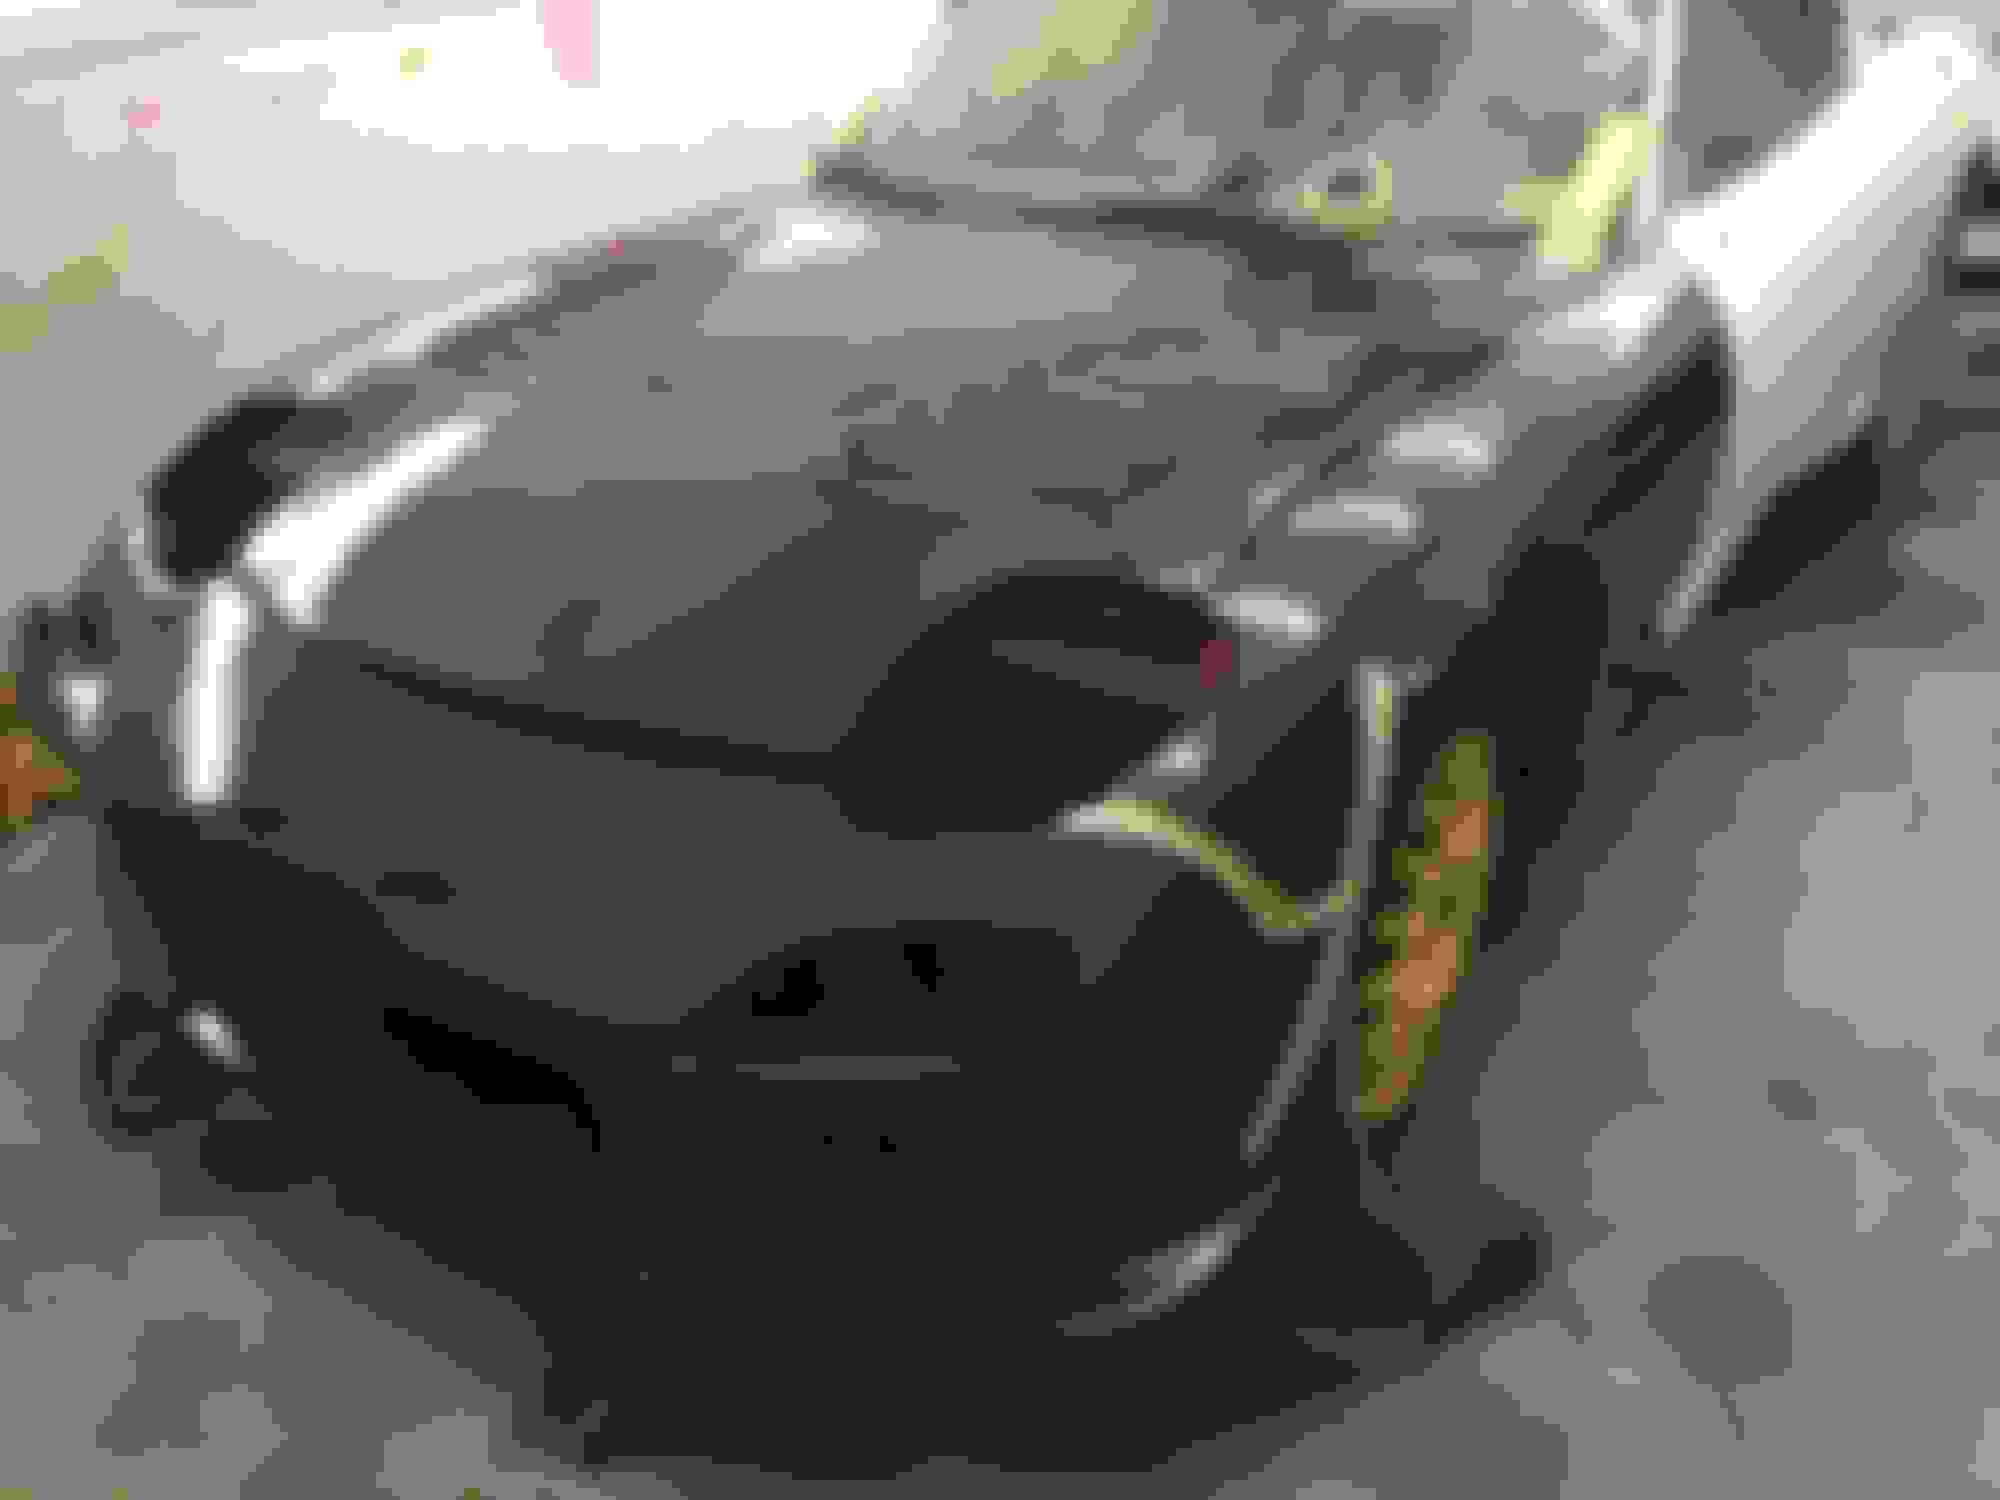
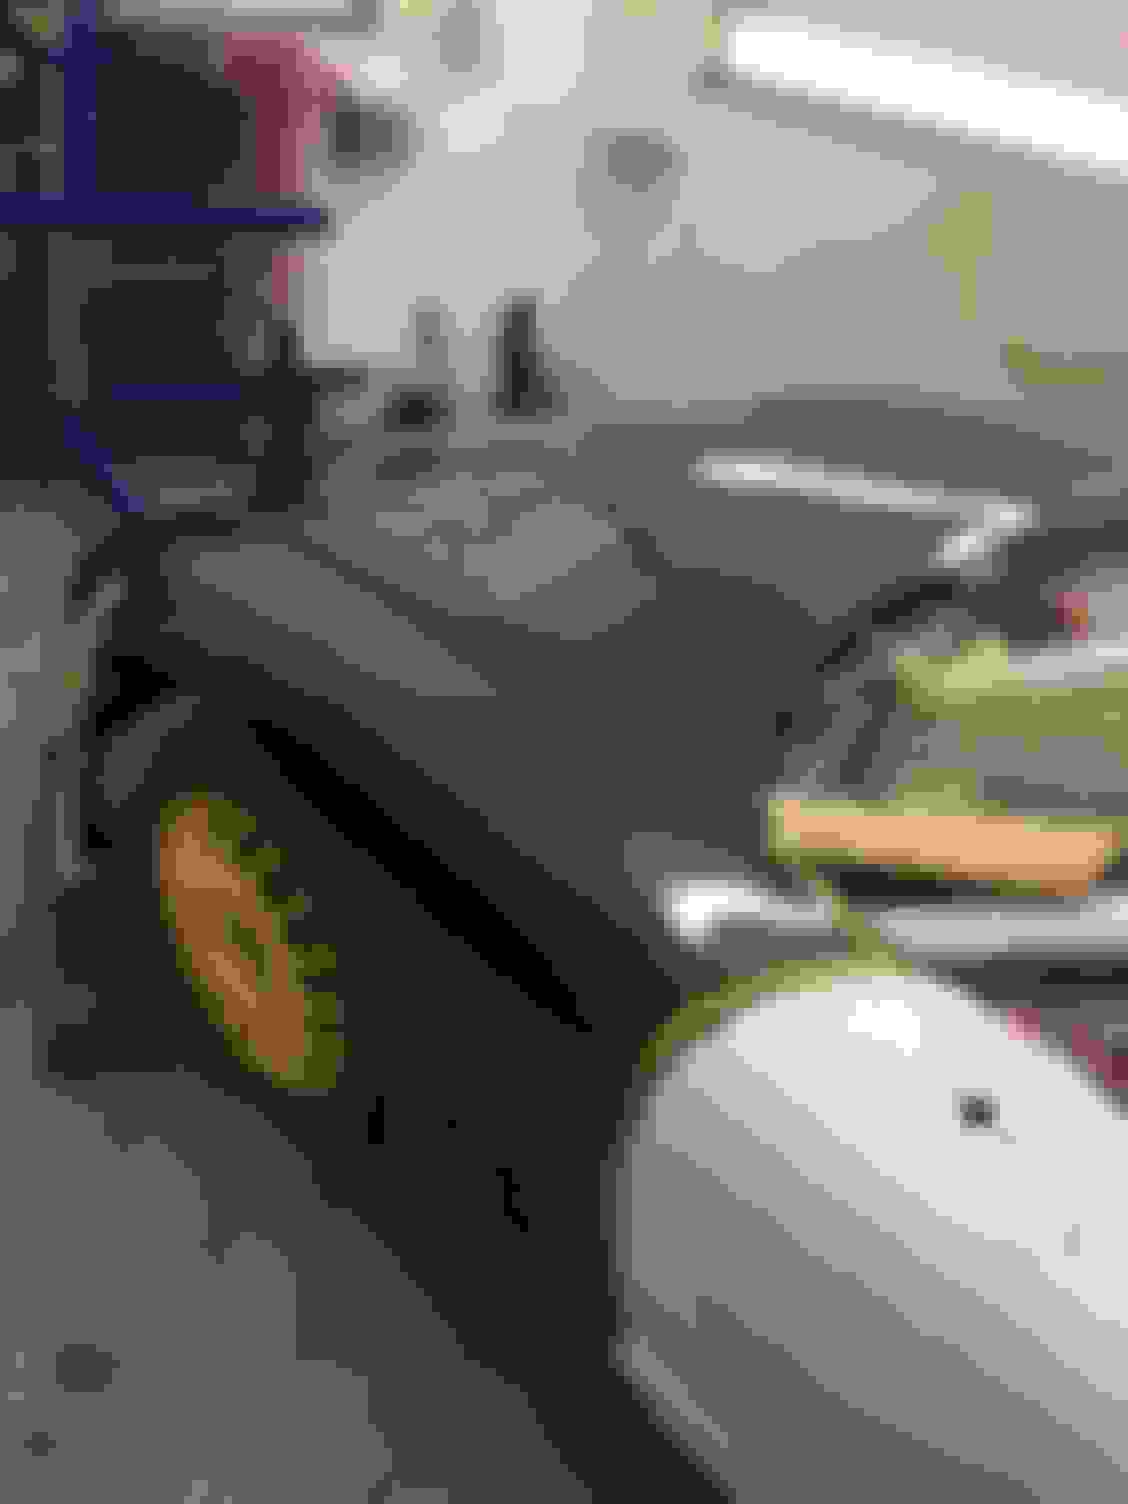
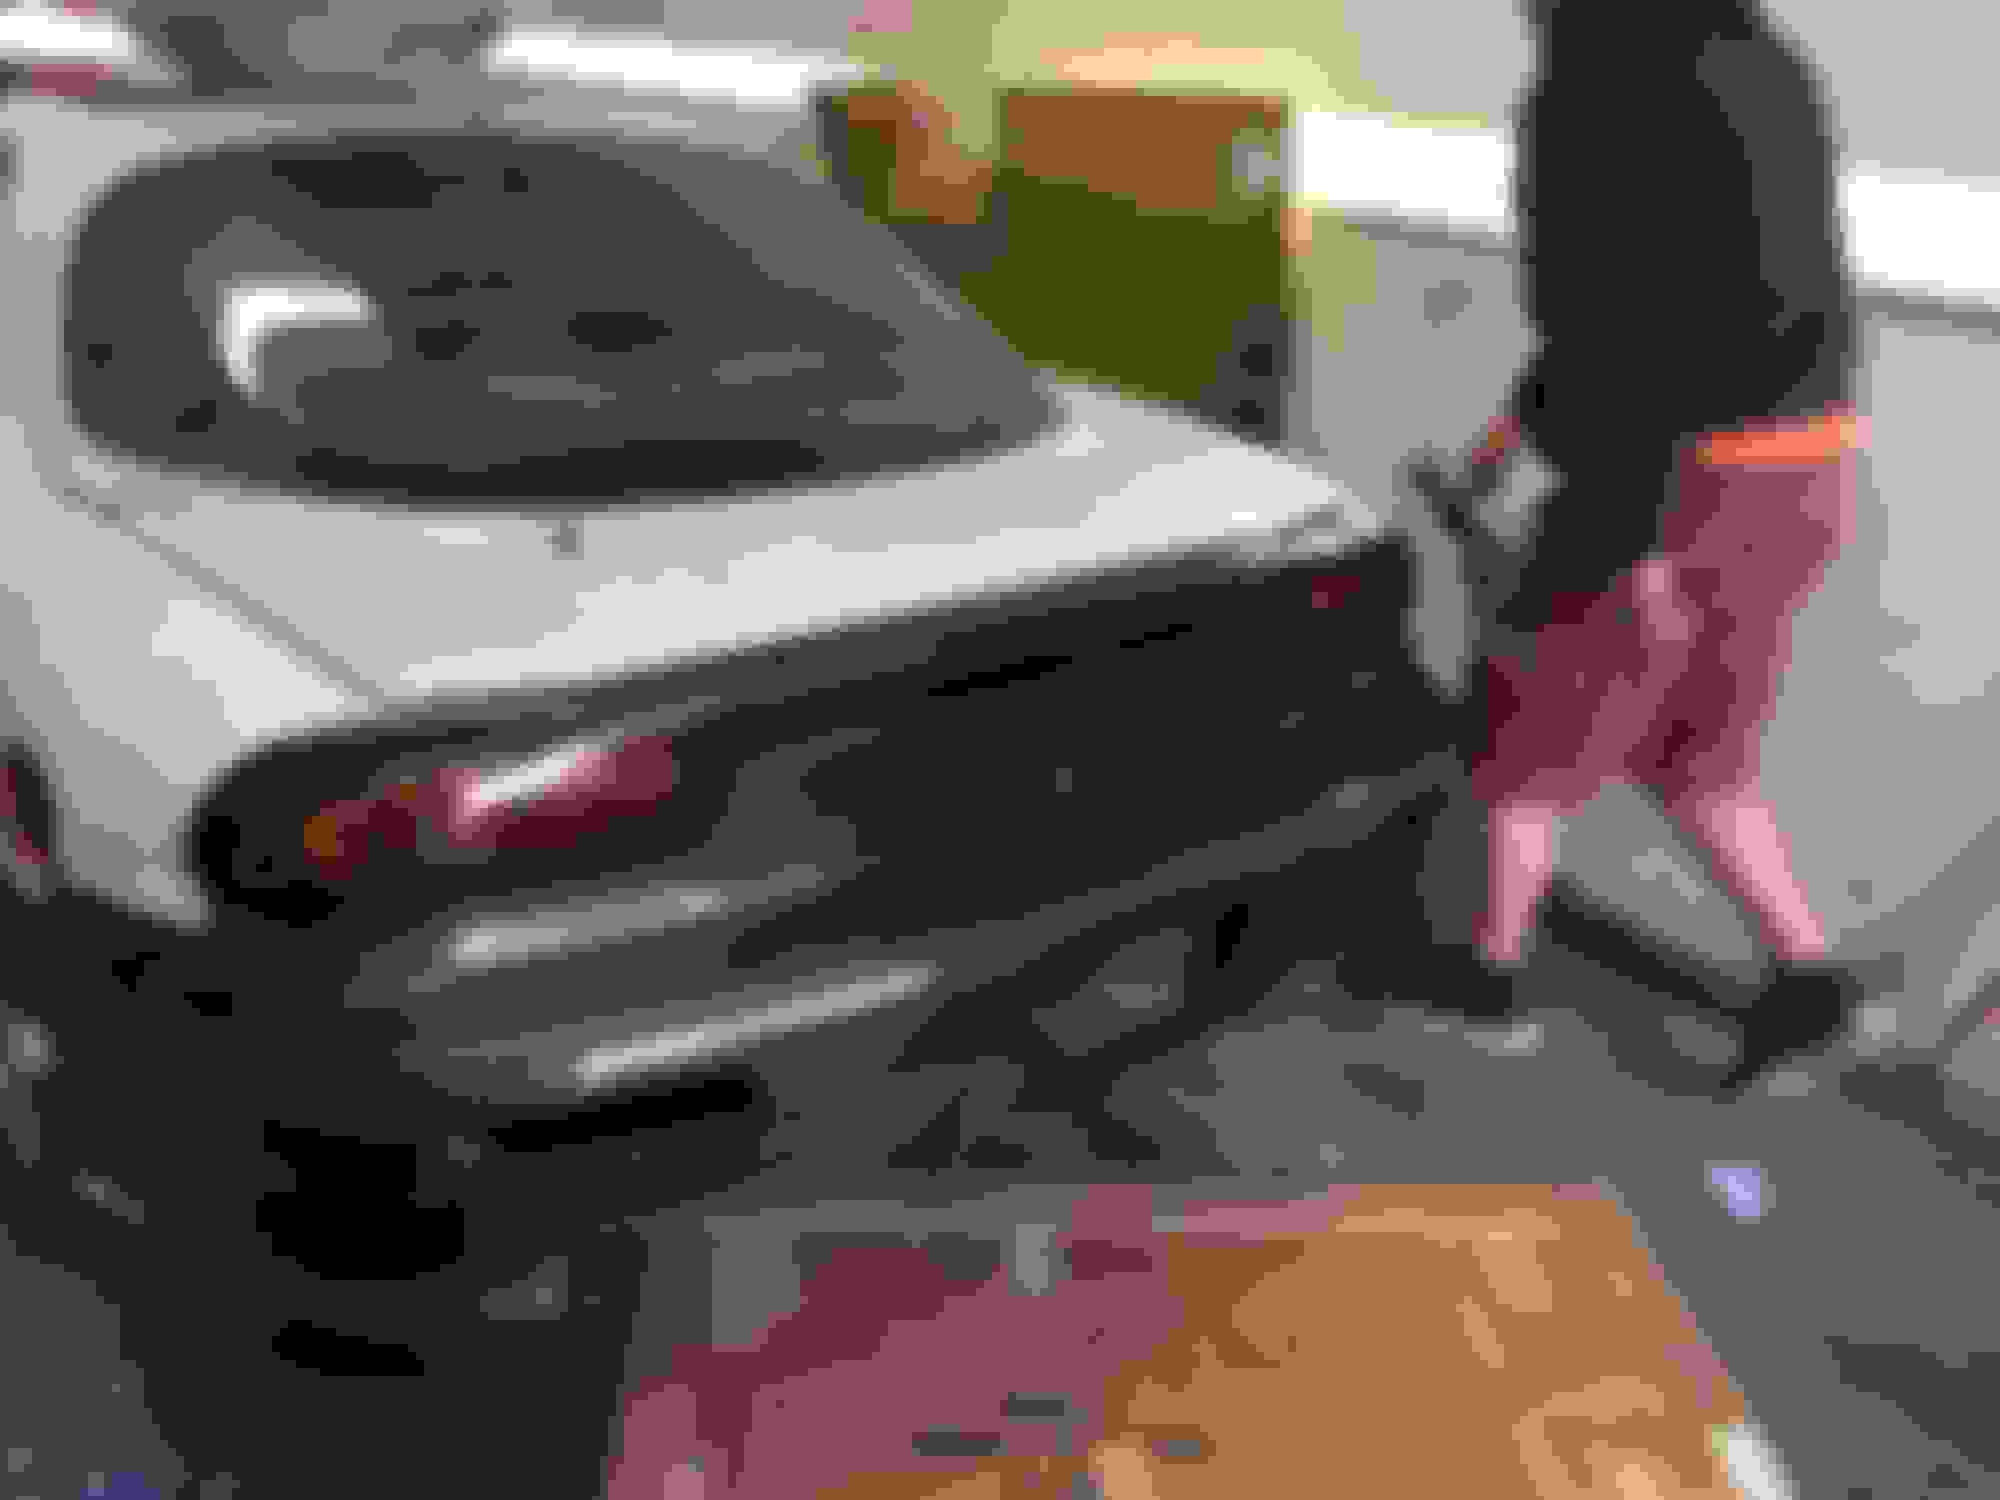
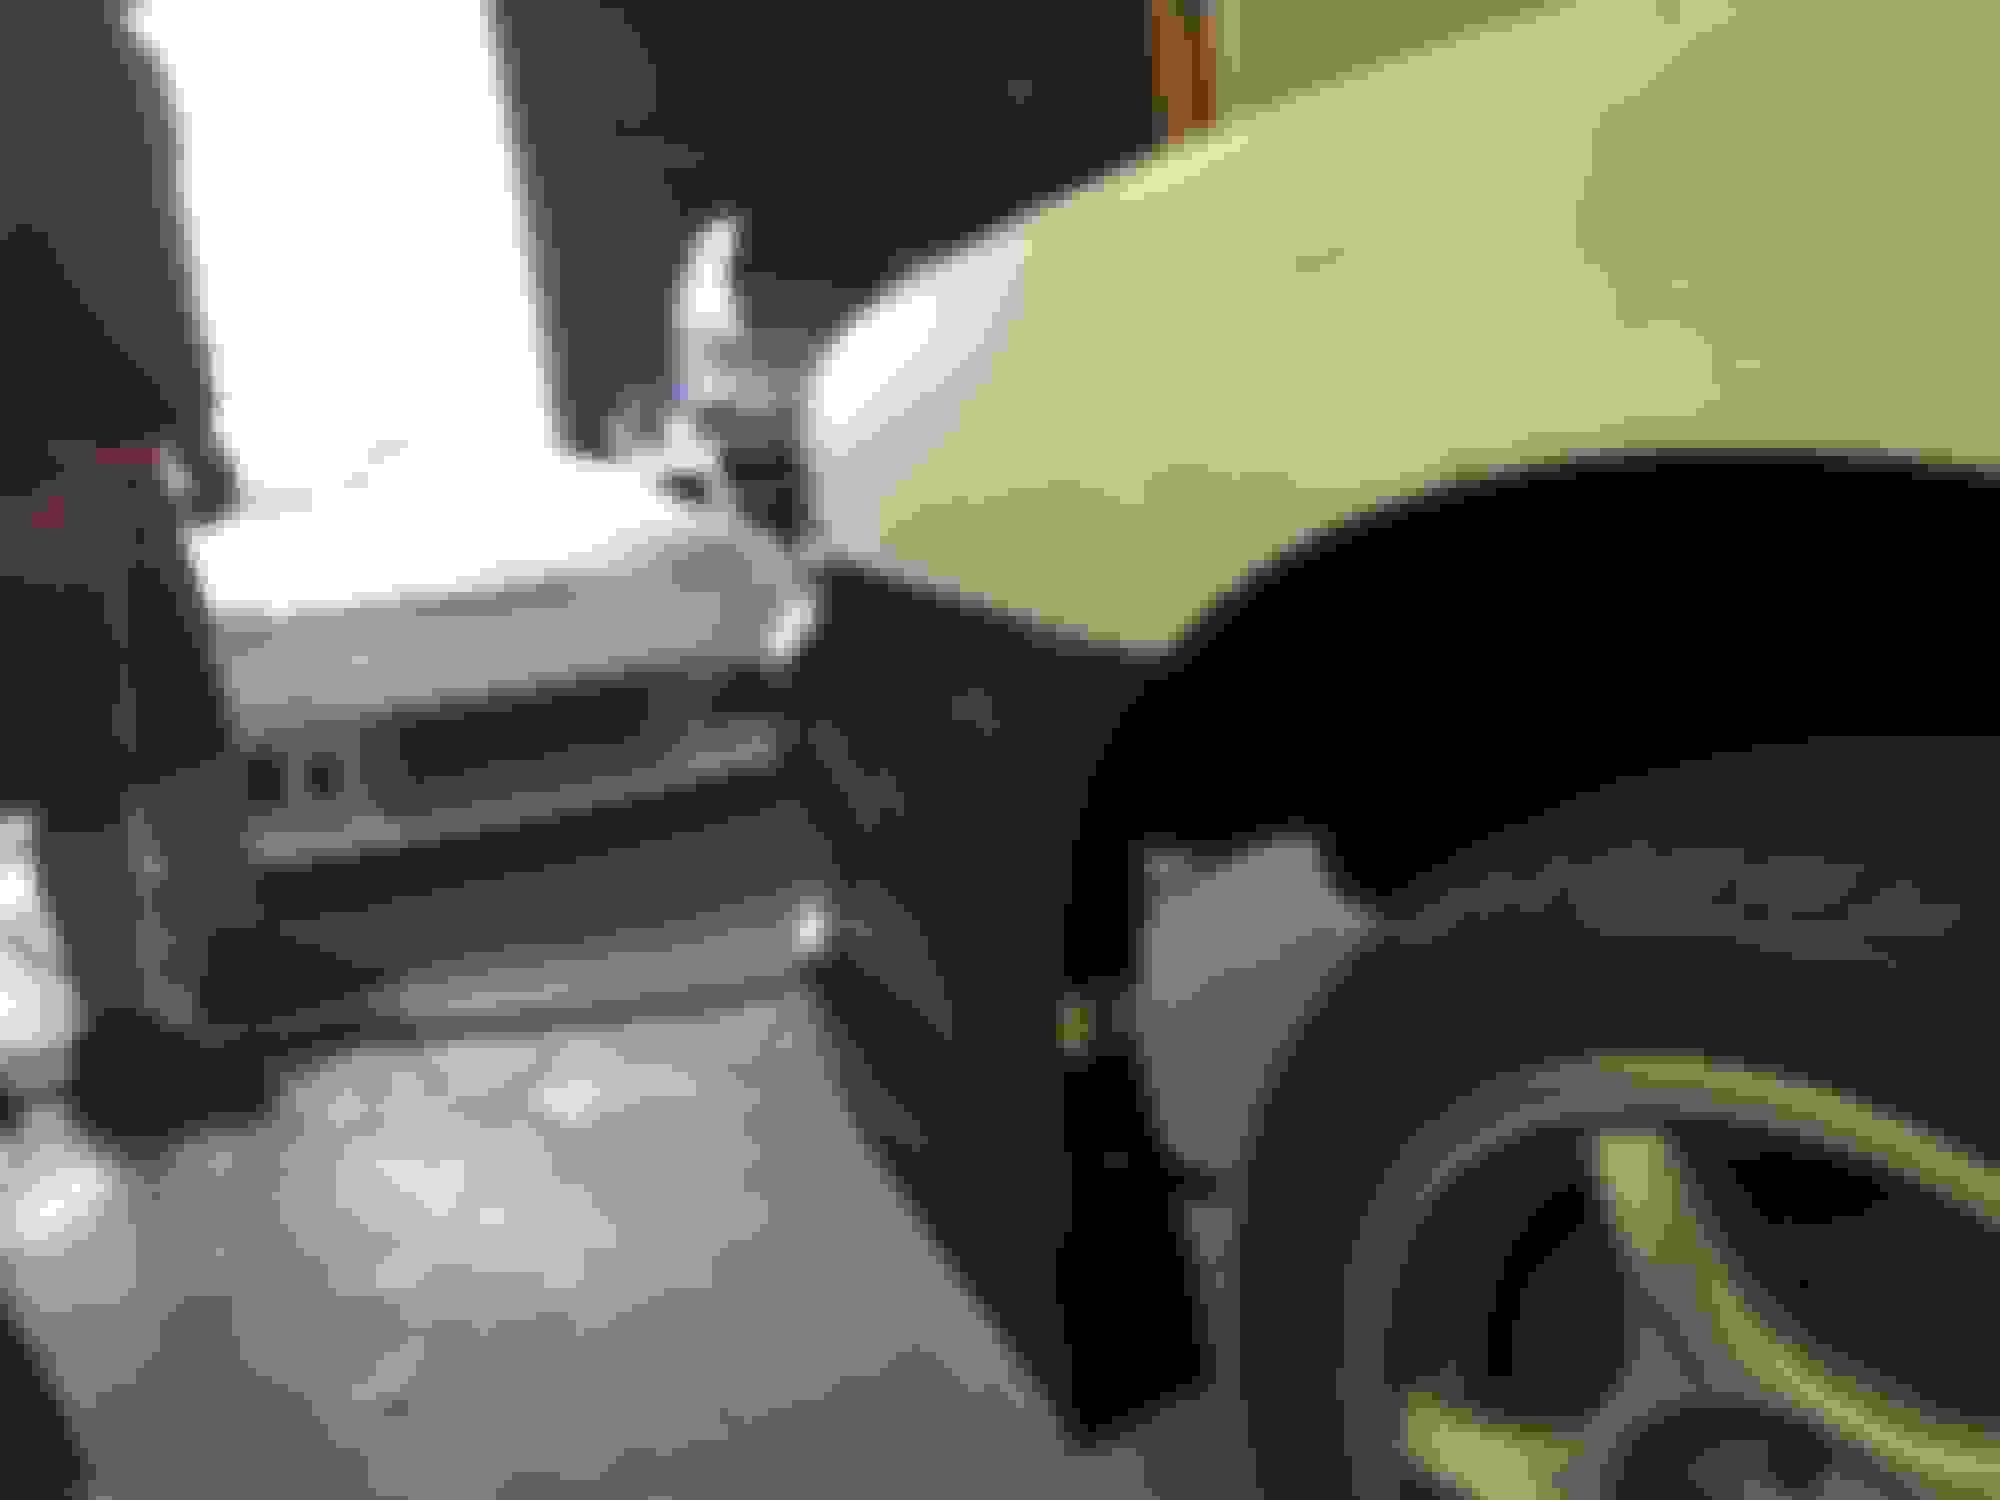
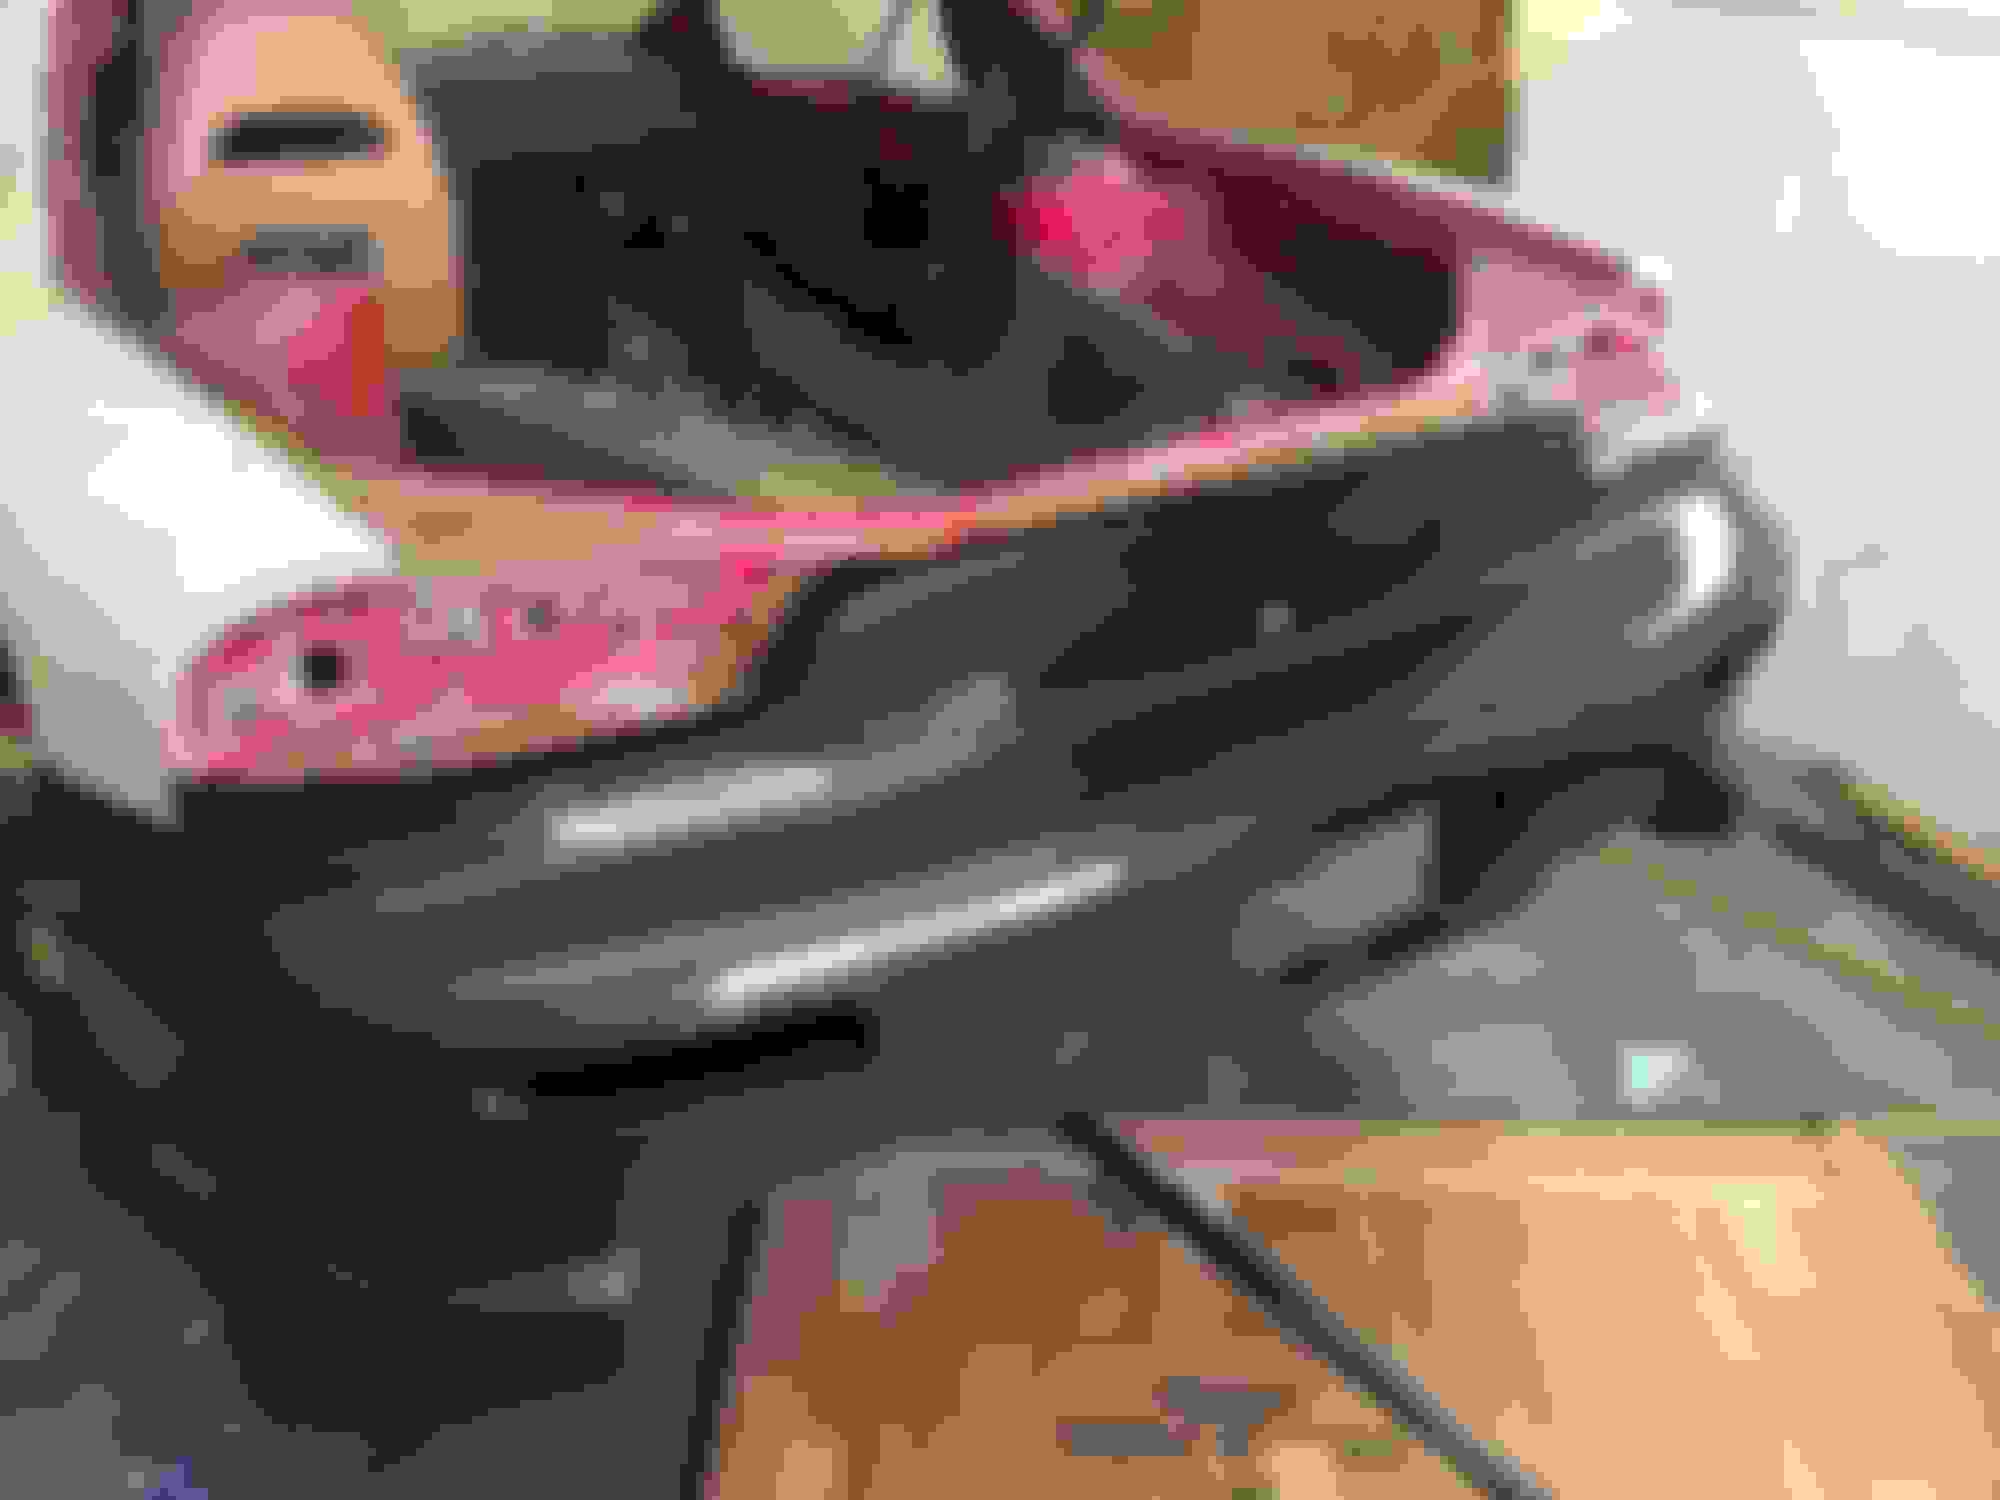
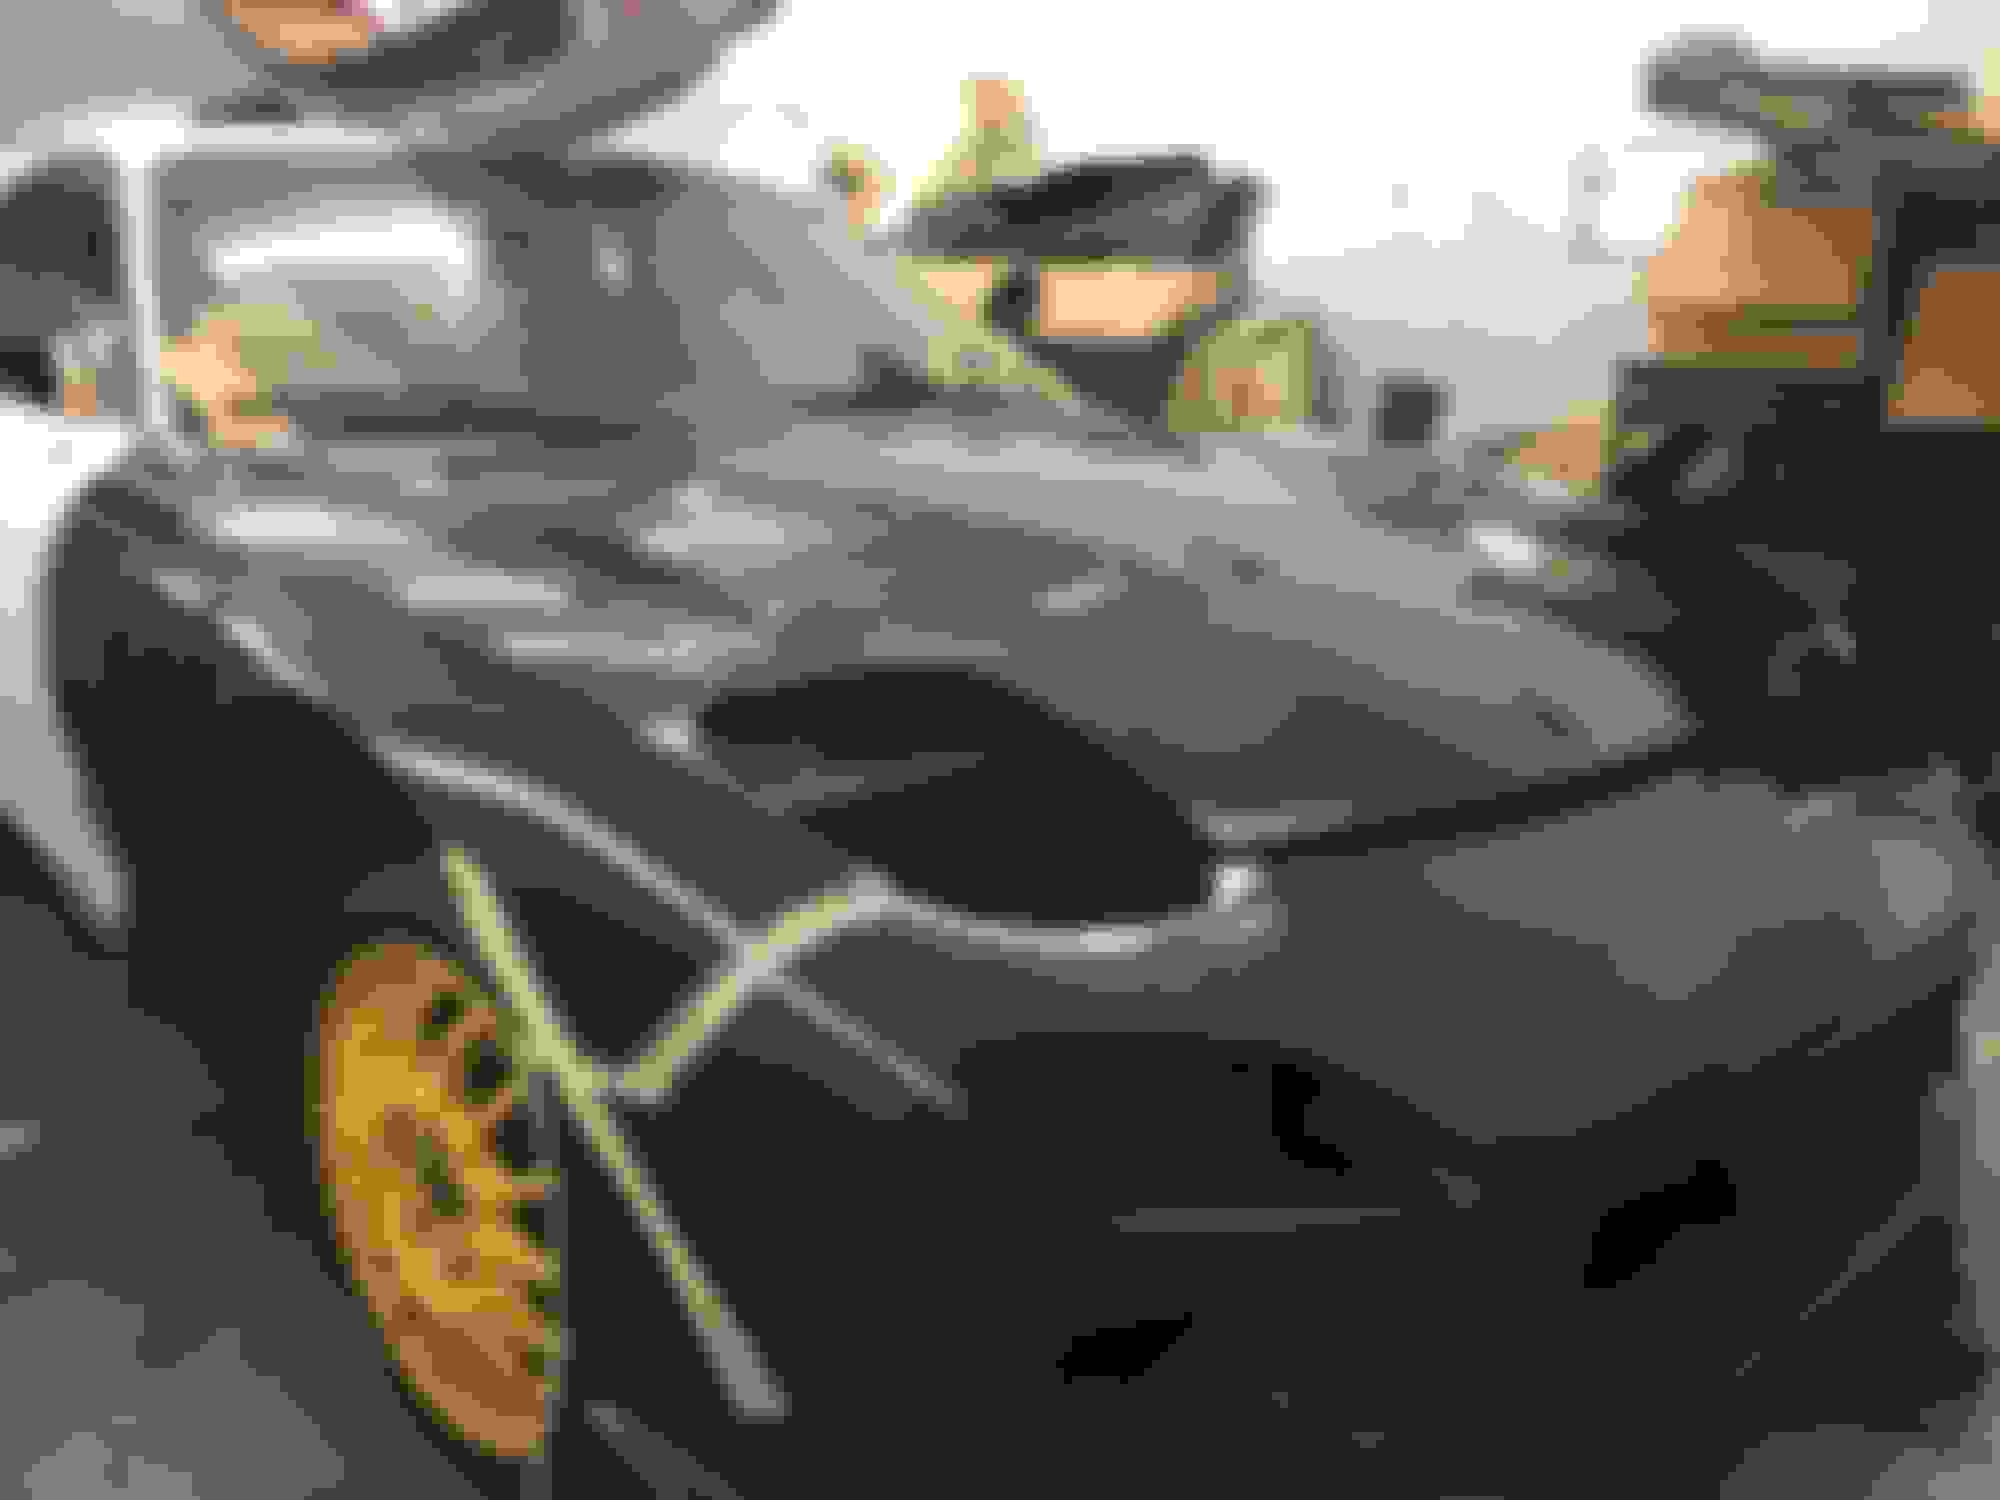
Before we went any further we wanted to do a dry fit on the carbon pieces we received. Now we will be making the entire out side body carbon. We will be doing a direct overlay to the roof, doors, a columns, and rear driver and pass fenders. We have the rear Hatch as well. We found out that there will be a lot of work to do to get everything to line up correctly. Whats new. but for now we are happy with what we are looking at so far. We also decided to remove the lambo doors. They would cause a lot of issues with the front fenders and well that will not do.
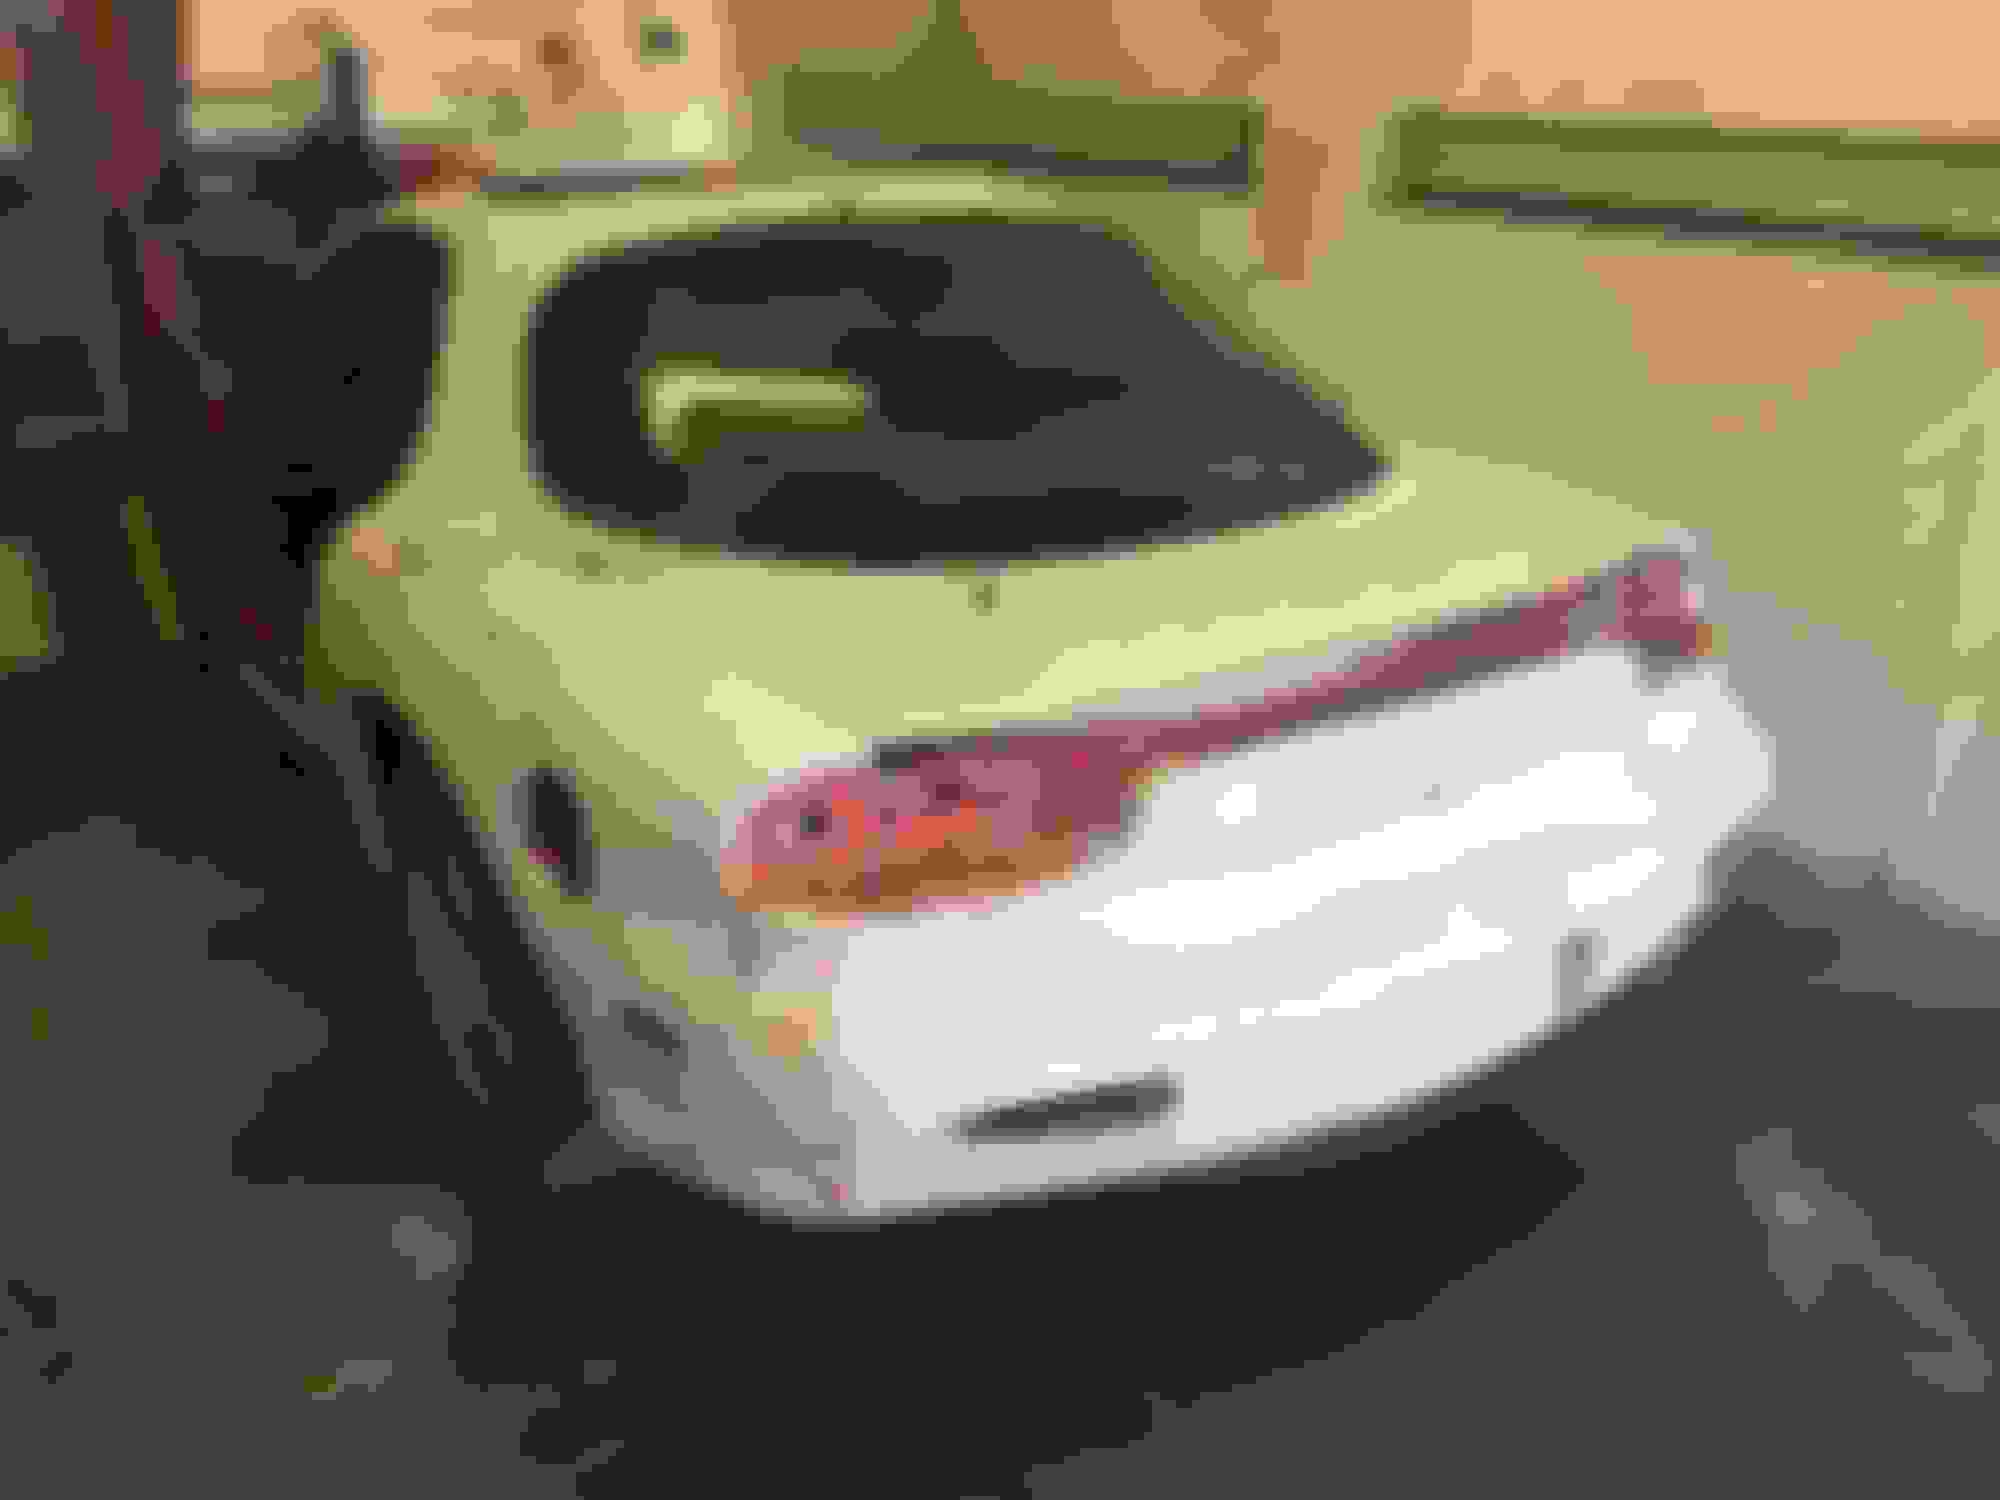
Front Nose Driver Fender Hood Pass Side Hood Hood Driver Side Rear Bumper Rear Bumper with rear lights test fit Rear Bumper Pass fit Rear Bumper Pass Fit with Lights Rear Bumper Fit in Pass Fender Well Rear Bumper Pass View
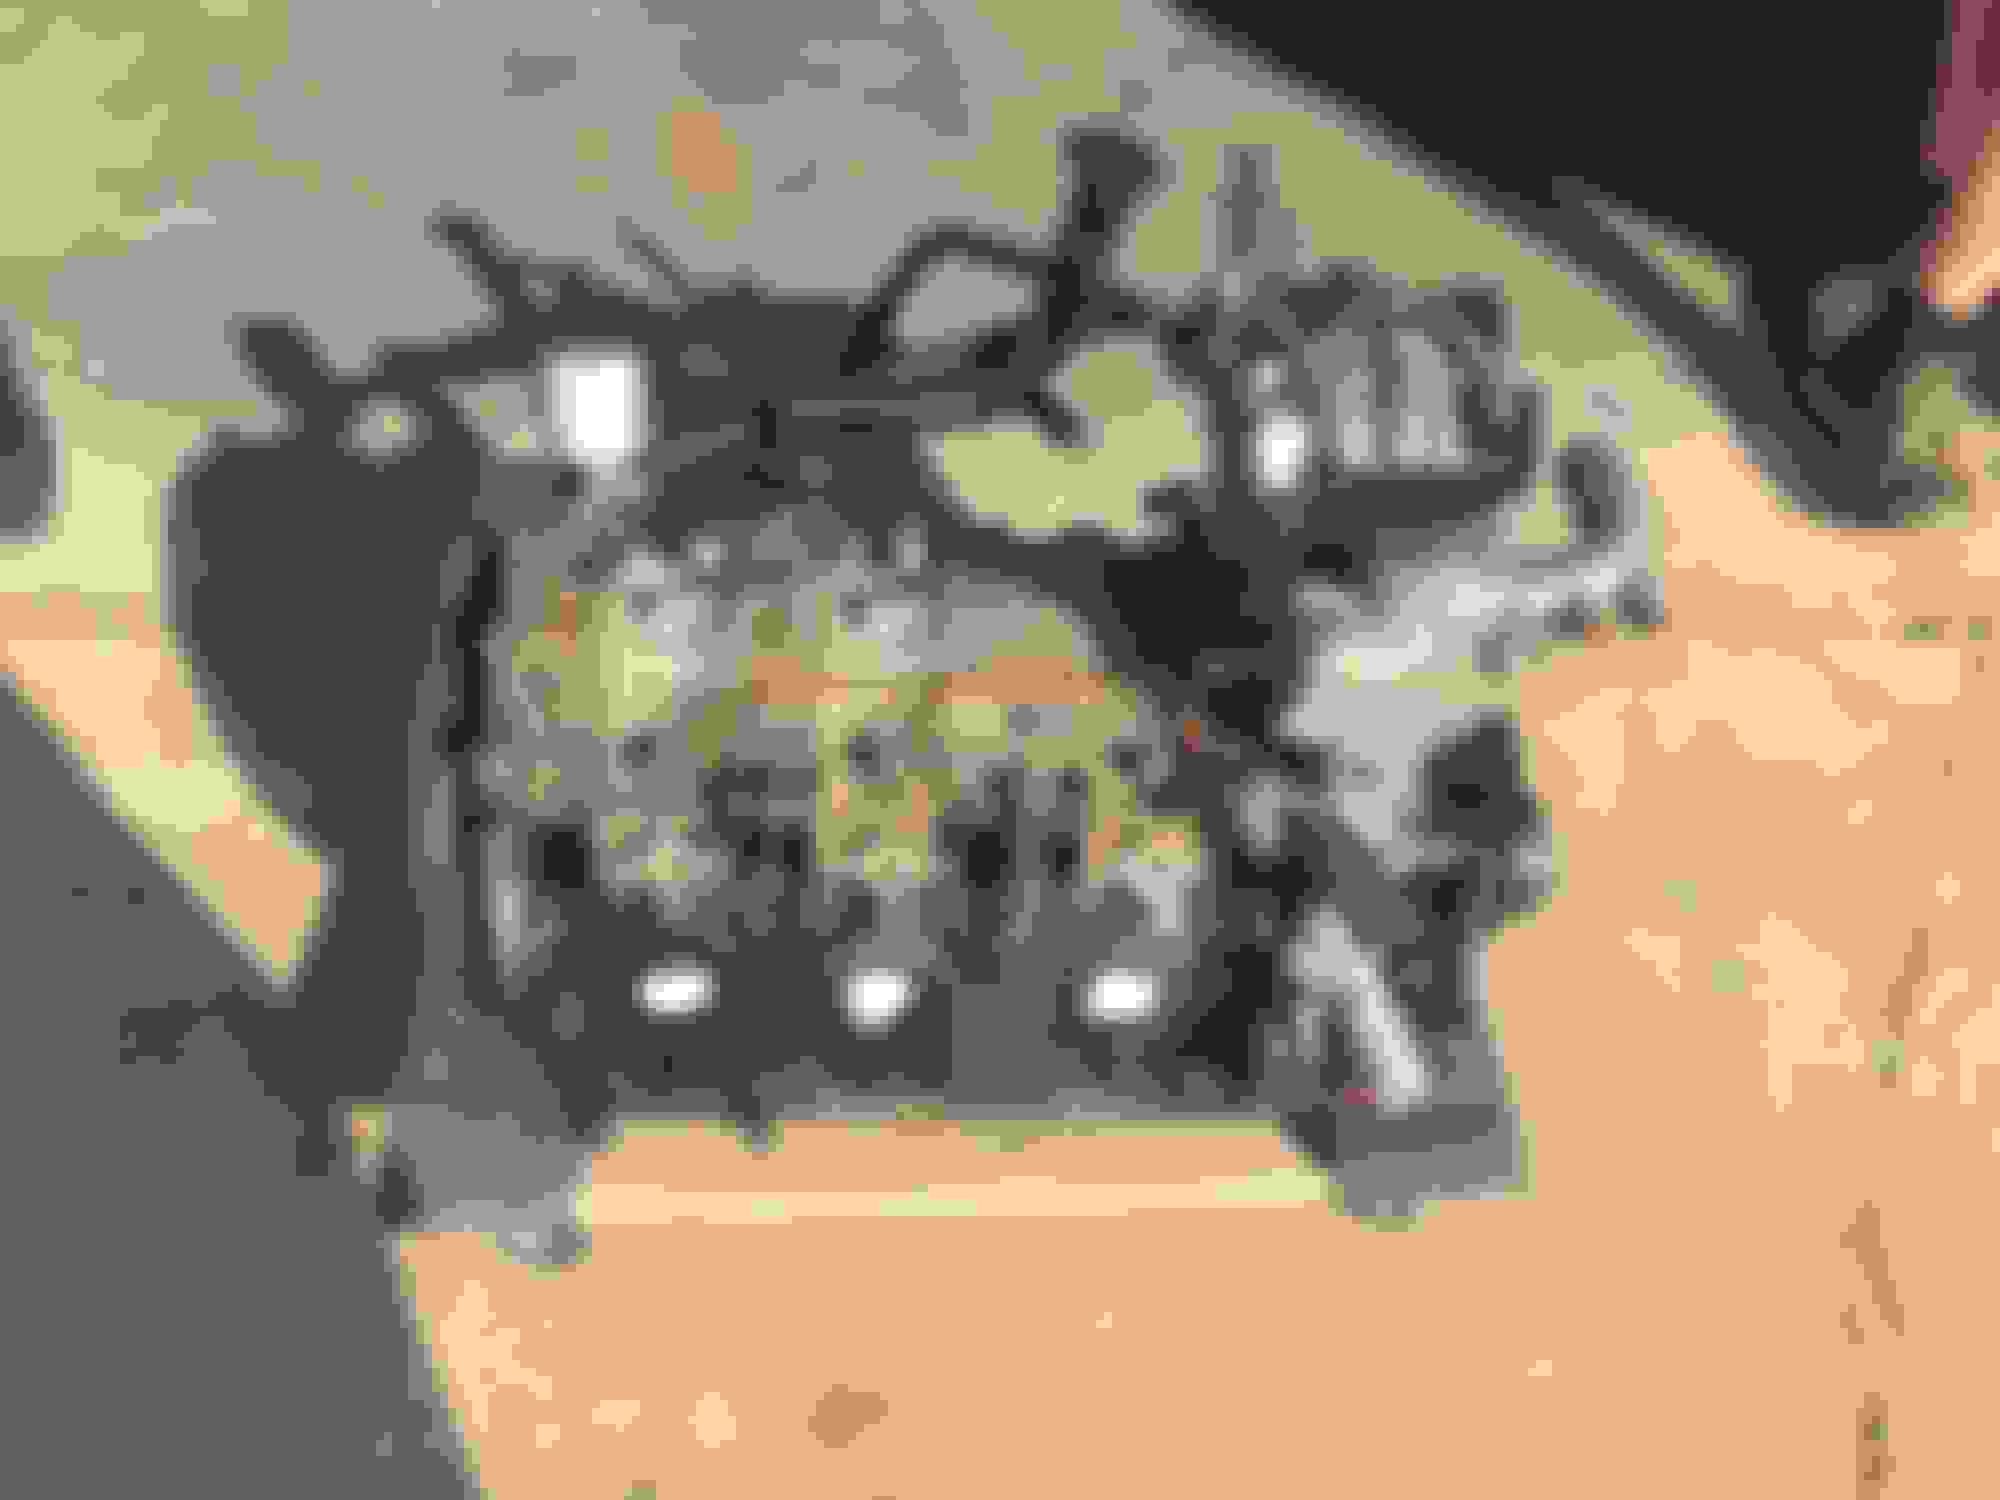
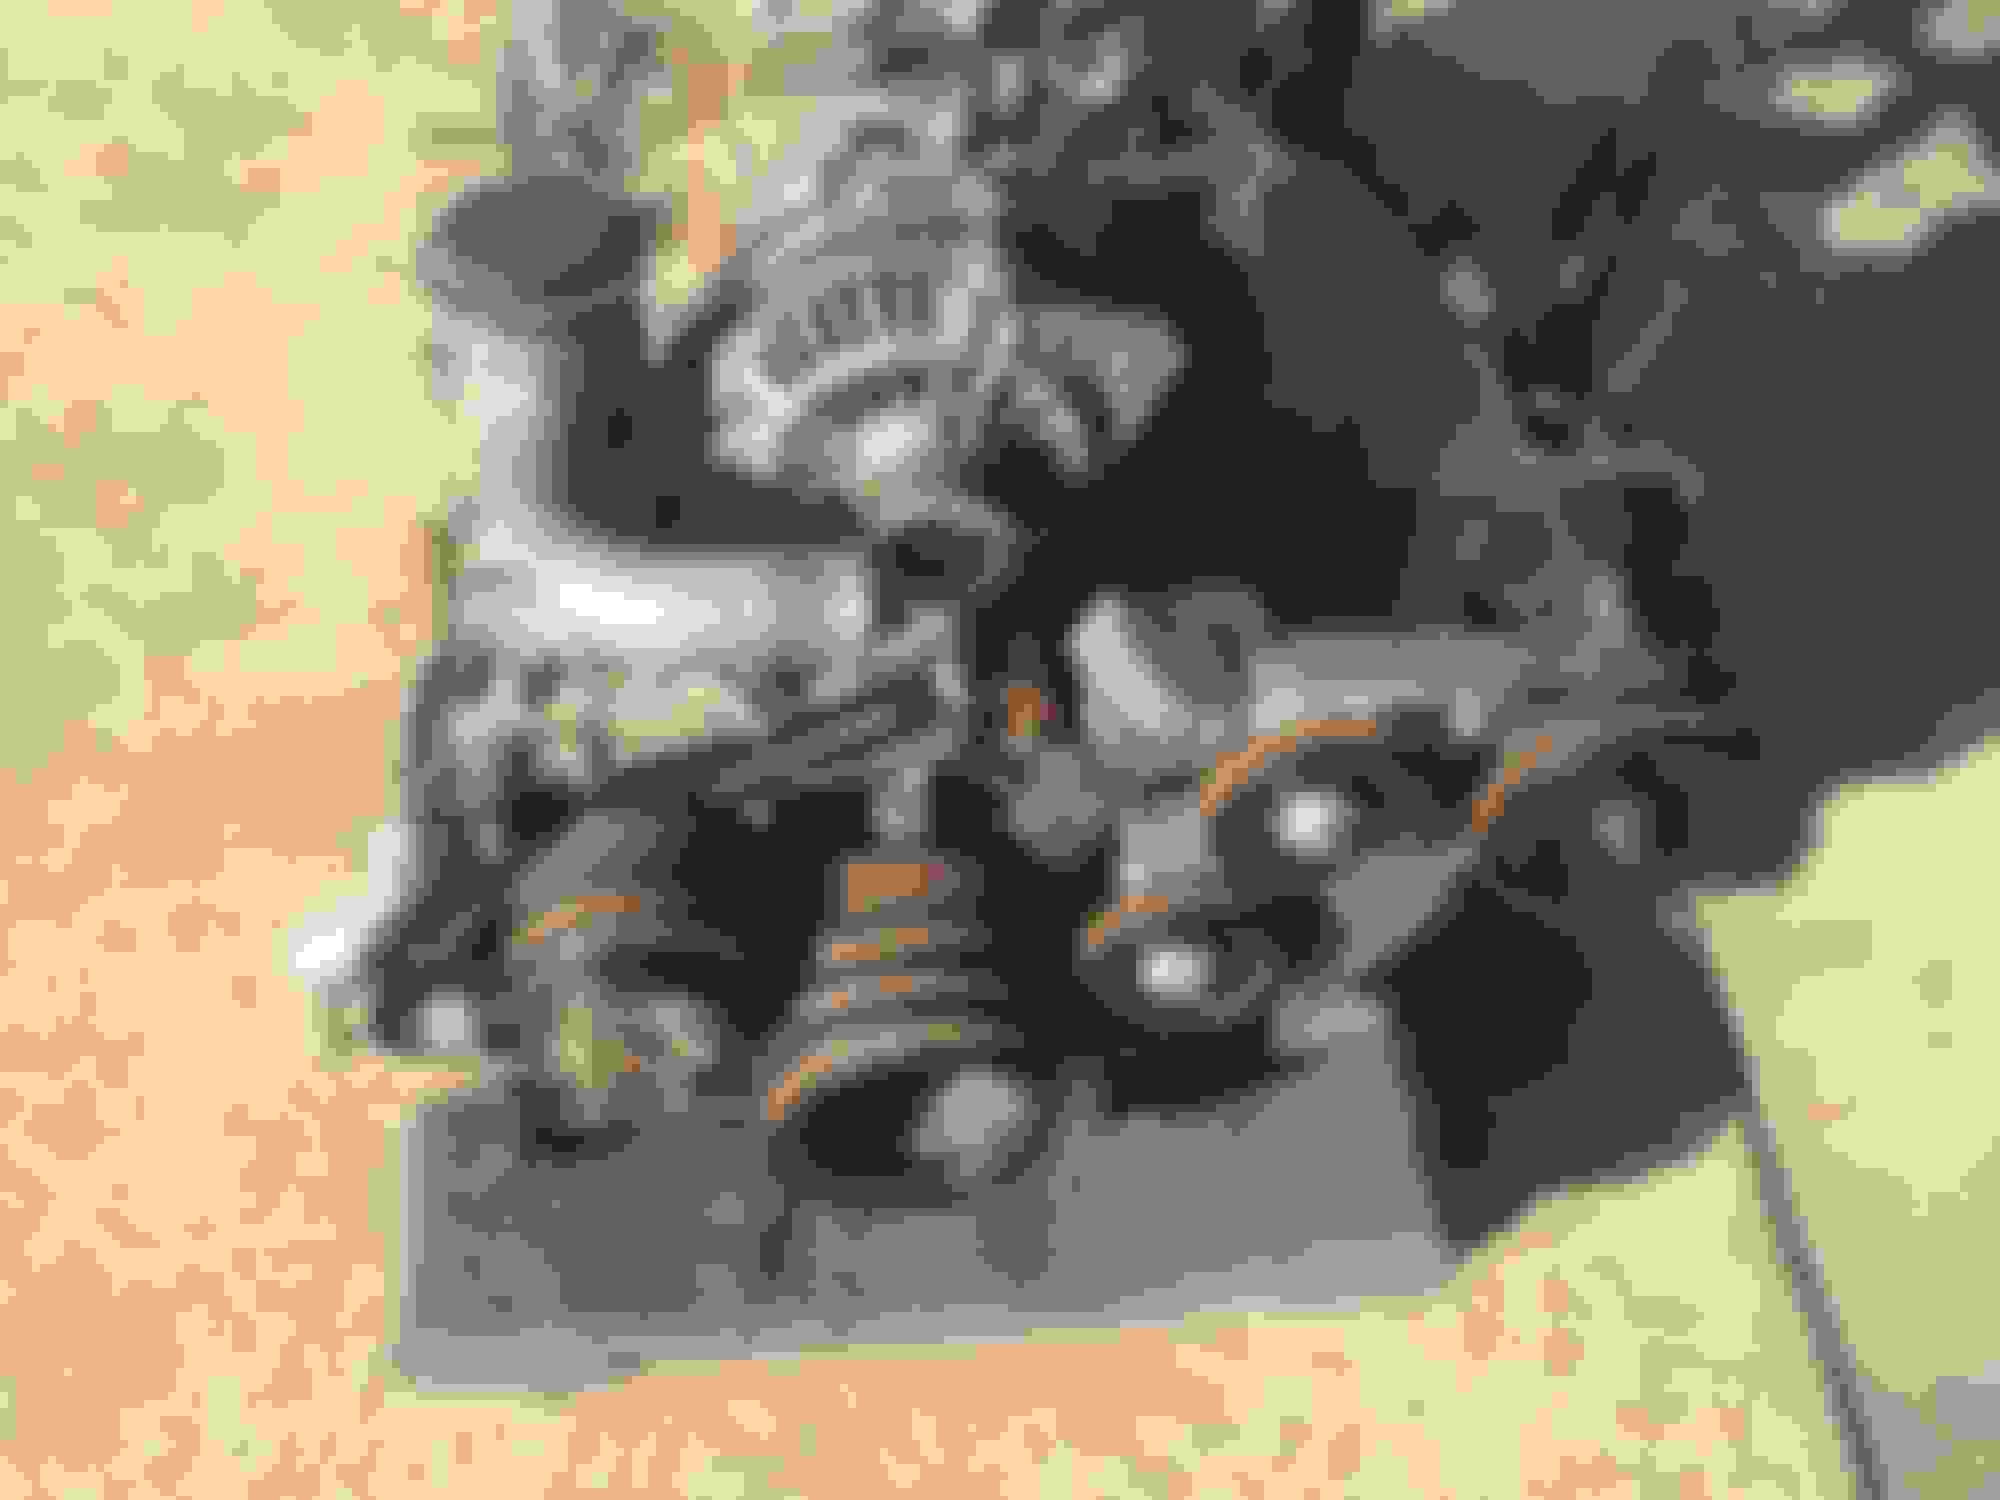
Now we shopped around the world looking for the engine and well let me tell you that it was not as easy as we thought to get one. we want to send thanks to Ari of RX7.com and Shizat here on RX7Club.com for making it possible. Here are the pics. We are having Ari (RX7.com) and Adam (rotaryengine.com)rebuild, blue print, and machine the engine. There will be more updates on this in the future.
Thank you, for subscribing to the thread, over the weekend we were able to get some more work done I will post up later today. This will be a full rebuild. Anyway hope you enjoy the journey! And thanks again for joining us.
So we took all of the wire harness, ECU, and dash out of the car. We also took off the Lambo doors and power washed it. We are doing this to get all or as much of the dirt that we can off before we place it on the rotisserie. Lambo Door Removed All Wire Harness Removed Driver Side Shock is Shot There was a huge amount of black stuck on everything
Cleaned the Steering Rack Had to put a block of wood here cause it is sharp as hell. Missing the Gas Cover Dash ans wiring removed driver side Dash and Wiring remove pass side
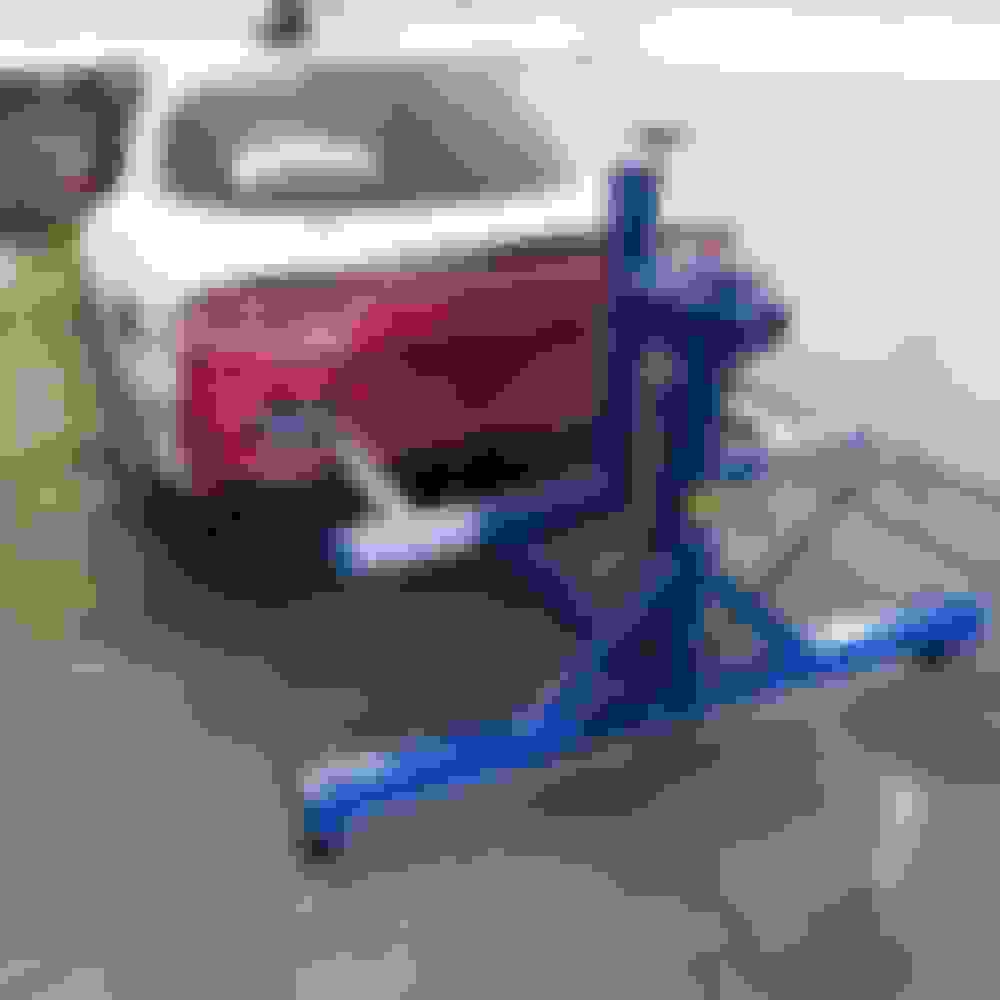
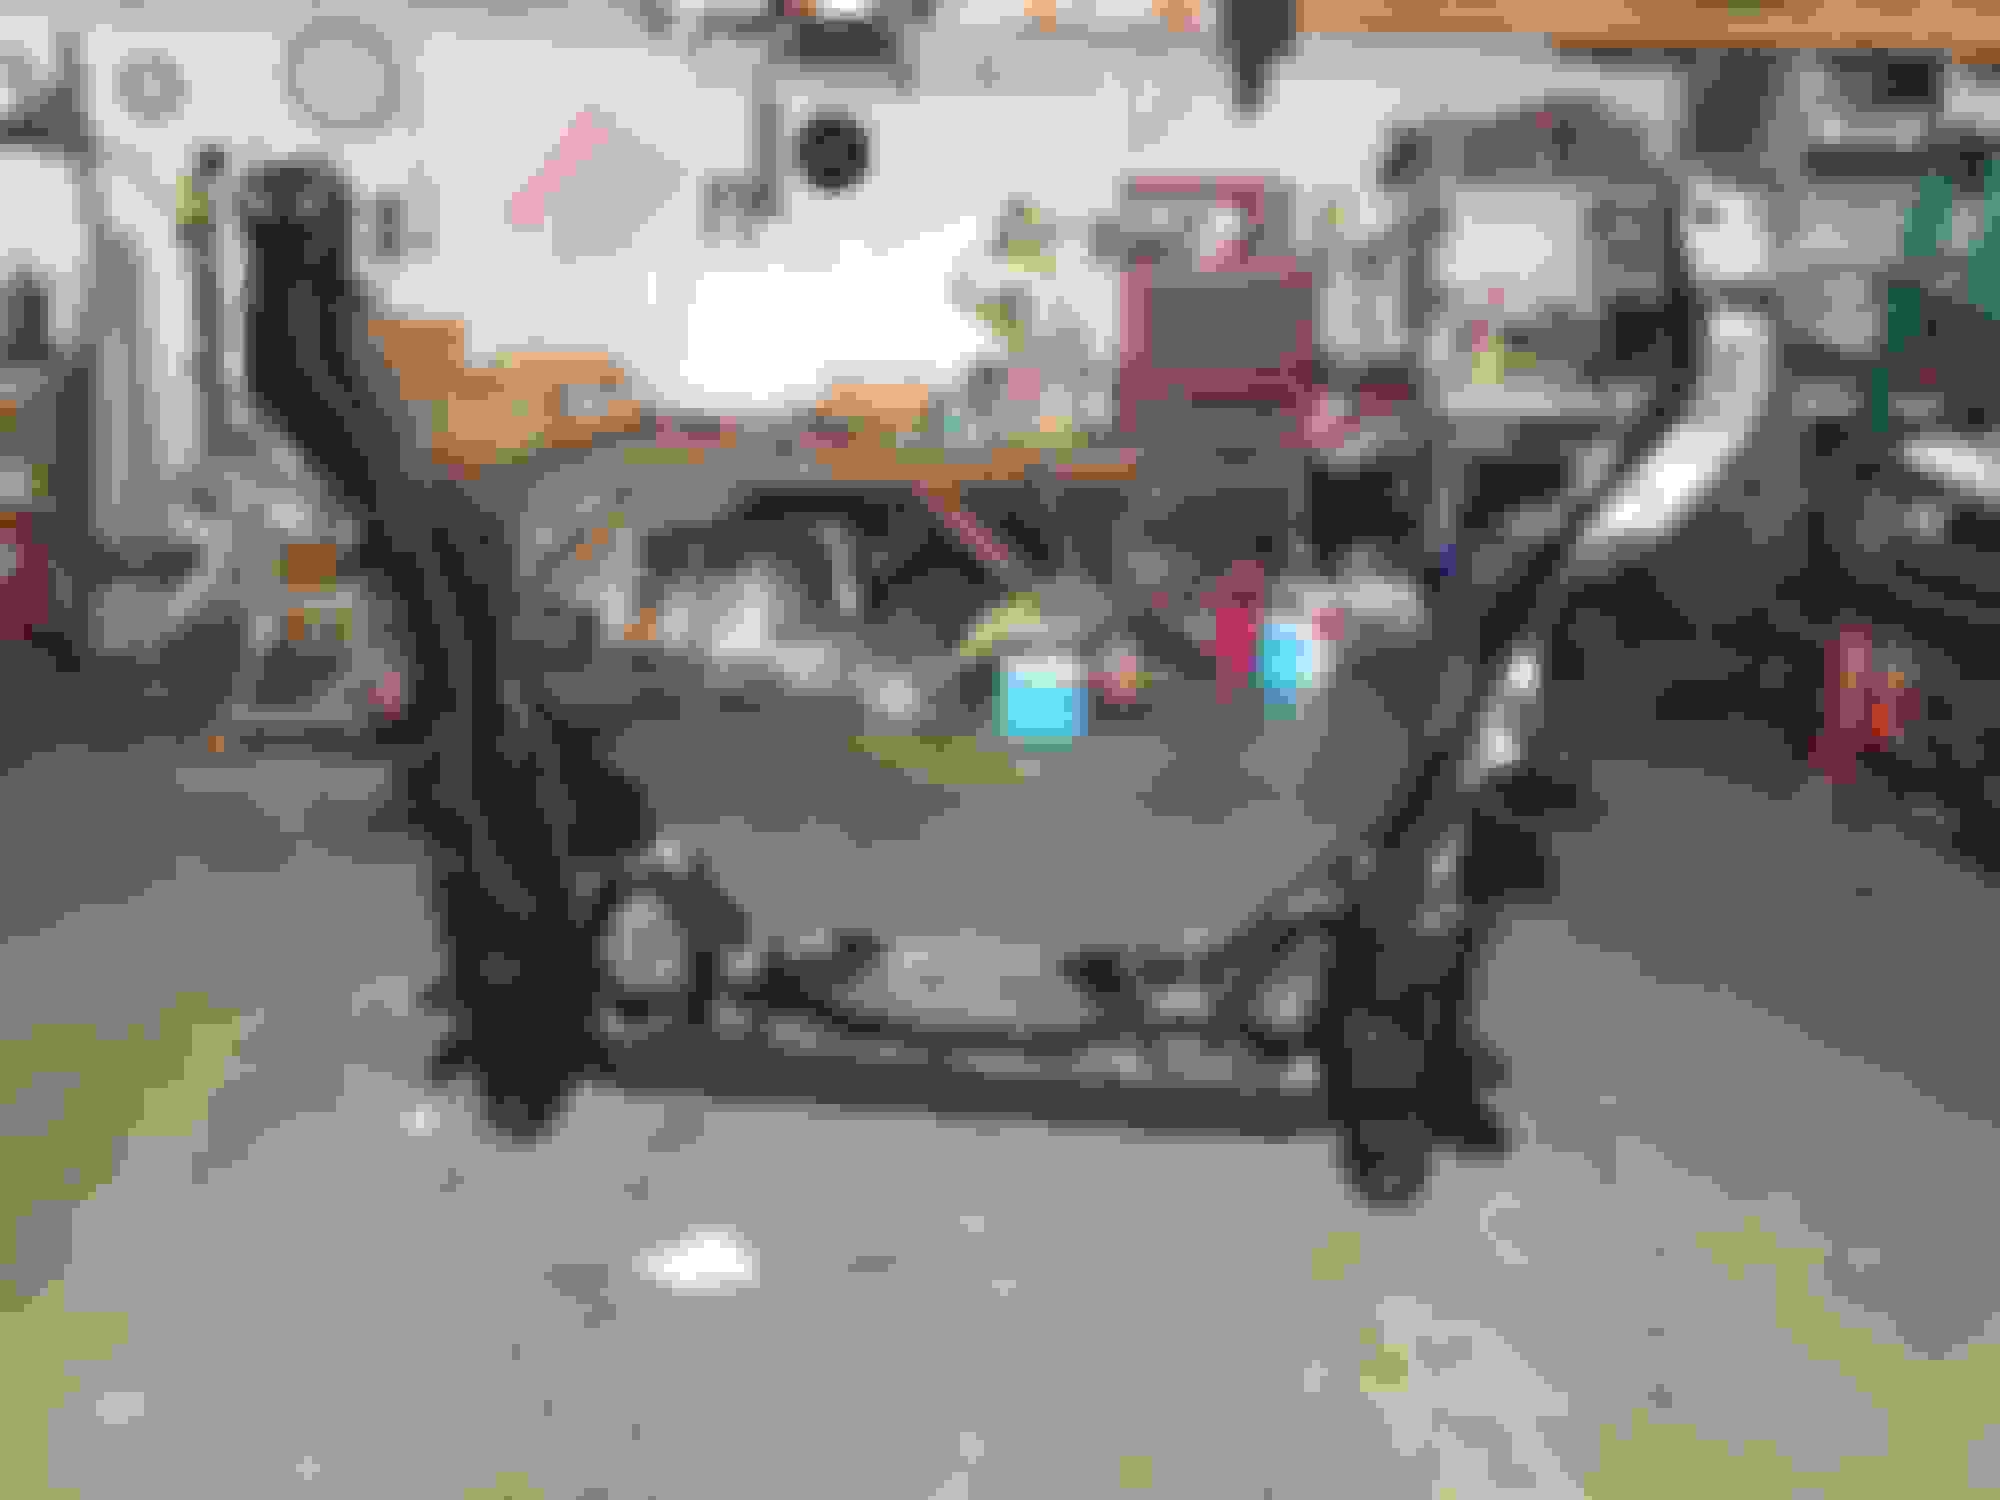
Ok, this took some time to get right. We had to have plates and arms made for the rotisserie to allow us to get the car on because of how low the car sat. Once on we will remove every component on the underside of the car to inspect them and see if there will be anything needing repaired.
Cleaning out the bay and making room
Prepping the Front Rotisserie
Checking the nose area for anything that may cause an issue
Locking the wheel
We Cut off the brace that was on the front nose to allow the plates to fit correctly. More on this later.
Attached the rear rotisserie
Connect the front to the rear
Removed the Front Suspension, steering rack, breaks, and front sub frame.
Removed the Rear Suspension, Diff, Fuel Tank and Sub Frame.
With everything off, We lifted her up and Tested it out.
We realized that there was additional water trapped in the body and the dirt build up was so bad that we were going to have to do a full chemical scrub and wash to prep it for paint.
after an extensive review no rust, or body issues that we could find next prep and paint.
Just ignore if you already know this information but,
RE Amemiya makes a Carbon Fiber roof for the FD that you cut the stock metal out and epoxy in.
Seibon makes Carbon Fiber doors (though I would not want those without a cage/rollbar with door bars).
There are wide fender rears for FD available that cover the entire rear quarter panels. Since the molds exist you could have the vendor pop some out in Carbon Fiber if you wanted.
That would leave you with just the A pillar and B pillars to overlay the stock unibody with Carbon Fiber.
I only mention this because this build looks to have the intention of going "all the way" from the outset.
First of all I want to thank you for your feed back. We looking forward to hearing from everyone. the more the better. We always have our ears open and want to make this build one that everyone can be proud of.
We have been going over these talking points that you brought up. "RE Amemiya makes a Carbon Fiber roof"
We have been aware of this product and thought about going this route but decided not to do to. We felt that it this would change the integrity of the car and wouldn't be in our beside interest in the long run. Plus we are wanting to keep the sunroof.
"Seibon makes Carbon Fiber doors"
Again we are aware of this product as well and you are correct, we would shed weight but would lose it when adding the role cage. Plus with wanting to keep the interior of the car as sock as possible we would lose more then we would gain. Safety played a big part because the do not have a crash bar in them.
"There are wide fender rears"
Yes we could have a company make these in carbon for us, but with the rims and tires that we are thinking of using, we are planning on having to do fabrication to the rear fender wells to support them. Our buddy that has done amazing work with carbon for over 30 years, and has work on projects with Hennessy, and Porsche gave us the best direction for this. there will be more on this once we reach this point in the project. We want to keep the sex look of the car as much as possible.
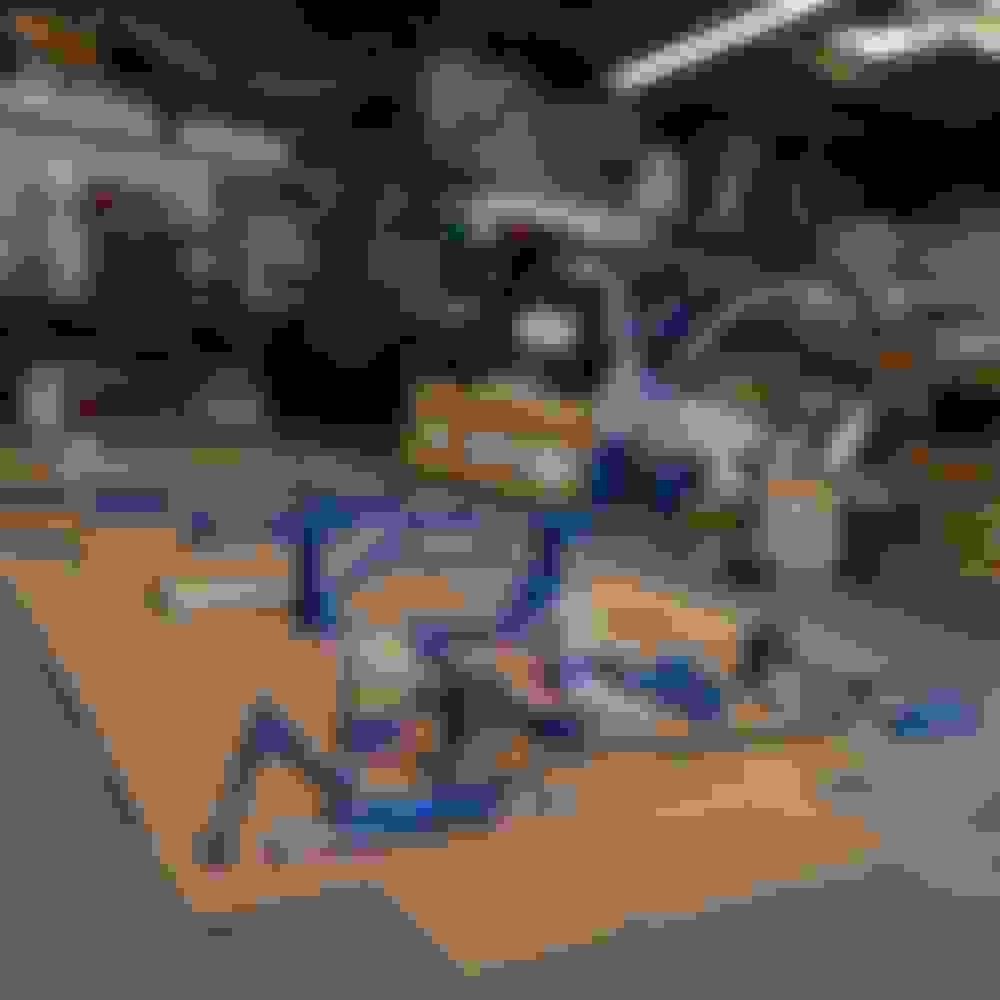
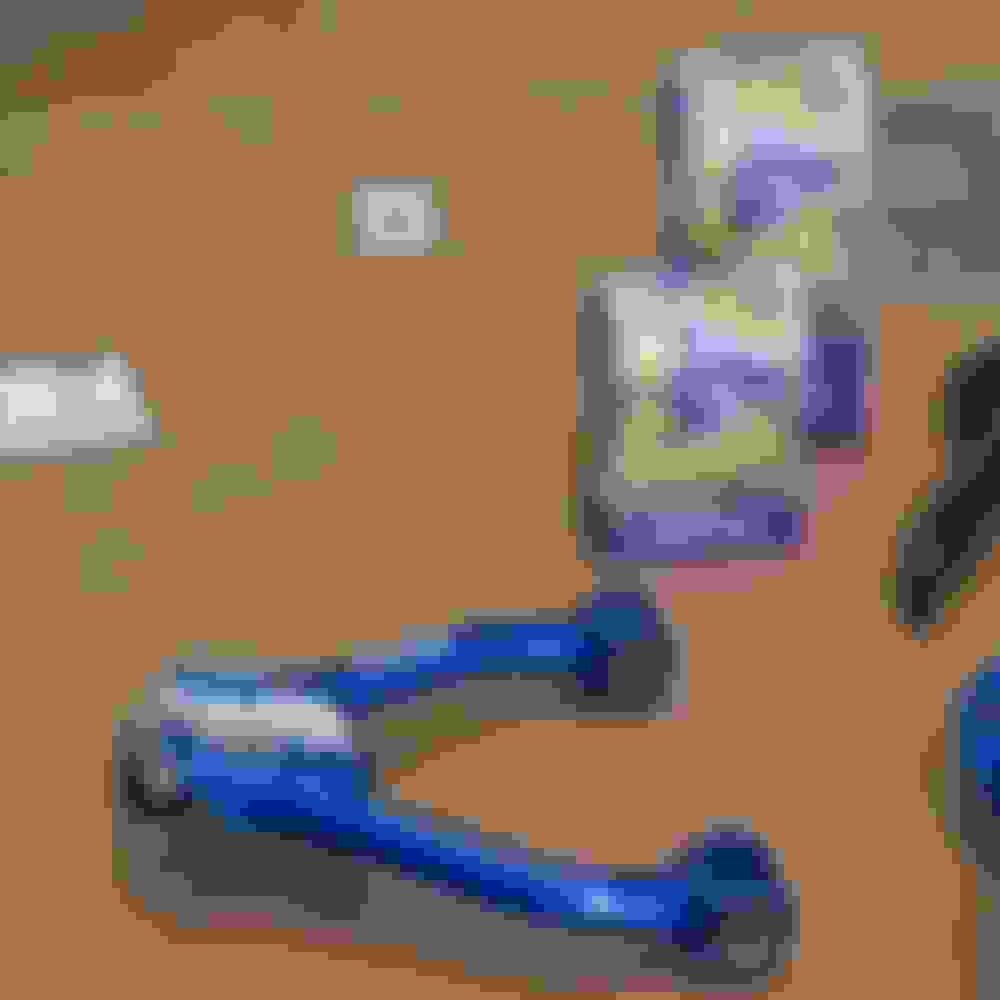
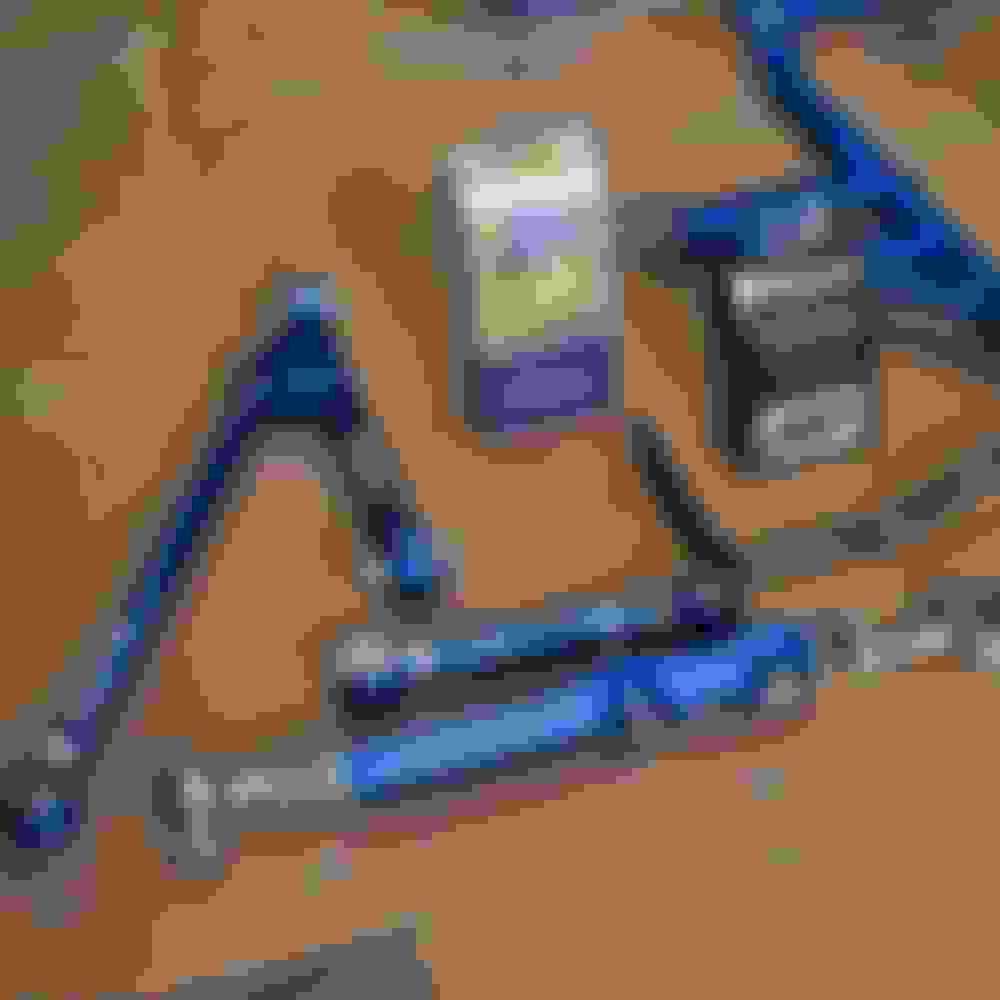
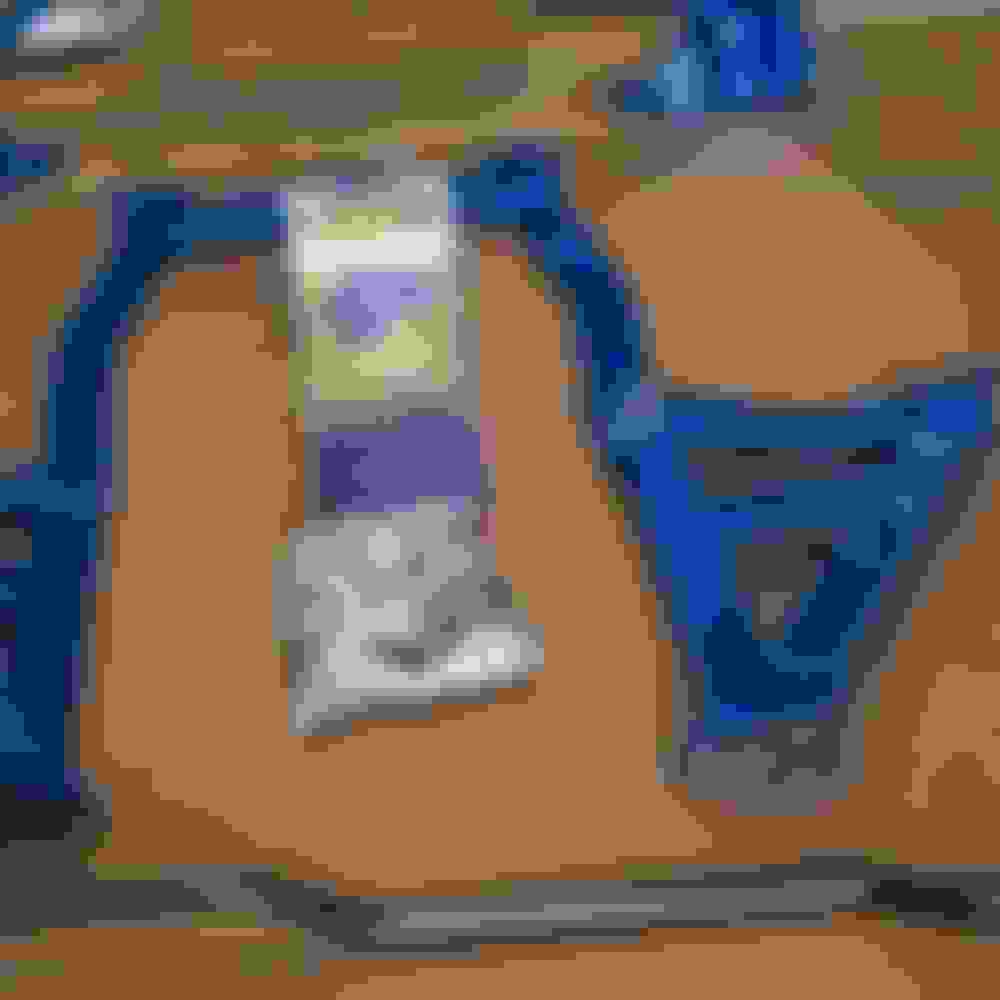
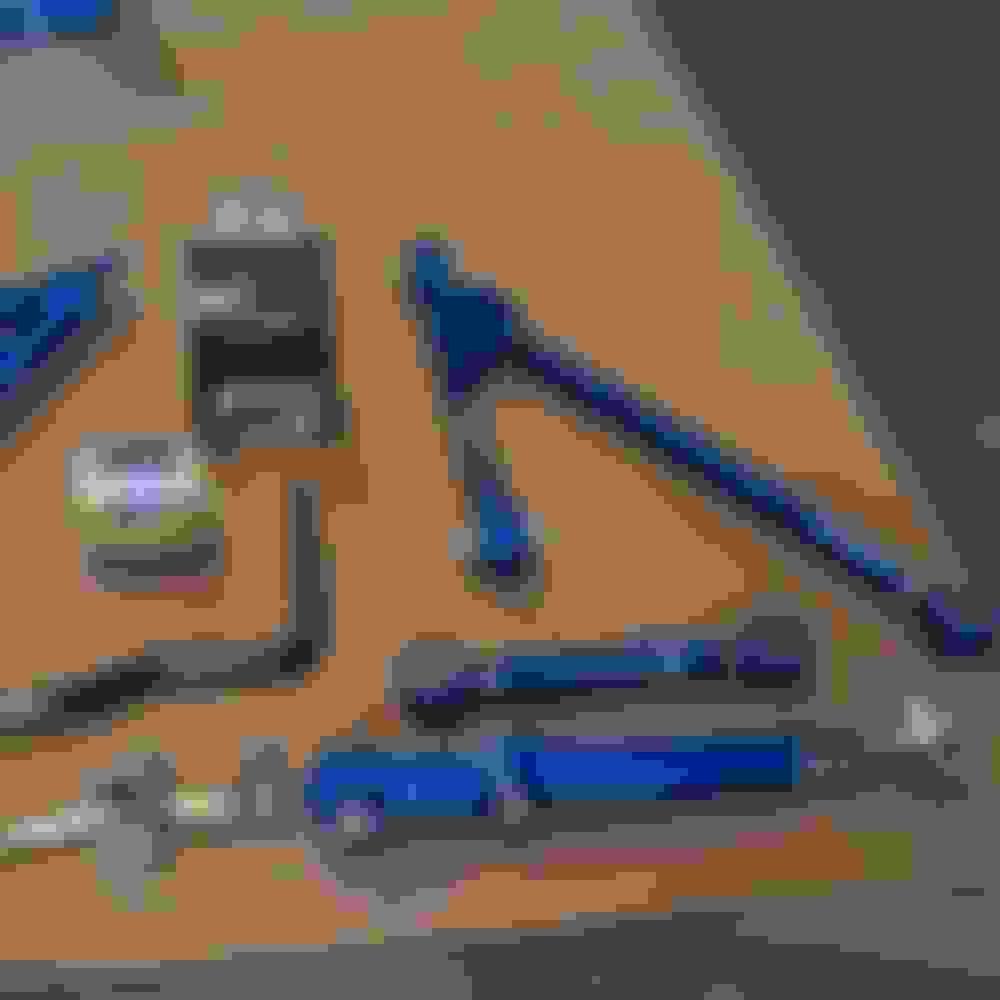
Lets talk about Bracing, Bushings, and Suspension. I was going to post the pics of the chemical etching we did and the painting of the underside of the car but I felt that everyone would like to see all the parts that we have been receiving. They have been coming in for the past few weeks and we laid them all out to set a plan. Now these are only bracing, bushings, and suspension parts. There are parts that we had made by companies from all over the world. Some have come from great individuals we have here on the forum. So here they are.
Yes, you don't see shocks yet, we are still working that. Front bracing, bushings, and suspension
D/P Upper wish bones
Front sway bar
Front links
Front upper shock tower brace
Pass upper wish bone
Pass bushings for lower control arm
Nose brace
HPP 2in1 Diff Cradle/Brace thank you GoodfellaFD3S
D/P fender braces
D/P floor support bars
Rear sub frame stiffener
Front sway bar brace
Greddy hi capacity diff cover
Pass upper wish bone
Pass bushings for lower control arm
Driver side rear arms, link and bushings
Front sub frame to chaise brace
Rear floor brace
Rear upper shock tower brace
Rear chaise to sub frame brace
Rear diff bushings
Additional Rear bushings for upper wish bone
Hello everyone hope you had a great Fathers Day. I wanted to post an update. We finished the chemical cleaning and etching of the underside of the car to remove the 25 years of dirt, oil, and rust. Next hand washed the entire underside to make sure to remove any excess residue. Dried and prepped for paint. Then painted the underside.
Rear Cleaned Rear Sub Frame Area Cleaned Transmission Tunnel Cleaned Under side of Engine Bay Cleaned Upper side of Engine Bay Cleaned Upper Side Engine Bay Painted Under Side Engine Bay Painted Transmission Tunnel Painted Rear Sub Frame Area Painted
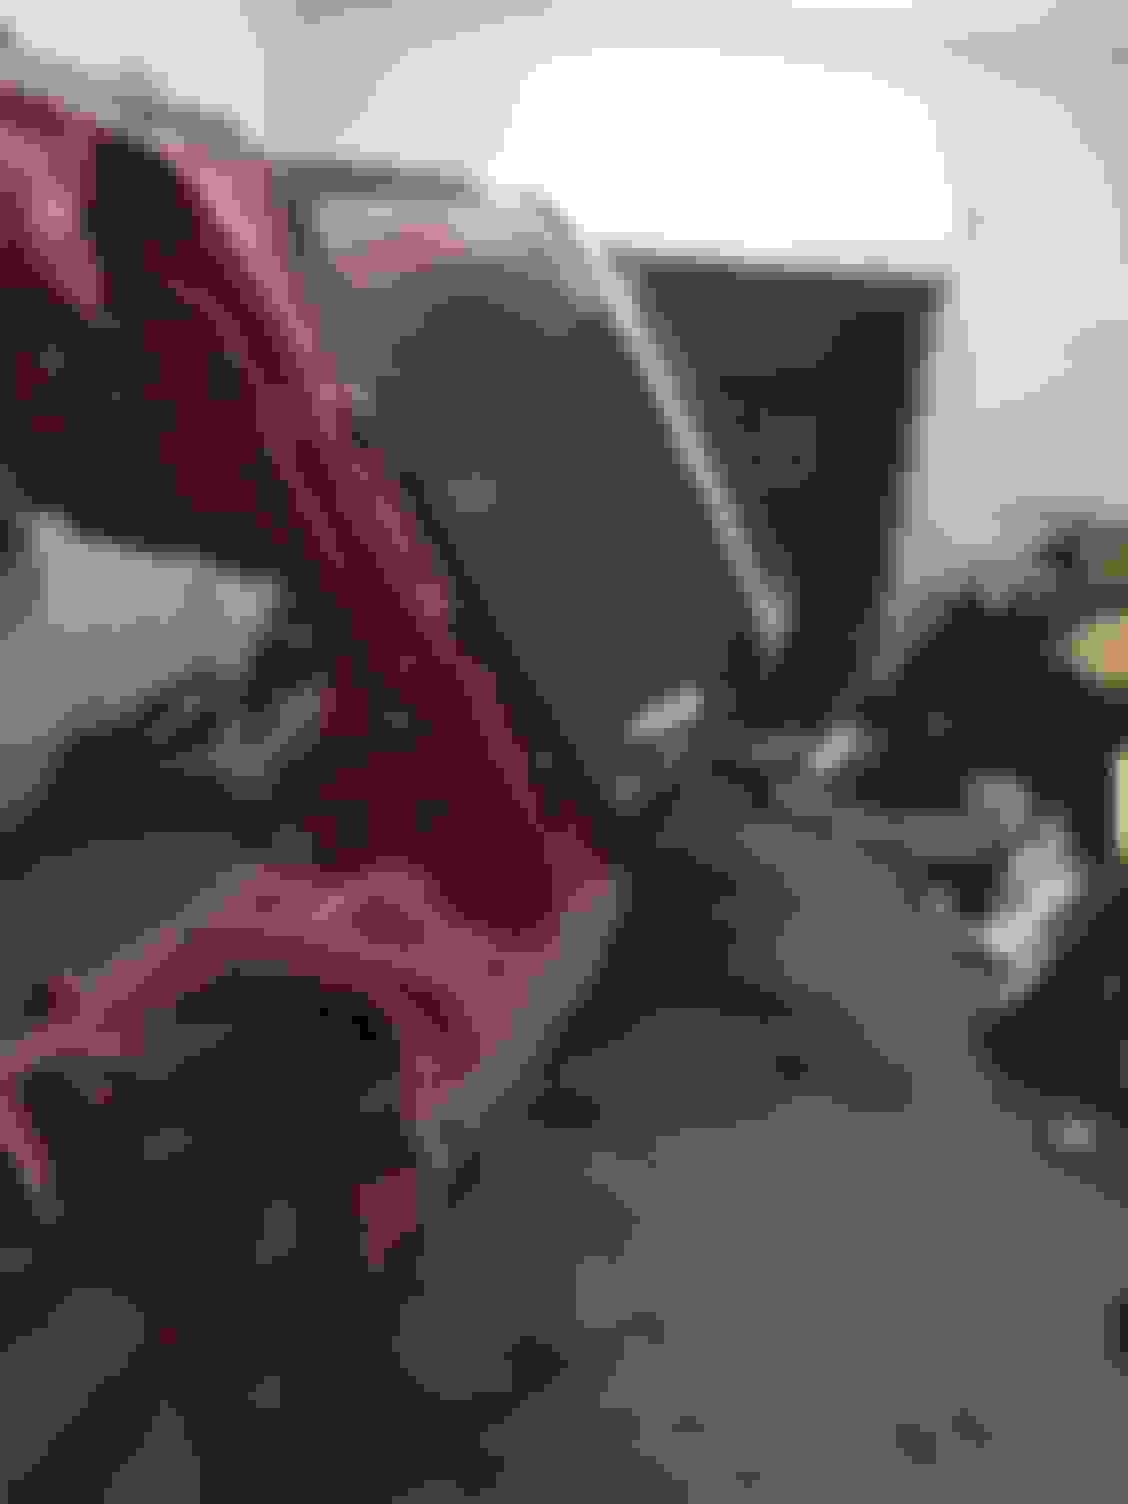
We were doing our review of the rear sub frame and found areas that were damaged. There were a few welds form the factory that were not complete and there was one that showed stress fractures. At some point in the cars life it was towed and the tow company used the sub frame as the tie down point. With all of the these factors, we decided to repair, strengthen, and paint the sub frame. Here you can see where the tow hooks pulled the frame.
Added bracing to the strengthen The lower control arm.
Created Frame plates to strengthen it
We did this to both sides and boxed in the upper part of the frame where it bolts to the chassis. Rear Sub Frame Welded, Strengthen, Painted Driver side Strengthen Traction arm connection Close-up of the plates painted Driver side boxed in upper connection point Pass side boxed in upper connection point Rear Diff Bracket with the bushings removed and painted
What is the "Carbon" mean here? Are you going to build a car that uses many aftermarket carbon body parts? The basic logo looks pretty good and I would assume the blue on the old school "M" and "20b Caron" could change depending on the color combination you end up with?
Thank you for following our build.
Yes and no.
Yes: fenders are by Seibon Carbon
They have these available all the time.
Now the bonnet, nose, rear, side skirts, and trunk lid are by Carbon Creations
When we set out to do this project Carbon Creation was discontinuing all of the carbon fiber parts except the hood. So we spoke with them about what we wanted to do and they produced all of the pieces they could before discontinuing them. I was informed by them that they were sending us the last ones. That being said, is not saying you could not find them threw other vendors but they were not going to make them any more.
Mirrors by APR Performance
still available
No: All of the rest of the car (Doors, A pillars, Roof, Sunroof, C pillars, rear fenders and rear spoiler) will have a carbon fiber overlay done by our buddy that does carbon fiber manufacturing for Hennessy, Ferrari, Porsche etc. He has been doing carbon fiber one off kits and mass production kits for over 20 years.
Even tho everyone thinks that if you buy these parts from other vendors that they will fit perfect. Well as you might know they always put in the instructions "modification maybe necessary for proper fit" LOL.
So, after we did the dry fit we came to the conclusion that there is going to be a whole lot of work and rework to make every thing fit and line up perfectly.
We will be showing as much as we can during that part of the build, but currently we are doing the underside of the car first.
Anyway, the "Carbon" is used to describe that the entire outer body of the car will be carbon fiber.
Thank you on the thoughts of the logo. The color combination has be selected so far as Blue, Black, and Silver.
Thank you again gmonsen and we hope you enjoy the journey with us. Please, always give us feed back and ask or even tell us we are doing something wrong as we go and if there is anything we can help with we can try.
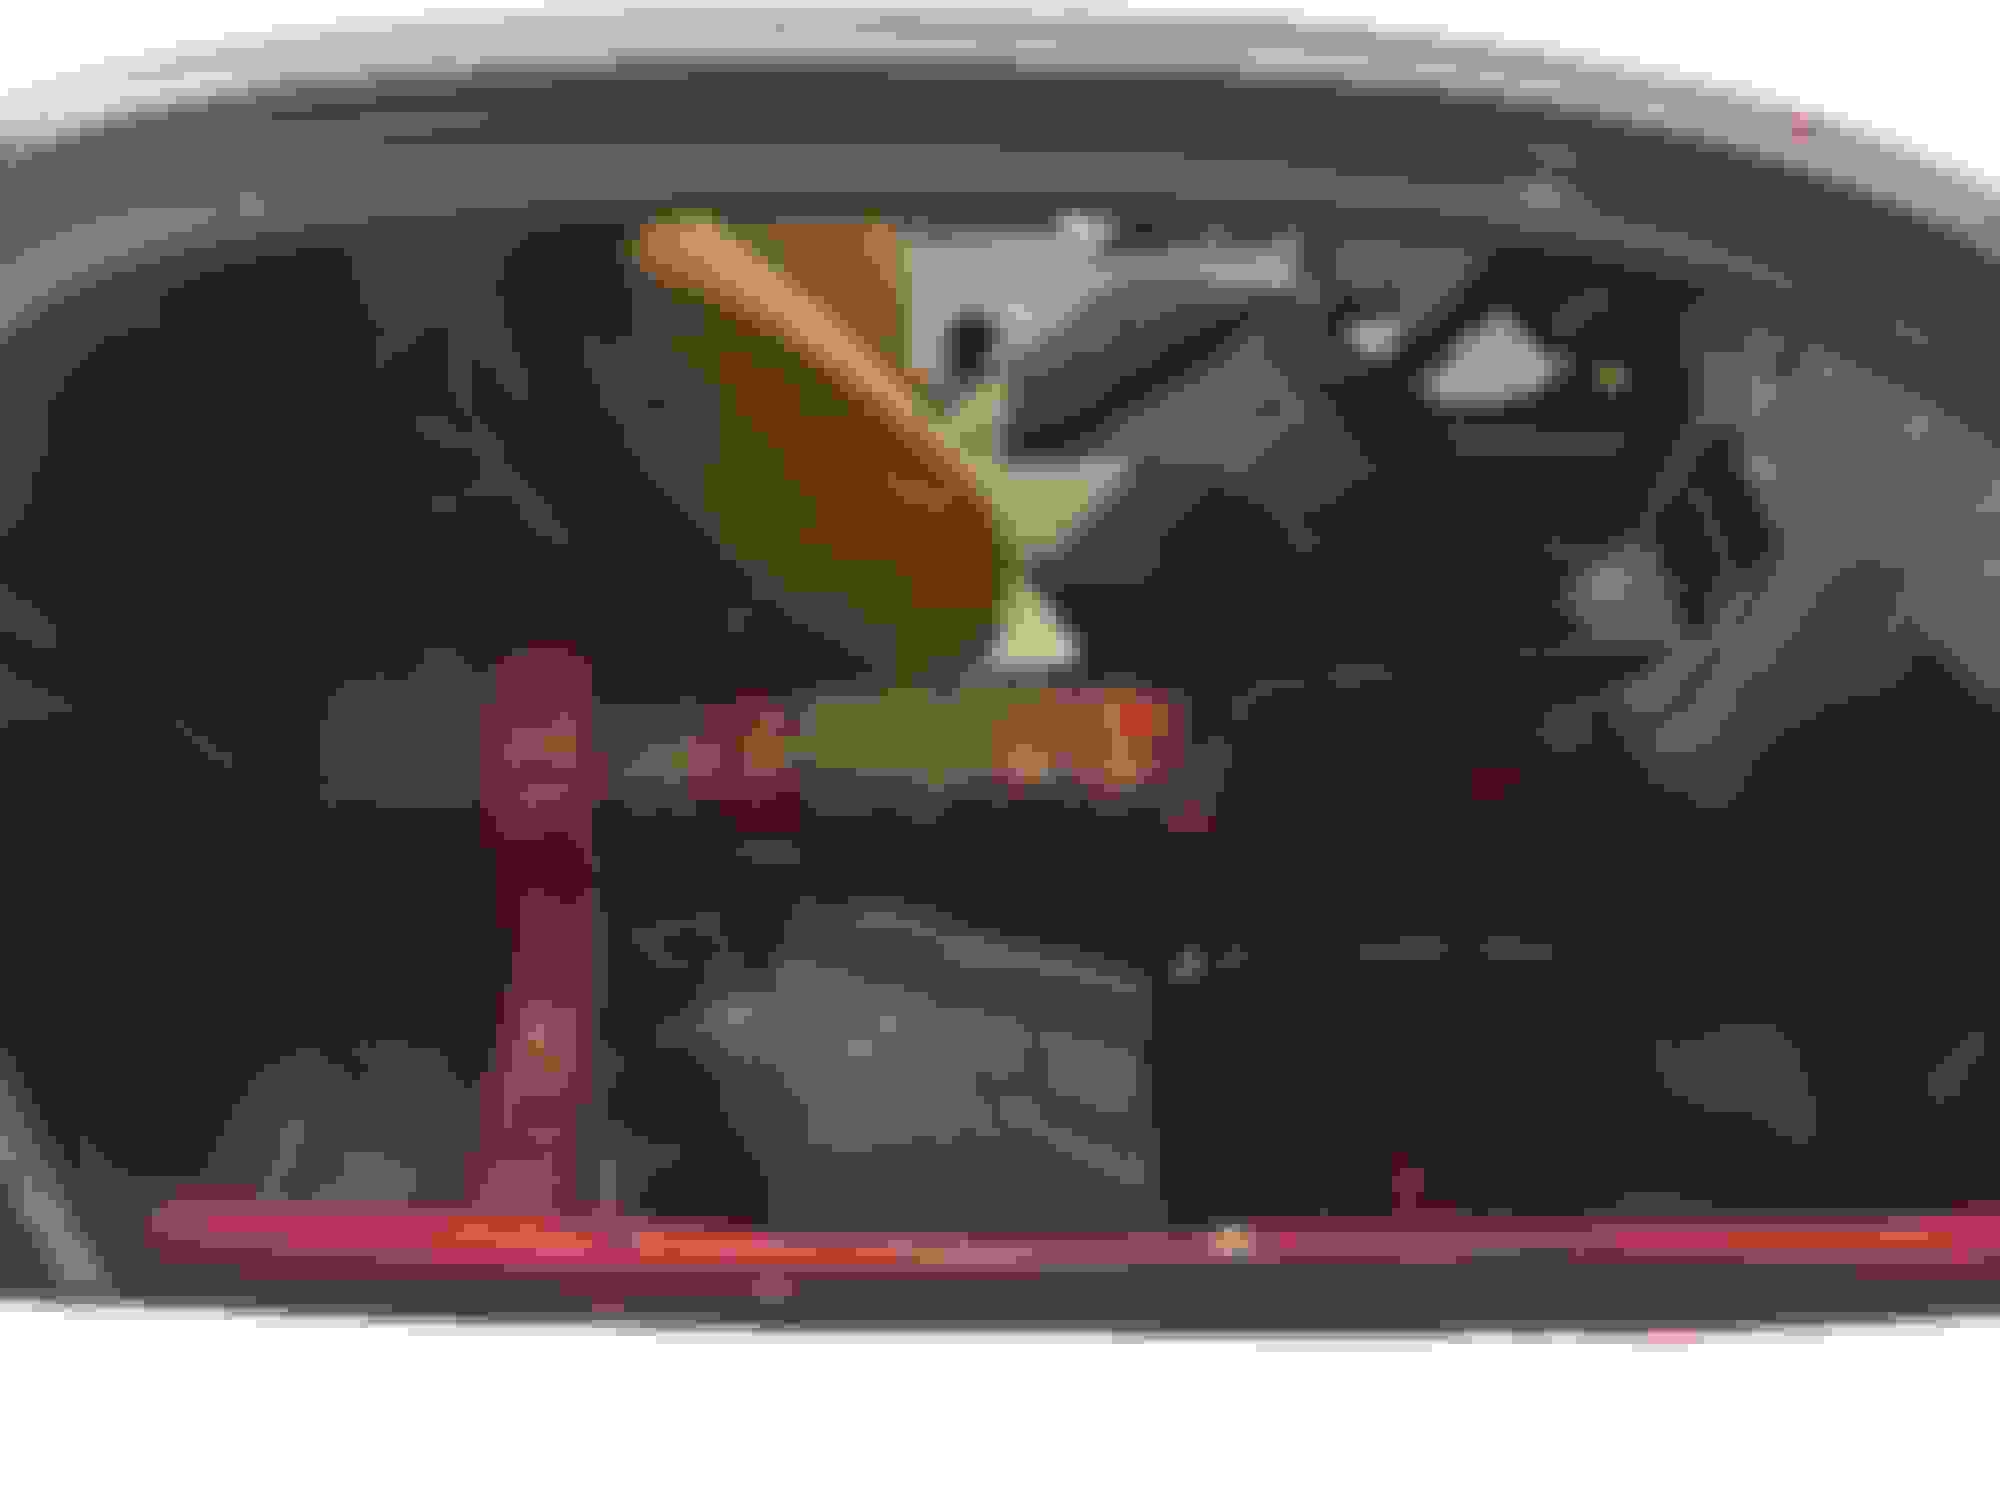
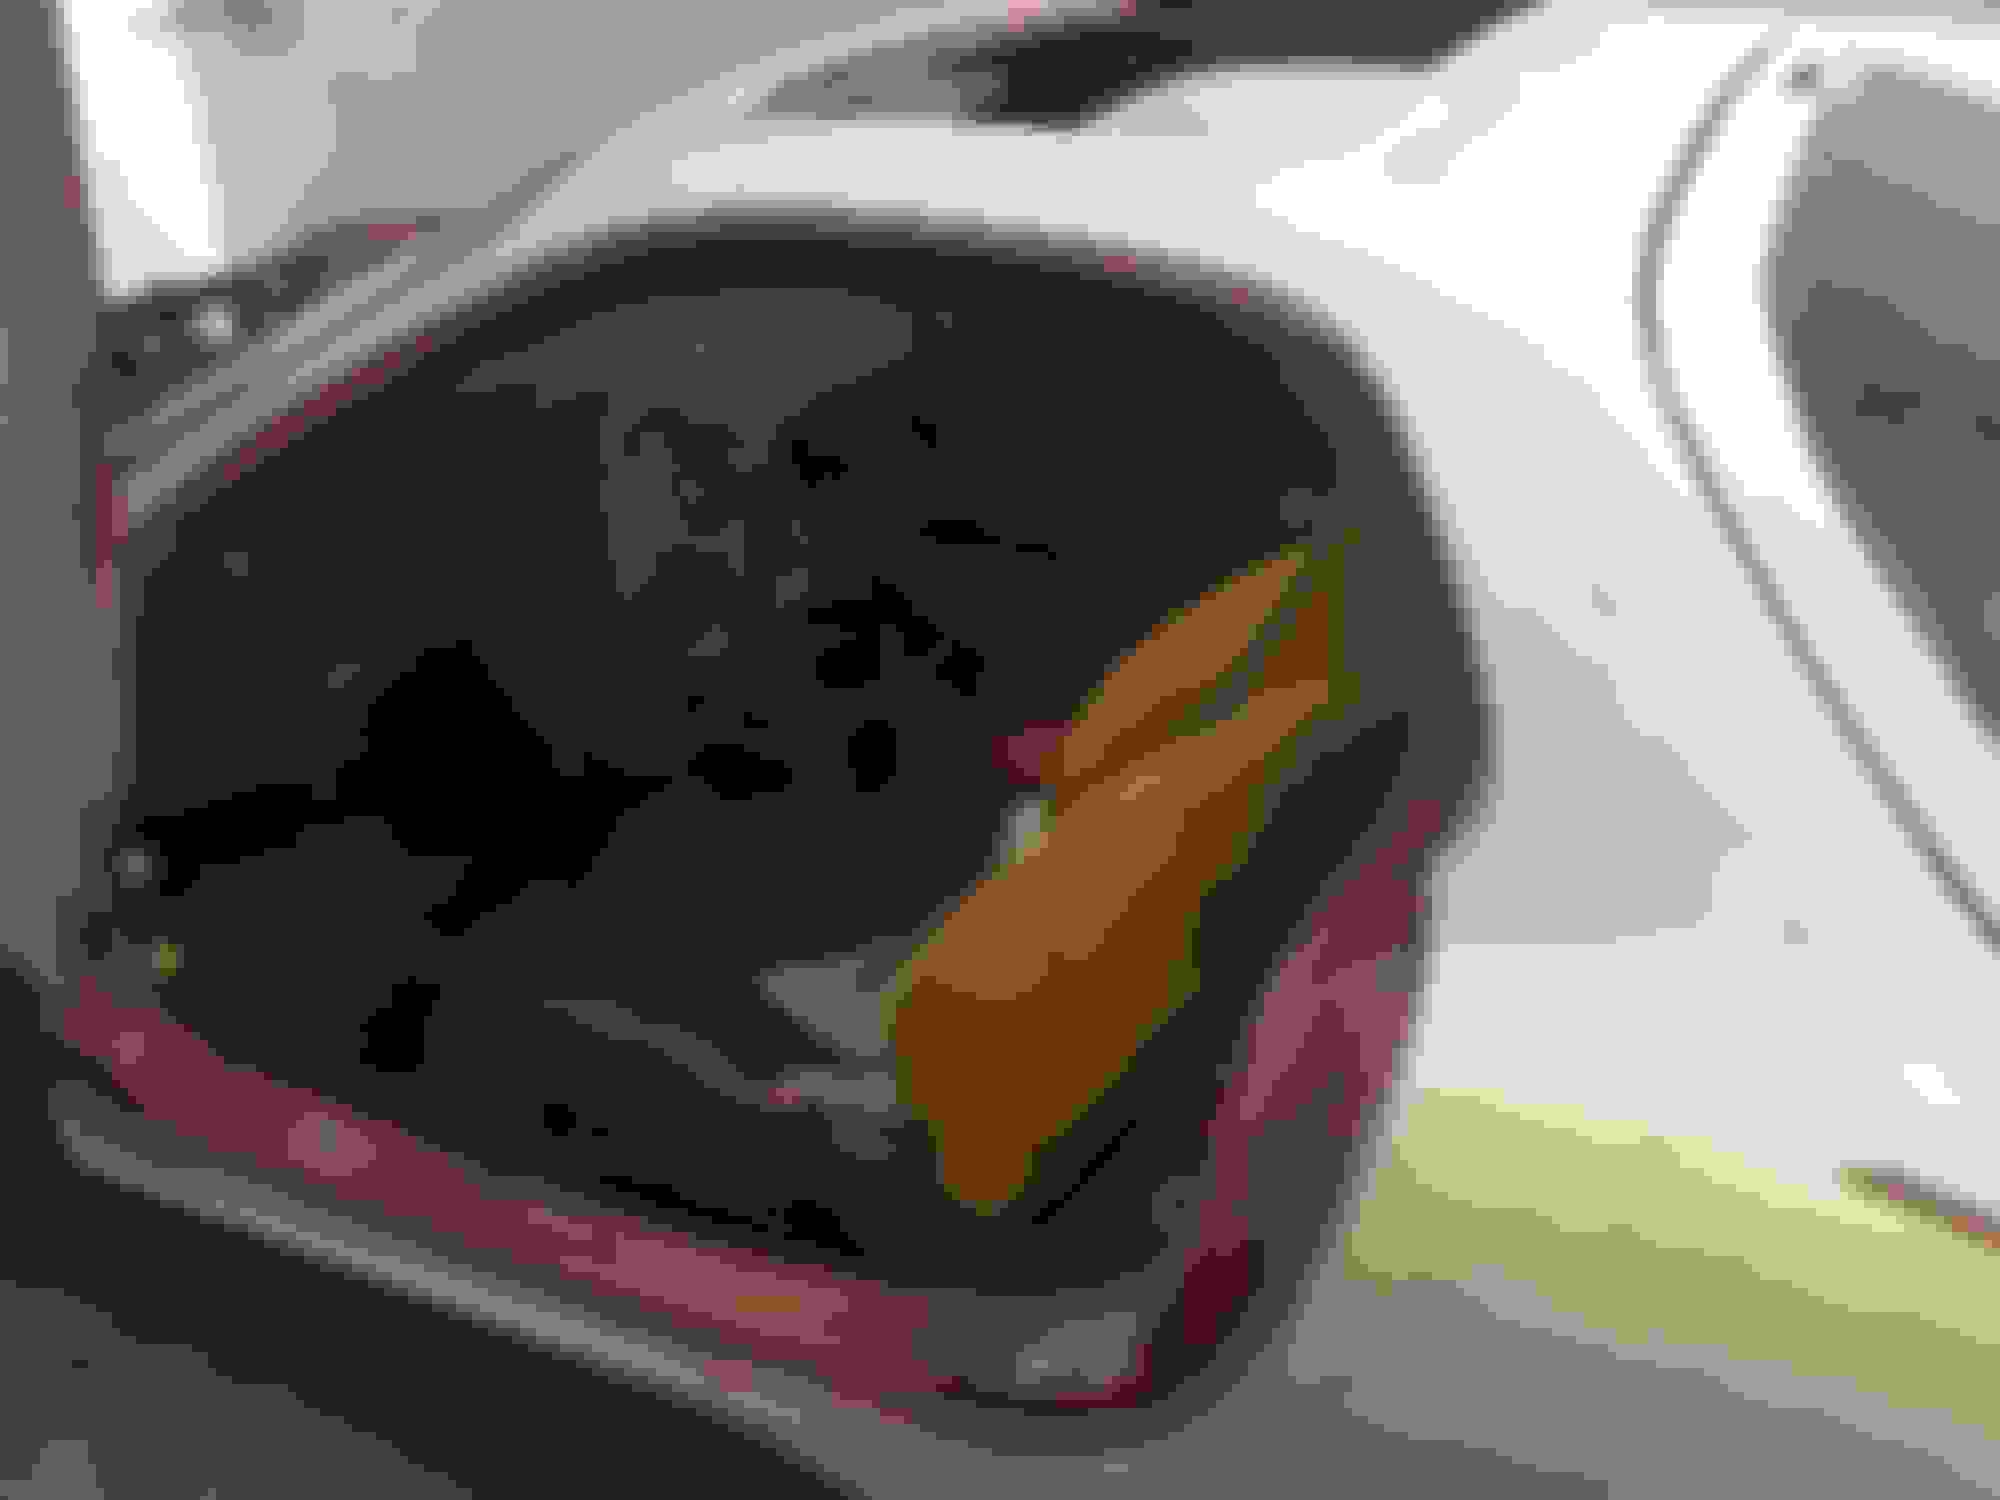
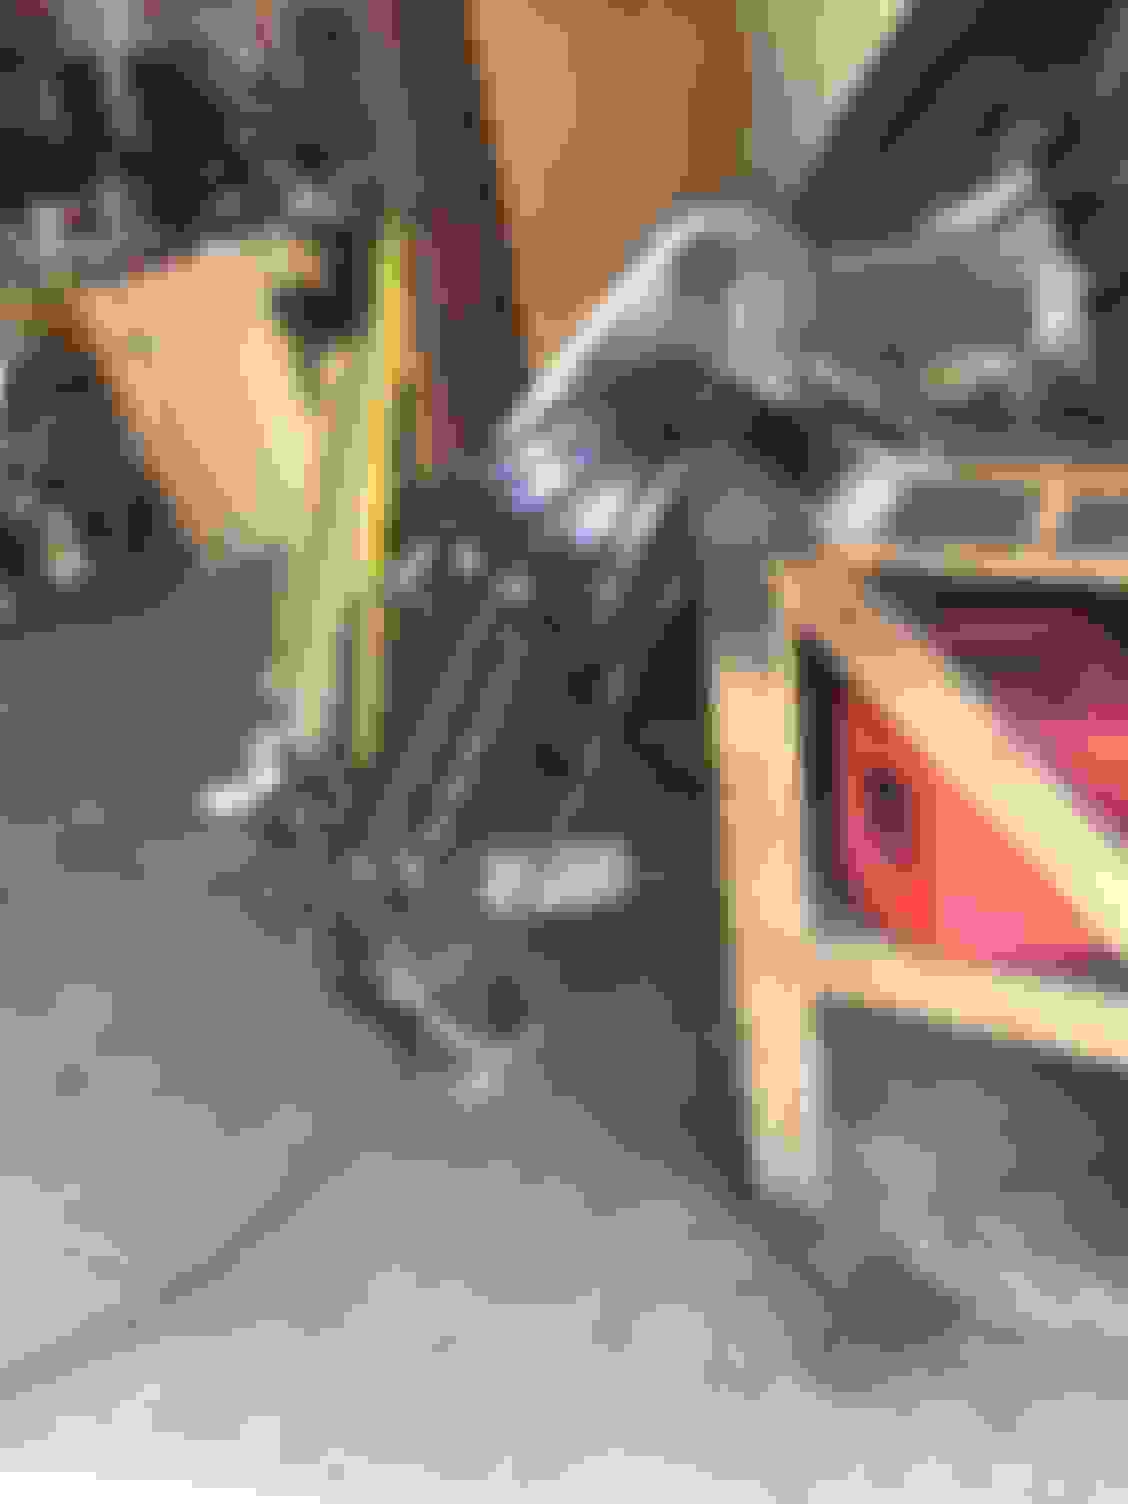
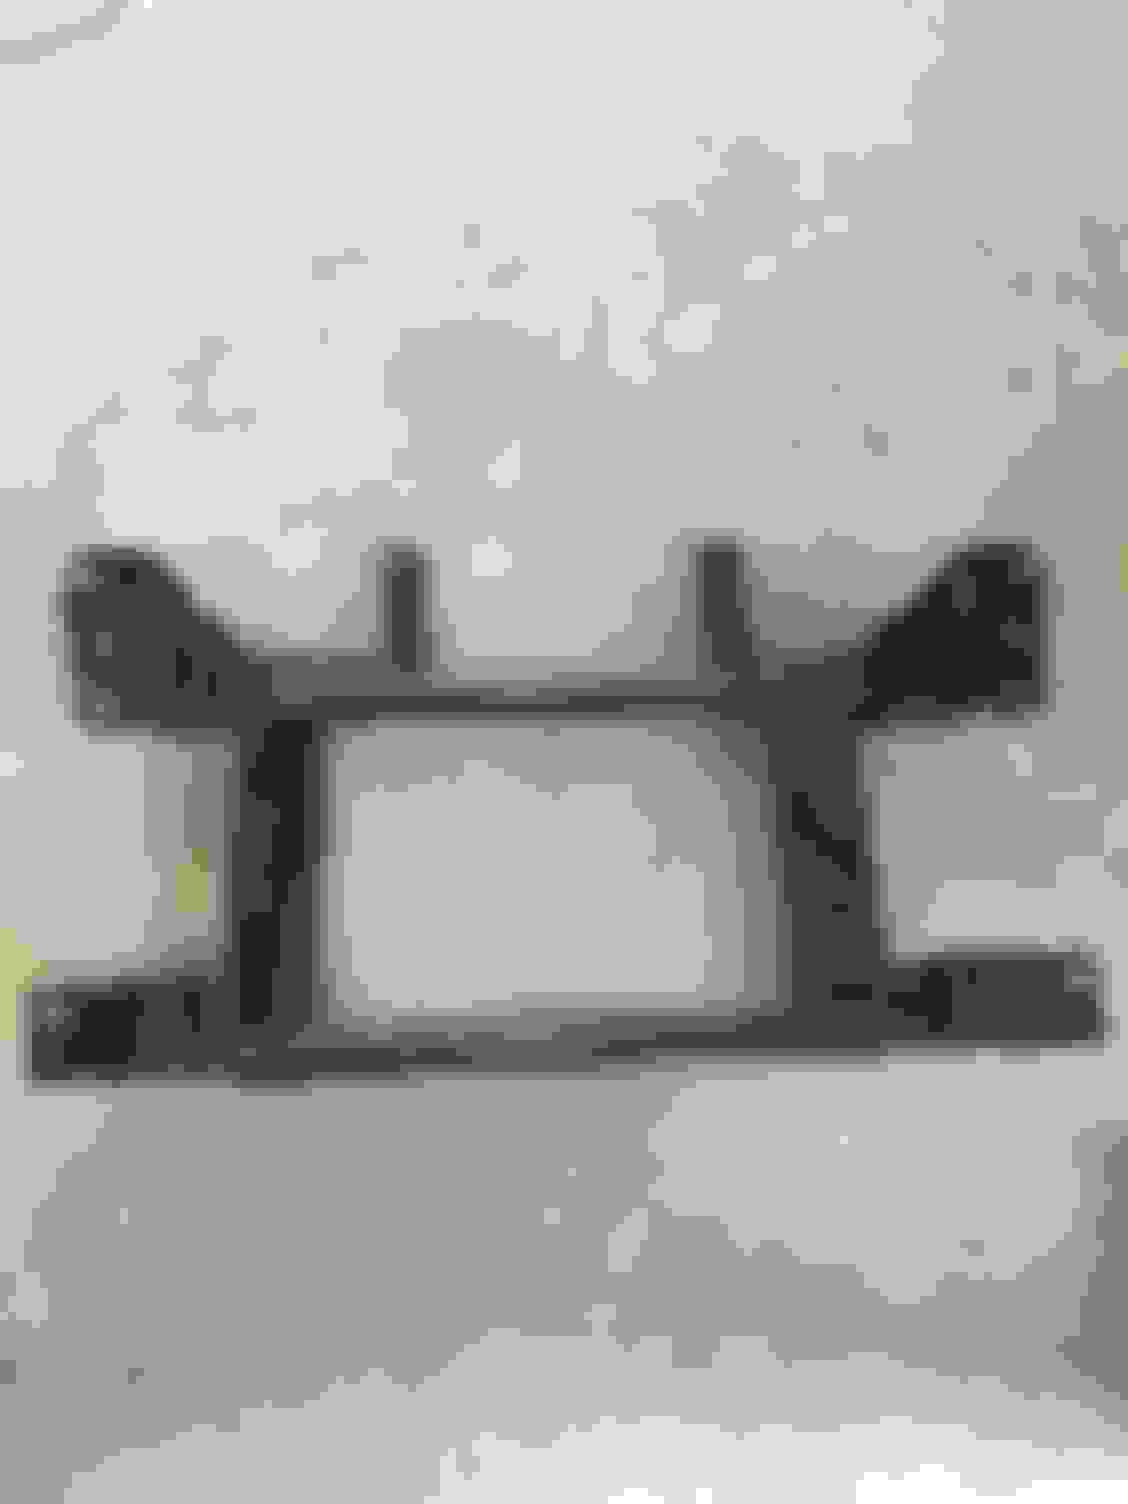
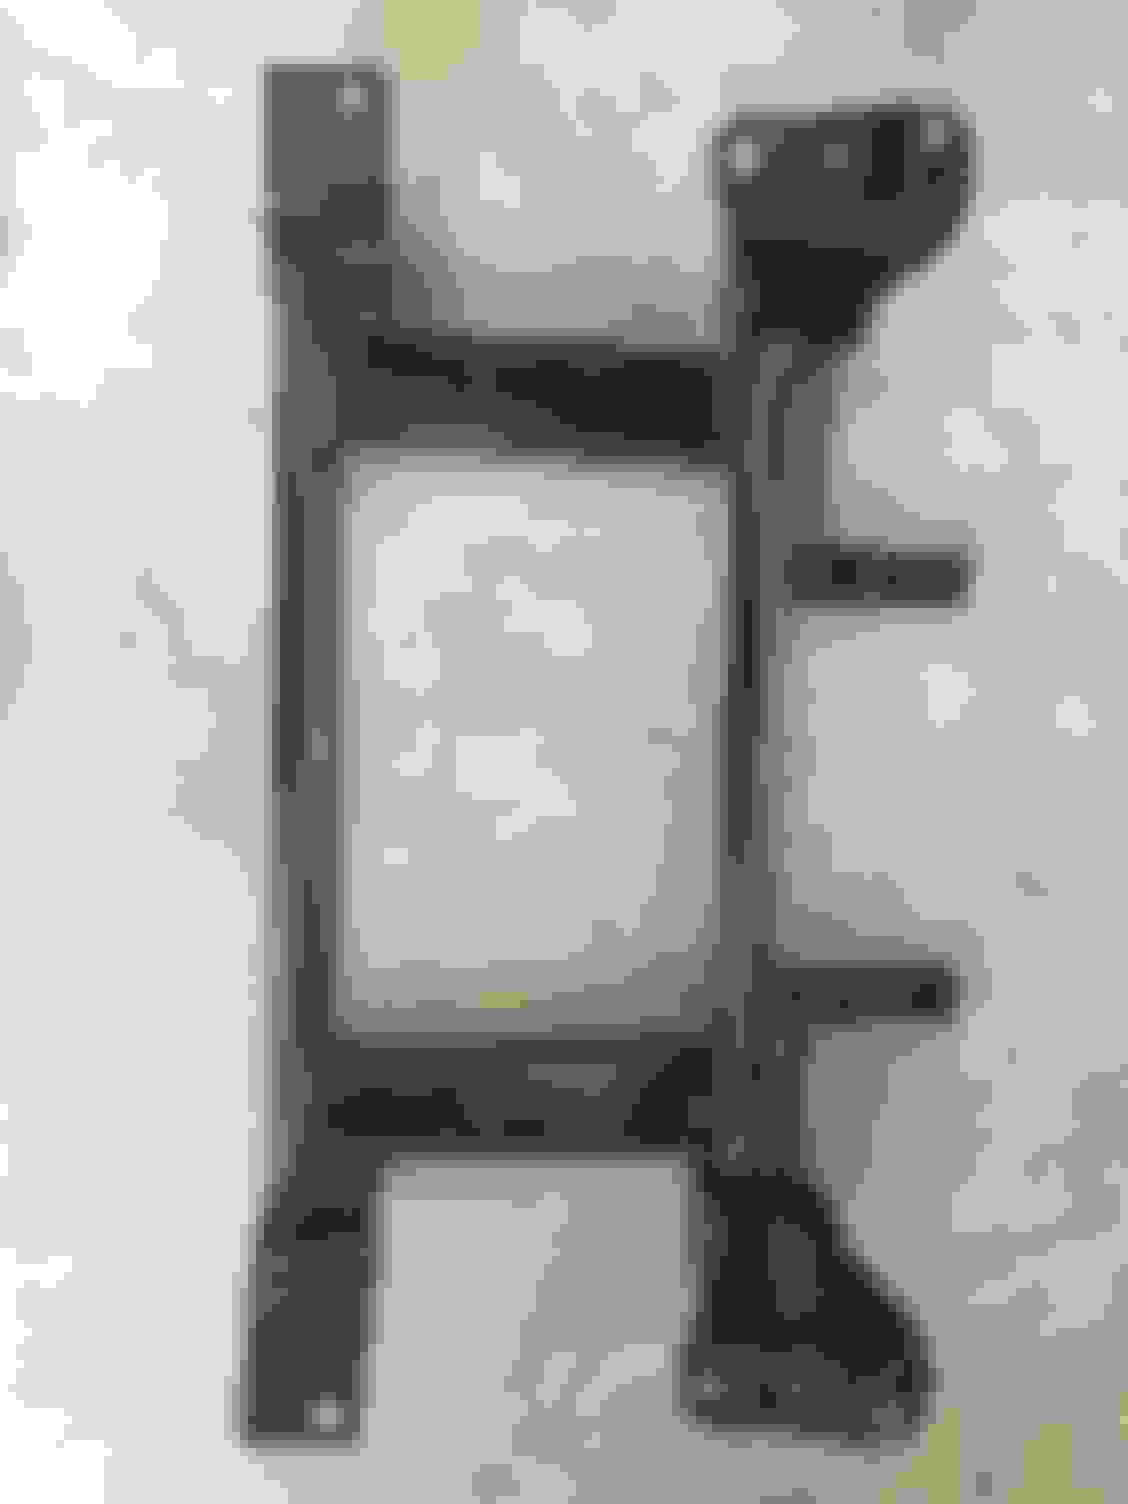
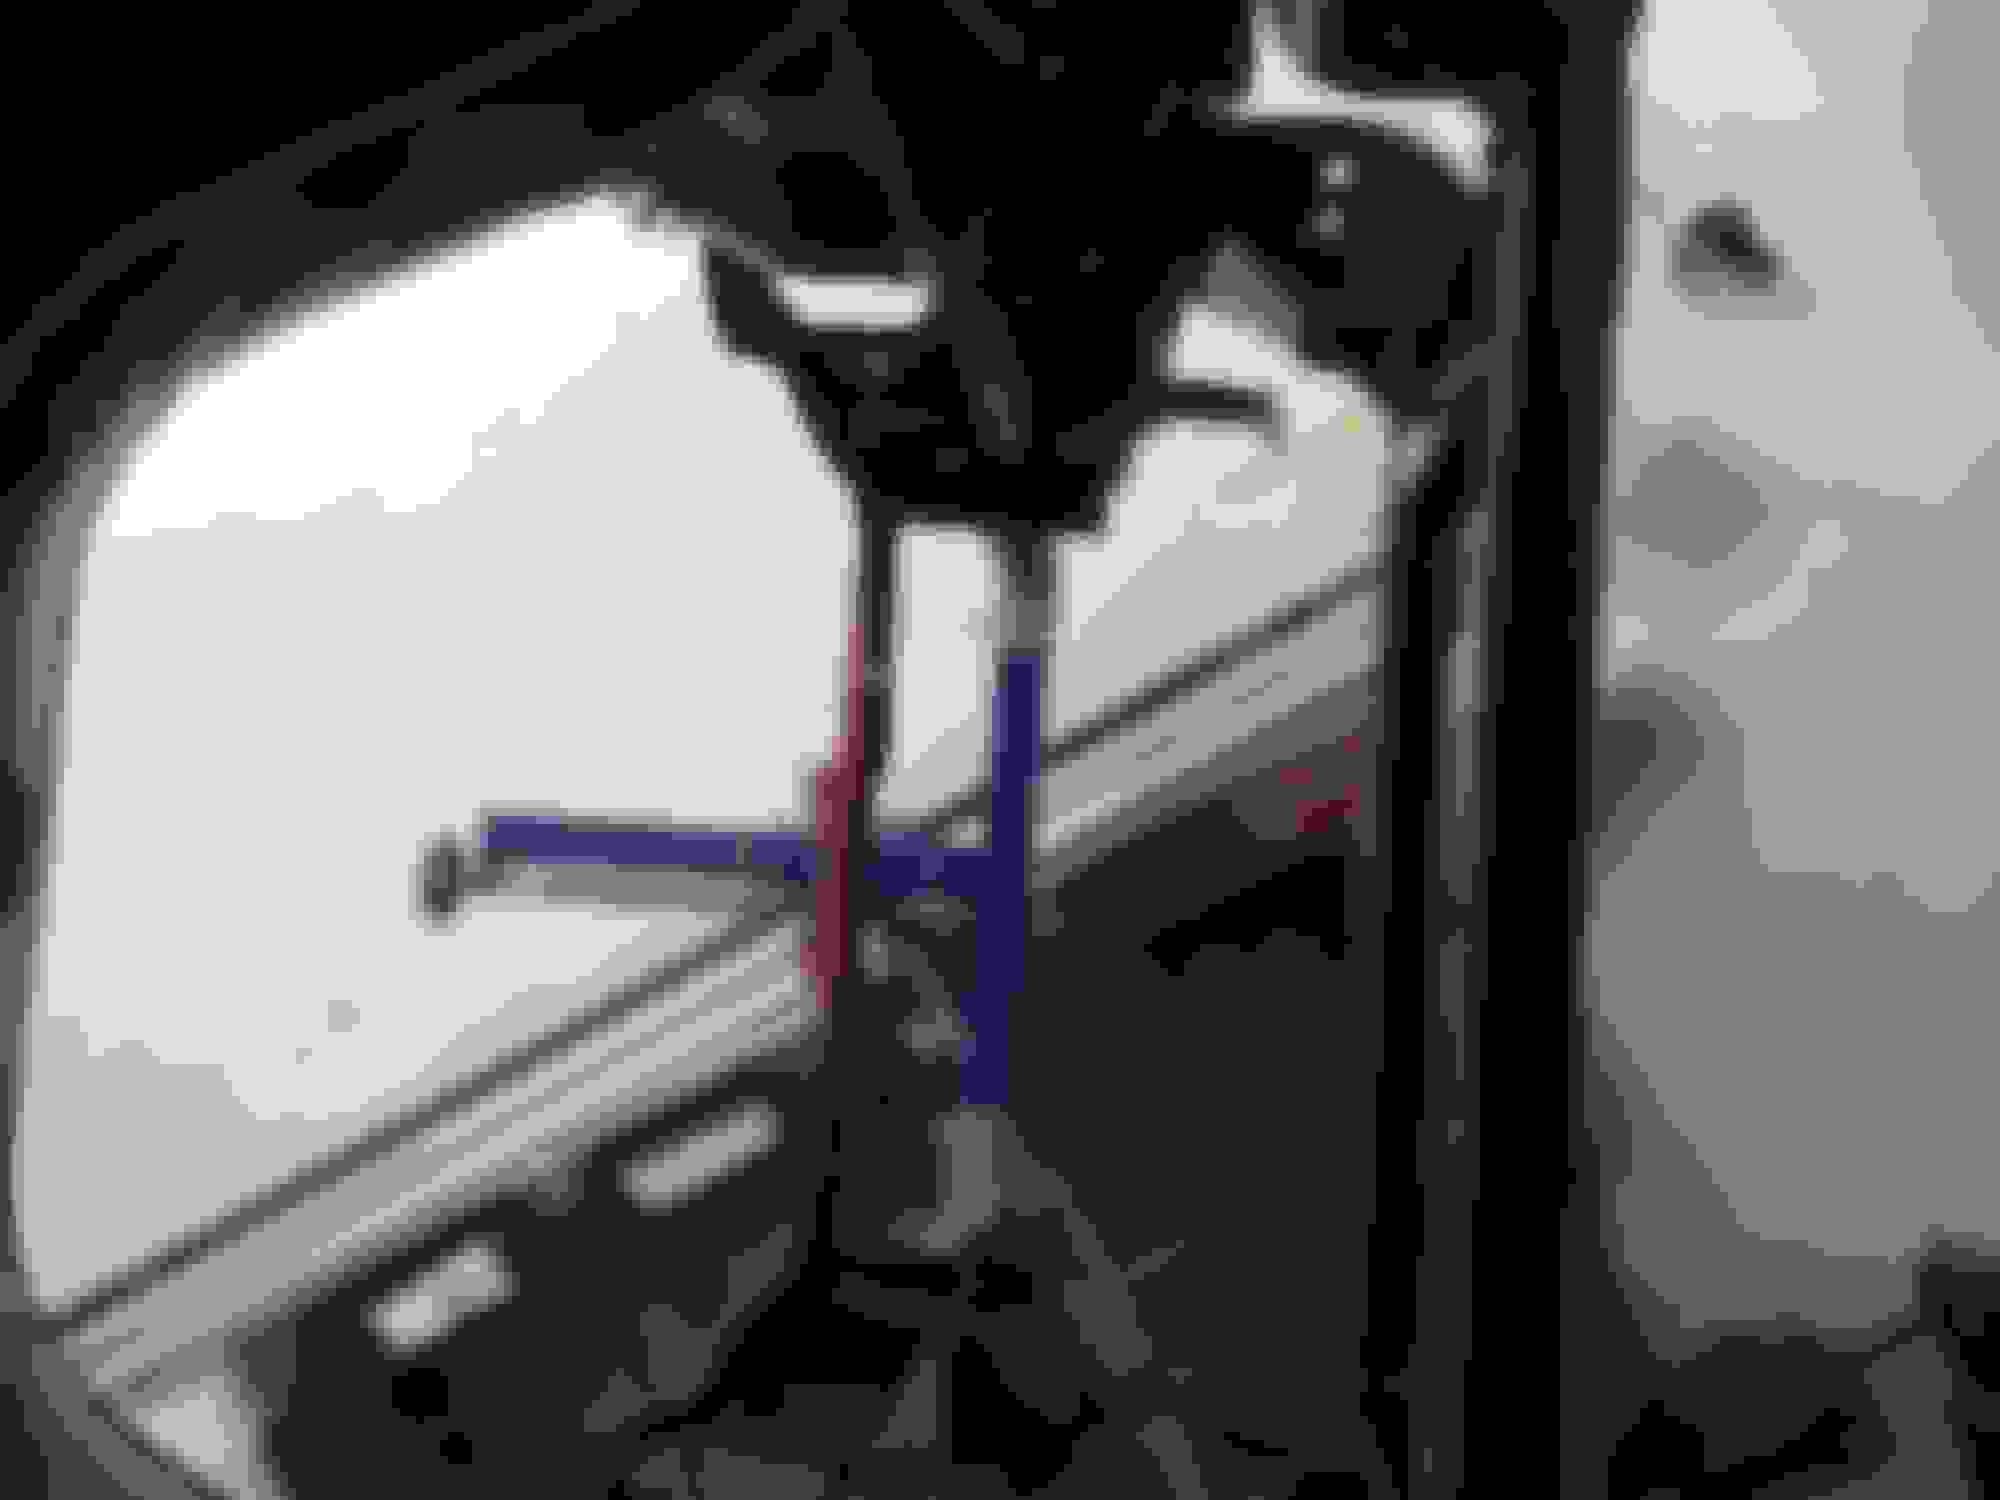
Hello everyone, we received something special today. We want to send a special thanks to Adam at Rotary Engine for getting this out to us. He has specially designed this sub-frame making it a one-of-a-kind component. He sales one of the cleanest and easiest kits for this type of swap. It has one of the most precision fitments. Check him out and the products he carries and you wont be disappointed.
I want to apologize for the odd directions these images where taken in. I will post better one in the near future. After installing, it fits like a glove.
Excellent craftsmen ship Mounted to the Car Front View Mounted to the Car Rear View
 06-11-17, 06:57 PM