87 RX7 N/A to LS/T56
 03-24-13, 03:00 PM
#1
Full Member
Thread Starter
Join Date: Feb 2013
Location: Iowa
Posts: 134
Likes: 0
Received 0 Likes
on
0 Posts
Picked up an 87 N/A RX7 that was in poor running condition to perform a swap on last August. Progress has been slow, I only have a few hours every other week to get out into the garage.
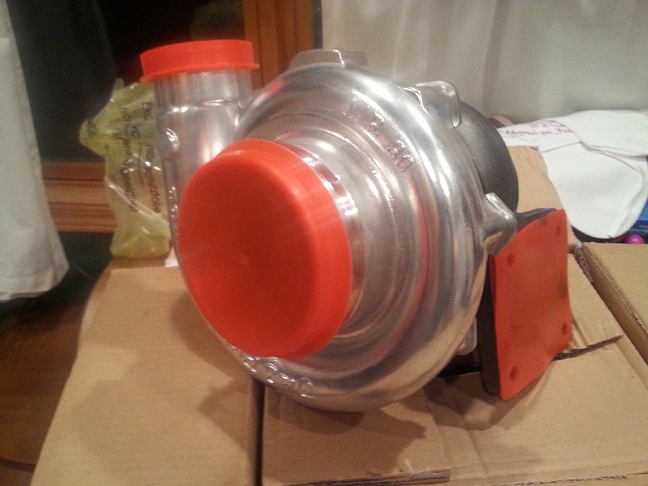
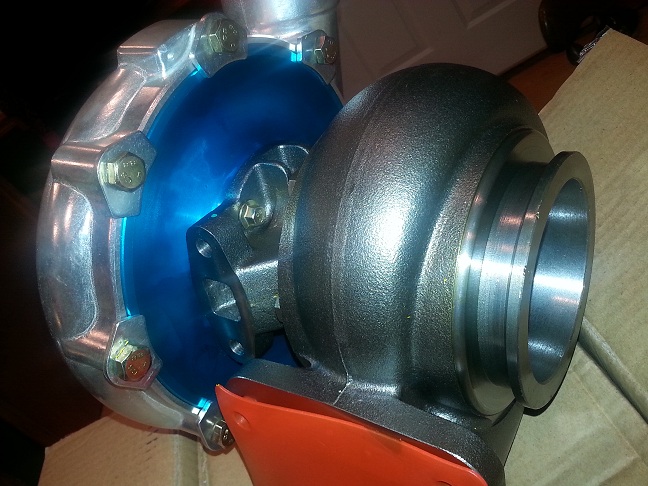
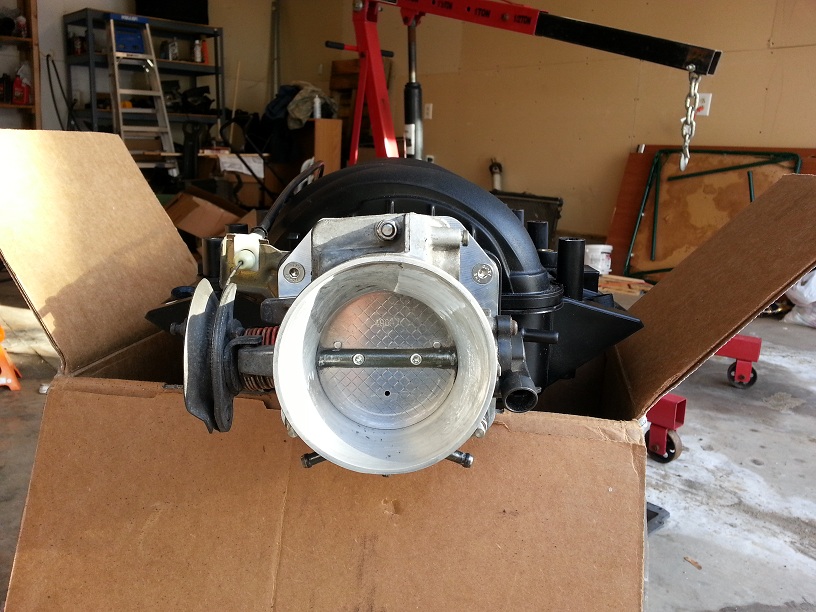
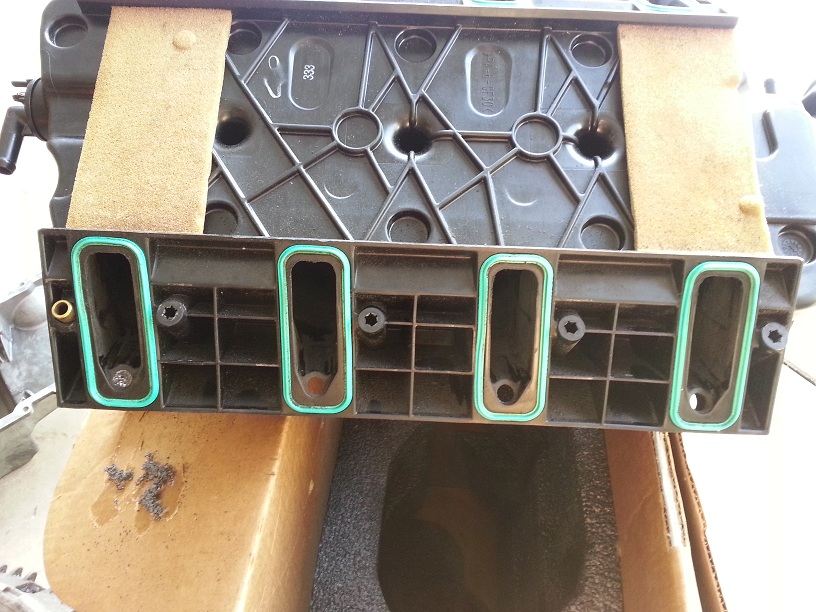
Setup is a 2005 LQ4, LS6 valve springs, Ported LS2 intake, ported 78mm throttle body, 76mm turbo, T56 and Microsquirt. I am sure there are things left out. All said and done I want to run mid 500's at the rear wheels.
Previous builds/restorations are all Mustangs, but I decided it was time to get into something that could handle, brake and have an overall weight advantage with more power.
Stock 13b, looks innocent but had some serious redneck engineering done to it that caused it to run like a Geo Metro only with terrible gas mileage.
Hoping to have this fired up before summer arrives.
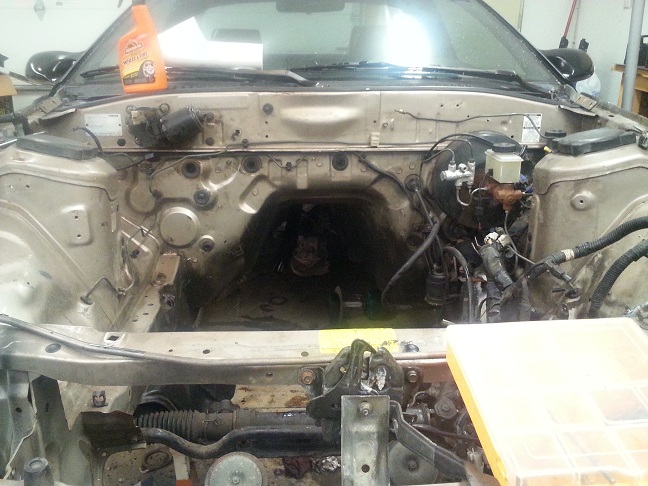
Interior was completely gutted.
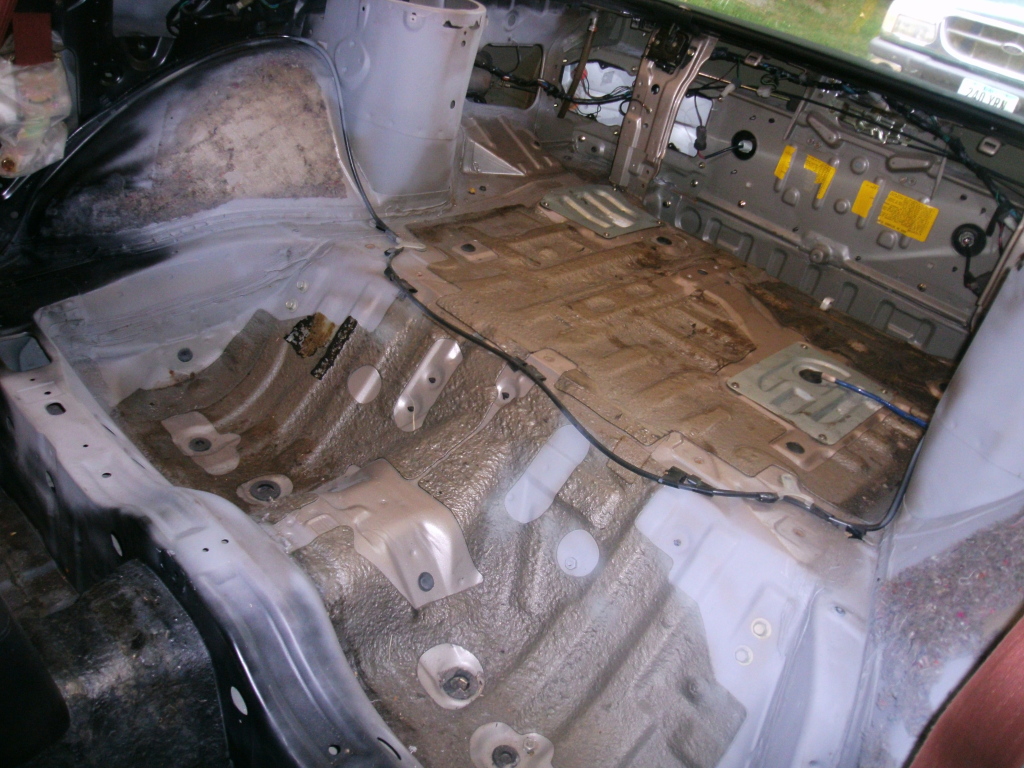
Car was in primer, but rust free.

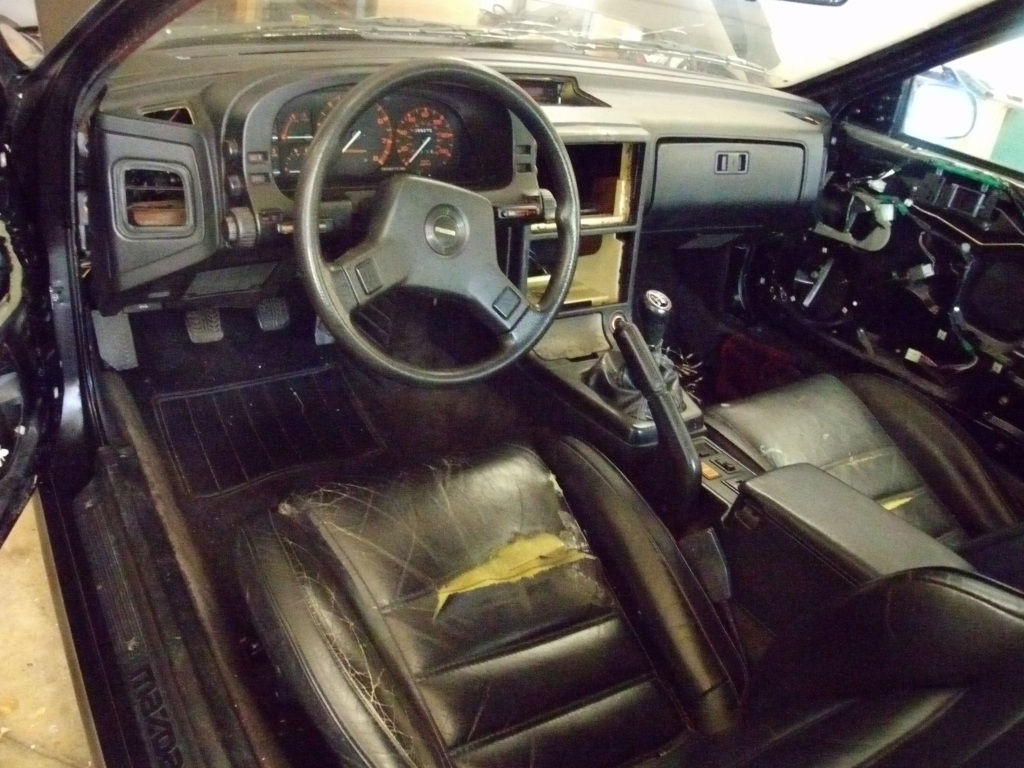
Interior all installed.
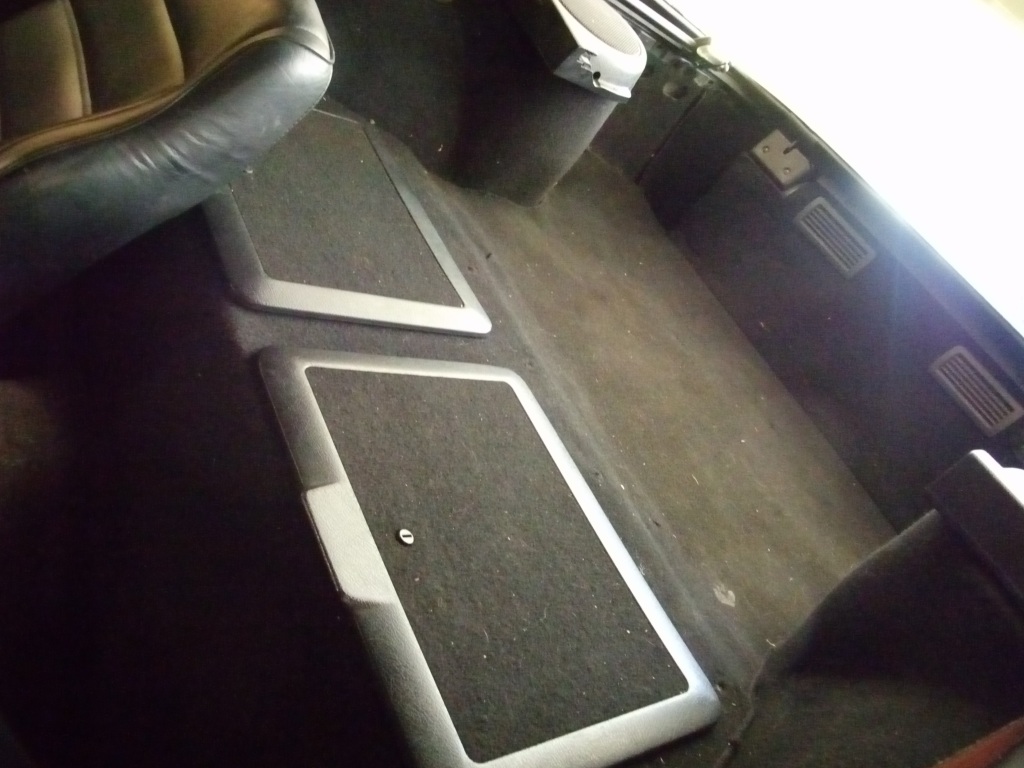
Just need to get the seats recovered and a headliner now. Everything else has been restored or replaced.
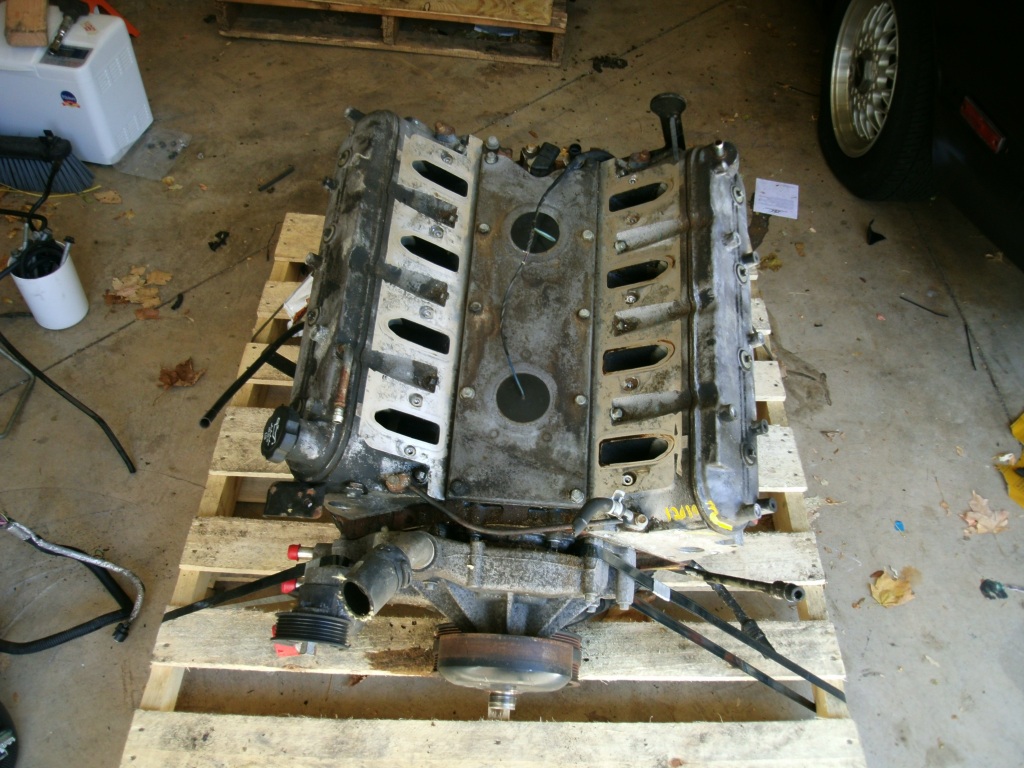
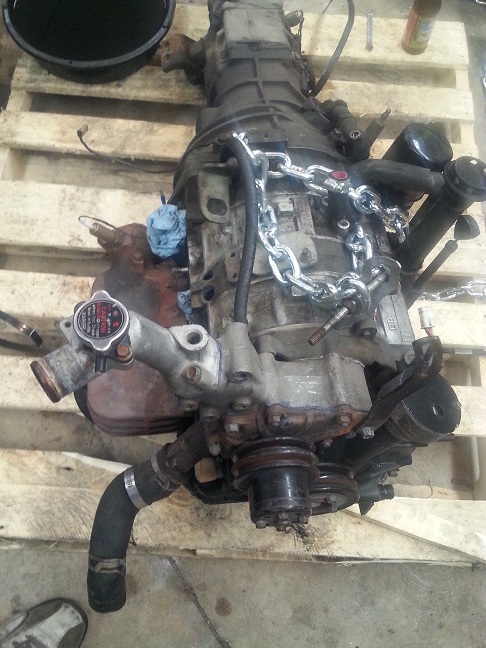
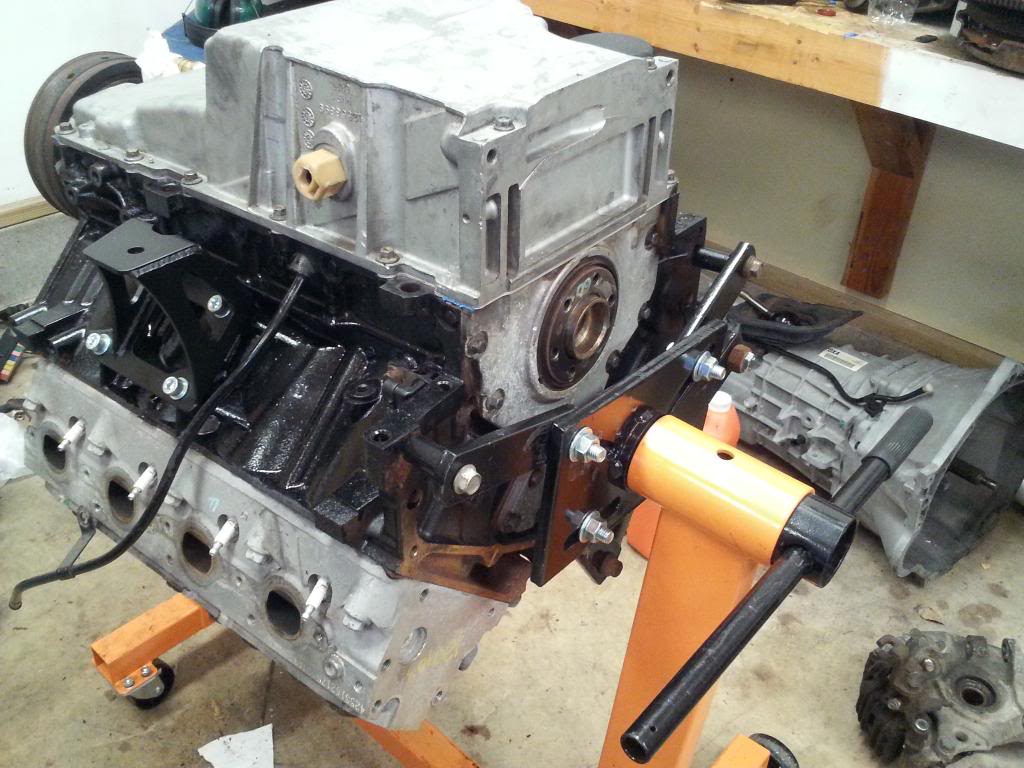
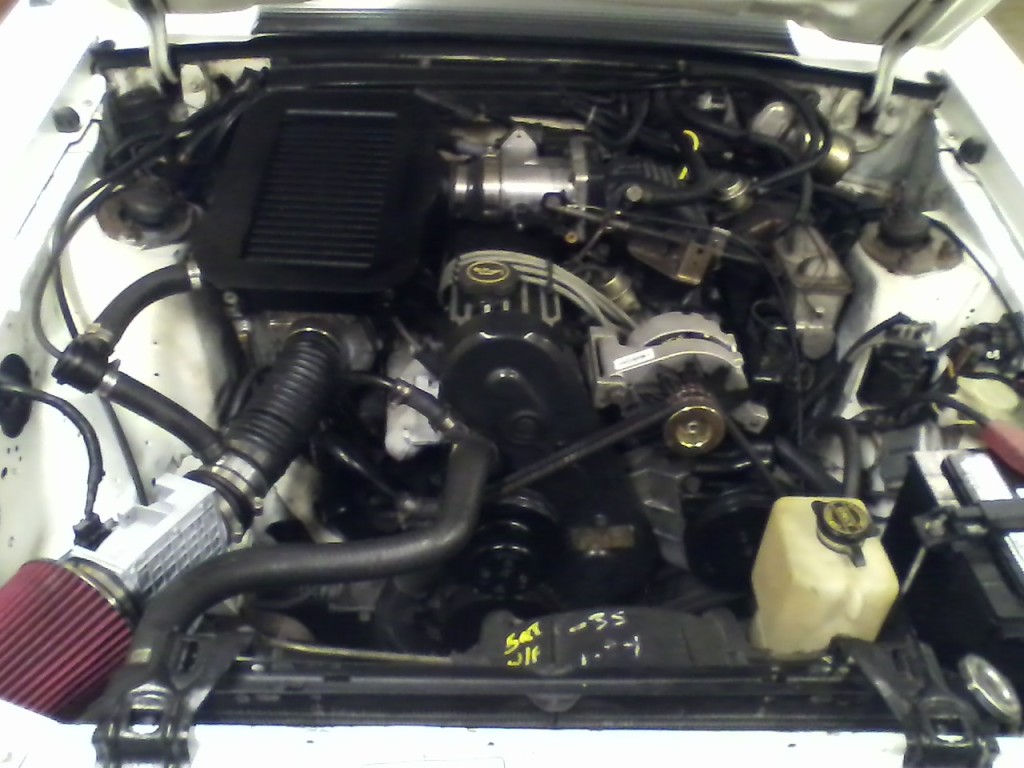
Engine as received.
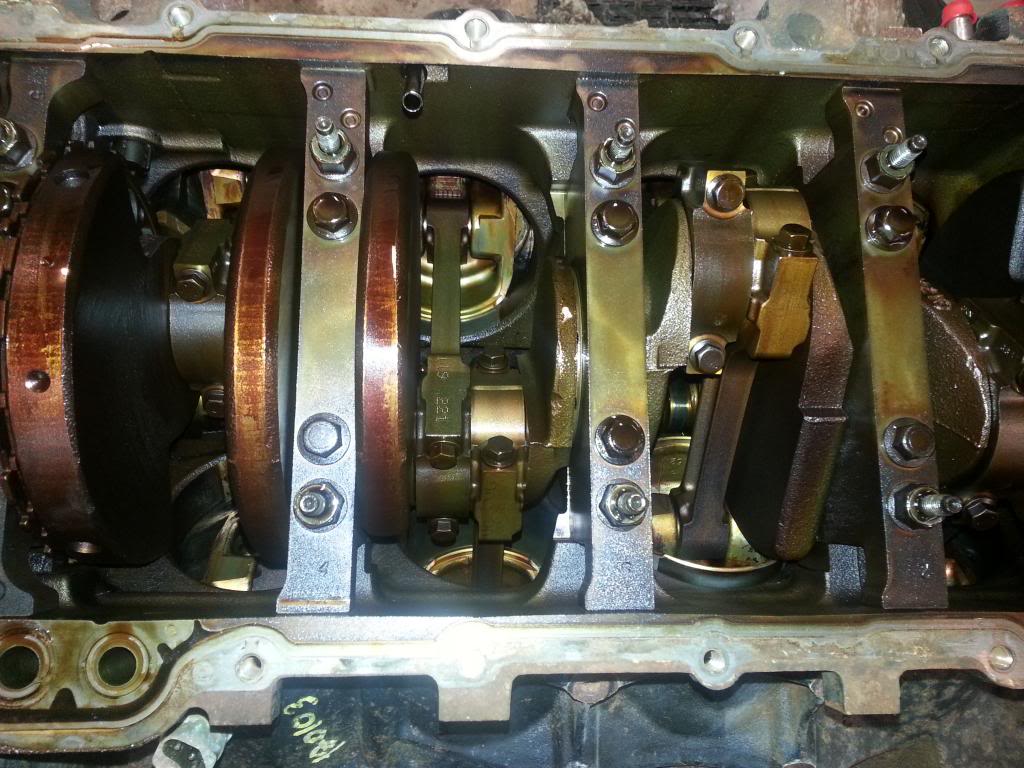
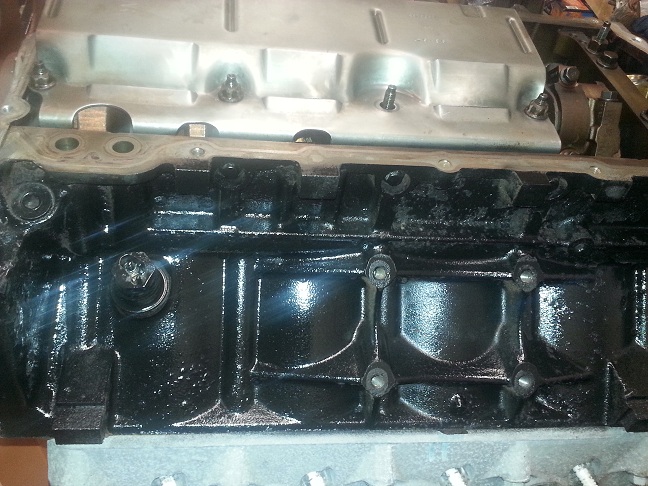
LS2 rods, etc.
Started to pull it apart.
Oil pan set up for turbo drain and fuel pump.
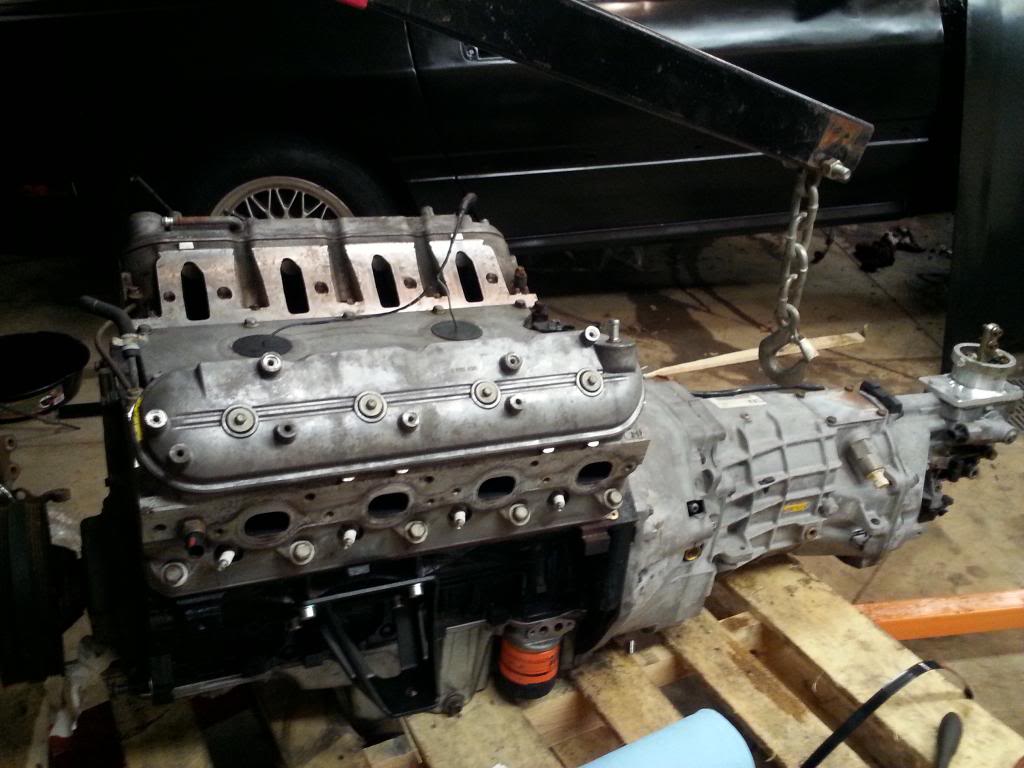
Engine out.
Setup is a 2005 LQ4, LS6 valve springs, Ported LS2 intake, ported 78mm throttle body, 76mm turbo, T56 and Microsquirt. I am sure there are things left out. All said and done I want to run mid 500's at the rear wheels.
Previous builds/restorations are all Mustangs, but I decided it was time to get into something that could handle, brake and have an overall weight advantage with more power.
Stock 13b, looks innocent but had some serious redneck engineering done to it that caused it to run like a Geo Metro only with terrible gas mileage.
Hoping to have this fired up before summer arrives.
Interior was completely gutted.
Car was in primer, but rust free.
Interior all installed.
Just need to get the seats recovered and a headliner now. Everything else has been restored or replaced.
Engine as received.
LS2 rods, etc.
Started to pull it apart.
Oil pan set up for turbo drain and fuel pump.
Engine out.

 04-06-13, 07:32 PM
#4
Full Member
Thread Starter
Join Date: Feb 2013
Location: Iowa
Posts: 134
Likes: 0
Received 0 Likes
on
0 Posts
I am building it more for all around performance. Hoping to road course it more than drag. My last two builds were more oriented for straight line performance, this one is going to be a change up.
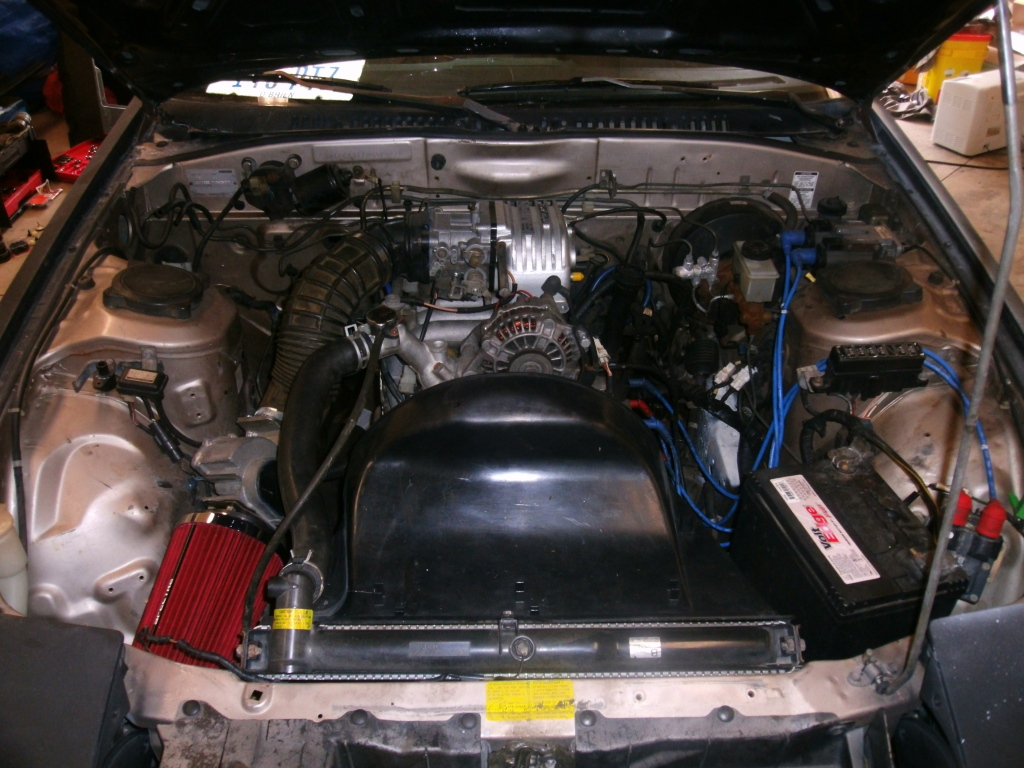
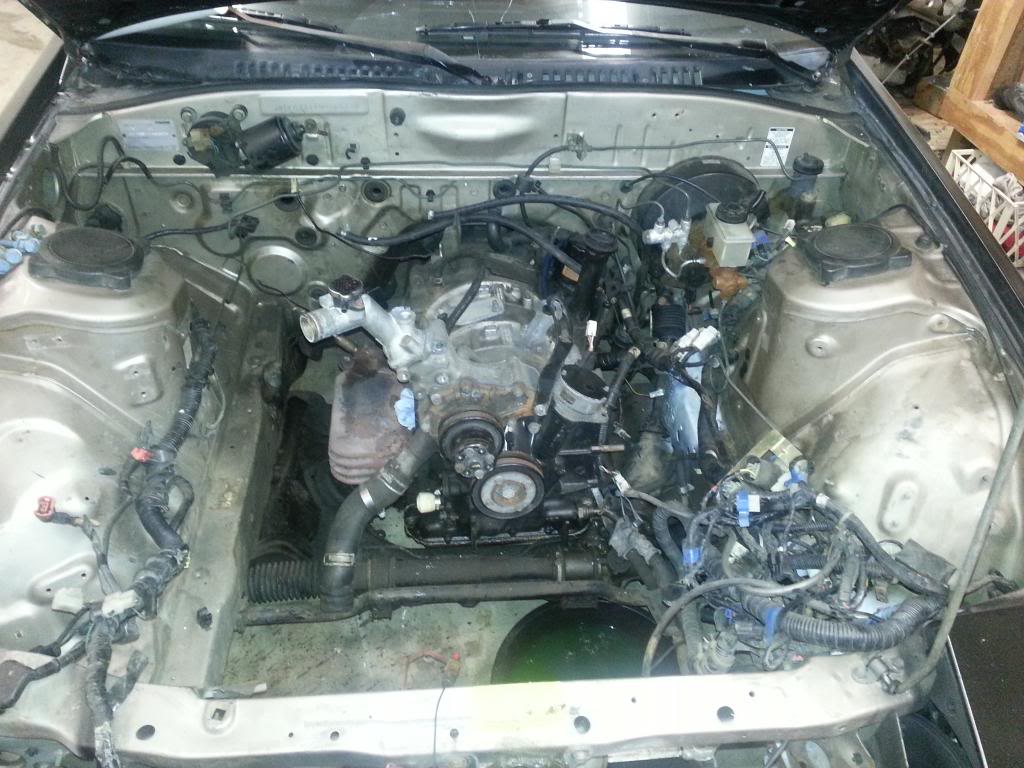
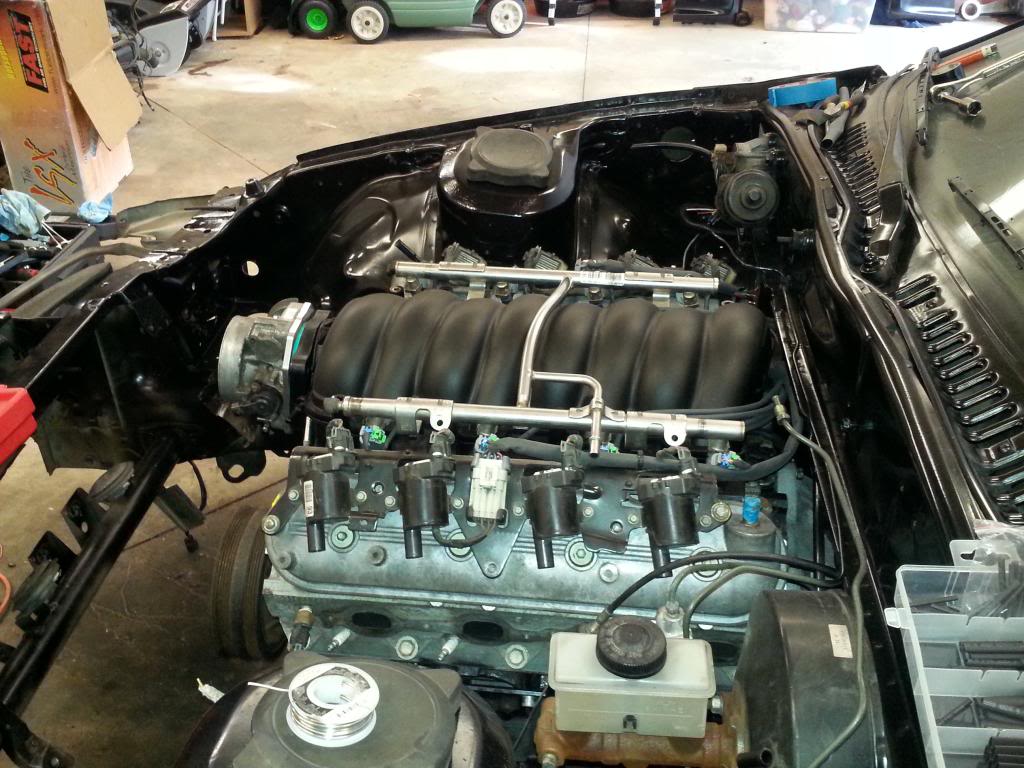
A couple updates. Been working on the engine bay.
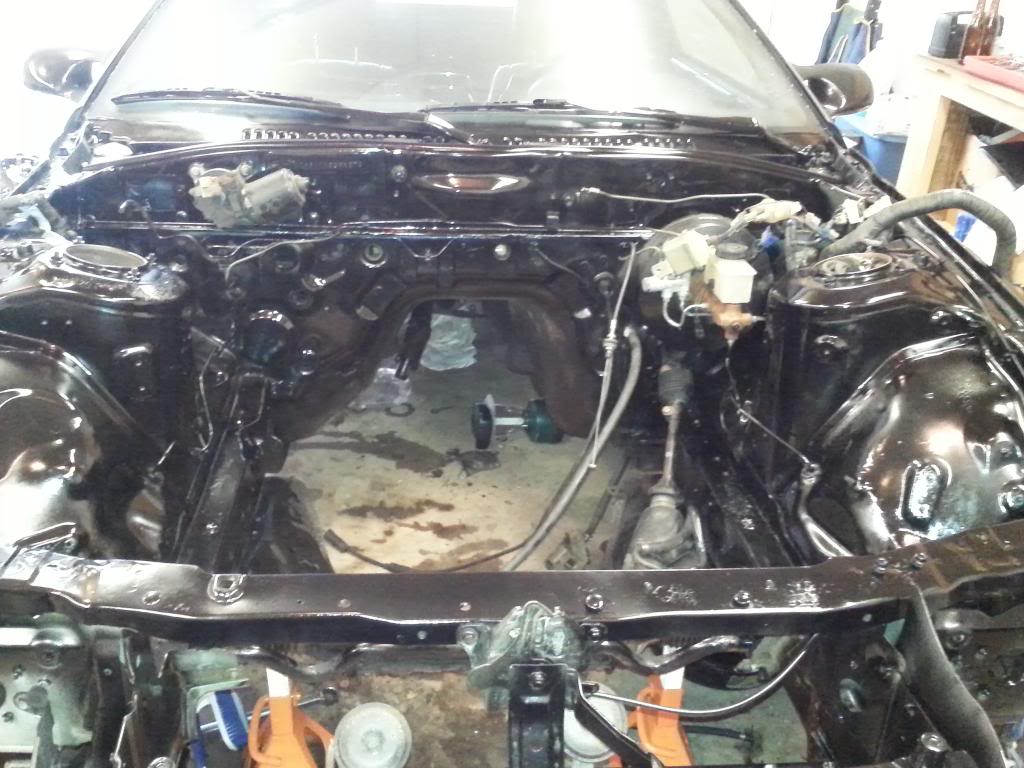
A couple updates. Been working on the engine bay.
04-07-13, 09:11 PM
#5
Full Member
Thread Starter
Join Date: Feb 2013
Location: Iowa
Posts: 134
Likes: 0
Received 0 Likes
on
0 Posts
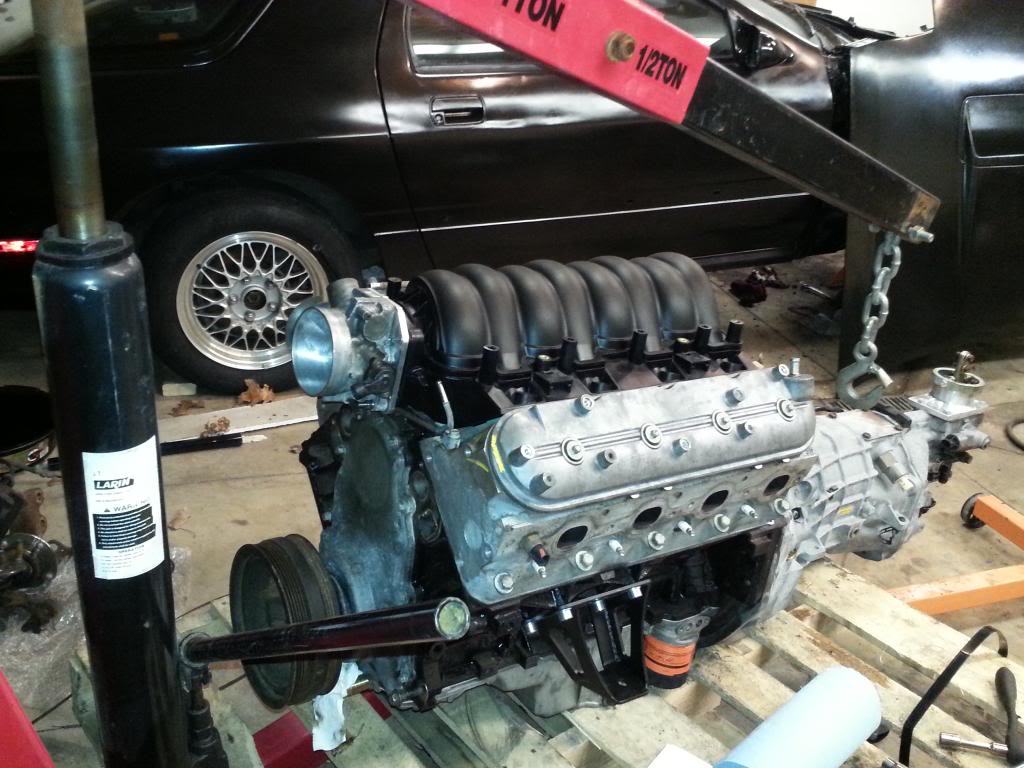
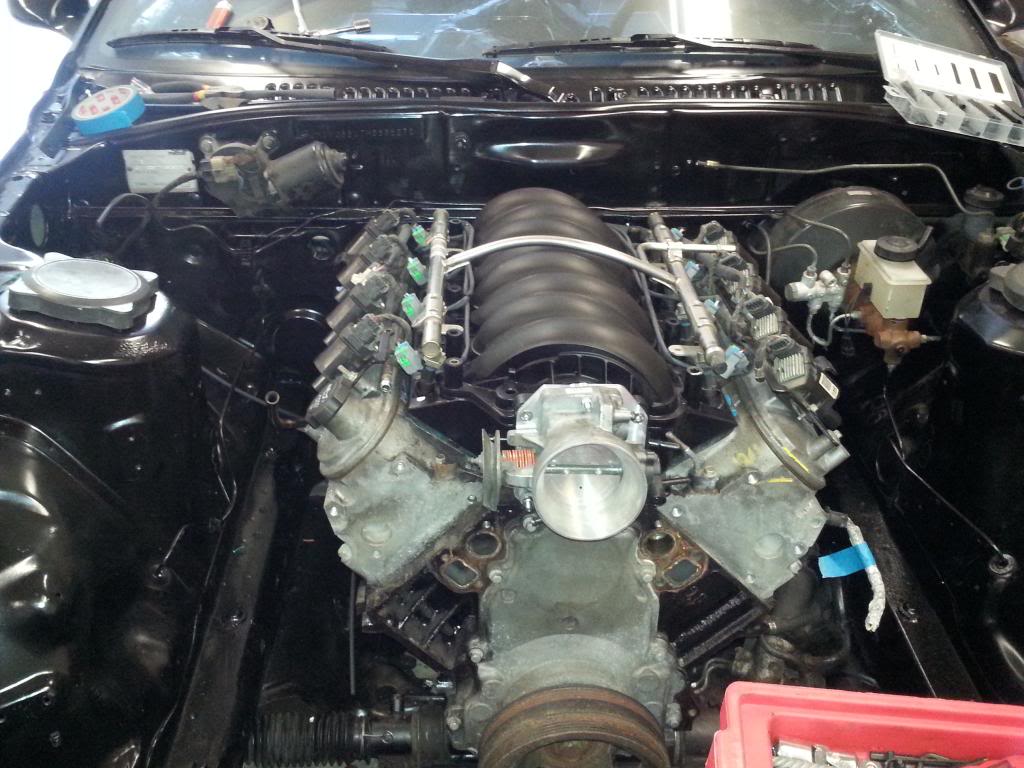
Got it all ready to drop into the car finally.
Next weekend this will be in the car unless something crazy happens to steal weekend hours away from me.
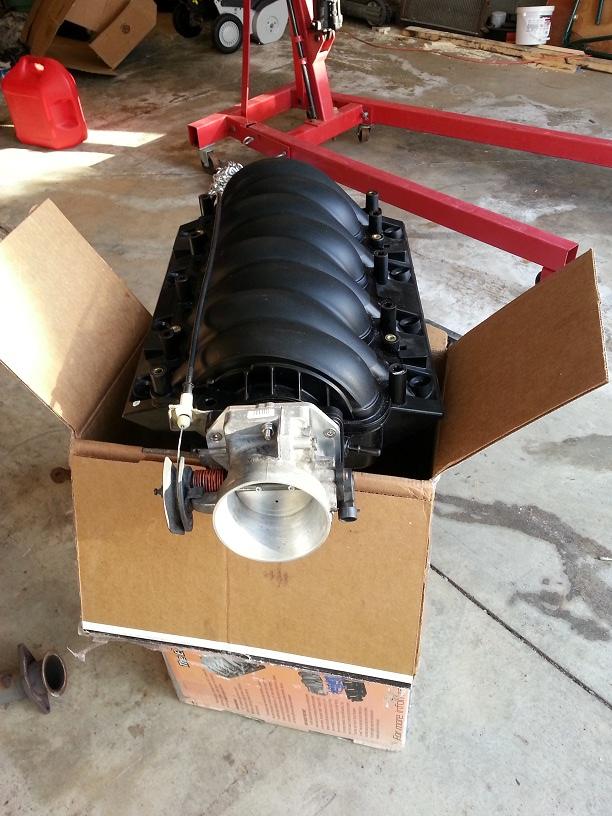
Mock up with the intake on, just because I can, lol.
Next weekend this will be in the car unless something crazy happens to steal weekend hours away from me.
Mock up with the intake on, just because I can, lol.
 04-09-13, 05:18 PM
#7
Registered User

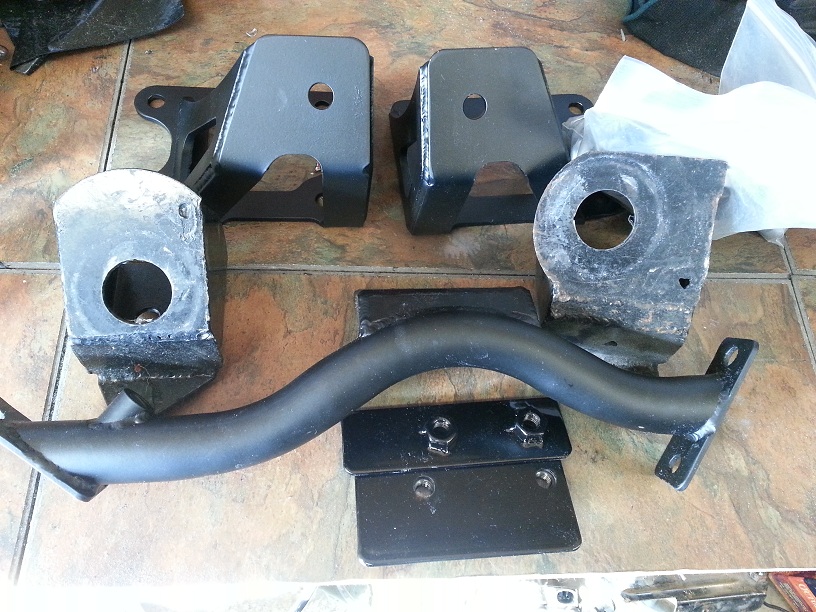
Just FYI: your engine mounts are Pez mounts from before Ronin bought the design rights. Our current mounts are quite a bit nicer and have had a few optomizations for fitment that will make your life easier. They'll also be substantially stronger than what you have both from a material thickness and weld quality perspective.
Pardon the aside, just didn't want anyone to mistake parts for ours that were a bit before our time. The other pieces in your kit (the powdercoated bits) are us, but the mounts are not.
If you want to upgrade shoot us a note at roninspeedworks@gmail.com and we'll see if we can't help you out.
You look like you're well on your way to making some serious horsepower. I love the fact folks are planning turbos into the build up front. We have 8.8 diff kits in stock when you're ready.
Trending Topics
04-09-13, 07:25 PM
#8
Full Member
Thread Starter
Join Date: Feb 2013
Location: Iowa
Posts: 134
Likes: 0
Received 0 Likes
on
0 Posts
Just FYI: your engine mounts are Pez mounts from before Ronin bought the design rights. Our current mounts are quite a bit nicer and have had a few optomizations for fitment that will make your life easier. They'll also be substantially stronger than what you have both from a material thickness and weld quality perspective.
Pardon the aside, just didn't want anyone to mistake parts for ours that were a bit before our time. The other pieces in your kit (the powdercoated bits) are us, but the mounts are not.
If you want to upgrade shoot us a note at roninspeedworks@gmail.com and we'll see if we can't help you out.
You look like you're well on your way to making some serious horsepower. I love the fact folks are planning turbos into the build up front. We have 8.8 diff kits in stock when you're ready.
I was actually looking at your 8.8 kit, but I am trying to keep scope creep to a minimum and get it on the road for the nice weather. There is always next winter.


 04-23-13, 04:41 PM
#12
Full Member
Thread Starter
Join Date: Feb 2013
Location: Iowa
Posts: 134
Likes: 0
Received 0 Likes
on
0 Posts
Not sure what the weight is going to be. Probably be nose heavy since I went iron block and turbo. The car otherwise is mostly gutted other than having some of the interior panels put back over empty space. The dash is hollowed out except for the gauges as well. Maybe down the road I will grab up an aluminum block to play with to help the nose weight.
On another note I got a lot of wiring worked out over the weekend. No pictures, but its getting closer.
On another note I got a lot of wiring worked out over the weekend. No pictures, but its getting closer.
06-02-13, 07:00 PM
#13
Full Member
Thread Starter
Join Date: Feb 2013
Location: Iowa
Posts: 134
Likes: 0
Received 0 Likes
on
0 Posts
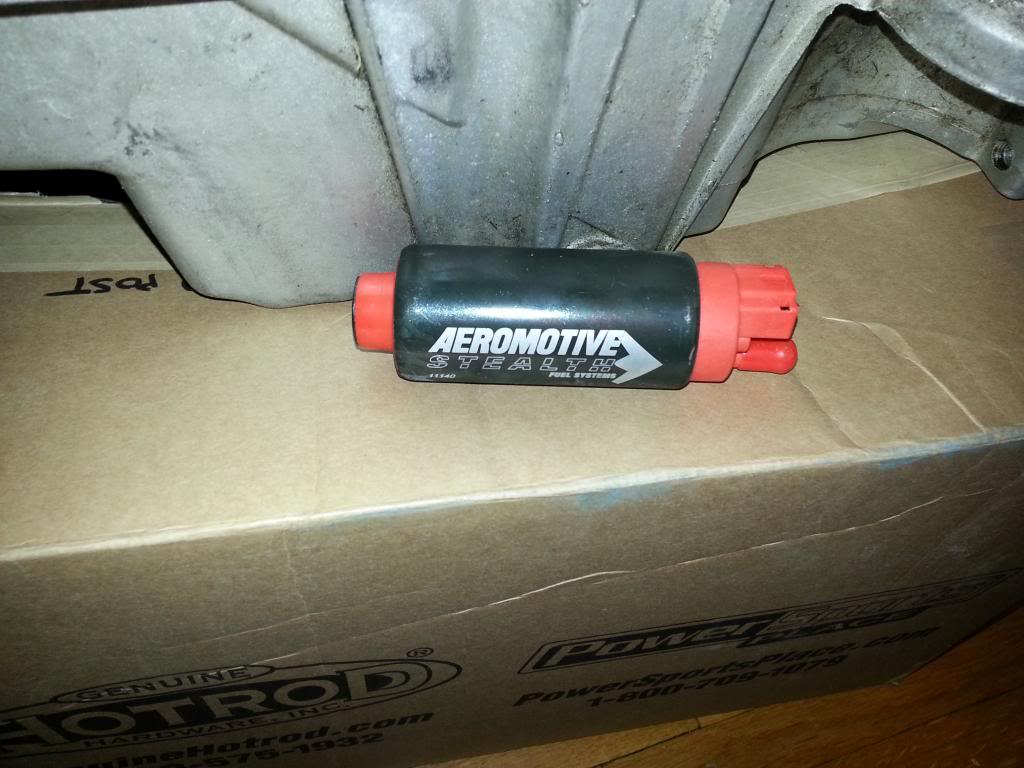
Not to much of an update. Just been dealing with wiring up the Microsquirt and attempting to make it as clean as possible. Next step will be running fuel lines.


 06-11-13, 07:55 PM
#17
Full Member
Thread Starter
Join Date: Feb 2013
Location: Iowa
Posts: 134
Likes: 0
Received 0 Likes
on
0 Posts
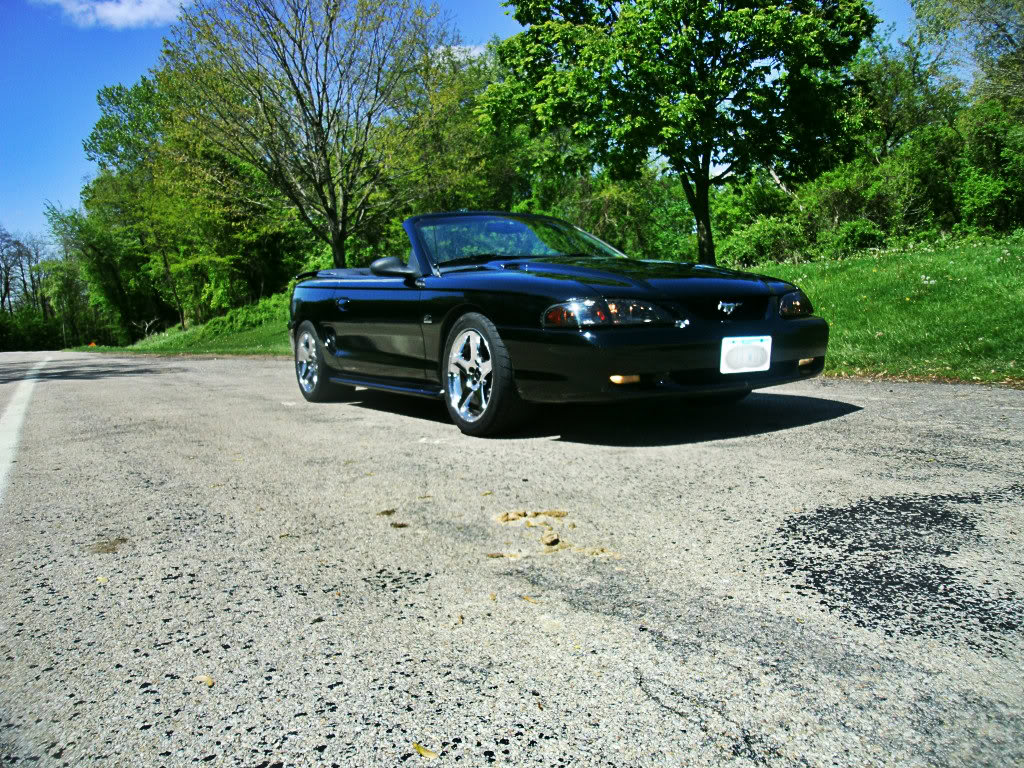
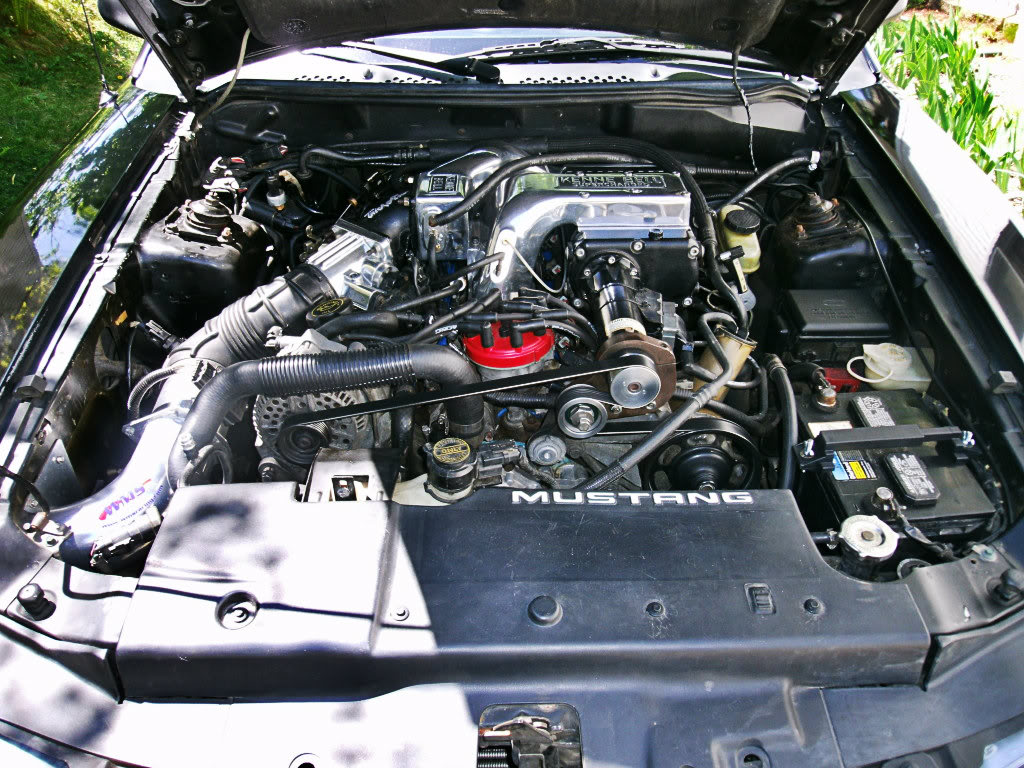
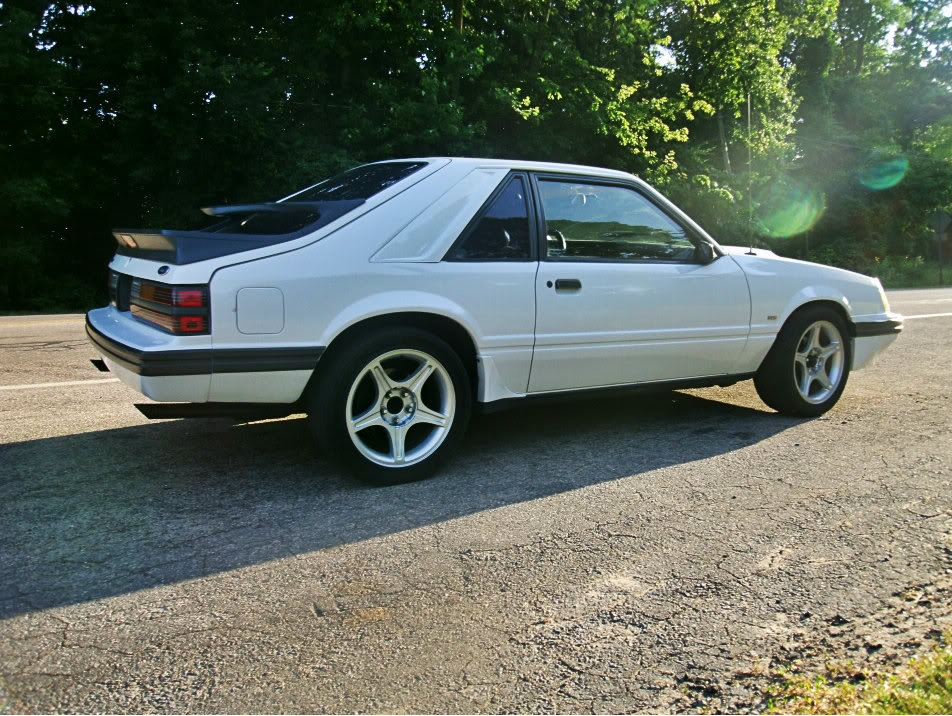
Just for reference and because I enjoy showing off my past projects, here are a couple snaps of my past completed projects. This one will be more go than show however.
I have a bad habit of getting bored with a car once it is complete and selling to buy another more "exciting" project.
I have a bad habit of getting bored with a car once it is complete and selling to buy another more "exciting" project.


 06-12-13, 04:42 AM
#18
Member

Join Date: May 2013
Location: Walla Walla, WA
Posts: 25
Likes: 0
Received 0 Likes
on
0 Posts
very nice! i'm aiming for the same general setup.. except i'll probably go with a LM4 5.3 block unless i can find a LS1 for cheap enough. curious why you chose microsquirt over other fuel management?
Last edited by Speedz; 06-12-13 at 04:44 AM.

 07-06-13, 06:02 PM
#23
Junior Member
iTrader: (1)

Join Date: May 2007
Location: Scott AFB, IL
Posts: 8
Likes: 0
Received 0 Likes
on
0 Posts
Subscribed.......
Definitely following your progress as I just picked up a 91, and I'm gathering all the parts to do an LQ9 install with PRC L92 heads, LS3 intake, 90mm T/B, and Tick/Polluter cam. Looking for 500 N/A. All the best with your car!!
On another note, did you re-use the LQ9 engine harness? Inquiring minds want to know...
07-06-13, 06:11 PM
#24
Full Member
Thread Starter
Join Date: Feb 2013
Location: Iowa
Posts: 134
Likes: 0
Received 0 Likes
on
0 Posts
I used portions of the truck harness and spliced them into the Microsquirt harness. The truck harness has different injector plugs, not sure what kind, but I ordered some LS2 EV6 connectors and used them.
All the wiring is soldered and shrink wrapped, the majority is hidden away in unheated shrink tubing to clean up appearance.
All the wiring is soldered and shrink wrapped, the majority is hidden away in unheated shrink tubing to clean up appearance.