NJGB '87 TII - Starting Bodywork and Paint - First Timer Here
 10-01-11, 09:53 AM
#1
Hey fellas,
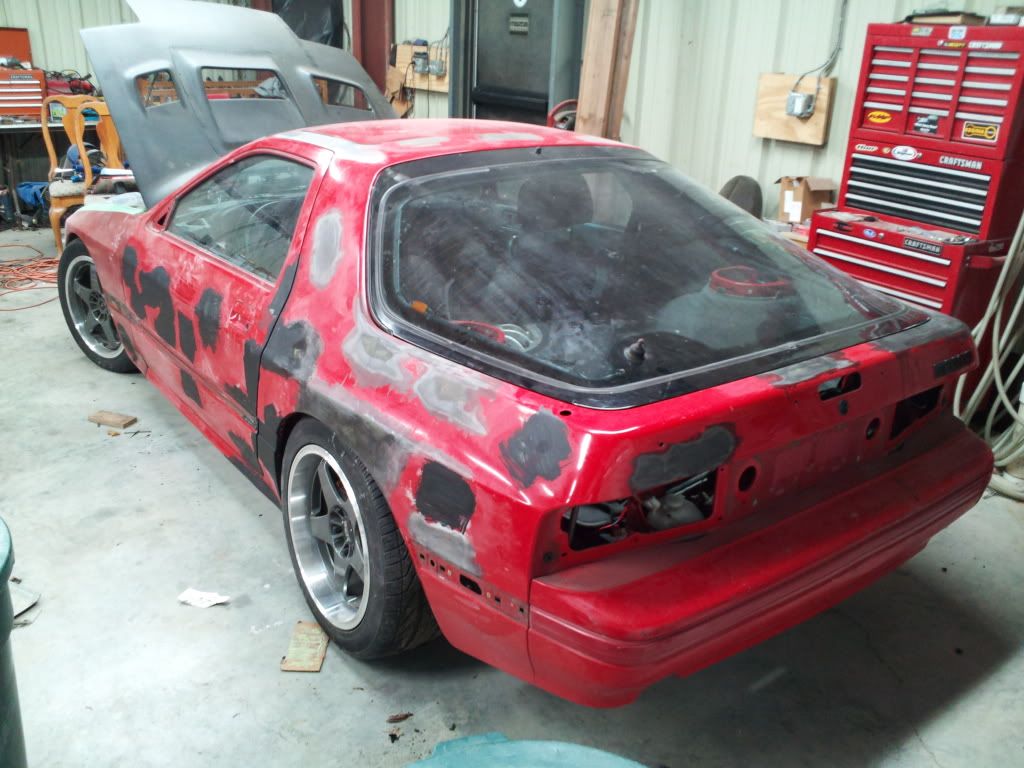
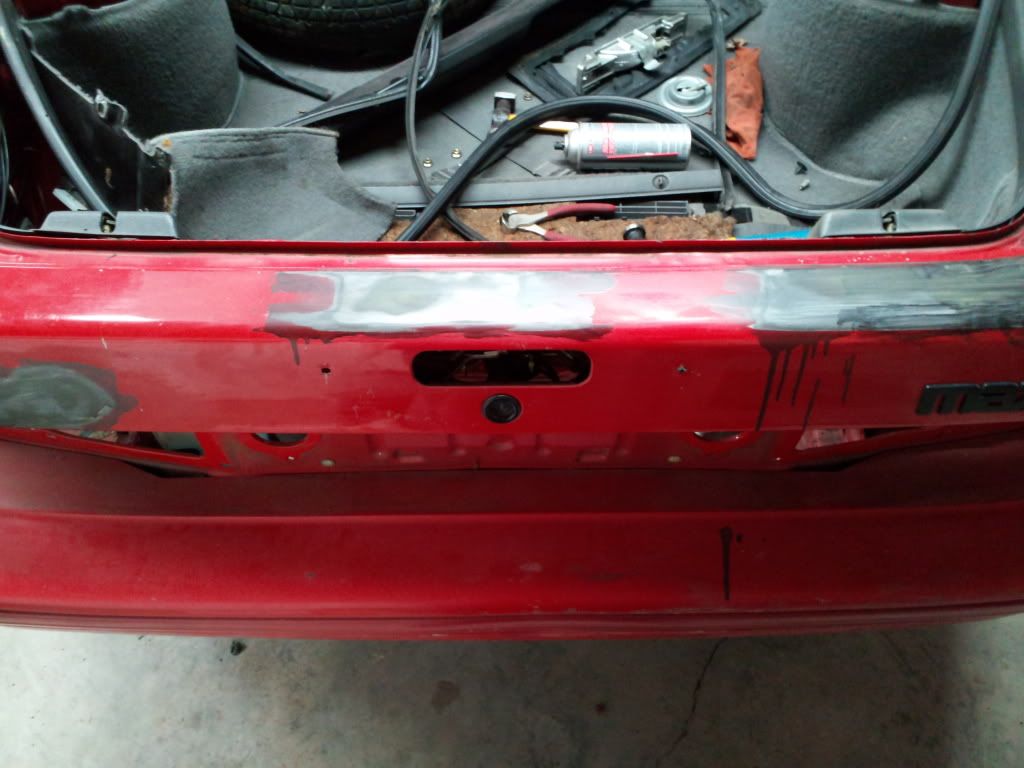
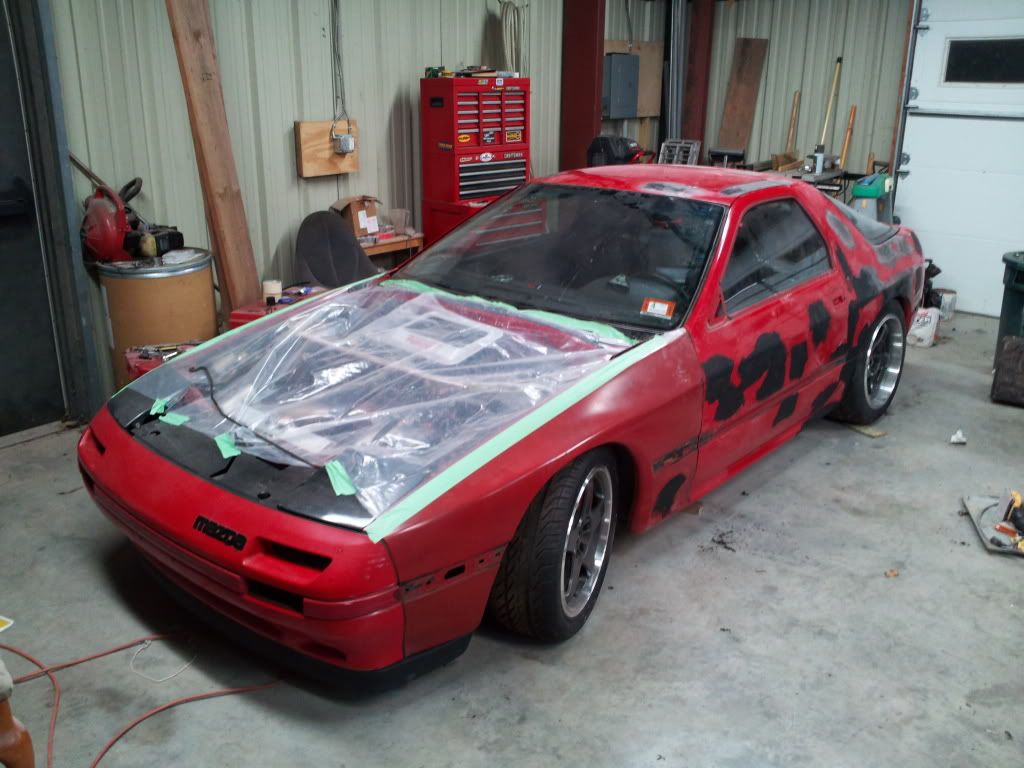
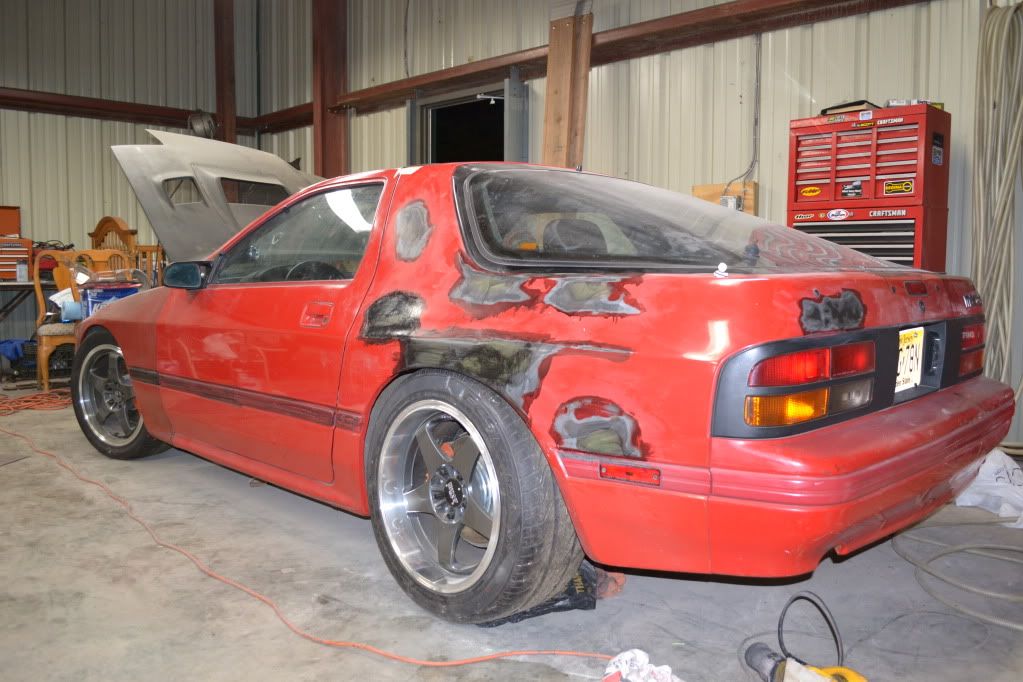
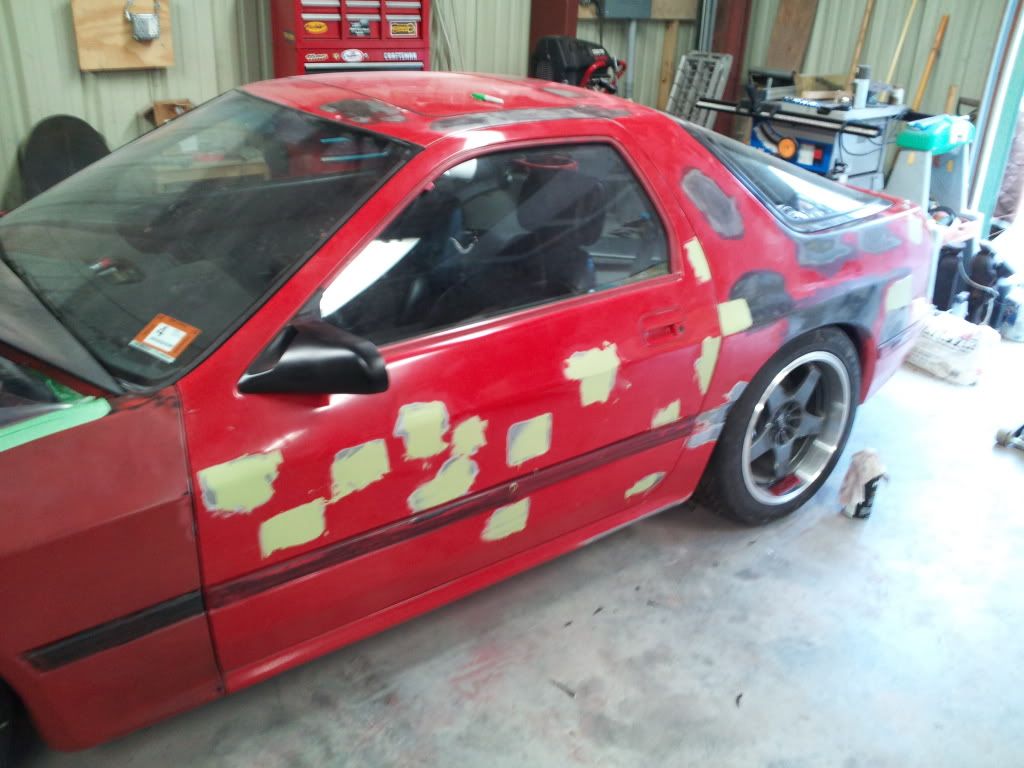
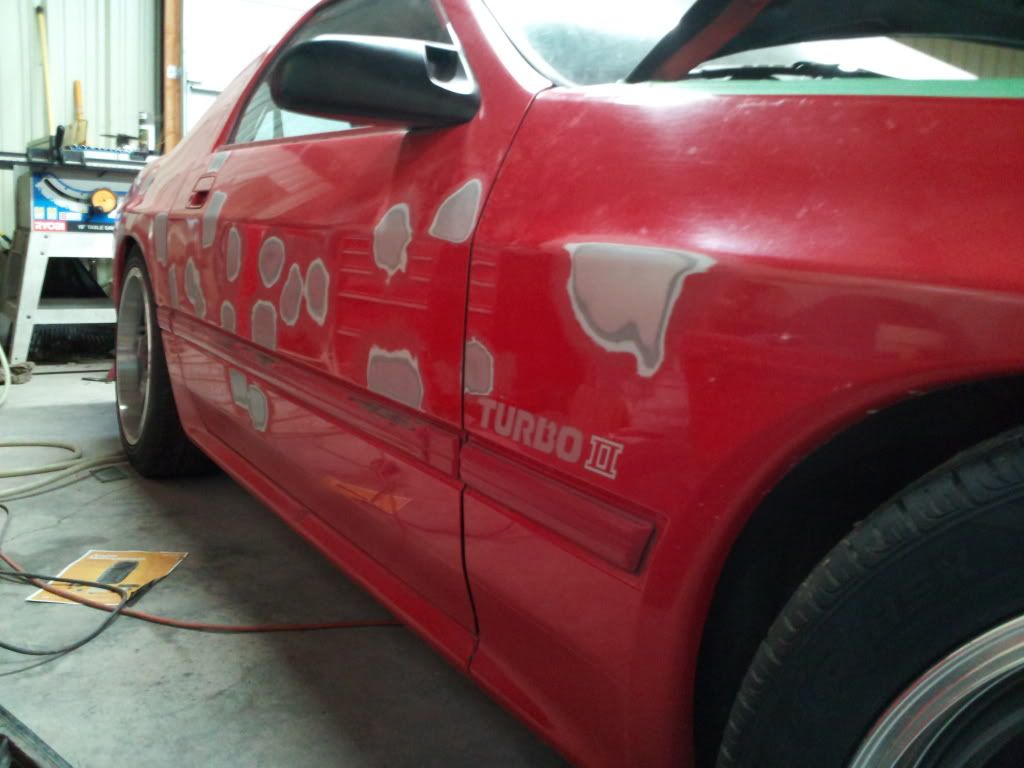
So the car has come a long way since I bought it, loads of fun rebuilding it and enjoying the feeling of having a mechanically sound RX7. Thing is it could look better. The previous owners did some ghetto painting on it, looks like they tried to match the trim to the body color and made it a mess. When I bought it the taillights, mirrors, body moldings, window trims were all painted in some brush on pink crap. I did spray the mirrors and tails black just to get by but it's really unattractive and bugging me more and more.
I am going to be attempting some minor body work and a new paint job on the 7 in the next few weeks. I have done some small repair projects before but not at the level I am going to try now. Most of my past experience is with Bondo and spray paint on cheap cars or rally type projects. They all came out fine but this will be taking it to the next level and I hope to match the quality of the mechanical work I did.
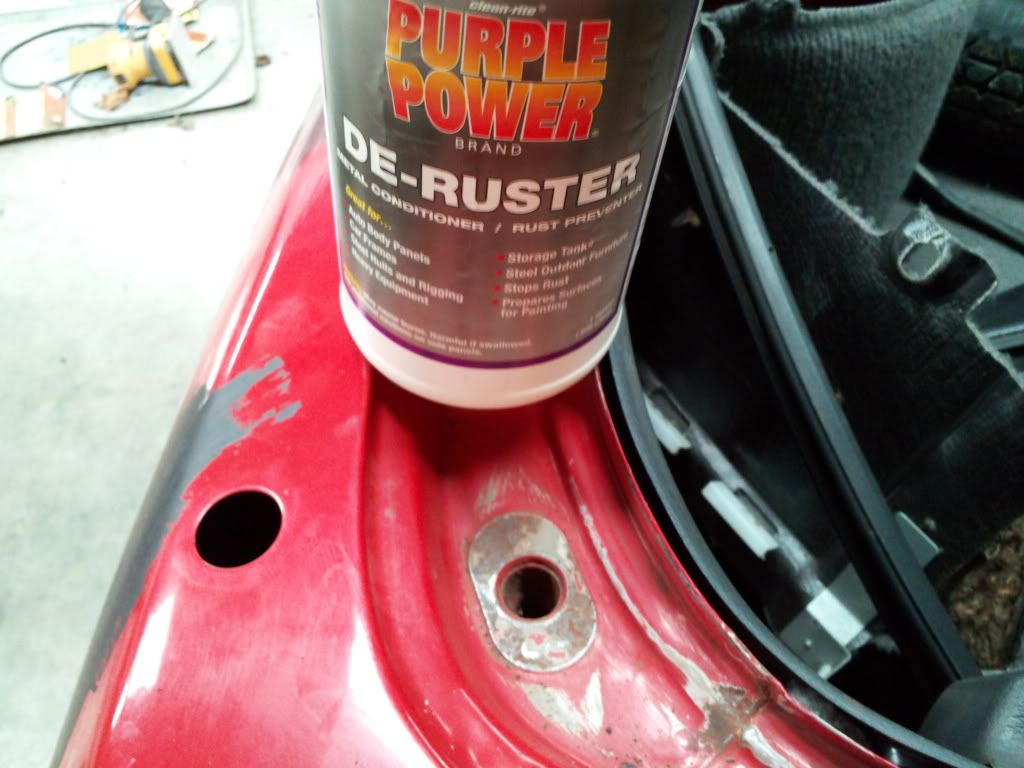
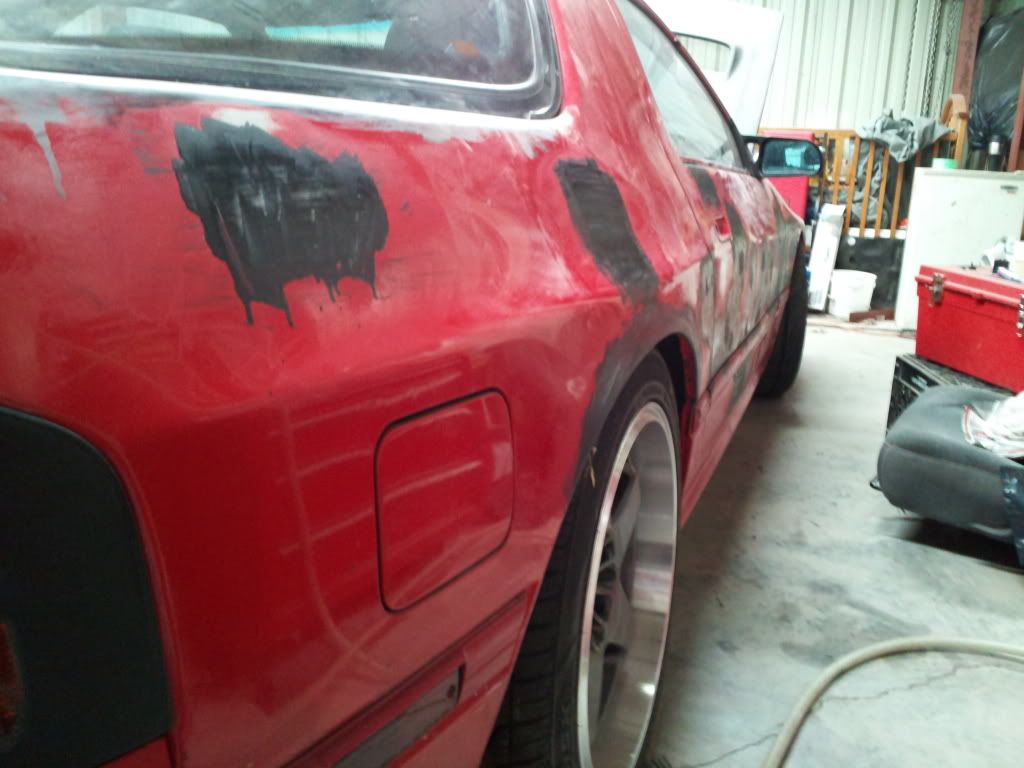
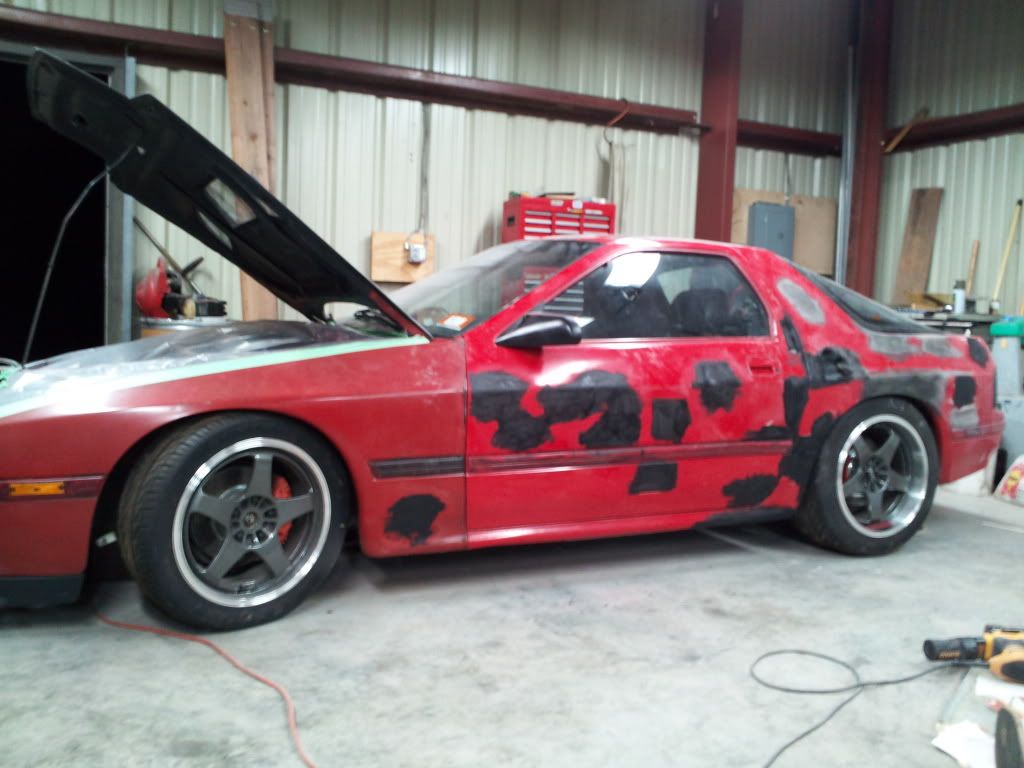
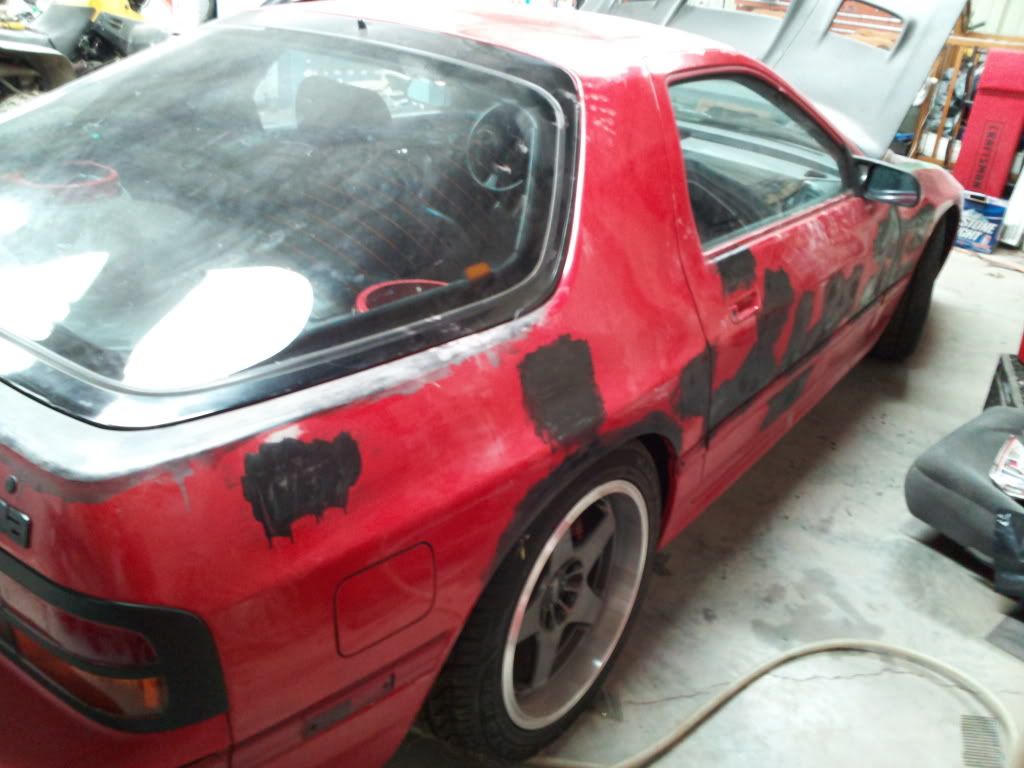
The car has some small dents, nicks, scrapes, beat driver's fender paint and fiberglass hood. I have already purchased an HVLP turbine paint system, some Eastwood epoxy primer and single stage urethane in flat black and some Evercoat Rage Gold body filler. I have been doing a lot of reading on various autobody forums and getting more familiar and more confused with the general process. LOL. Seems to be lots of very strong opinions regarding certain products and processes but I am wading through and trying to learn as much as possible.
I am hoping this thread will give me a place to gather my thoughts, bounce ideas of off fellow members who are more knowledgeable in these areas. I will keep the thread updated and post lot's of pics throughout the process. Really hoping to get some helpful advice and make this a enjoyable but productive project. Feel free to offer up any tips, tricks or constructive critiques.
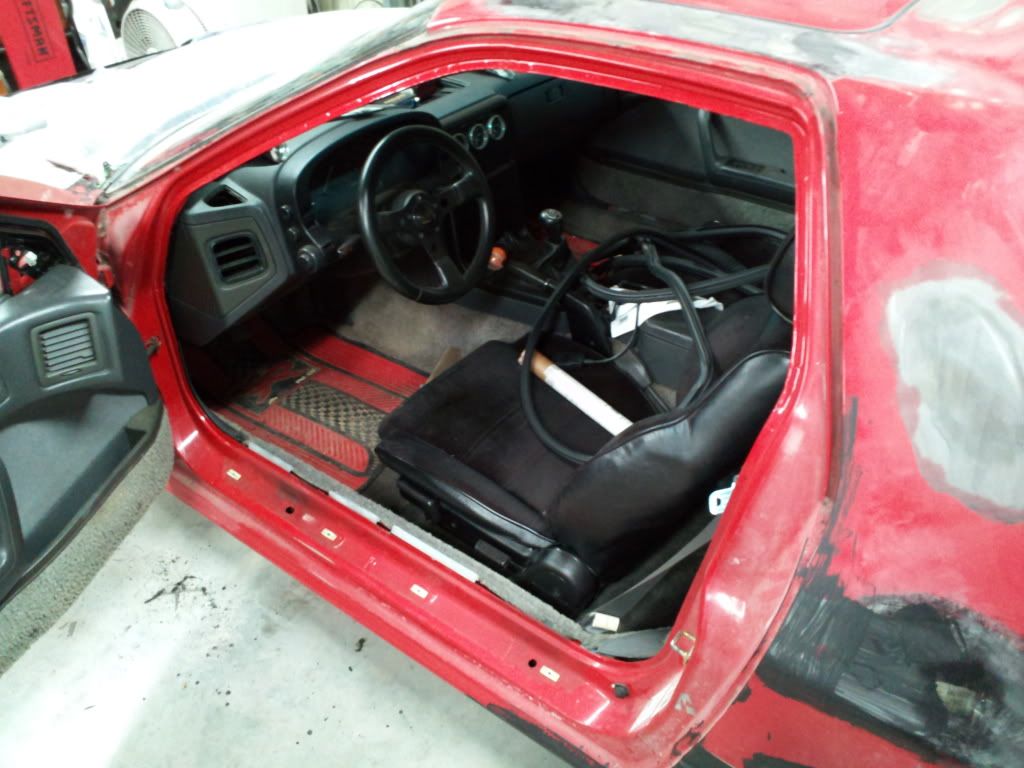
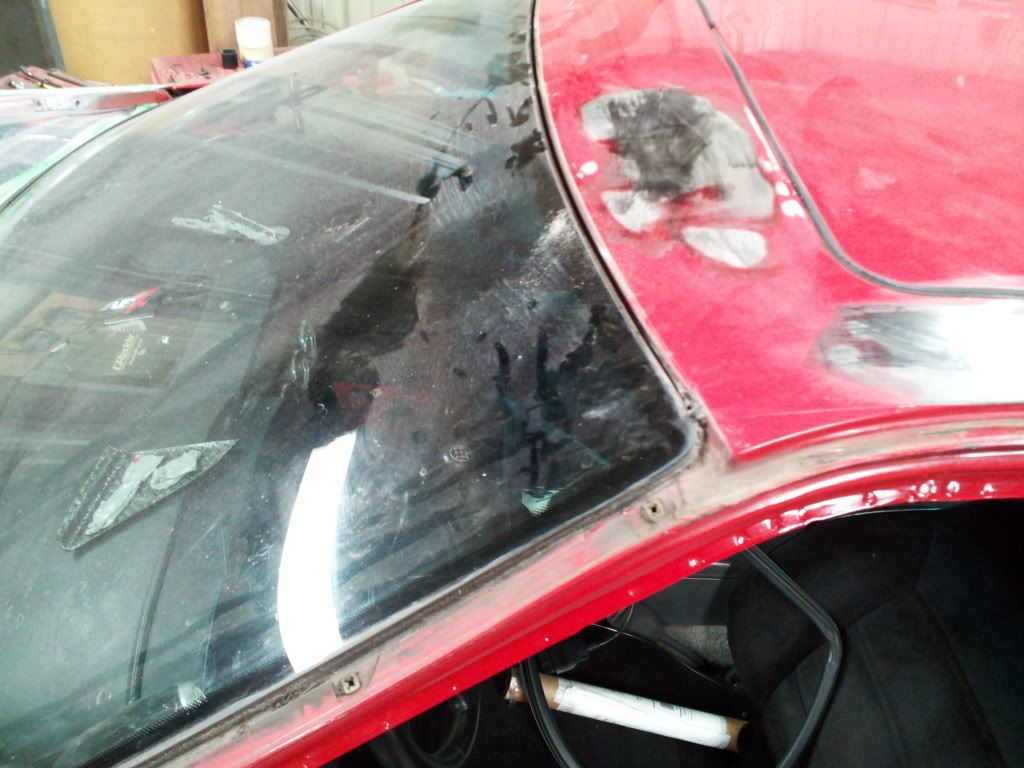
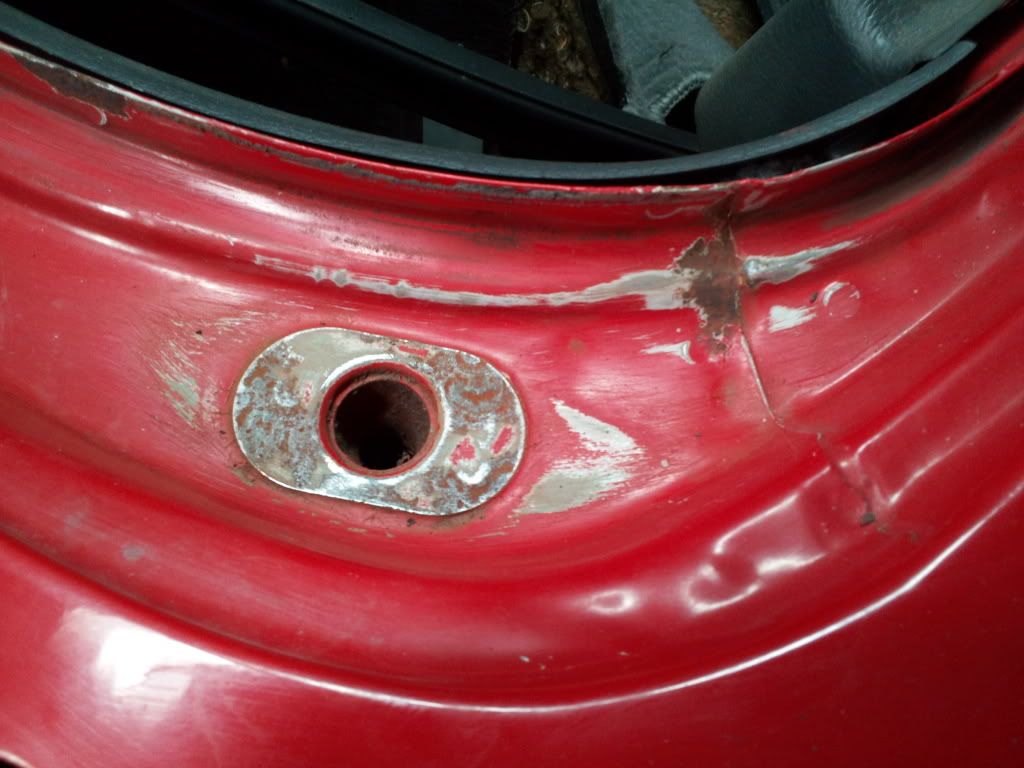
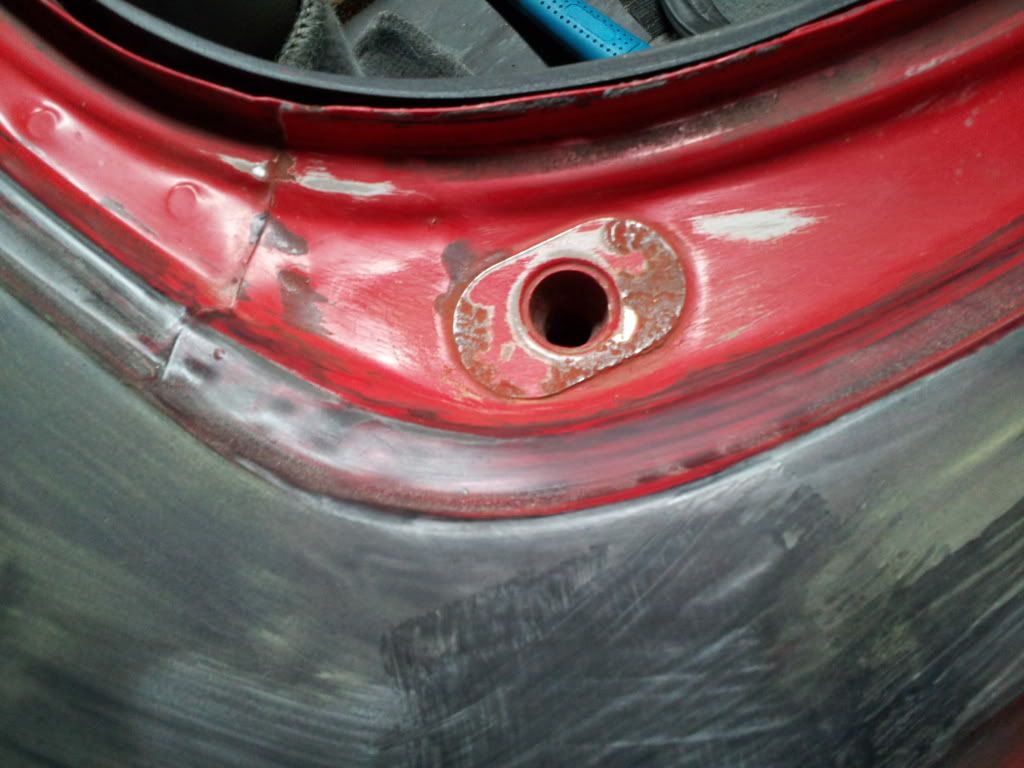
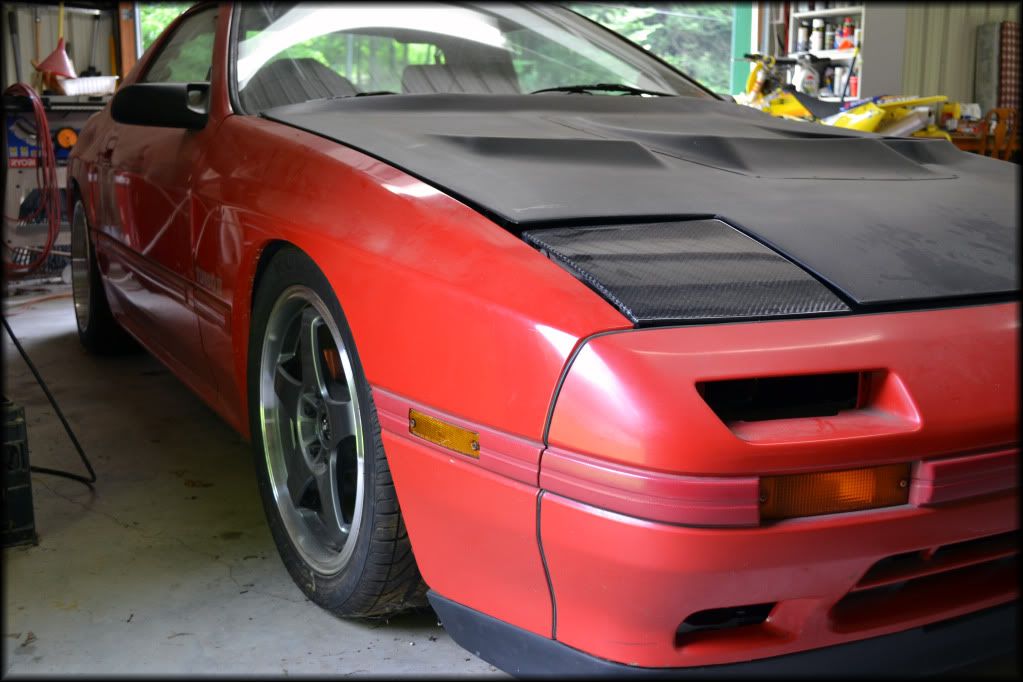
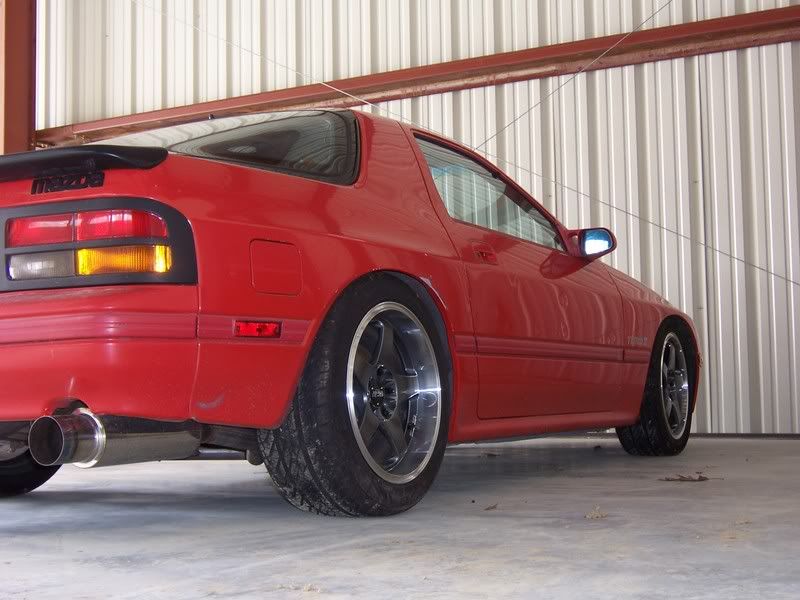
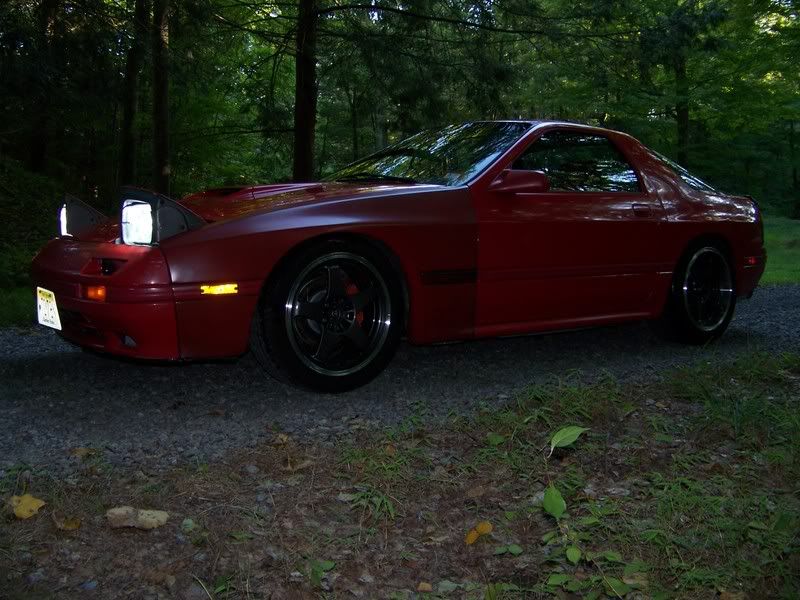
Here are some pics of the car in it's current state so you can get an idea of what I am working with:
So the car has come a long way since I bought it, loads of fun rebuilding it and enjoying the feeling of having a mechanically sound RX7. Thing is it could look better. The previous owners did some ghetto painting on it, looks like they tried to match the trim to the body color and made it a mess. When I bought it the taillights, mirrors, body moldings, window trims were all painted in some brush on pink crap.
I am going to be attempting some minor body work and a new paint job on the 7 in the next few weeks. I have done some small repair projects before but not at the level I am going to try now. Most of my past experience is with Bondo and spray paint on cheap cars or rally type projects. They all came out fine but this will be taking it to the next level and I hope to match the quality of the mechanical work I did.
The car has some small dents, nicks, scrapes, beat driver's fender paint and fiberglass hood. I have already purchased an HVLP turbine paint system, some Eastwood epoxy primer and single stage urethane in flat black and some Evercoat Rage Gold body filler. I have been doing a lot of reading on various autobody forums and getting more familiar and more confused with the general process. LOL. Seems to be lots of very strong opinions regarding certain products and processes but I am wading through and trying to learn as much as possible.
I am hoping this thread will give me a place to gather my thoughts, bounce ideas of off fellow members who are more knowledgeable in these areas. I will keep the thread updated and post lot's of pics throughout the process. Really hoping to get some helpful advice and make this a enjoyable but productive project. Feel free to offer up any tips, tricks or constructive critiques.
Here are some pics of the car in it's current state so you can get an idea of what I am working with:

 10-12-11, 12:26 PM
#4
They are catalyzed. Eastwood products but I think they are the same as Kirker. I'm new to this stuff.
Here are the links to what I bought, obviously not as expensive as what you use in your line of work but I hope it will look better than the 6 different color panels I have now:
Epoxy Primer and SS Urethane Kit:
http://www.eastwood.com/rat-rod-blac...ck-primer.html
2K Urethane High Build Primer and Catalyst
http://www.eastwood.com/ew-2k-uretha...allon-4-1.html
http://www.eastwood.com/ew-2k-cataly...mer-quart.html
My turbine unit:
http://www.acmetools.com/tools/FUJI+...P+Spray+System
10-12-11, 03:16 PM
#6
Yes sir. I also like the Marina/Tyrol Blue (http://www.eastwood.com/ew-marina-bl...lic-96-oz.html) but it's a wicked metallic and I didn't want to shoot a metallic for my first try. Though the single stage flat black isn't going to be any more forgiving since I can't sand or polish after the second coat.
I don't have much of a preference for color as long as it matches. I know the flat black is popular these days but unlike rattle can jobs that fade in a week this won't fade or smudge when touched.
Have you done any of these flat black jobs Rob?
I don't have much of a preference for color as long as it matches. I know the flat black is popular these days but unlike rattle can jobs that fade in a week this won't fade or smudge when touched.
Have you done any of these flat black jobs Rob?
Trending Topics
10-13-11, 11:50 AM
#13
easy to do with a body hammer or a piece of pvc pipe
I rolled the fenders on my G8 with a piece of PVC pipe, bat works better but I cant find my cut bat so I used PVC, worked great didnt even break the paint- but you dont care right now if it breaks the paint thats the reason for doing it now
I rolled the fenders on my G8 with a piece of PVC pipe, bat works better but I cant find my cut bat so I used PVC, worked great didnt even break the paint- but you dont care right now if it breaks the paint thats the reason for doing it now
 10-13-11, 08:22 PM
#18
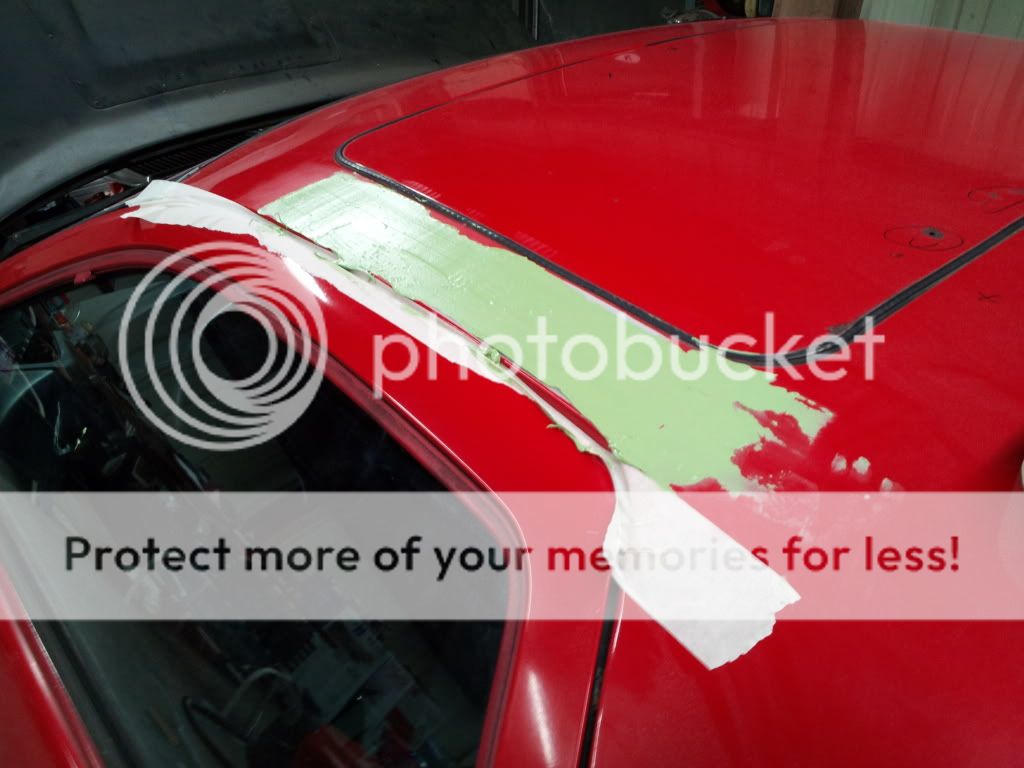
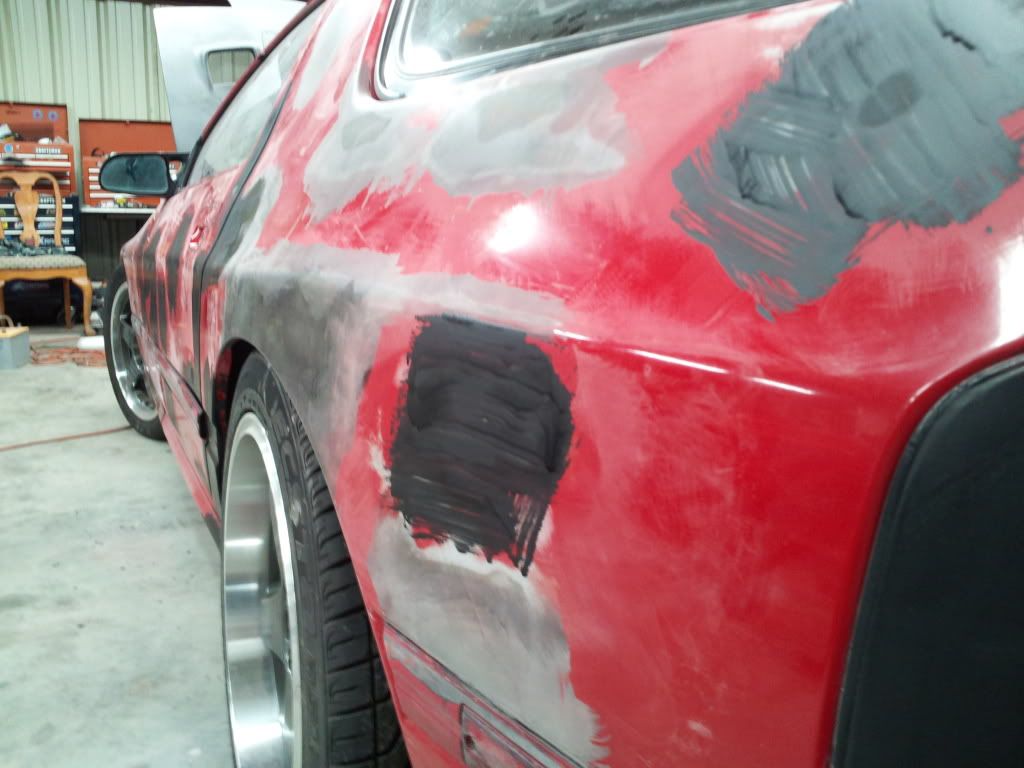
Just brushed on some epoxy primer to seal the body work, protect the exposed metal from rusting. I have a few more dents to do, then I'll clean it all up and prep for real primer coats. Those will be sprayed with my new Fuji turbine HVLP system.
10-14-11, 11:17 PM
#19
I forgot to stir the epoxy primer last night so it came out real thin when I mixed it to brush on. Today I stirred the epoxy primer with a steel rod and then mixed it with the 1:1 catalyst and it did come out much heavier. nice. hah. for sealing the wounds till next time it will do. I know I need to sand and prep for more official coats of primer but that will come Sunday. I finally go the new Fuji Mini Mite 4 unit via UPS.
10-15-11, 02:35 AM
#20
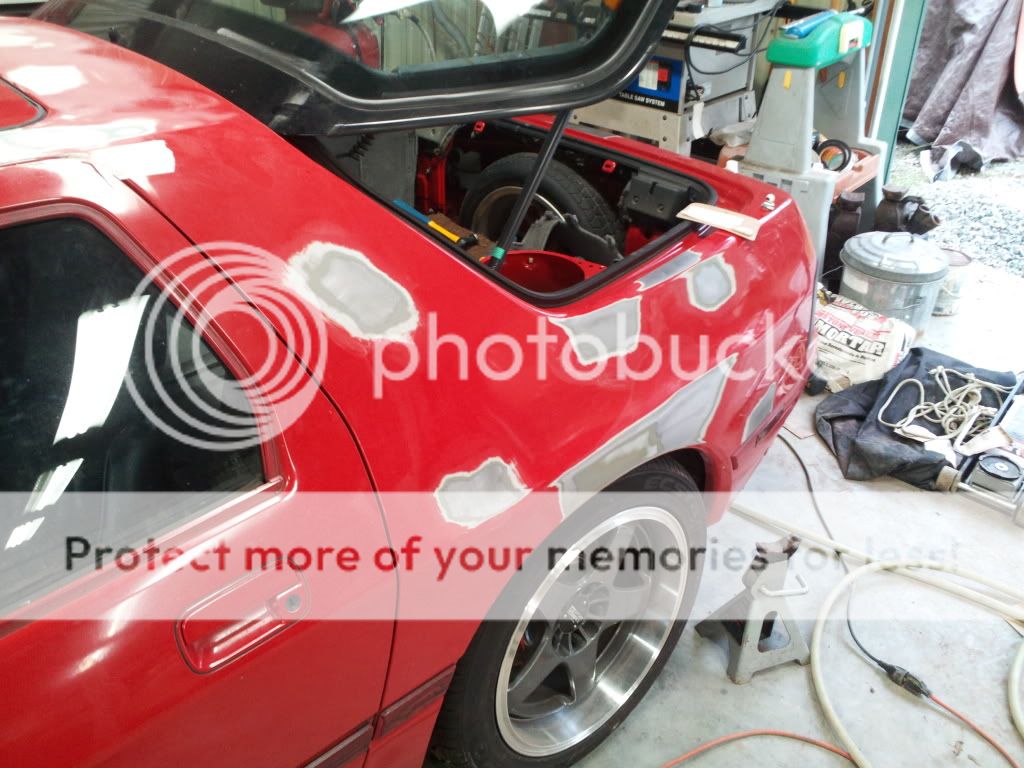
You need to sand the whole area that you are working on, like the door with all those small repair spots. Use a long board and feather your work areas out so it has a smooth transition from the repair area to the rest of the door, and when you prime, prime over the whole area not just the spots you have been working on. Its hard to help over the internet lol 
Trying to give you pointers so dont think im being rude.
Looks awsome!
Trying to give you pointers so dont think im being rude.
Looks awsome!
10-15-11, 07:23 AM
#21
best thing before a paint job is to hire a PDR guy to go at the car for a little bit getting all the little dings out, better then having body filler on panels that didnt need it
spot filling little areas like that no matter how smooth you think it is will show up, thats why real show cars have a even skin coat over the entire panel
spot filling little areas like that no matter how smooth you think it is will show up, thats why real show cars have a even skin coat over the entire panel
10-15-11, 08:06 AM
#22
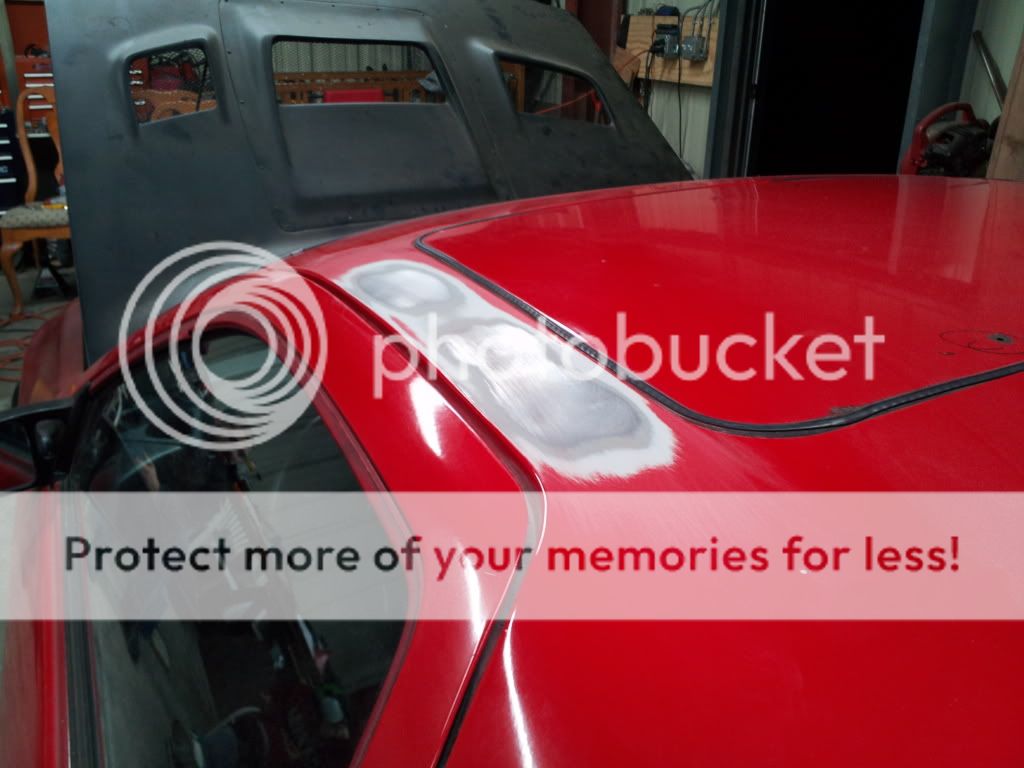
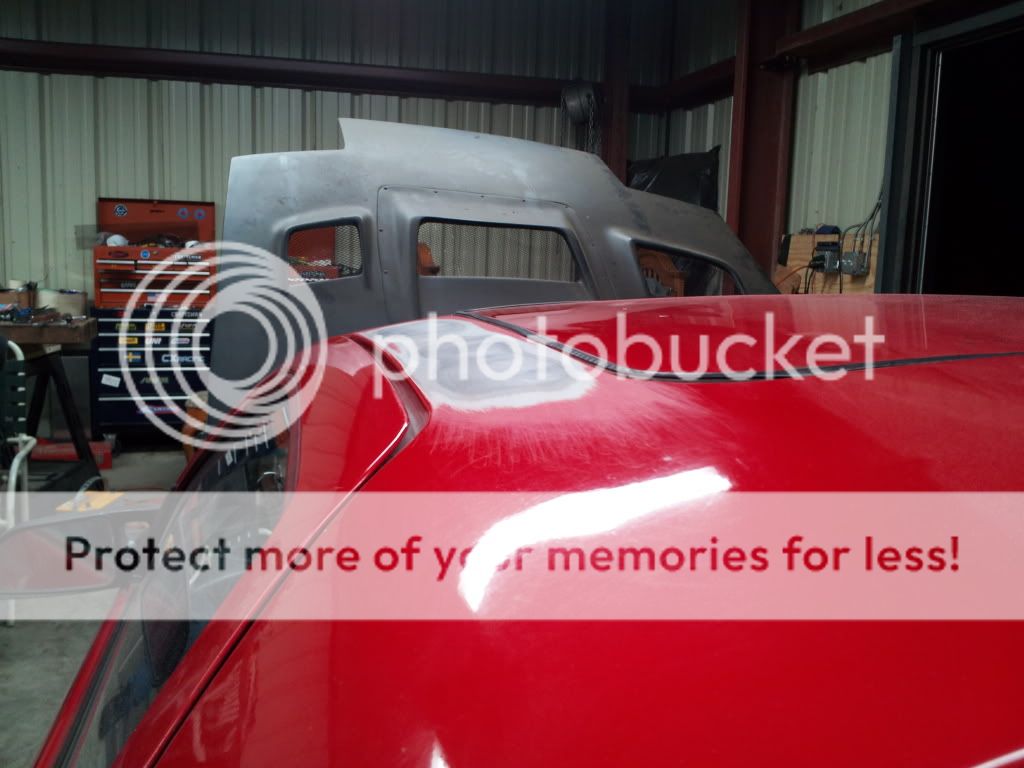
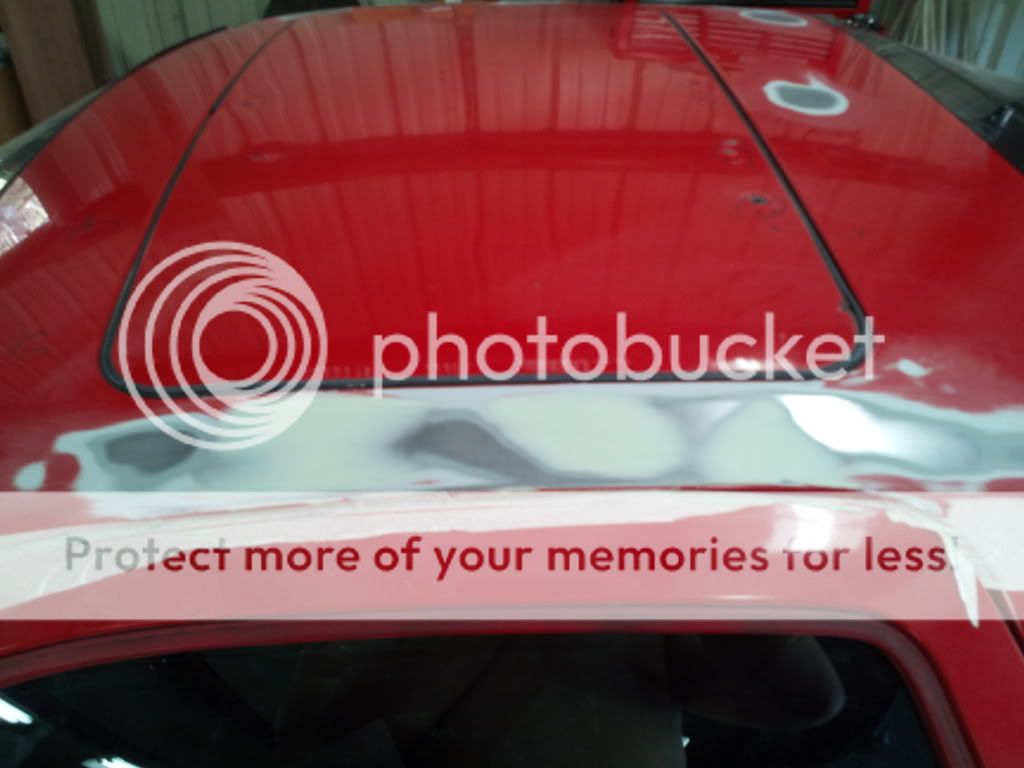
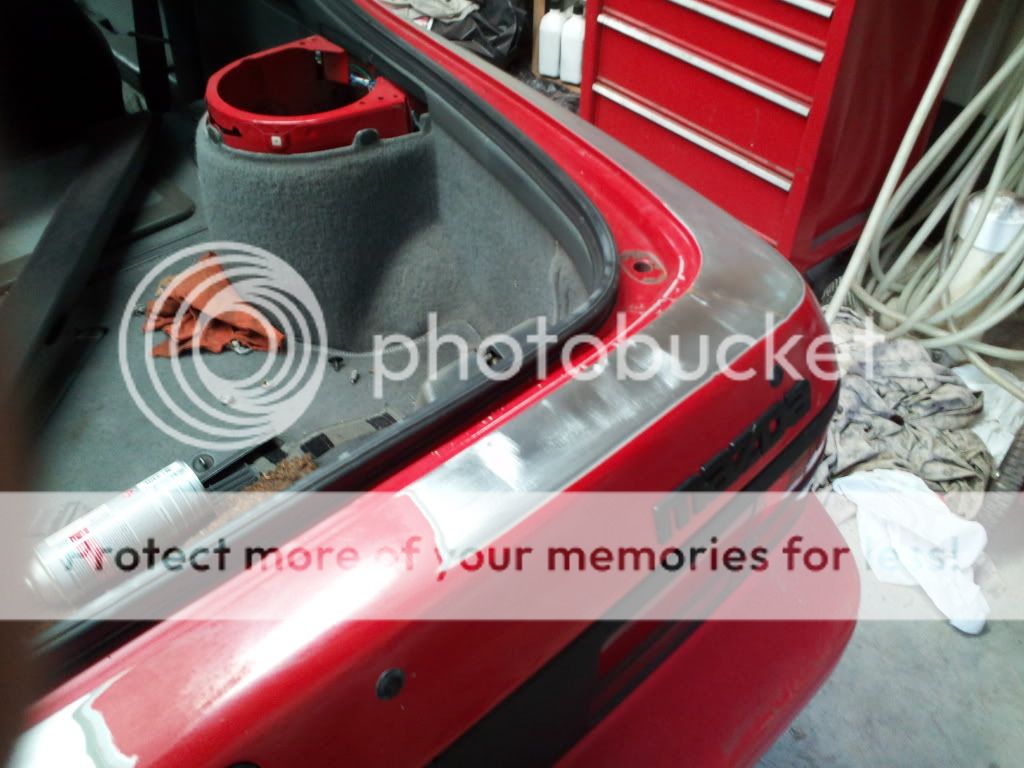
hey thanks for the replies. yeah tons of little dents, PDR could have helped, maybe that's some thing to do next time. I used as little filler as possible, all spots got just a skim coat and no low spots after that coat. Right now the spots are finished with 180. I will sand the whole car with 320 or so before laying 2 whole coats of epoxy primer, then lay 2 or 3 coats of high build primer and block sand the entire car. Then comes the 2 medium wet coats of flat black.
I appreciate the input, please continue to follow along and point me in the right direction. I can deal with criticism and would prefer to be told I am doing it wrong and fix it rather than be ignorant.
Thanks!
I appreciate the input, please continue to follow along and point me in the right direction. I can deal with criticism and would prefer to be told I am doing it wrong and fix it rather than be ignorant.
Thanks!
10-15-11, 03:00 PM
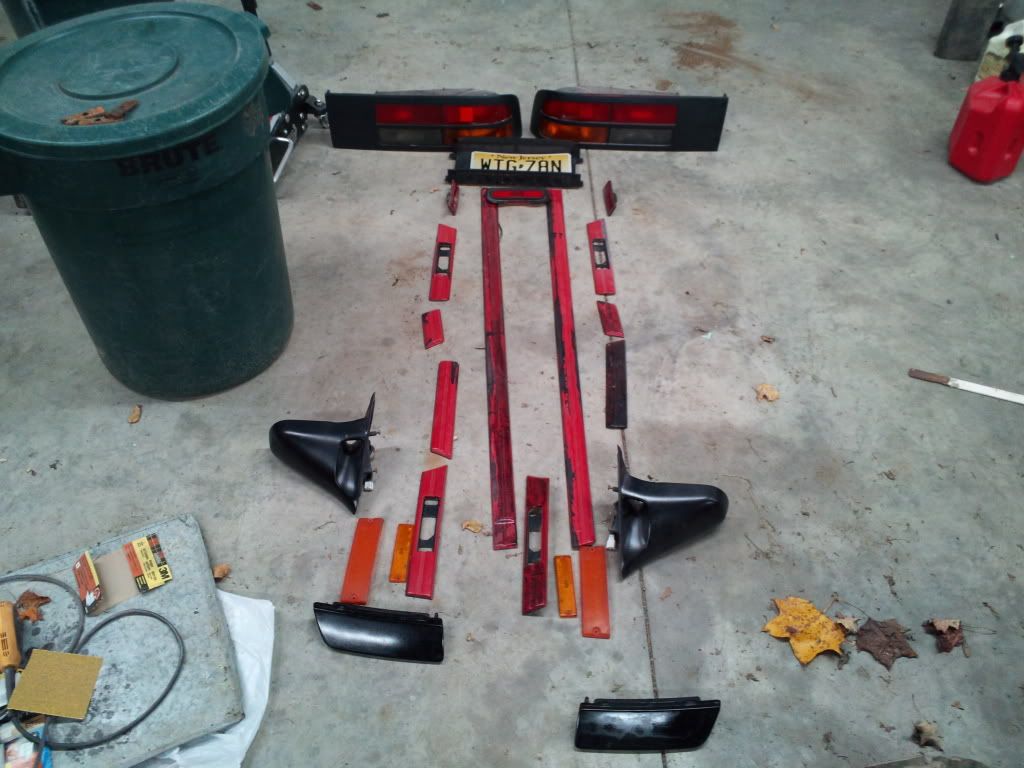
#23
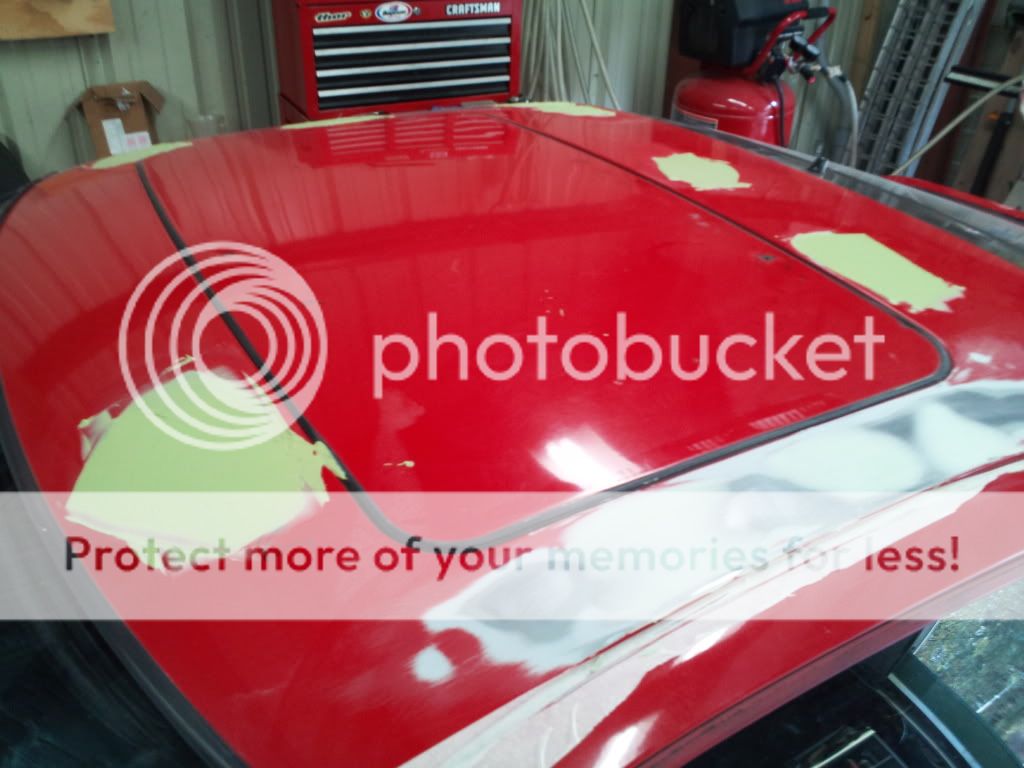
Yea everything looks good, since your repainting the whole car i would start removing stuff, like tail lights, mirrors, that black rubber trim around the sunroof and stuff like that to prevent overspray from getting on them, and prevent you from accidently sanding your tailights lol. Or you can just tape them off with 3m tape and masking paper, not news paper, thats important to prevent bleed through. Also a good rule of thumb is if it takes longer to mask it off than to remove it, then just remove it.
10-15-11, 07:20 PM
#24
I got ya. I bought a bunch of green masking tape and 3mil poly sheet. I am debating whether to remove the door or not. I think it's probably best to remove them and the hatch so I can spray the jams. I will try to muster the energy to remove some major pieces tonight, long day at work. I'm gonna give it a shot and will follow up later on.