Mississippi Paint Pro - Painting my RX7 - Going from the worst to the best
 09-23-14, 04:52 PM
#1
Hi guys . Hopefully this is the appropriate place for this thread. I've always enjoyed reading here and wanted to try and give back with some content
At the beginning of this year I posted my FD RX7 for sale here
https://www.rx7club.com/3rd-generation-rx-7-1993-2002-vehicles-107/mississippi-fd-383ci-forged-ls1-stroker-$35k-1054791/
I let it run for about 3 months and had the thread closed after deciding to keep it.
The quick story I want to share is a piece originally from my build thread which is normally available here:
http://www.norotors.com/index.php?topic=70.0
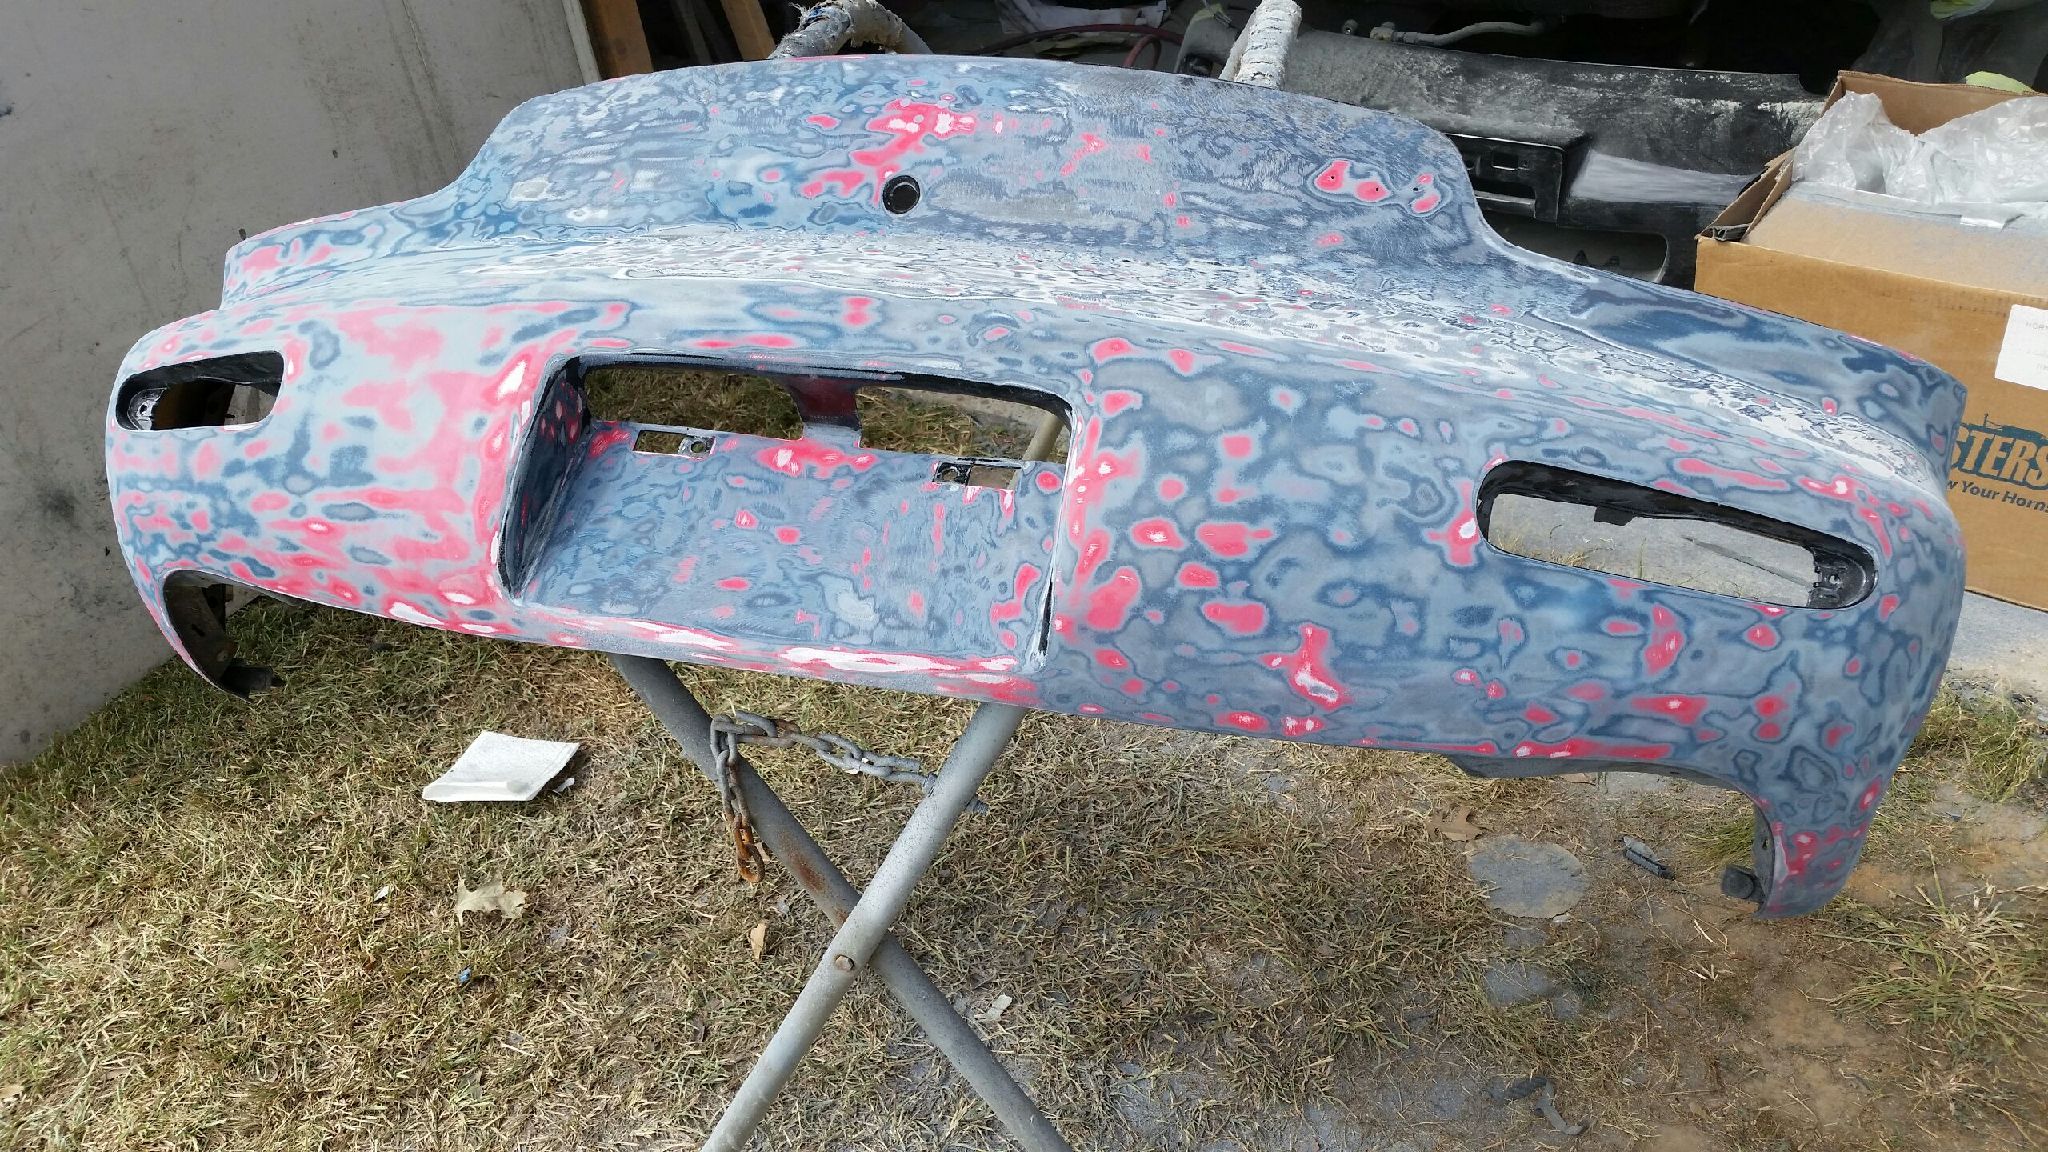
My situation stems from a failed paint job I waited 7 months for beginning in August 2011. The failure will be evident in the following pics showing the repairs that had to be made after a true pro took over the job. I'm not here to badmouth a shop but rather give some props to the man that's helping undo my disaster. My secondary motive is to give some hope to the folks living in the south / southeast. Living in sticks Mississippi I can tell you it gets depressing trying to find truly gifted craftsmen in the area. I just wanted to show the neighboring folks what's possible if you can get connected with the right person. I will be updating this thread as my car gets wrapped up. If anyone wants my painters info, please feel free to PM me.
Without further ado:
-------------------
July 16, 2014, 09:16:12 AM
3 years after taking my car to be painted originally (http://www.norotors.com/index.php?to...1955#msg111955) with disastrous results (http://www.norotors.com/index.php?to...4096#msg154096) I've finally picked myself back up and am taking another swing at getting the rx7 painted.
On Monday I loaded up the RX7 and took a trip to hand it over to my new painter.

The new painter is a friend of mine I met when I sold him my brother's 3SGTE longblock. 2 years ago he stopped by my house to pickup the longblock and looked my rx7 over. At the time I didn't know he was quite a talented painter but I soon found out he was the real article. After reading up on his mr2's restoration, I was sold:
so i bought a damaged car - MR2 Owners Club Message Board
I actually had him lined up to paint the car around Christmas 2013, but had to back out when I changed my goals and put the car up for sale. Luckily there were no bridges burned and he agreed to take on the project this year.
I drove the RX7 down to Jackson on Monday and spent some time going over all the details of the job. His theory on what happened to my paint in 2011's paint job was that the painter hit the car with really 'wet' (I.E., solvent heavy) paint which dissolved some of the (many) coats of paint below it which rippled when drying. I believe that's exactly what happened.
The plan right now is to strip everything down to the metal and repaint the car from scratch.
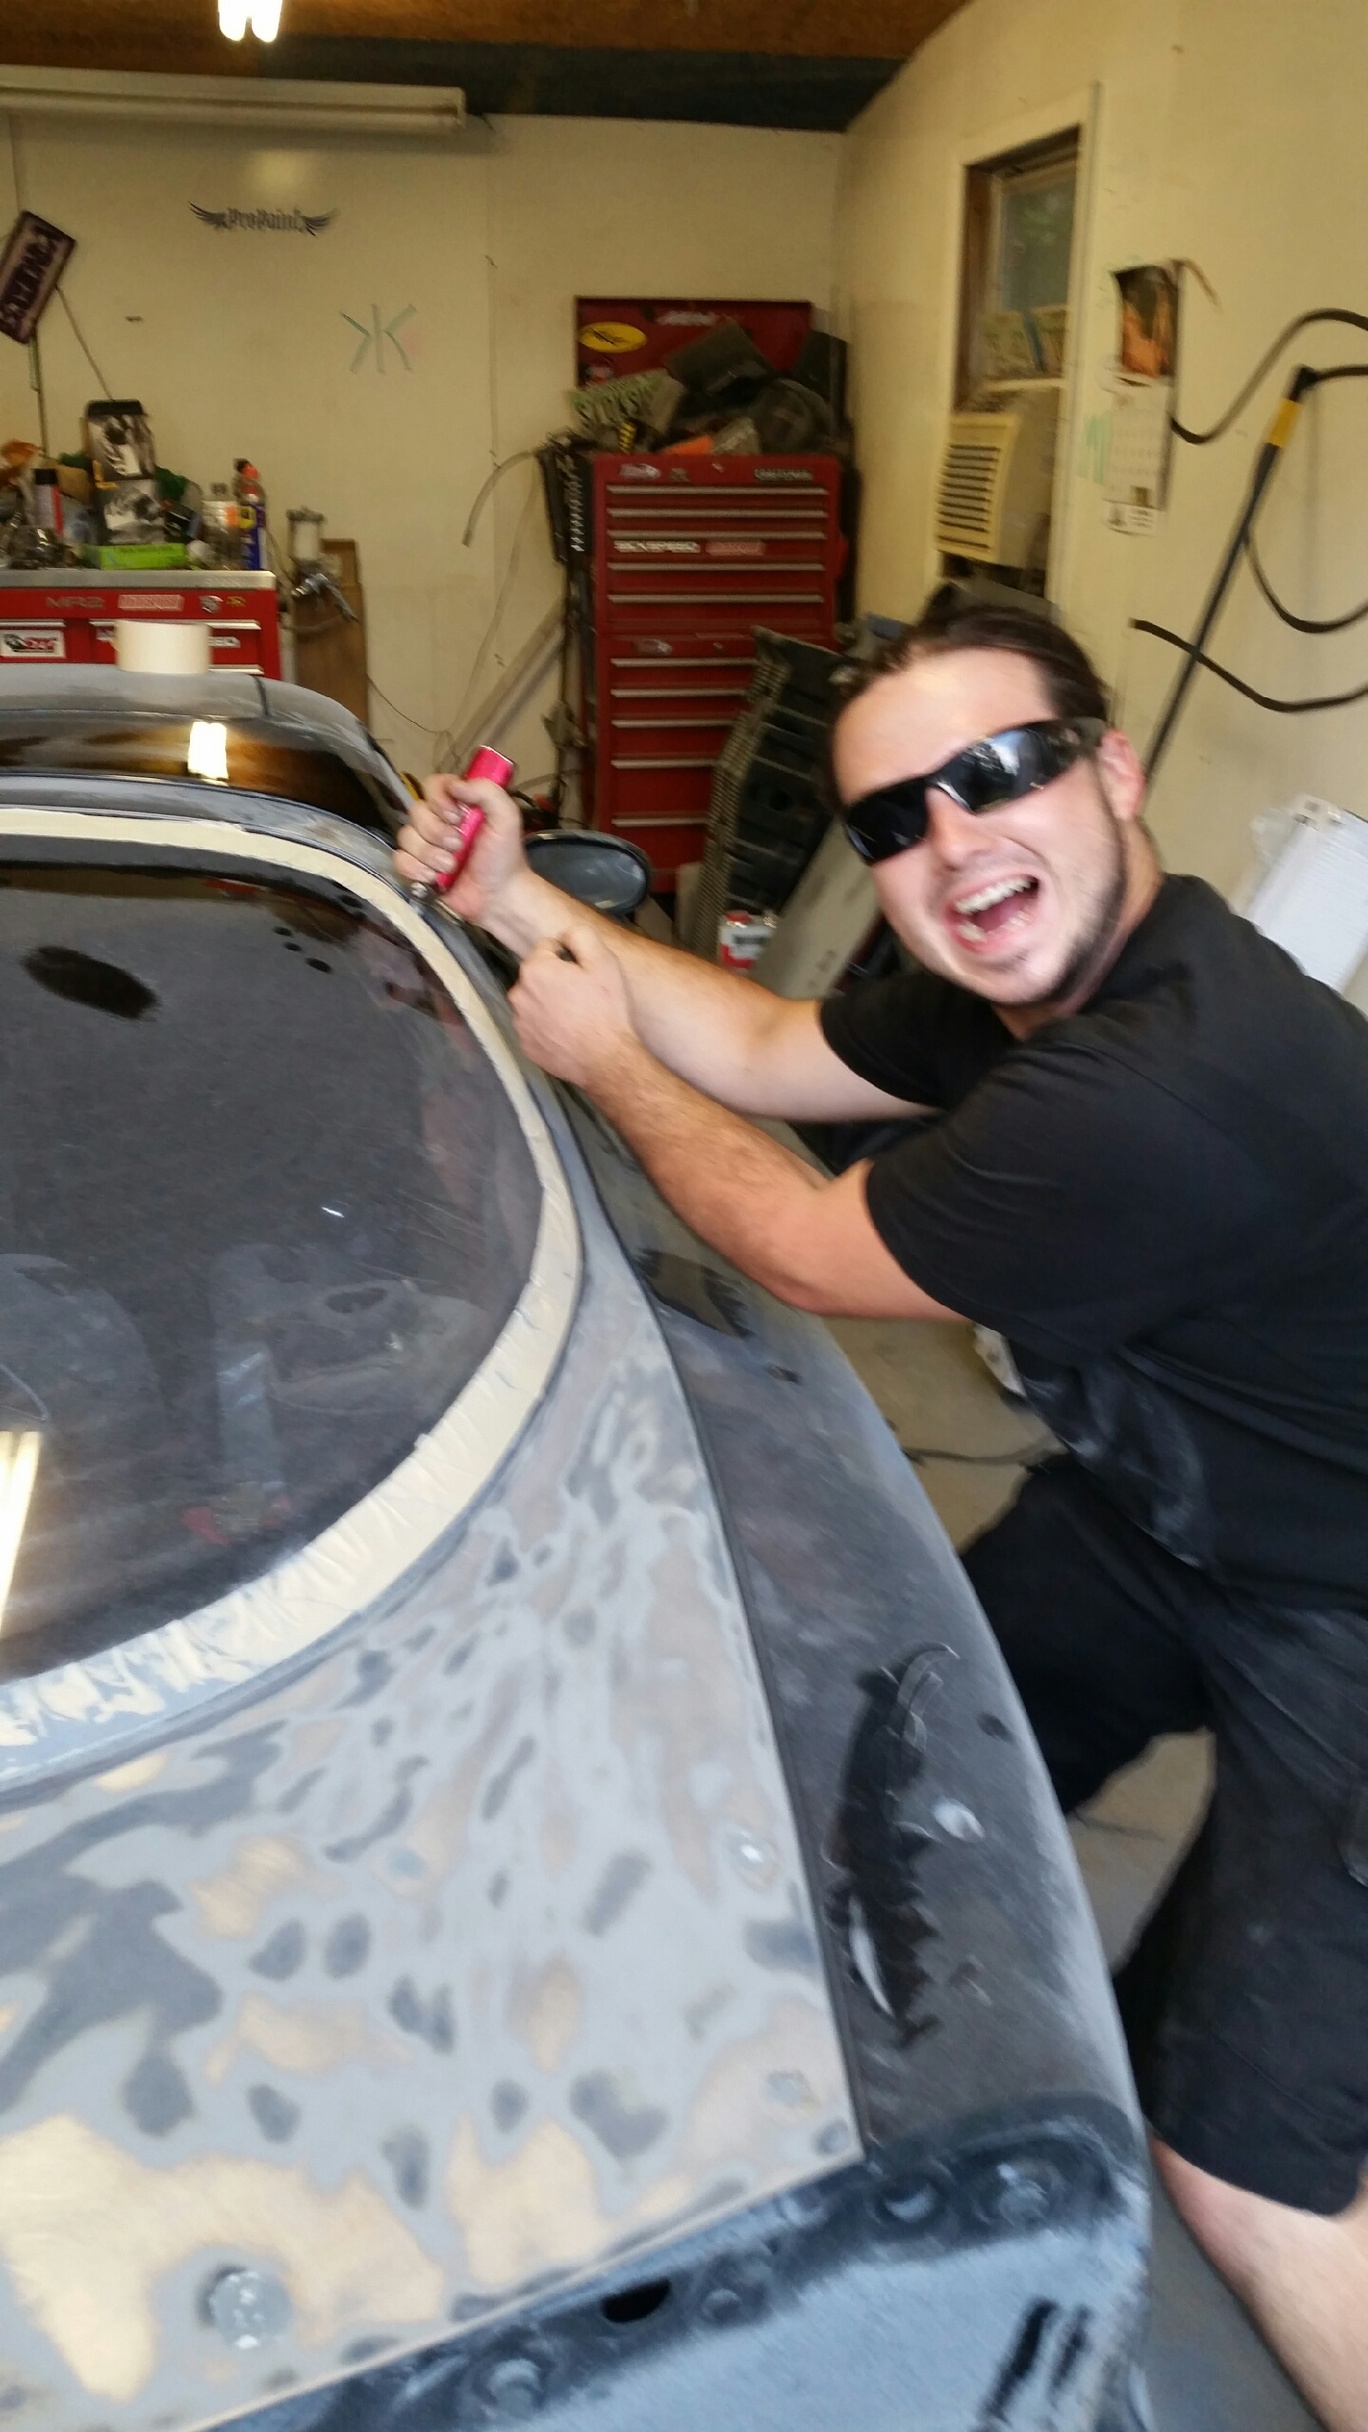
As I headed home I got a string of txt messages showing progress already being made:
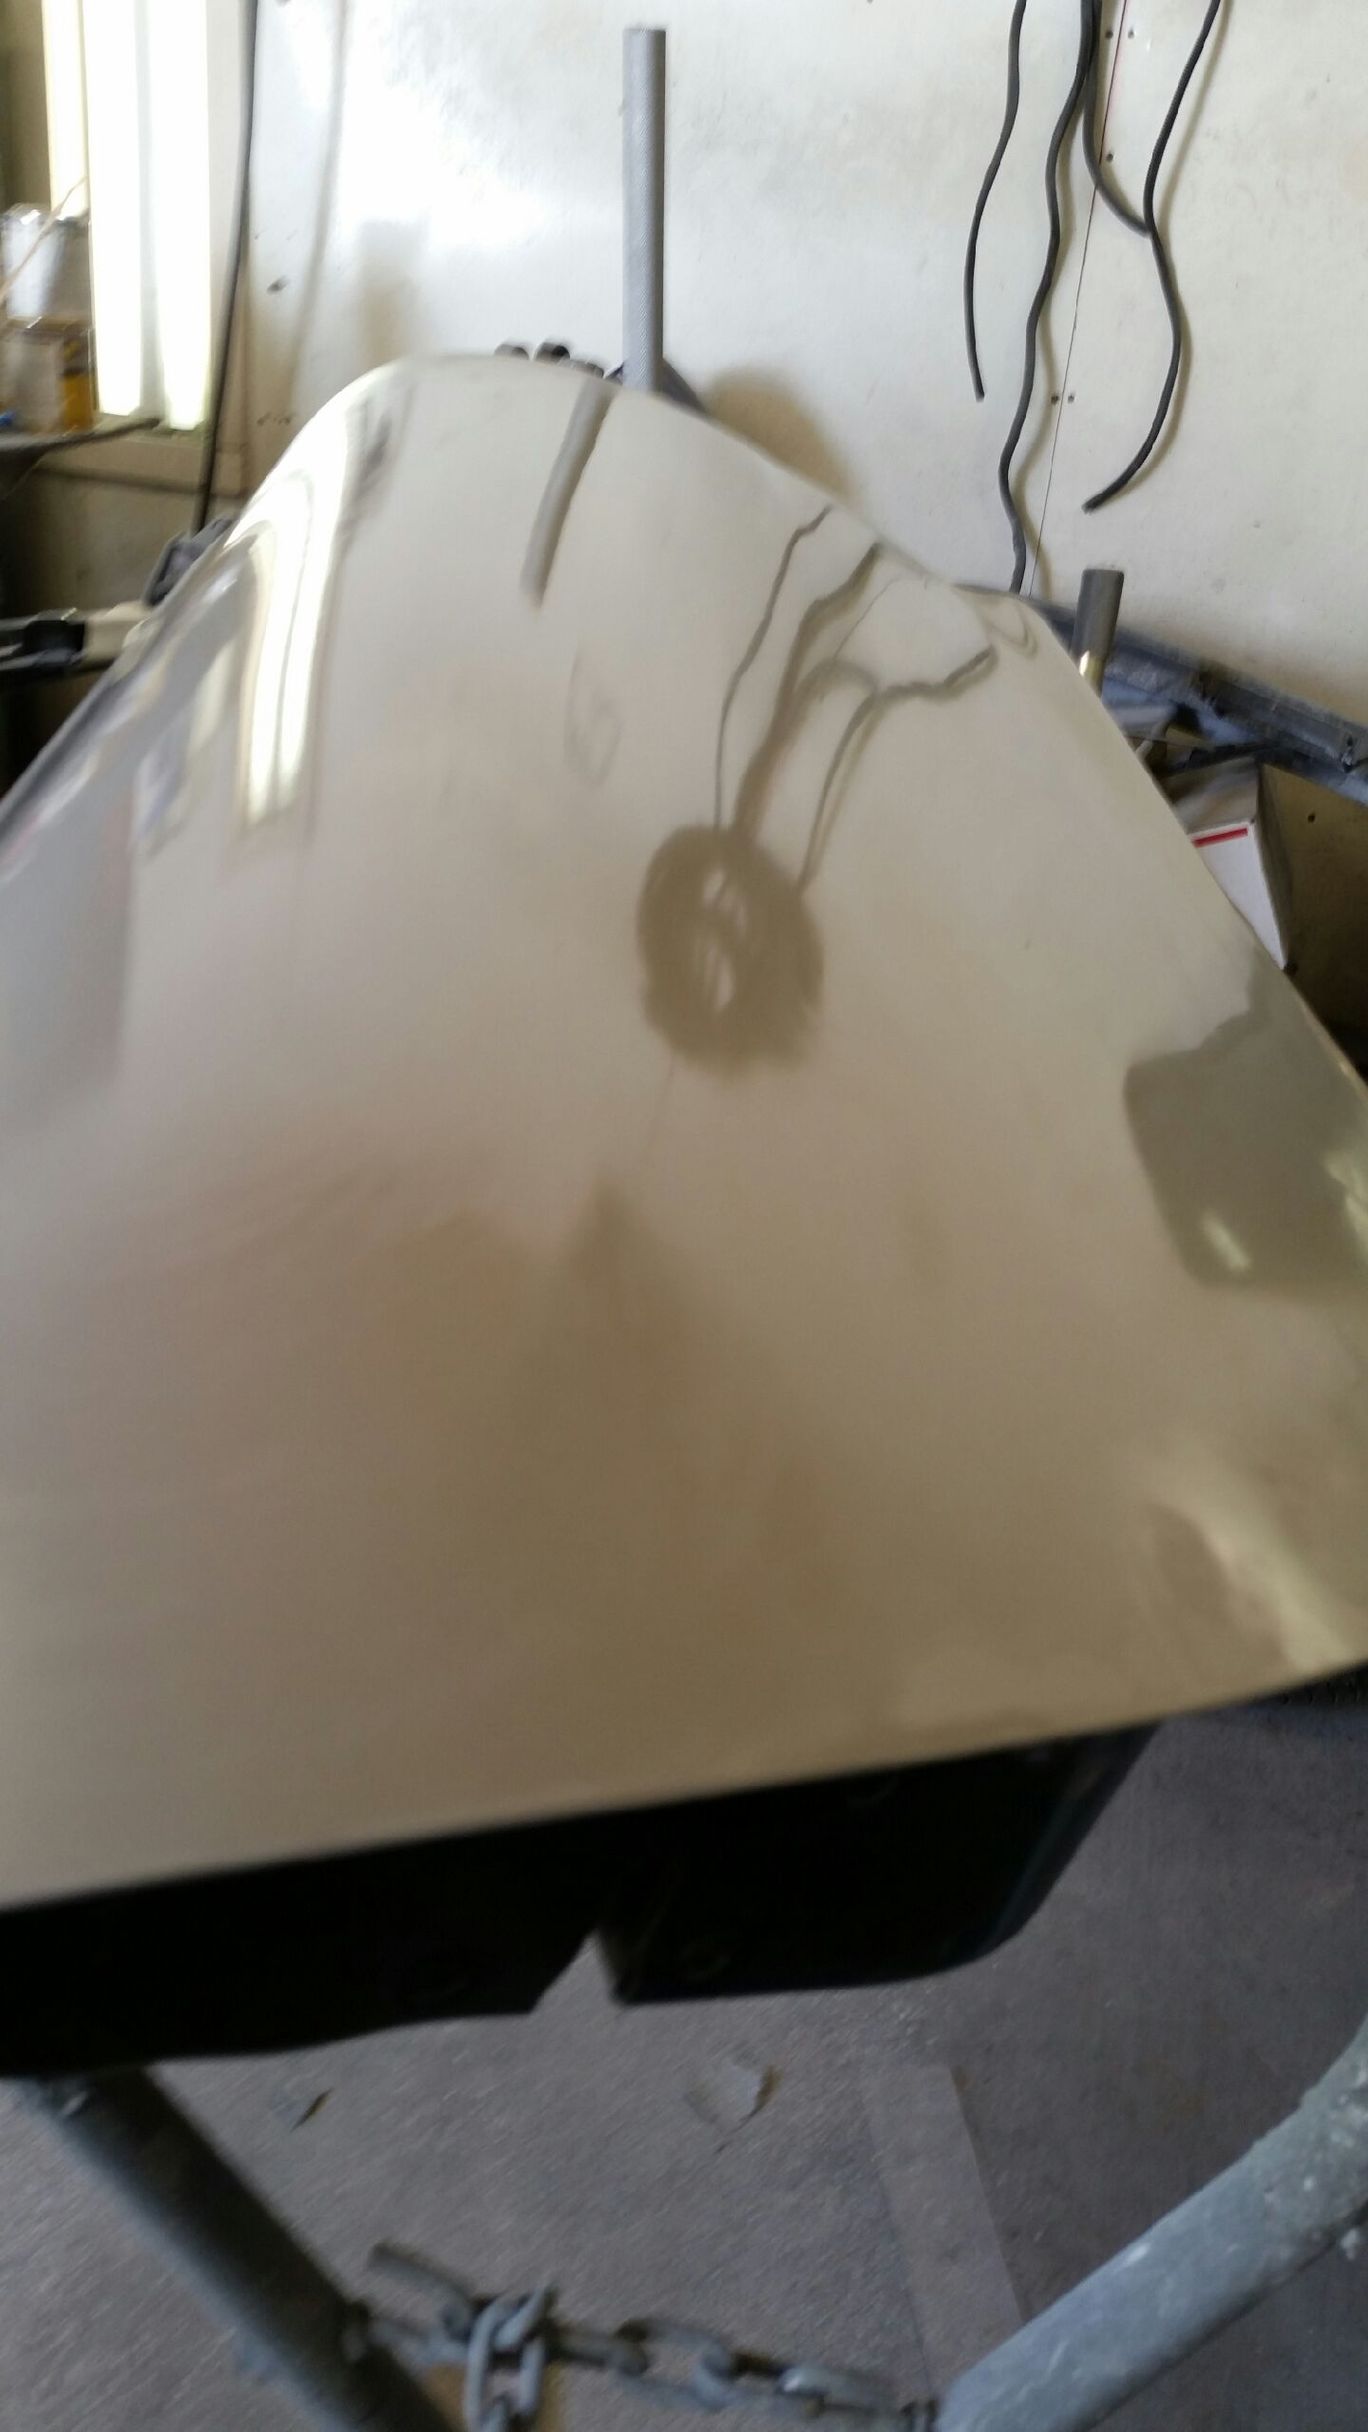
From the hatch. John said it had 5 independent coats of paint in some places!!! :o
More of the hatch getting stripped
At the beginning of this year I posted my FD RX7 for sale here
https://www.rx7club.com/3rd-generation-rx-7-1993-2002-vehicles-107/mississippi-fd-383ci-forged-ls1-stroker-$35k-1054791/
I let it run for about 3 months and had the thread closed after deciding to keep it.
The quick story I want to share is a piece originally from my build thread which is normally available here:
http://www.norotors.com/index.php?topic=70.0
My situation stems from a failed paint job I waited 7 months for beginning in August 2011. The failure will be evident in the following pics showing the repairs that had to be made after a true pro took over the job. I'm not here to badmouth a shop but rather give some props to the man that's helping undo my disaster. My secondary motive is to give some hope to the folks living in the south / southeast. Living in sticks Mississippi I can tell you it gets depressing trying to find truly gifted craftsmen in the area. I just wanted to show the neighboring folks what's possible if you can get connected with the right person. I will be updating this thread as my car gets wrapped up. If anyone wants my painters info, please feel free to PM me.
Without further ado:
-------------------
July 16, 2014, 09:16:12 AM
3 years after taking my car to be painted originally (http://www.norotors.com/index.php?to...1955#msg111955) with disastrous results (http://www.norotors.com/index.php?to...4096#msg154096) I've finally picked myself back up and am taking another swing at getting the rx7 painted.
On Monday I loaded up the RX7 and took a trip to hand it over to my new painter.
The new painter is a friend of mine I met when I sold him my brother's 3SGTE longblock. 2 years ago he stopped by my house to pickup the longblock and looked my rx7 over. At the time I didn't know he was quite a talented painter but I soon found out he was the real article. After reading up on his mr2's restoration, I was sold:
so i bought a damaged car - MR2 Owners Club Message Board
I actually had him lined up to paint the car around Christmas 2013, but had to back out when I changed my goals and put the car up for sale. Luckily there were no bridges burned and he agreed to take on the project this year.
I drove the RX7 down to Jackson on Monday and spent some time going over all the details of the job. His theory on what happened to my paint in 2011's paint job was that the painter hit the car with really 'wet' (I.E., solvent heavy) paint which dissolved some of the (many) coats of paint below it which rippled when drying. I believe that's exactly what happened.
The plan right now is to strip everything down to the metal and repaint the car from scratch.
As I headed home I got a string of txt messages showing progress already being made:
From the hatch. John said it had 5 independent coats of paint in some places!!! :o
More of the hatch getting stripped
 09-23-14, 04:54 PM
#2
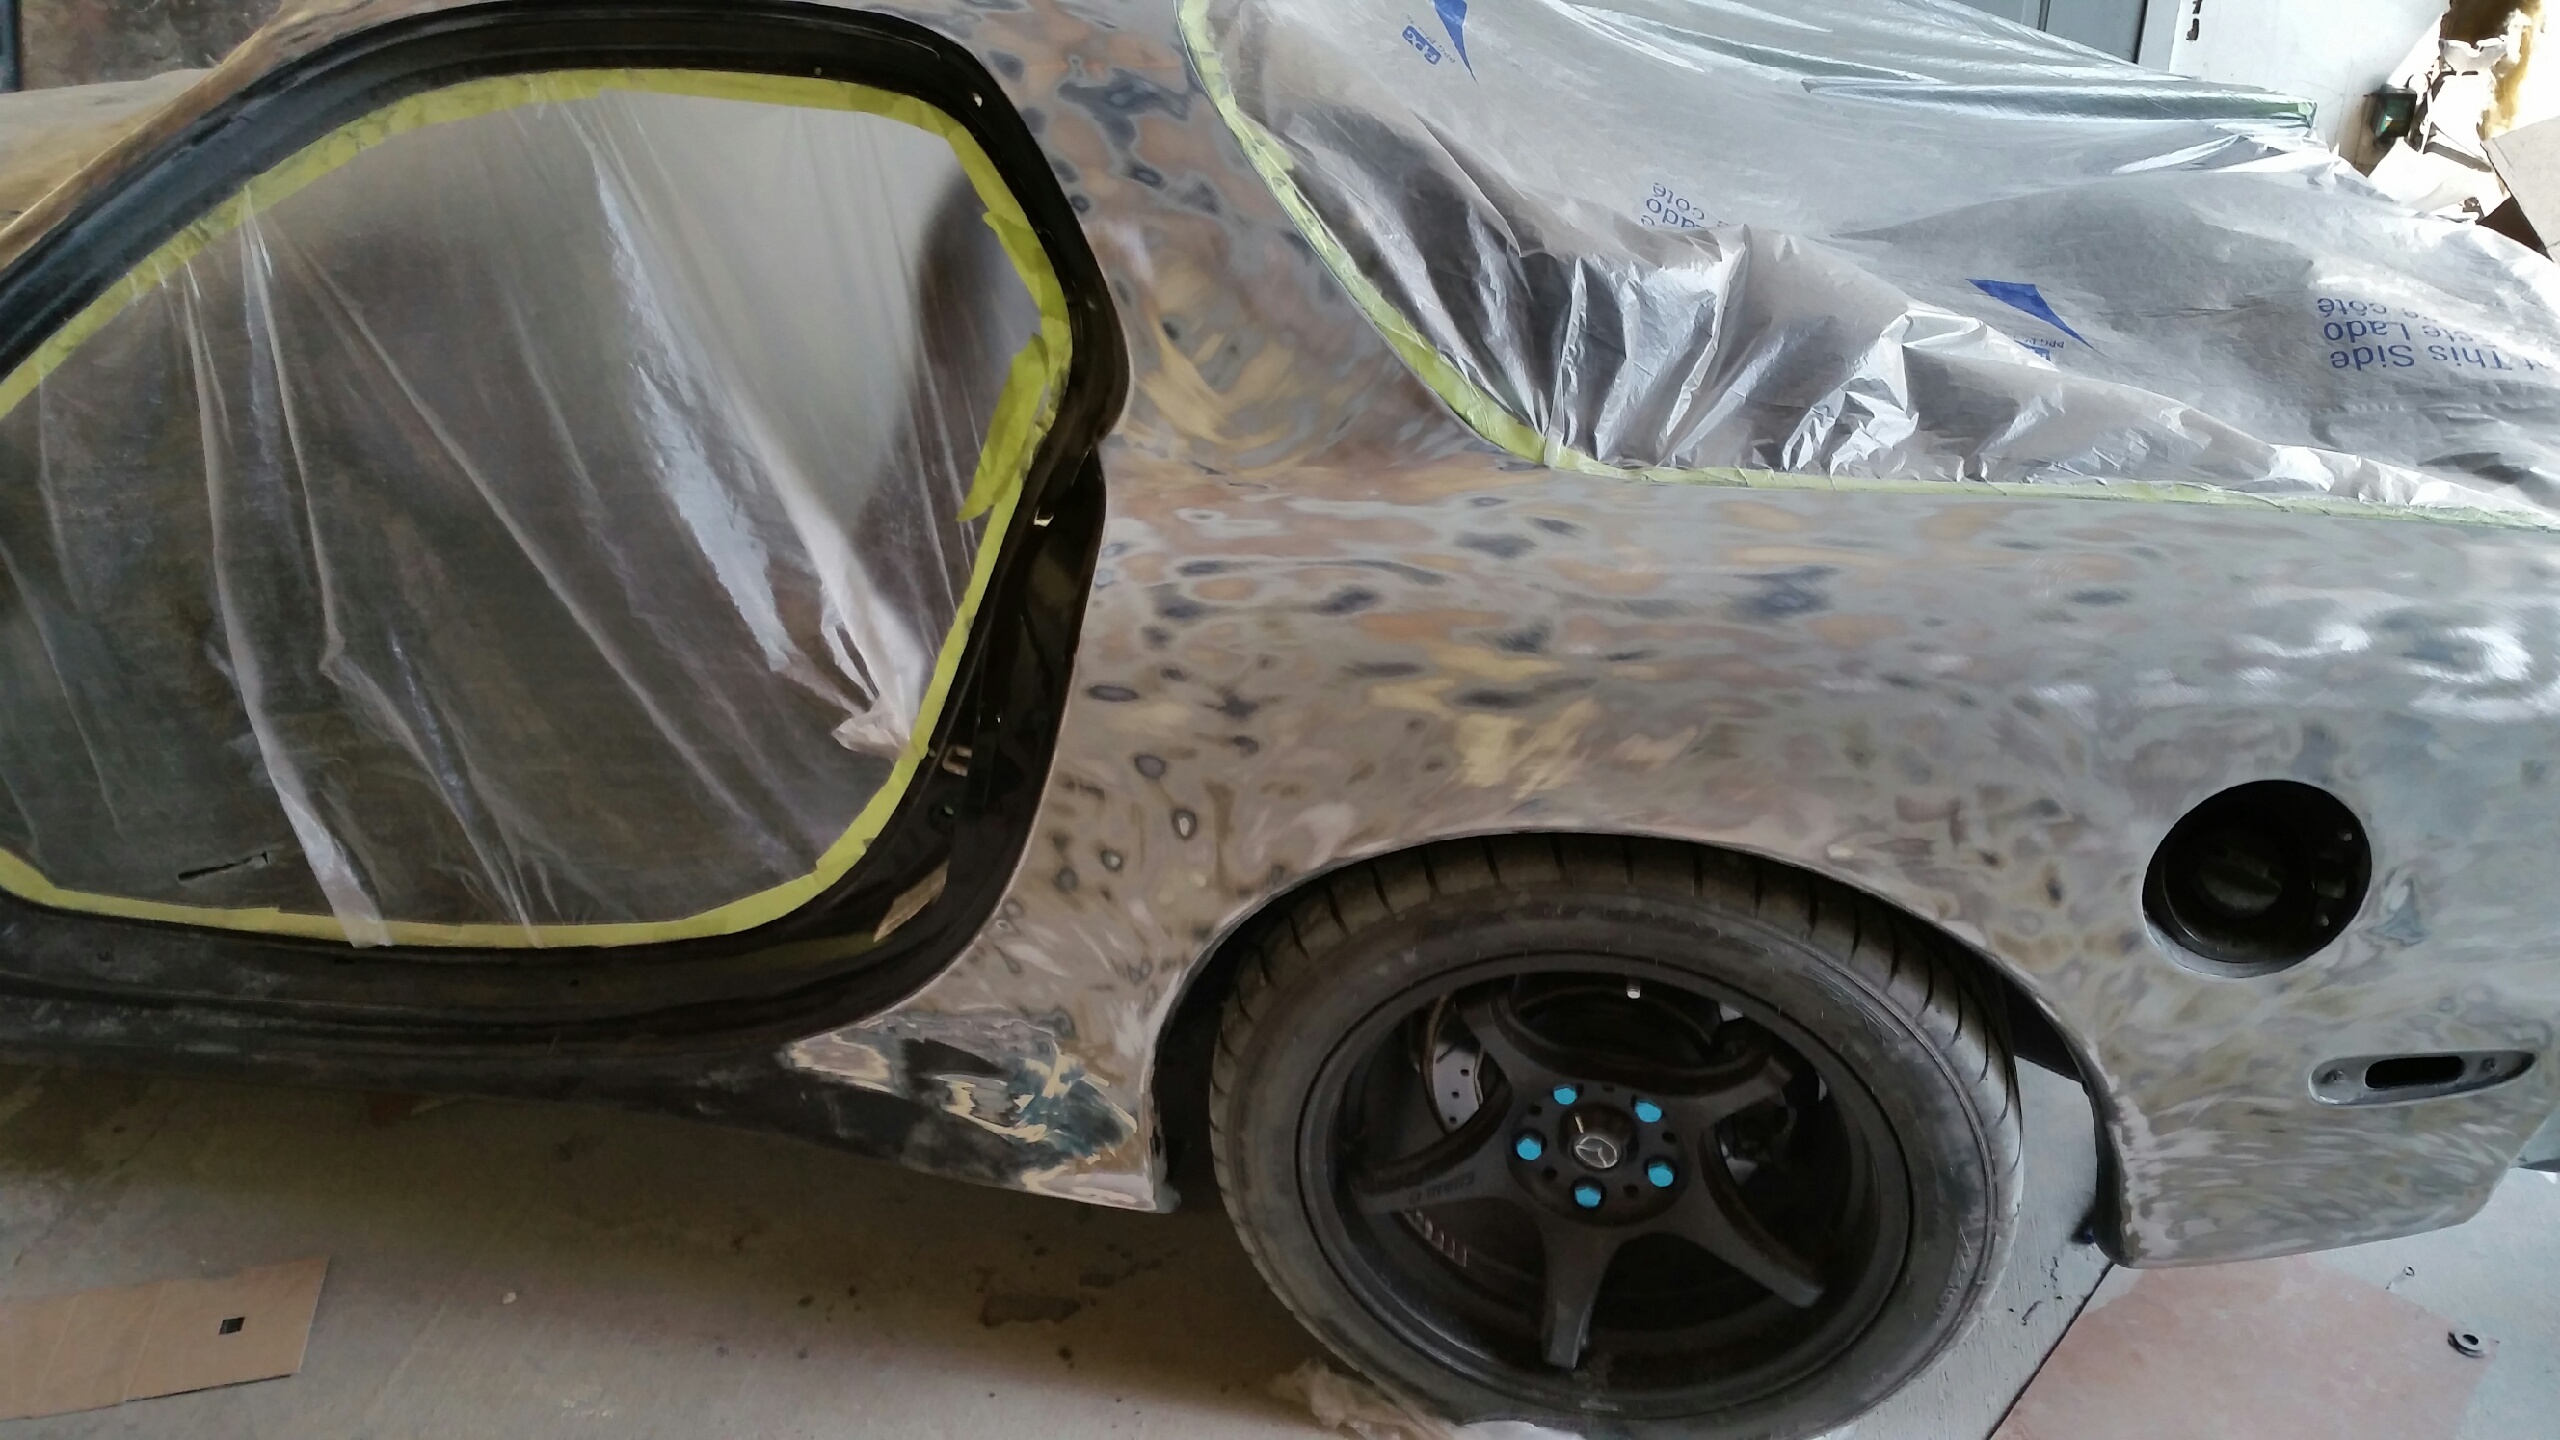
Yesterday's (Tuesday's) progress:
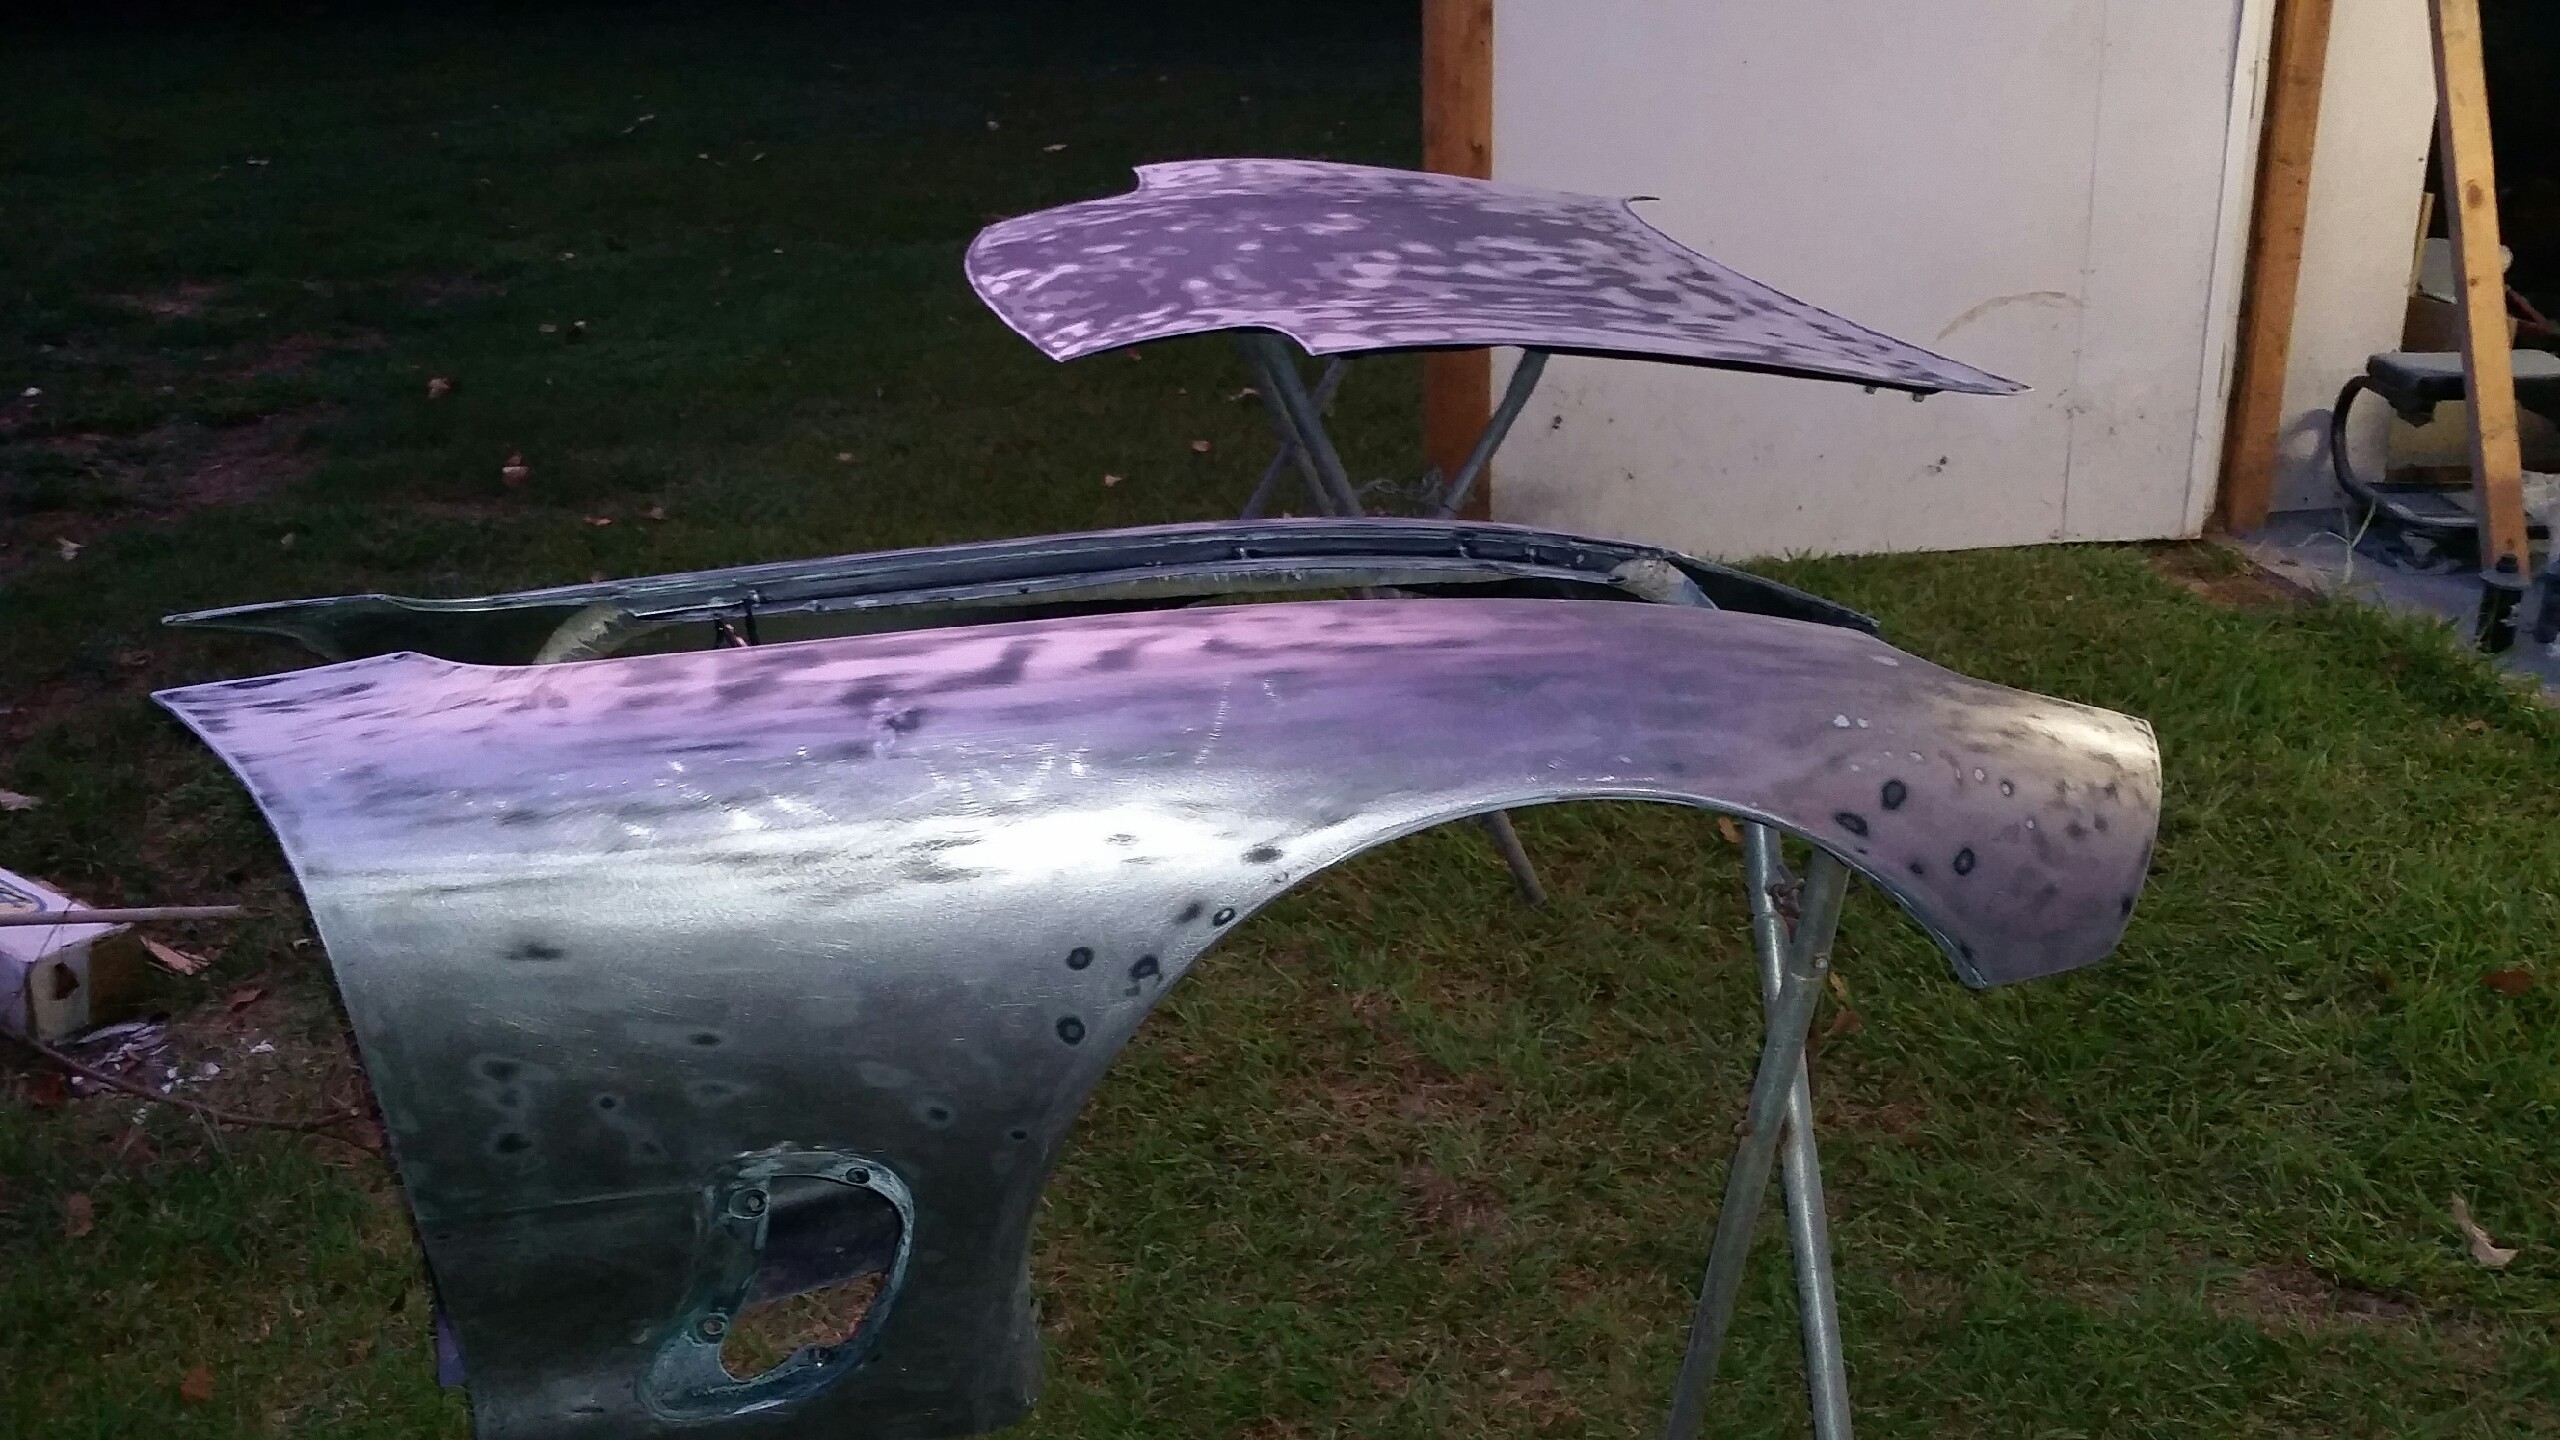
John said the fender's weren't that bad. They only had 2 coats of paint on them.
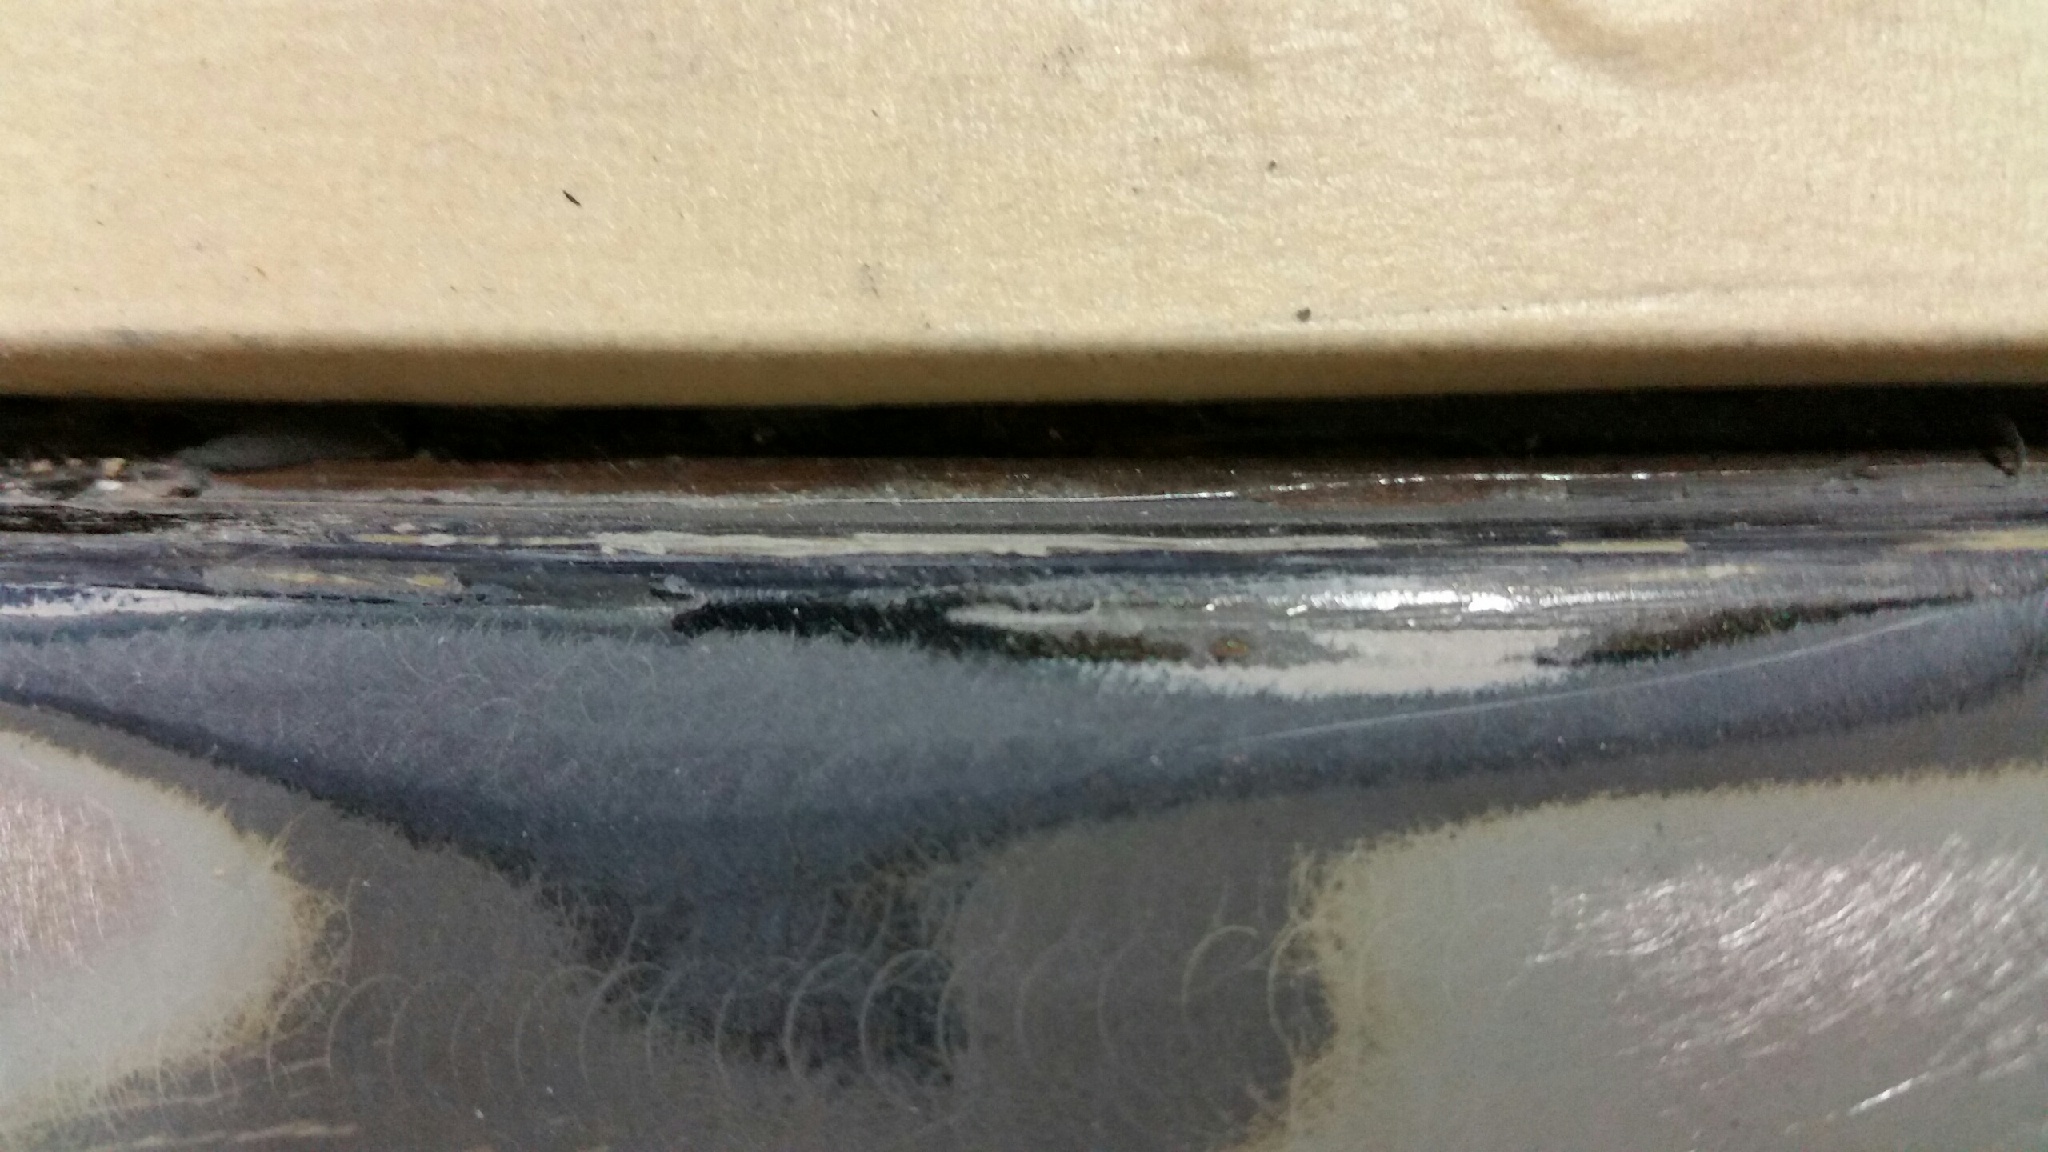
Unfortunately, we ran into a little snag Tuesday night. John found that when the last shop reinstalled my rear window they ignored some rust around the window support / seal area and simply caulked over it with eurothane. The plan is to cut out the window again and repair the rust before reinstalling the window.
All-in-all I feel like my car is finally in a true professional's hands and couldn't be happier with the quick progress that has been made over 2 days!
-------------------
July 17, 2014, 01:22:06 PM �
Got some good news from John. His paint prep supplier let him know that his sandpaper is around 70% off so I'm paying ~$15 for packs of sandpaper that would normally cost $40/$50!
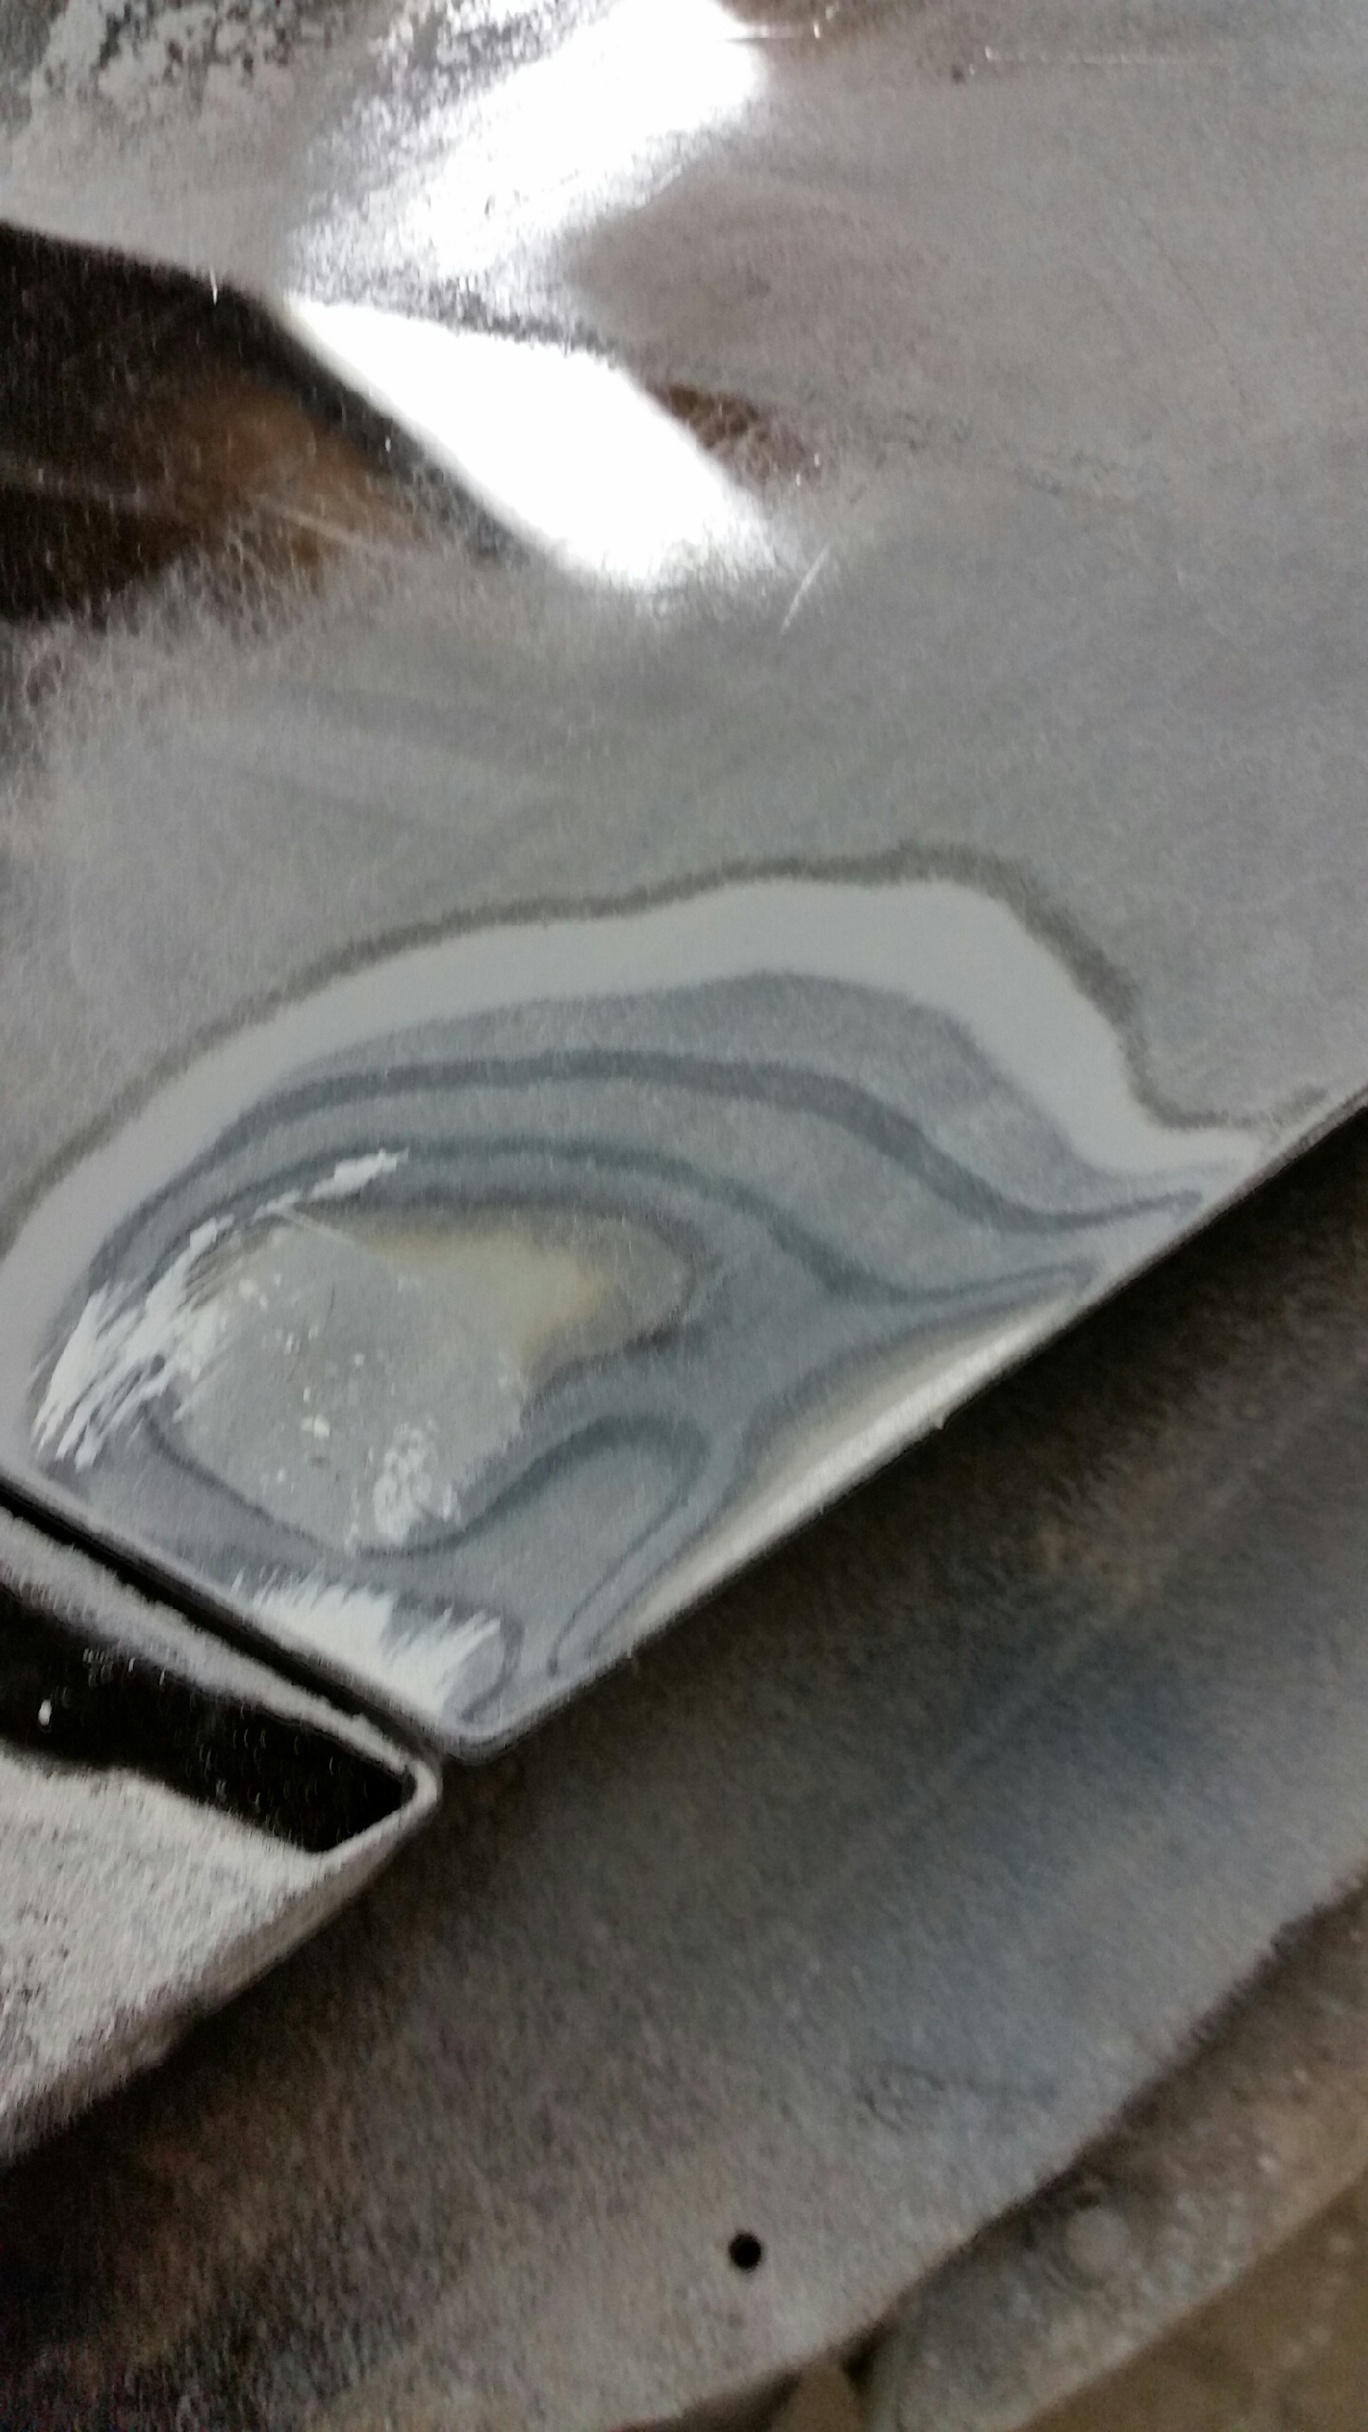
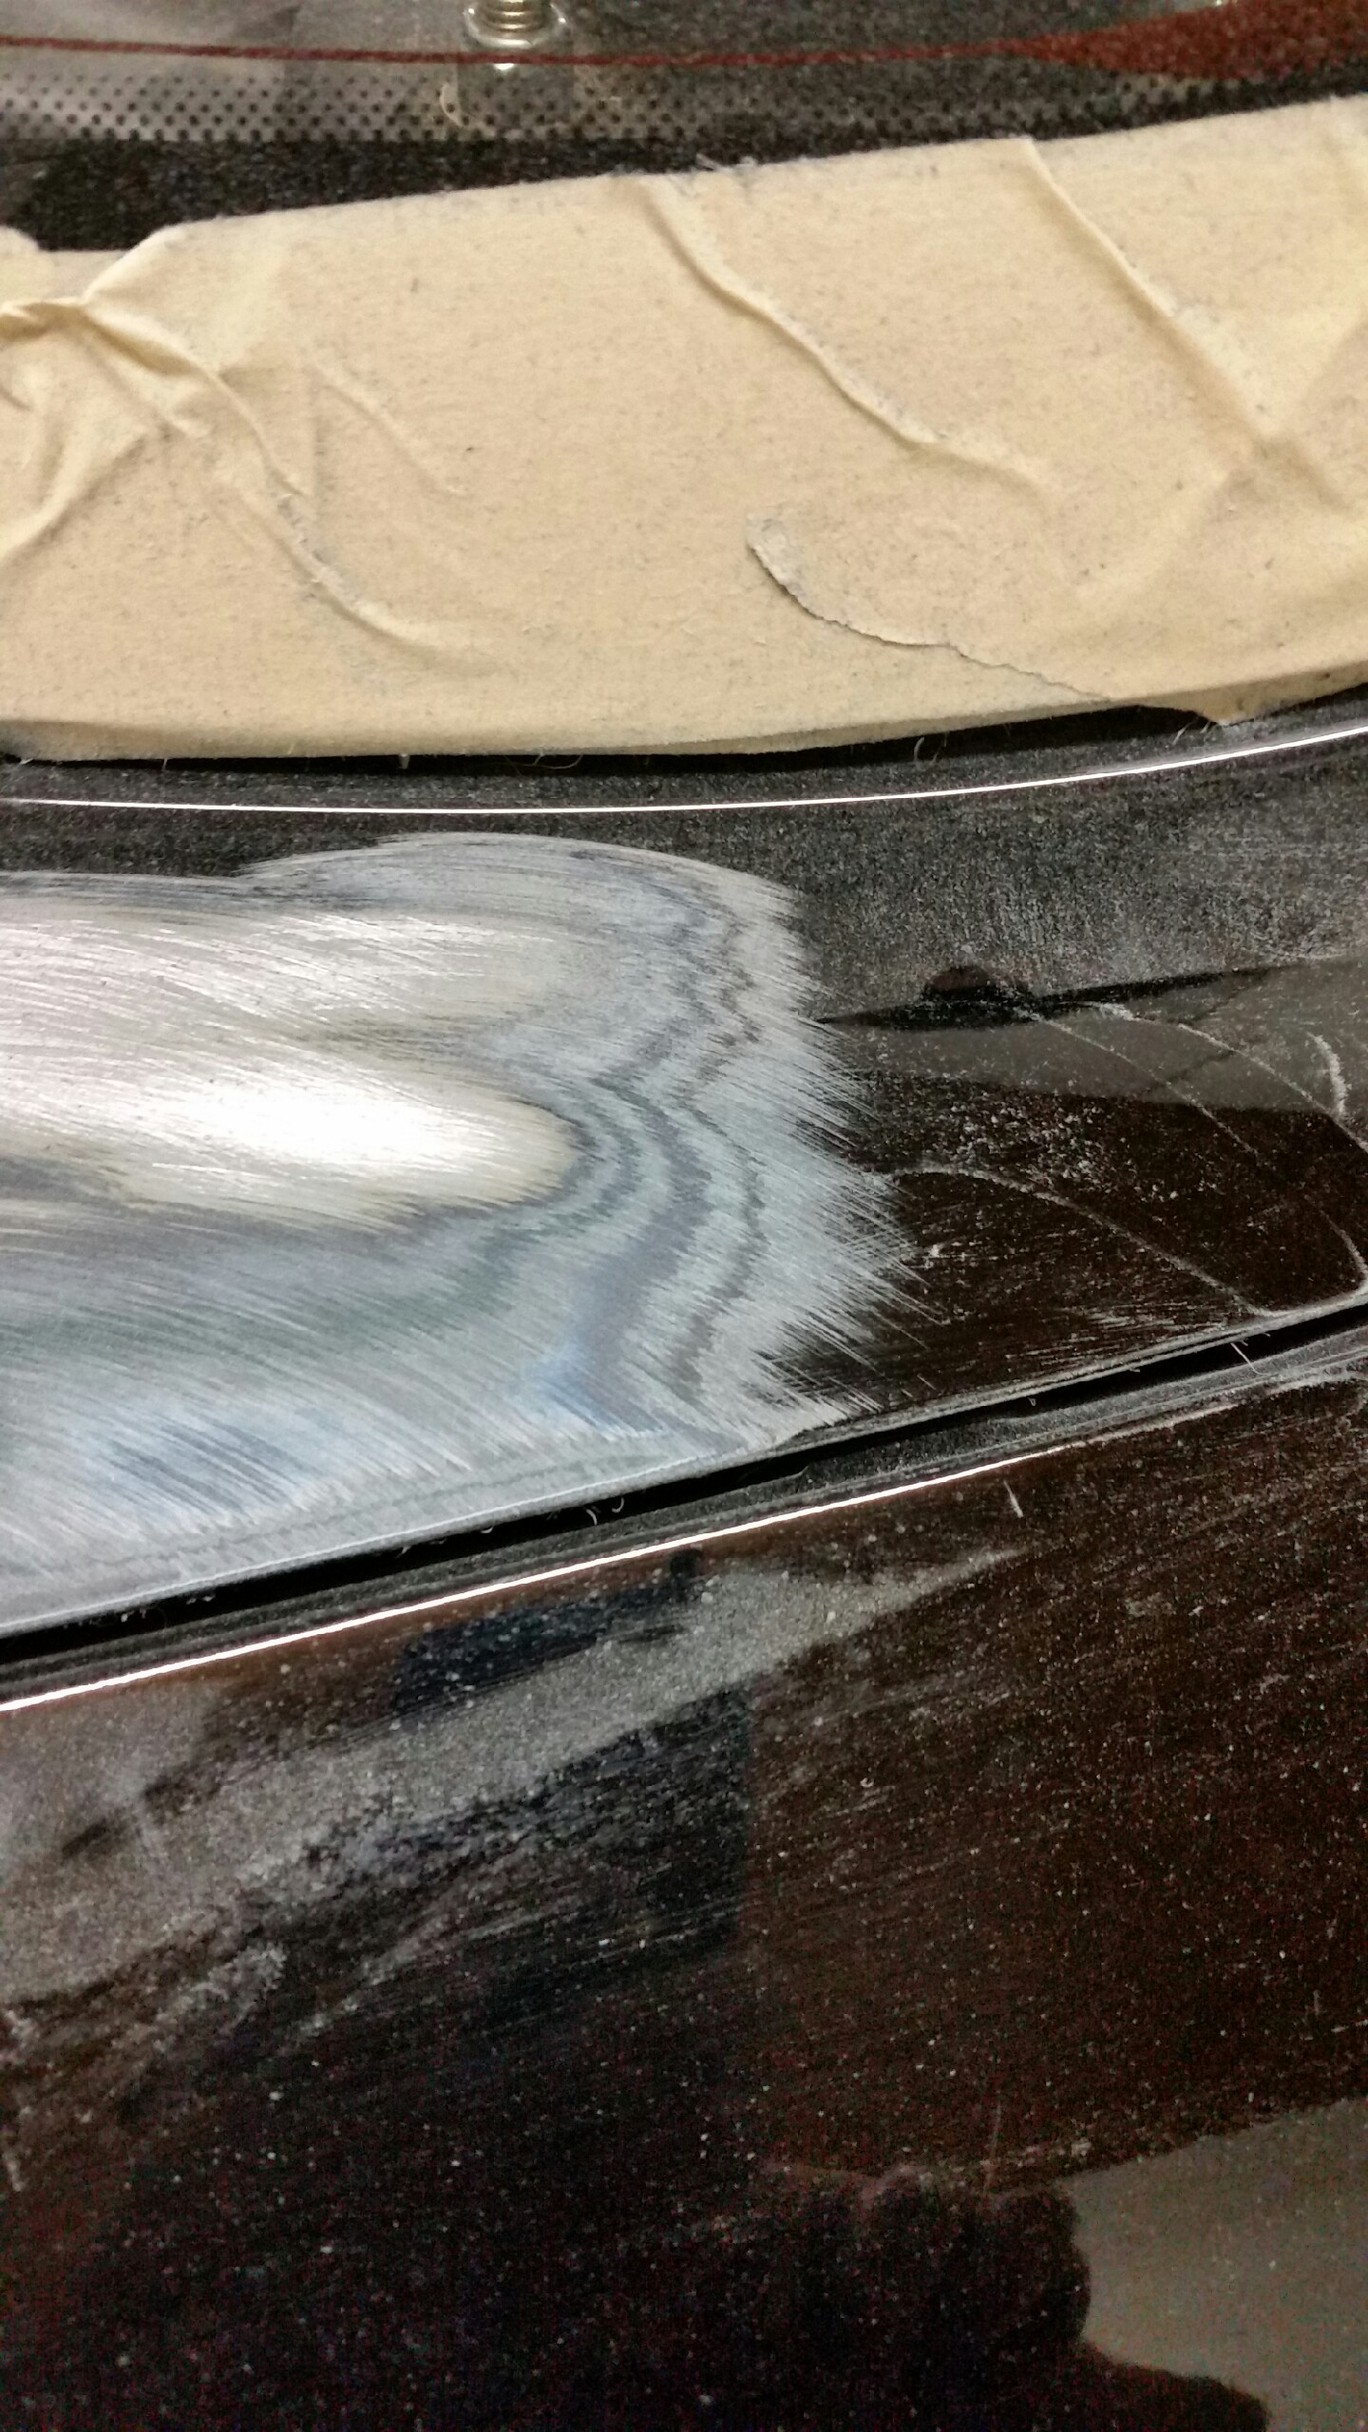
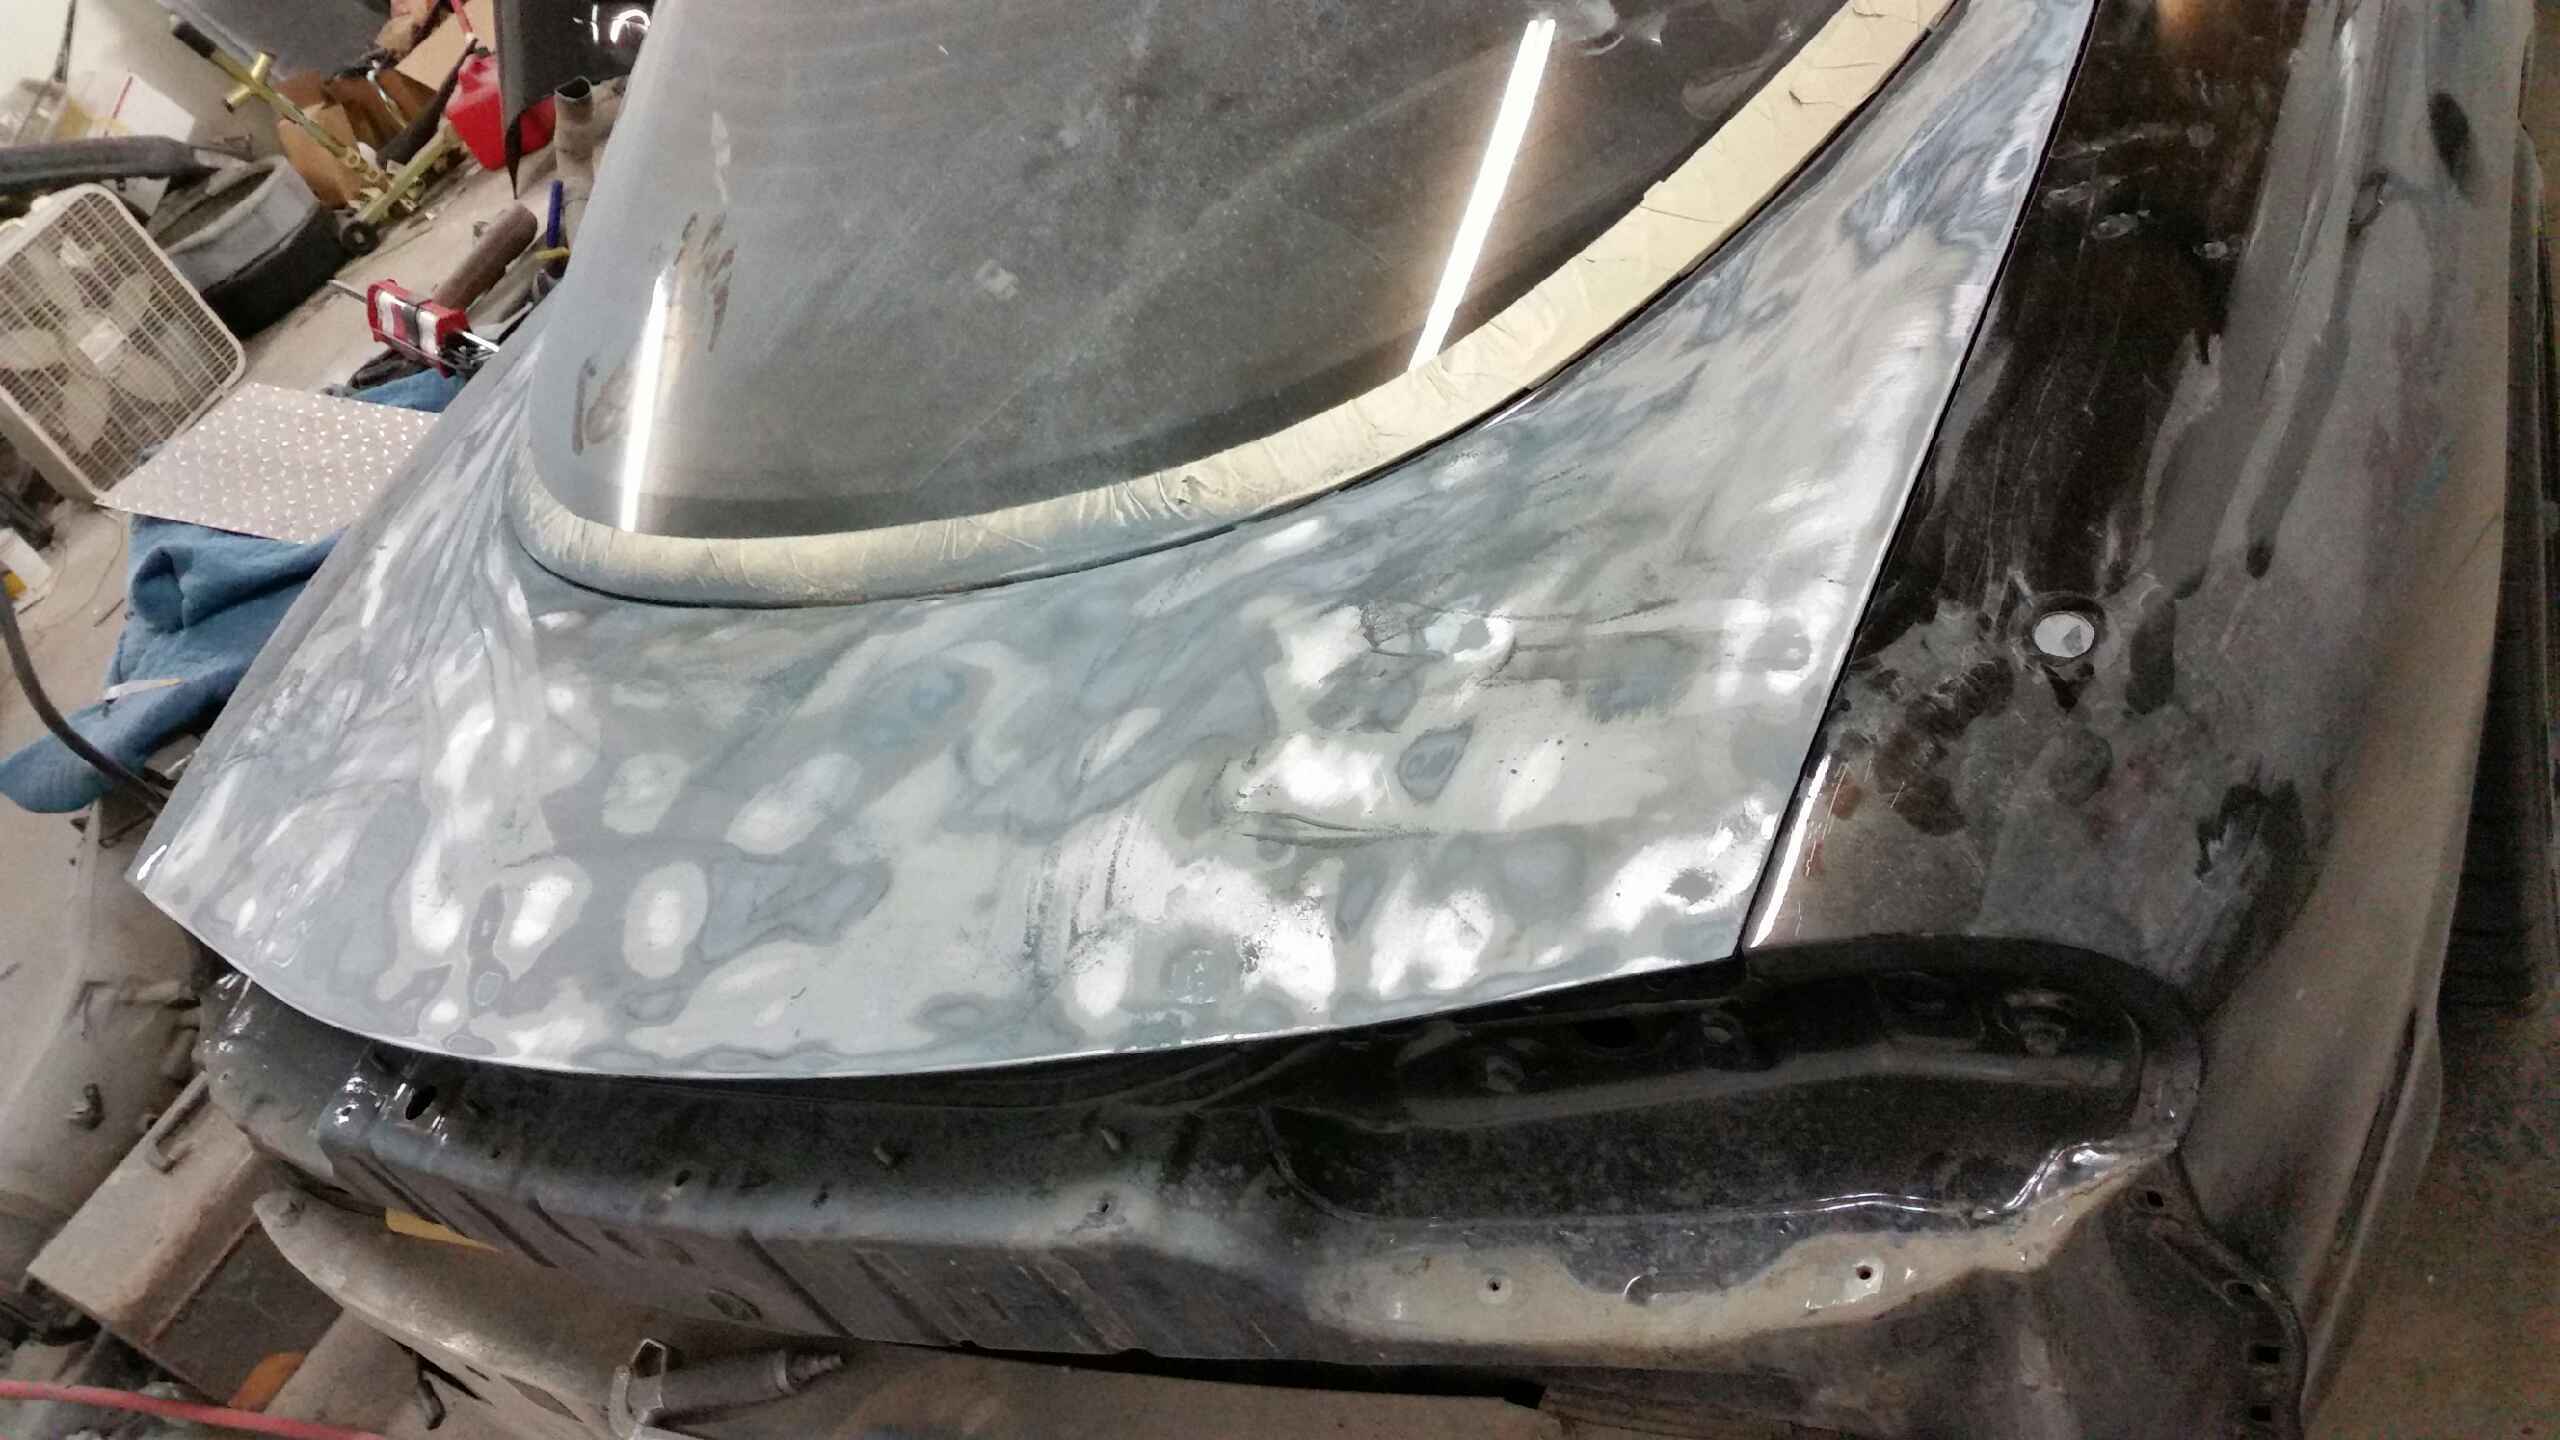
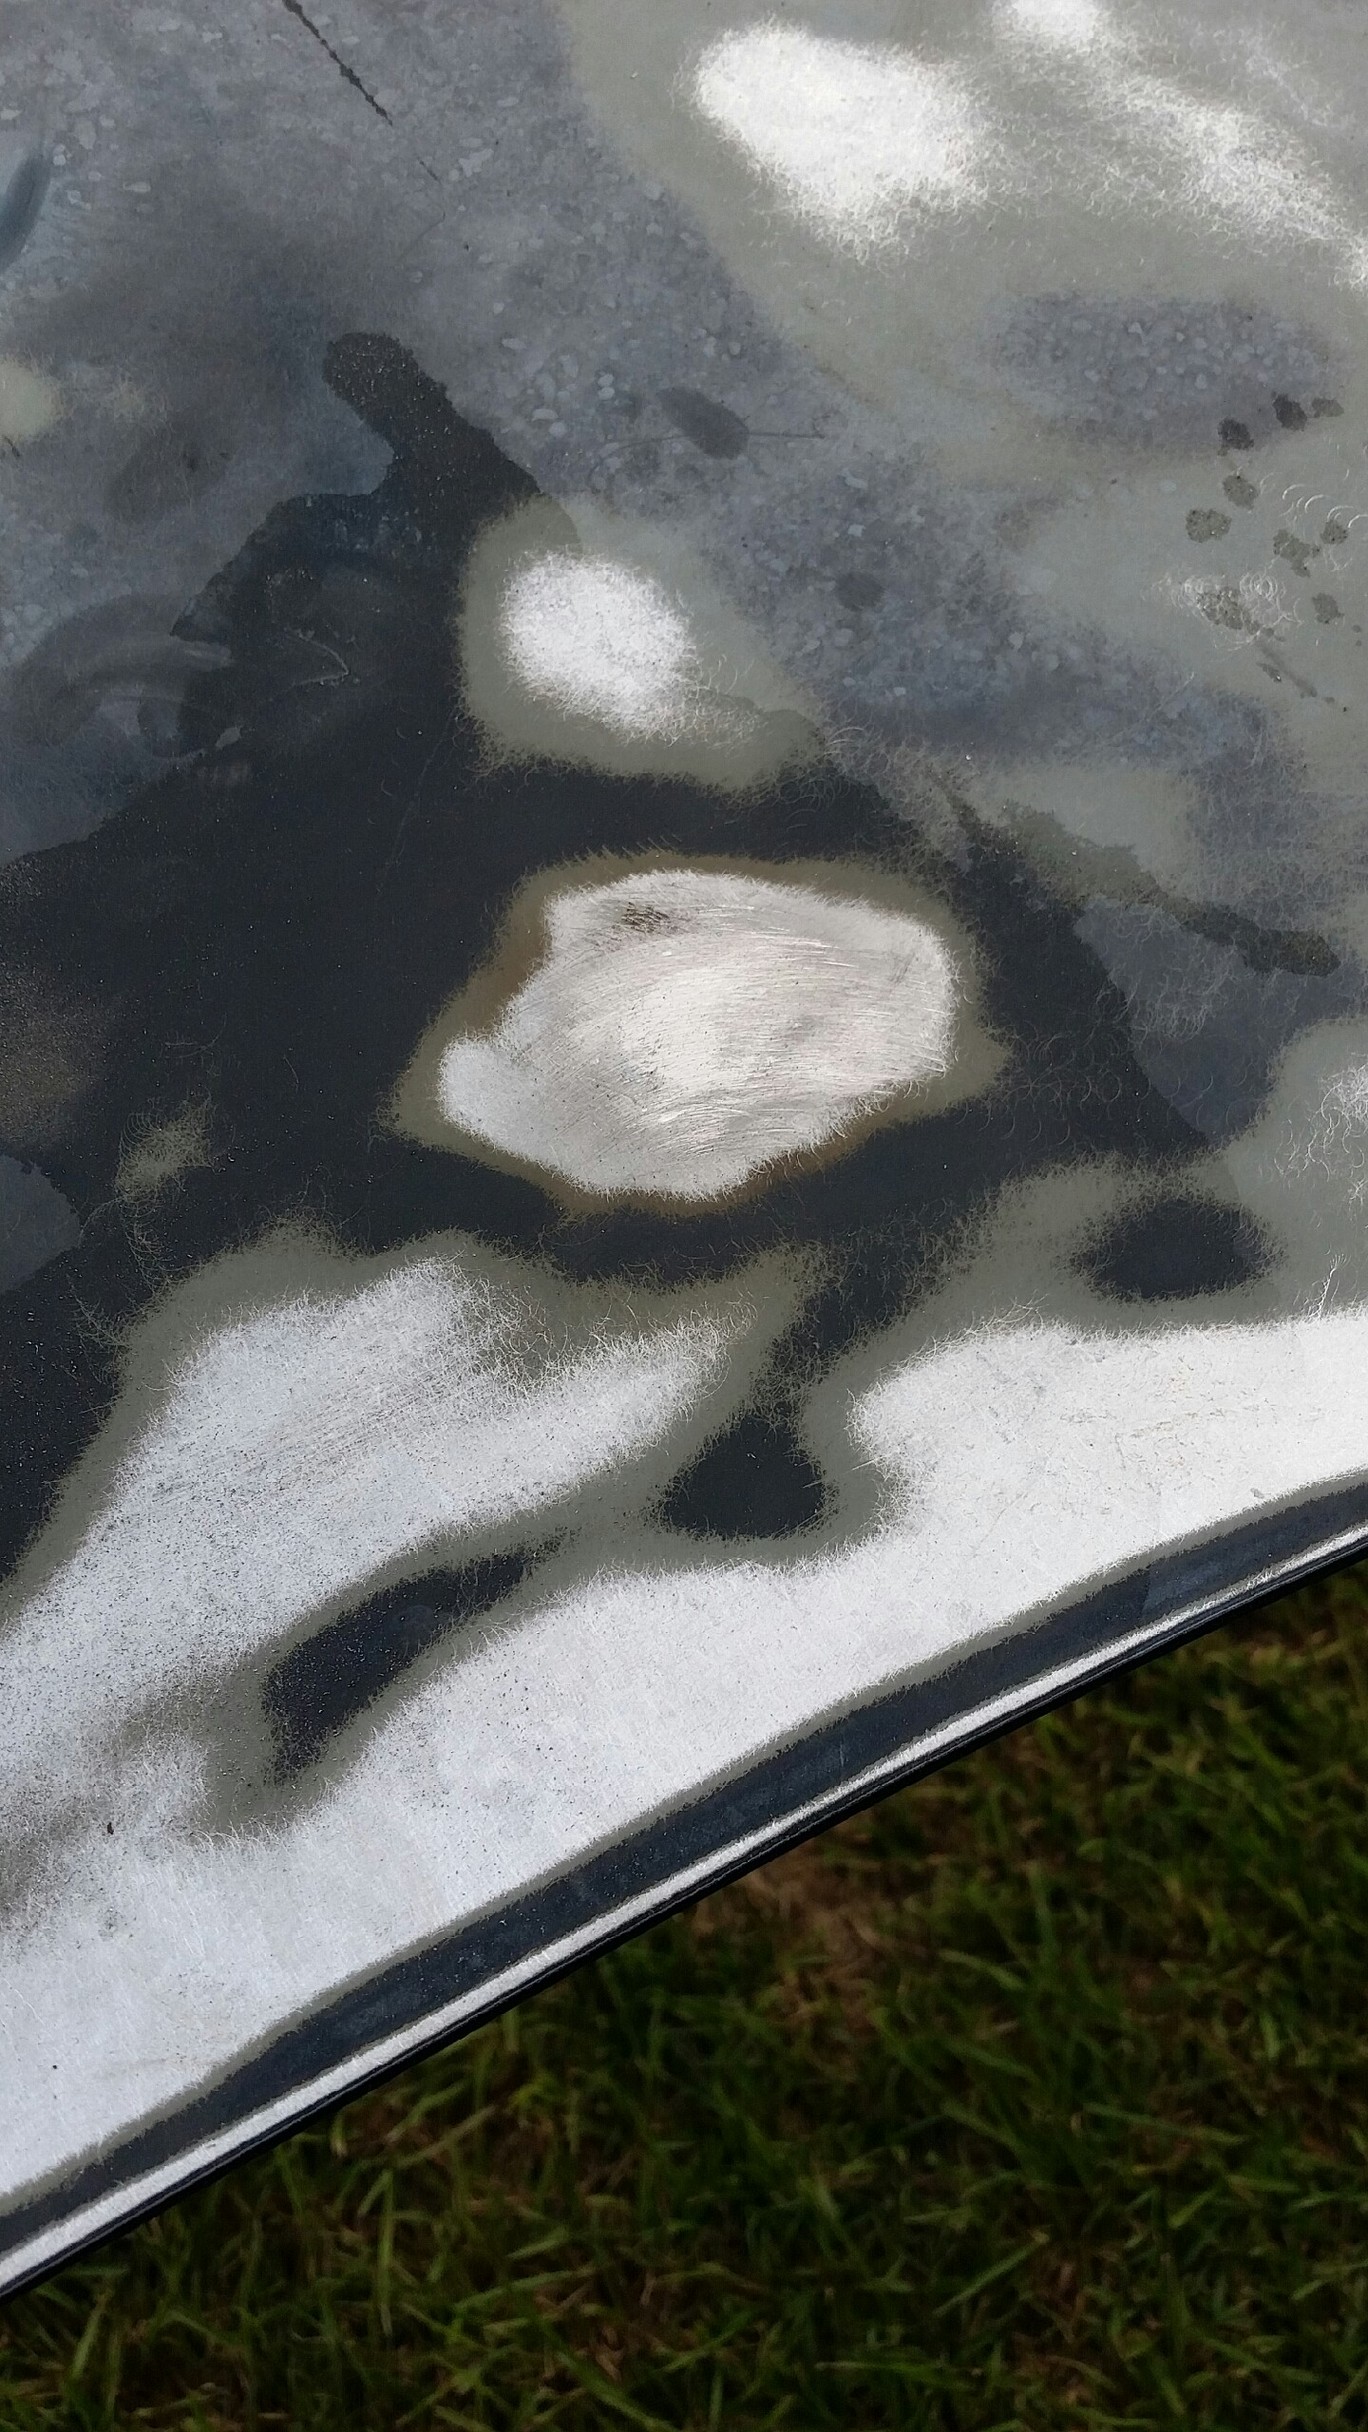
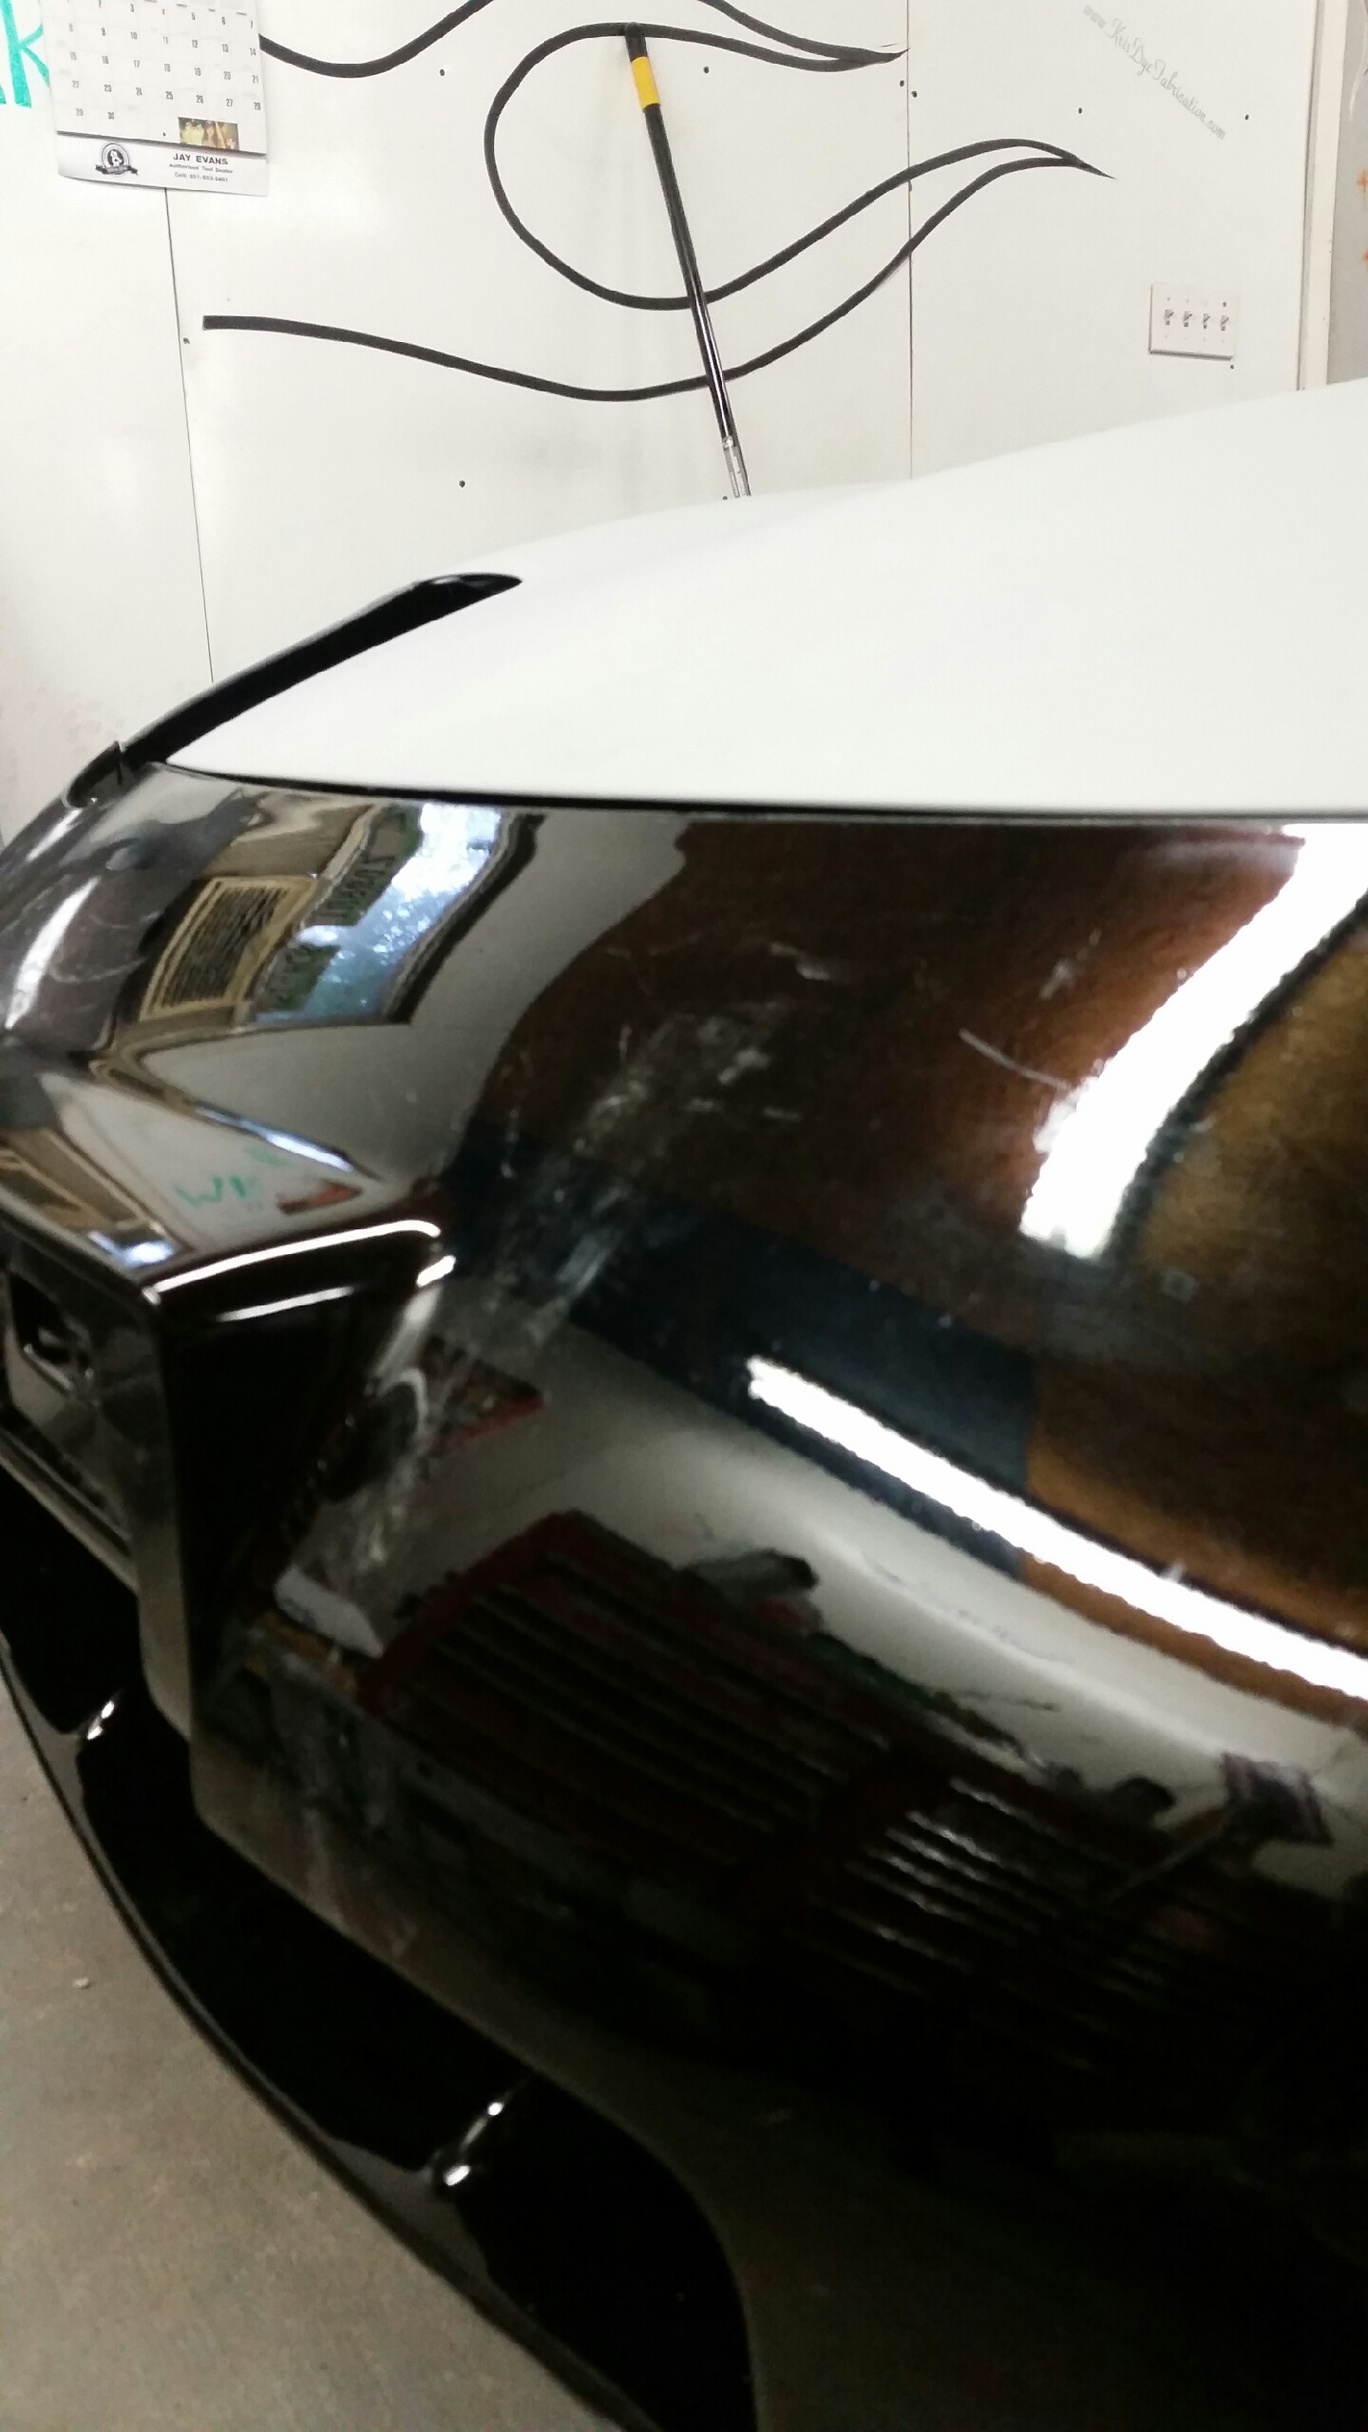
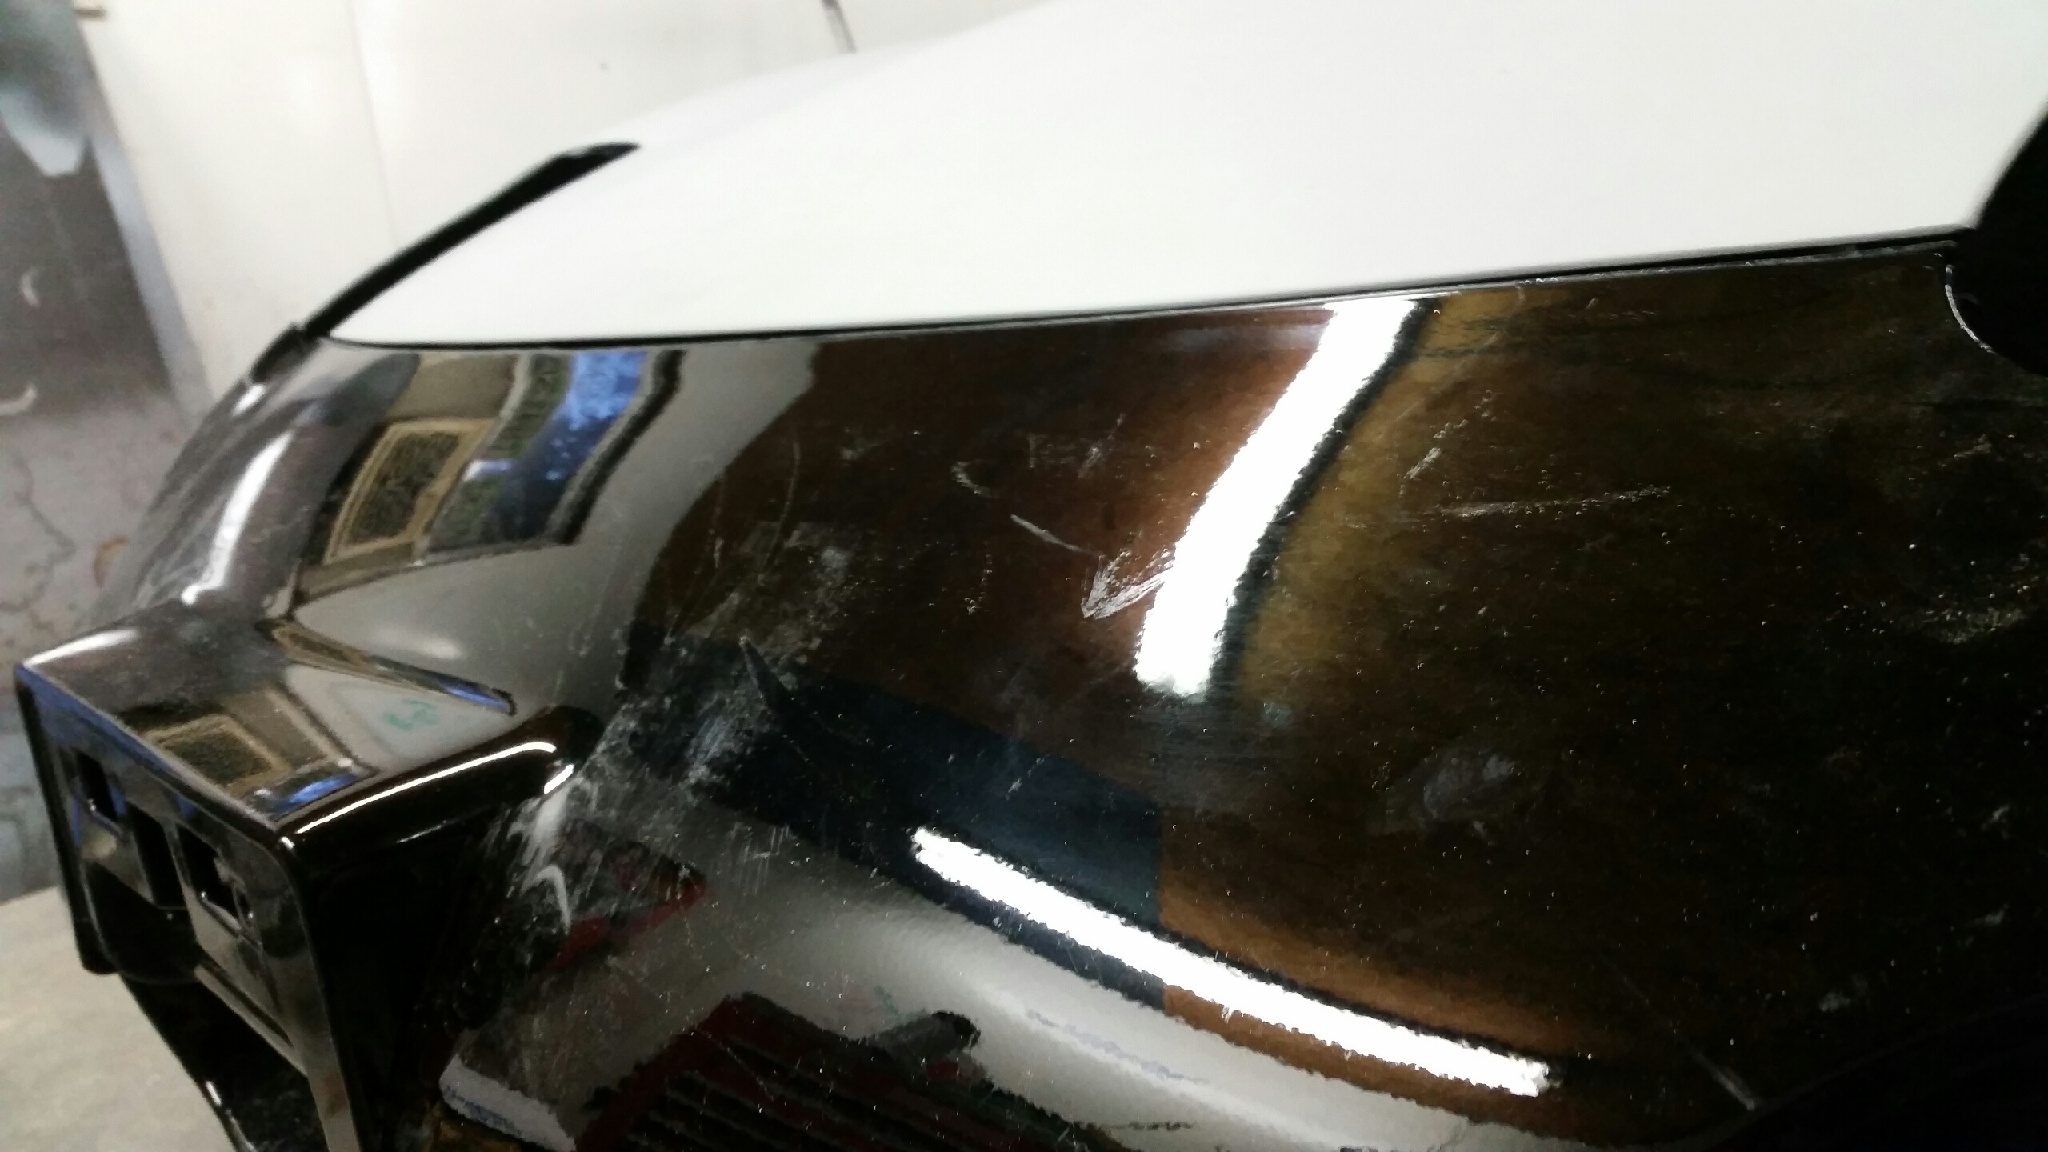
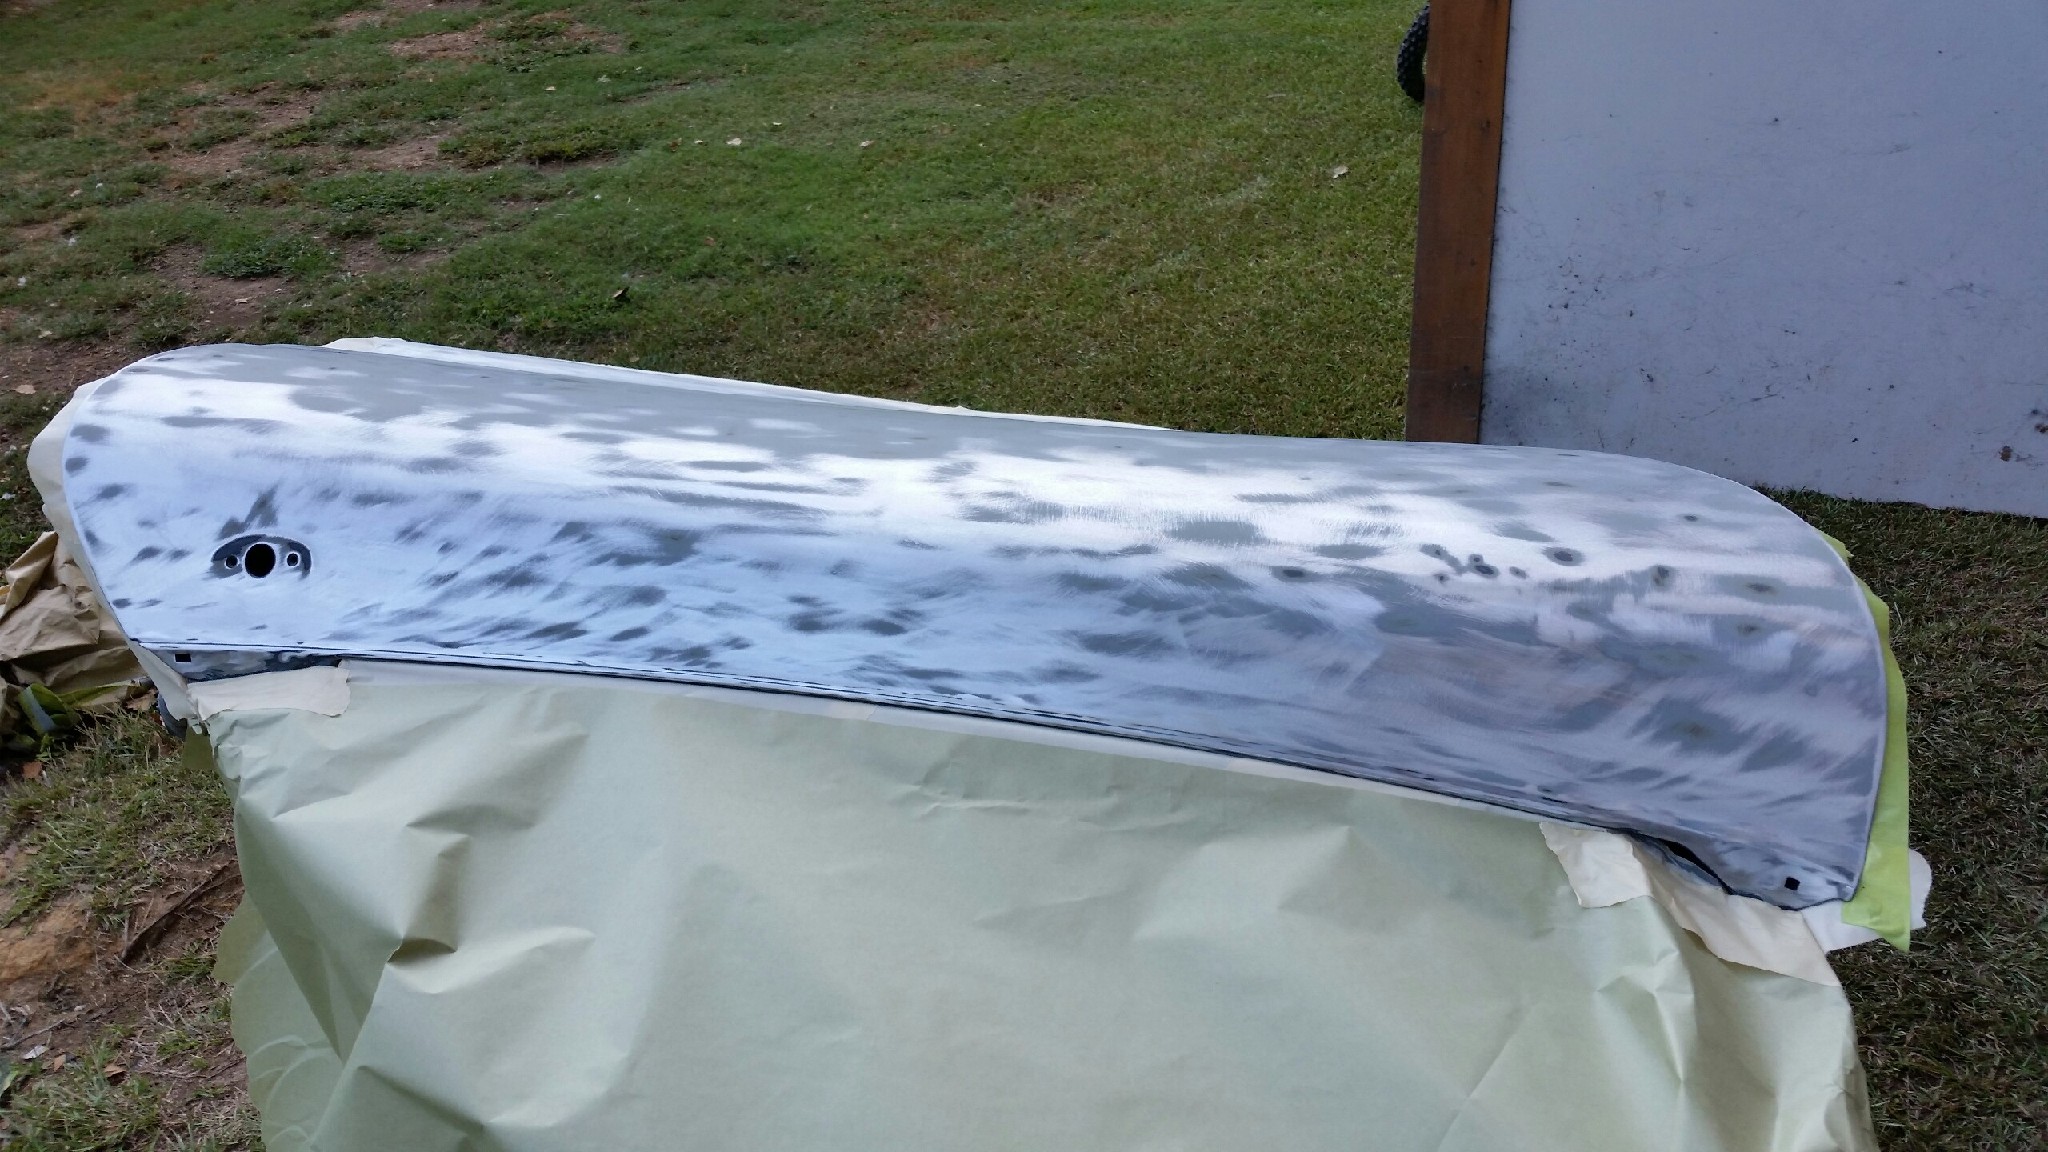
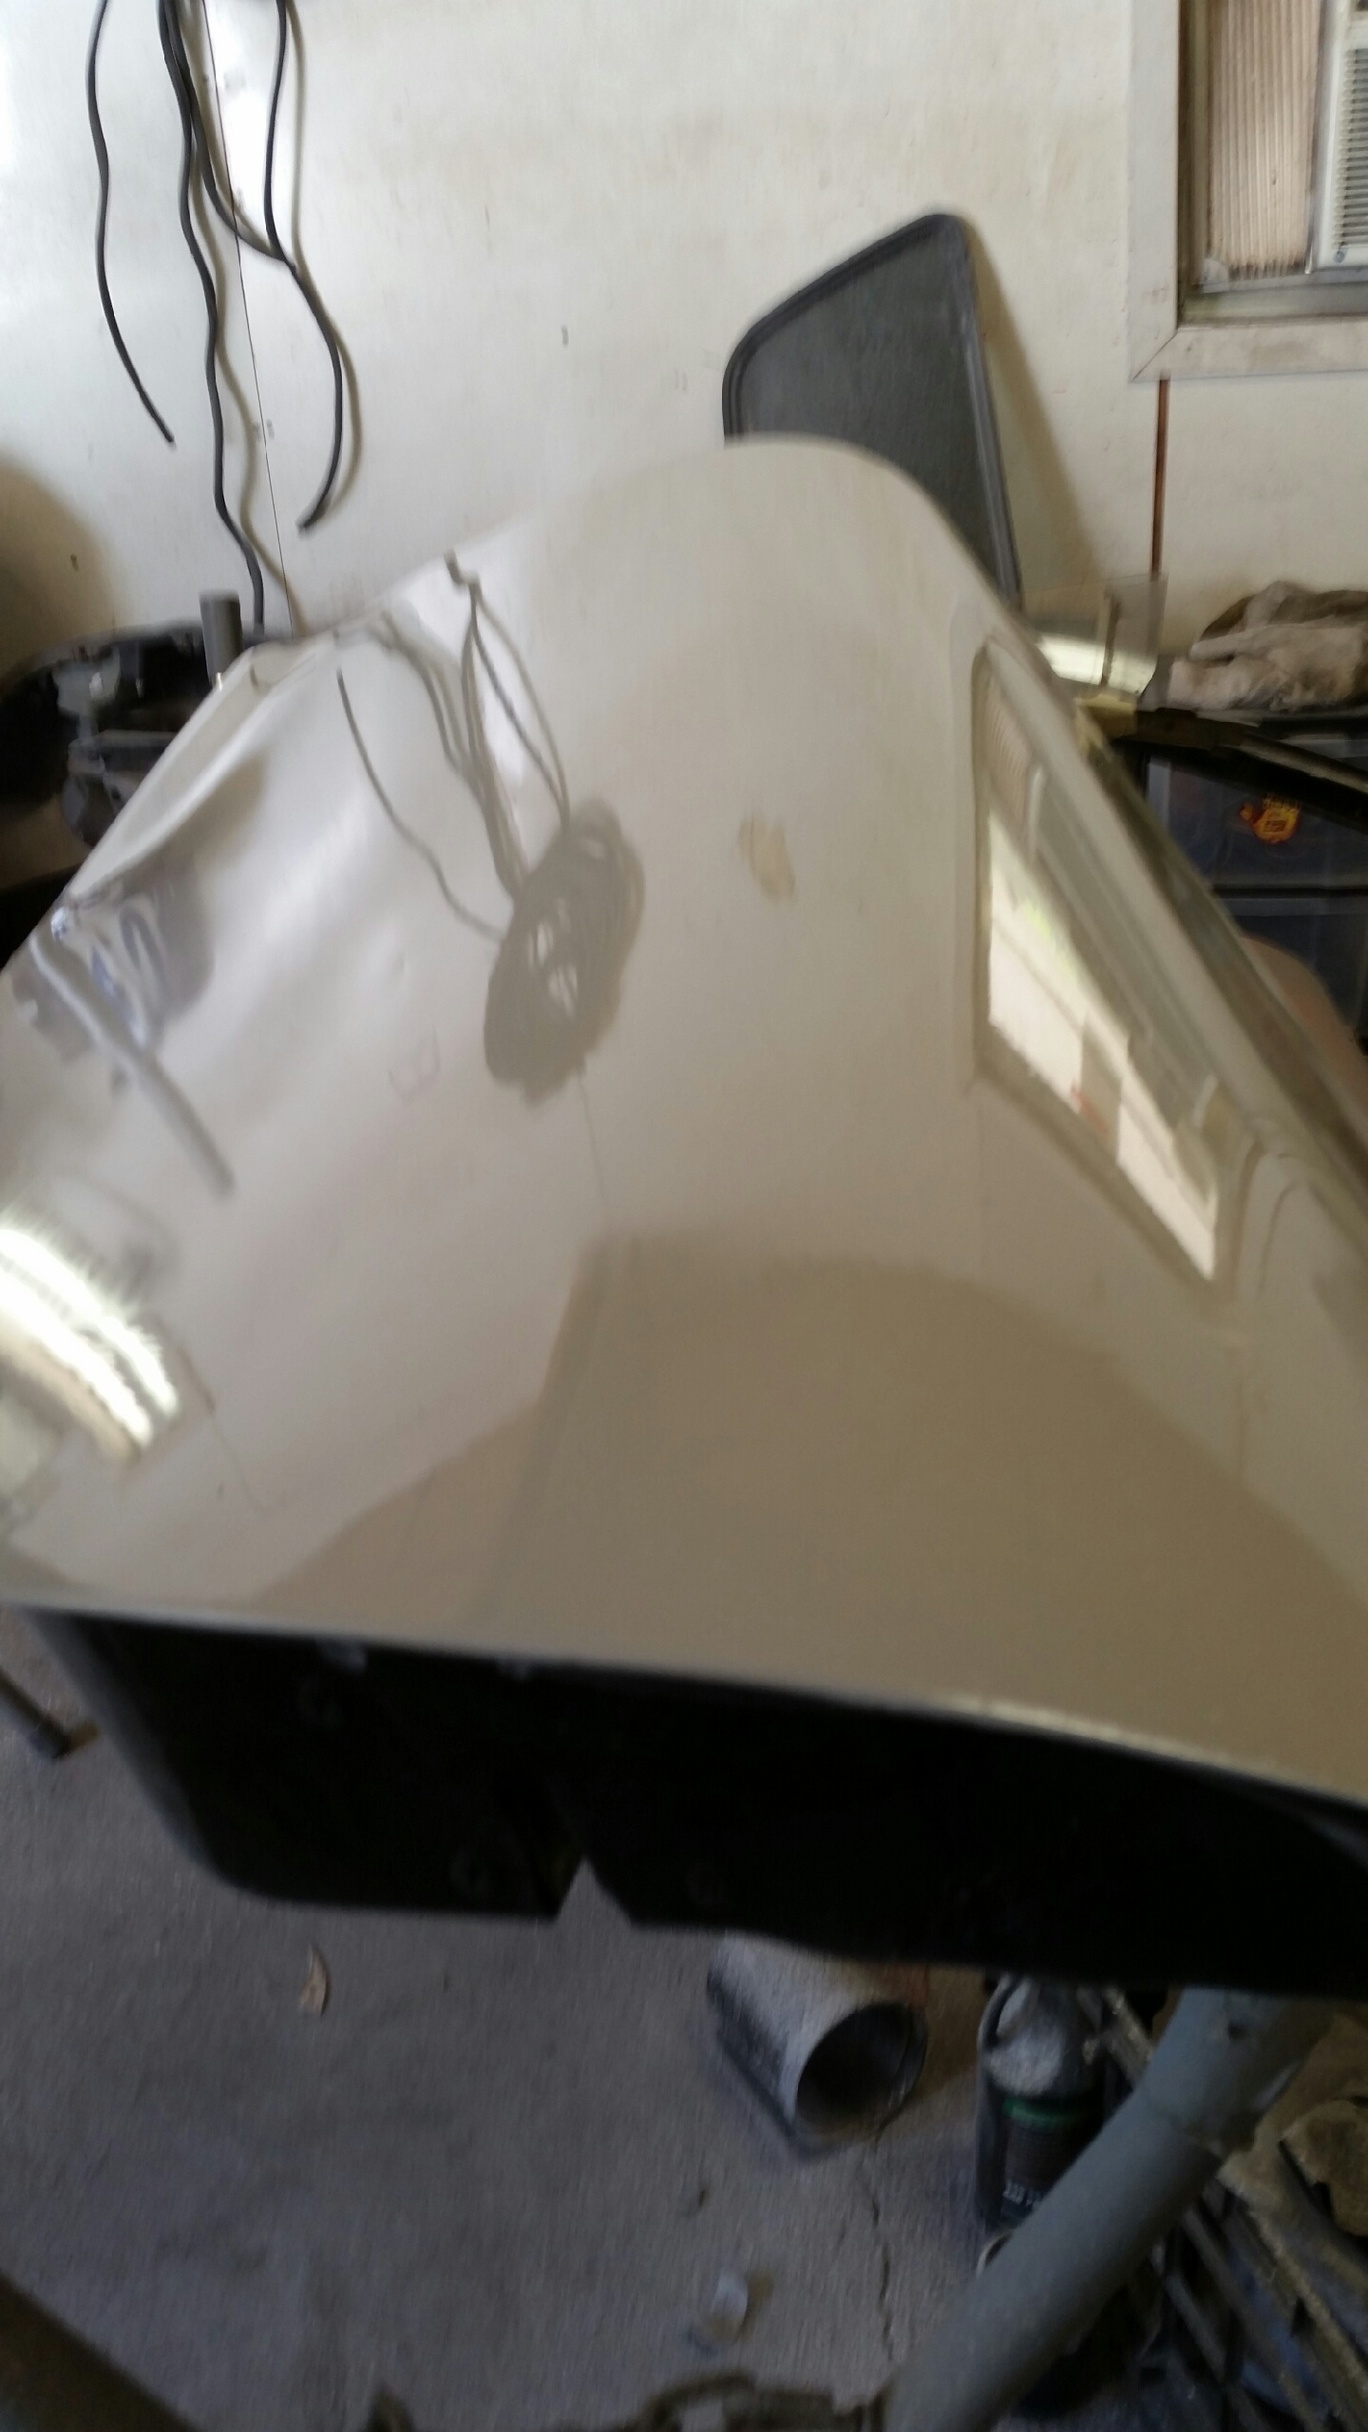
John also sent me the pic above showing how the front of my hood originally had rock chips in it and the chips were simply filled-in instead of being repaired properly.
Since the last post we've decided that we definitely need to pull the rear glass for the work that needs to be done on the hatch. Among the work already scheduled, John talked to me earlier today reccomending that he remove the "glue" the previous body shop used to fill my spoiler holes and weld the holes shut. I had noticed that the filled holes could be seen through the paint at the right angle and it was one of the things I mentioned when dropping off the car. Of course, I'm all about getting this done the right way and I know that filling the holes with metal will allow for seamless fill so I told John to go for it.
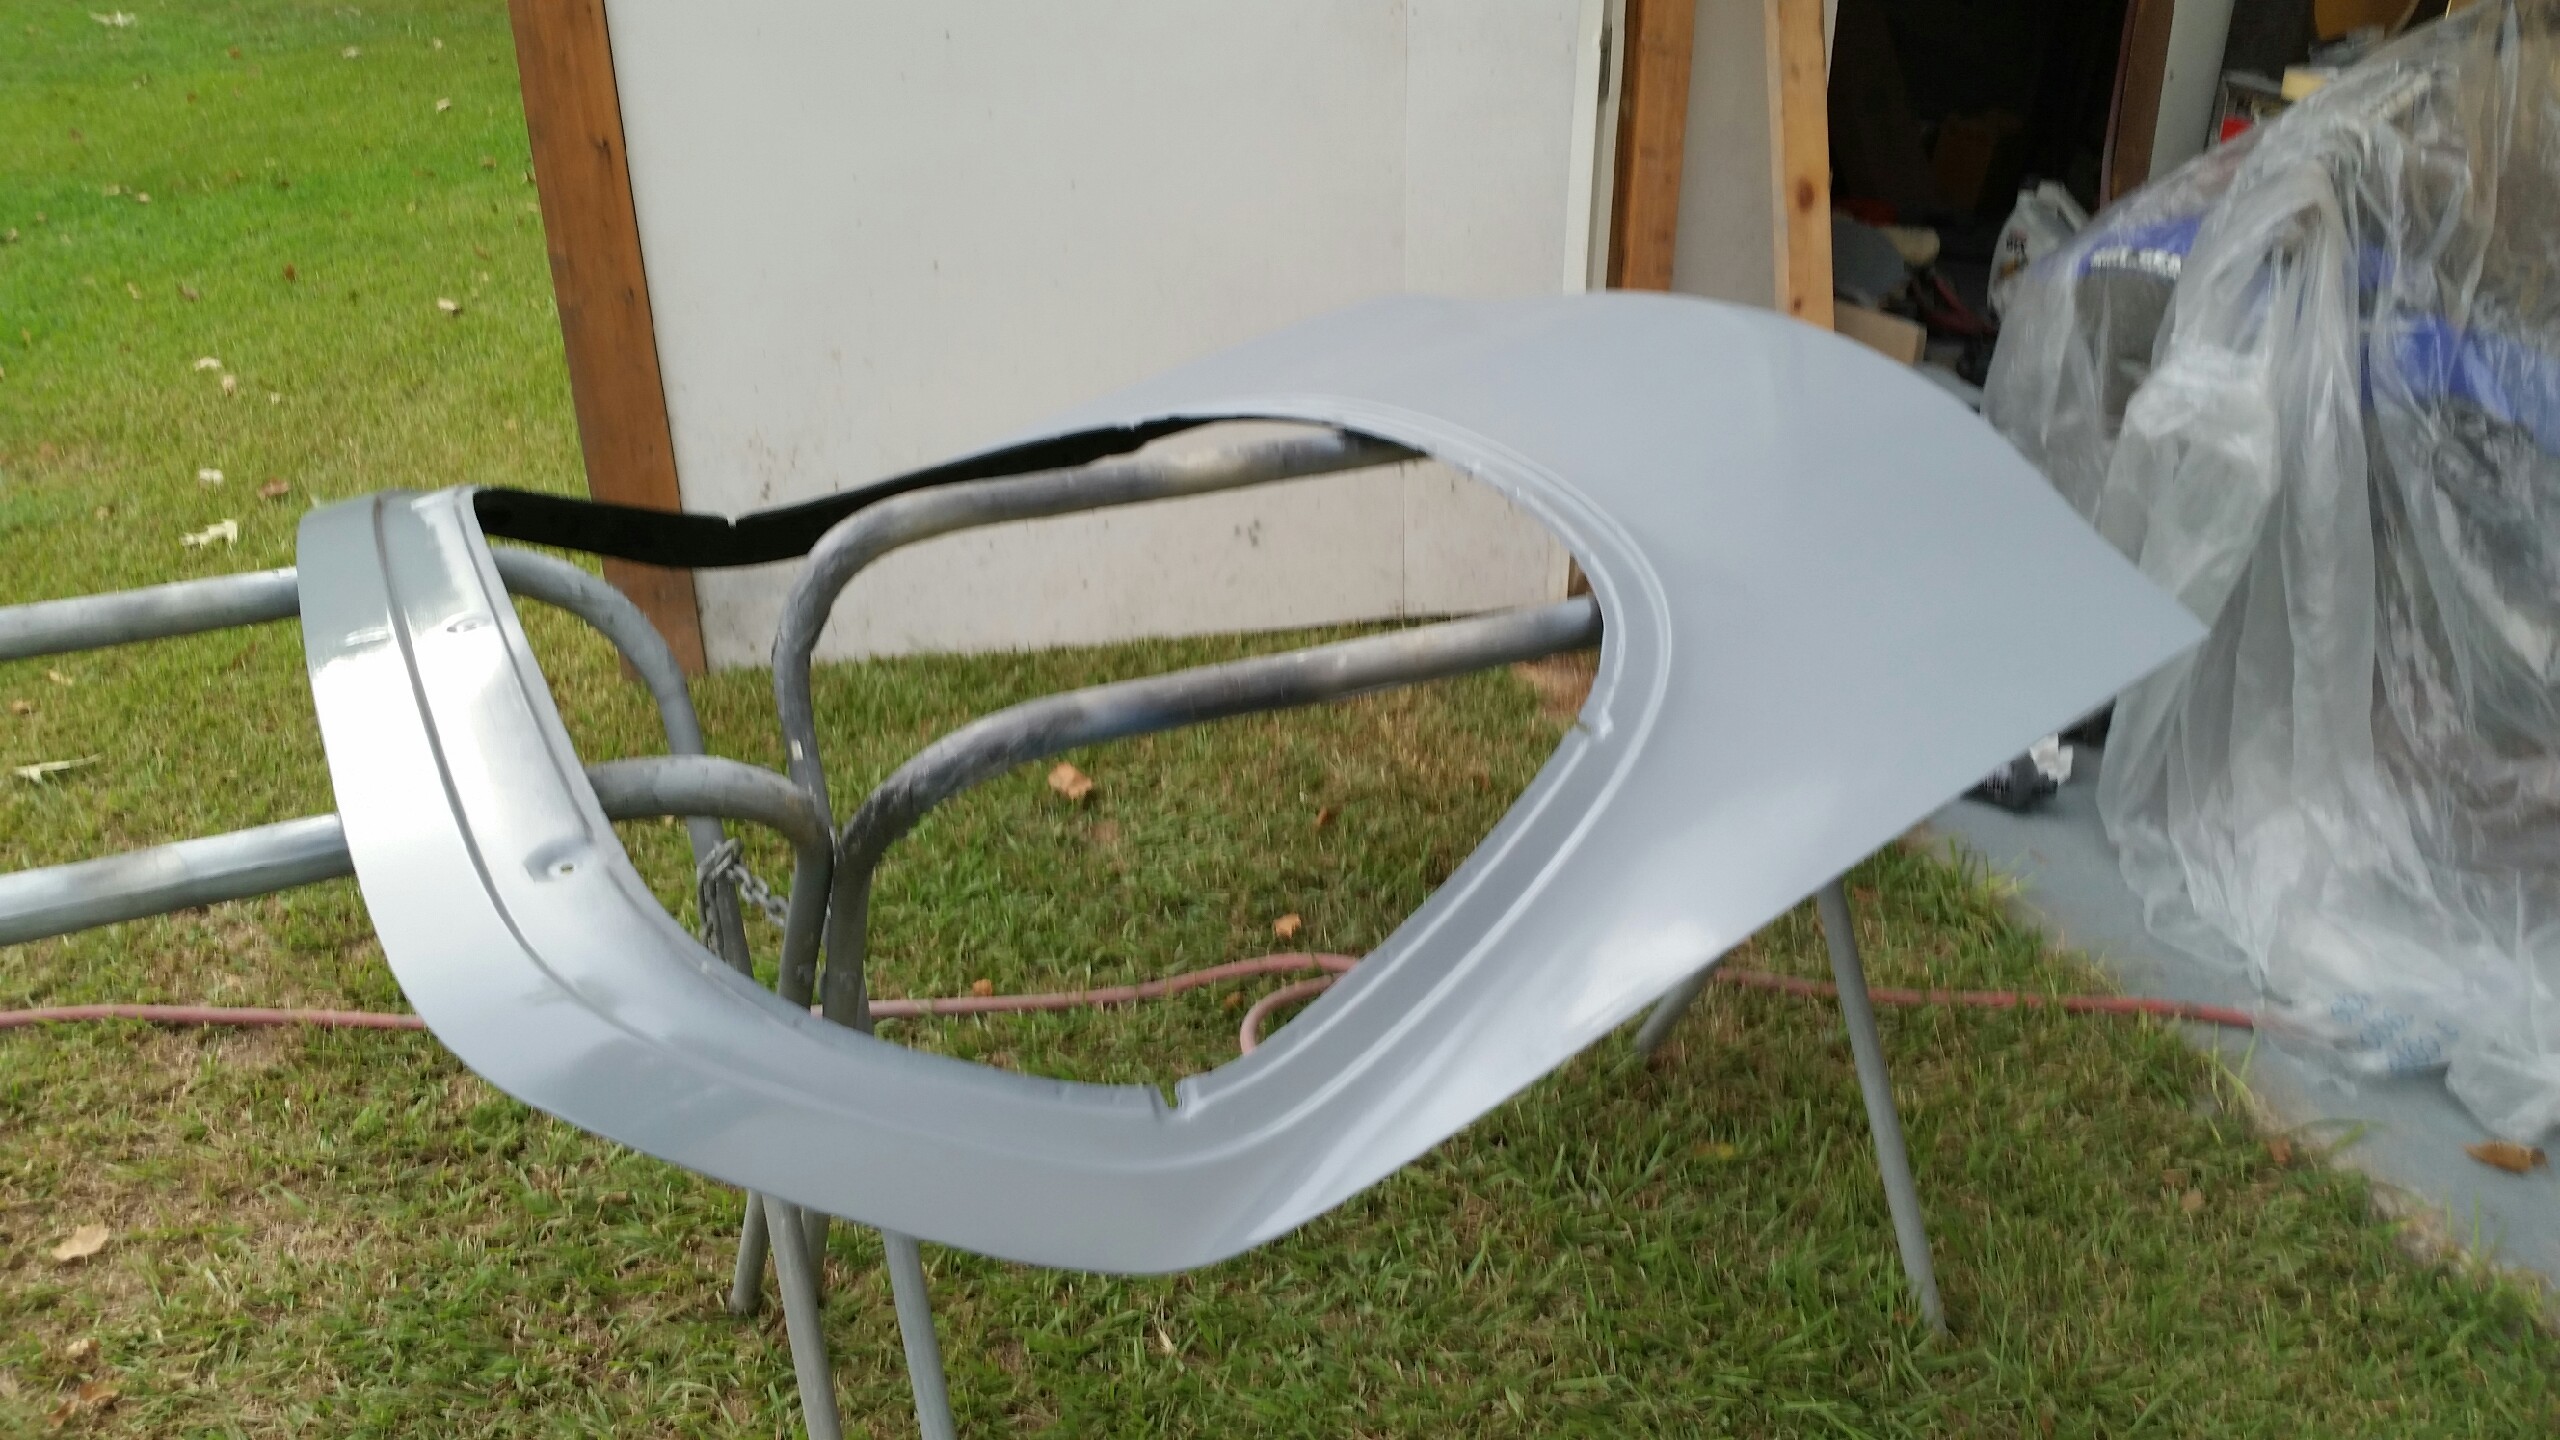
Today John ordered supplies so he can really get to work. By my count he's using 3 different primers. One is an epoxy primer that dries ultra hard and is more difficult to work with but he says its worth it as it doesn't shrink and helps battle sand scratches coming back after the paint cures. He also ordered high build primer as well as primer with a flex agent added for painting the bumpers. He also got a ton of sandpaper and a lot of masking supplies.
A side project I'm working on is replacing my door jamb vehicle information sticker / VIN sticker. It's a sticky subject, but I'm trying to get it done because after being masked for 4 coats of paint and receiving a nice gash along the VIN barcode the original sticker is looking rough. Unfortunately Mazda doesn't offer that sticker anymore (Yes, I called Ray), so I got in touch with ECS Automotive Concepts - Late Model Replacement VIN Door Decals which claims to reproduce legal factory identical vin stickers. They're steep (really steep), but the devil is in the details so I'm putting an order in today. We'll see how it turns out.
Still crazy excited about this. It's like Christmas every time John sends me an update on his work.
John said the fender's weren't that bad. They only had 2 coats of paint on them.
Unfortunately, we ran into a little snag Tuesday night. John found that when the last shop reinstalled my rear window they ignored some rust around the window support / seal area and simply caulked over it with eurothane. The plan is to cut out the window again and repair the rust before reinstalling the window.
All-in-all I feel like my car is finally in a true professional's hands and couldn't be happier with the quick progress that has been made over 2 days!
-------------------
July 17, 2014, 01:22:06 PM �
Got some good news from John. His paint prep supplier let him know that his sandpaper is around 70% off so I'm paying ~$15 for packs of sandpaper that would normally cost $40/$50!
John also sent me the pic above showing how the front of my hood originally had rock chips in it and the chips were simply filled-in instead of being repaired properly.
Since the last post we've decided that we definitely need to pull the rear glass for the work that needs to be done on the hatch. Among the work already scheduled, John talked to me earlier today reccomending that he remove the "glue" the previous body shop used to fill my spoiler holes and weld the holes shut. I had noticed that the filled holes could be seen through the paint at the right angle and it was one of the things I mentioned when dropping off the car. Of course, I'm all about getting this done the right way and I know that filling the holes with metal will allow for seamless fill so I told John to go for it.
Today John ordered supplies so he can really get to work. By my count he's using 3 different primers. One is an epoxy primer that dries ultra hard and is more difficult to work with but he says its worth it as it doesn't shrink and helps battle sand scratches coming back after the paint cures. He also ordered high build primer as well as primer with a flex agent added for painting the bumpers. He also got a ton of sandpaper and a lot of masking supplies.
A side project I'm working on is replacing my door jamb vehicle information sticker / VIN sticker. It's a sticky subject, but I'm trying to get it done because after being masked for 4 coats of paint and receiving a nice gash along the VIN barcode the original sticker is looking rough. Unfortunately Mazda doesn't offer that sticker anymore (Yes, I called Ray), so I got in touch with ECS Automotive Concepts - Late Model Replacement VIN Door Decals which claims to reproduce legal factory identical vin stickers. They're steep (really steep), but the devil is in the details so I'm putting an order in today. We'll see how it turns out.
Still crazy excited about this. It's like Christmas every time John sends me an update on his work.
09-23-14, 04:54 PM
#3
July 18, 2014, 08:20:45 AM
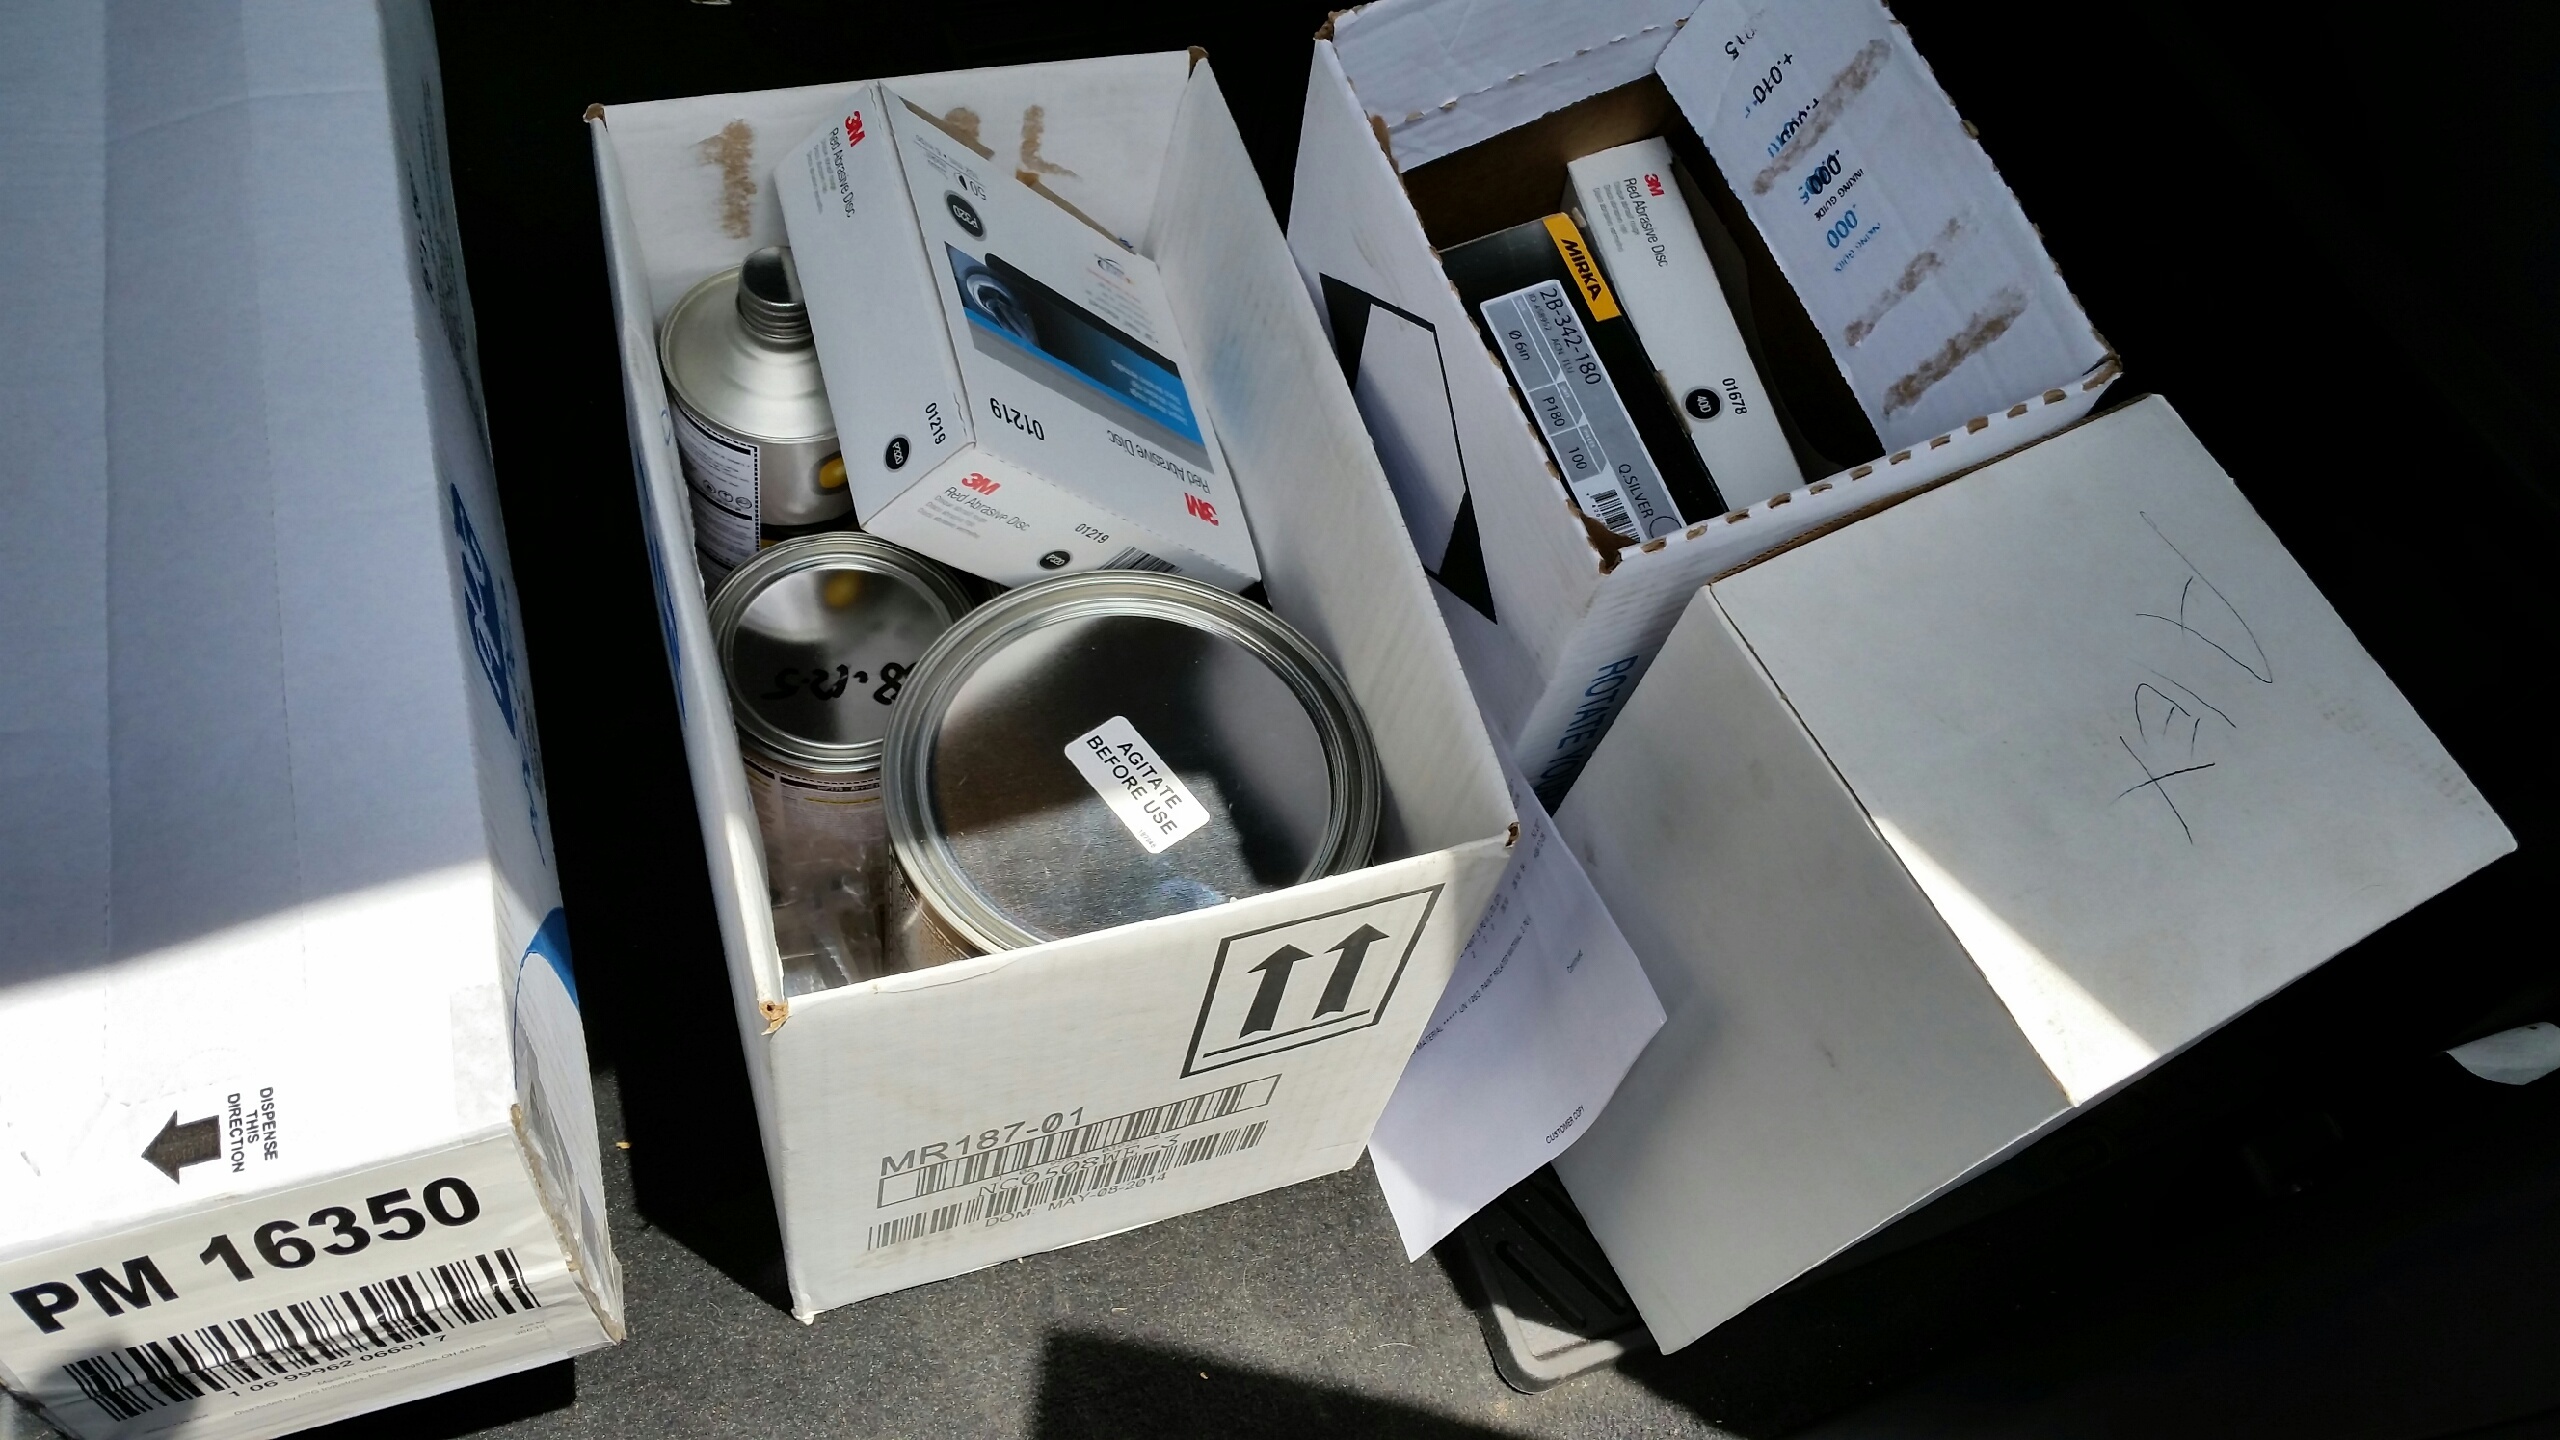
Supplies from yesterday
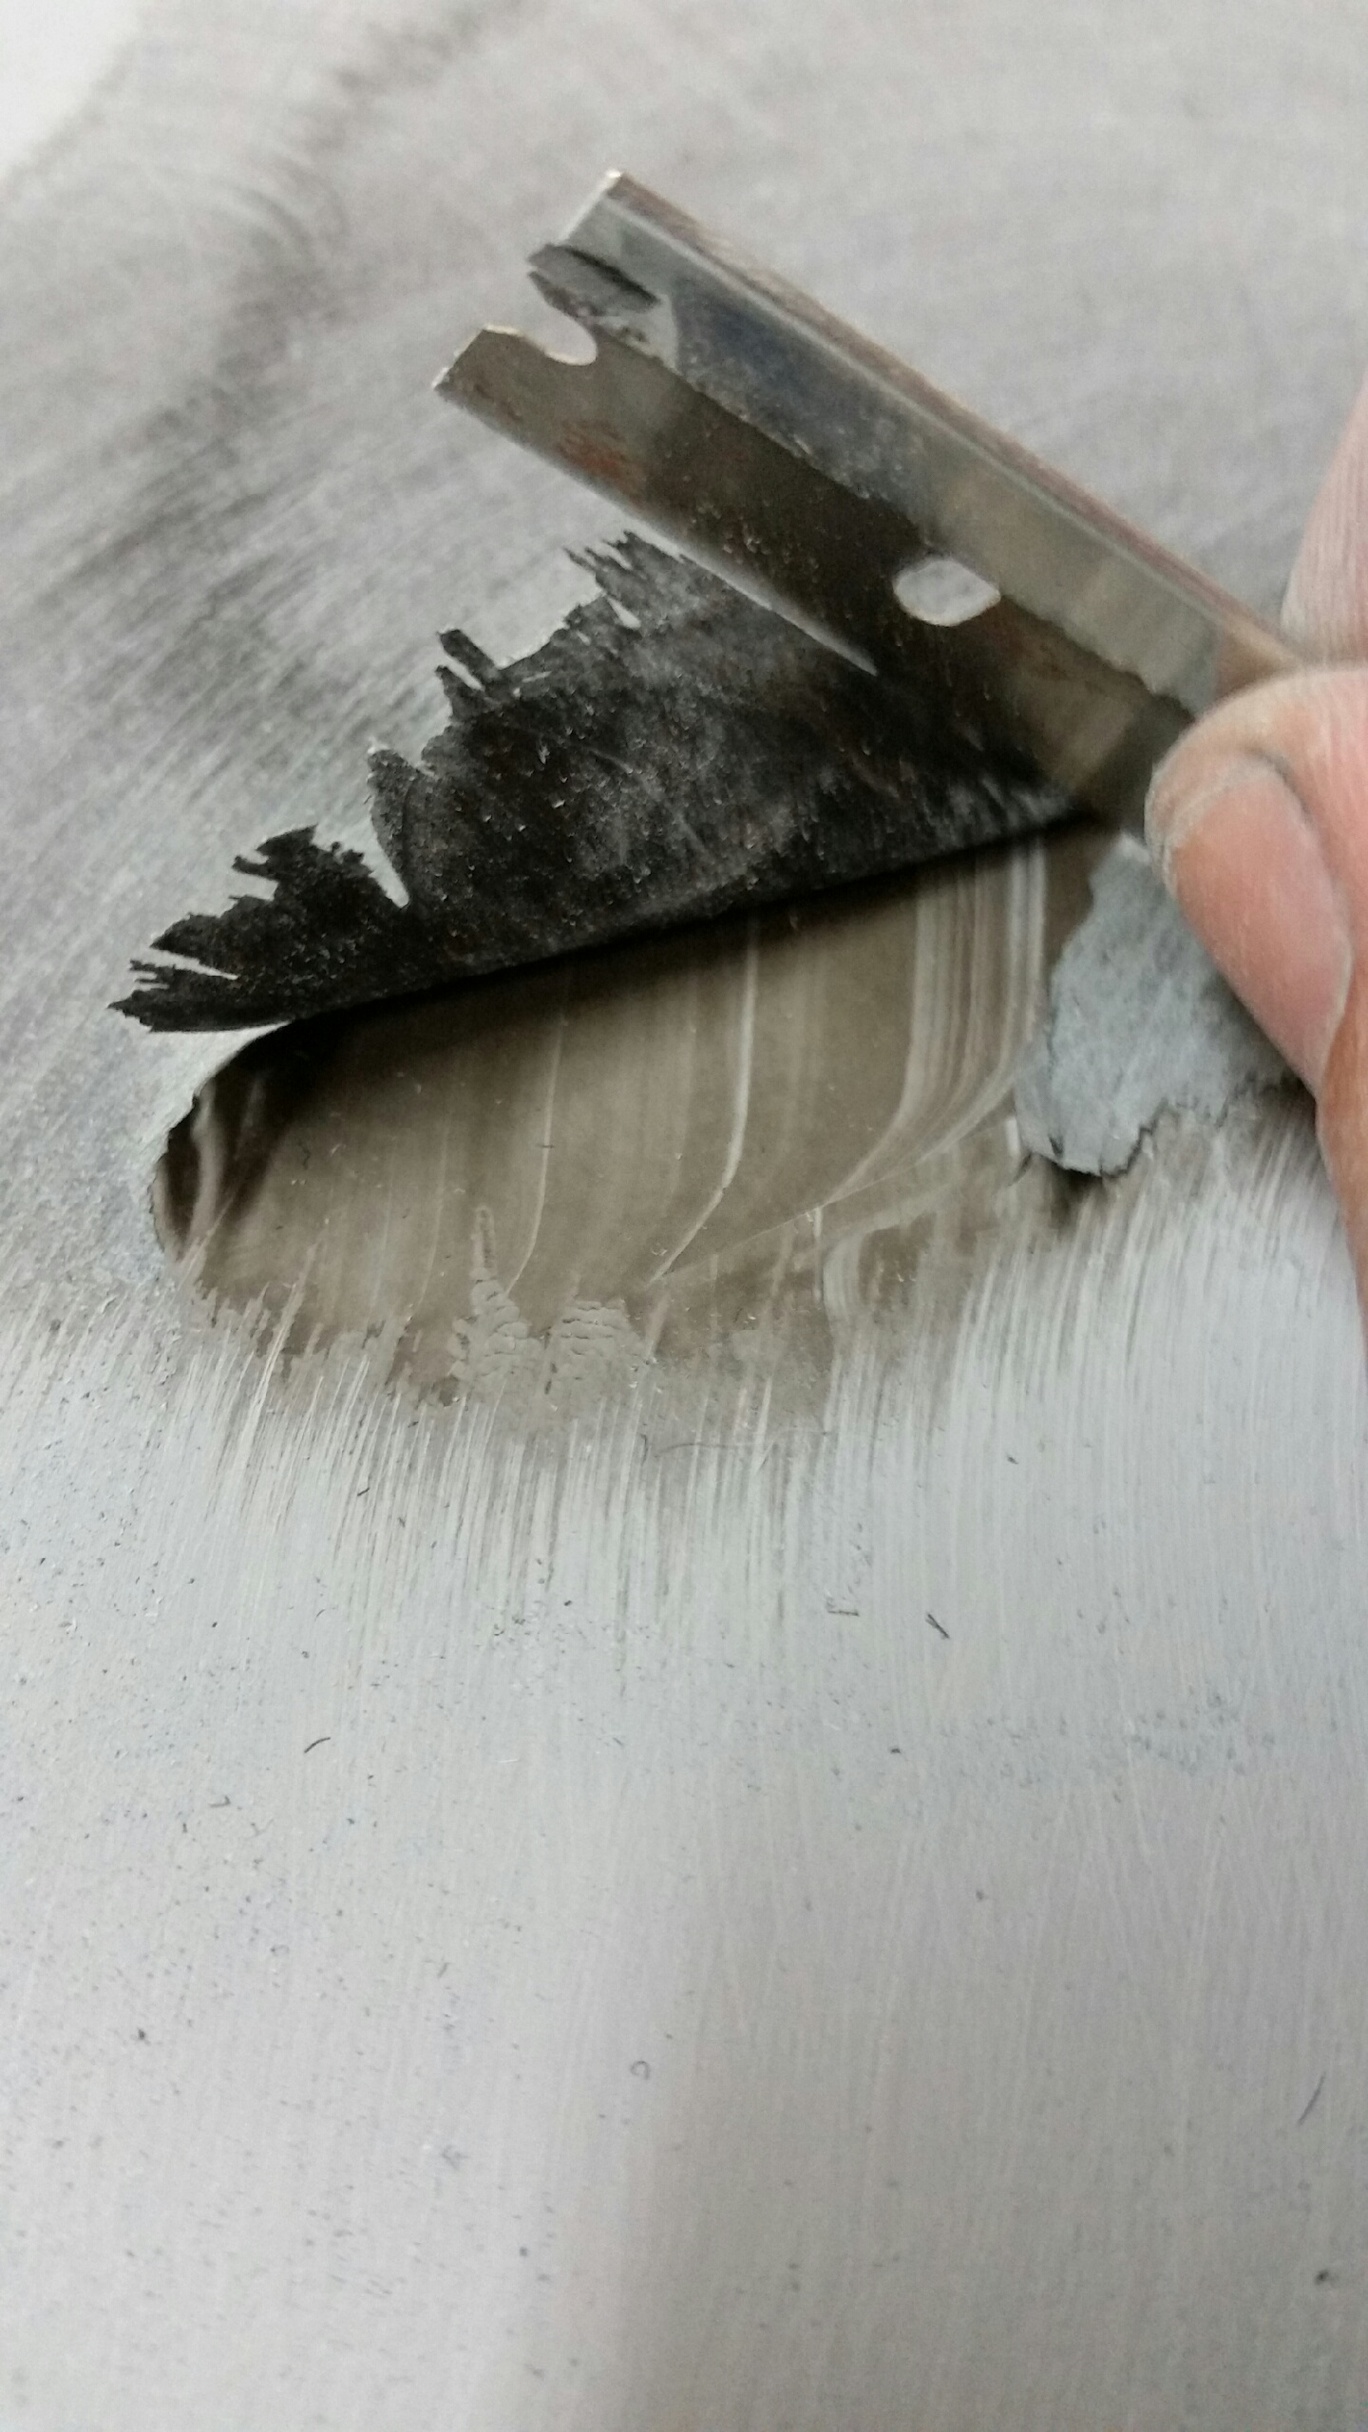
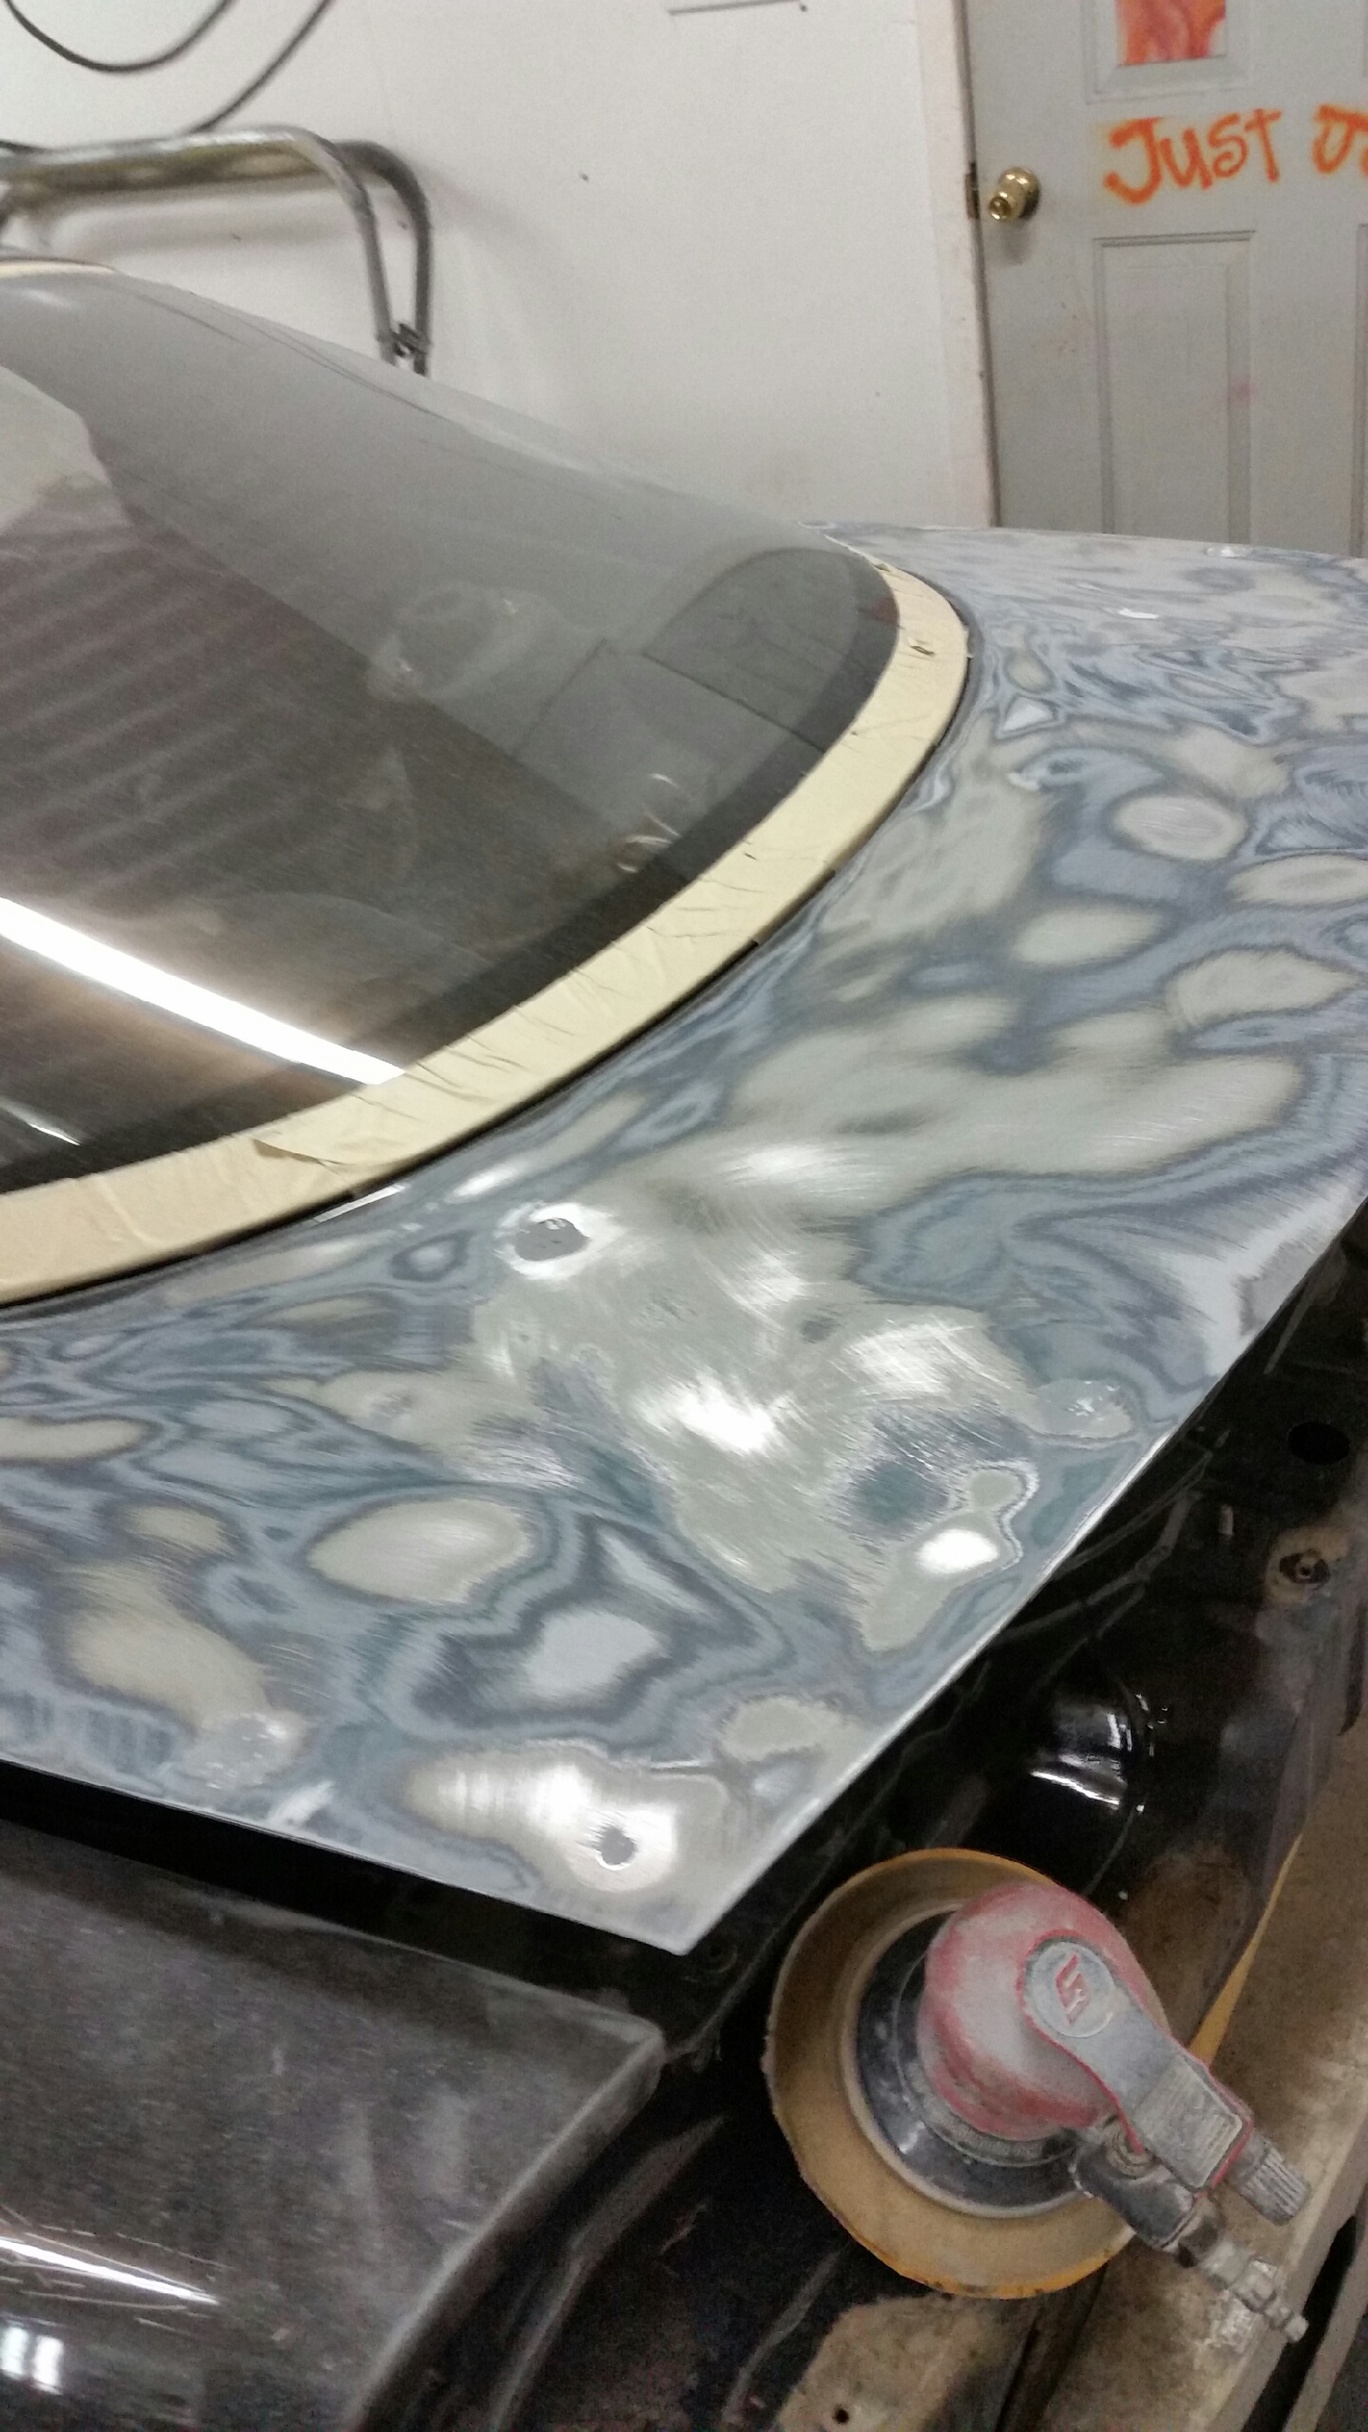
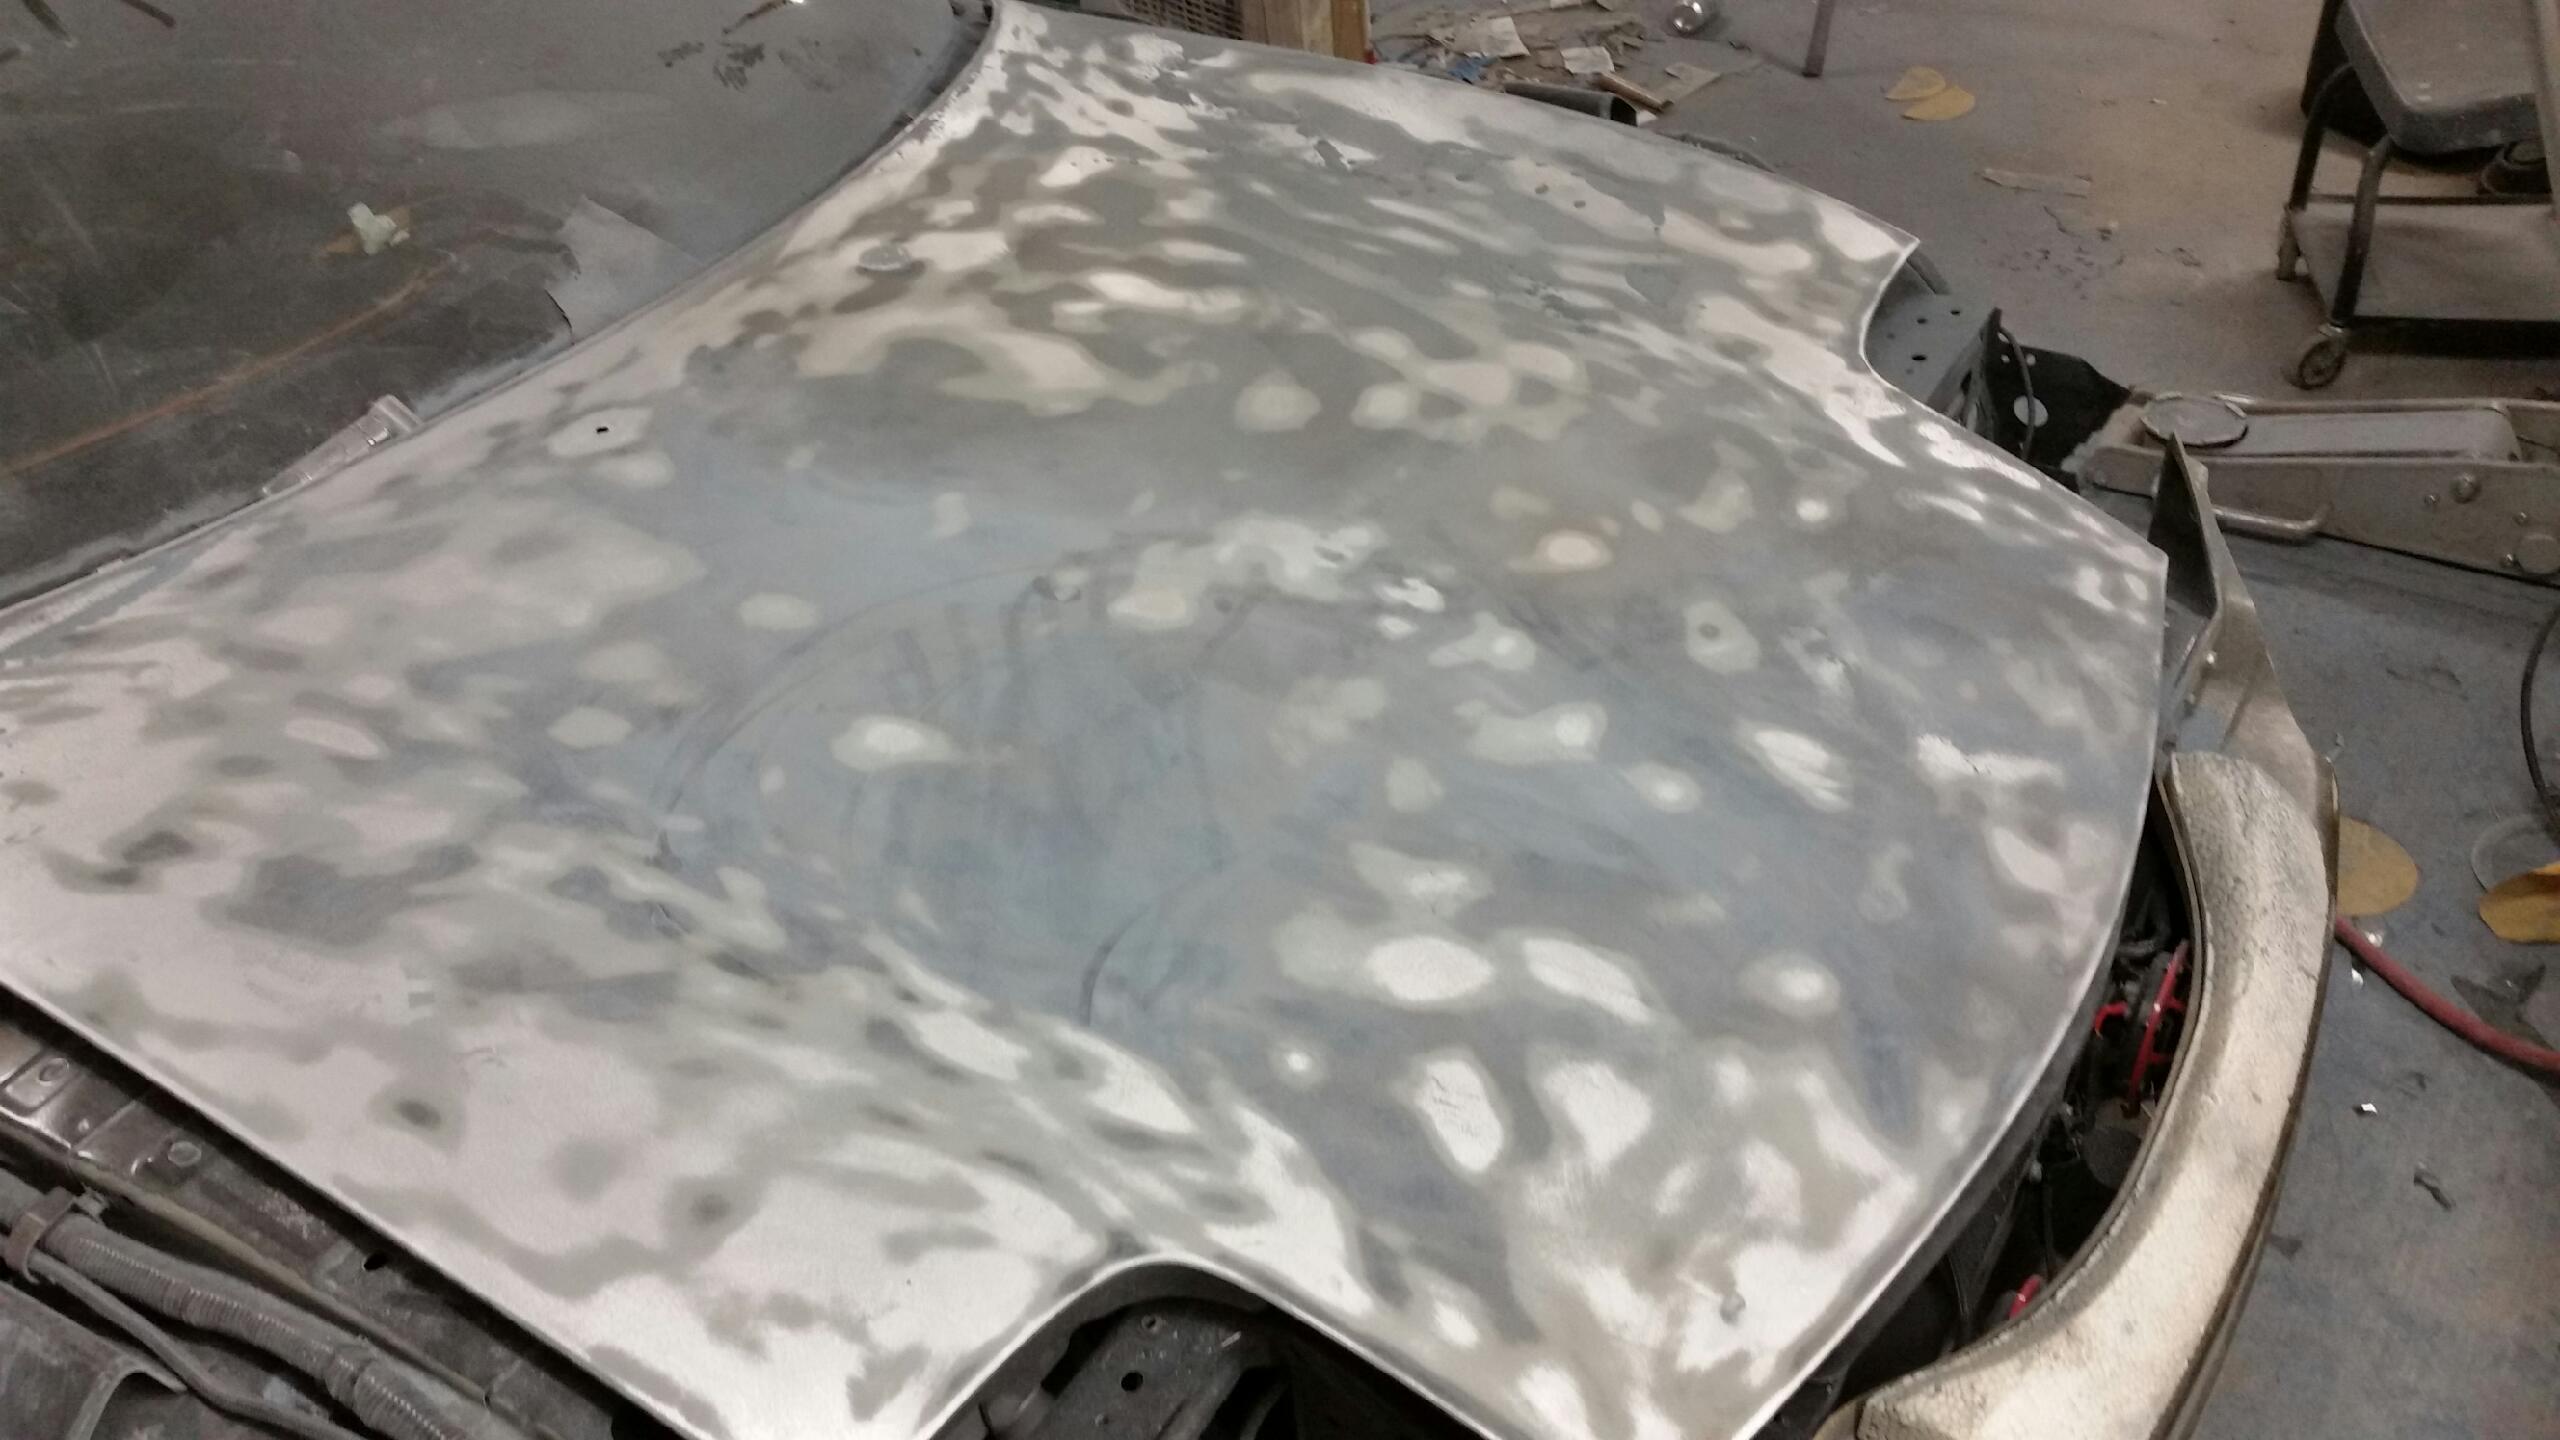
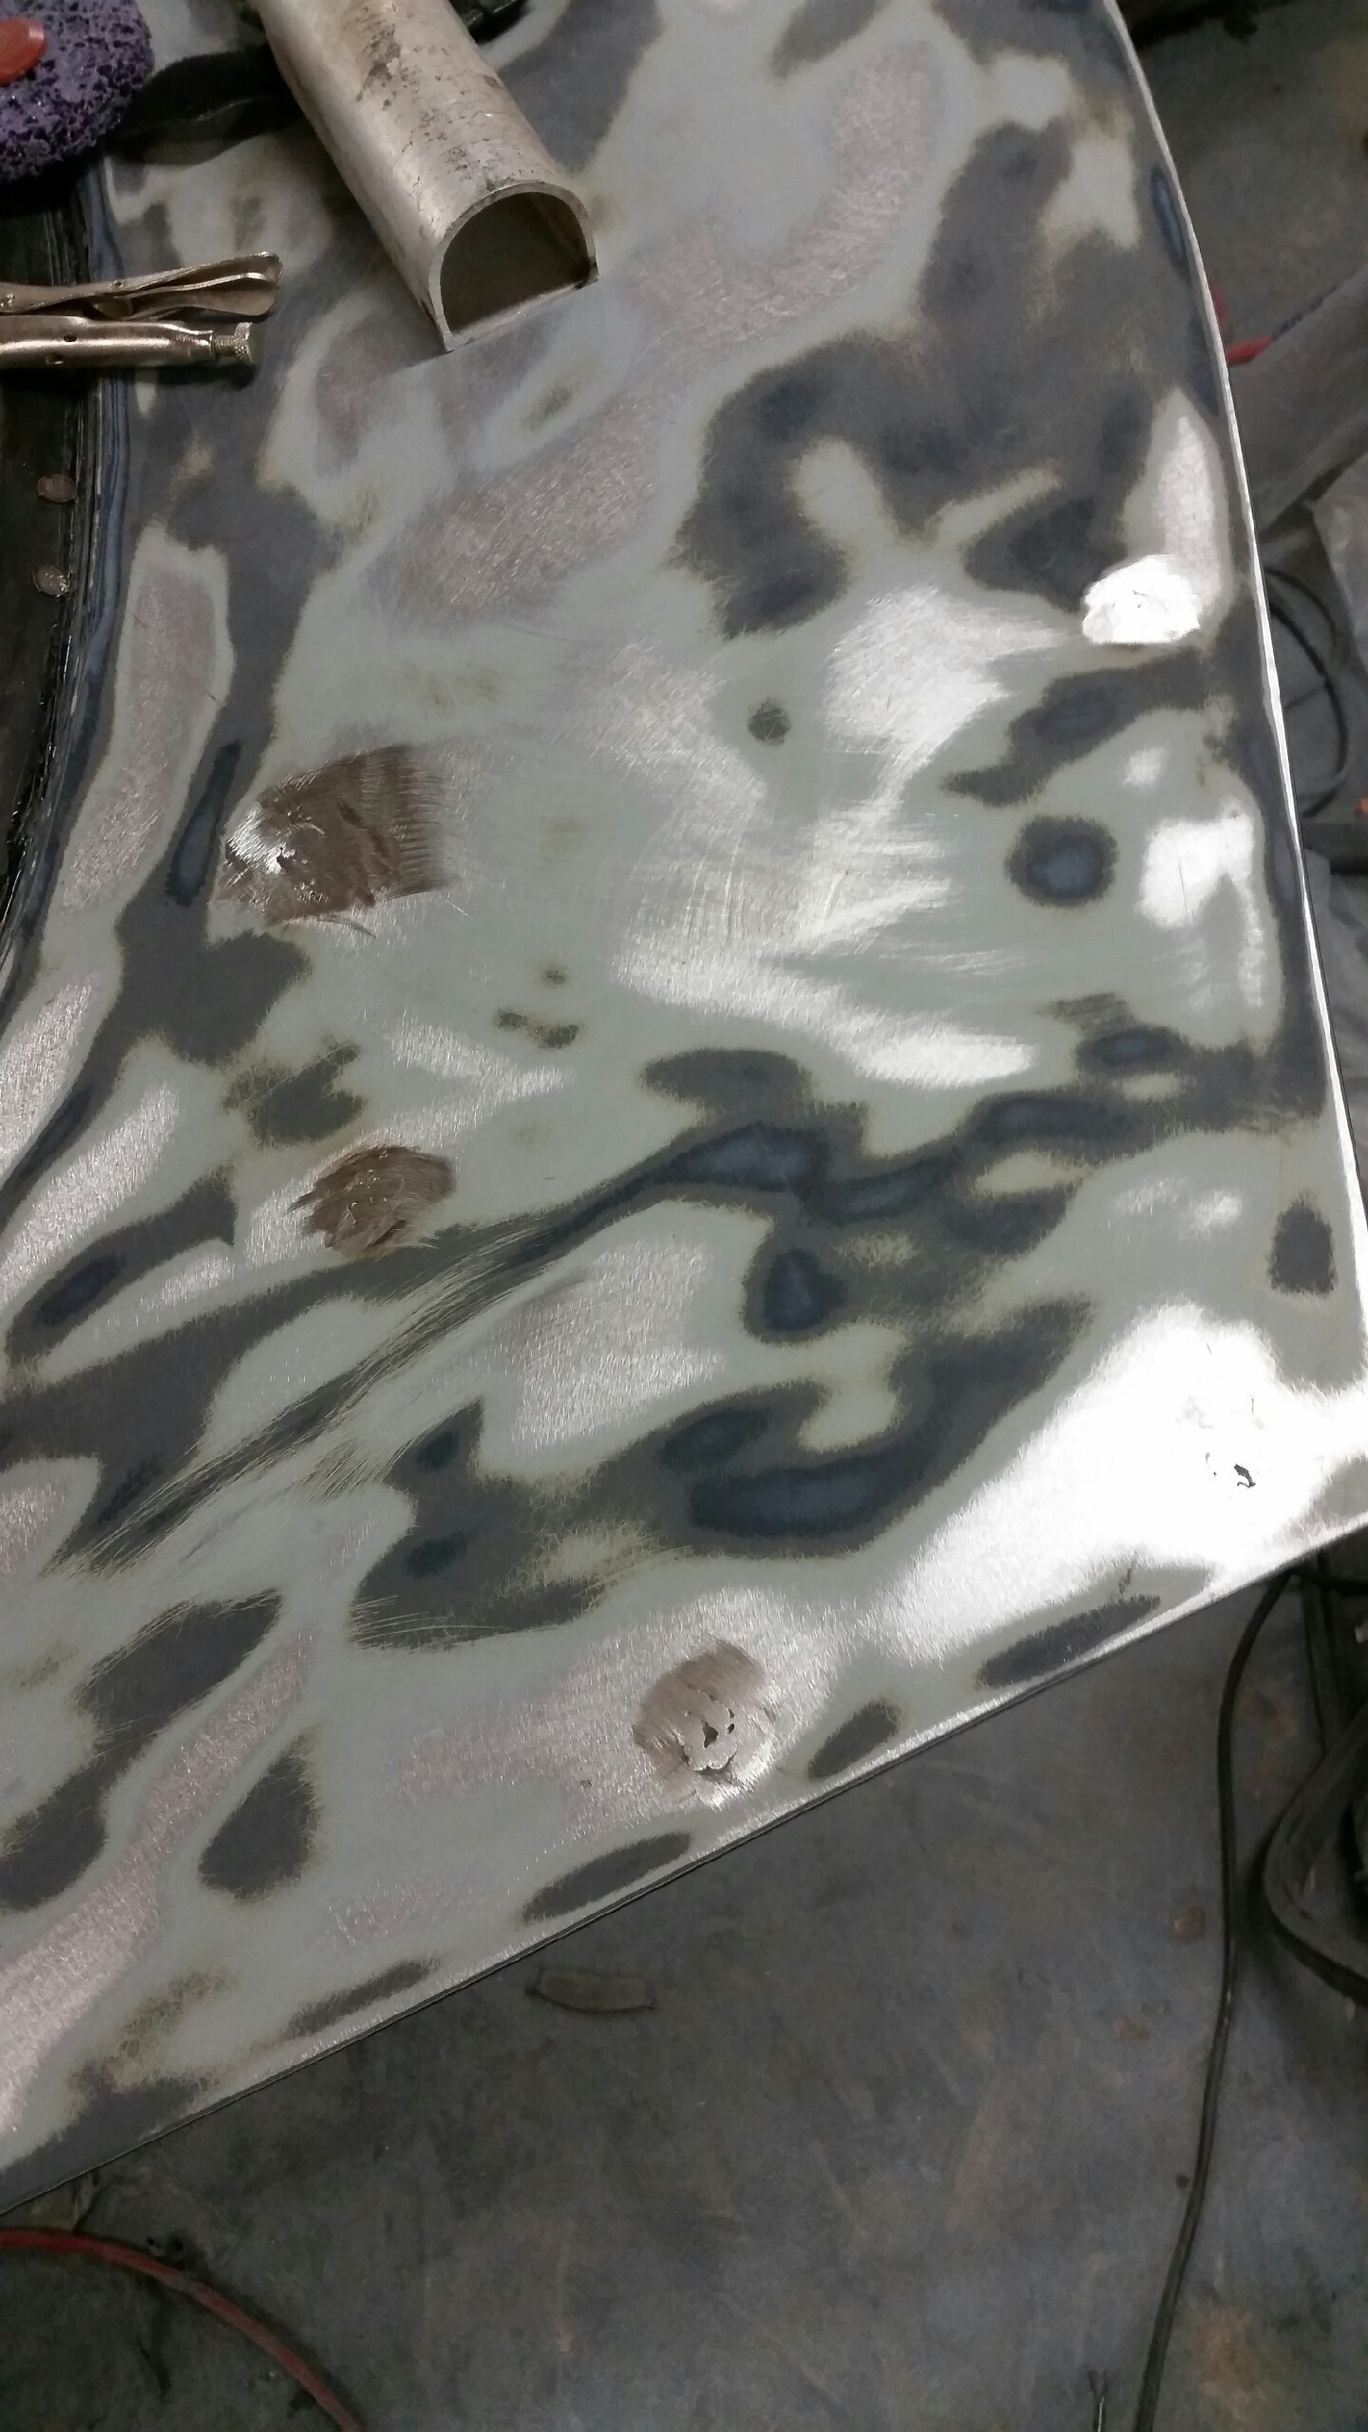
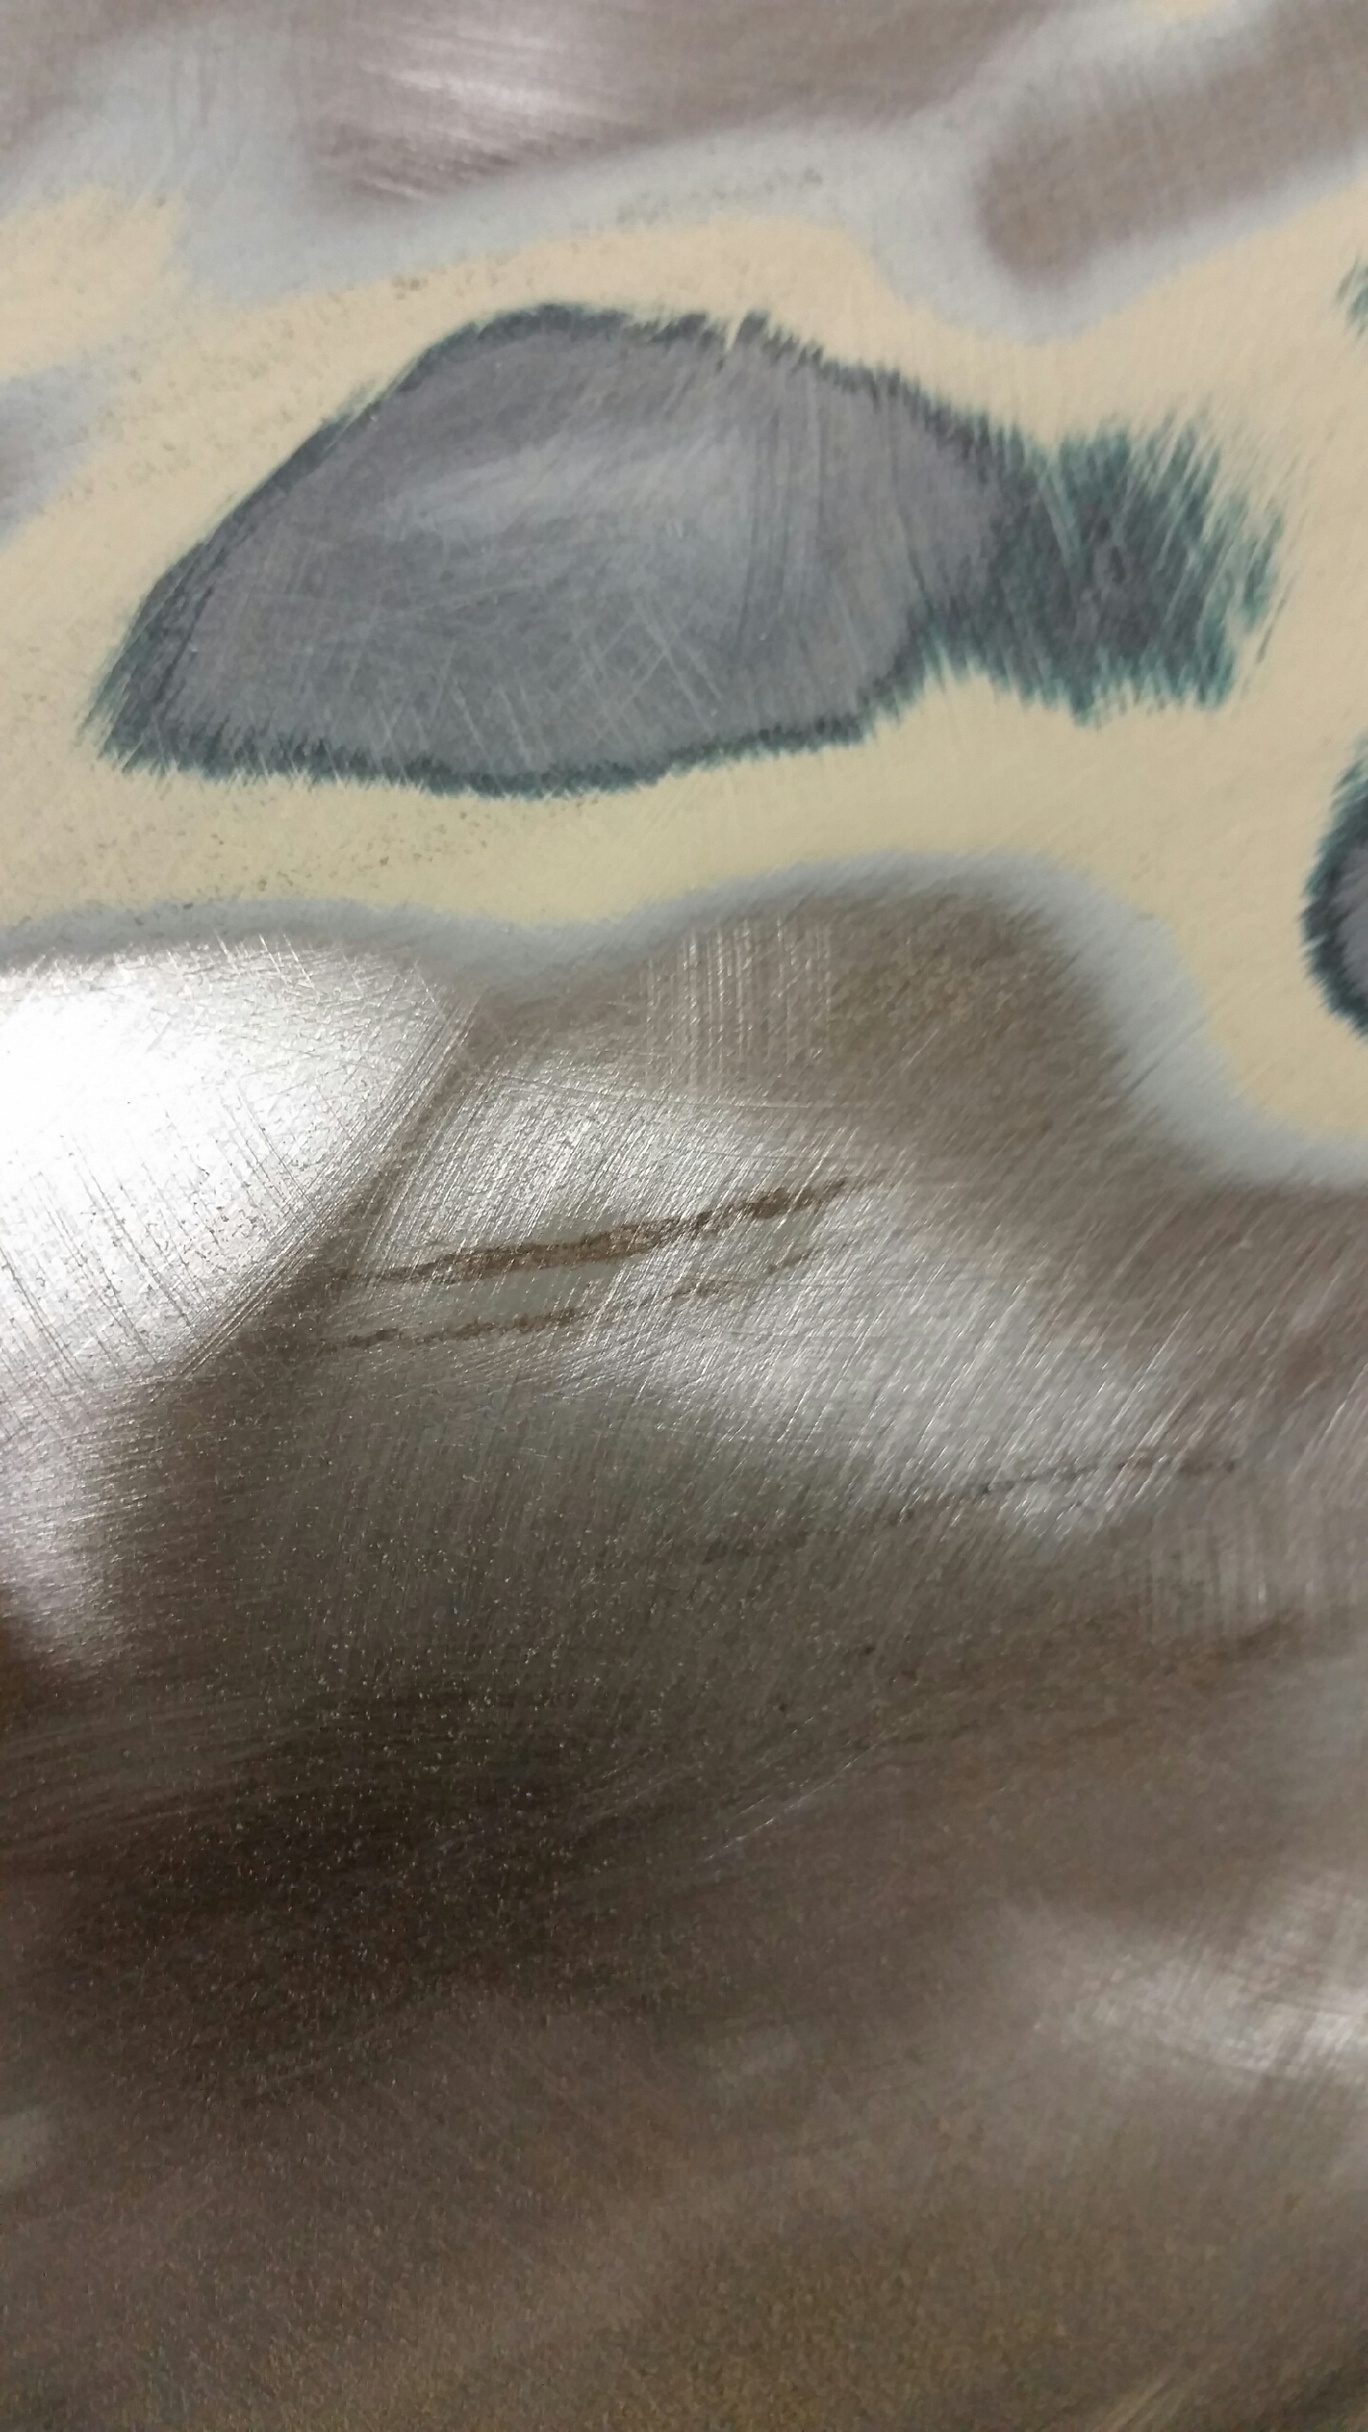
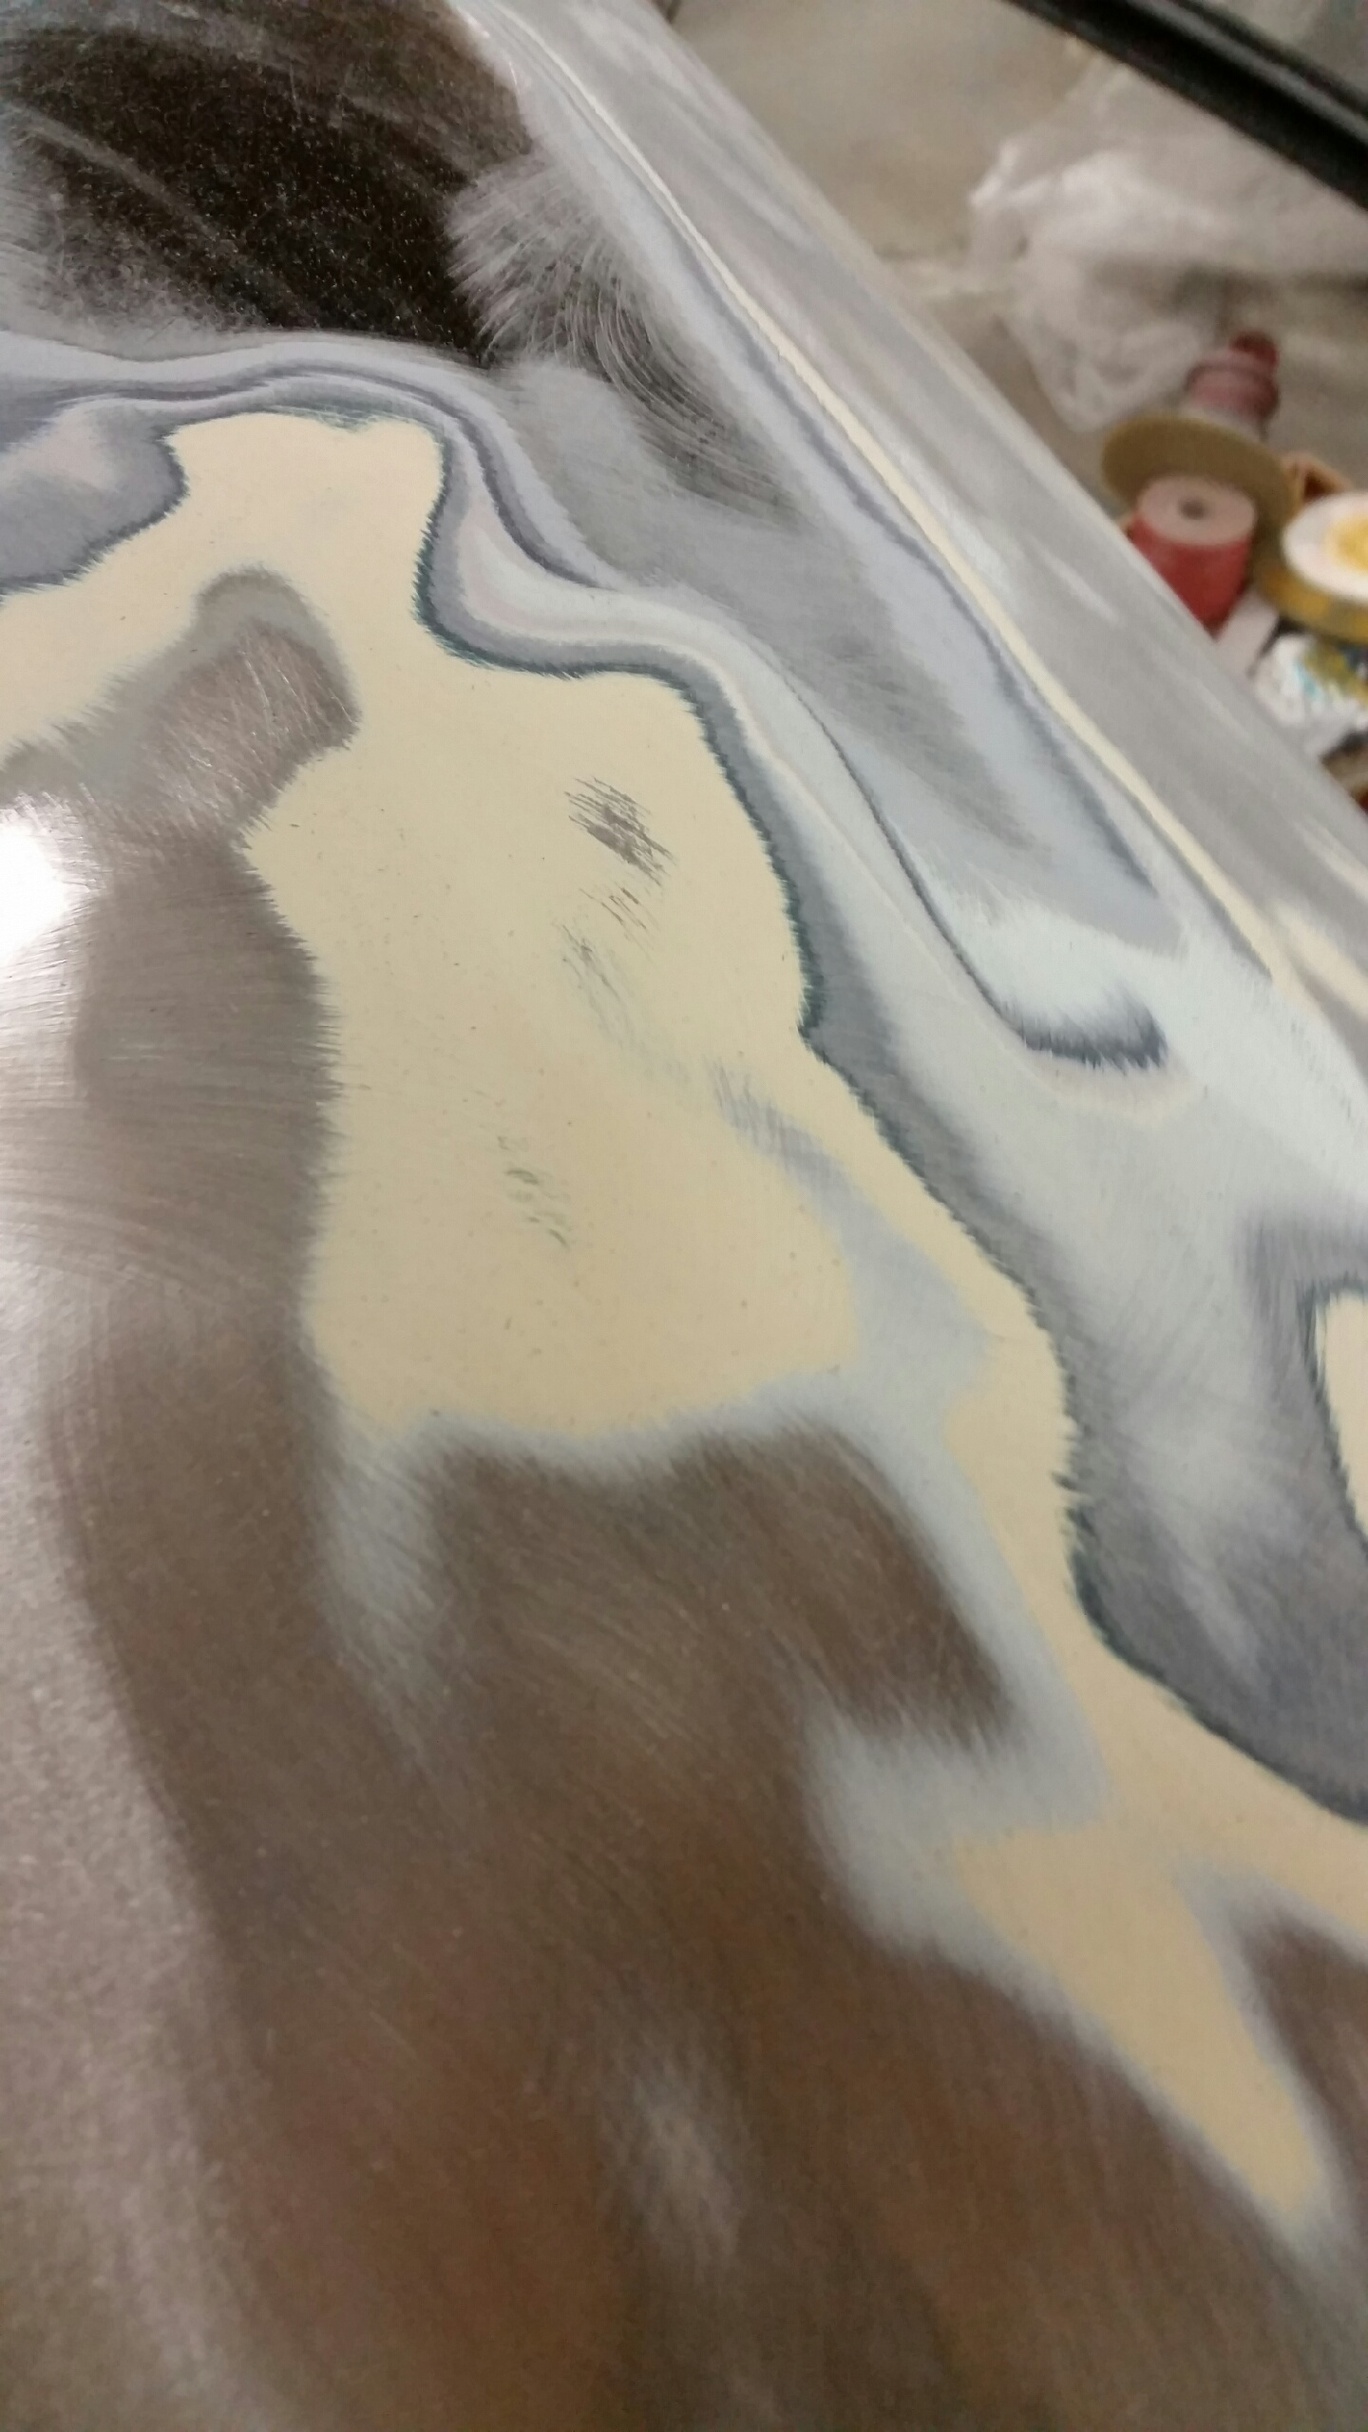
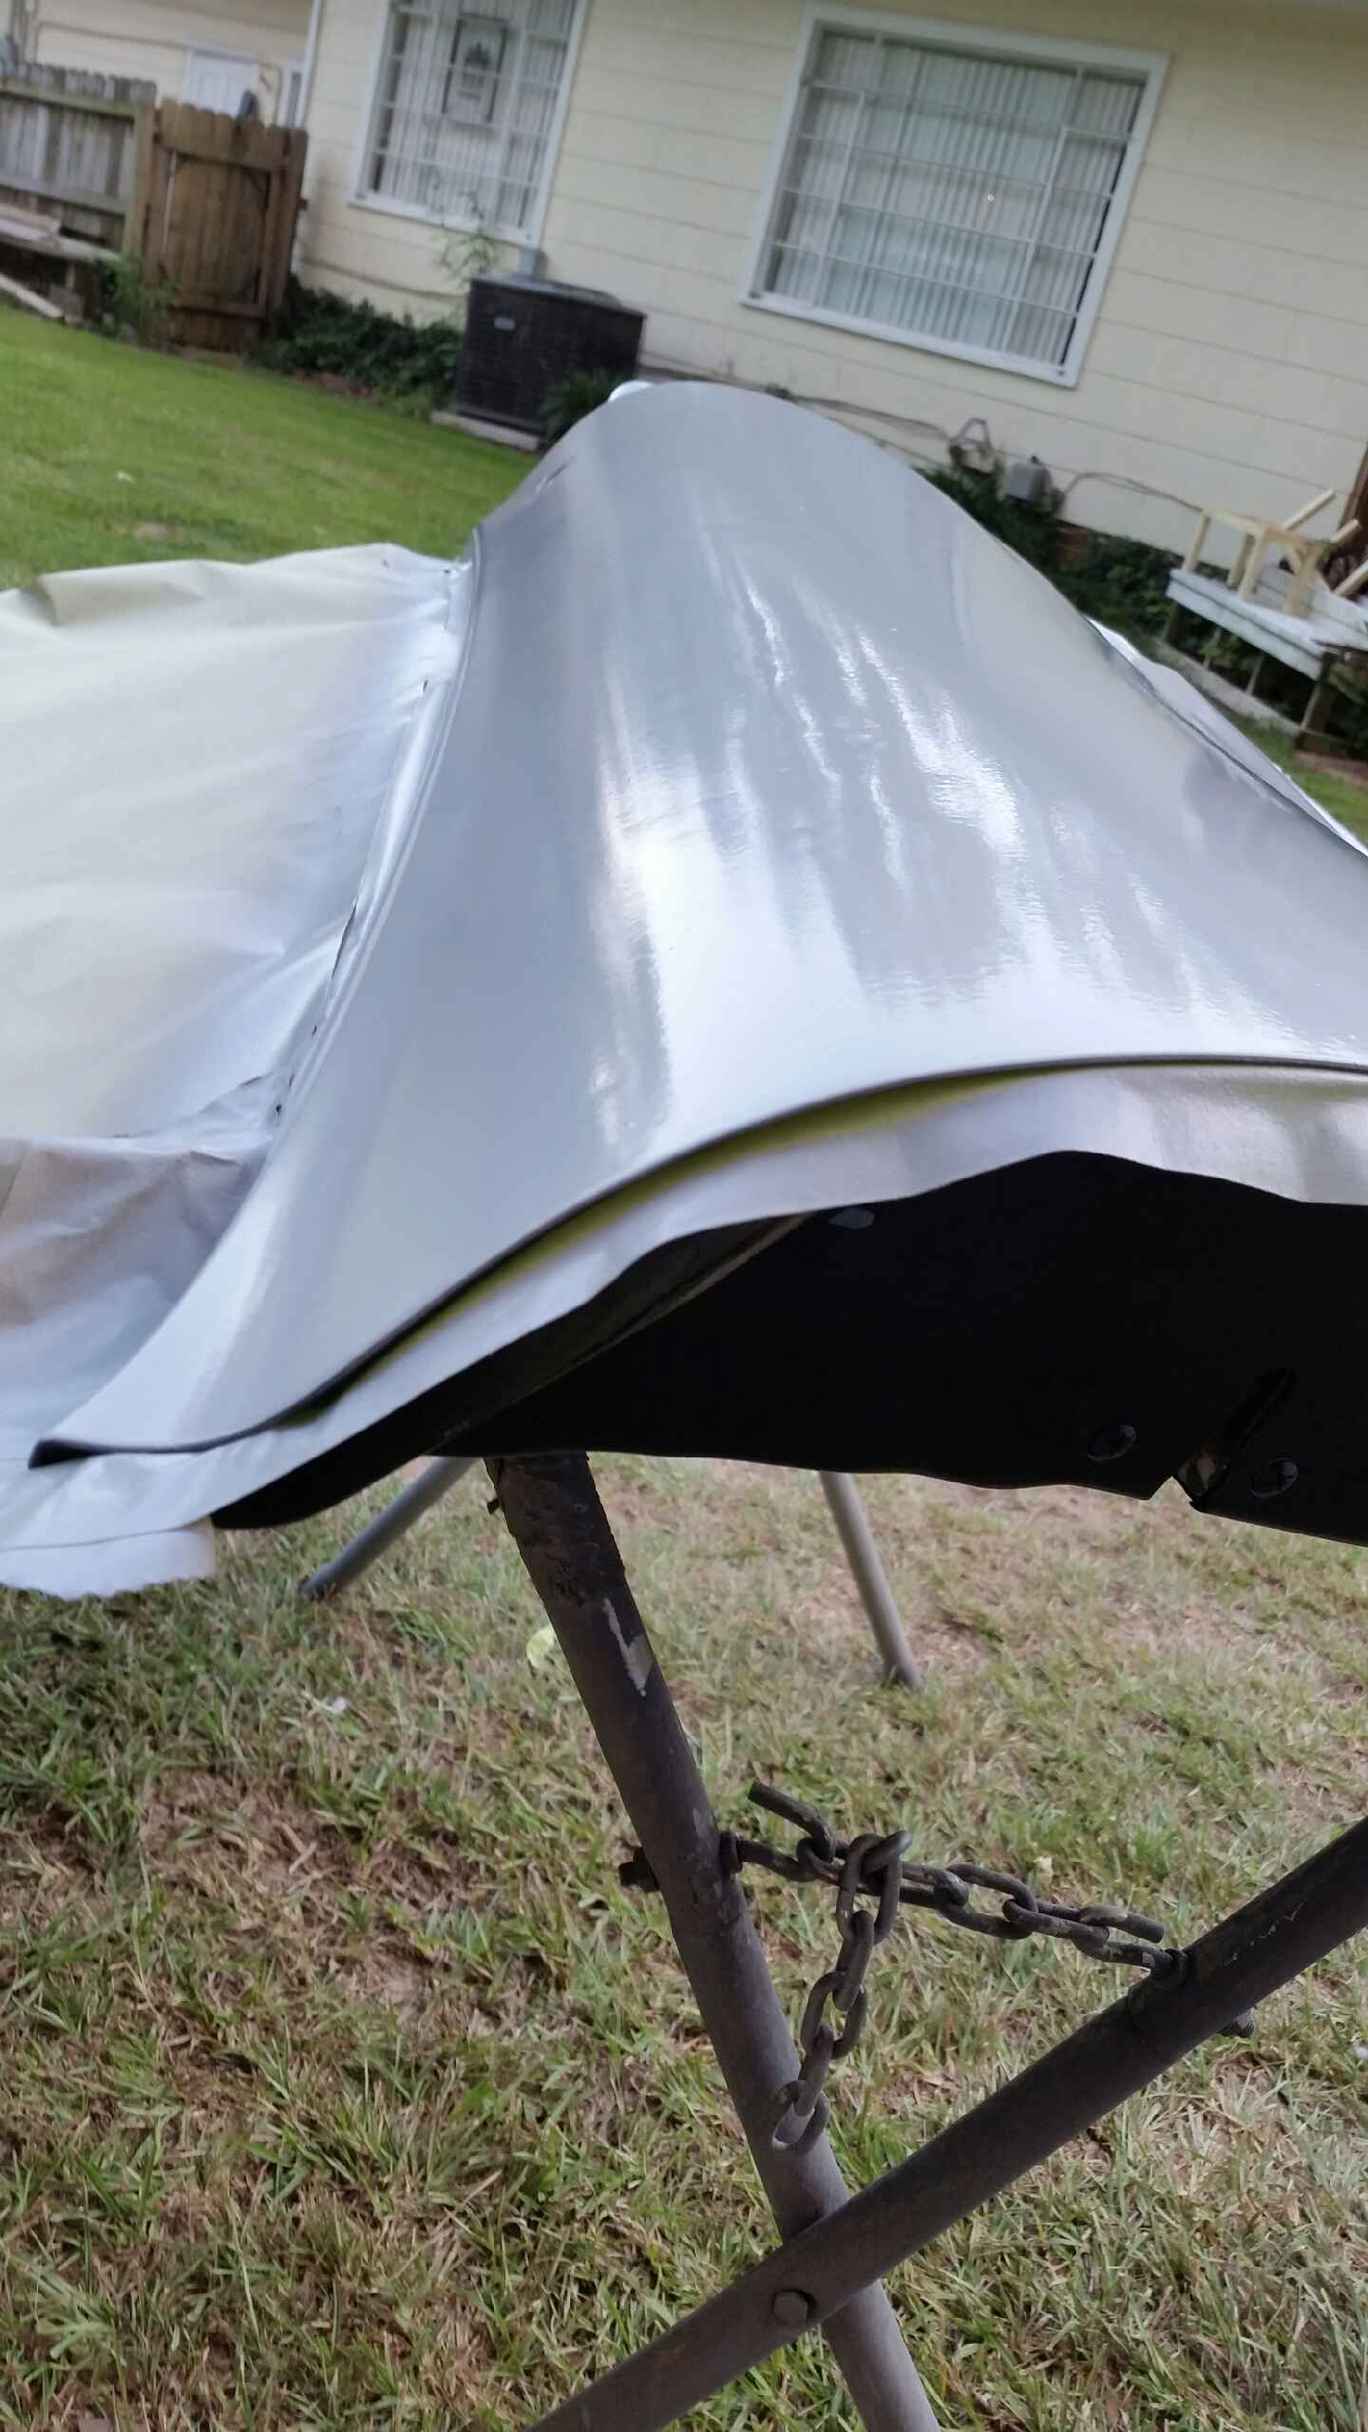
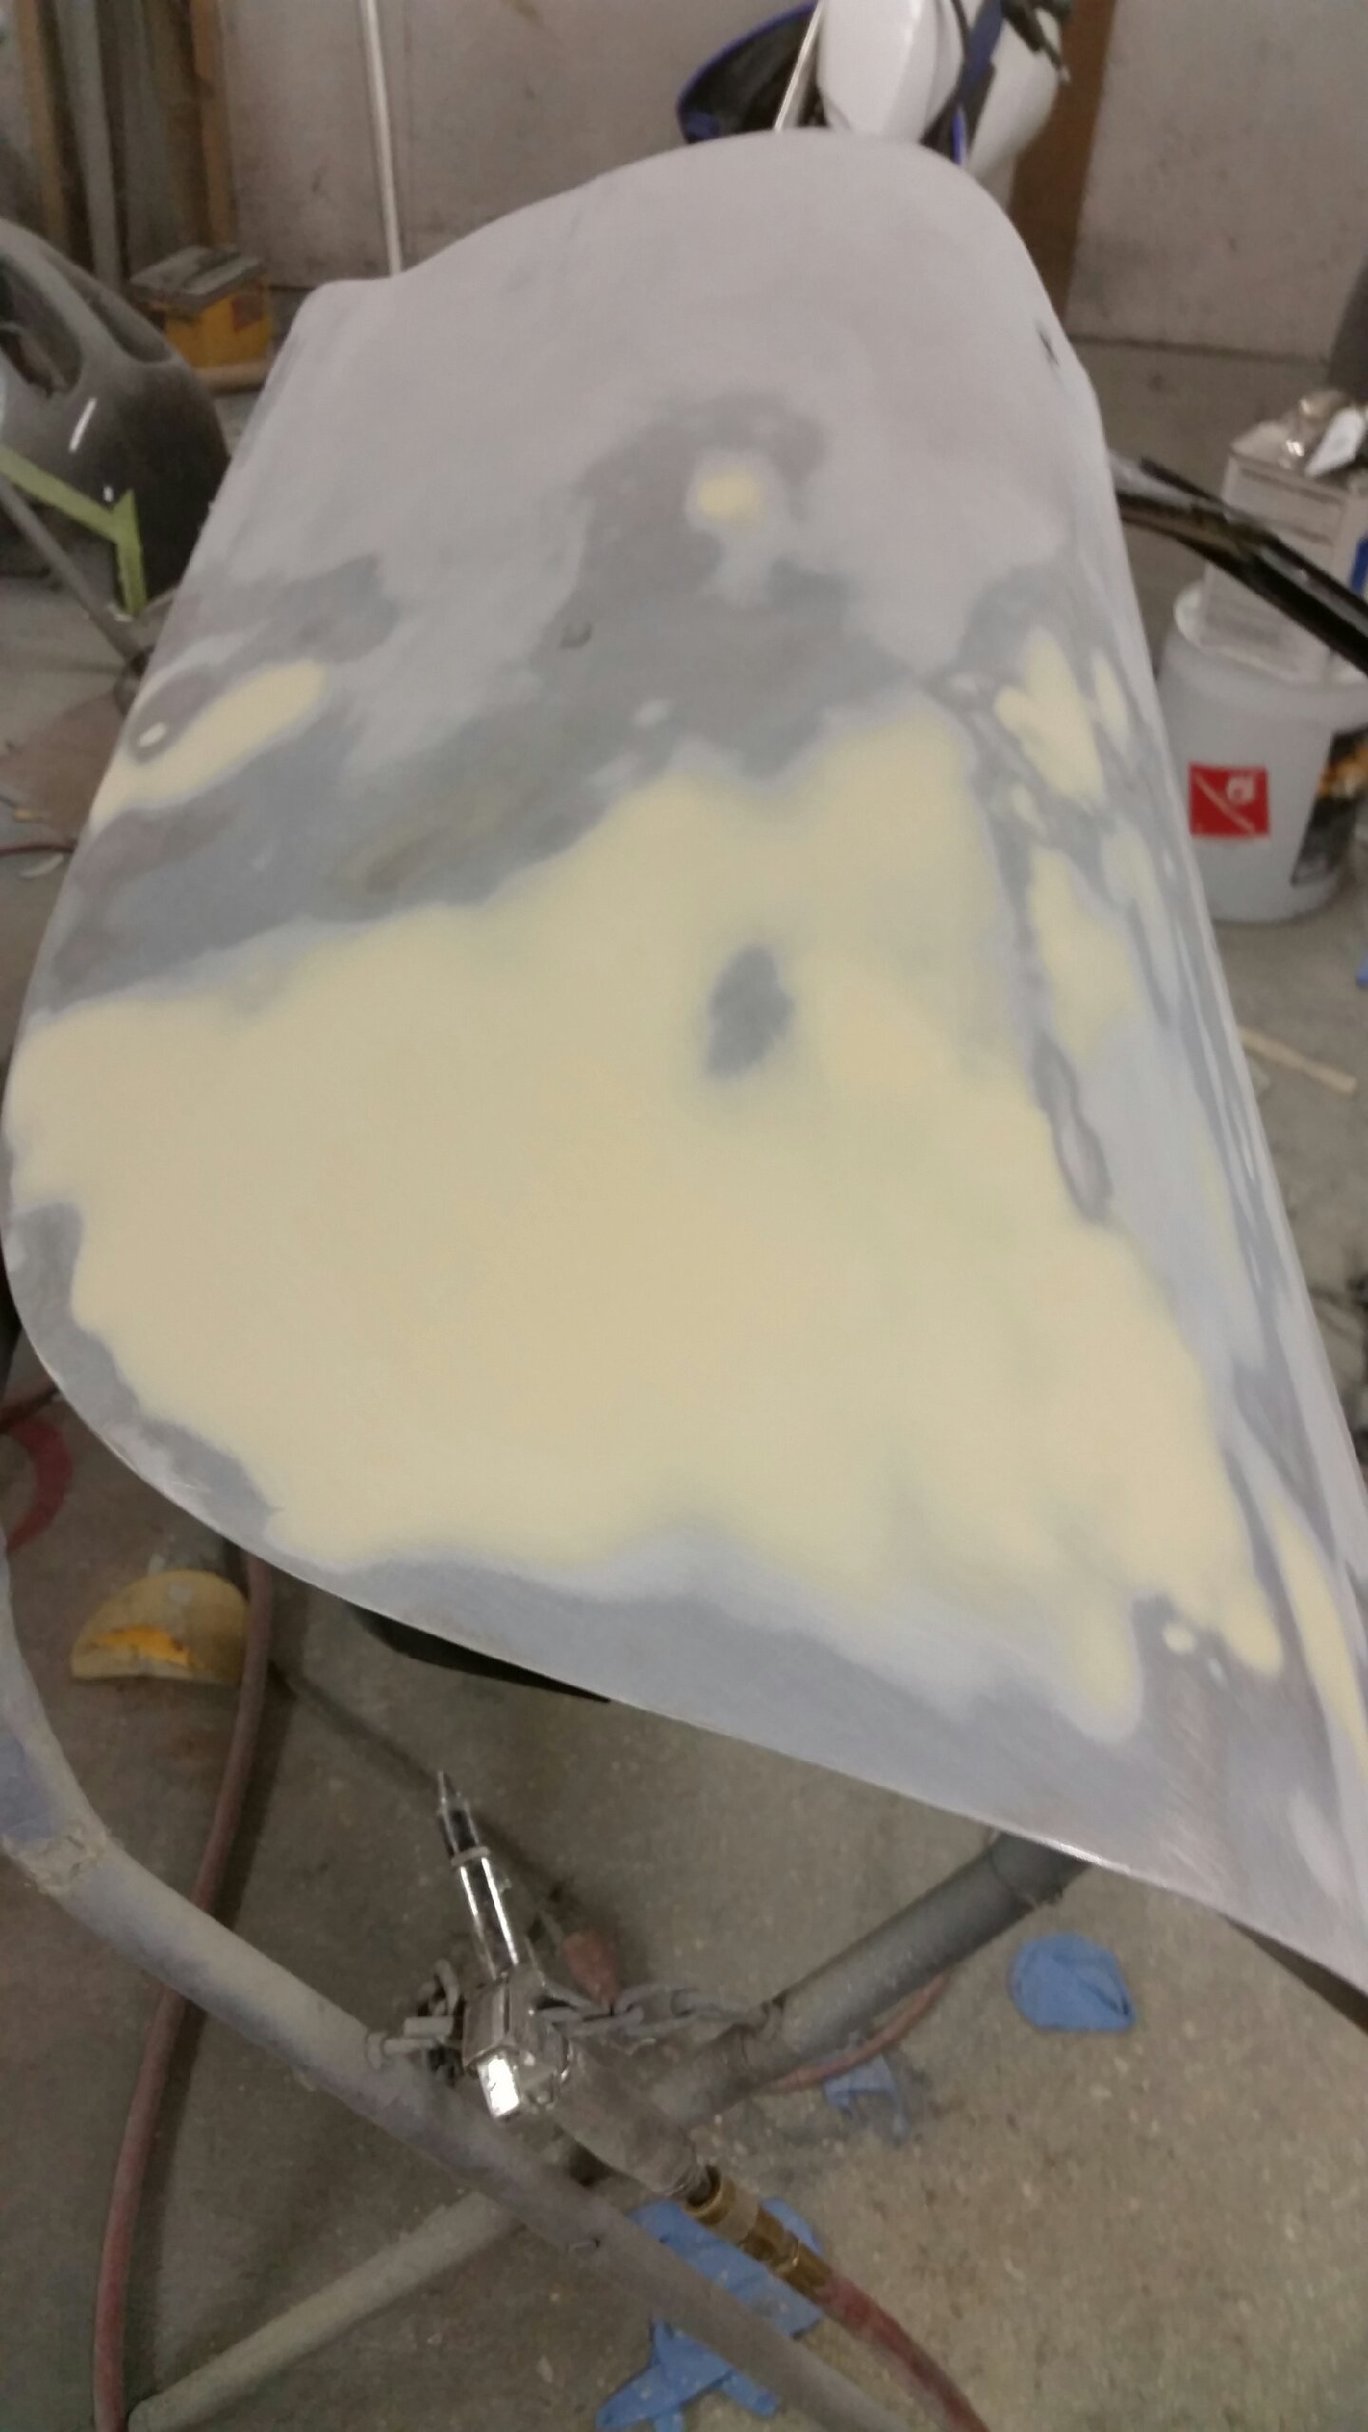
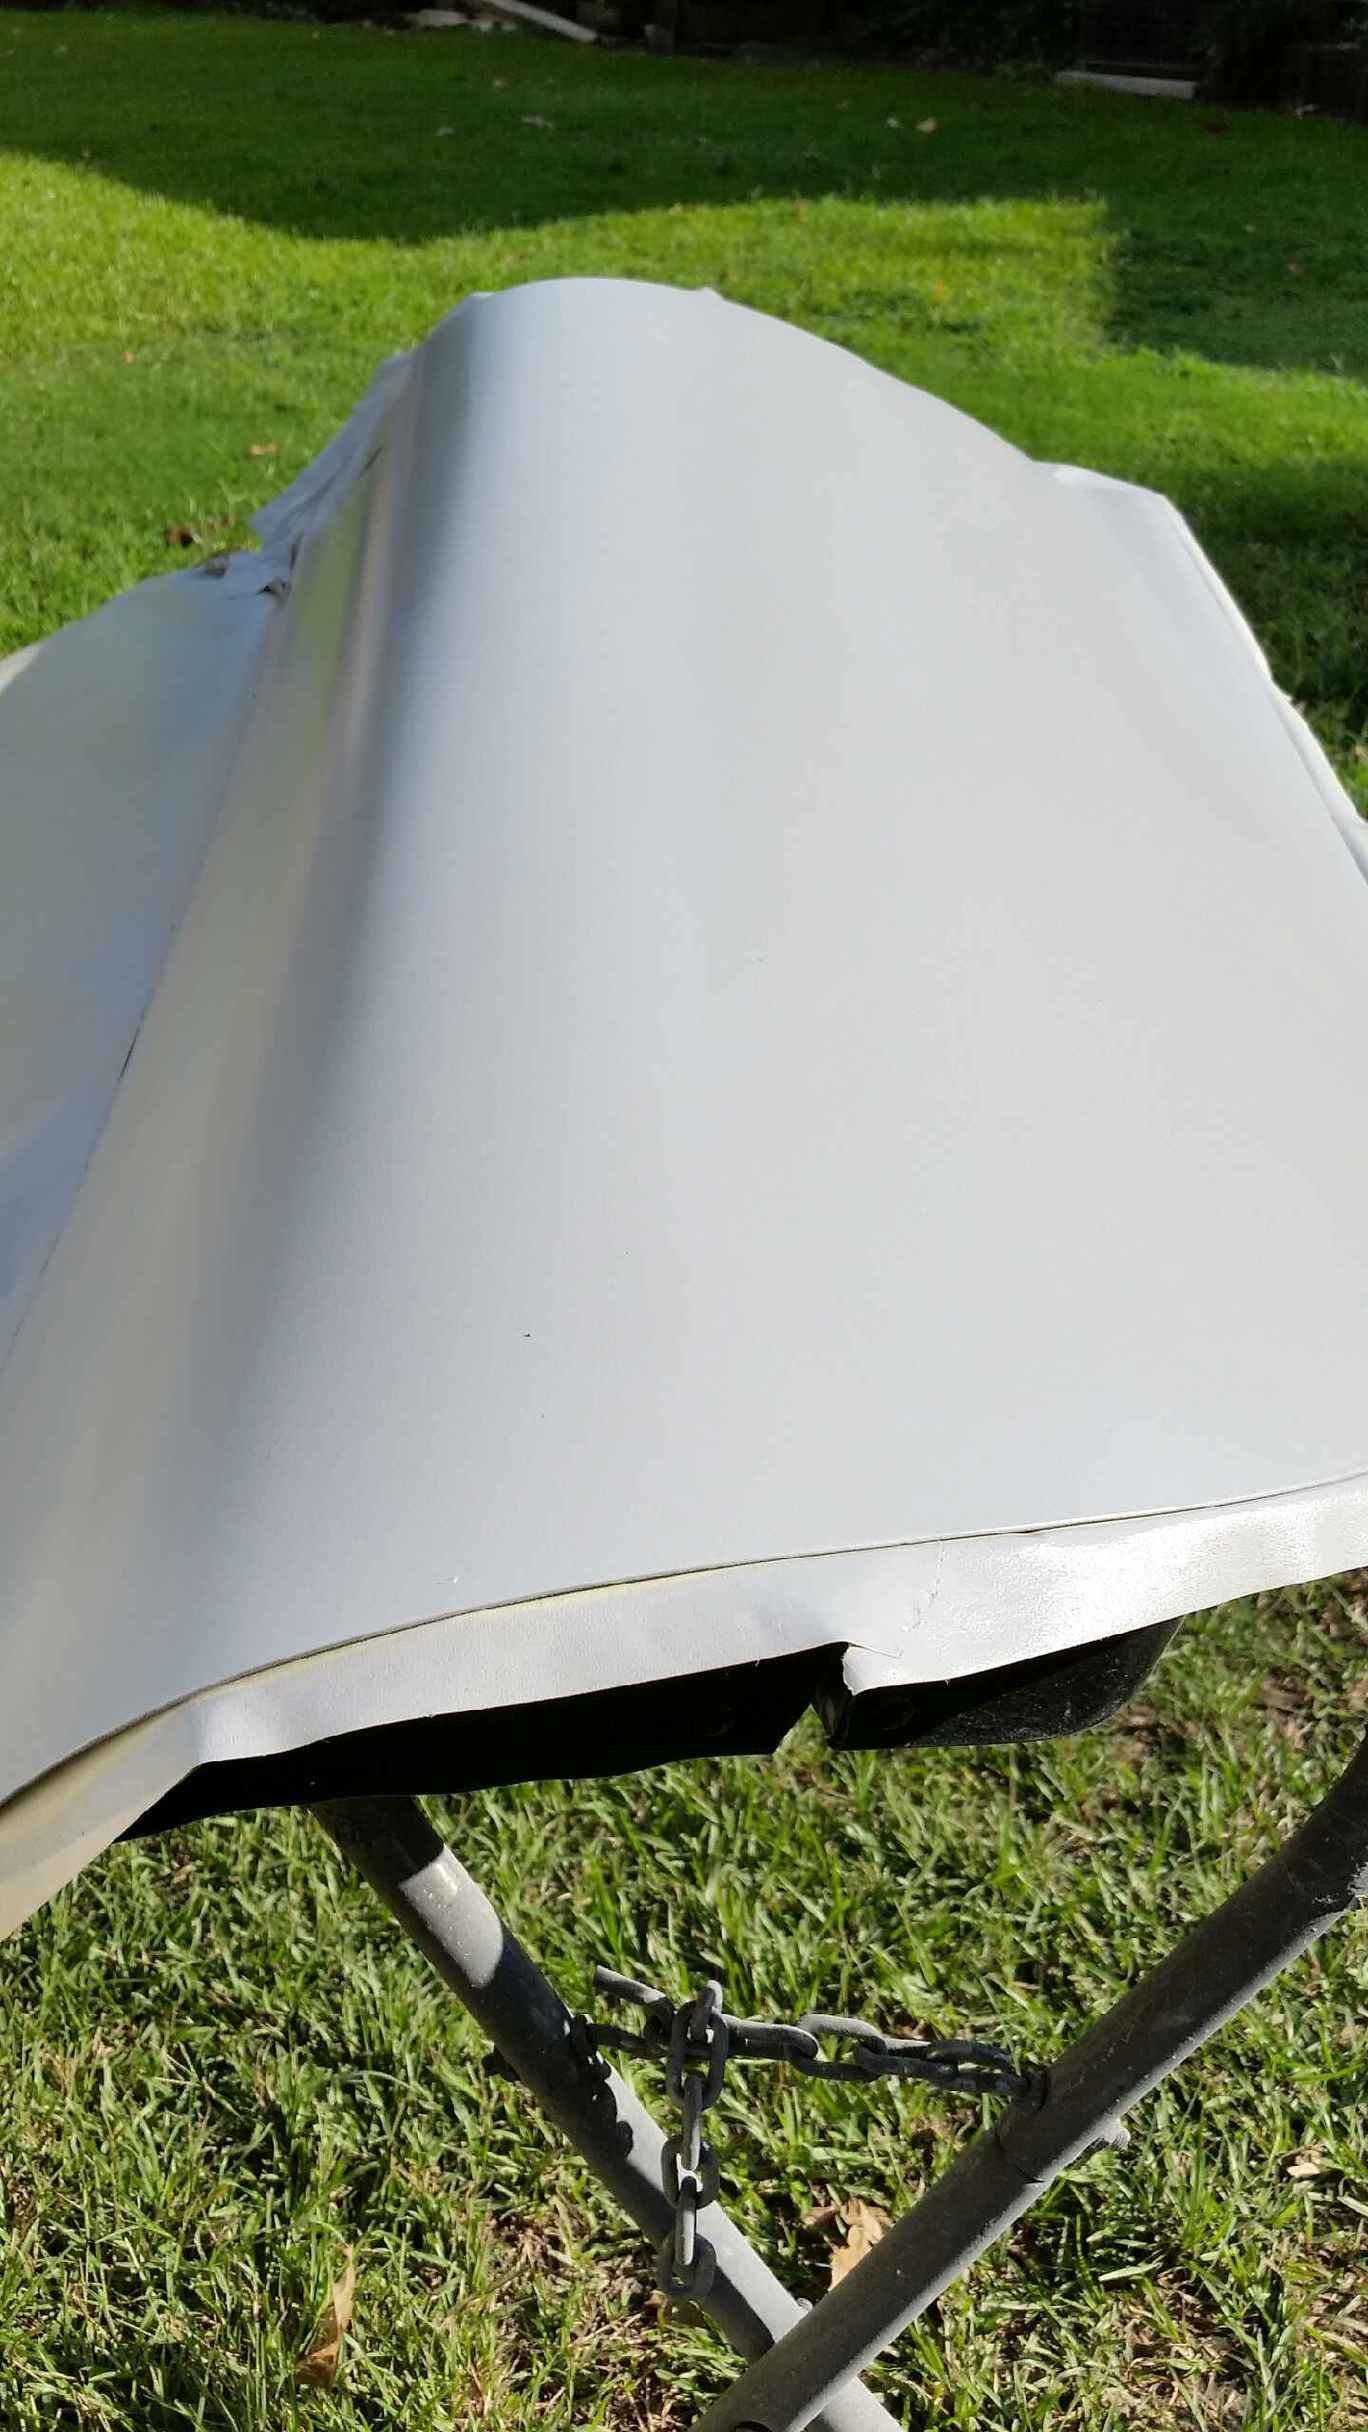
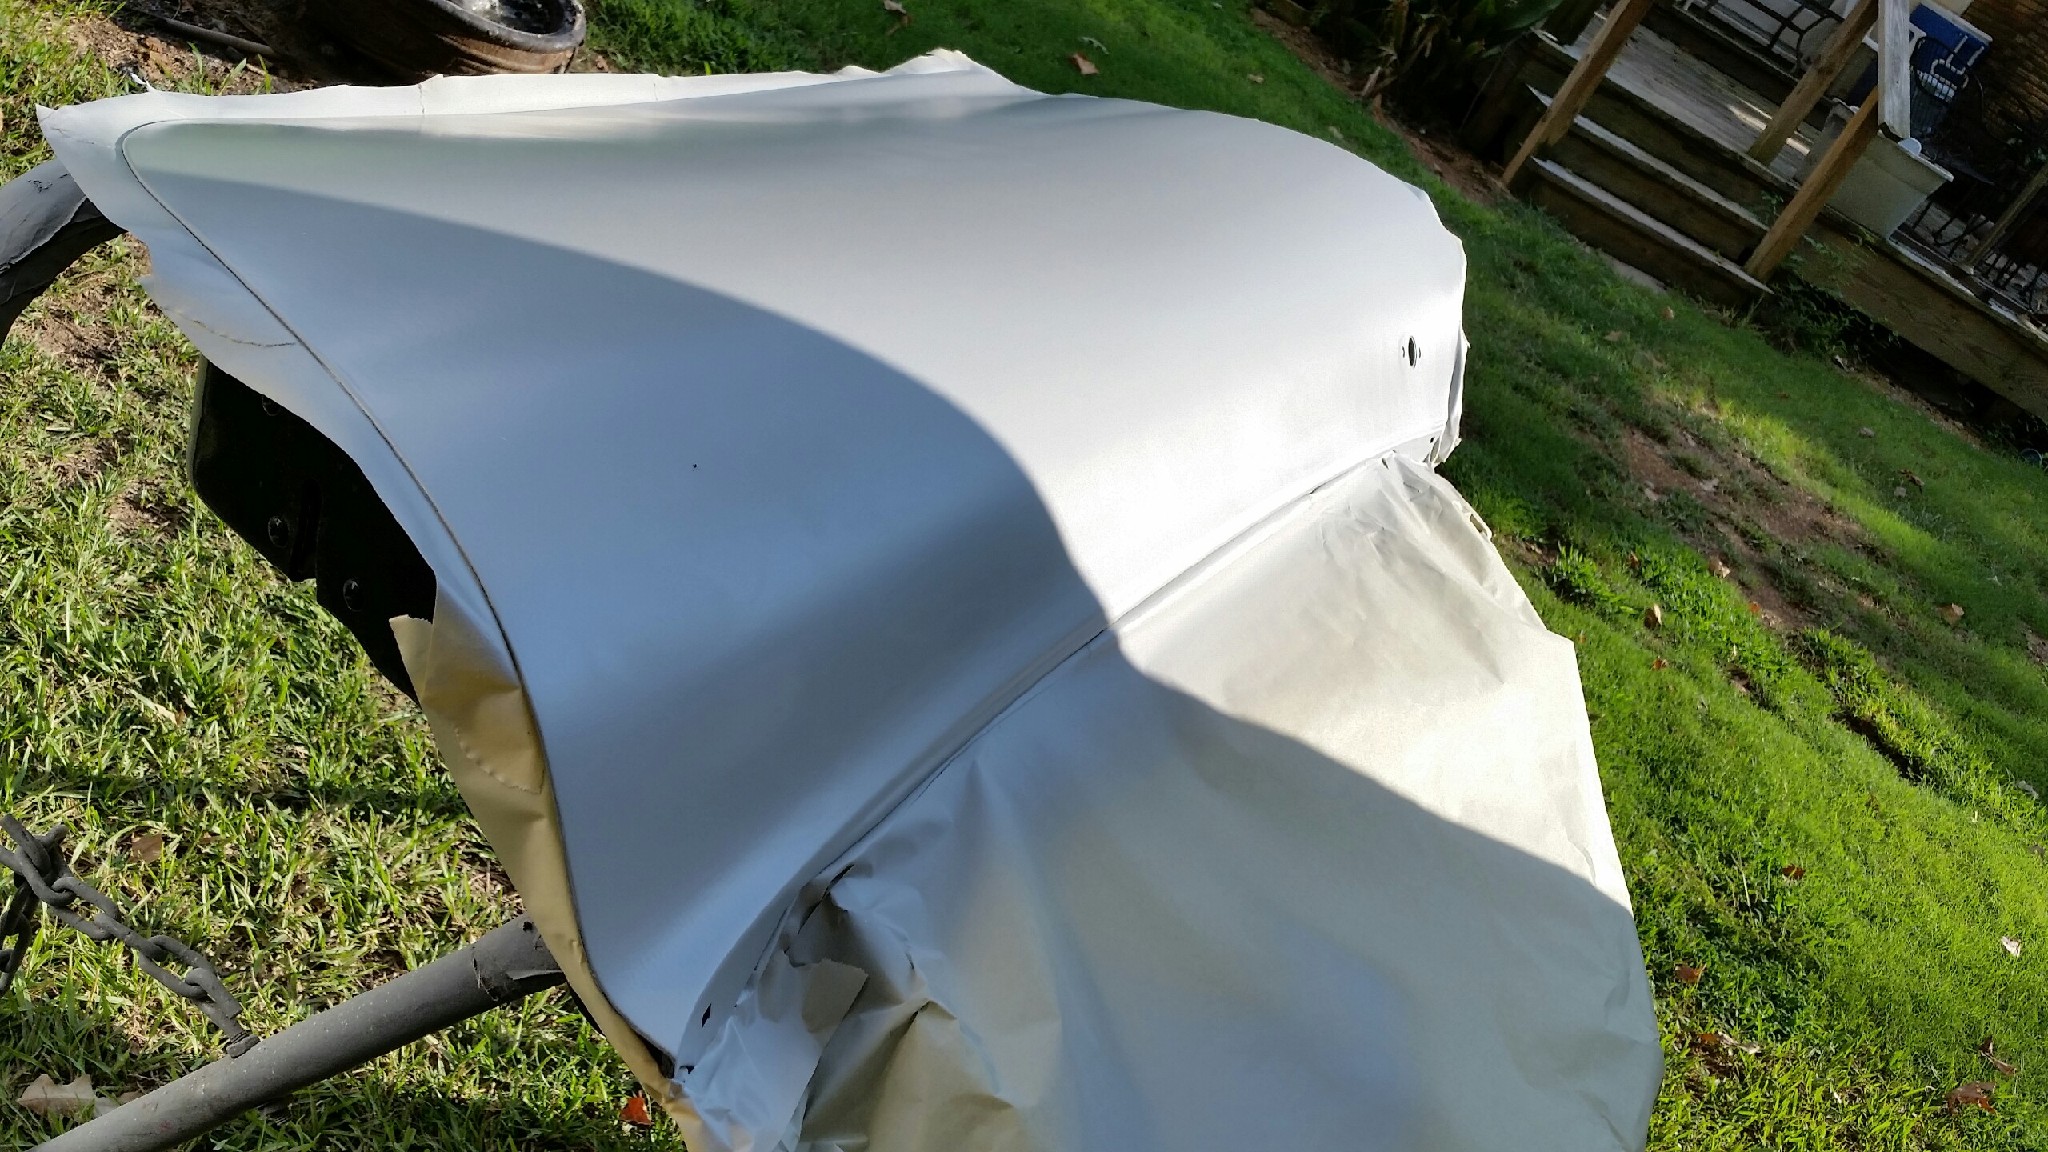
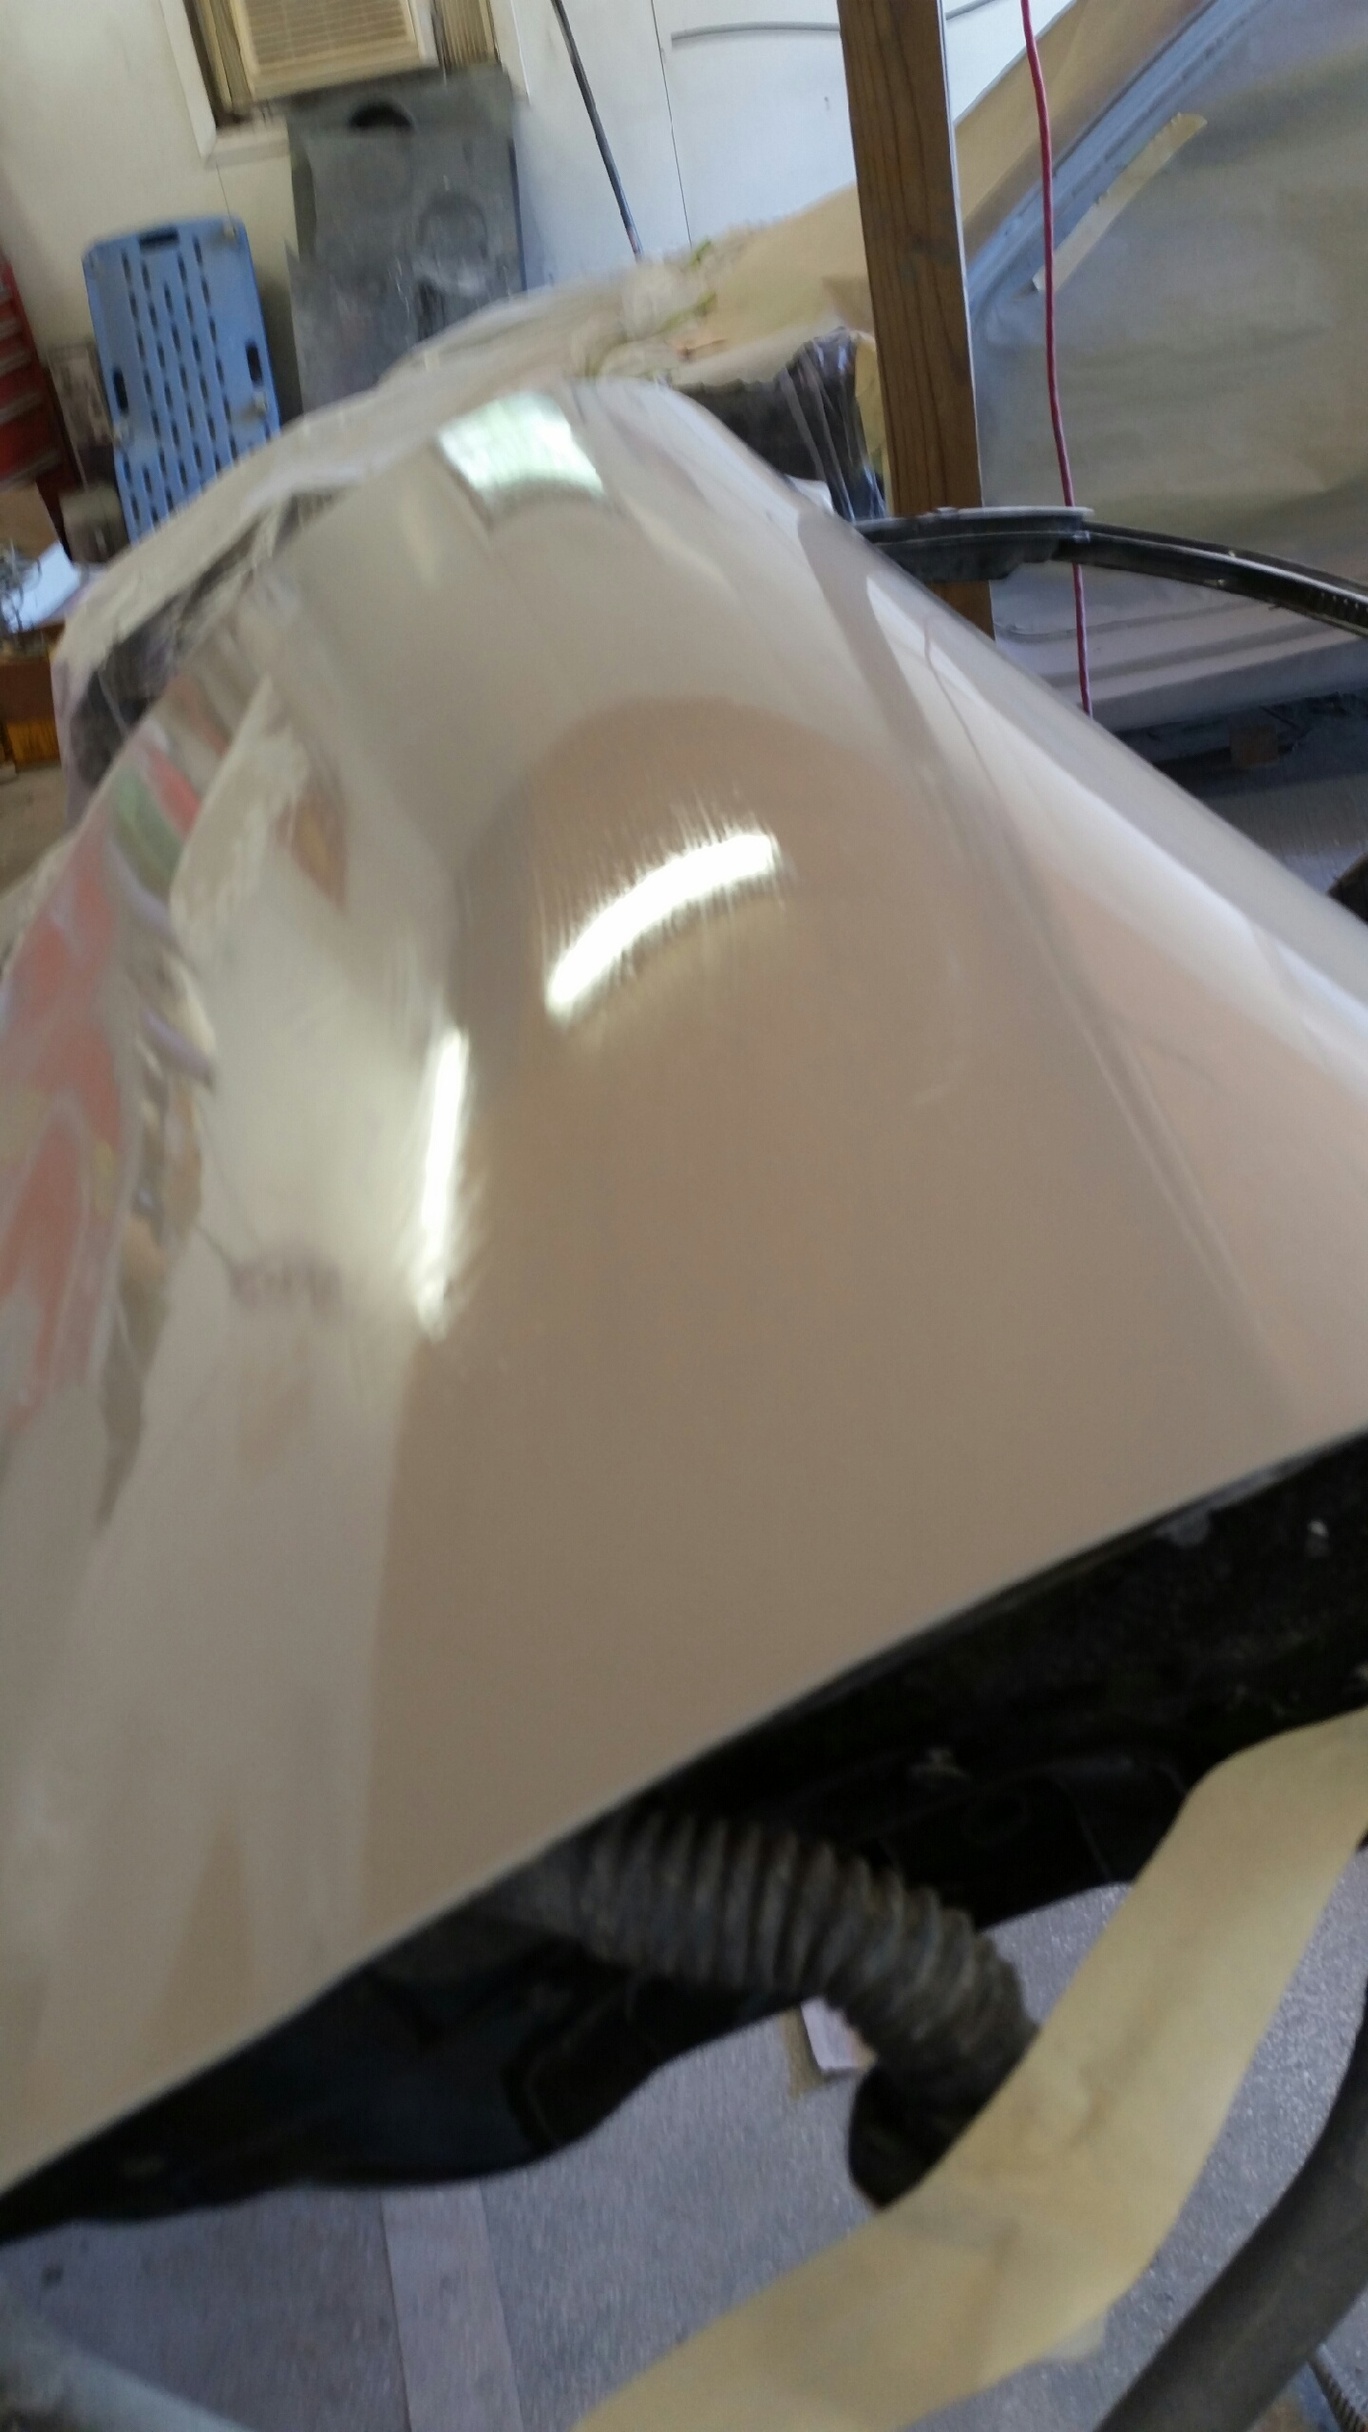
Uh oh! Started work on the hood and found adhesion problems with the newer layers of paint. It was bad enough that they were peeling off!
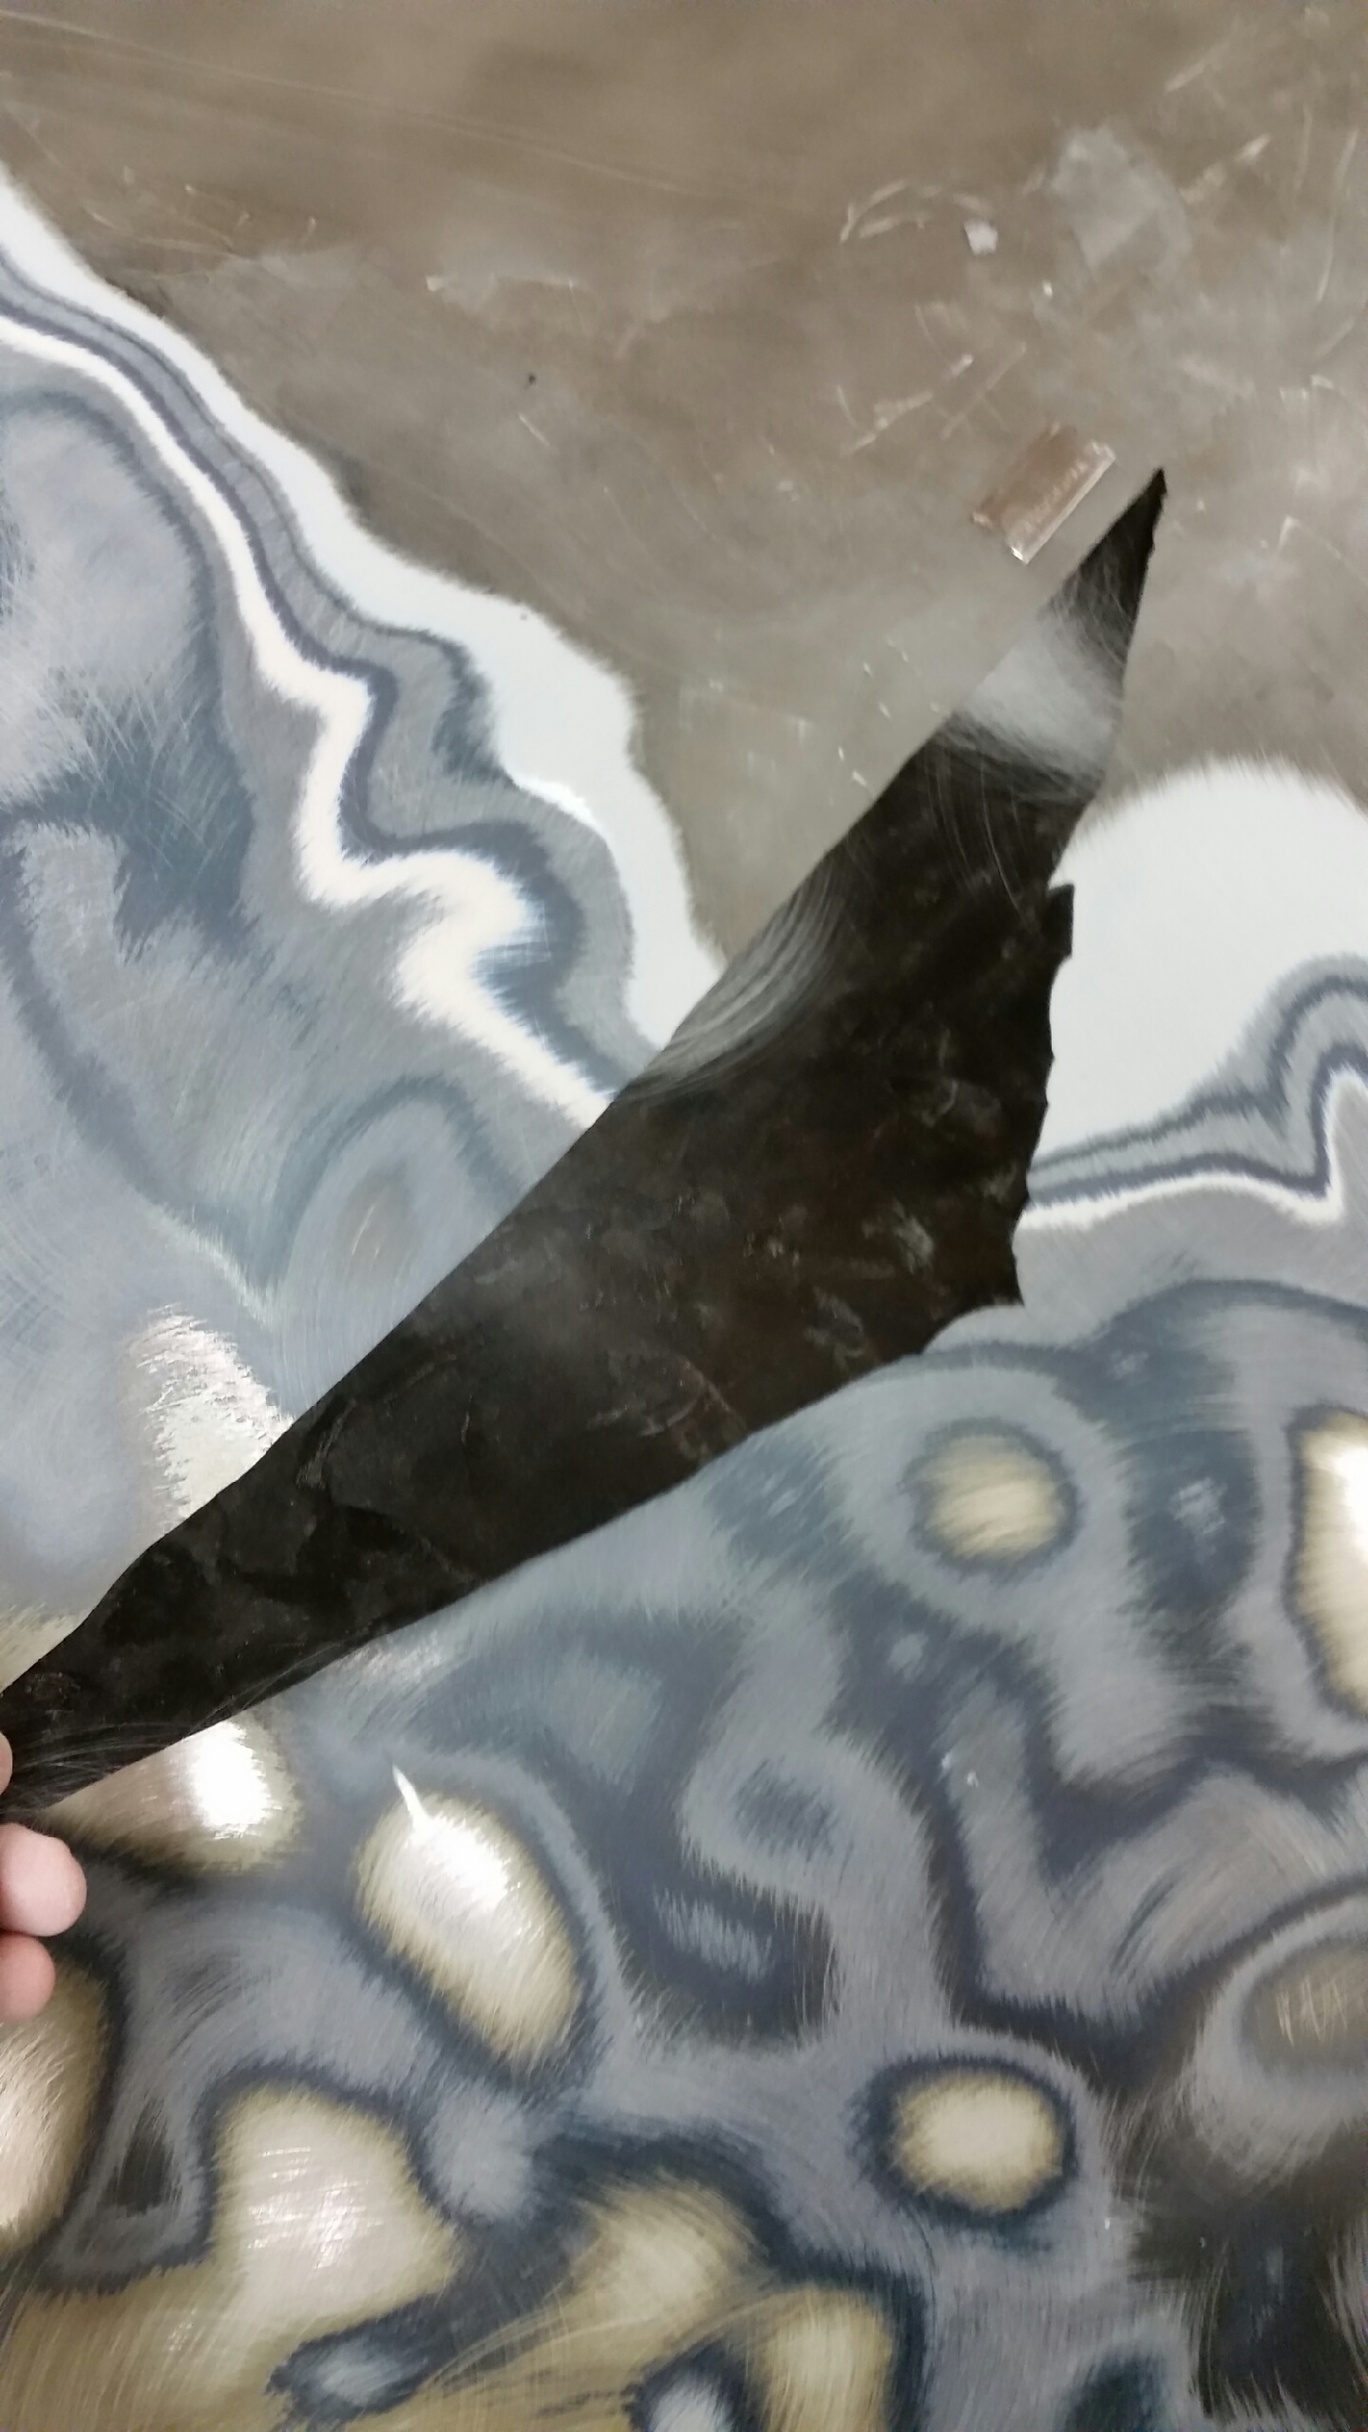
Picking it off in flakes
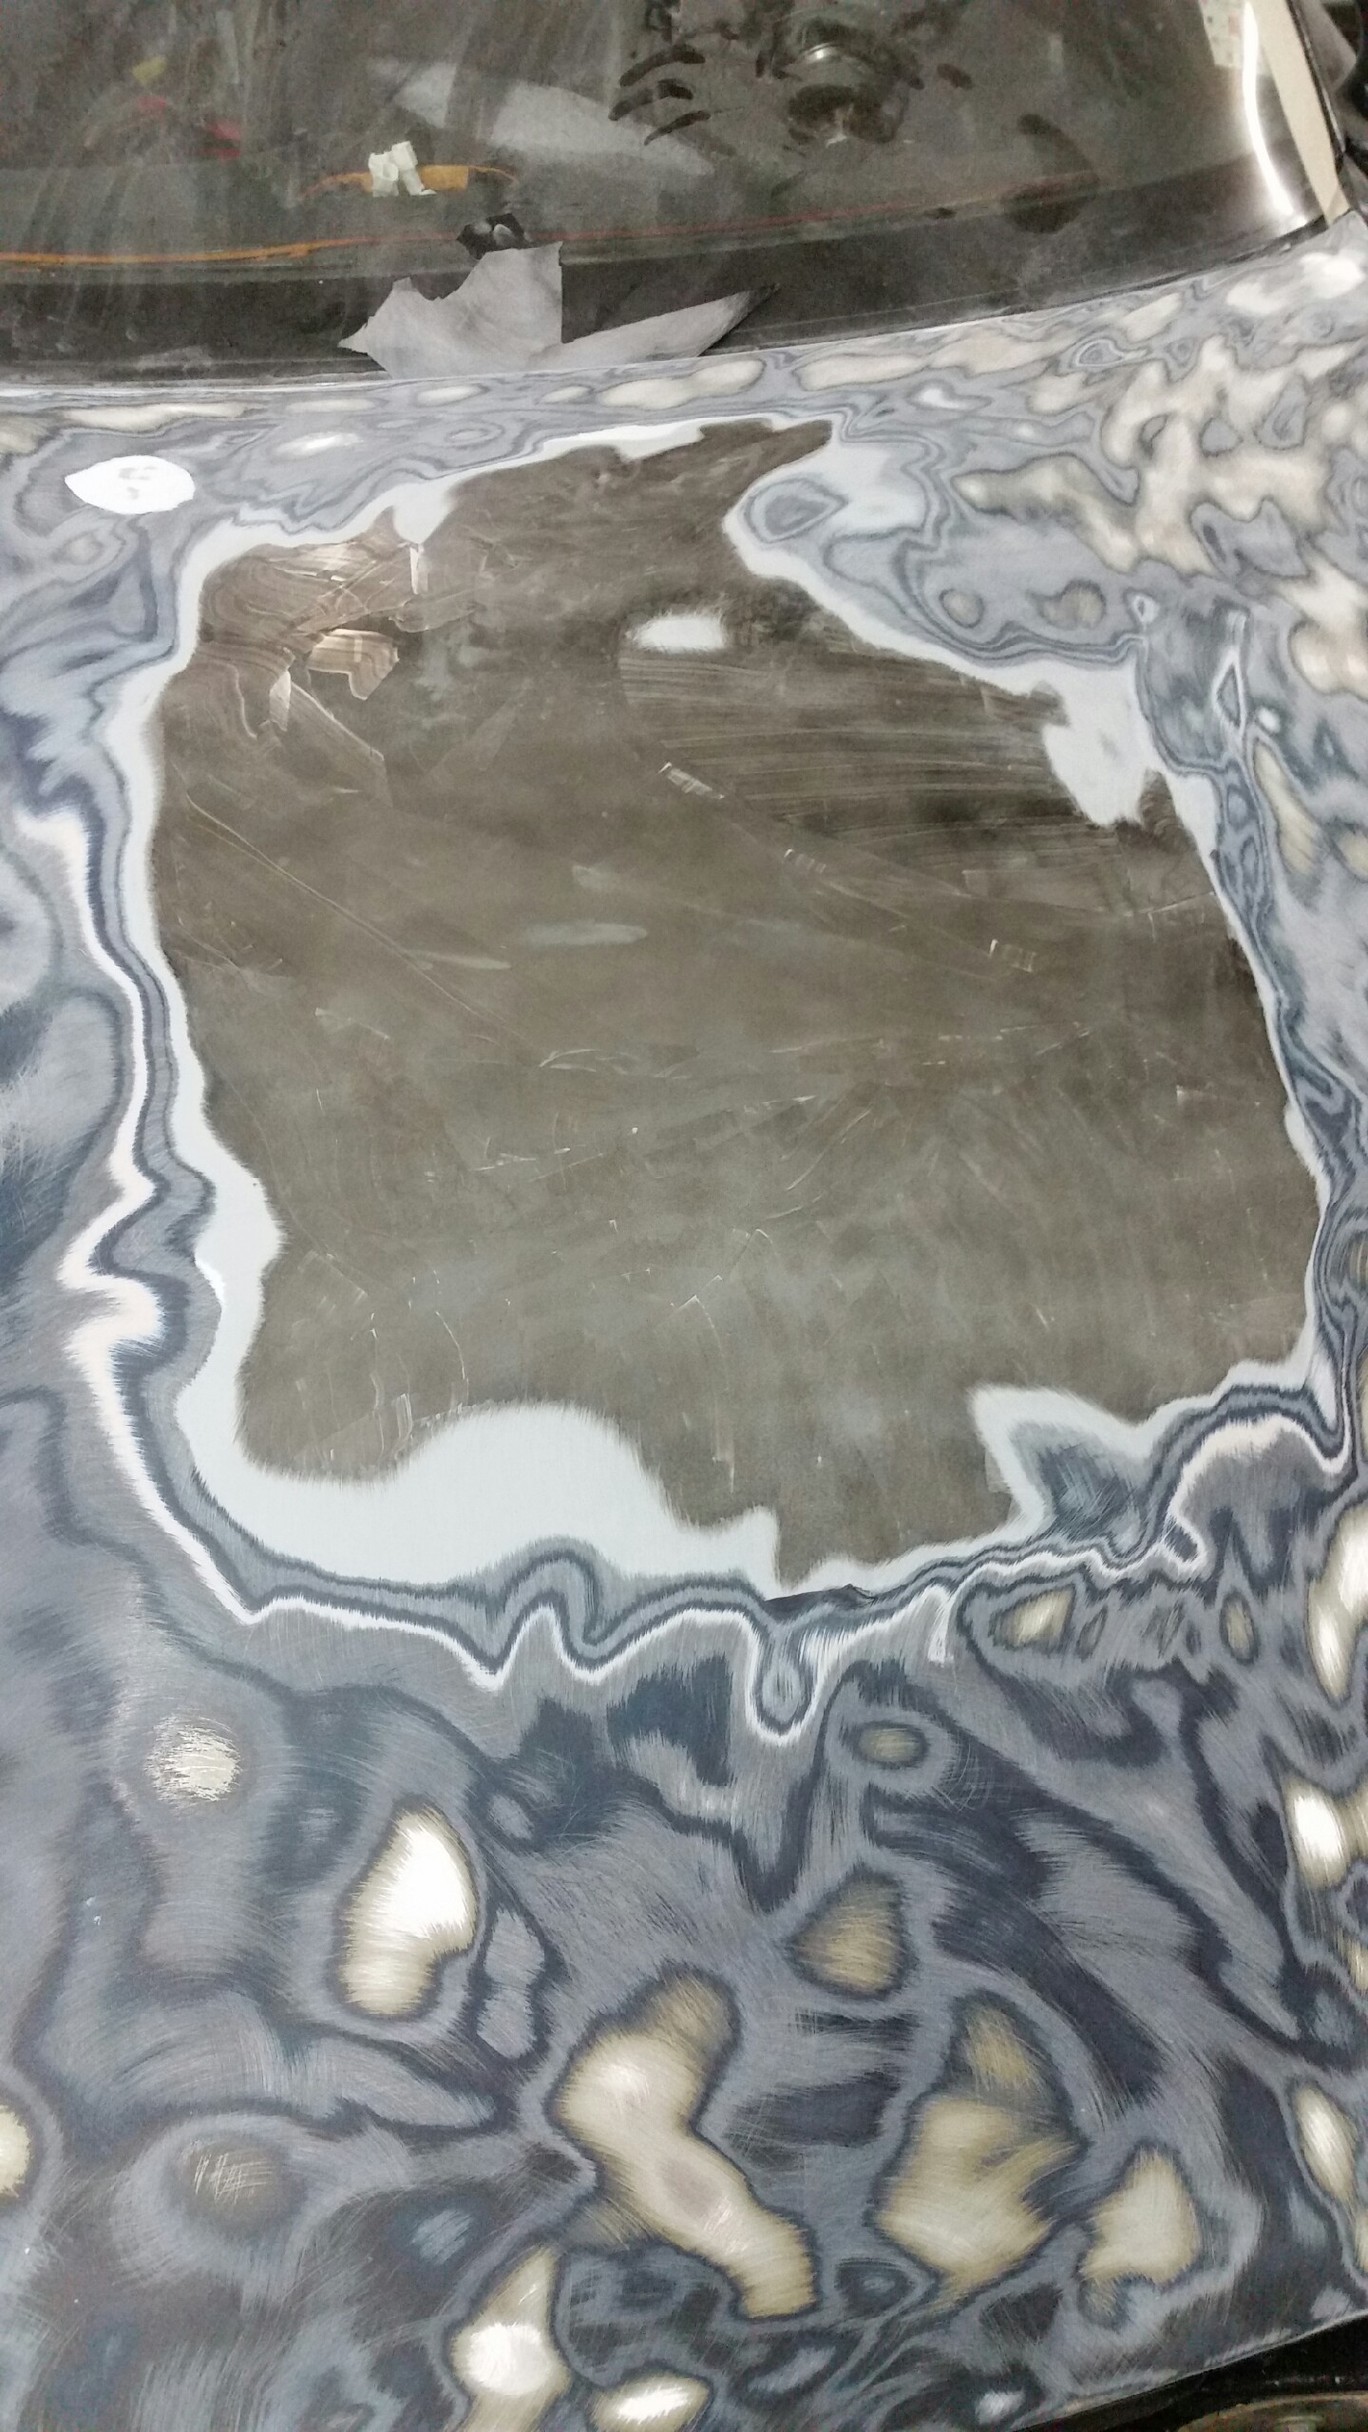
Was able to peel the center of the hood off in ~5minutes.
John's theory for the adhesion problems is that the last shop primed the hood then painted it with a thin base coat apparently with the intention of laying down a heavier coat later. Well the heavier coat didn't come quick enough (we estimate a couple of days) and it missed its window to chemically bond to the other layer of paint. In fact, the first layer seems to have cured well enough that the orange peel could be seen when peeling off the top layer.
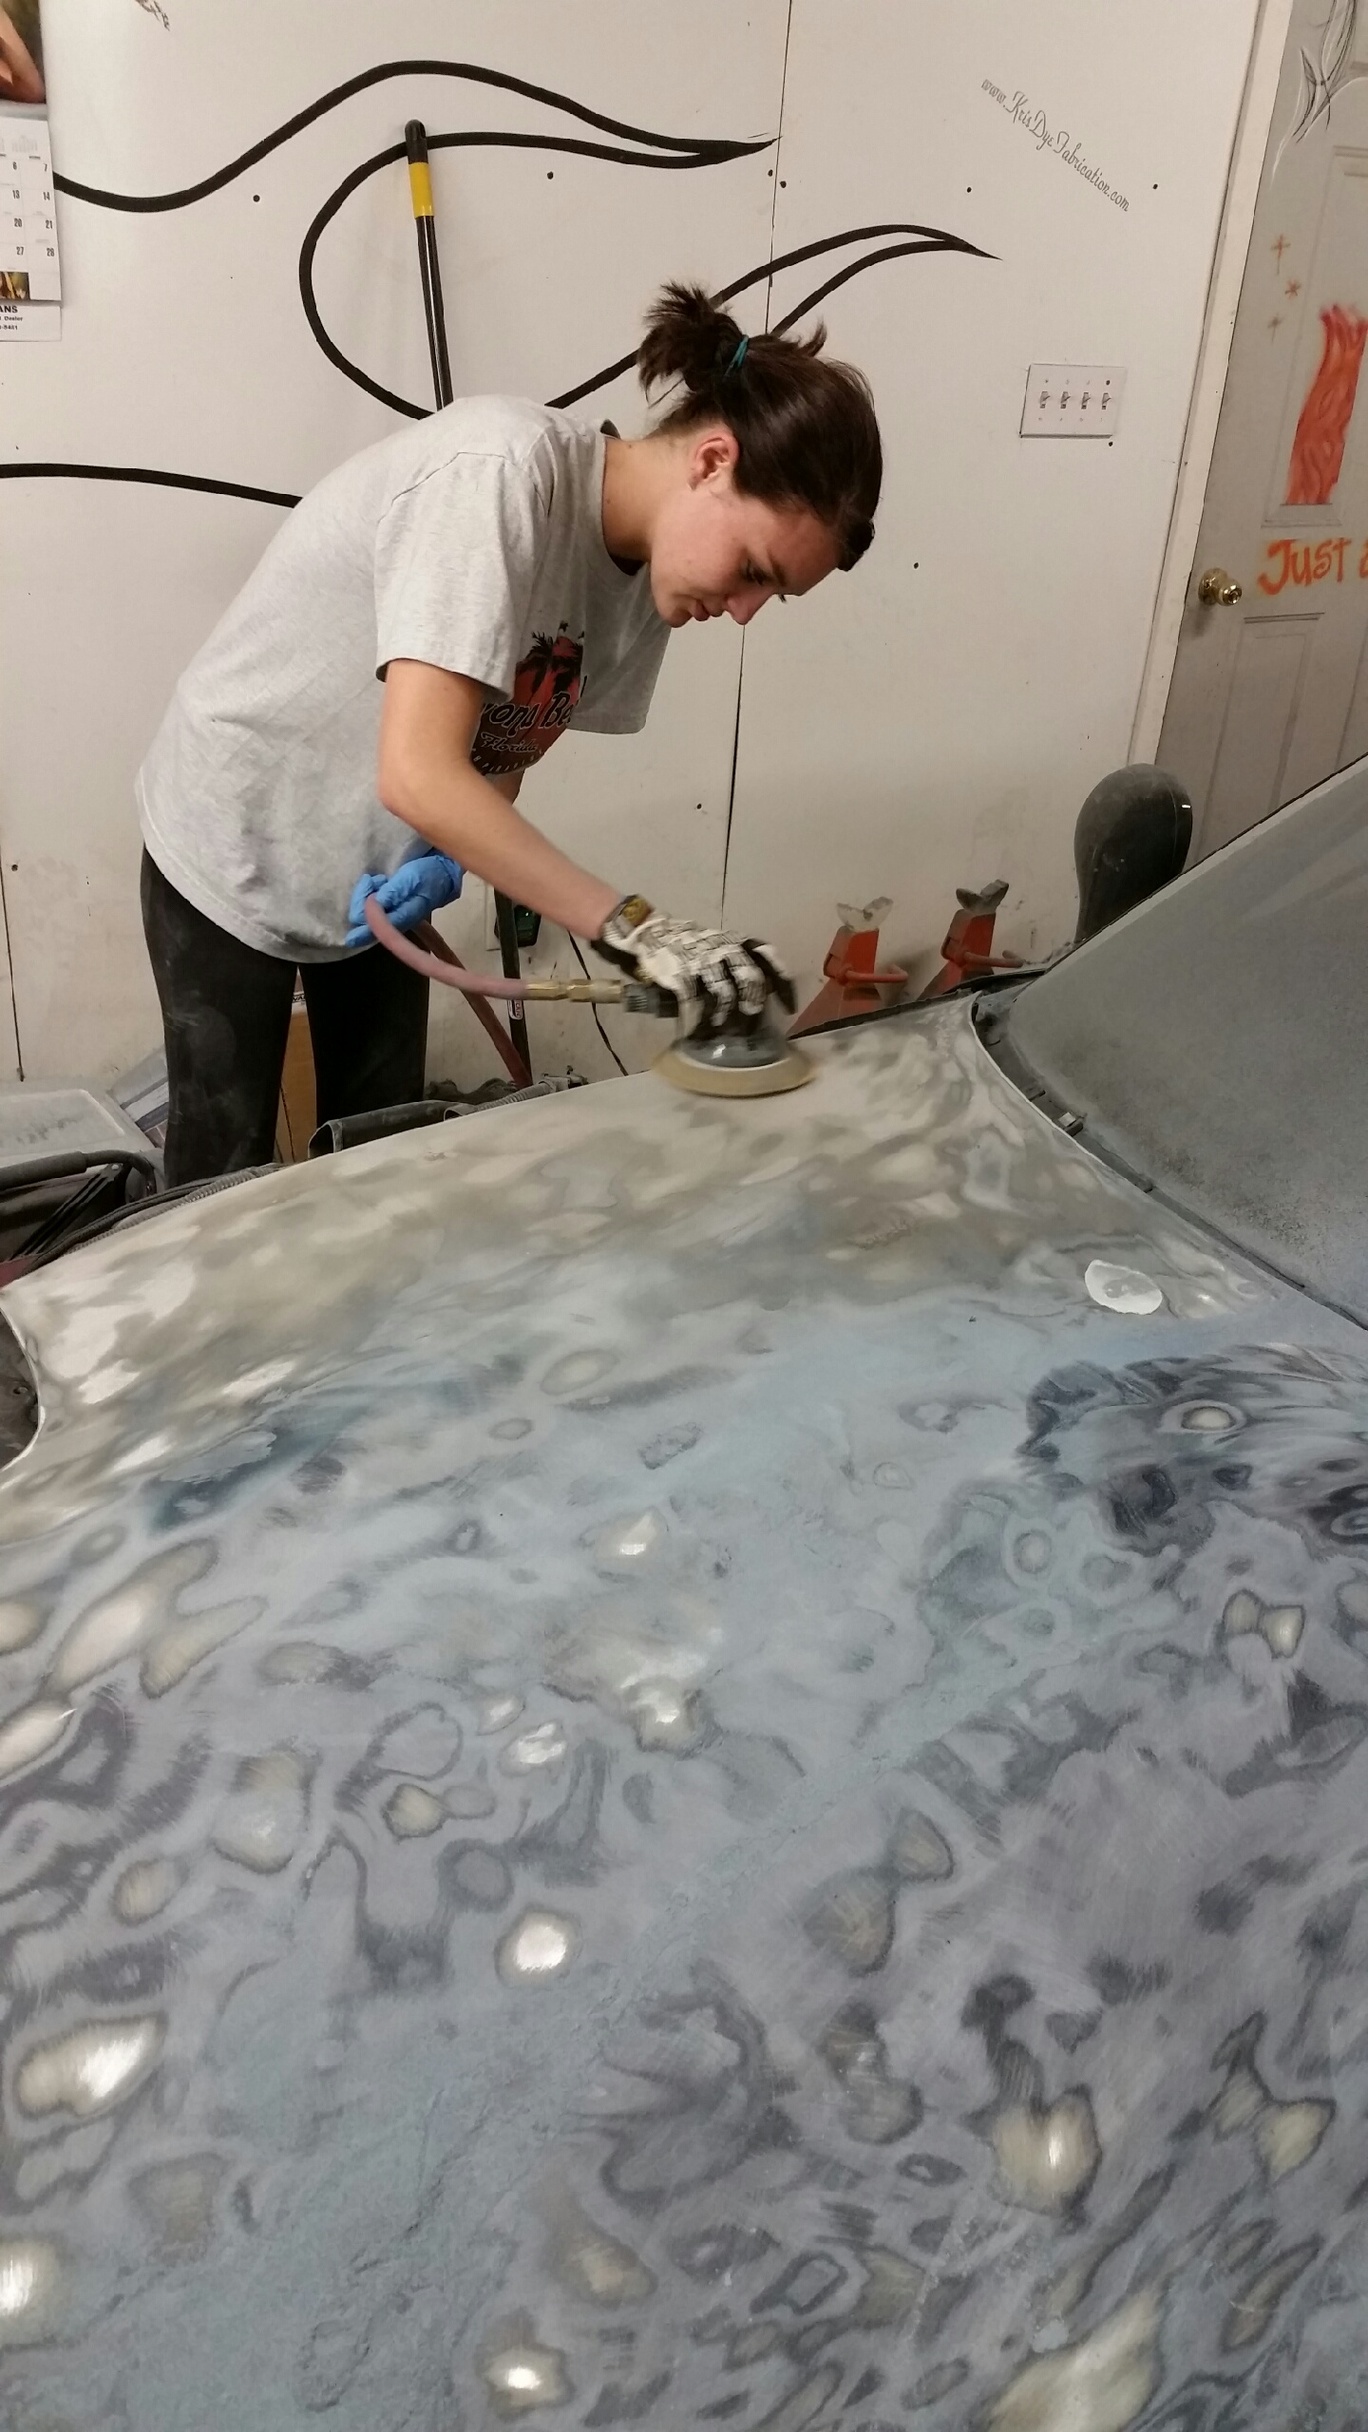
Muhahaha! Slaaave labor
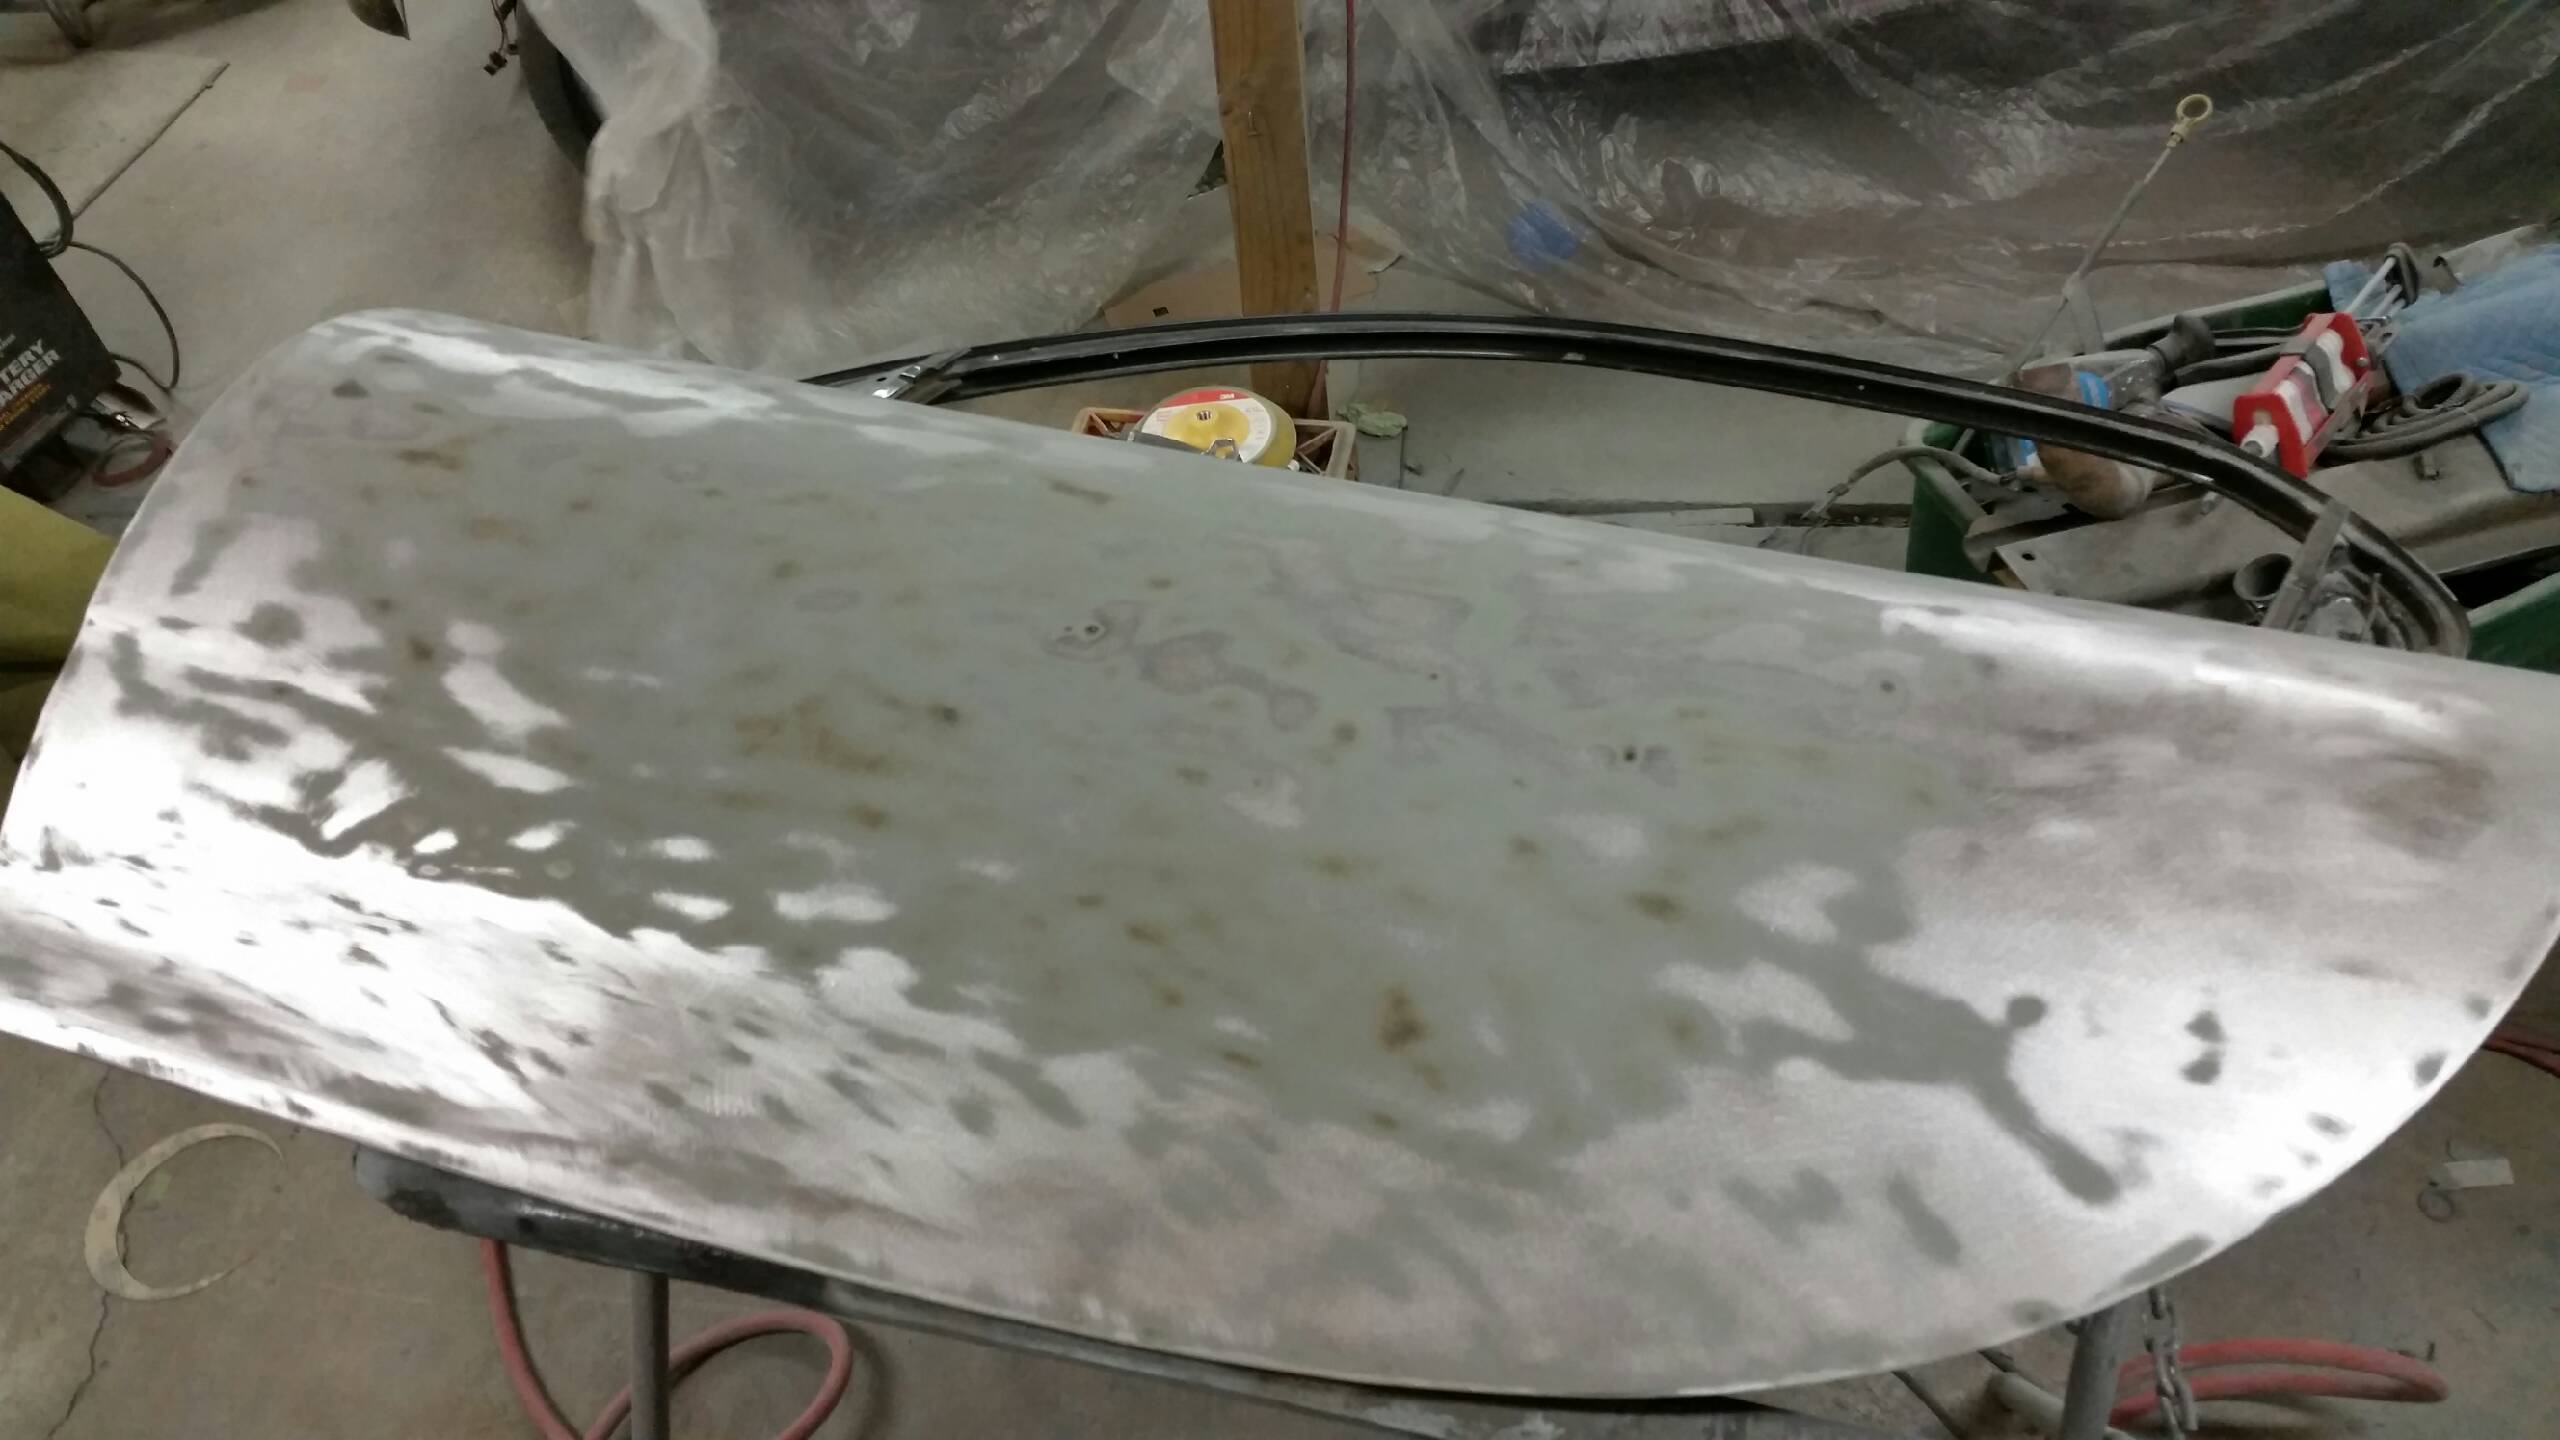
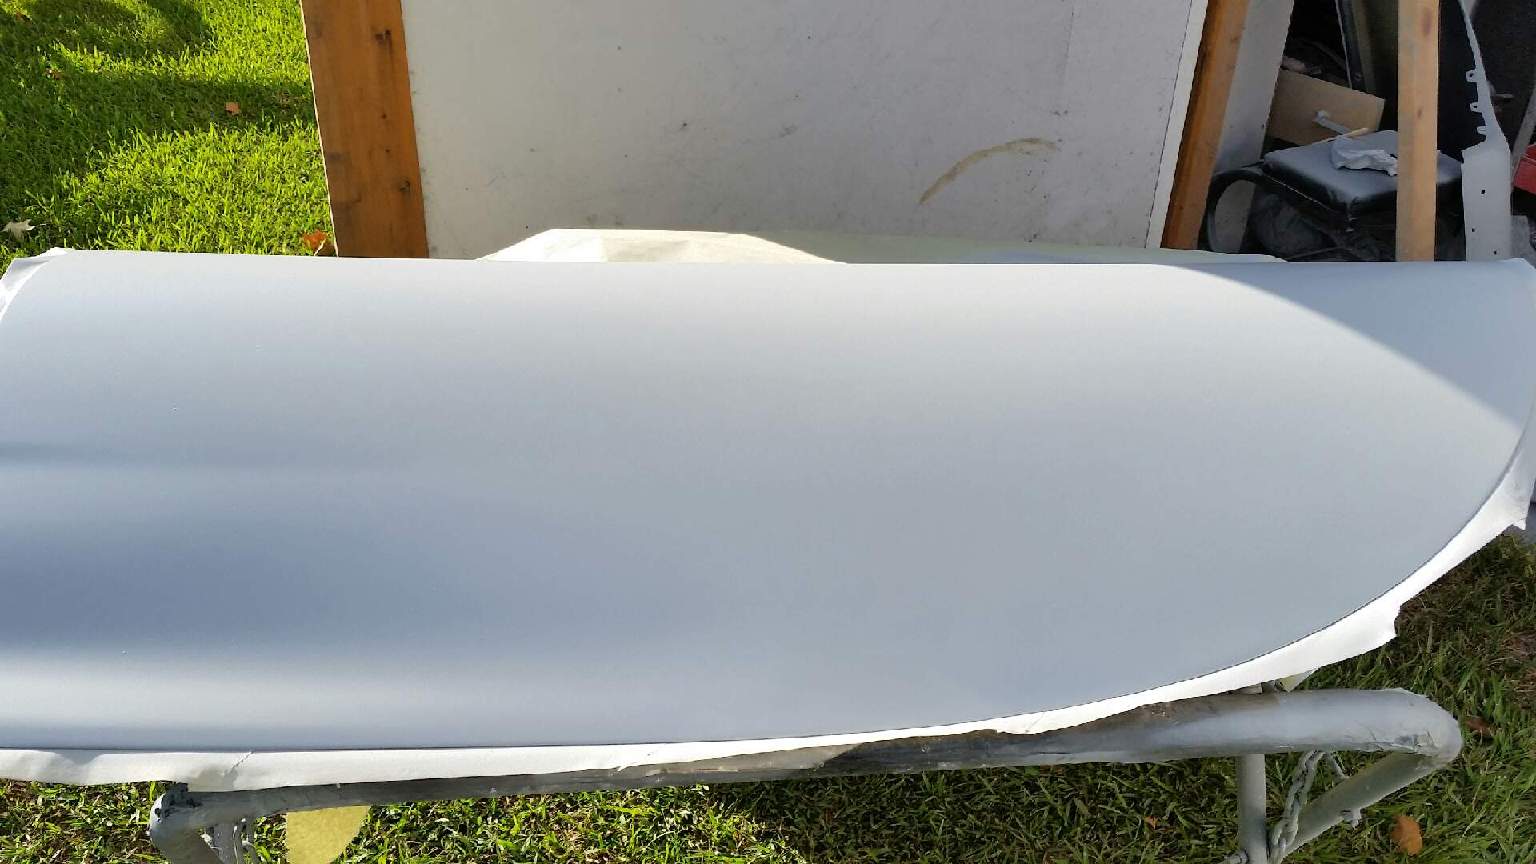
Nekked
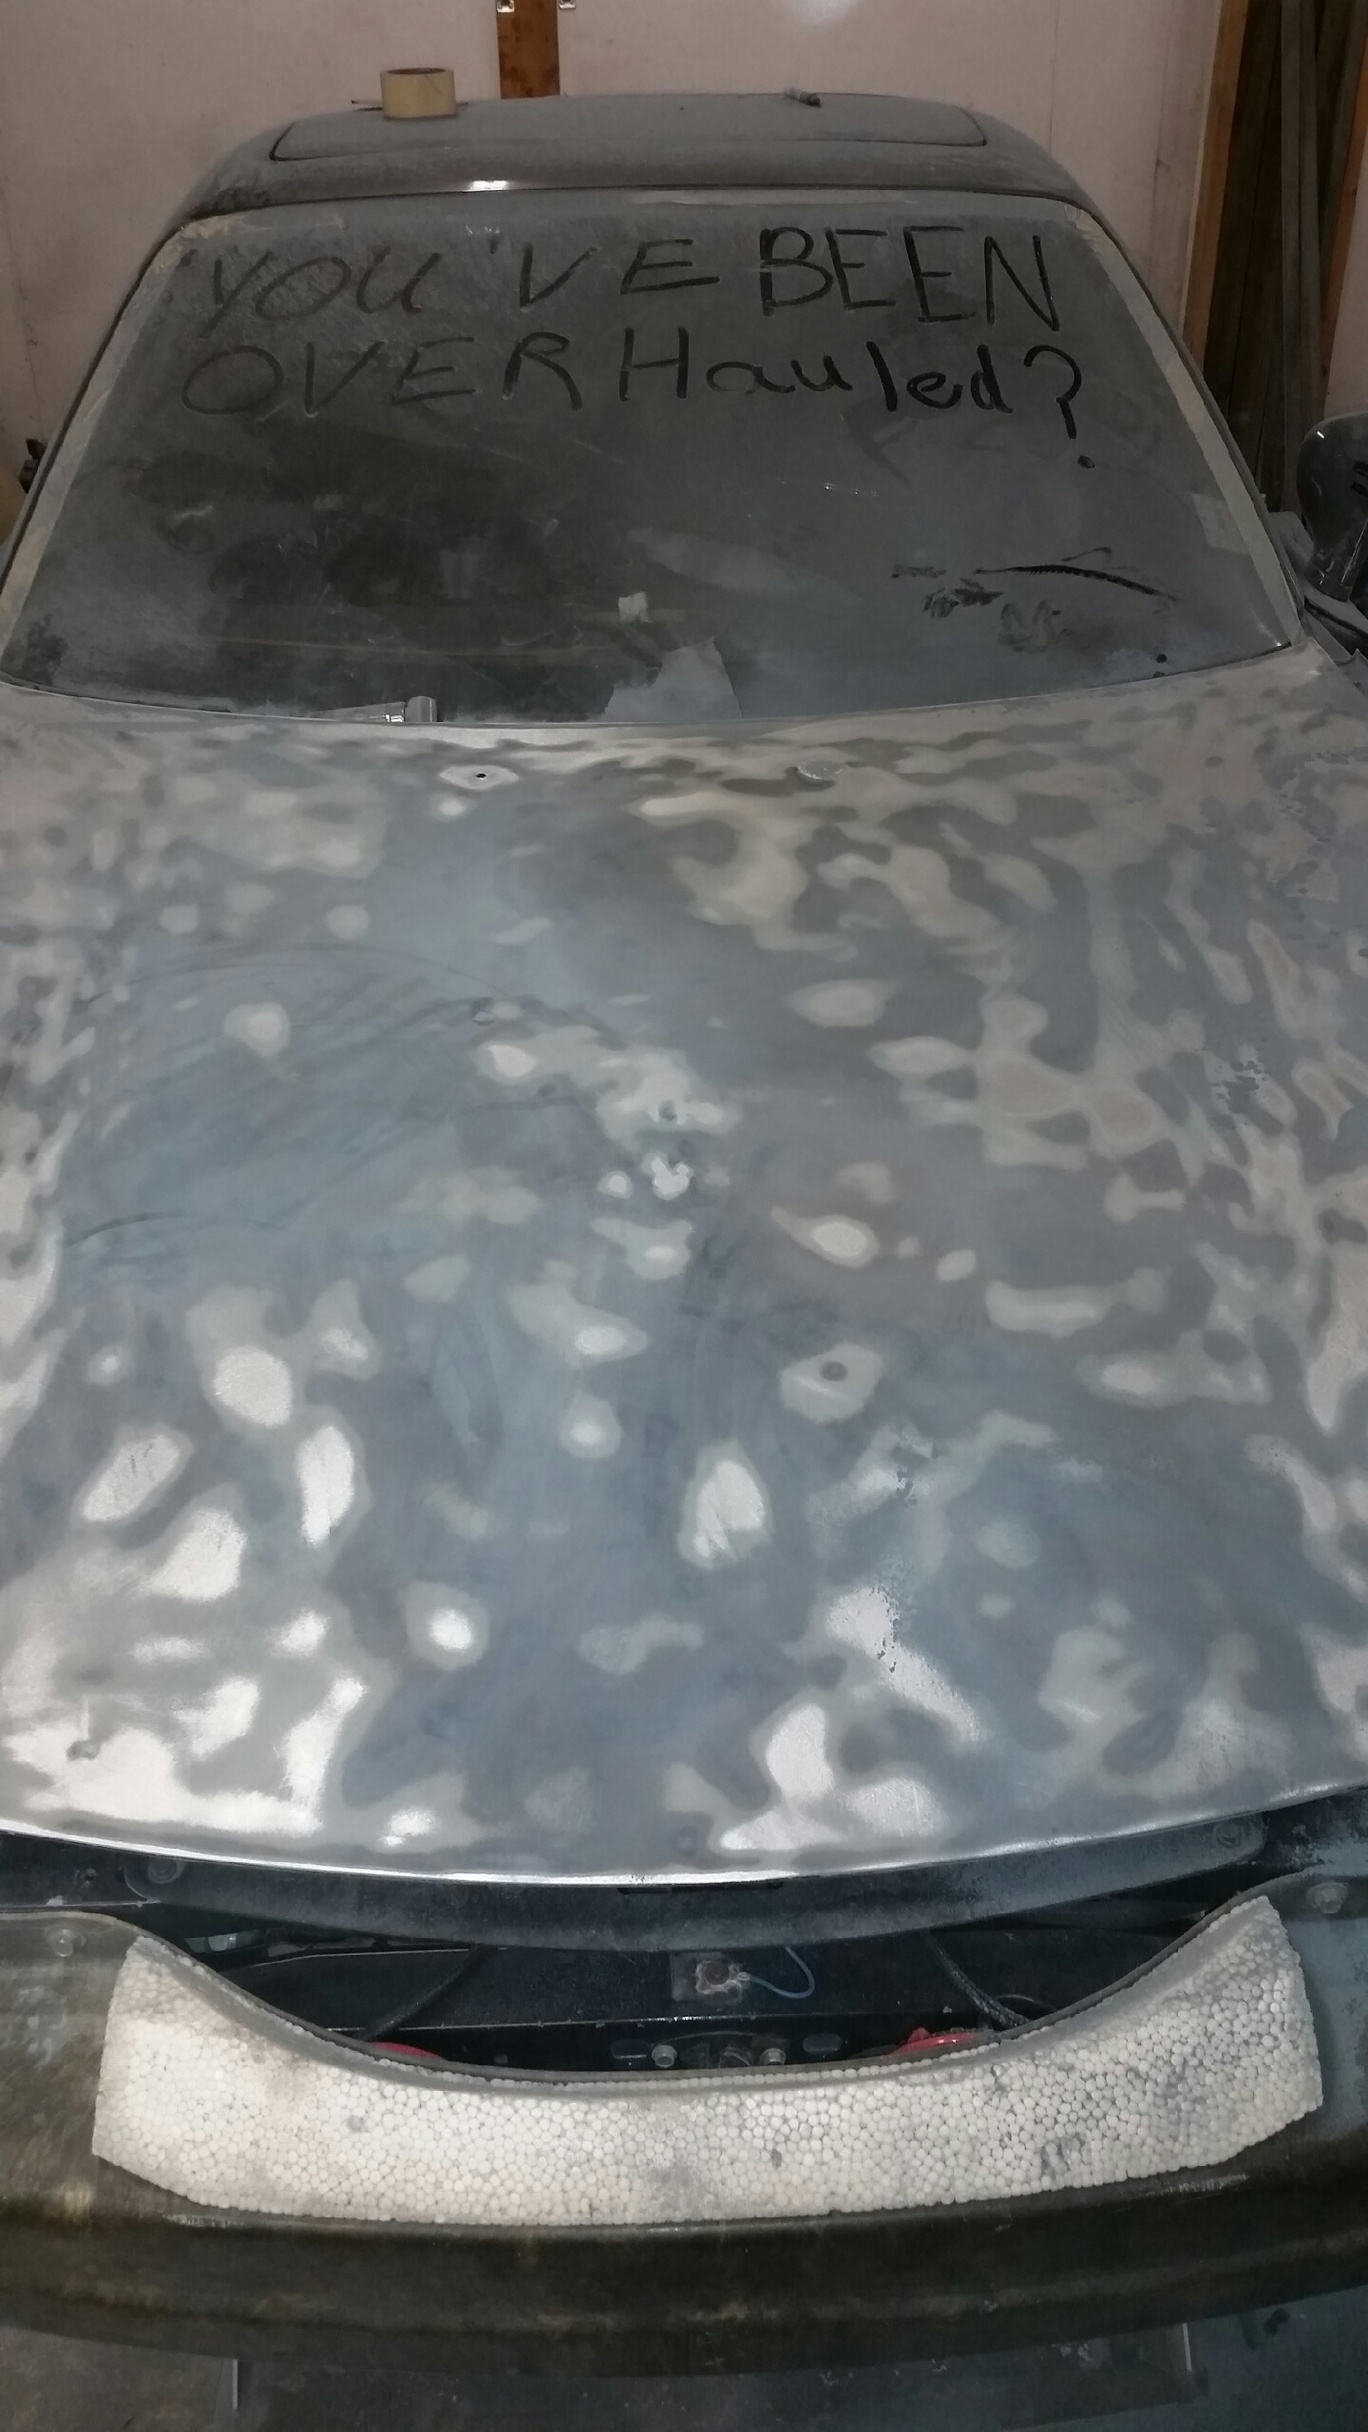
Yes sir! I am definitely feeling overhauled at the moment
Supplies from yesterday
Uh oh! Started work on the hood and found adhesion problems with the newer layers of paint. It was bad enough that they were peeling off!
Picking it off in flakes
Was able to peel the center of the hood off in ~5minutes.
John's theory for the adhesion problems is that the last shop primed the hood then painted it with a thin base coat apparently with the intention of laying down a heavier coat later. Well the heavier coat didn't come quick enough (we estimate a couple of days) and it missed its window to chemically bond to the other layer of paint. In fact, the first layer seems to have cured well enough that the orange peel could be seen when peeling off the top layer.
Muhahaha! Slaaave labor
Nekked
Yes sir! I am definitely feeling overhauled at the moment
09-23-14, 04:55 PM
#4
July 23, 2014, 08:50:13 AM
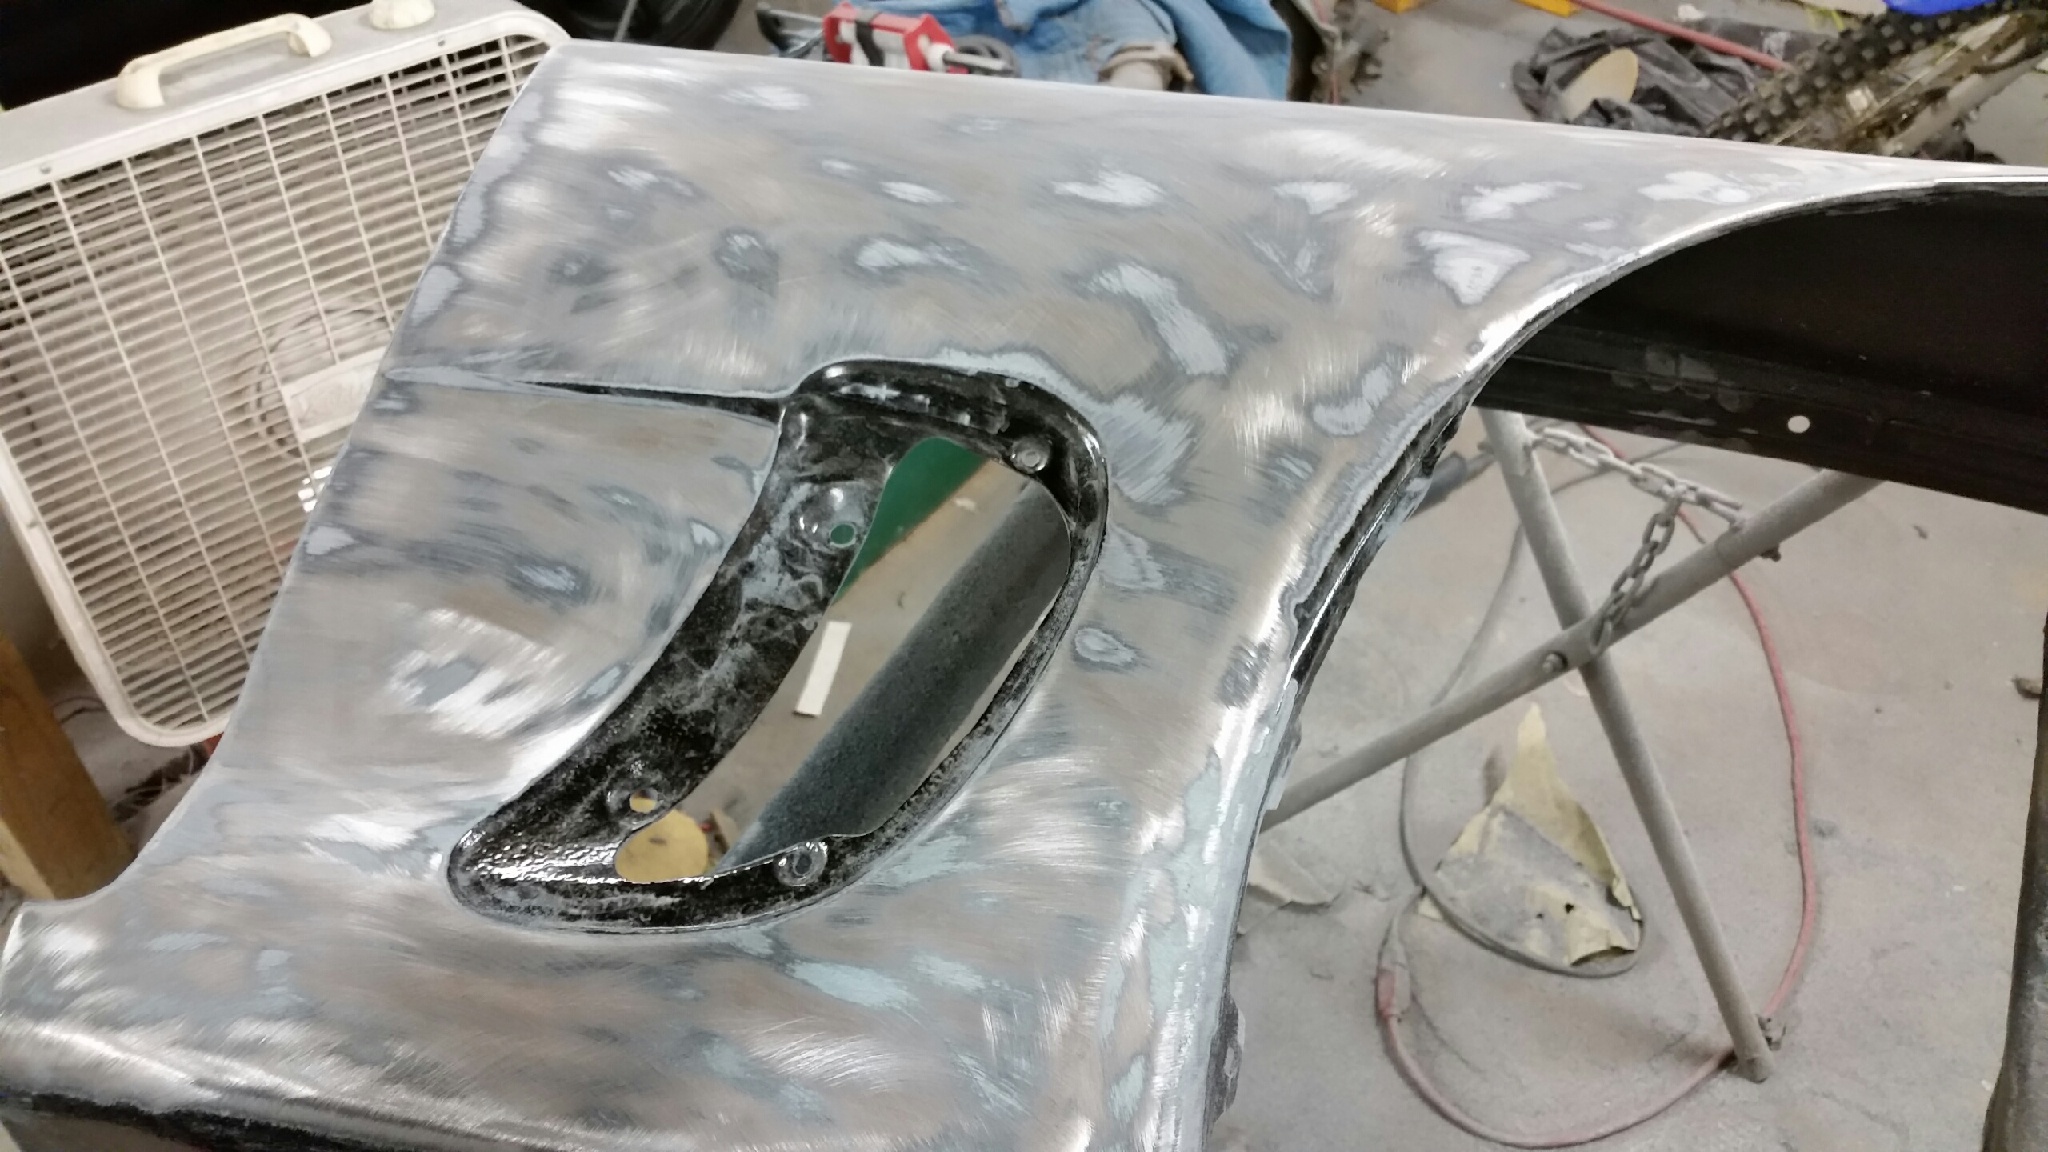
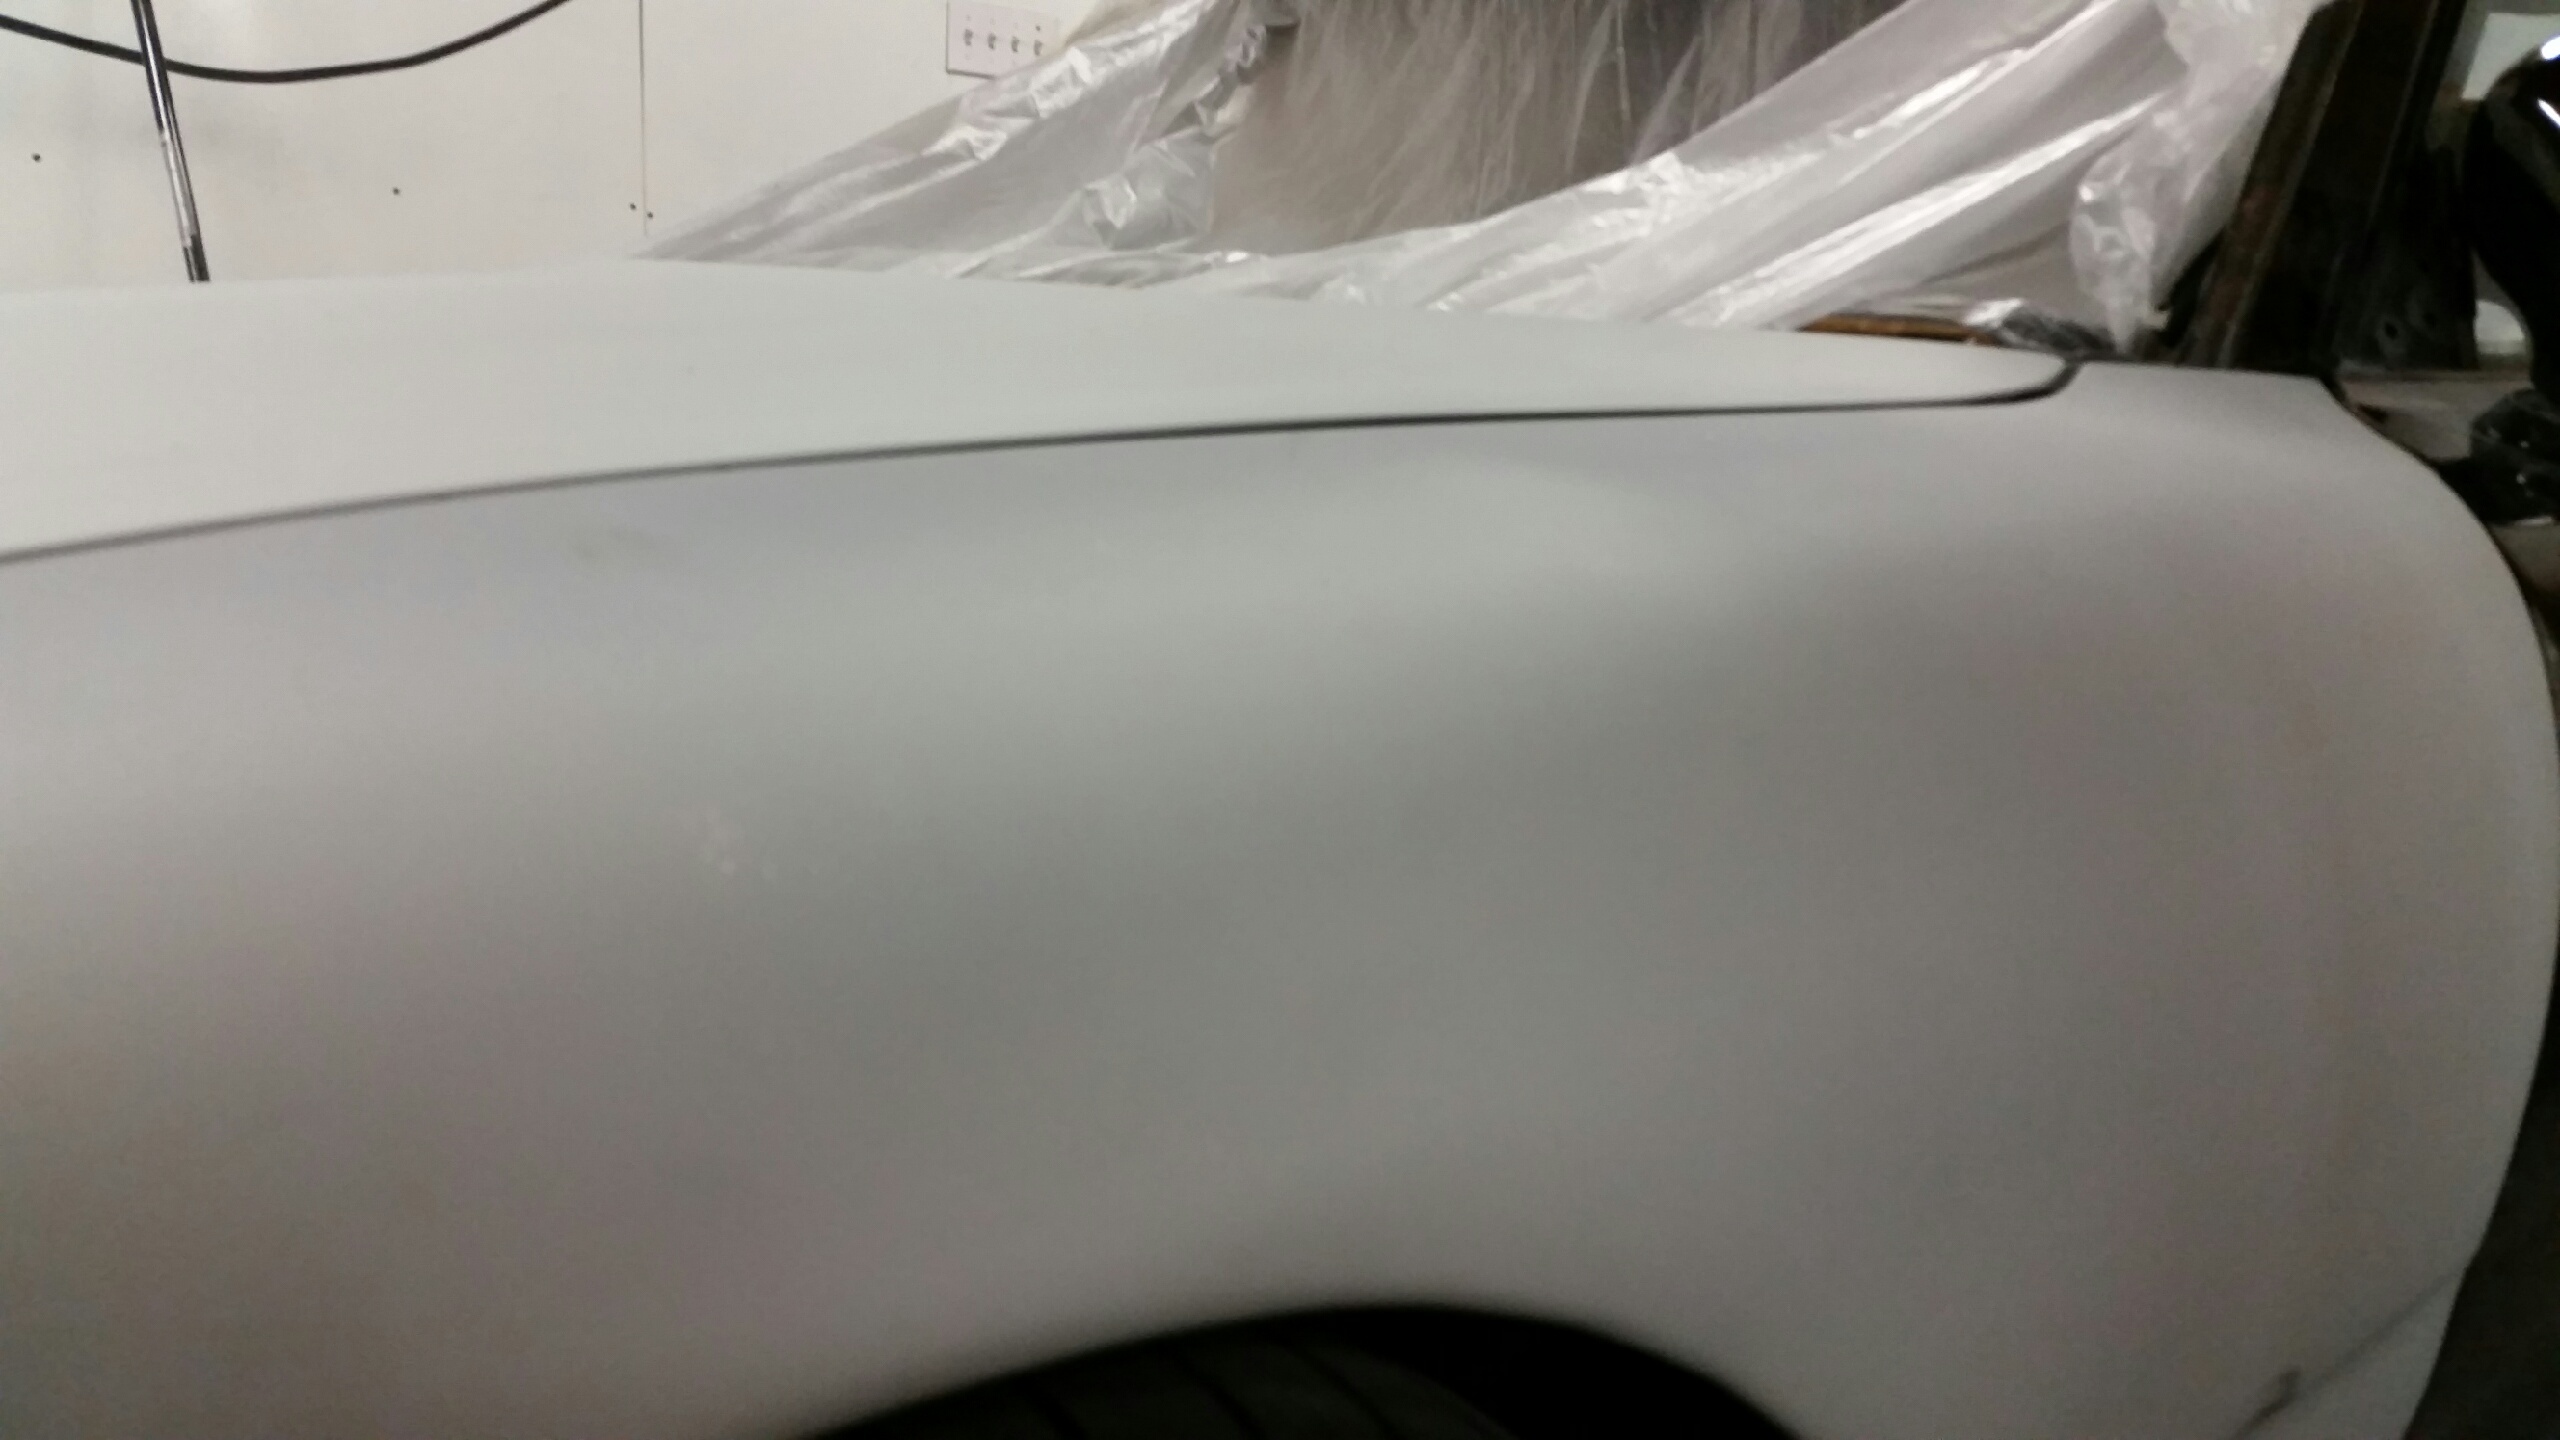
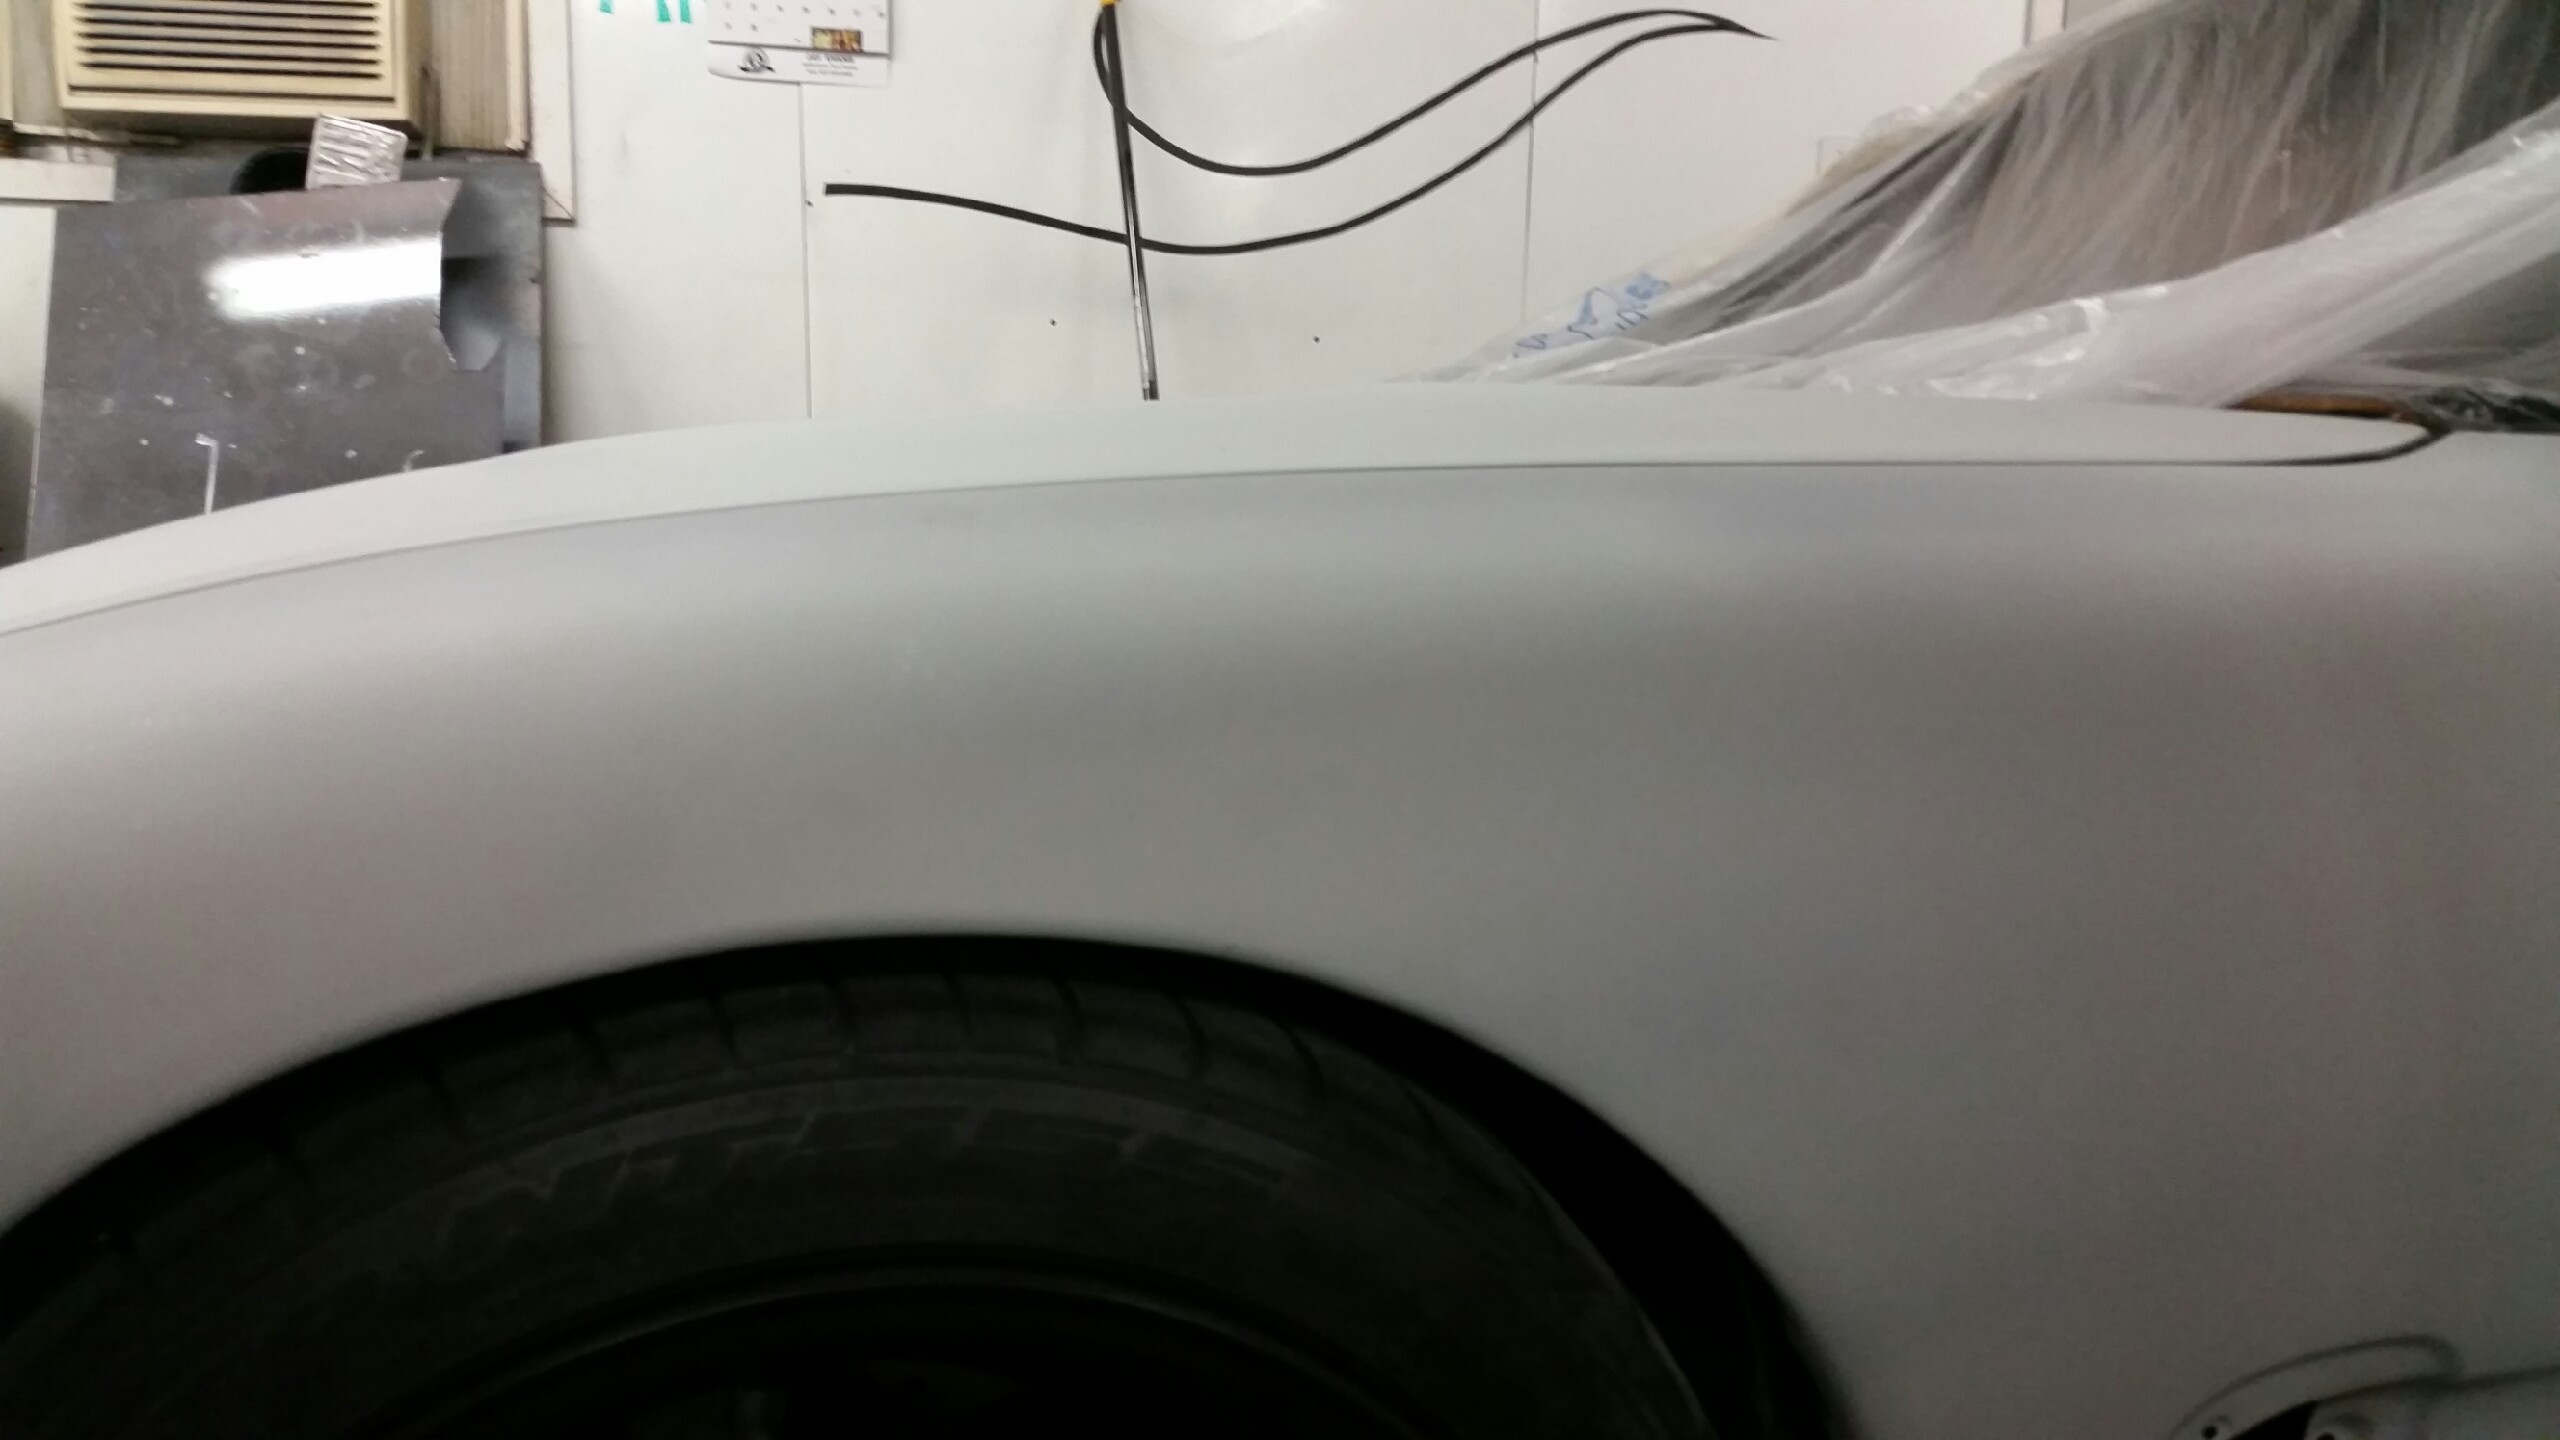
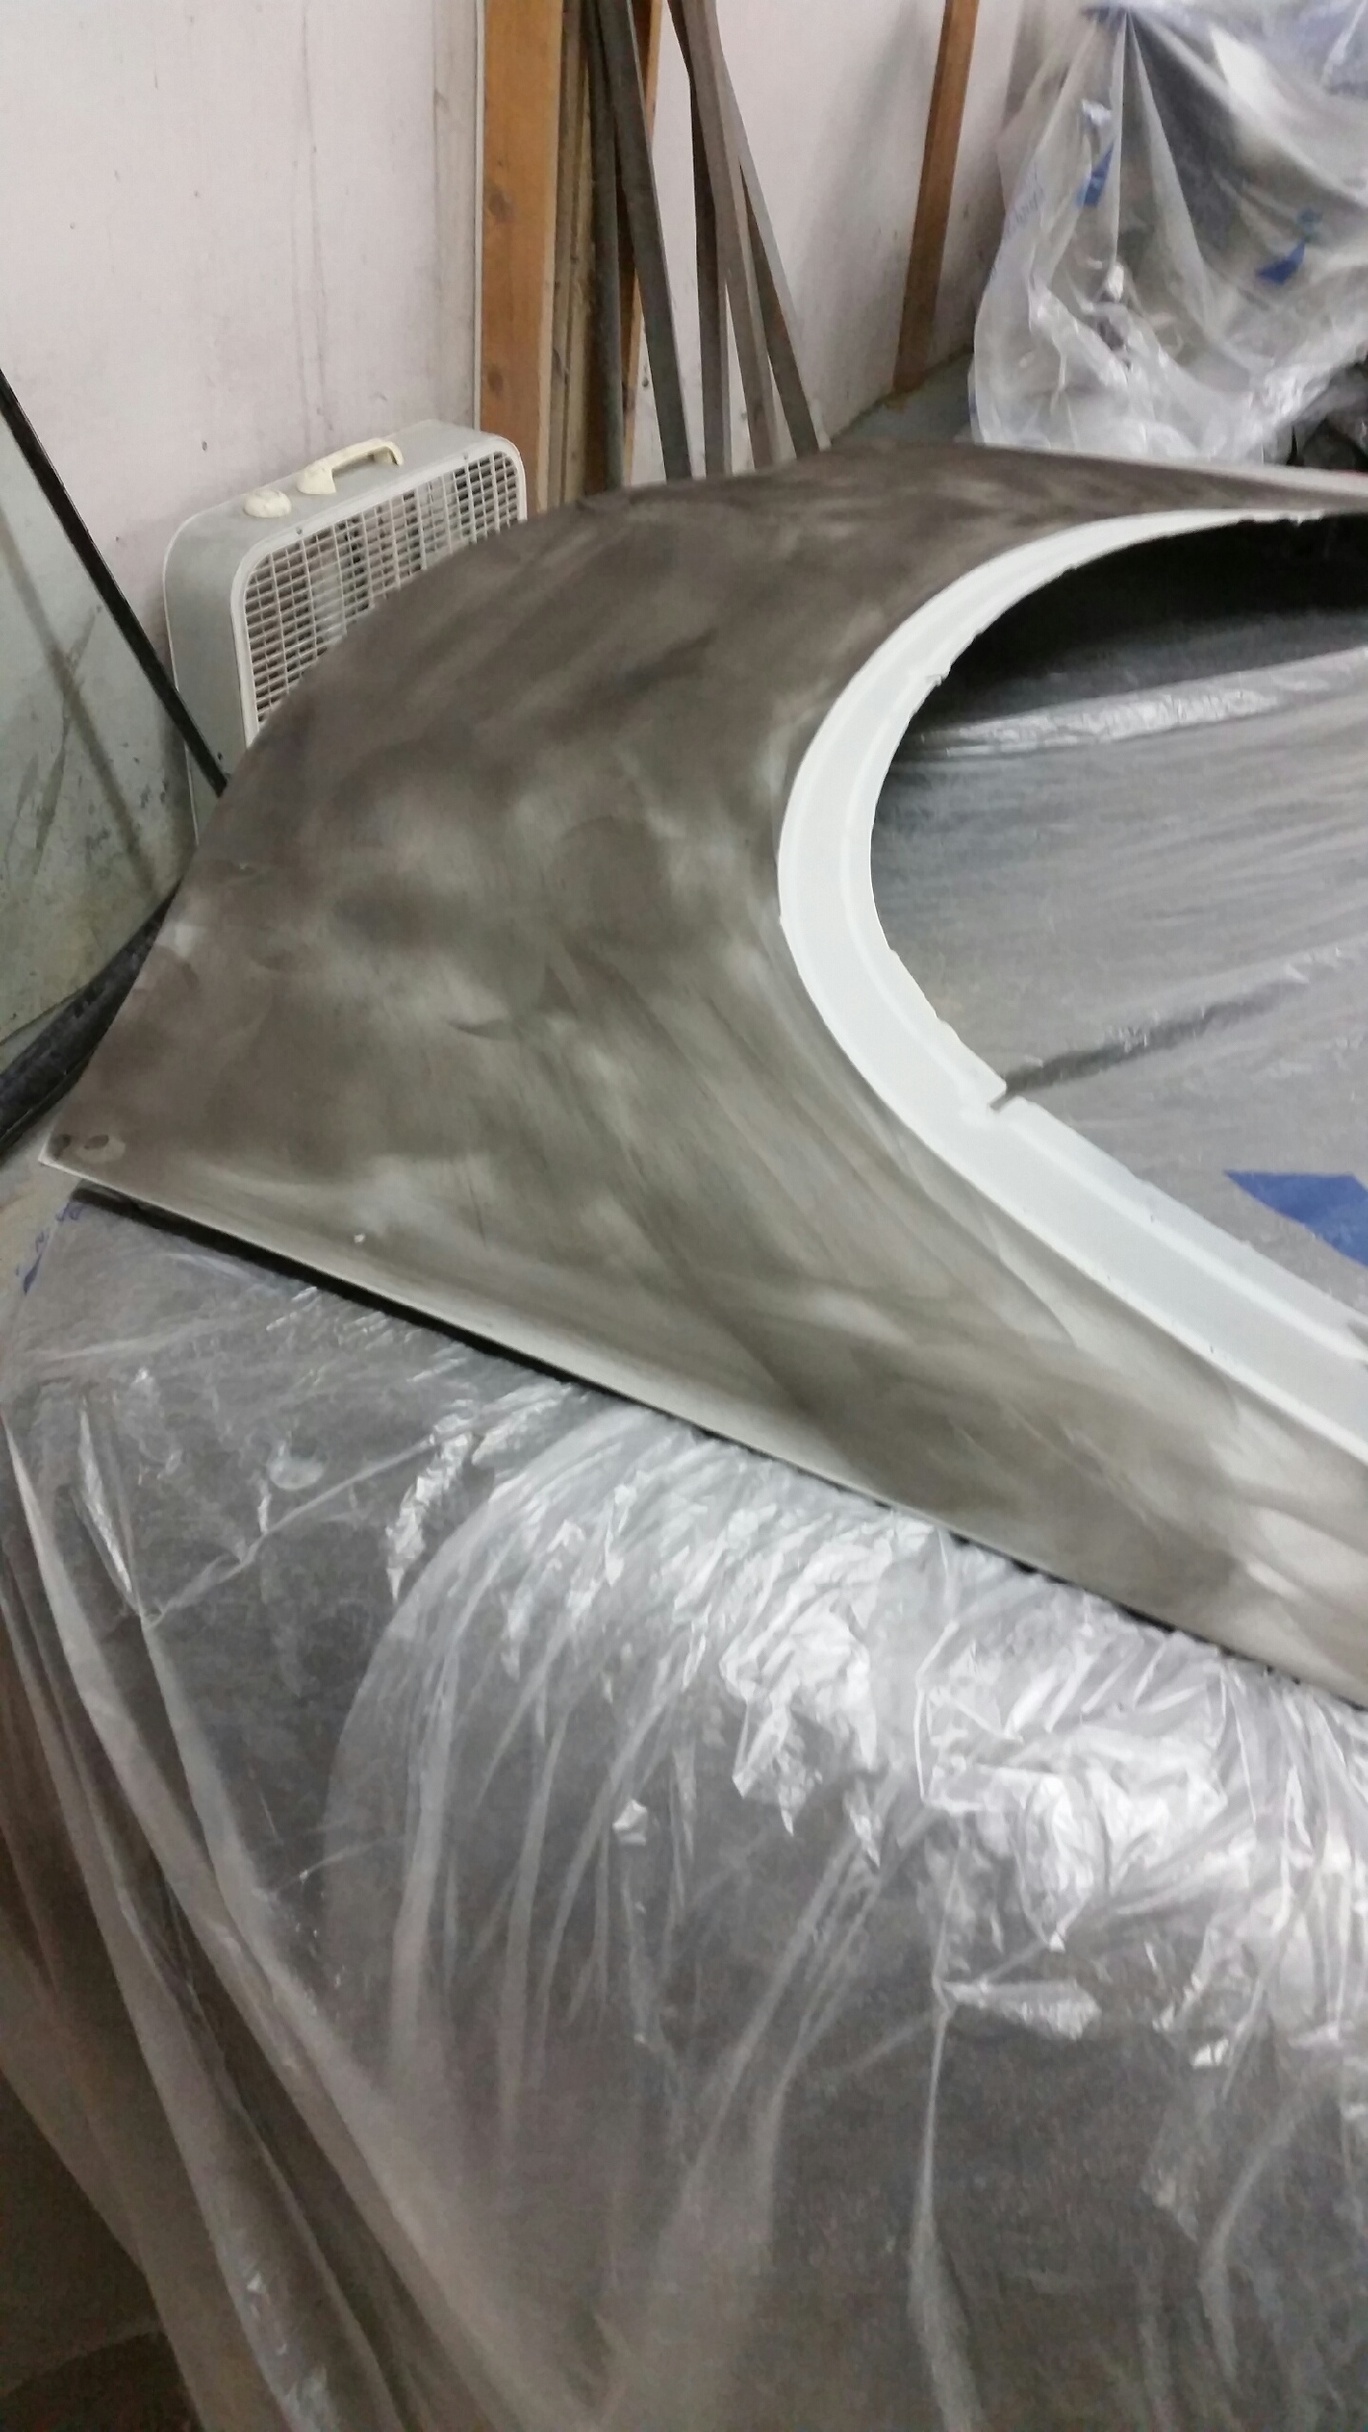
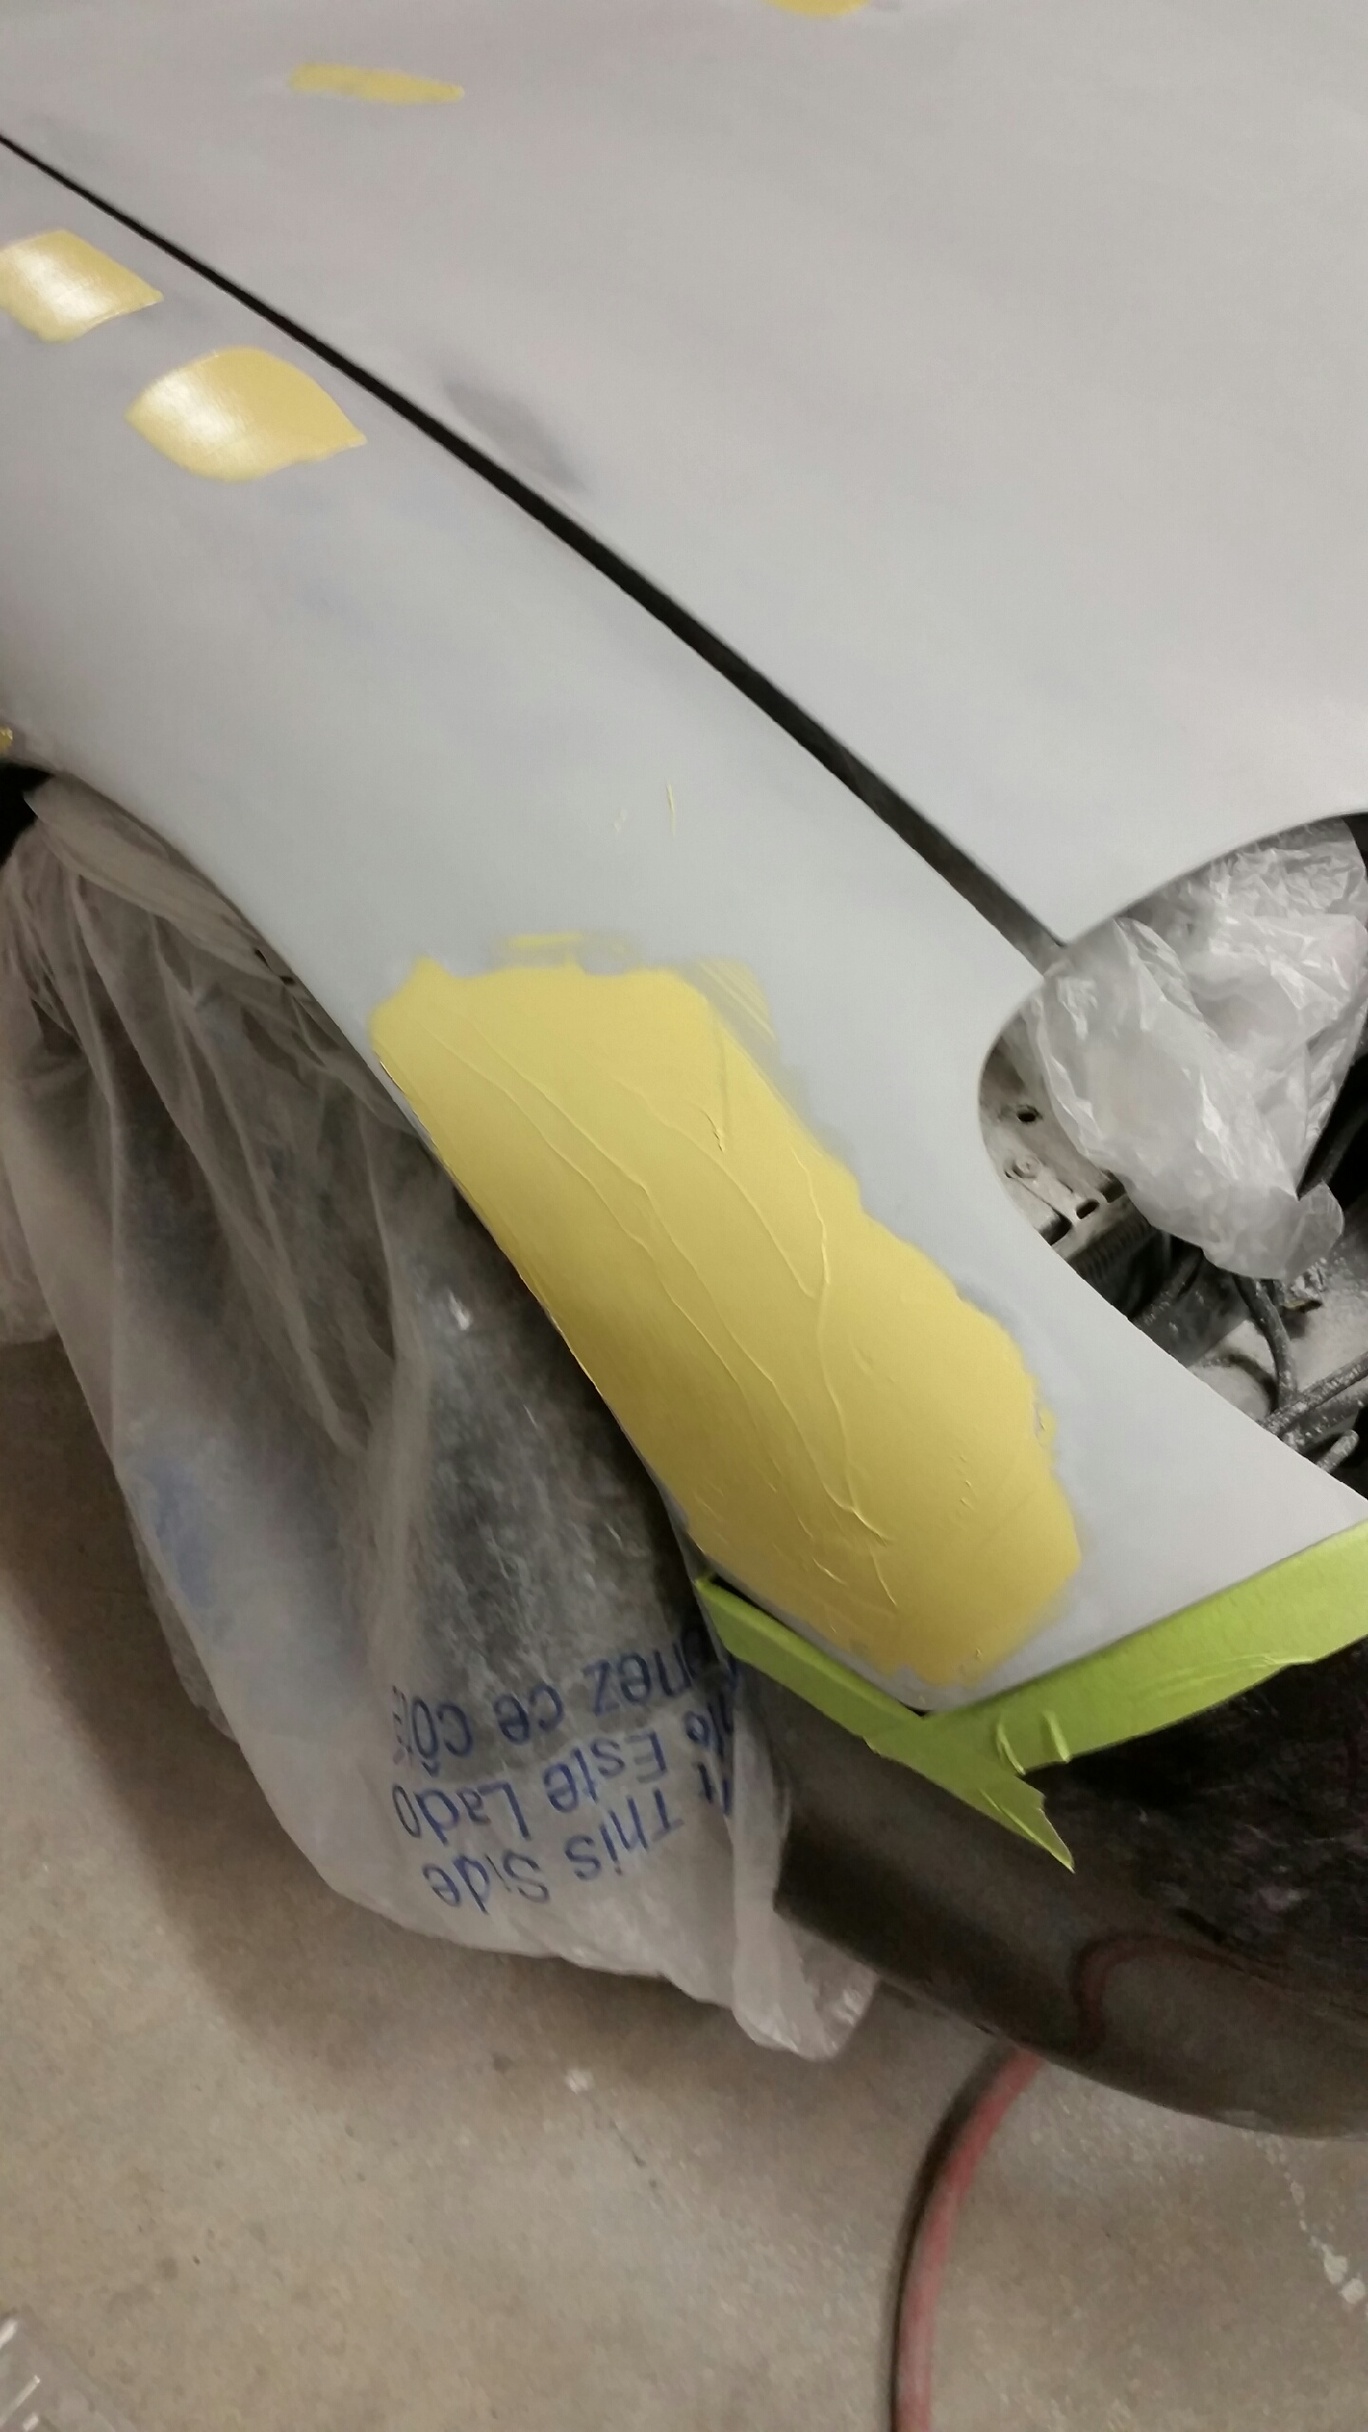
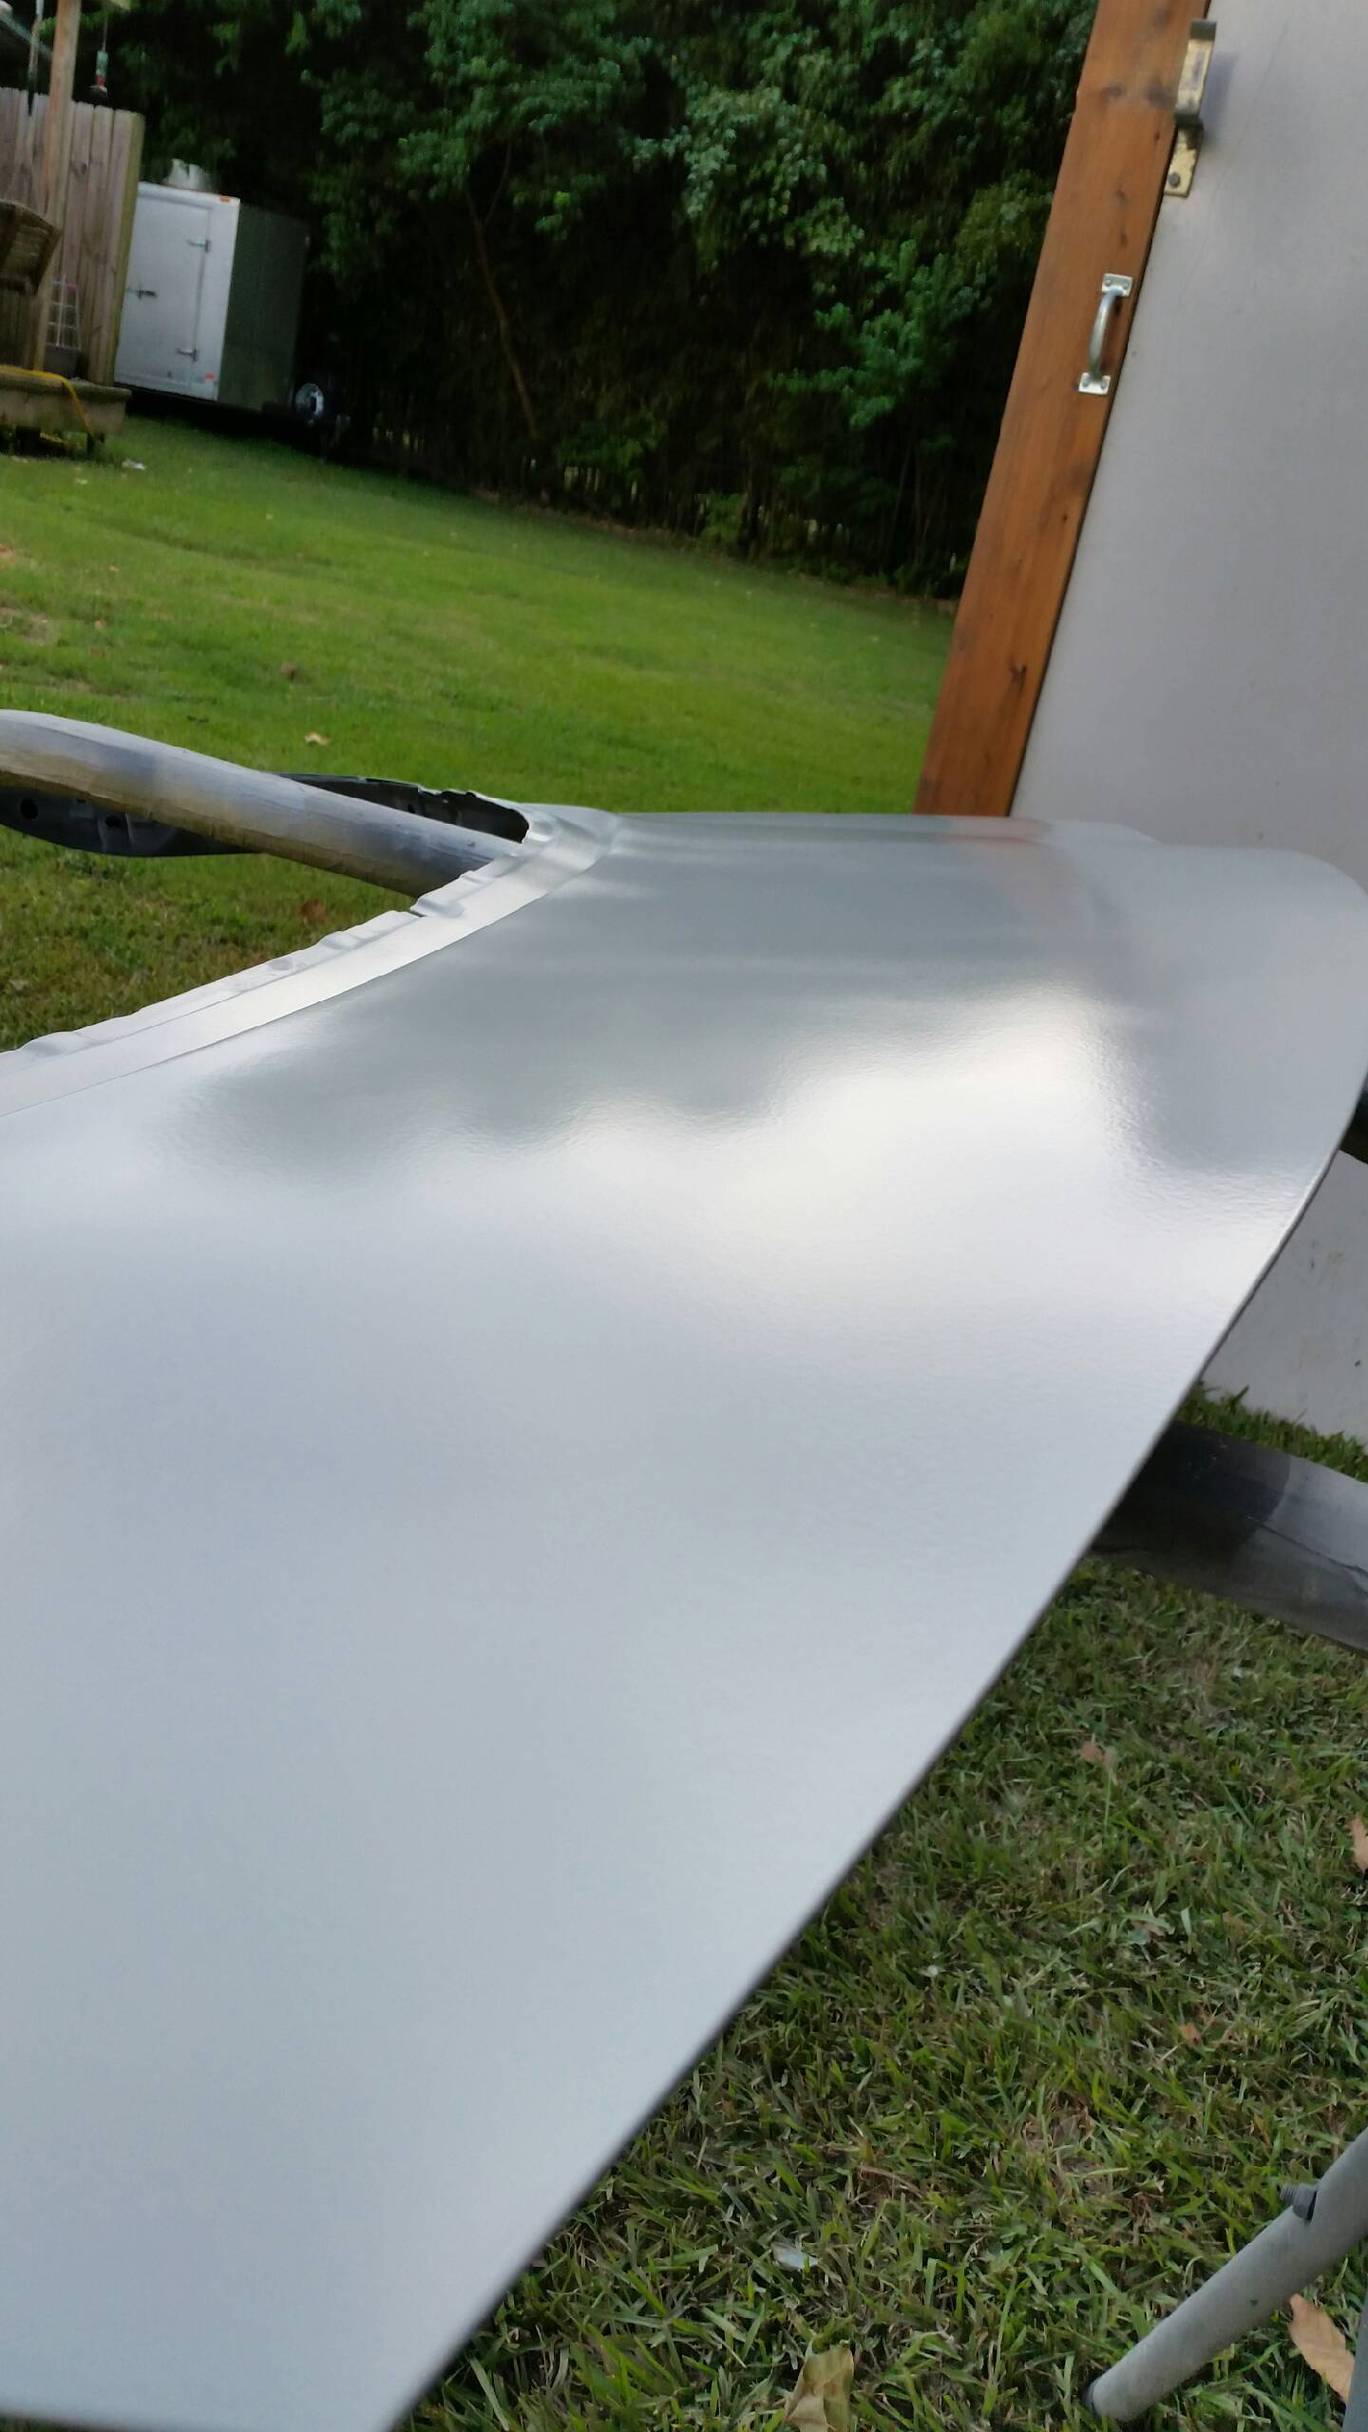
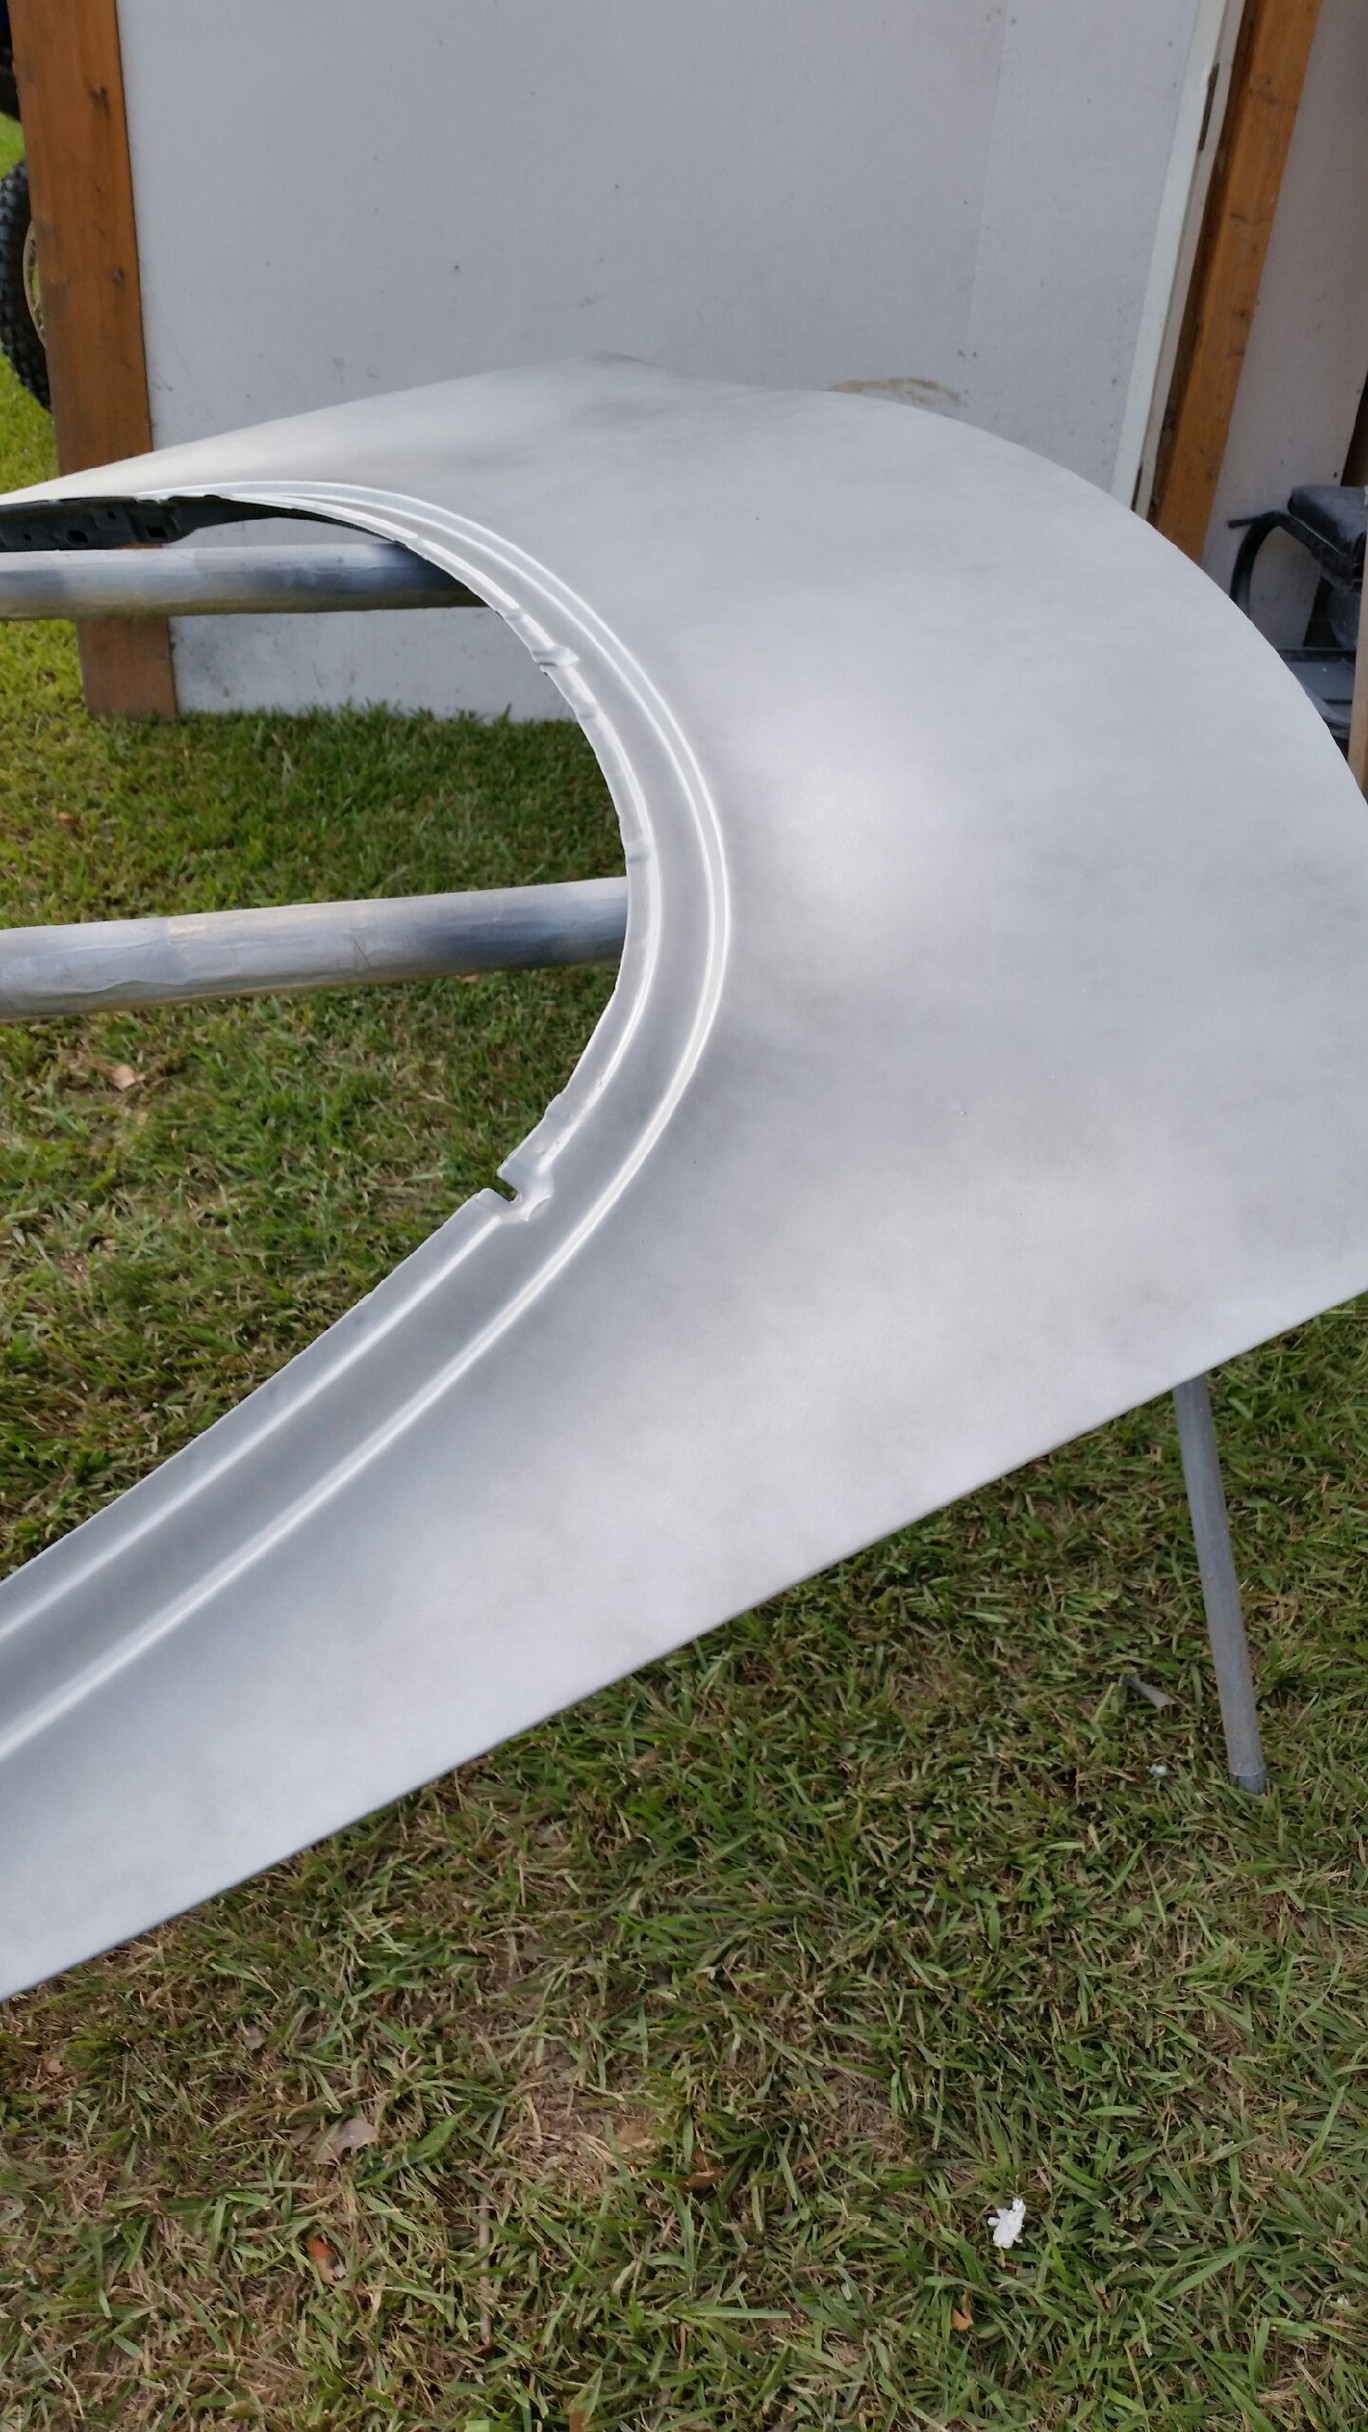
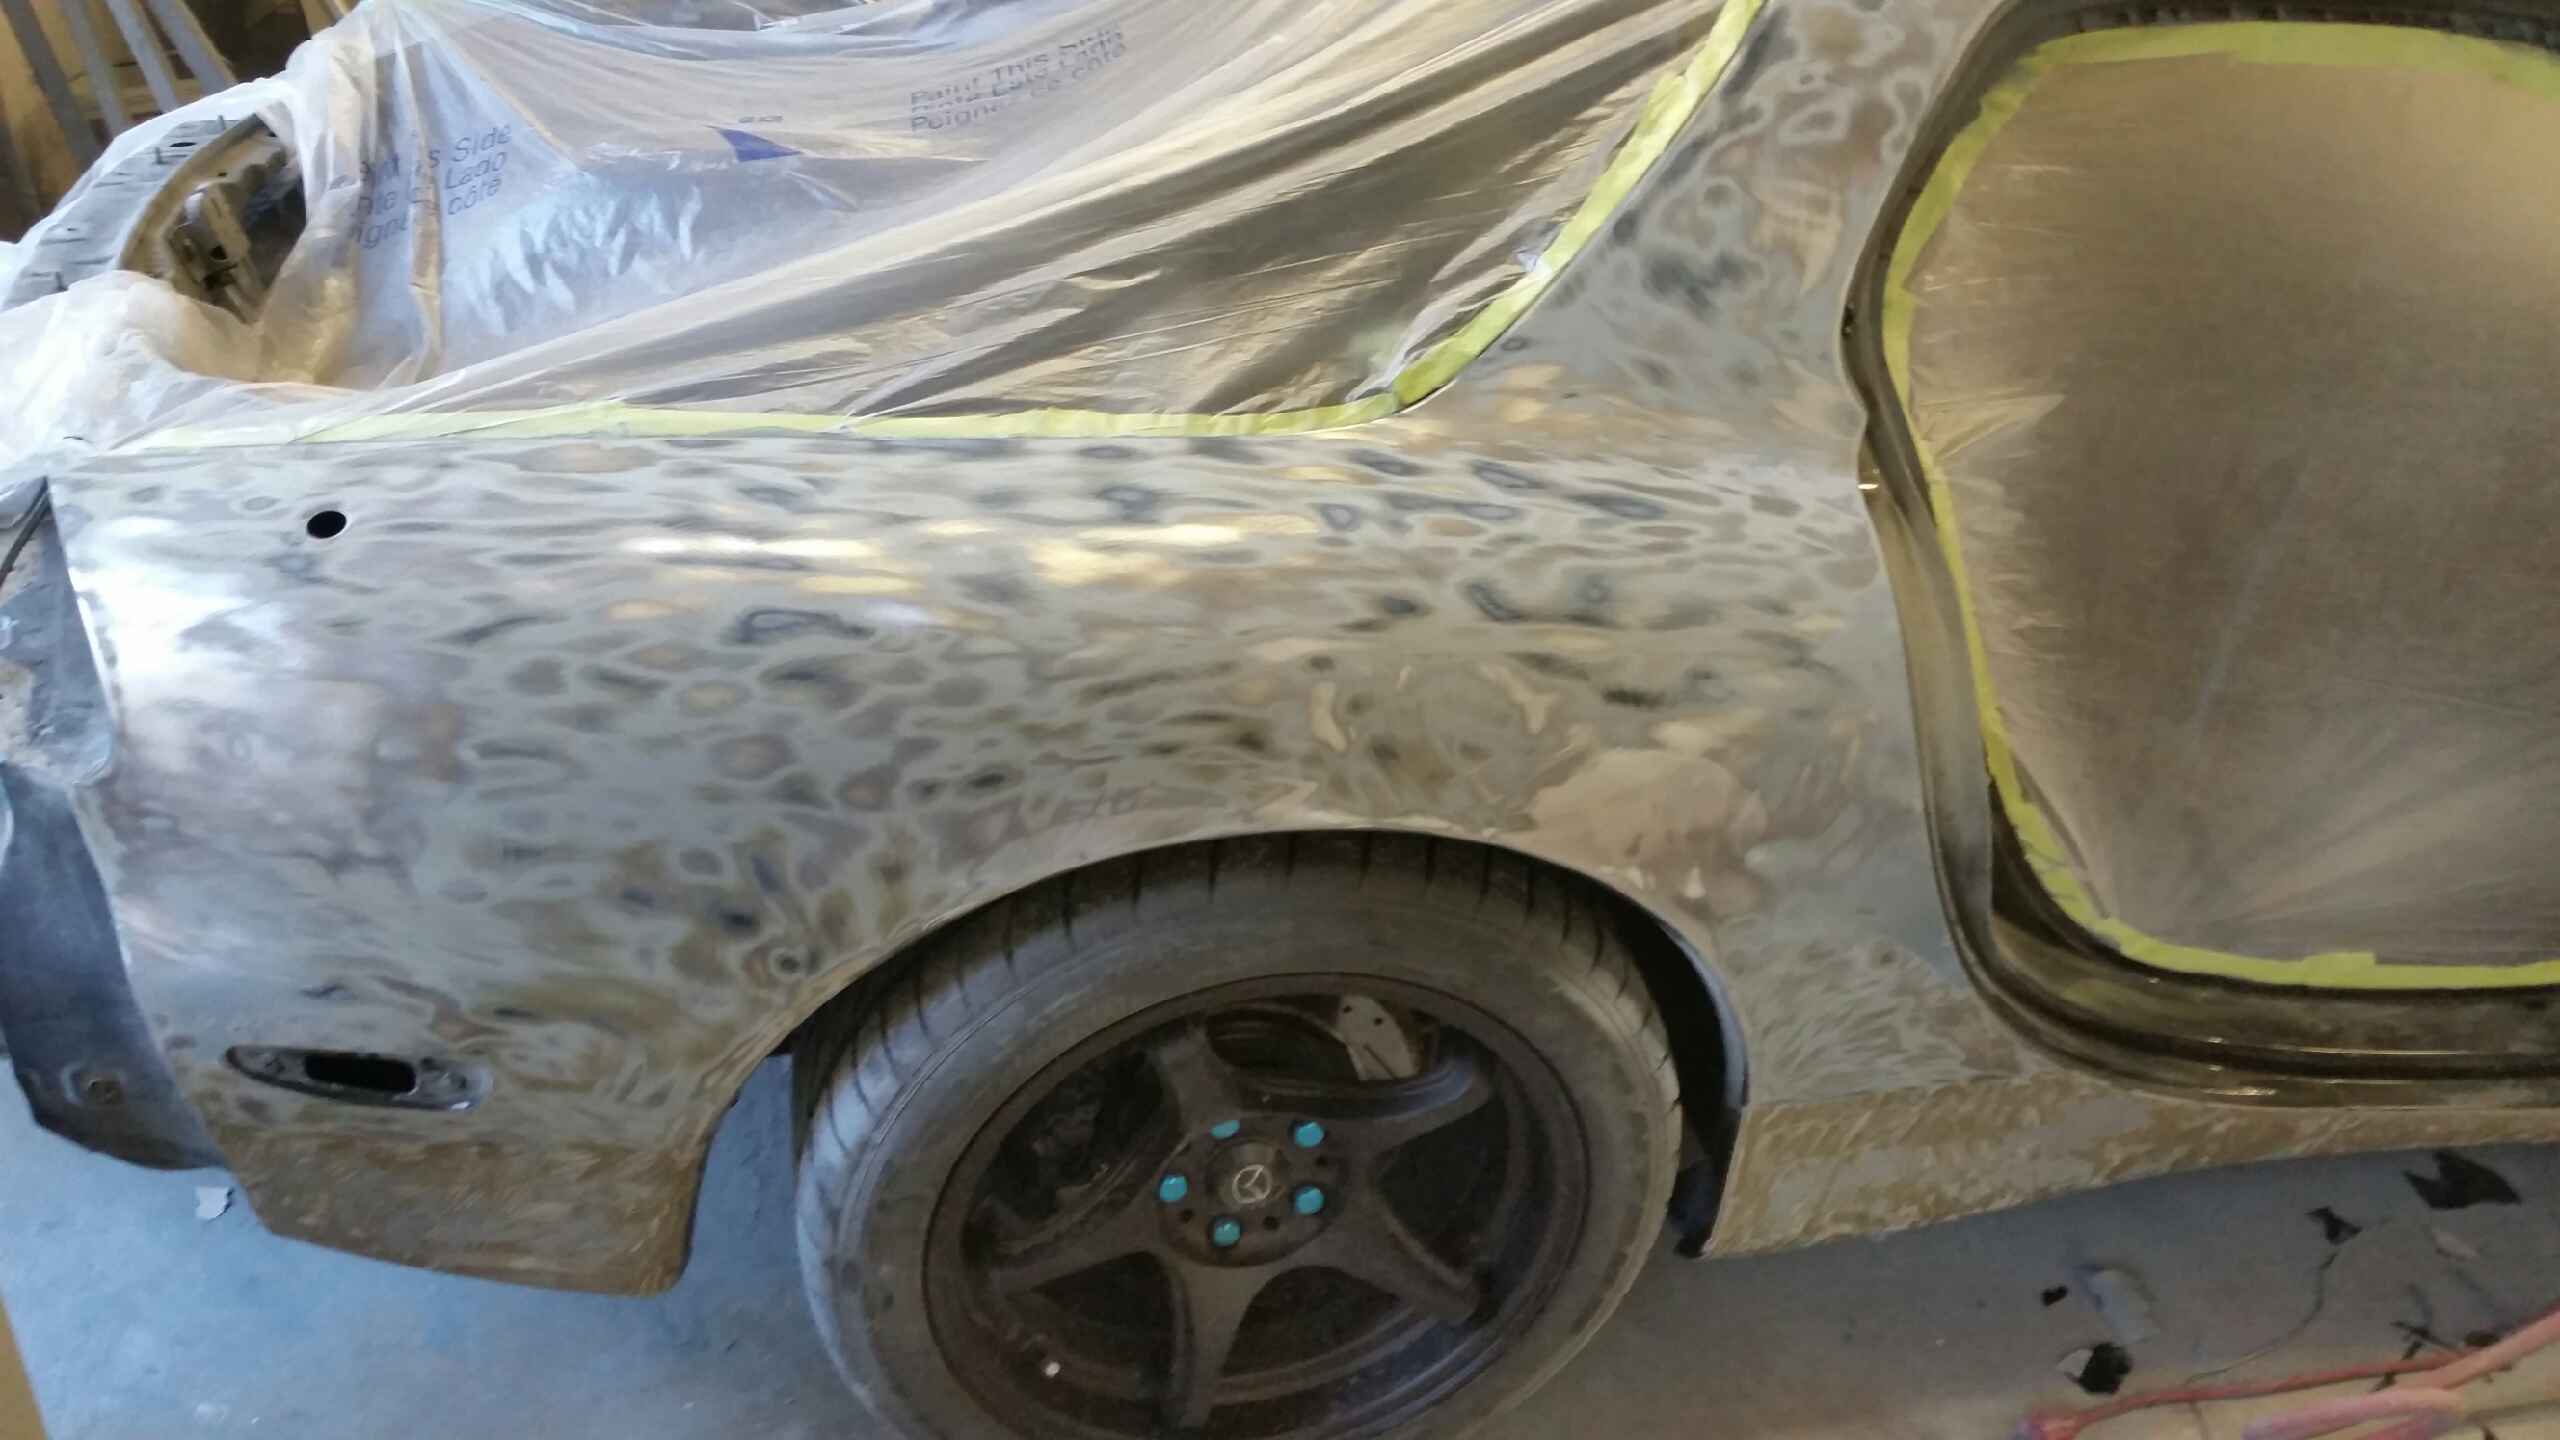
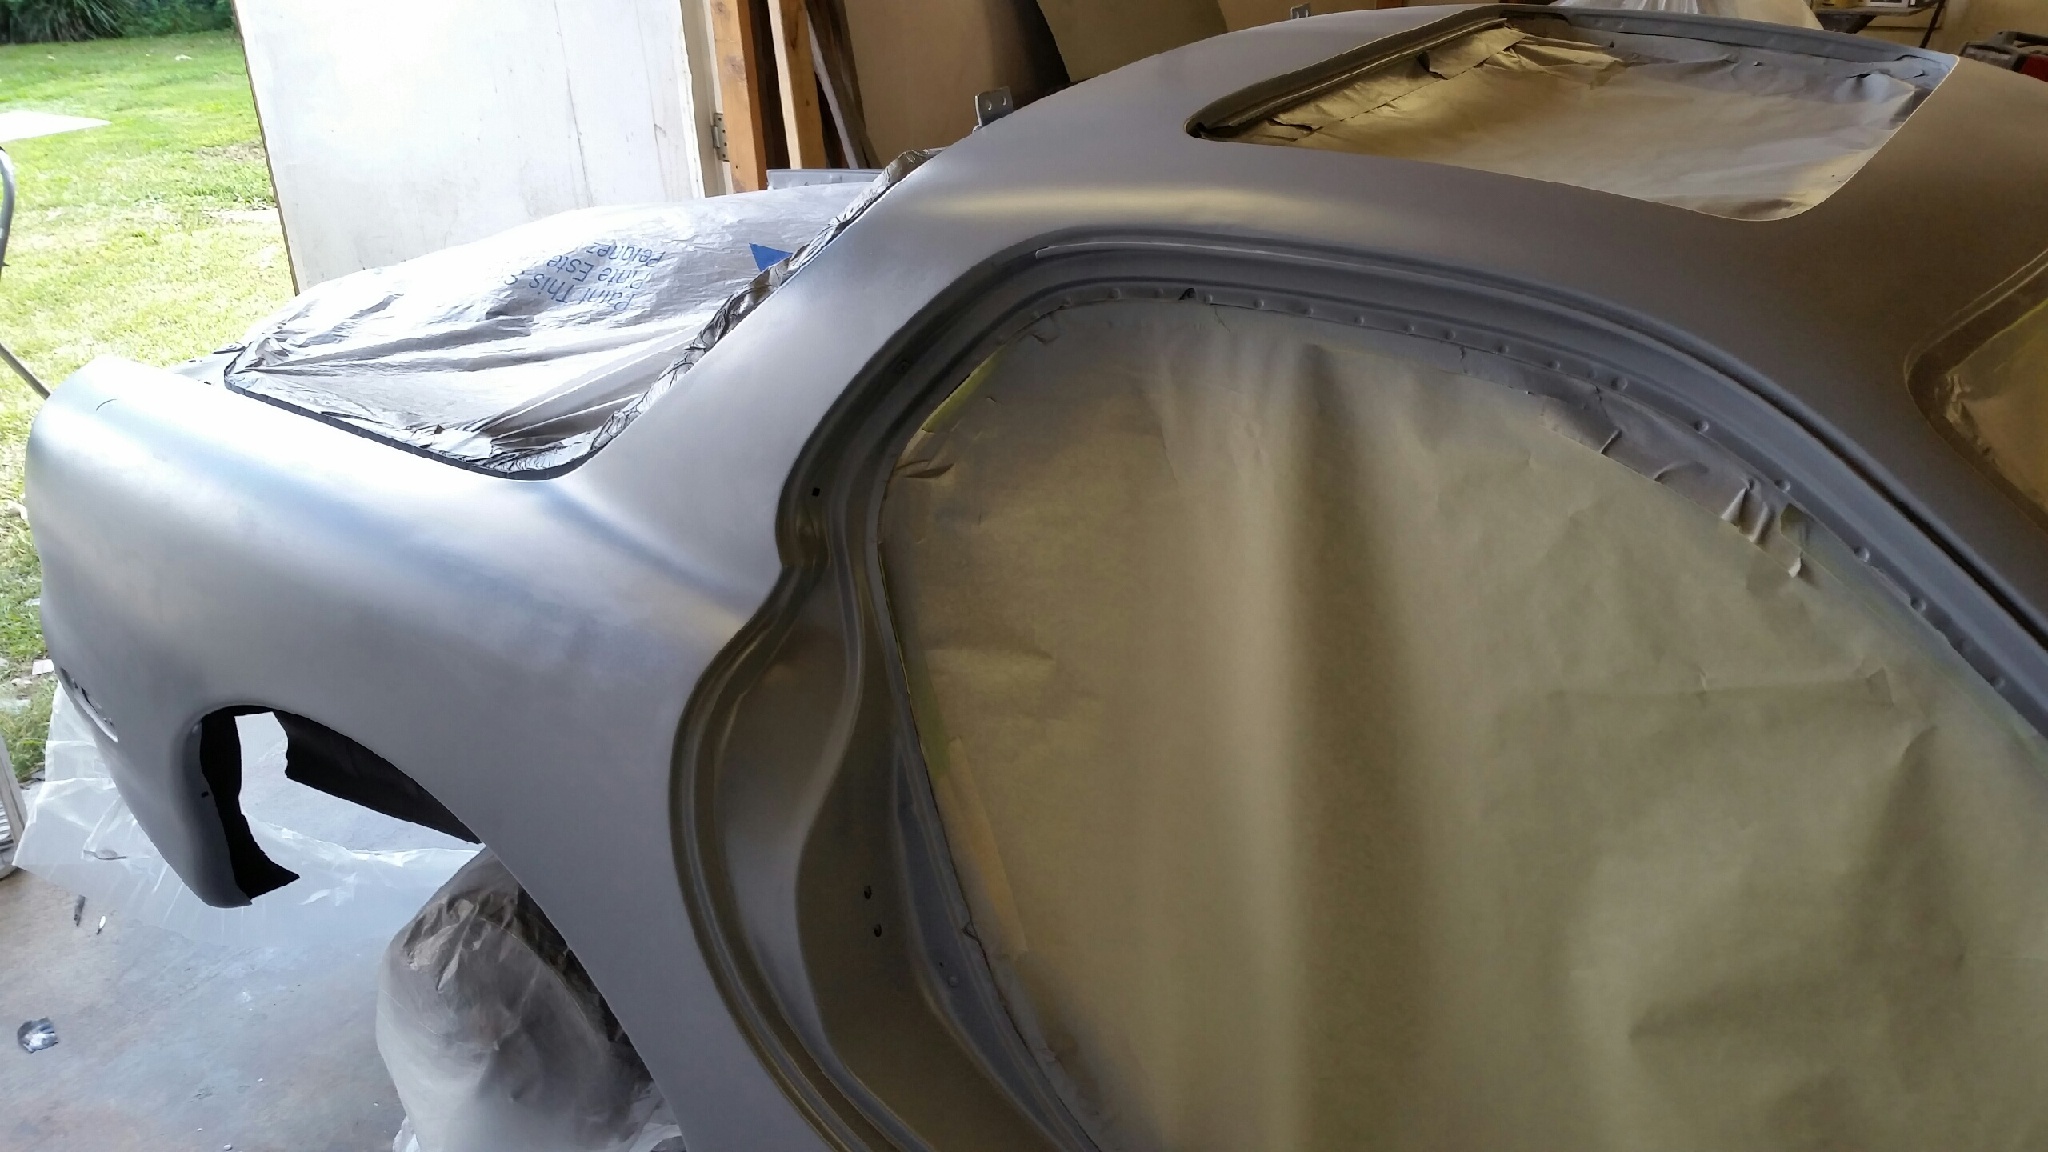
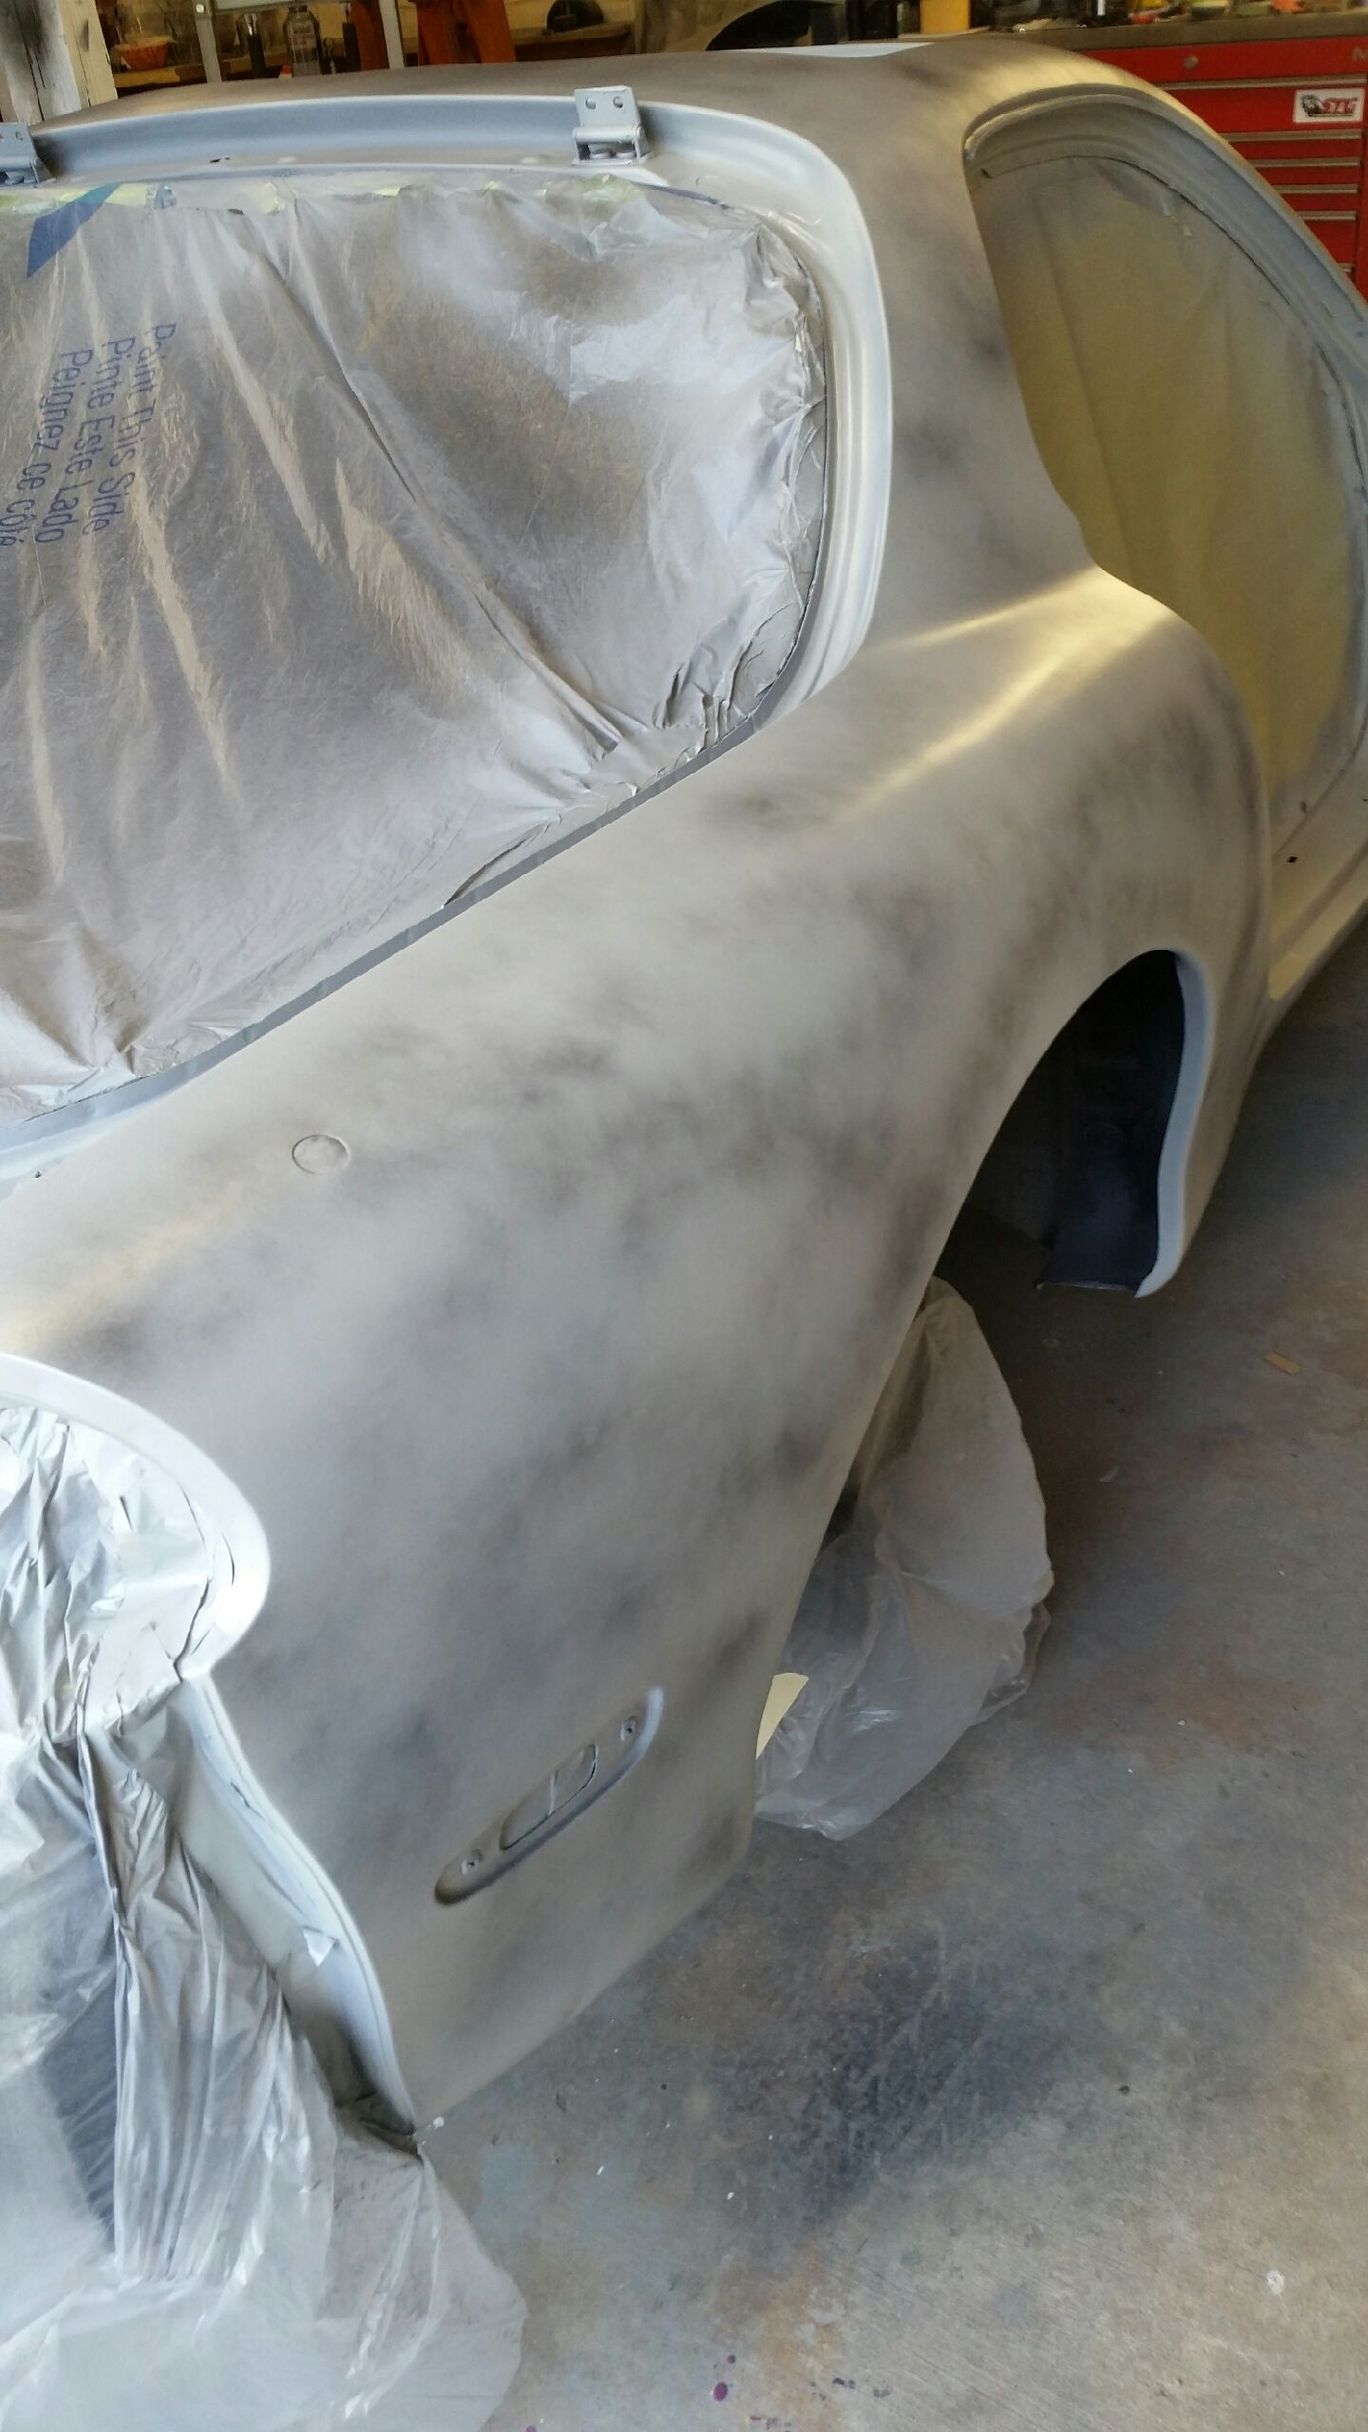
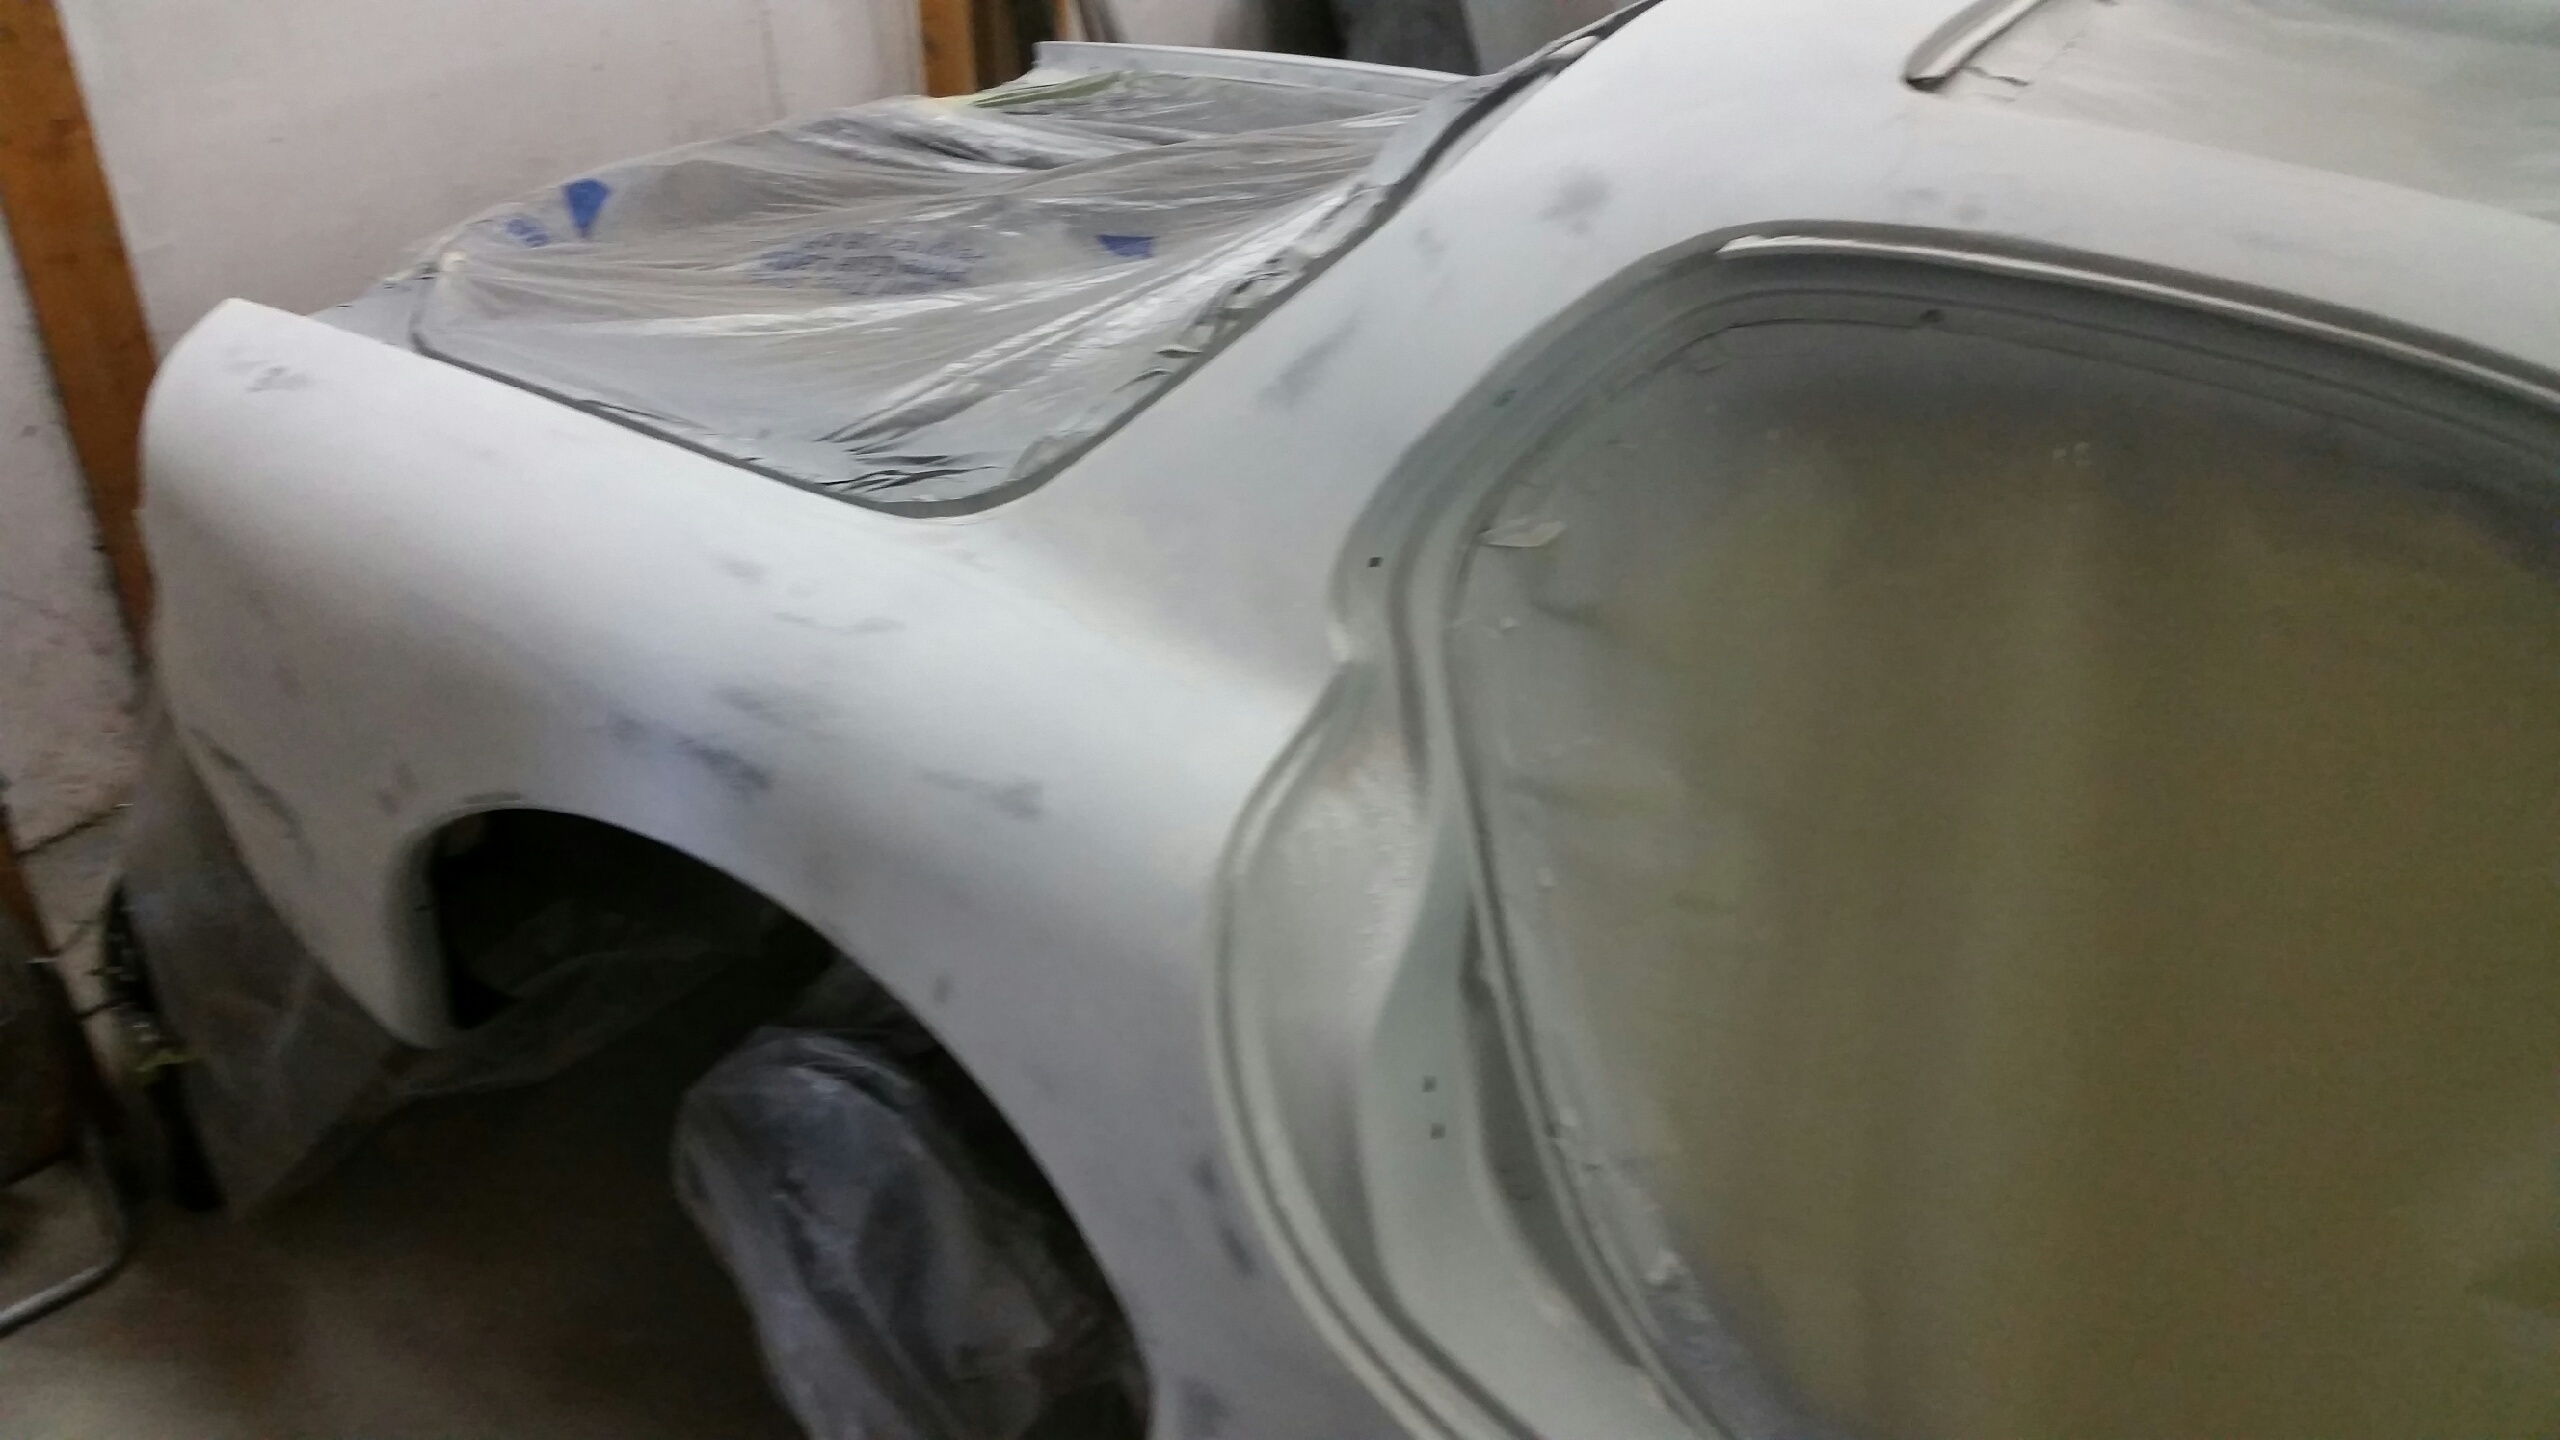
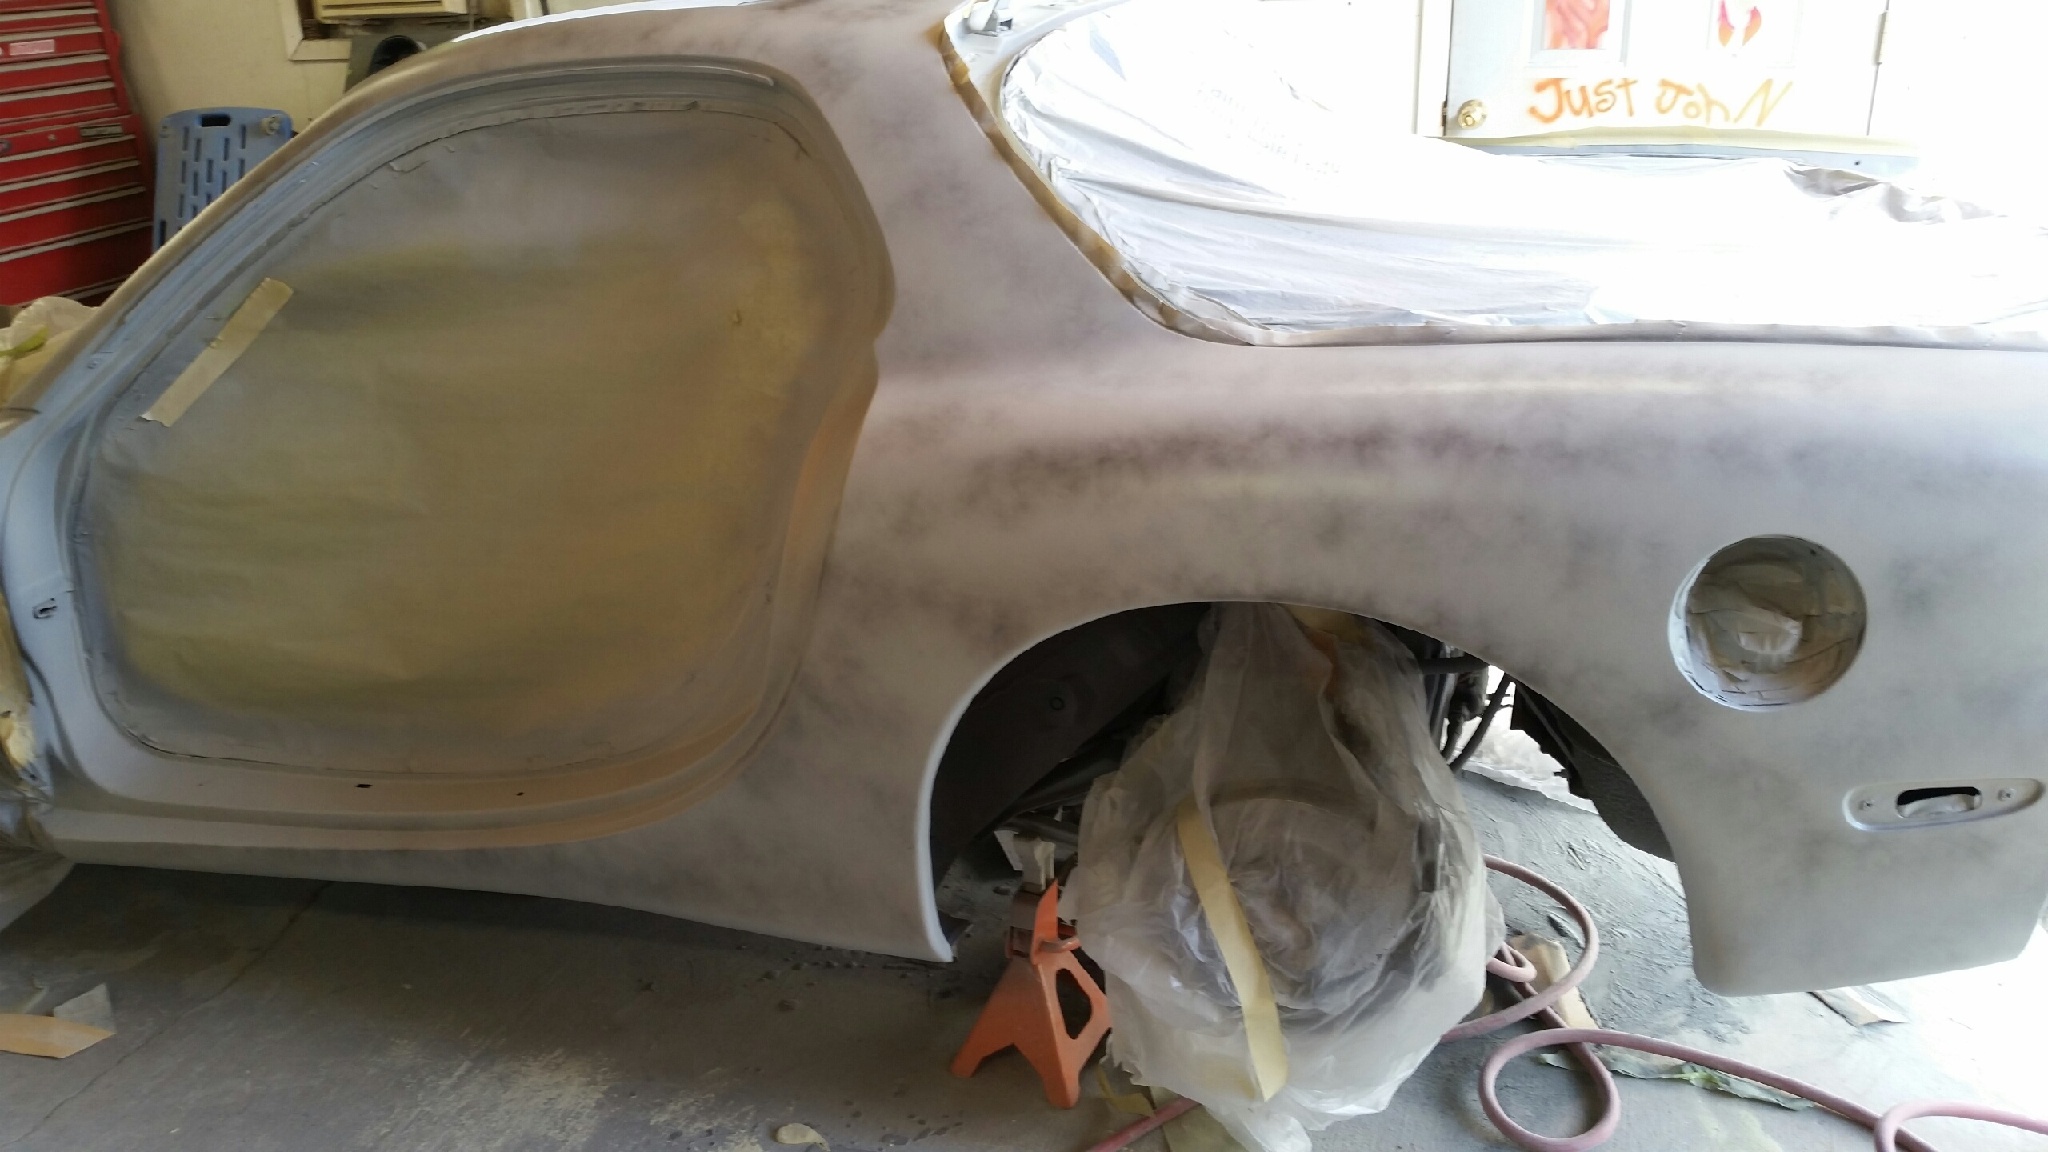
Driver's side fender has been stripped:
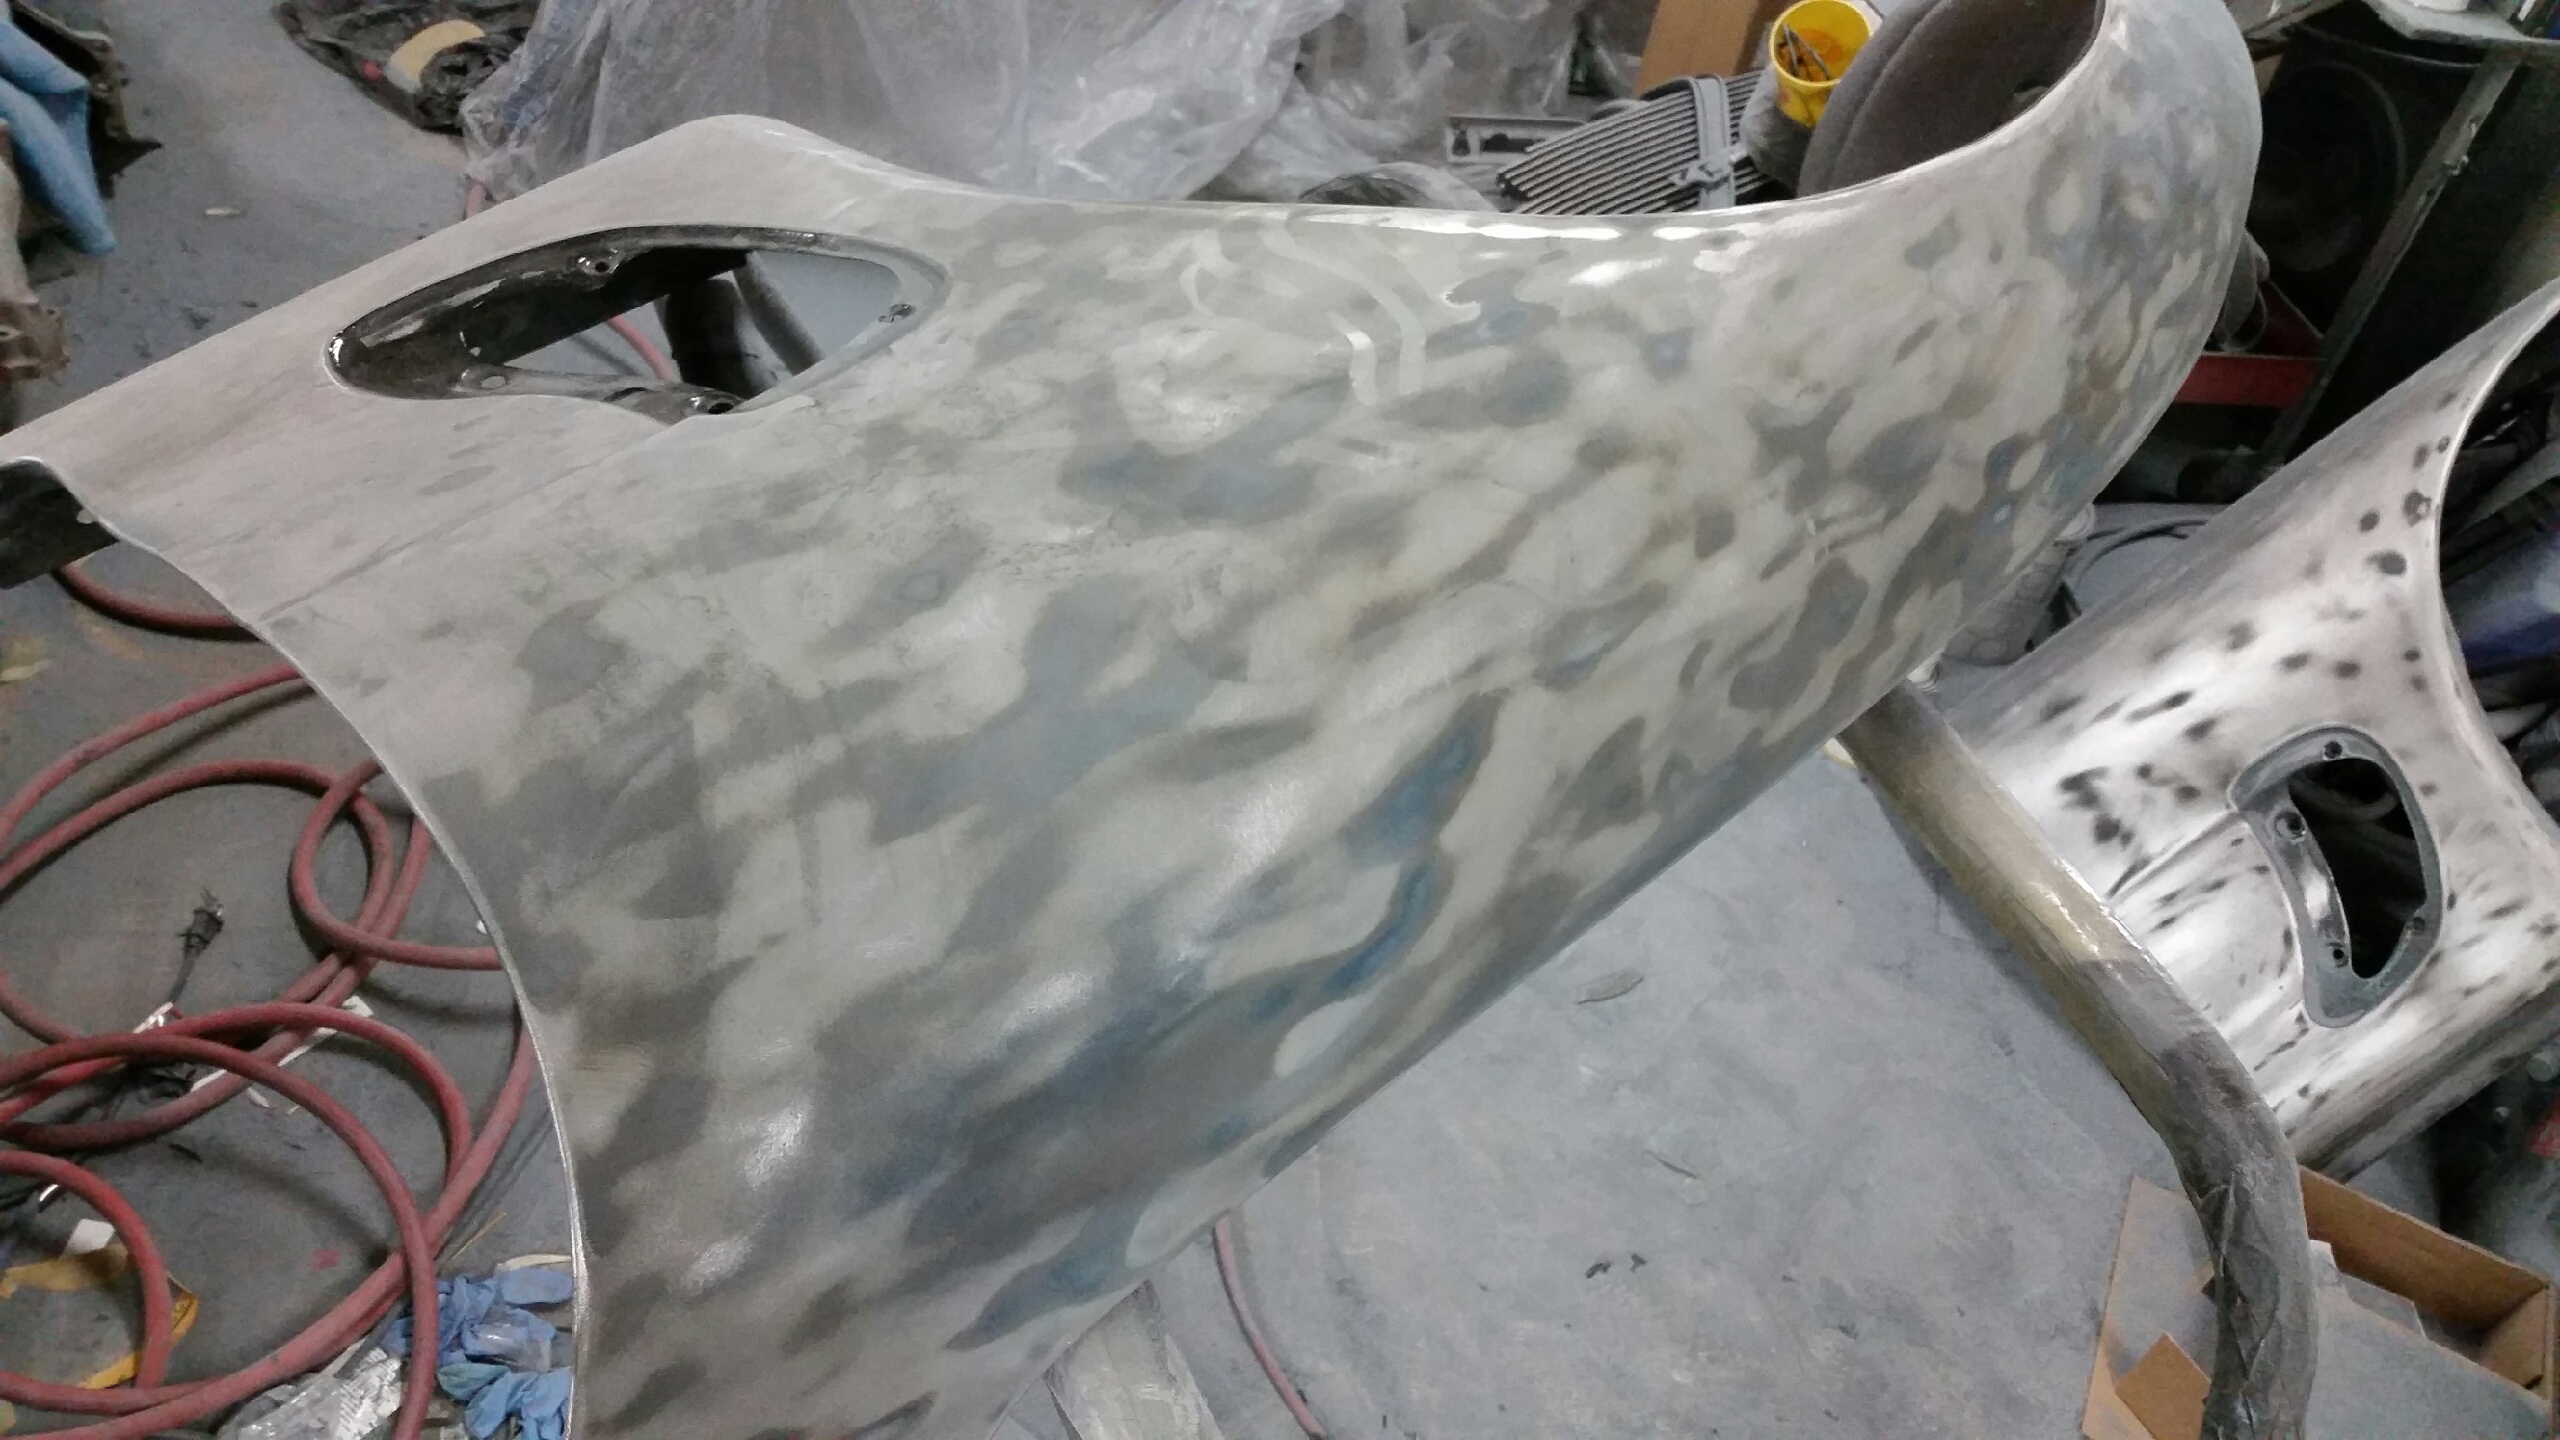
Its looking like the fenders, hood, and hatch will see primer pretty soon. John is just waiting to get some help cutting out the hatch glass as well as welding shut the holes in the hatch and hood.
John made the comment the other day that my car will probably see a 20lb weight reduction once all the old paint comes off lol!
-------------------
July 24, 2014, 10:00:55 AM
Started out last night's update with a tense moment. John had a glass expert buddy stop by and start the process of cutting out the windshield and hatch glass. Now, I've already had my hatch glass broken once during an attempt at removal by an 'expert' and I've read a LOT of stories about the hatch glass just breaking to pieces when attempting to remove it, so I didn't have a lot of faith that he'd be able to get it out. In fact John and I went ahead and priced out a new window (dealer only) which runs in the upper $400s and felt like an imminent purchase for me.
Crazy man!
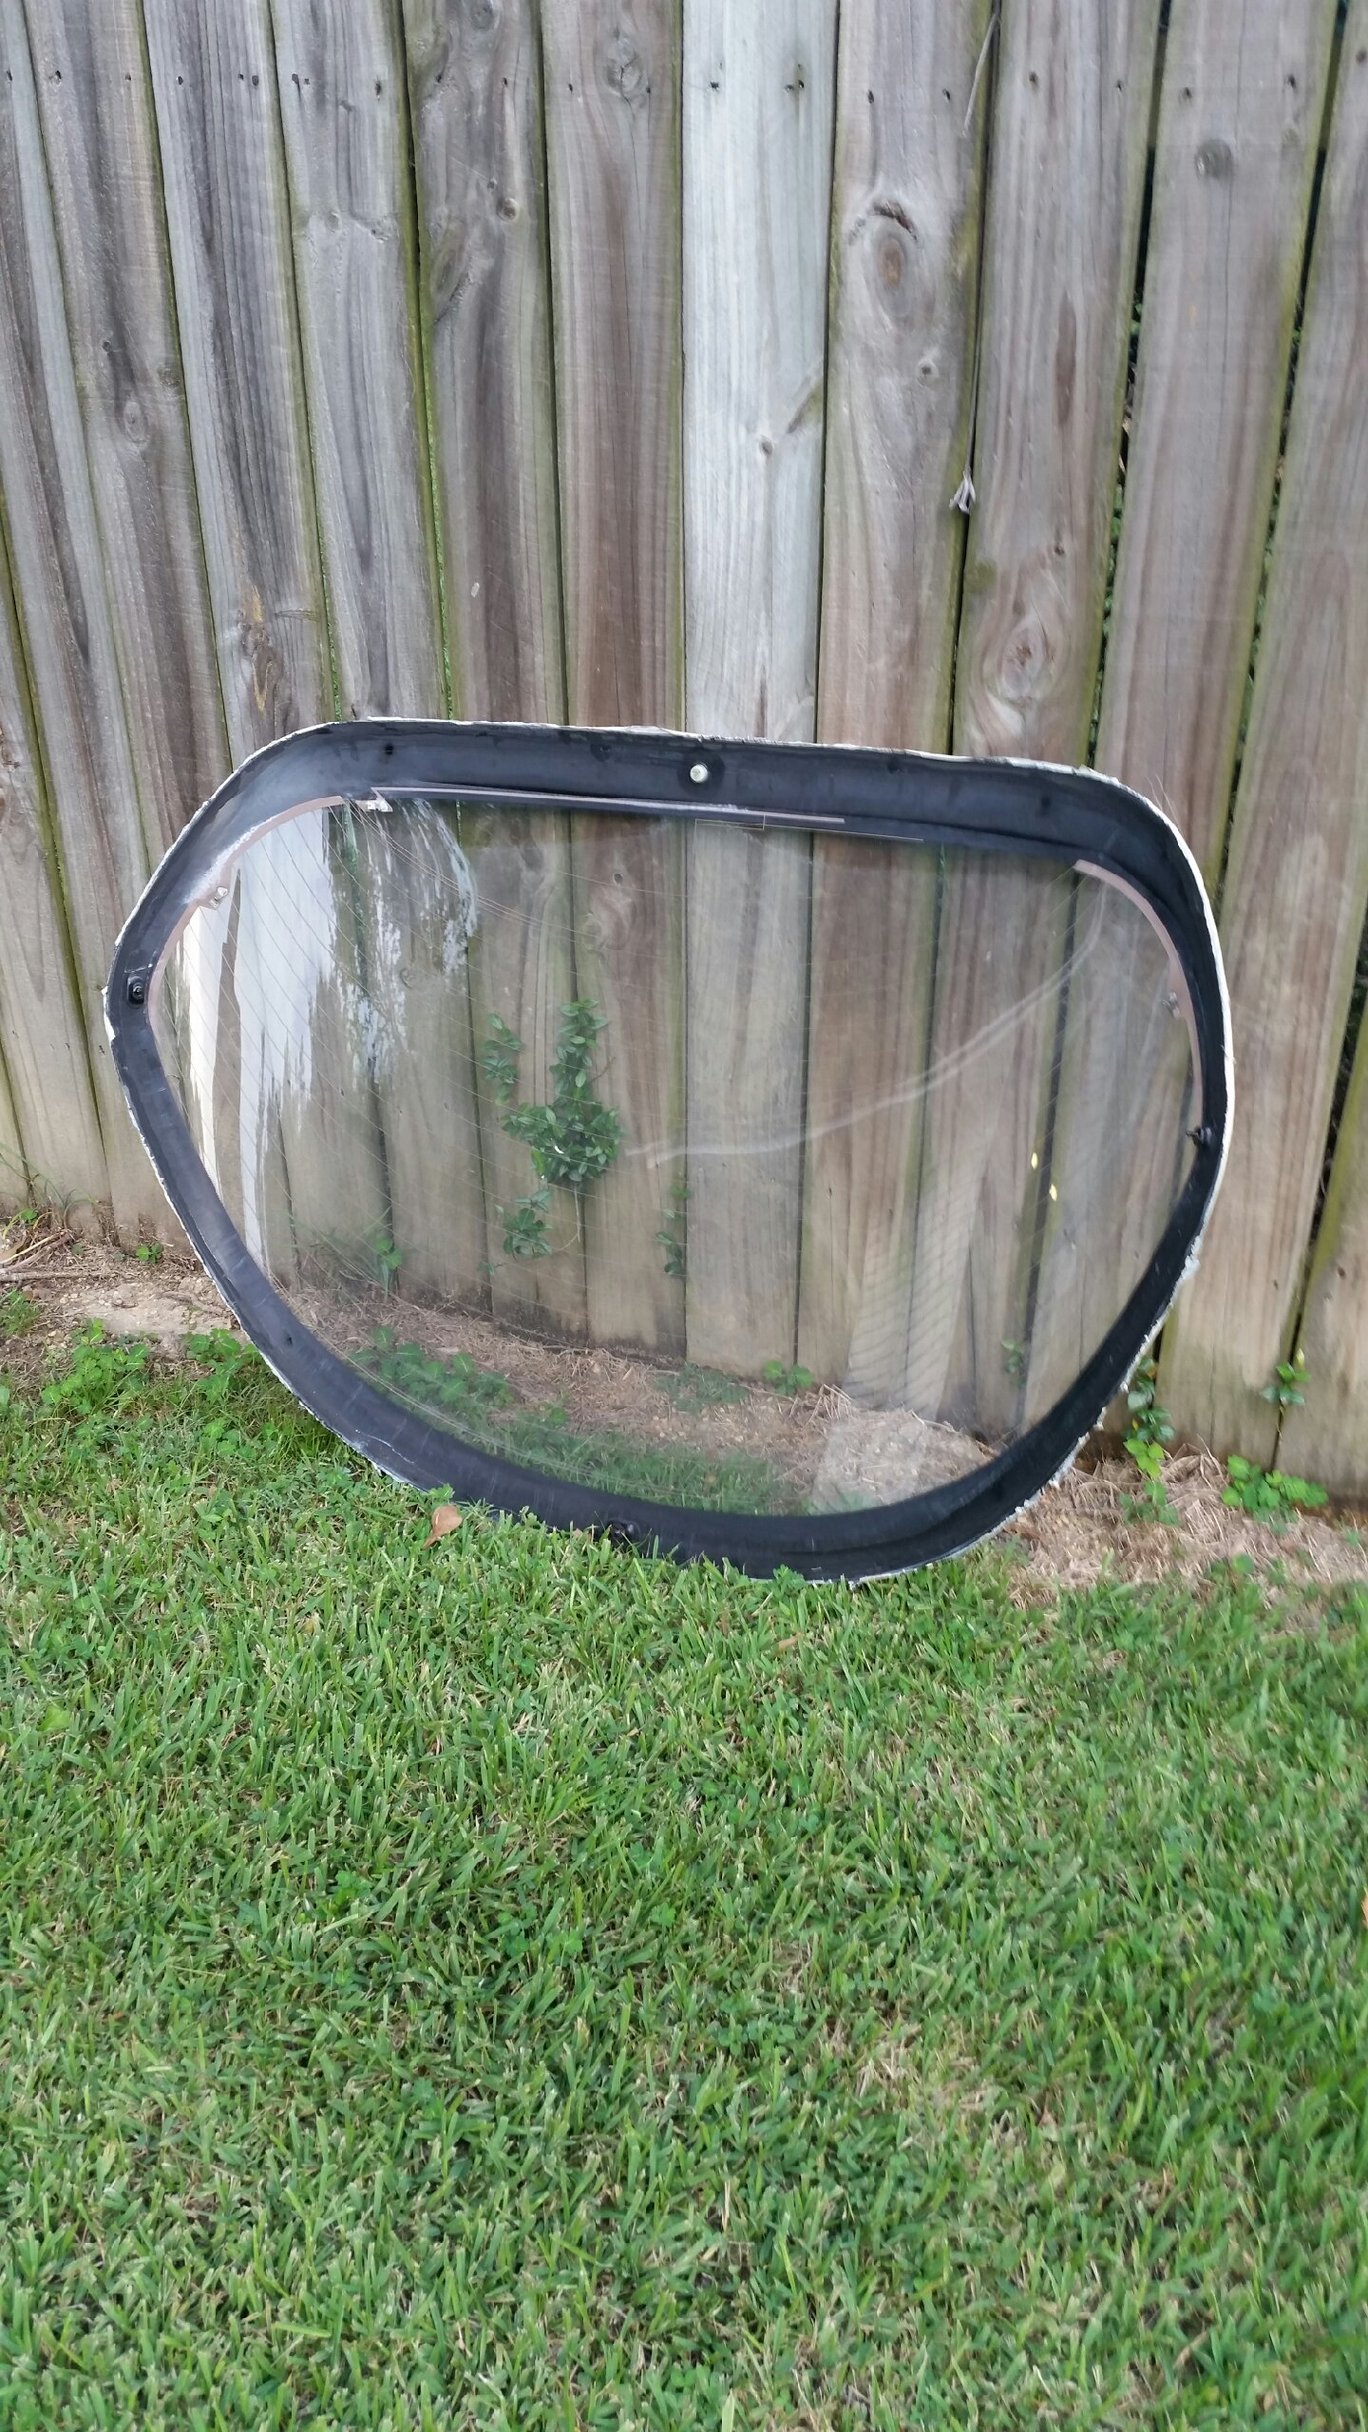
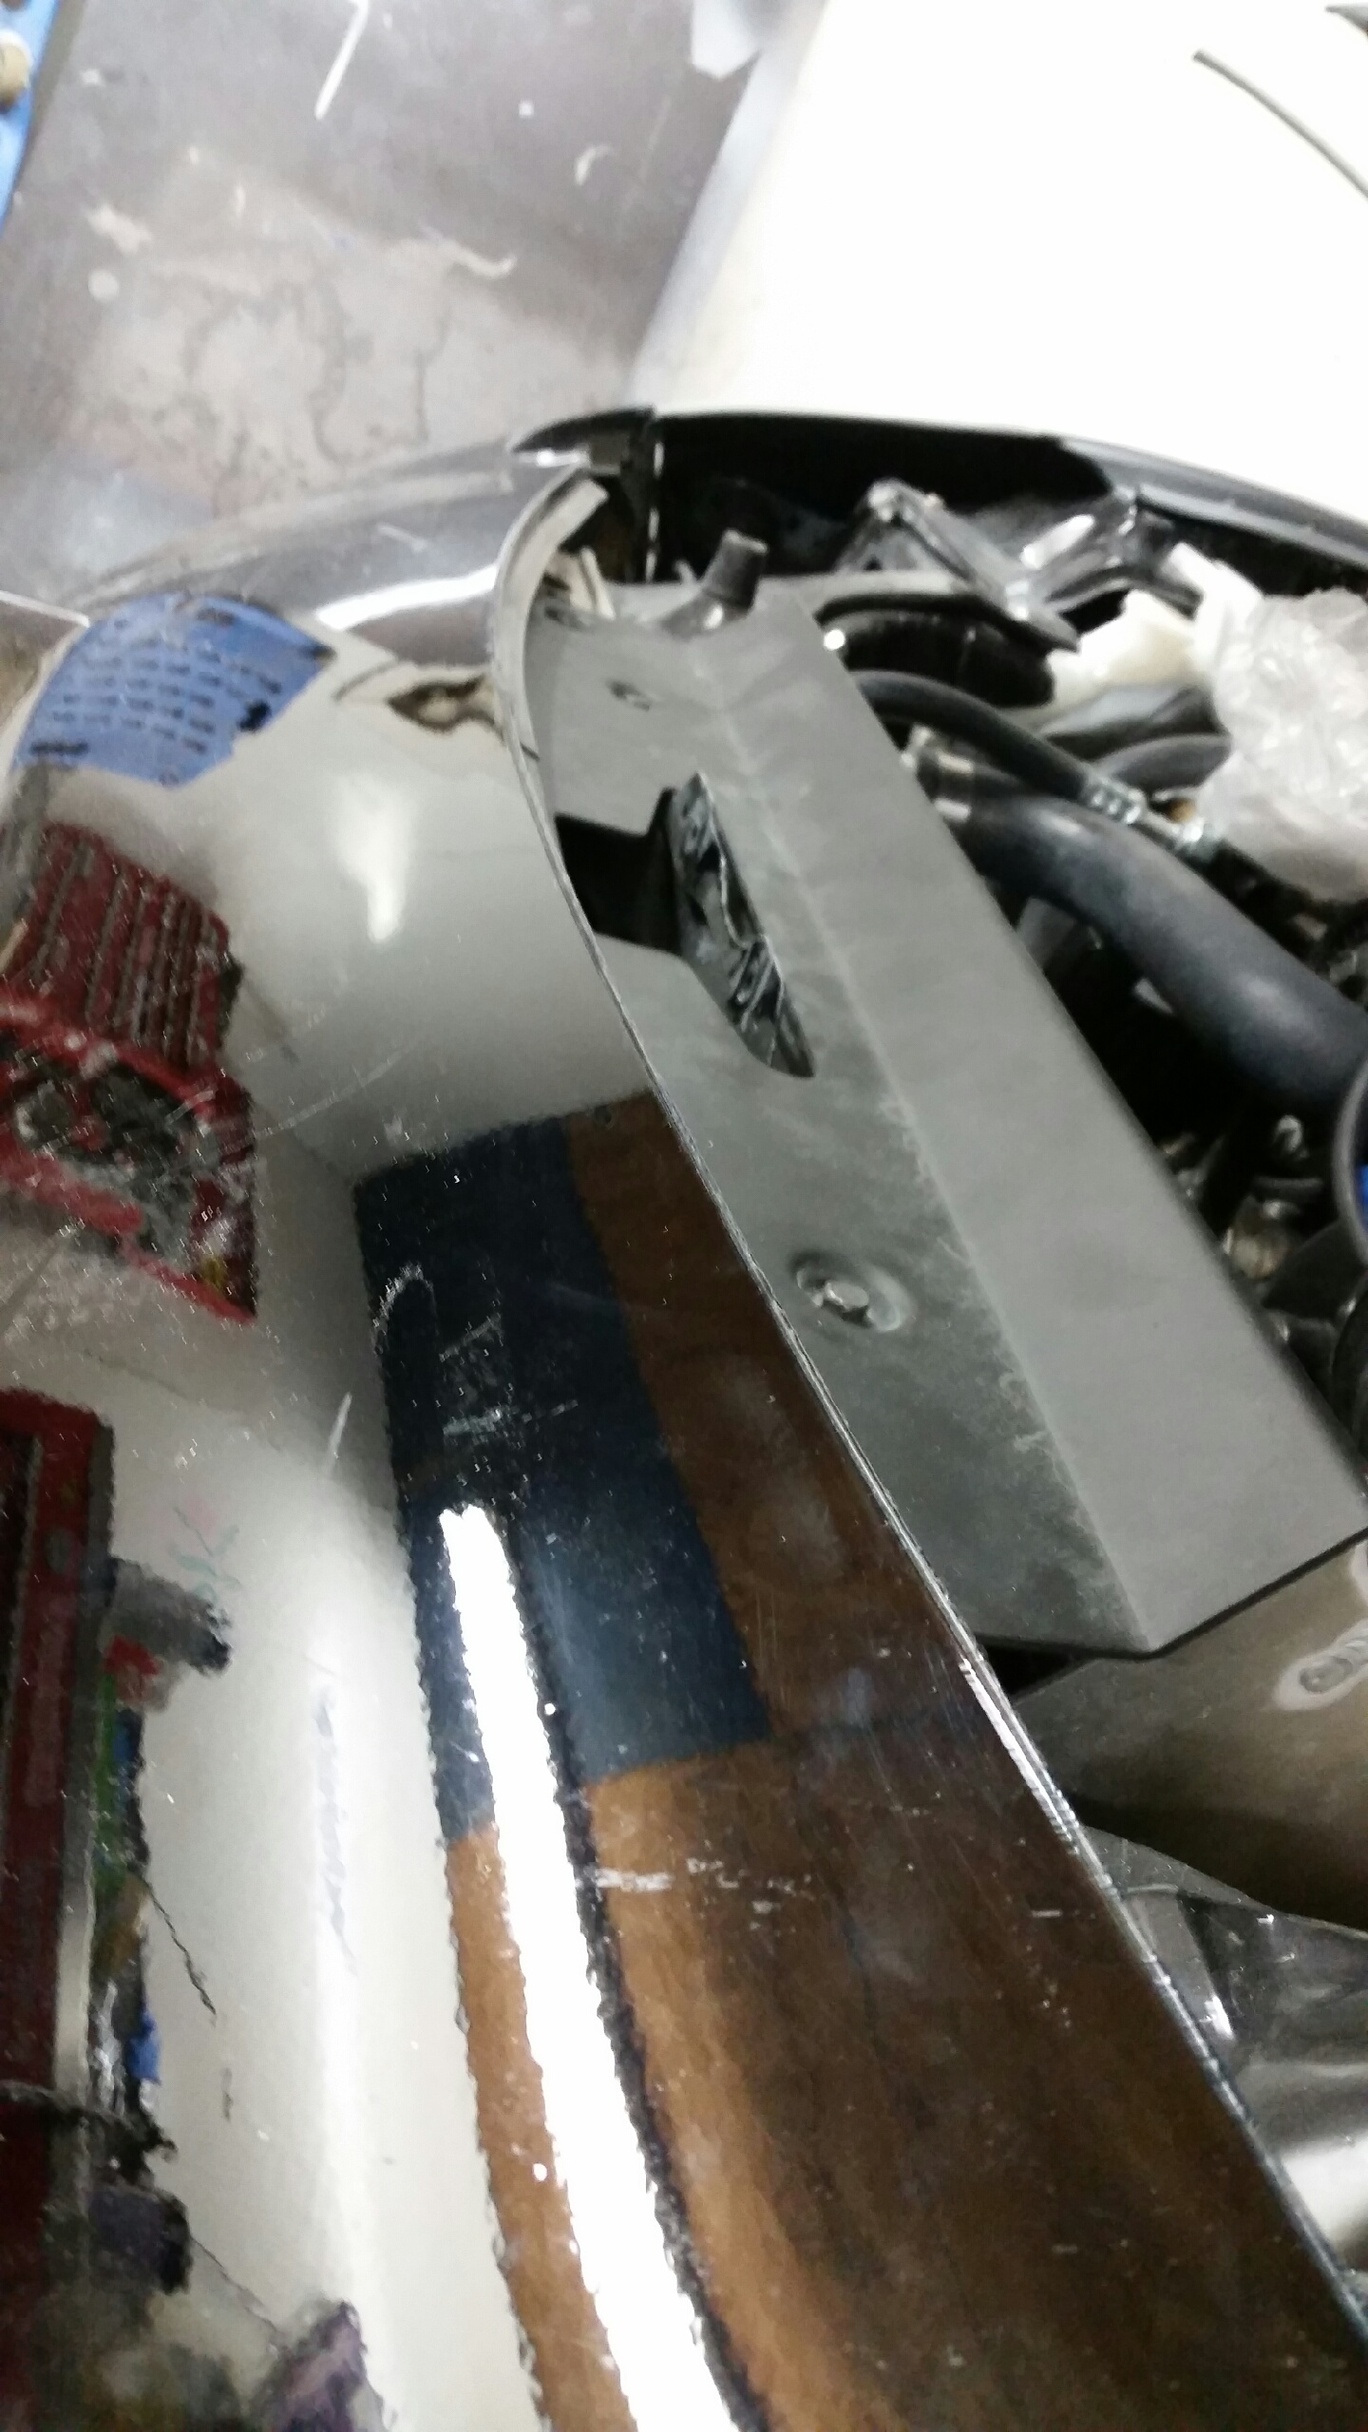
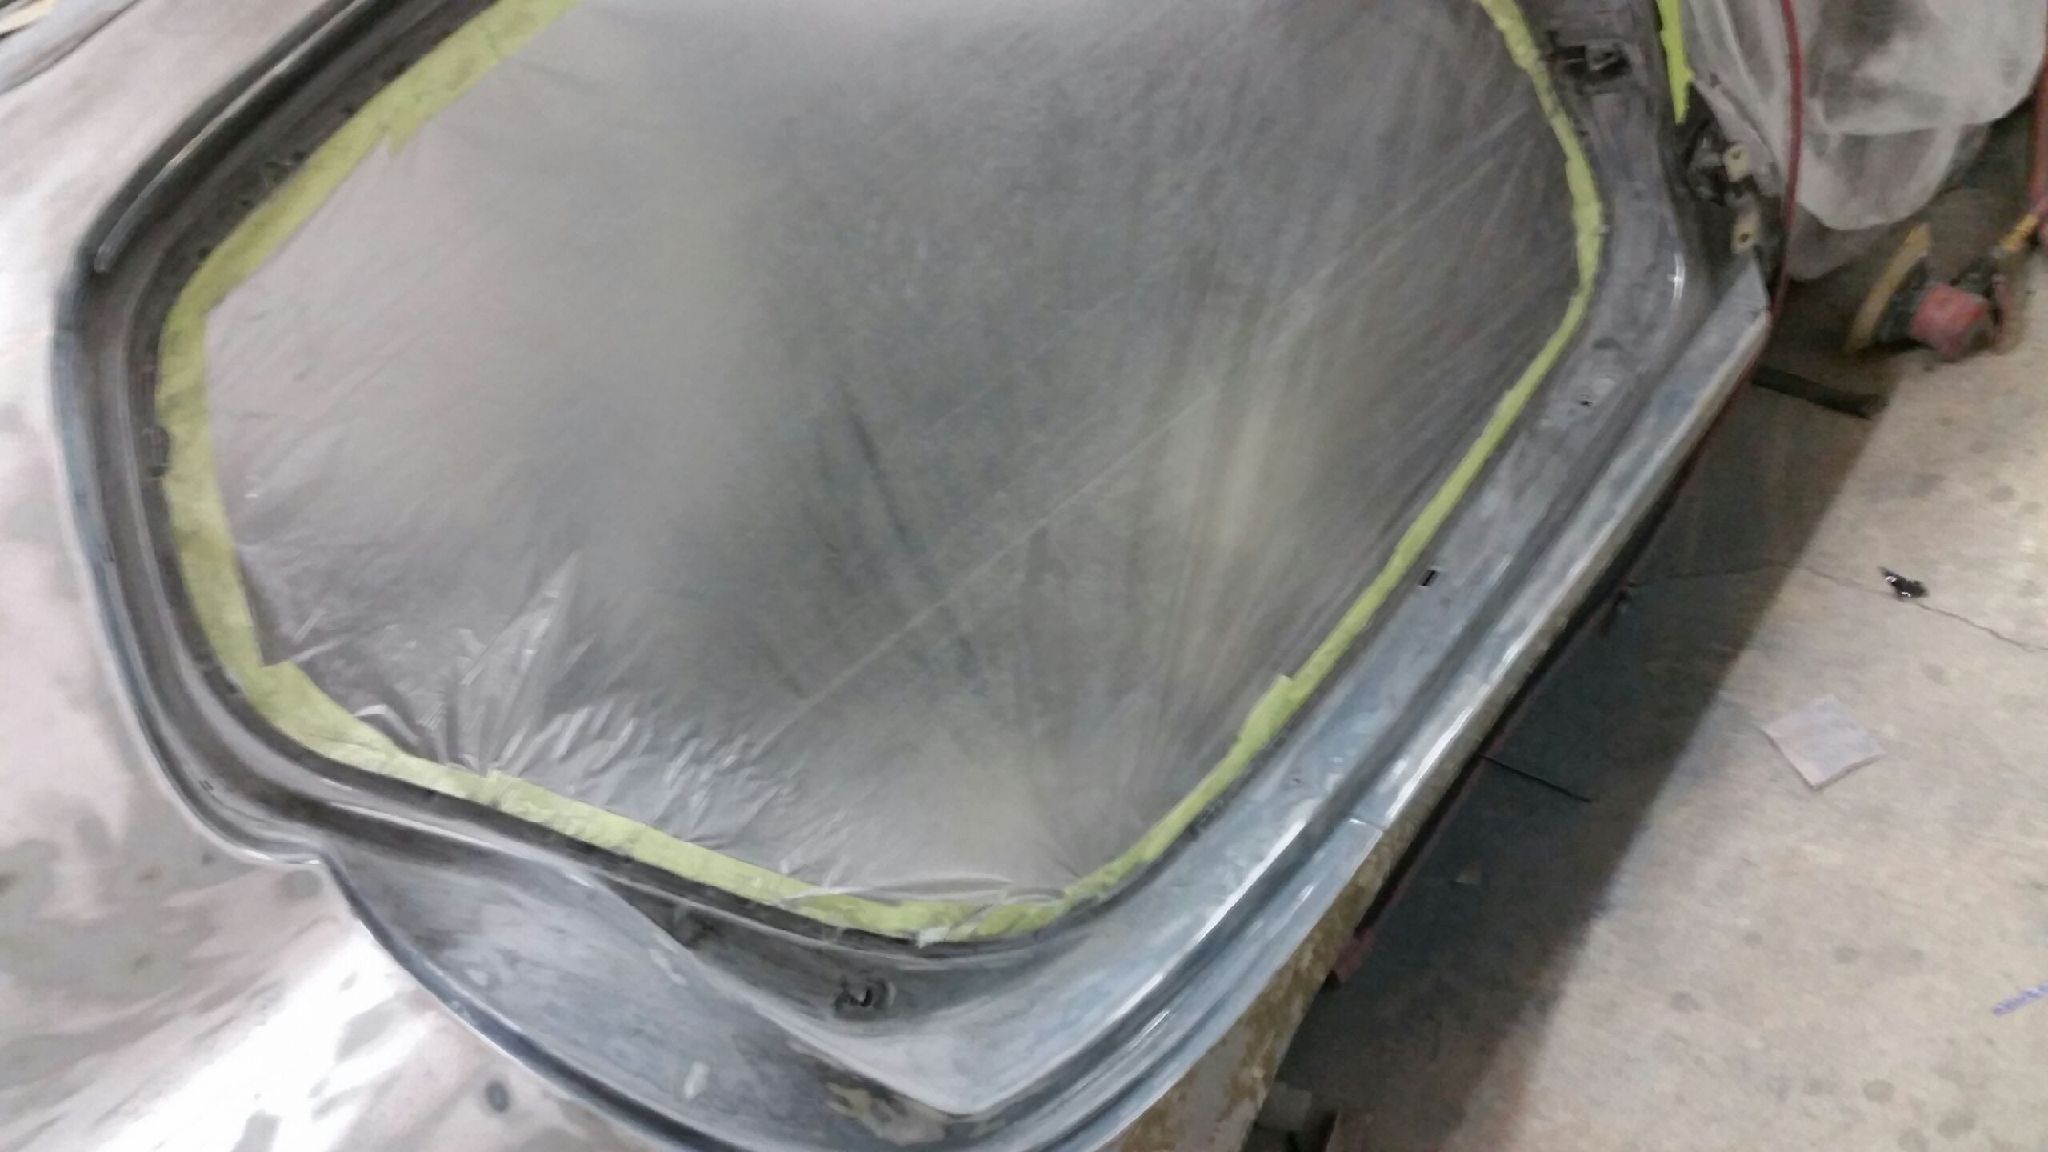
Drama over! They pulled it off! I was literally jumping up and down when I got this text

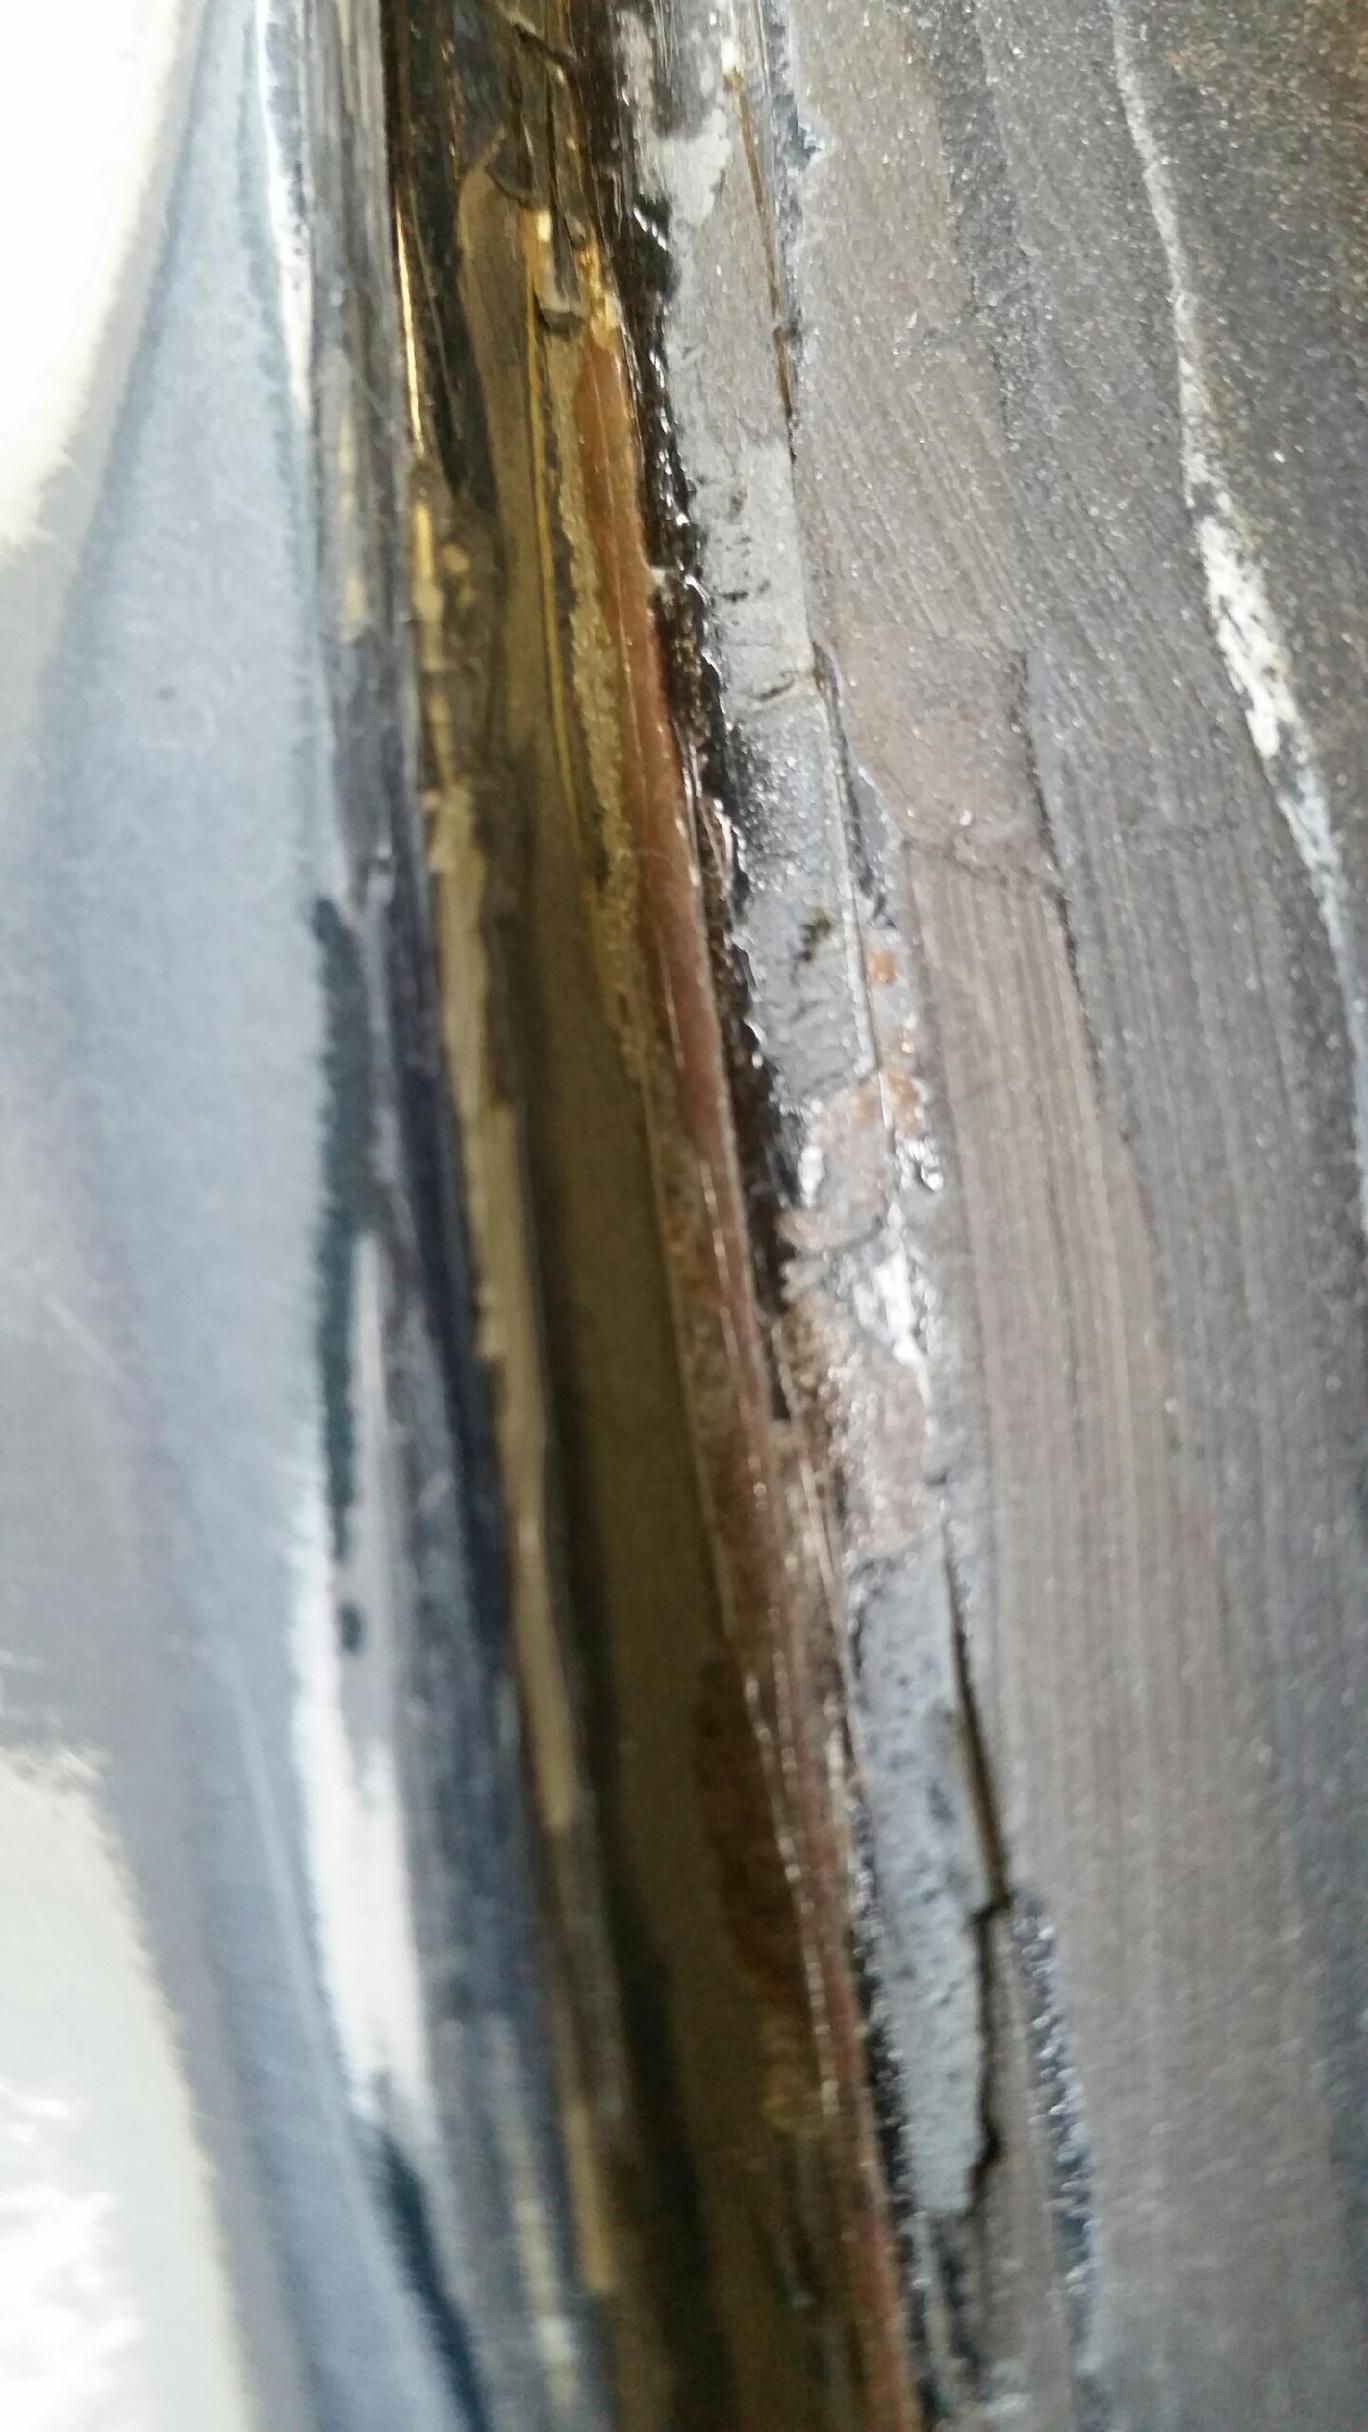
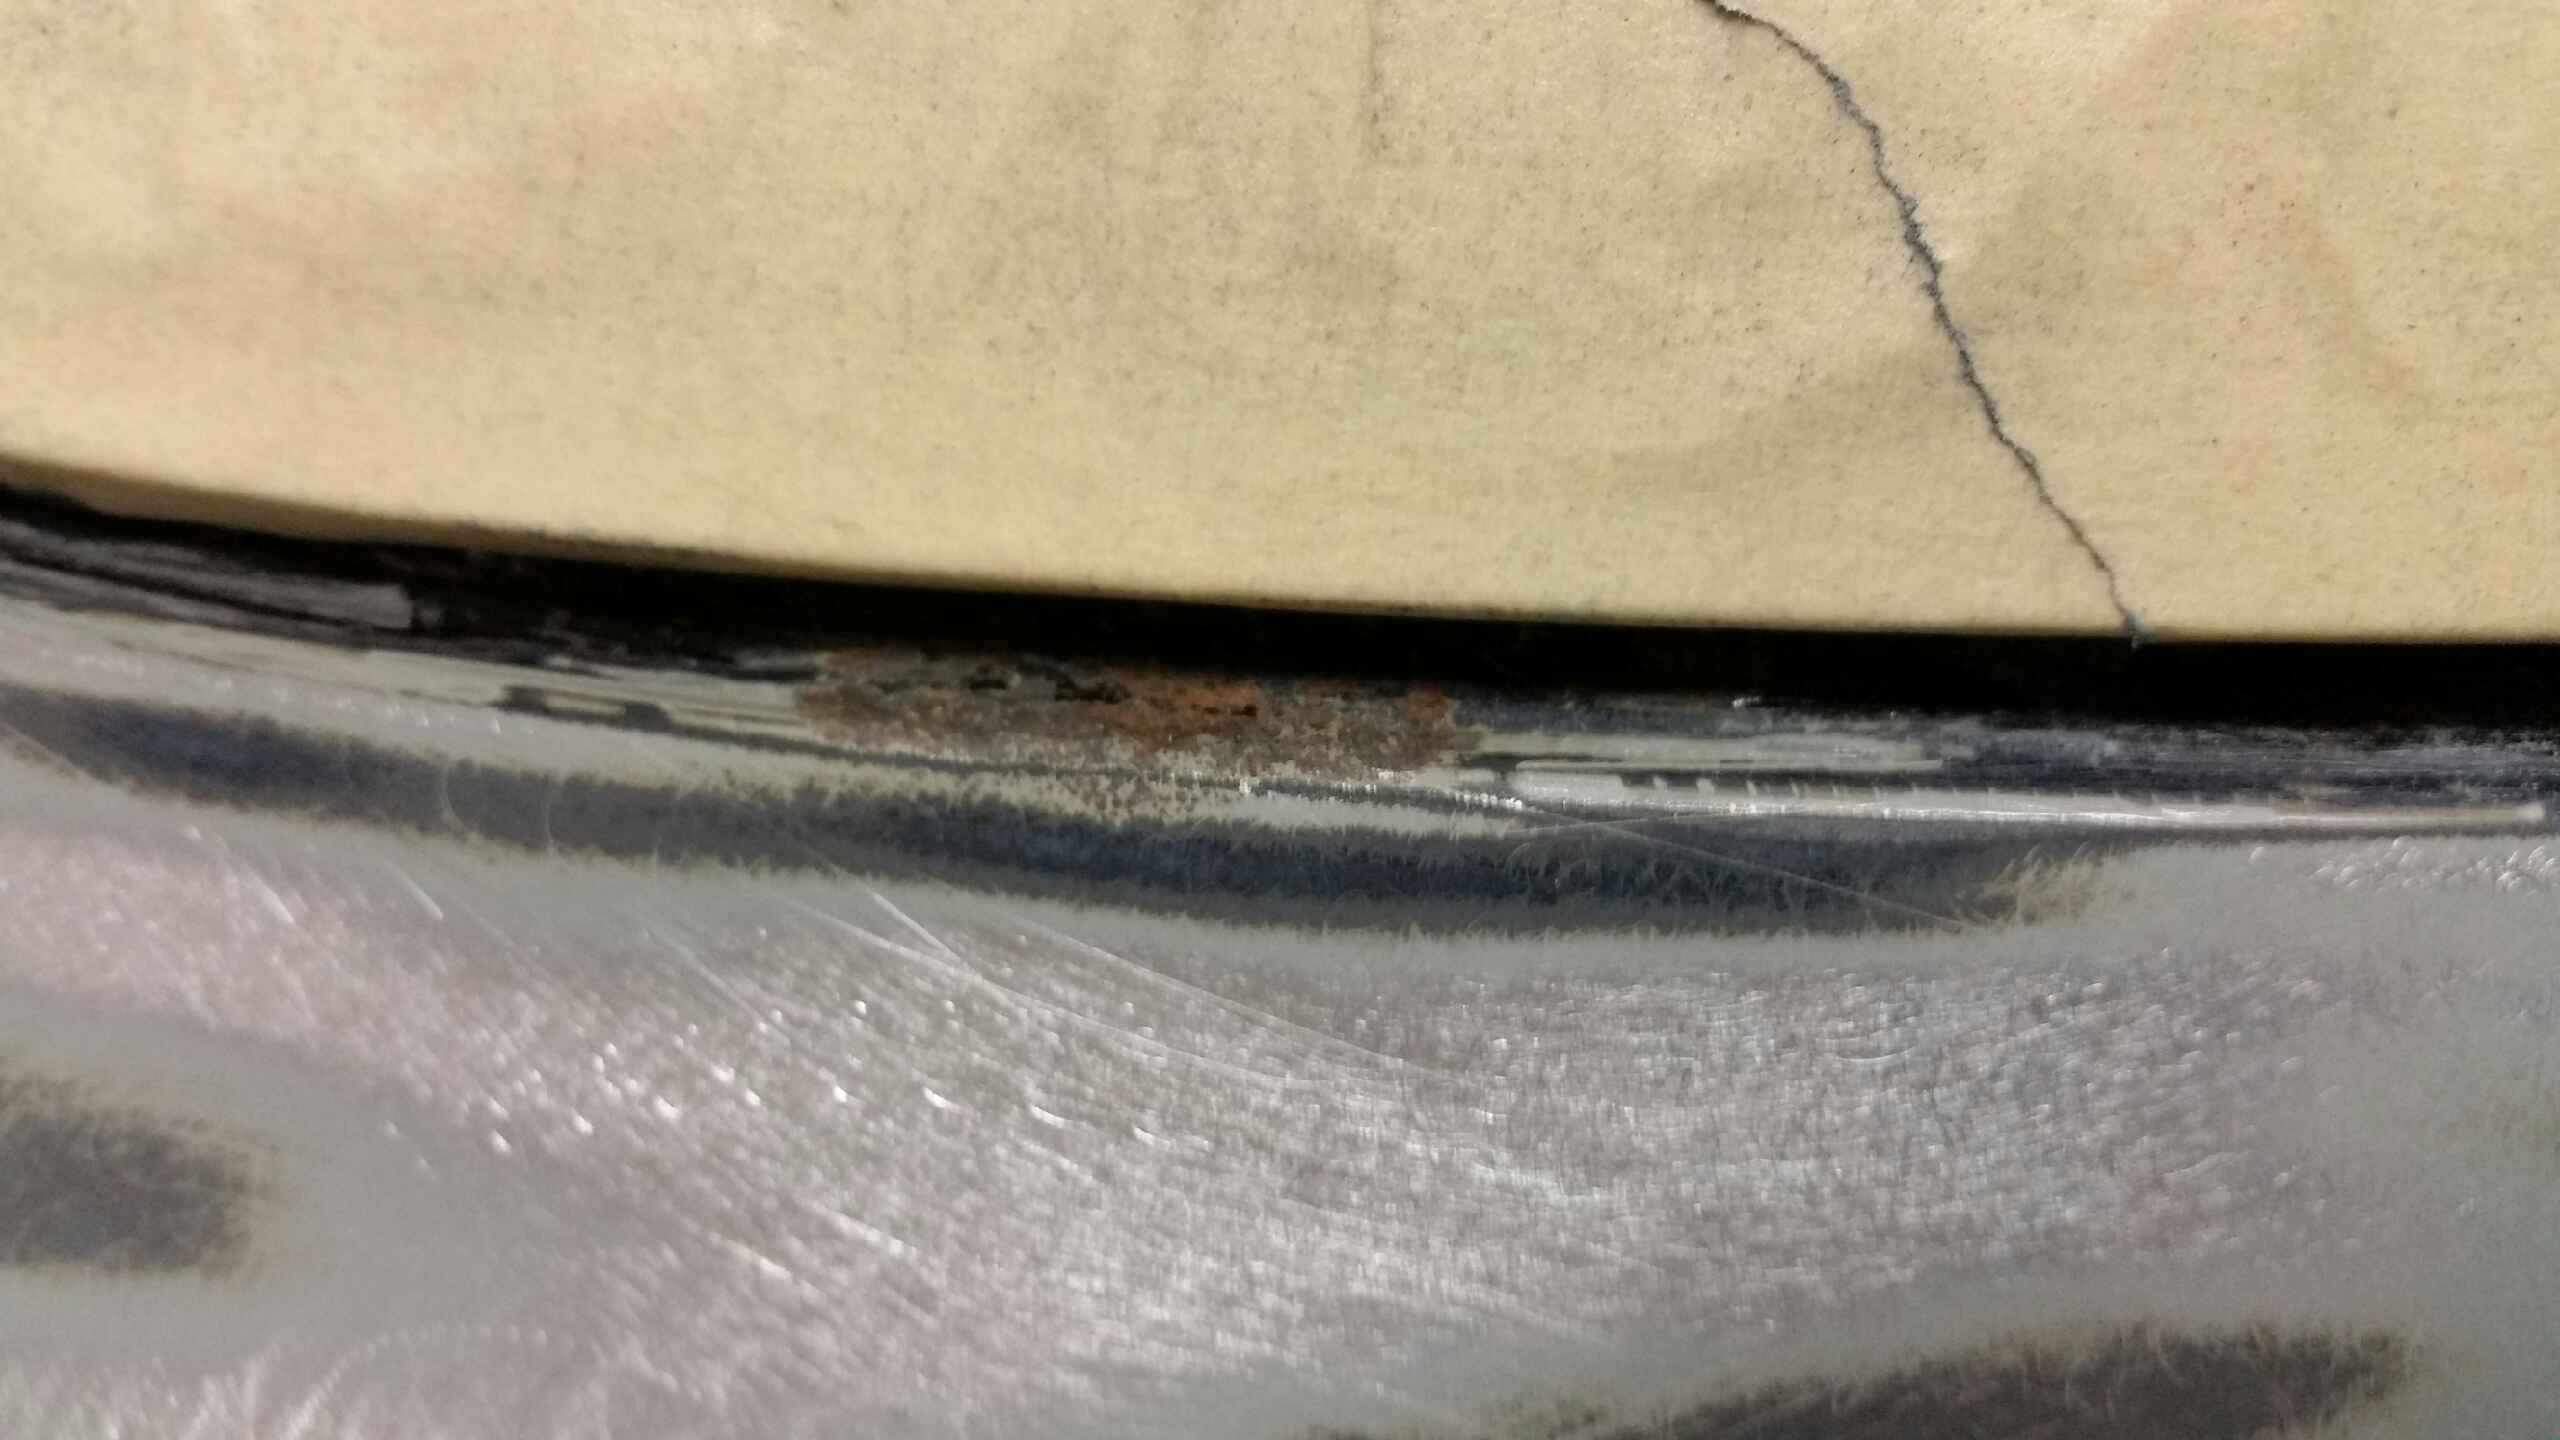
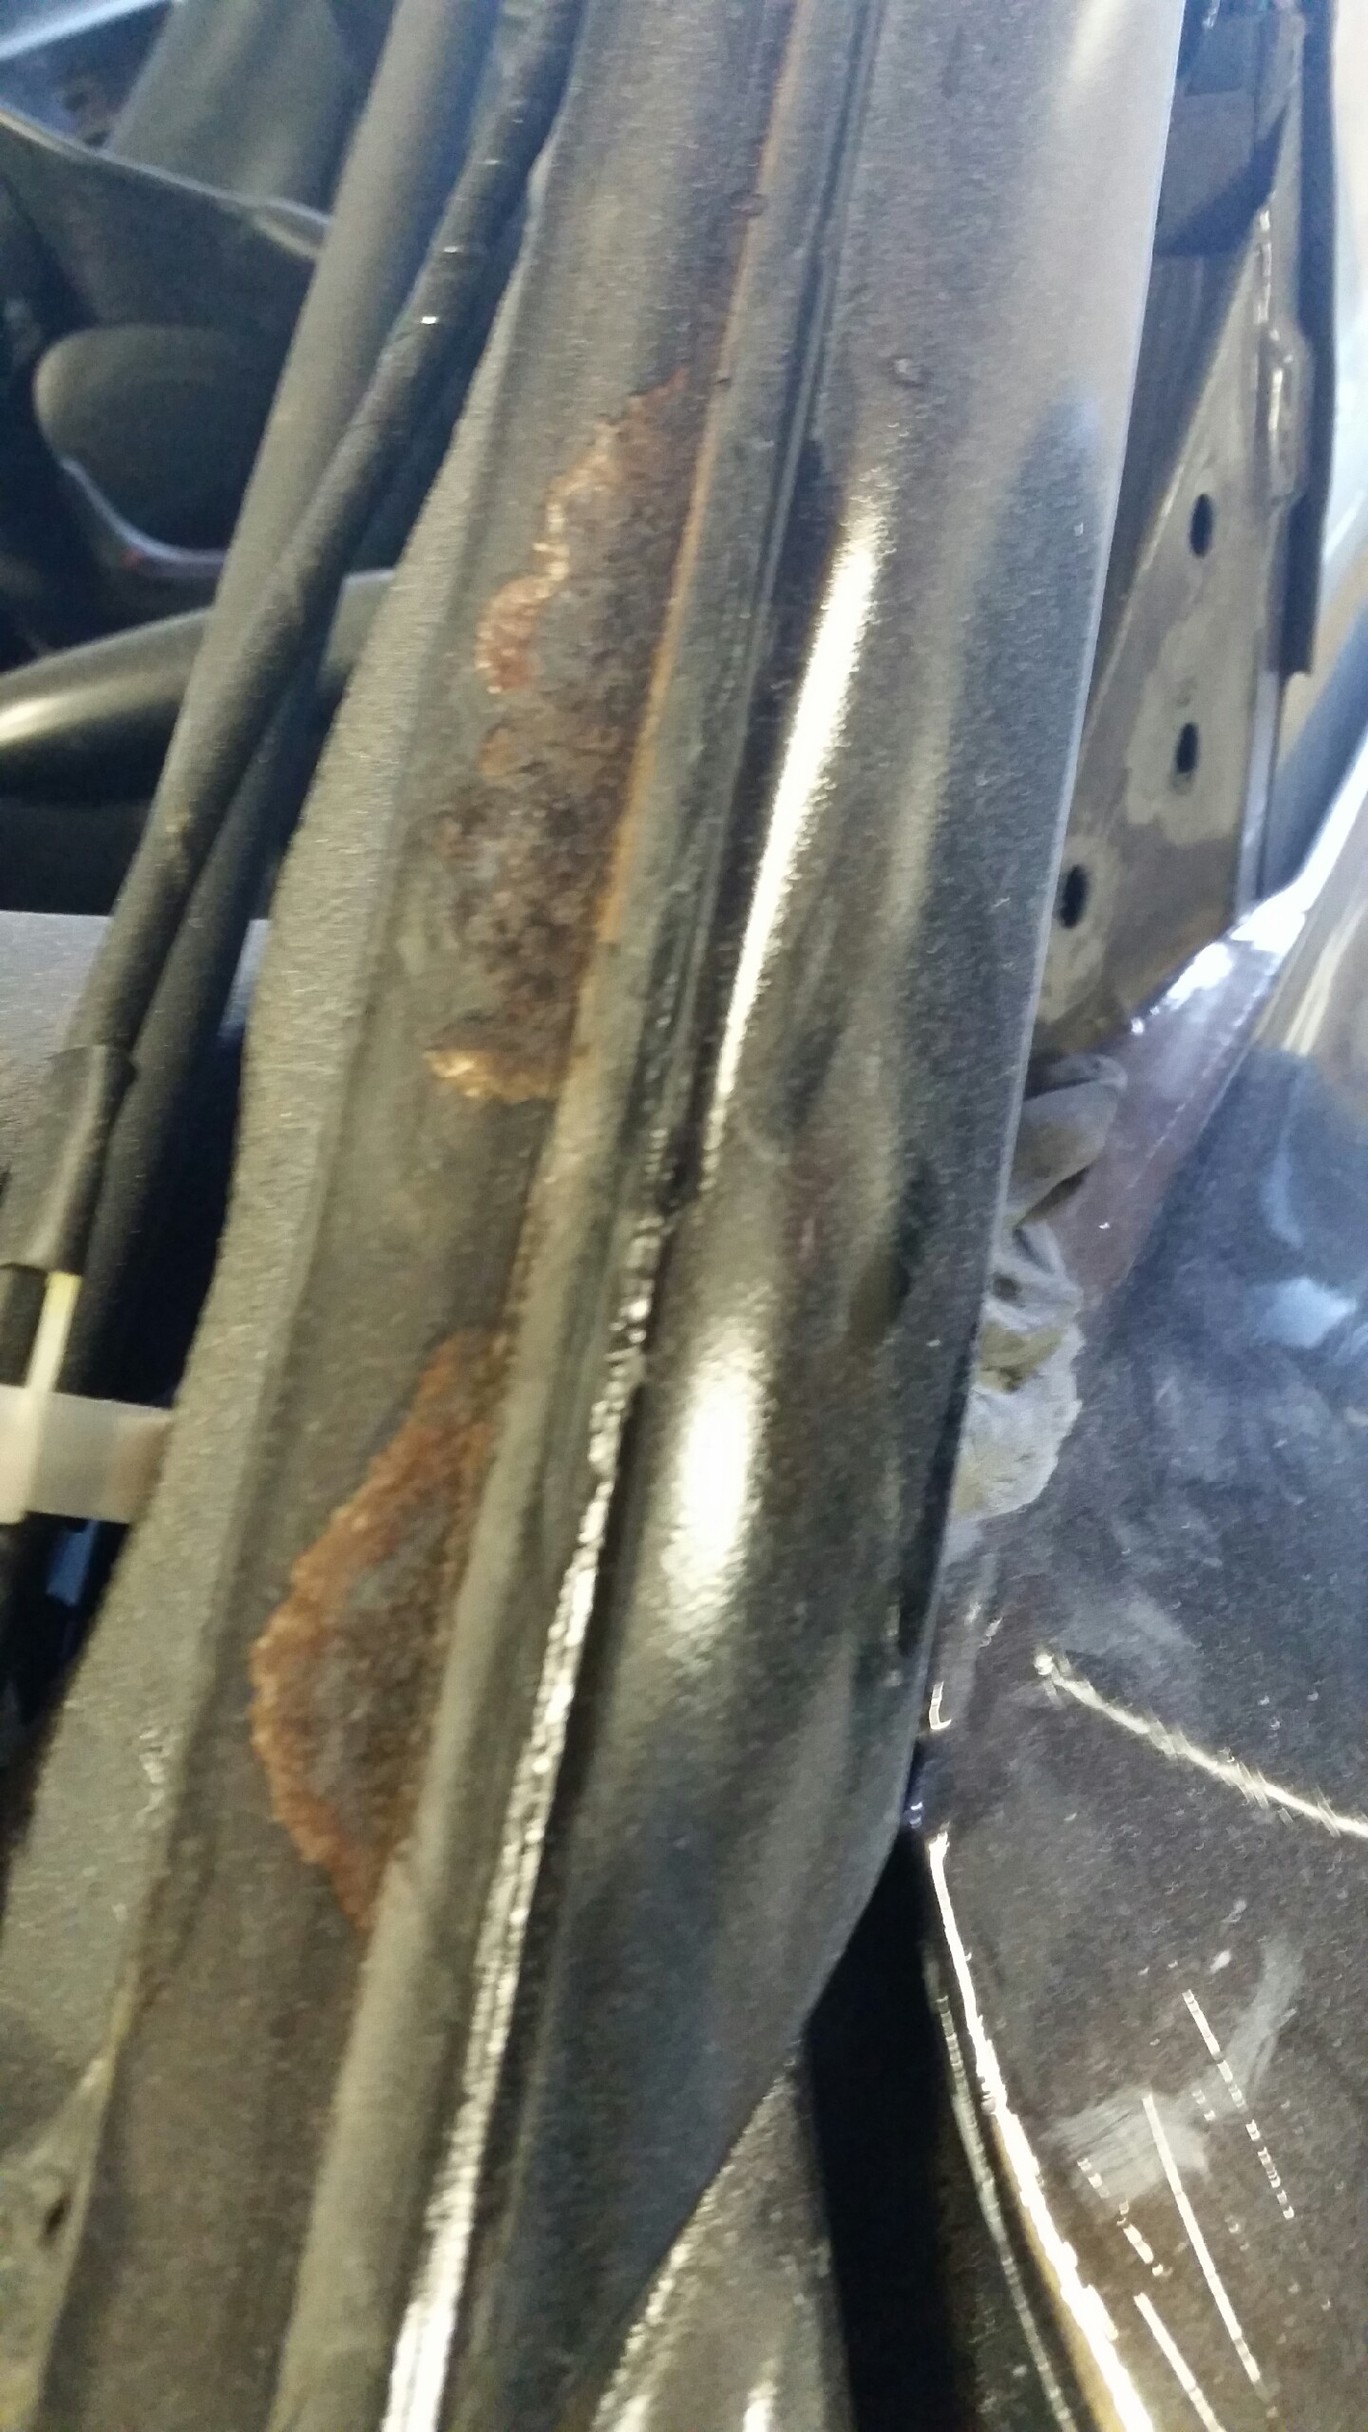
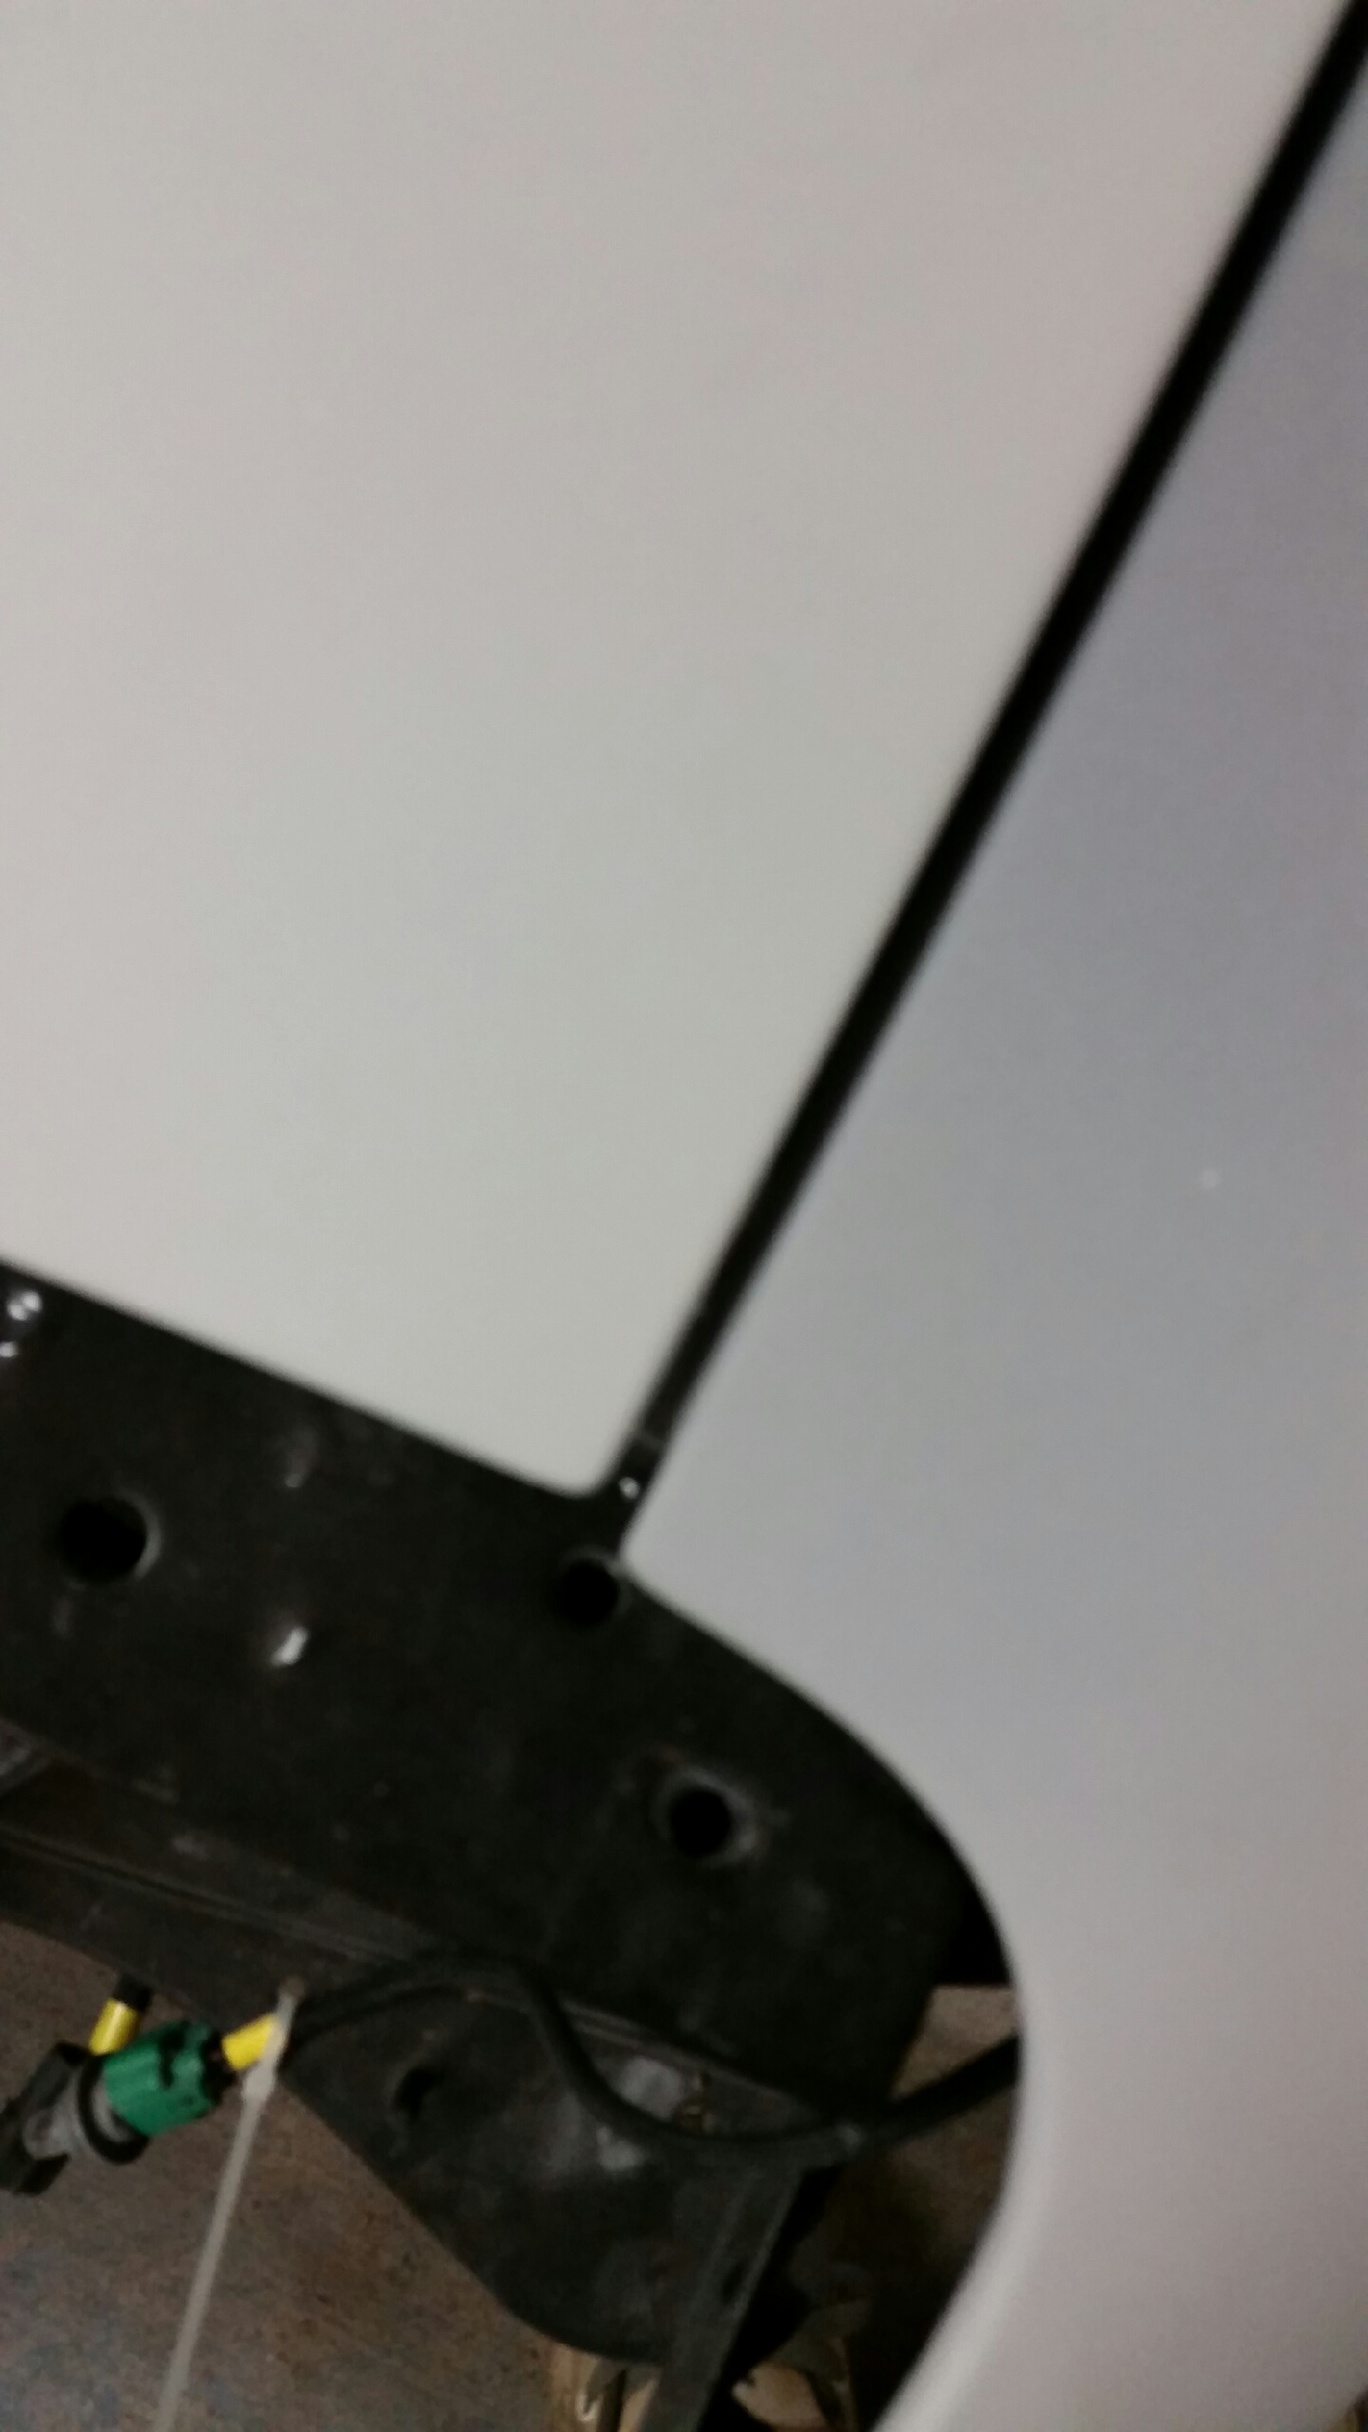
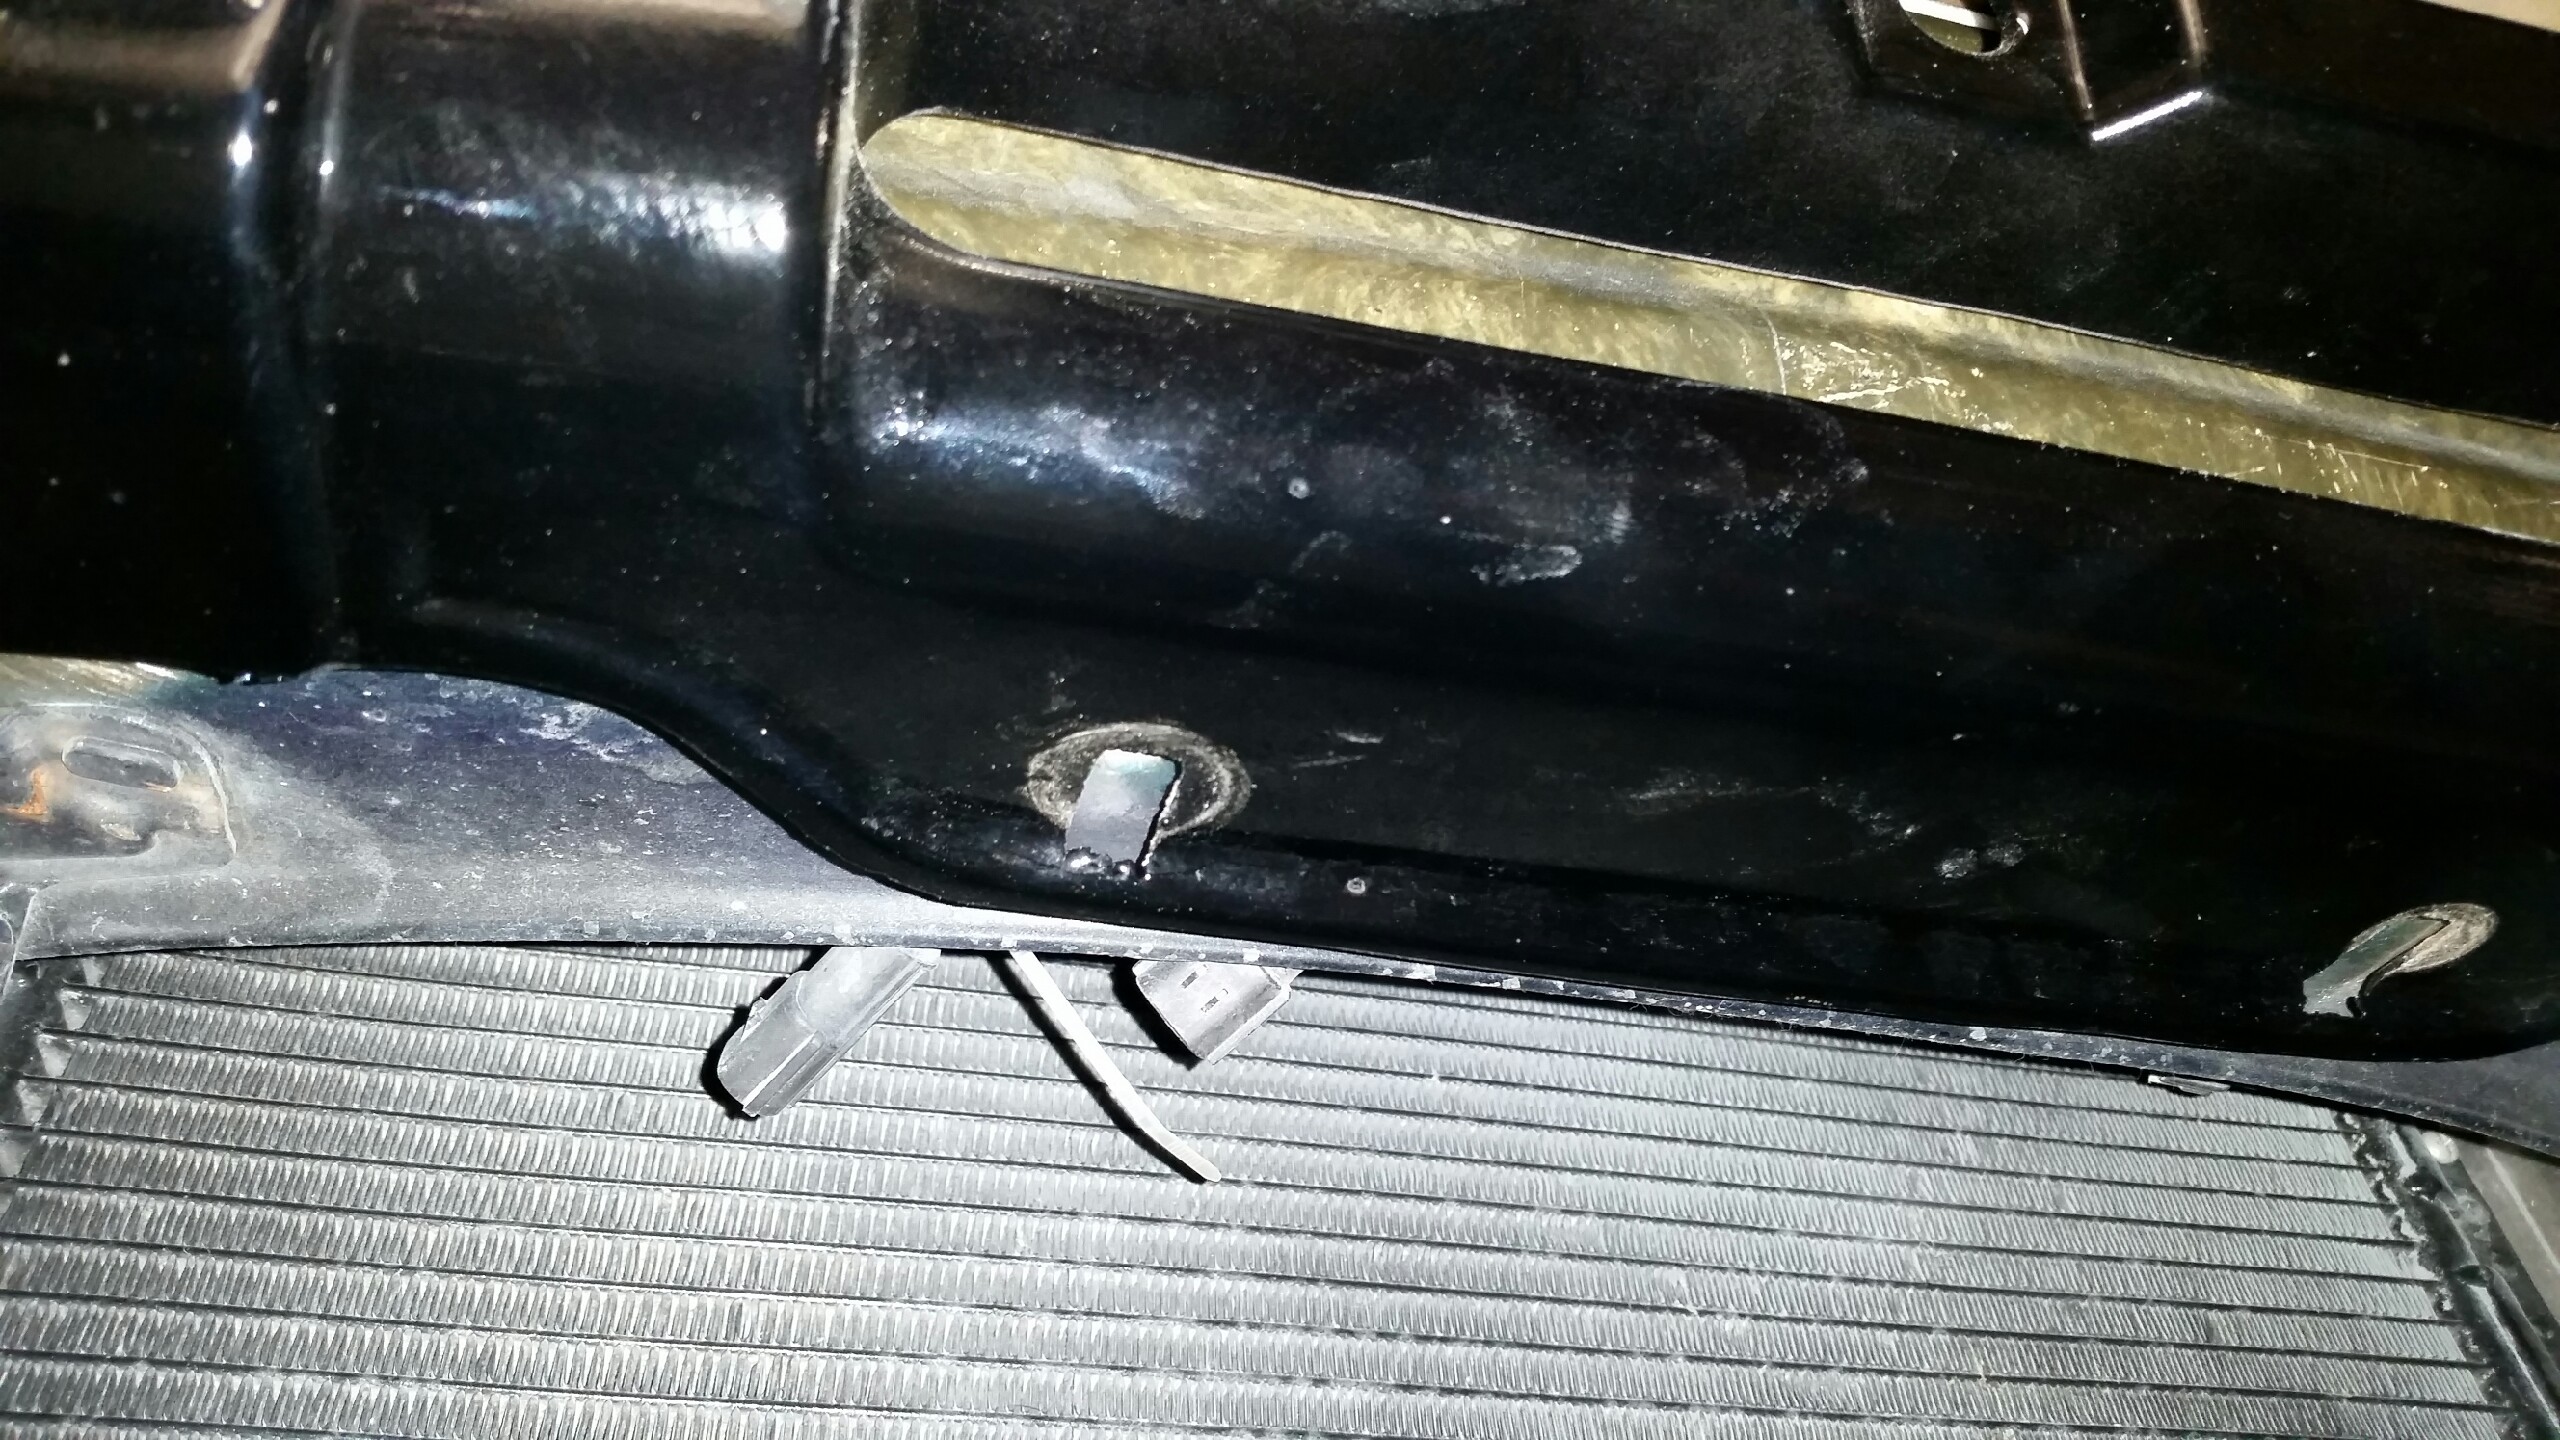
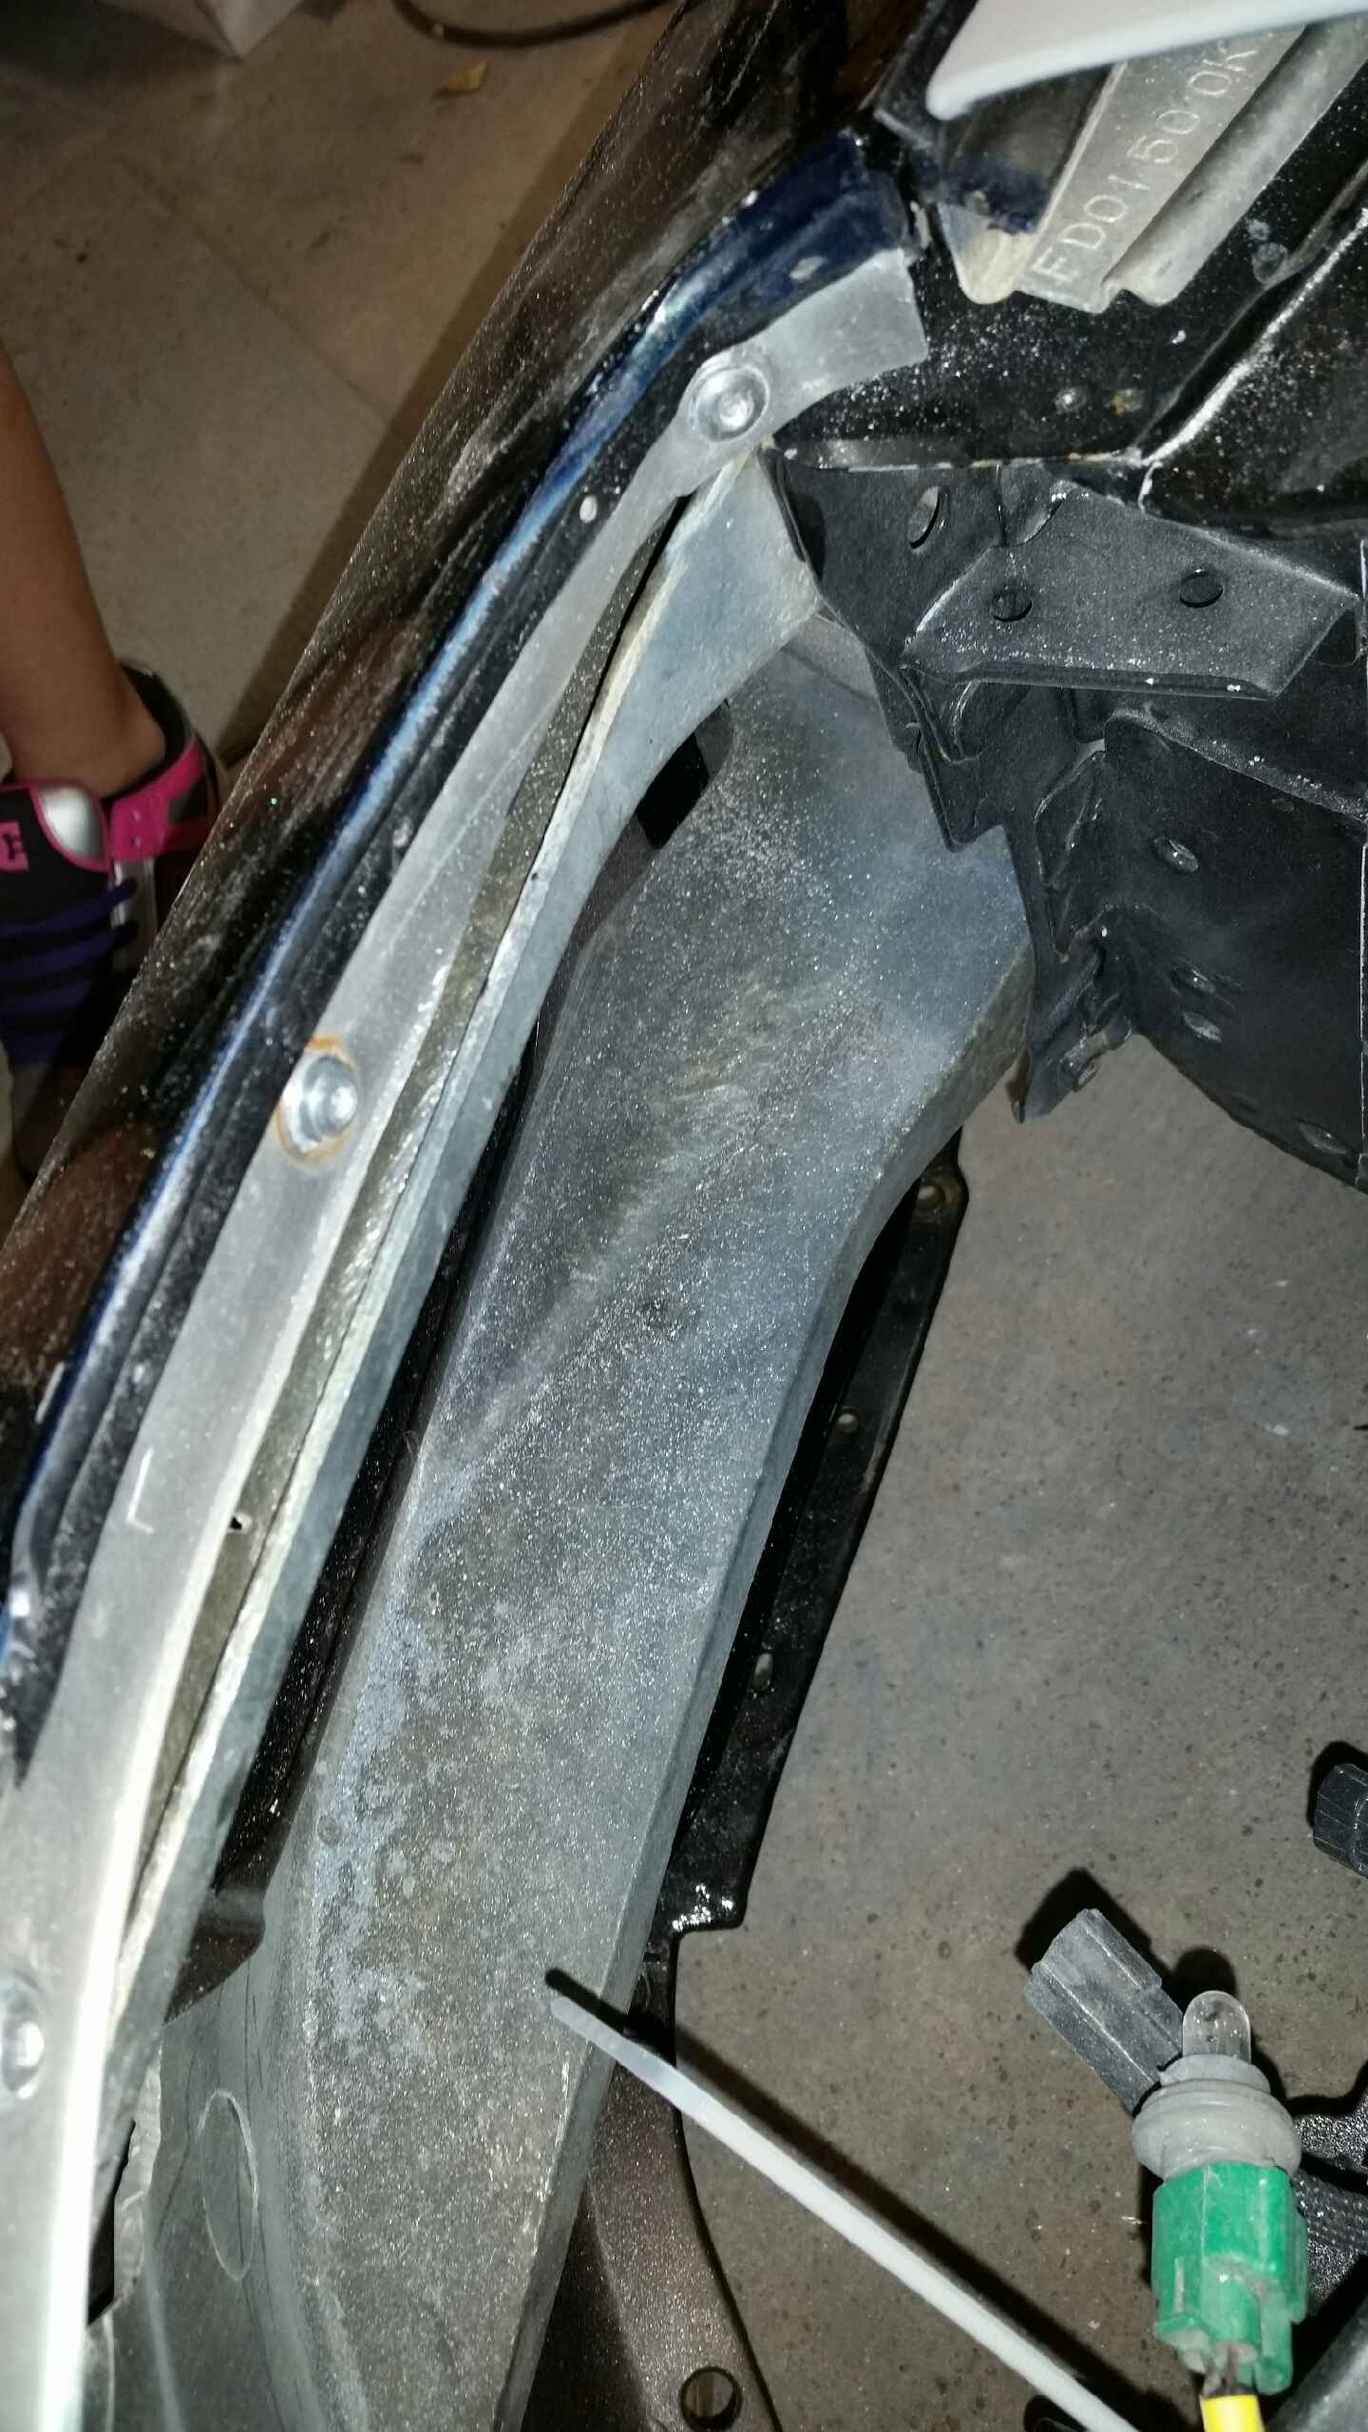
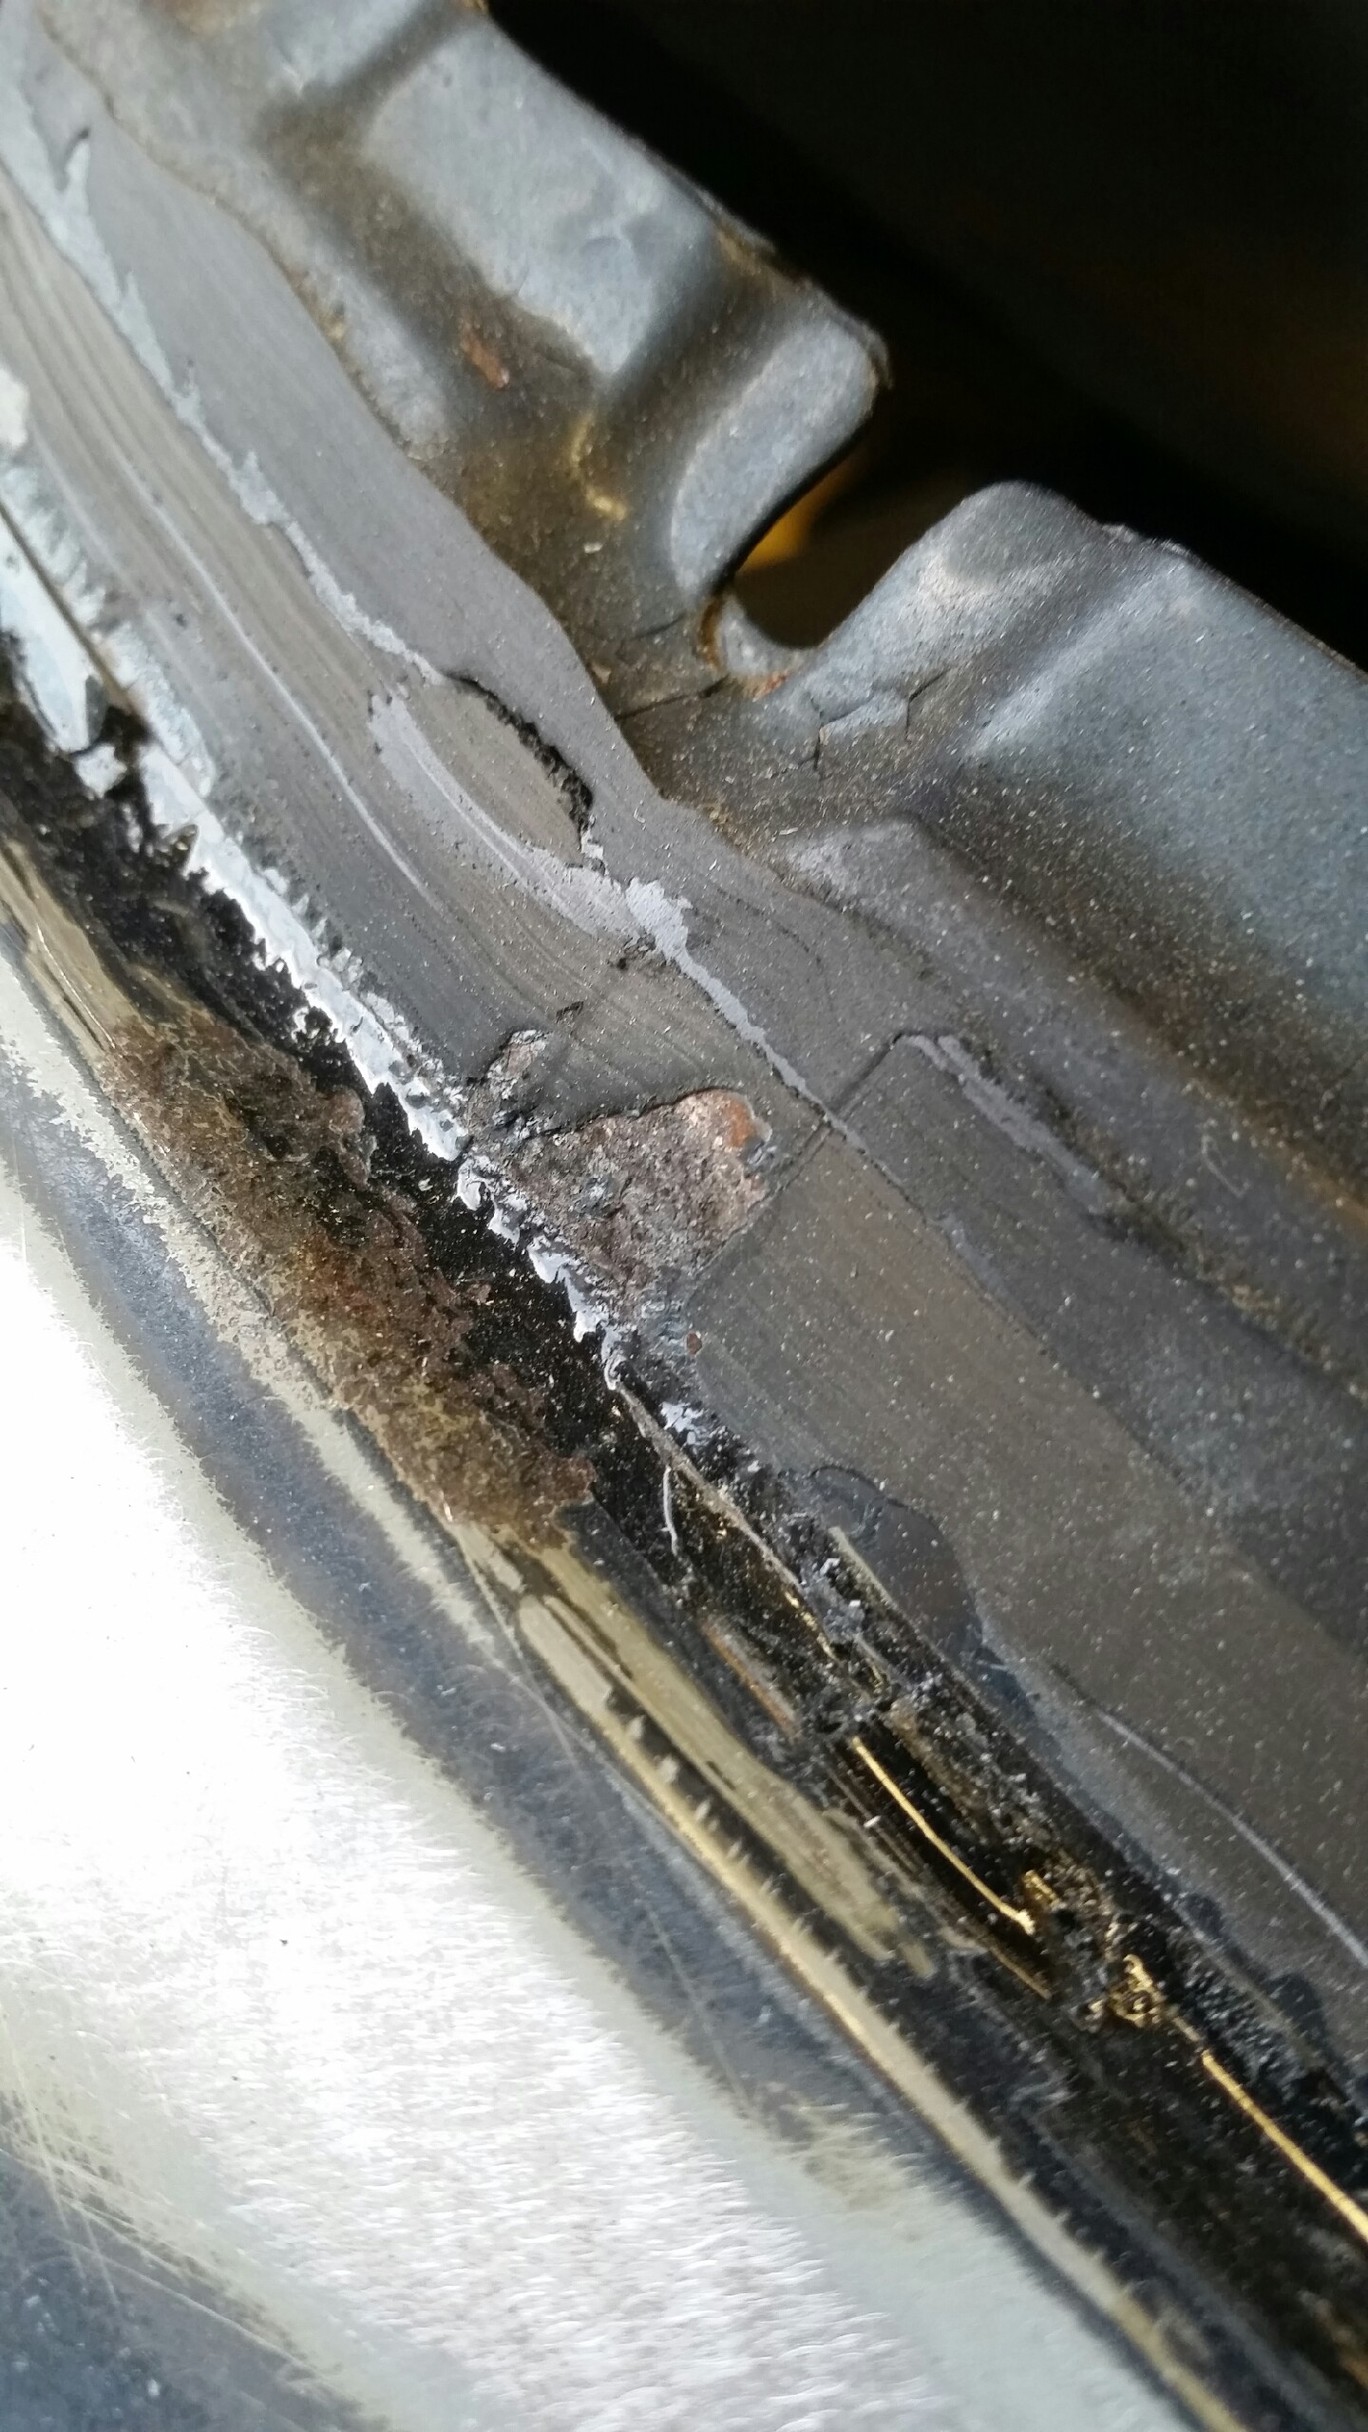
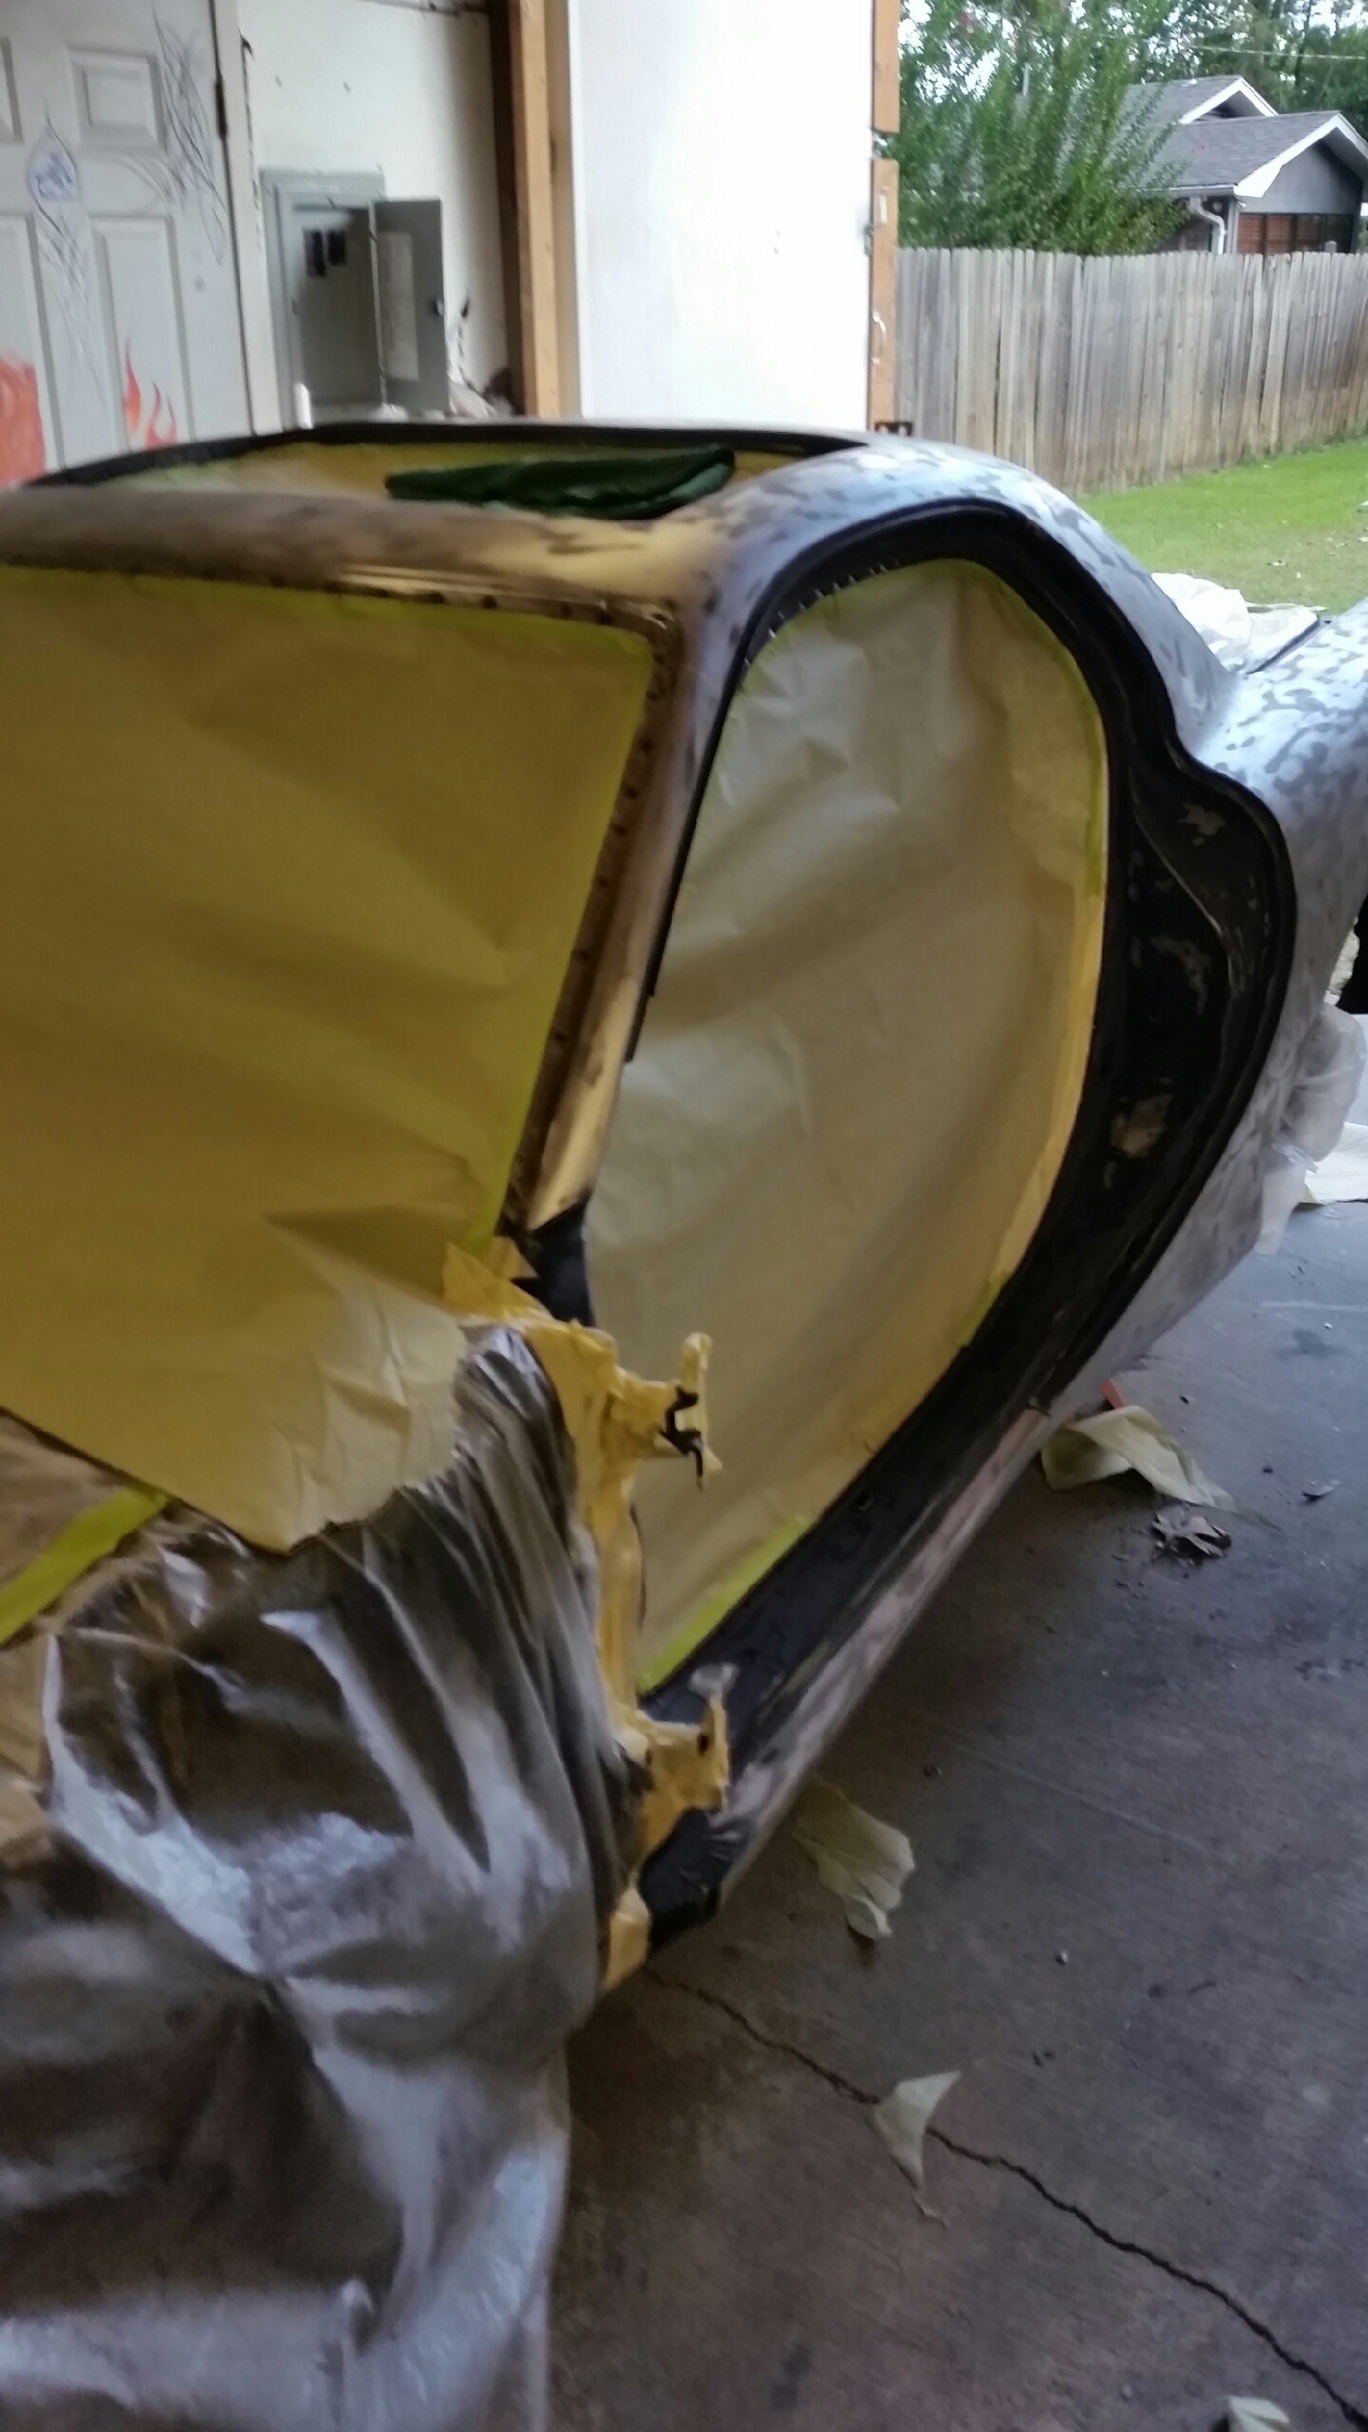
These pics show some of the repair work John will be making. It shows the old and new eurothane and how the rust started to develop. I don't know if I've mentioned it but the last shop apparently broke my rear hatch, replaced it, and didn't mention it to me. The only way I knew about it is because I found glass rattling around in my hatch. Unfortunately they didn't clean up some surface rust around the window mount and eurothaned over it making a nice little present to find later. Thankfully John is a perfectionist and is going to make sure the window supports are repaired and sealed against future corrosion
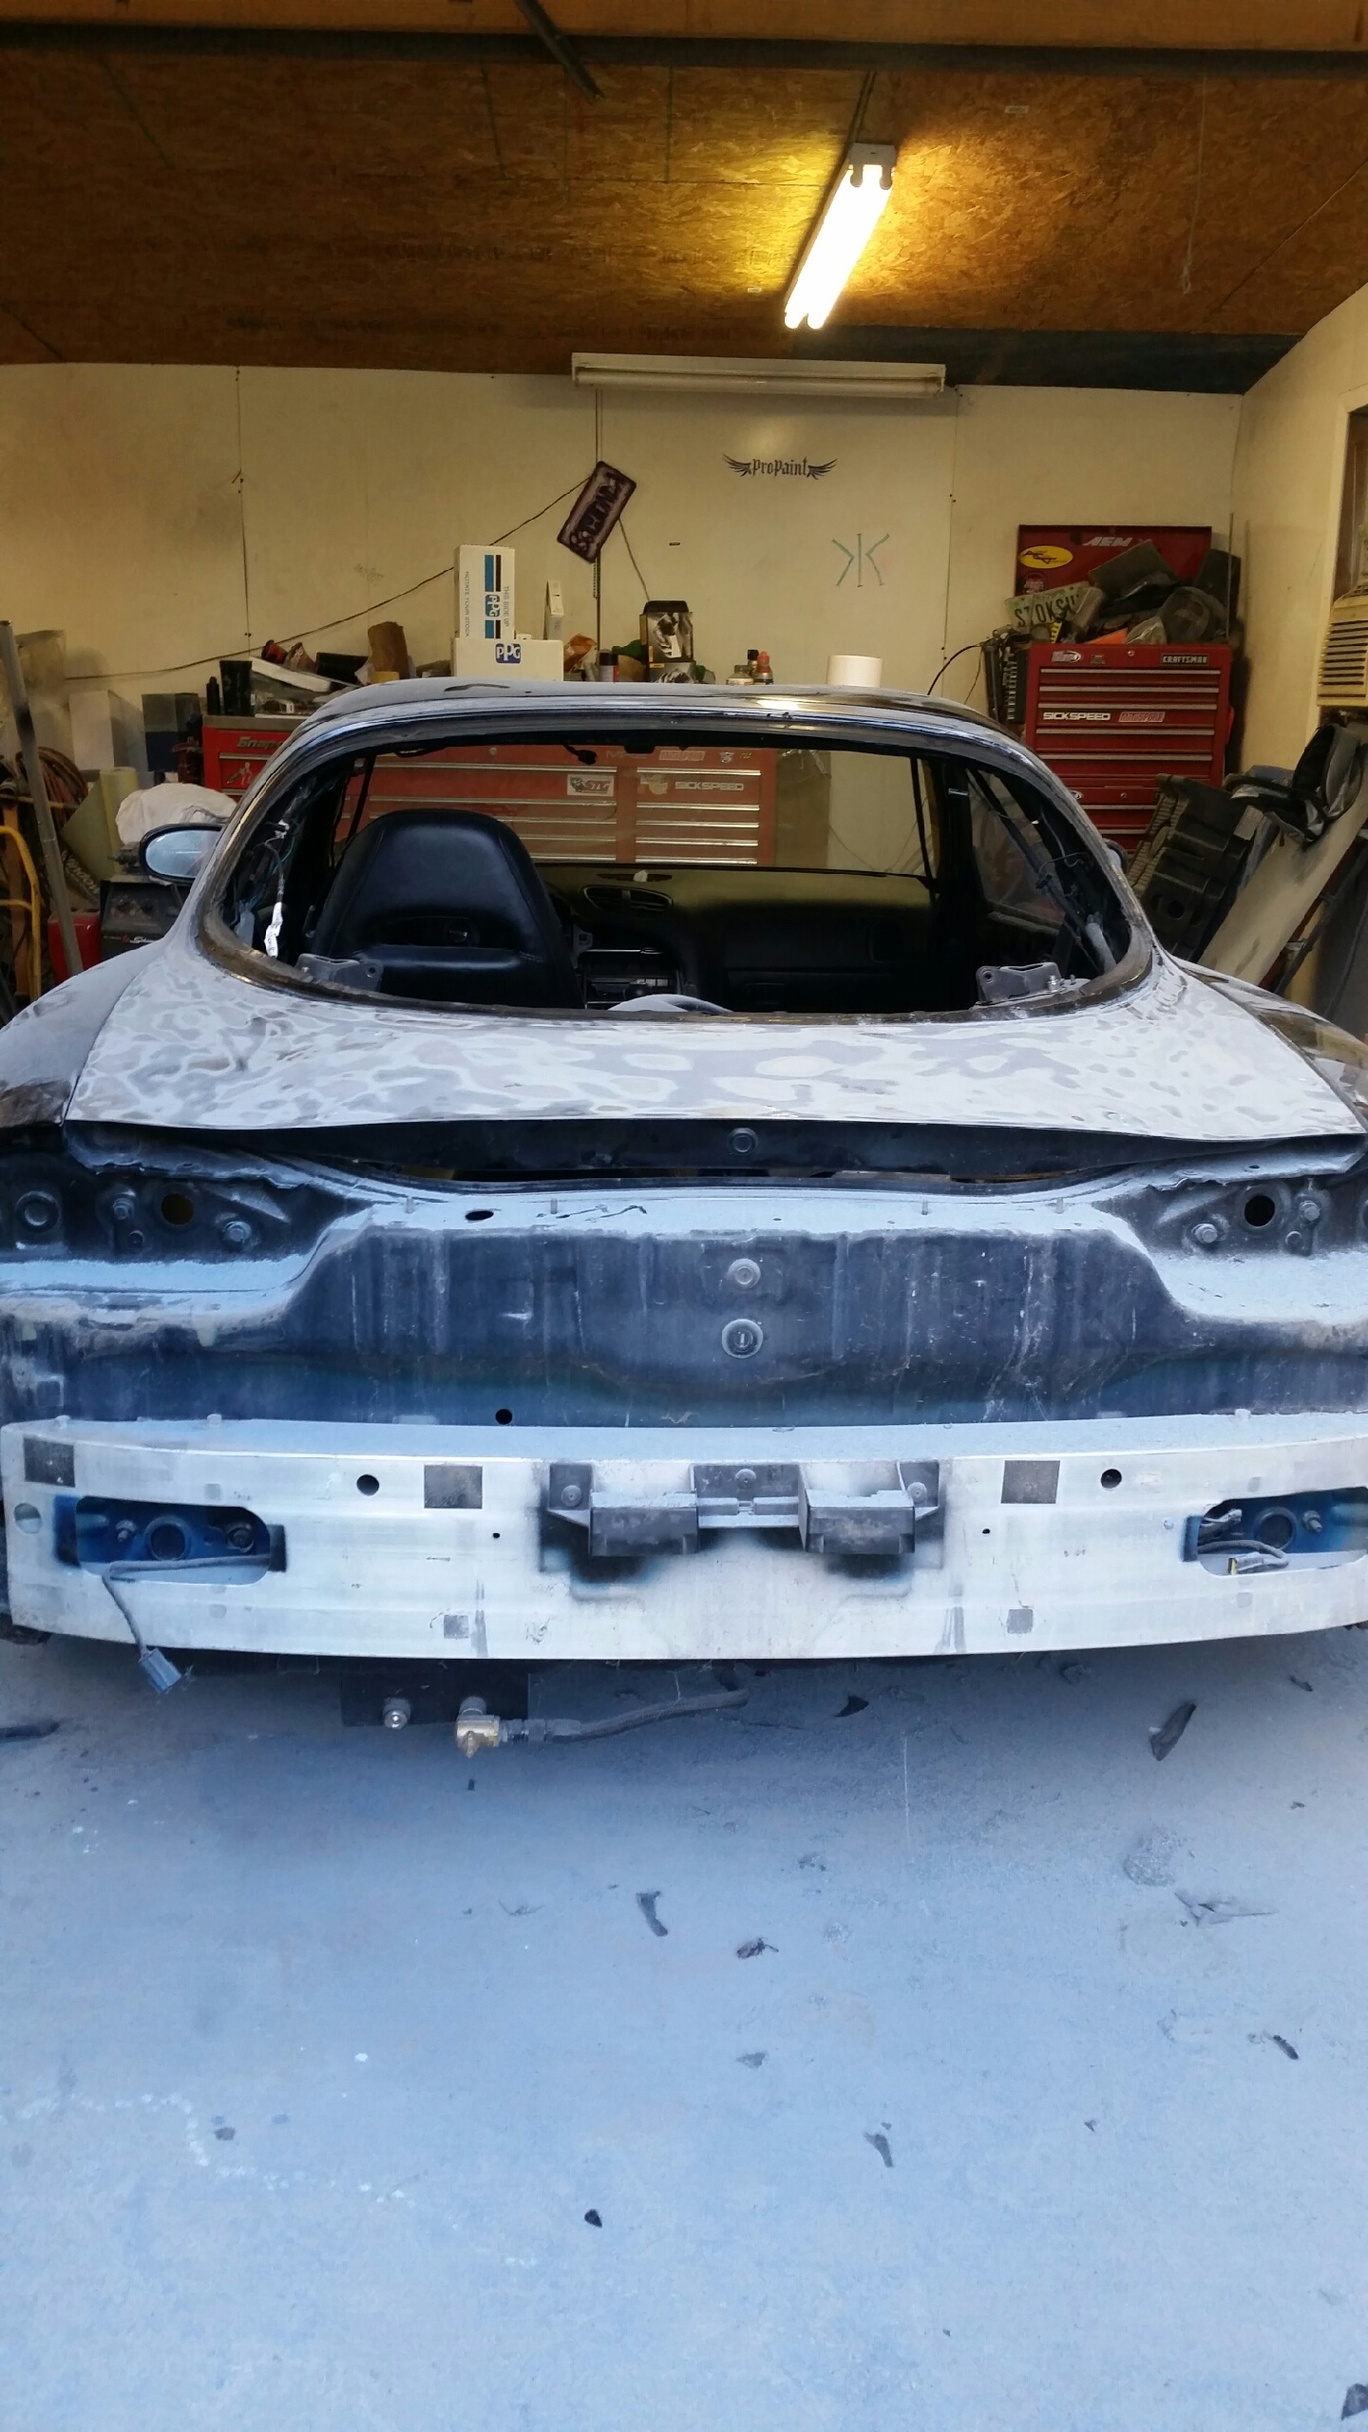
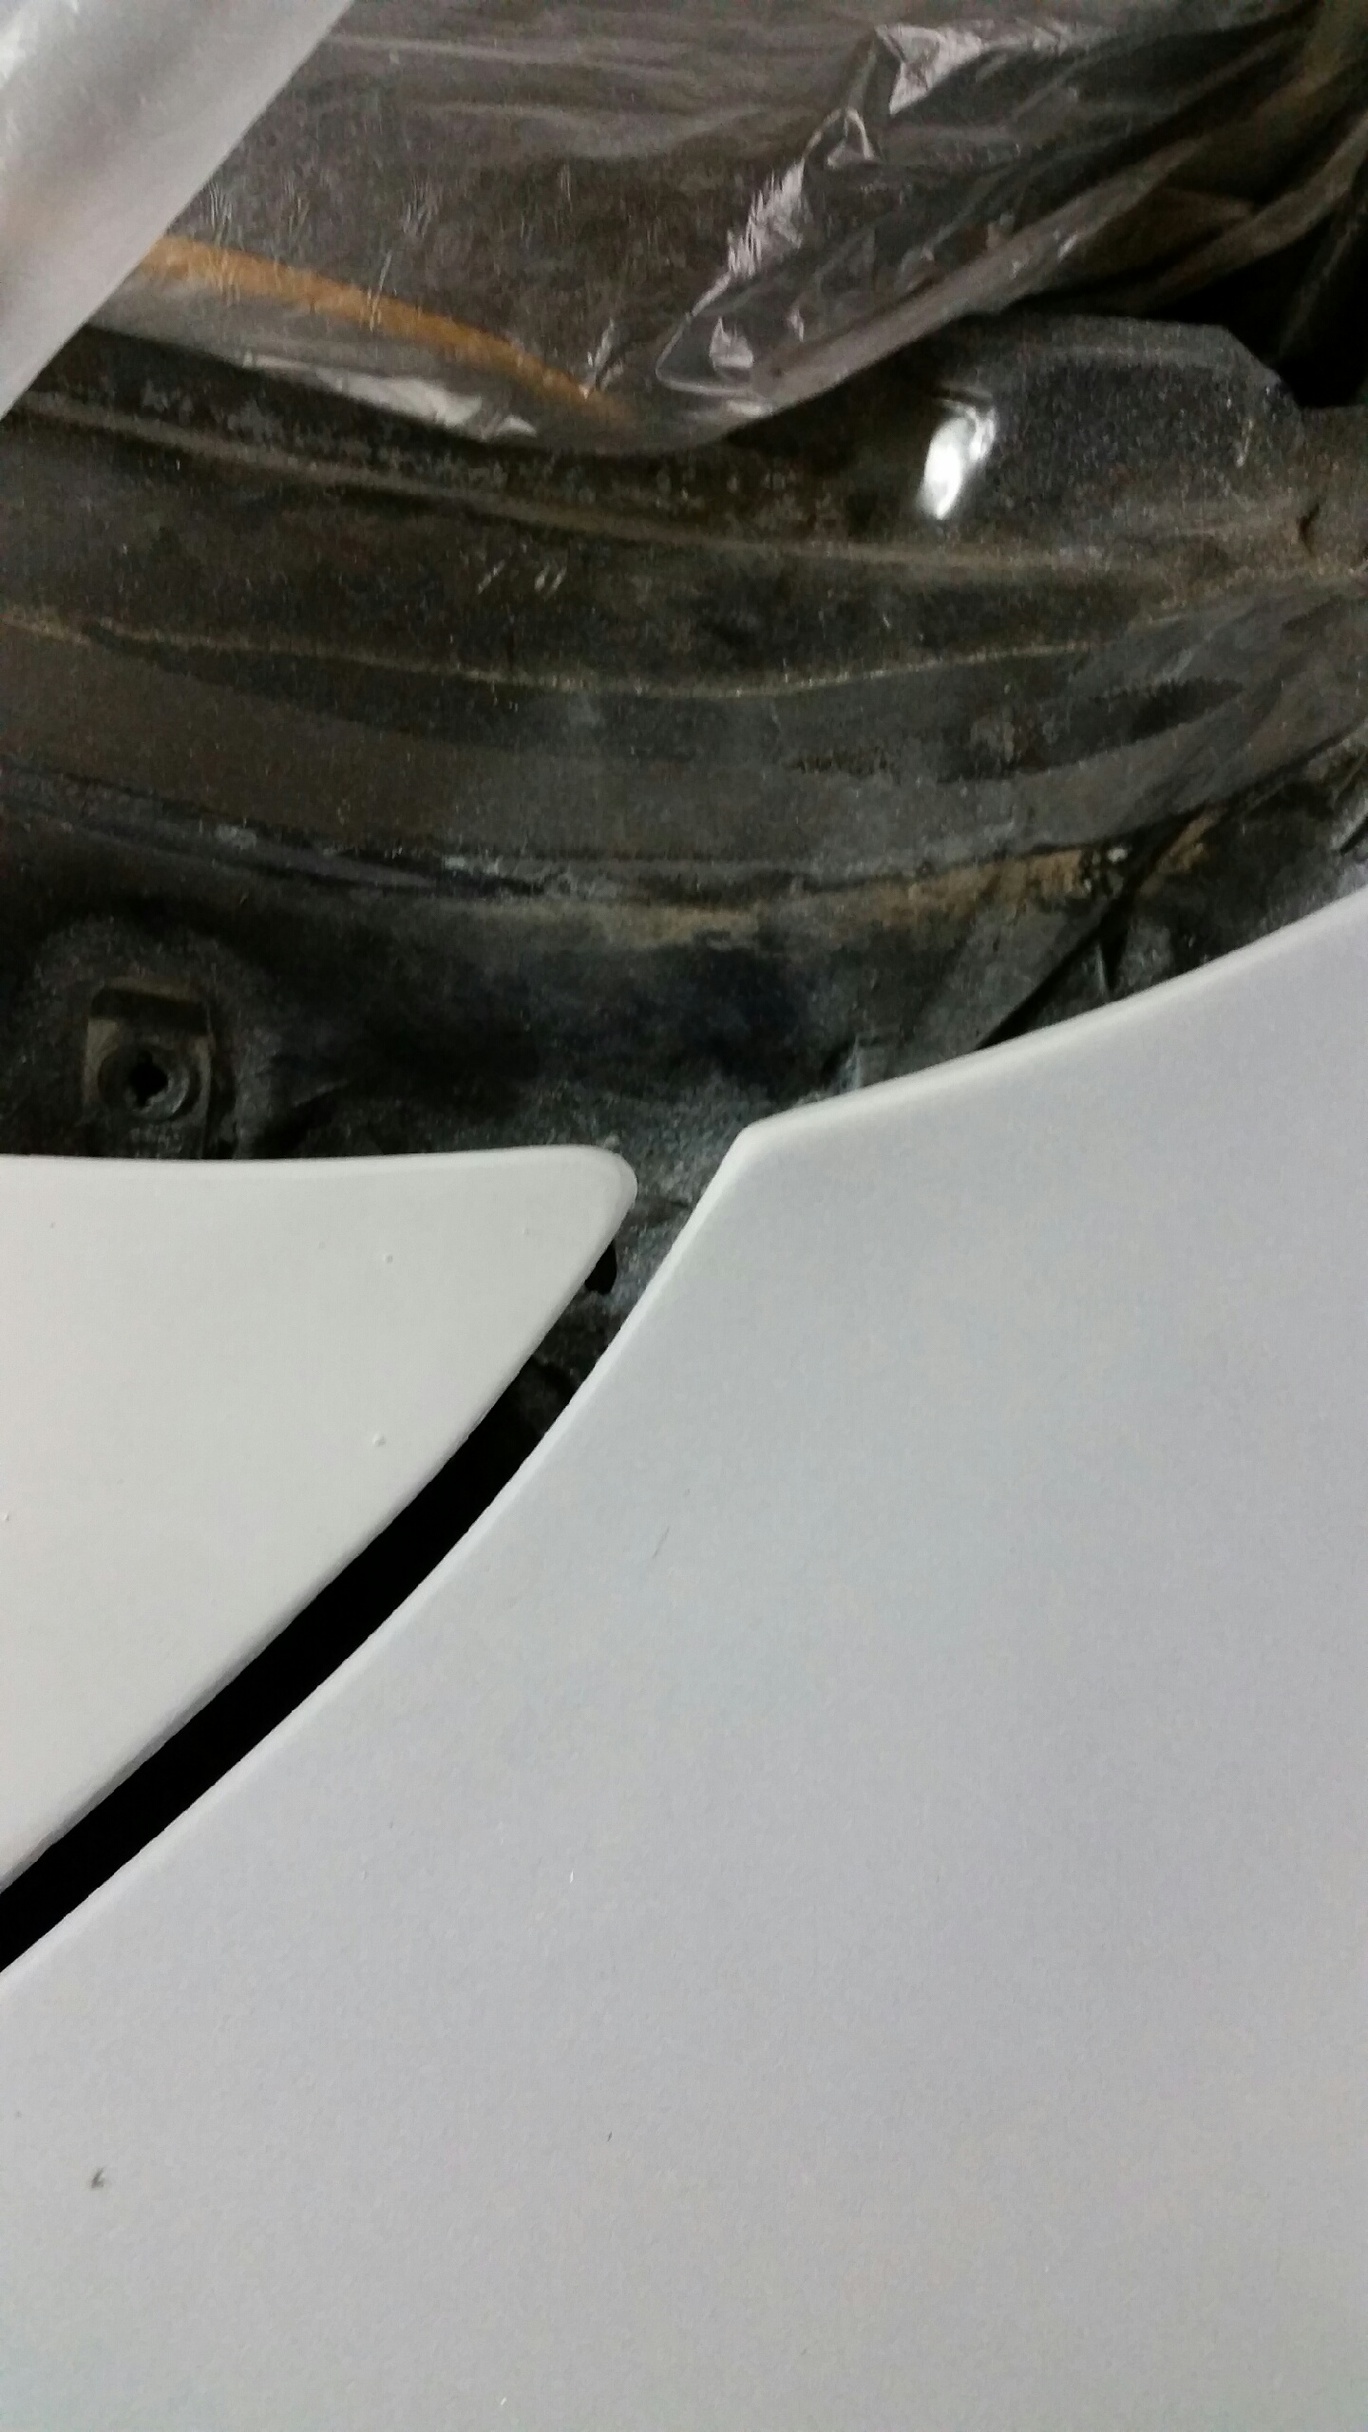
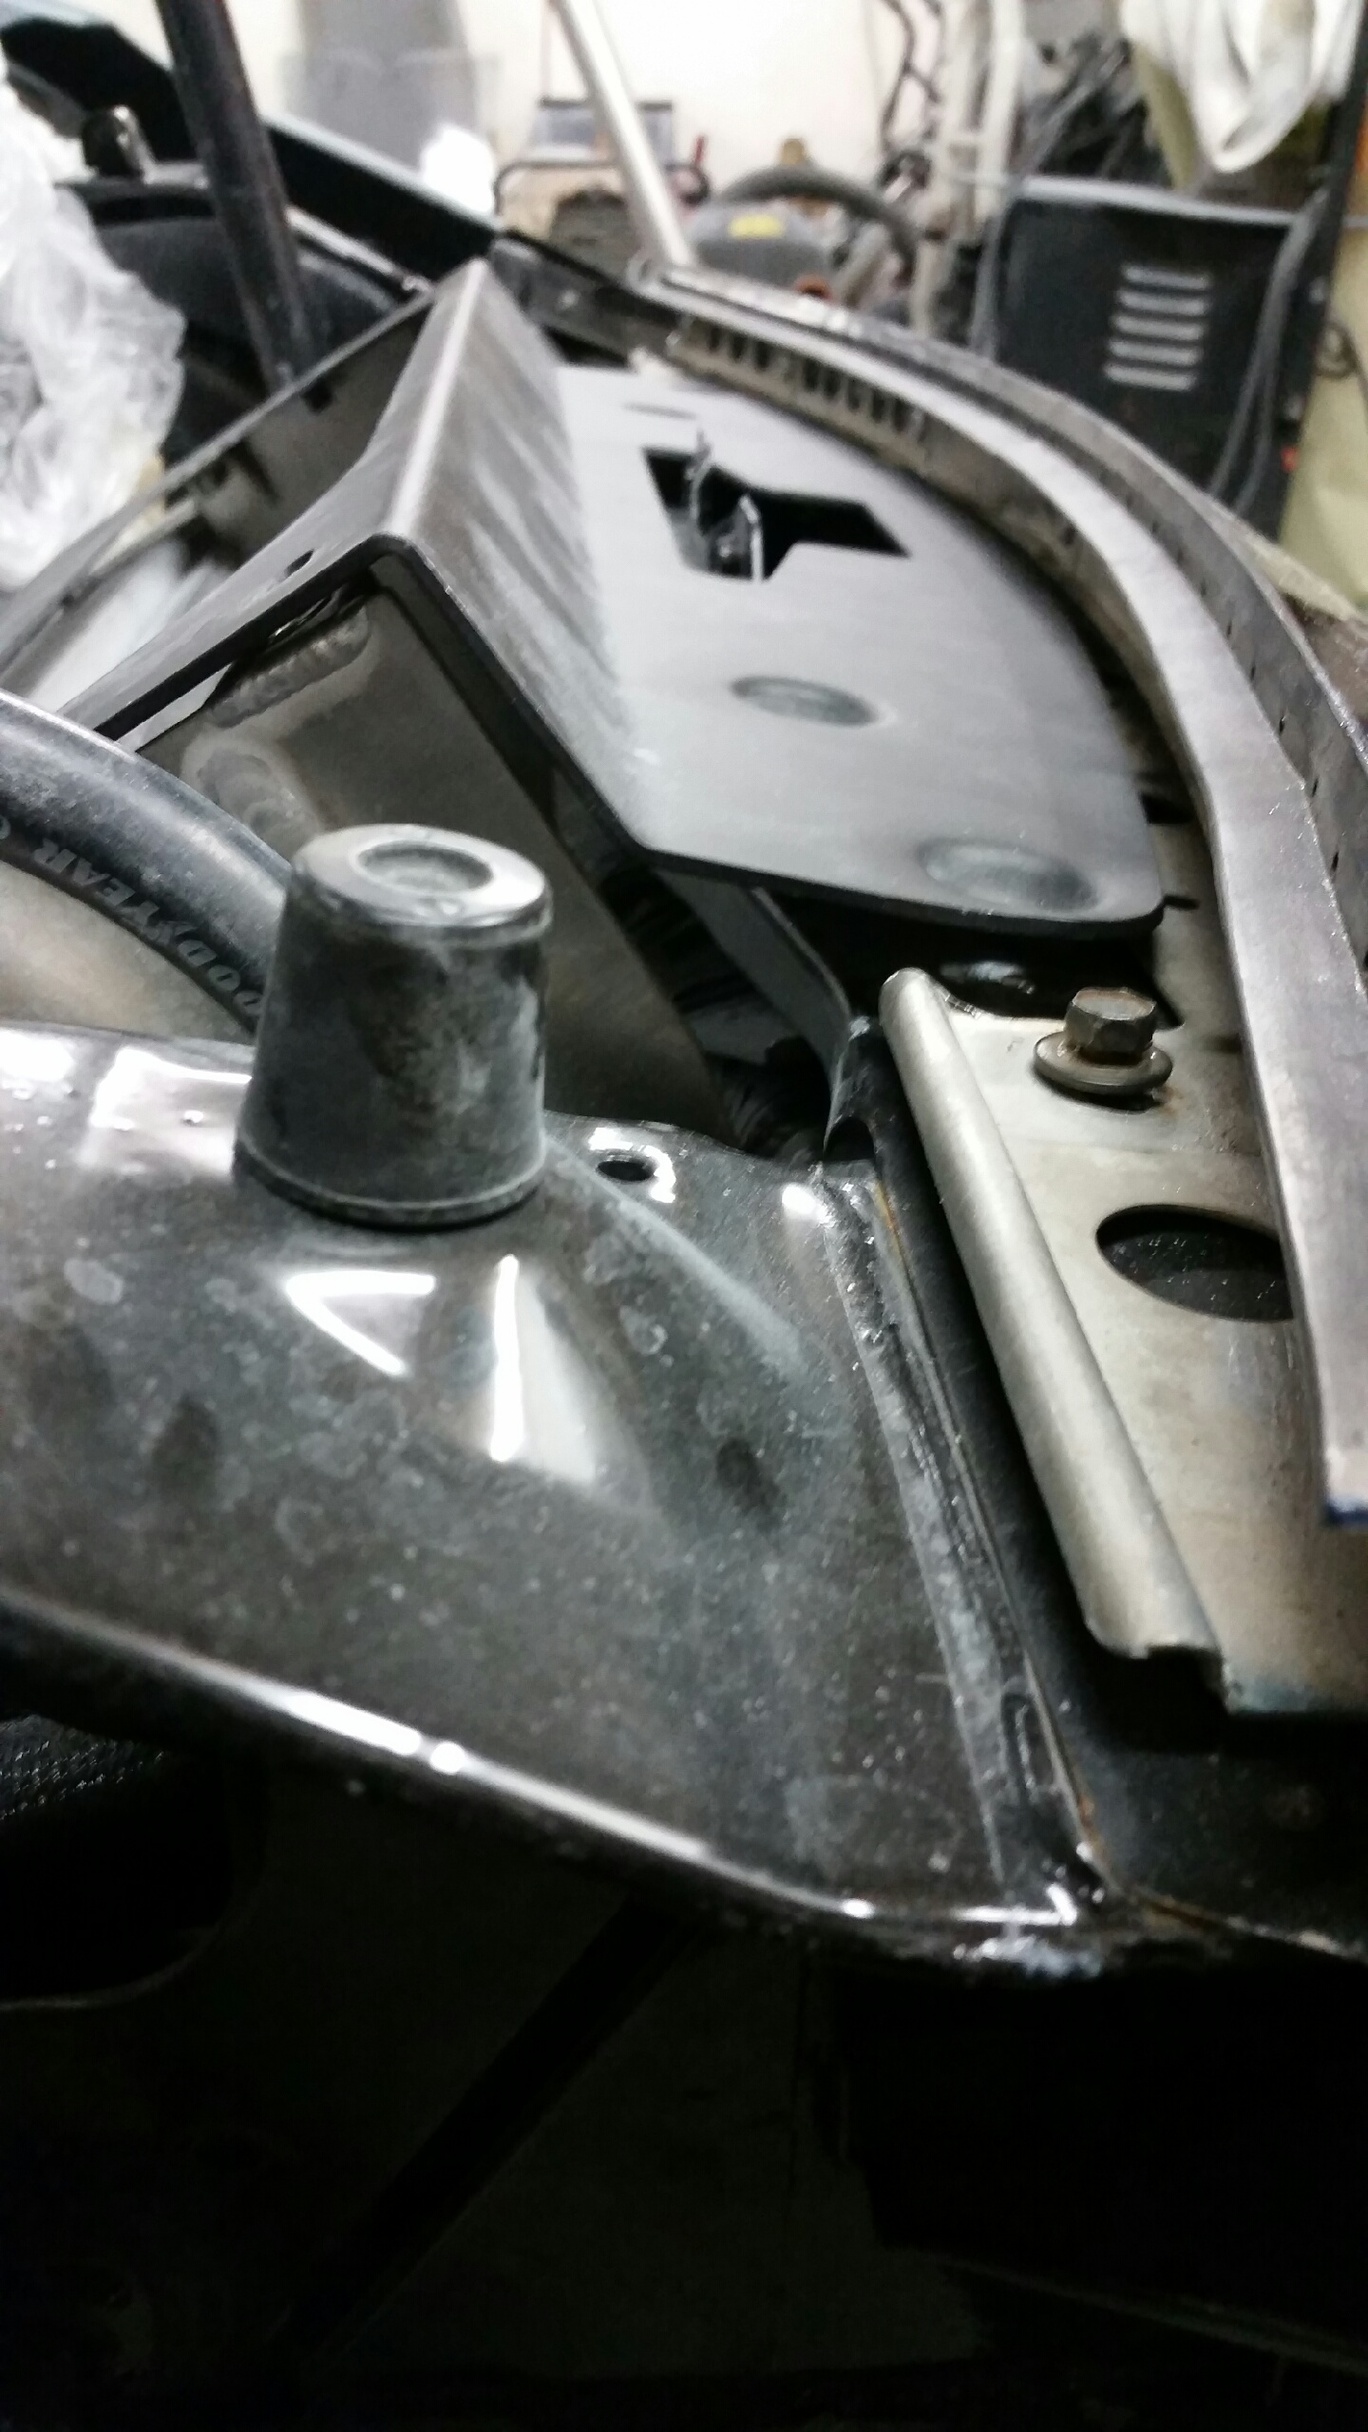
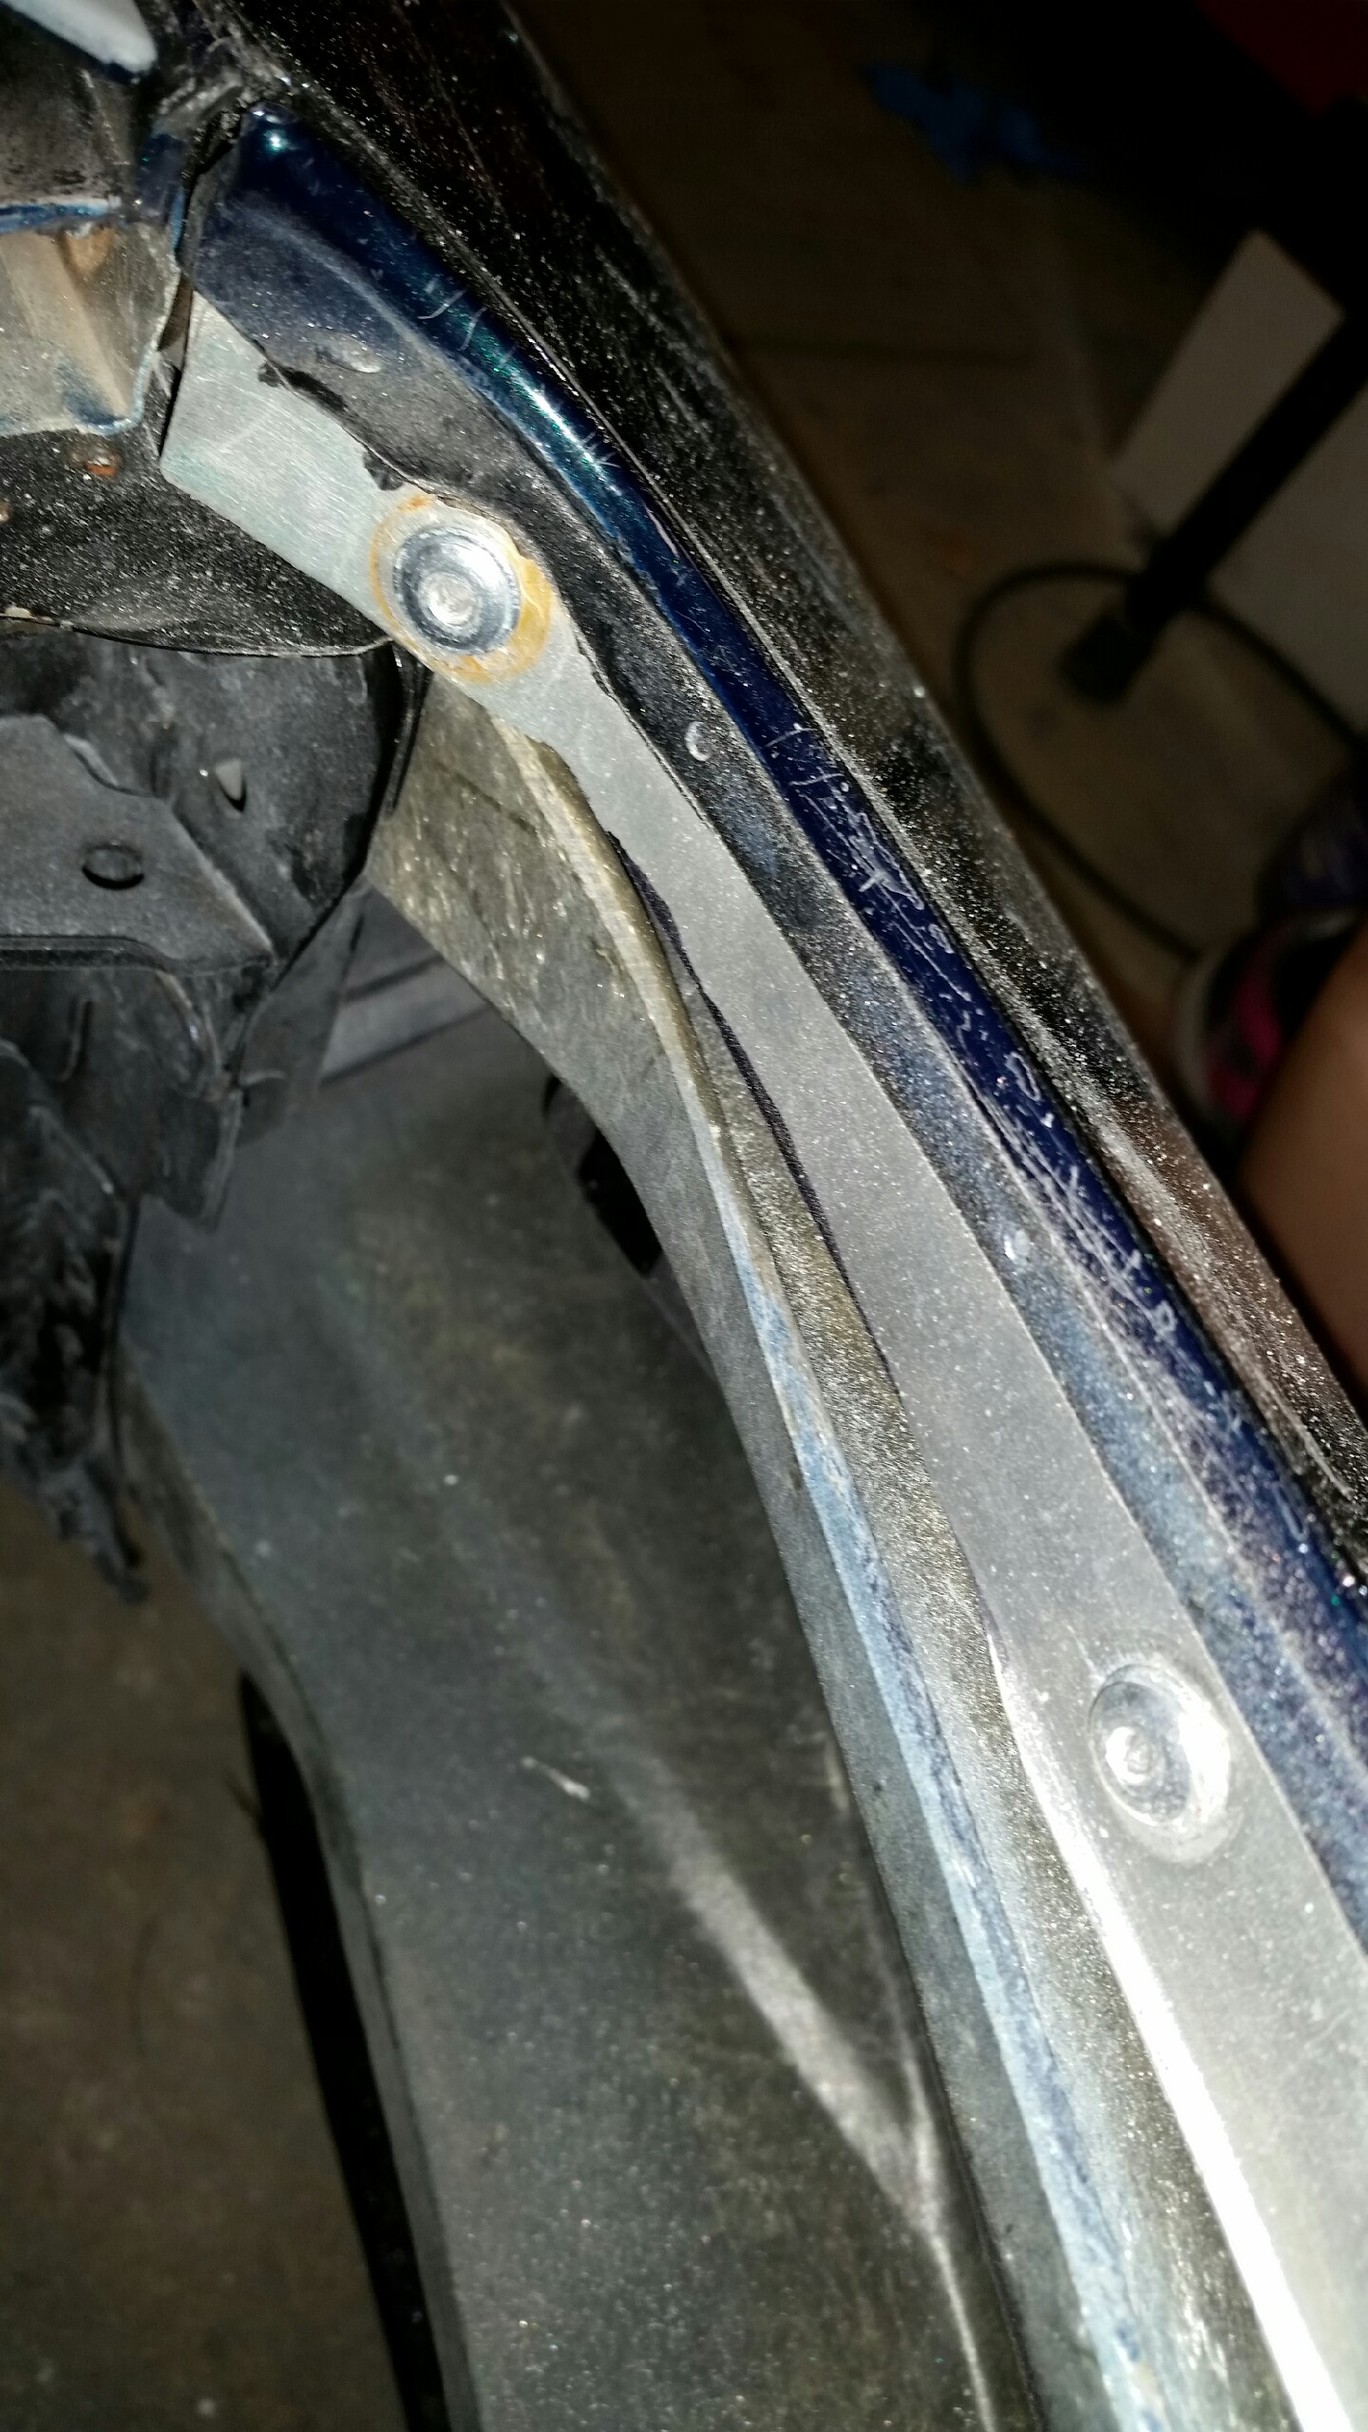
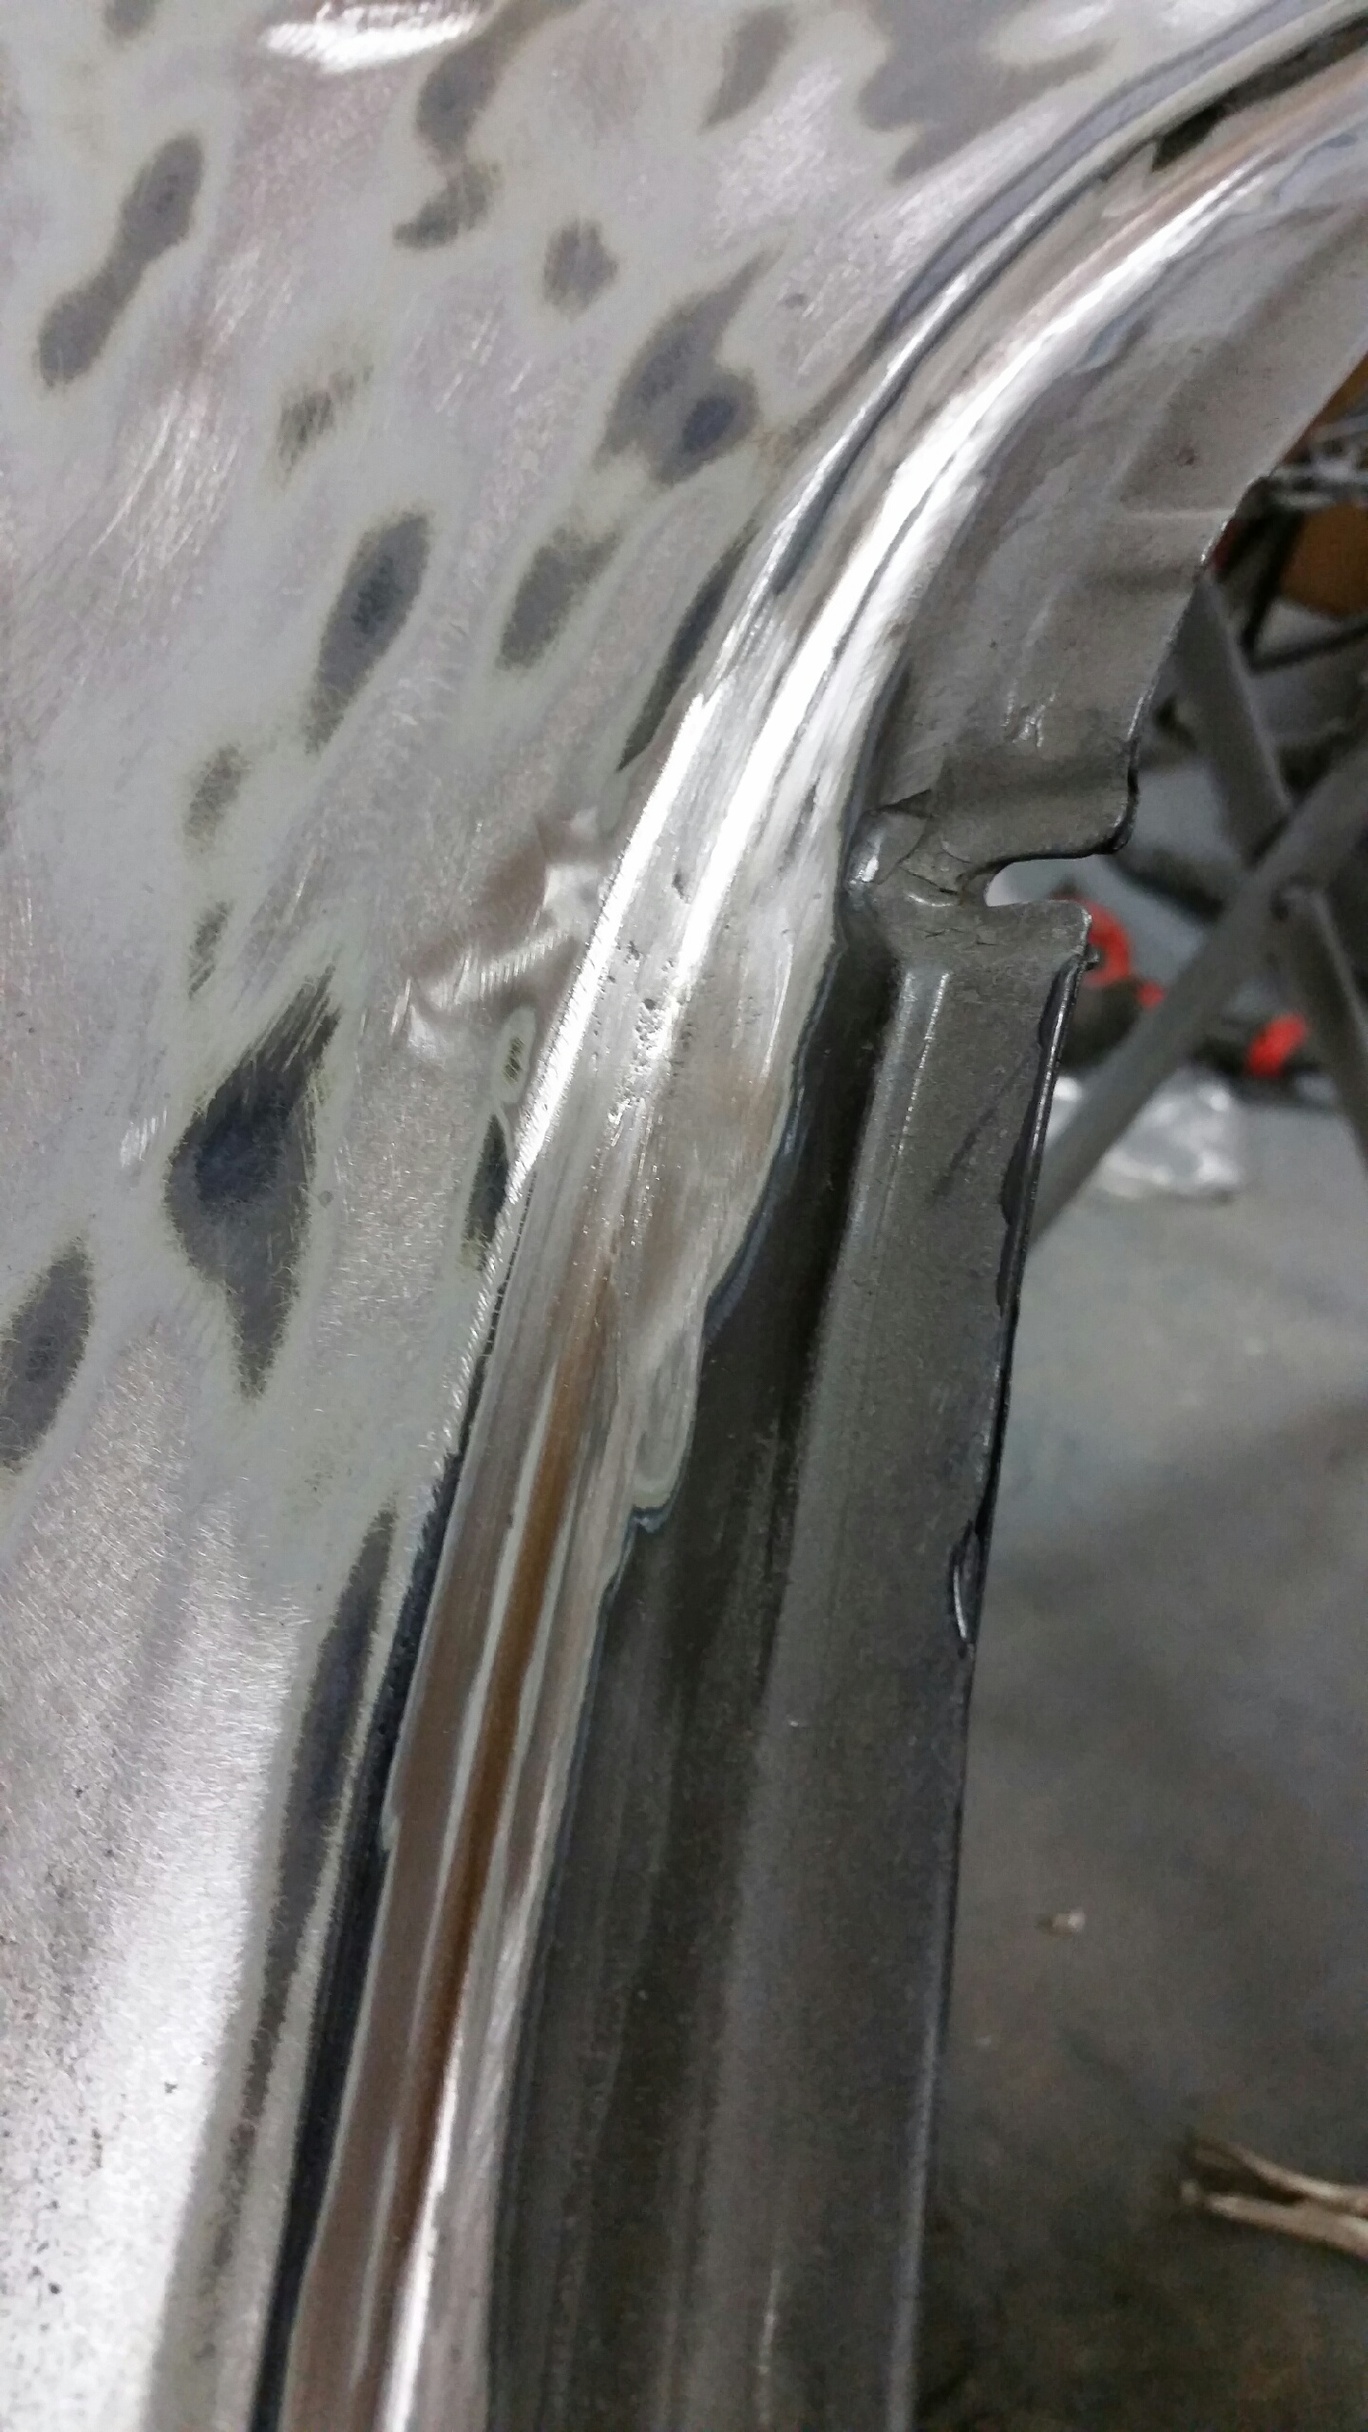
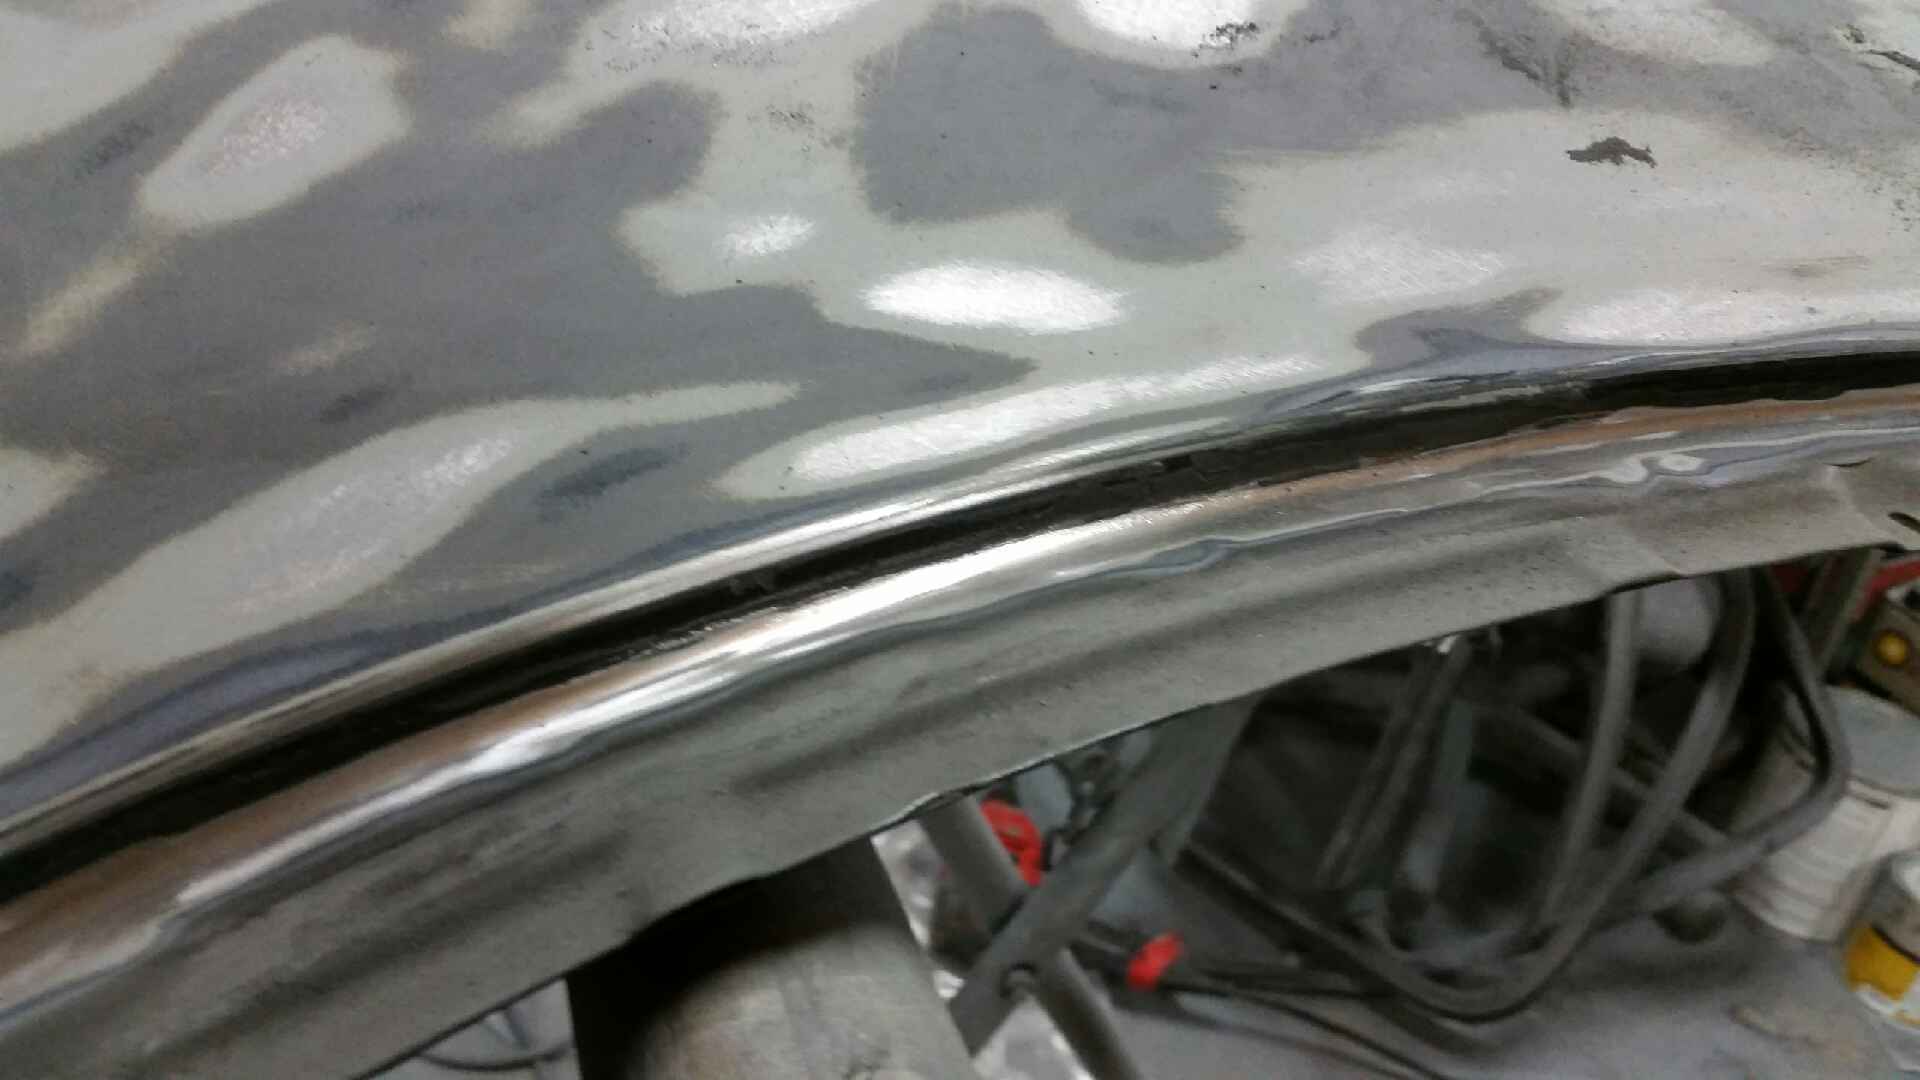
We discovered some other not so nice stuff when pulling the front windshield:
The windshield was installed too low and was basically resting on the firewall cowl panel. They had also broken and re-glued the window 'stops' so that's something I'll be ordering here shortly. For those of you who don't already know, I've been driving with a broken windshield ever since I picked up the roller 5 years ago. It was a big circular baseball looking crack near the center of the windshield. It'll be nice driving the car with a brand new one
And another picture of the rust on the front windshield post. This will receive the same treatment as the rear window supports
Popping out the glue used to fill the hatch holes
Driver's side fender has been stripped:
Its looking like the fenders, hood, and hatch will see primer pretty soon. John is just waiting to get some help cutting out the hatch glass as well as welding shut the holes in the hatch and hood.
John made the comment the other day that my car will probably see a 20lb weight reduction once all the old paint comes off lol!
-------------------
July 24, 2014, 10:00:55 AM
Started out last night's update with a tense moment. John had a glass expert buddy stop by and start the process of cutting out the windshield and hatch glass. Now, I've already had my hatch glass broken once during an attempt at removal by an 'expert' and I've read a LOT of stories about the hatch glass just breaking to pieces when attempting to remove it, so I didn't have a lot of faith that he'd be able to get it out. In fact John and I went ahead and priced out a new window (dealer only) which runs in the upper $400s and felt like an imminent purchase for me.
Crazy man!
Drama over! They pulled it off! I was literally jumping up and down when I got this text
These pics show some of the repair work John will be making. It shows the old and new eurothane and how the rust started to develop. I don't know if I've mentioned it but the last shop apparently broke my rear hatch, replaced it, and didn't mention it to me. The only way I knew about it is because I found glass rattling around in my hatch. Unfortunately they didn't clean up some surface rust around the window mount and eurothaned over it making a nice little present to find later. Thankfully John is a perfectionist and is going to make sure the window supports are repaired and sealed against future corrosion
We discovered some other not so nice stuff when pulling the front windshield:
The windshield was installed too low and was basically resting on the firewall cowl panel. They had also broken and re-glued the window 'stops' so that's something I'll be ordering here shortly. For those of you who don't already know, I've been driving with a broken windshield ever since I picked up the roller 5 years ago. It was a big circular baseball looking crack near the center of the windshield. It'll be nice driving the car with a brand new one
And another picture of the rust on the front windshield post. This will receive the same treatment as the rear window supports
Popping out the glue used to fill the hatch holes
09-23-14, 04:55 PM
#5
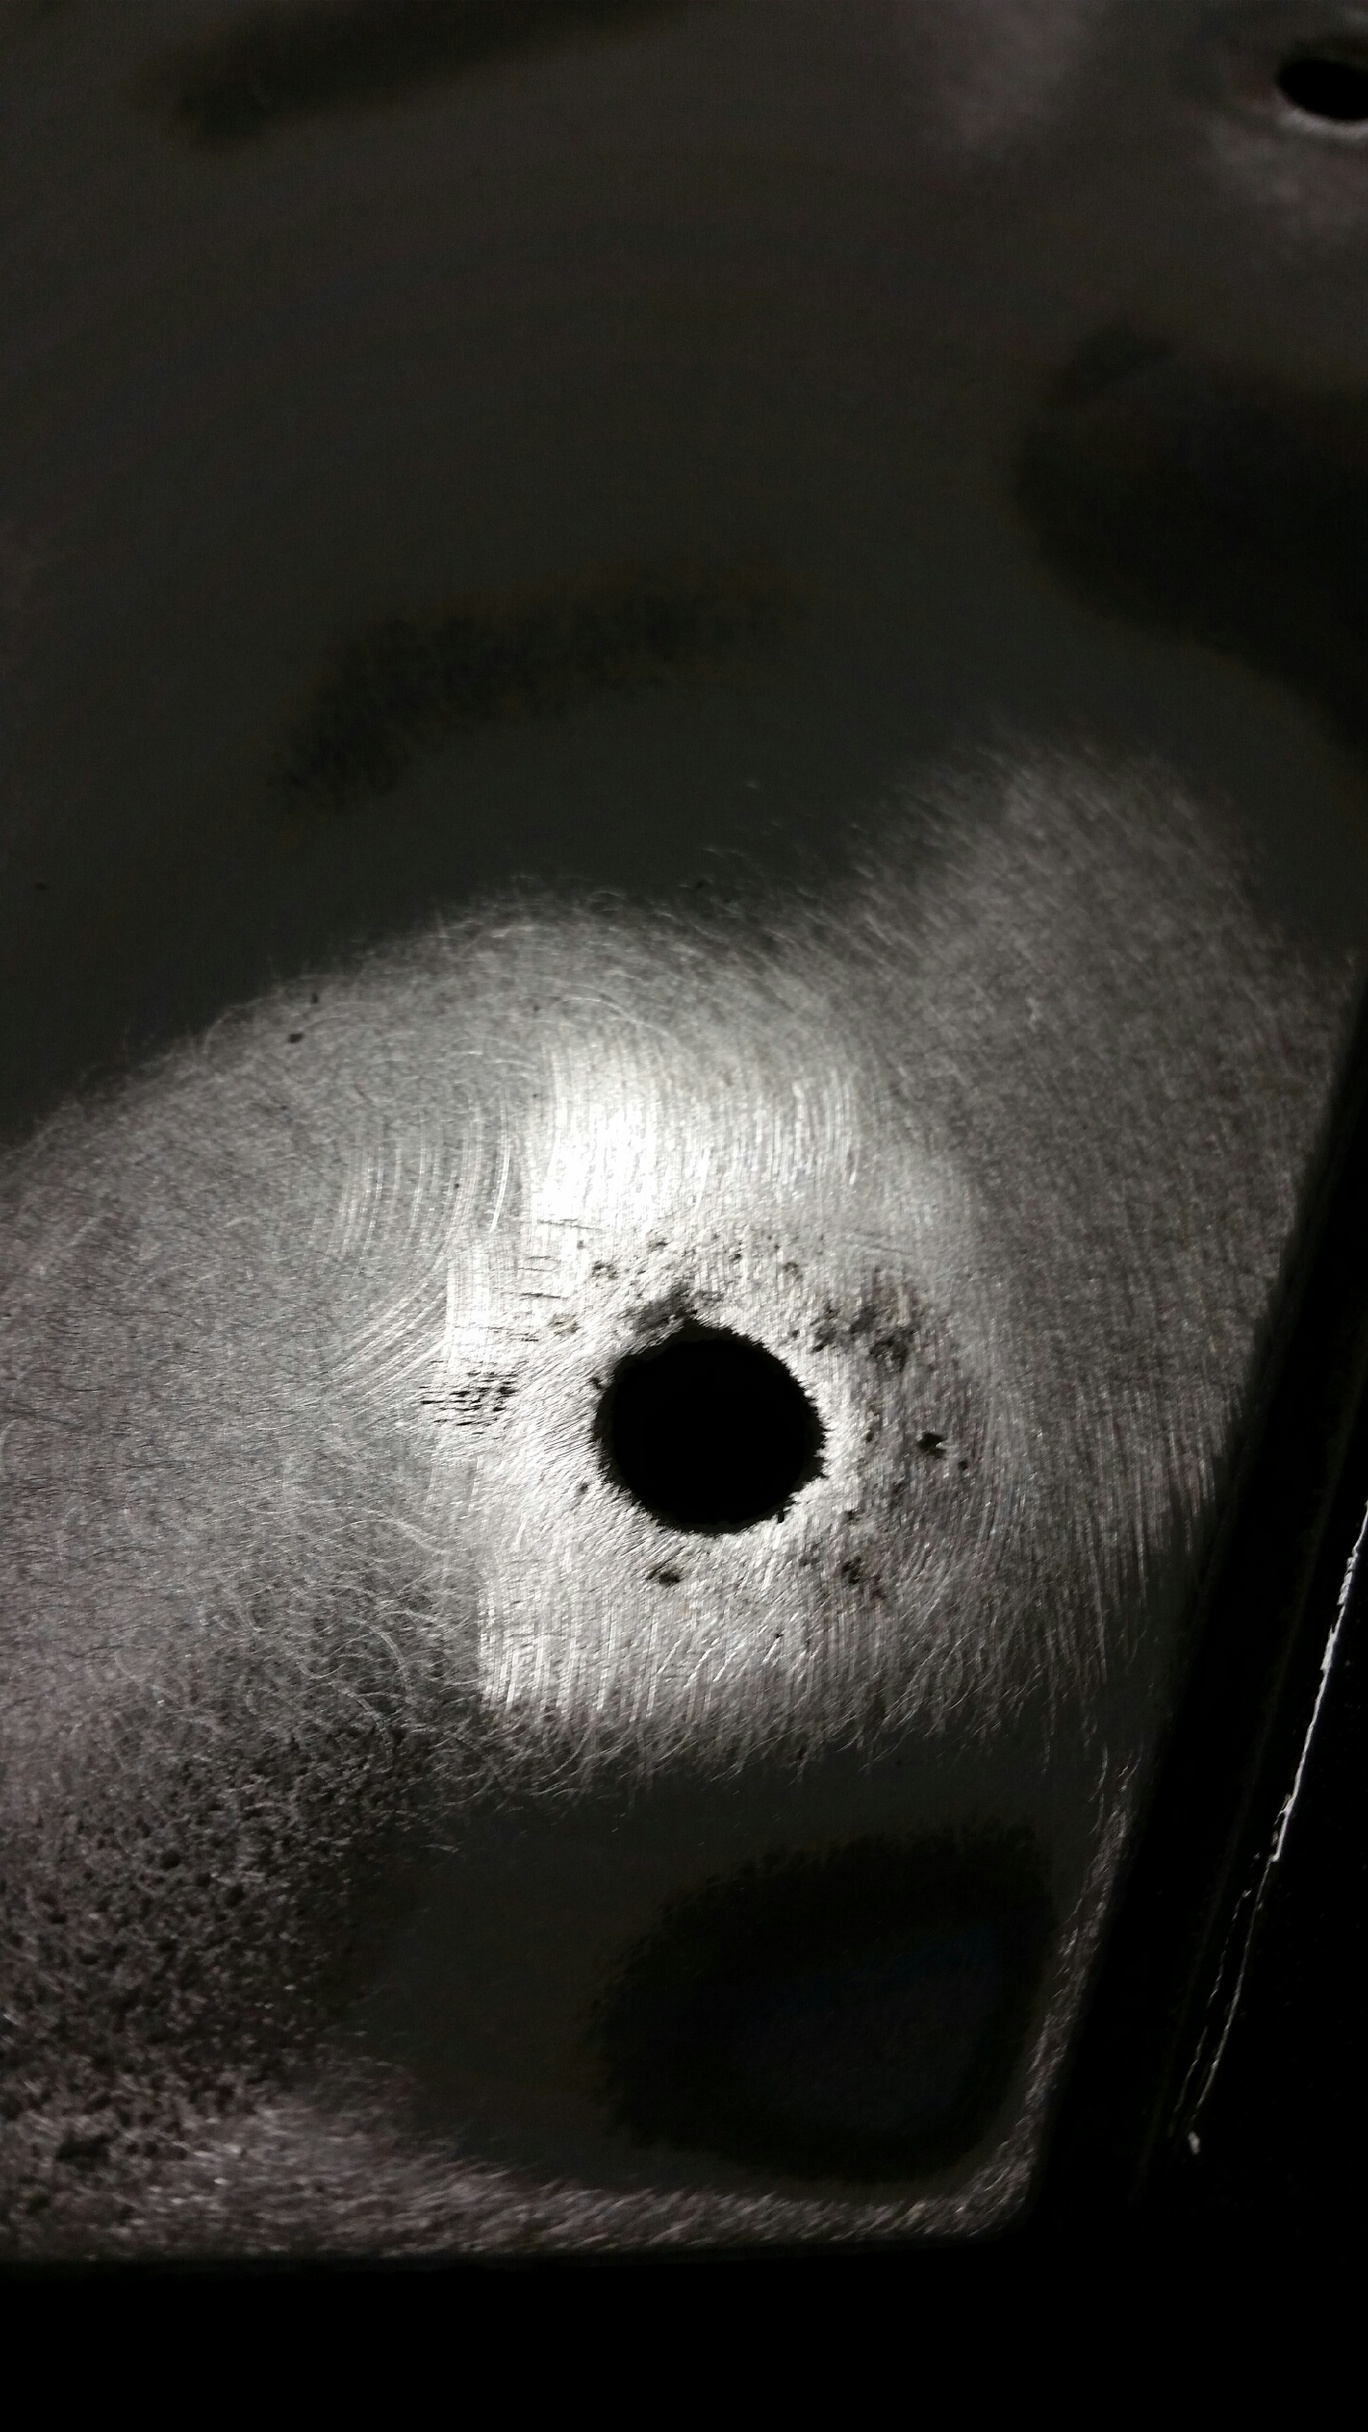

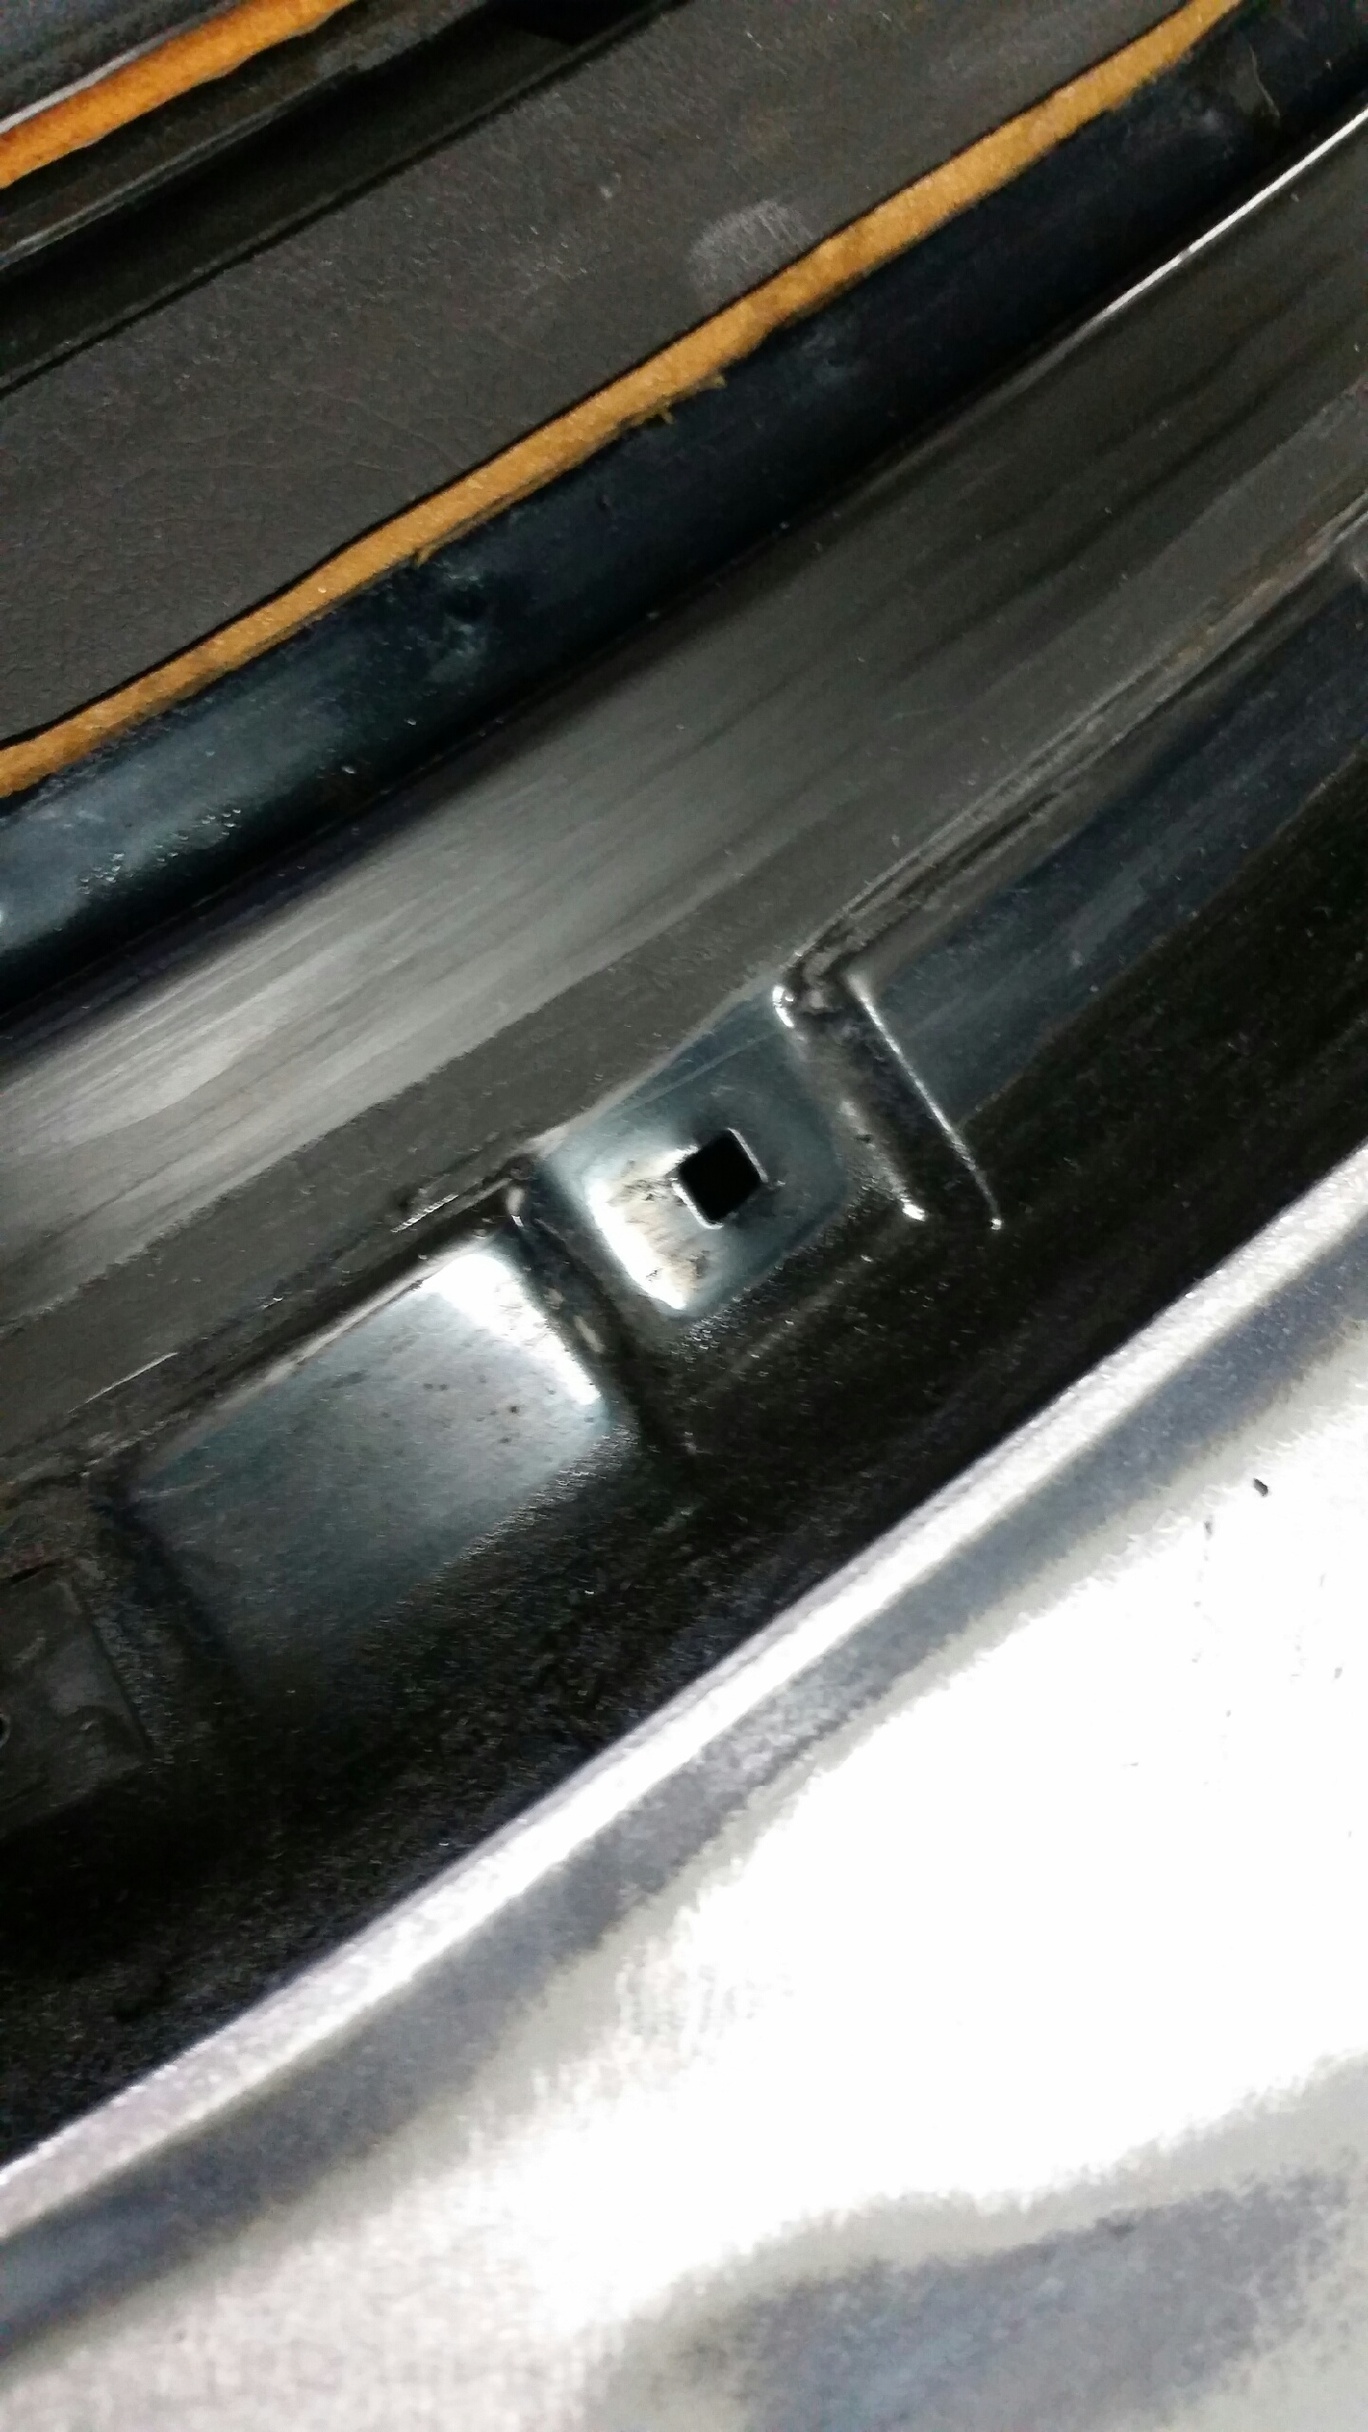
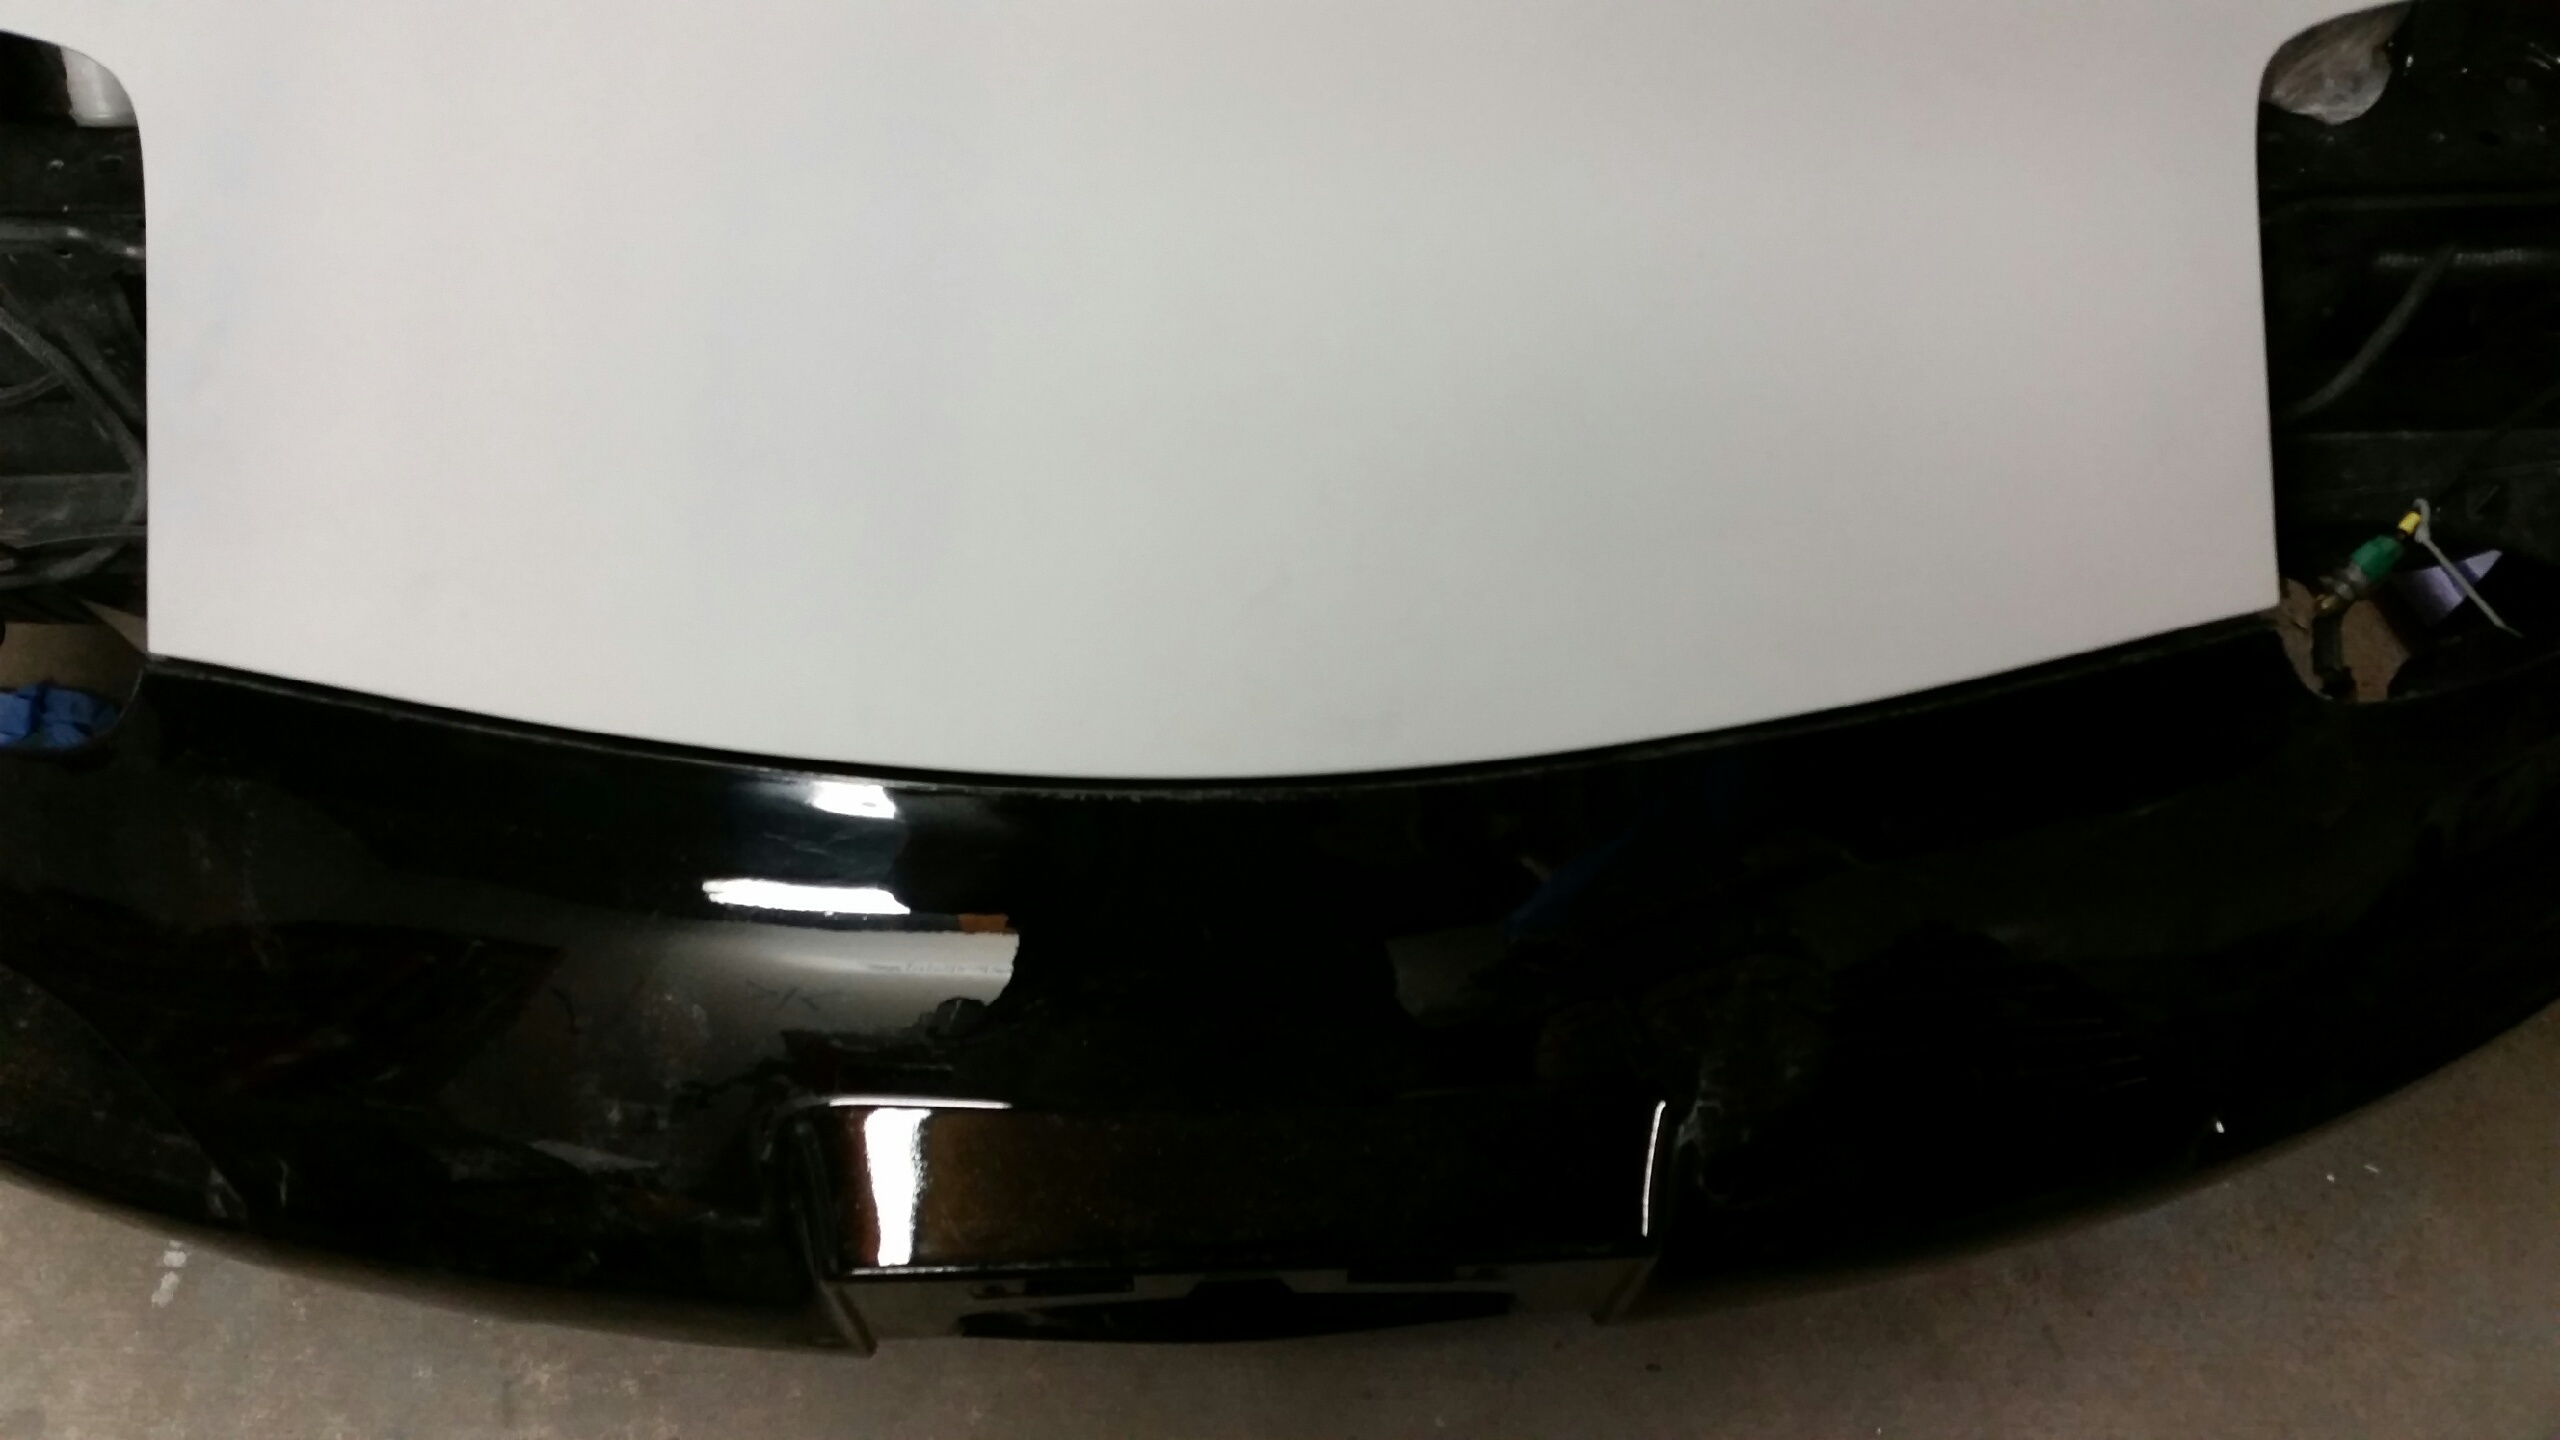
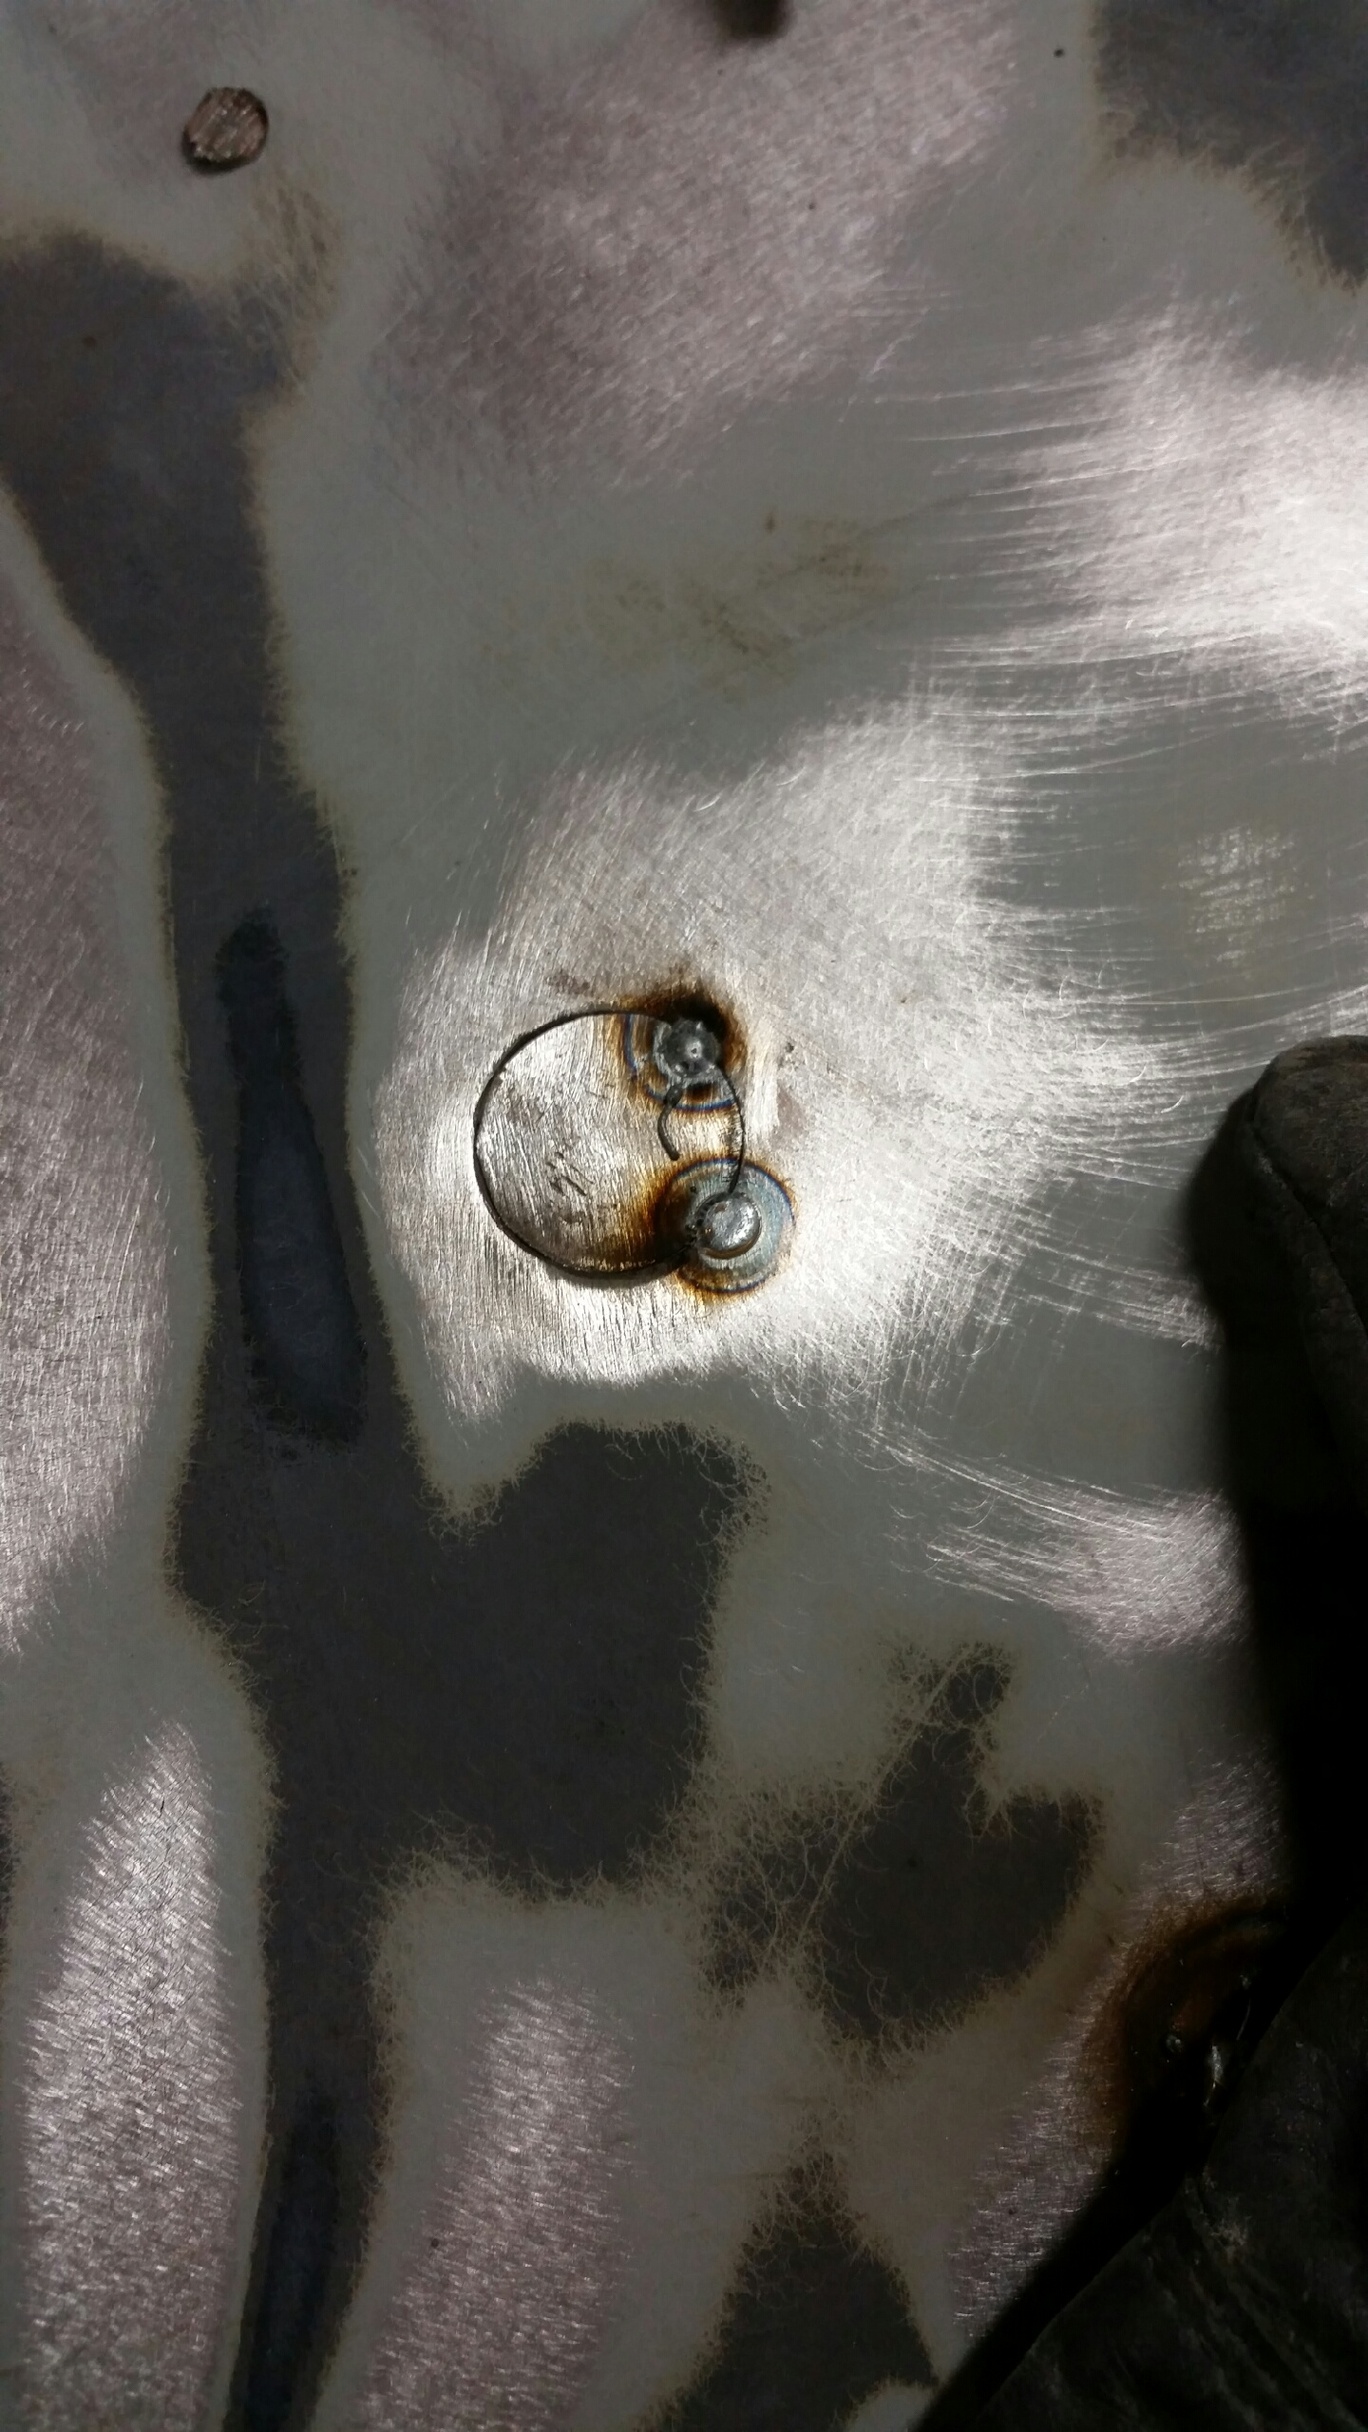
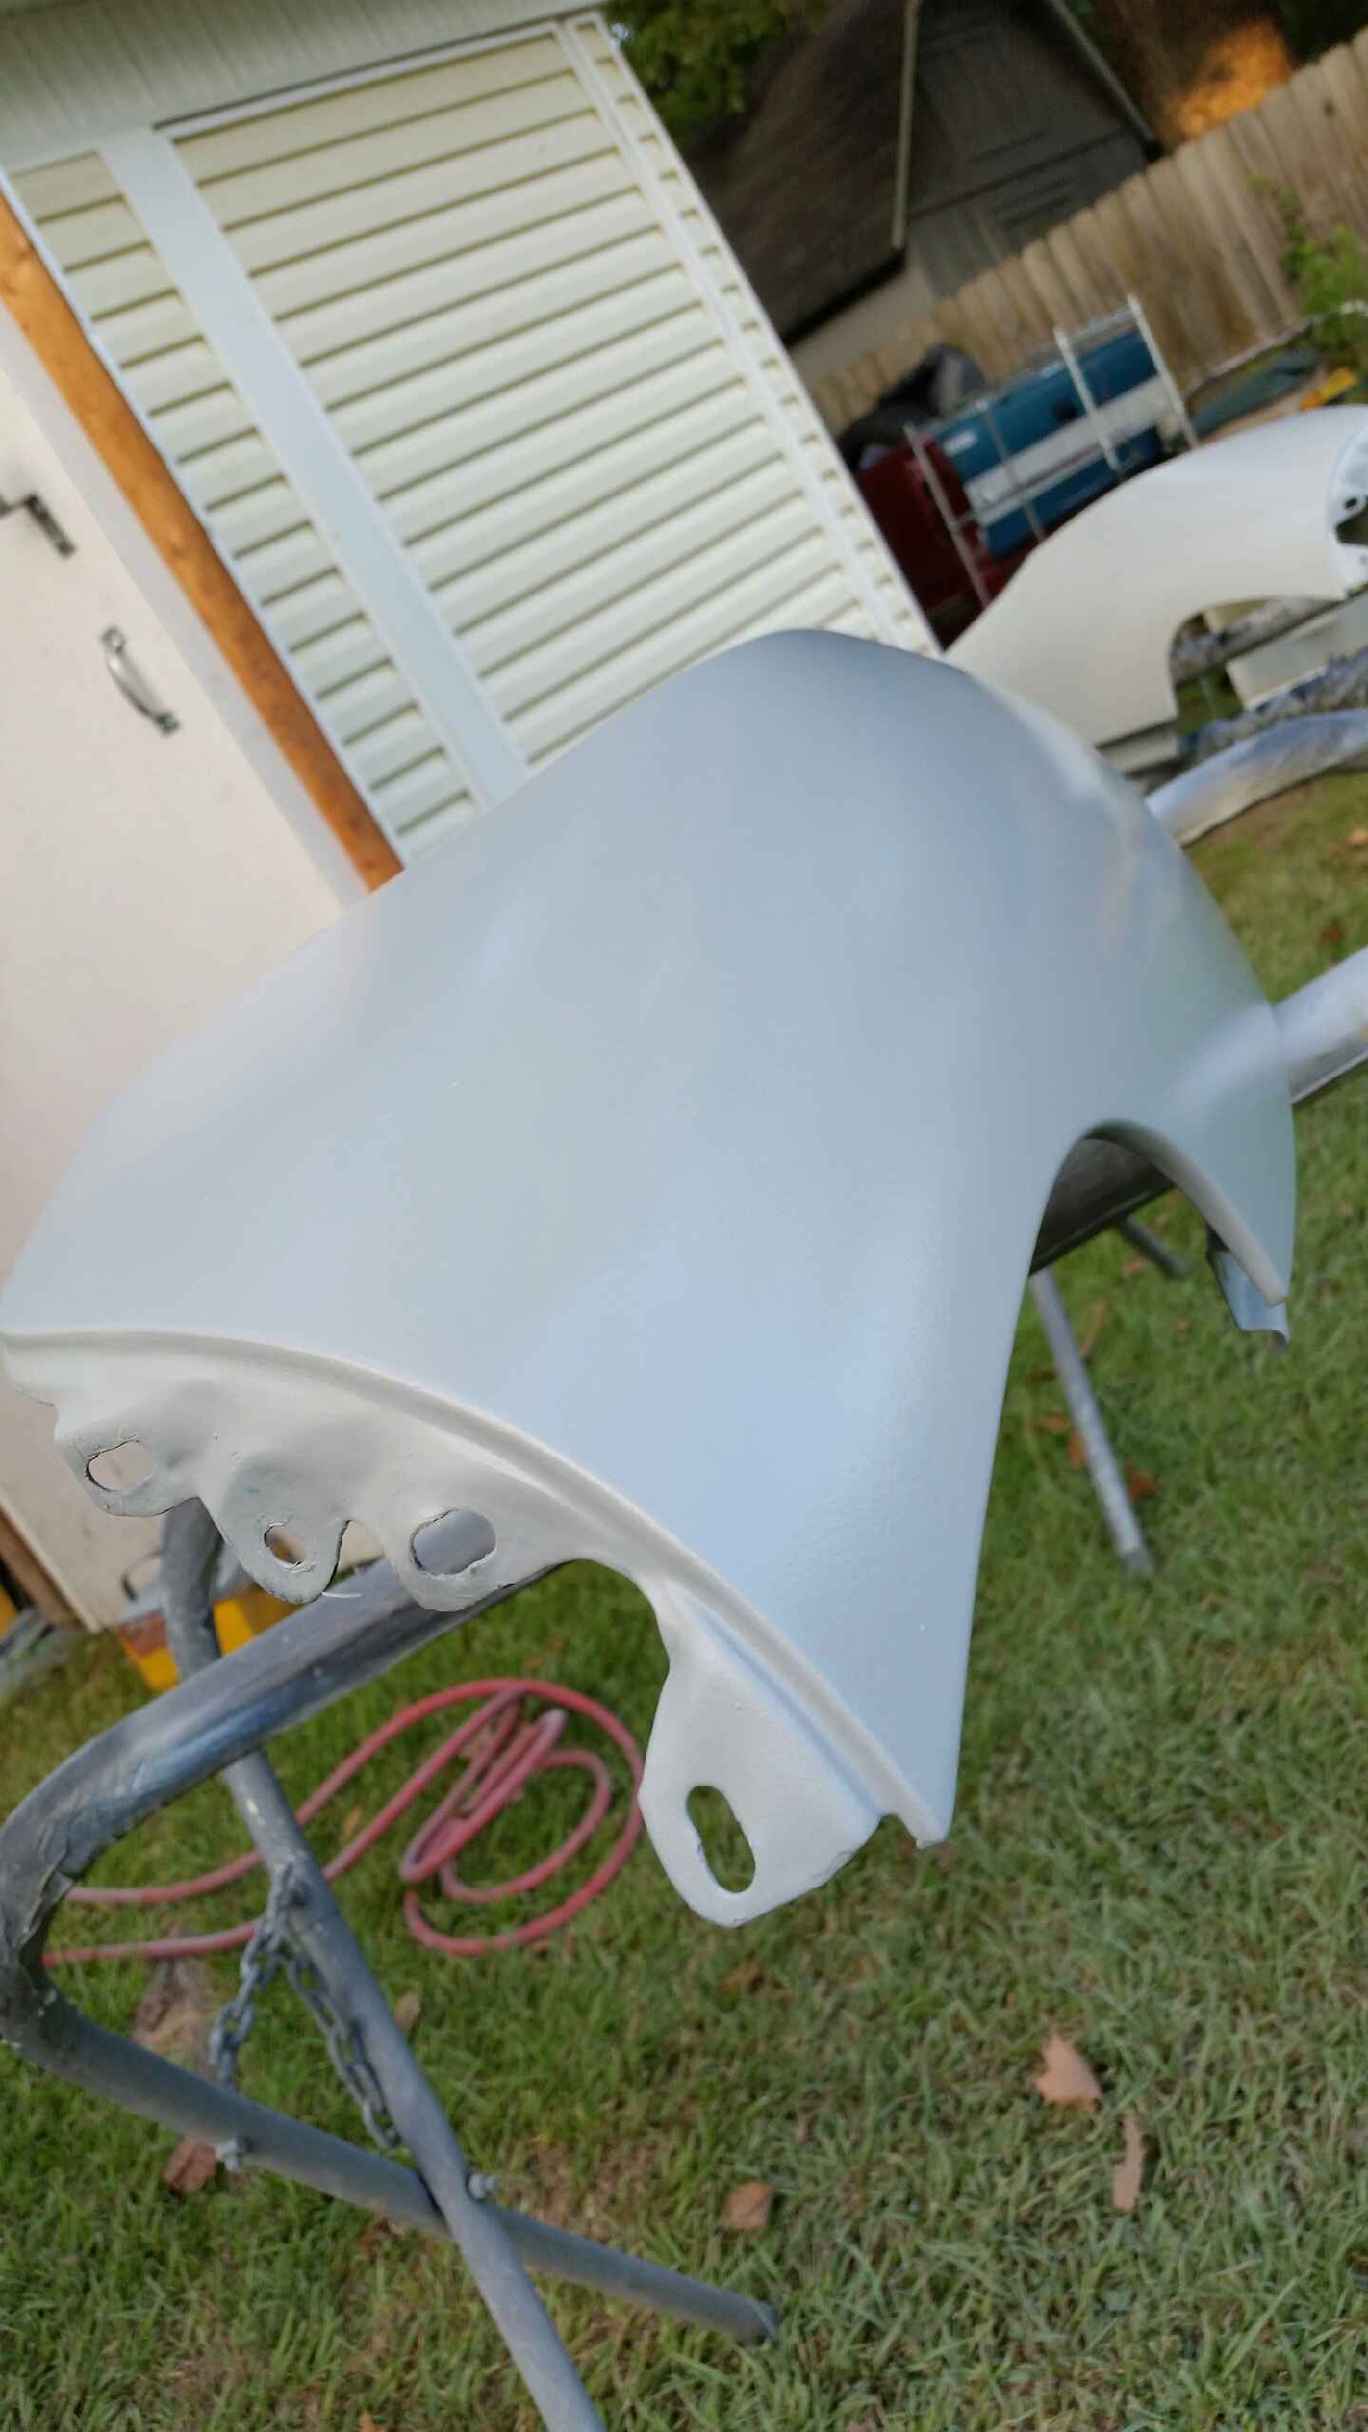
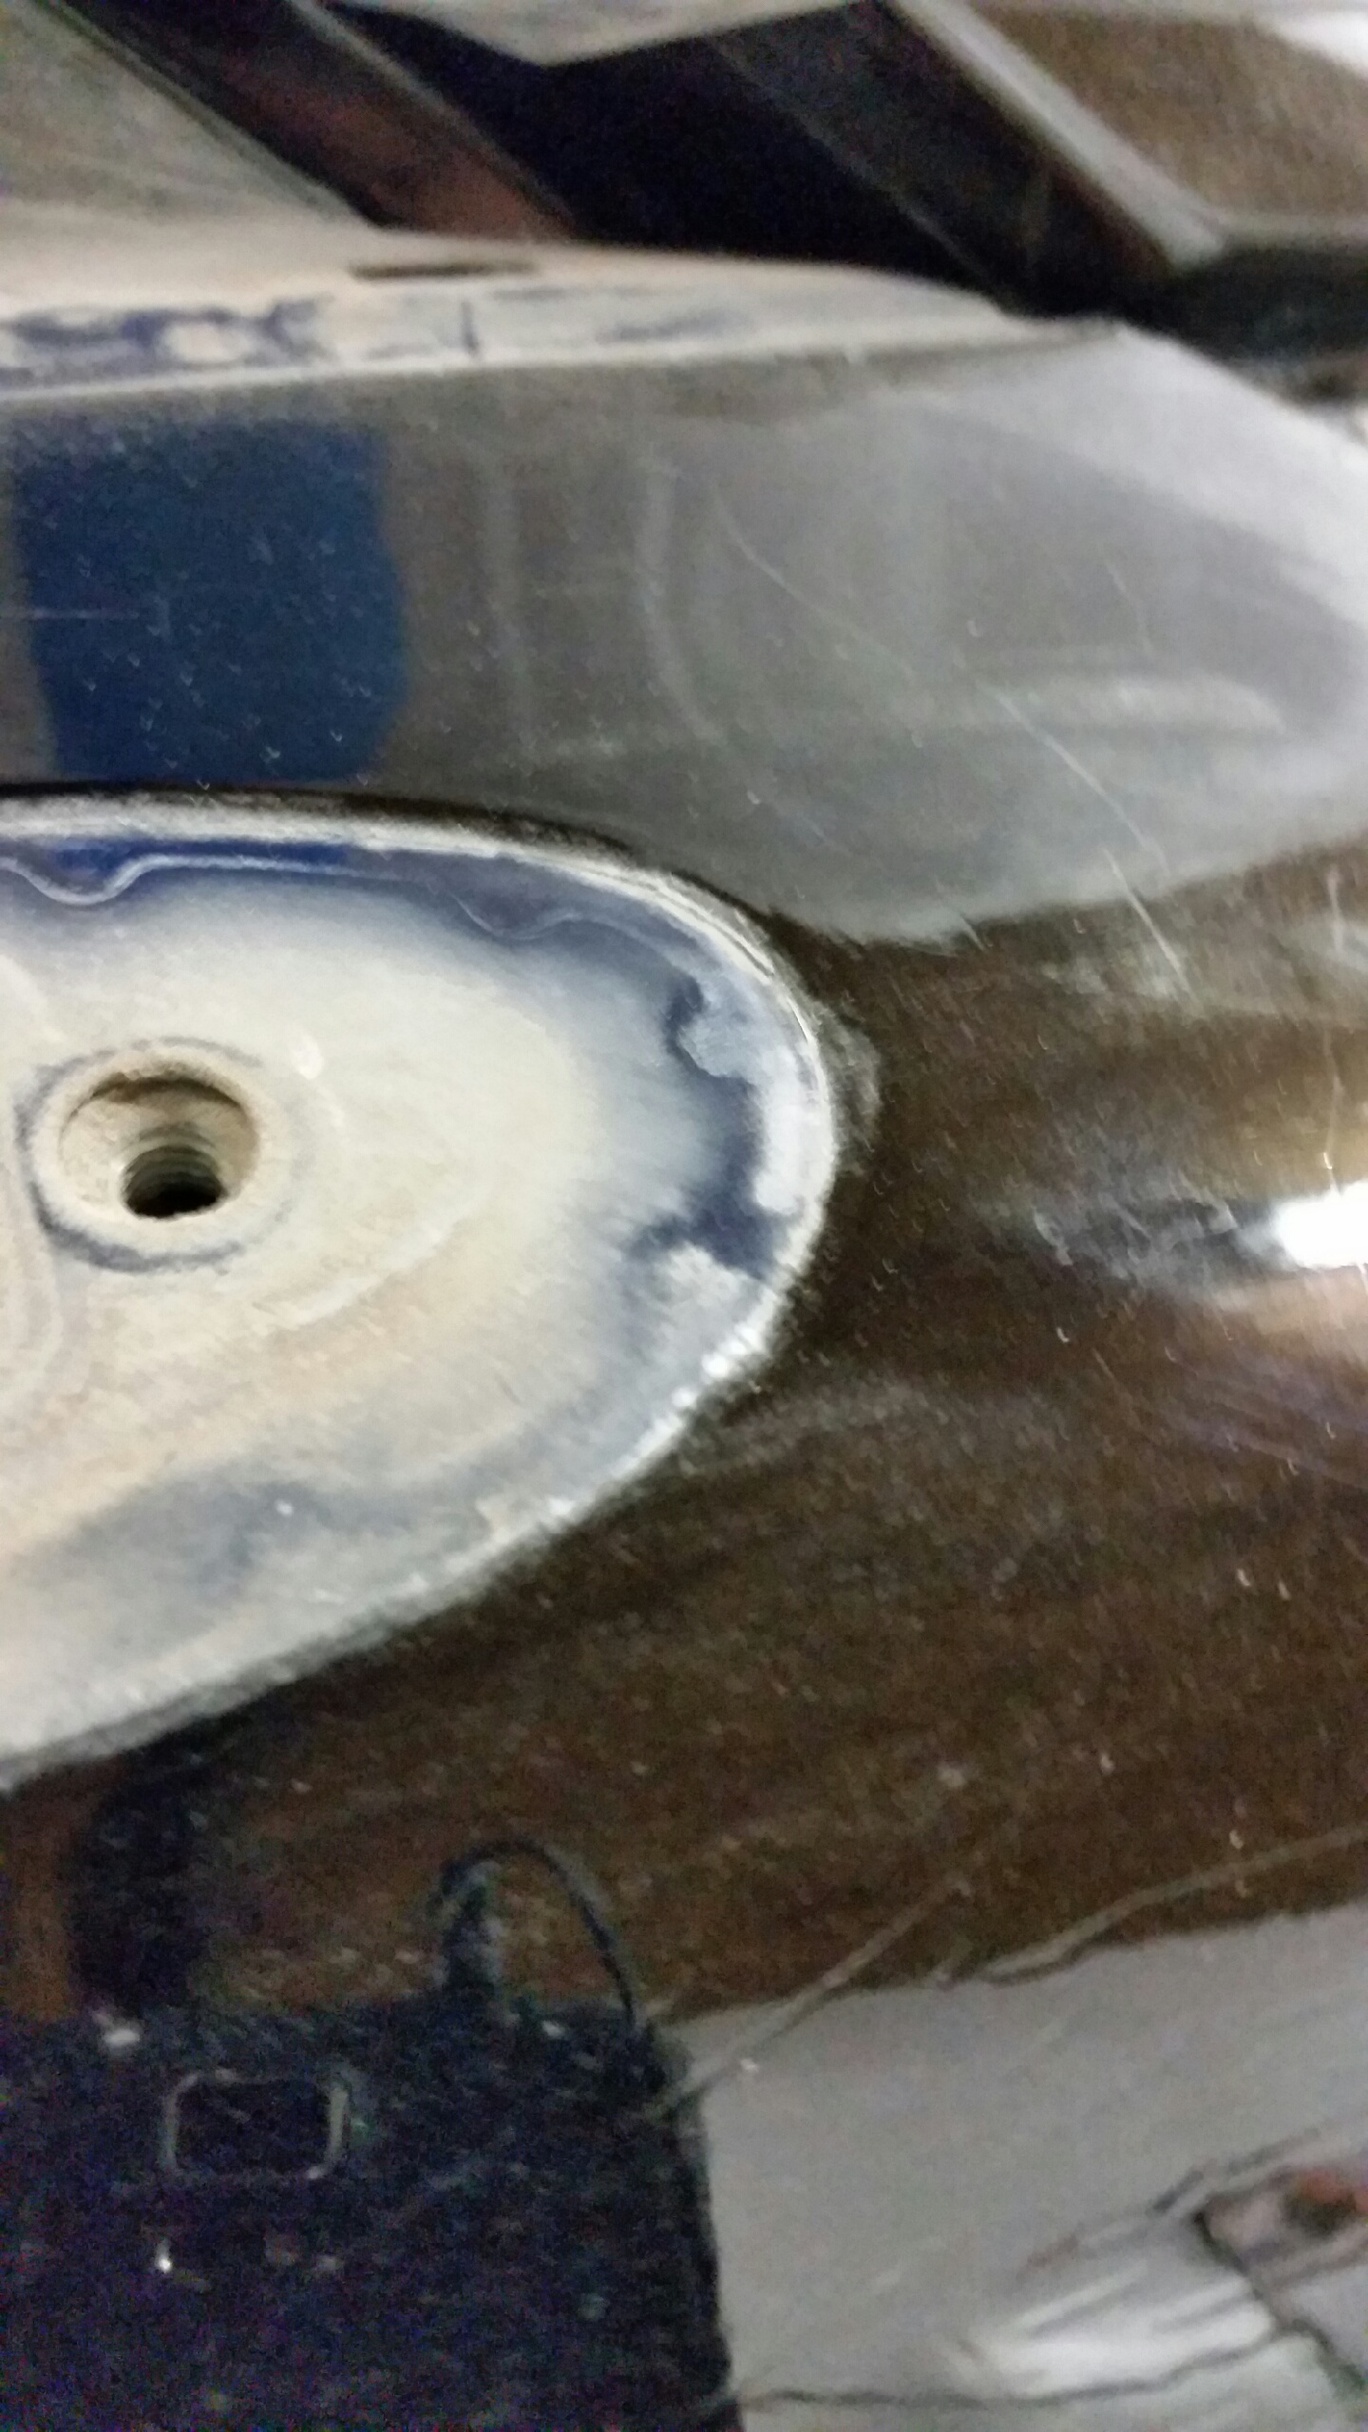
A little bit of rust around the hatch holes that will be taken care of before welding them shut and repainting
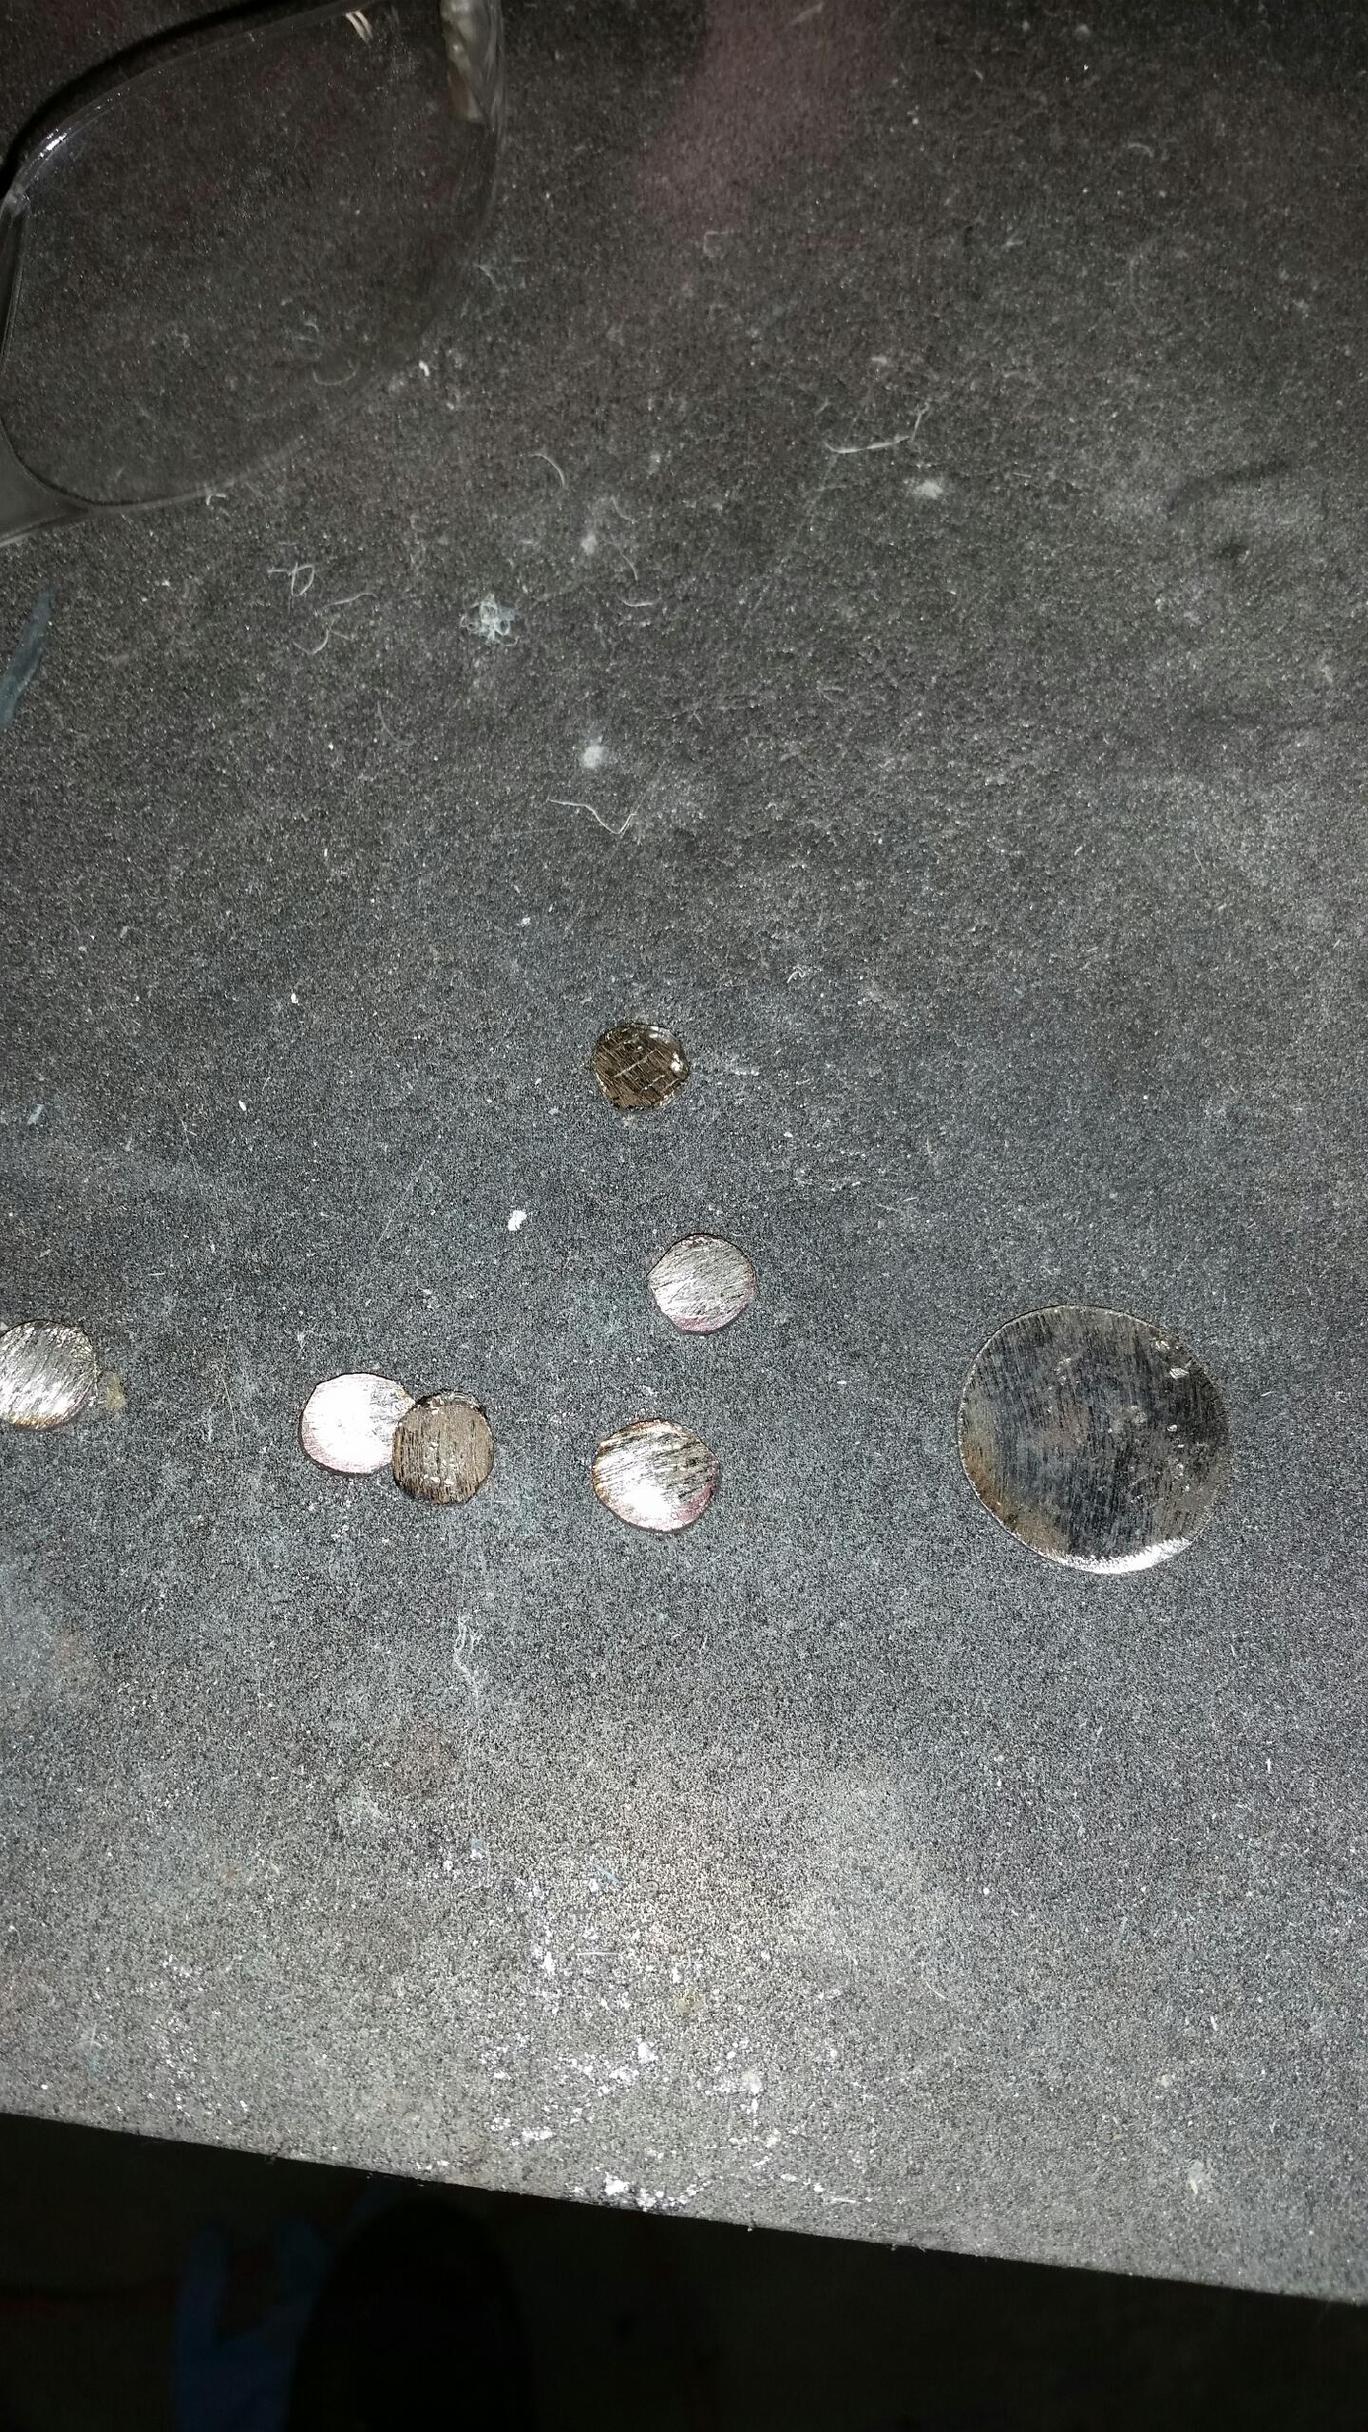
Getting the steel and aluminum patch plates ready for welding shut the holes on my hatch and hood.
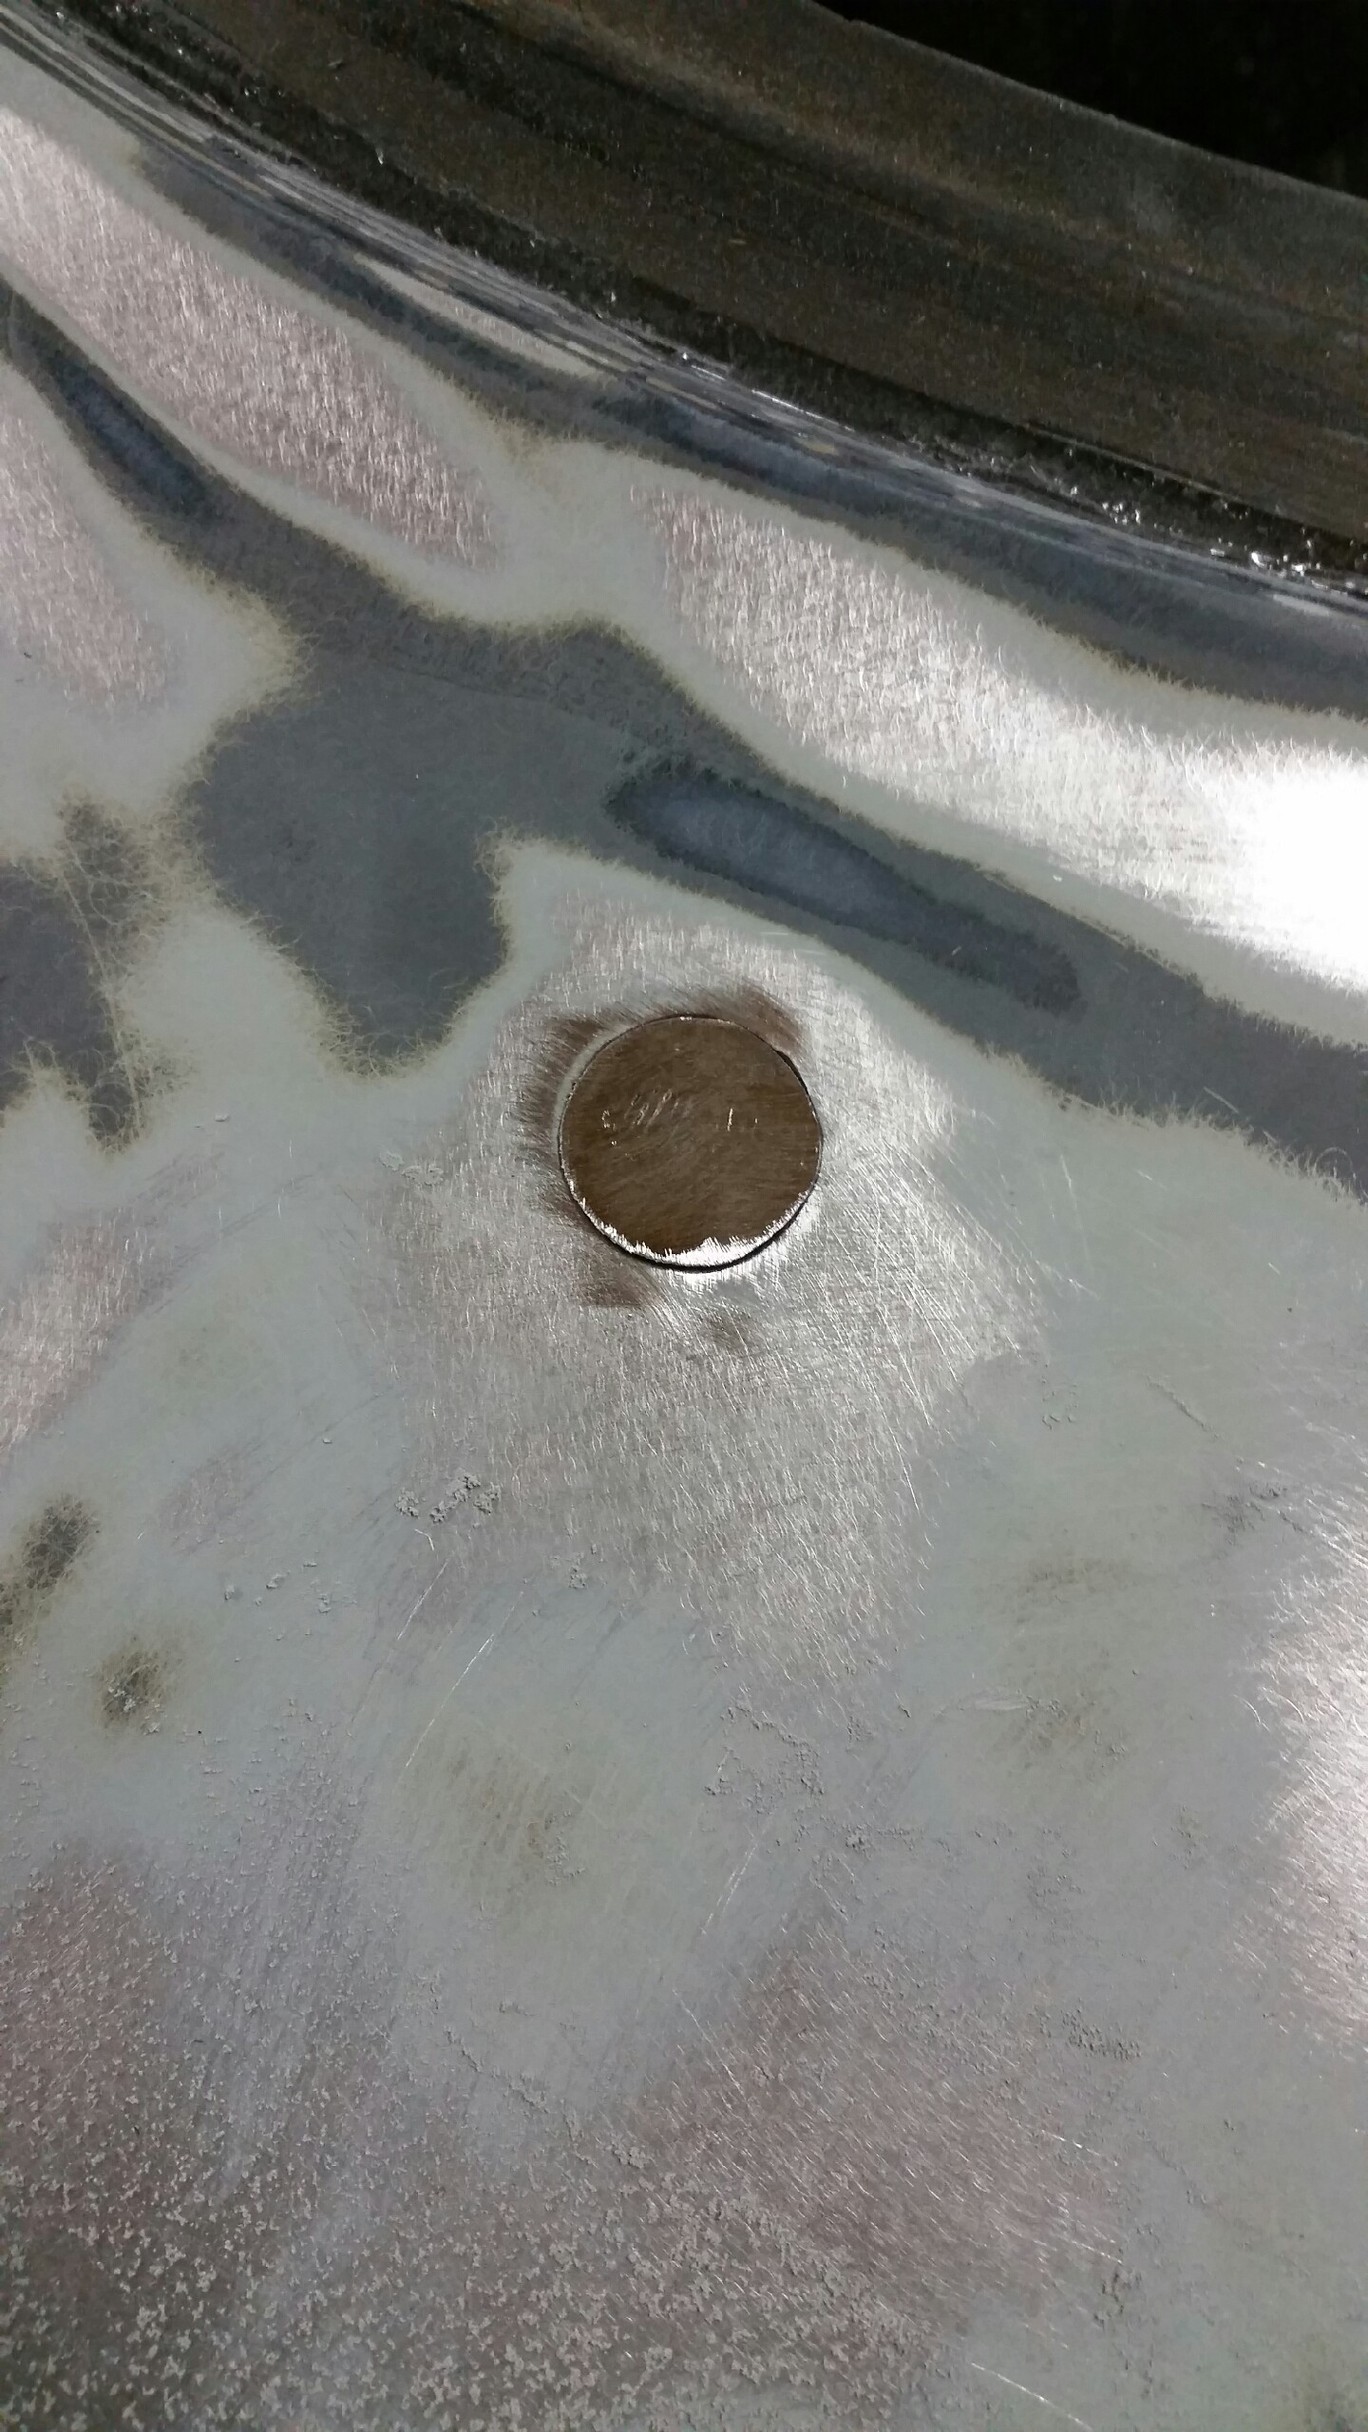
Mocked up aluminum patch plate on the hood's windshield squirter hole.
John's planning on dropping my hood off today to have the windshield squirter holes welded shut.
-------------------
July 28, 2014, 07:31:37 AM
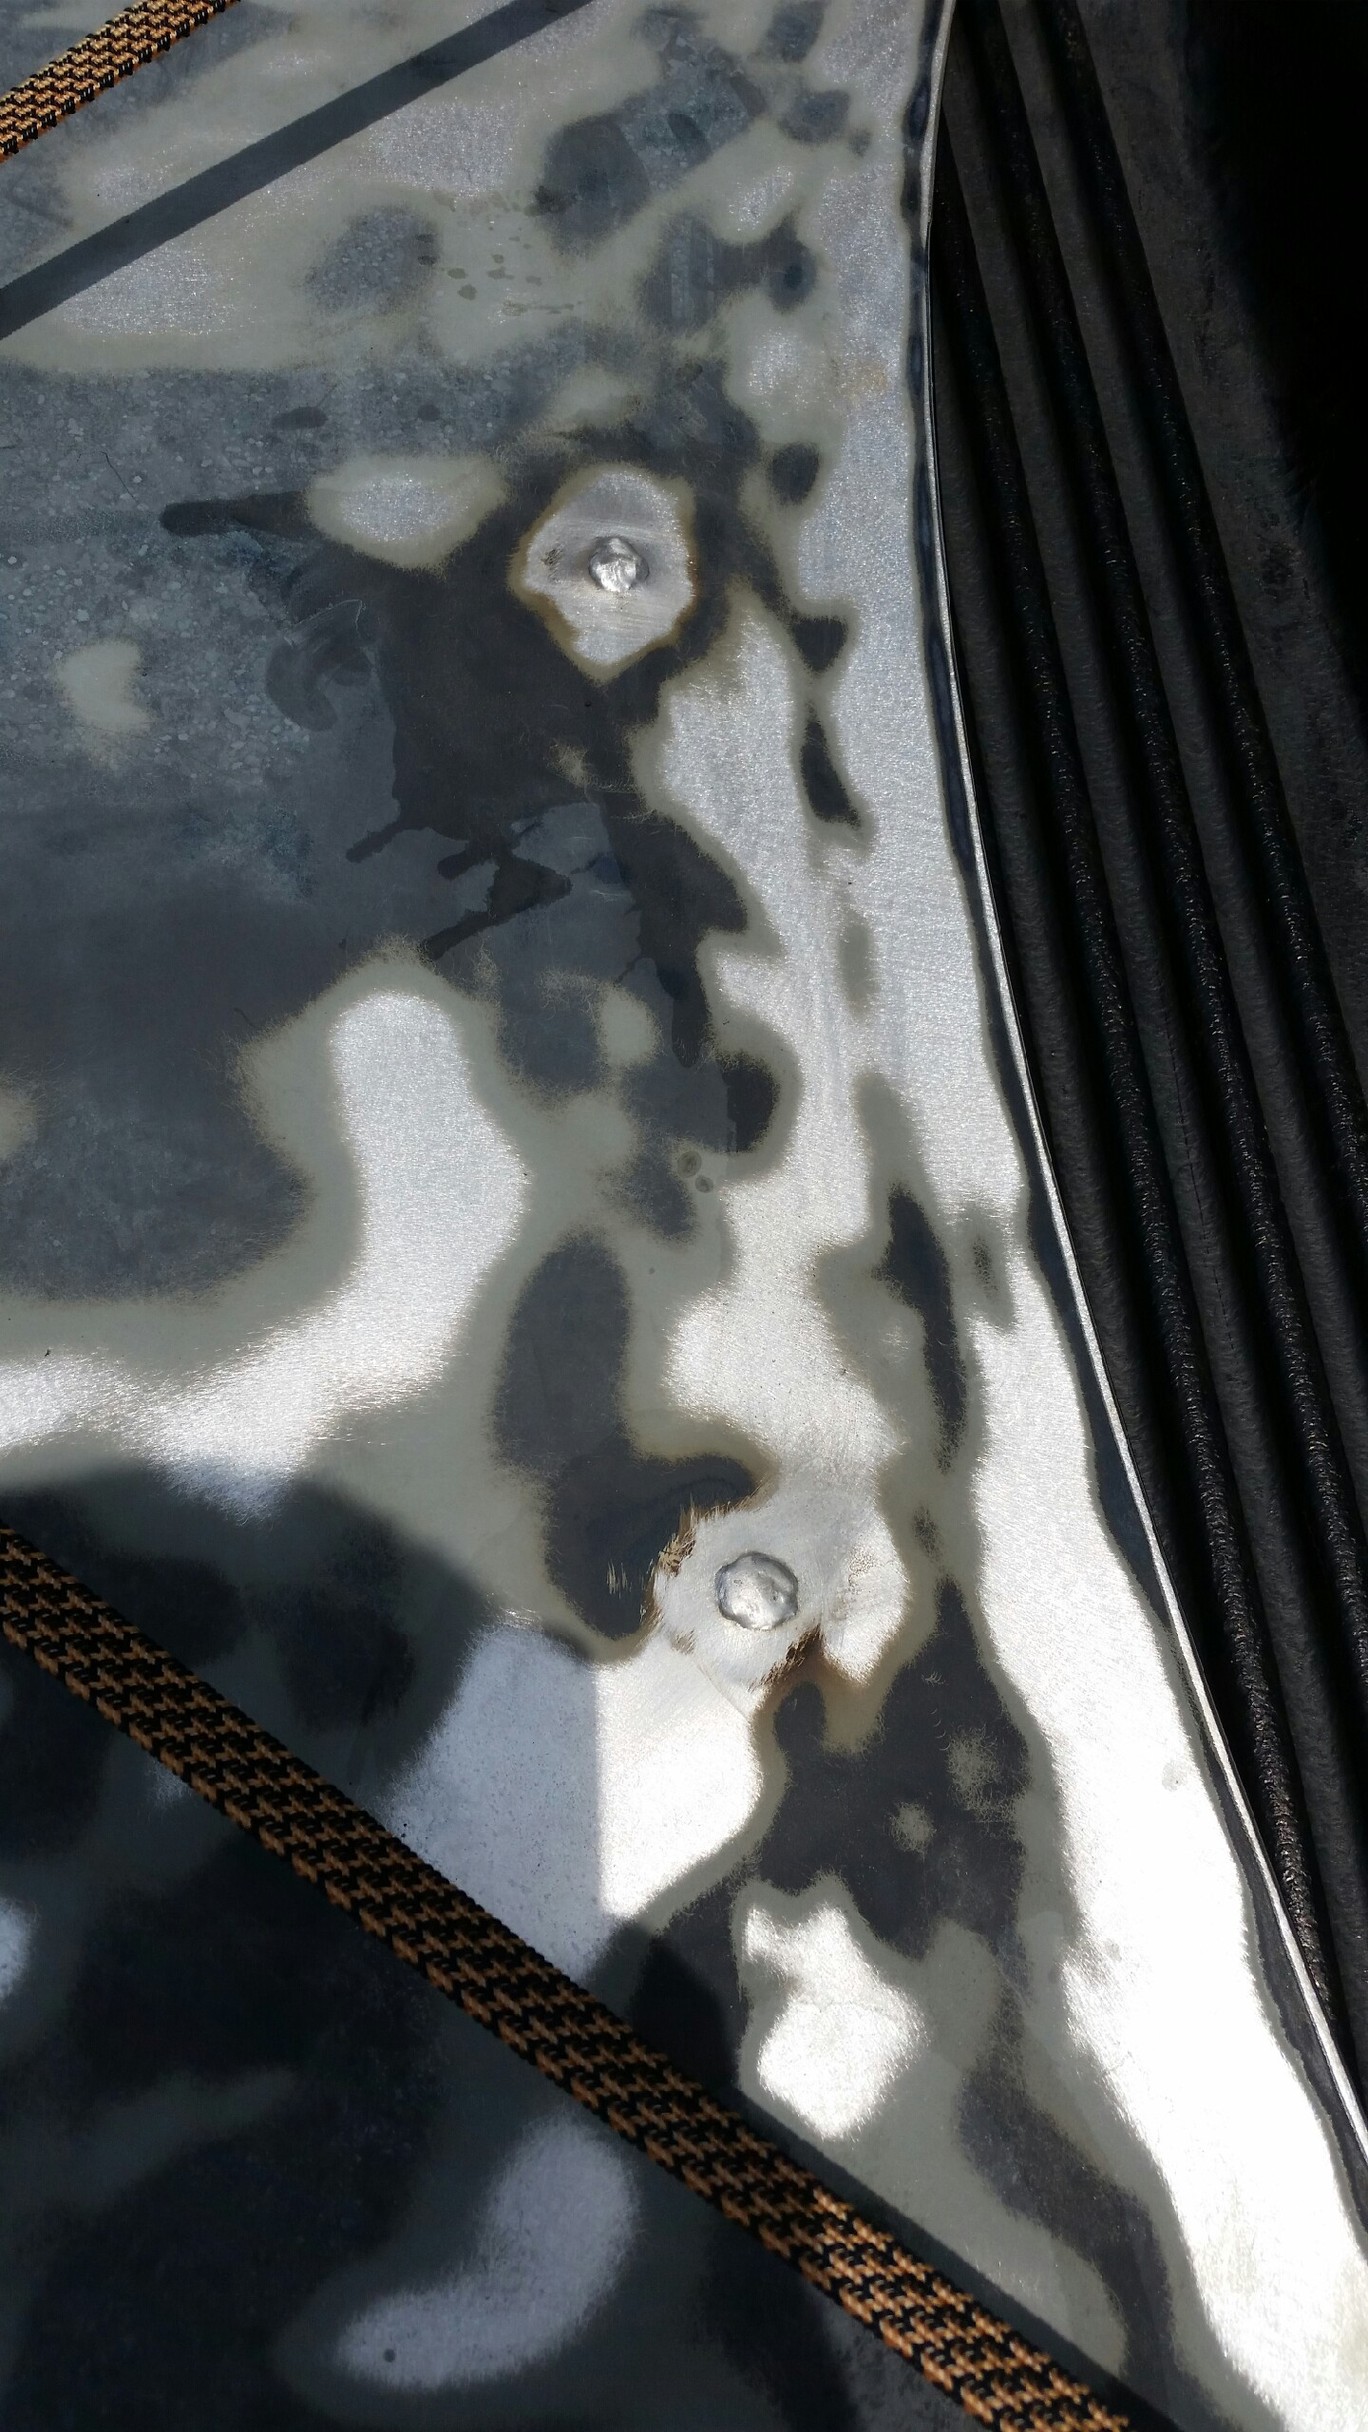
Got the hood's windshield squirters welded up on Friday. The welder did a great job as there was zero warping and he left us a good bit of metal to work with so we could grind it down to the surface of the hood.
Ground down
Whaaaaaat?
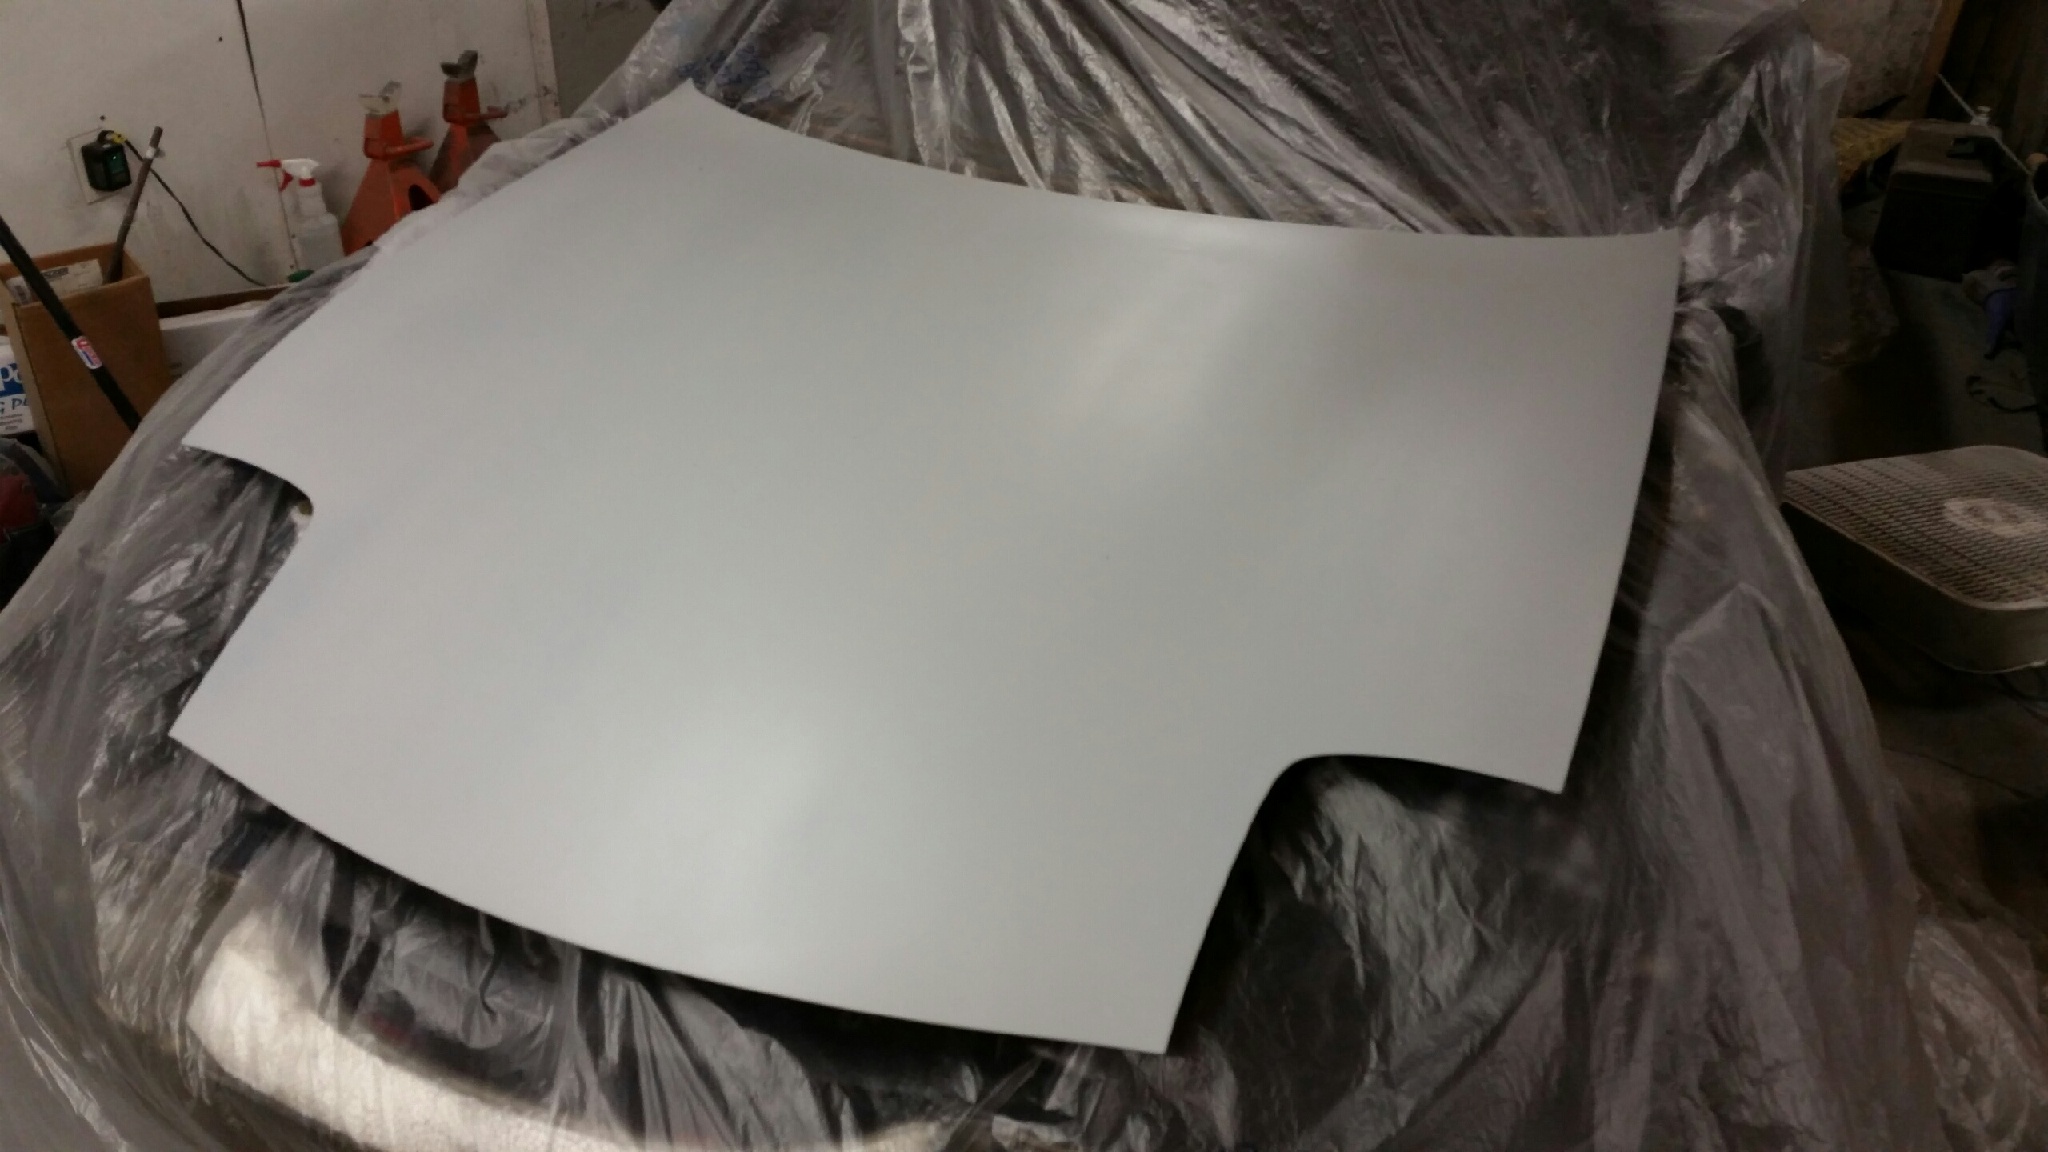
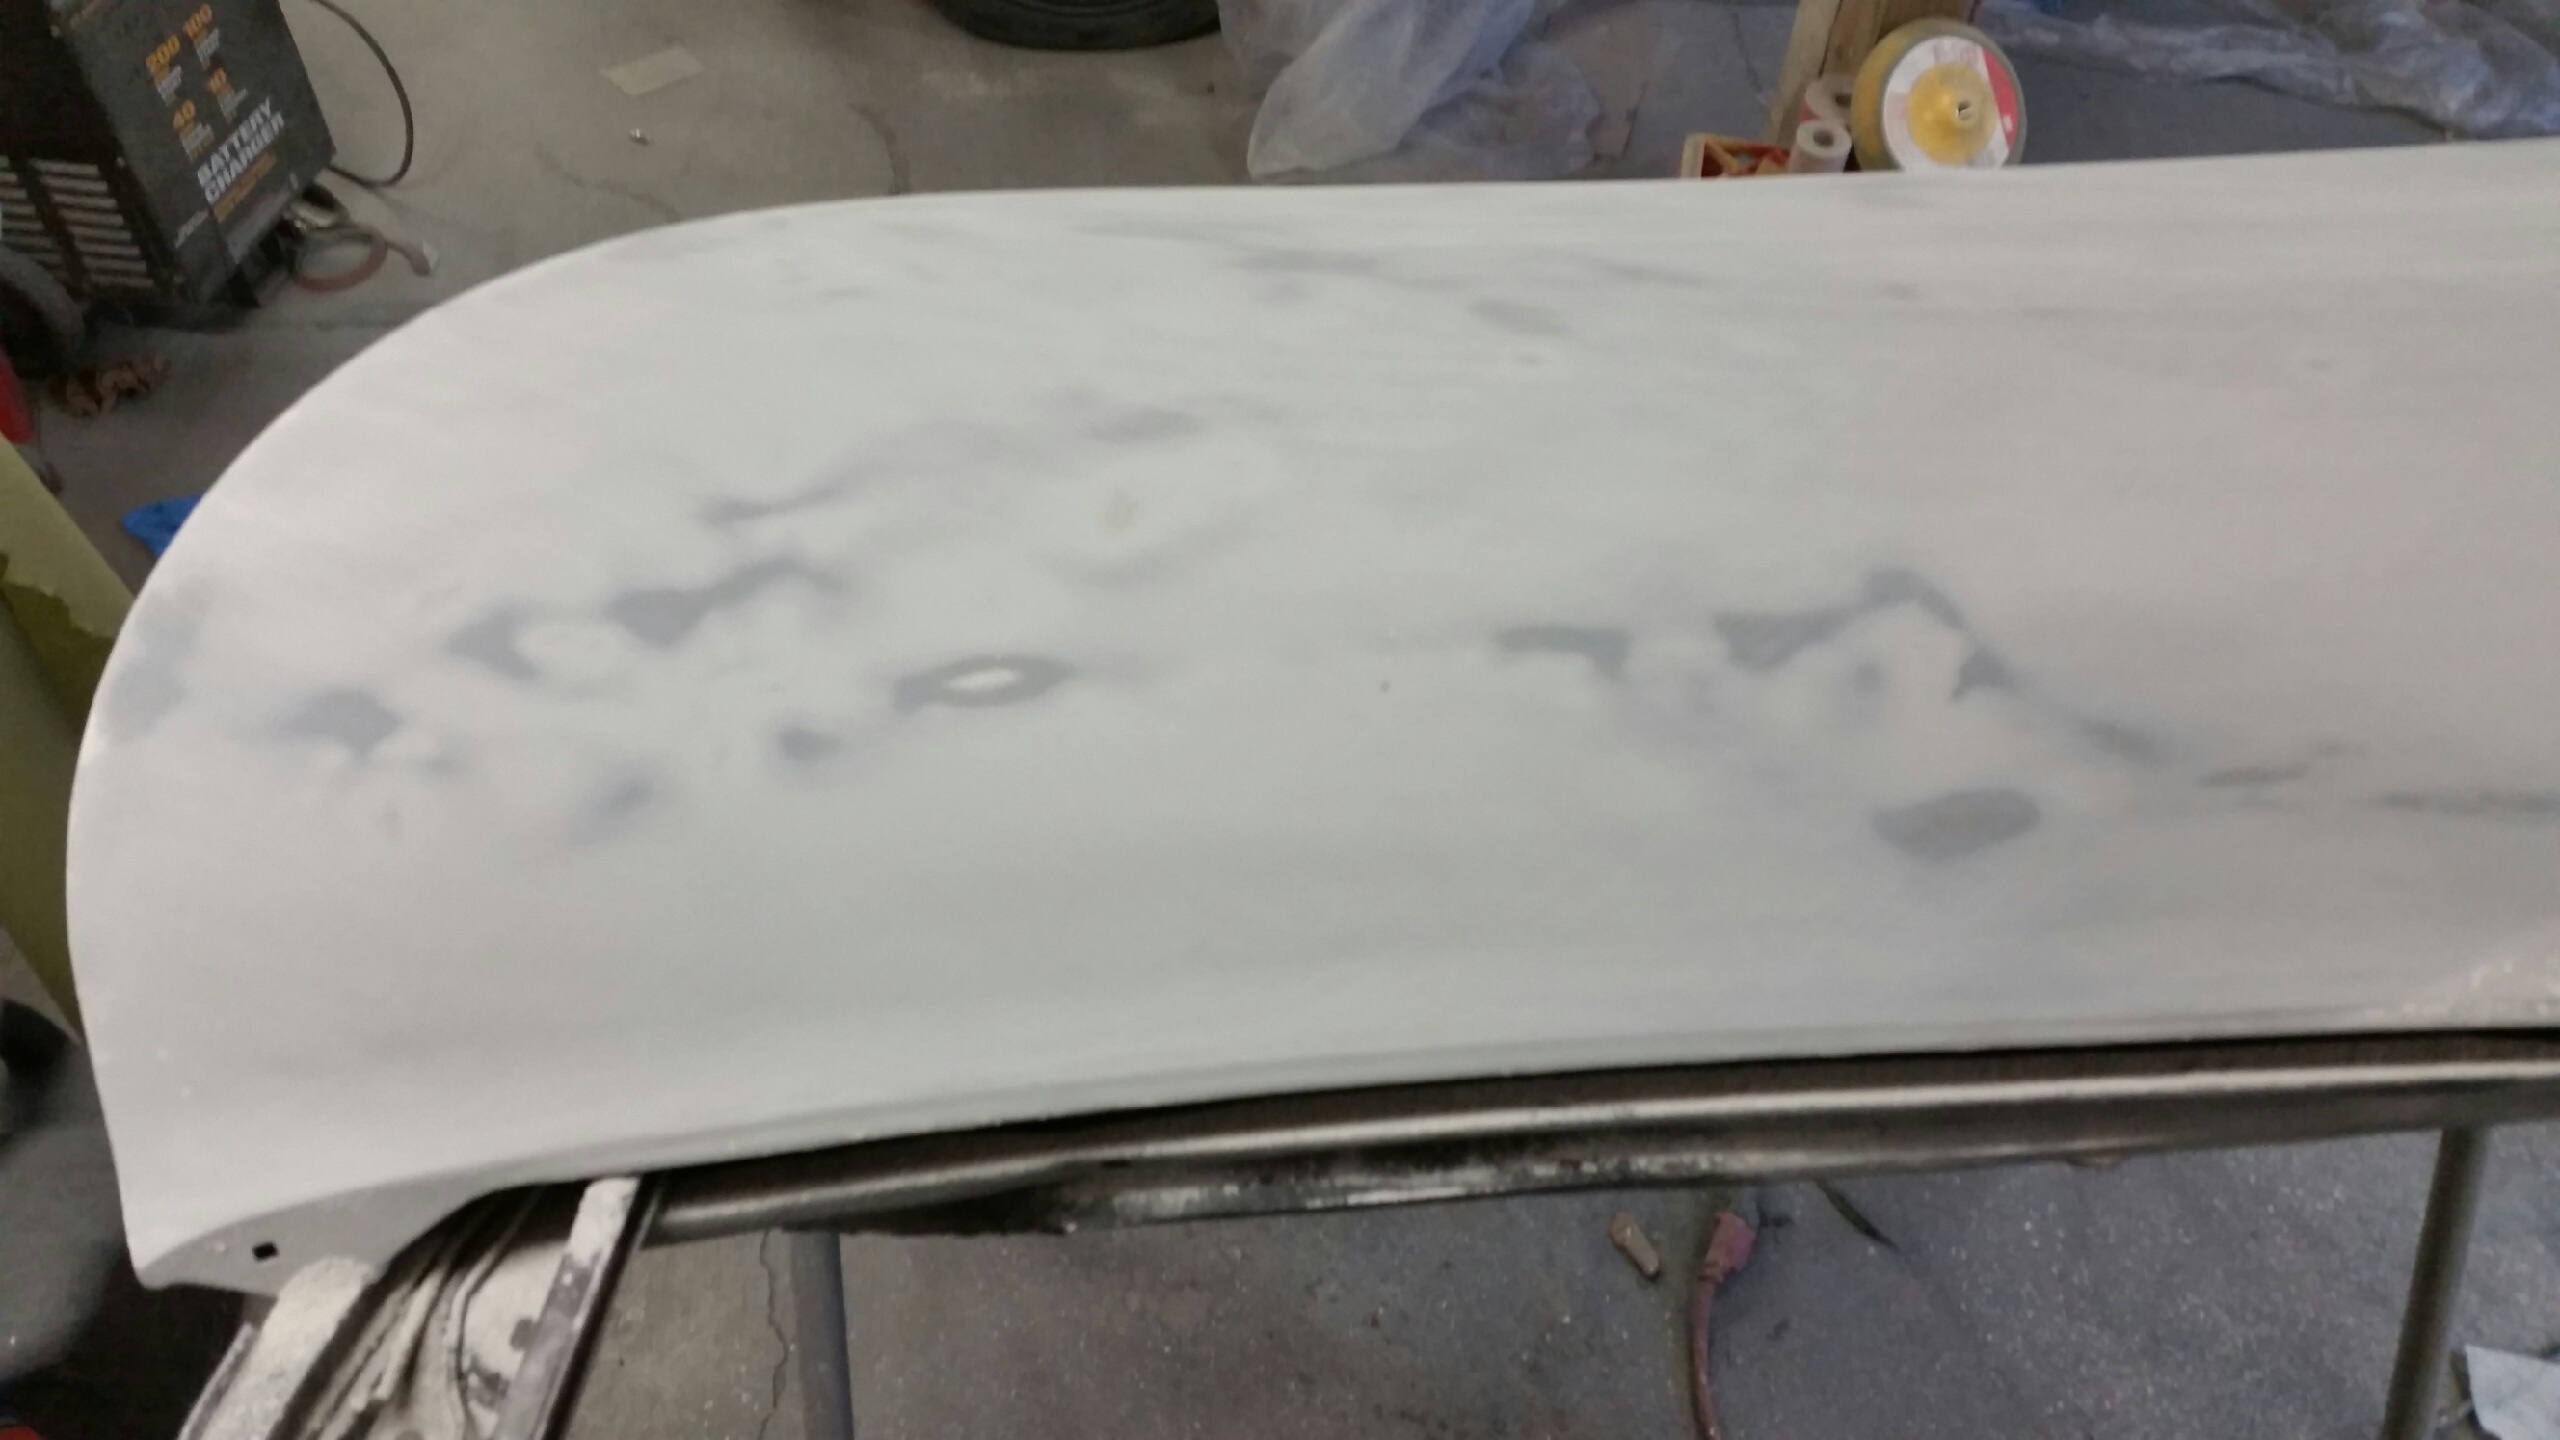
Epoxy primed first with a high build primer next.
"The next step with these pieces is to fix any dings or waves with a thin lightweight filler then put 2 or 3 heavy coats of the high build primer. After that it's time to block sand and paint them."
09-23-14, 04:56 PM
#6
July 30, 2014, 08:11:22 AM
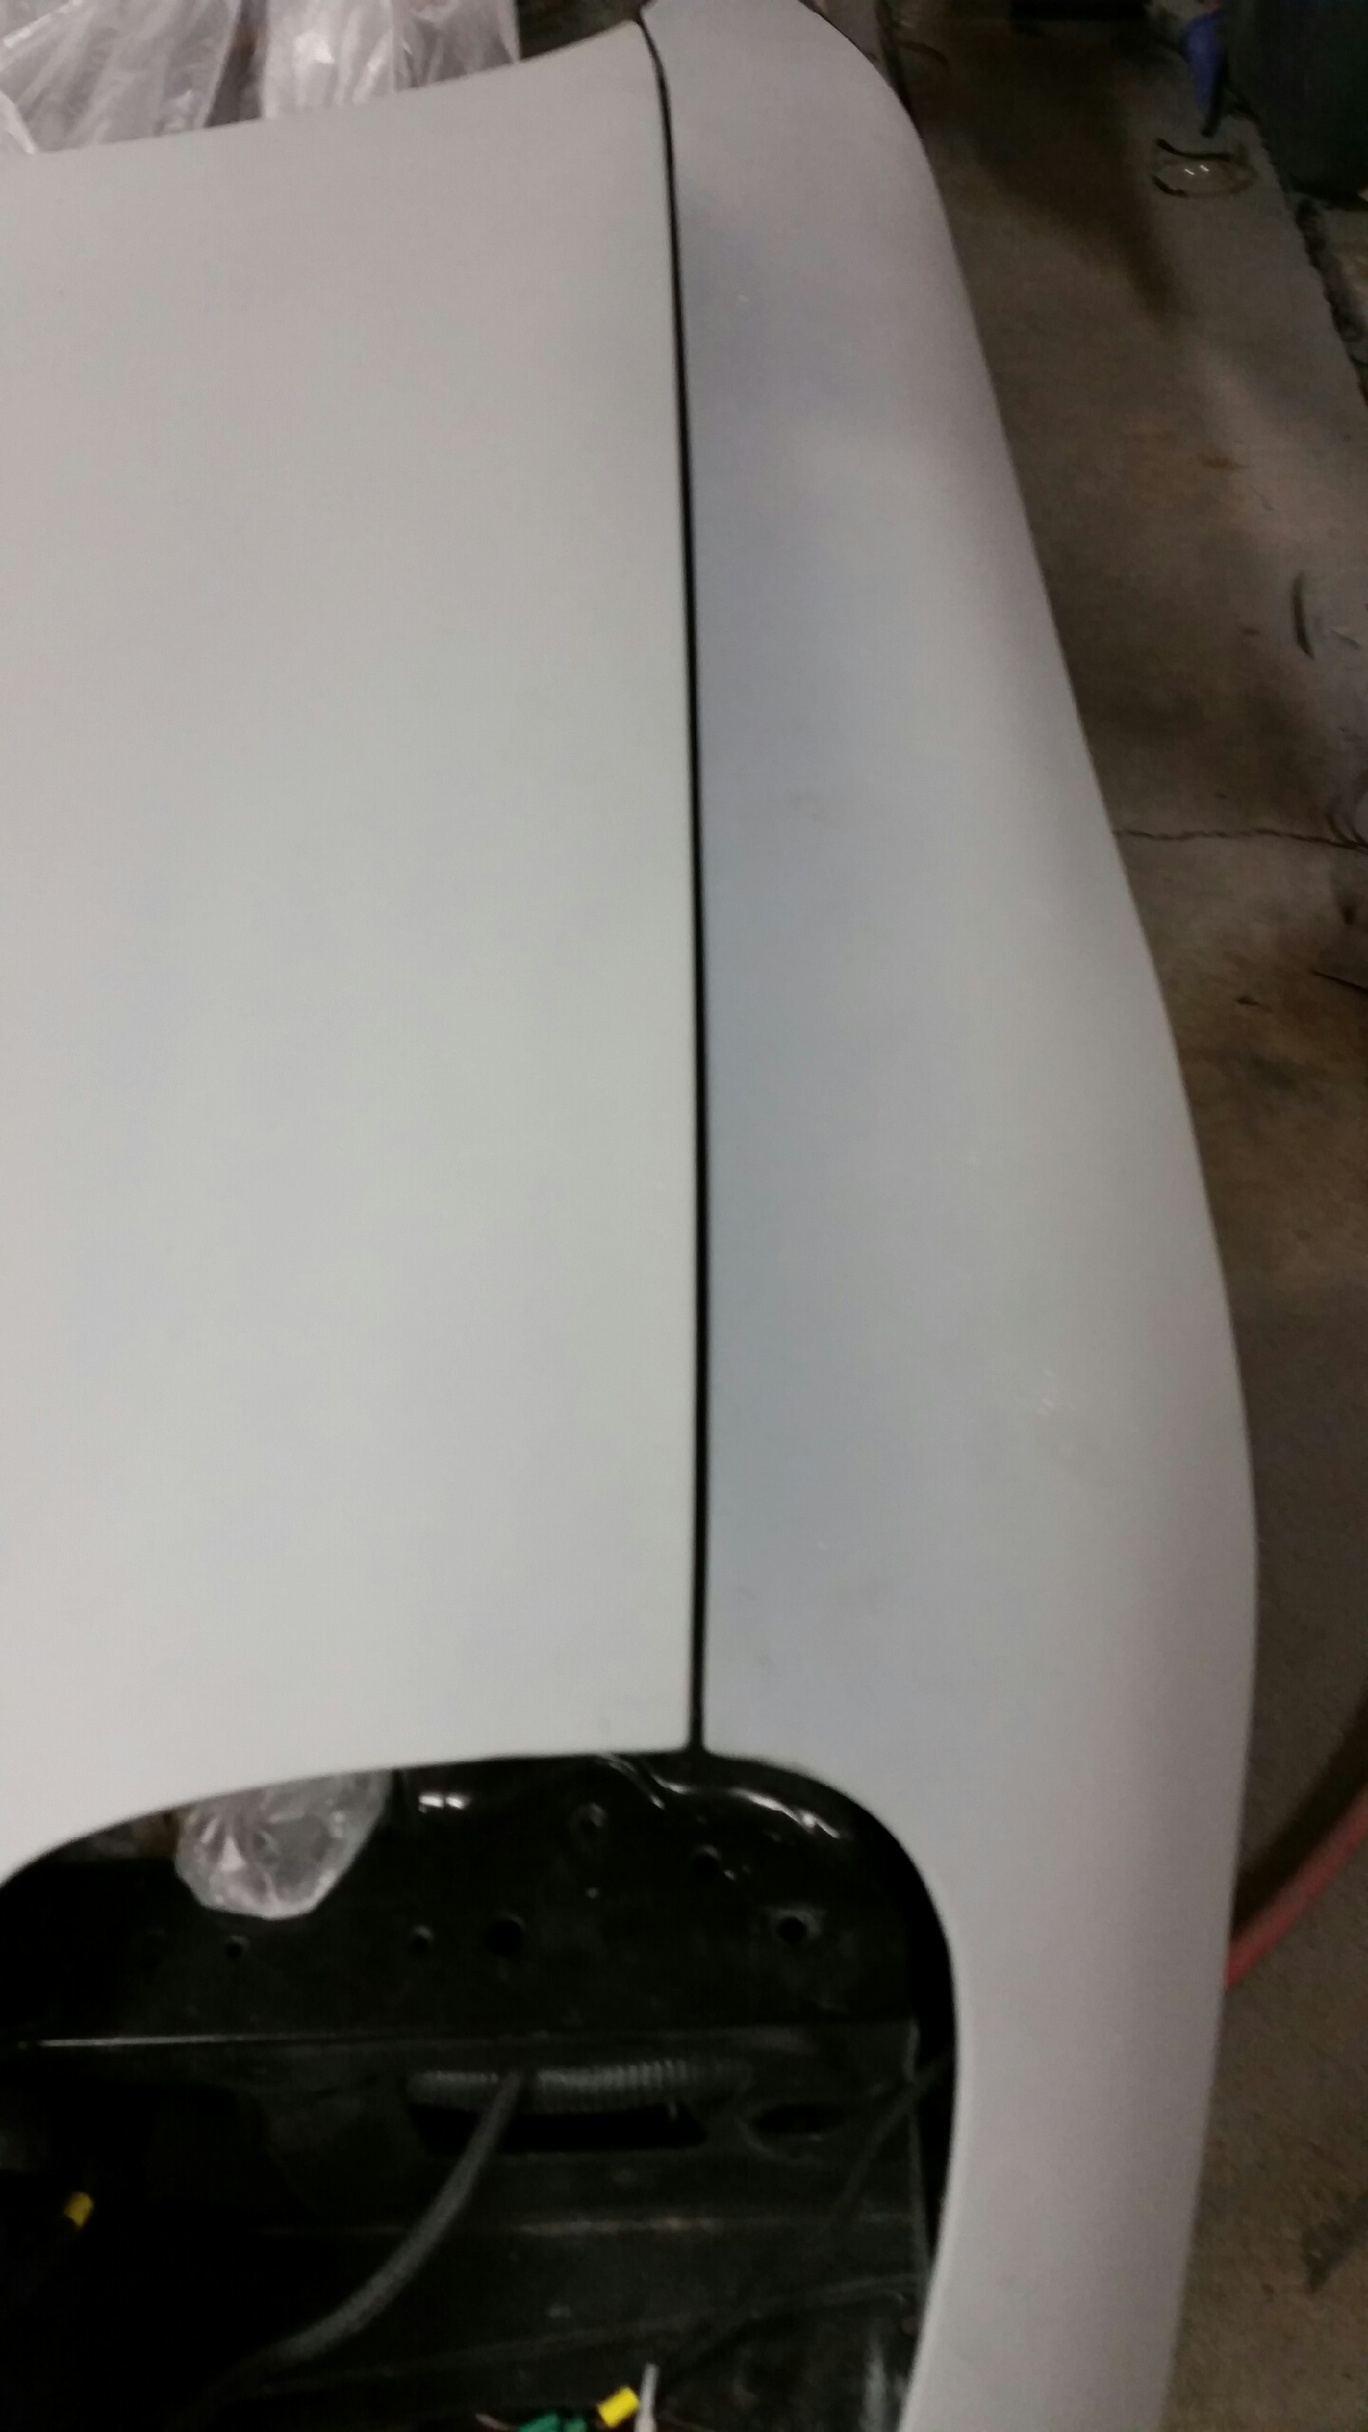
John mocked up the fenders and hood to pre-align everything before spending more time on finishing the panels. The idea being that its easier to make changes now vs after the panel is painted:
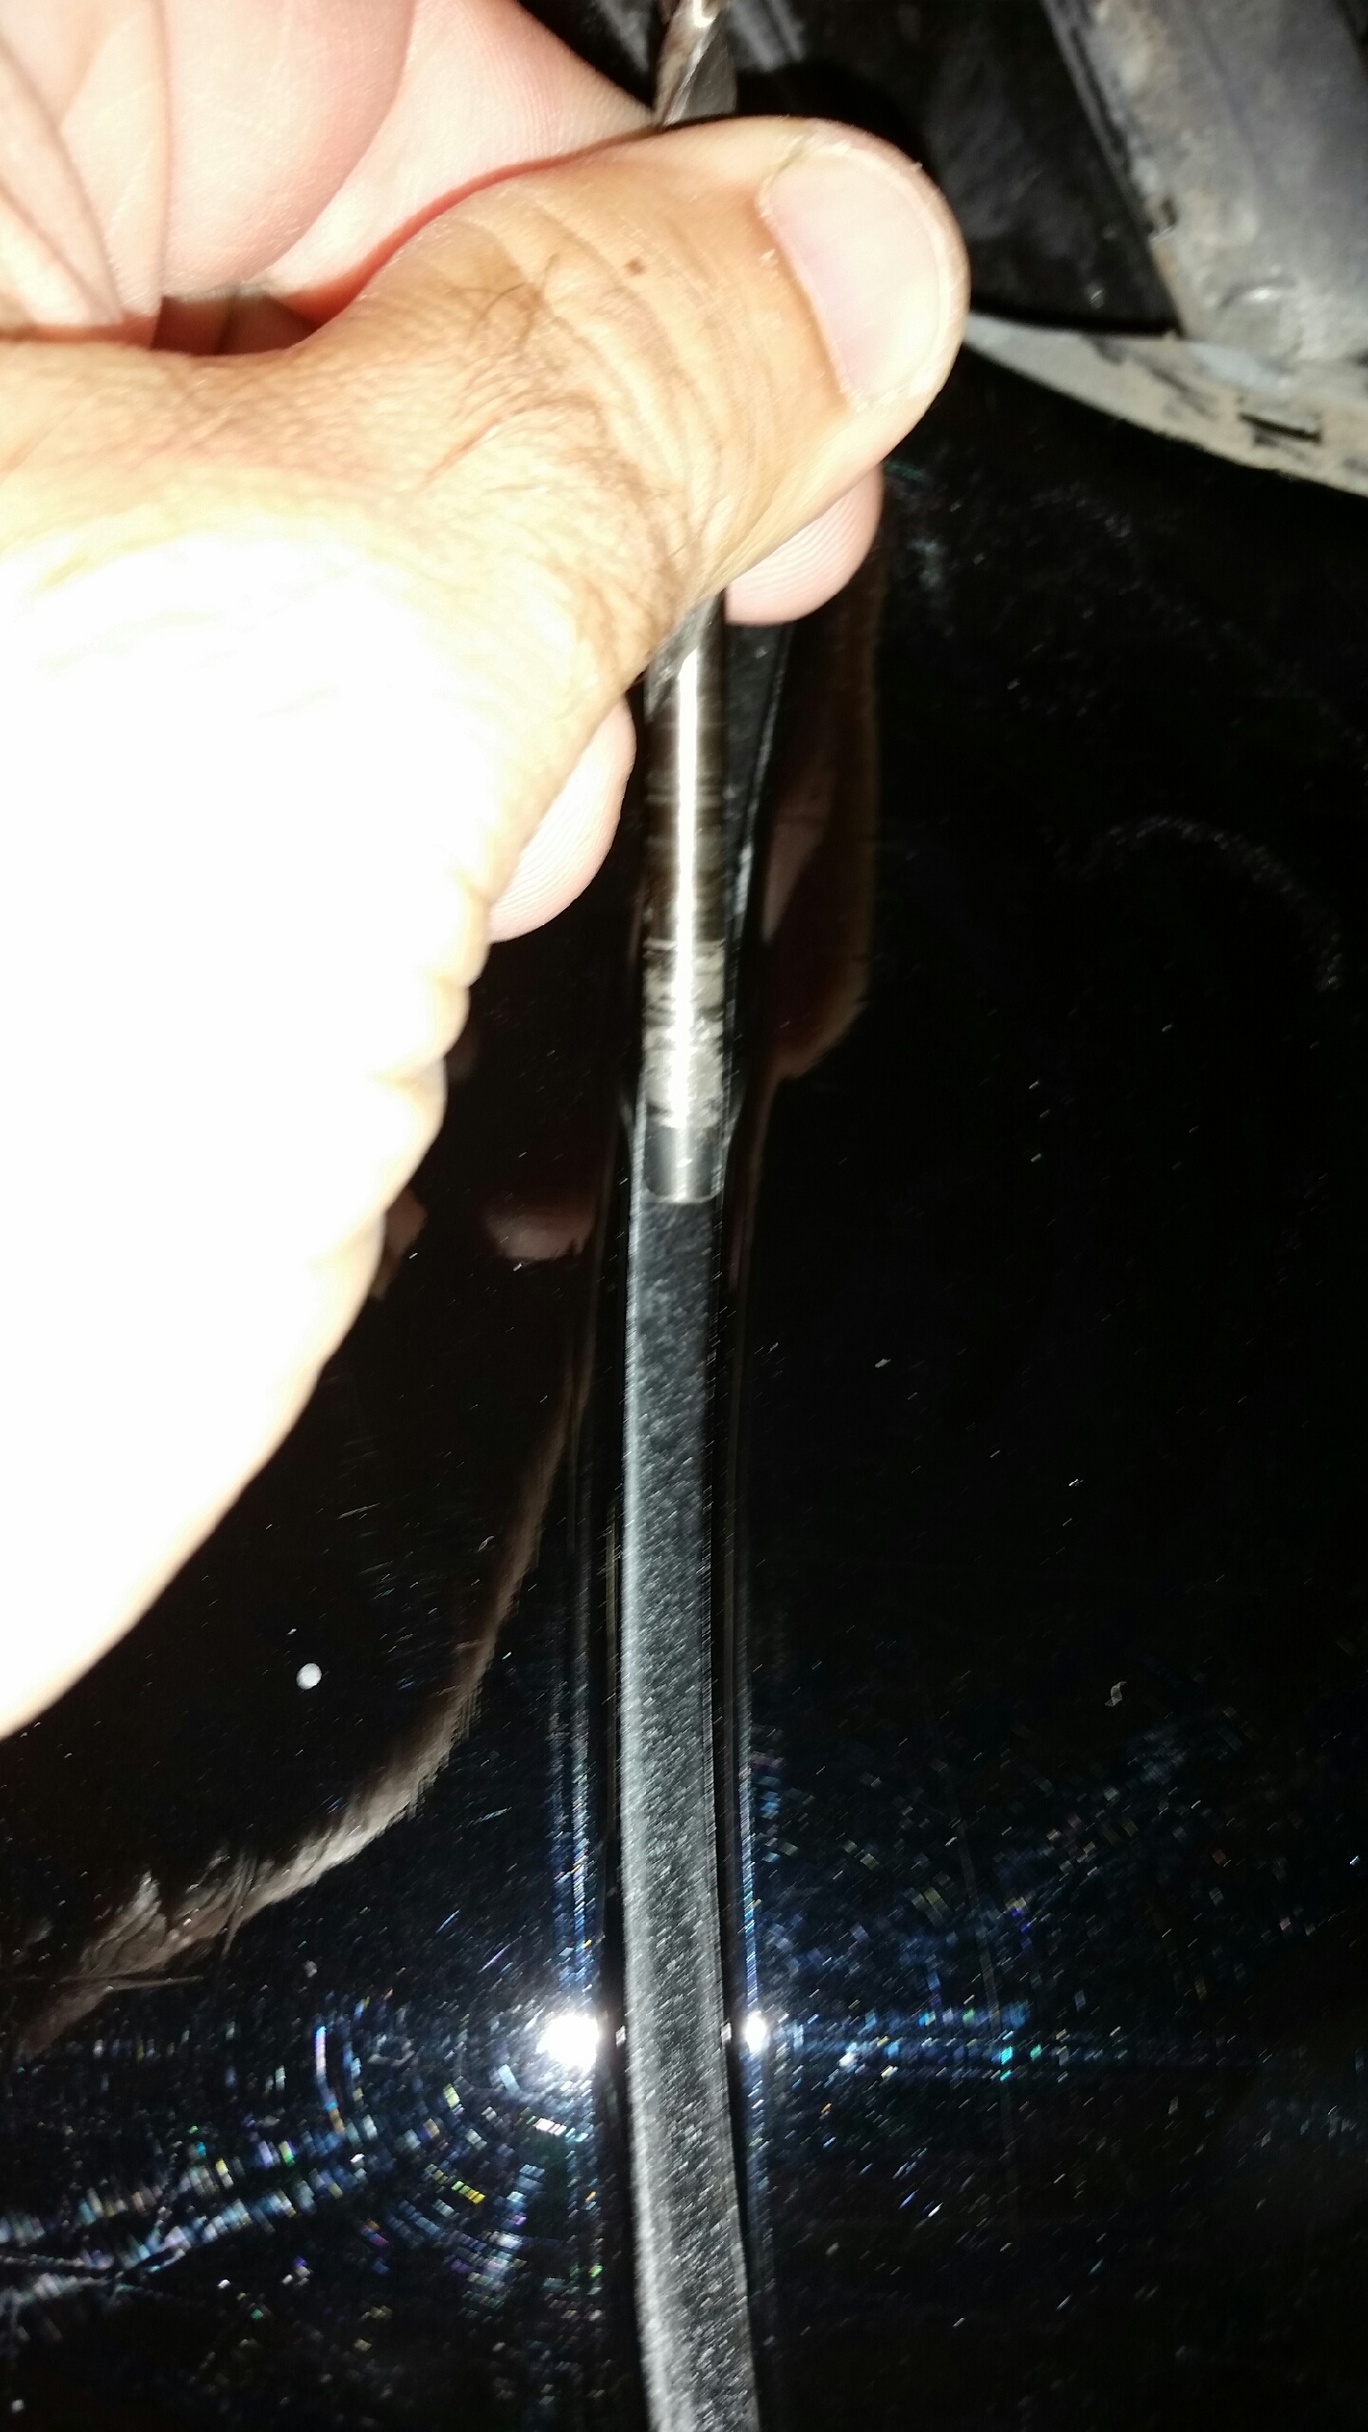
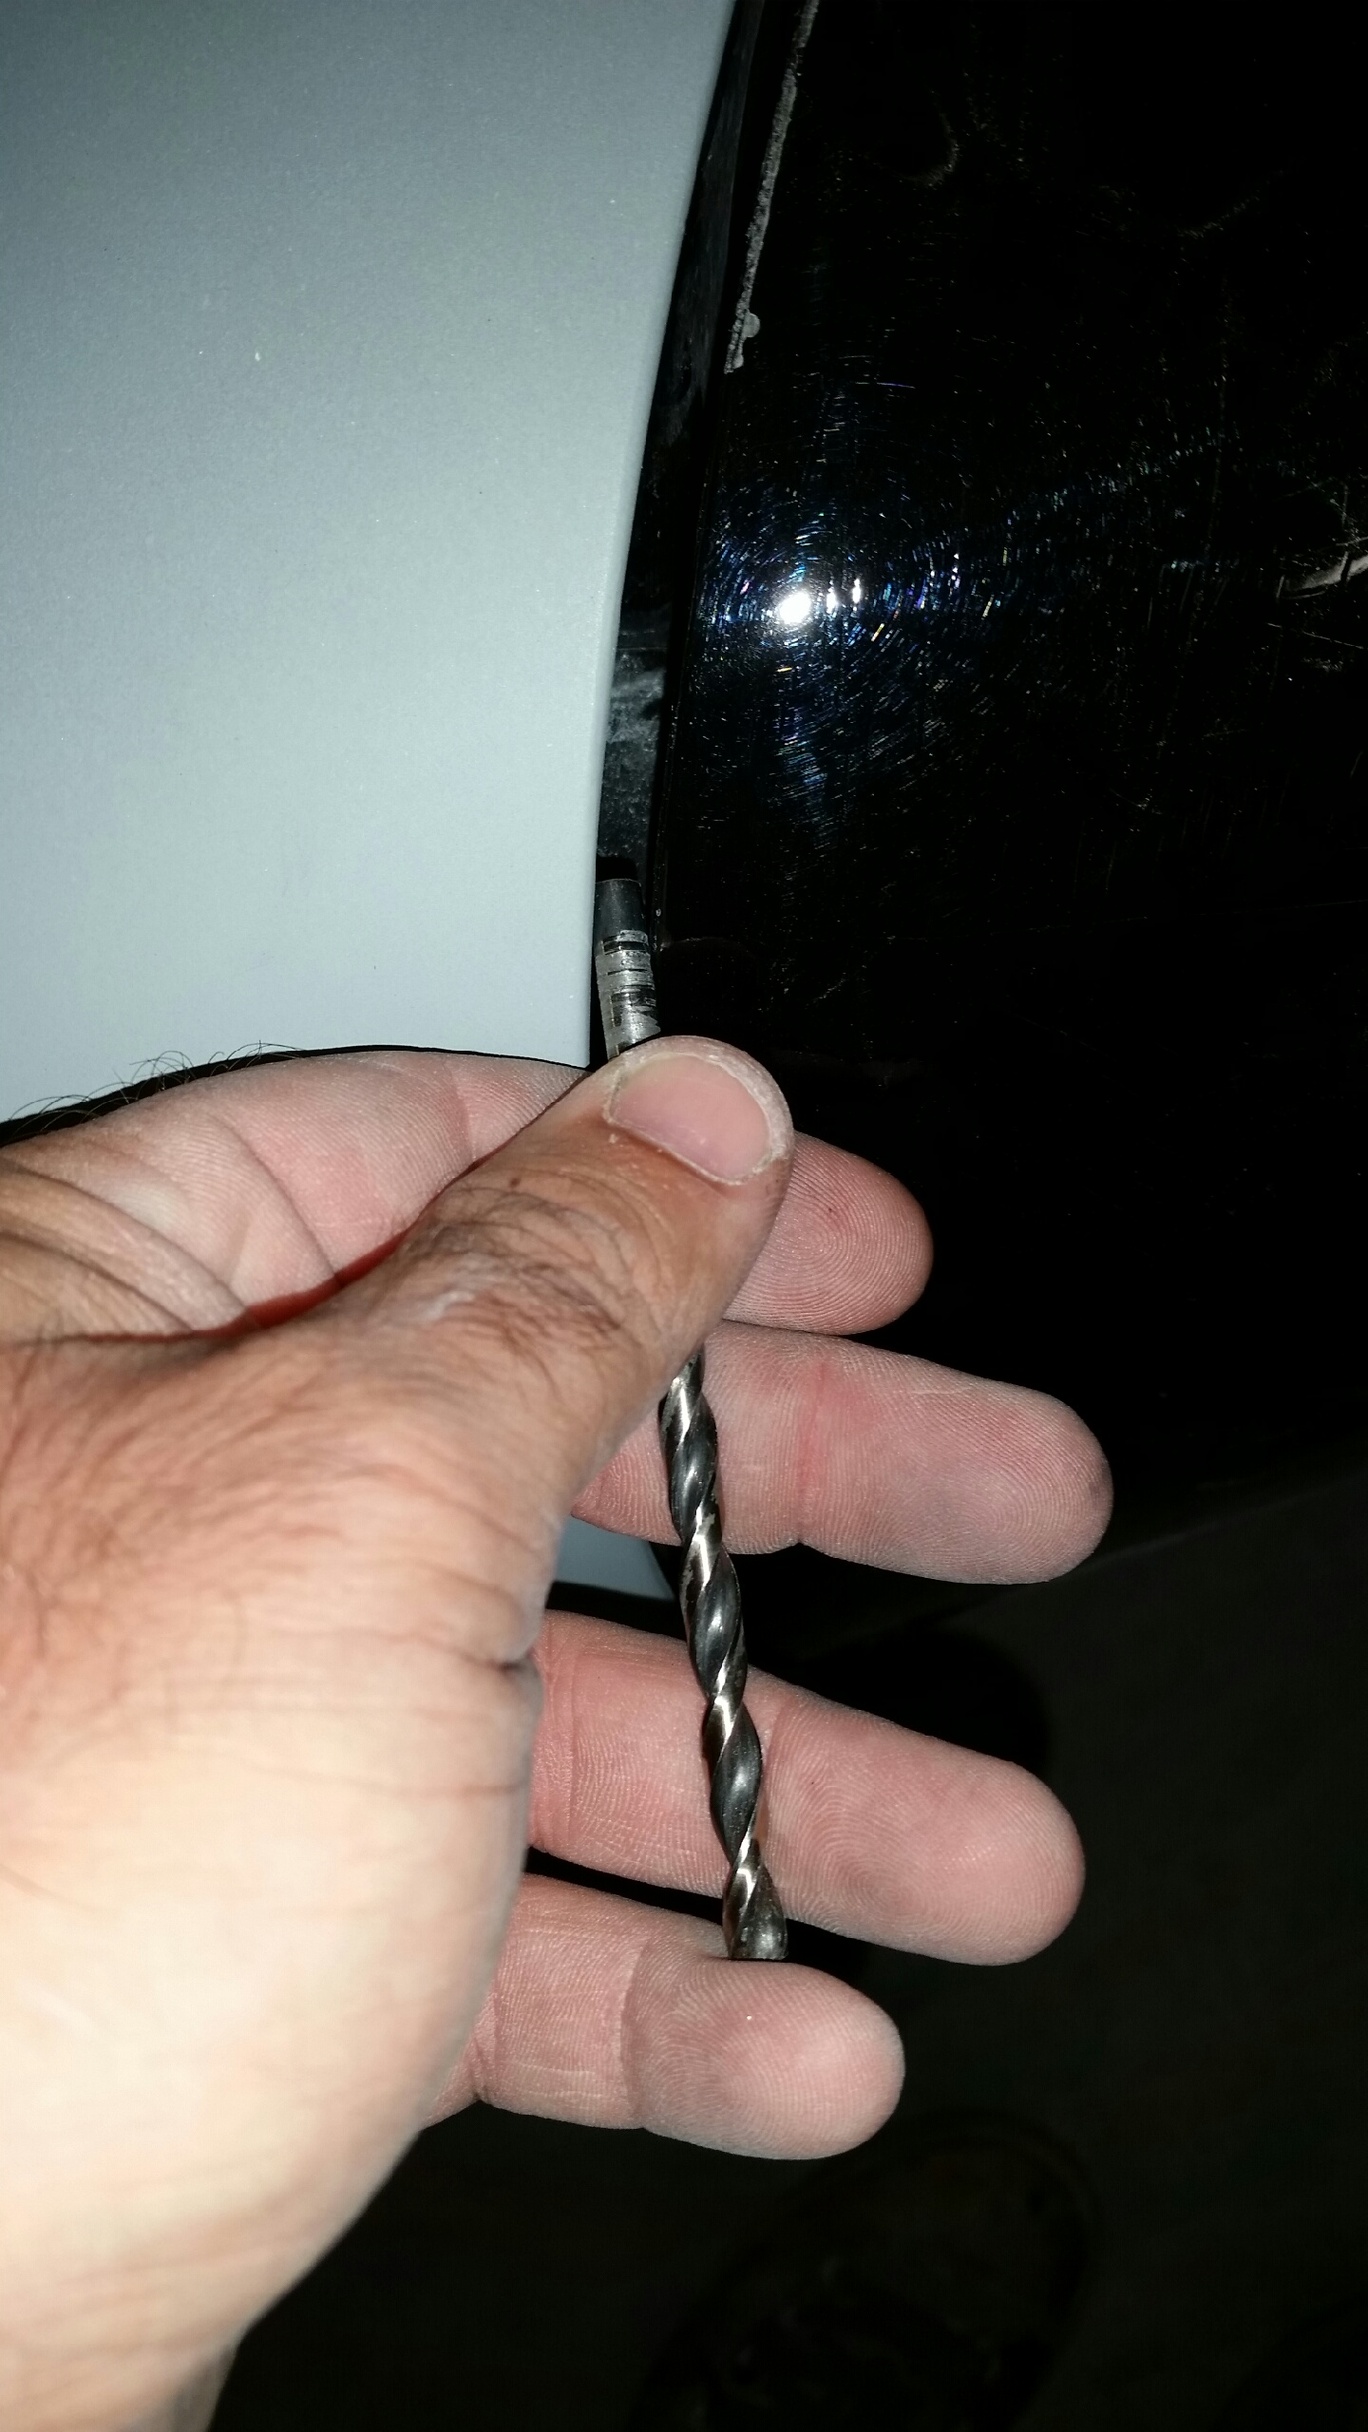
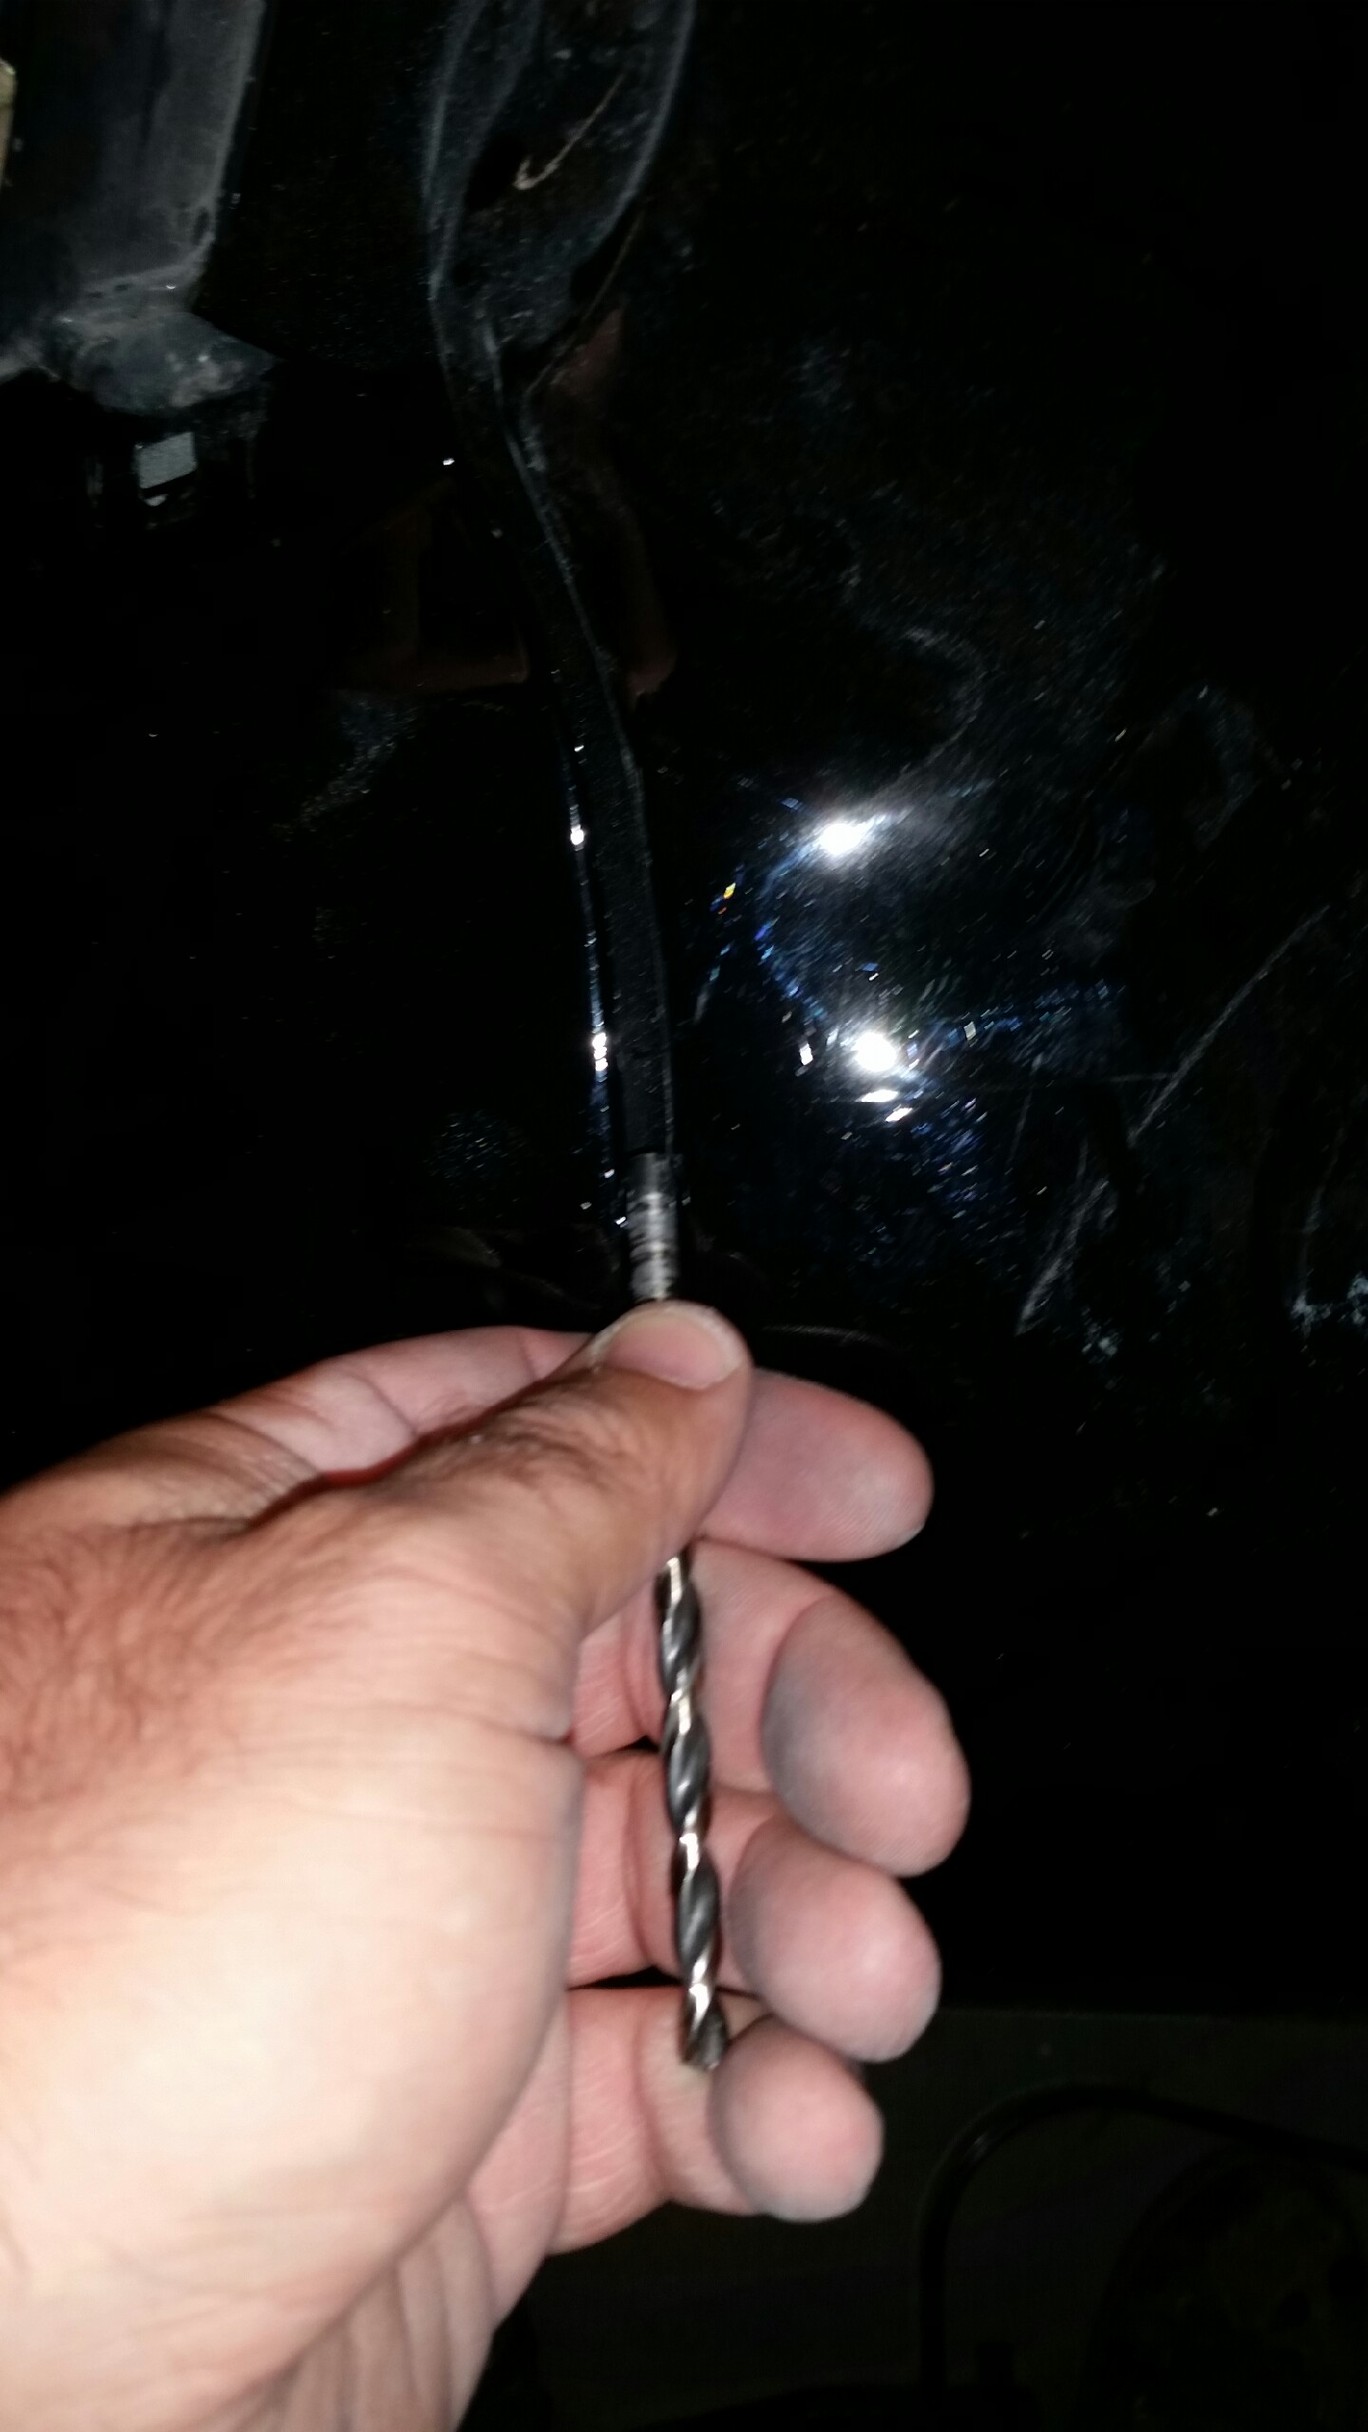
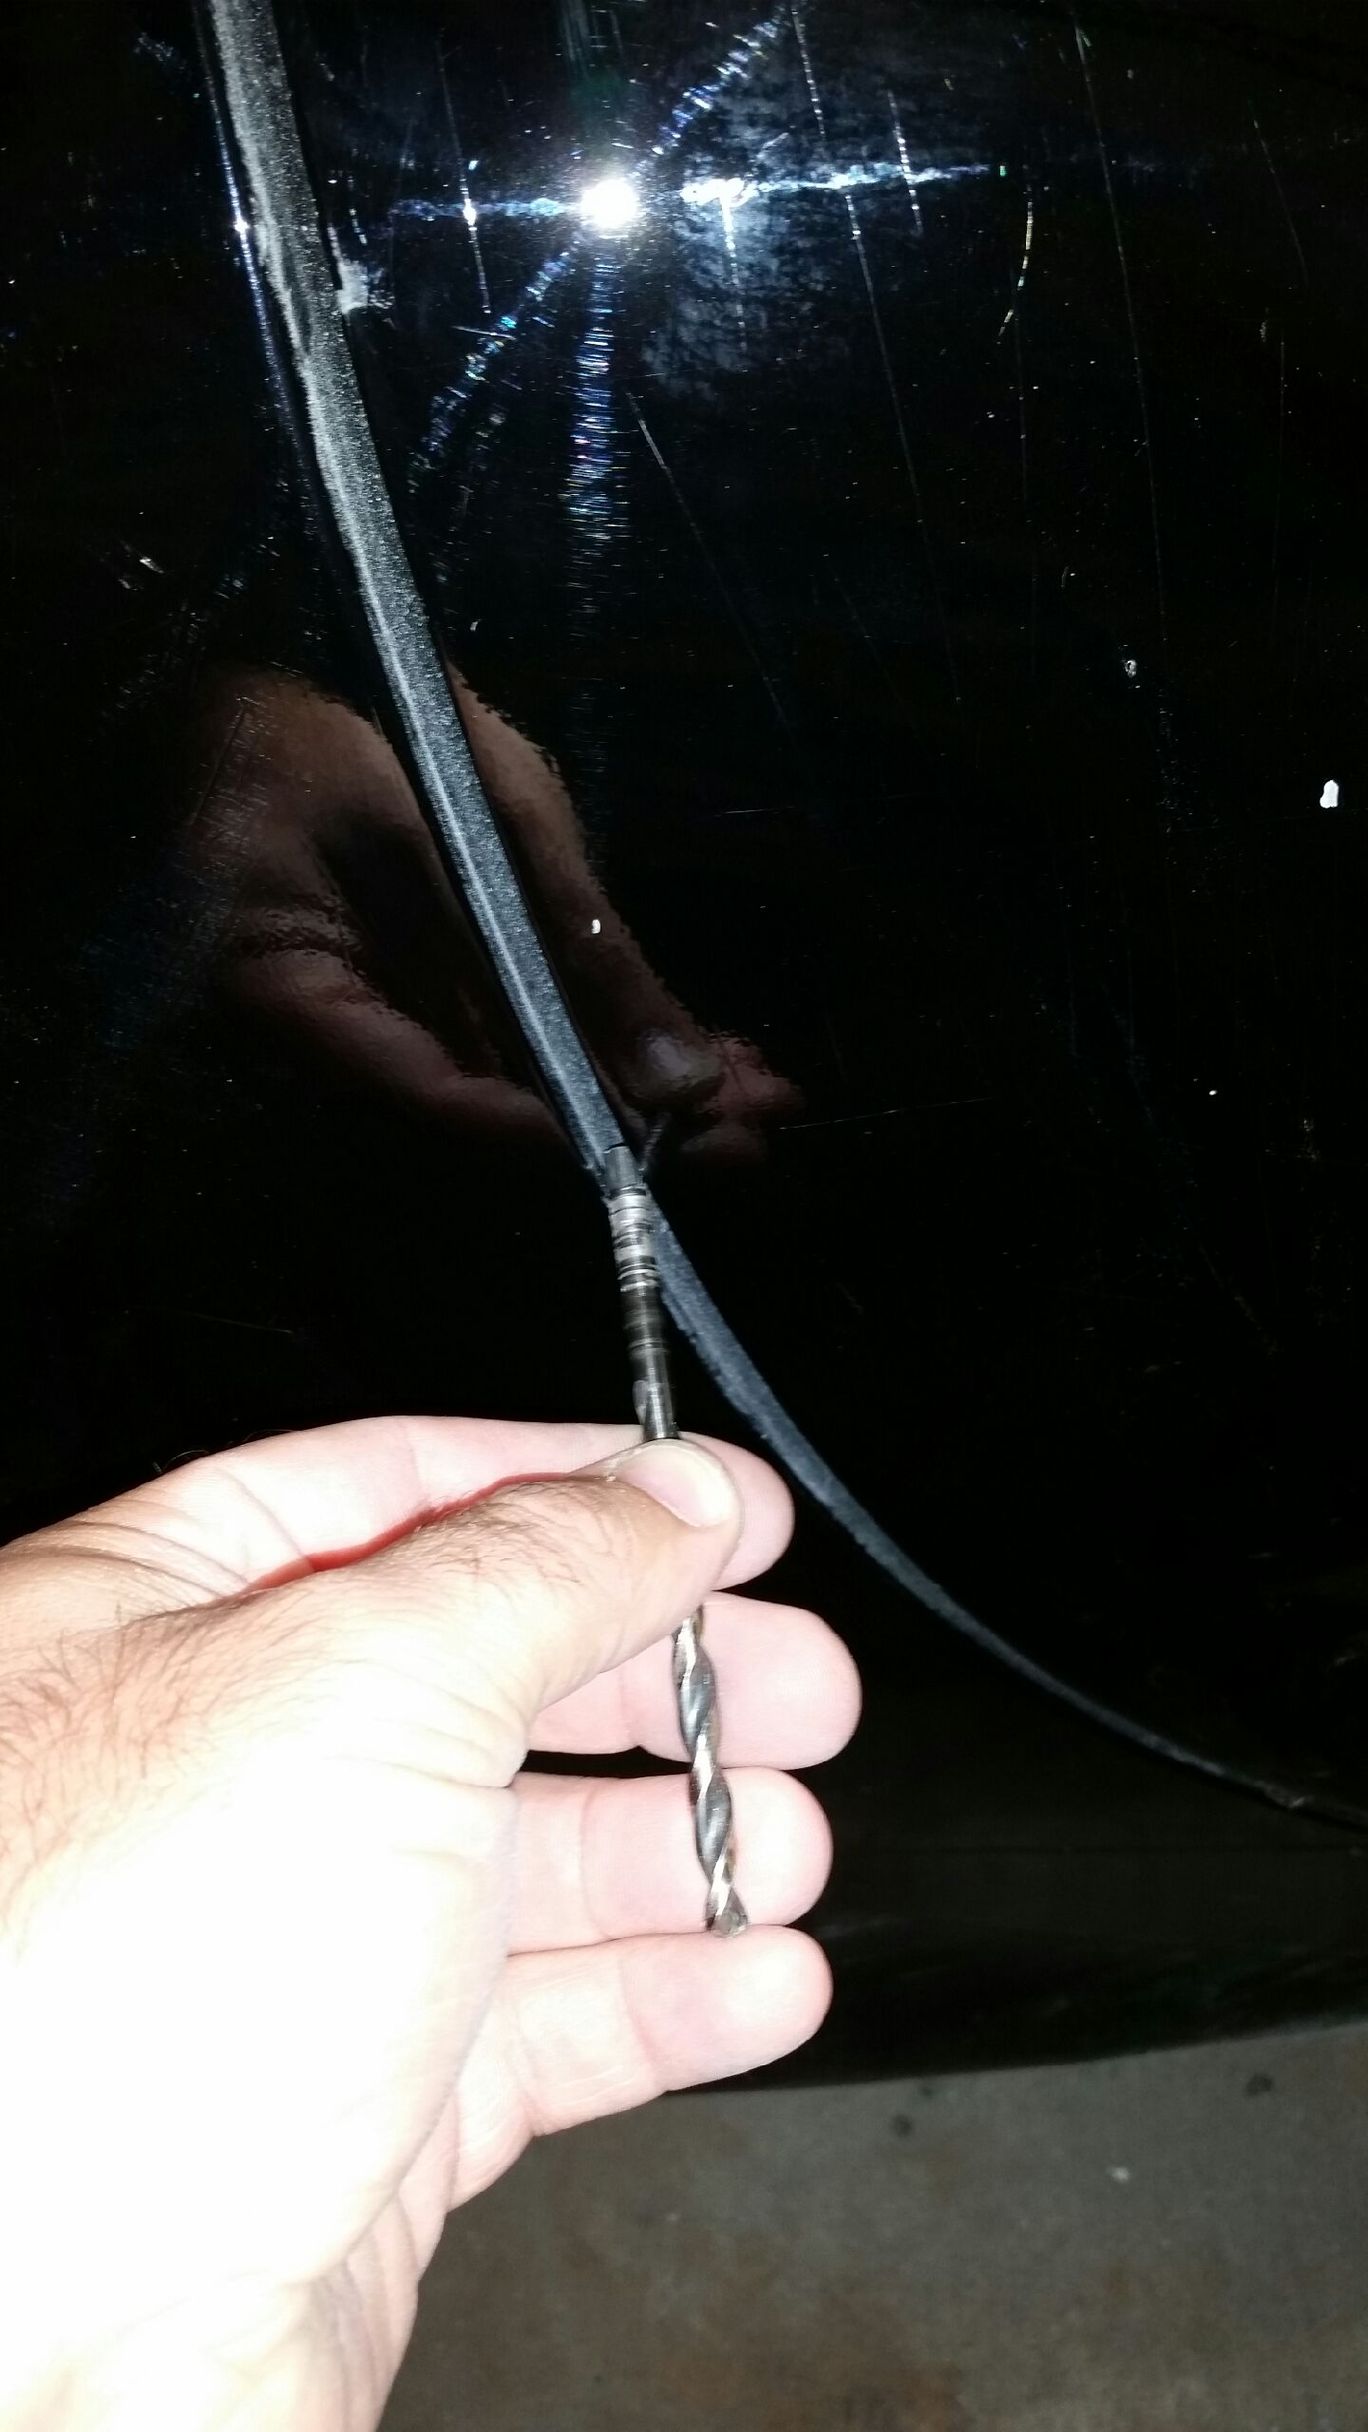
Using a drill bit to get the door gaps uniform around each door. John also adjusted the doors to their catches so that they close with a touch

Working with the hood to get it to sit down on the driver's side fender interface. This was something I'm pretty sure I did when my car kicked out the hood support while cranking and the hood landed on an allen wrench poking up out of the FPR.
Before
After
Working on getting the hood centered up:
Before
John mocked up the fenders and hood to pre-align everything before spending more time on finishing the panels. The idea being that its easier to make changes now vs after the panel is painted:
Using a drill bit to get the door gaps uniform around each door. John also adjusted the doors to their catches so that they close with a touch
Working with the hood to get it to sit down on the driver's side fender interface. This was something I'm pretty sure I did when my car kicked out the hood support while cranking and the hood landed on an allen wrench poking up out of the FPR.
Before
After
Working on getting the hood centered up:
Before
09-23-14, 04:56 PM
#7
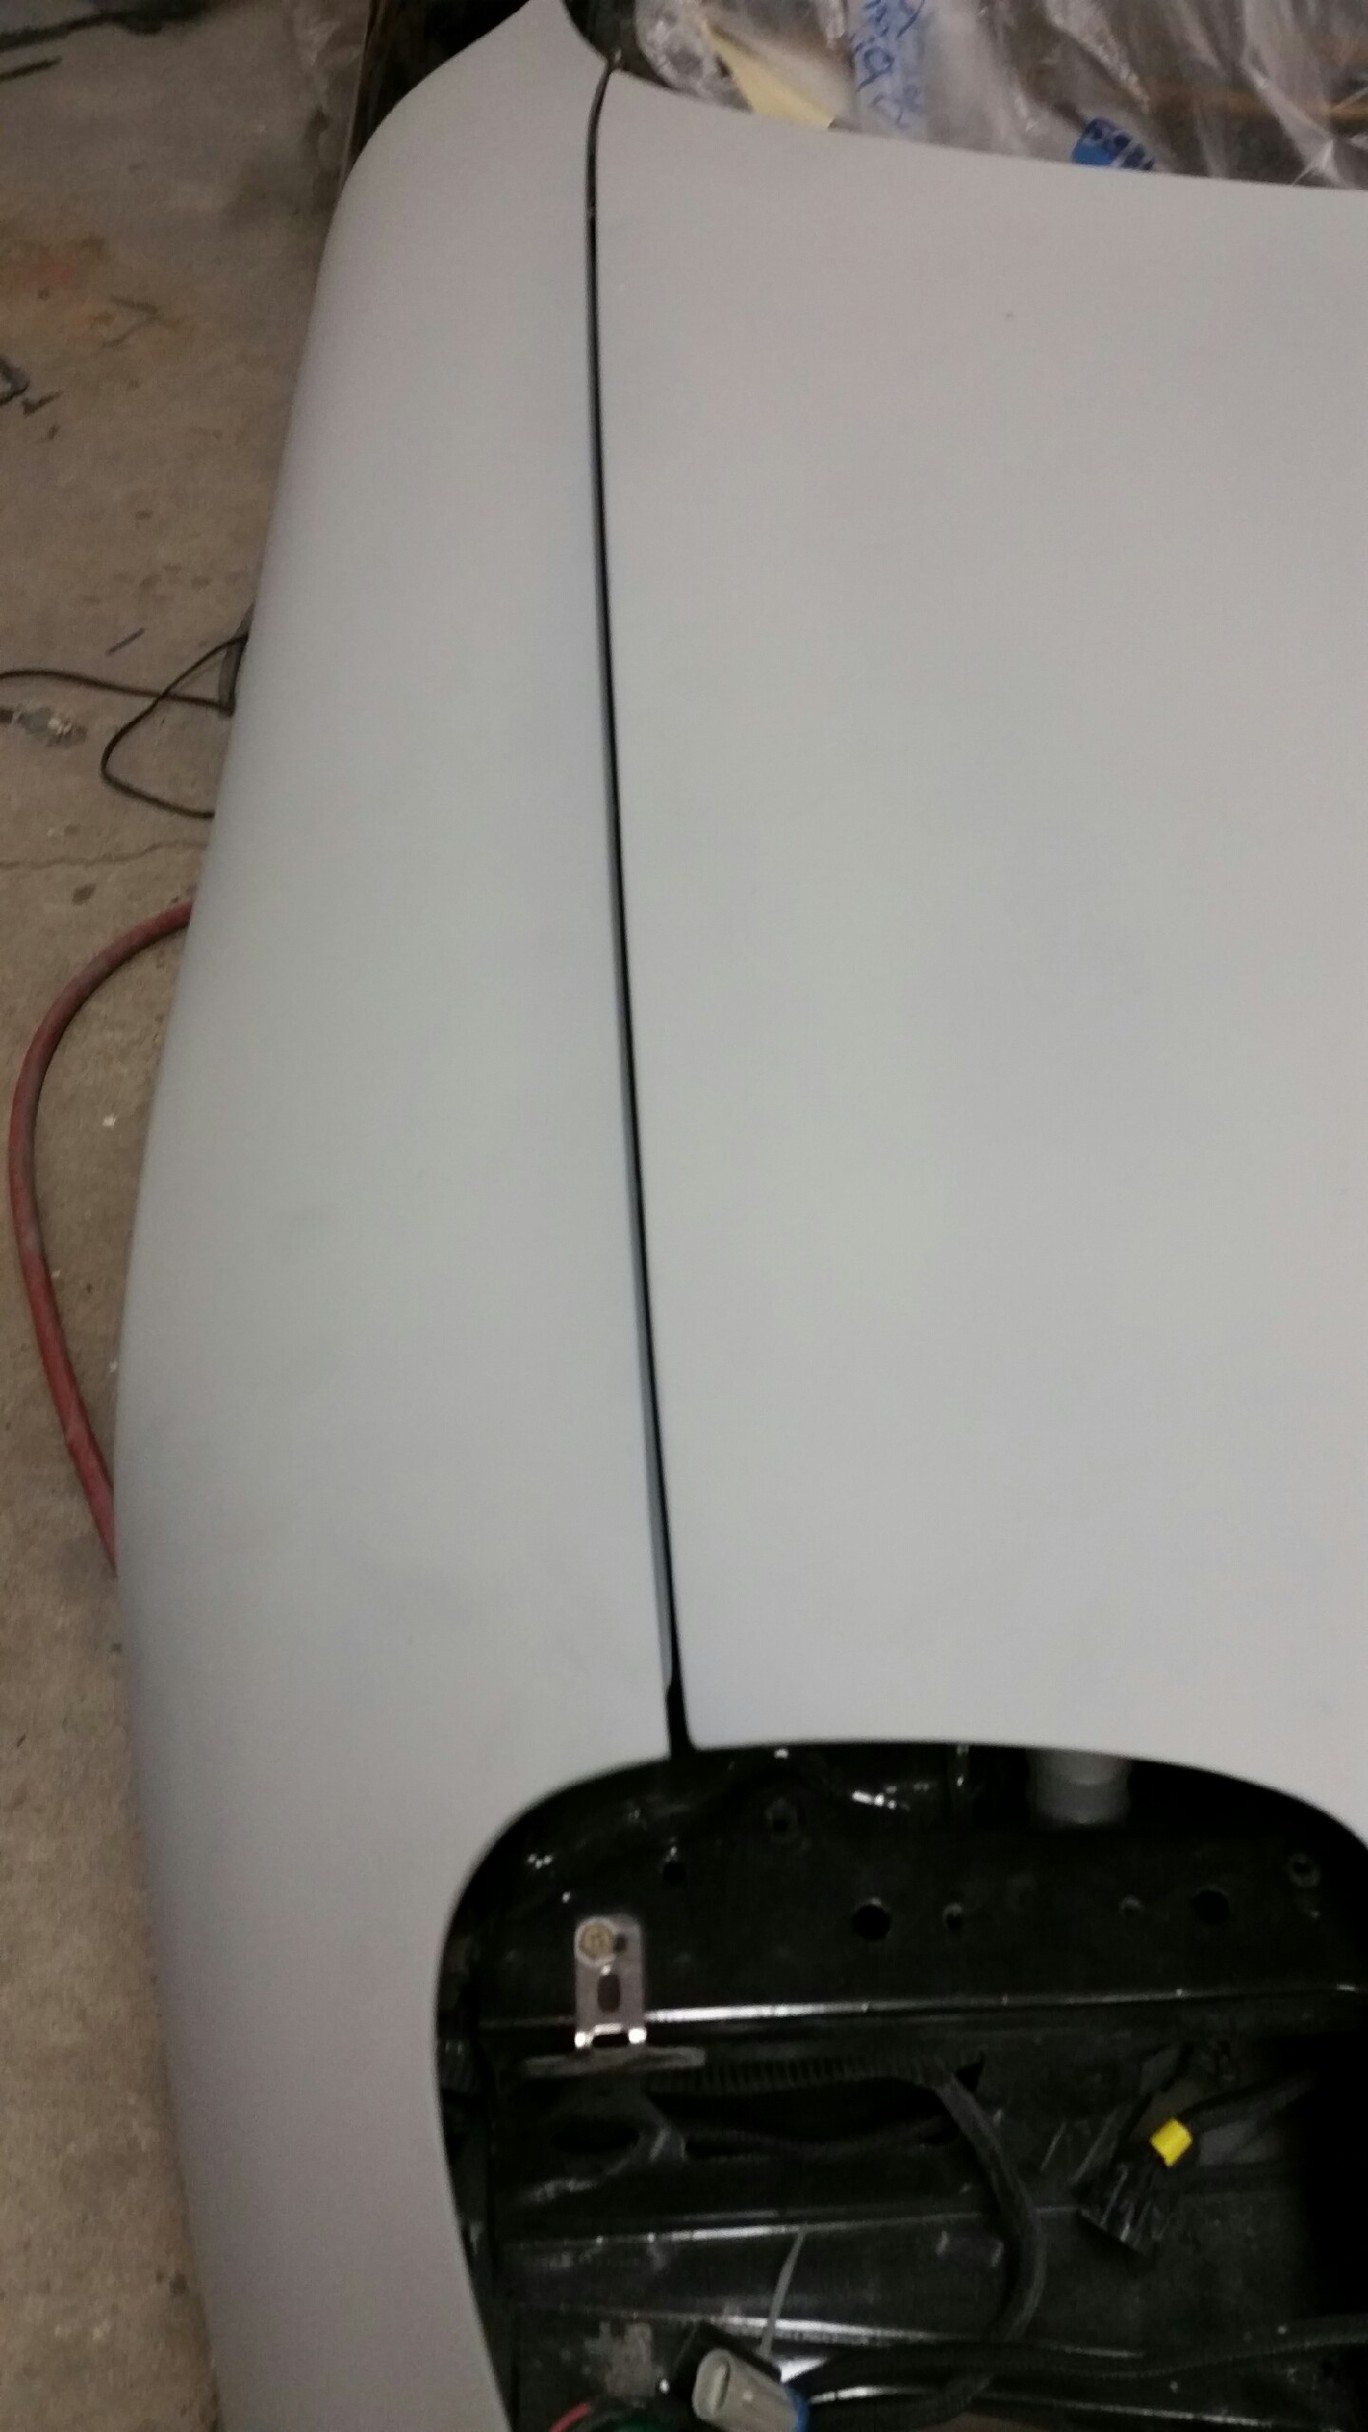
After
The panel alignment is now better than its ever been and I am seriously pumped up about it!!!
John has a lot more he can do but I'm trying to work out a trip down to Jackson so I can deliver a load of parts for him to work with (namely my front bumper). Hoping I can do it before the week is over as I'm dying to see what he can do with the samberg hood gap
-------------------
August 01, 2014, 08:45:25 AM
Lots of stuff has happened over the last couple of days.
After seeing the progress John was making I had to see it with my own eyes so I drove down to Jackson Wednesday night after work. Admittedly the trip wasn't just about seeing the work in person. I had a car full of parts to take with my including my front bumper. I didn't take the bumper with me the first time because I figured it was painted well enough and black is black is black is black right? Well, John let me know that blacks can vary a lot more than I first thought so we decided to paint it as well. In addition I was eager to see John work some his magic to see if he could solve the Samberg gap
Here's the bumper on and after some adjustments by John. At this point I don't think he'd modified anything but the Samberg radiator cover was not installed:
John discovered that I hadn't been using a bumper support under the plate area of the bumper (top of the main 'mouth' of the bumper) which bolts the bumper skin up to the crash bar:
Bolting it in helped raise the center of the bumper slightly.
This is where things get interesting. After quite a bit of conversation on the phone and checking for parts availibility I gave John the go-ahead to modify any of the bumper support or the Samberg plate according to what he thought would serve us best. My thinking was that I could always trade in for a rev3 Samberg plate and the bumper support pieces are still available at Mazda so the risk was minimal.
John explained that the plate should not press on the bumper structure AT ALL! Any place the plate makes contact would get pushed down when the plate was tightened down which in turn pushes the middle of the bumper down and opens a gap between it and the hood. What this ended up translating to is that any metal support directly underneath the samberg plate that made contact with the plate had to go.
After some initial trimming. Checking the plate's fit without being bolted in
Trending Topics
09-23-14, 04:57 PM
#8
After seeing positive results, John finalized the trimming. This is what he was left with and is the money shot a think at least a few of y'all will be interested in 

Before I show you the final results, one last thing came up that was an extra bonus fix. I had noticed over the last year that my bumper tended to rise ever so slightly right by the headlight buckets. This caused the Samberg gap problem to look even worse because on top of the center gap, the edges of my hood appeared to dip down at the corners right by the headlights. I figured this was just the way the bumpers on RX7s were designed and that my hood was off. Turns out that my 93 bumper support bar was to blame. Back when I got my 99 bumper I decided to mod my 93 bumper support bar to clear the new 99 lights. That's all I'd ever heard about as far as mods needed to make the 99 bumper fit correctly. Well, that didn't turn out to be the case. John found that the bumper support also had to be cut on the top ridge where the cover supports meet the support bar (right by the headlight buckets). The unmodified section of bumper support actually pushed the bumper cover up at the edges causing the bumper to rise as it got close to the headlights.
Trimming the bumper support allowed the cover to lay down flat and the results, along with the fixes above are astounding
Happy guy here
-------------------
August 04, 2014, 07:34:00 AM
Quick update. John worked on the hatch last Friday:
Welding up holes. This is the rear wiper hole
No more holes!
Grinding out the surface rust that accumulated after the last improper window installation. The rust was located along the rear hatch window seat
09-23-14, 04:57 PM
#9
Before
After
Before

After
Should be getting pretty close to sealing up the hatch. I haven't heard John's plans for it.
-------------------
August 05, 2014, 07:31:43 AM
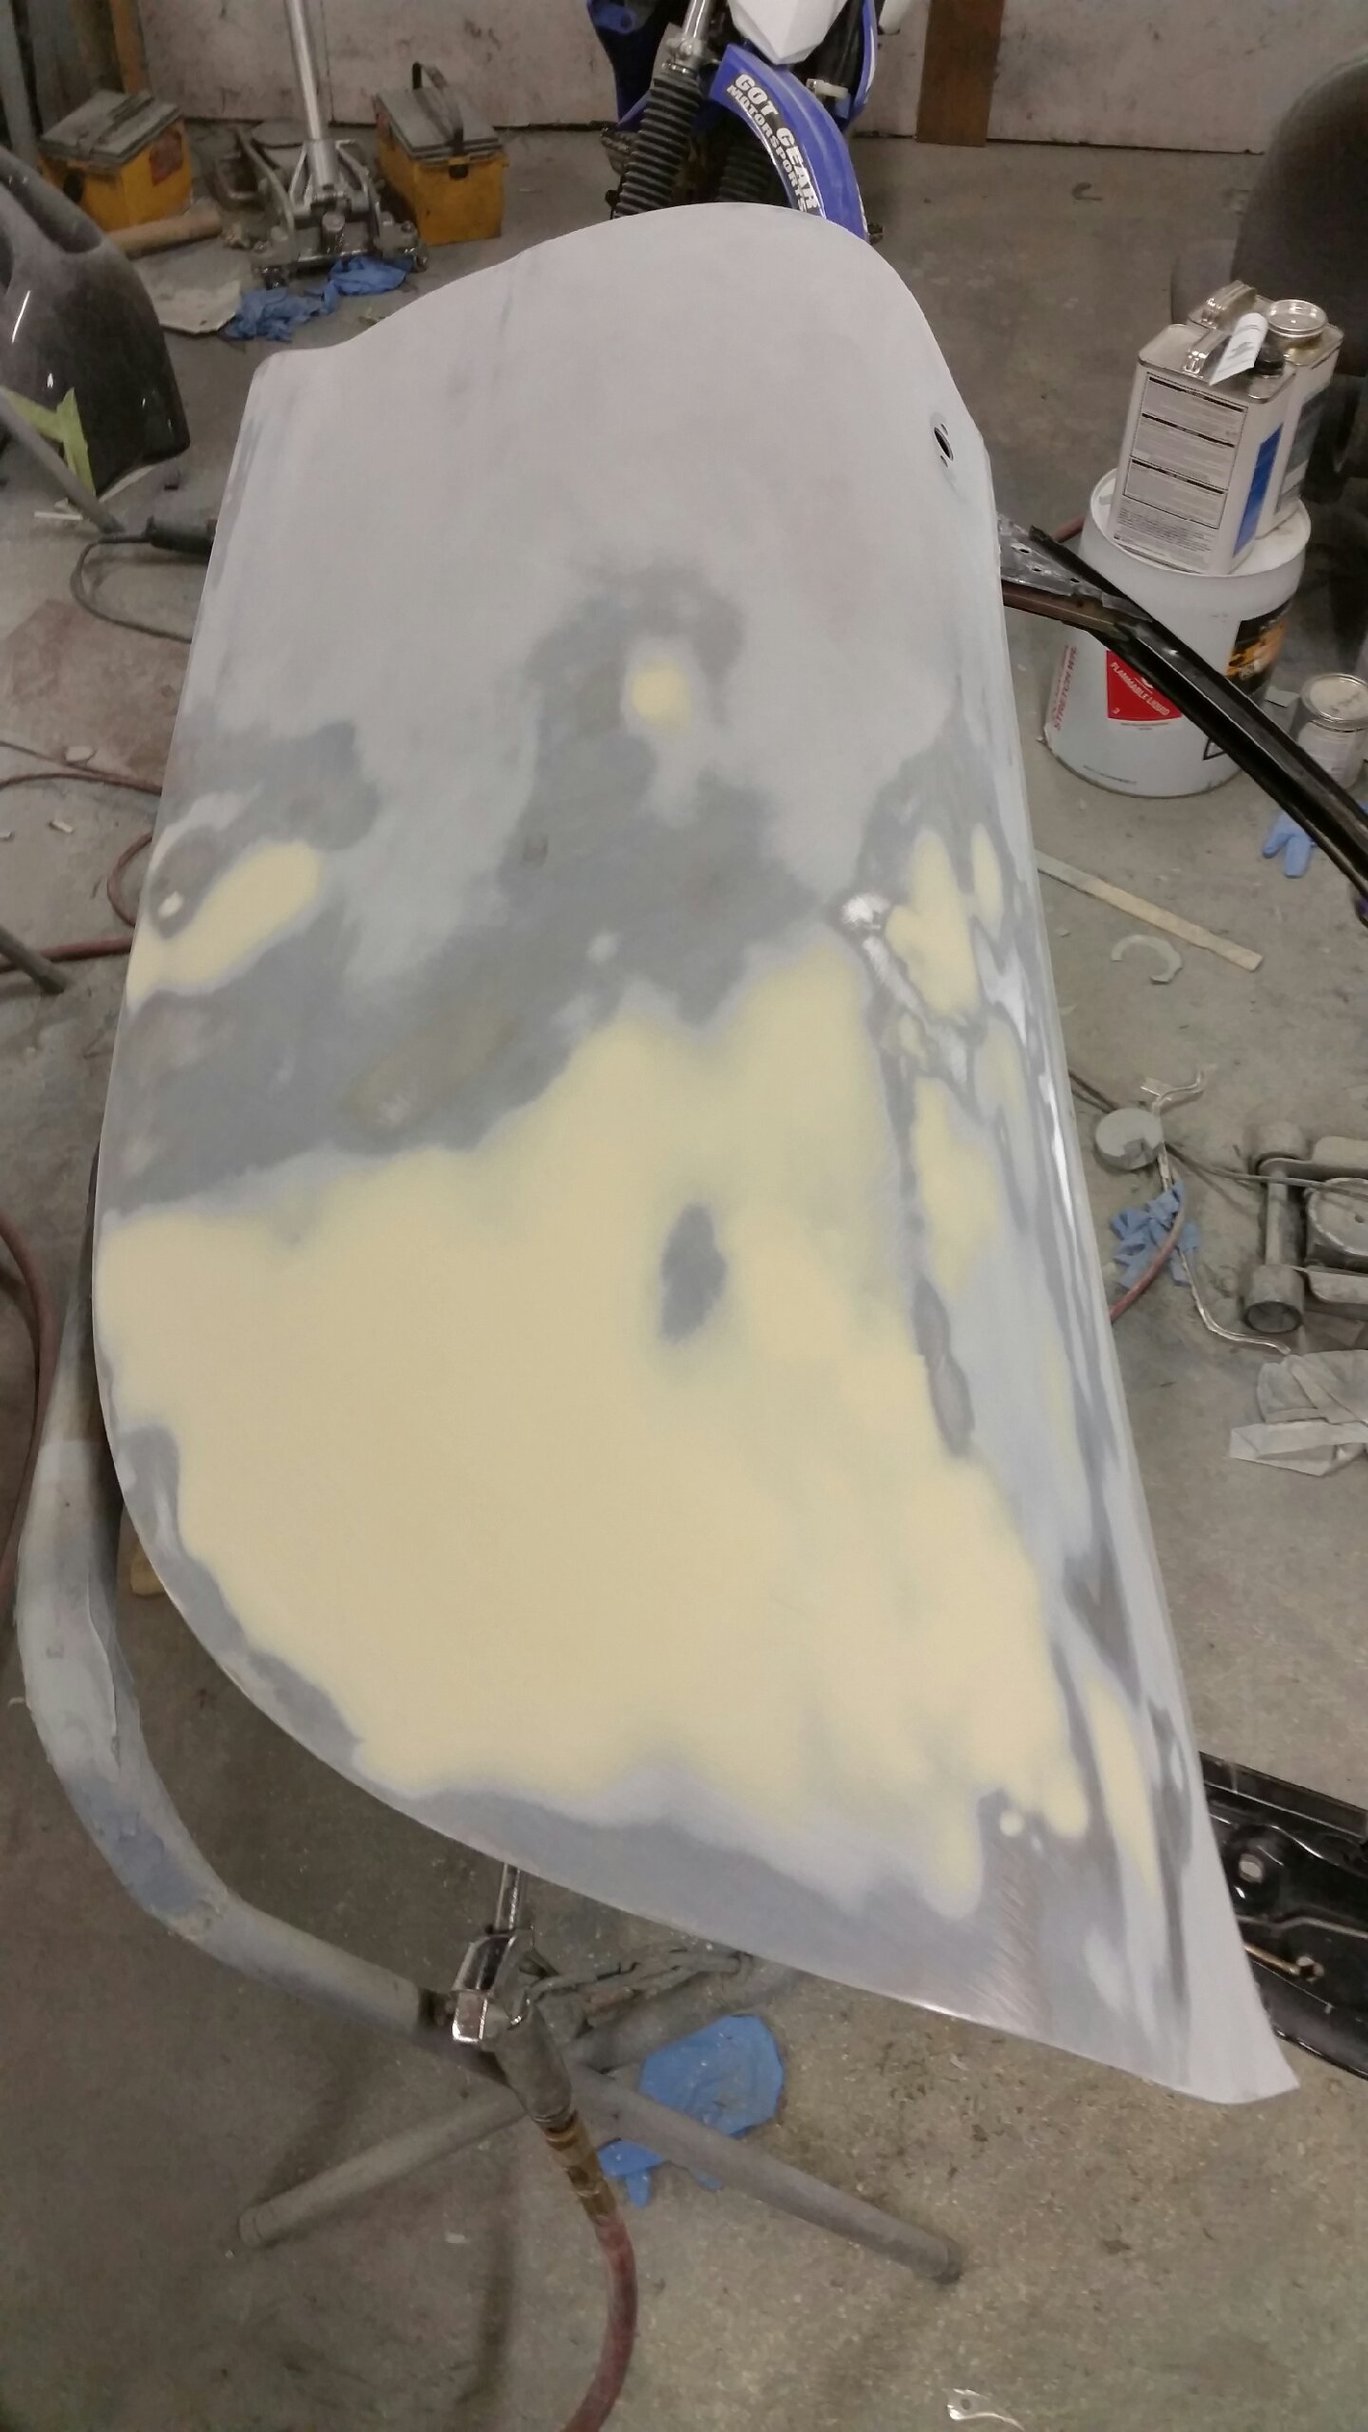
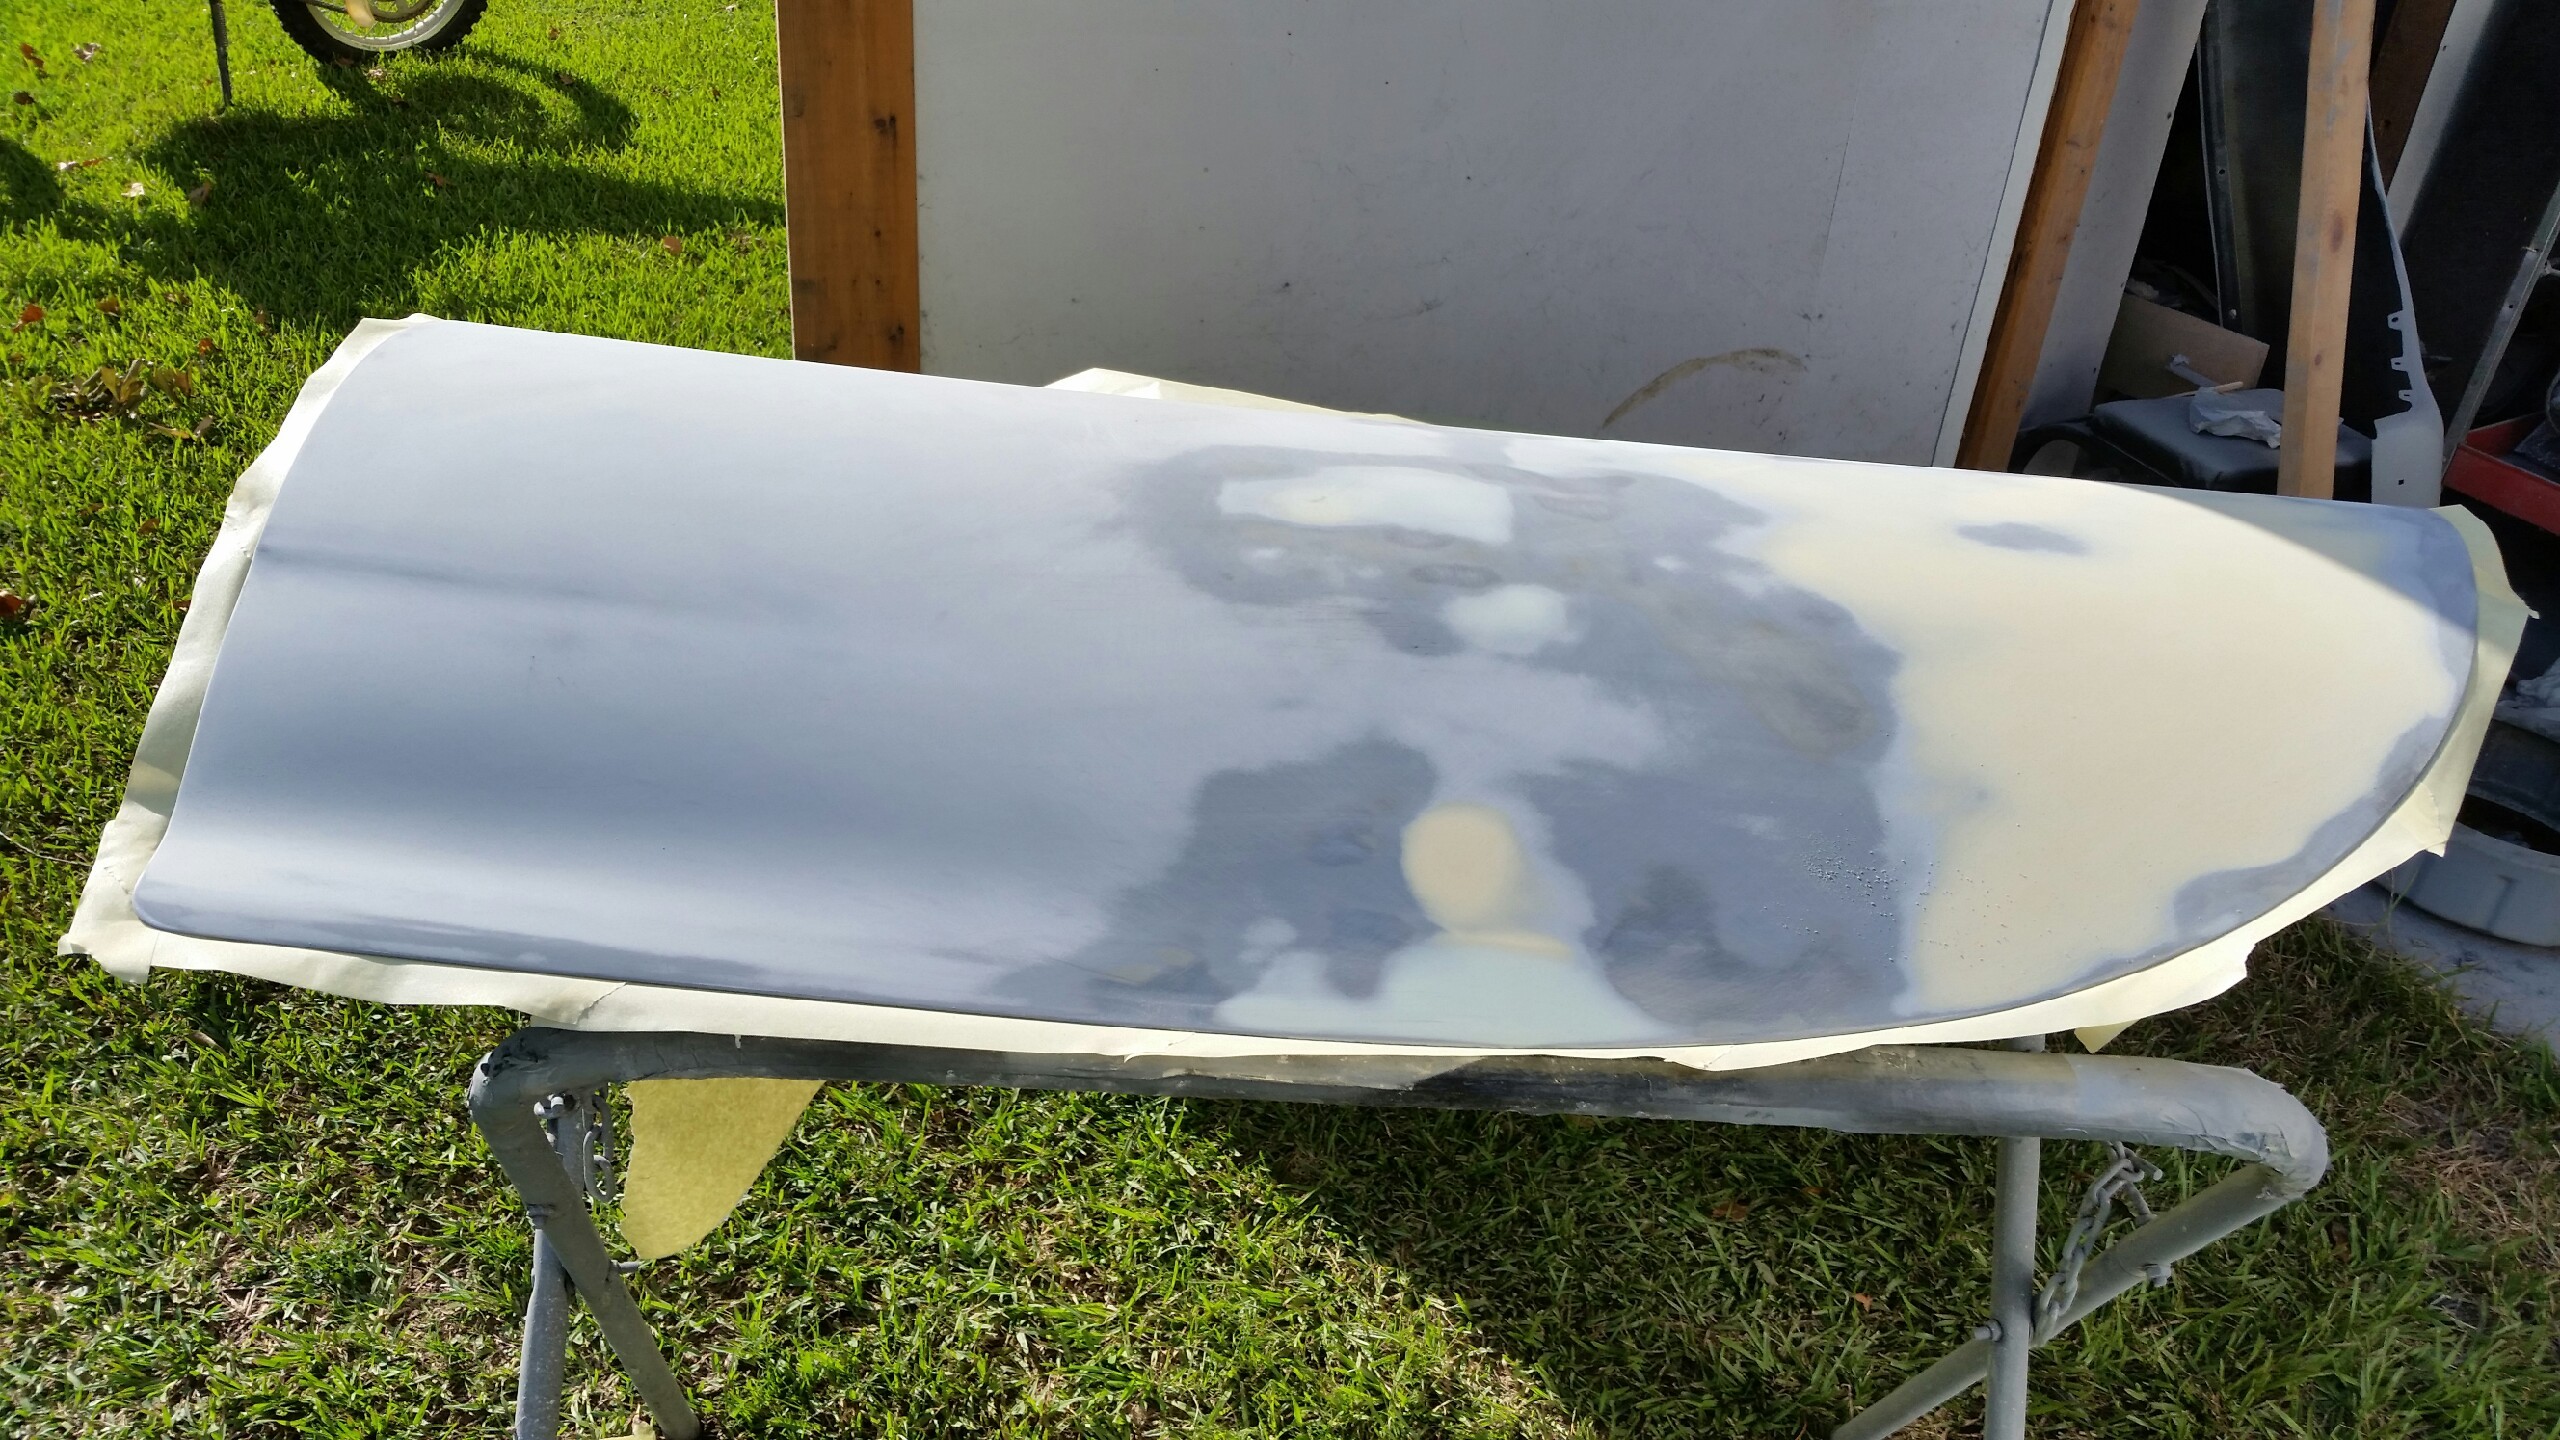
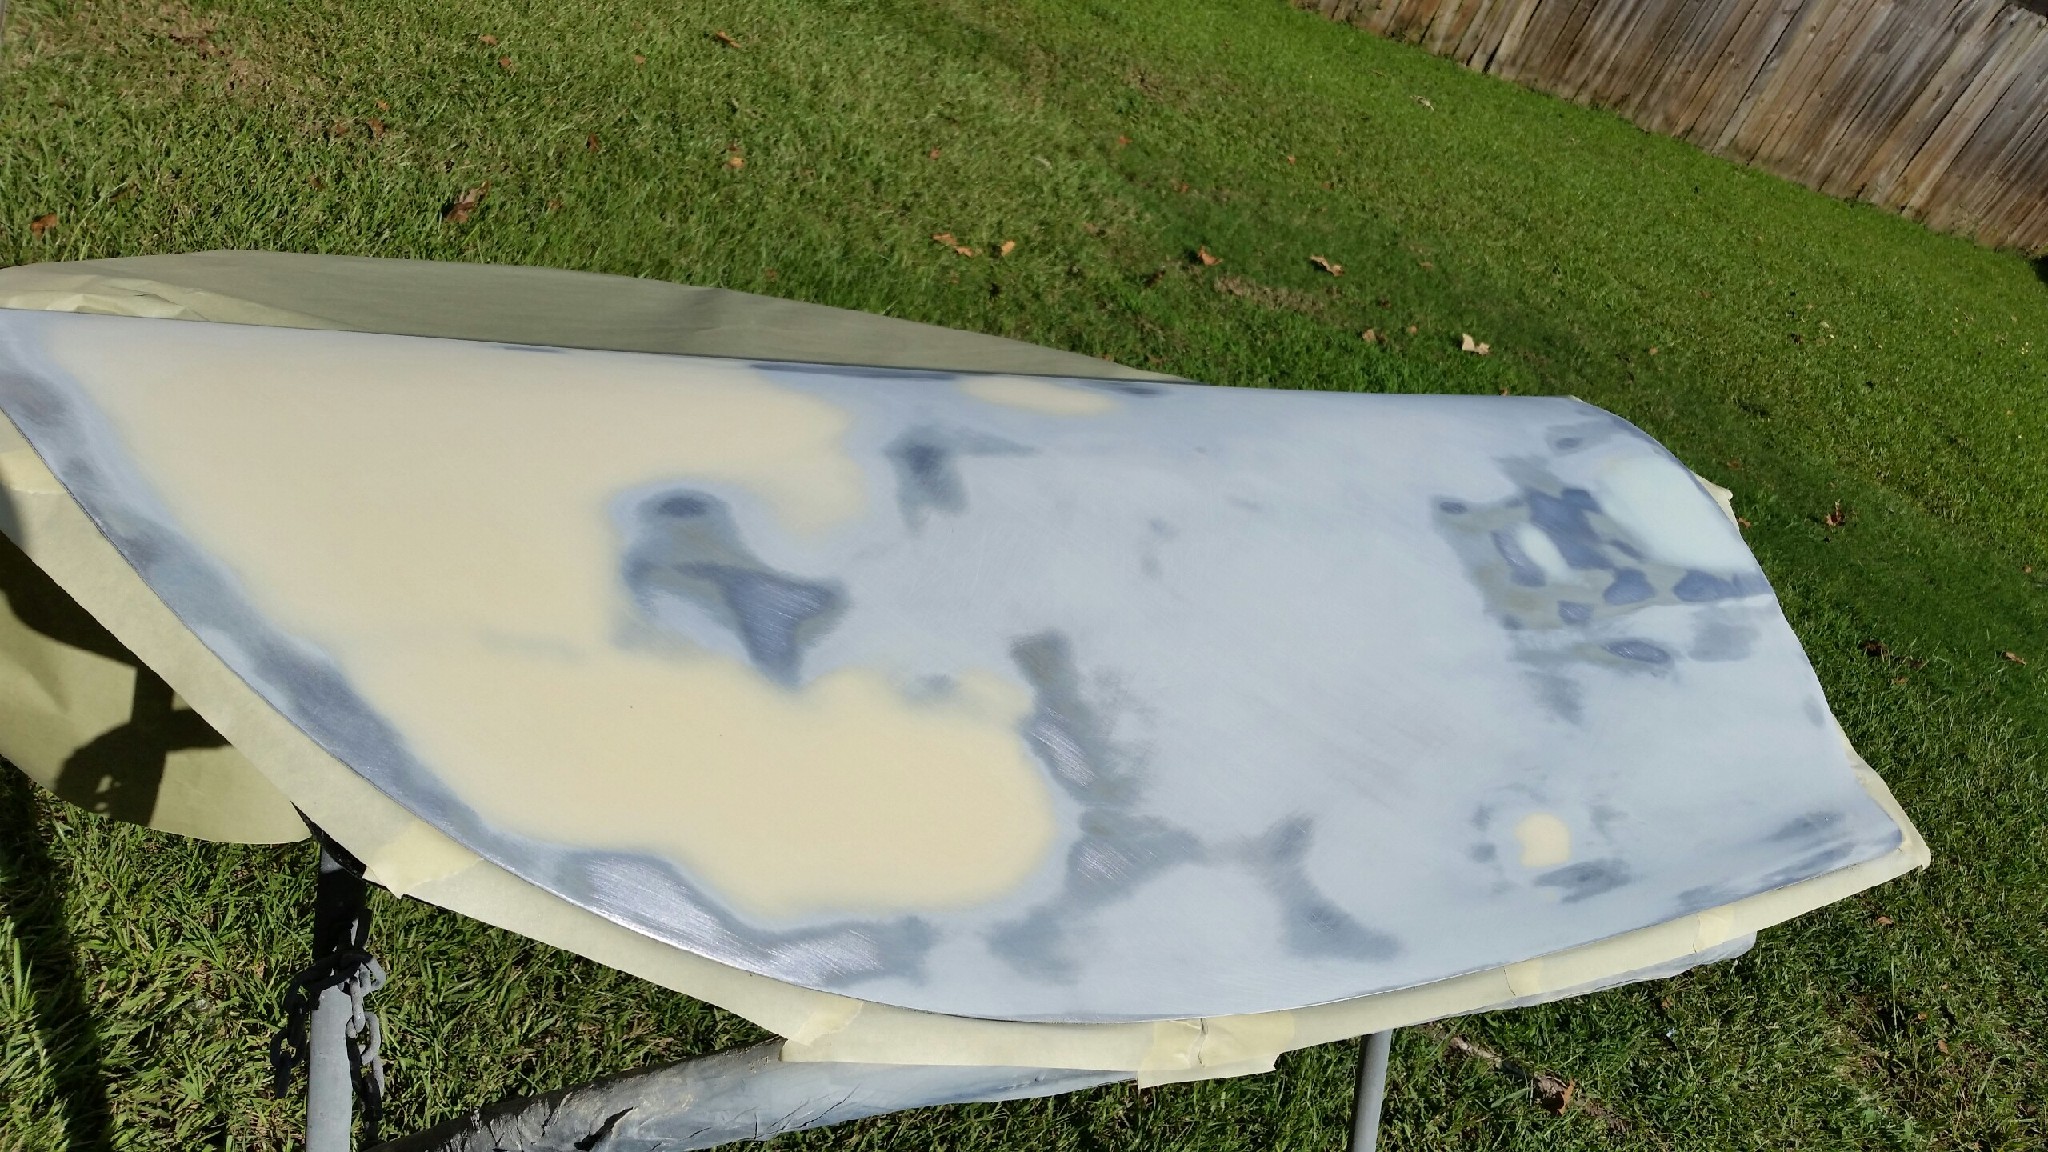
As expected John got the hatch all sealed and primed yesterday:
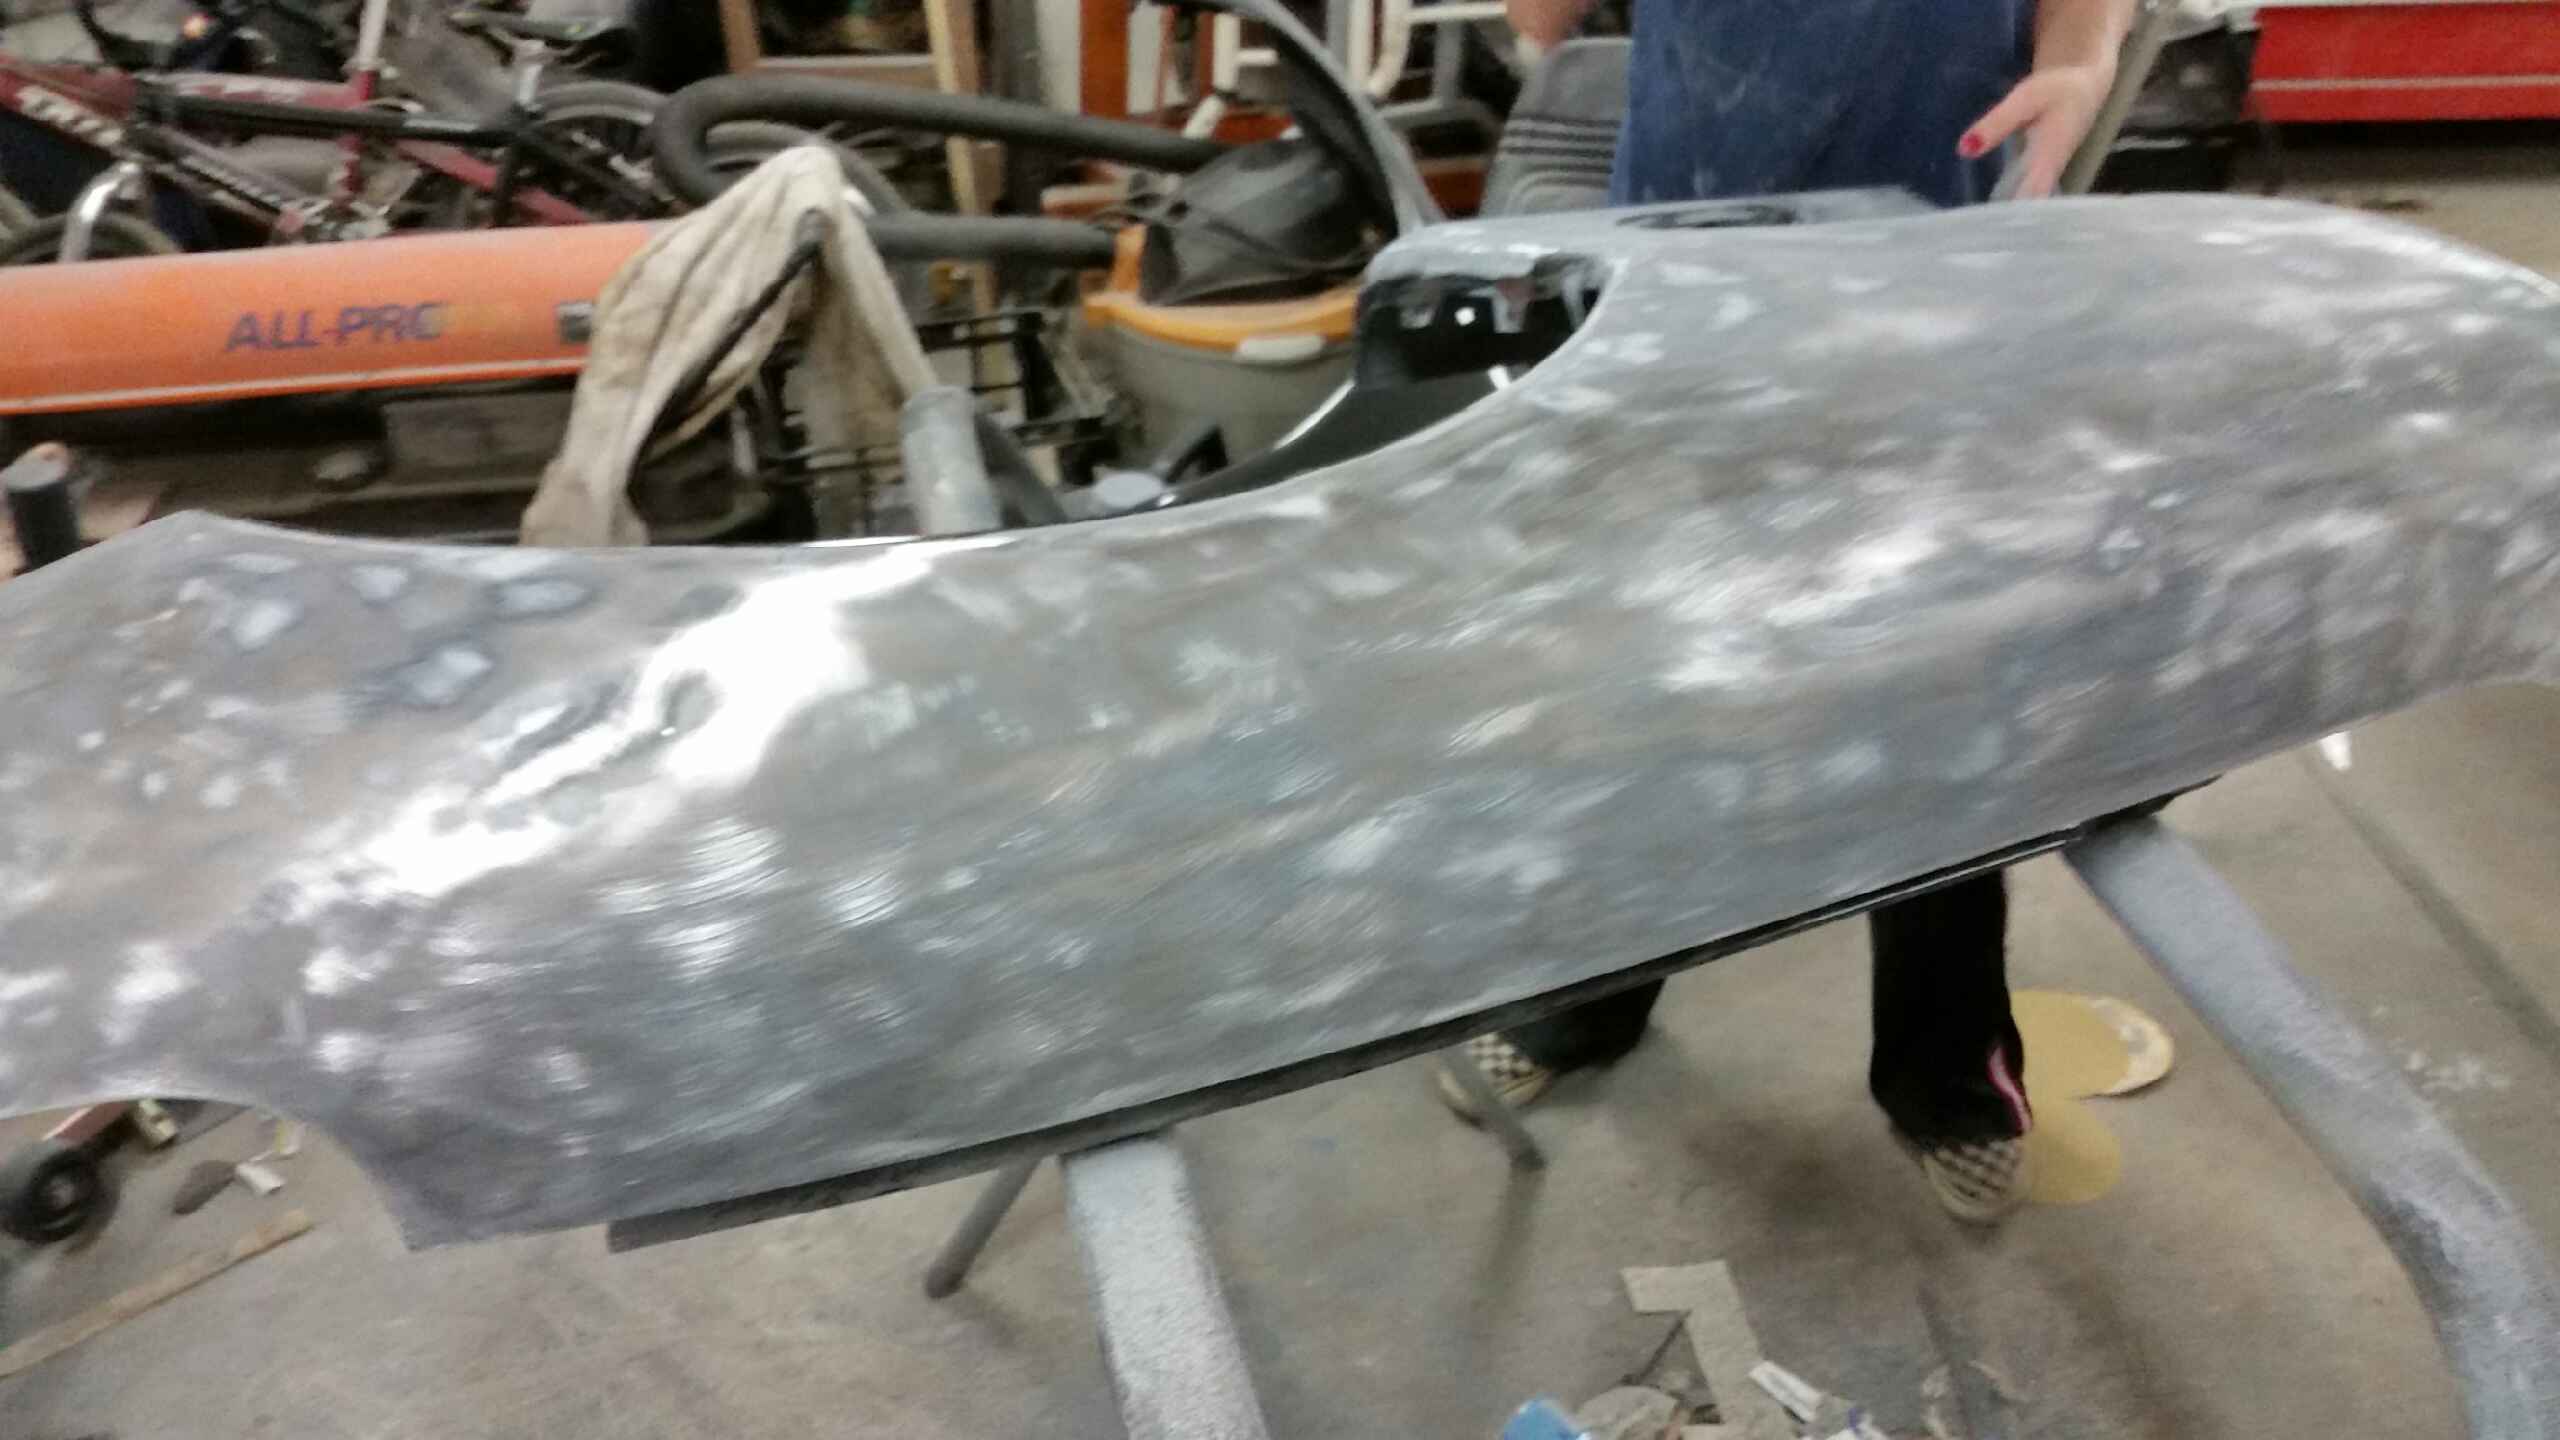
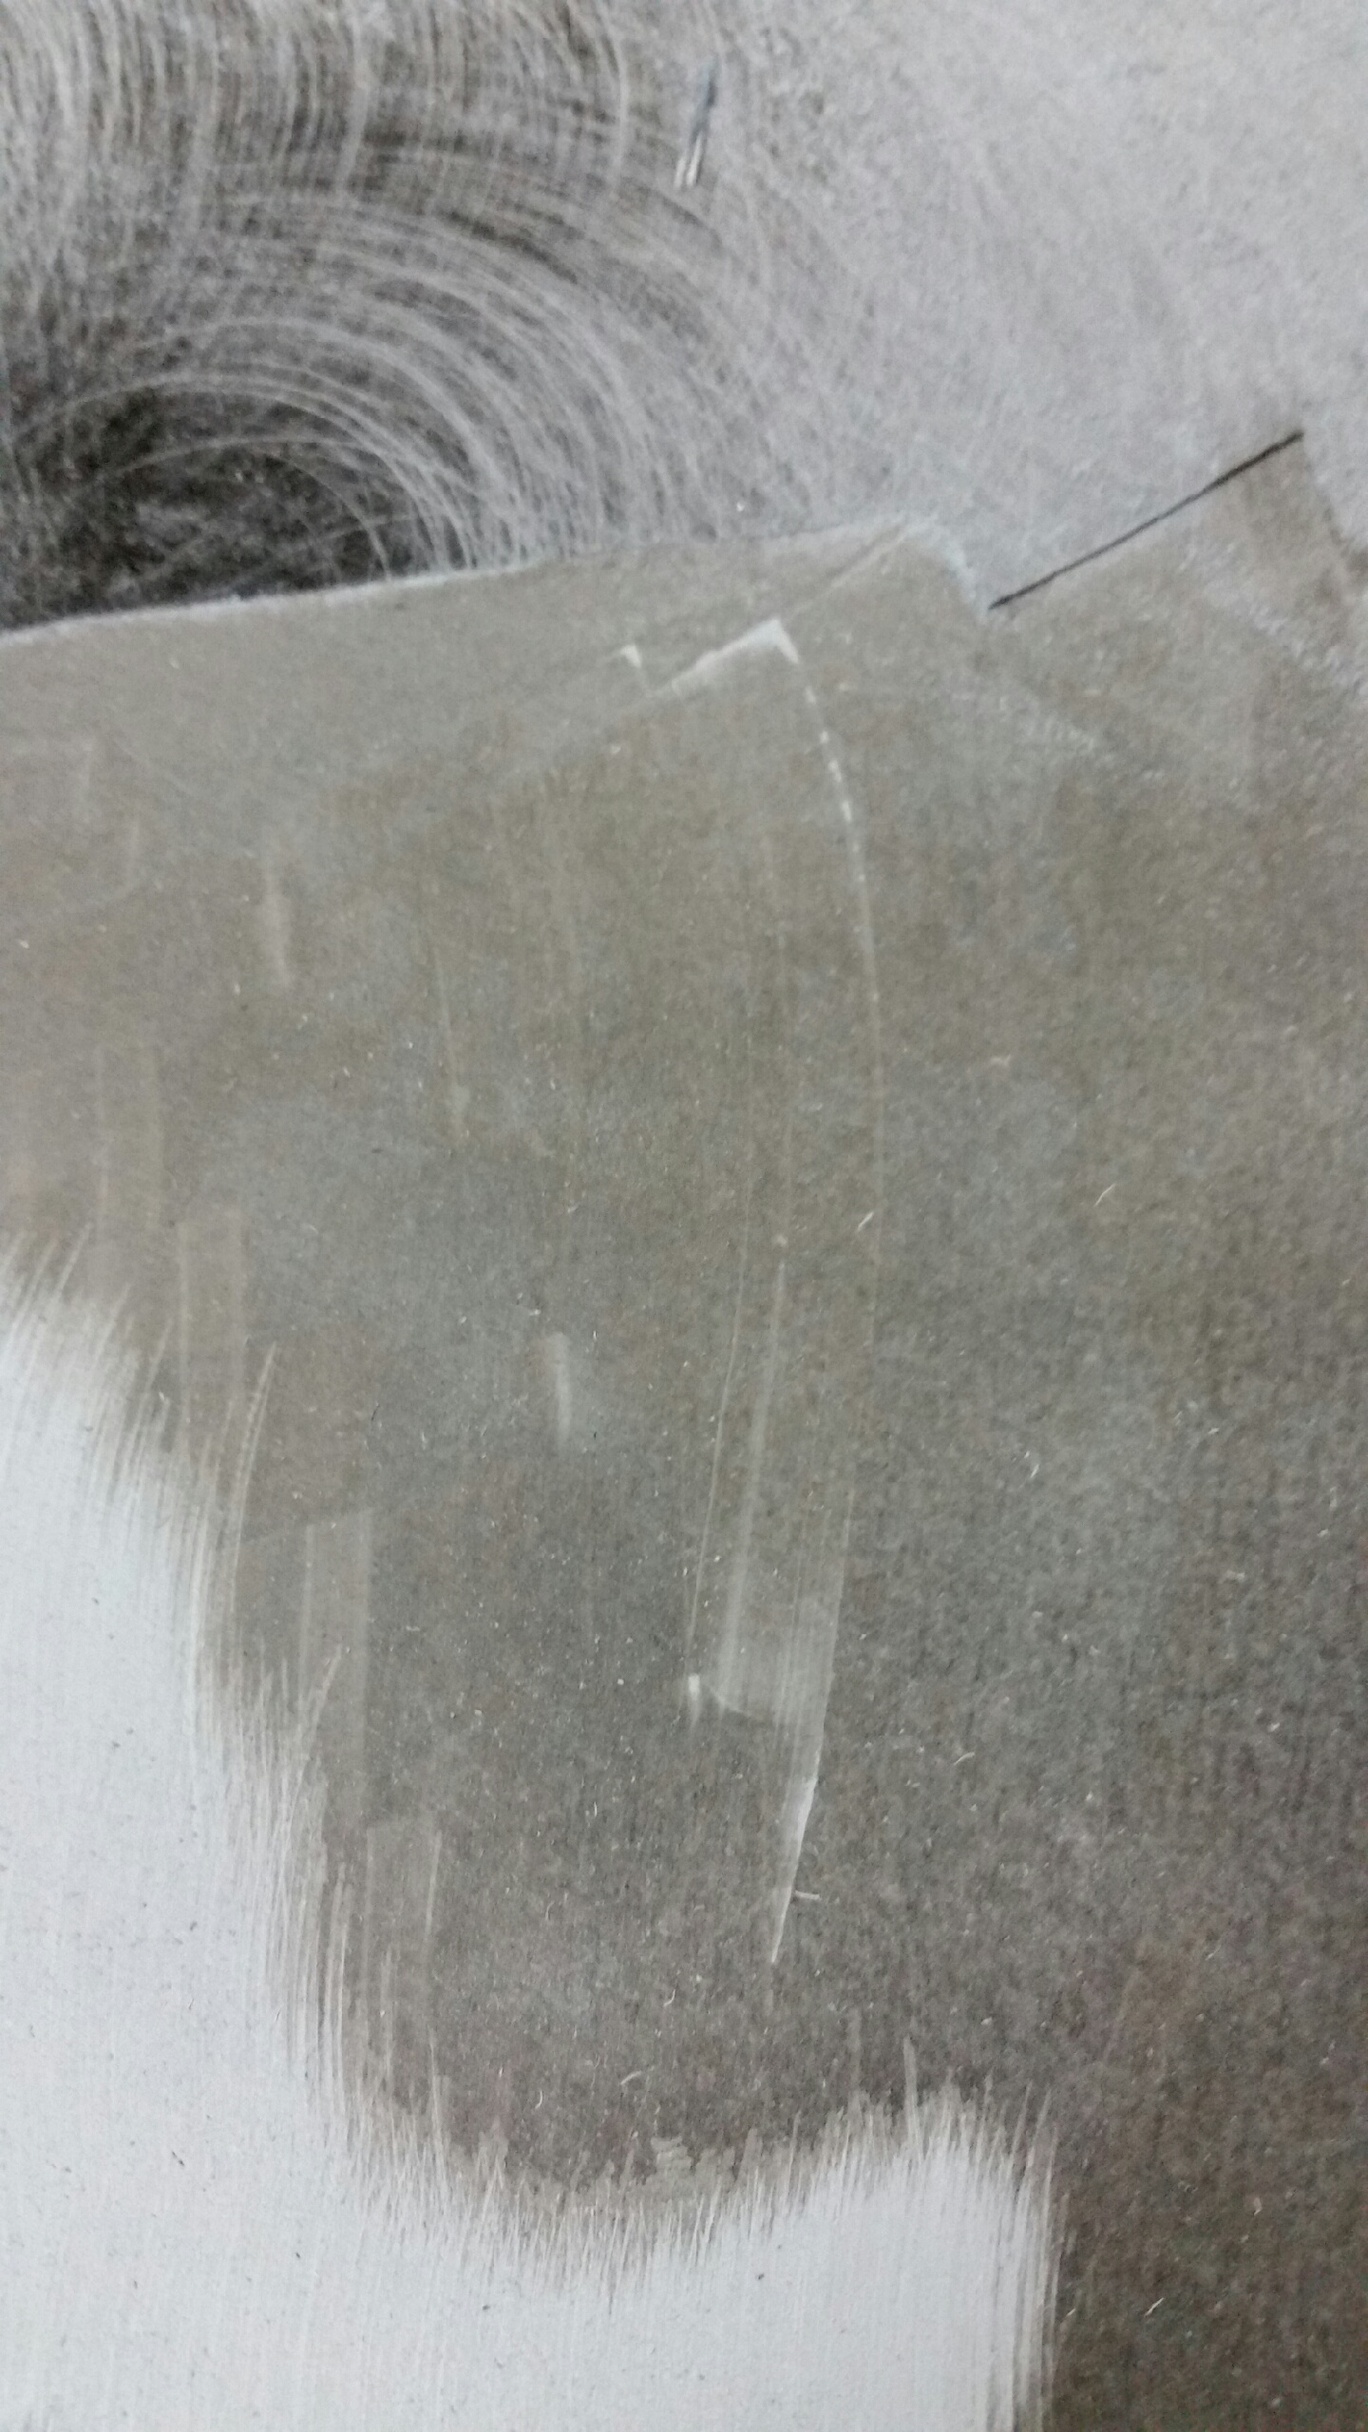
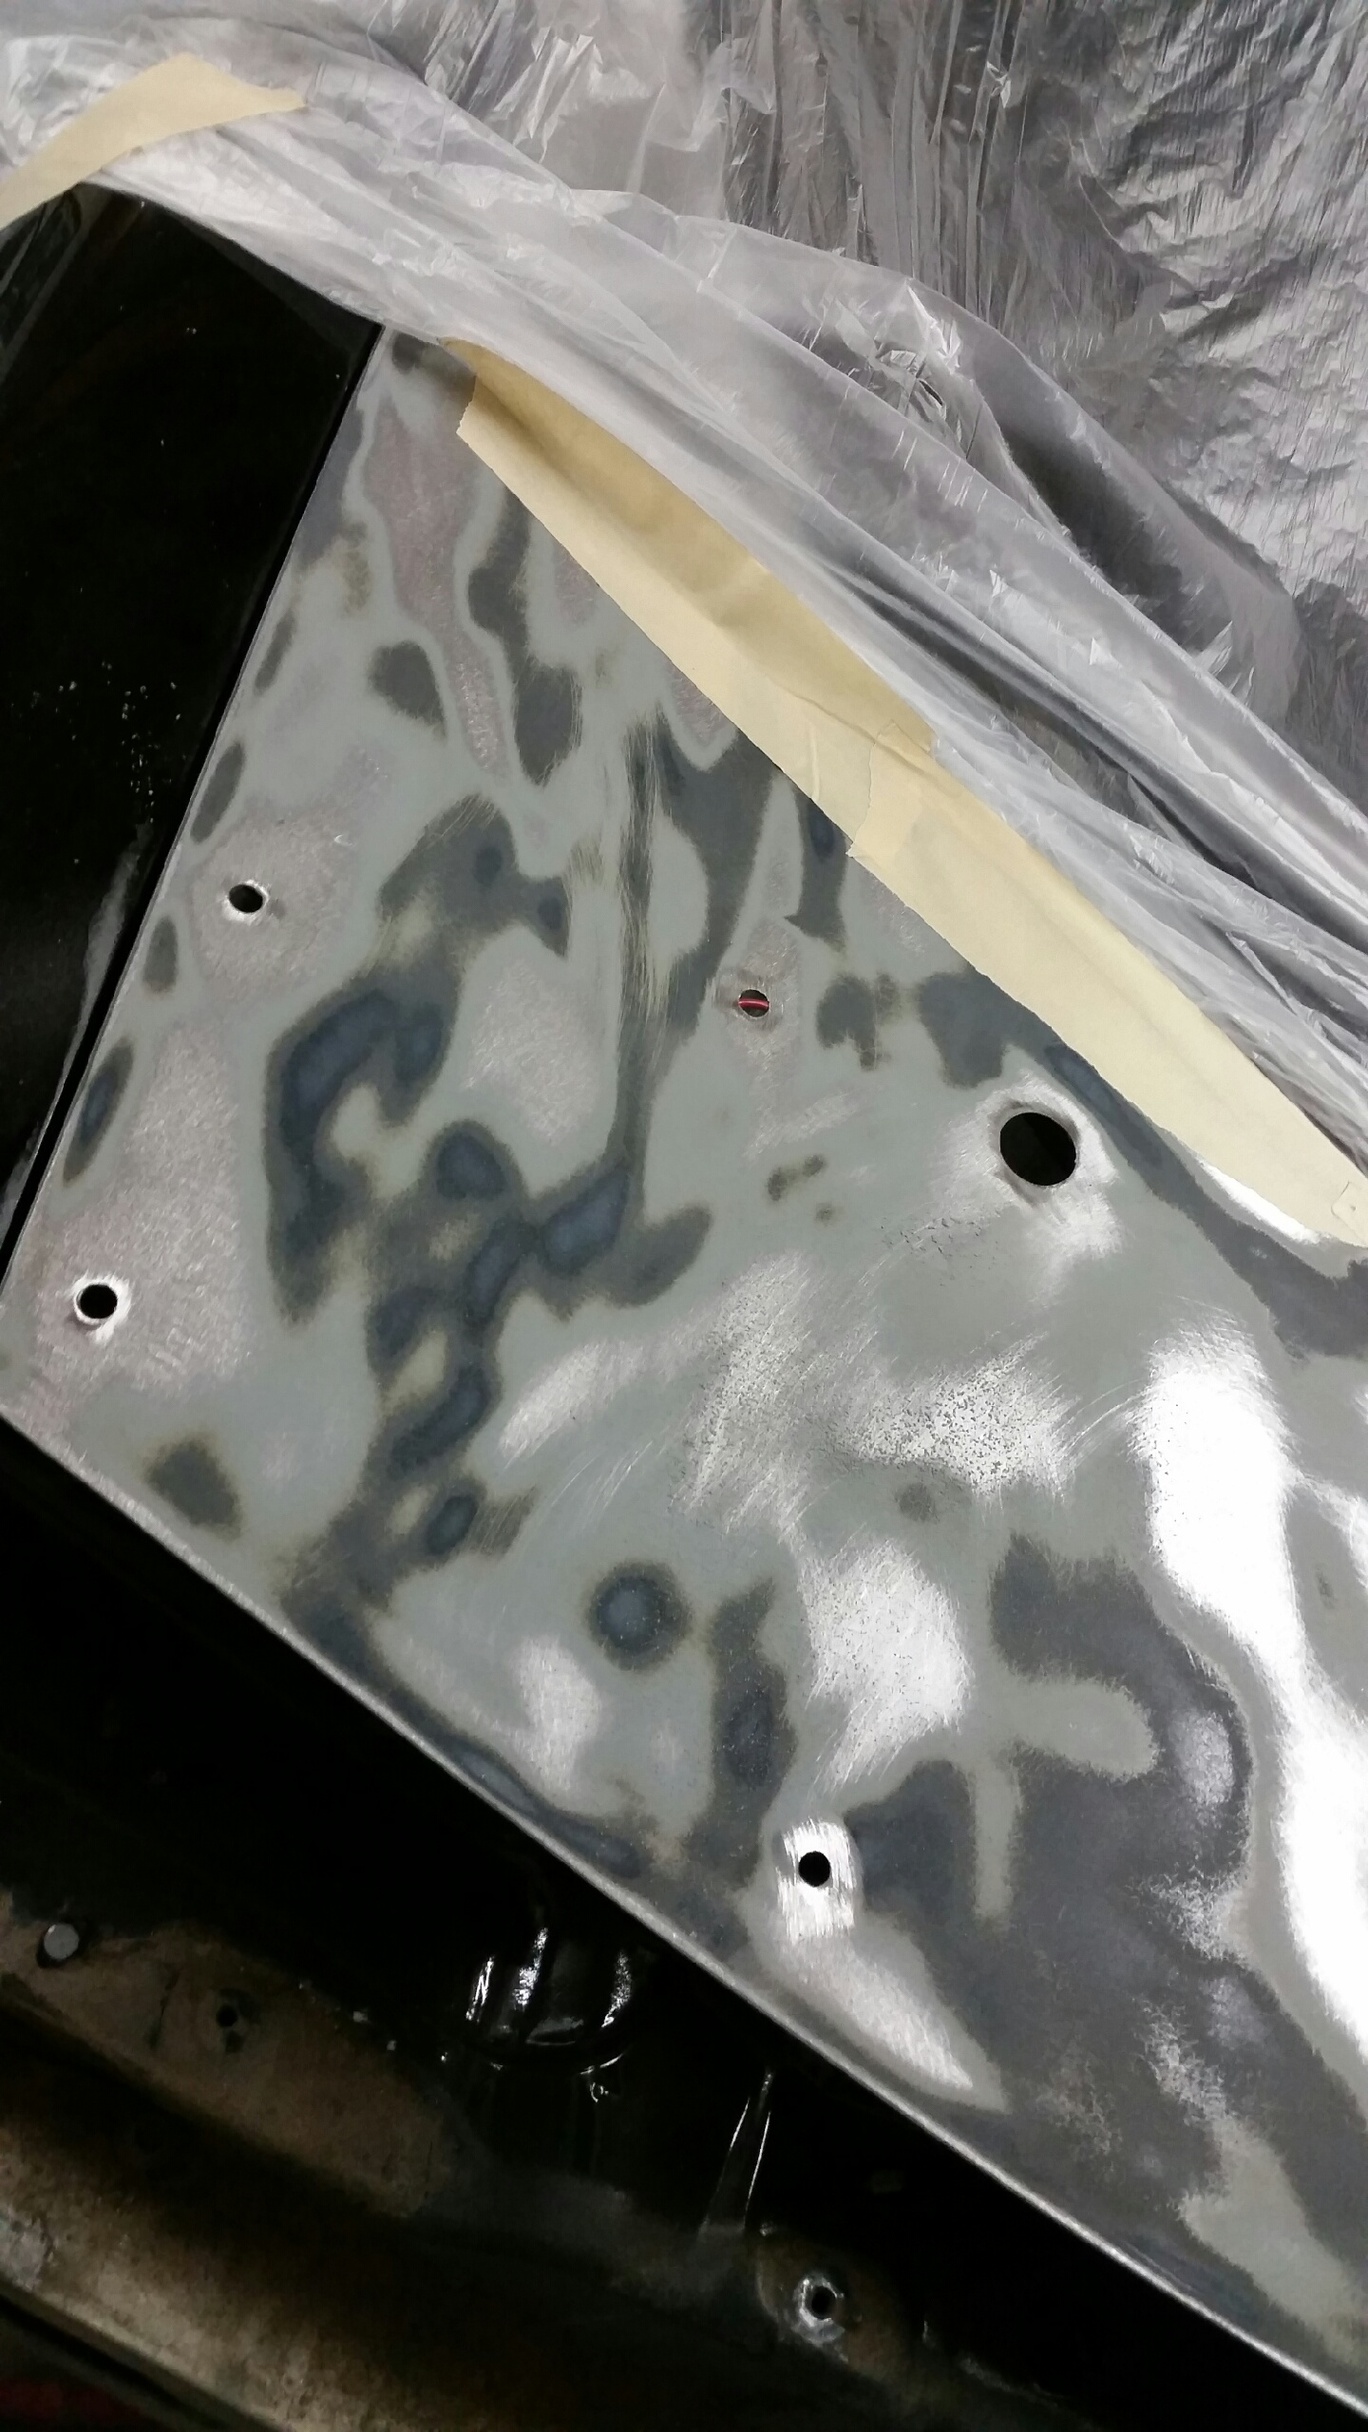
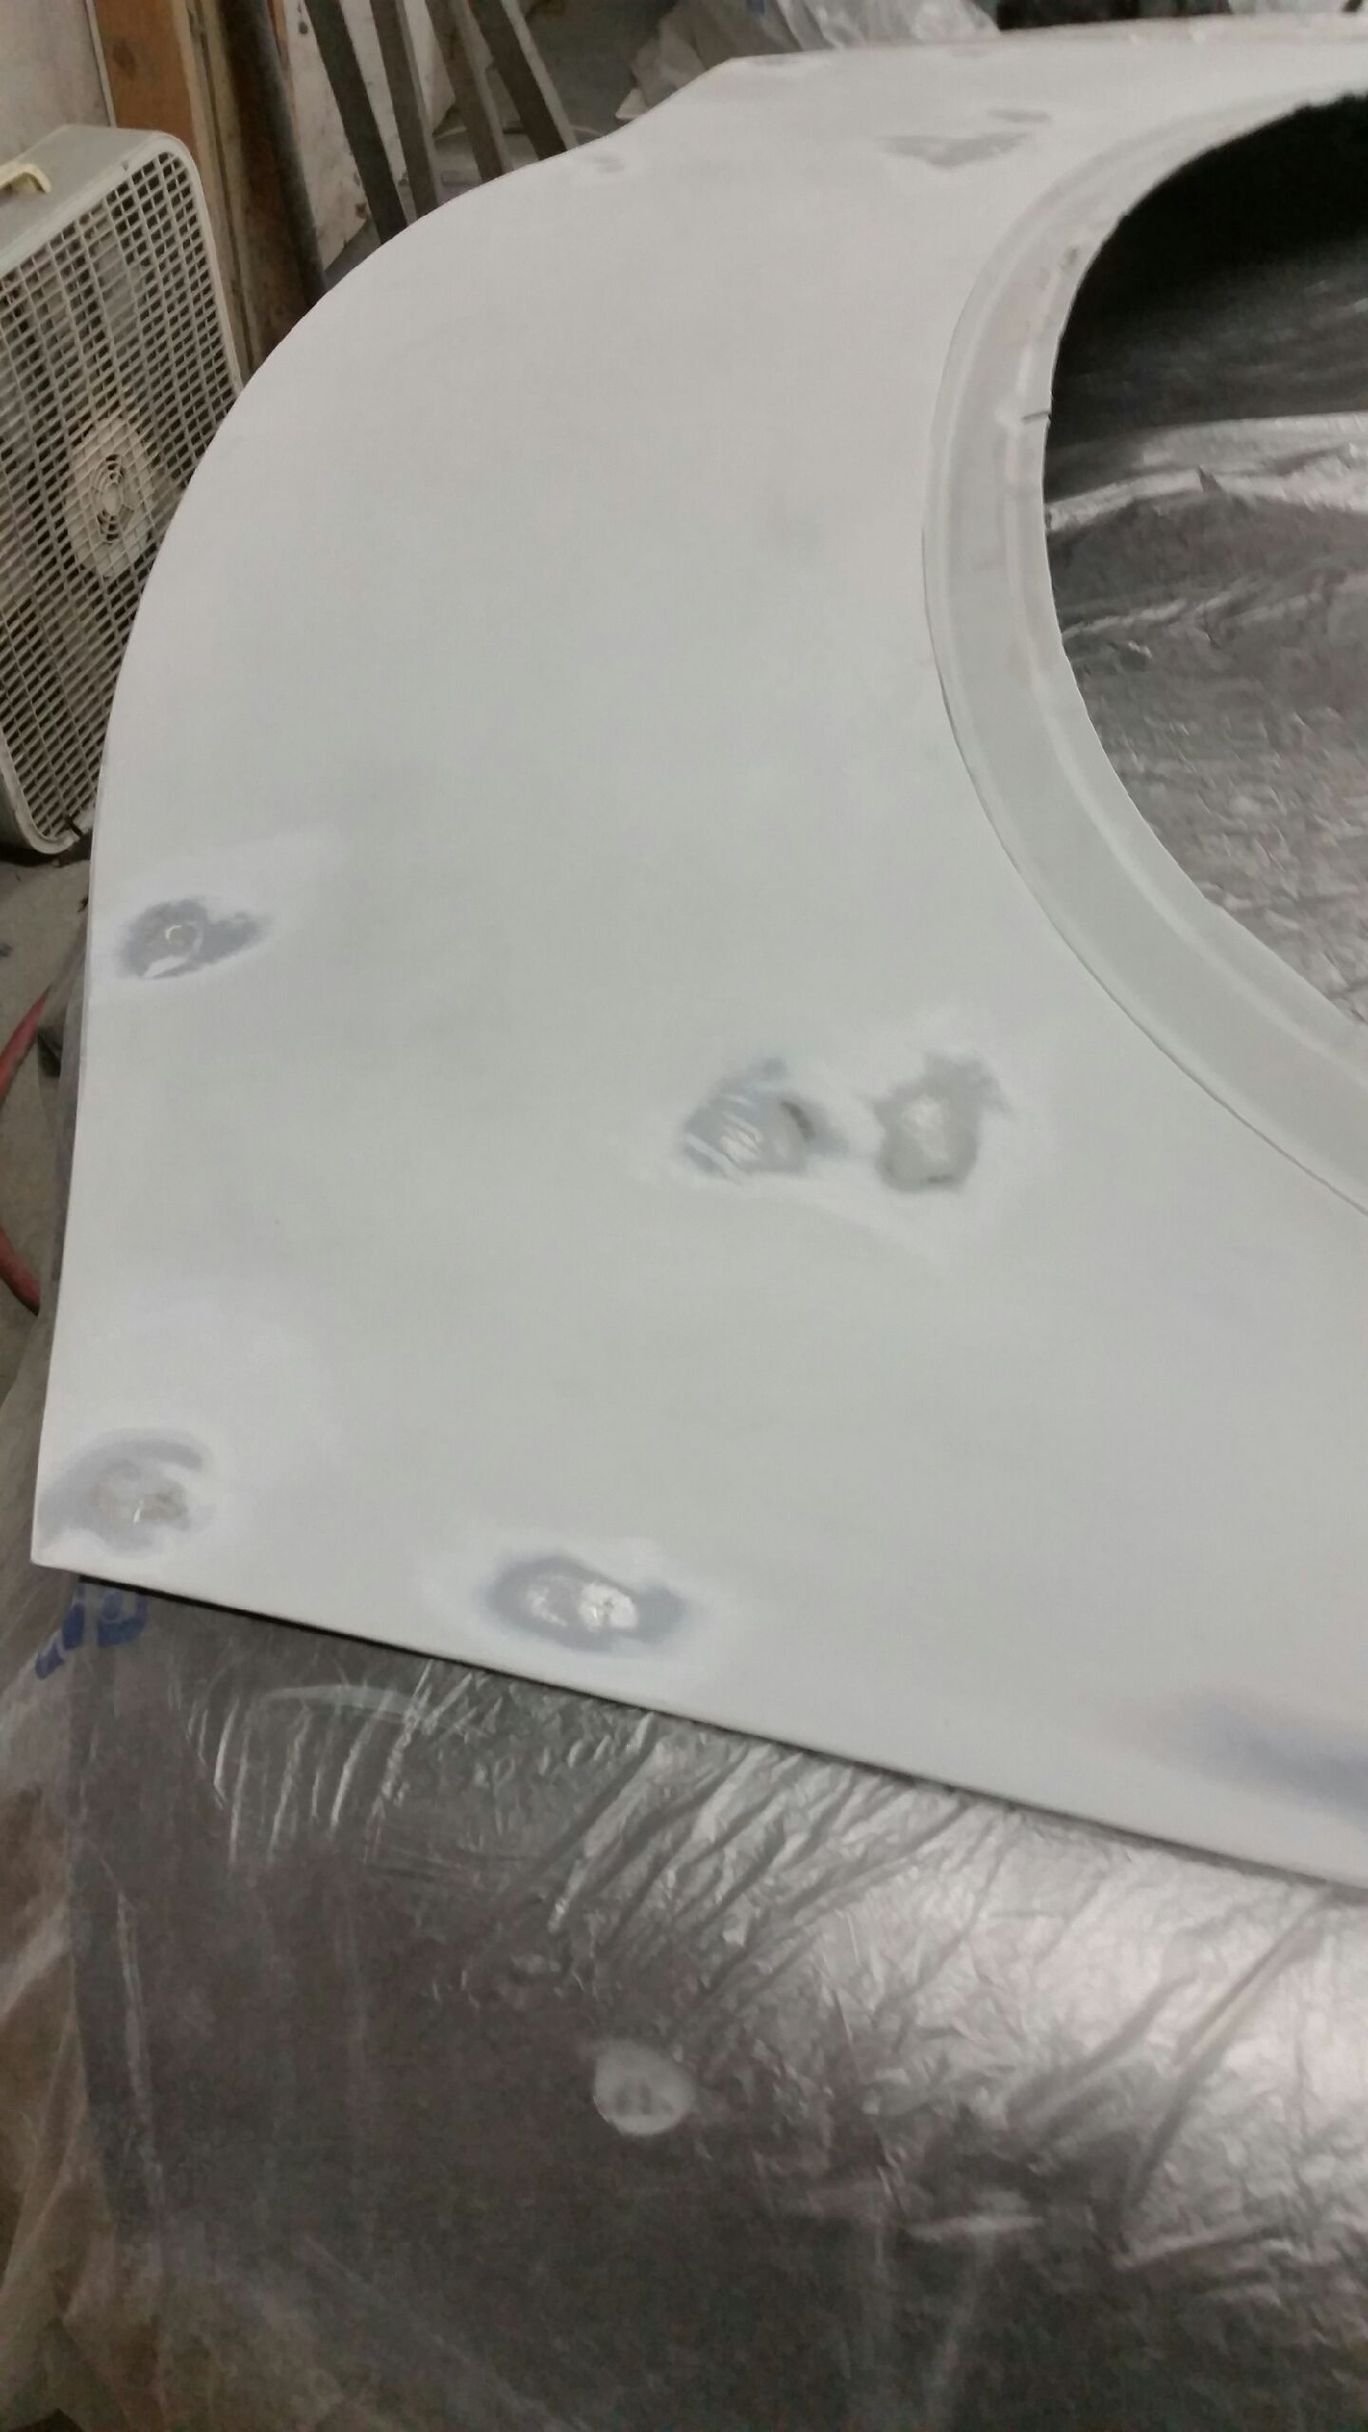
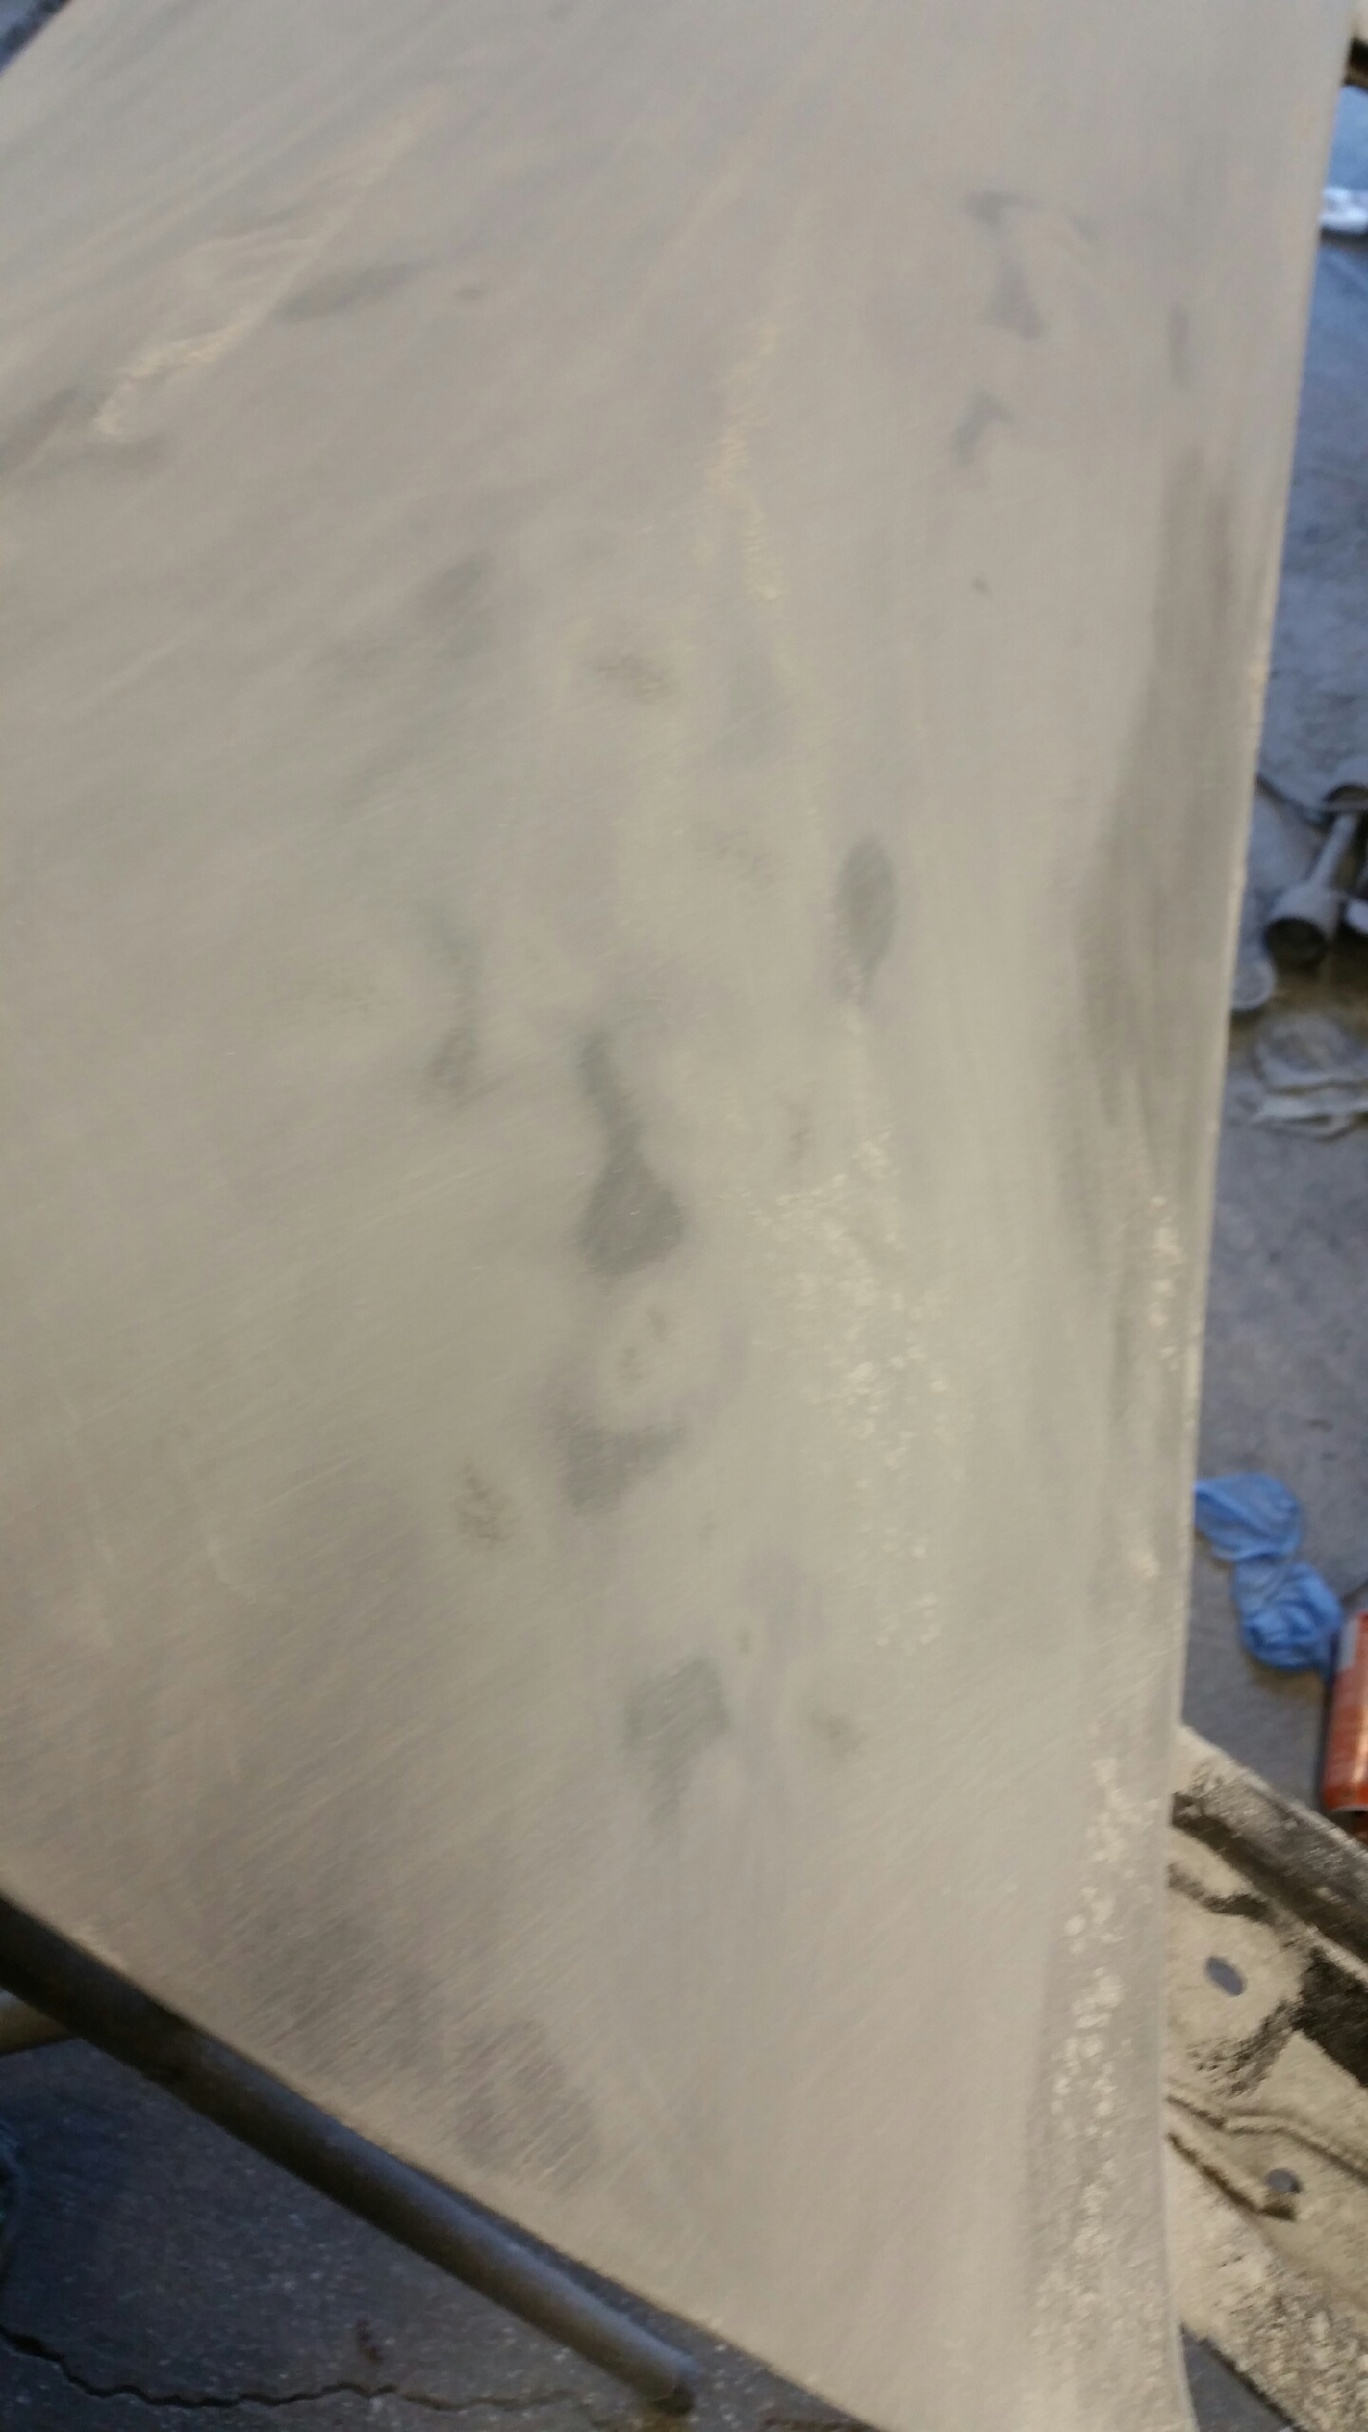
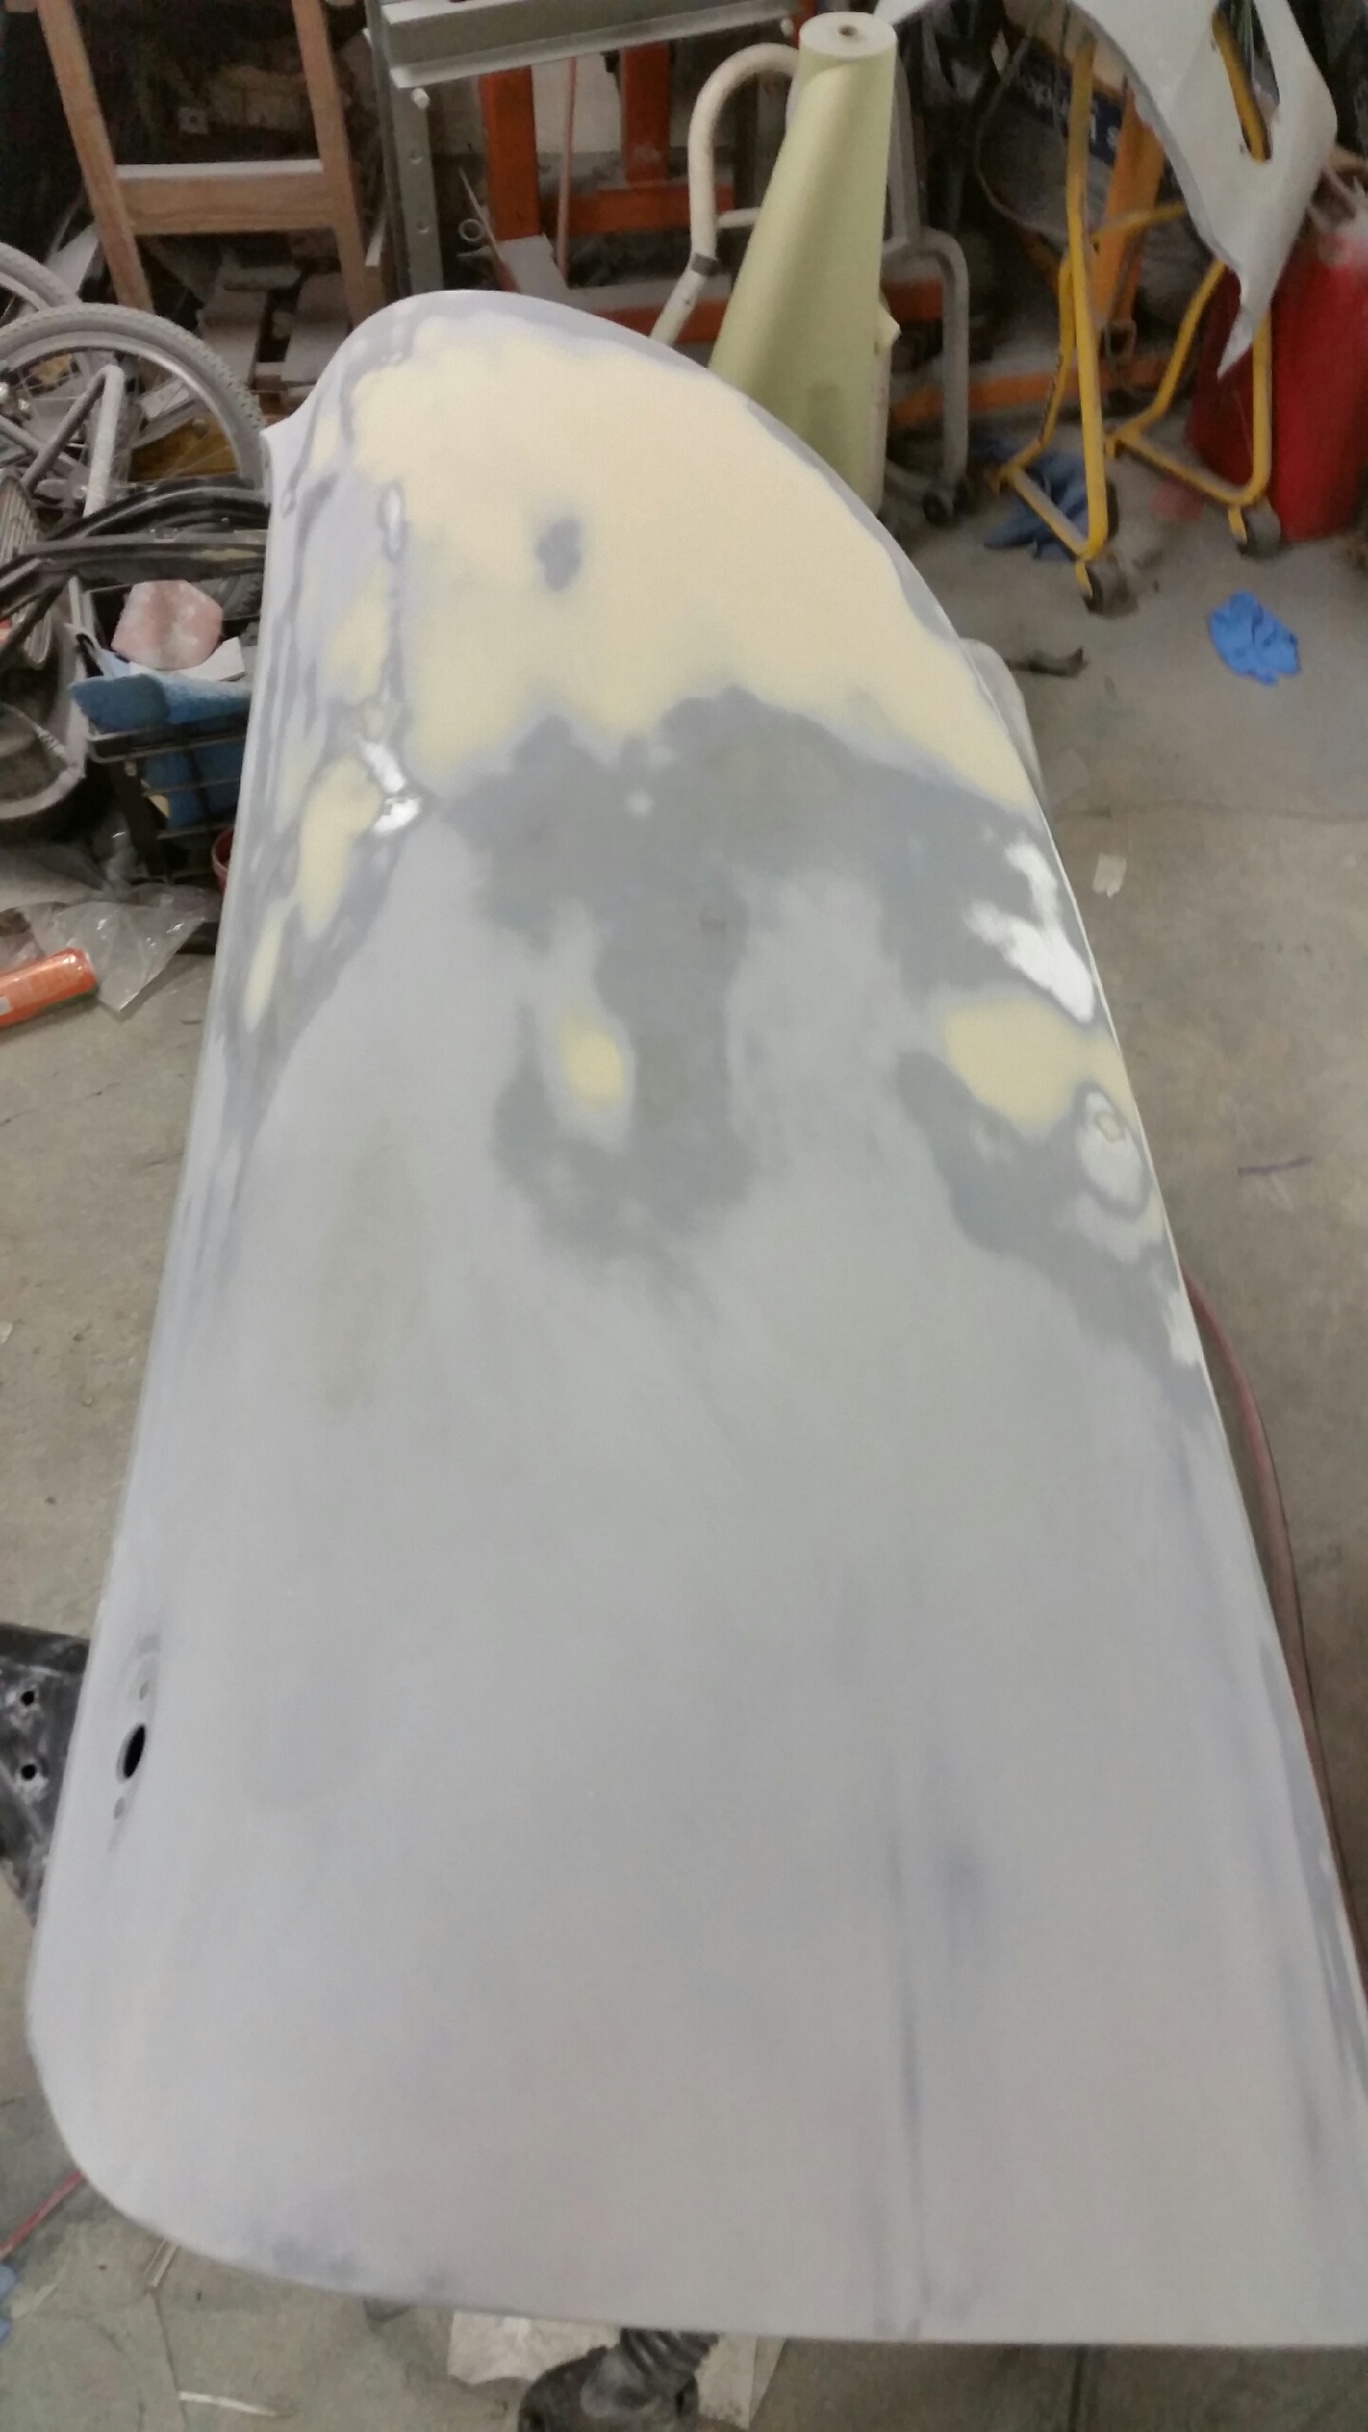
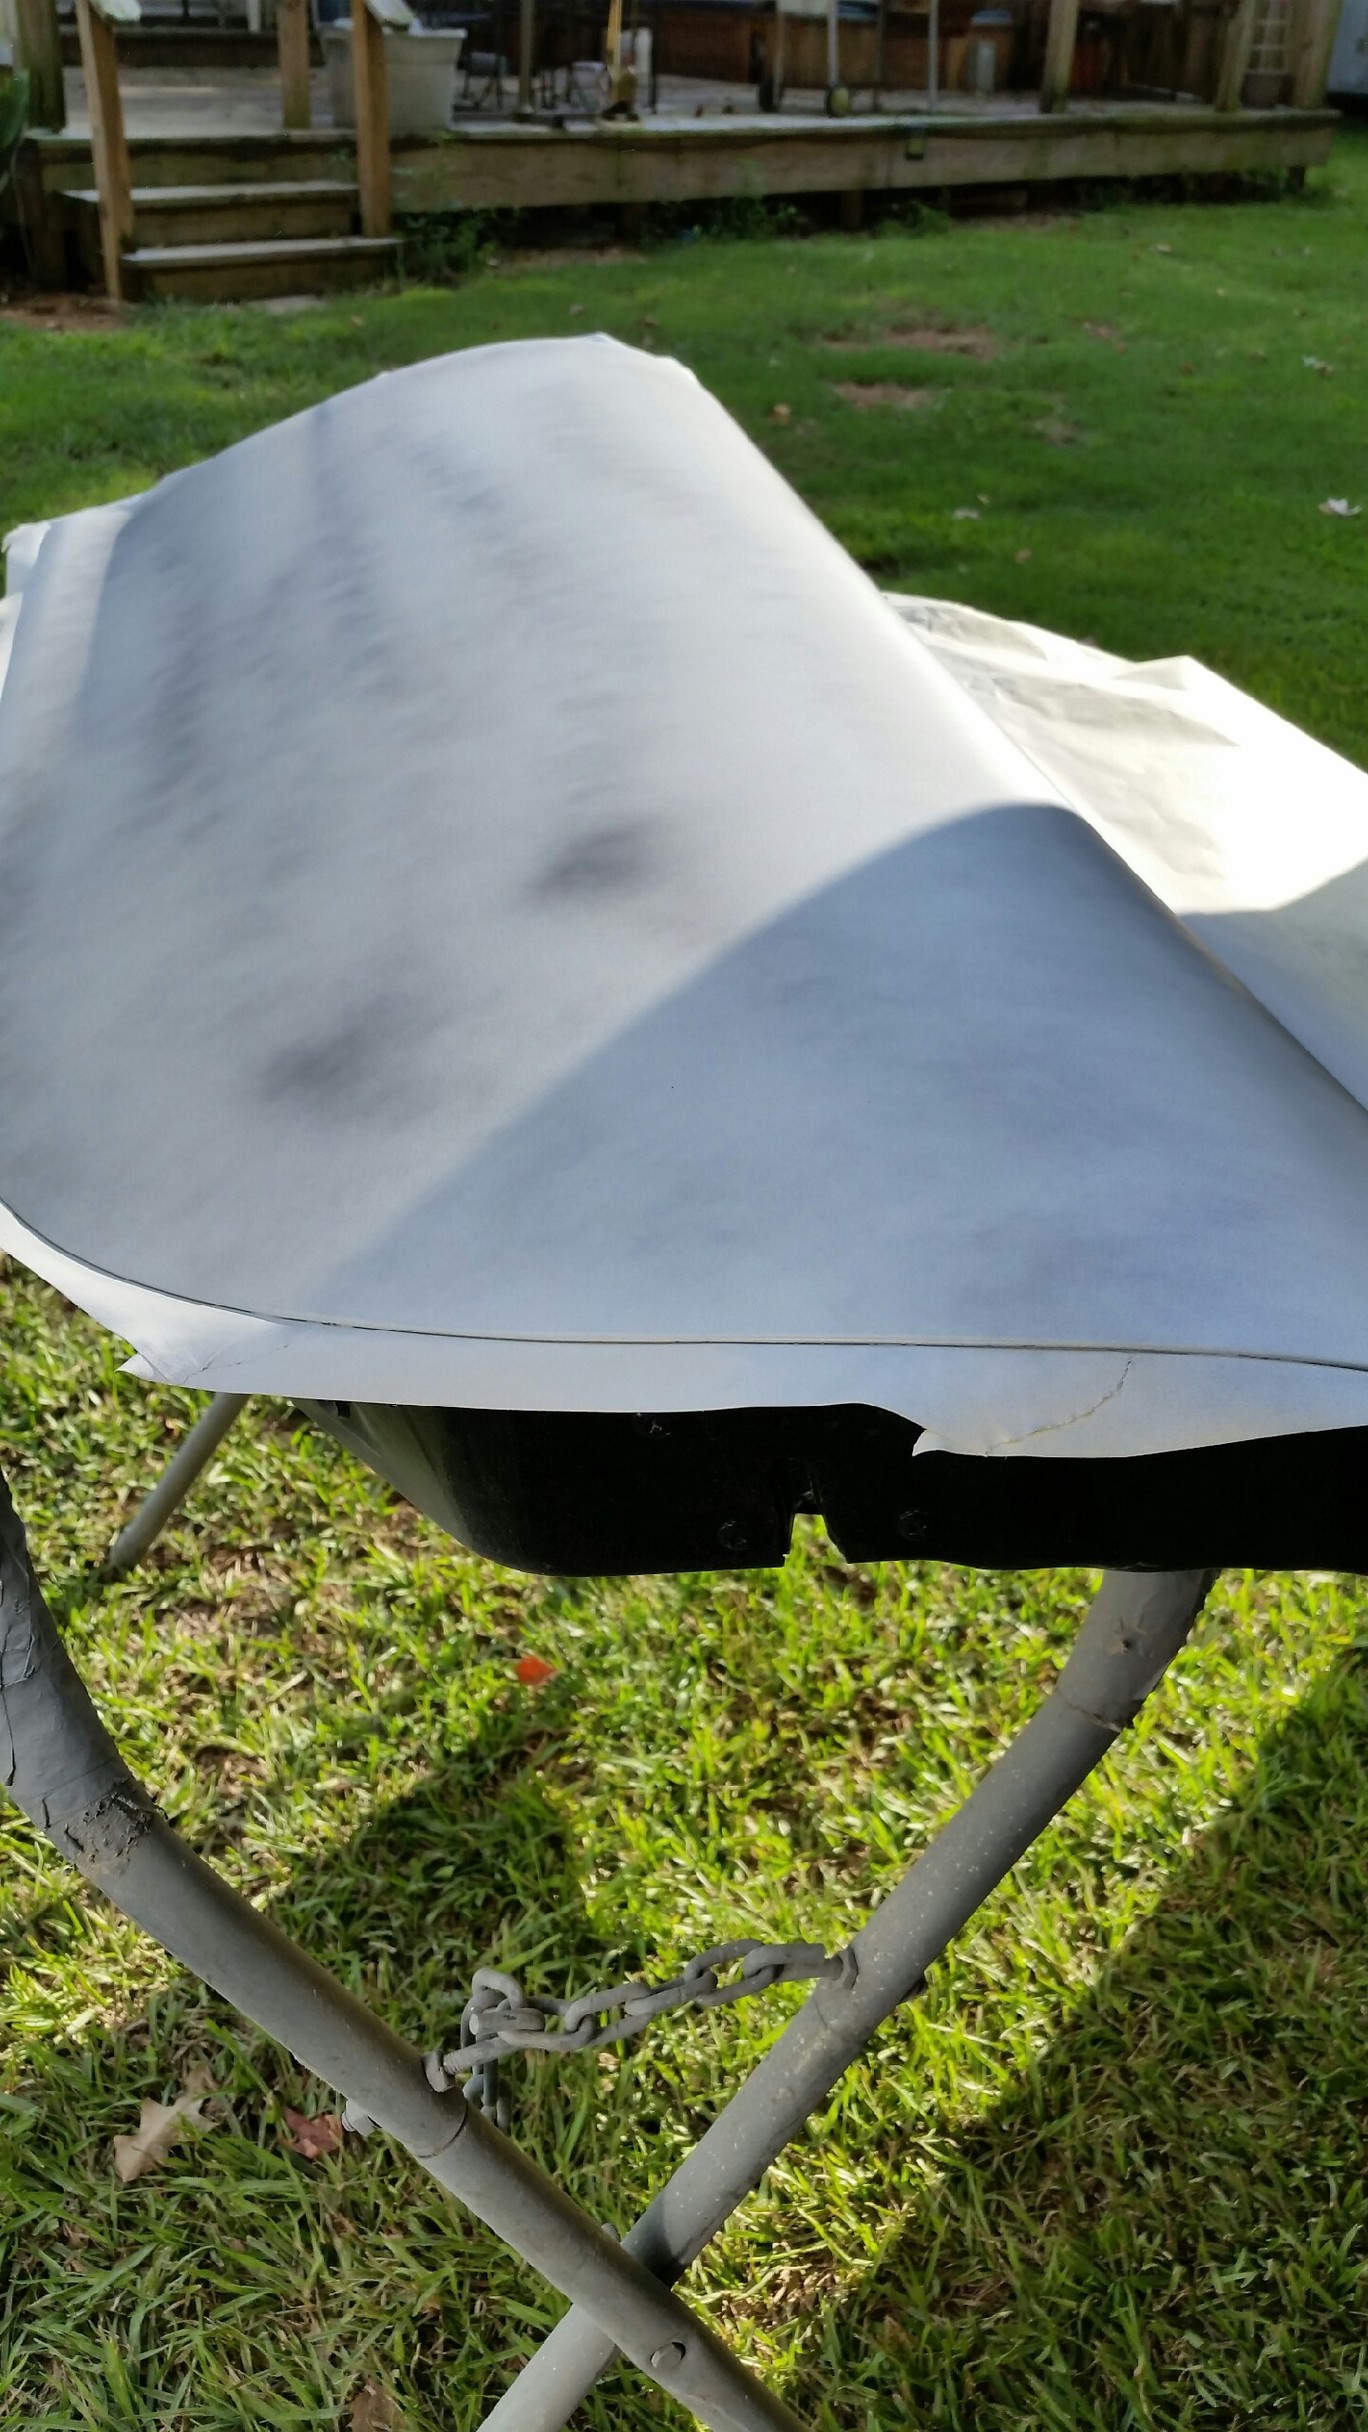
He also spent some time looking for low spots. Here it's seen with its guide coat on:
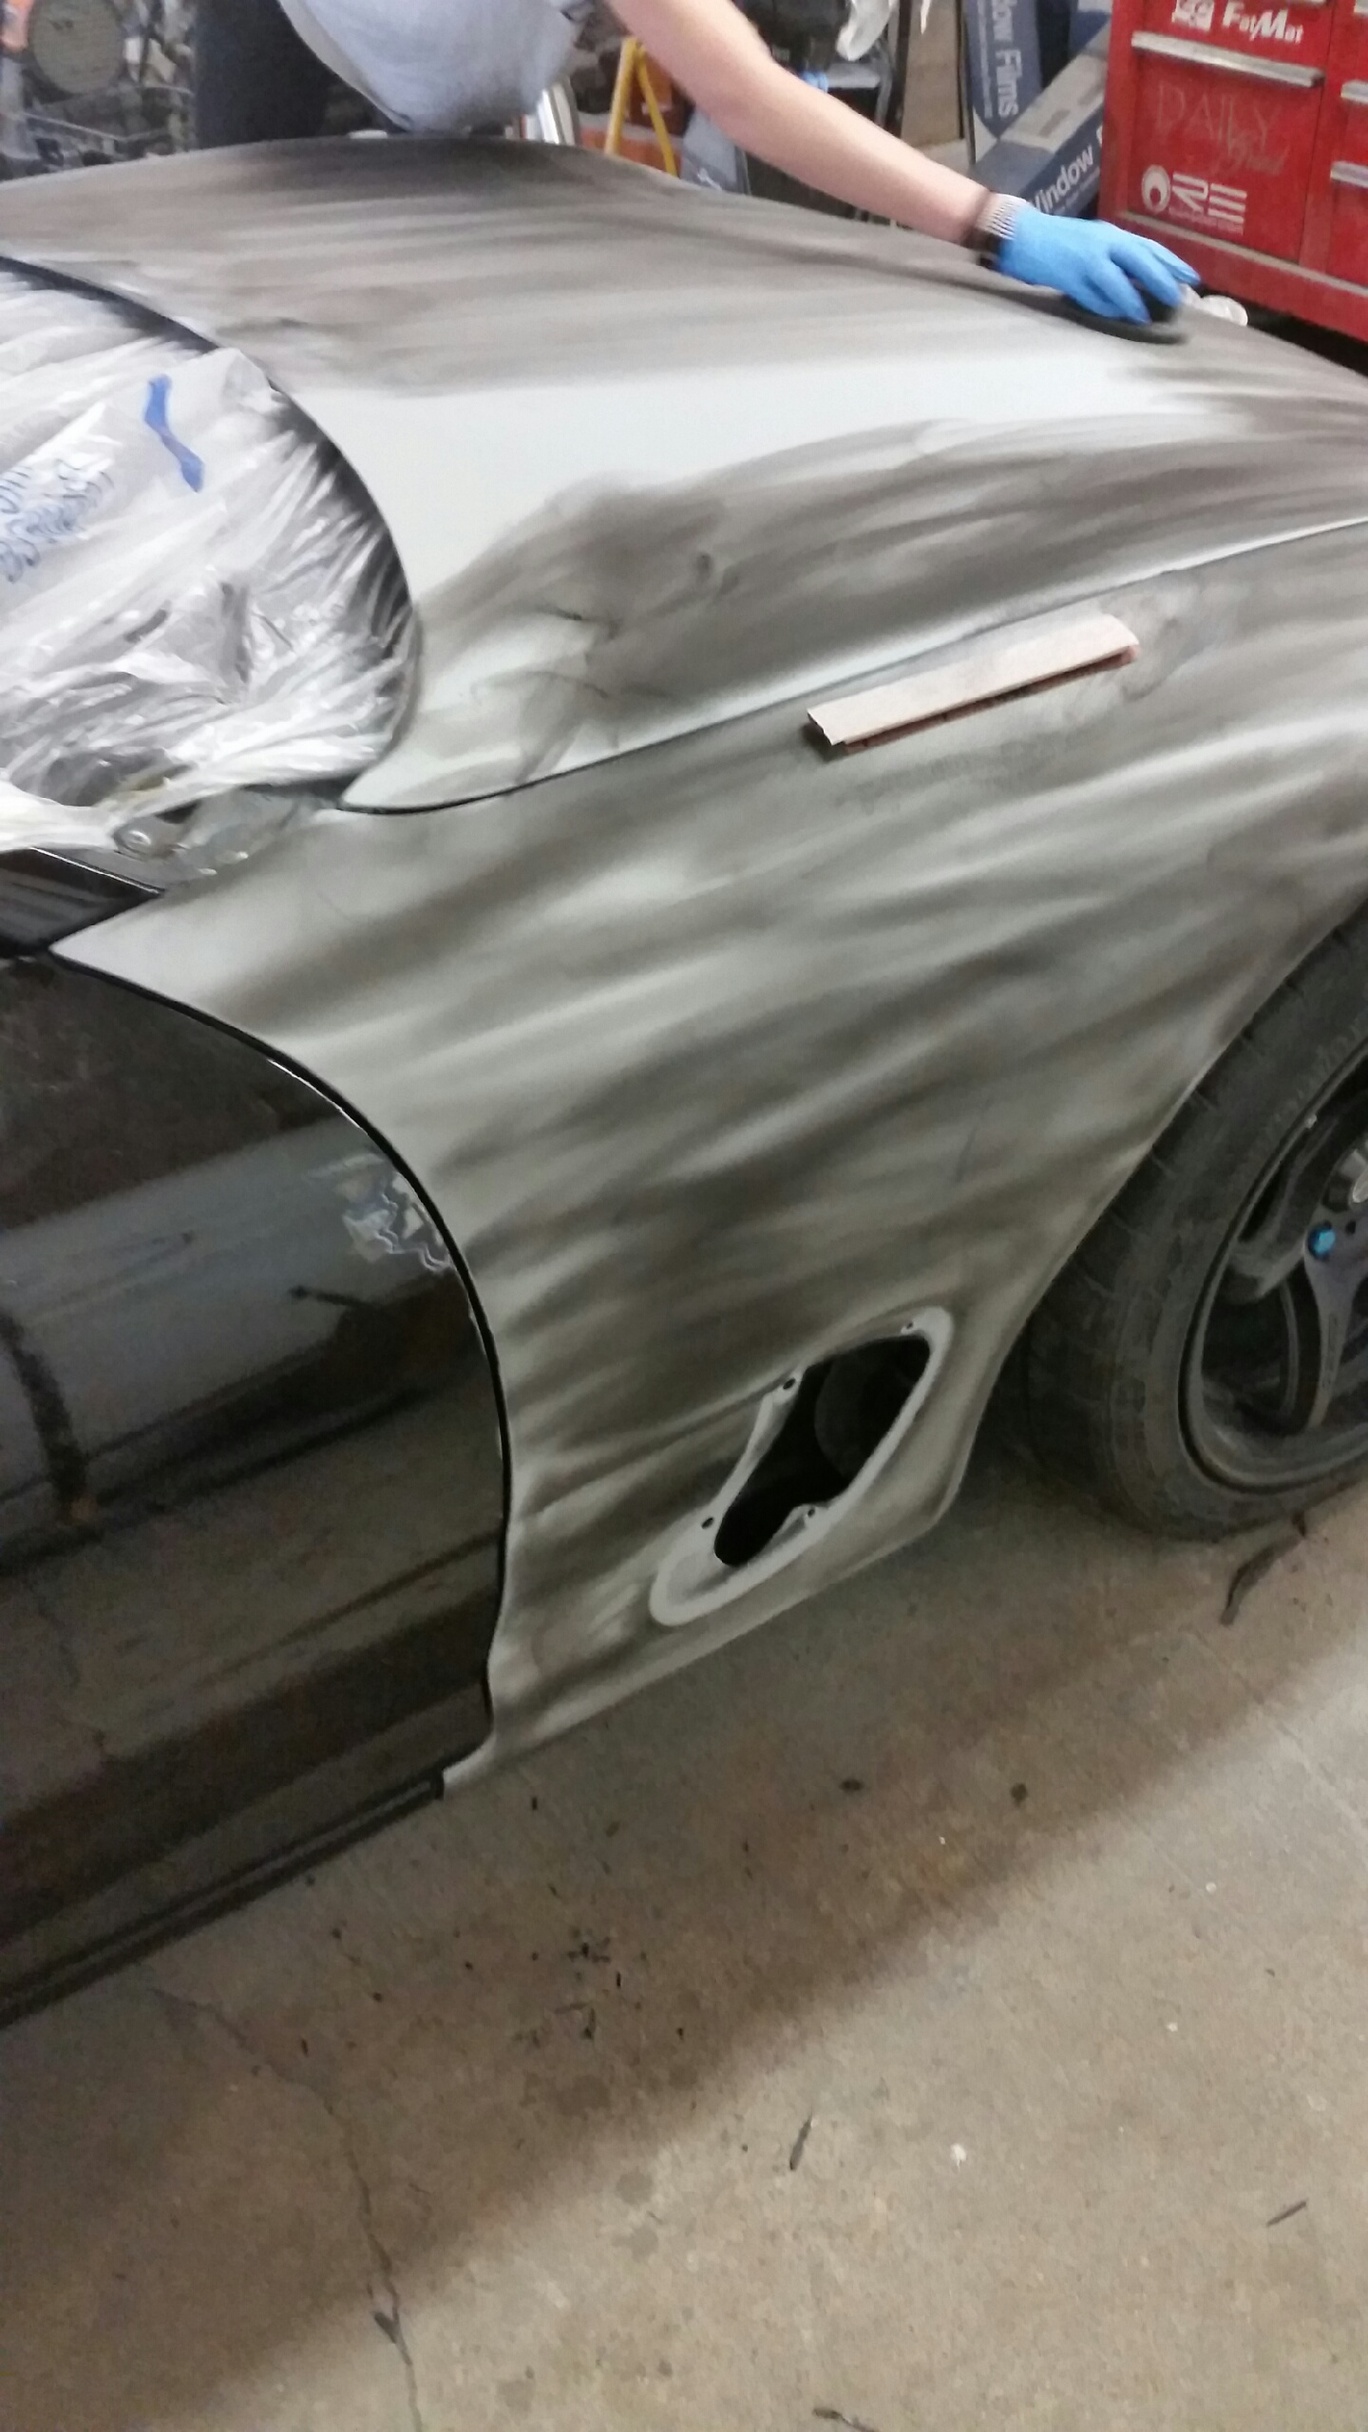
Check out the homemade sanding block! I remember reading from John's mr2 thread that he uses paint stirring sticks padded with velcro (just the looped side to make a soft surface) then wraps it with sandpaper. It's a technique I've only seen a few times and it's always been associated with guys at the top of the paint biz.
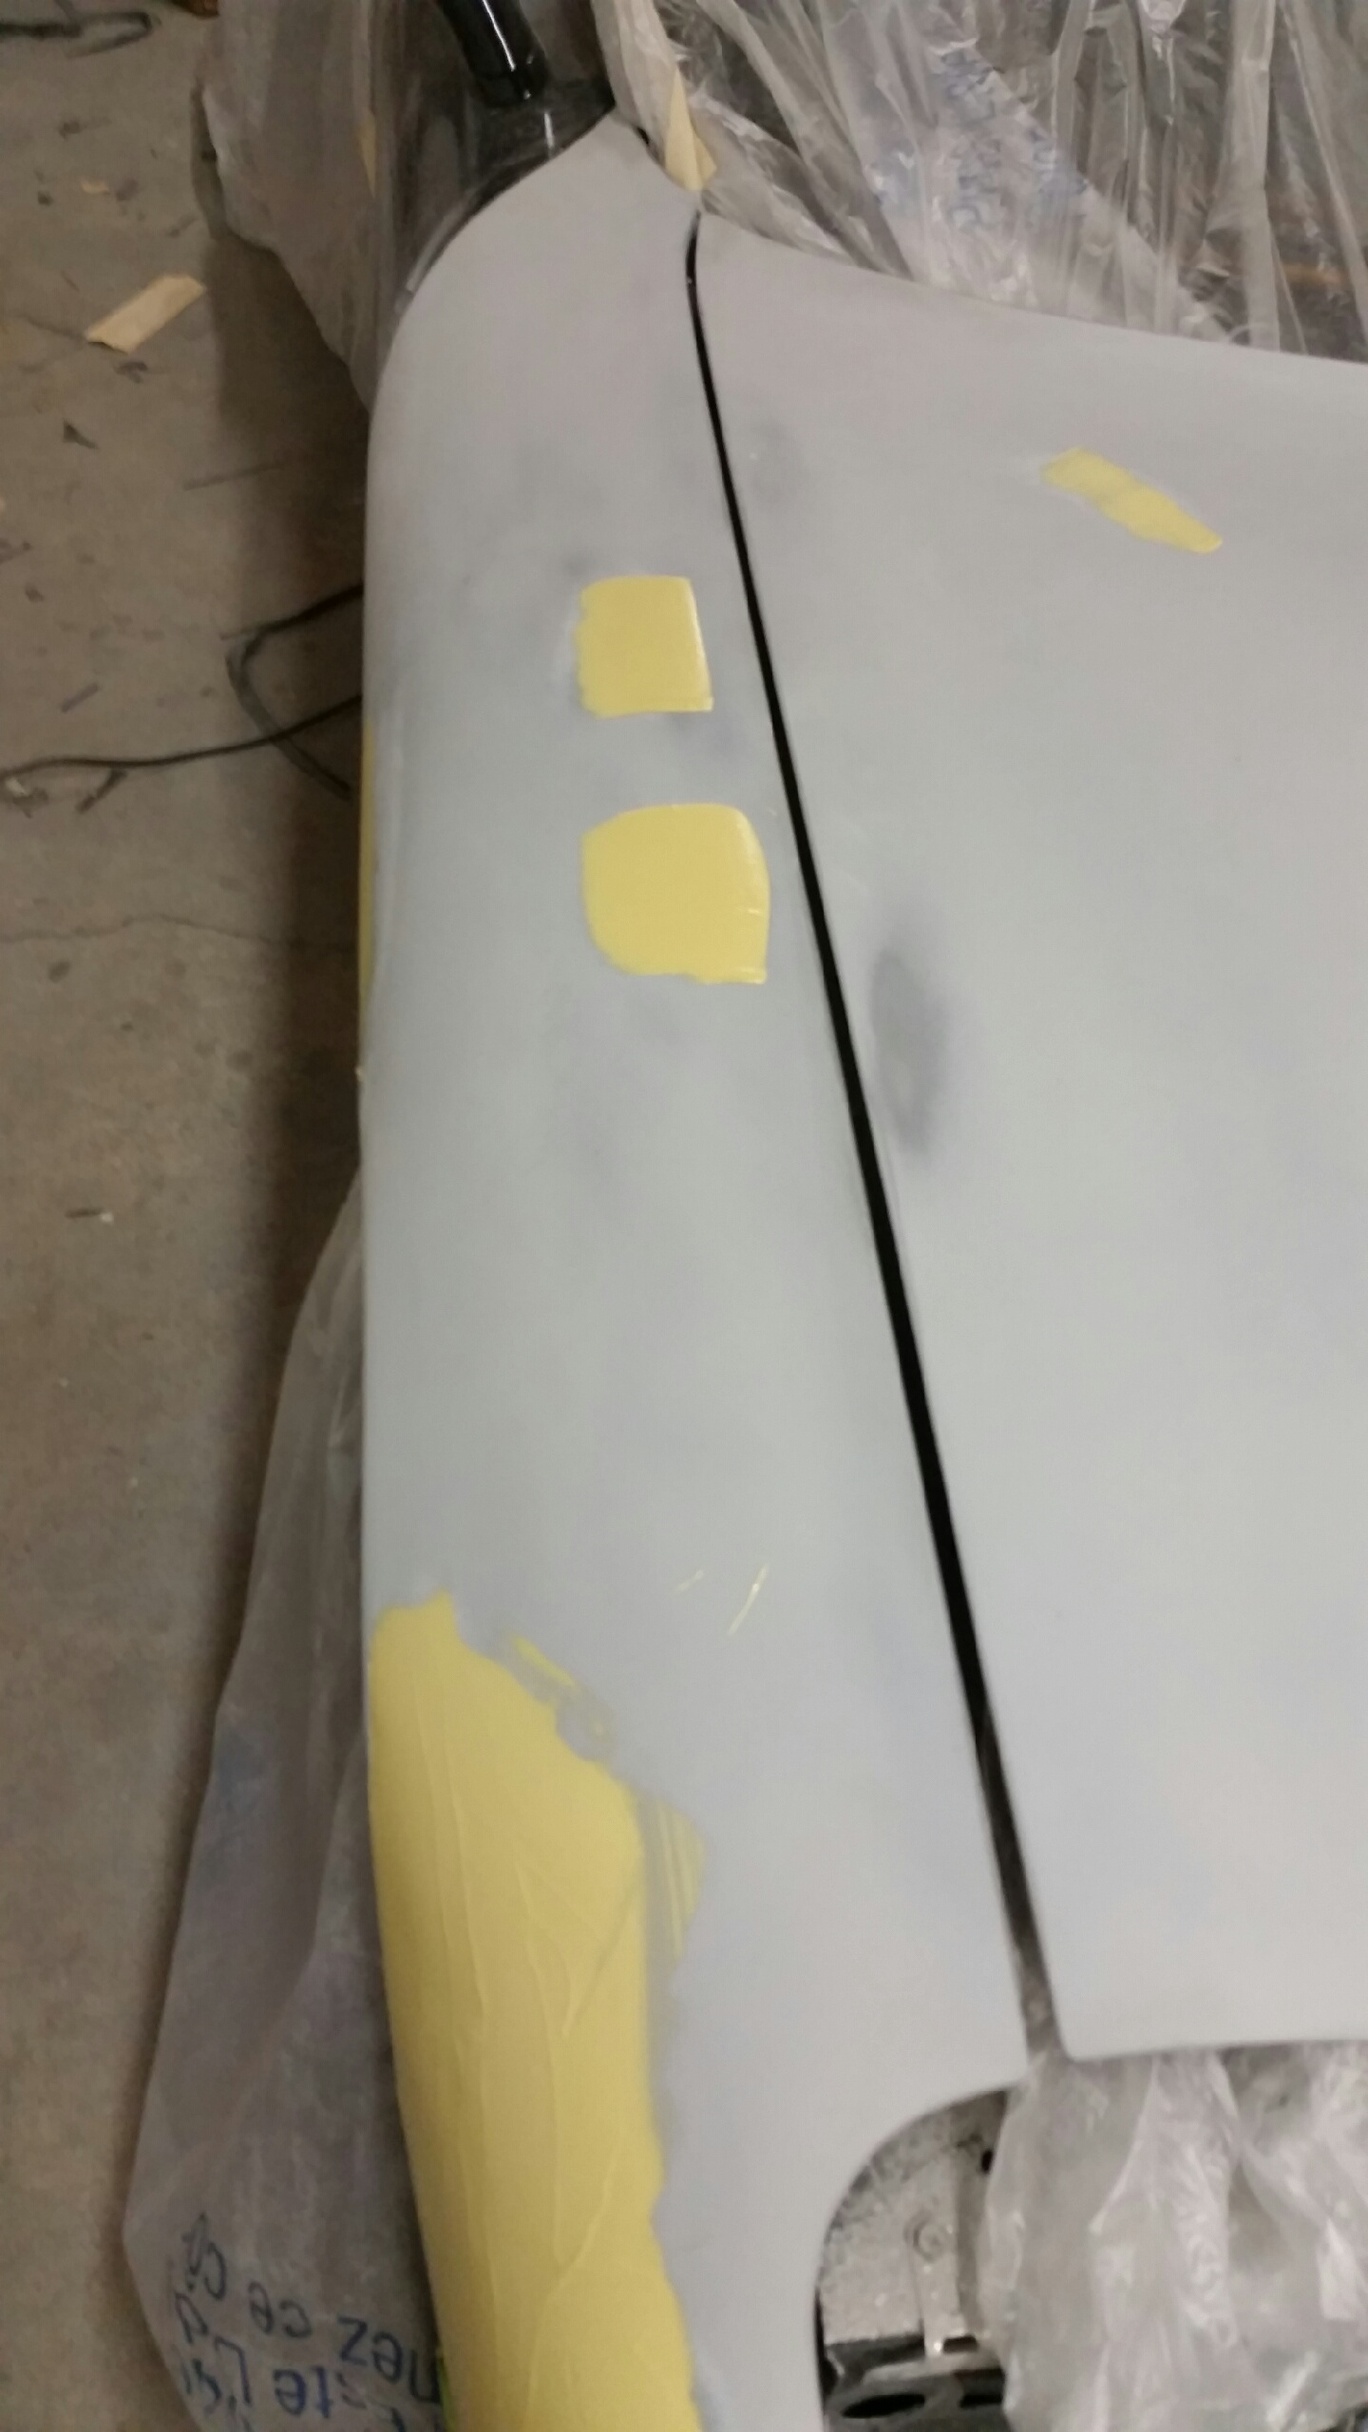
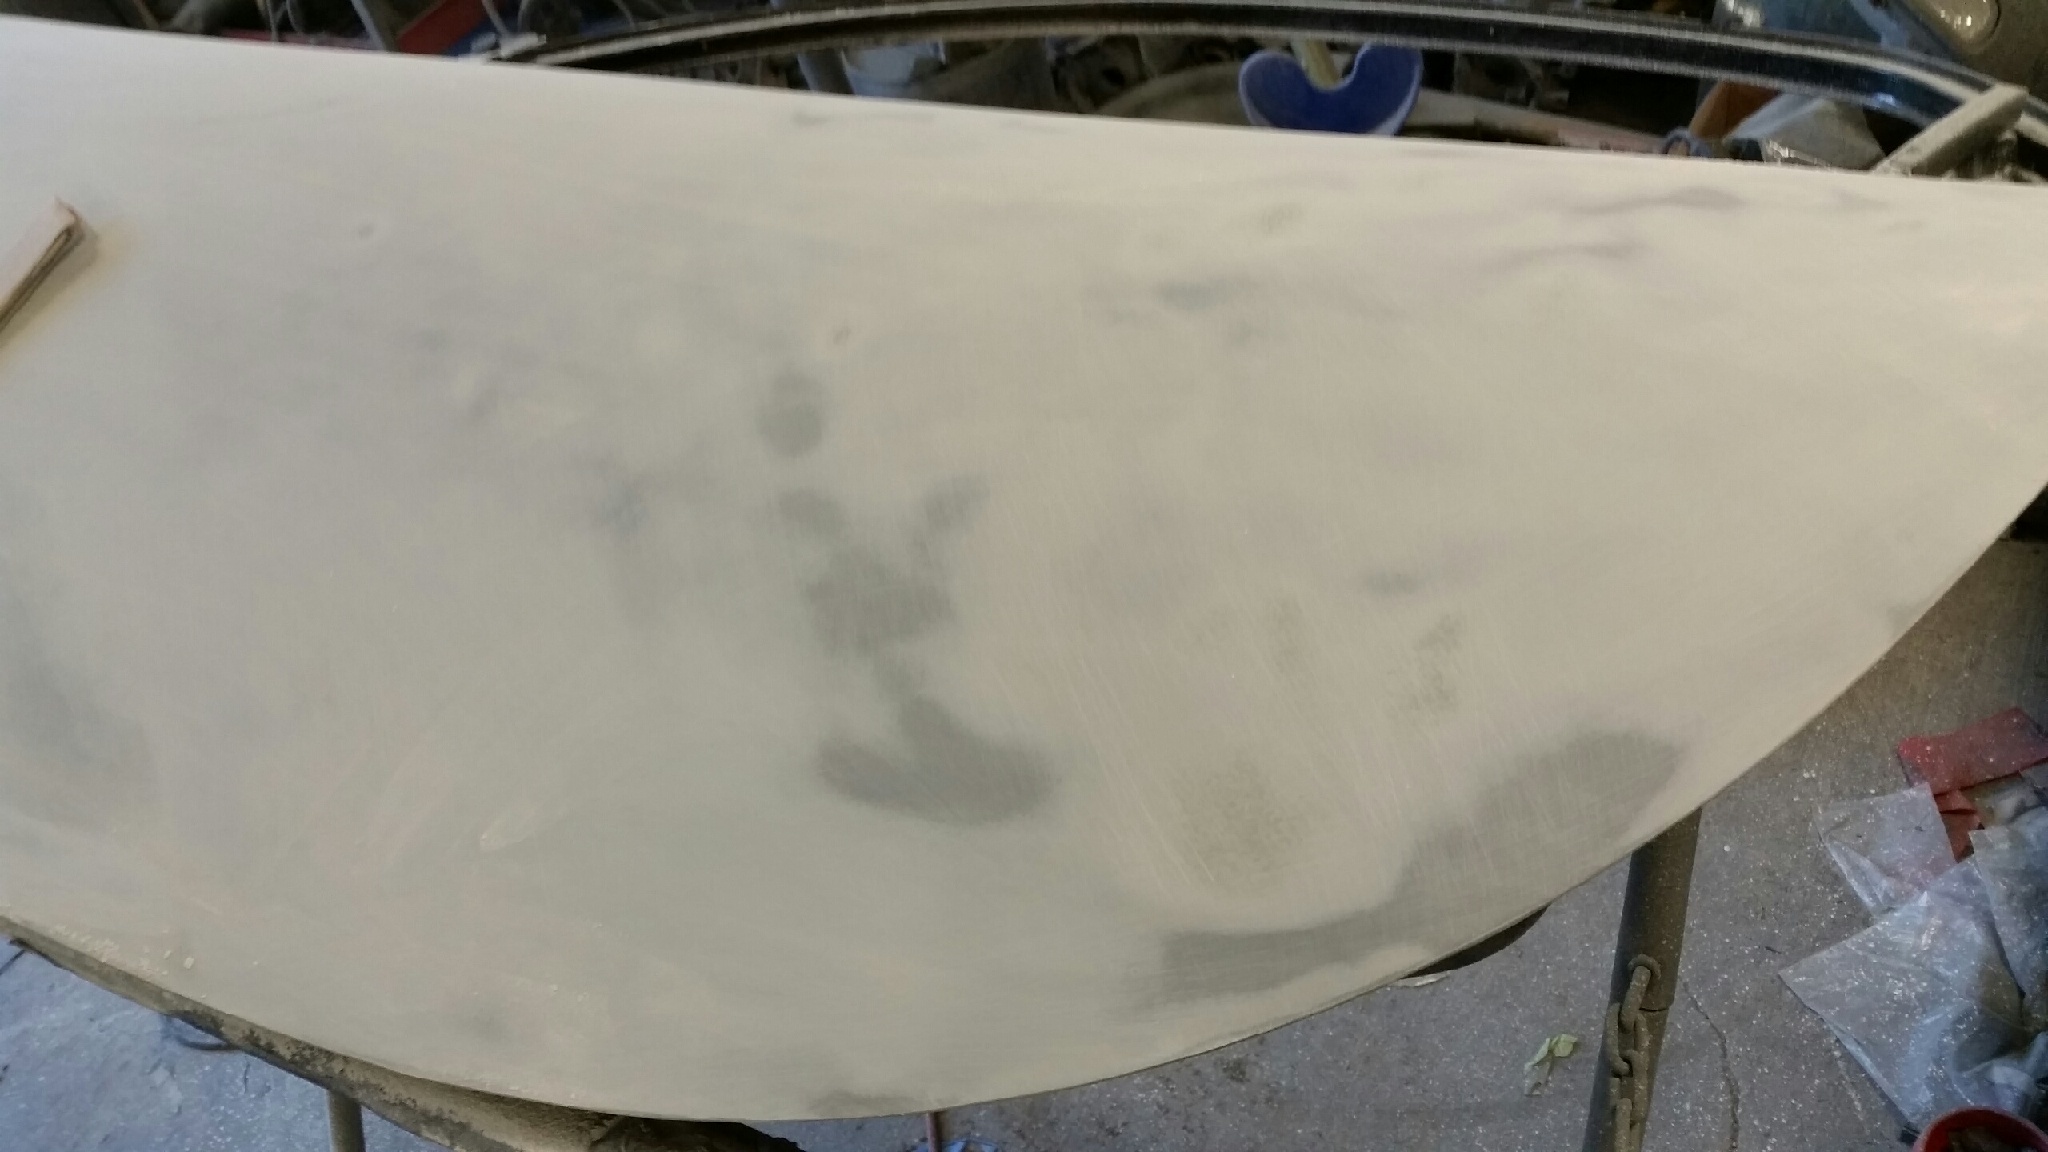
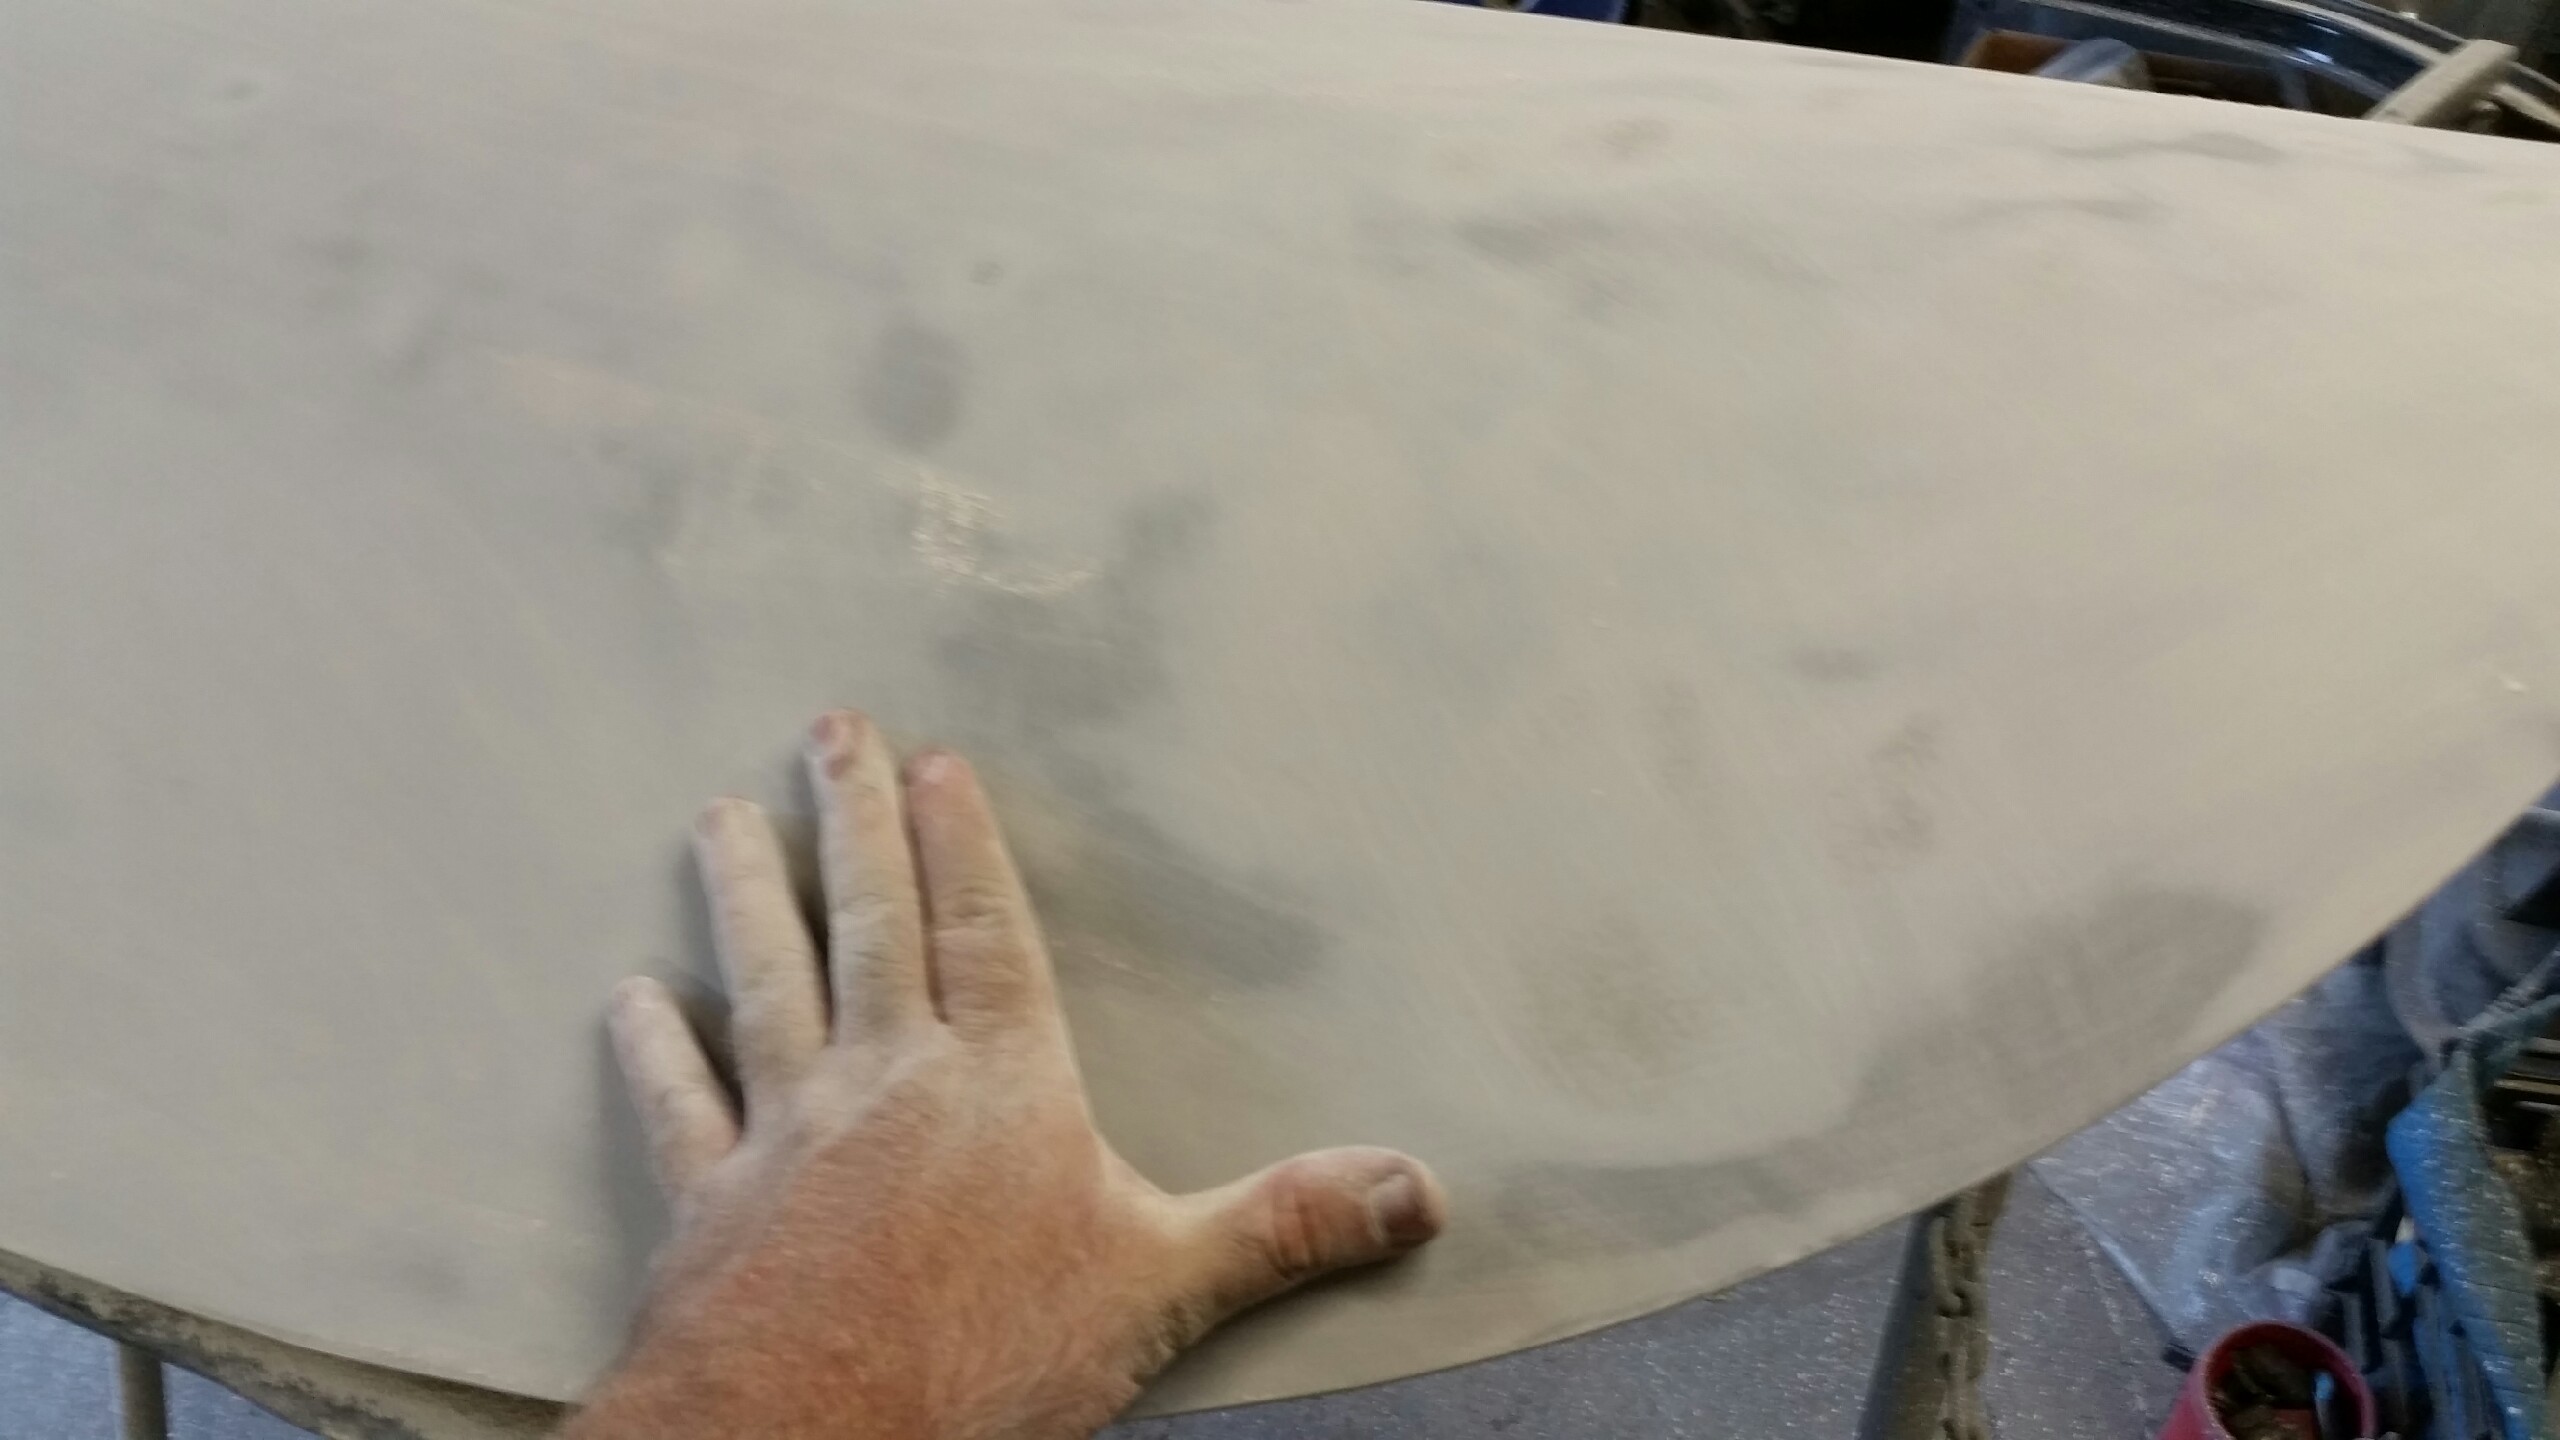
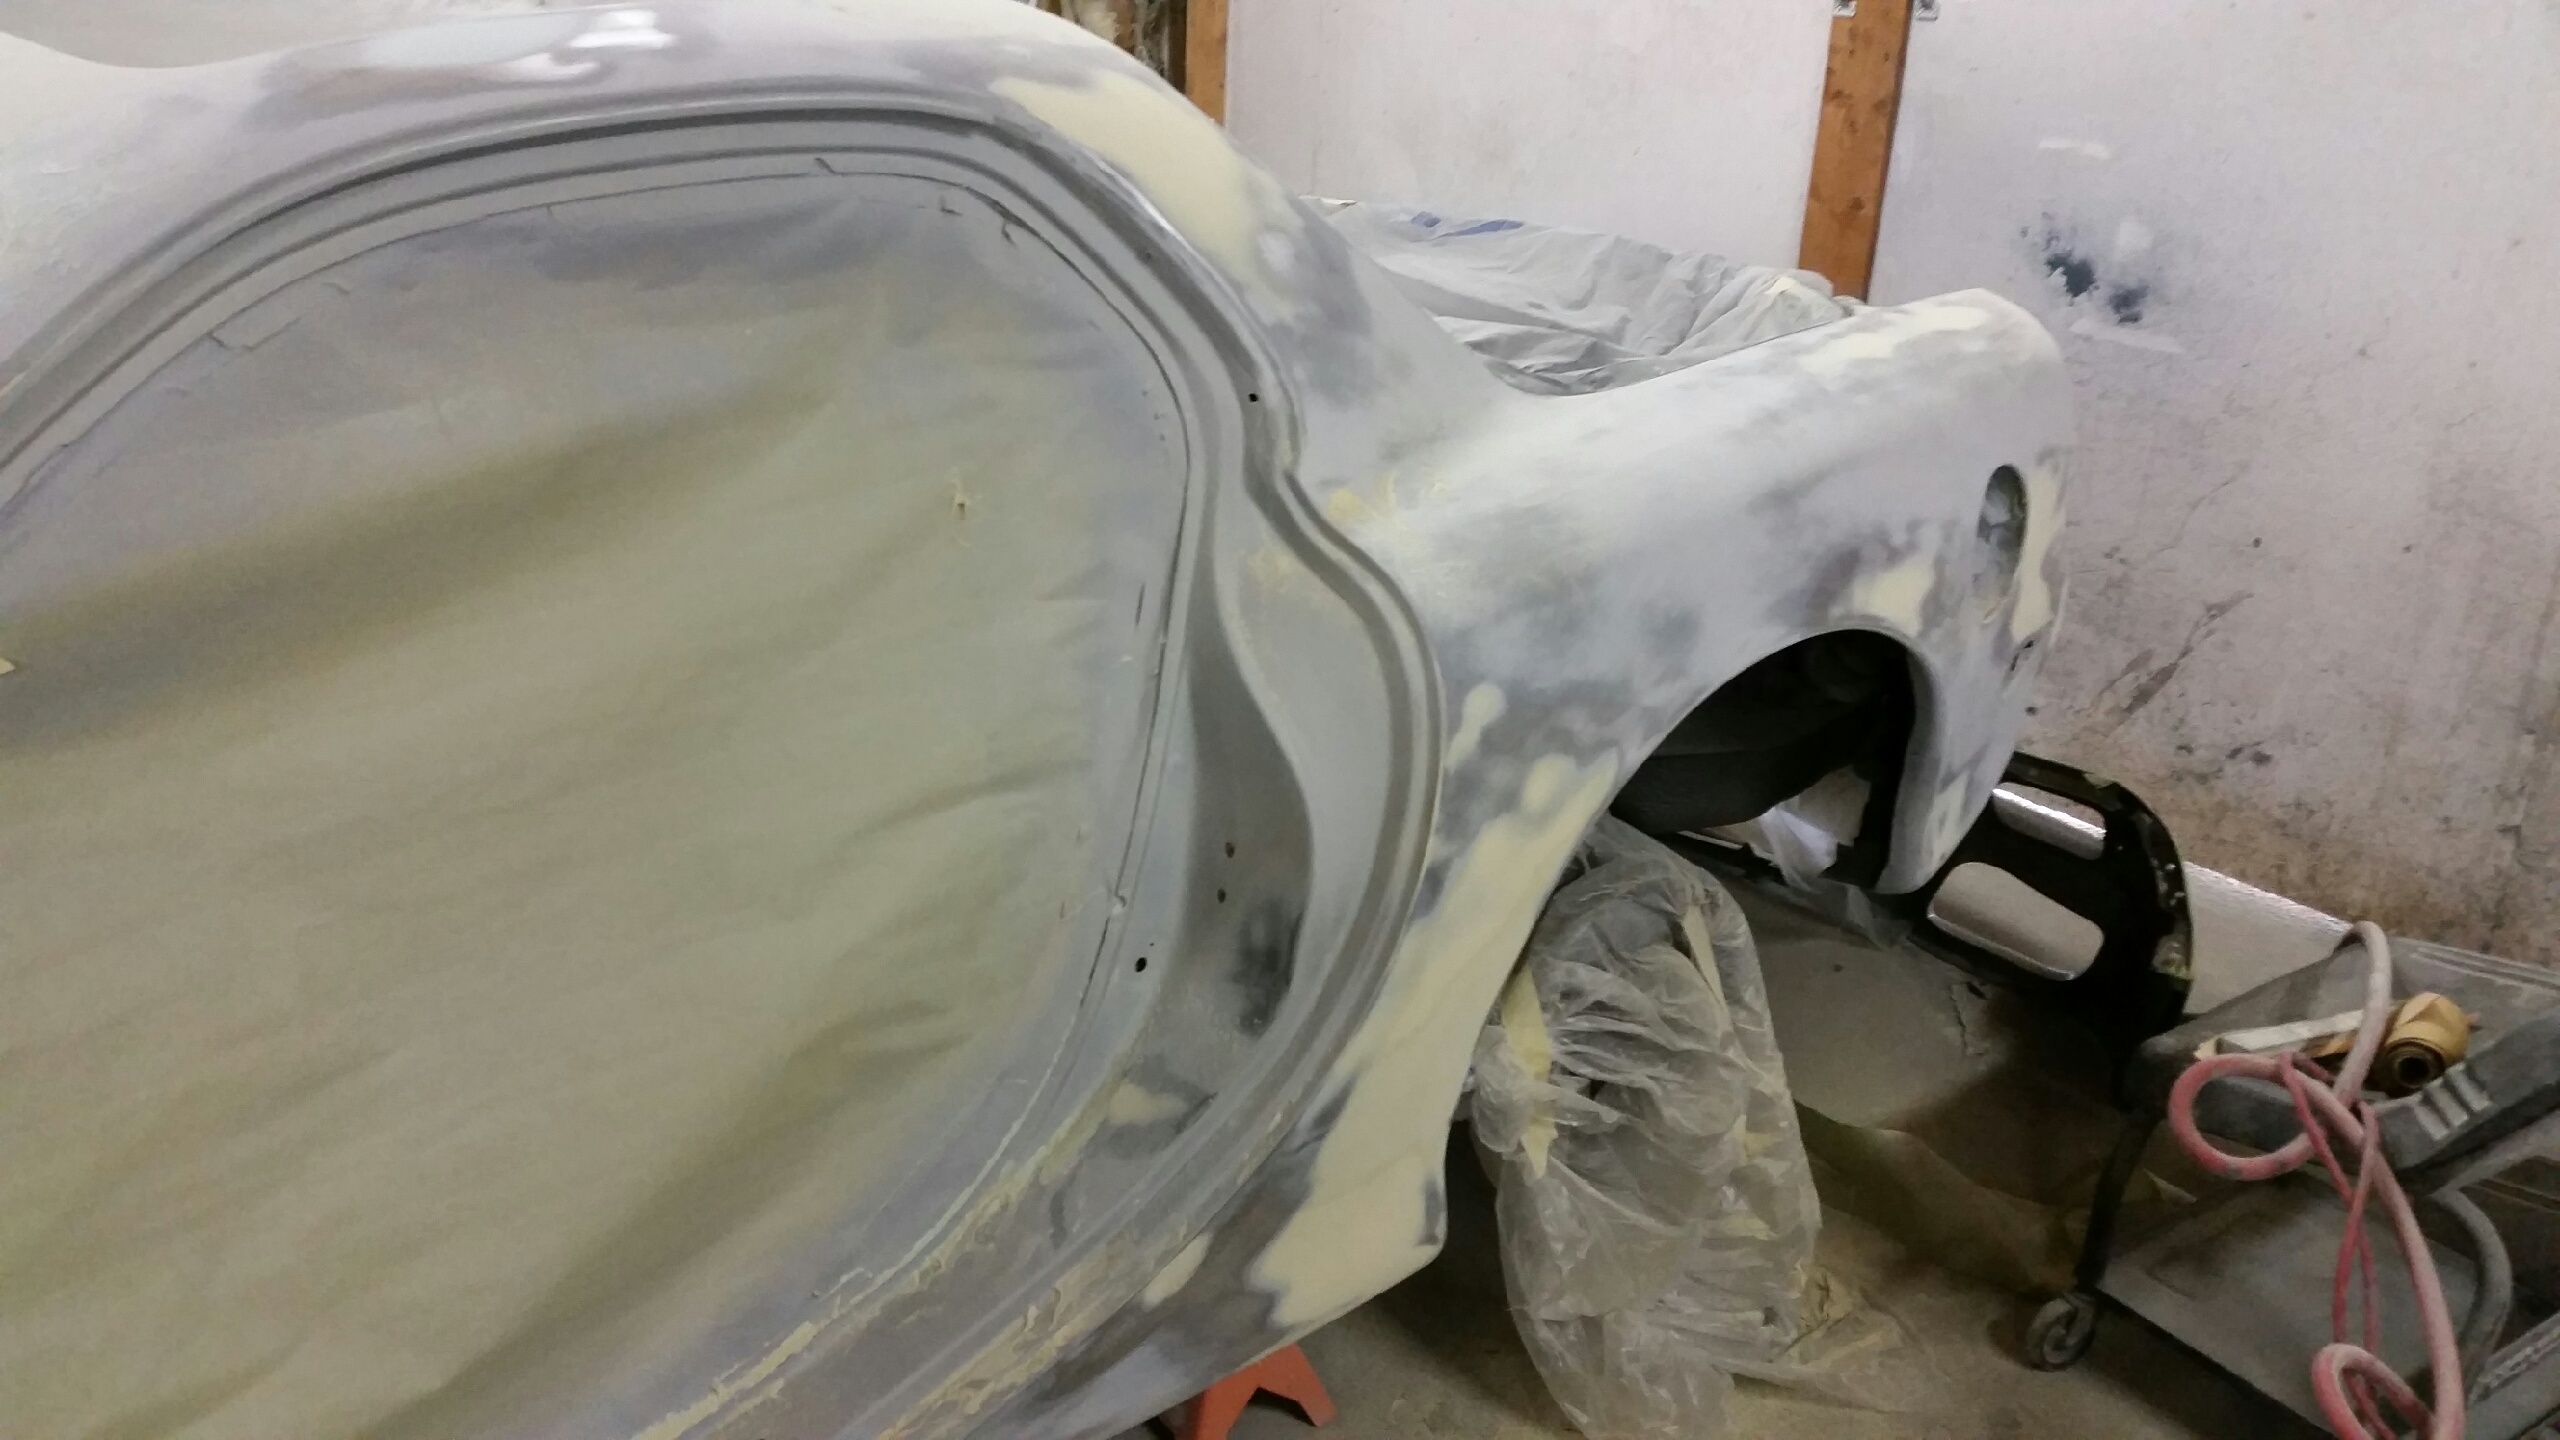
And here are some of the resulting dings showing their ugly heads after blocking the guide coat:
This was somewhat expected on this side especially. The fender was actually dropped by my Dad the day we trucked the rx7 down to Jackson I saw it happen through my garage window. Something between the truck and the trailer snagged his pants and he went down harder than any flimsy fender deserves haha. It ended up scraping the paint down to the metal in some spots and I expect it was slightly deformed, but John got it looking amazing despite the drop and previous shoddy work.
After
Before
After
Should be getting pretty close to sealing up the hatch. I haven't heard John's plans for it.
-------------------
August 05, 2014, 07:31:43 AM
As expected John got the hatch all sealed and primed yesterday:
He also spent some time looking for low spots. Here it's seen with its guide coat on:
Check out the homemade sanding block! I remember reading from John's mr2 thread that he uses paint stirring sticks padded with velcro (just the looped side to make a soft surface) then wraps it with sandpaper. It's a technique I've only seen a few times and it's always been associated with guys at the top of the paint biz.
And here are some of the resulting dings showing their ugly heads after blocking the guide coat:
This was somewhat expected on this side especially. The fender was actually dropped by my Dad the day we trucked the rx7 down to Jackson
I saw it happen through my garage window. Something between the truck and the trailer snagged his pants and he went down harder than any flimsy fender deserves haha. It ended up scraping the paint down to the metal in some spots and I expect it was slightly deformed, but John got it looking amazing despite the drop and previous shoddy work.
09-23-14, 04:58 PM
#10
August 06, 2014, 07:56:39 AM
Hatch update from last night:
Blocking the guide coat:
Roughing the welded metal for filler:
Skimming with filler:
Ready for final prime then paint:
Exciting
-------------------
August 07, 2014, 07:48:48 AM
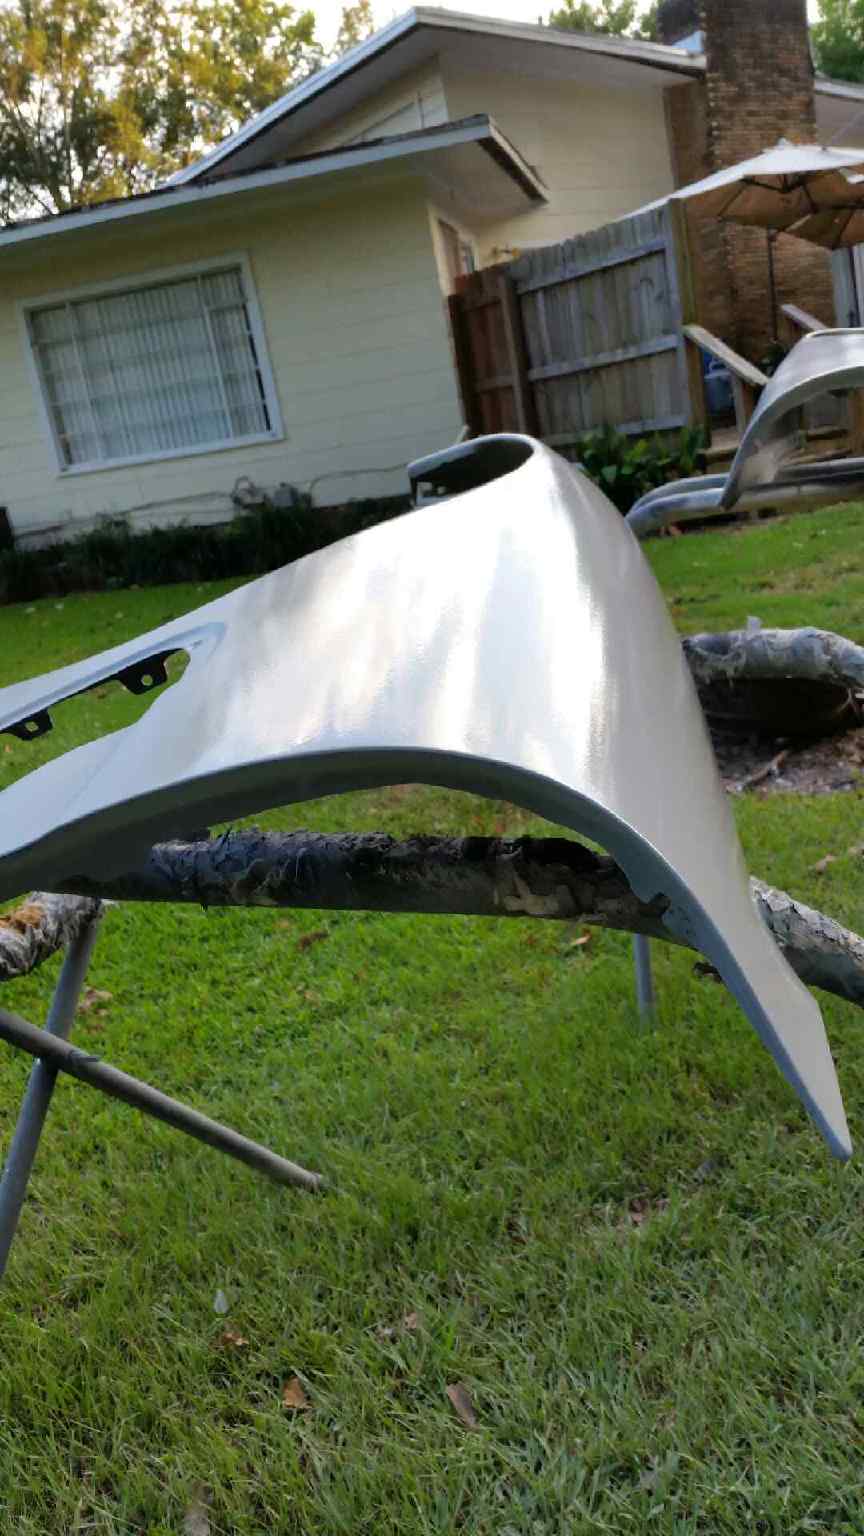
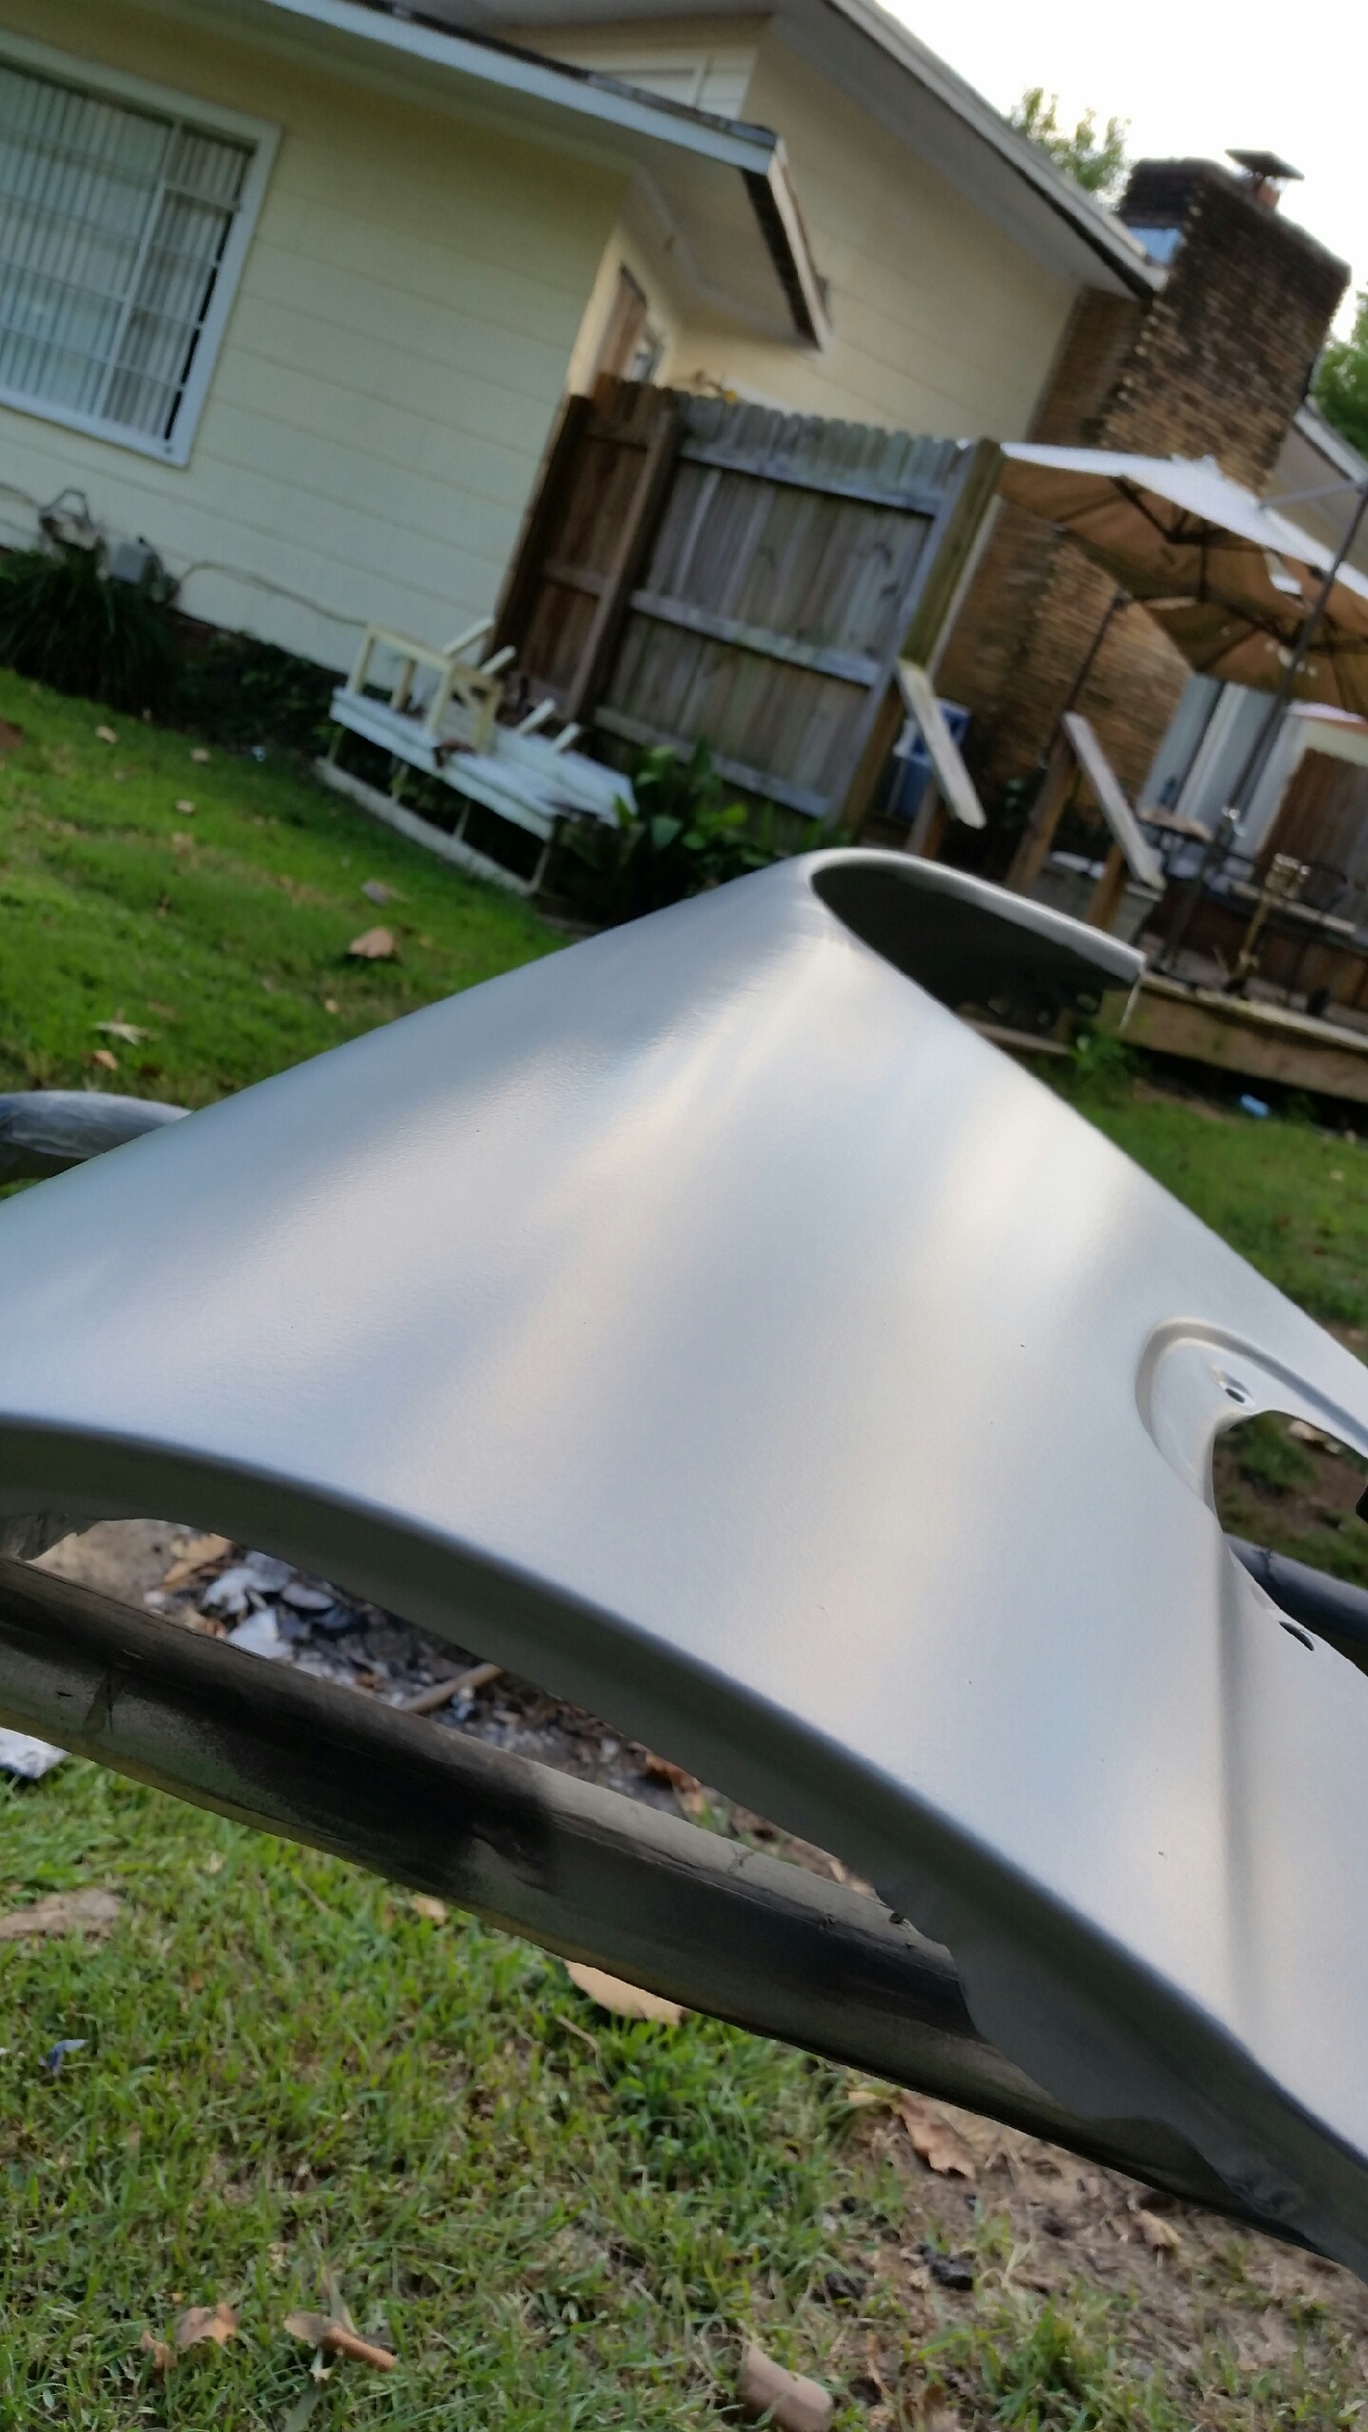
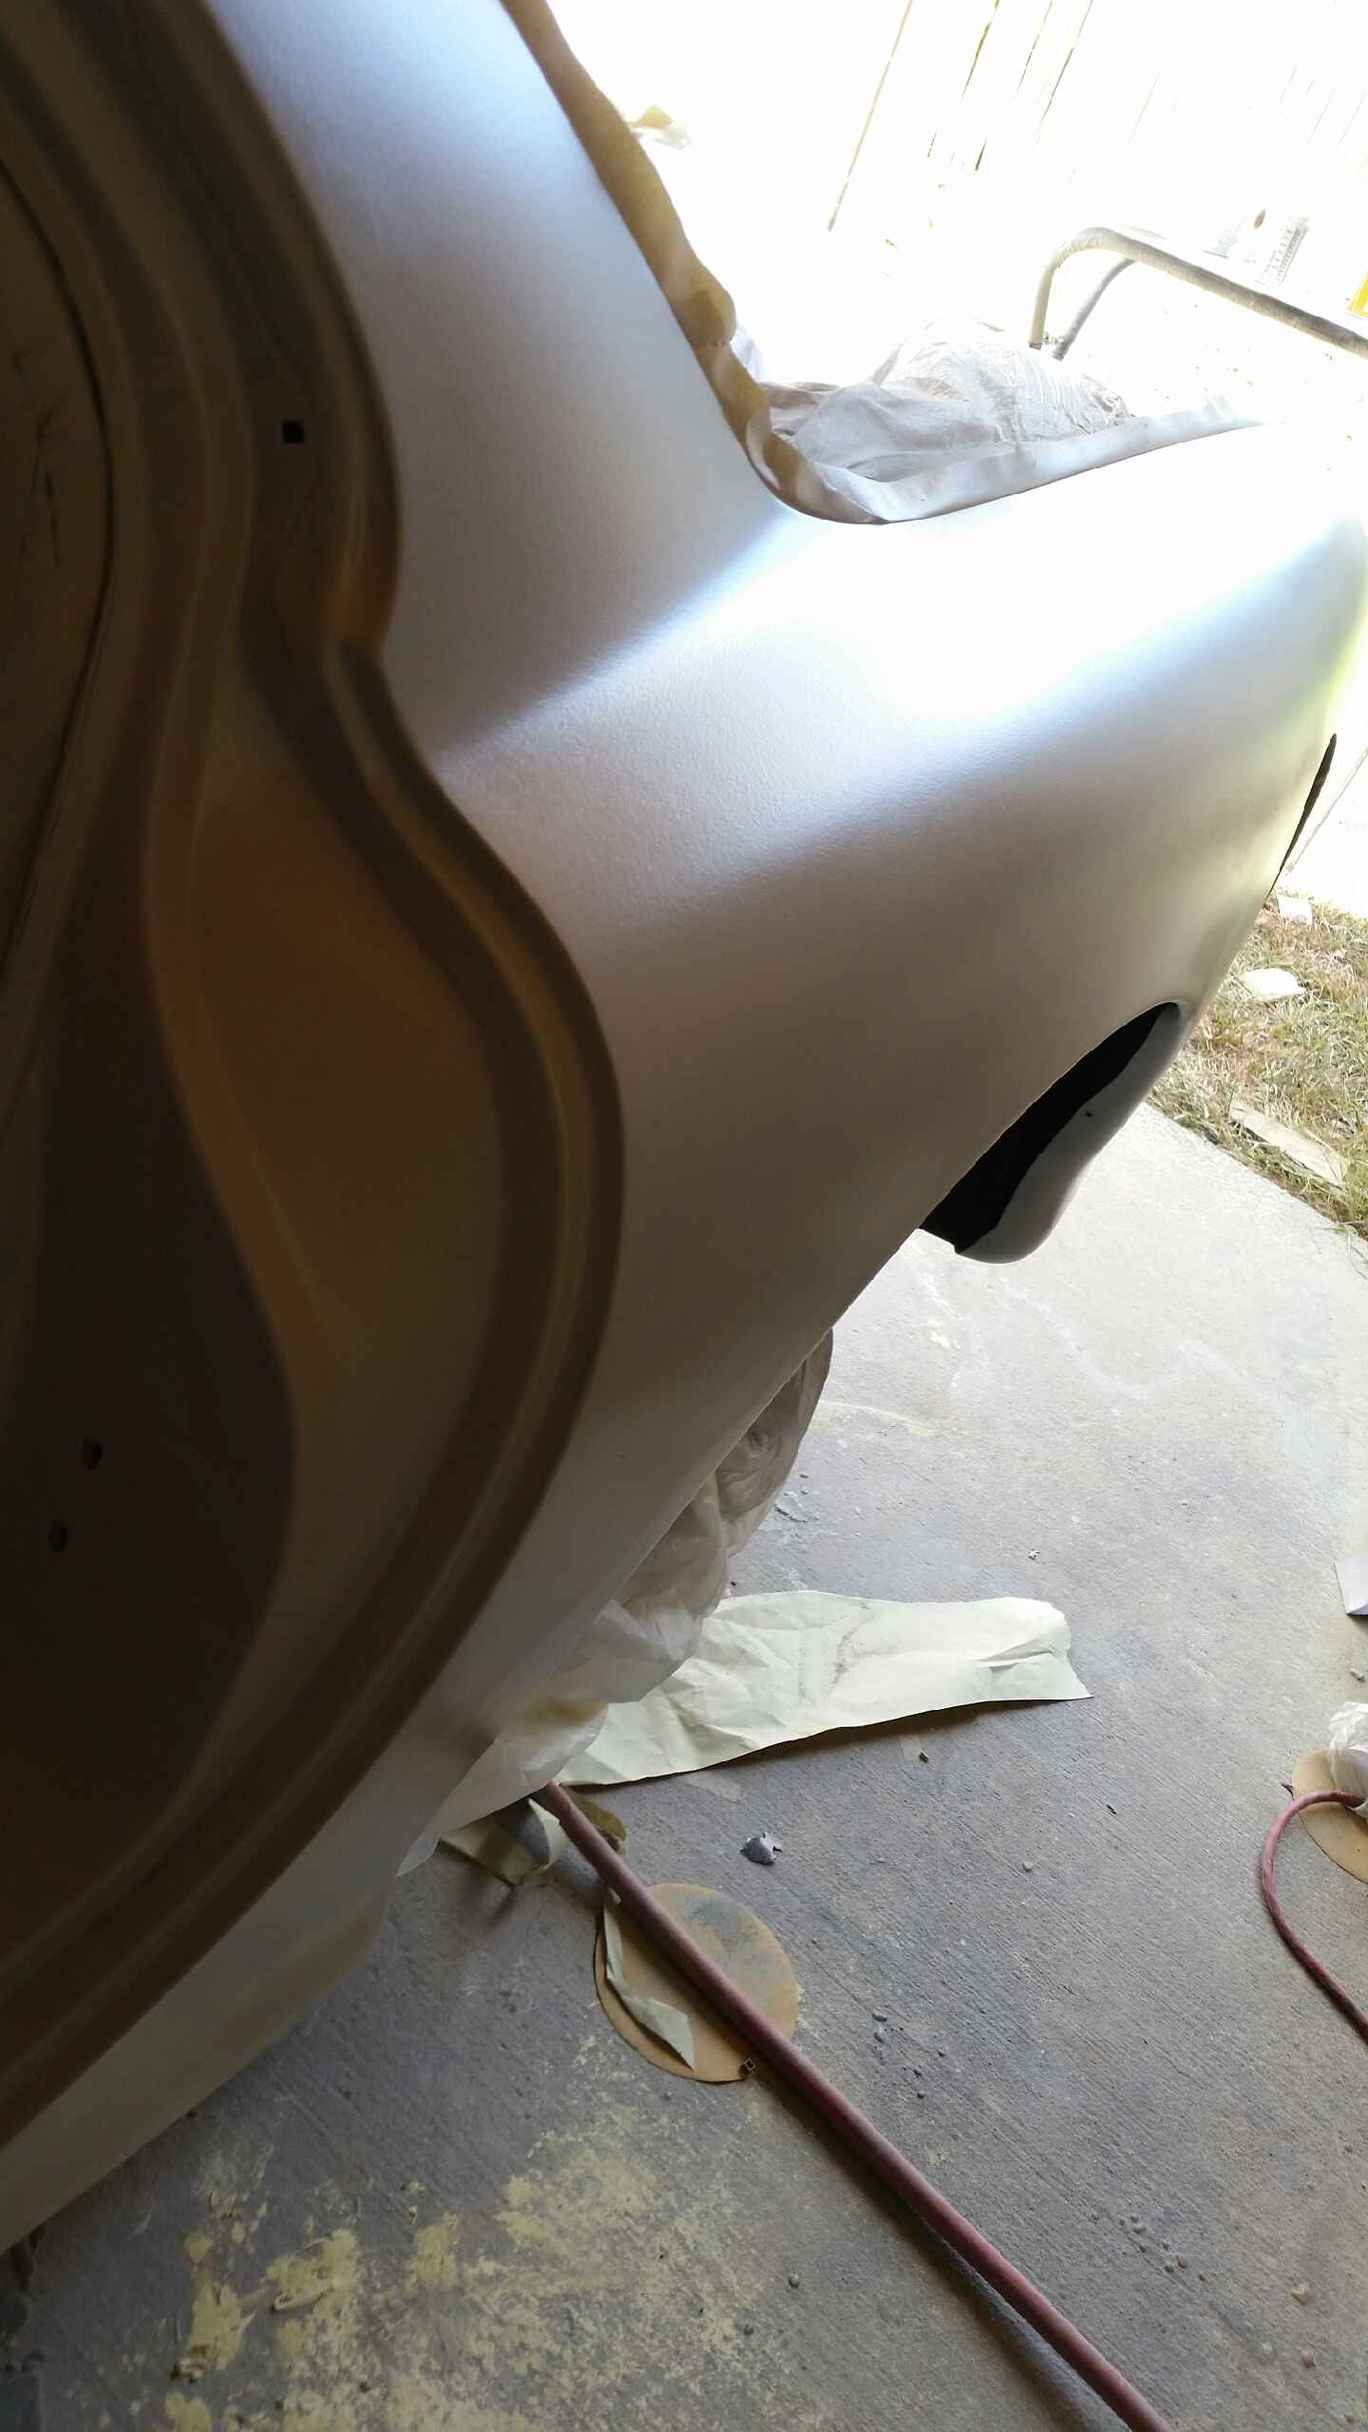
John was aiming to get the body work finished on the front cap of the car and only missed his target by a hair due to a quick family emergency:
John gave me a hard time for the 'belt buckle dents' in the top of the fenders I'm completely guilty in the regaurd. I've been working on the car without 'protection' after the failed paint job because I didn't care about scratching the paint. Guess I should have worried about denting the metal
Hatch update from last night:
Blocking the guide coat:
Roughing the welded metal for filler:
Skimming with filler:
Ready for final prime then paint:
Exciting
-------------------
August 07, 2014, 07:48:48 AM
John was aiming to get the body work finished on the front cap of the car and only missed his target by a hair due to a quick family emergency:
John gave me a hard time for the 'belt buckle dents' in the top of the fenders
I'm completely guilty in the regaurd. I've been working on the car without 'protection' after the failed paint job because I didn't care about scratching the paint. Guess I should have worried about denting the metal
09-23-14, 04:58 PM
#11
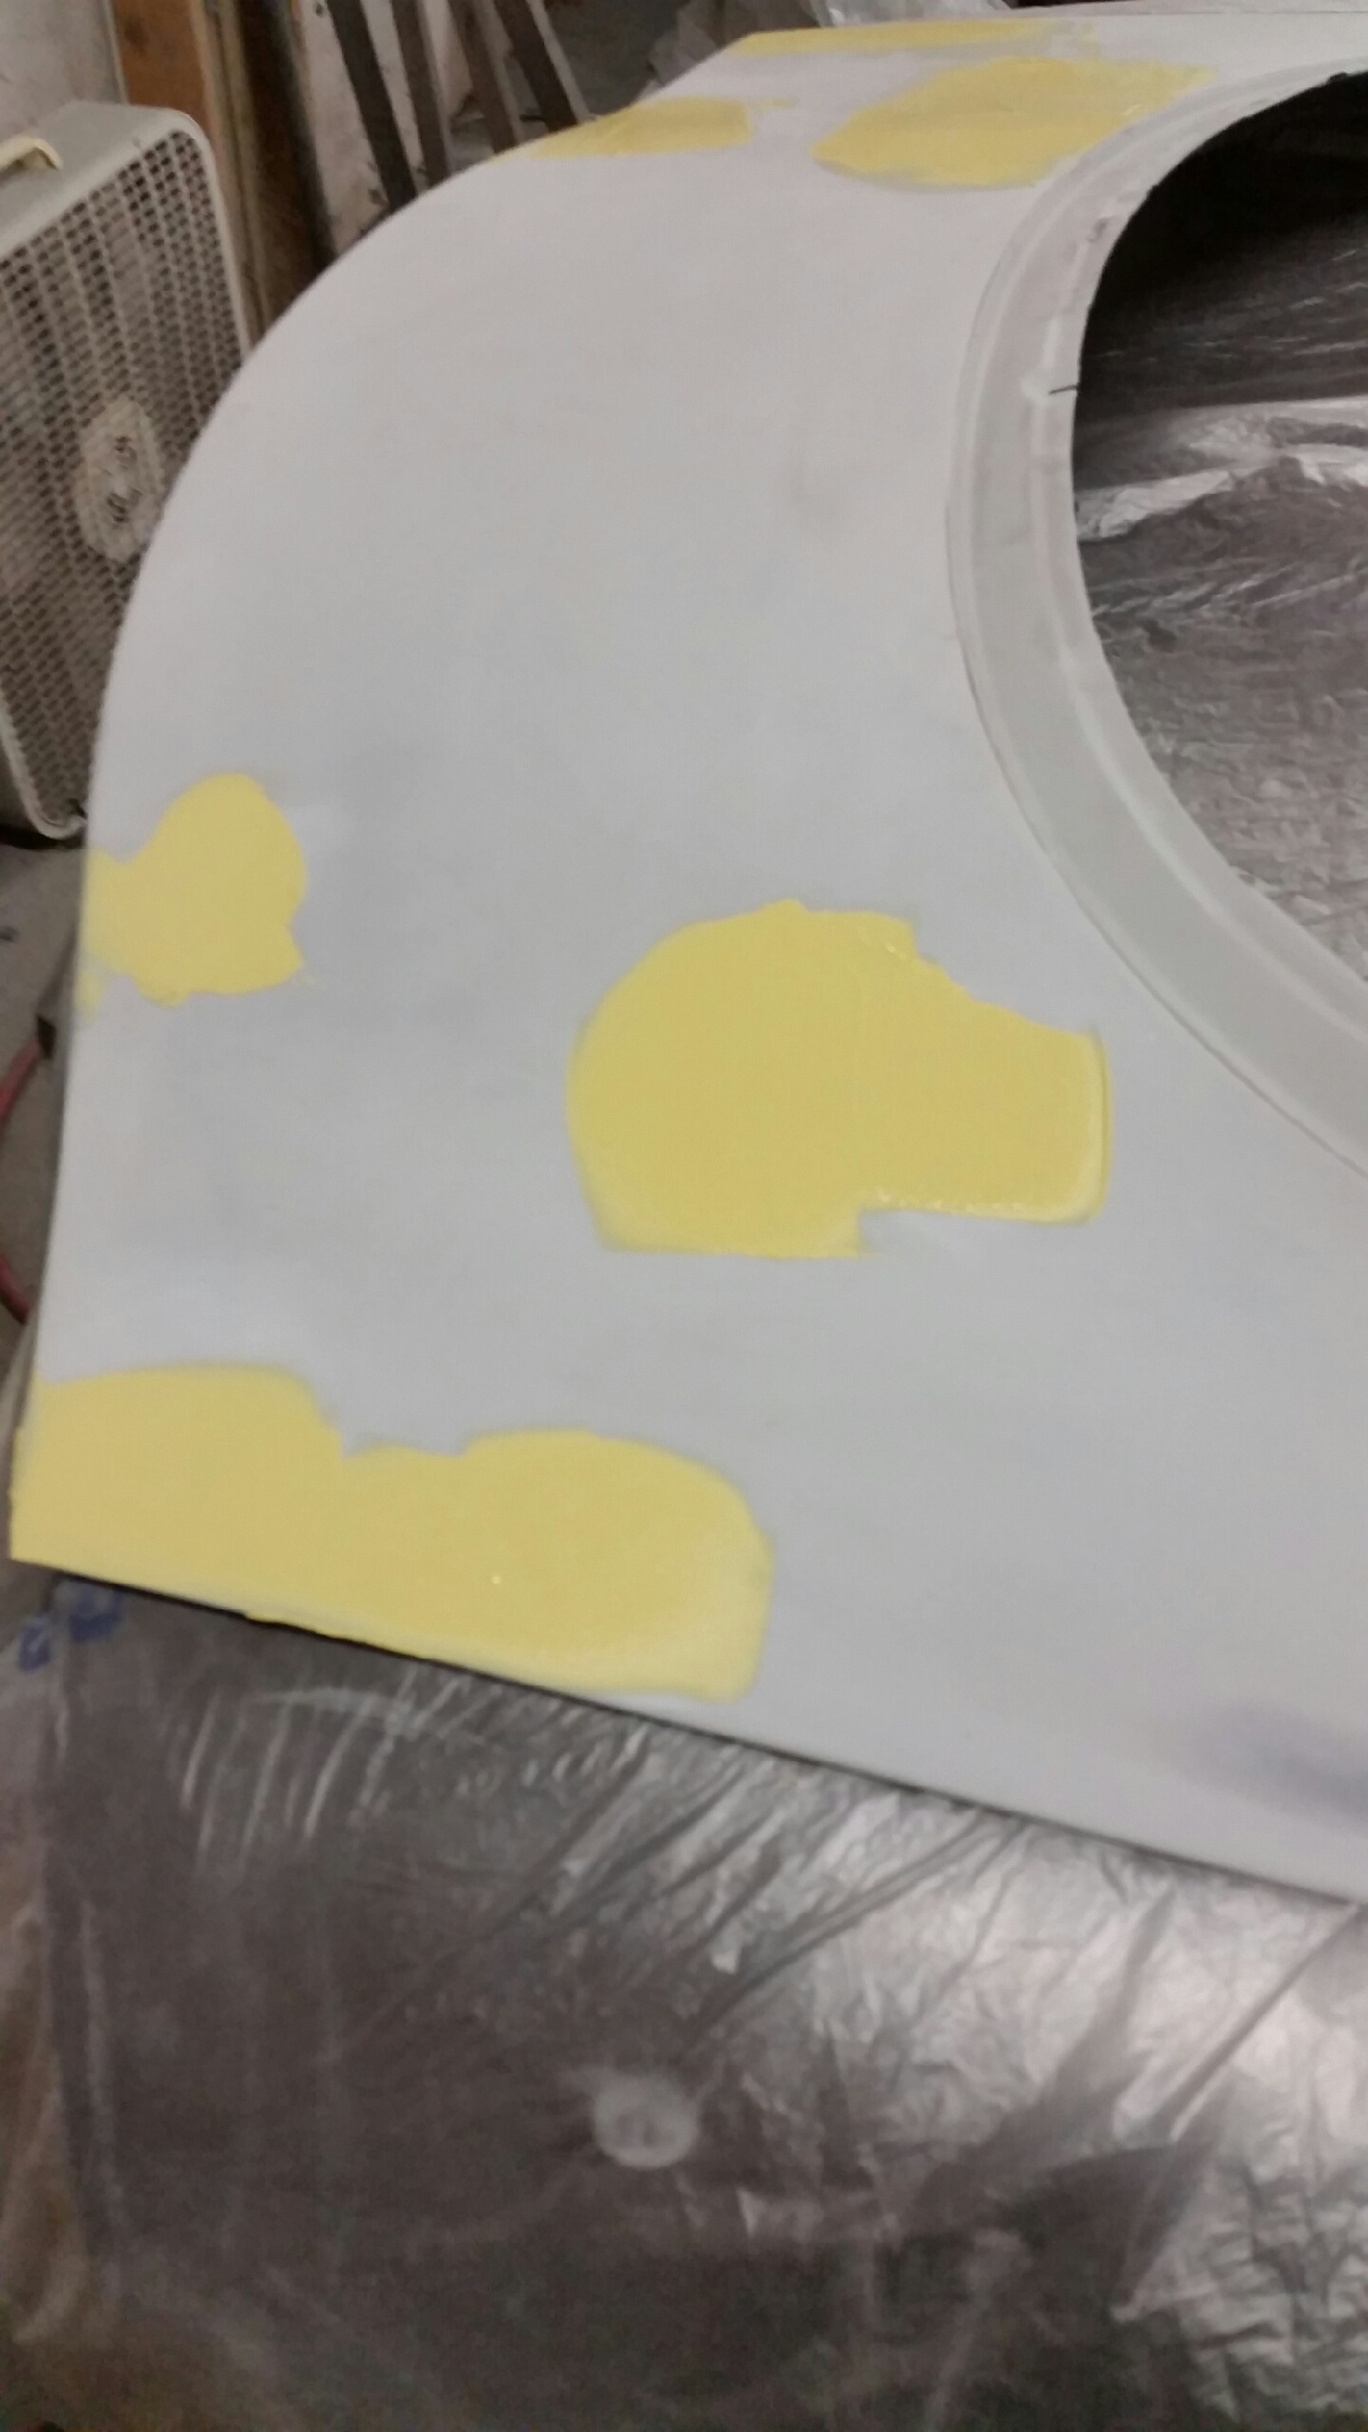
A shot after blocking:

The larger patches of filler down by the wheel well was caused by rolling the fenders. I knew the FD front fenders were flimsy but apparantly it's trivial to pull out the sheet metal of the fender behind the lip and over the side-vent. Mine was pulled and flattened out a little bit of the curvature. When I was down last week John had to feel the pull. I have to admit I barely felt anything if I felt anything at all, but John did so he new it needed to be skimmed and blocked or it may be more obvious under black paint.
-------------------
August 18, 2014, 07:48:28 AM
One of the first things he did earlier in the week was a big solid for me. I bought the car with the defrost vents removed and half broken. 2 summers ago I tried installing the old left side that was still in good shape along with a brand new right side and a new center piece. I don't know if it was just me, but it turned out to be an impossible feat to accomplish with the window installed. Those things take a serious push to clip in and the window restricted and real leverage. All I ended up accomplishing was breaking up the nozzle clips and ruining them. So... fast forward to last week. I sent John a care package of new Mazda parts and he went ahead and installed my defroster vents while the front windshield is out.
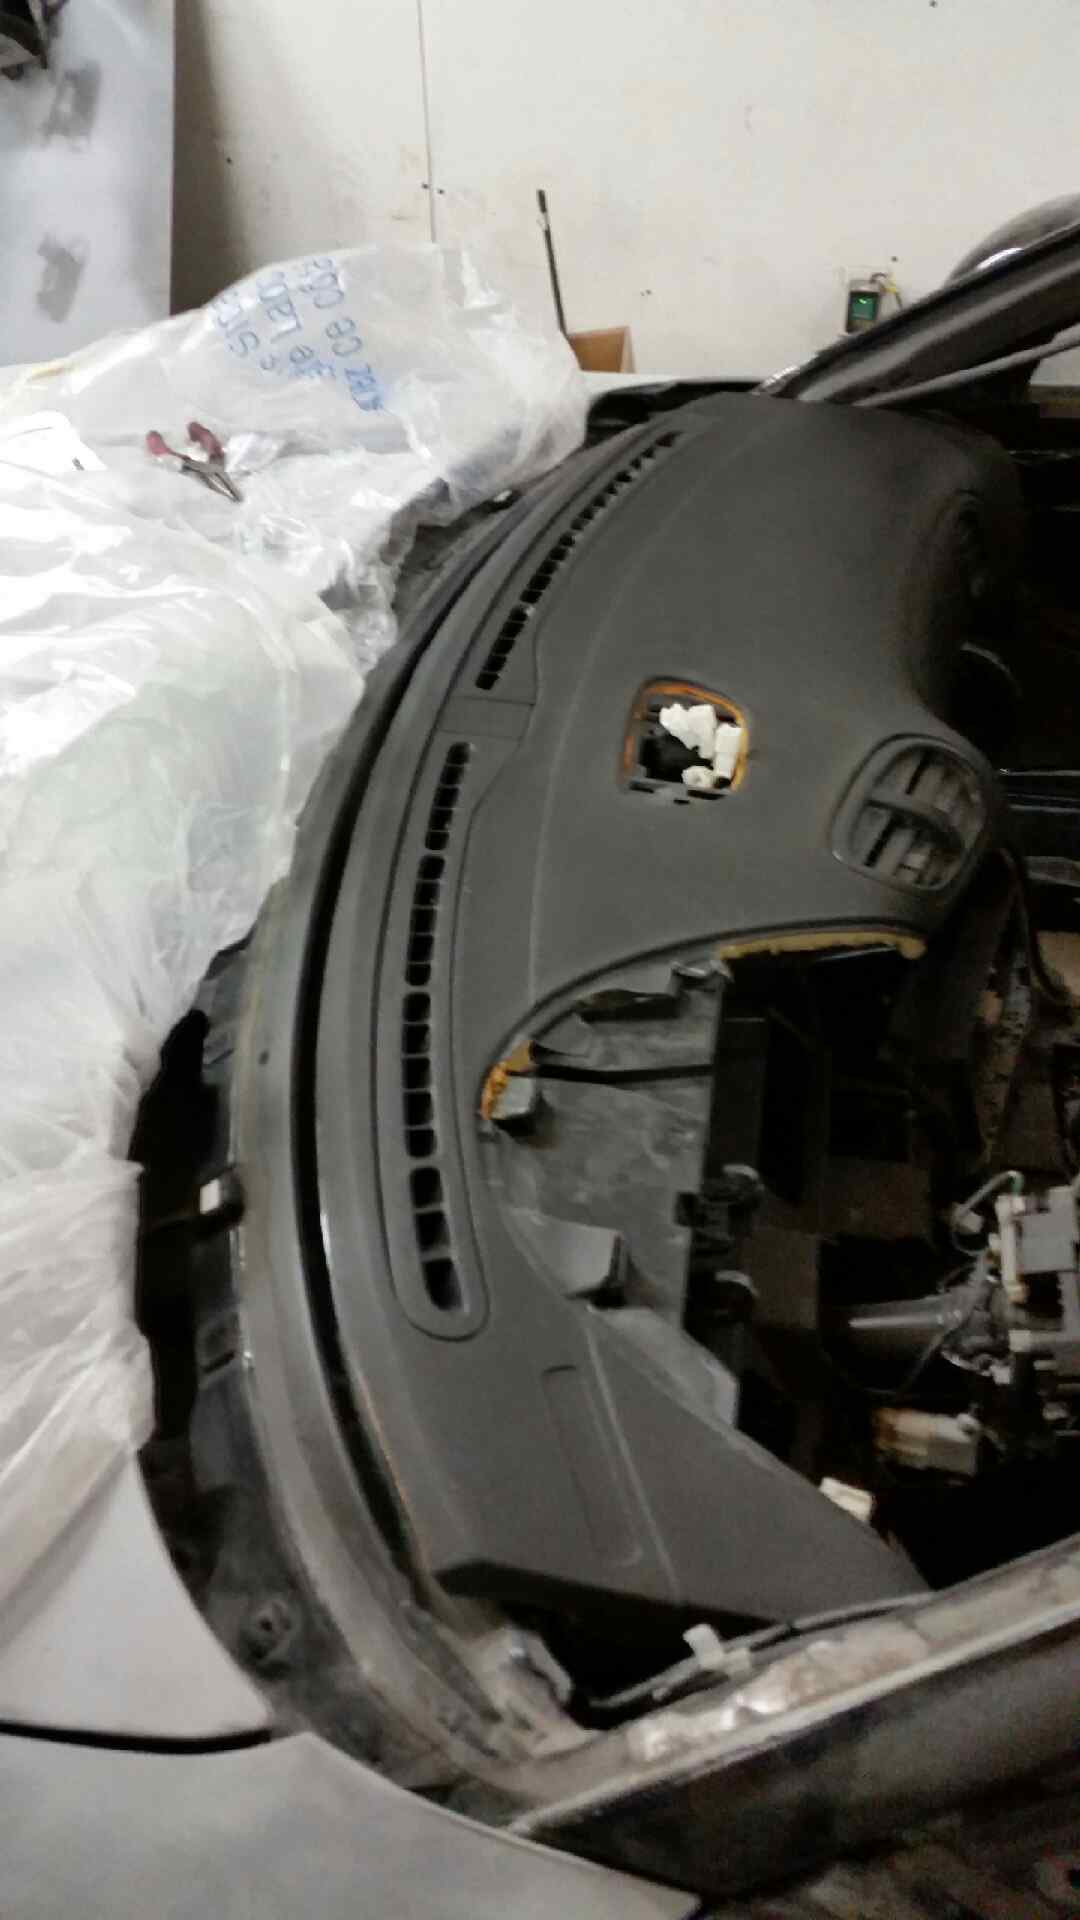
It may not look like a super exciting picture, but it is DEEPLY satisfying to me as the old attempted install really pissed me off.
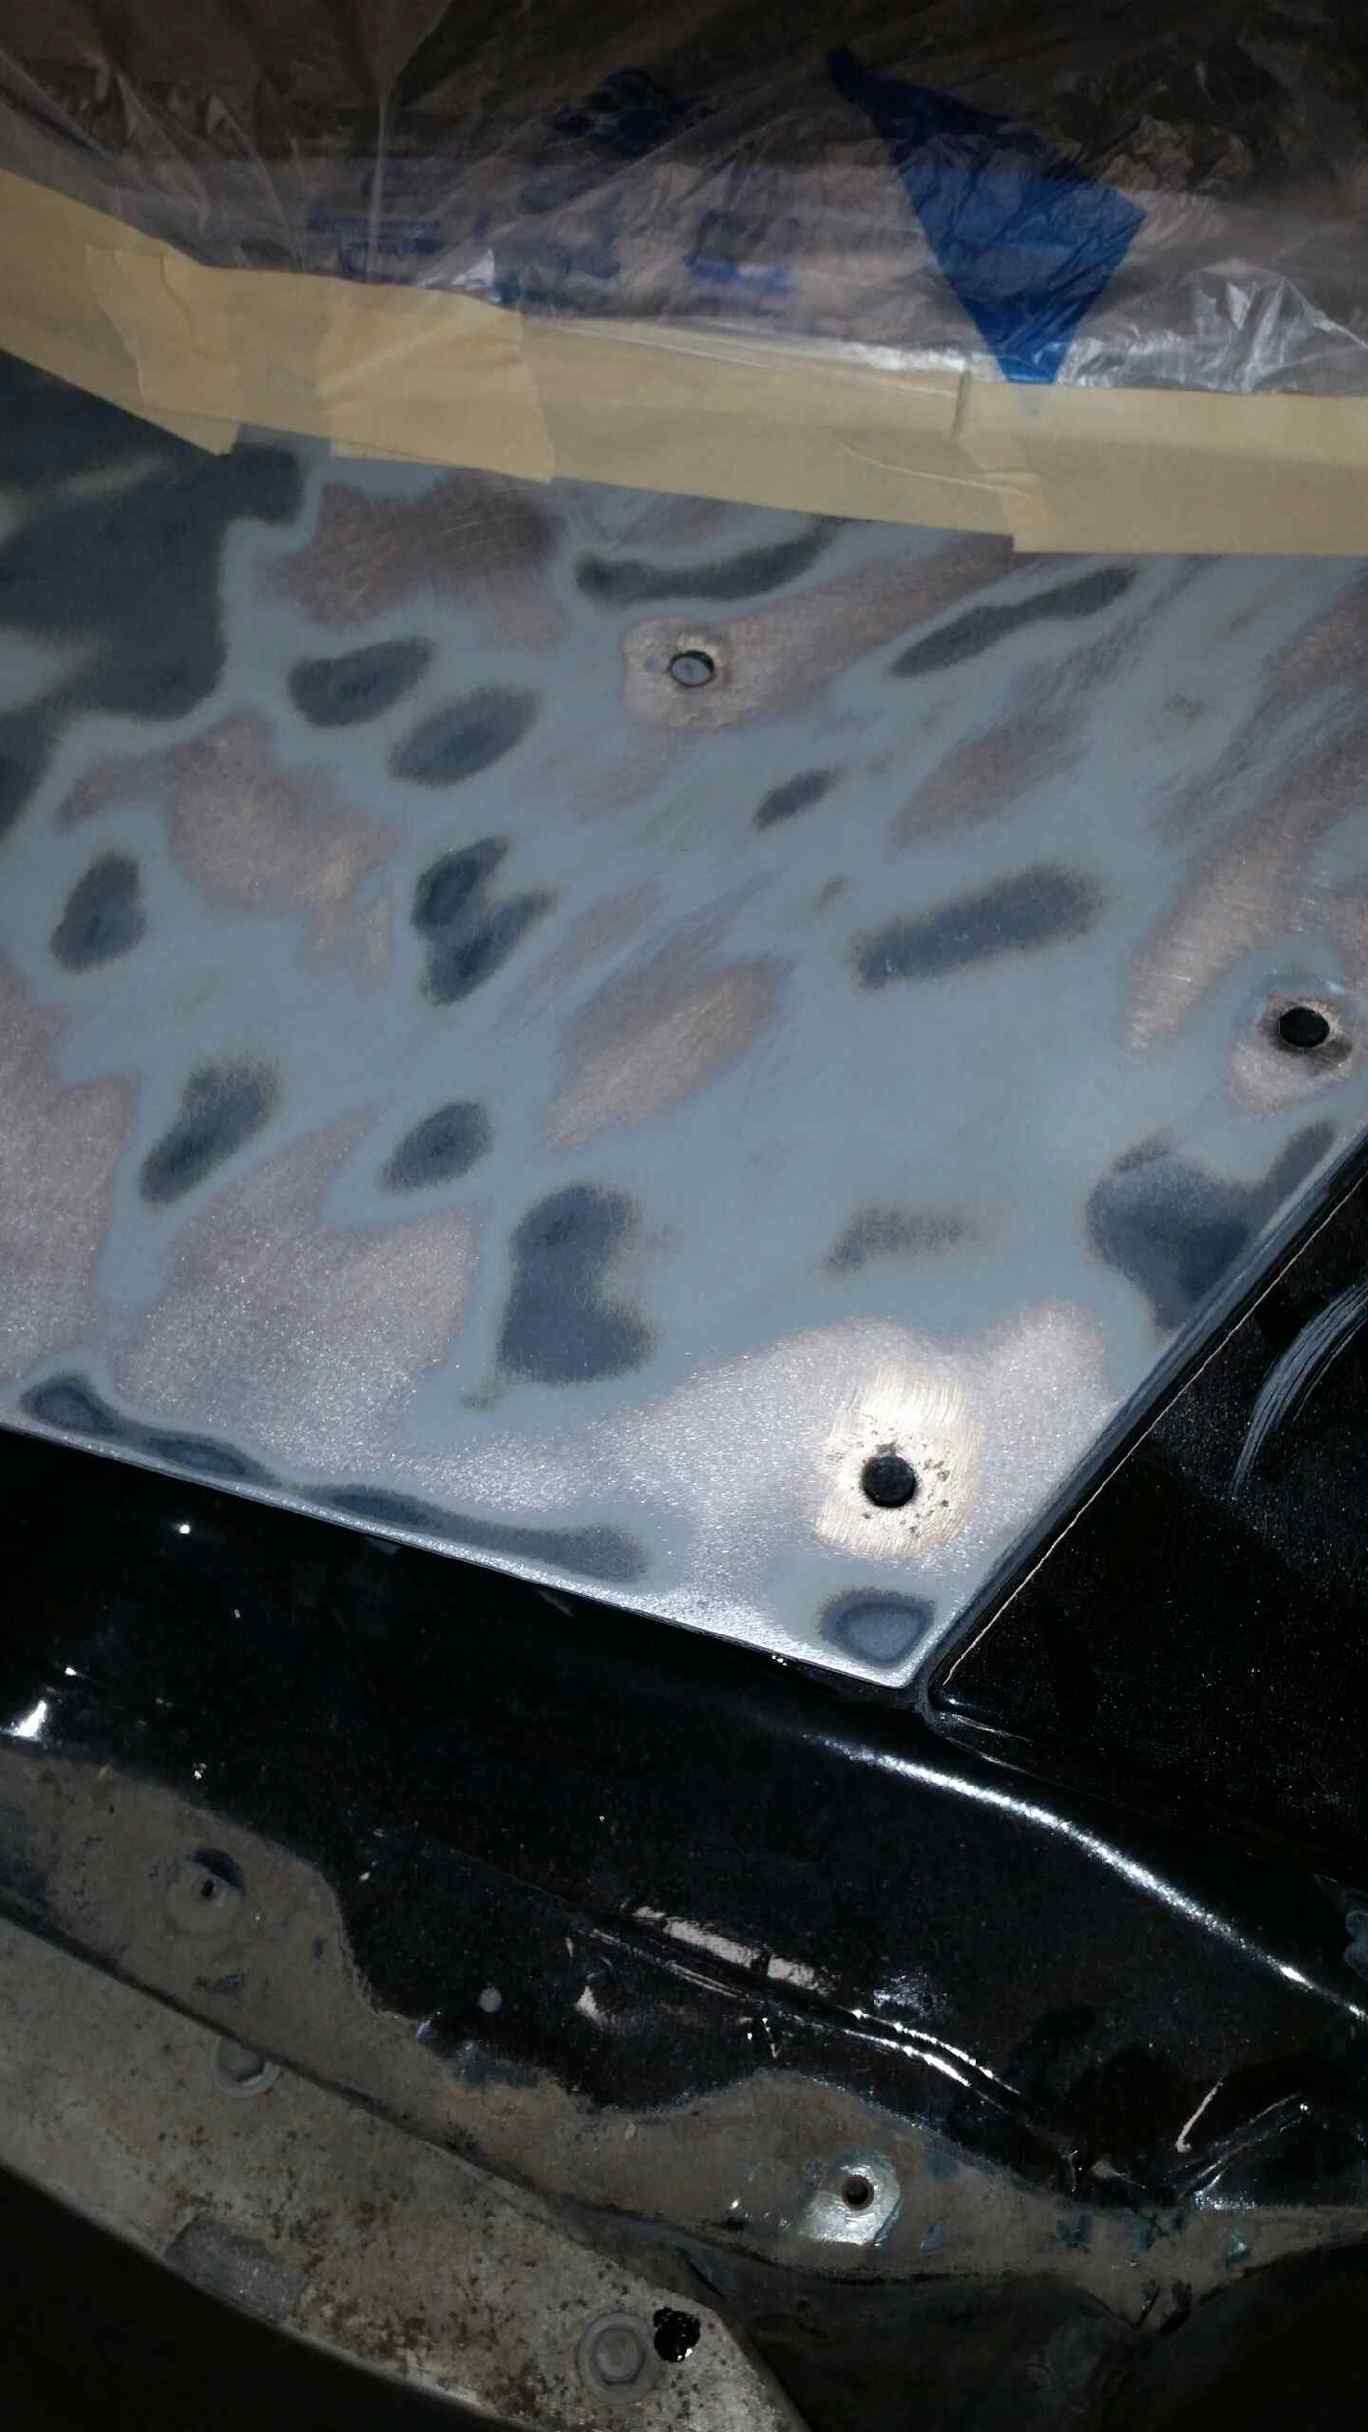
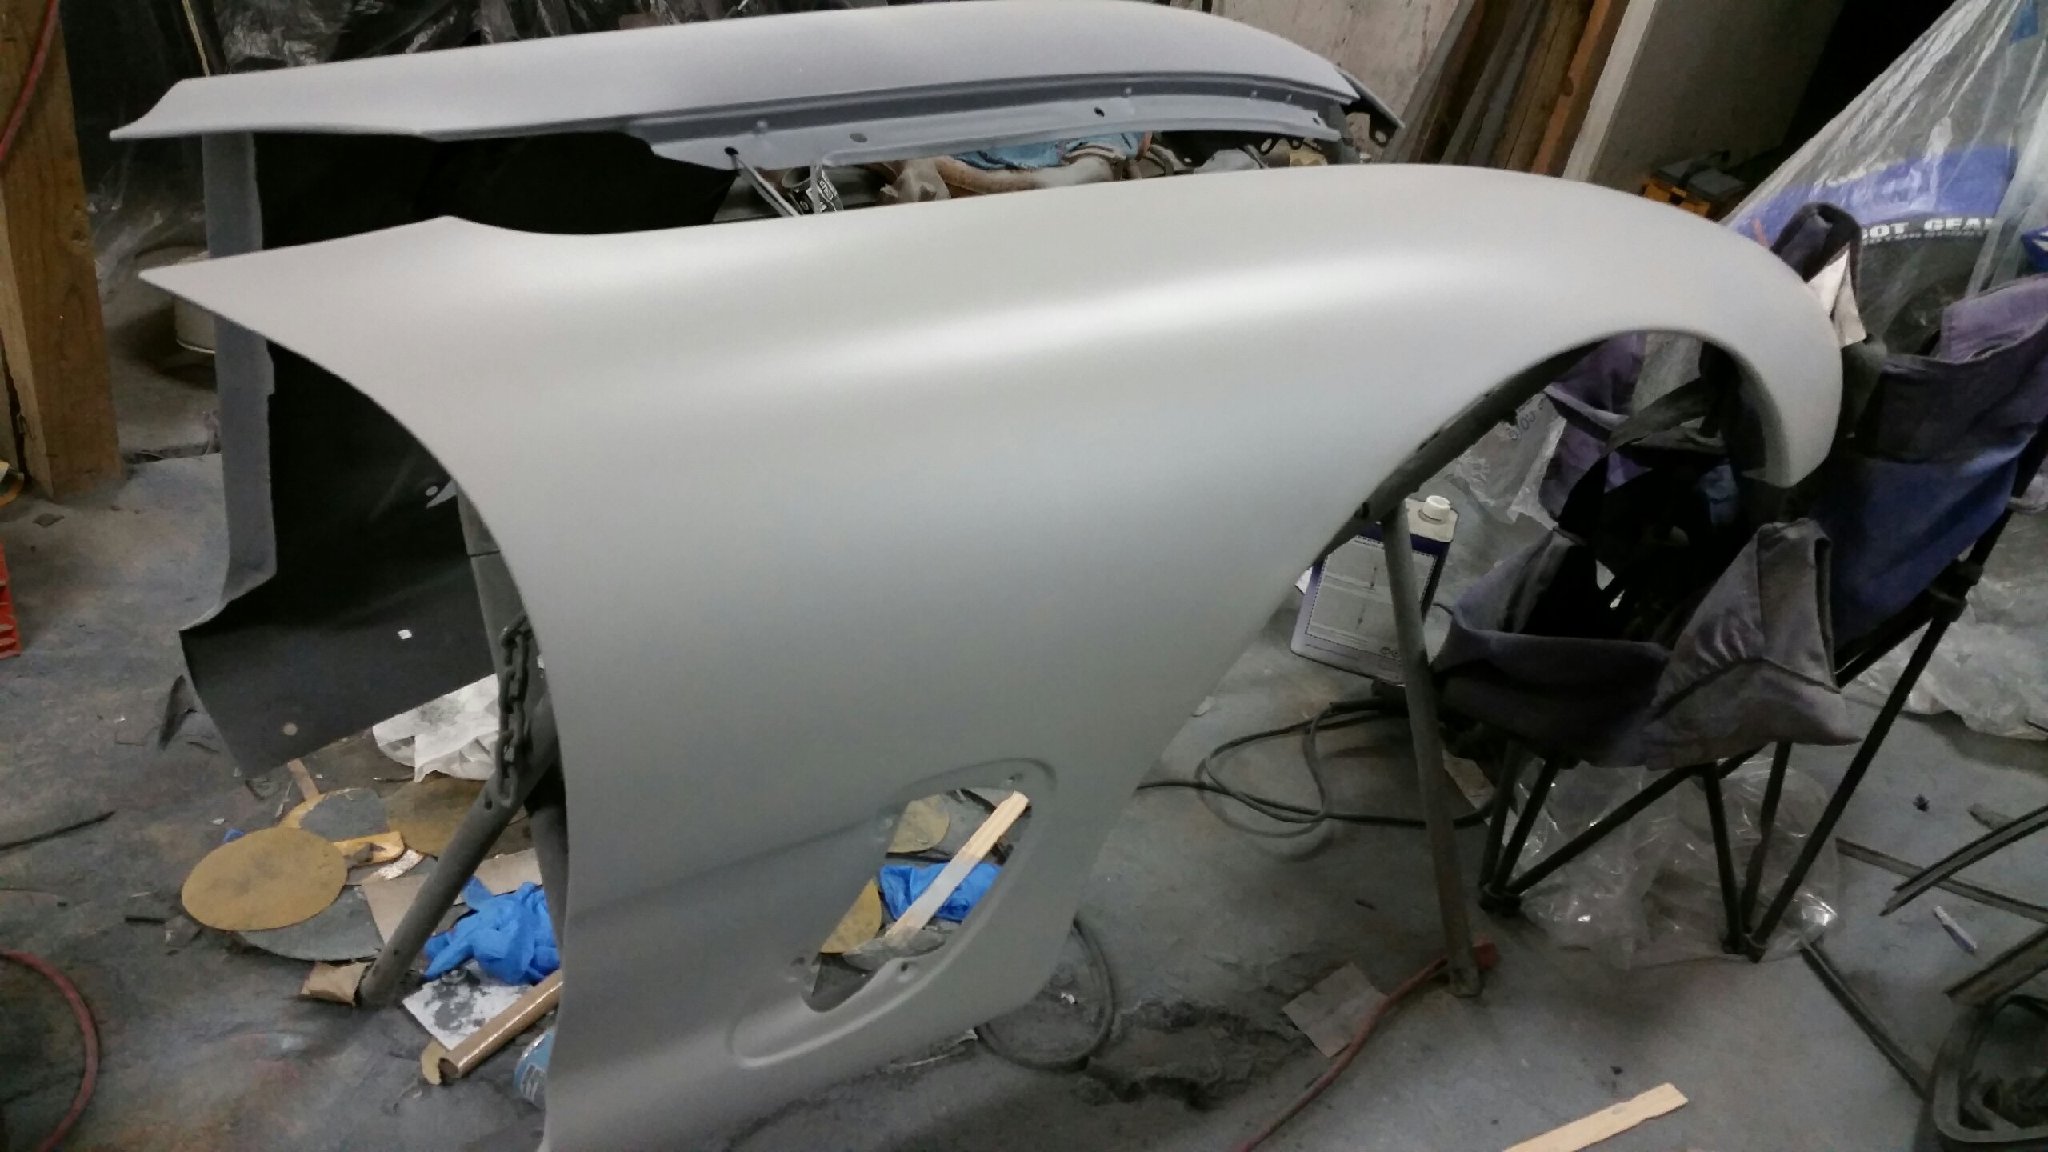
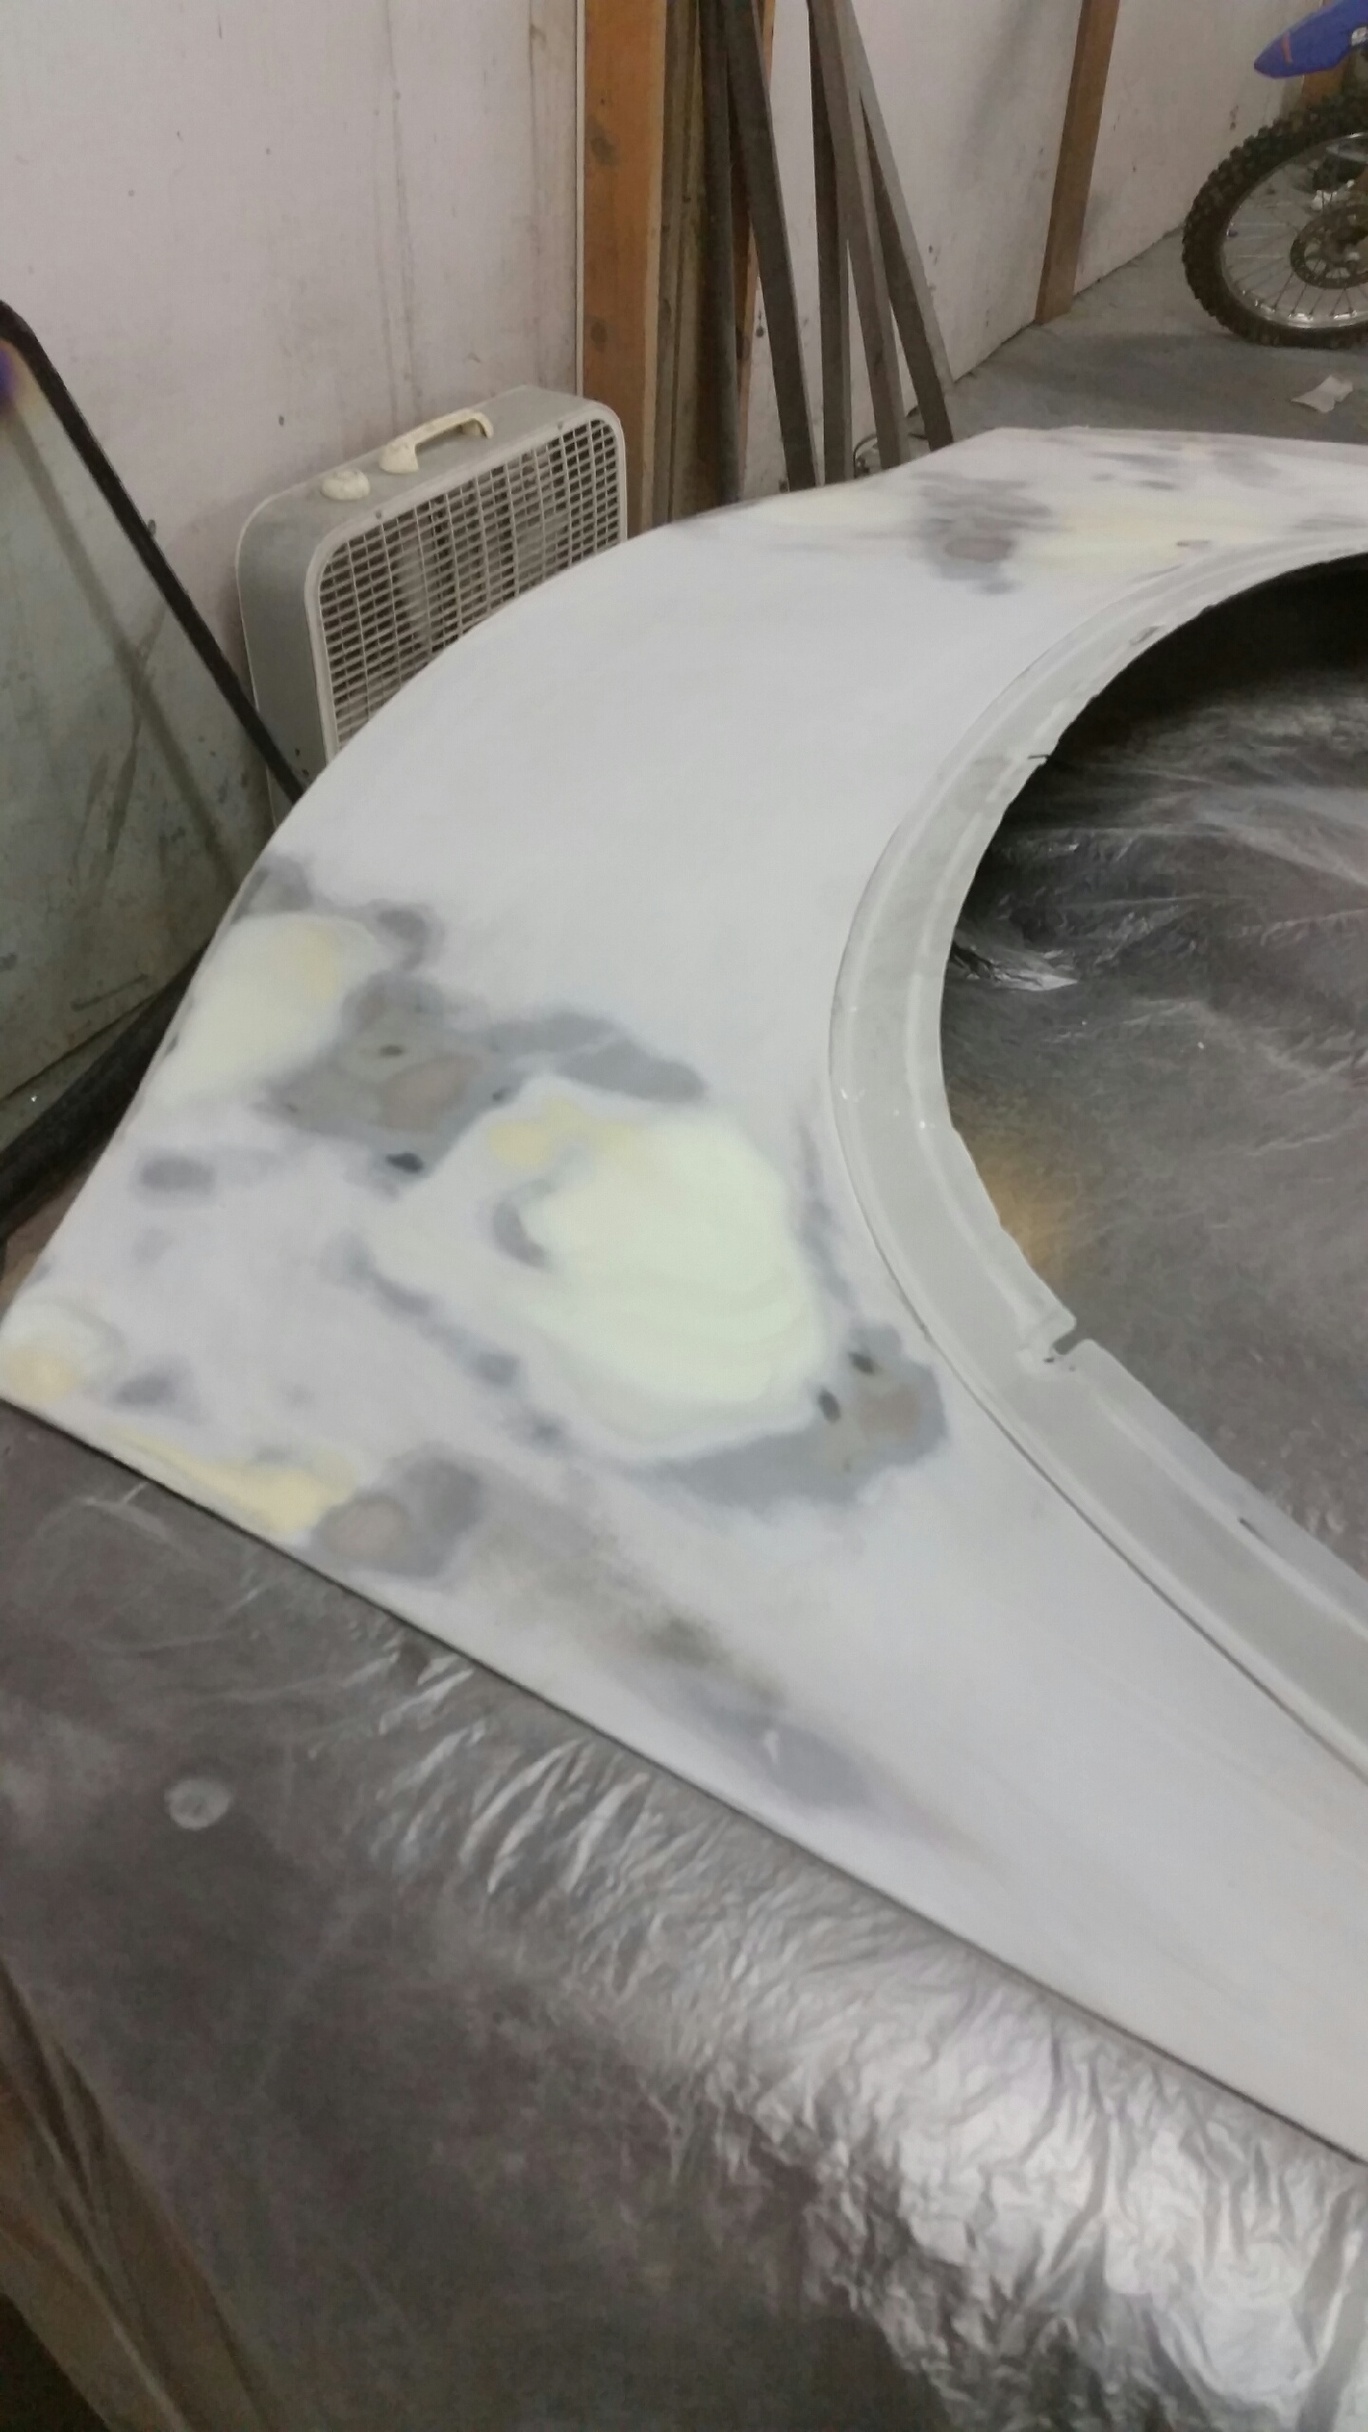
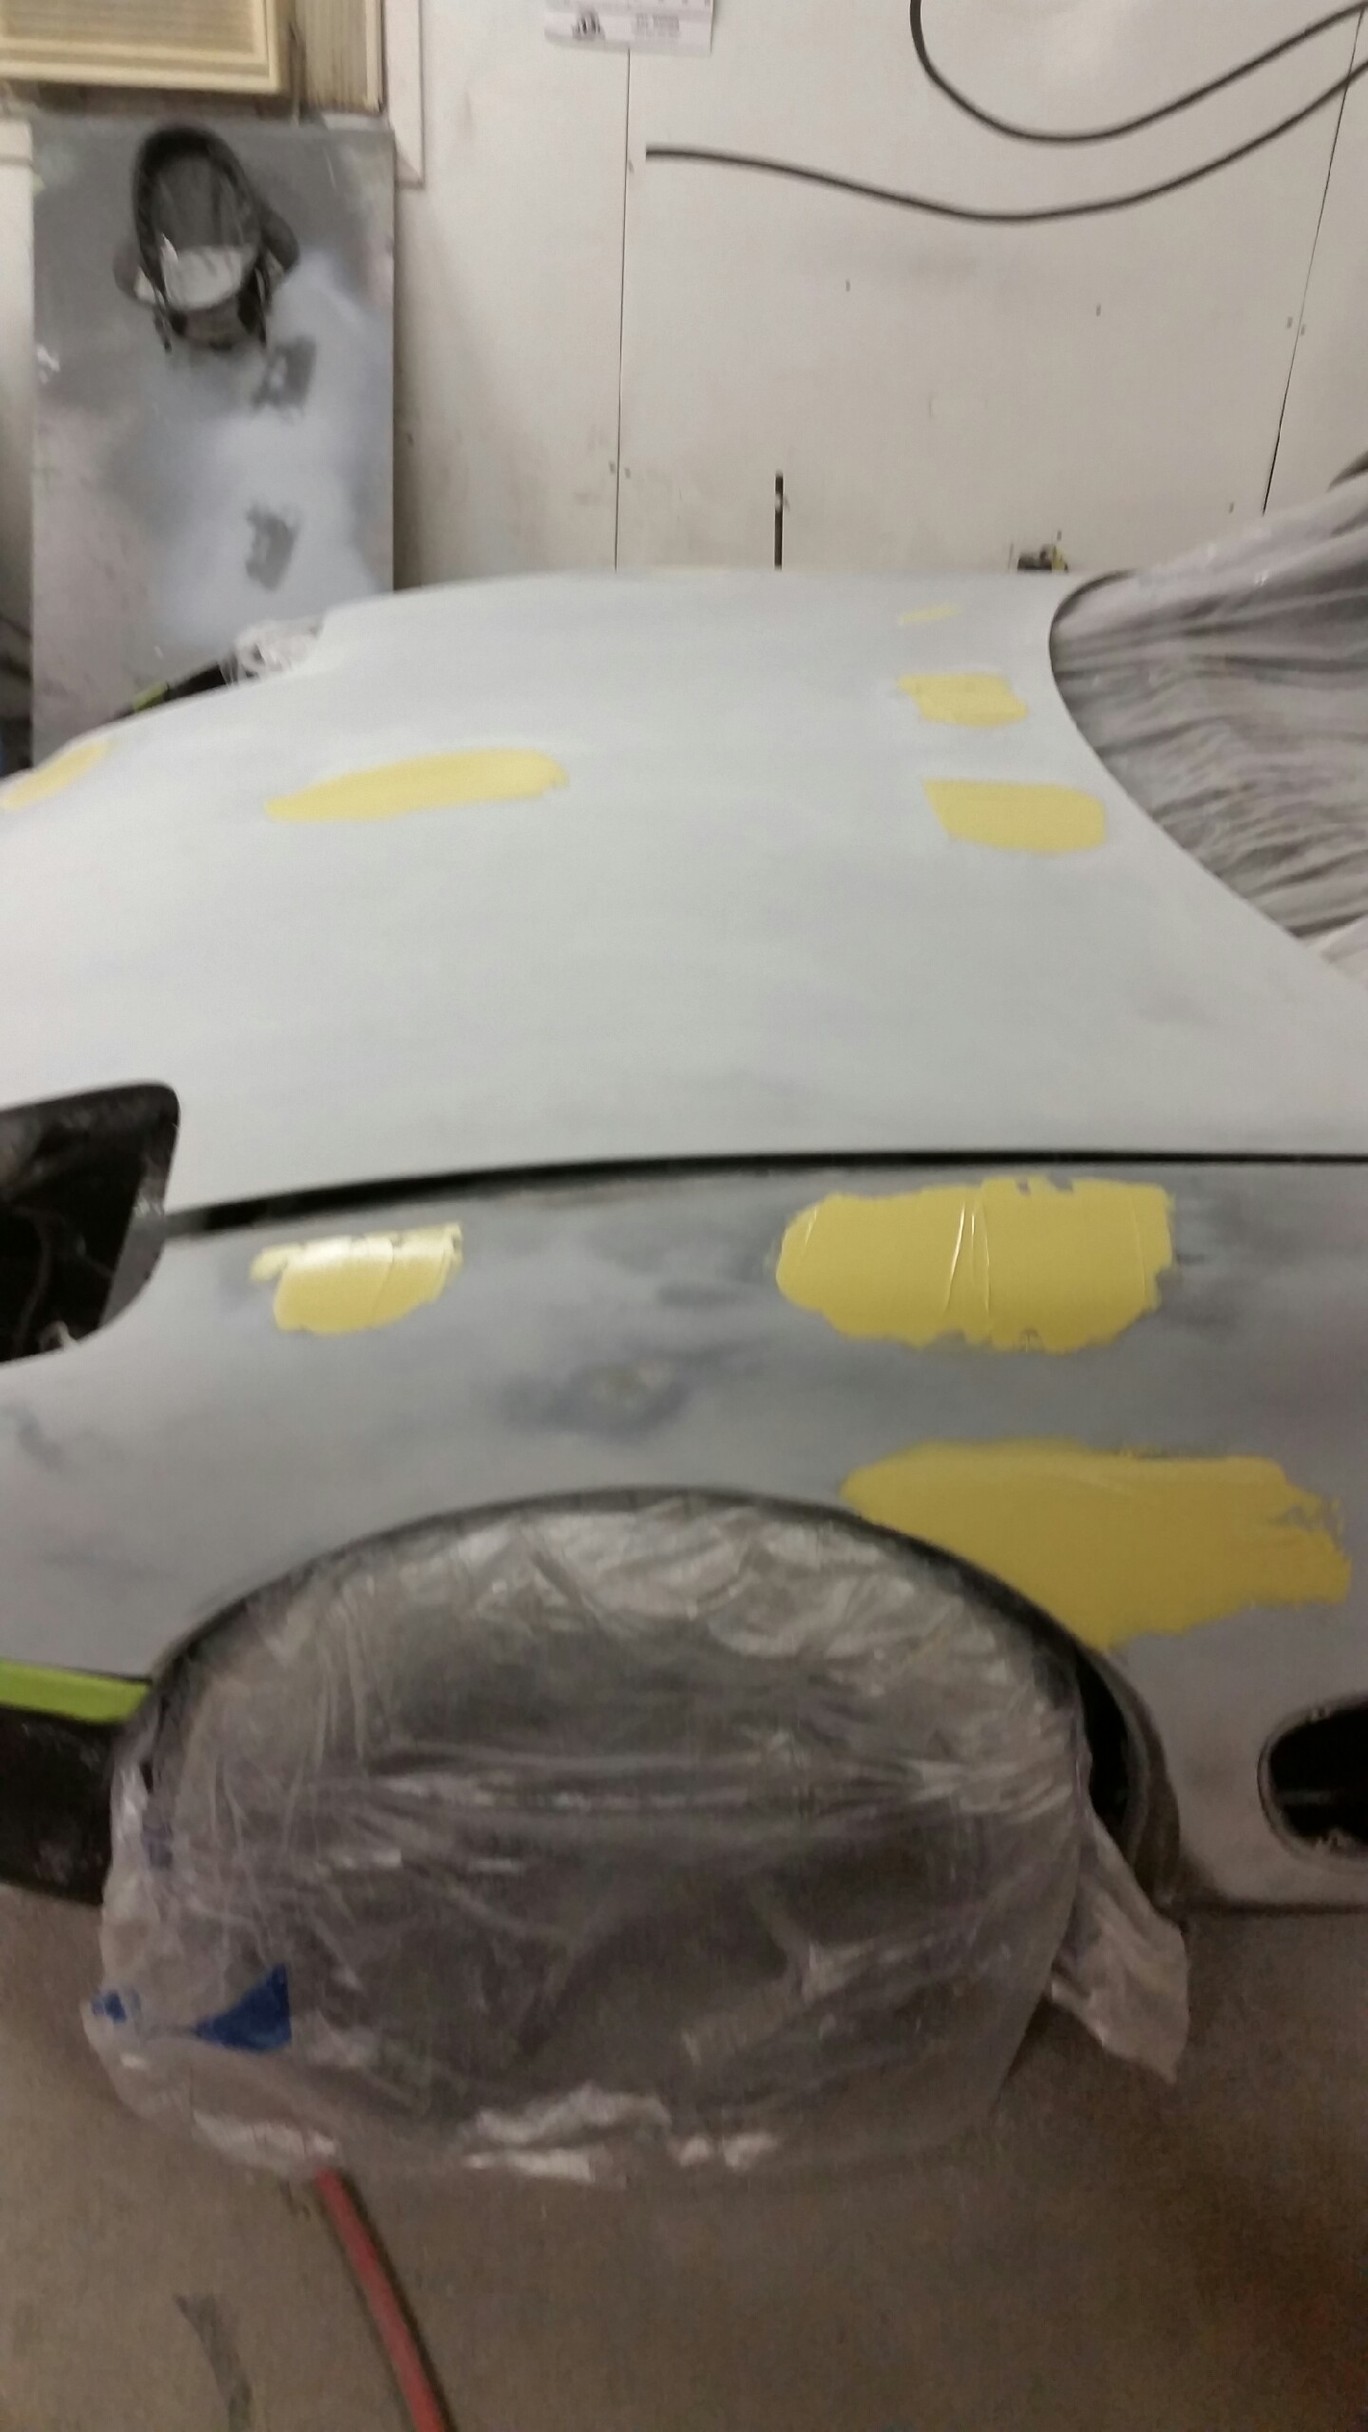
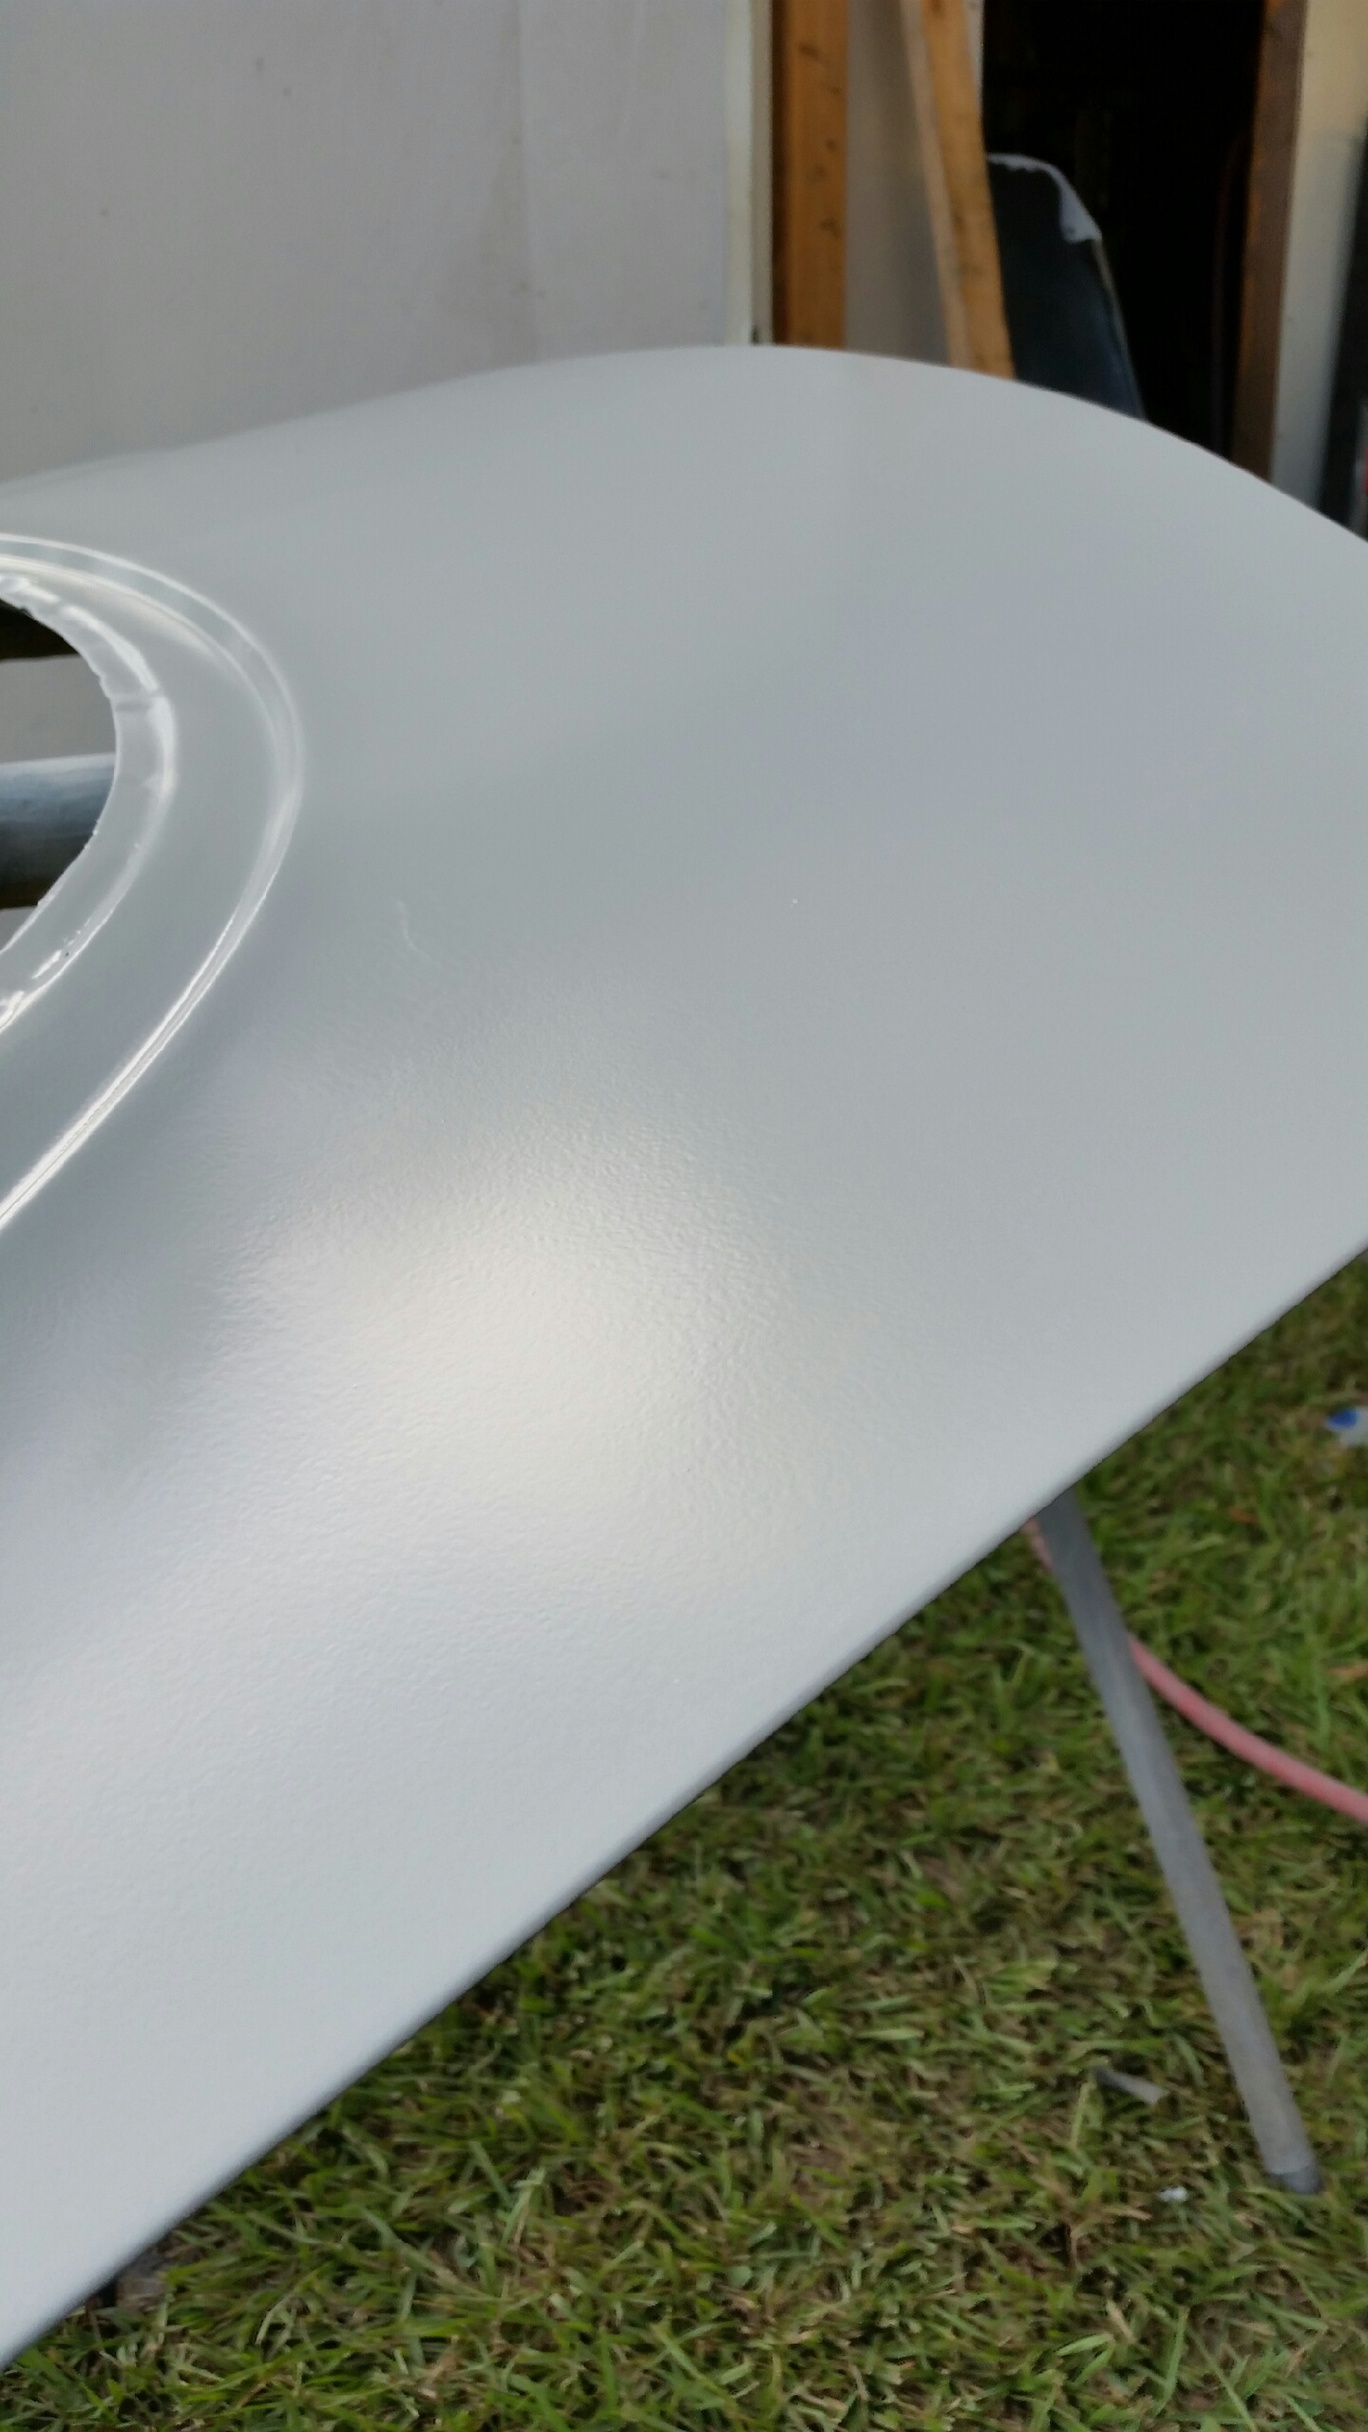
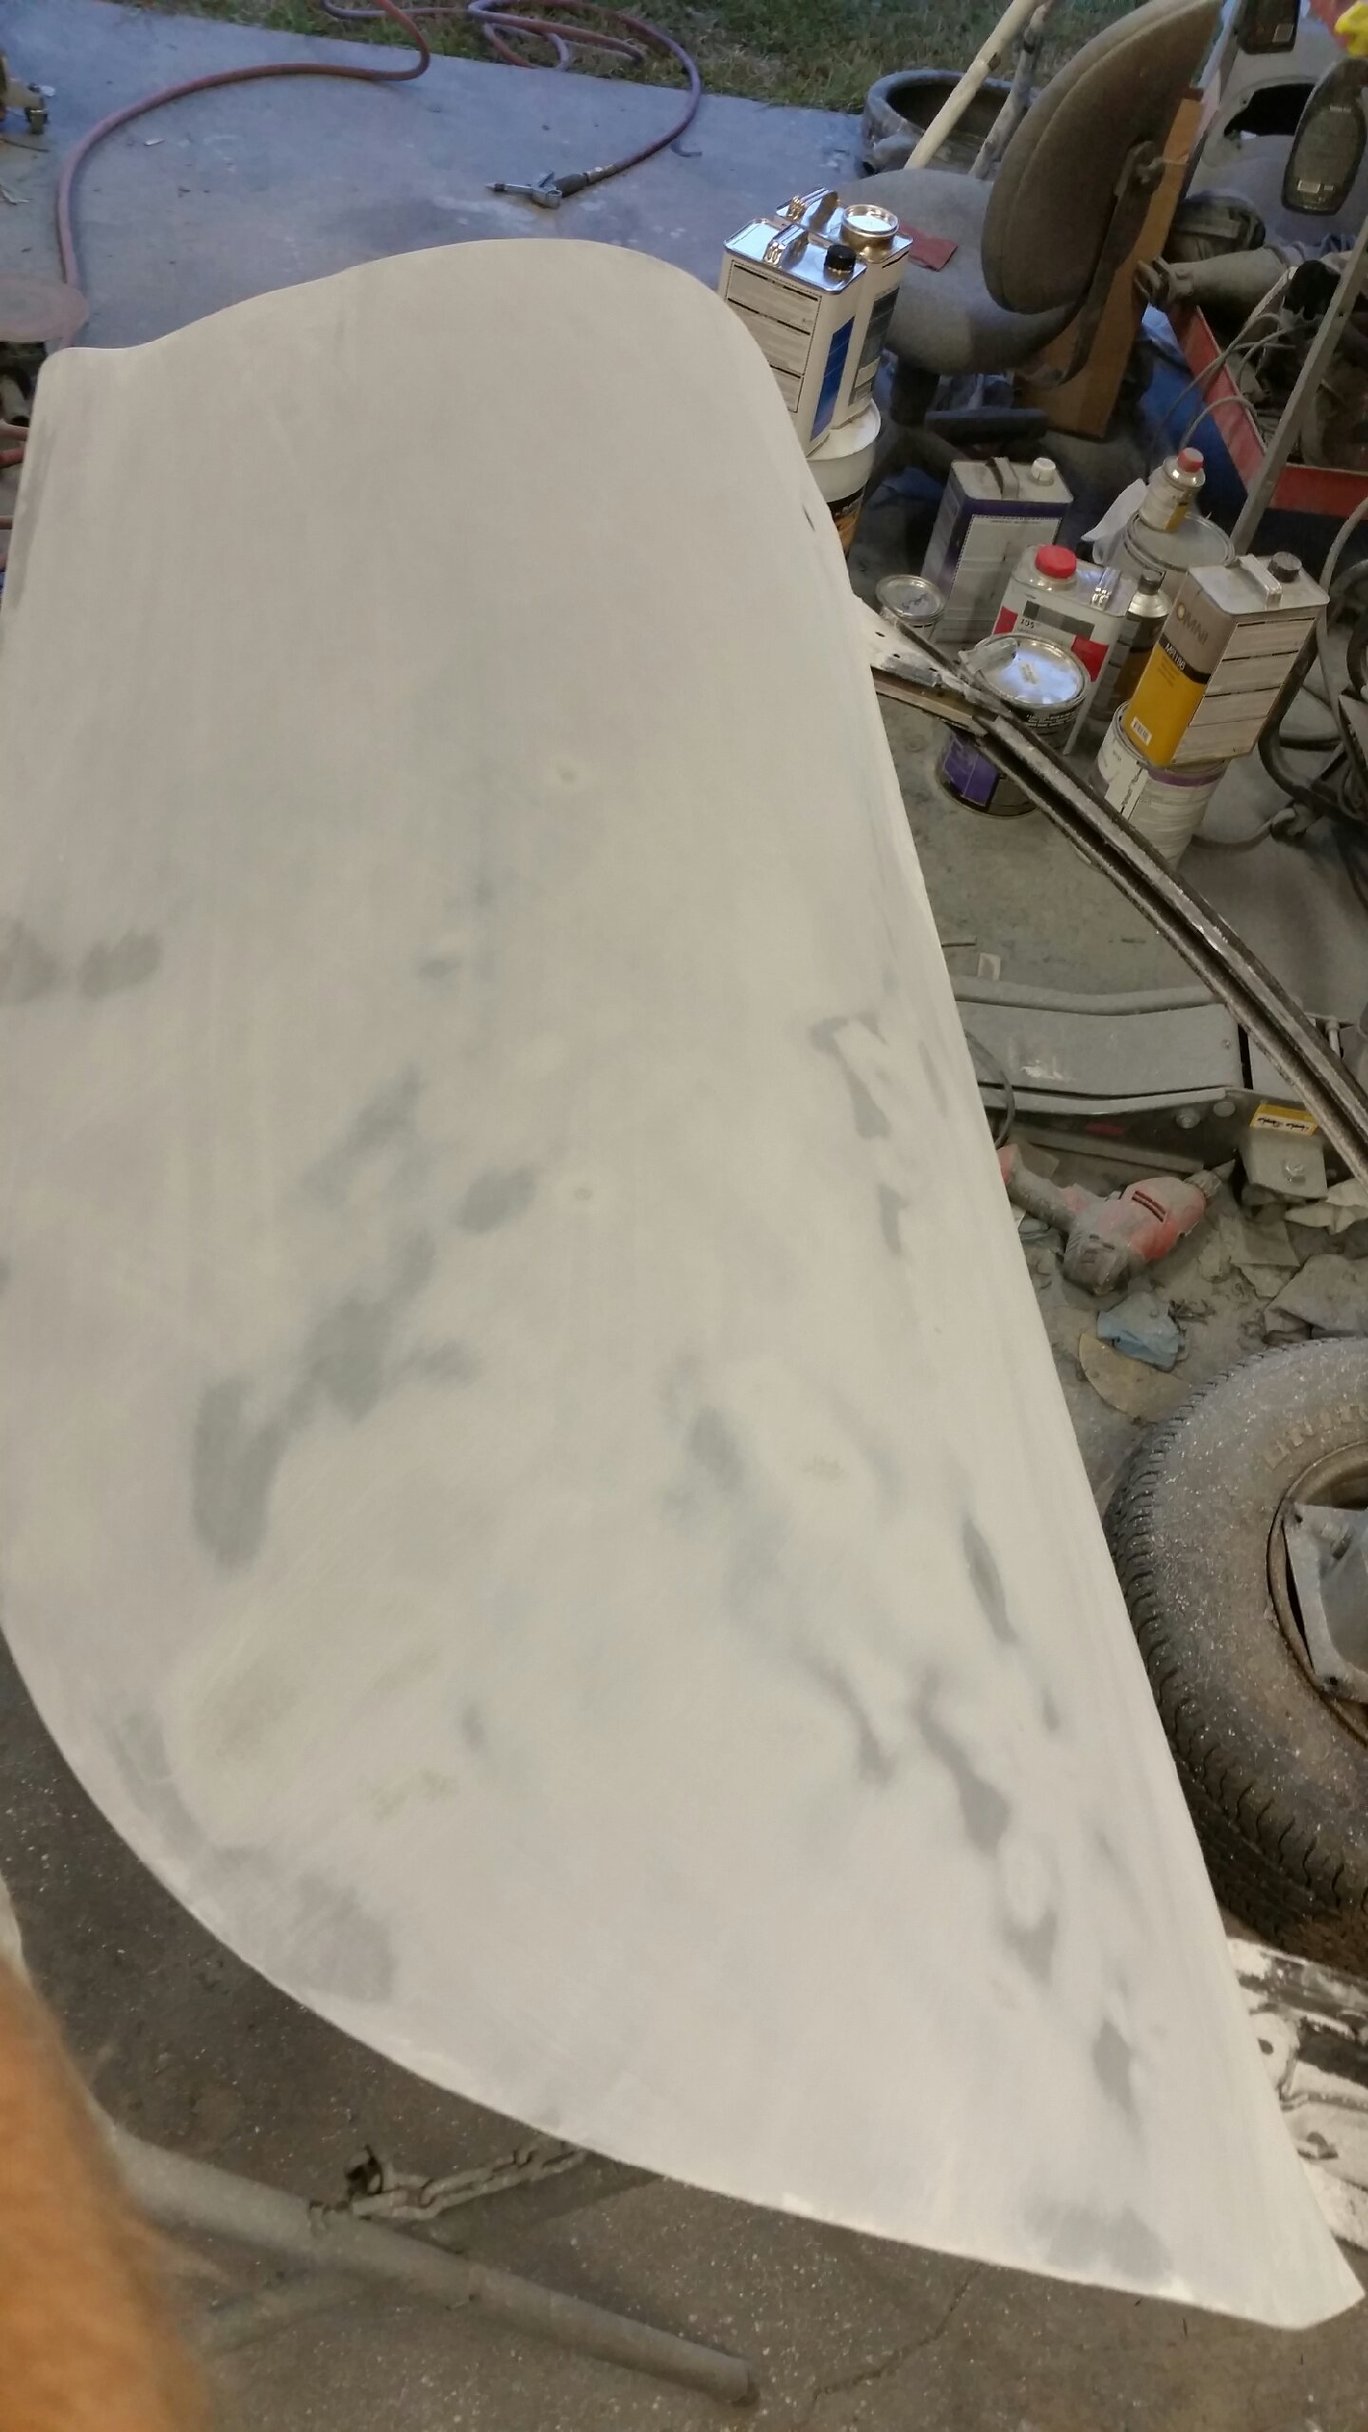
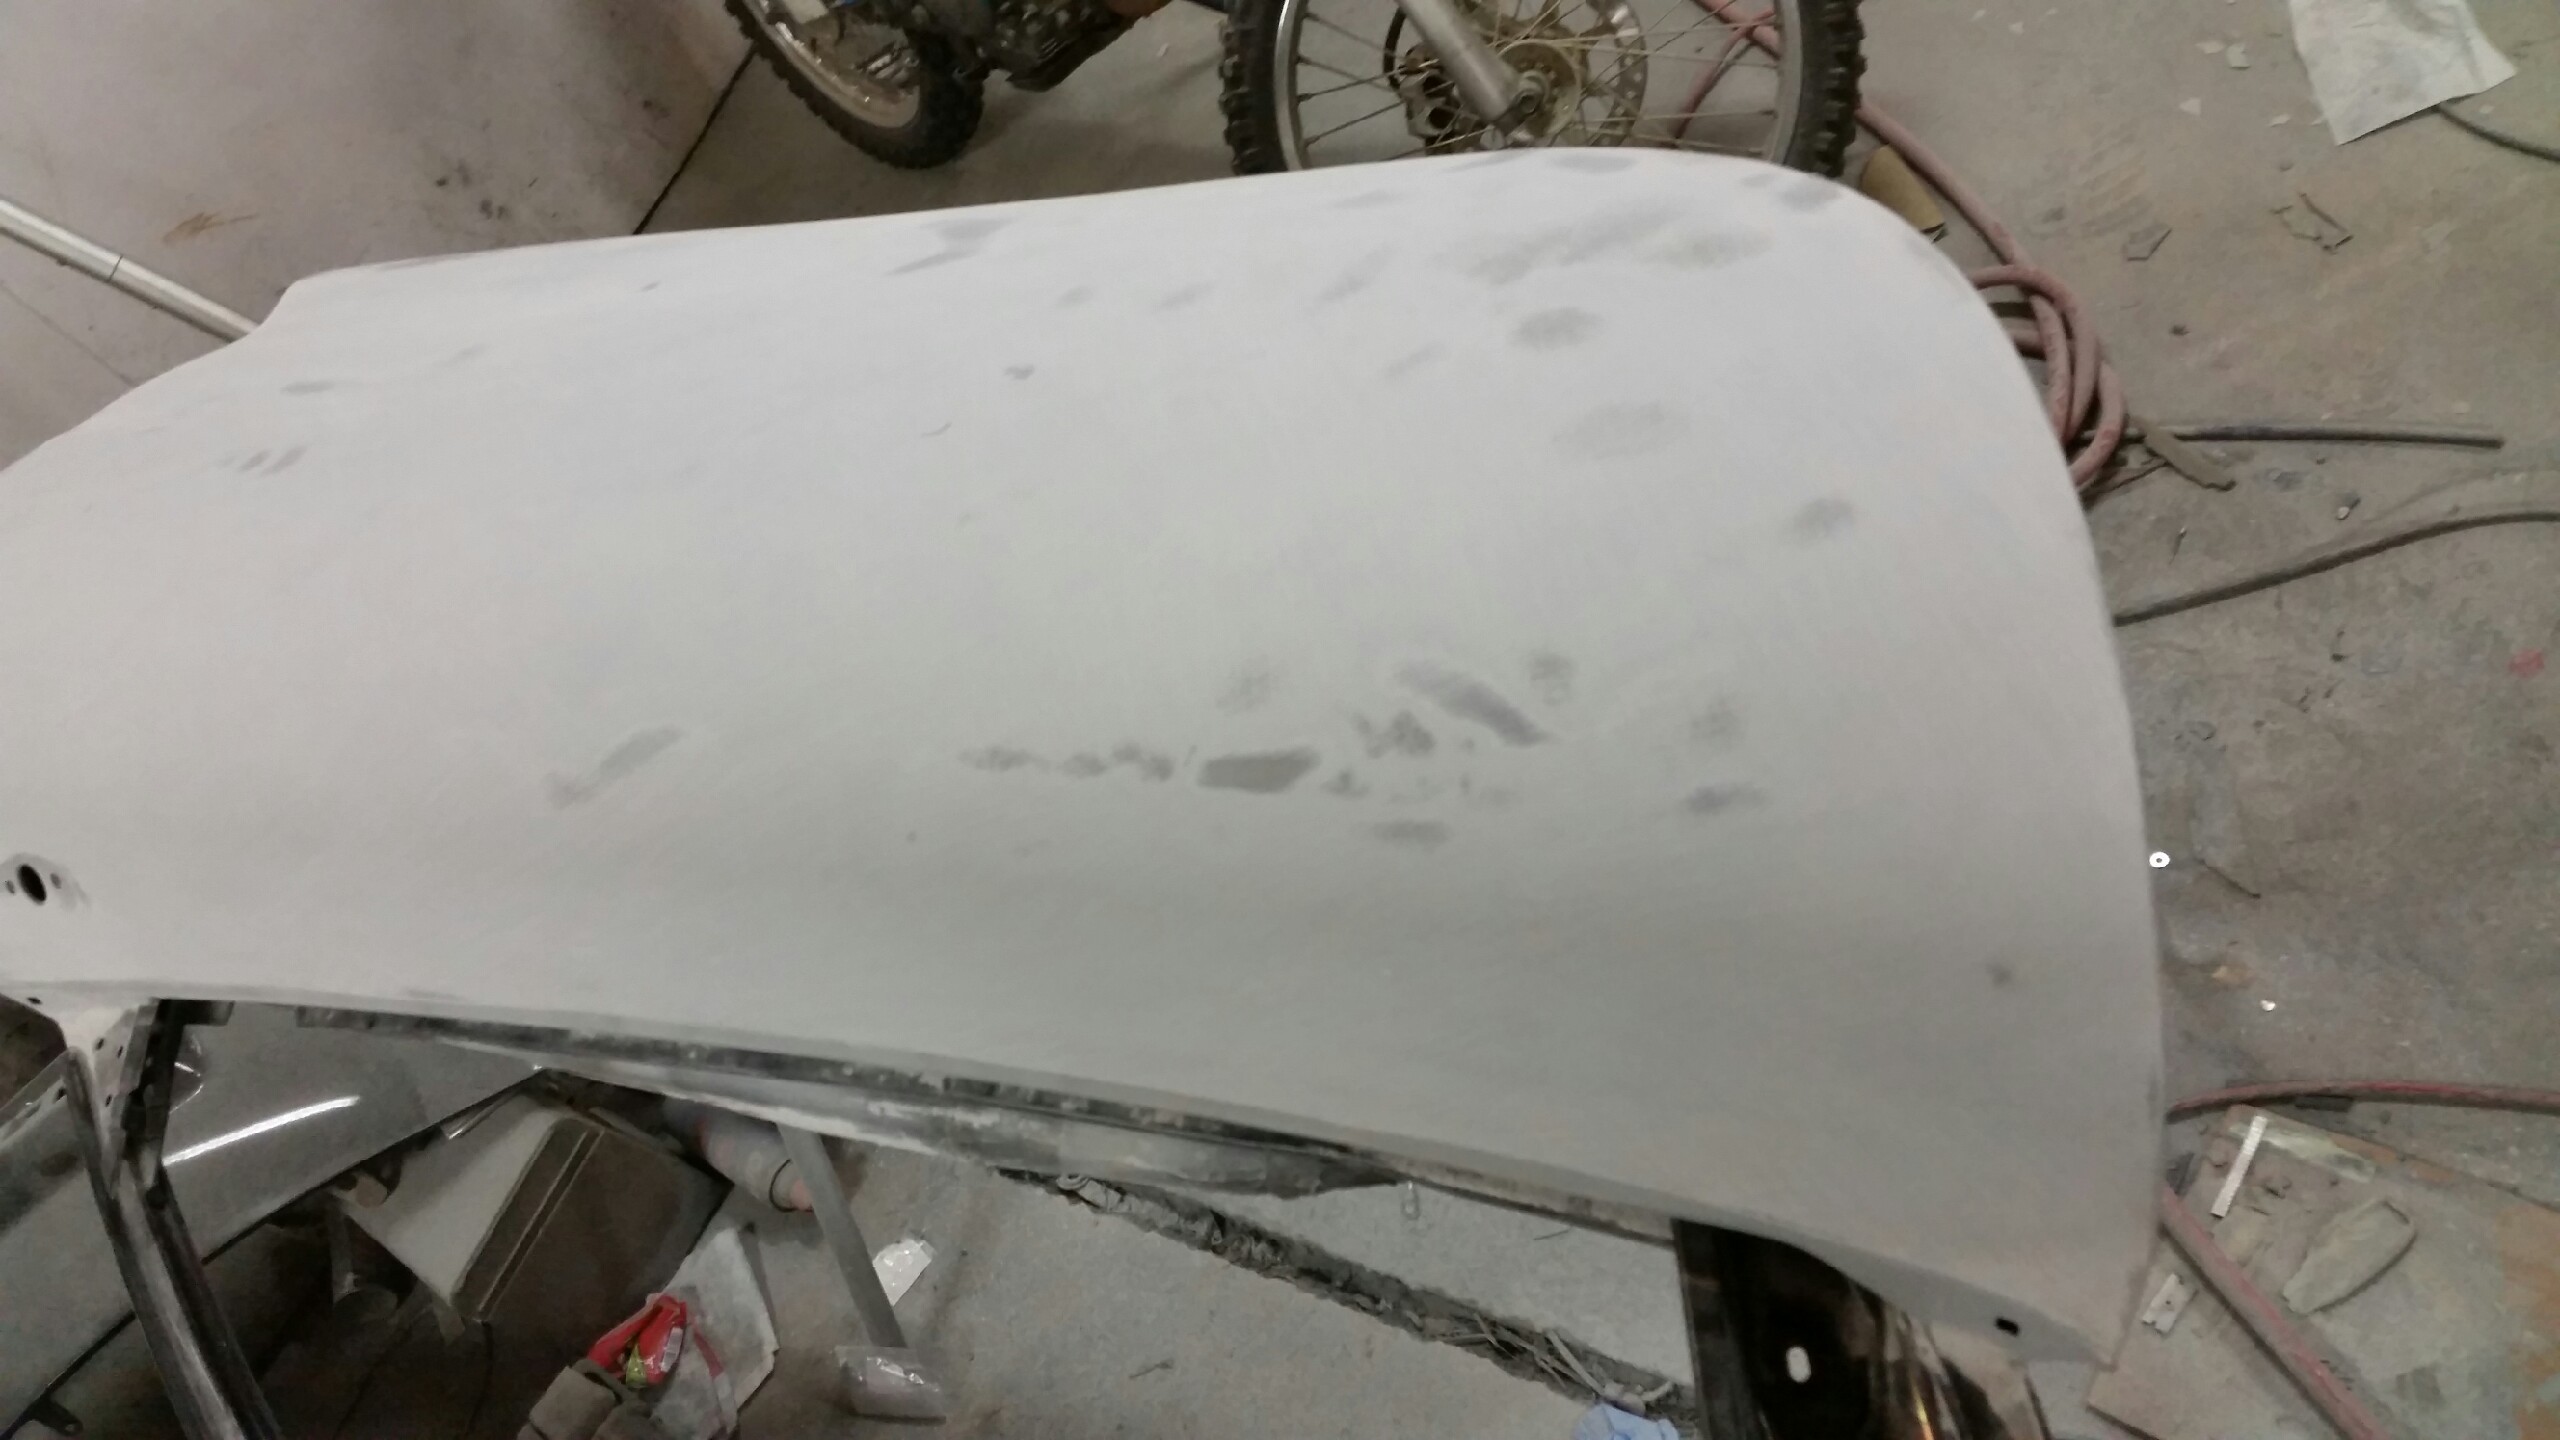
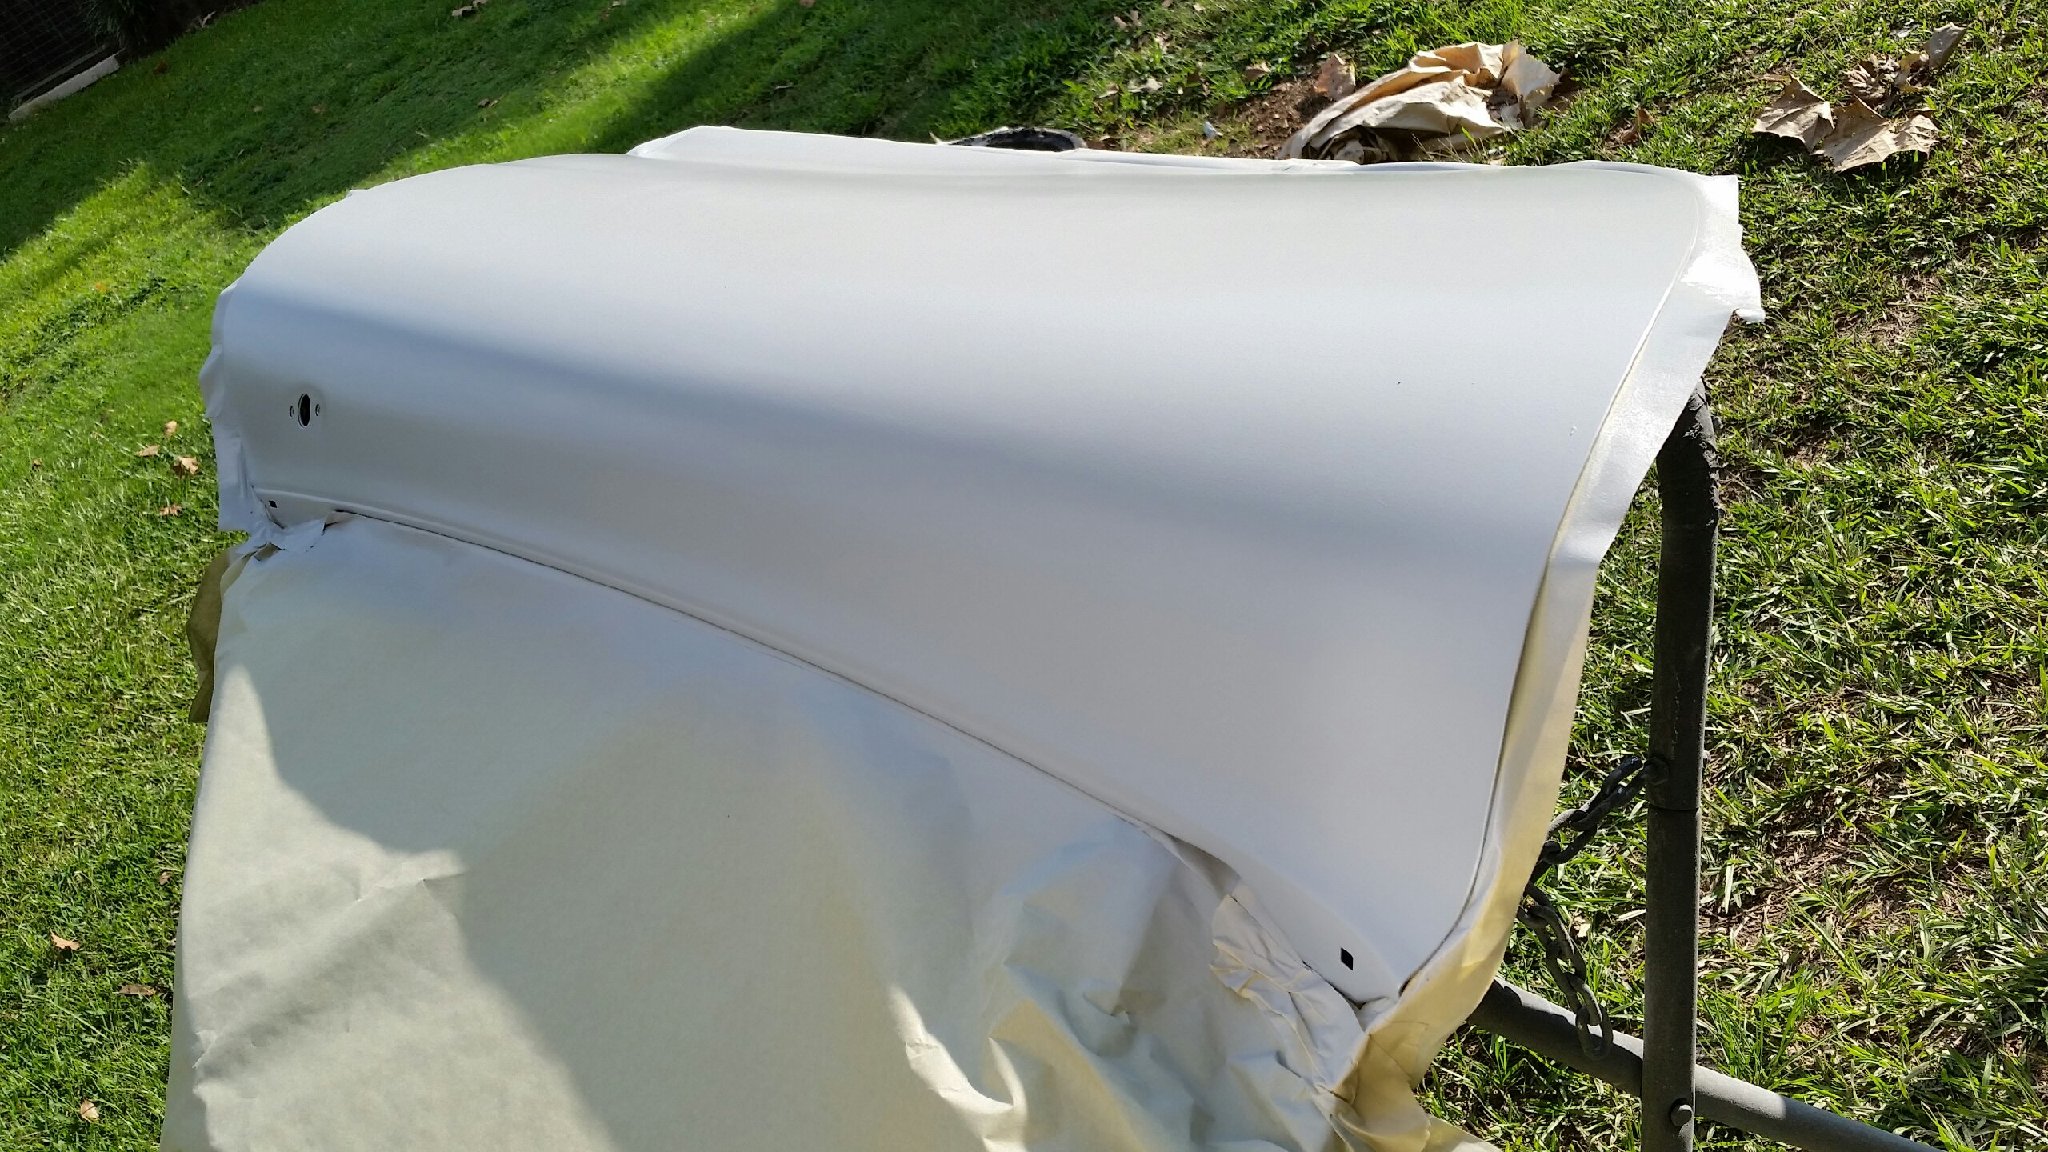
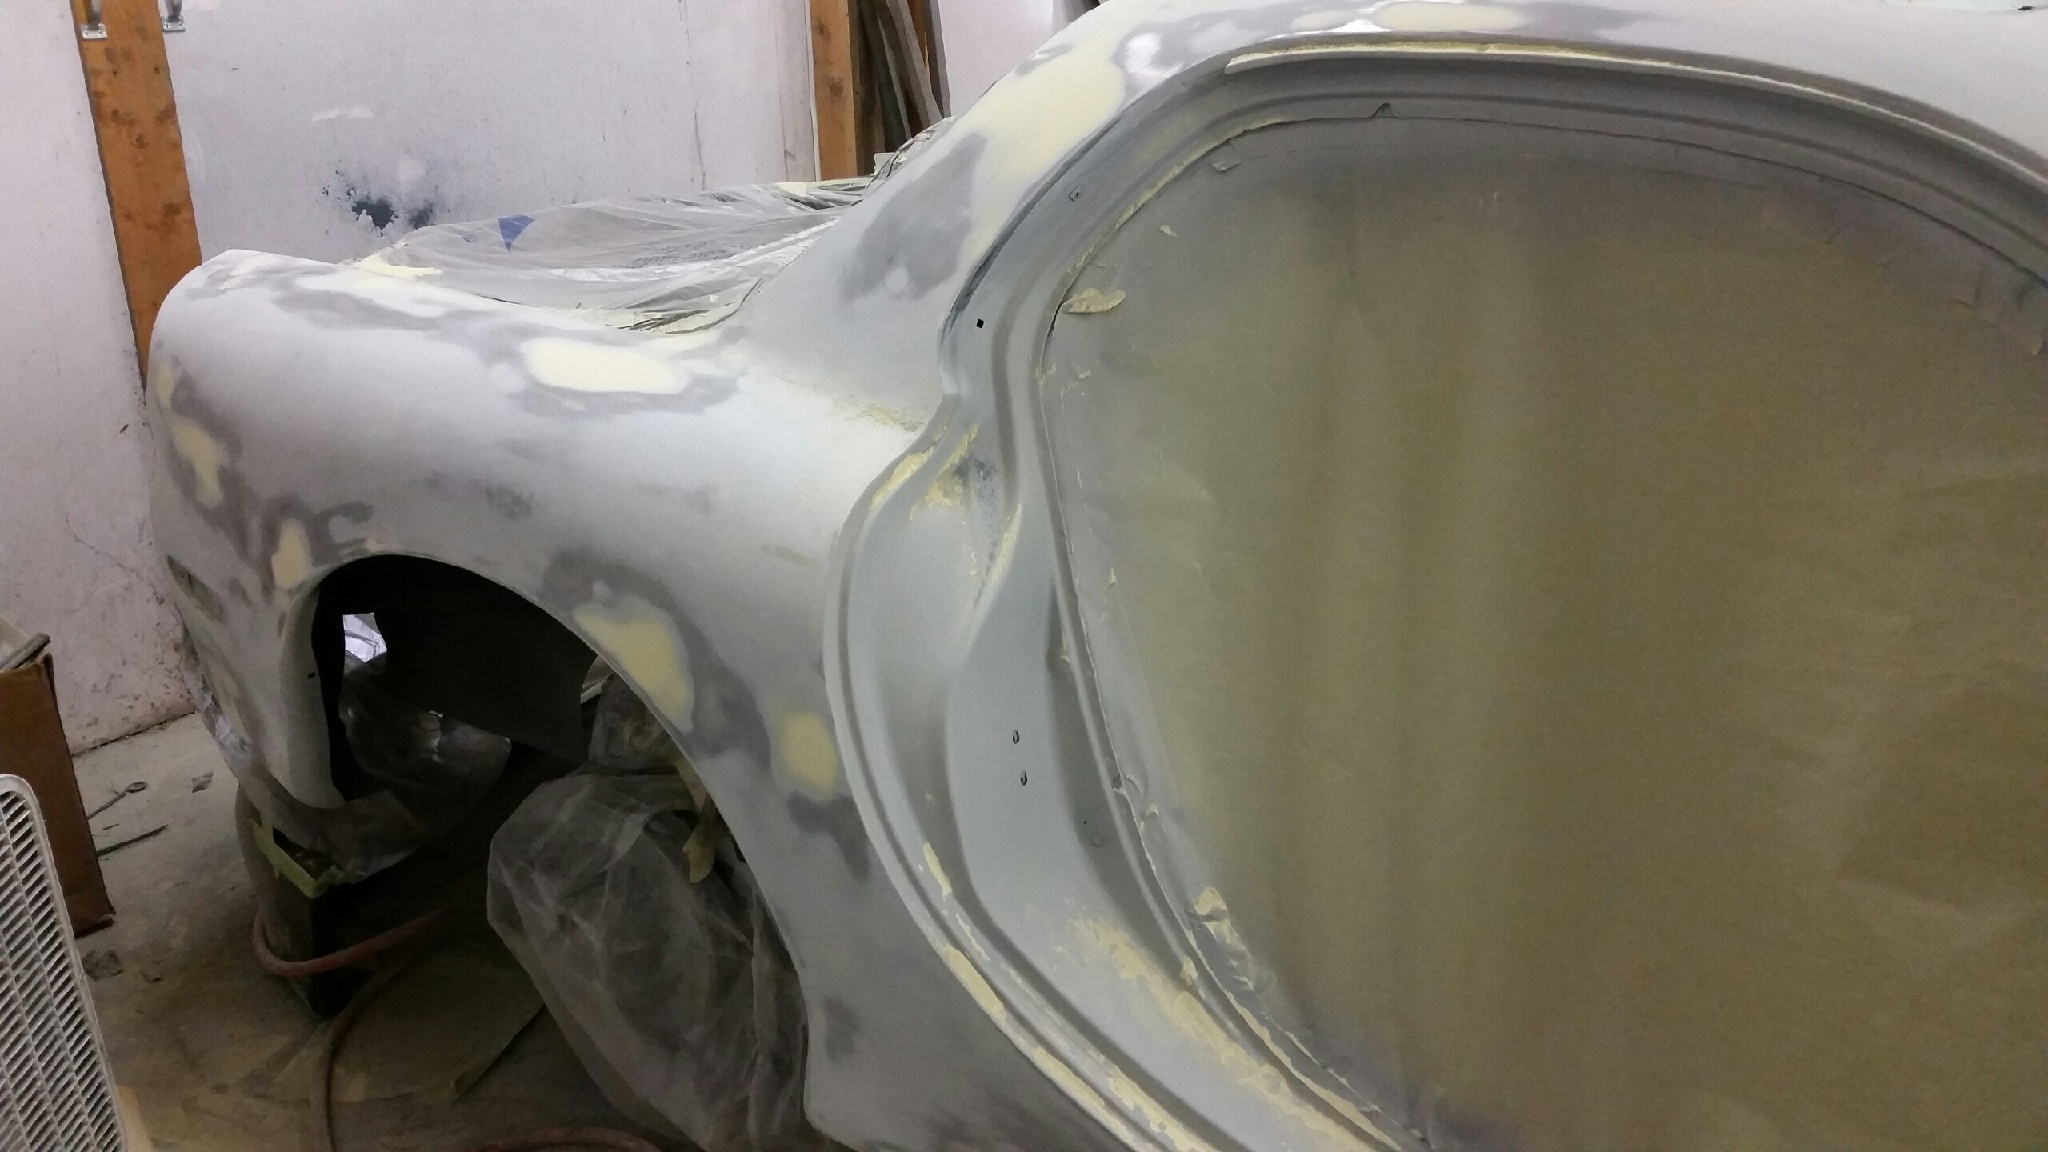
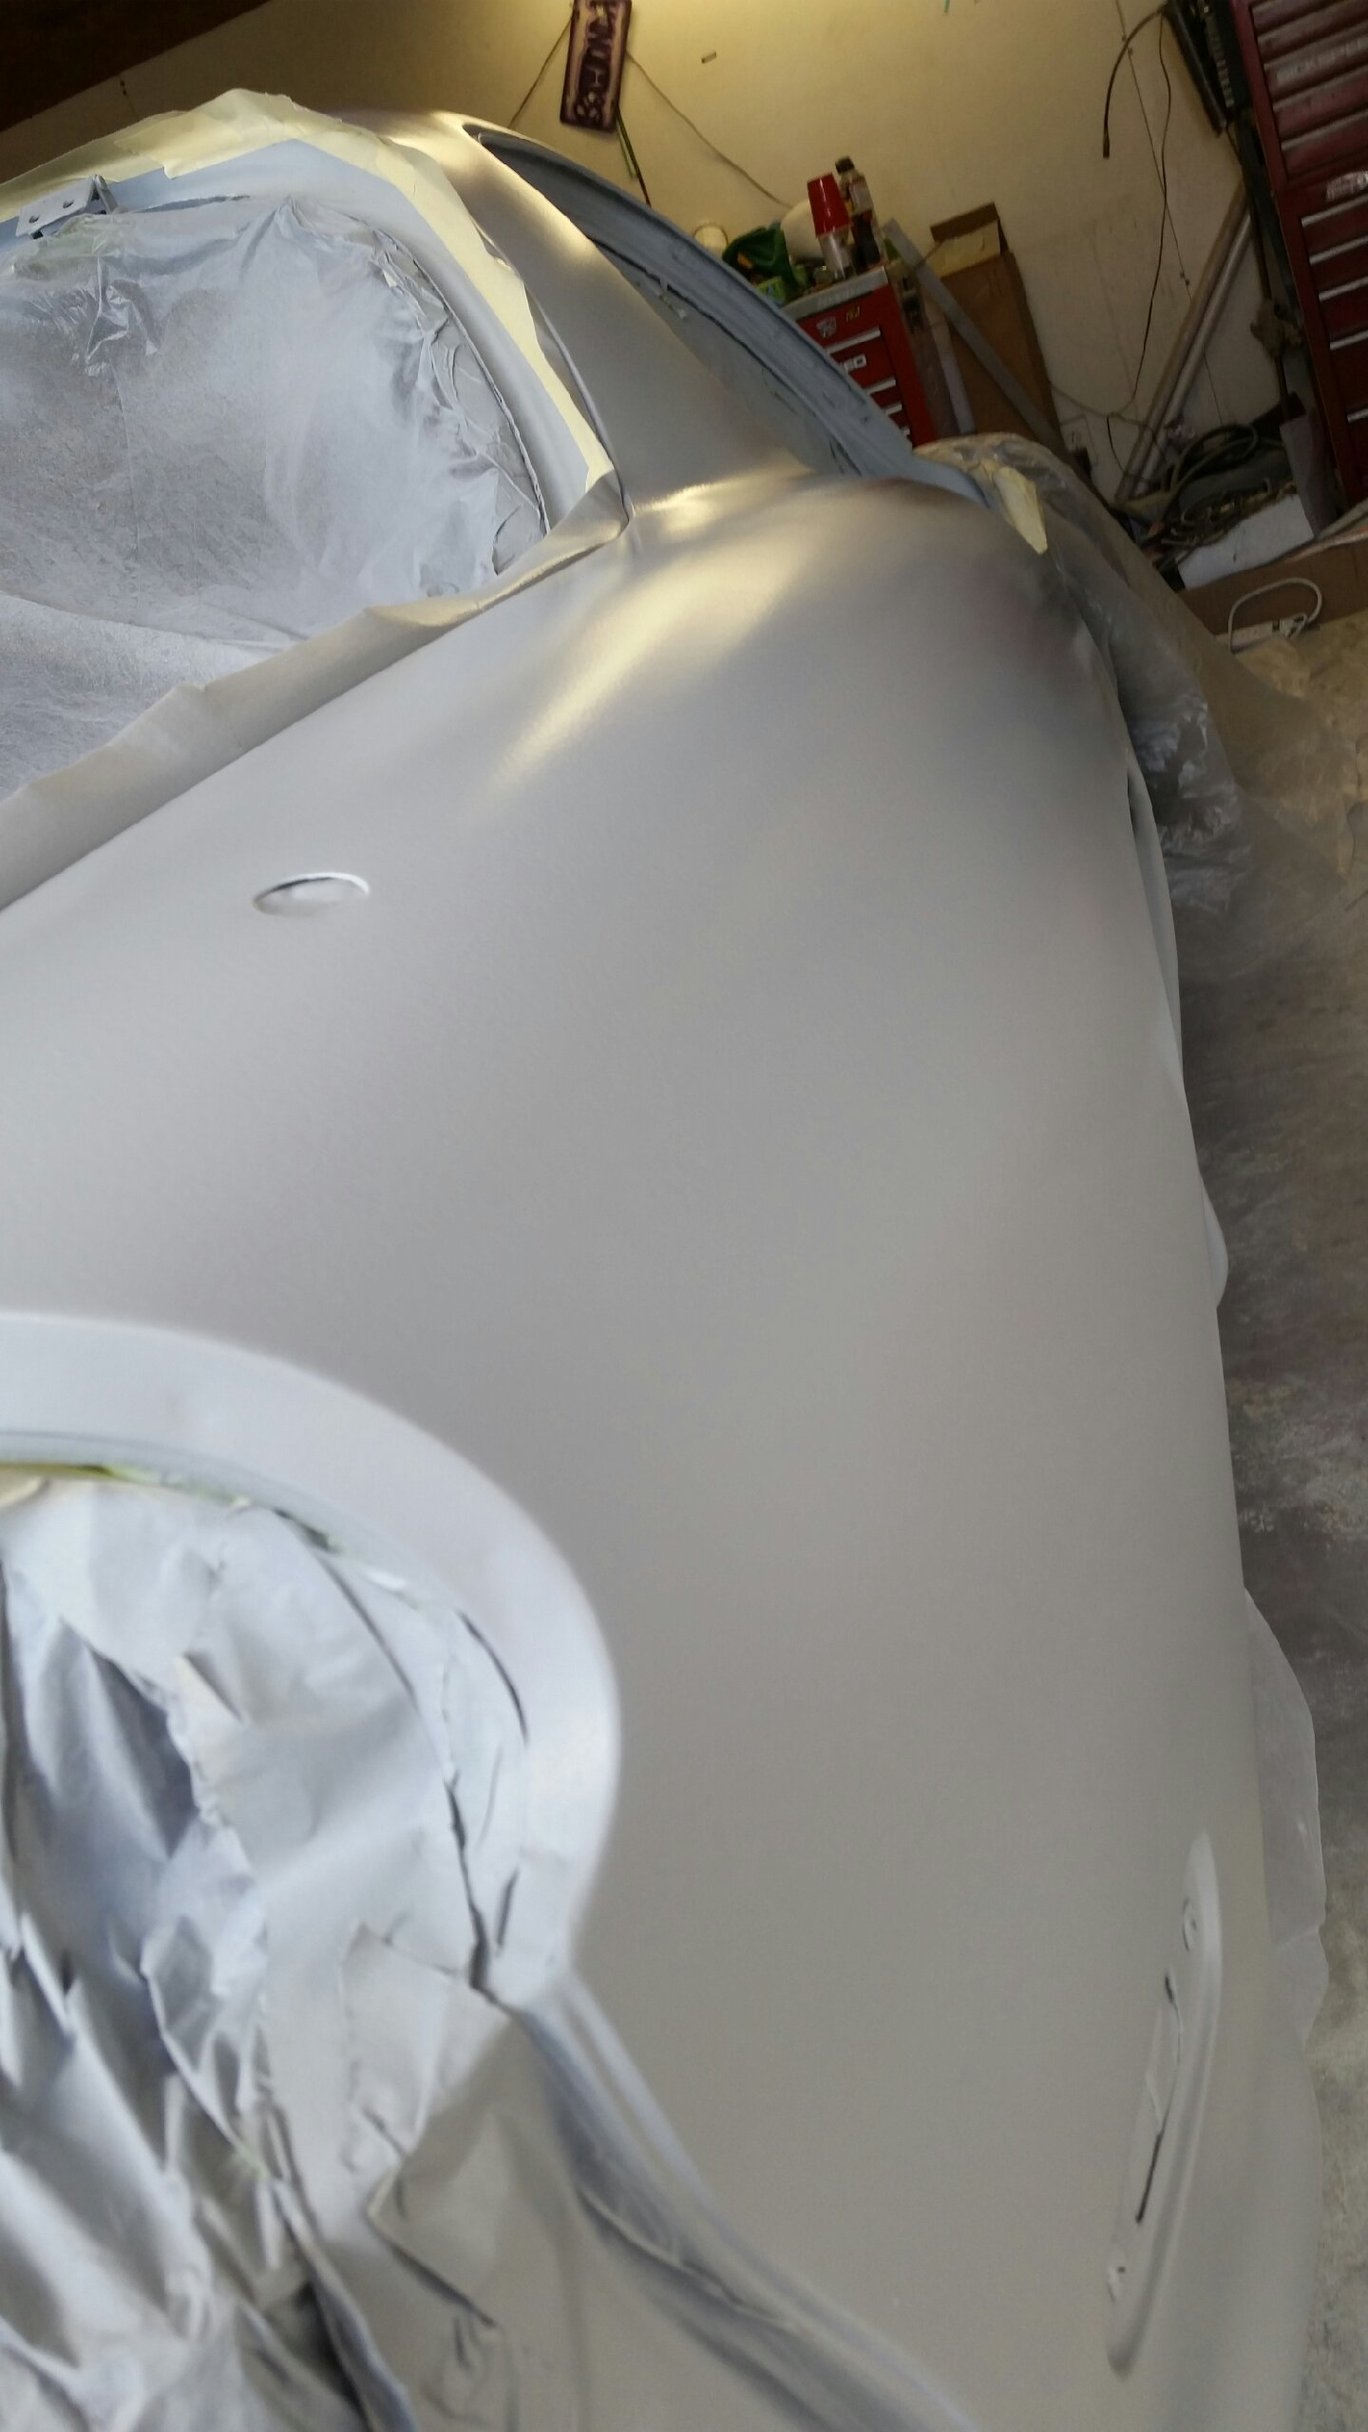
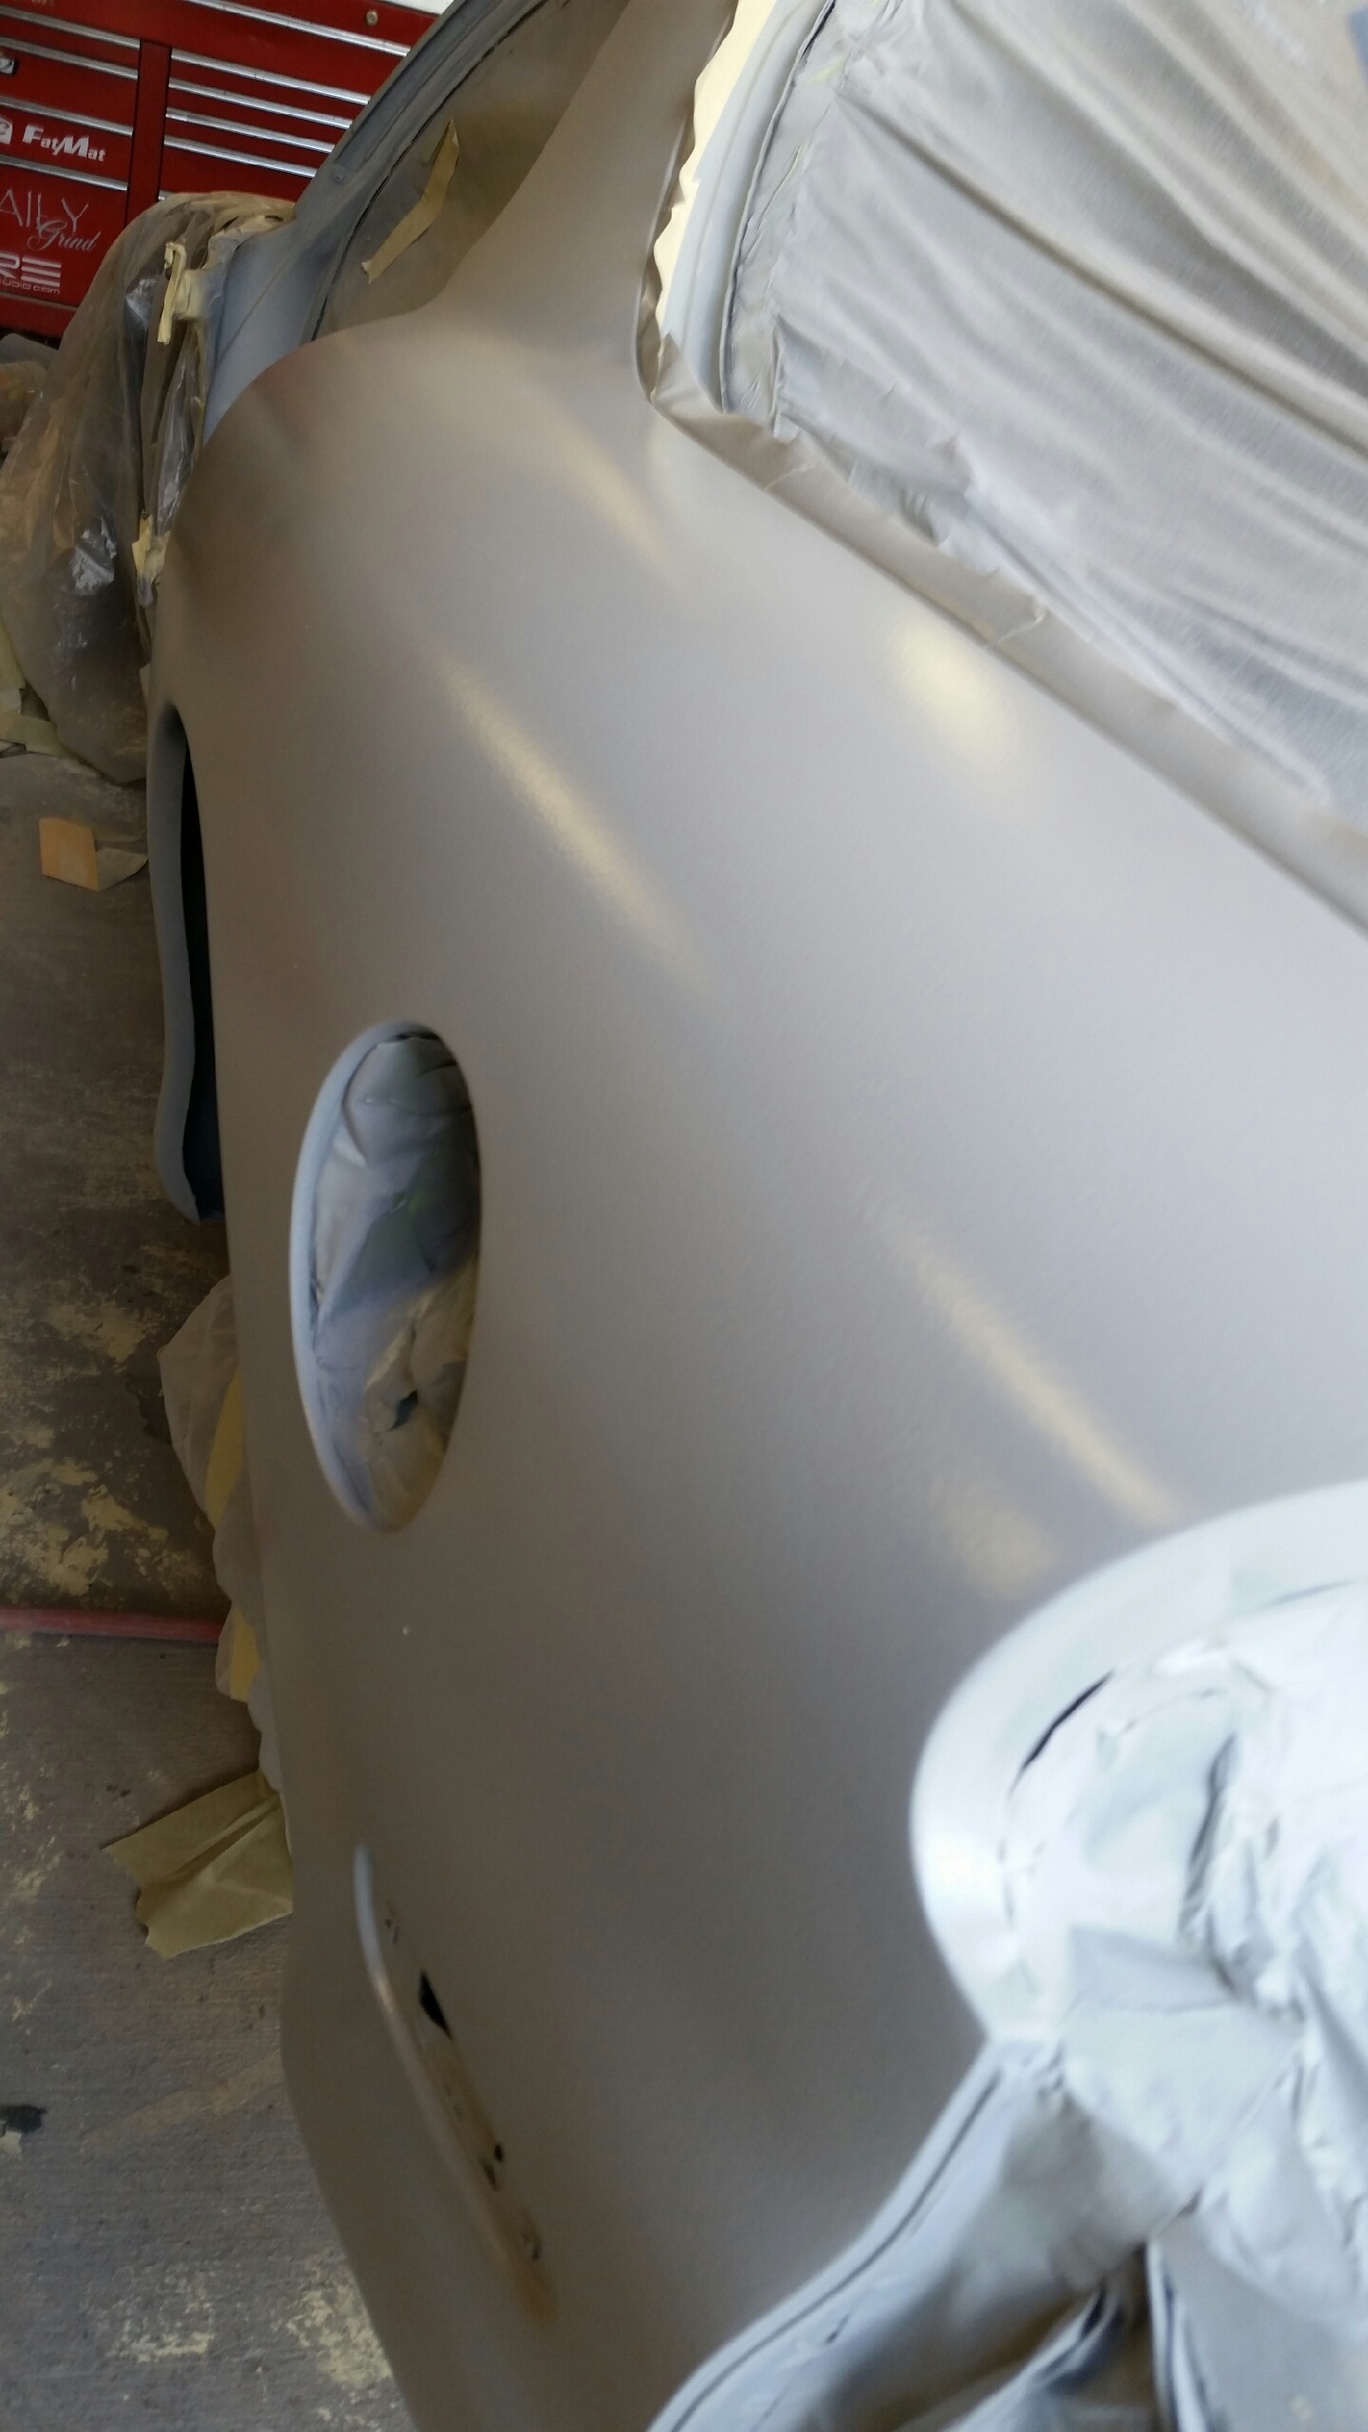
John also got a chance to put the final coat of high build primer on the front hood and fenders:
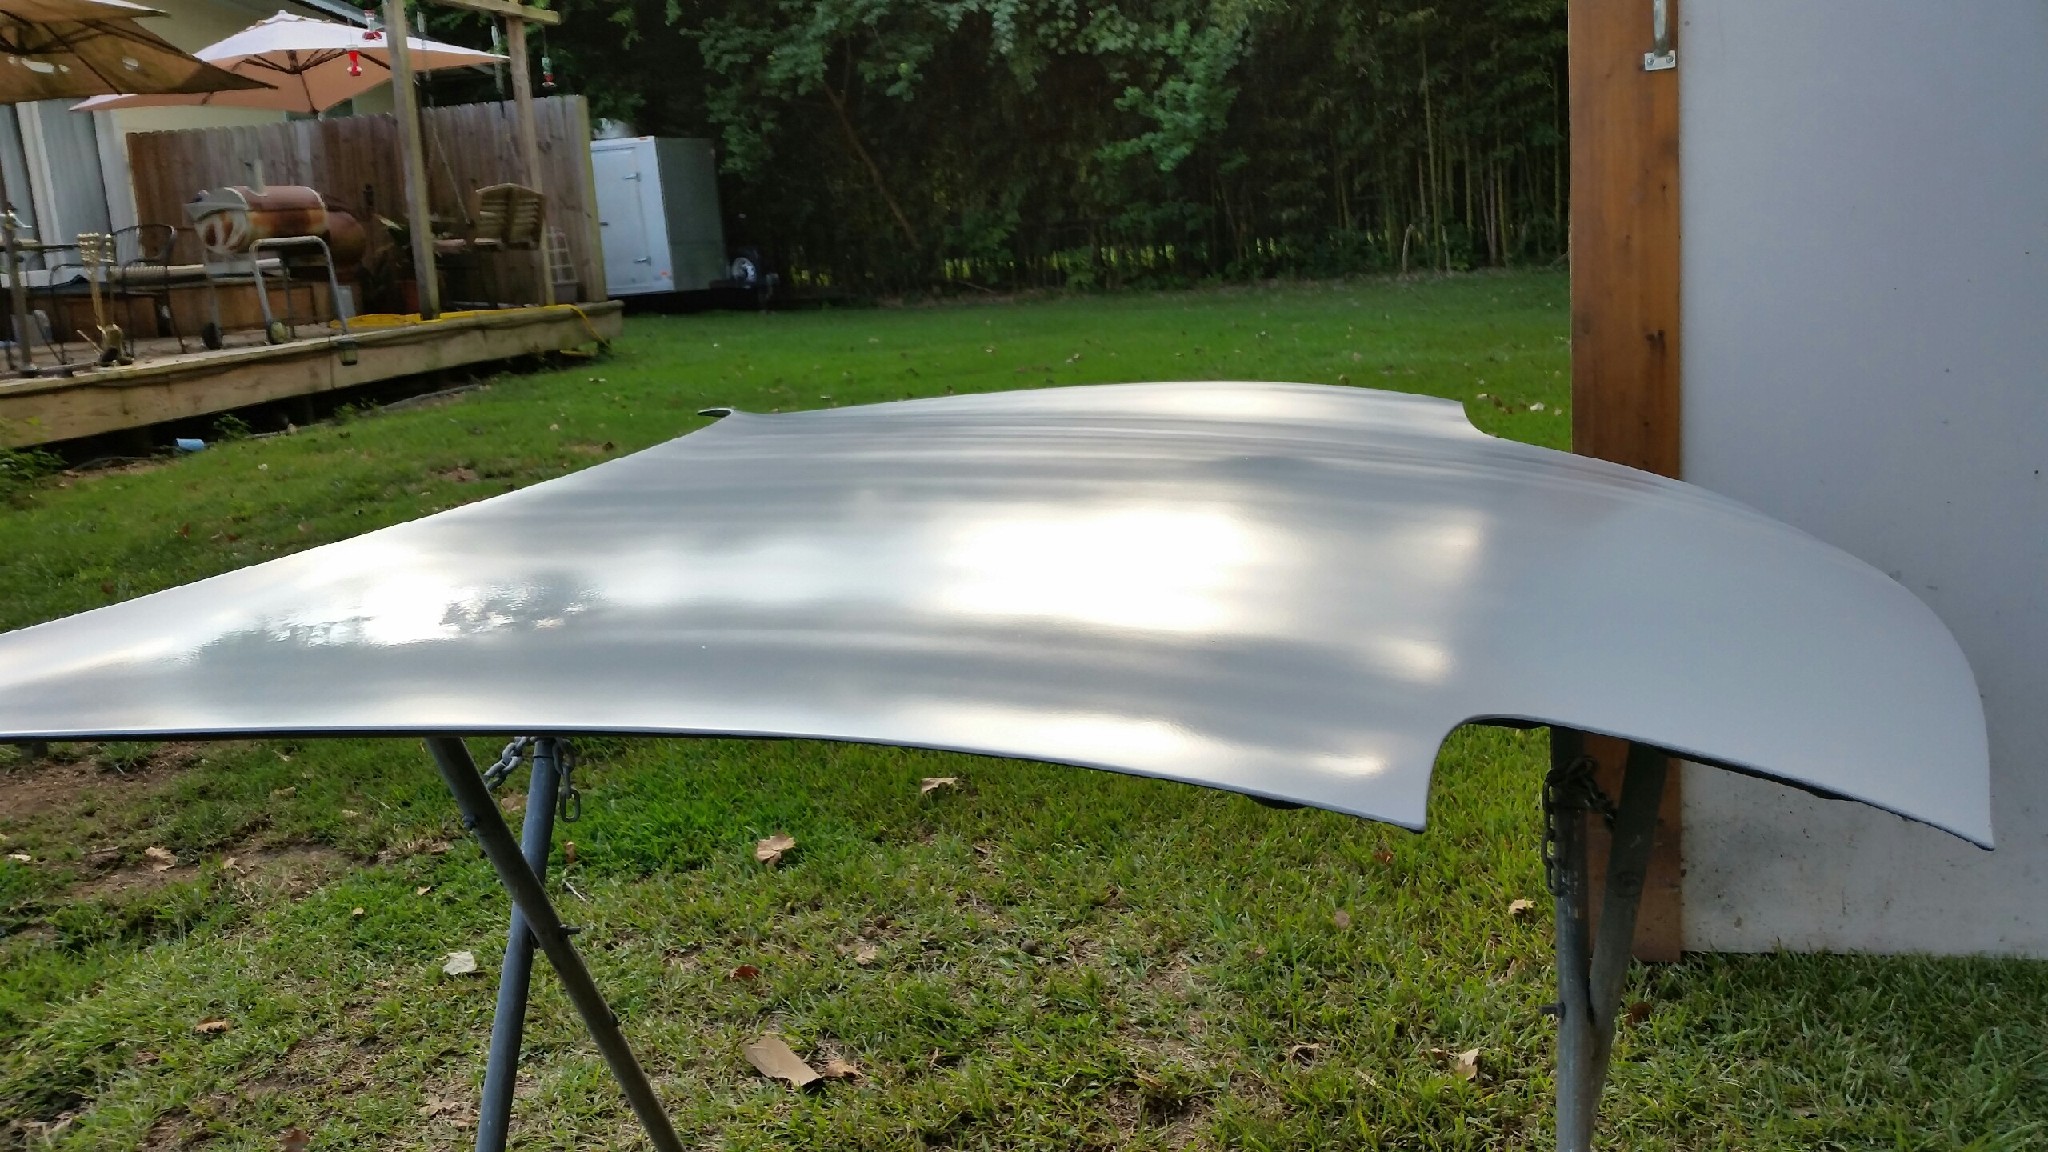
Afterwards he misted he panels with a light black guide coat to help with final blocking.
Excited to see the final outcome for the panels above
The larger patches of filler down by the wheel well was caused by rolling the fenders. I knew the FD front fenders were flimsy but apparantly it's trivial to pull out the sheet metal of the fender behind the lip and over the side-vent. Mine was pulled and flattened out a little bit of the curvature. When I was down last week John had to feel the pull. I have to admit I barely felt anything if I felt anything at all, but John did so he new it needed to be skimmed and blocked or it may be more obvious under black paint.
-------------------
August 18, 2014, 07:48:28 AM
One of the first things he did earlier in the week was a big solid for me. I bought the car with the defrost vents removed and half broken. 2 summers ago I tried installing the old left side that was still in good shape along with a brand new right side and a new center piece. I don't know if it was just me, but it turned out to be an impossible feat to accomplish with the window installed. Those things take a serious push to clip in and the window restricted and real leverage. All I ended up accomplishing was breaking up the nozzle clips and ruining them. So... fast forward to last week. I sent John a care package of new Mazda parts and he went ahead and installed my defroster vents while the front windshield is out.
It may not look like a super exciting picture, but it is DEEPLY satisfying to me as the old attempted install really pissed me off.
John also got a chance to put the final coat of high build primer on the front hood and fenders:
Afterwards he misted he panels with a light black guide coat to help with final blocking.
Excited to see the final outcome for the panels above
09-23-14, 04:59 PM
#12
August 20, 2014, 07:22:33 AM
John got serious over the last two days
Backside of the hatch primed after smoothing the welds and sanding:
Hatch Primed:
Guide coat applied:
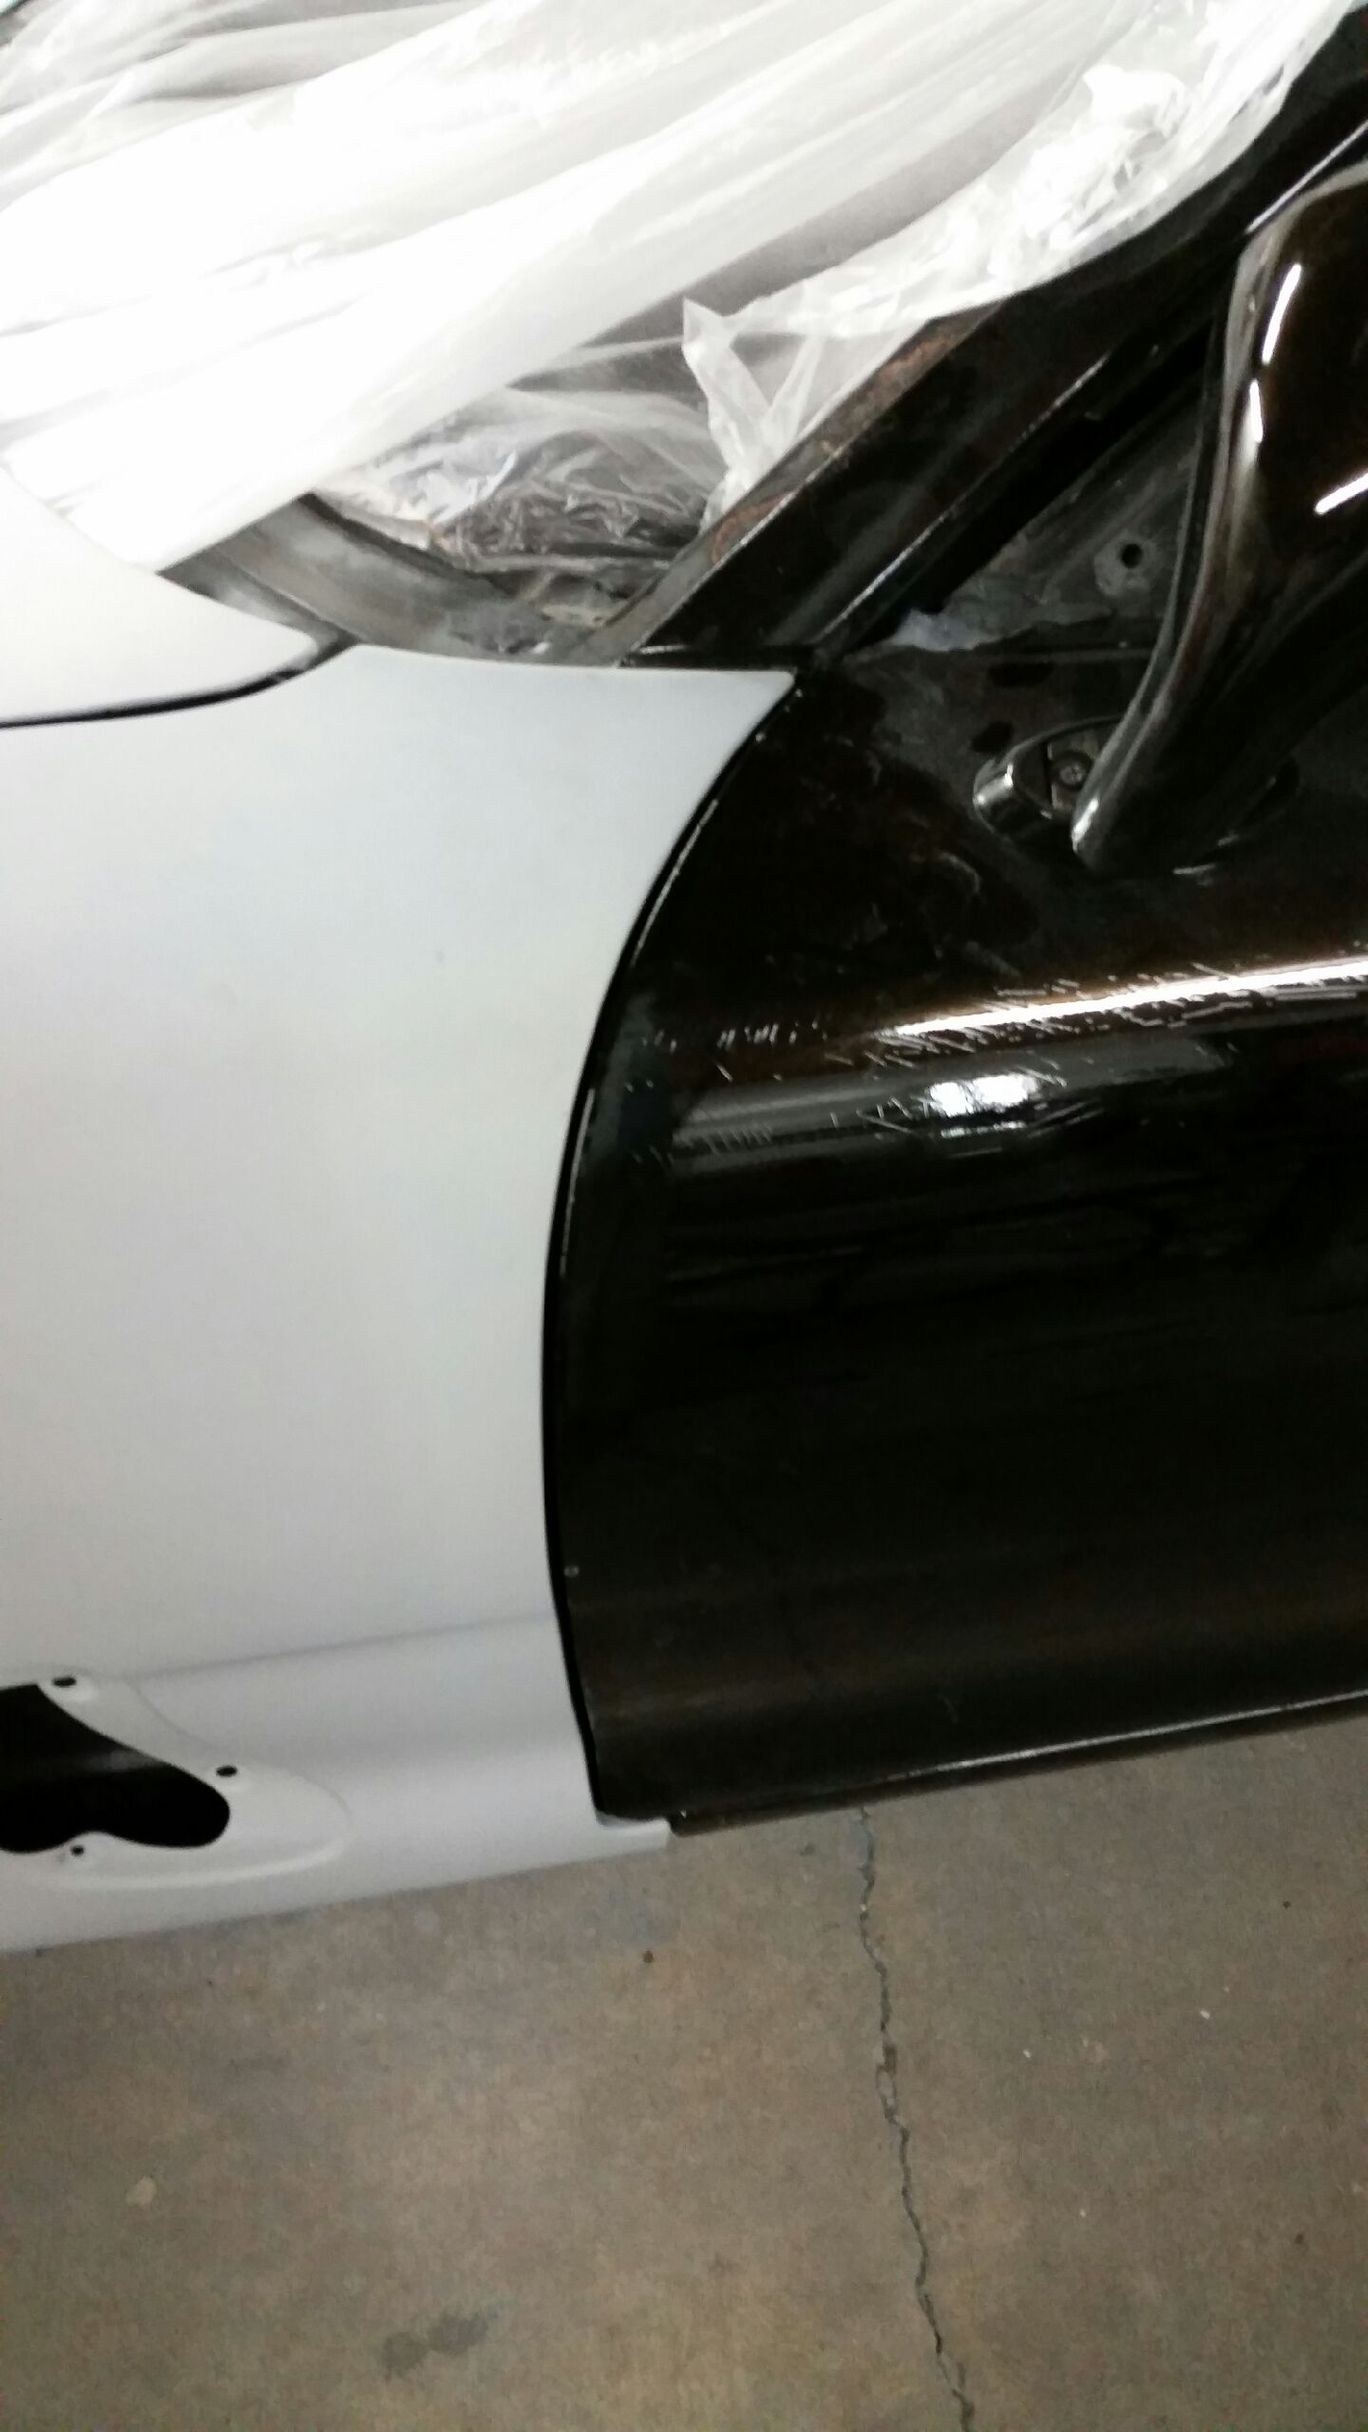
This was funny. John pulled my mirrors to prep them and the doors for paint and found out they've never been removed for any of the paint jobs this car has received:
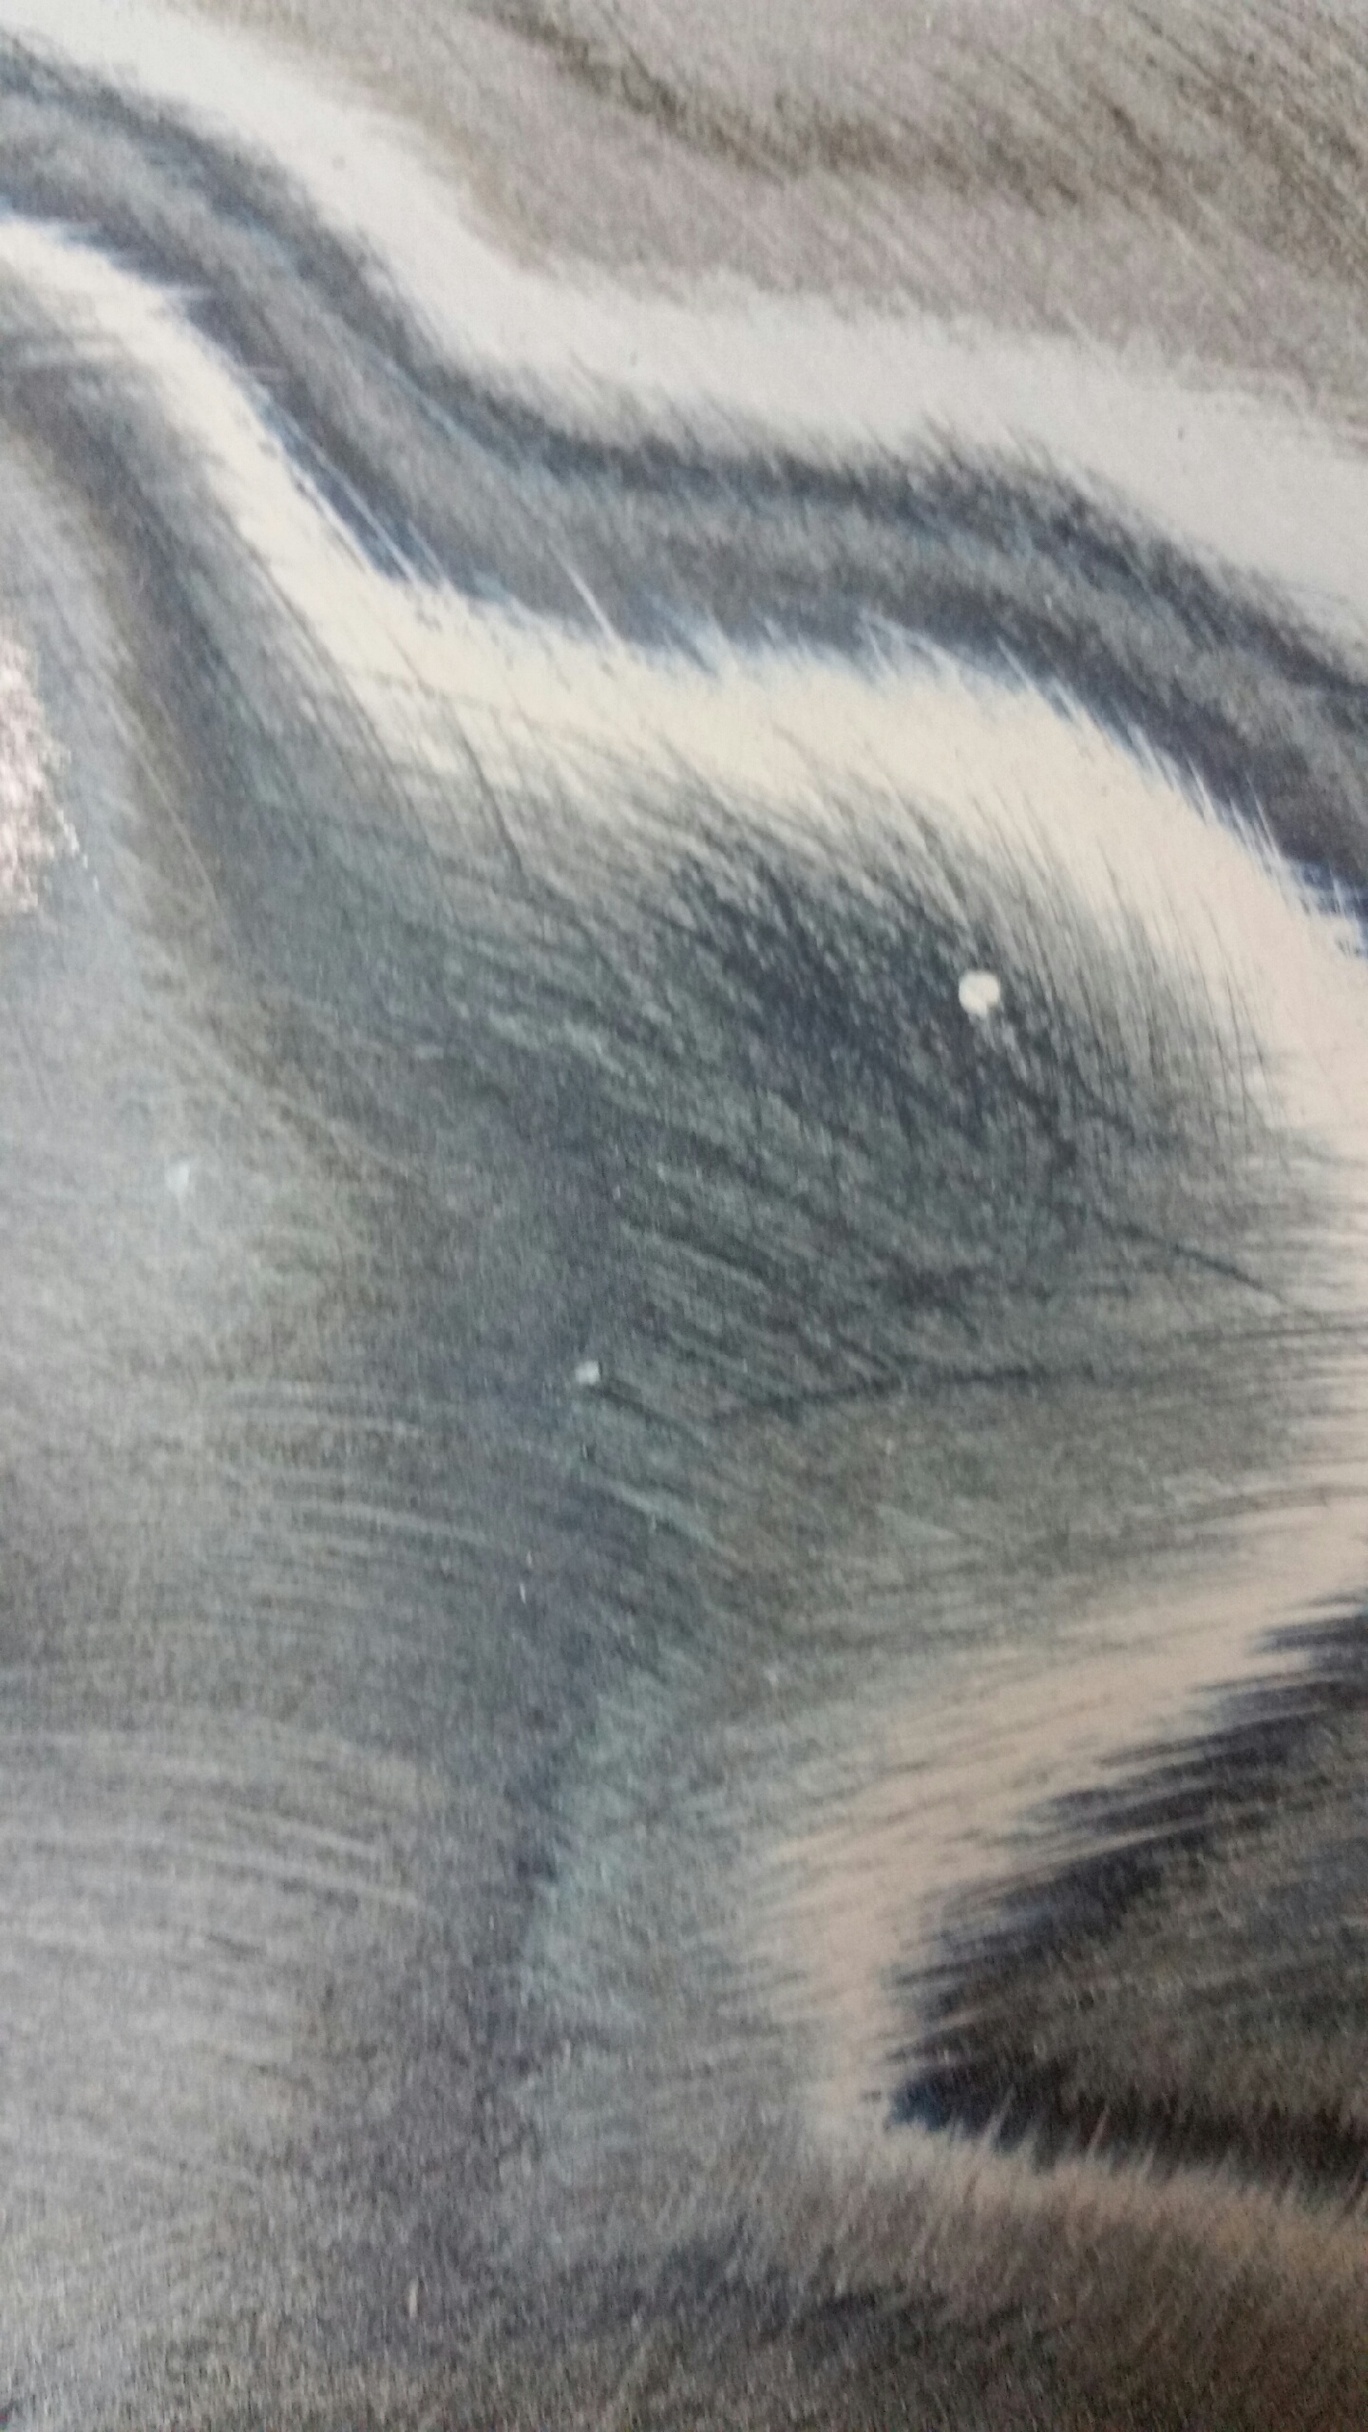
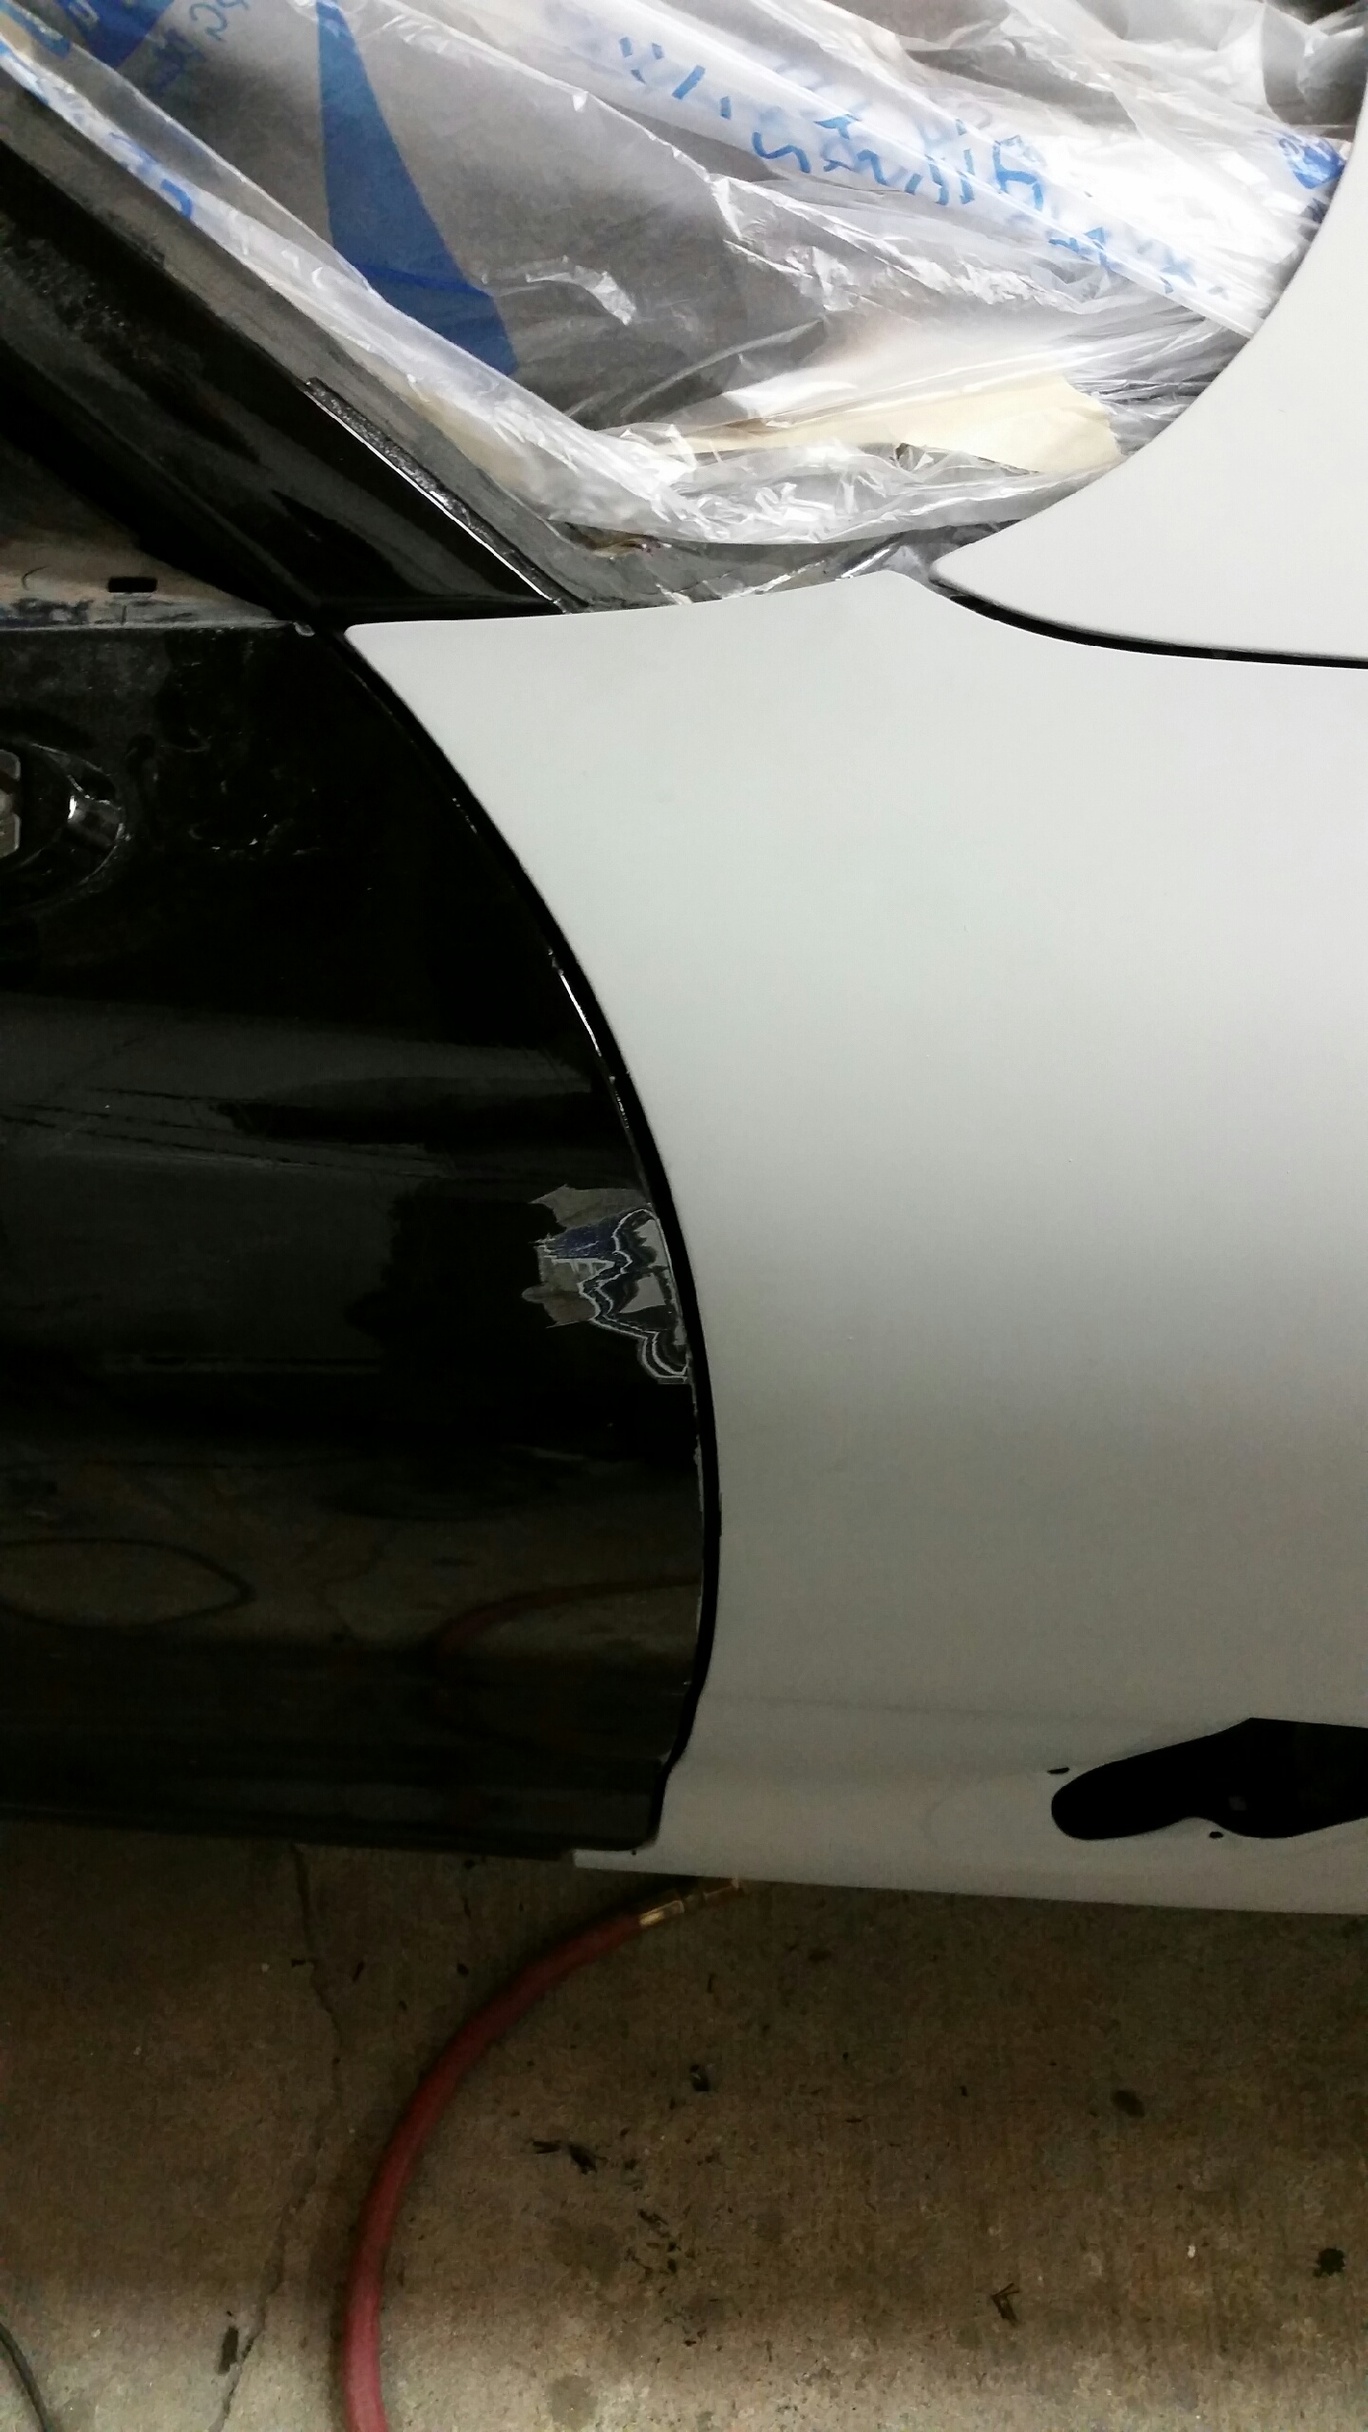
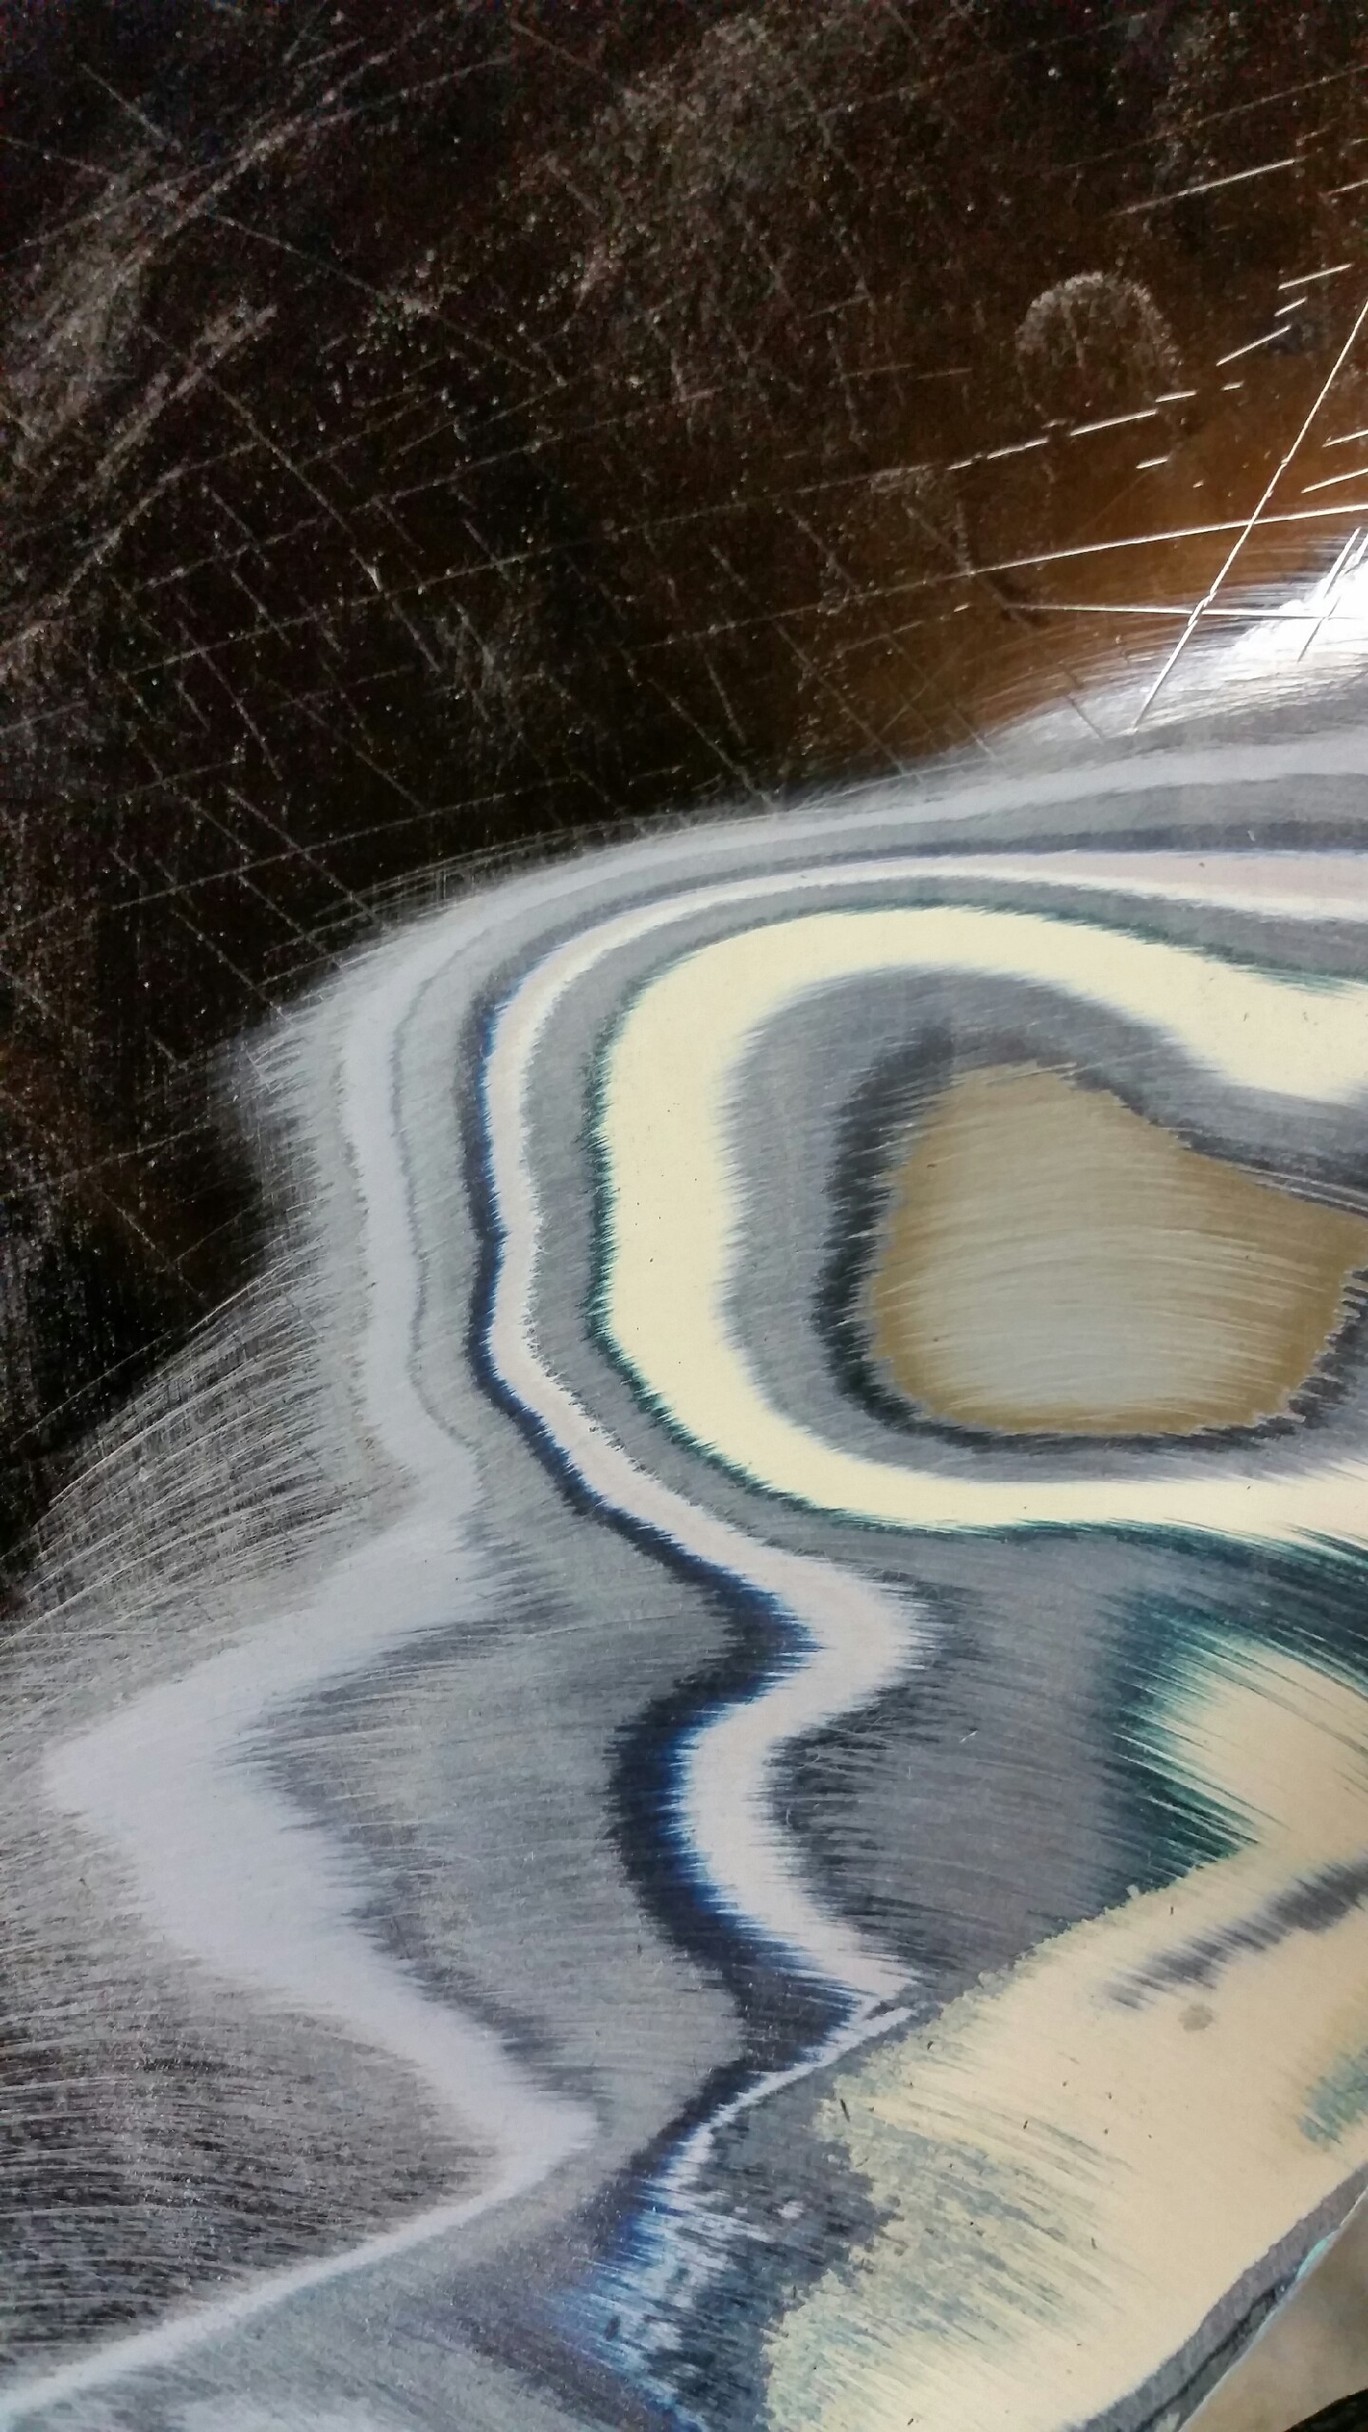
Stripping the doors and finding filler. Hoping it's just dings that were filled. Also, check out the close up on the old defective paint!:
Stripping the driver's door continued:

Another happy day for me
-------------------
August 22, 2014, 08:17:06 AM
John continued work on the driver's side door.
He found out that the door had a pretty respectable ding in it that had been filled with bondo along with some surface rust that got into the metal before they slapped on the bondo.
Surface rust:
Bondo:
Finished stripping:
John's planning on fixing the dent/ding with some metal tweaking and a thin skim of filler. Looking forward to seeing the results!
John got serious over the last two days
Backside of the hatch primed after smoothing the welds and sanding:
Hatch Primed:
Guide coat applied:
This was funny. John pulled my mirrors to prep them and the doors for paint and found out they've never been removed for any of the paint jobs this car has received:
Stripping the doors and finding filler. Hoping it's just dings that were filled. Also, check out the close up on the old defective paint!:
Stripping the driver's door continued:
Another happy day for me
-------------------
August 22, 2014, 08:17:06 AM
John continued work on the driver's side door.
He found out that the door had a pretty respectable ding in it that had been filled with bondo along with some surface rust that got into the metal before they slapped on the bondo.
Surface rust:
Bondo:
Finished stripping:
John's planning on fixing the dent/ding with some metal tweaking and a thin skim of filler. Looking forward to seeing the results!
09-23-14, 04:59 PM
#13
August 25, 2014, 08:25:18 AM
As usual, John continues to bust *** and worked on my door through the weekend.

Epoxy primer has been laid and it's ready to be leveled.
-------------------
August 28, 2014, 07:22:21 AM
John kicked some more *** last night and made some serious moves working on the doors.
Here's the driver's door blocked and leveled:
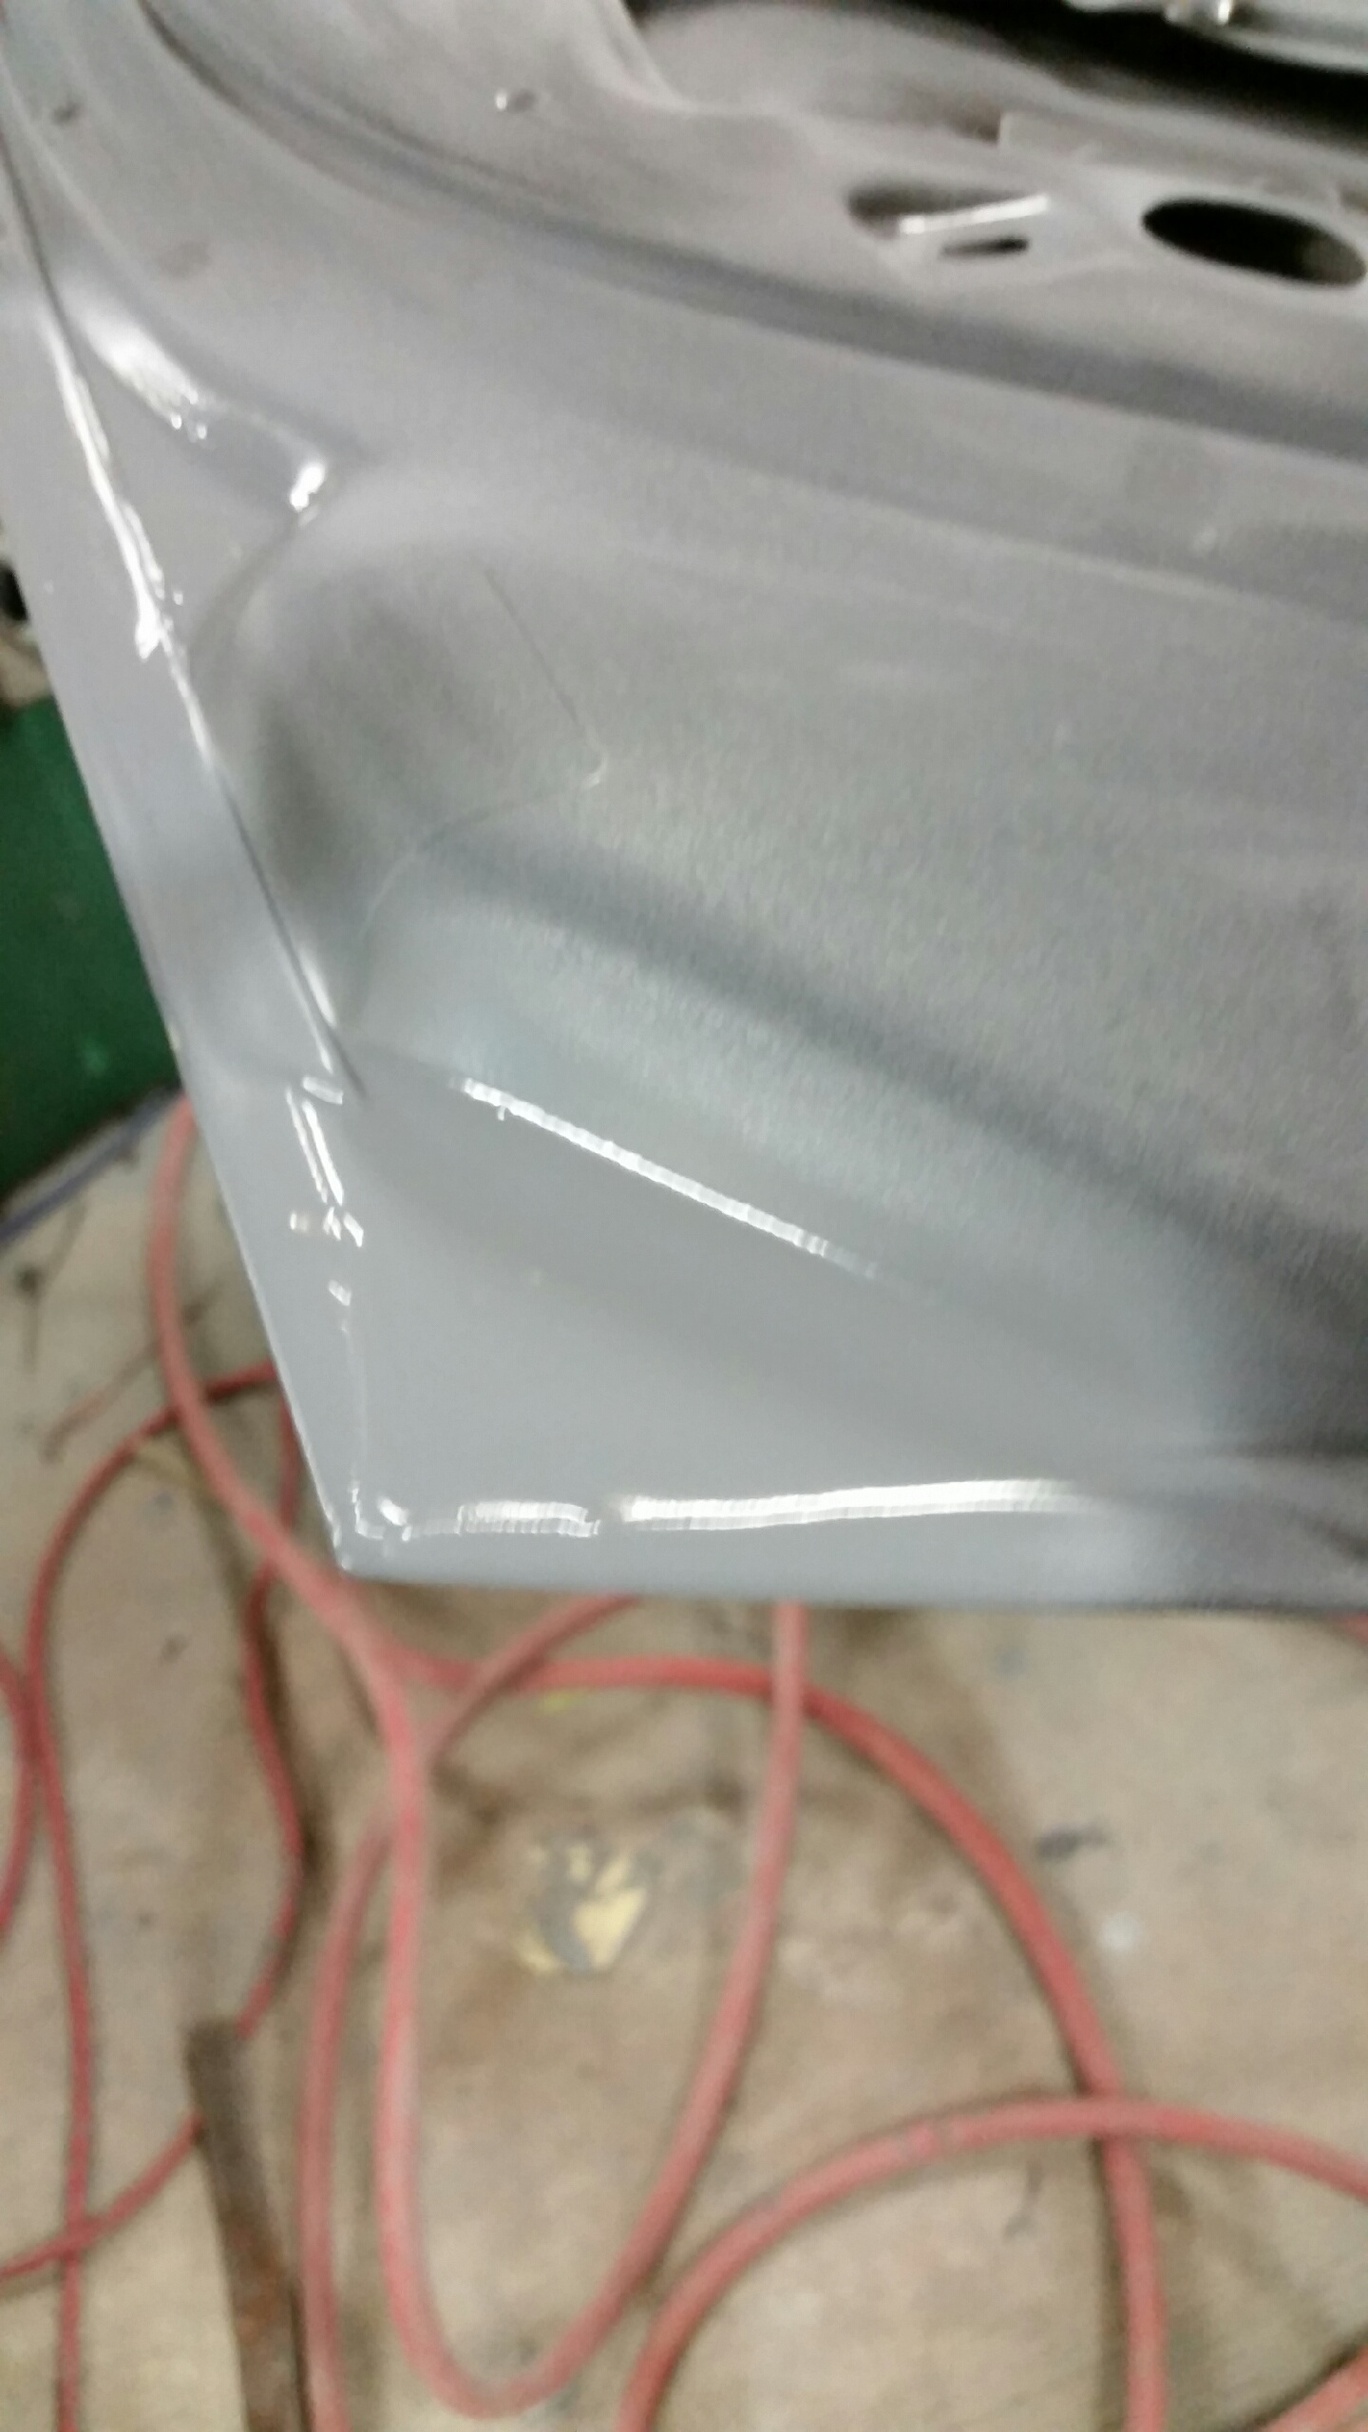
More pictures of the driver's door showing a dent John found and repaired:
Showing me the 'eyebrow' of the dent. It's been massaged and is a little flat as a result but John plans to skim coat it. After that we should be ready for paint!
Passenger door stripped and epoxy primed.
Oh and John saw this drop off the paint truck and picked it up off the road for me!
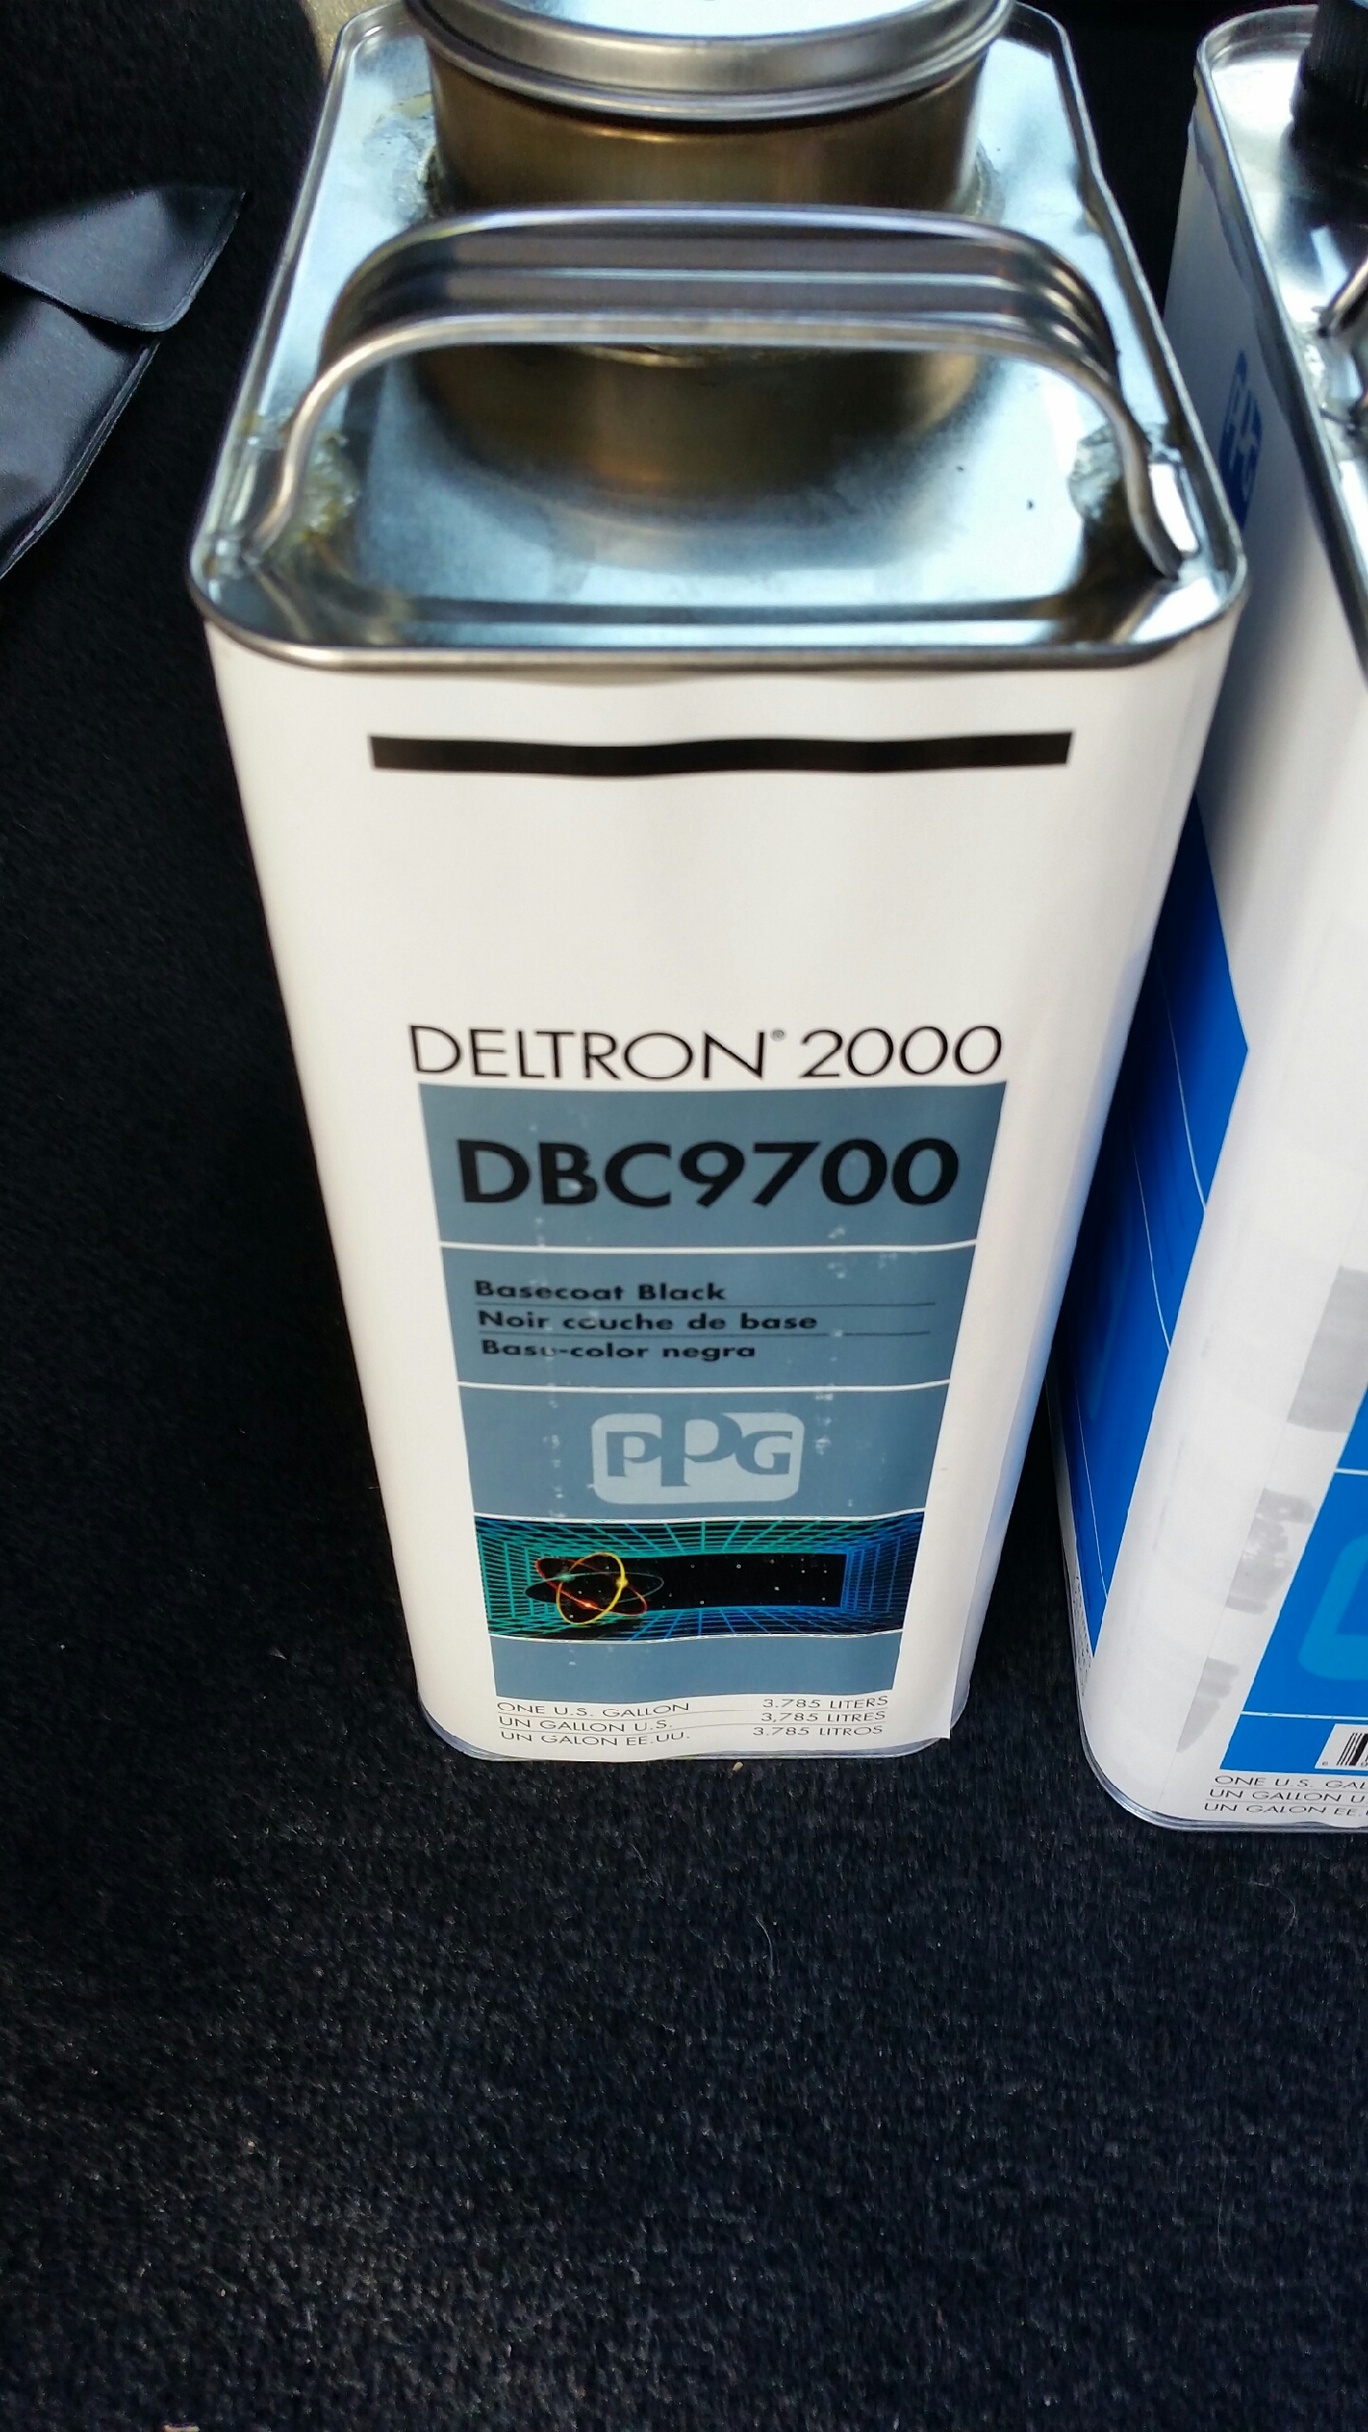
Well, the truck part isn't accurate, but he did get me a steal of a price through some great contacts! Excited about the paint as its higher end than we originally discussed.
This job is flying by! Looks like I'm not going to have to wait long before its all finished up
As usual, John continues to bust *** and worked on my door through the weekend.
Epoxy primer has been laid and it's ready to be leveled.
-------------------
August 28, 2014, 07:22:21 AM
John kicked some more *** last night and made some serious moves working on the doors.
Here's the driver's door blocked and leveled:
More pictures of the driver's door showing a dent John found and repaired:
Showing me the 'eyebrow' of the dent. It's been massaged and is a little flat as a result but John plans to skim coat it. After that we should be ready for paint!
Passenger door stripped and epoxy primed.
Oh and John saw this drop off the paint truck and picked it up off the road for me!
Well, the truck part isn't accurate, but he did get me a steal of a price through some great contacts! Excited about the paint as its higher end than we originally discussed.
This job is flying by! Looks like I'm not going to have to wait long before its all finished up
09-23-14, 05:00 PM
#14
August 29, 2014, 08:21:10 AM
More door pr0n for you junkies
Skimmed and blocked driver's door:
Blocked the passenger door to shot the low/high spots. It had a flat spot similar to the driver's side door that was near the back of the door. The door had plenty of dings. The spots that are close together near the top of the door is where John massaged the metal to push out the flat spot. Nothing major to report.
Second skim and block of the driver's side door:
At this point John's very close to final priming the driver's side door. He said he's got a couple things to touch up then he'll shoot the final primer. The passenger door needs a little more work but I expect John will wrap up the doors next week


 09-23-14, 05:02 PM
#16
September 10, 2014, 09:09:44 AM
Hey guys
Sorry for the lack of updates. I got hit with some food poisoning or a stomach virus on Sunday night and I'm just getting back on my feet. Luckily John has been going full force though
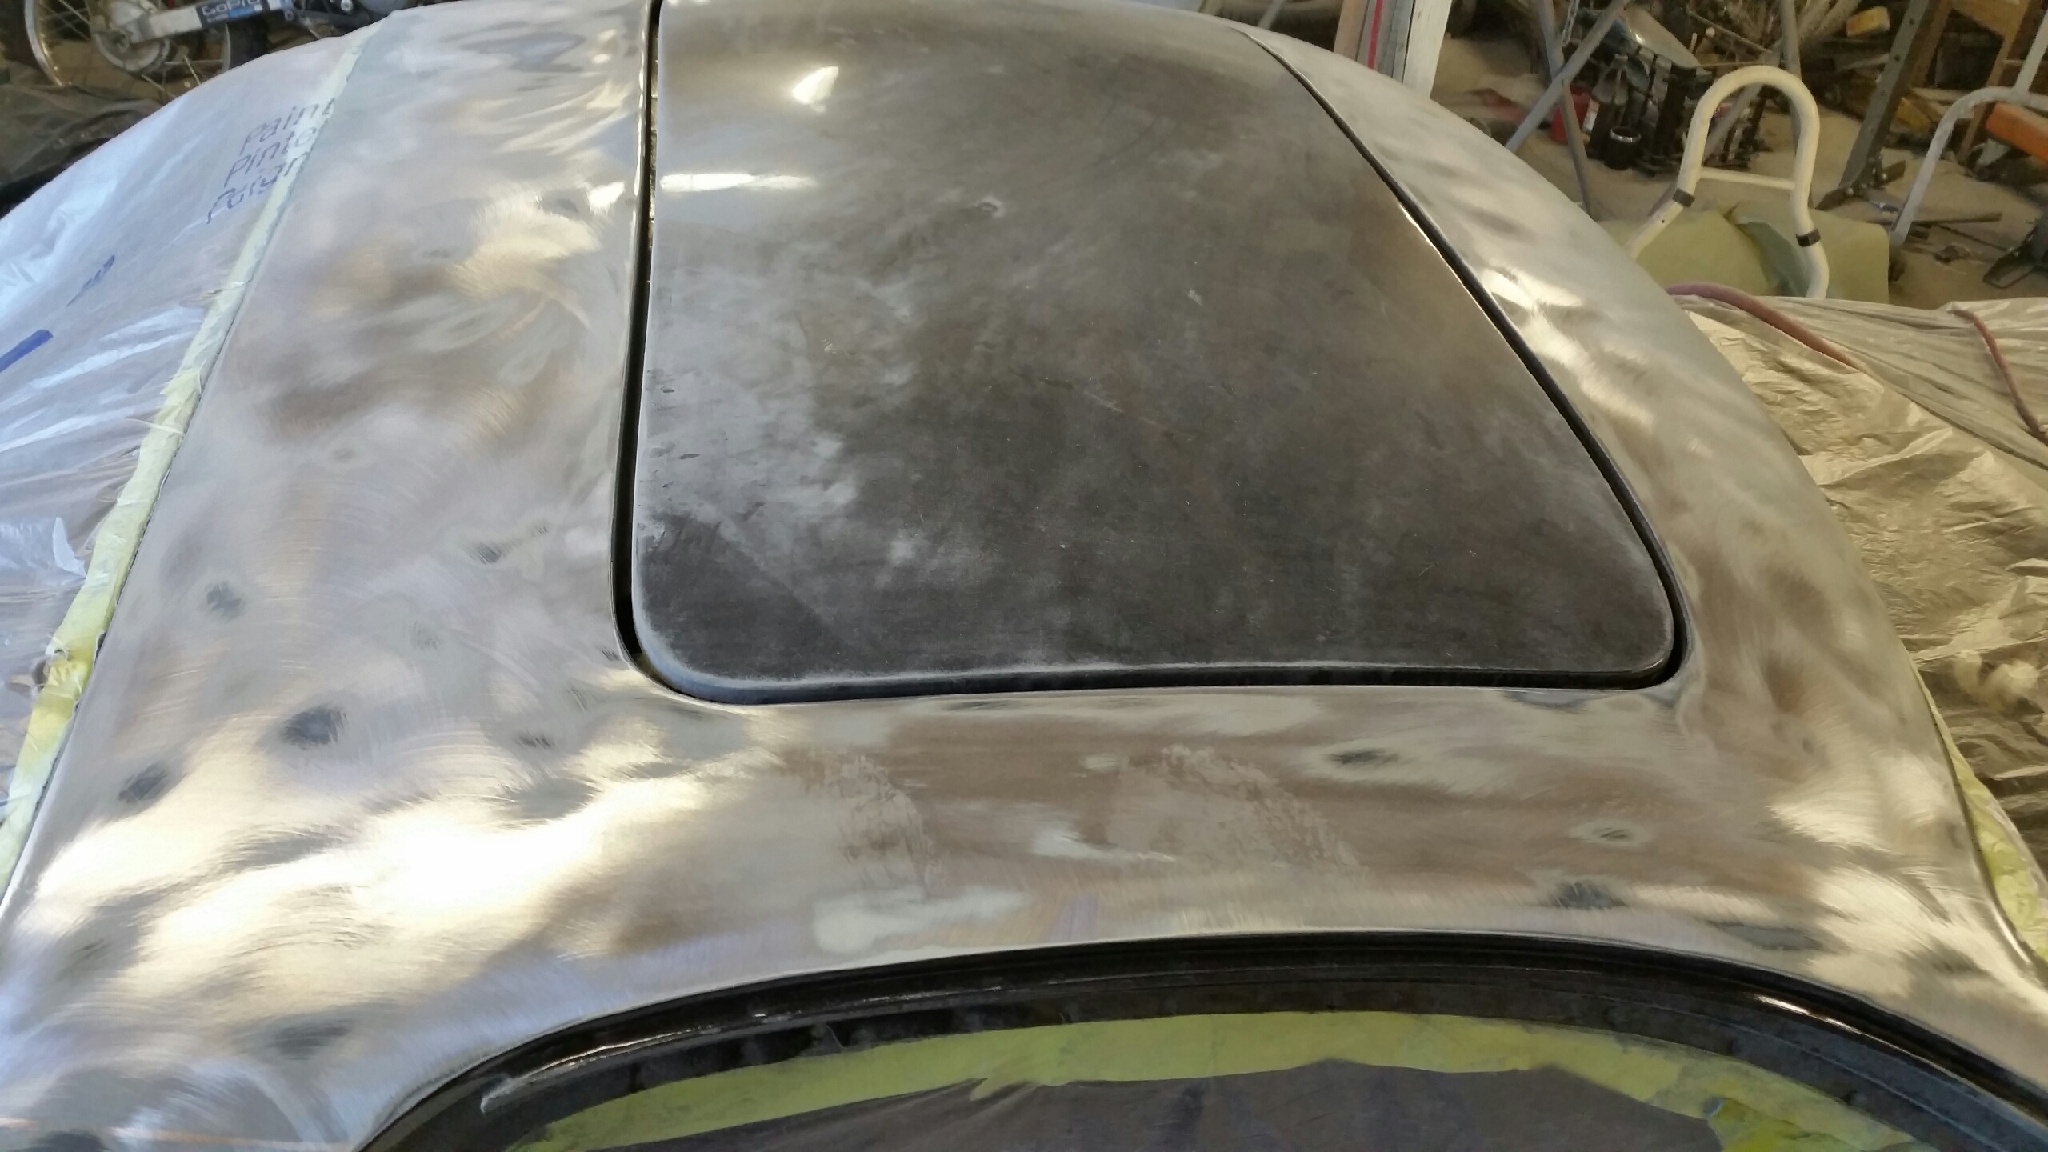
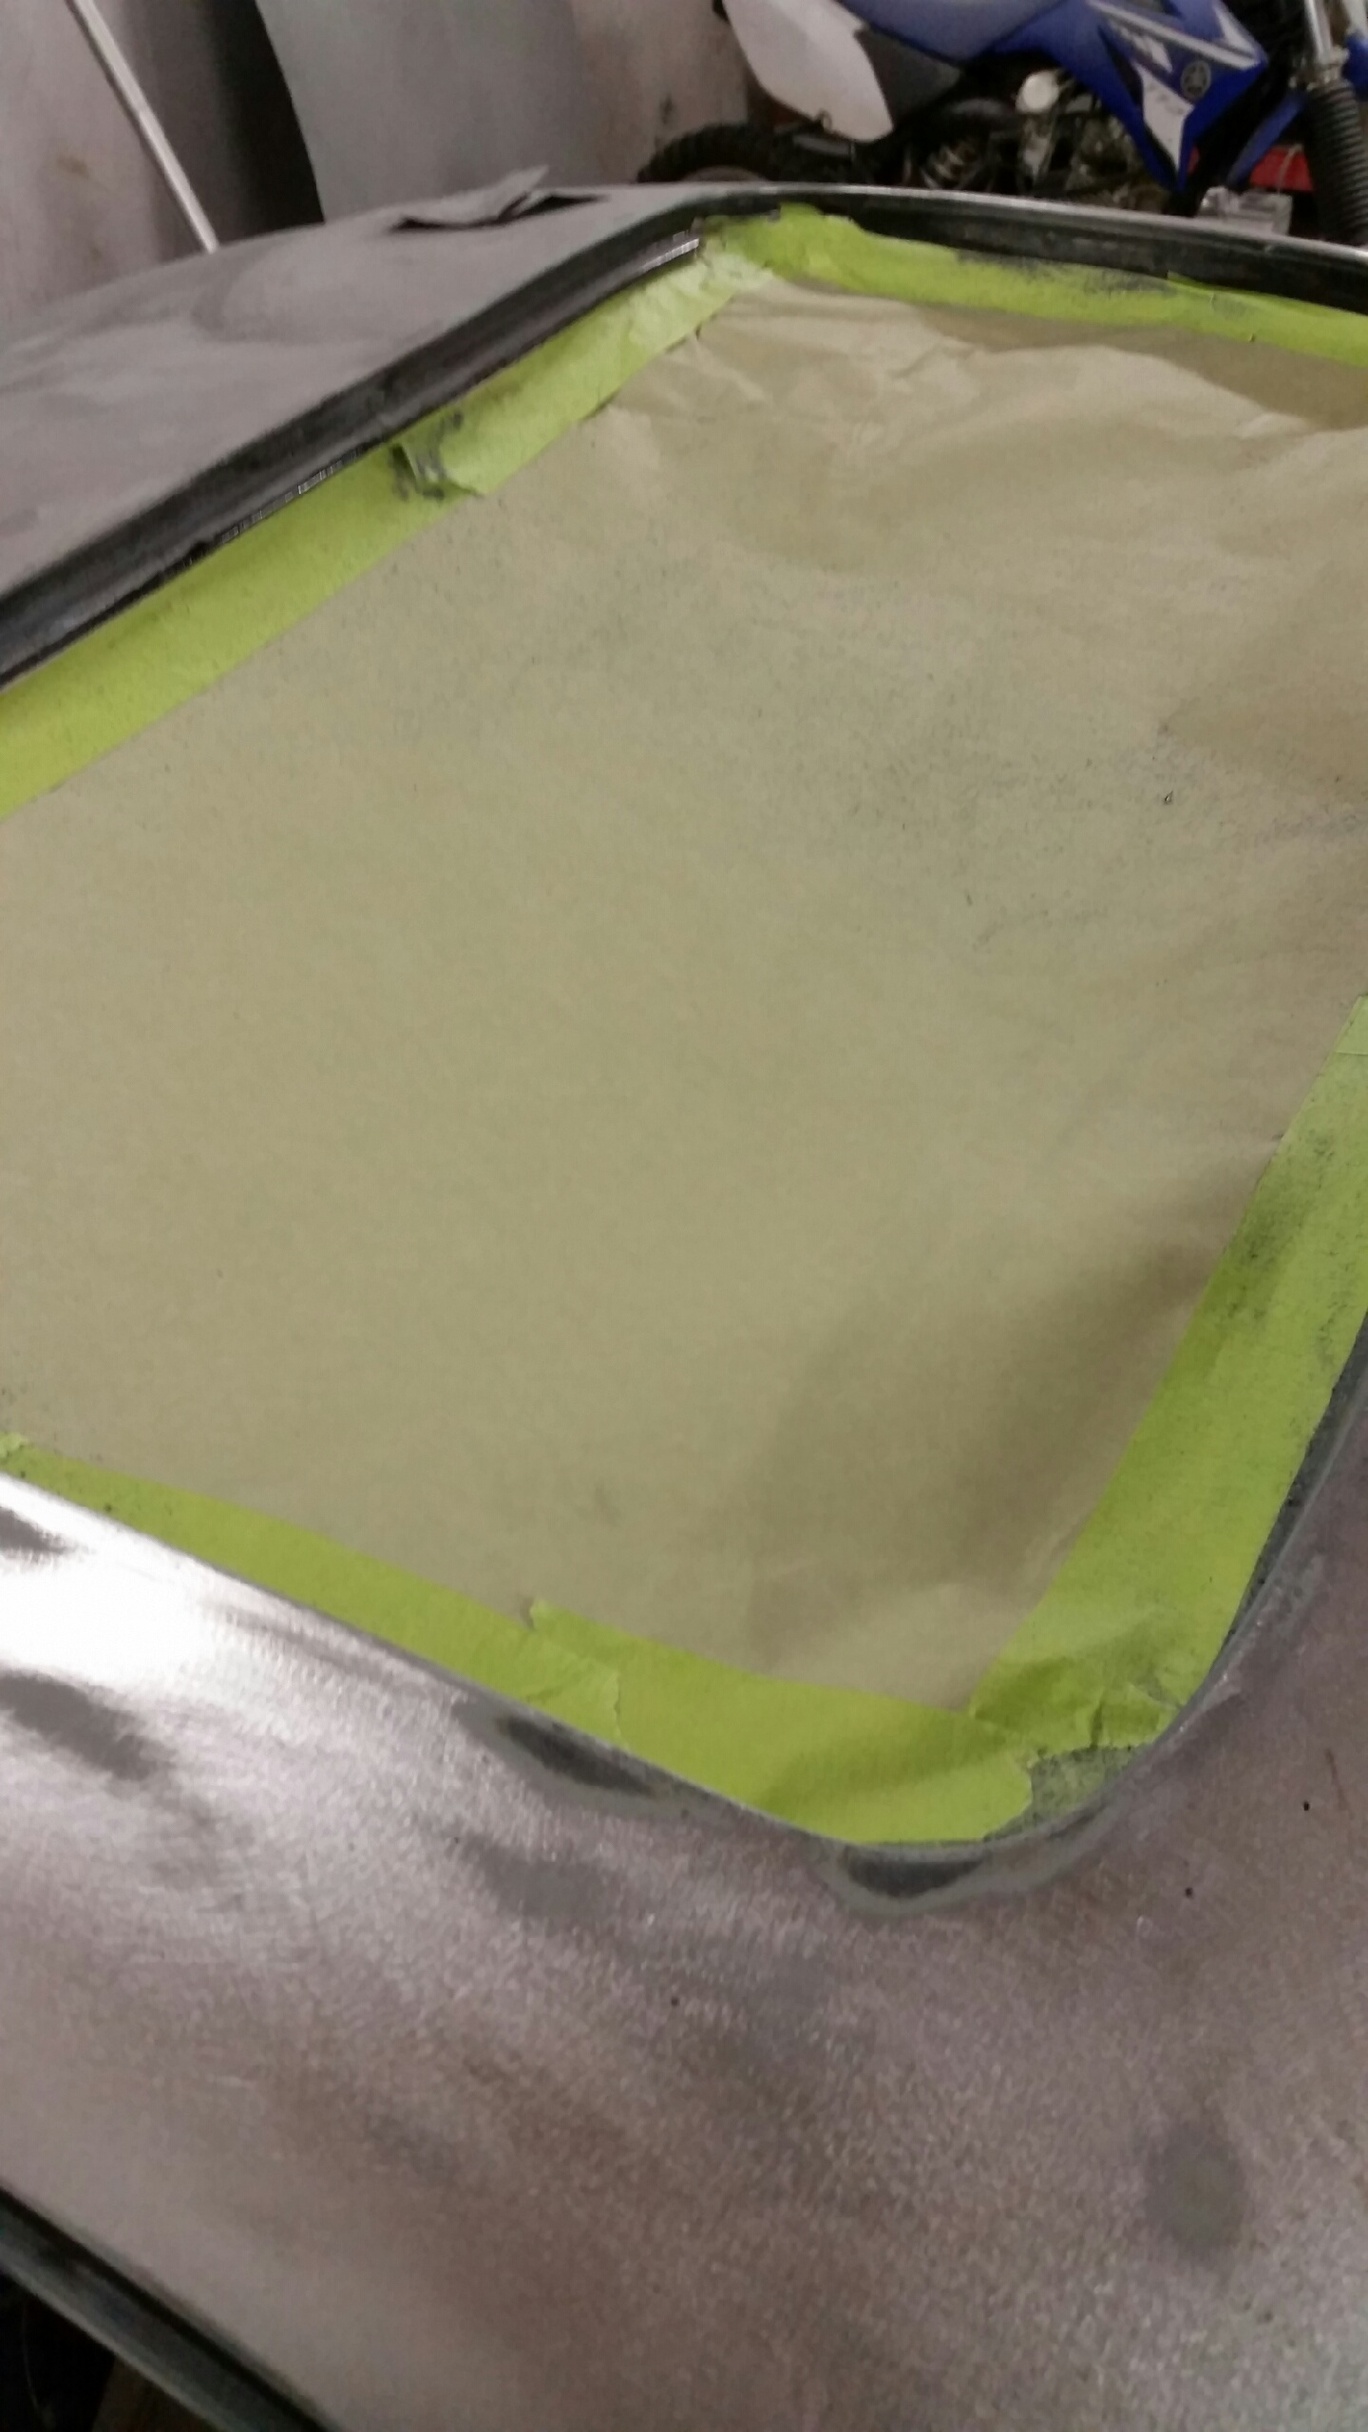
Taped up to protect the interior from paint dust:
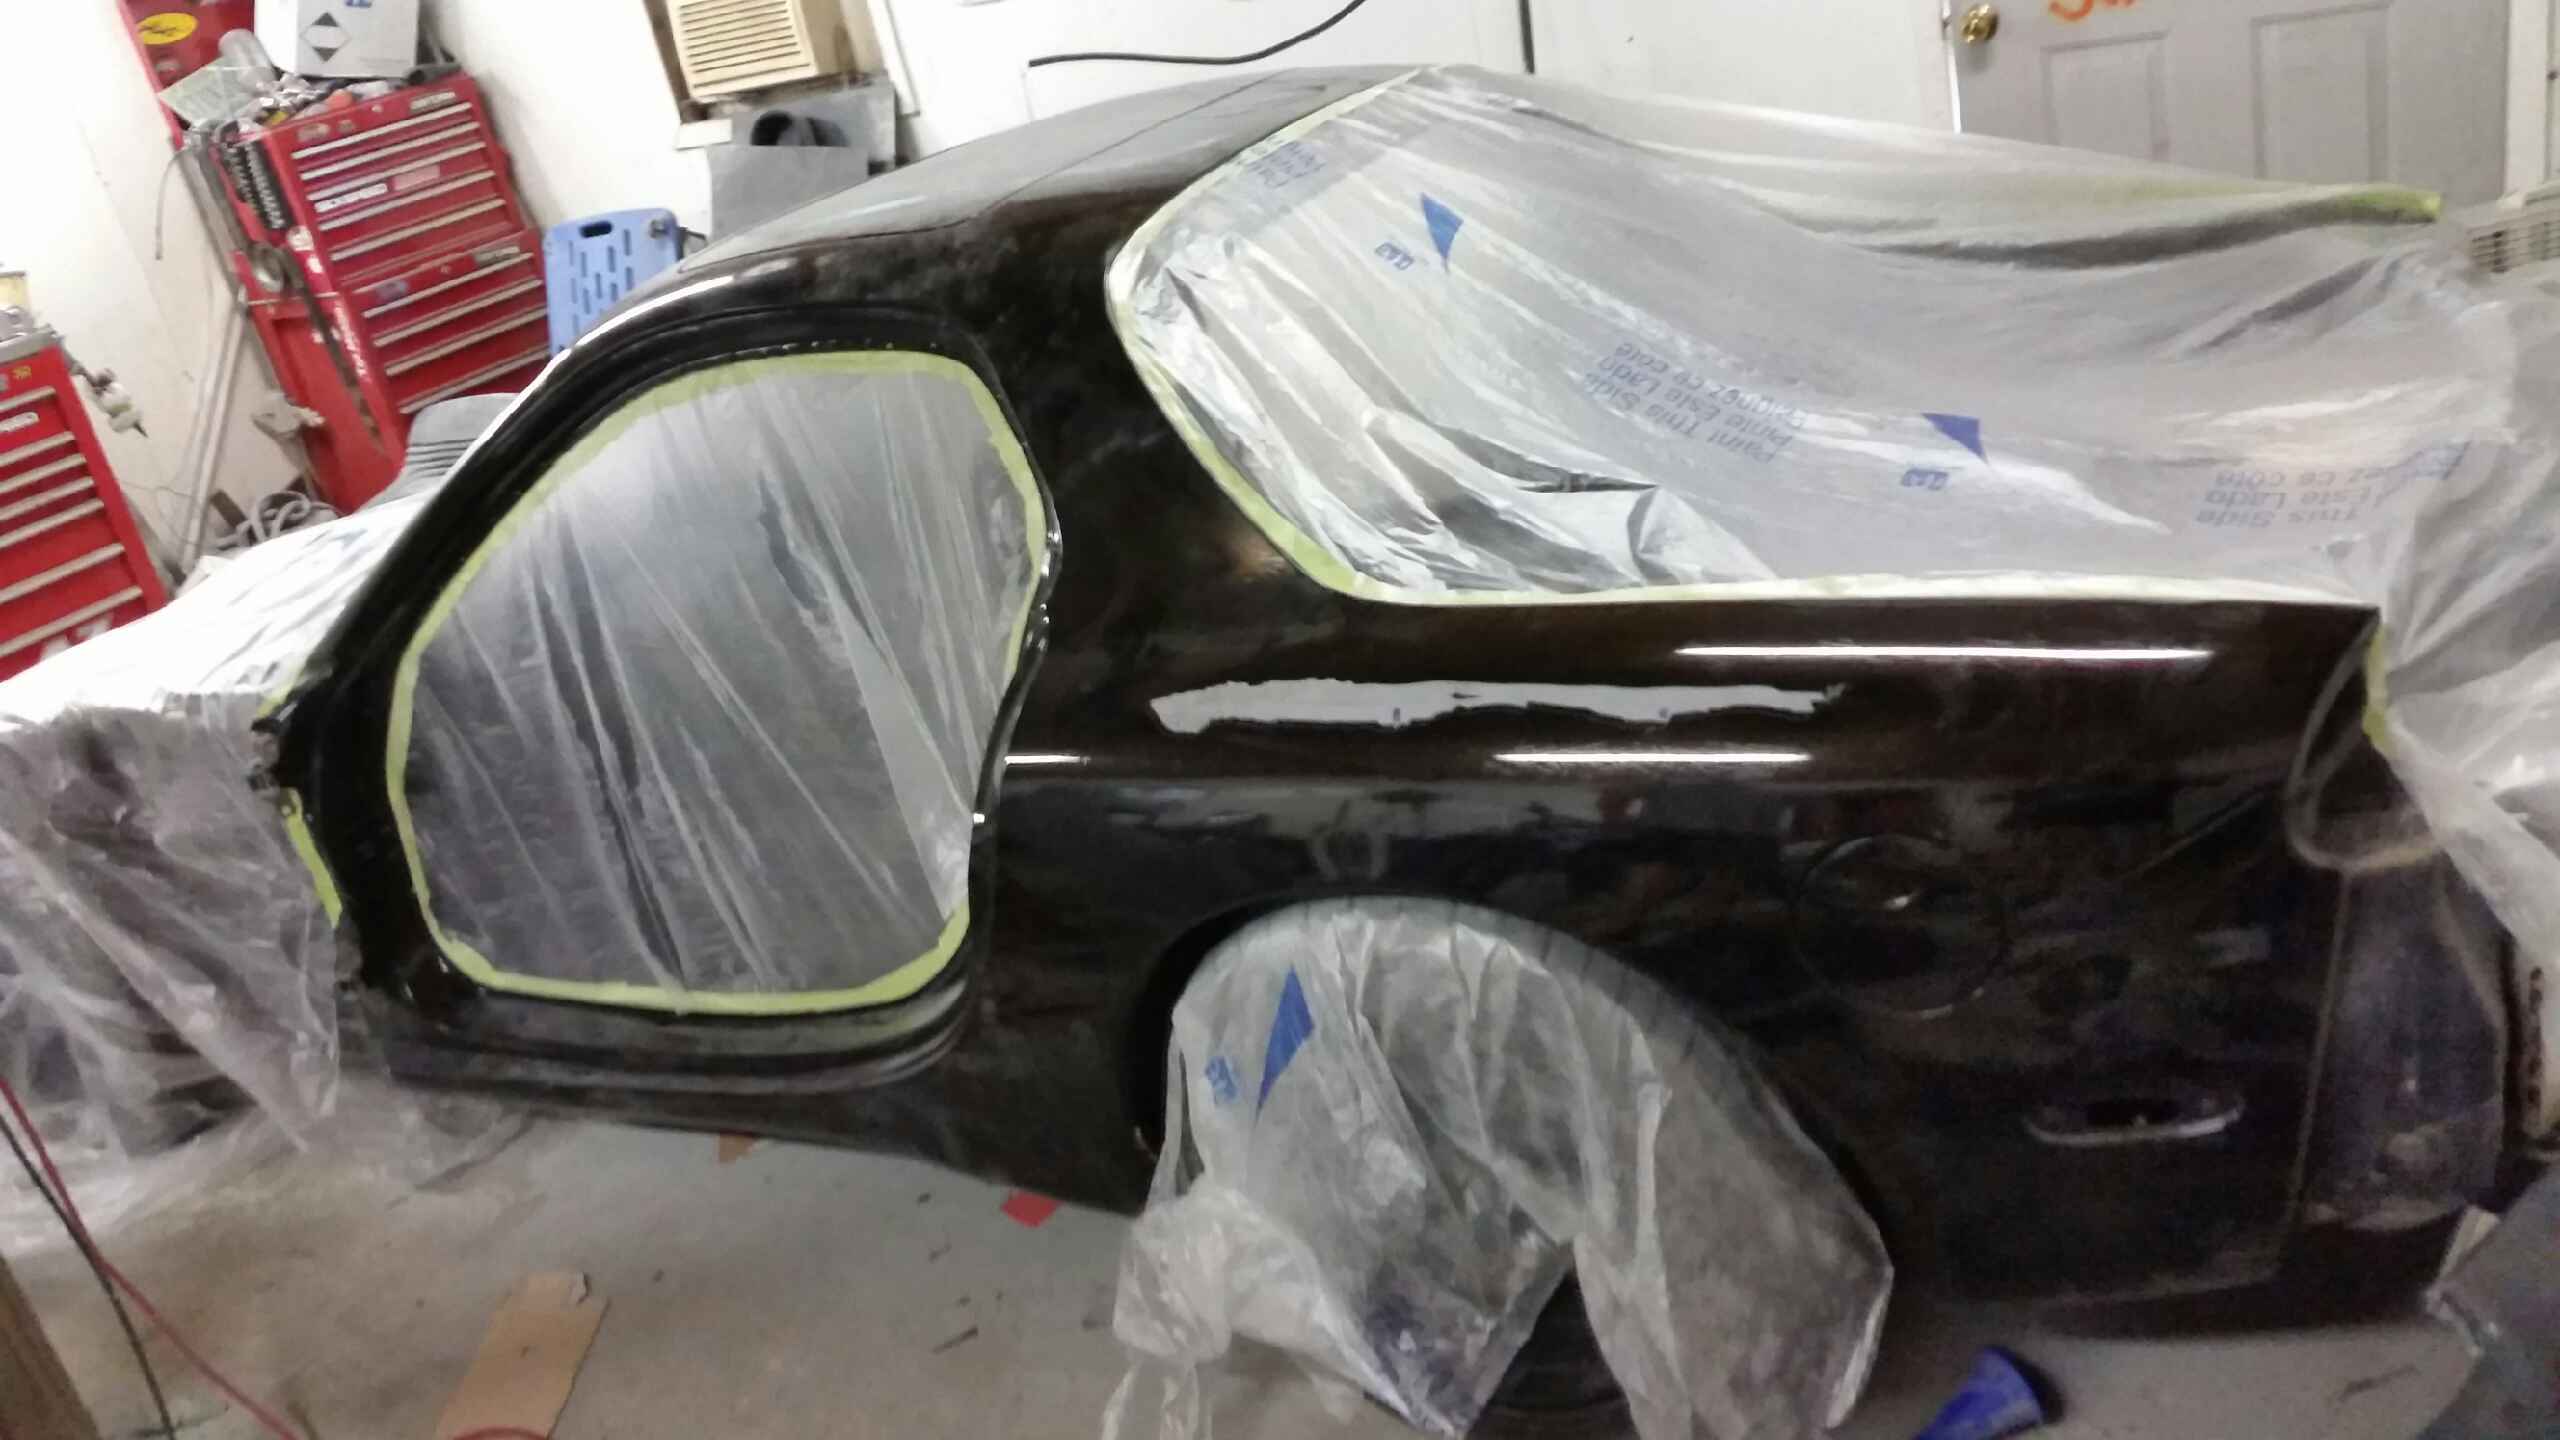
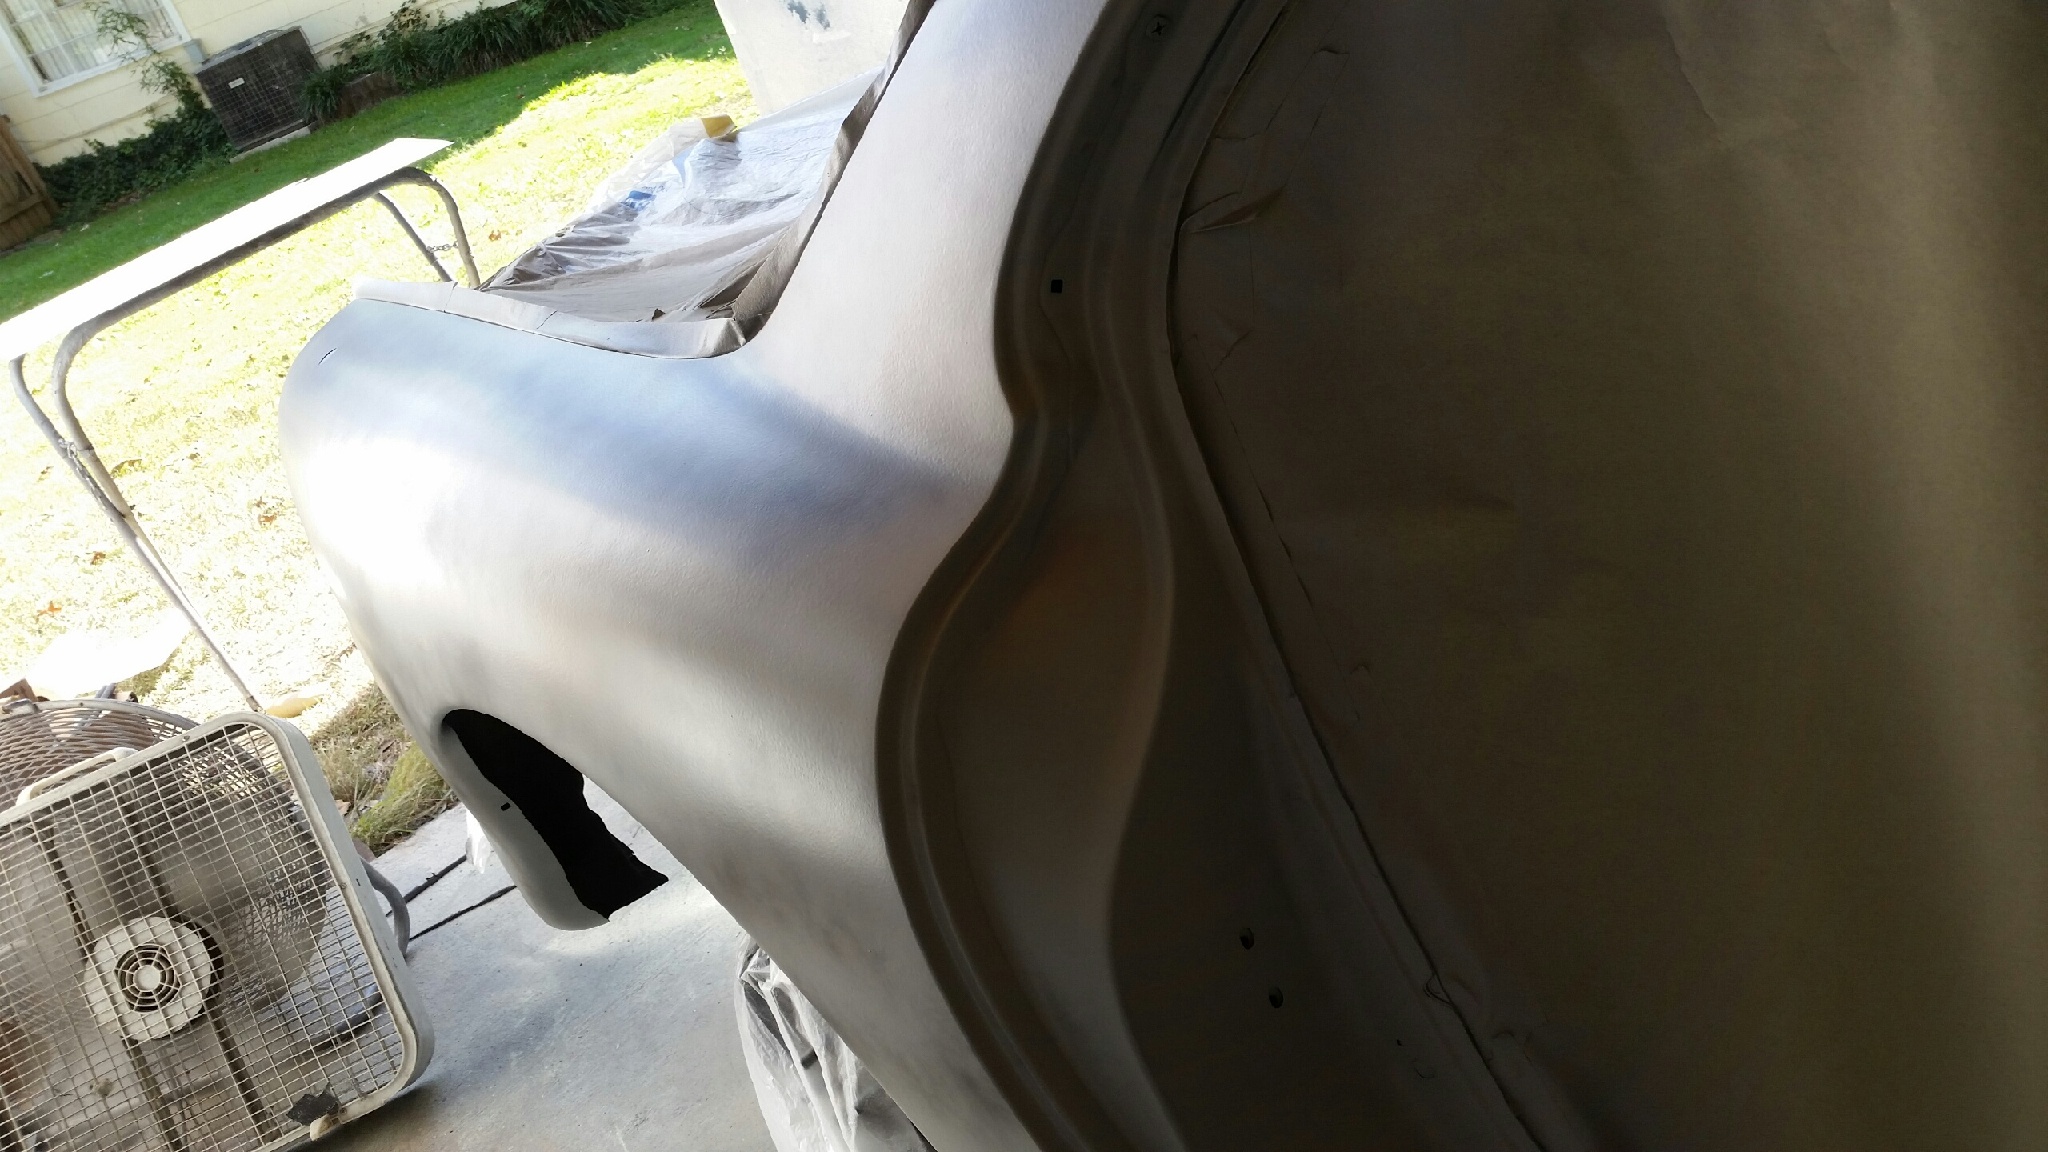
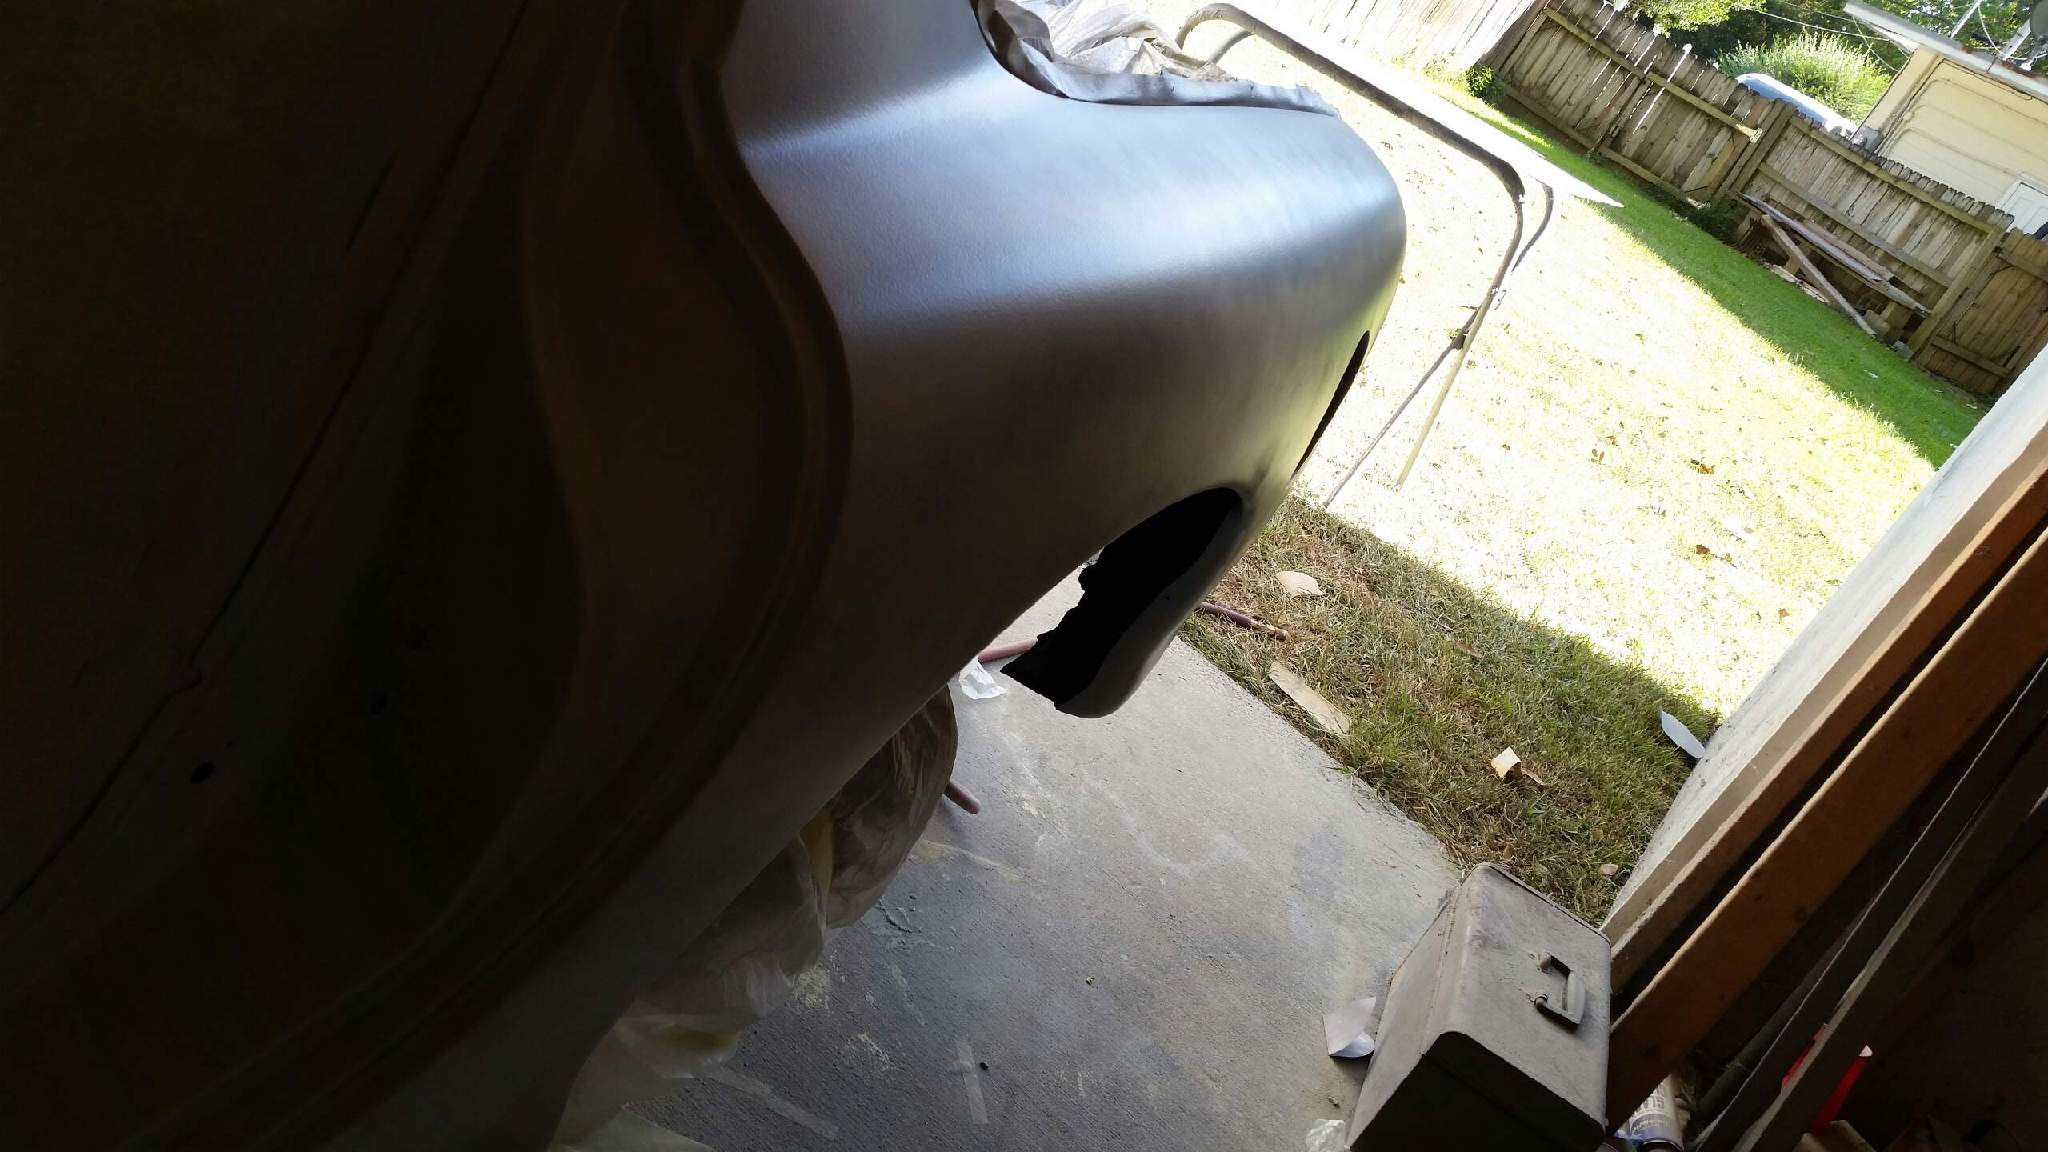
Stripping. Showing off the factory roof to quarter seam:
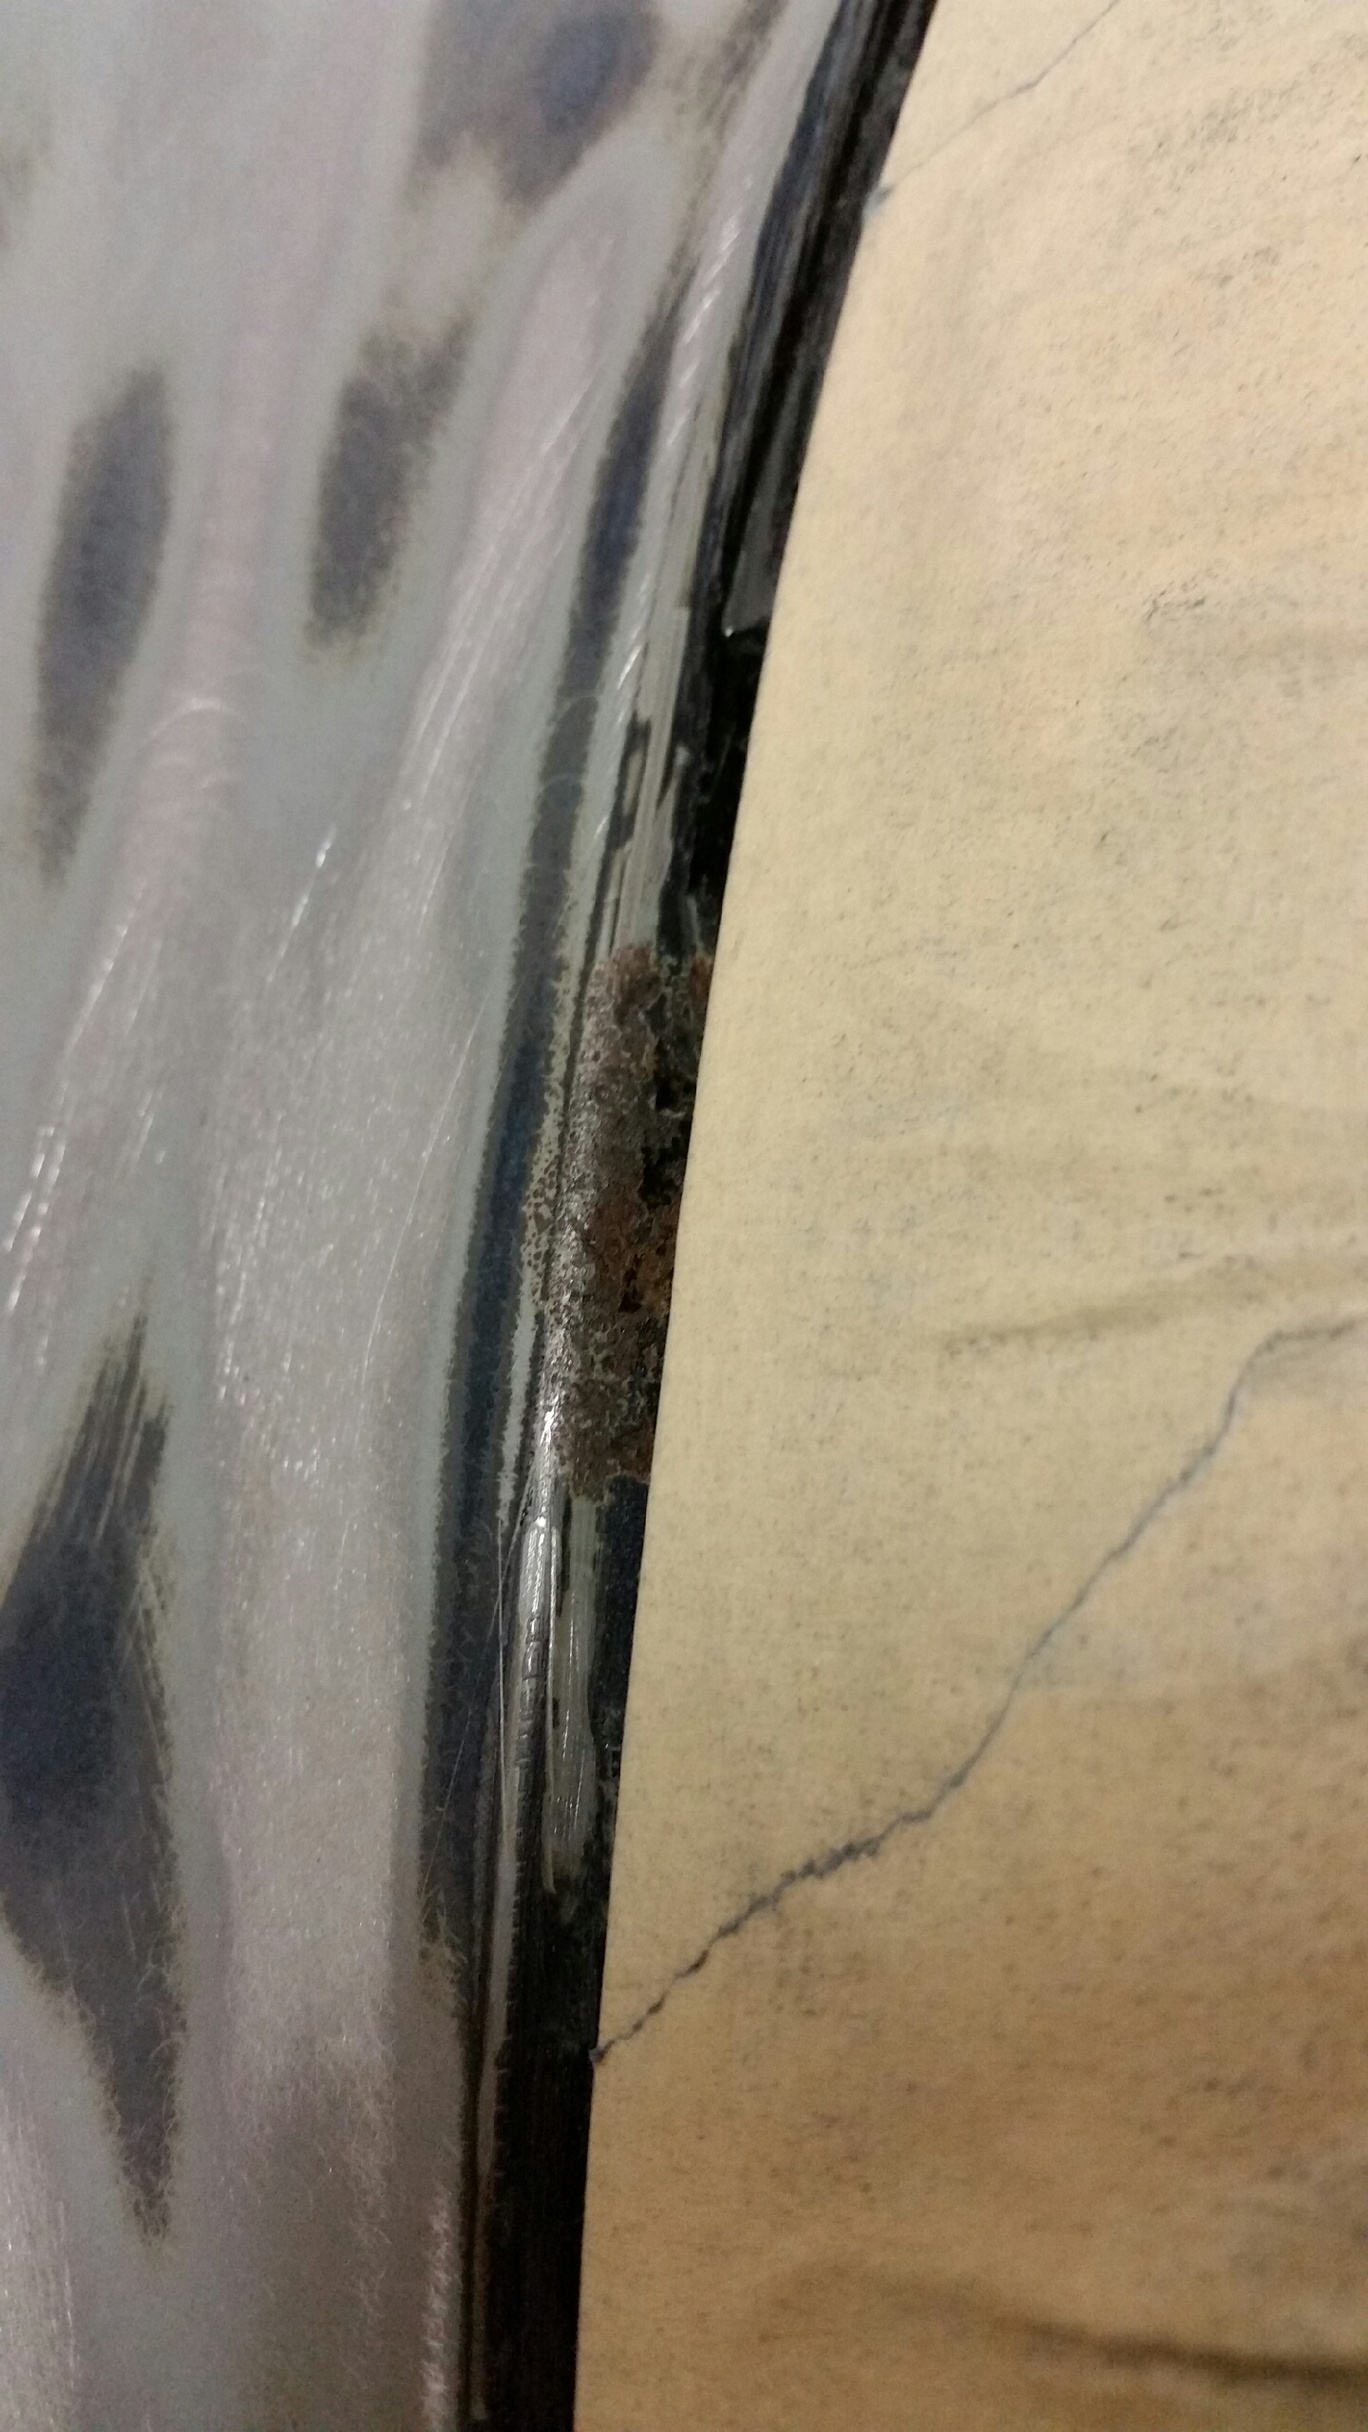
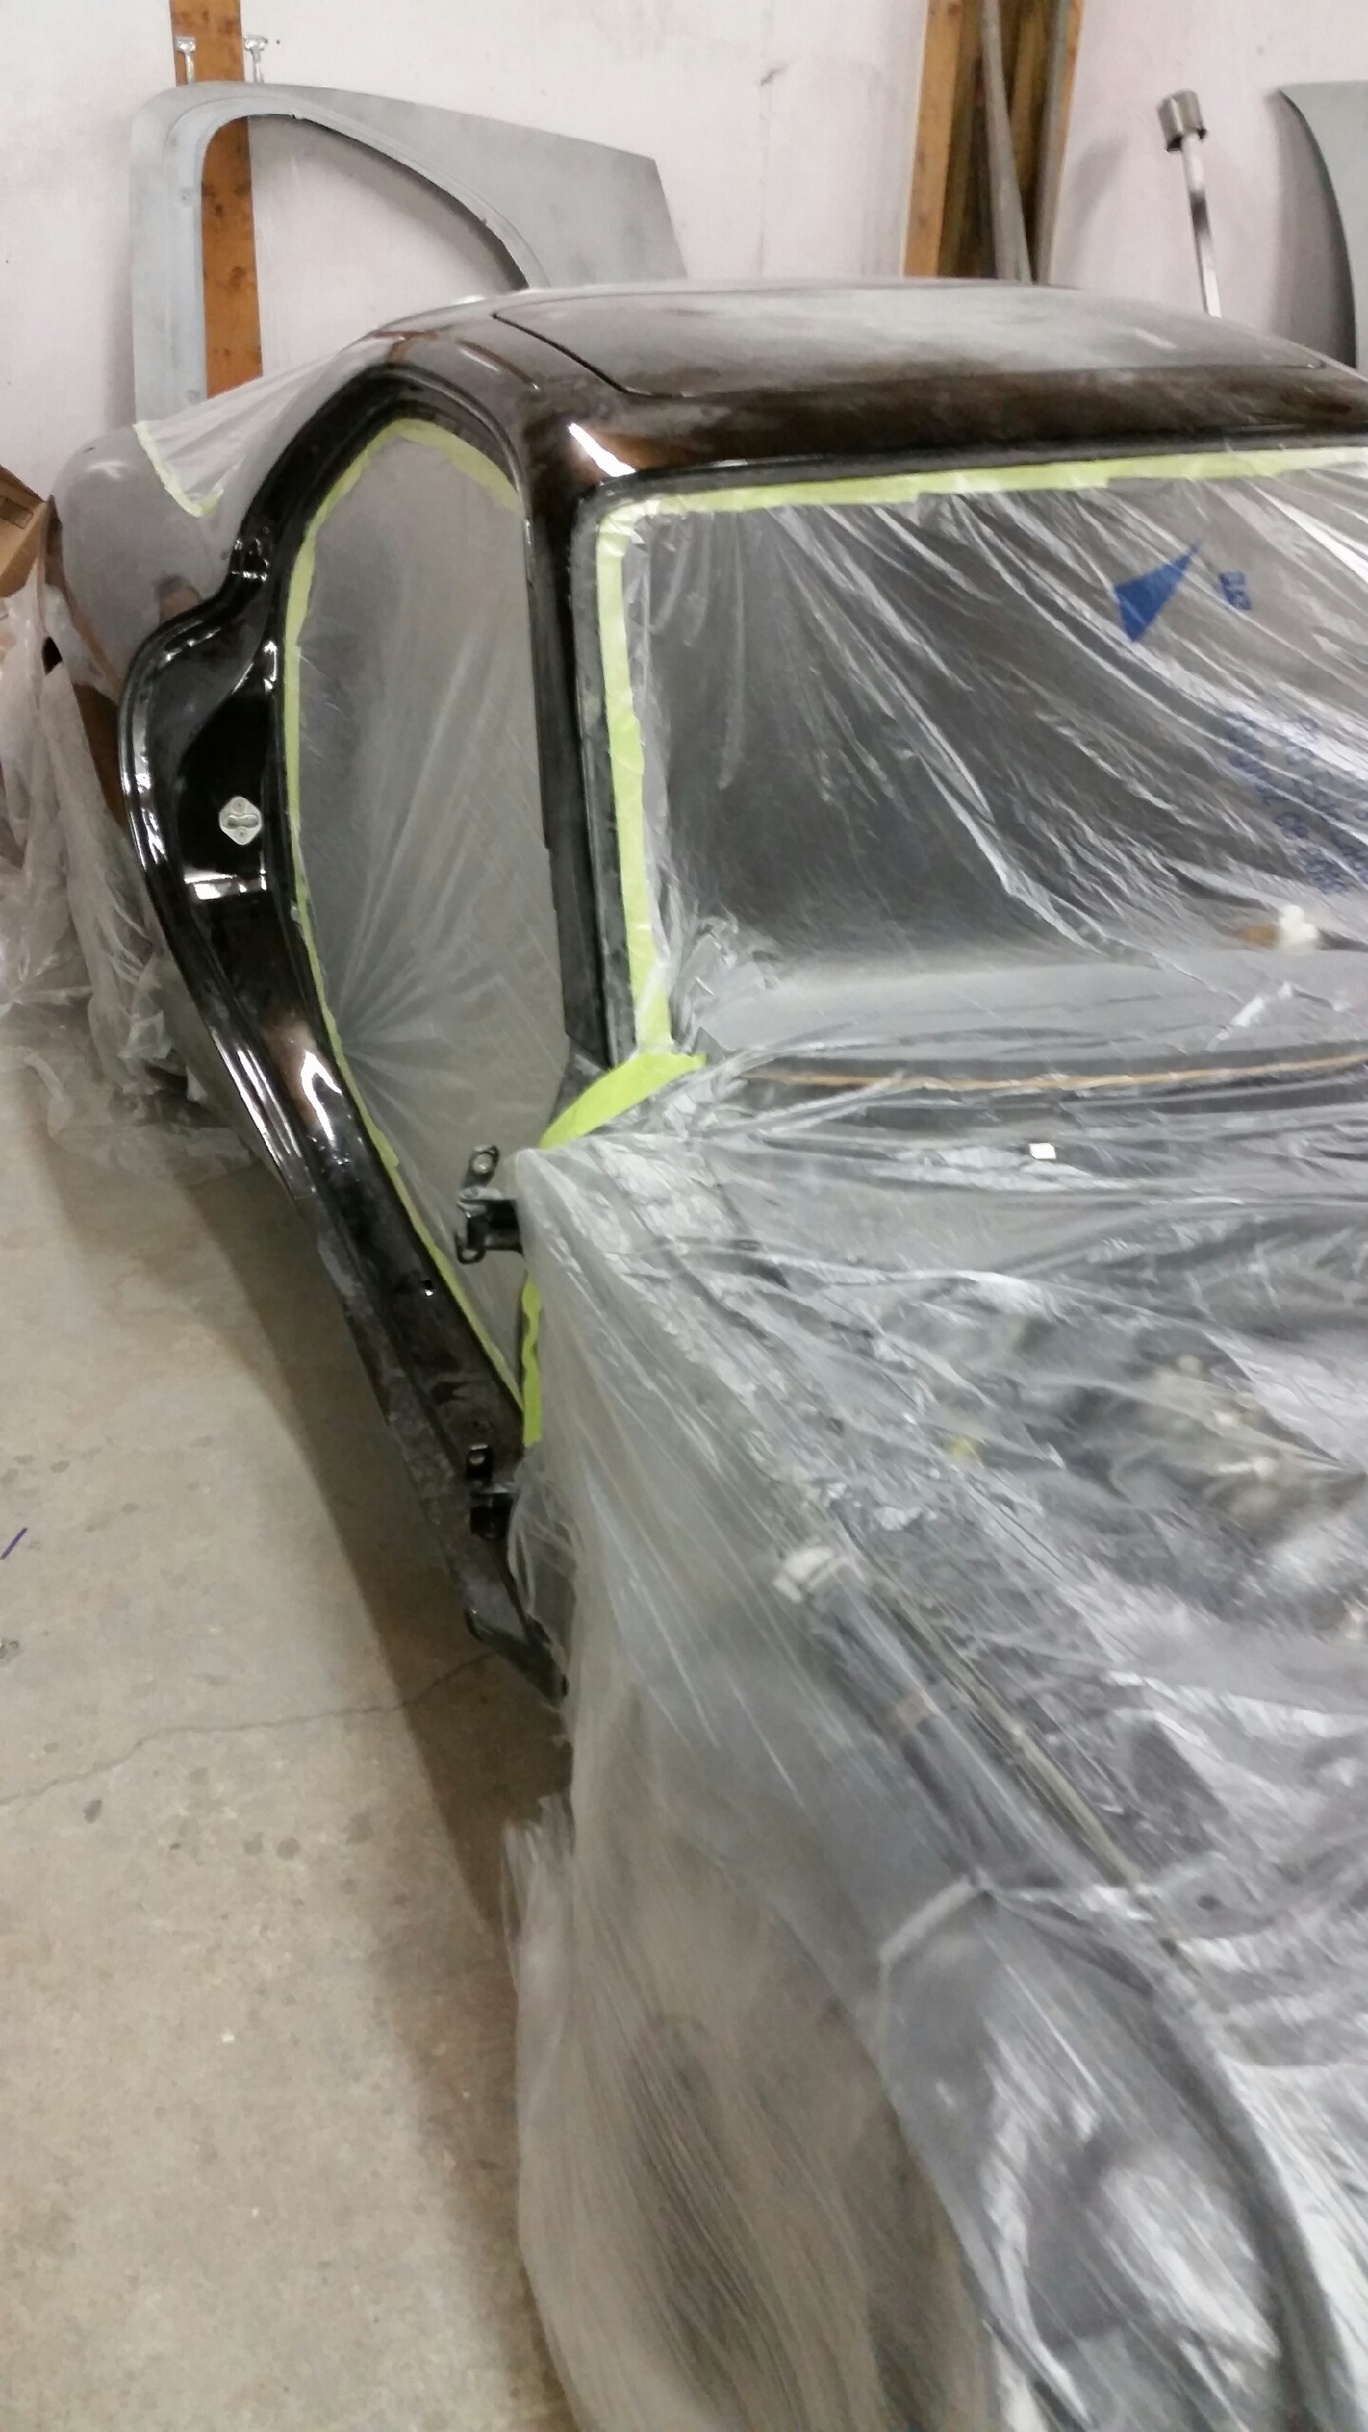
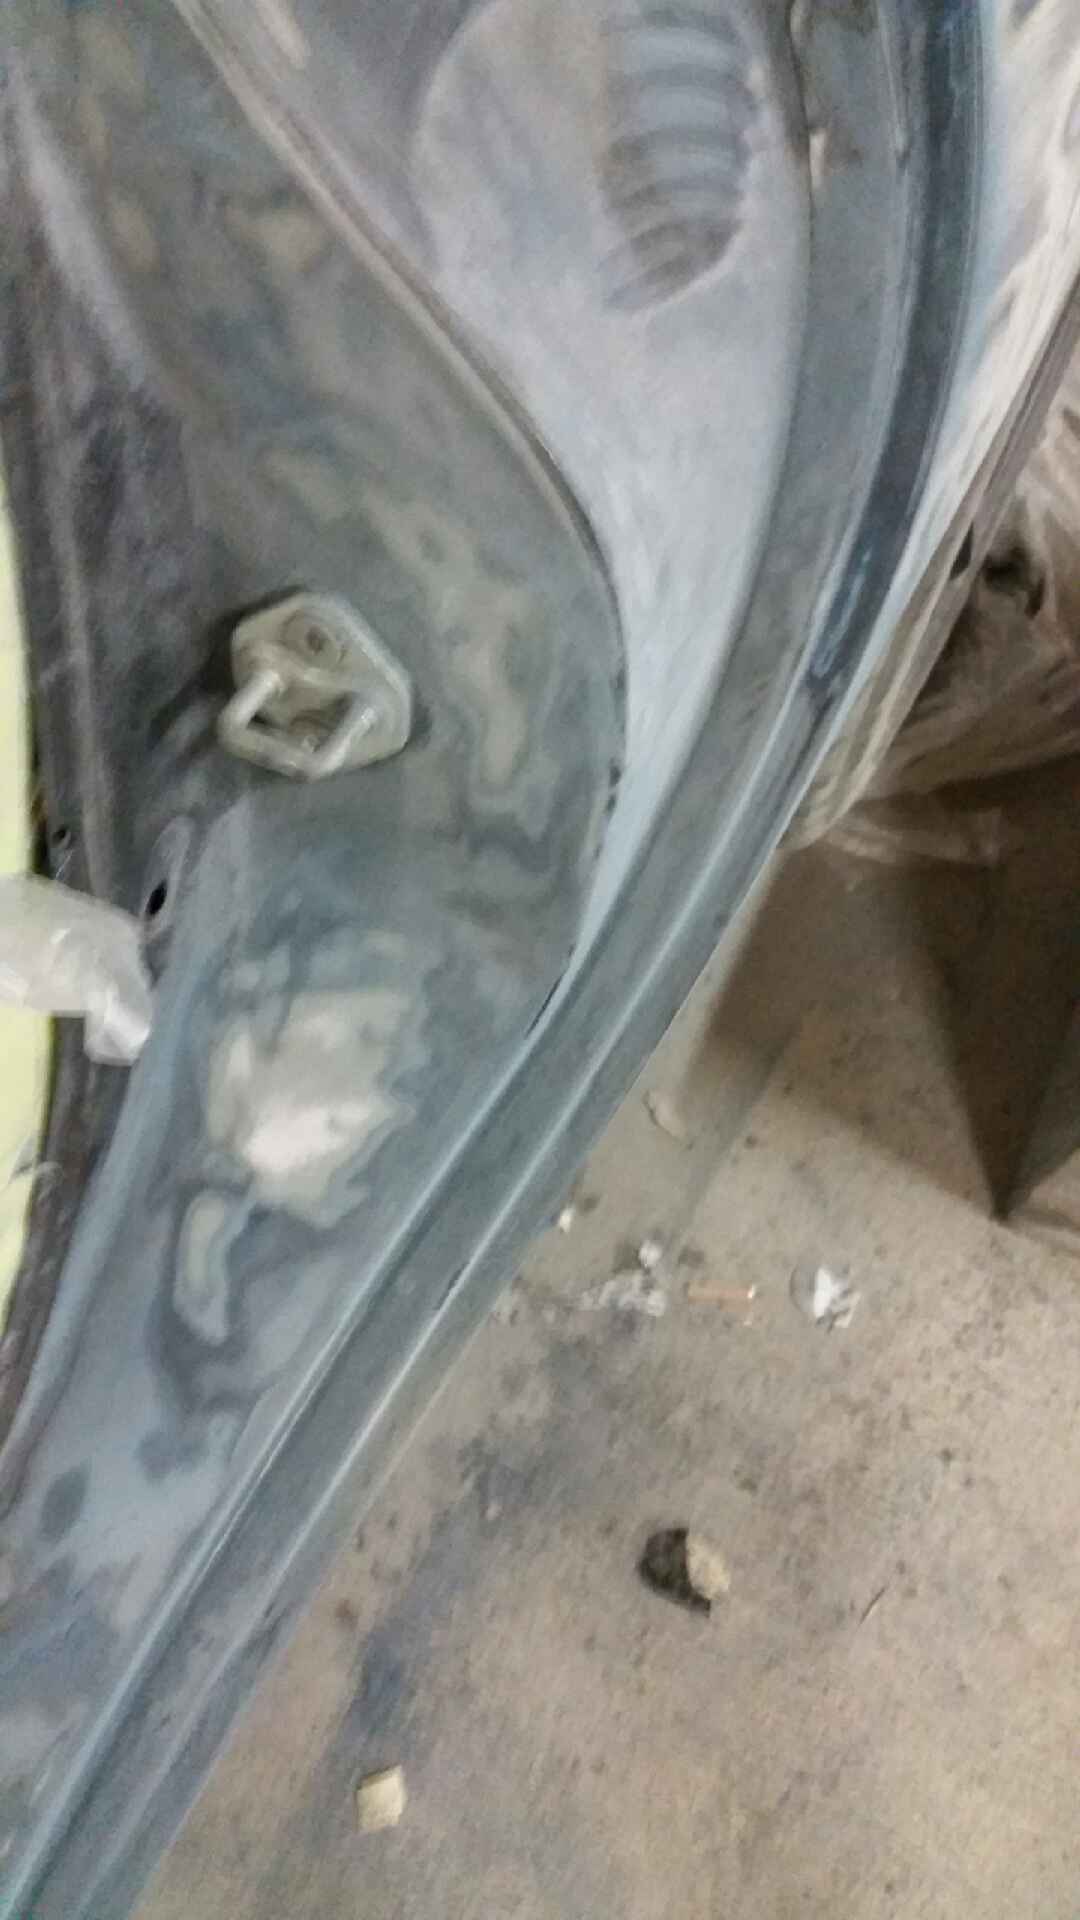
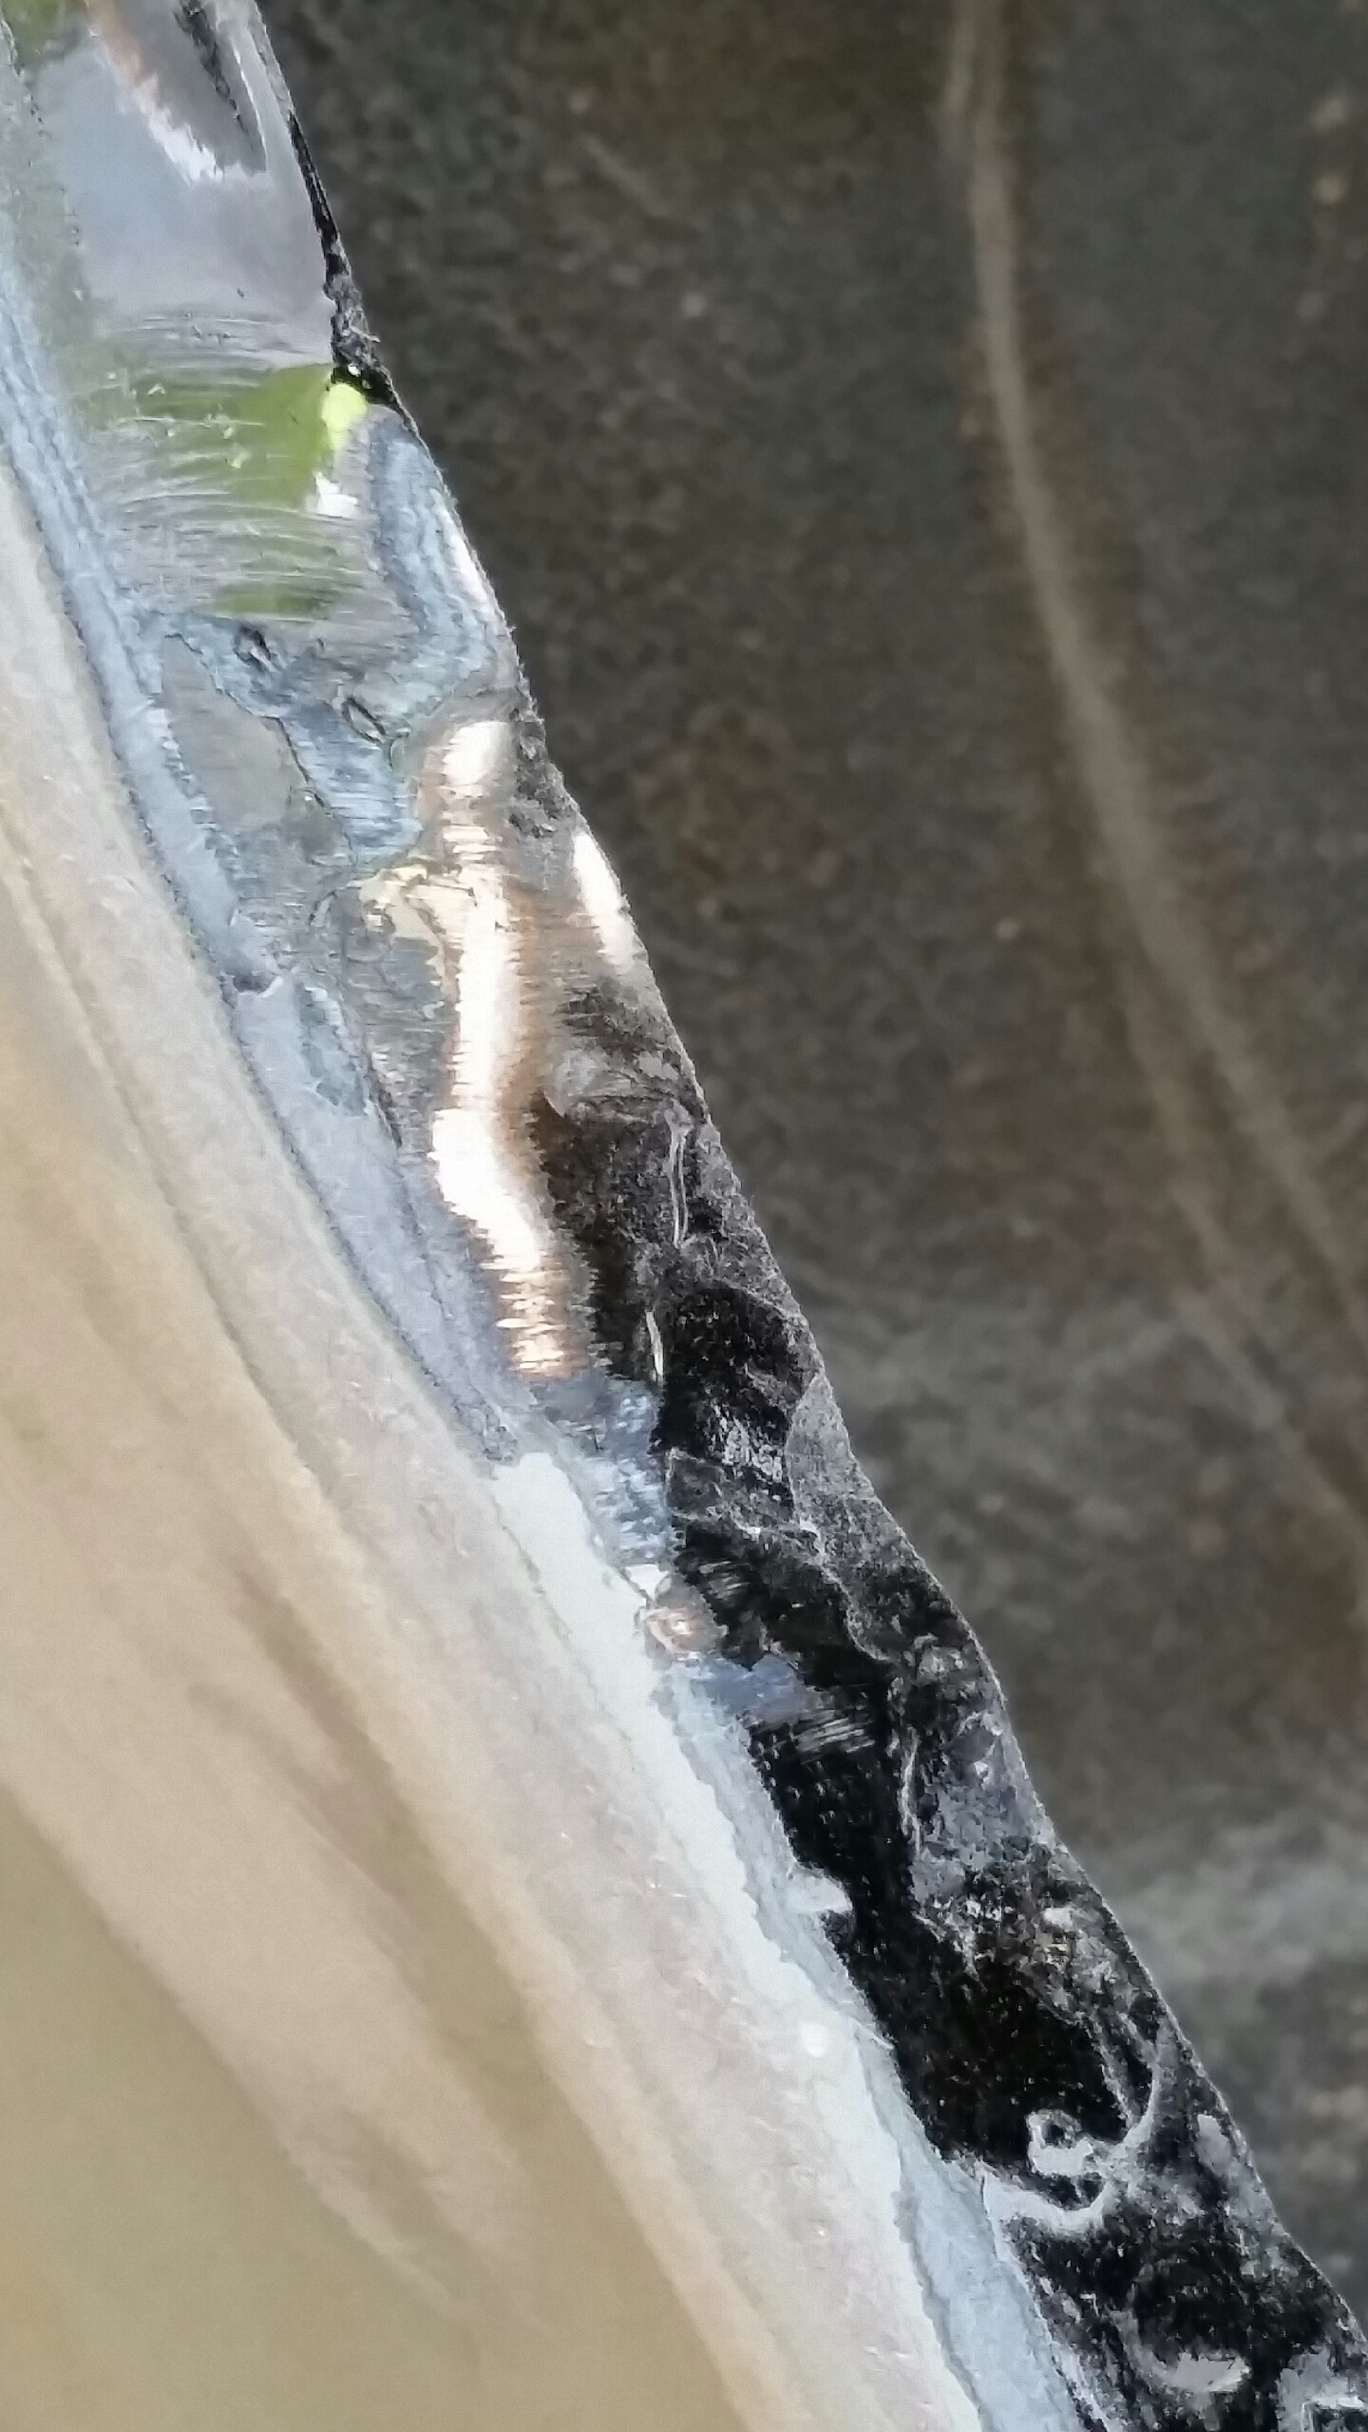
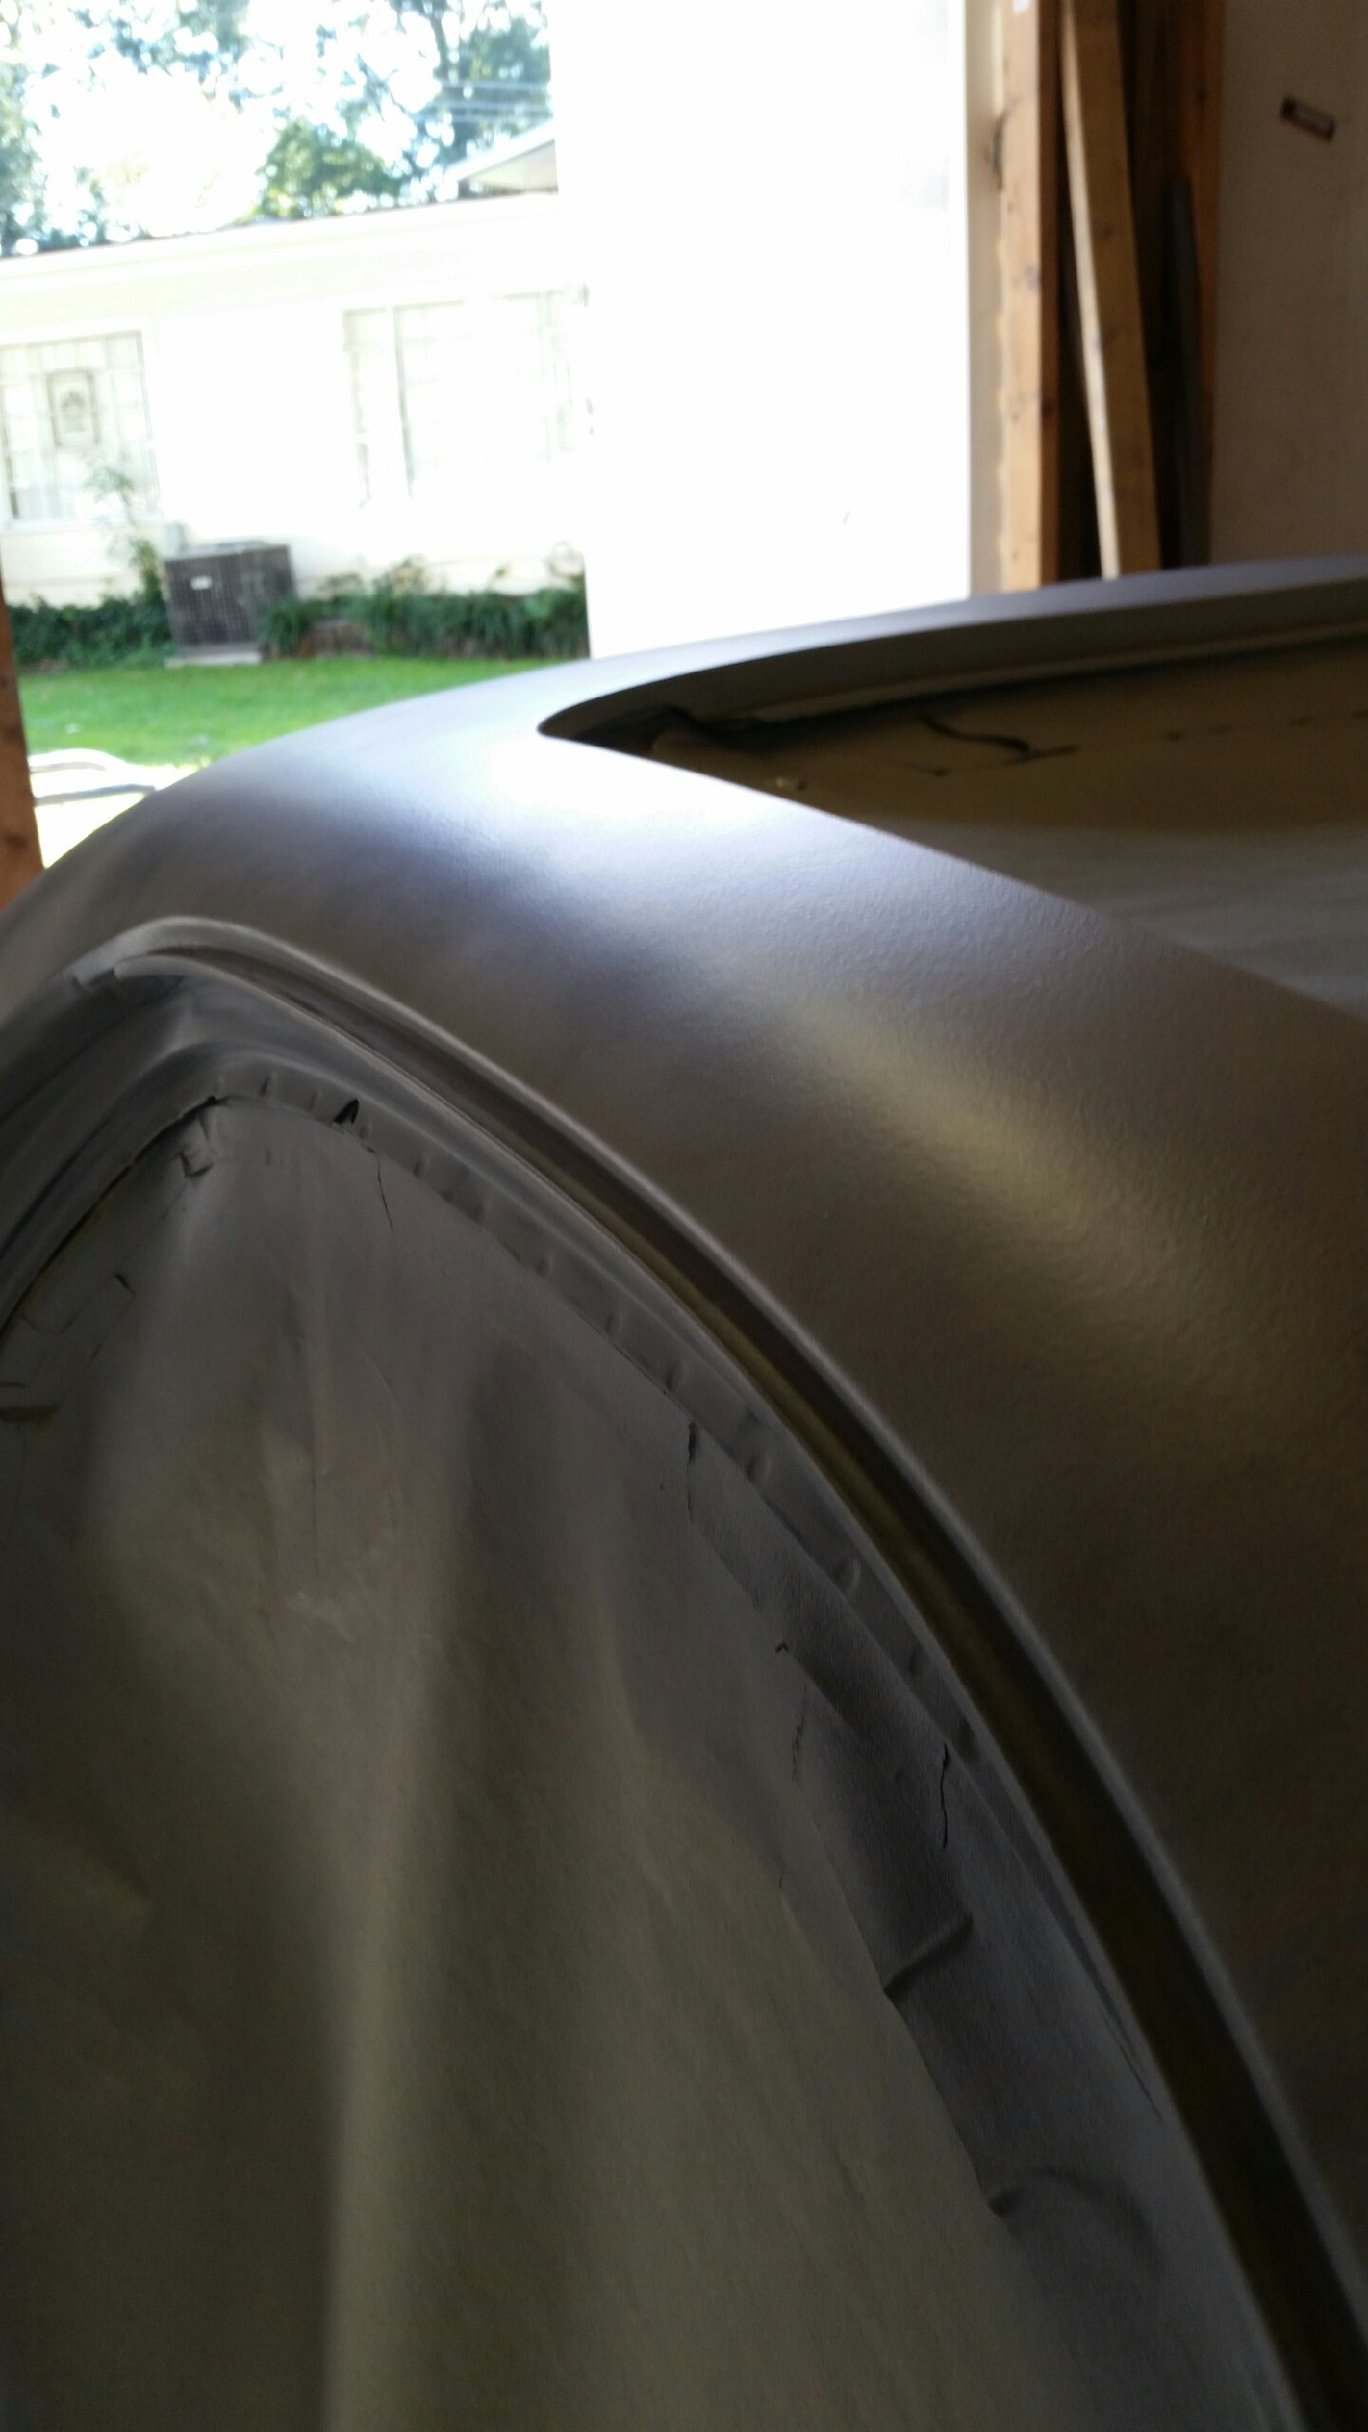
Showing off some surface rust around the a-pillar caused by the previous improper window installation:
Big stripping commences

Hey guys
Sorry for the lack of updates. I got hit with some food poisoning or a stomach virus on Sunday night and I'm just getting back on my feet. Luckily John has been going full force though
Taped up to protect the interior from paint dust:
Stripping. Showing off the factory roof to quarter seam:
Showing off some surface rust around the a-pillar caused by the previous improper window installation:
Big stripping commences
09-23-14, 05:02 PM
#17
September 16, 2014, 01:12:47 PM
John continues to kick butt and is making serious progress :cheers:
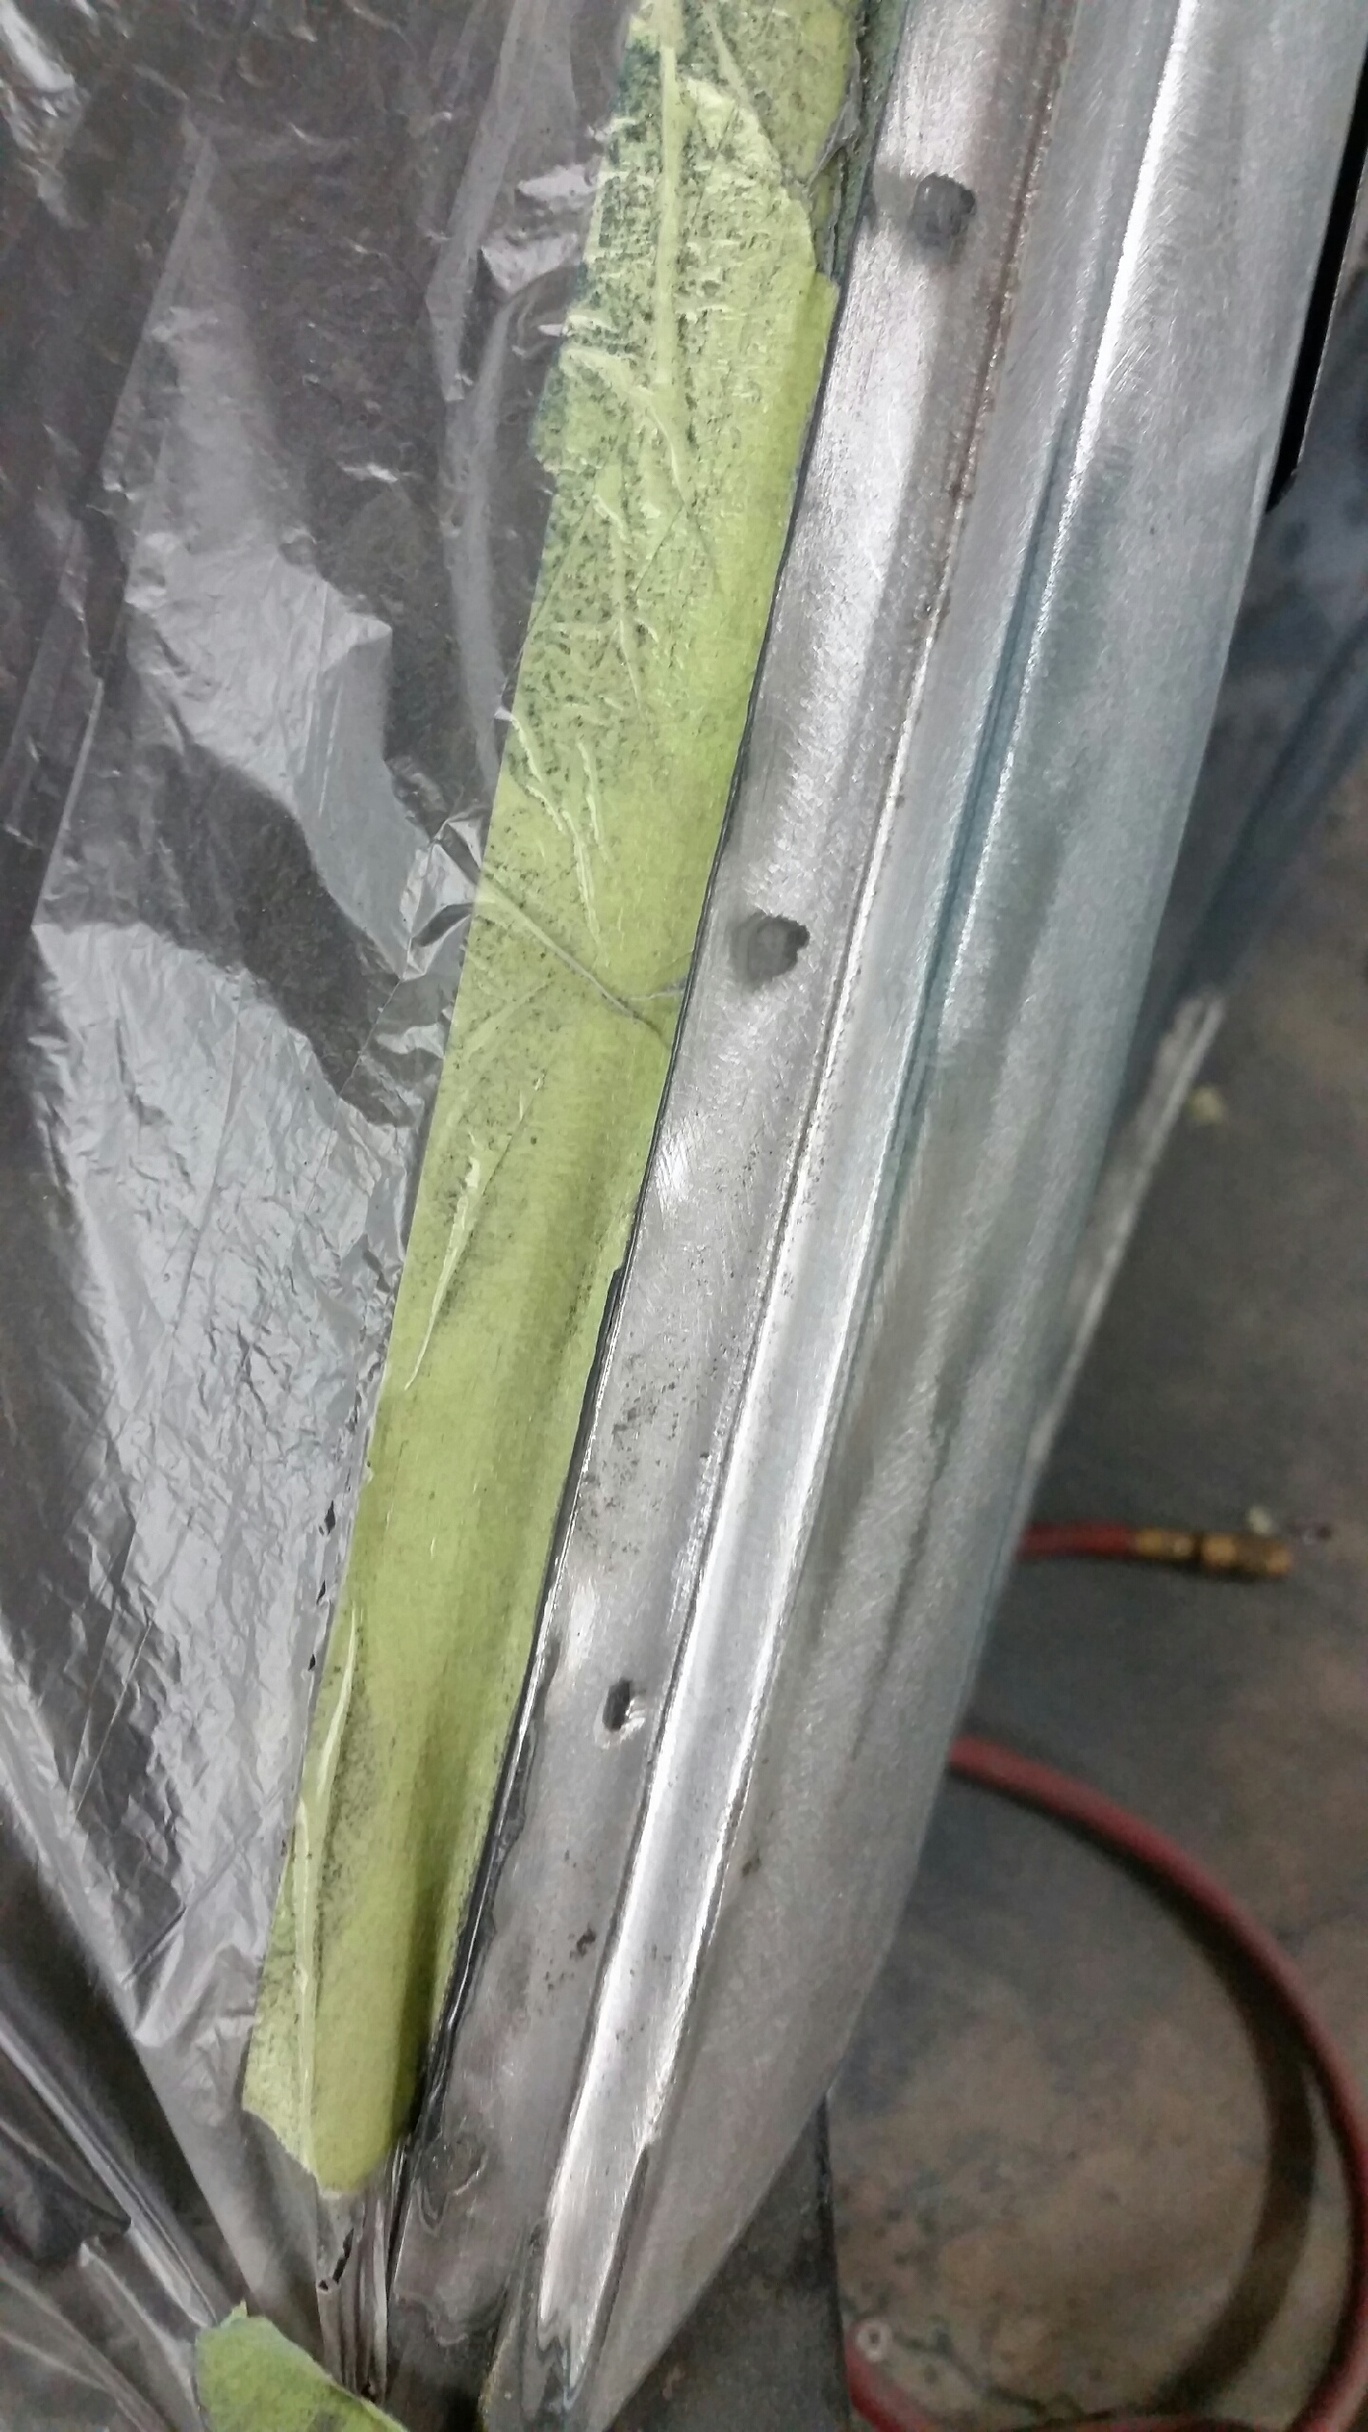
Busting up some door jambs:
The jambs were of particular concern for me as they already suffered from paint adhesion problems. I suspected the previous painters hadn't sanded or prepped the jambs other than wiping them clean and John confirmed that in several spots this was the case As I would have imagined, the process of properly prepping the jambs was very labor intensive and John had to do it all by hand. To say I'm happy with the results is a serious understatement
More rust hunting and annihilation
The pic above is another shot of the window A pillar support after John finished chasing off the surface rust. I asked him if this was a common occurrence as I had been warned about it when I had a window replaced in my old mr2 (warned only, nobody stepped up and offered to do the right job and fix it). He told me that this is pretty common with DIY window repair as cutting out and removing the windshield can damage the paint and therefore leave bare metal exposed. Professional window guys repair this type of damage if it occurs with etching primer, which seals everything back up. Do yourself a favor and be involved with any glass work you hire out because you don't want glass going in over exposed metal.
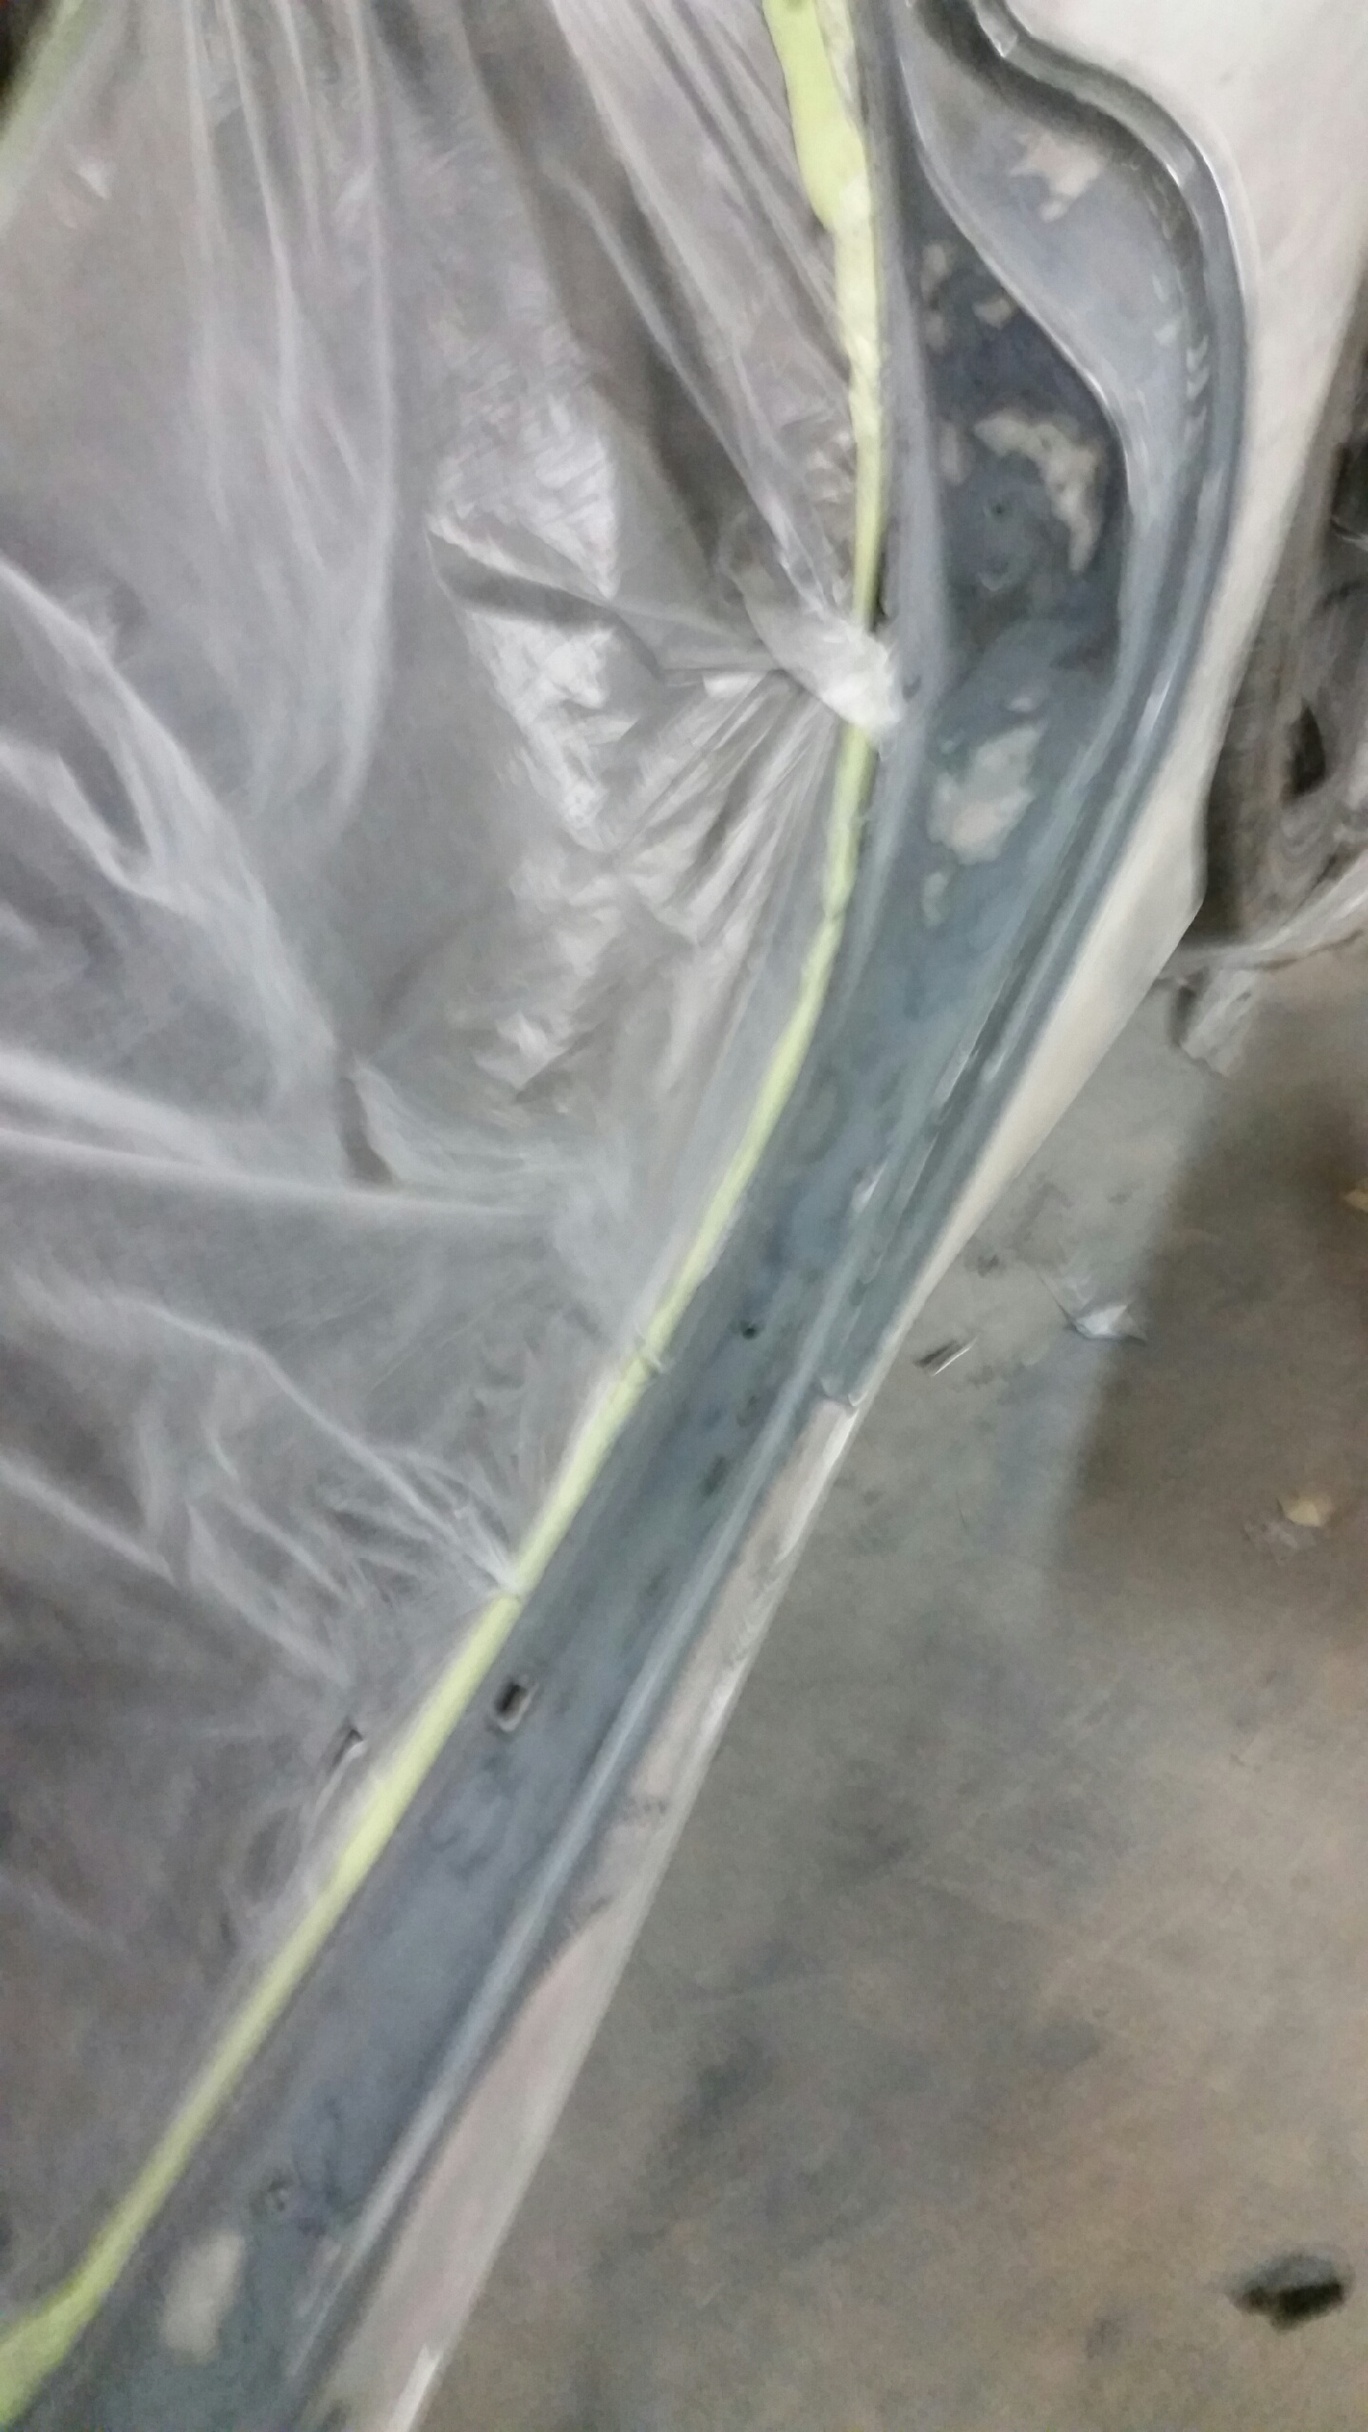
John was able to get the rock shield coating off from under the doors with a heat gun and a razor blade:
This is another little surprise that's happening with my car. John suggested stripping the rock shield off of the bottom edge of the car and painting it to match the car. I agreed and this is how we got to this stage. You do loose a little bit of protection with this choice, but I figure if I really get paranoid I'll just wrap those sections with clear bra and call it a day.
Finally, the sunroof is out and awaiting prep:
John continues to kick butt and is making serious progress :cheers:
Busting up some door jambs:
The jambs were of particular concern for me as they already suffered from paint adhesion problems. I suspected the previous painters hadn't sanded or prepped the jambs other than wiping them clean and John confirmed that in several spots this was the case
As I would have imagined, the process of properly prepping the jambs was very labor intensive and John had to do it all by hand. To say I'm happy with the results is a serious understatementMore rust hunting and annihilation
The pic above is another shot of the window A pillar support after John finished chasing off the surface rust. I asked him if this was a common occurrence as I had been warned about it when I had a window replaced in my old mr2 (warned only, nobody stepped up and offered to do the right job and fix it). He told me that this is pretty common with DIY window repair as cutting out and removing the windshield can damage the paint and therefore leave bare metal exposed. Professional window guys repair this type of damage if it occurs with etching primer, which seals everything back up. Do yourself a favor and be involved with any glass work you hire out because you don't want glass going in over exposed metal.
John was able to get the rock shield coating off from under the doors with a heat gun and a razor blade:
This is another little surprise that's happening with my car. John suggested stripping the rock shield off of the bottom edge of the car and painting it to match the car. I agreed and this is how we got to this stage. You do loose a little bit of protection with this choice, but I figure if I really get paranoid I'll just wrap those sections with clear bra and call it a day.
Finally, the sunroof is out and awaiting prep:
09-23-14, 05:03 PM
#18
September 18, 2014, 08:36:17 AM
John is still going strong with the prep work
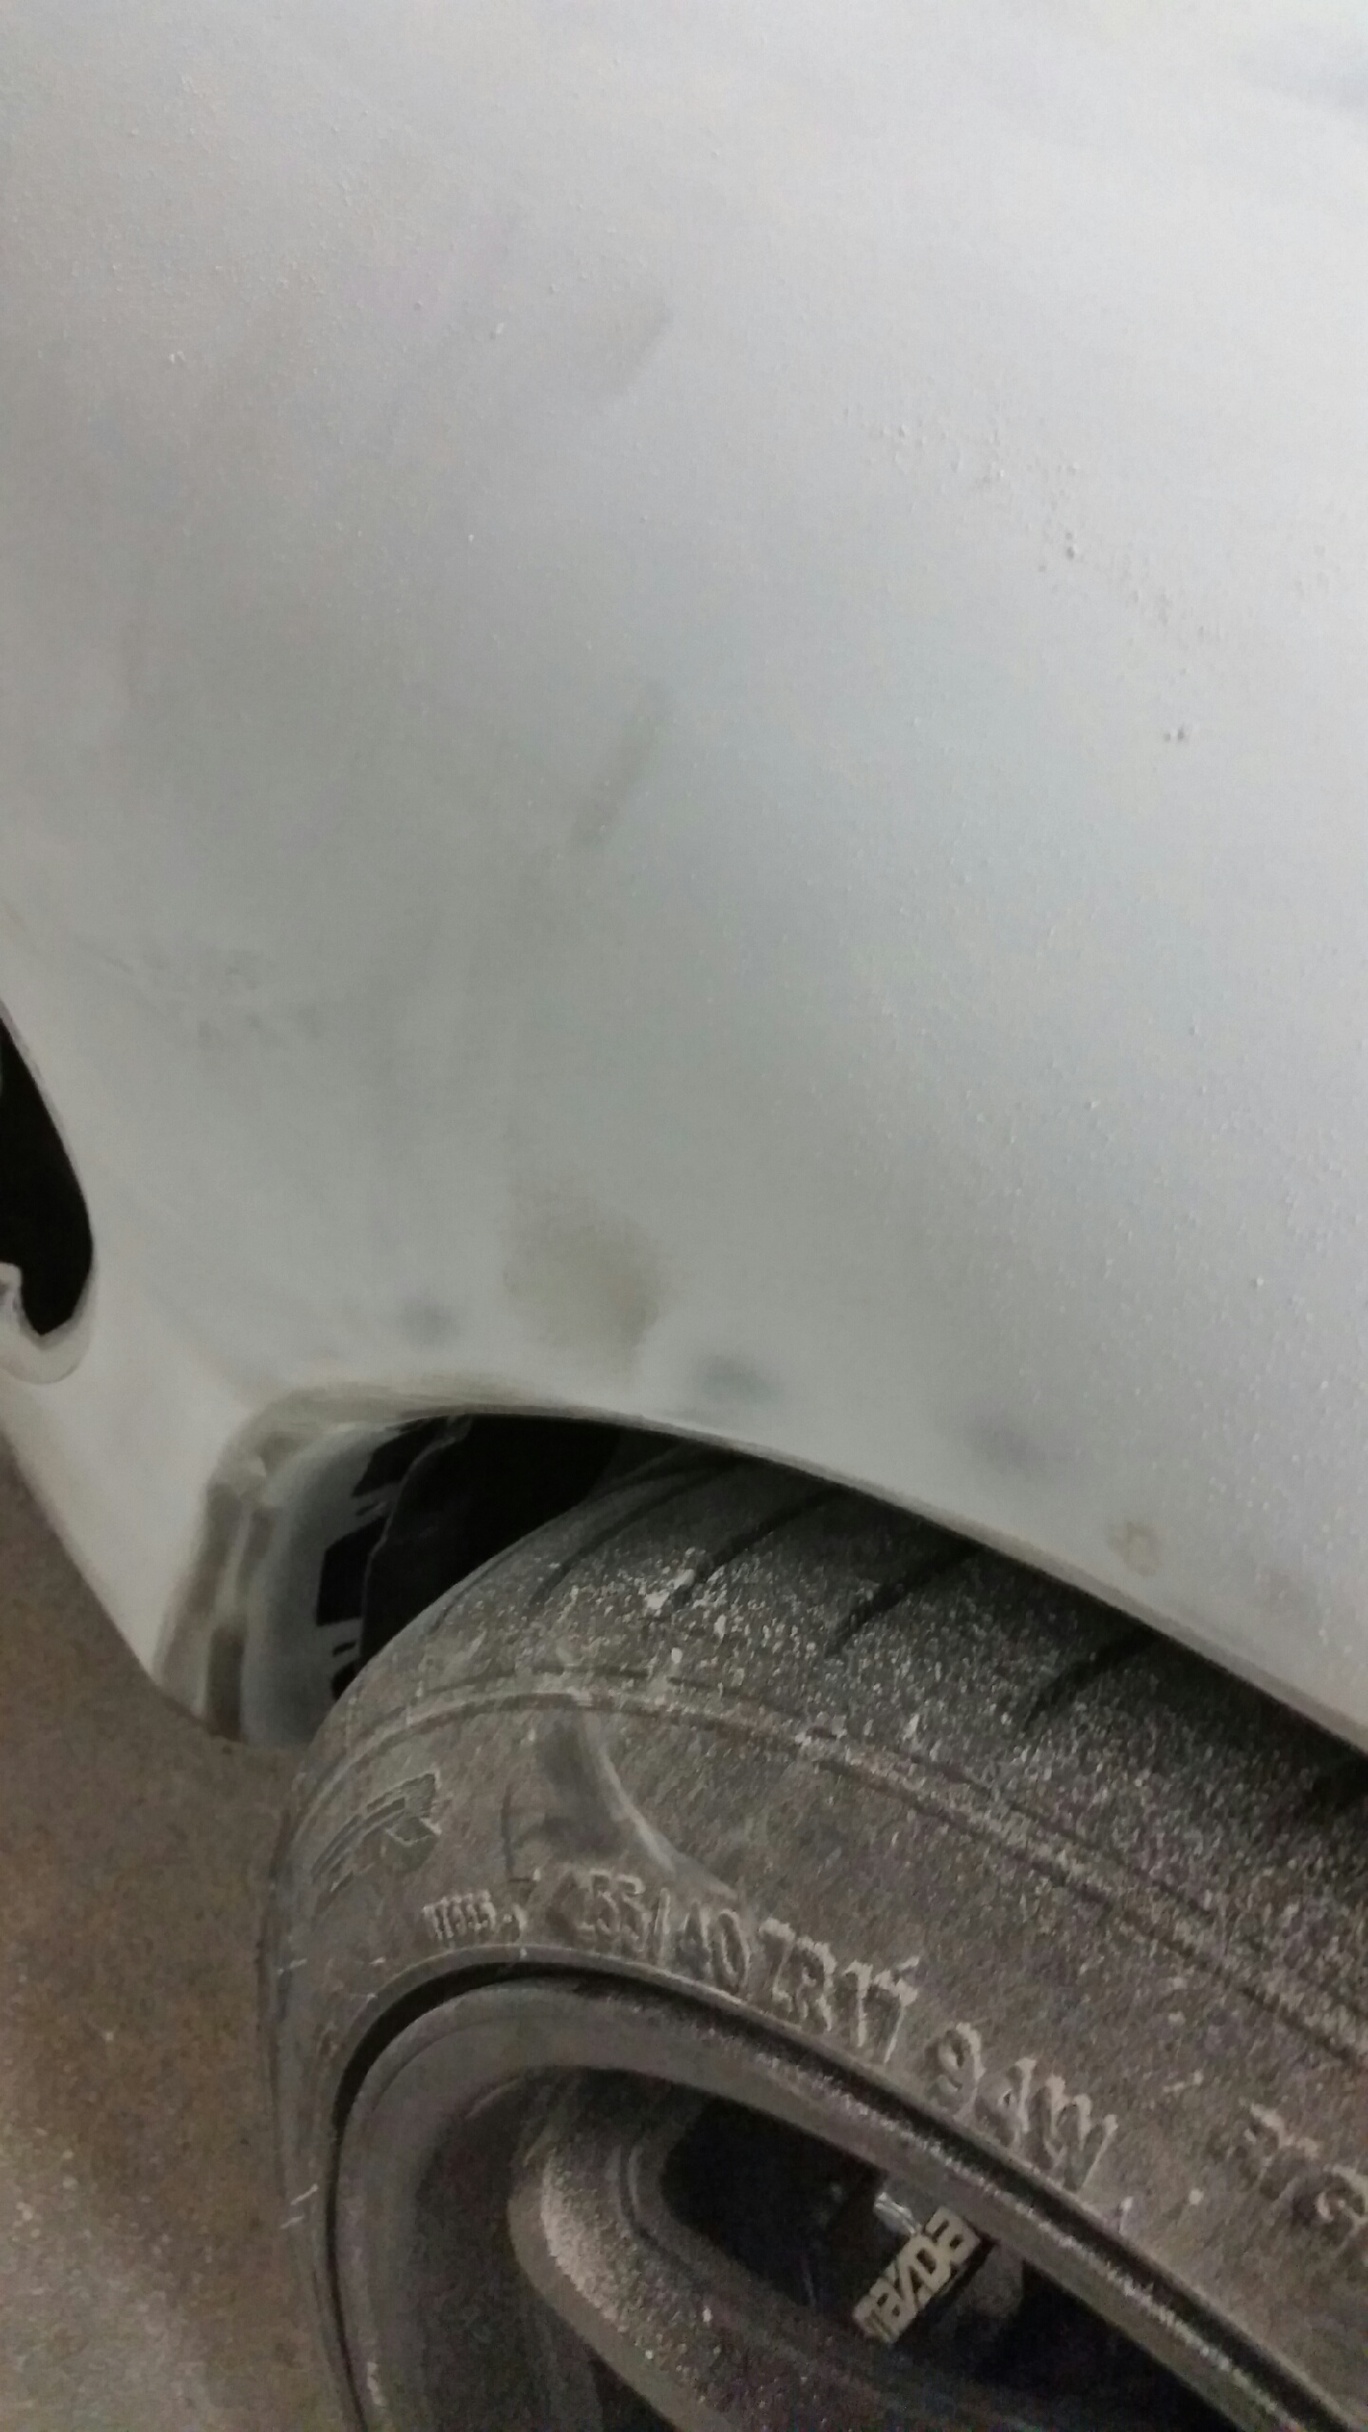
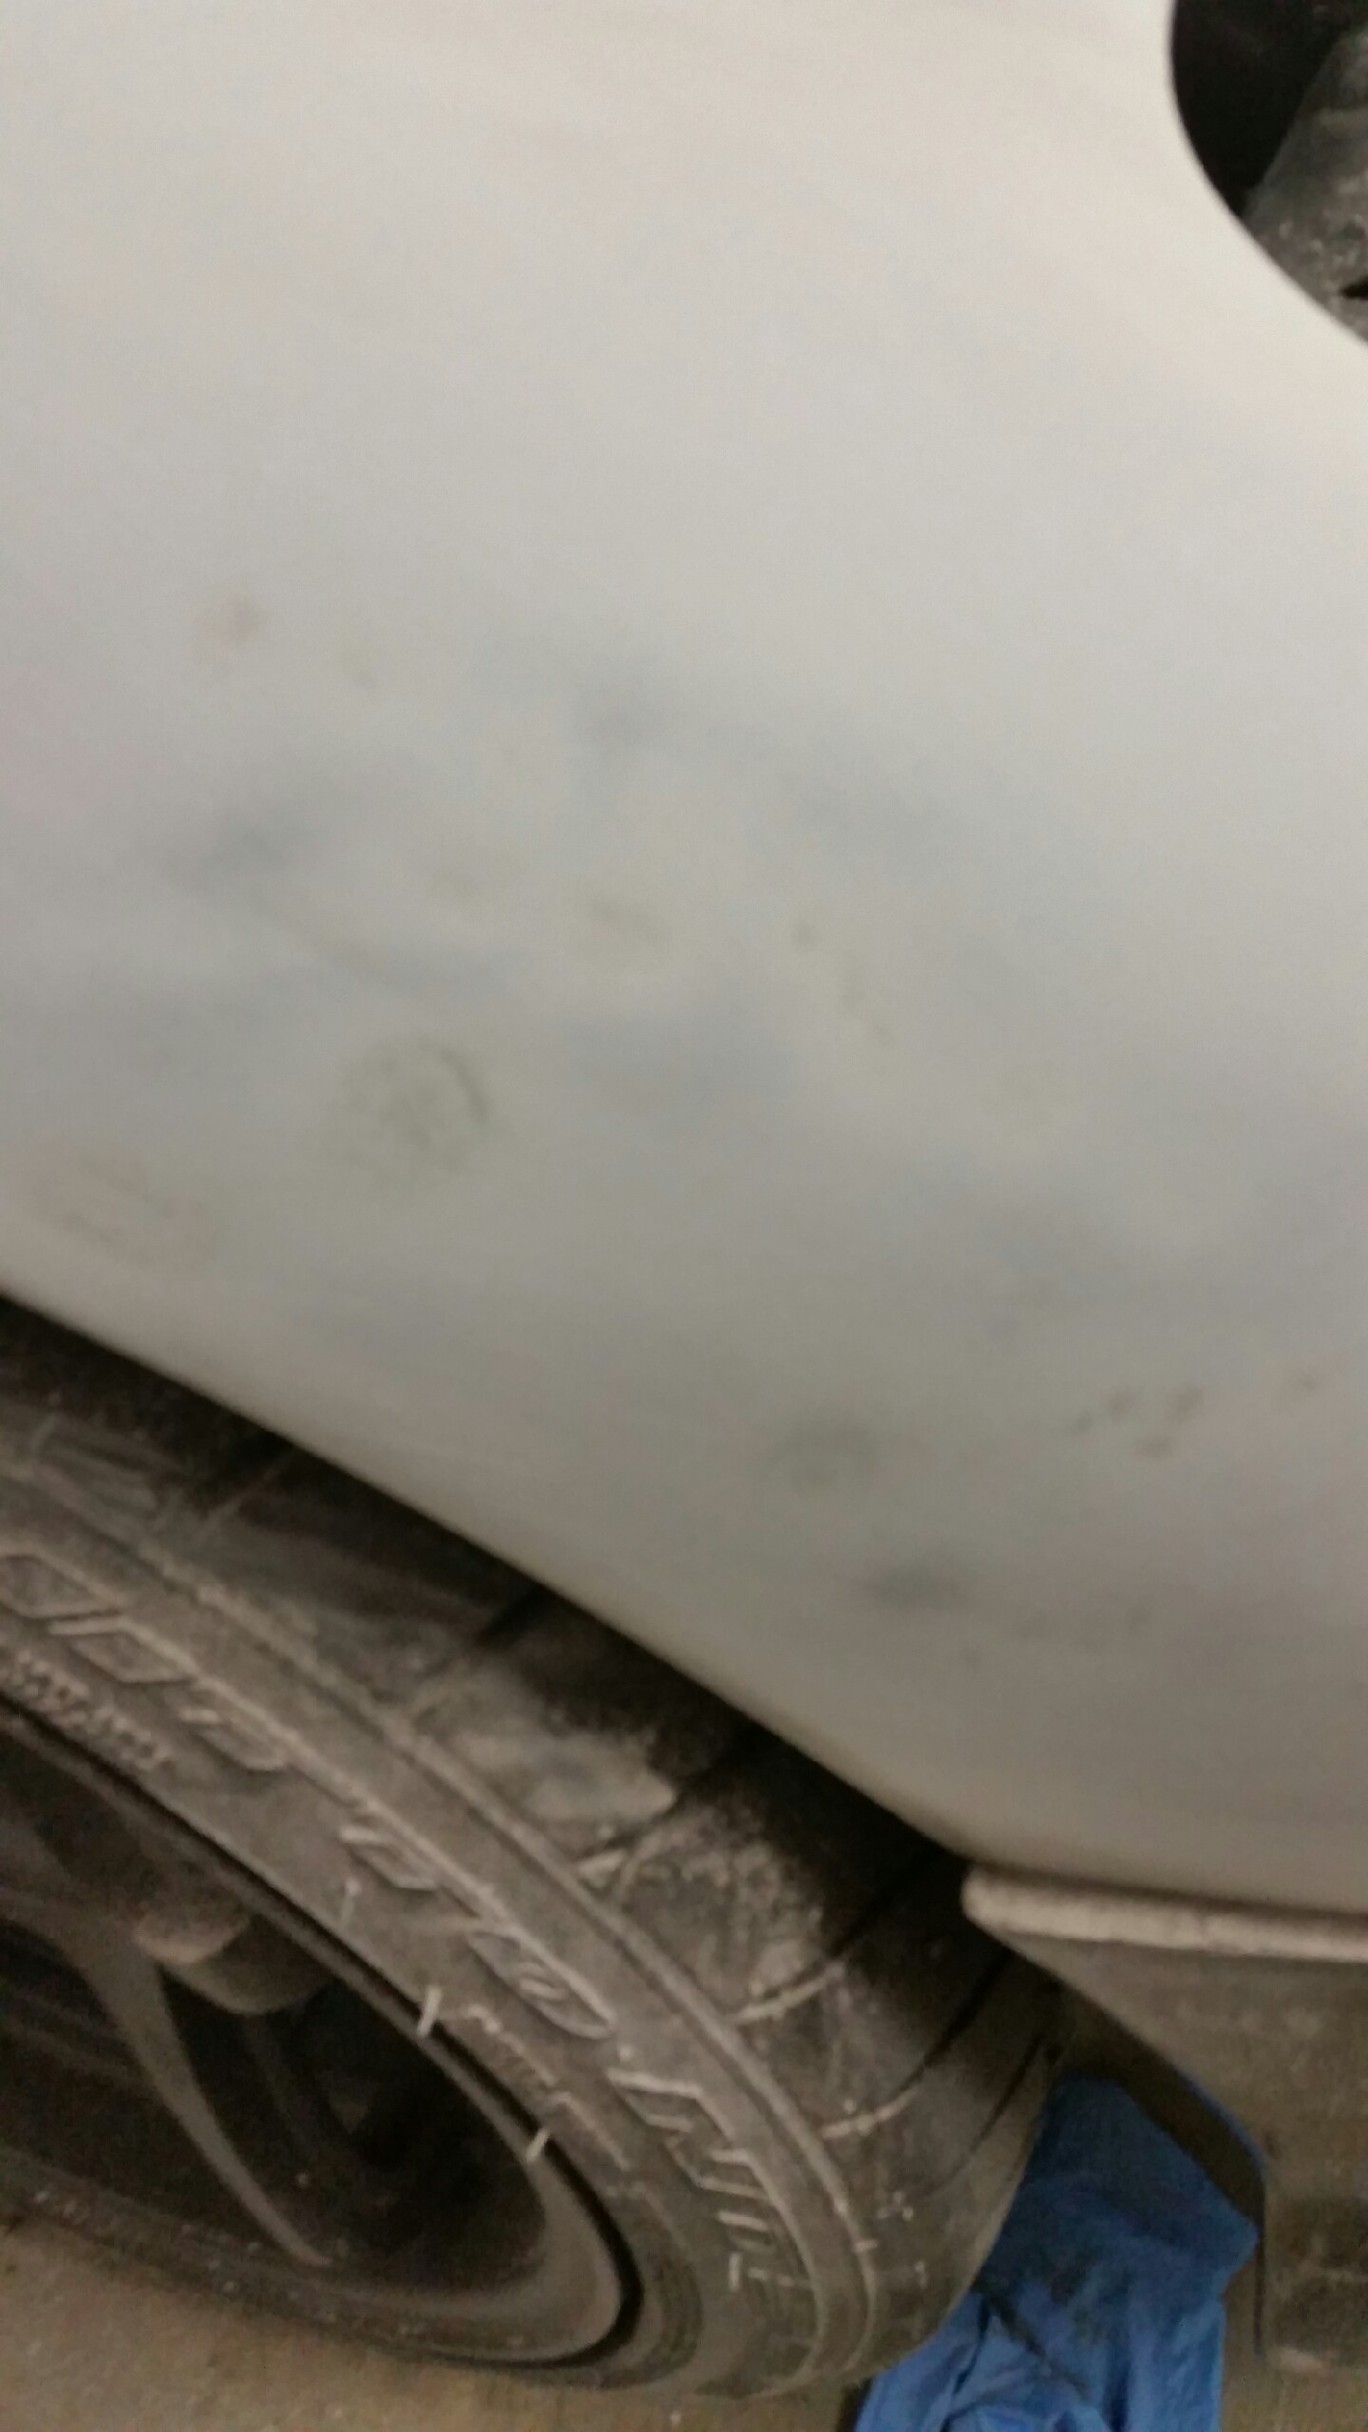
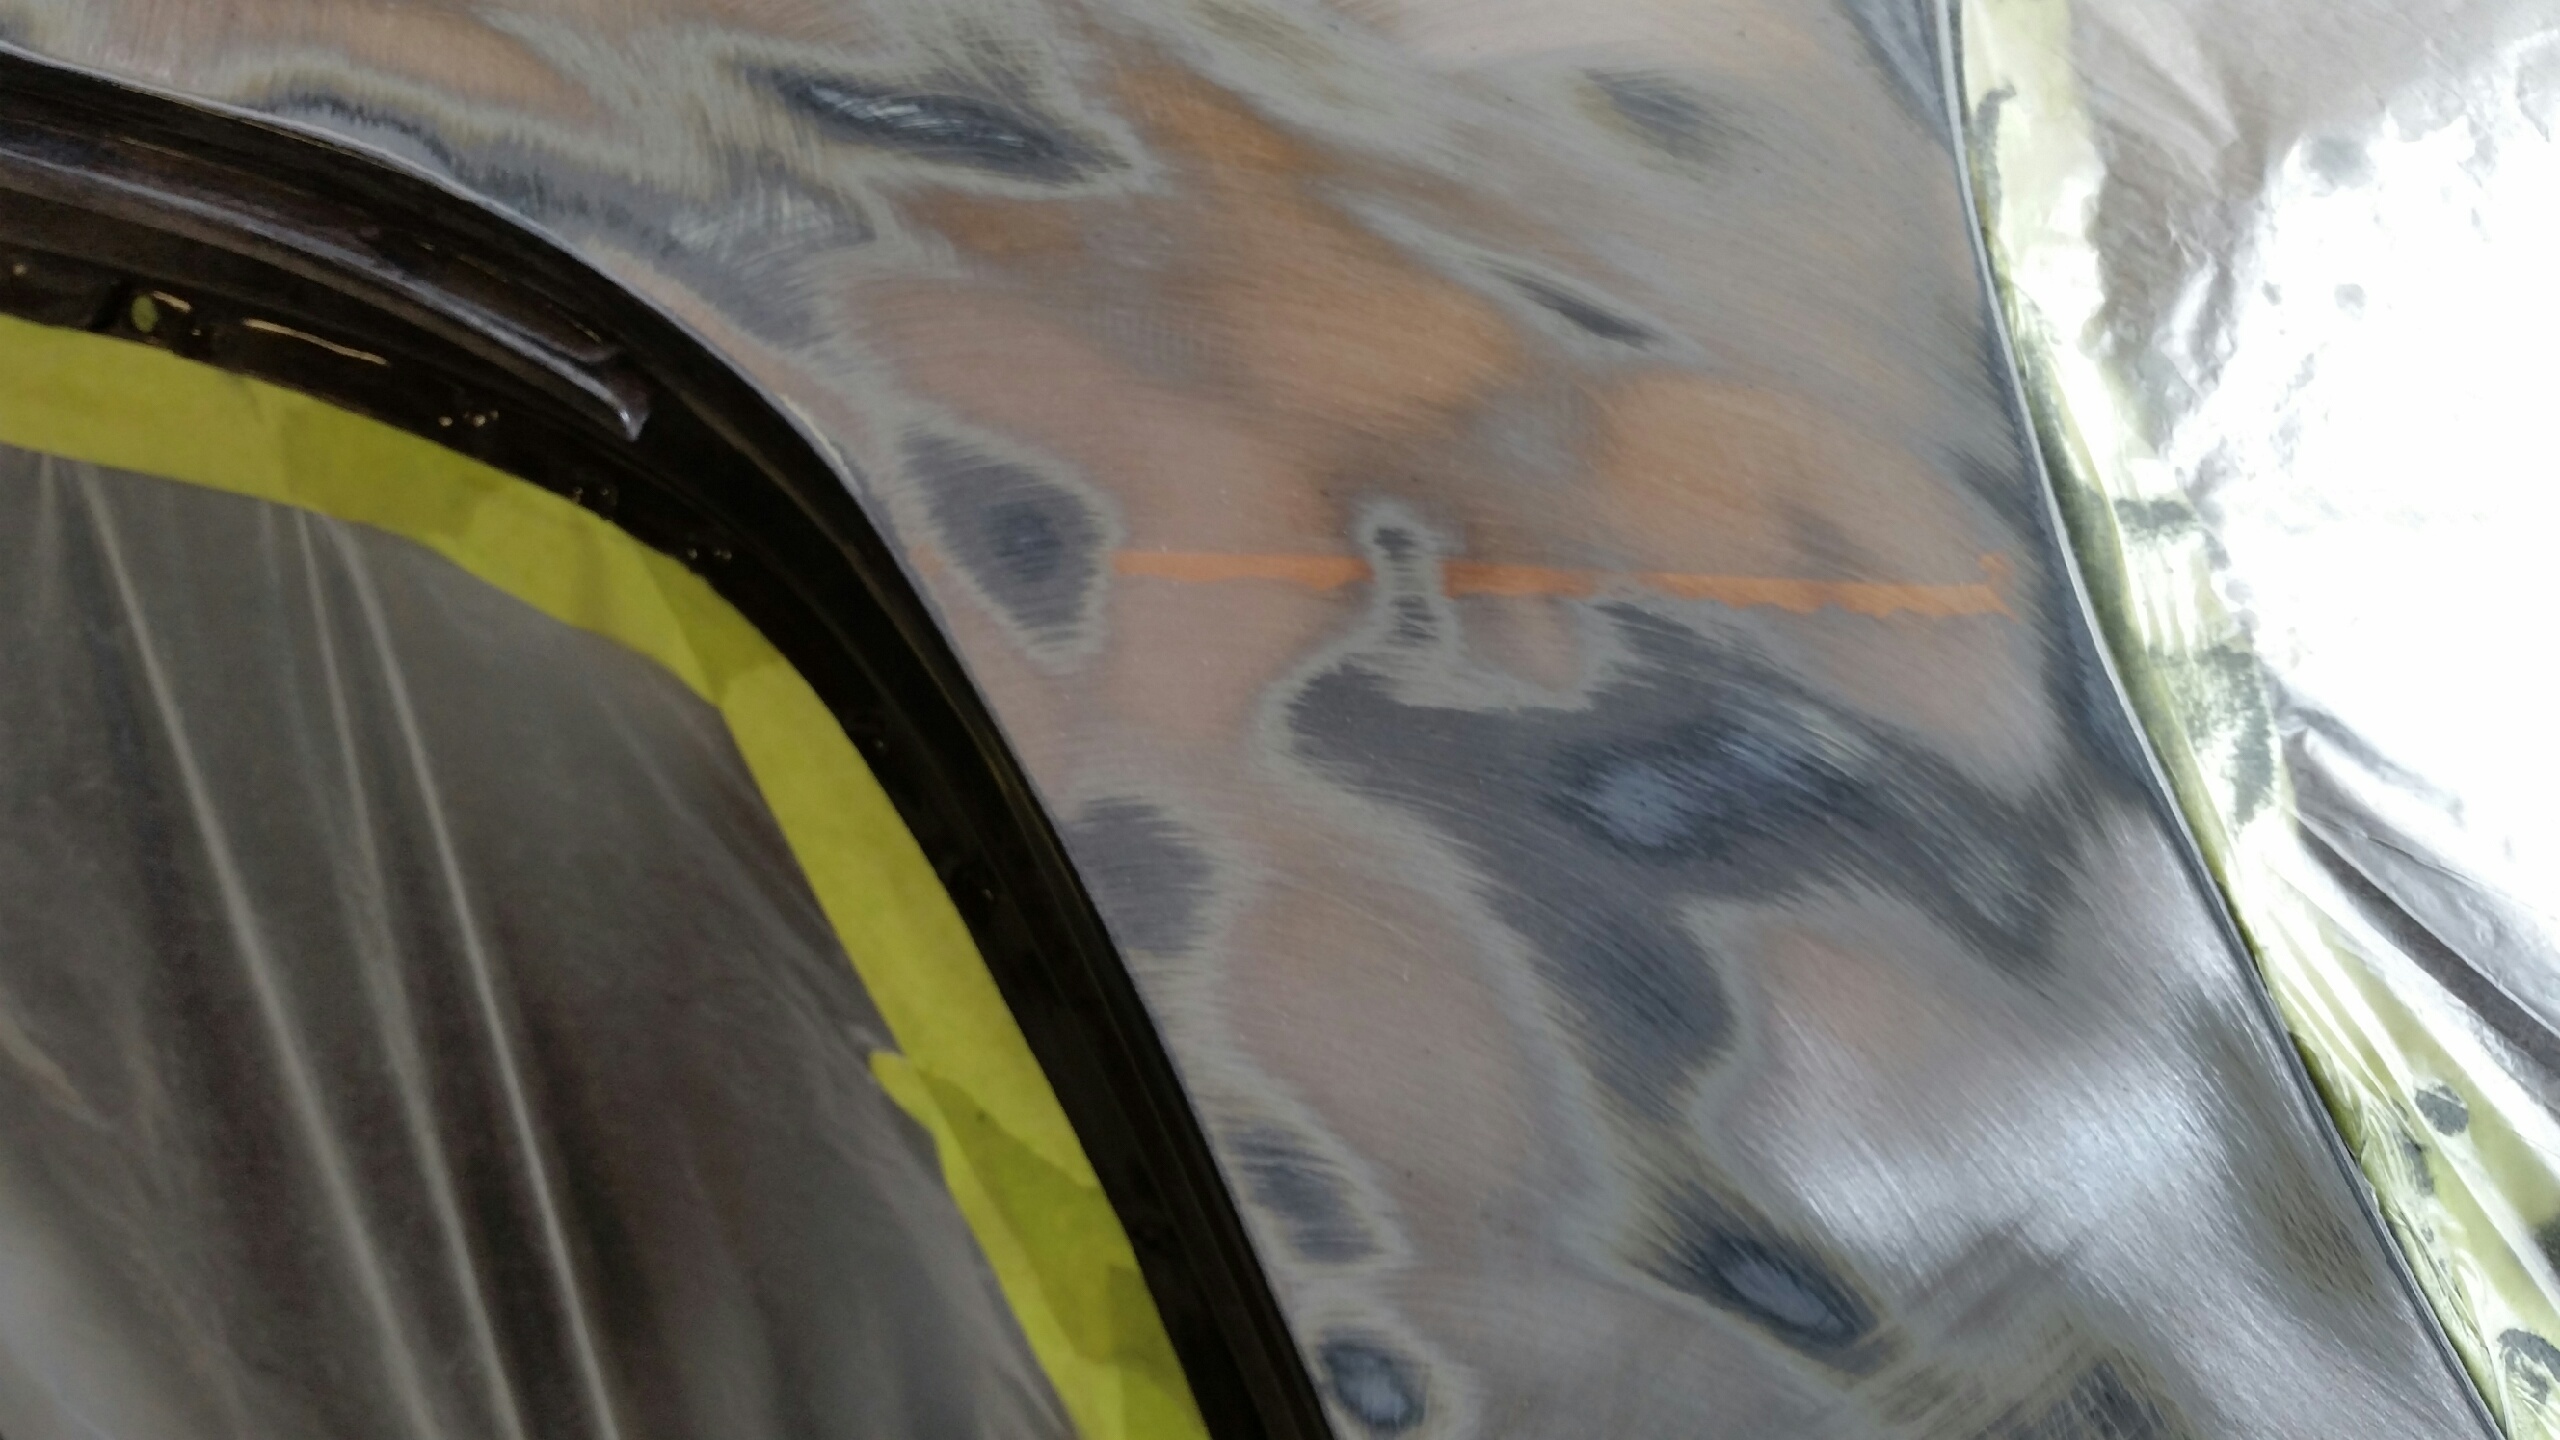
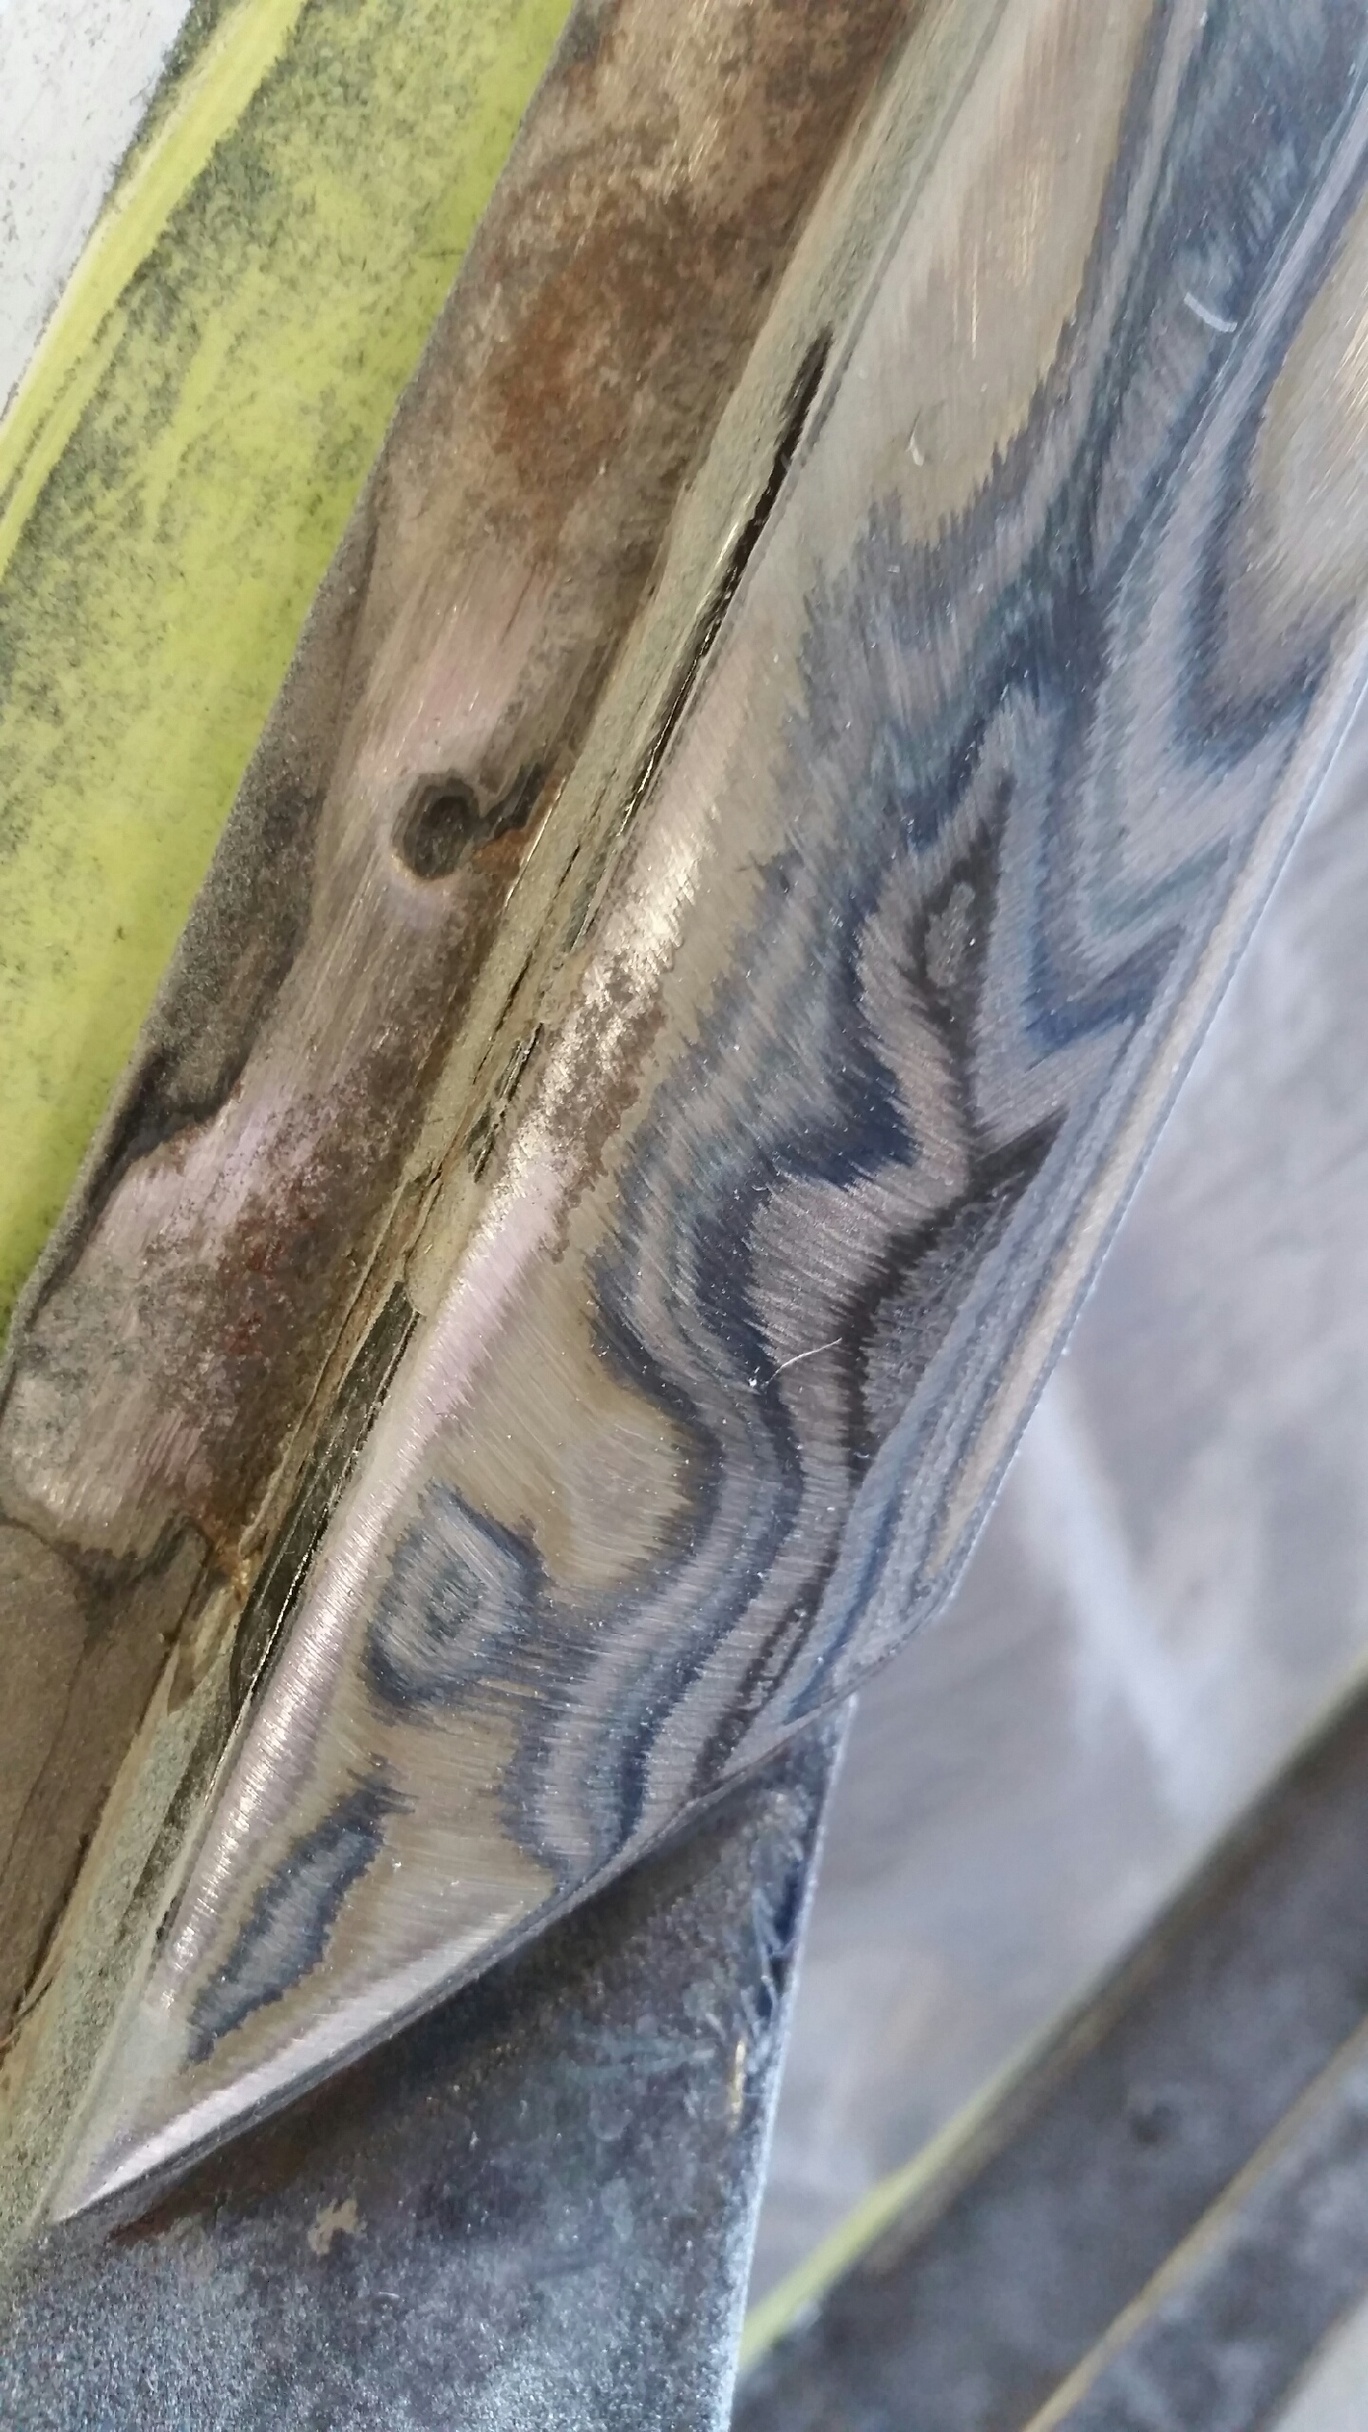
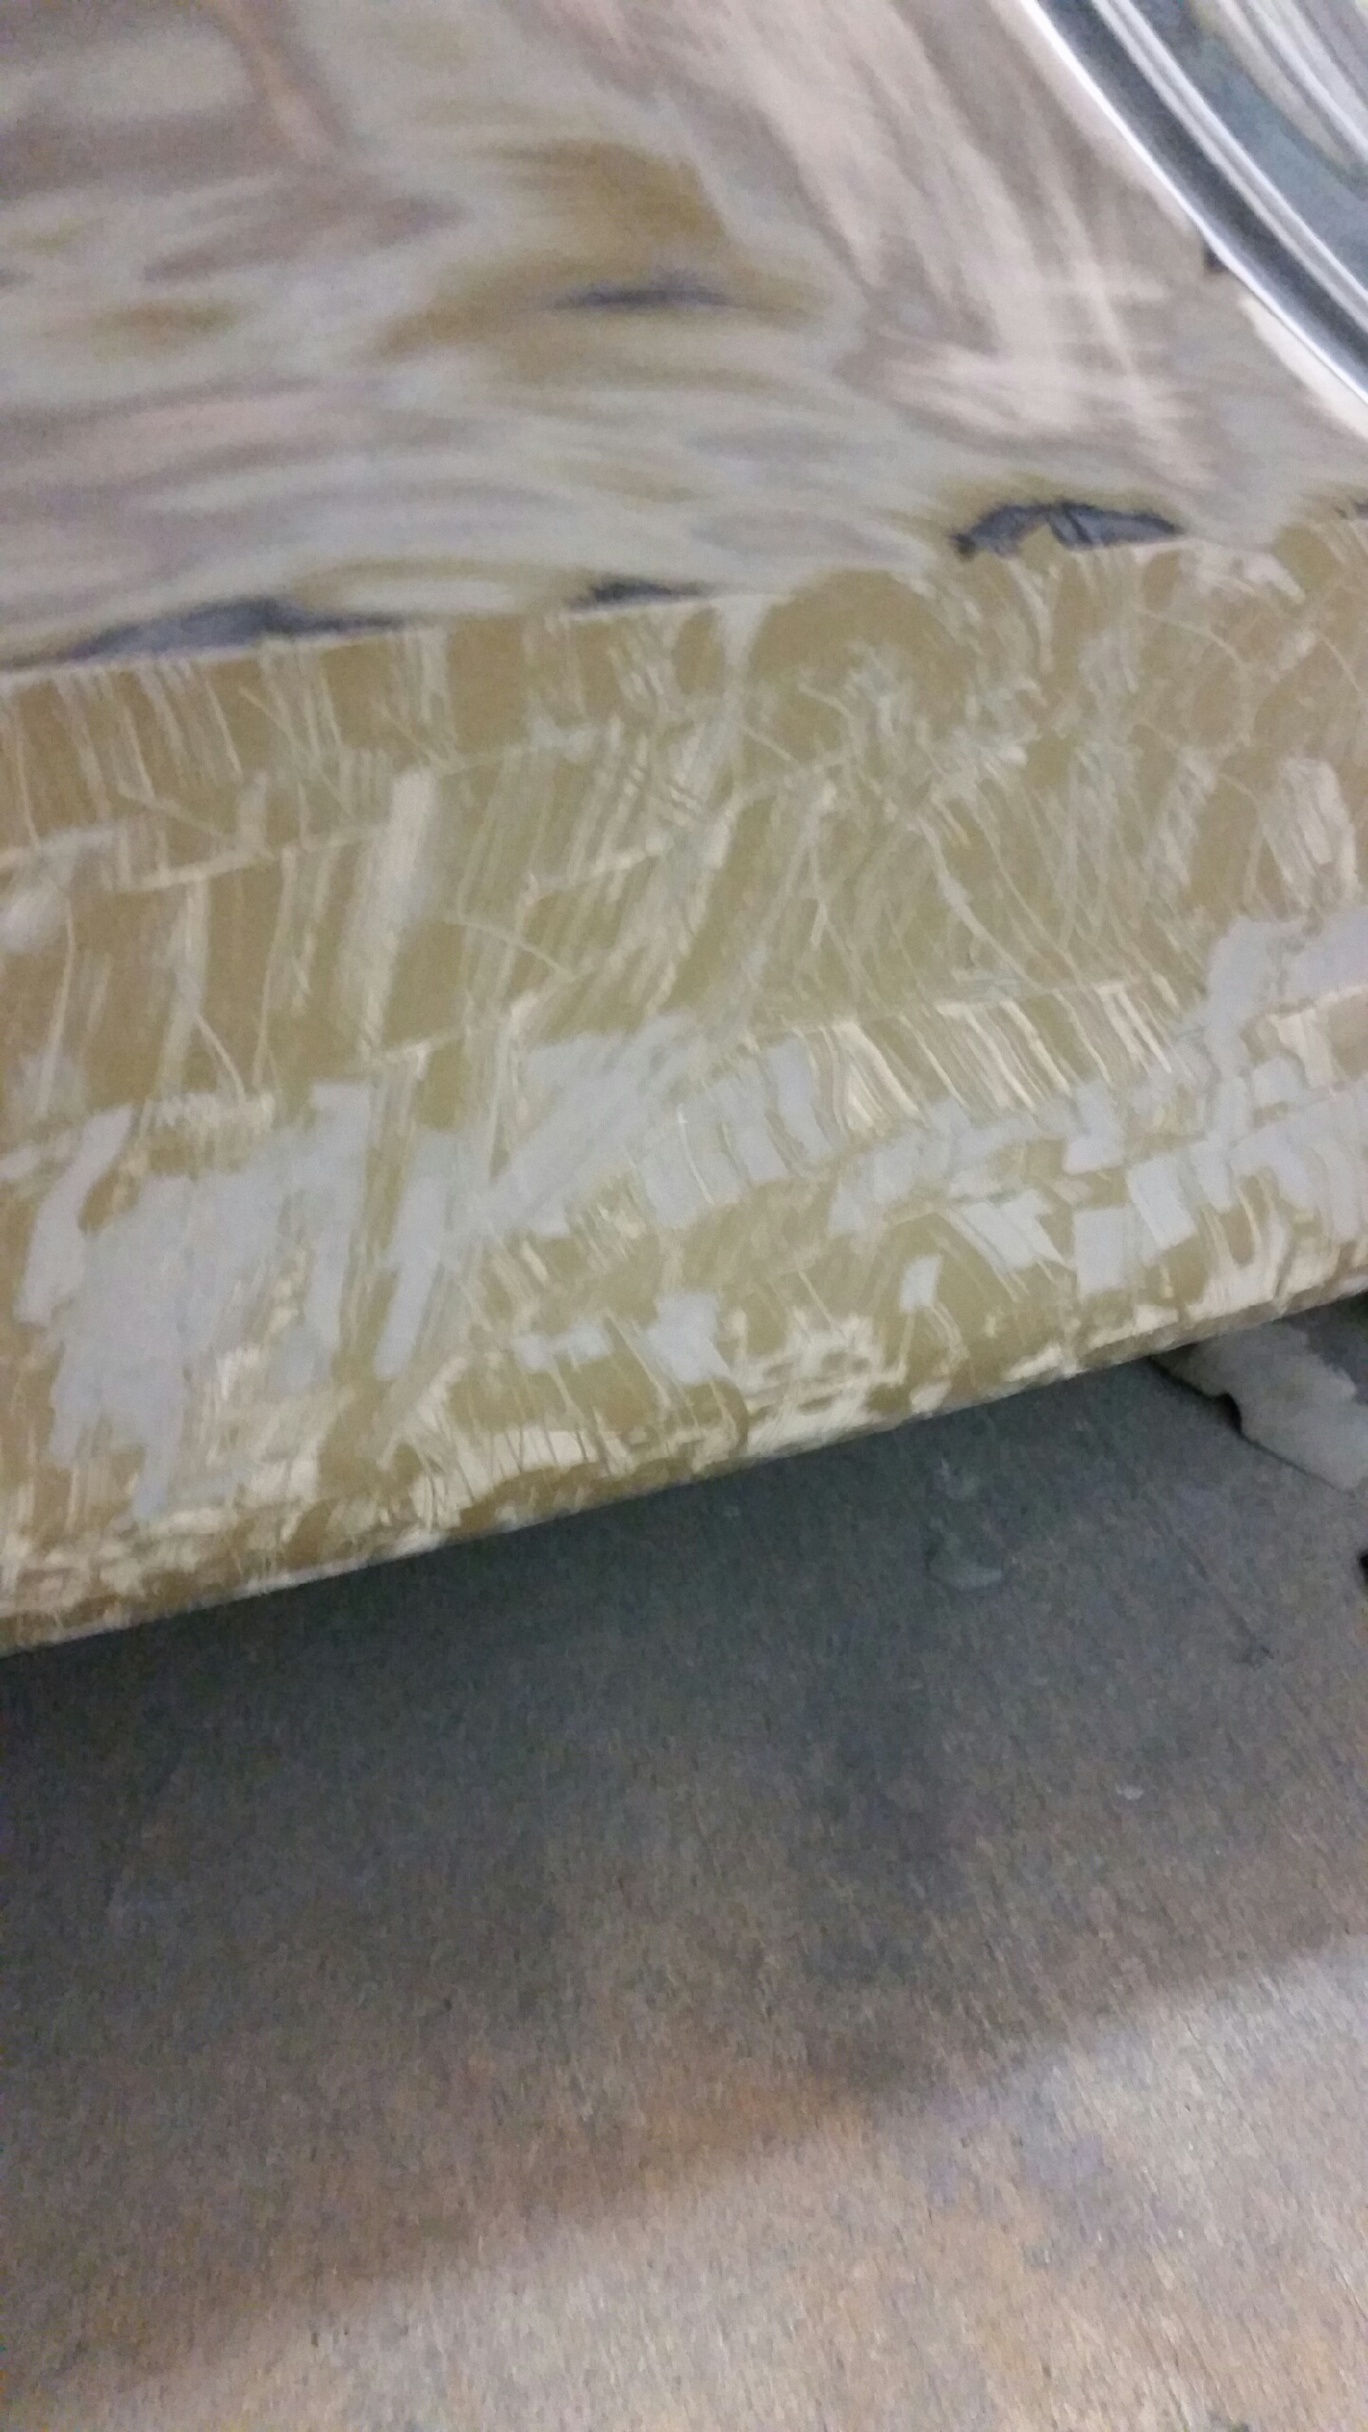
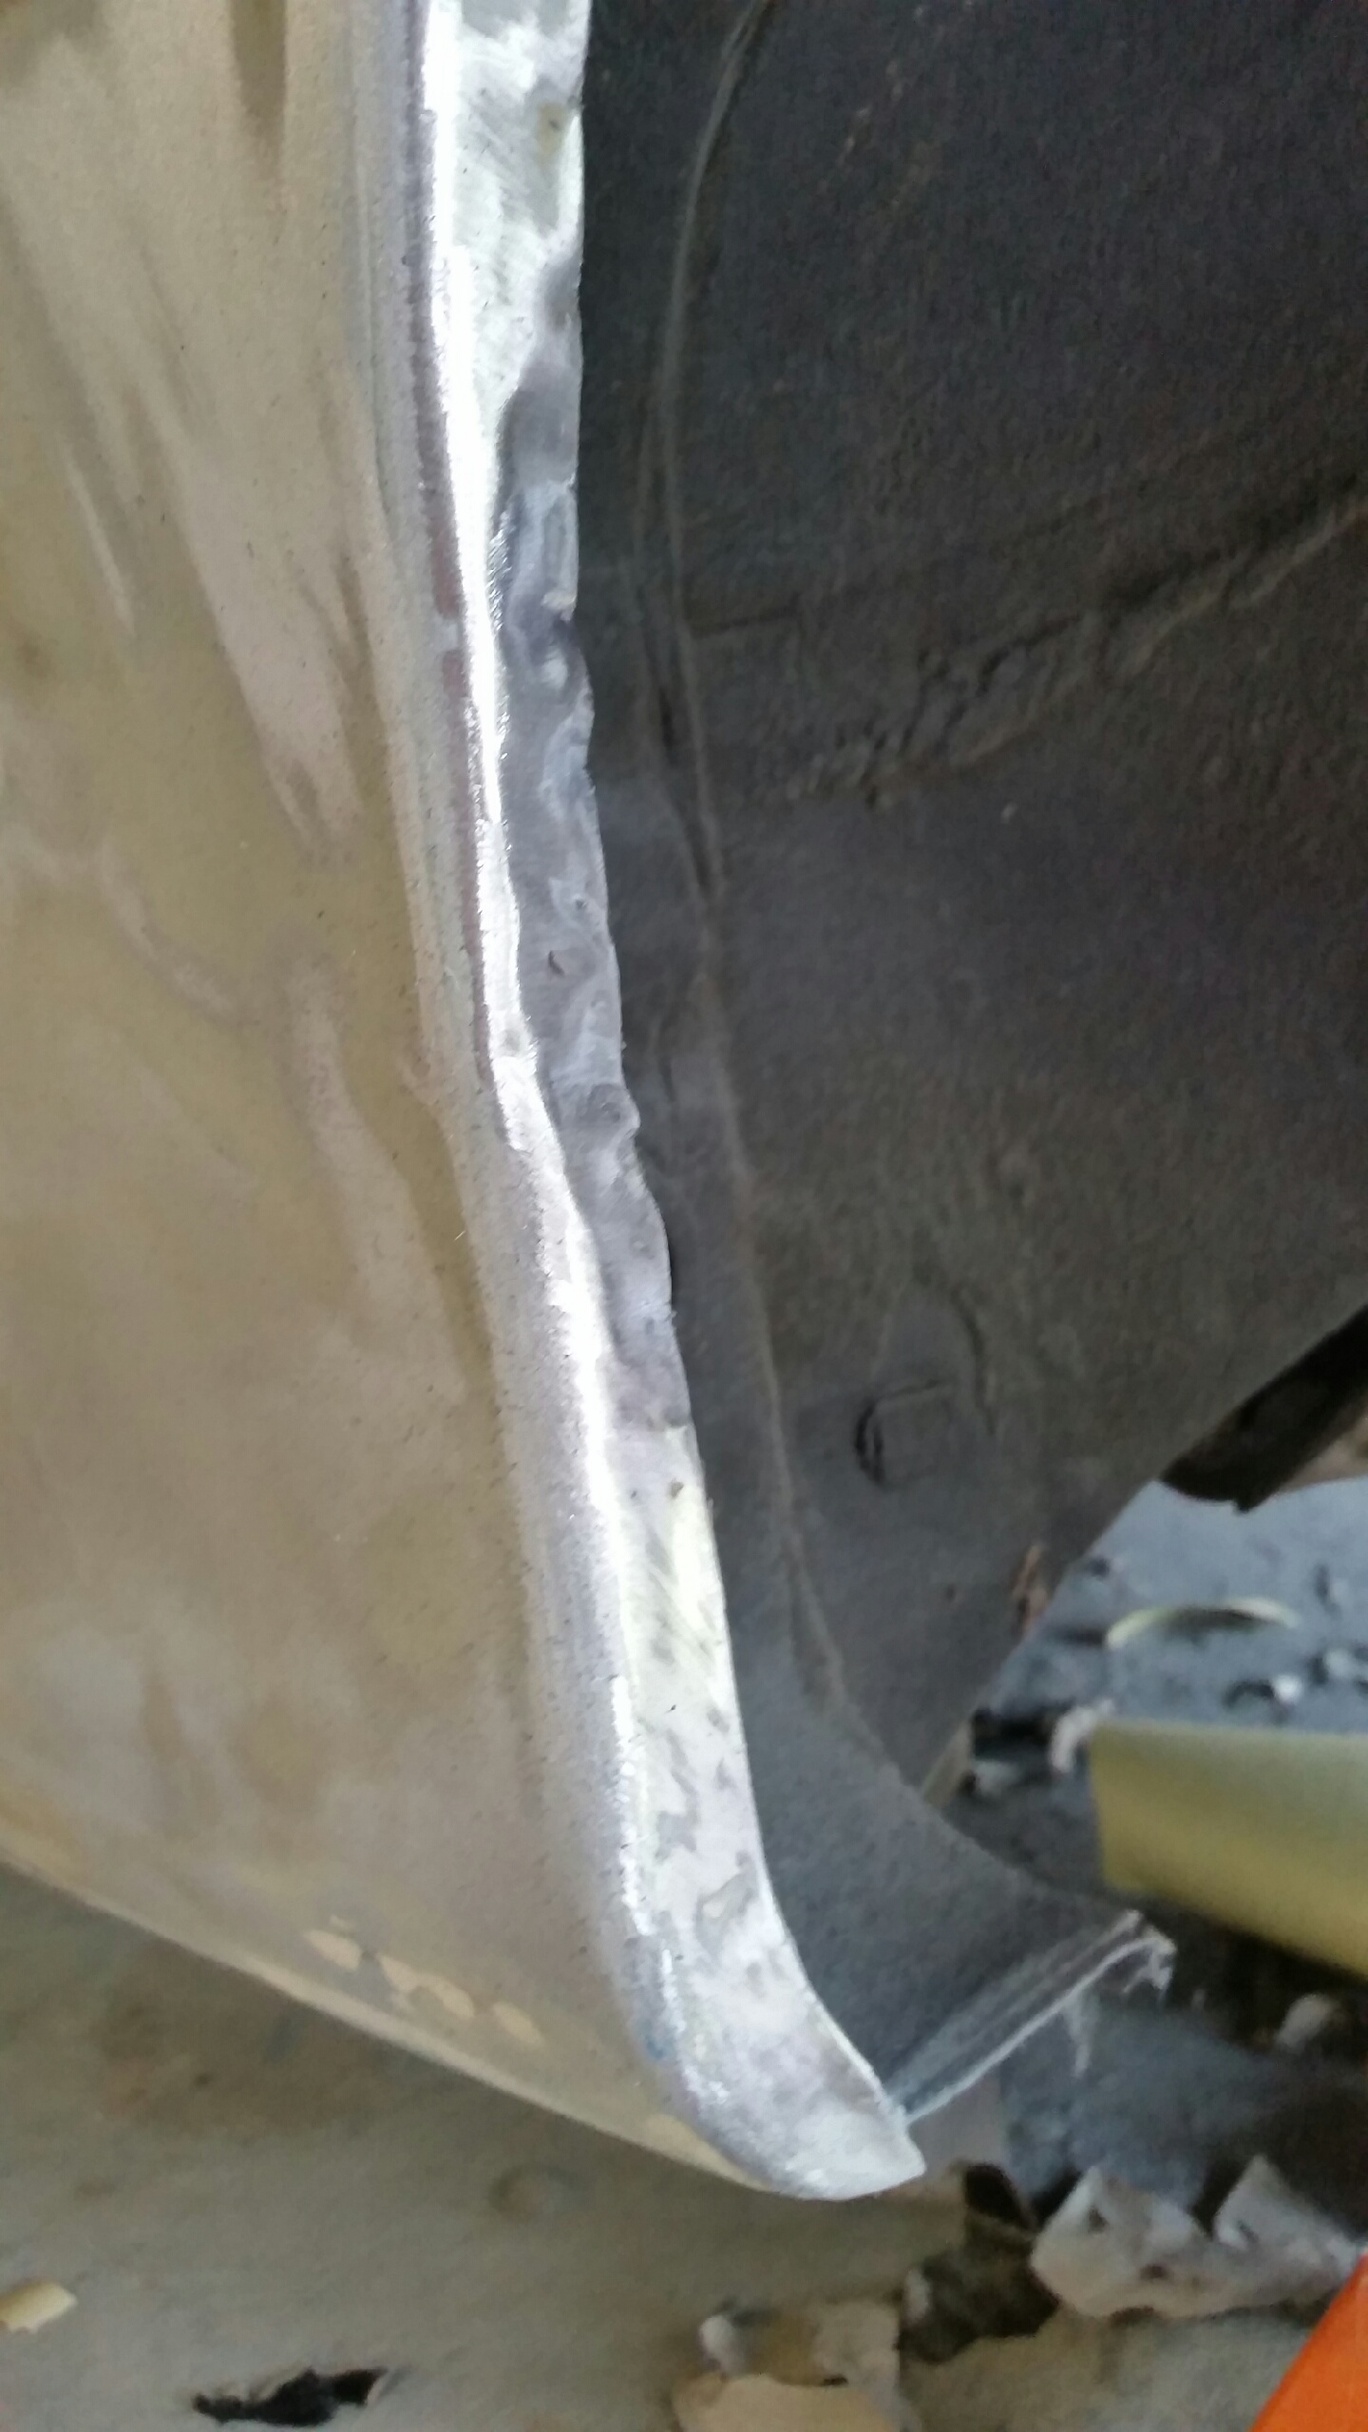
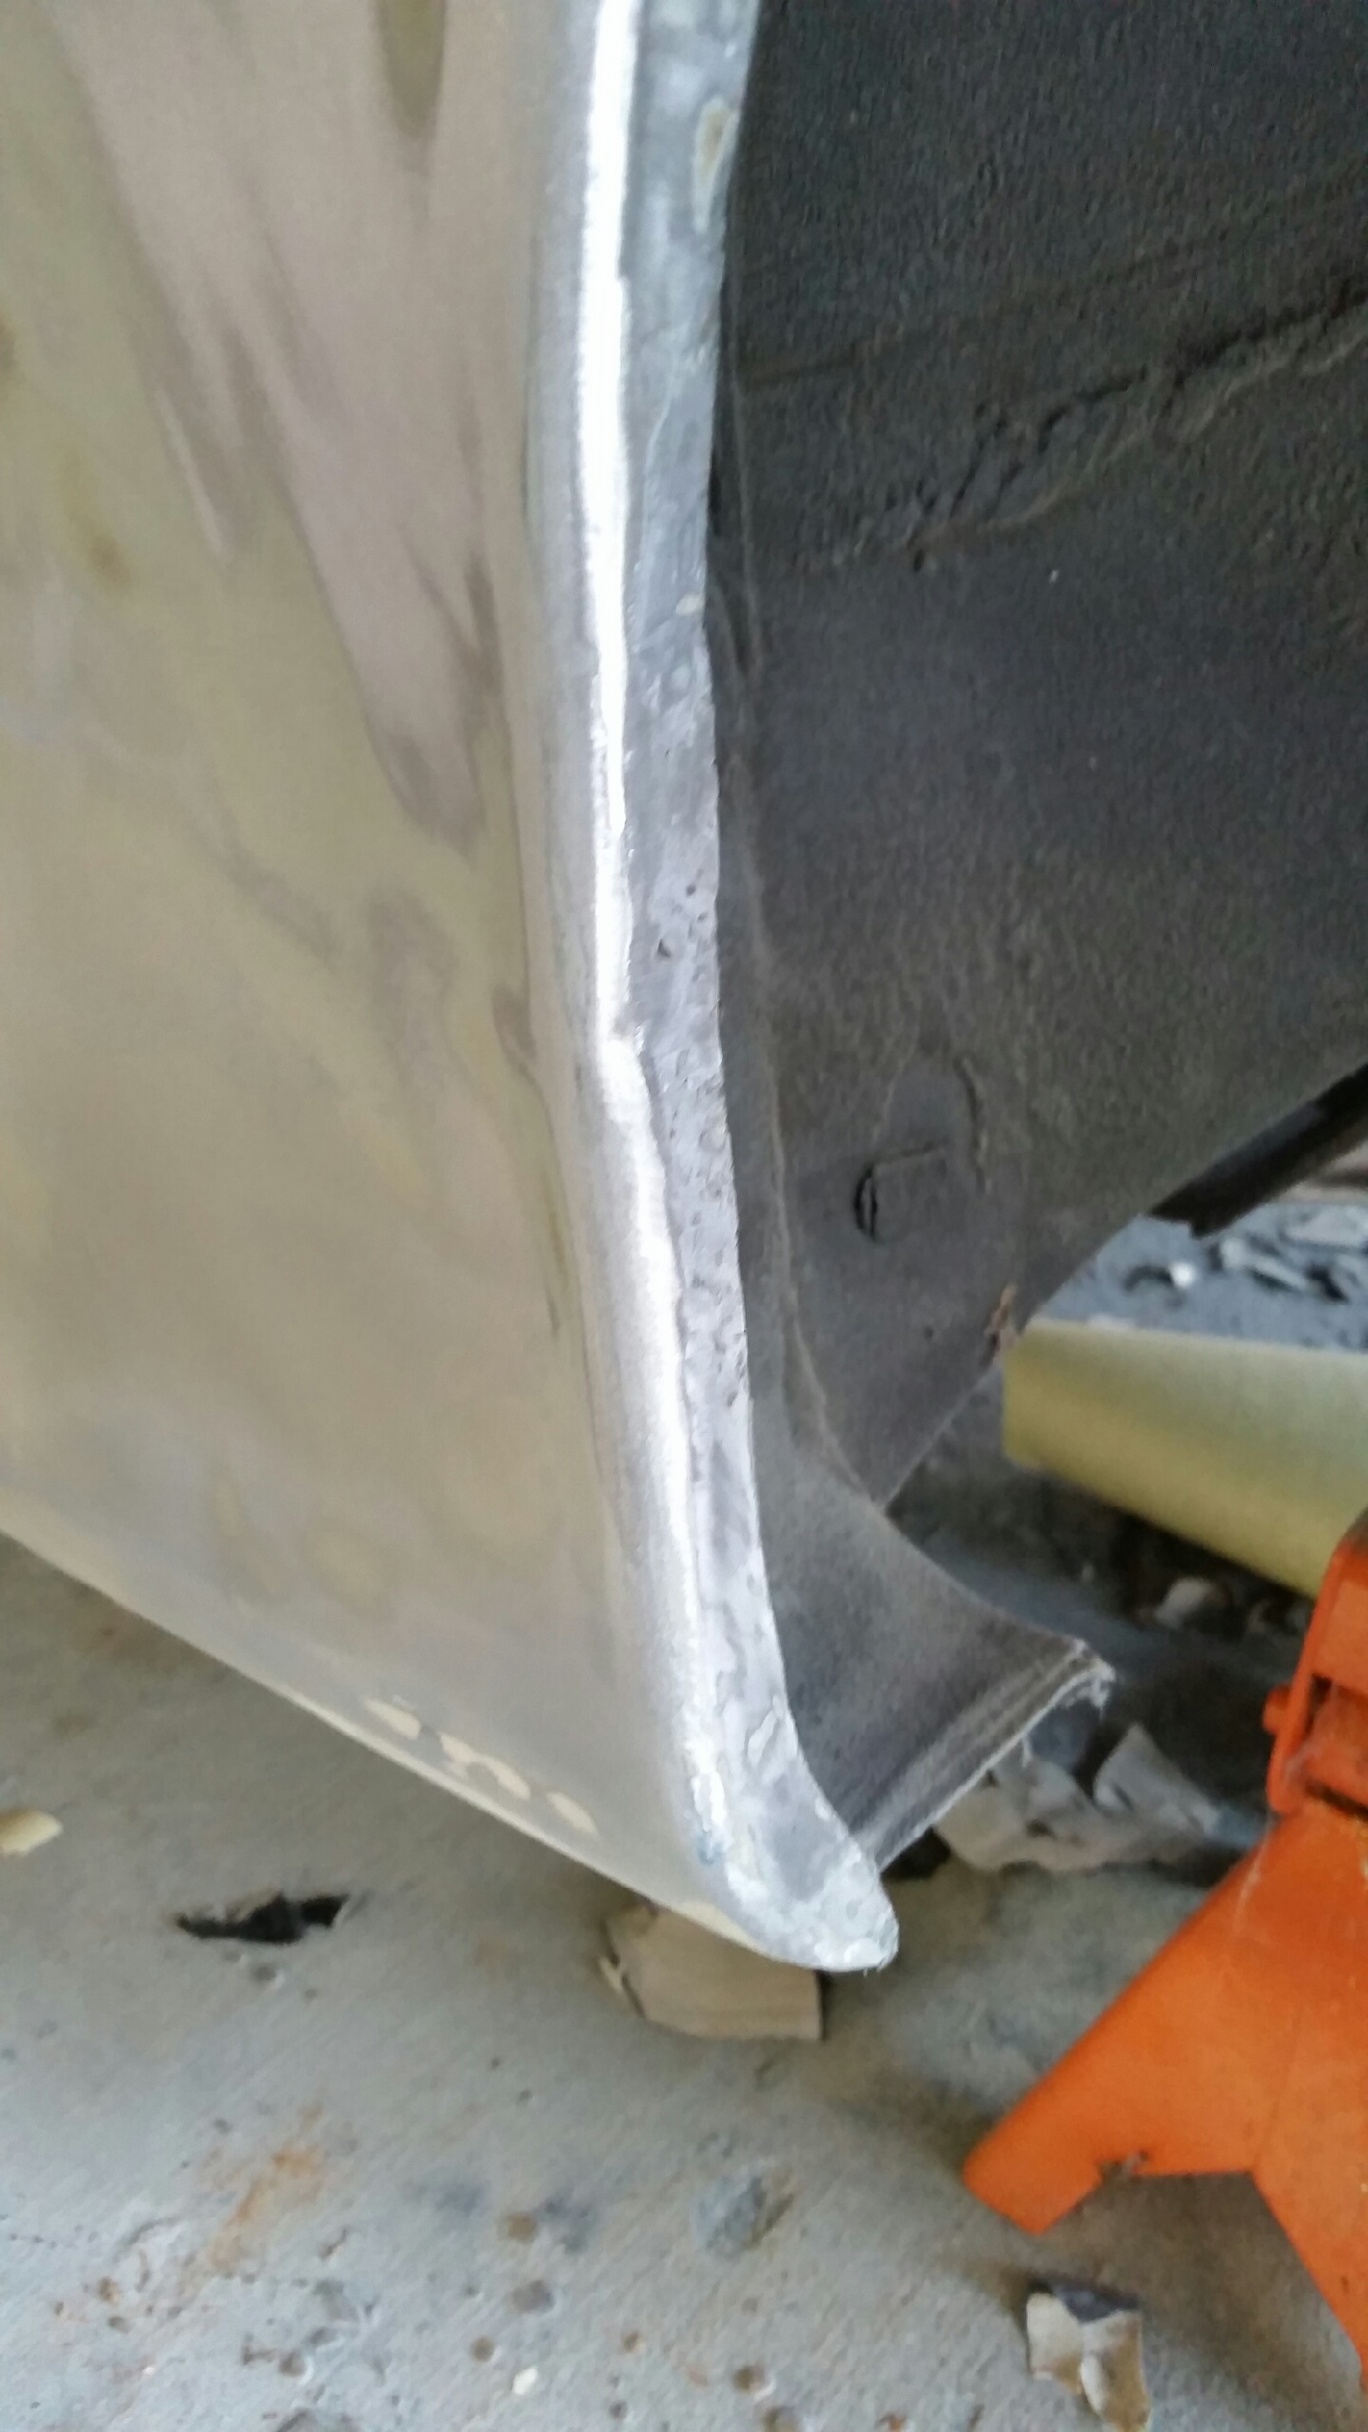
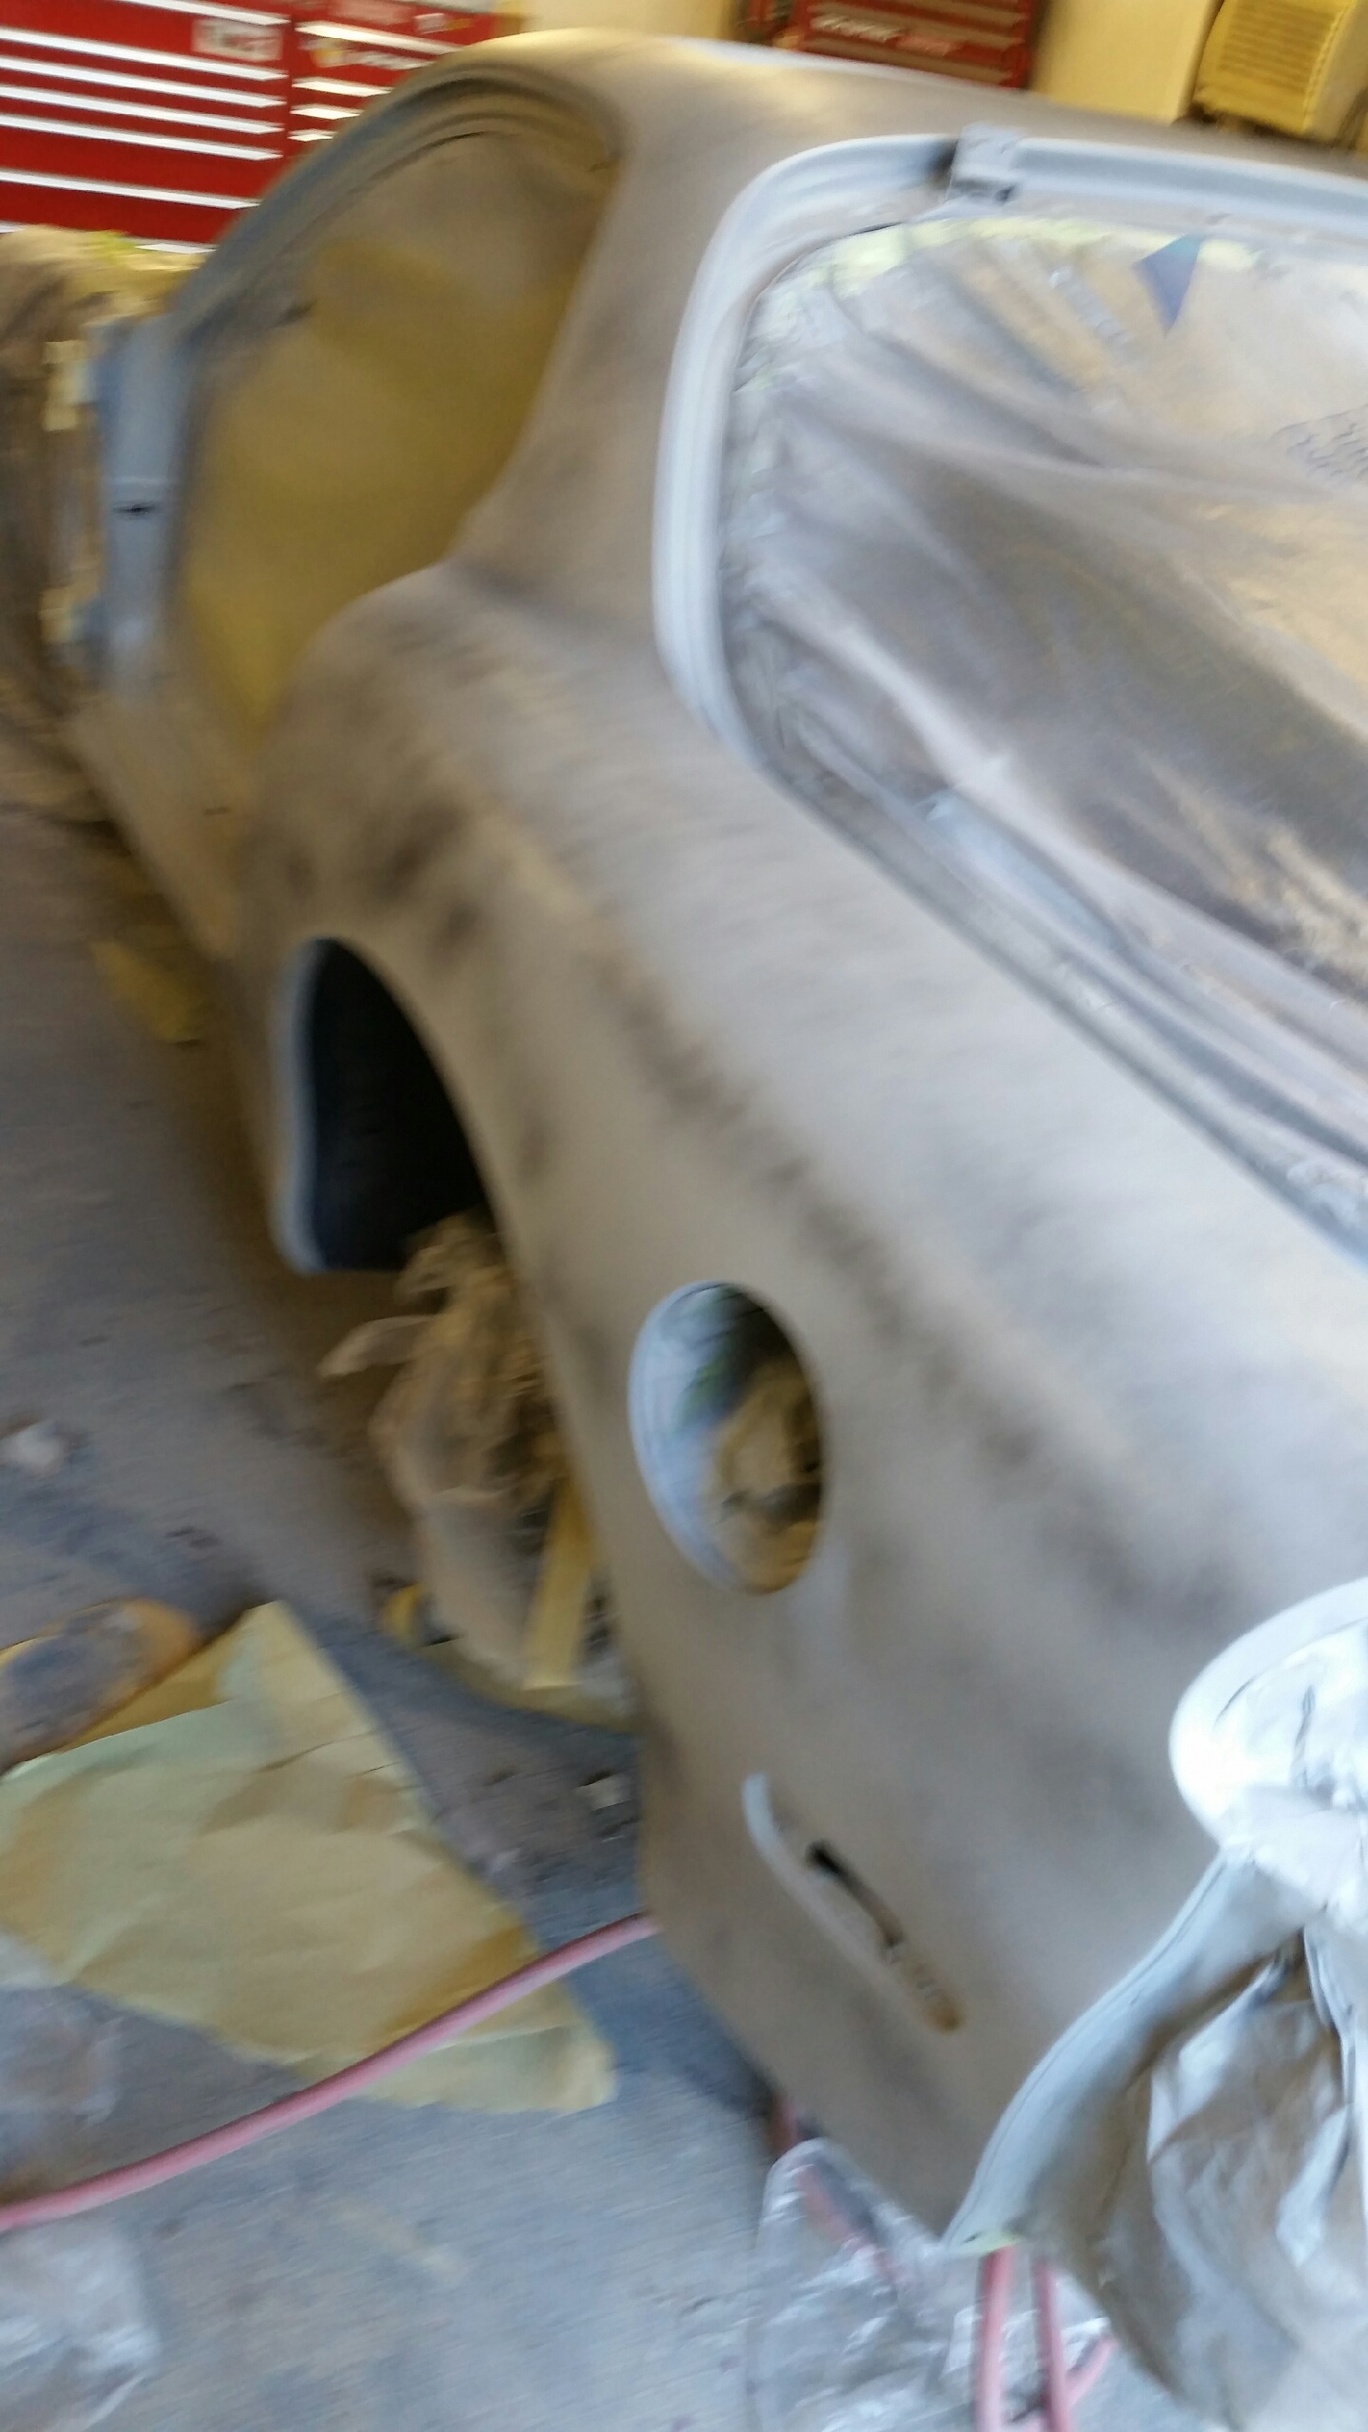
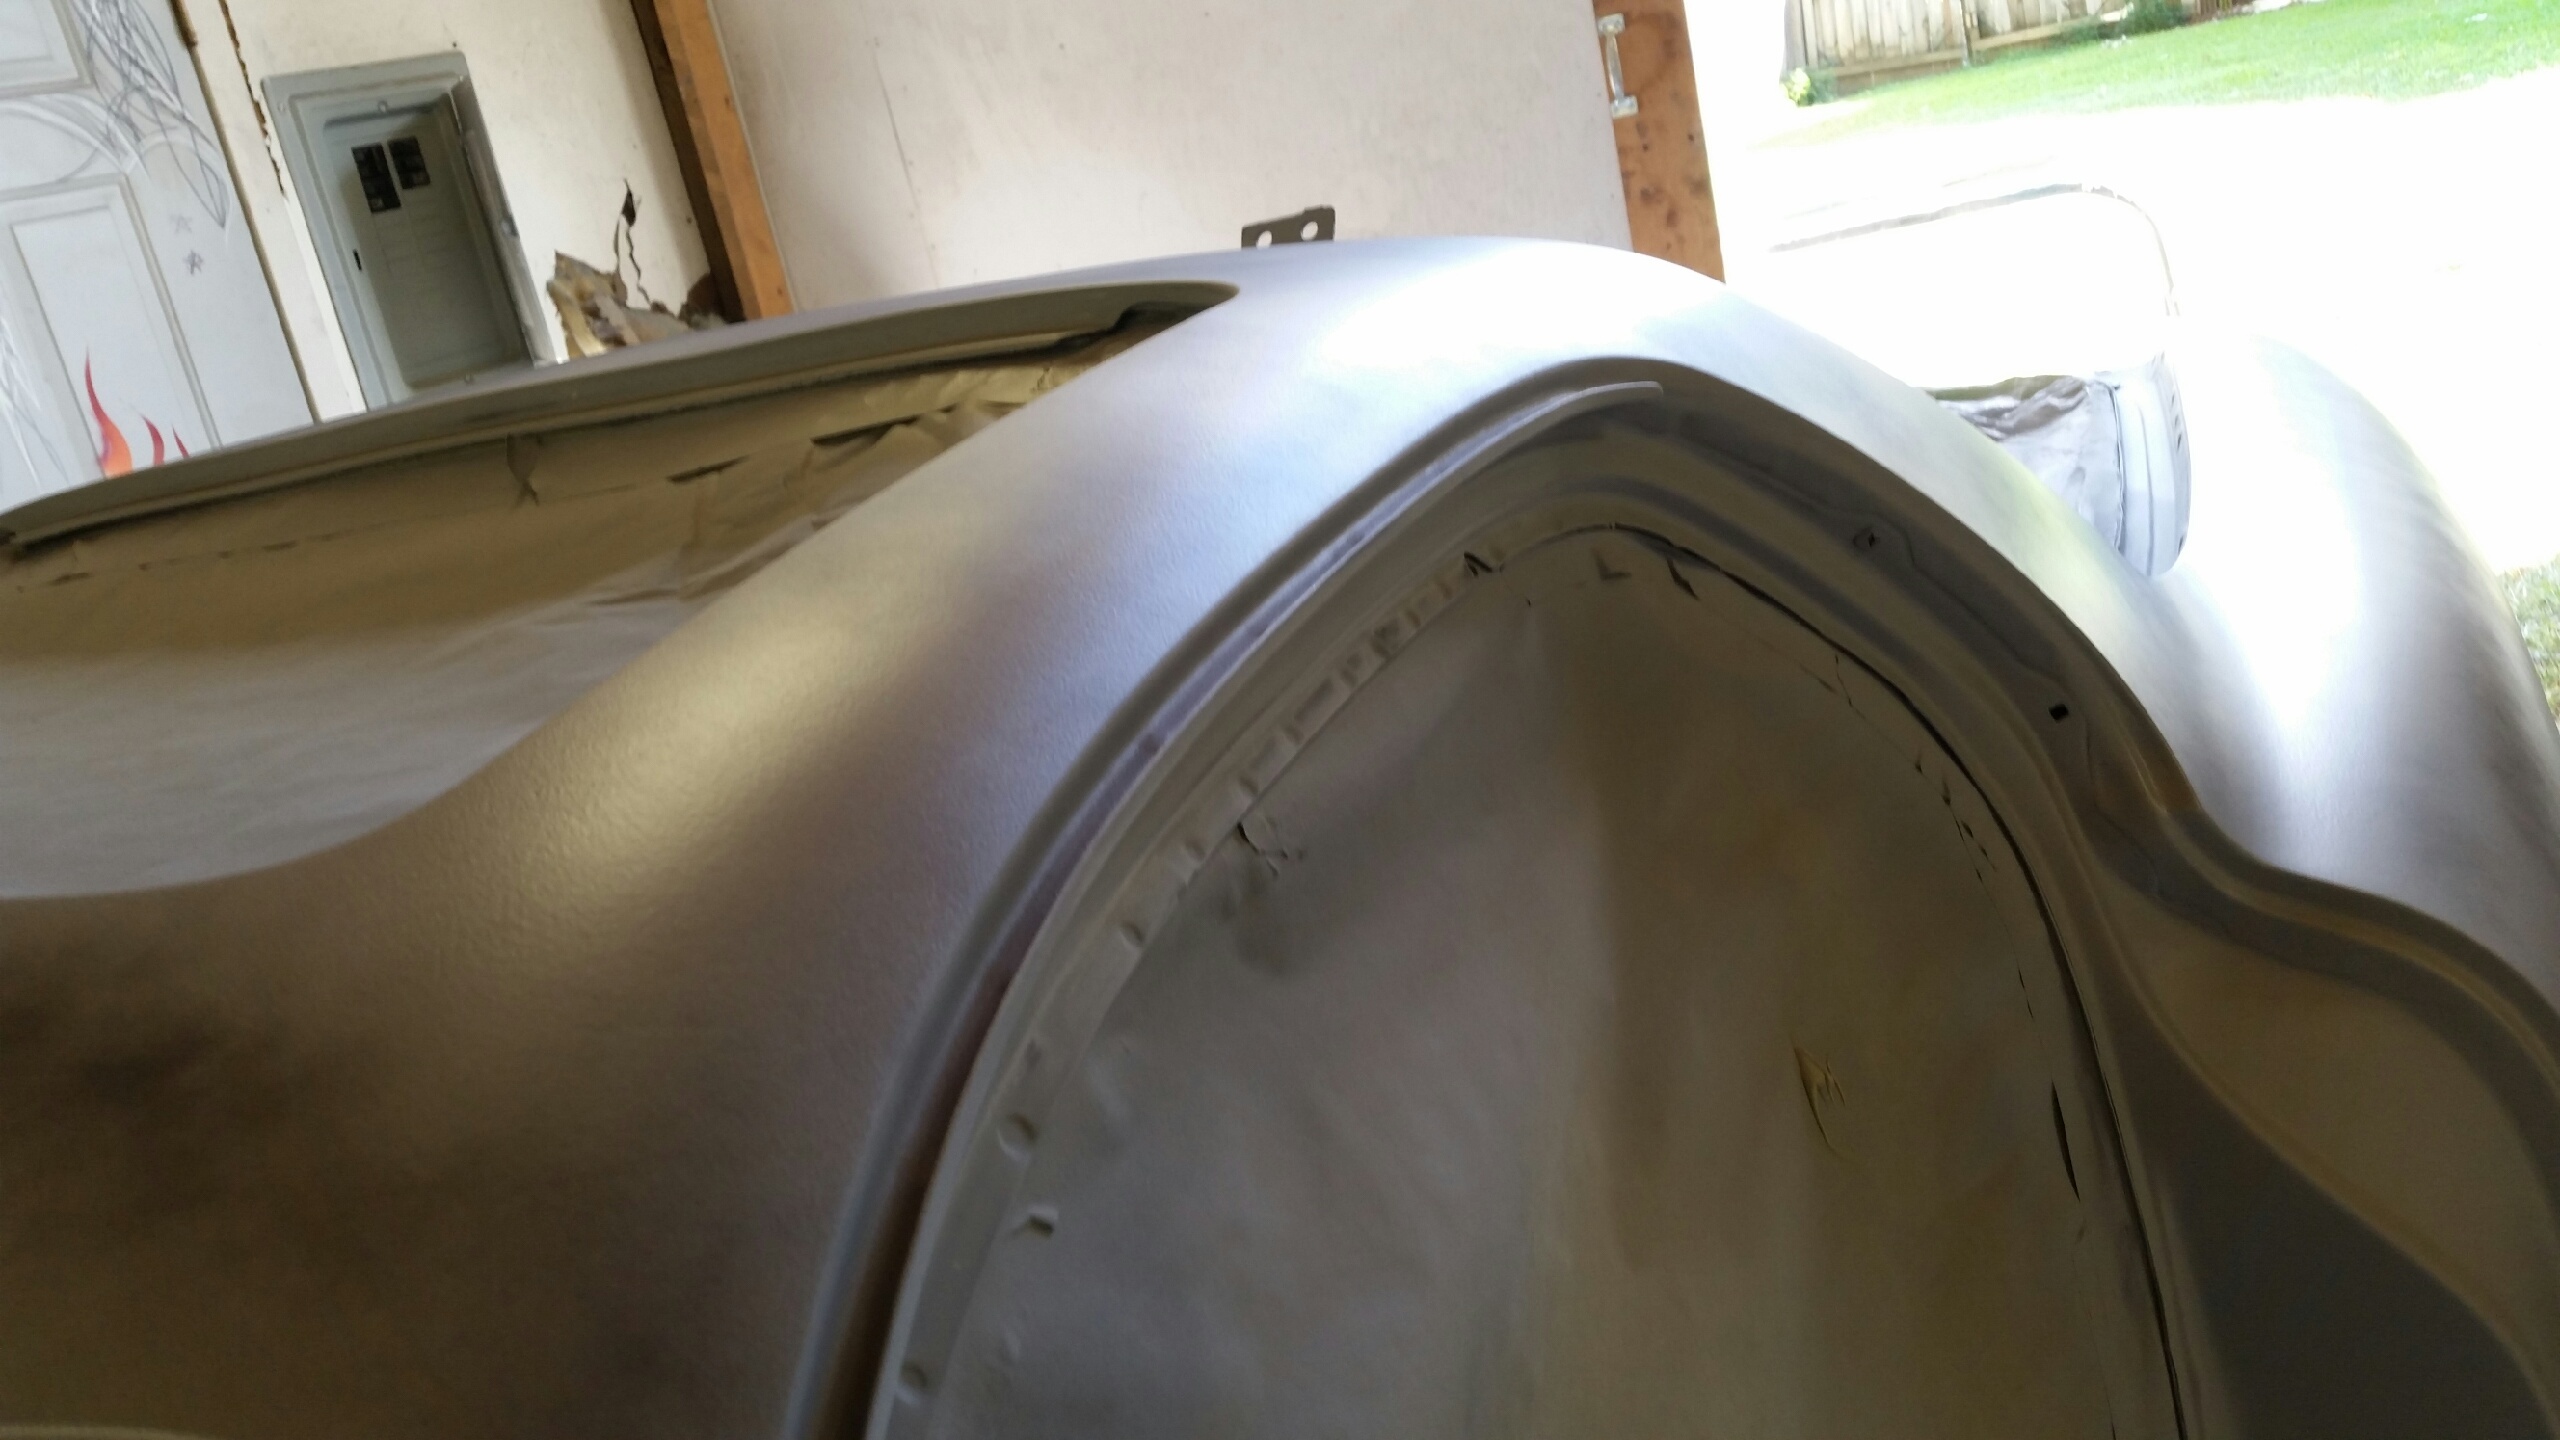
Starting out, he found a problem that honestly, I have overlooked up to this point. I believe this is the frontmost lip of the driver's side rear wheel well. It's not an area that I rolled, but for some reason it was beat up.... Not for long though
This kind of attention to detail is what sets John apart from other painters and he just keeps doing it over and over I get really excited to see things like this get fixed because it's just like the panel gaps. It's very small stuff like this that makes such a huge difference in the end result.
Oh yeah, John epoxy primed and laid down the guide coat on the main body!

John is still going strong with the prep work
Starting out, he found a problem that honestly, I have overlooked up to this point. I believe this is the frontmost lip of the driver's side rear wheel well. It's not an area that I rolled, but for some reason it was beat up.... Not for long though
This kind of attention to detail is what sets John apart from other painters and he just keeps doing it over and over
I get really excited to see things like this get fixed because it's just like the panel gaps. It's very small stuff like this that makes such a huge difference in the end result.Oh yeah, John epoxy primed and laid down the guide coat on the main body!
09-23-14, 05:03 PM
#19
September 23, 2014 07:11:08 AM
Quick update from yesterday:
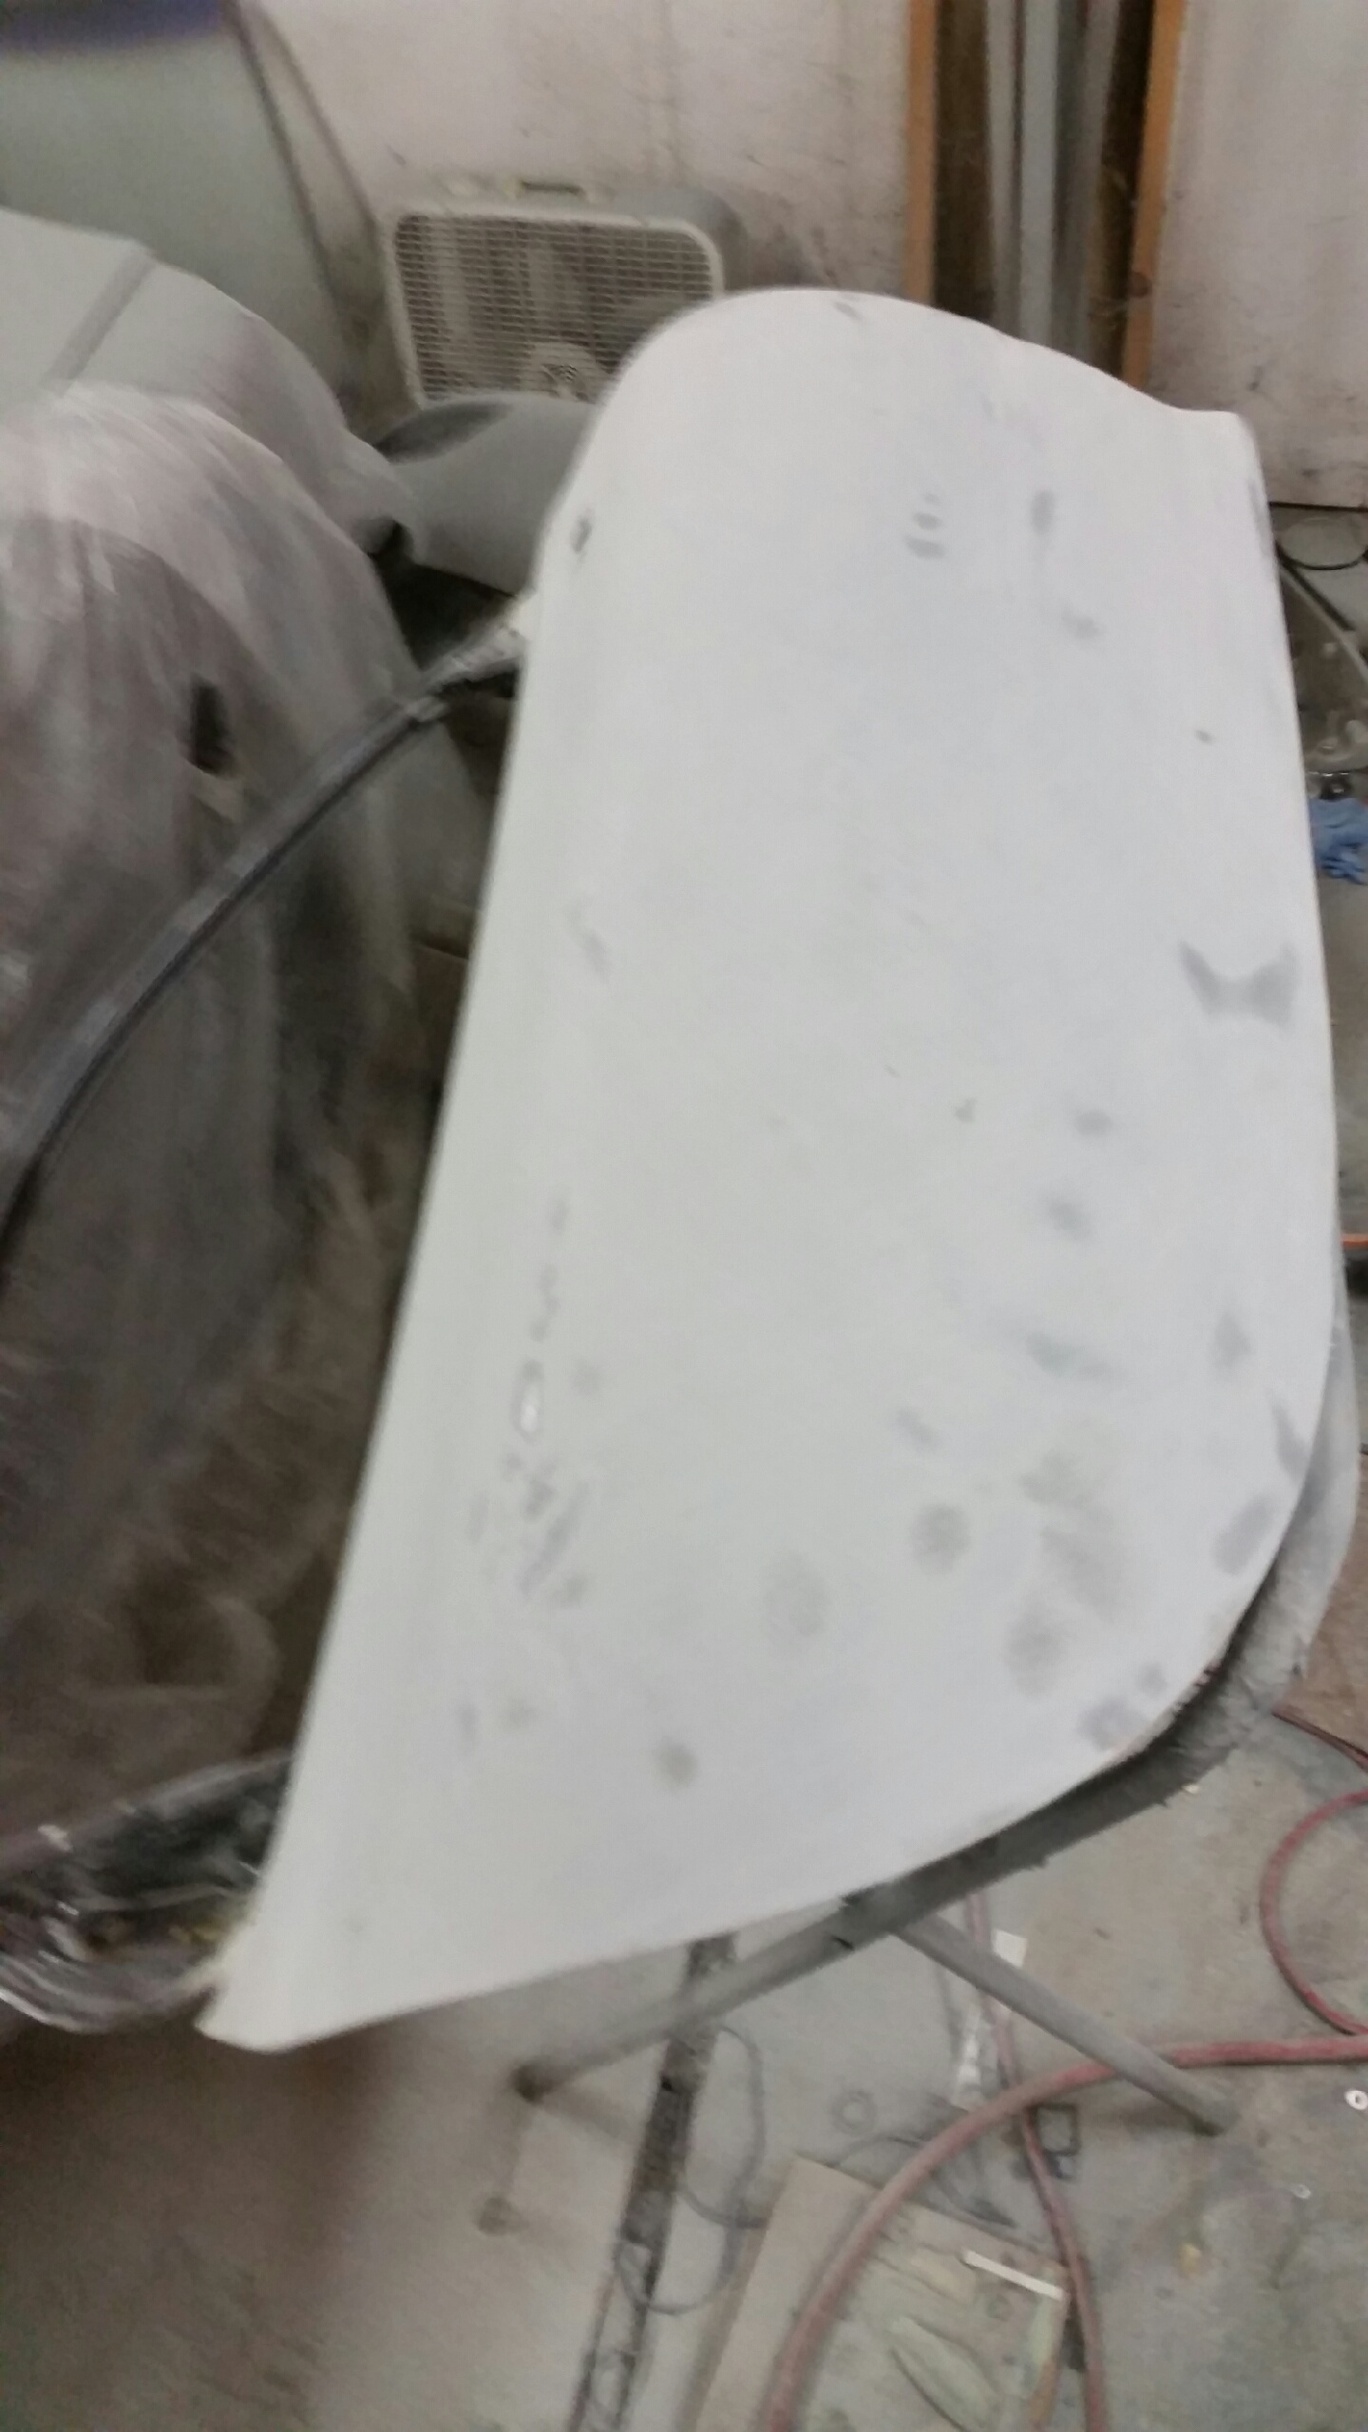
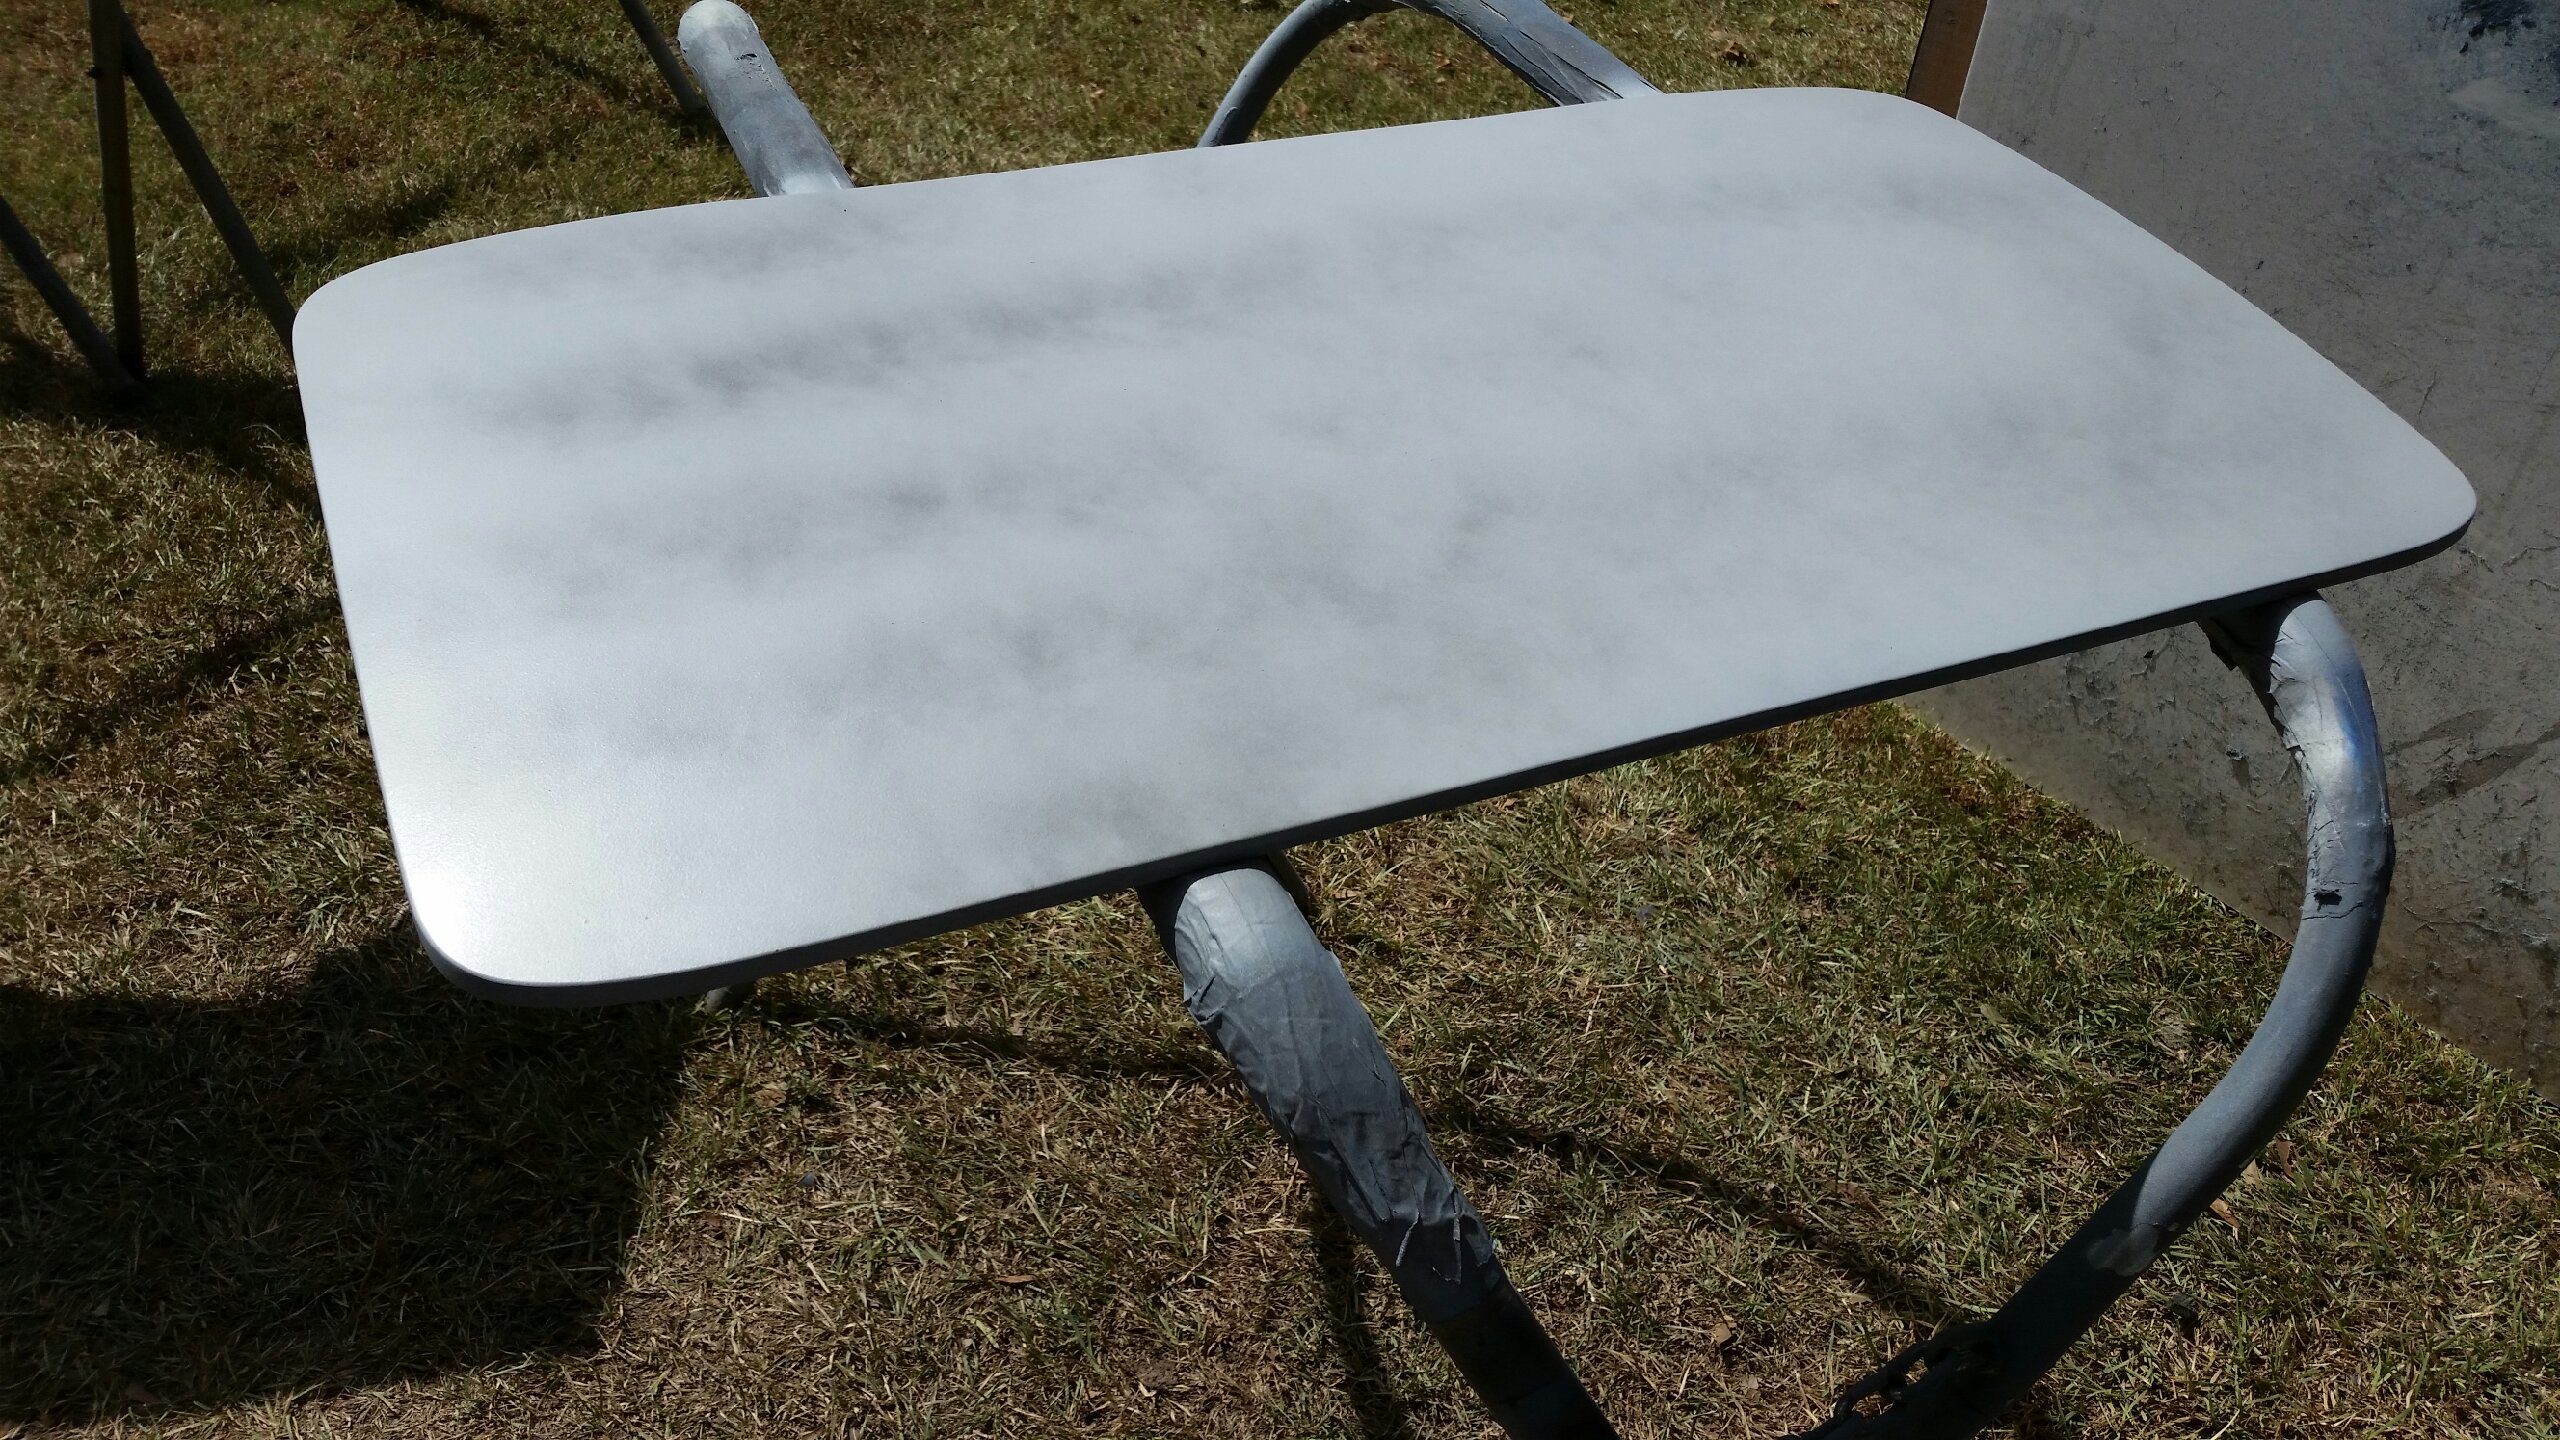
Body has been blocked:
Stripped the sunroof

The image above made me do a double take as I thought the sunroof was aluminum. Apparently its not and I had a rust bubble coming up strong
Quick update from yesterday:
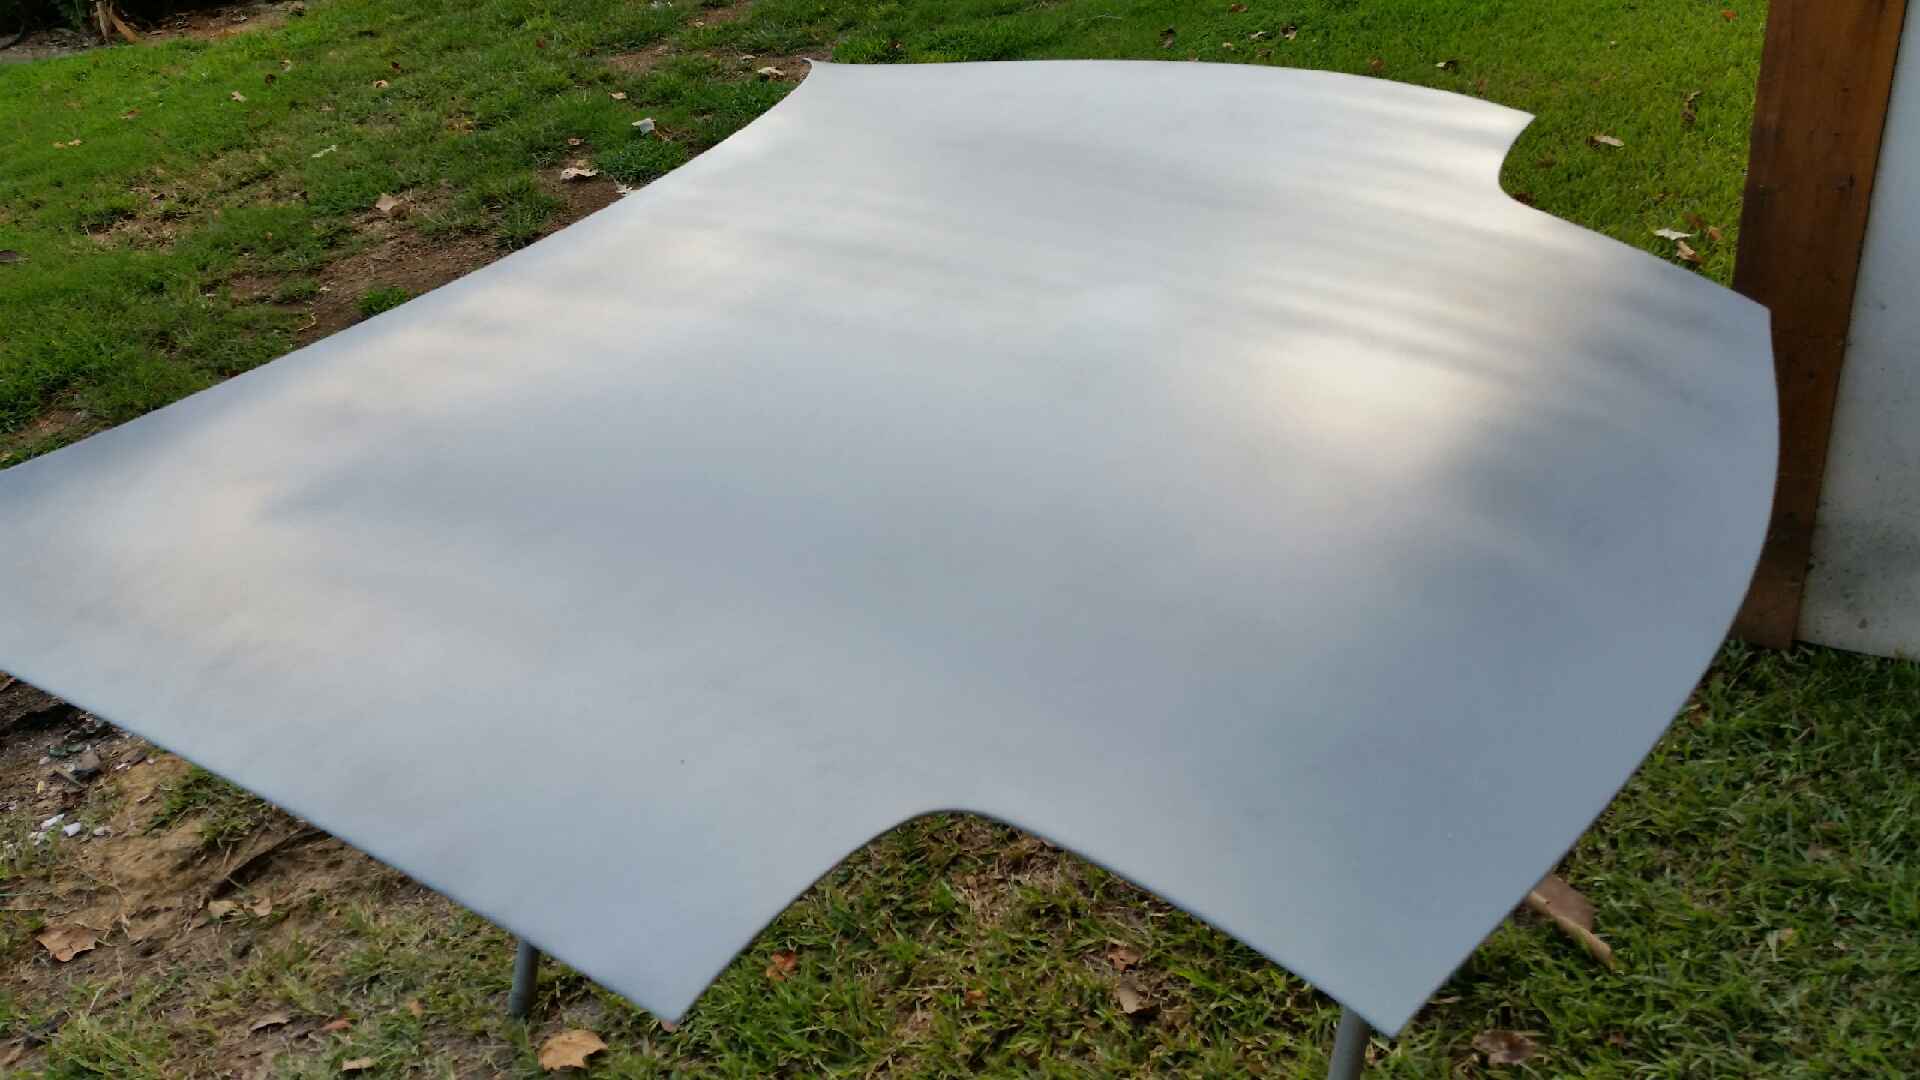
Body has been blocked:
Stripped the sunroof
The image above made me do a double take as I thought the sunroof was aluminum. Apparently its not and I had a rust bubble coming up strong

 09-26-14, 08:05 AM
#23
John finished epoxy priming and guide coating the sunroof. It's ready for its final blocking:
John also did the final blocking of the doors yesterday:
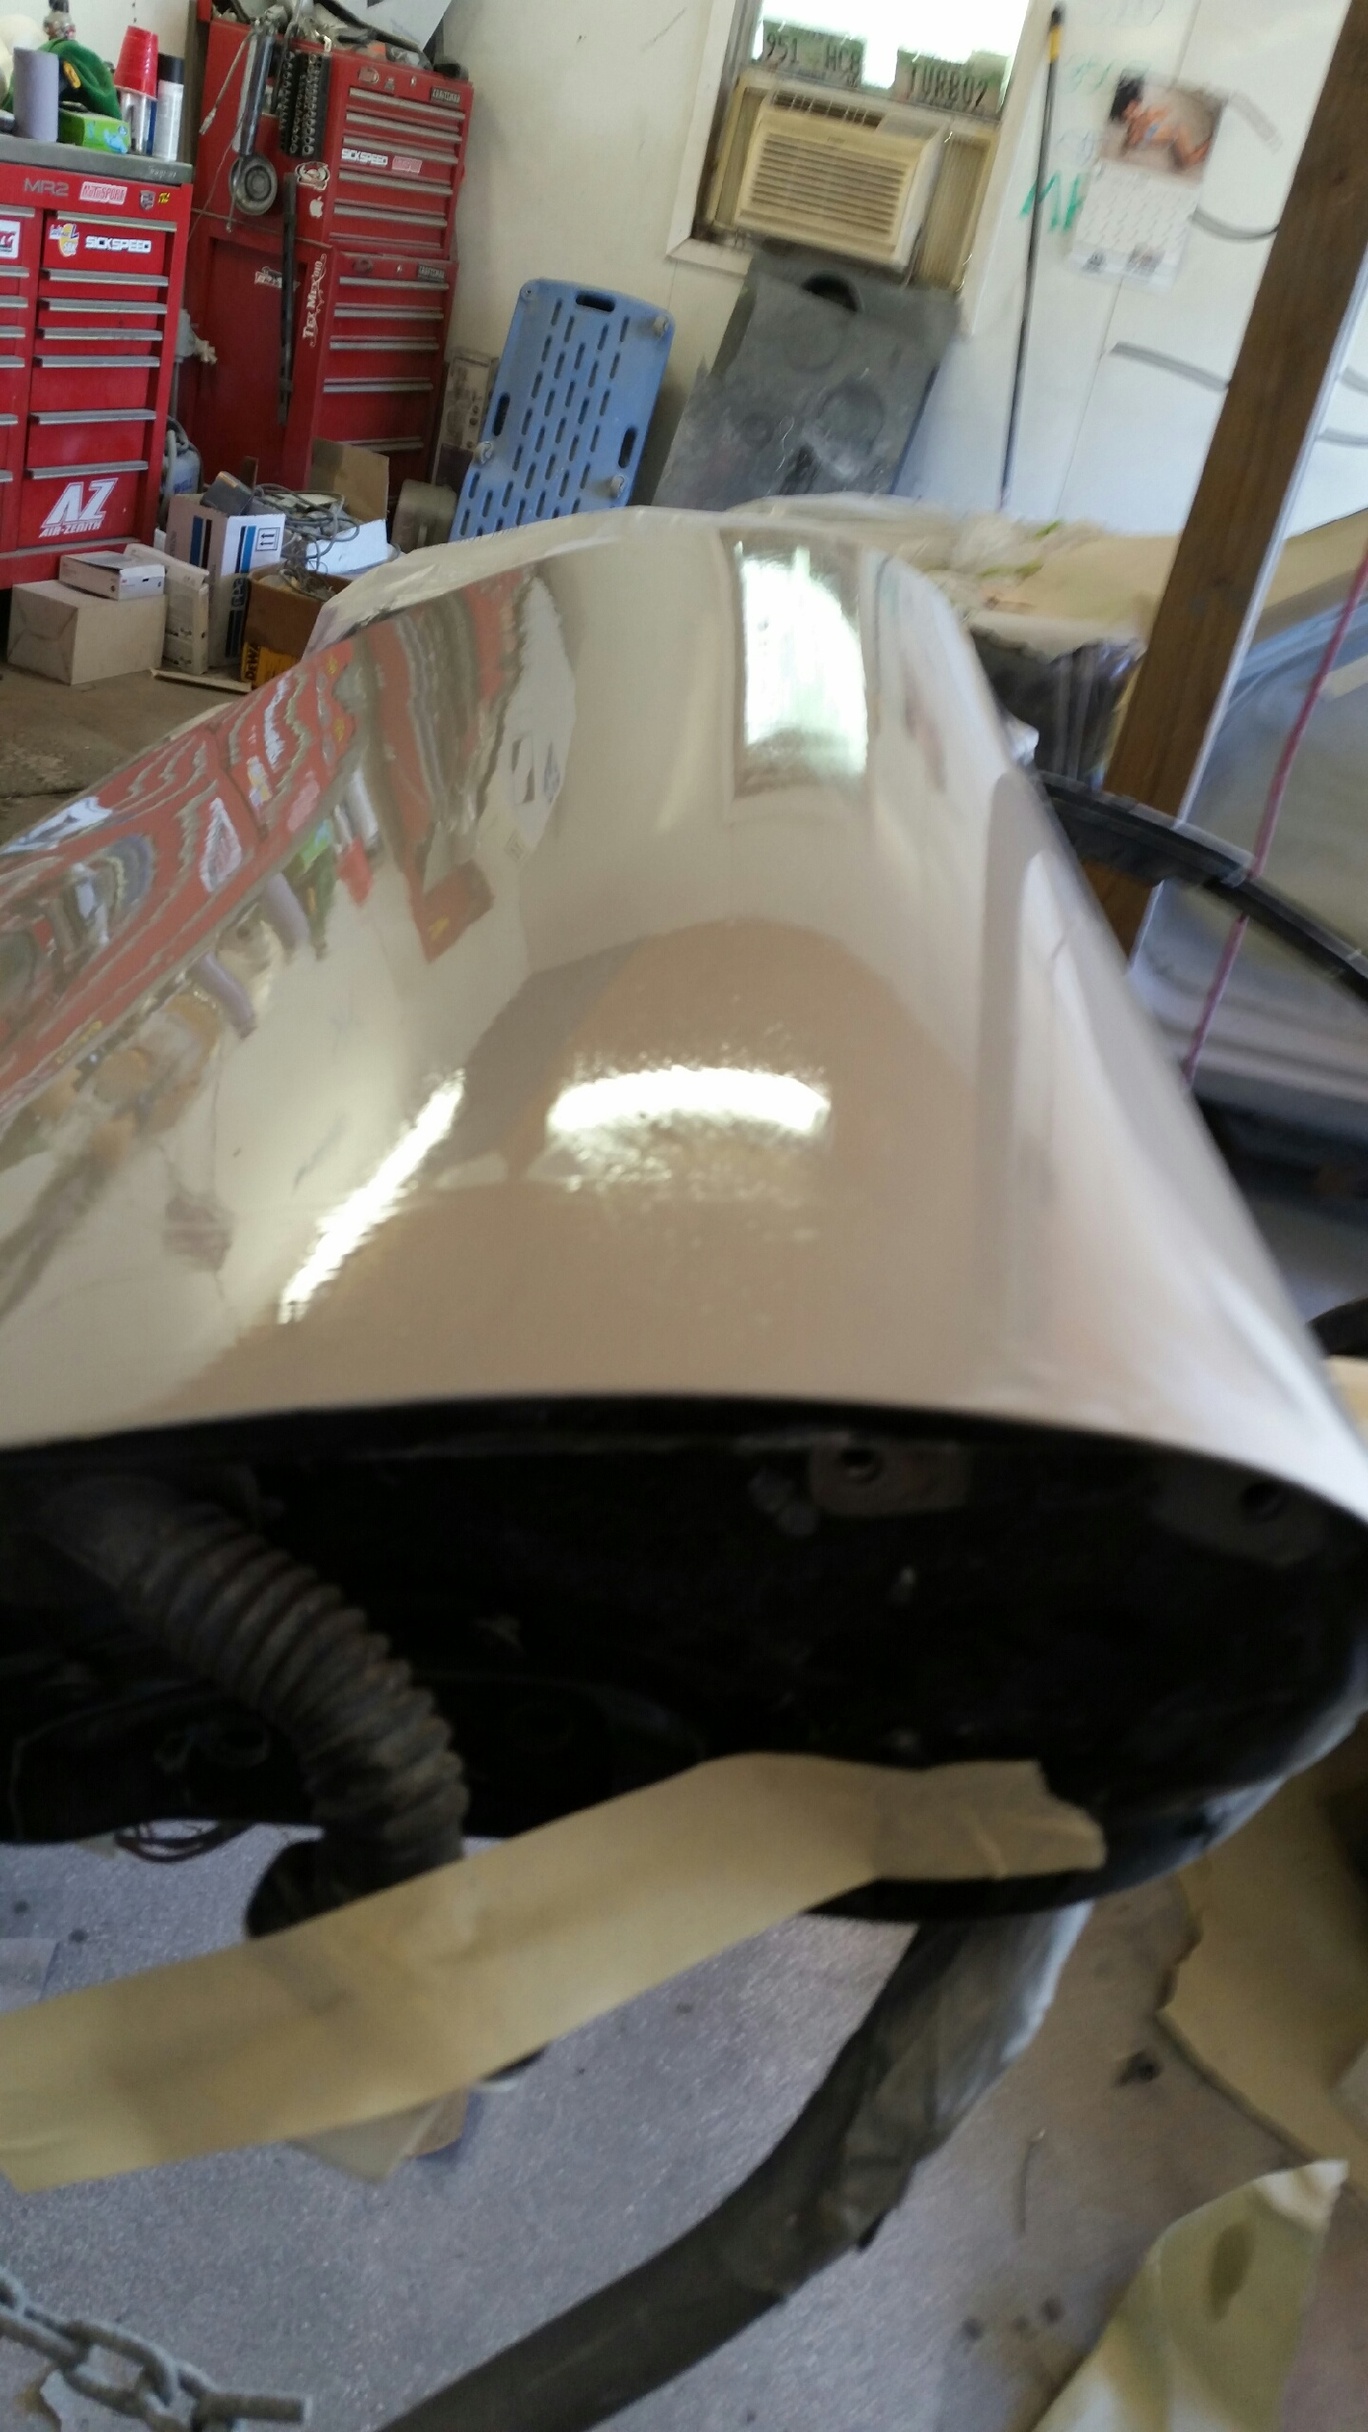
THEN! He took some glamor shots by wiping pre-cleaner on the doors and photographing the reflections!!! It's not perfect as the stuff evaporates fast and wiping it on causes rag streaks, but it gives you an idea of what John's been working so hard on:
That ladies and gentlemen is what separates the men from the boys lol! Its the reason John spent 2 weeks+ on just the door and skimmed them at least 3 times to get them perfectly level. Once again, I am reminded how extremely lucky I am to have stumbled across a paint pro that has standards this high and is the reason I wanted to share the work, so more people have access to his skills
Can't wait until that deep rich black is on them!
Lane
John also did the final blocking of the doors yesterday:
THEN! He took some glamor shots by wiping pre-cleaner on the doors and photographing the reflections!!! It's not perfect as the stuff evaporates fast and wiping it on causes rag streaks, but it gives you an idea of what John's been working so hard on:
That ladies and gentlemen is what separates the men from the boys lol! Its the reason John spent 2 weeks+ on just the door and skimmed them at least 3 times to get them perfectly level. Once again, I am reminded how extremely lucky I am to have stumbled across a paint pro that has standards this high and is the reason I wanted to share the work, so more people have access to his skills
Can't wait until that deep rich black is on them!
Lane
09-30-14, 08:45 AM
#24
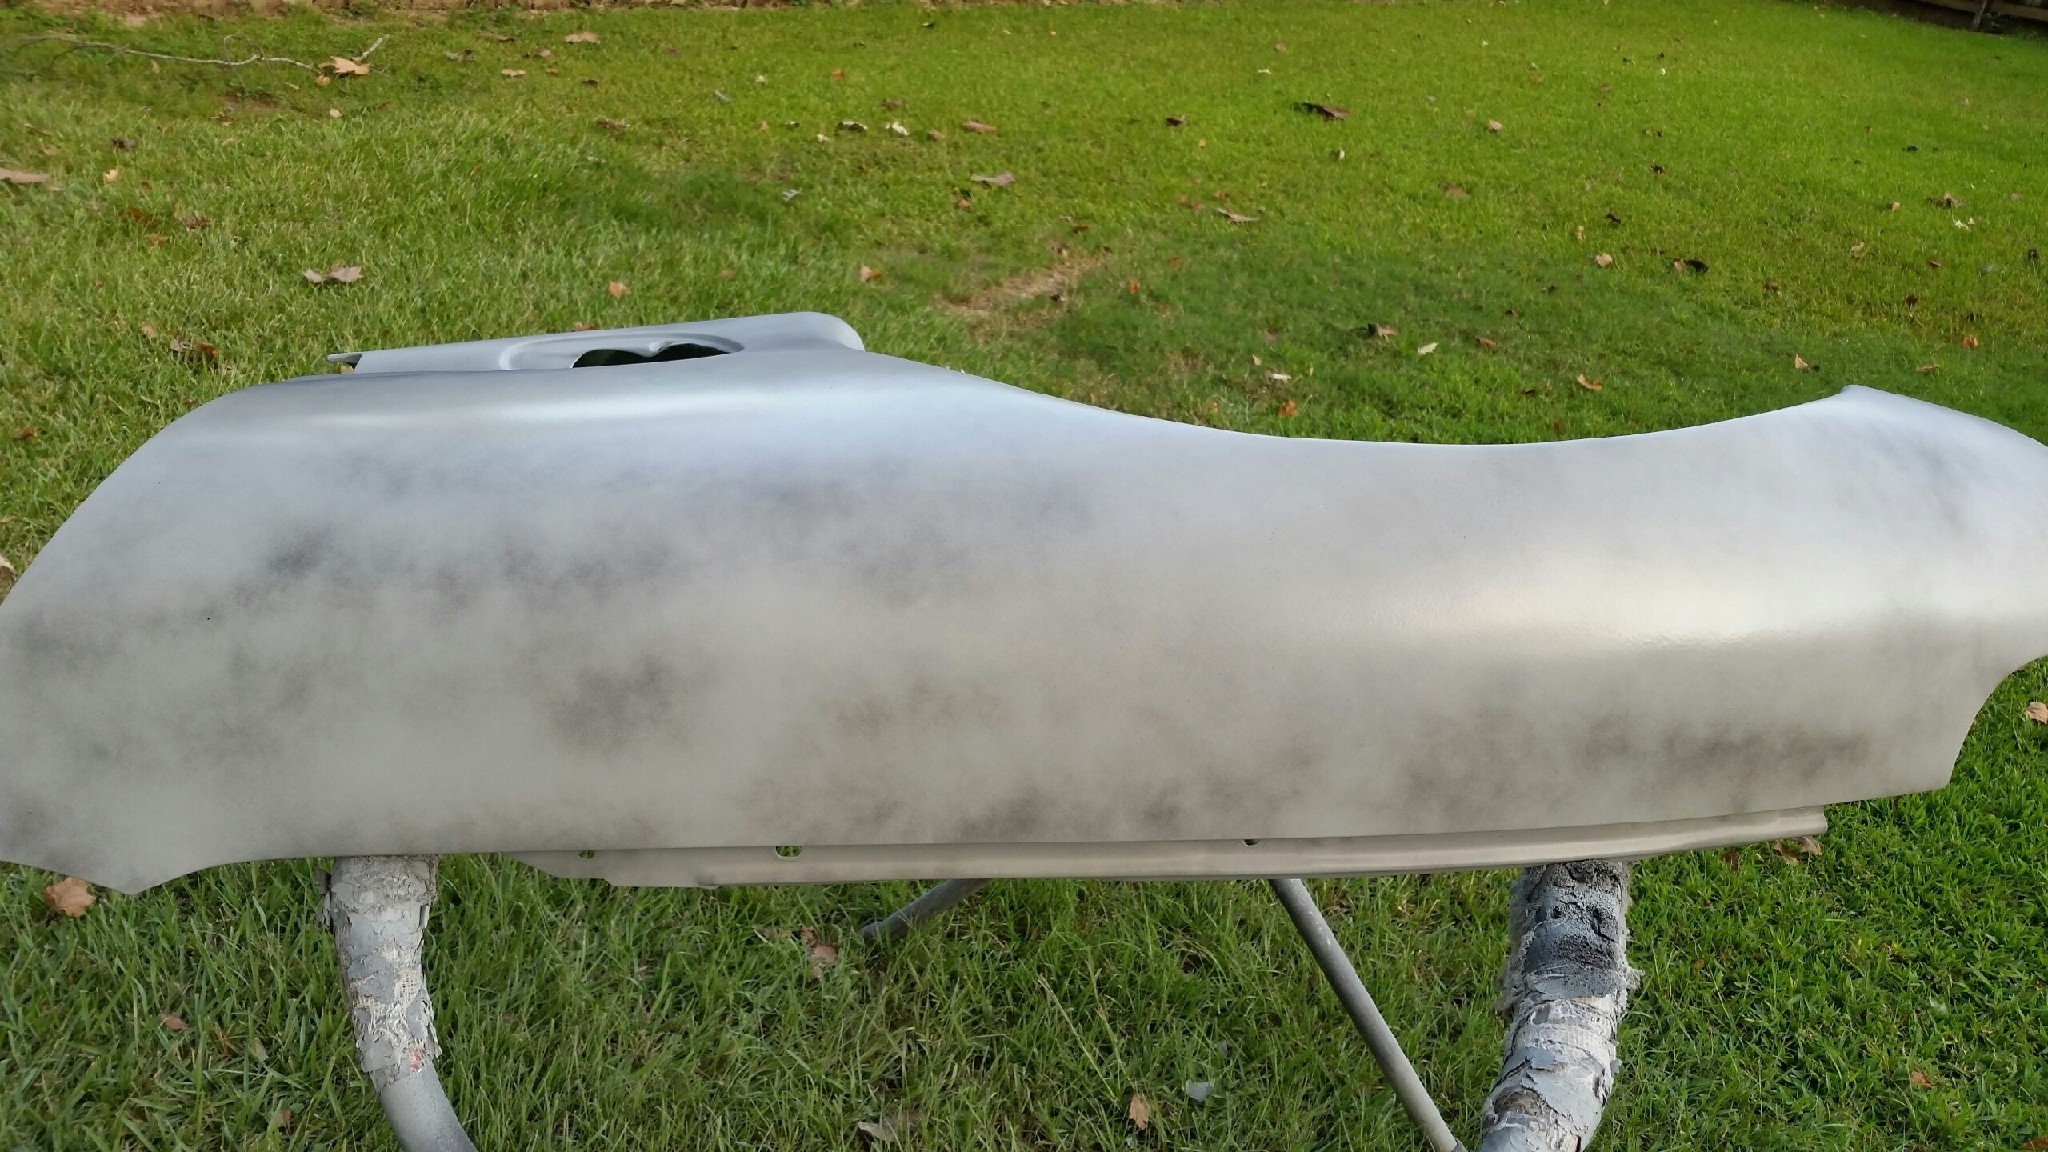
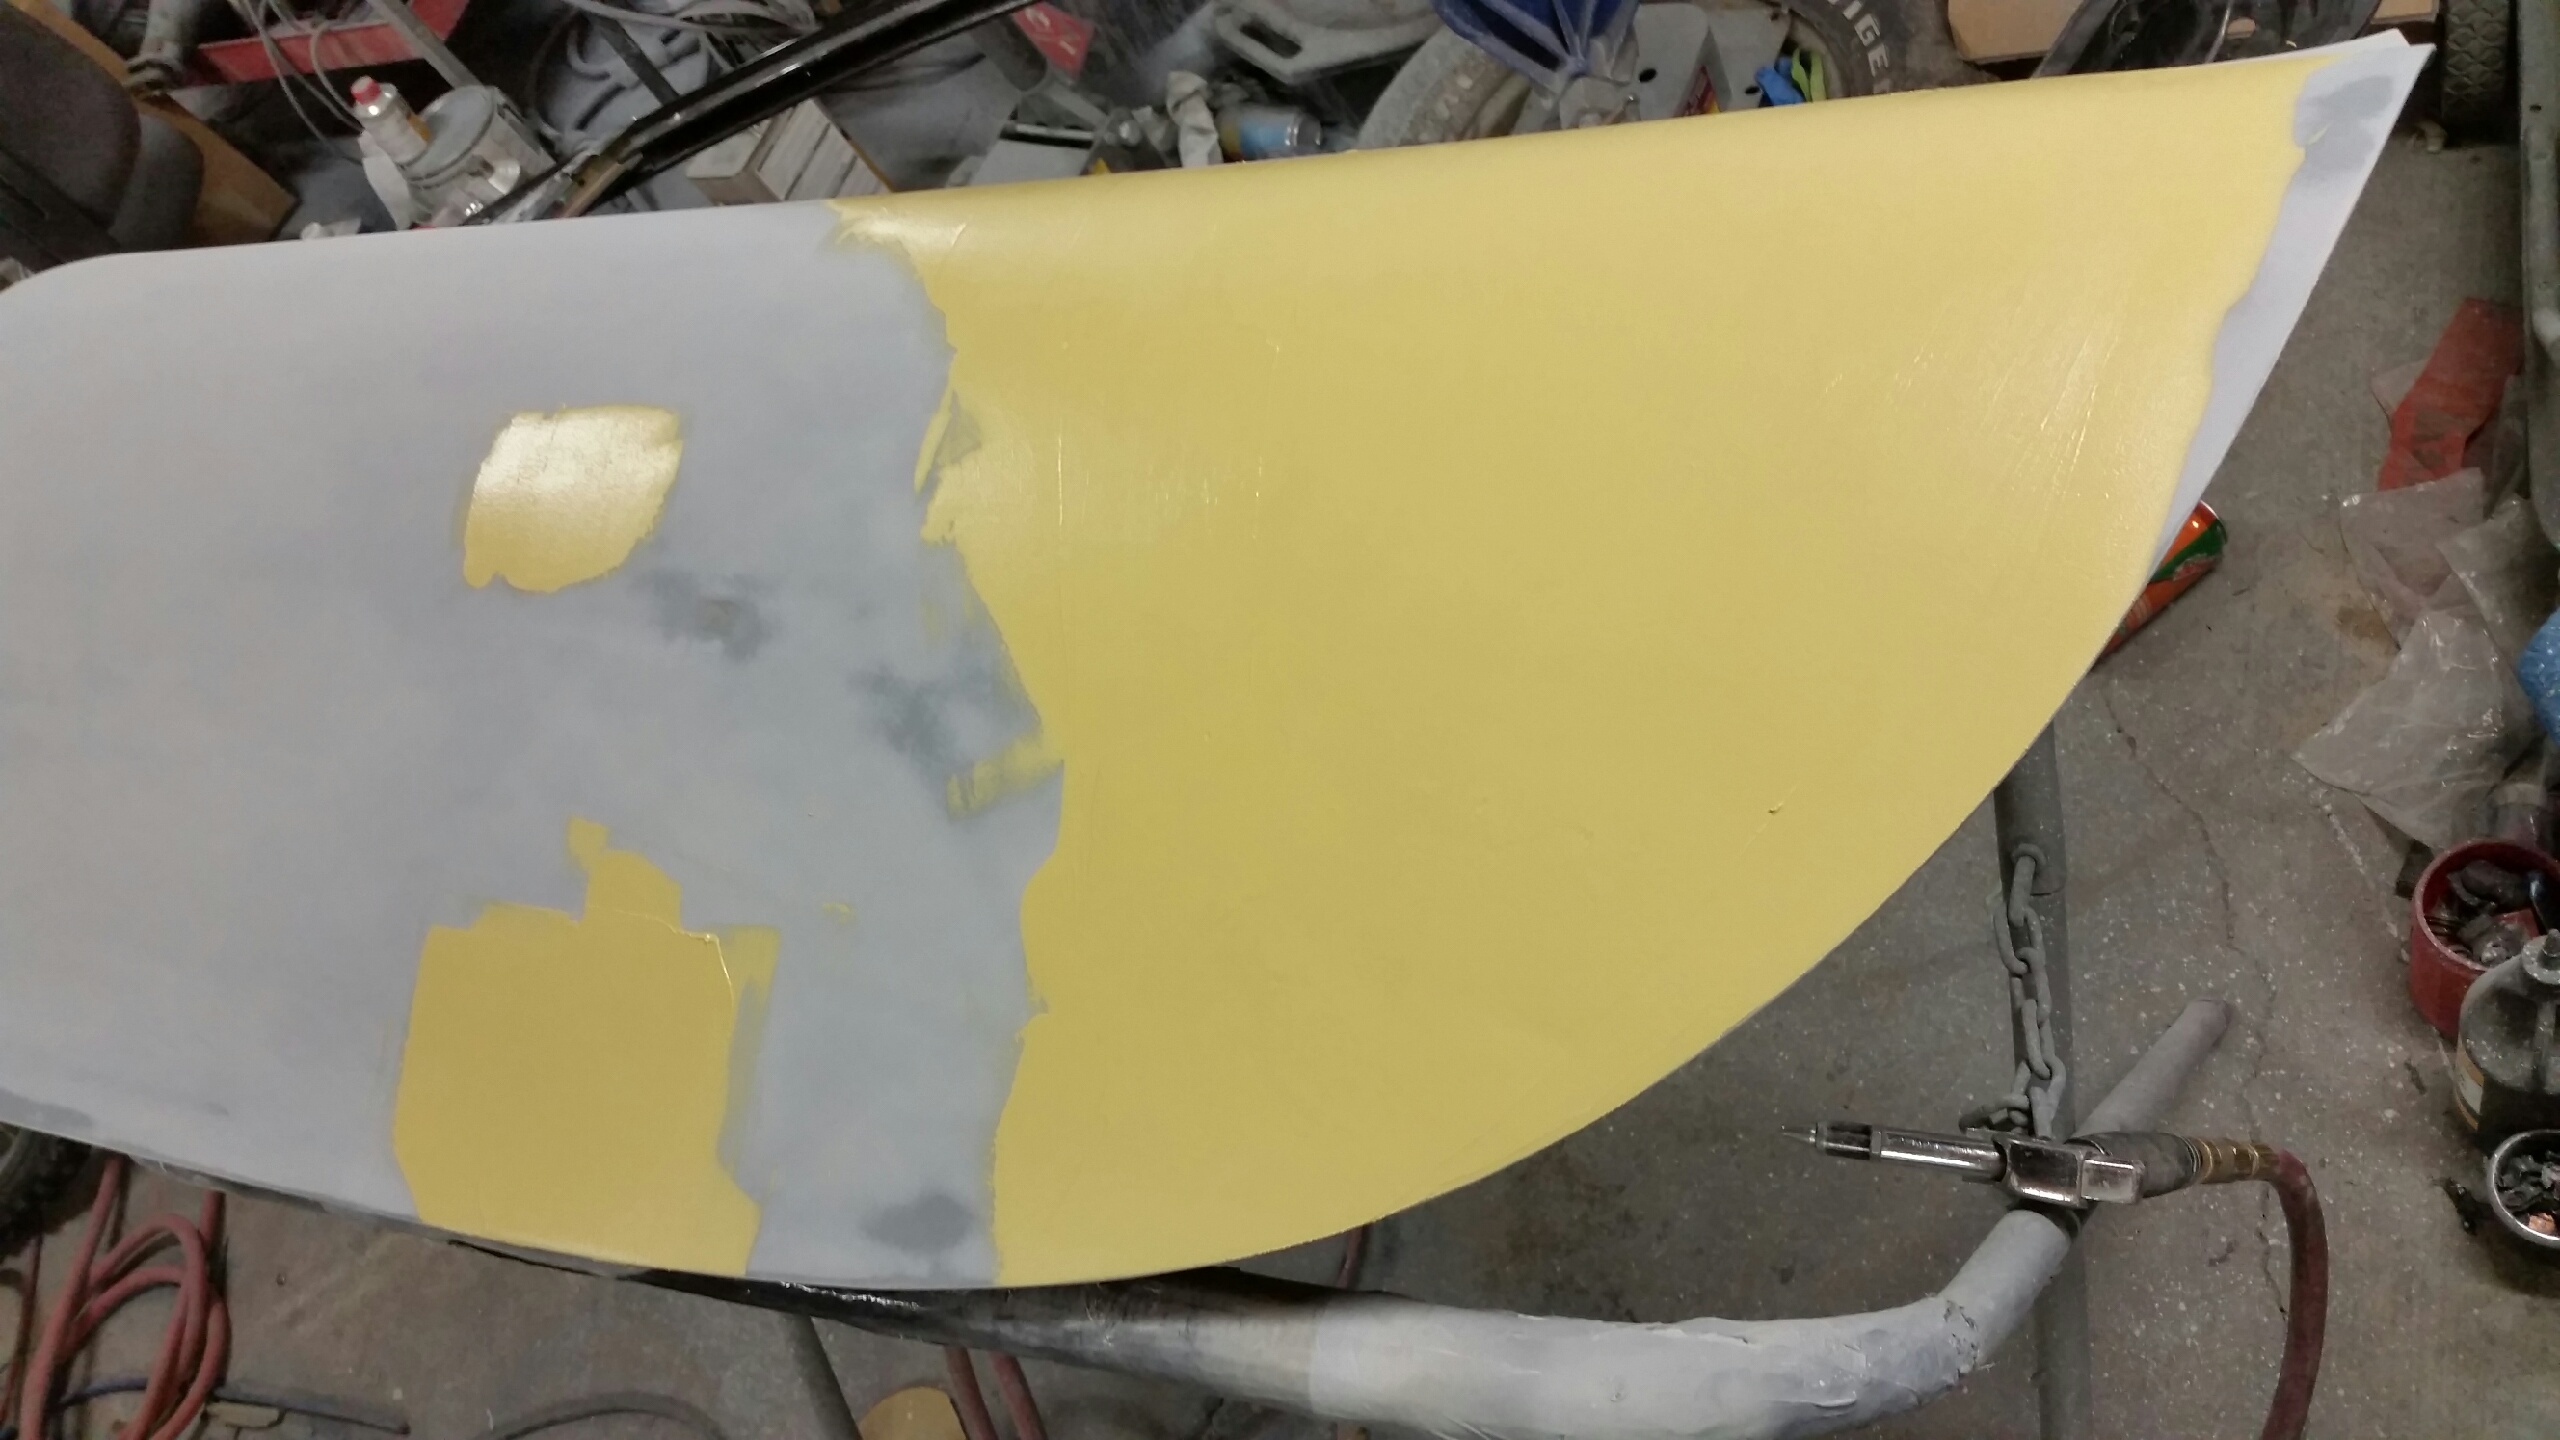
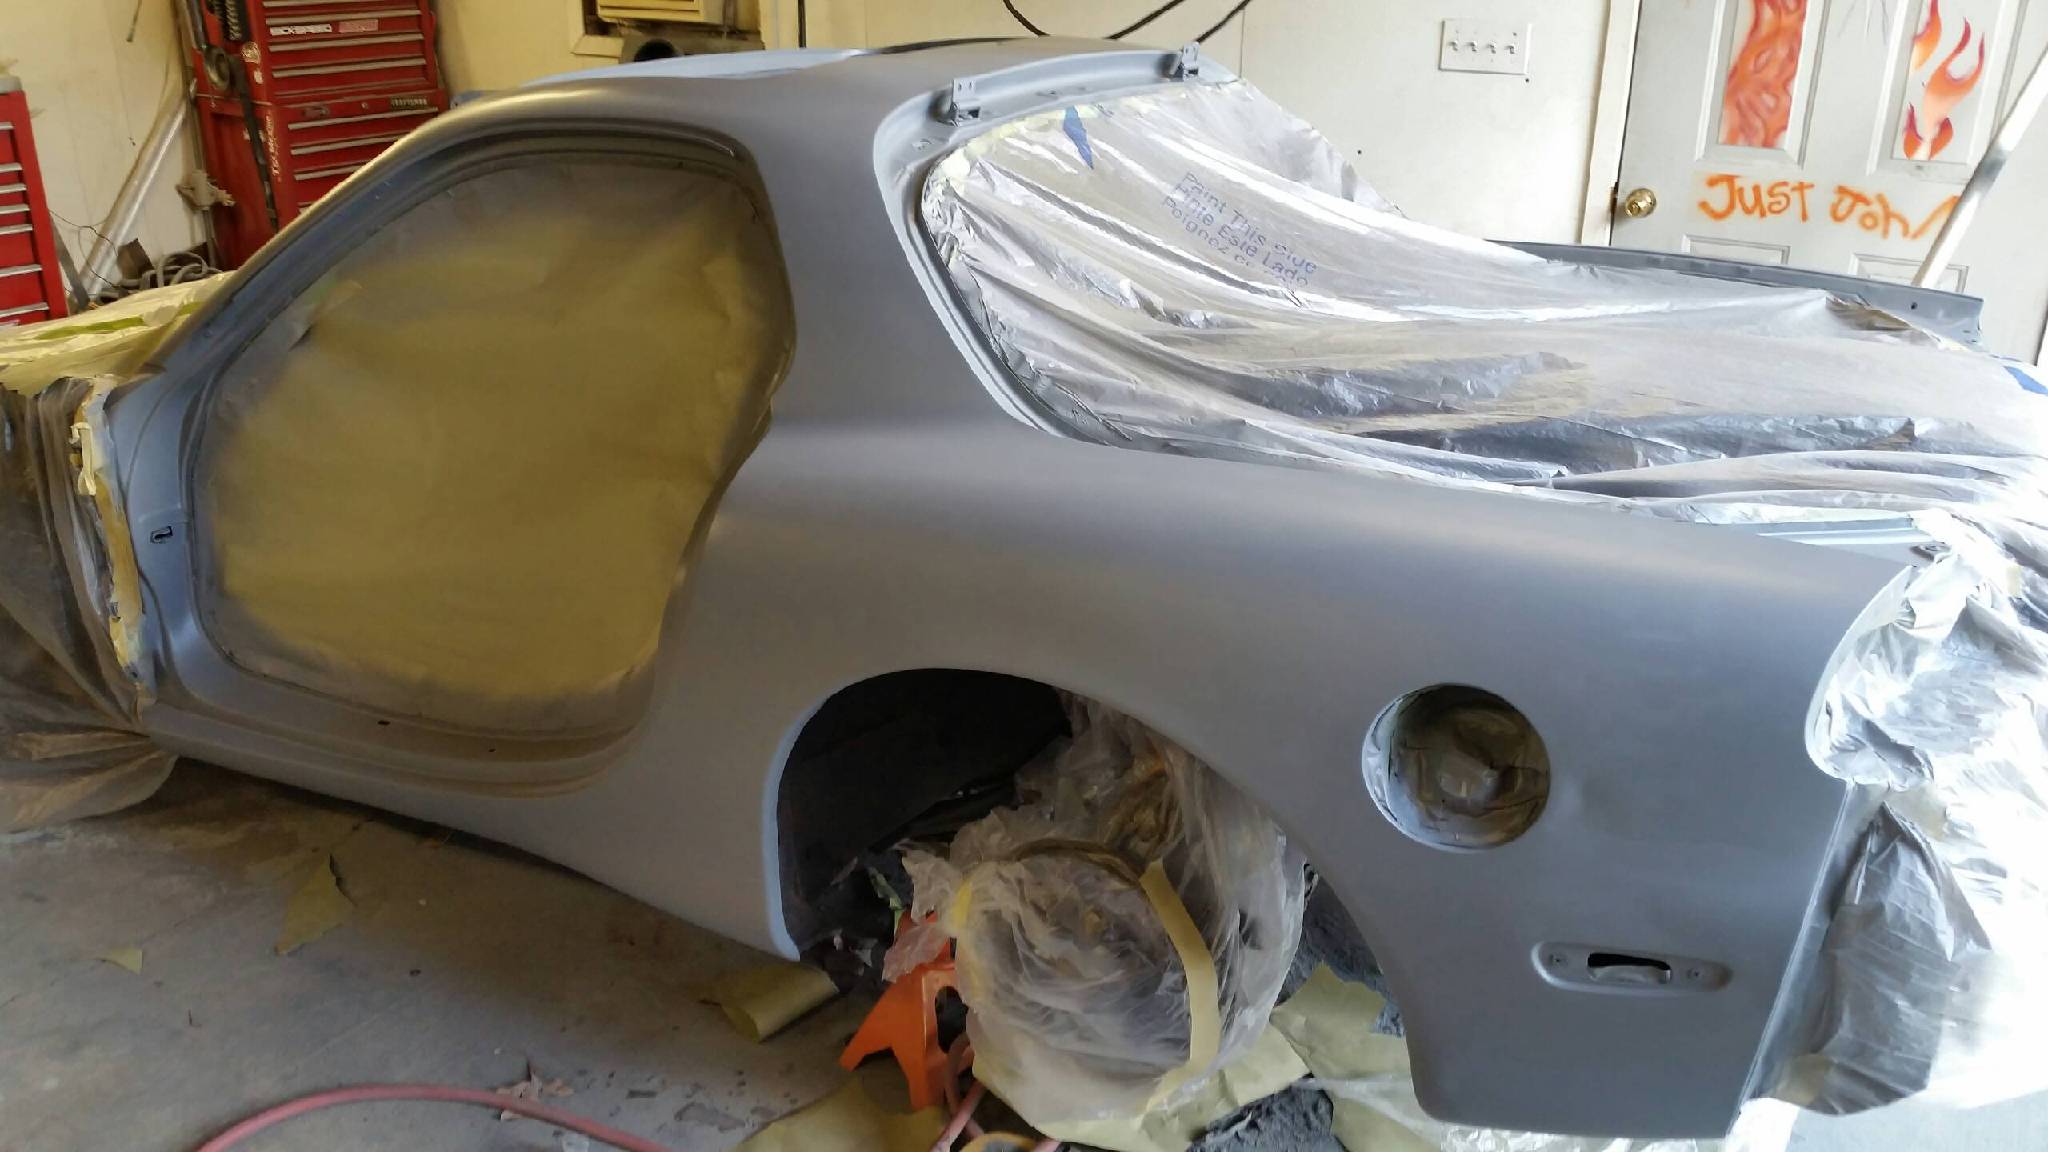
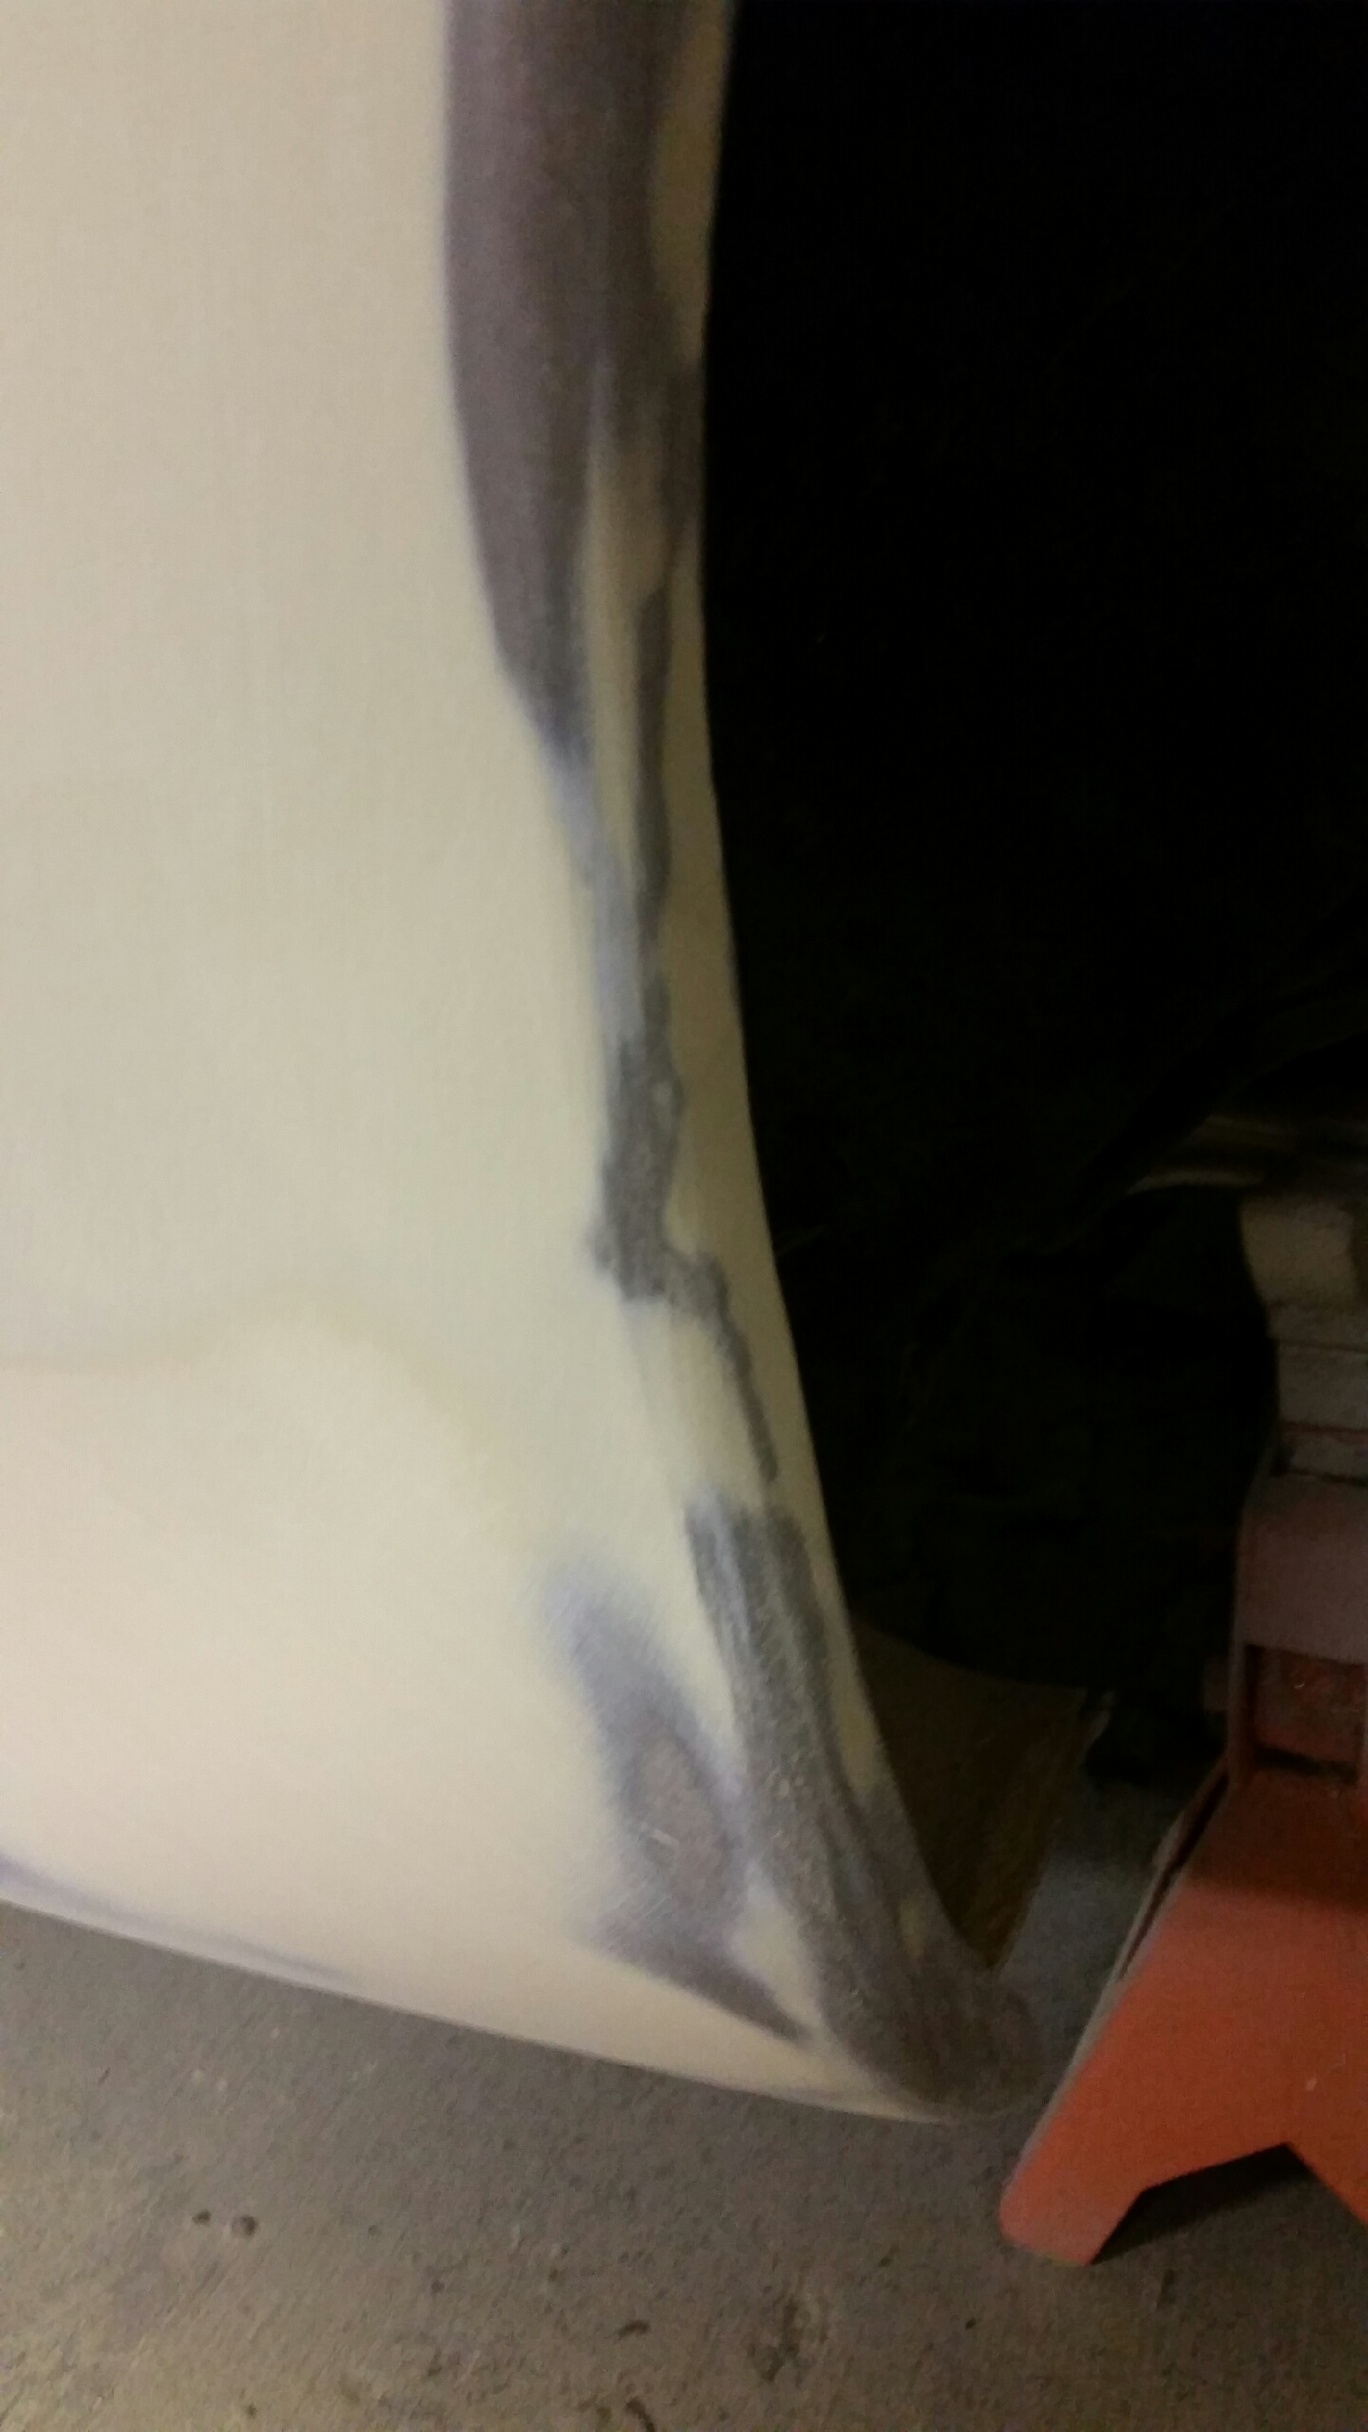
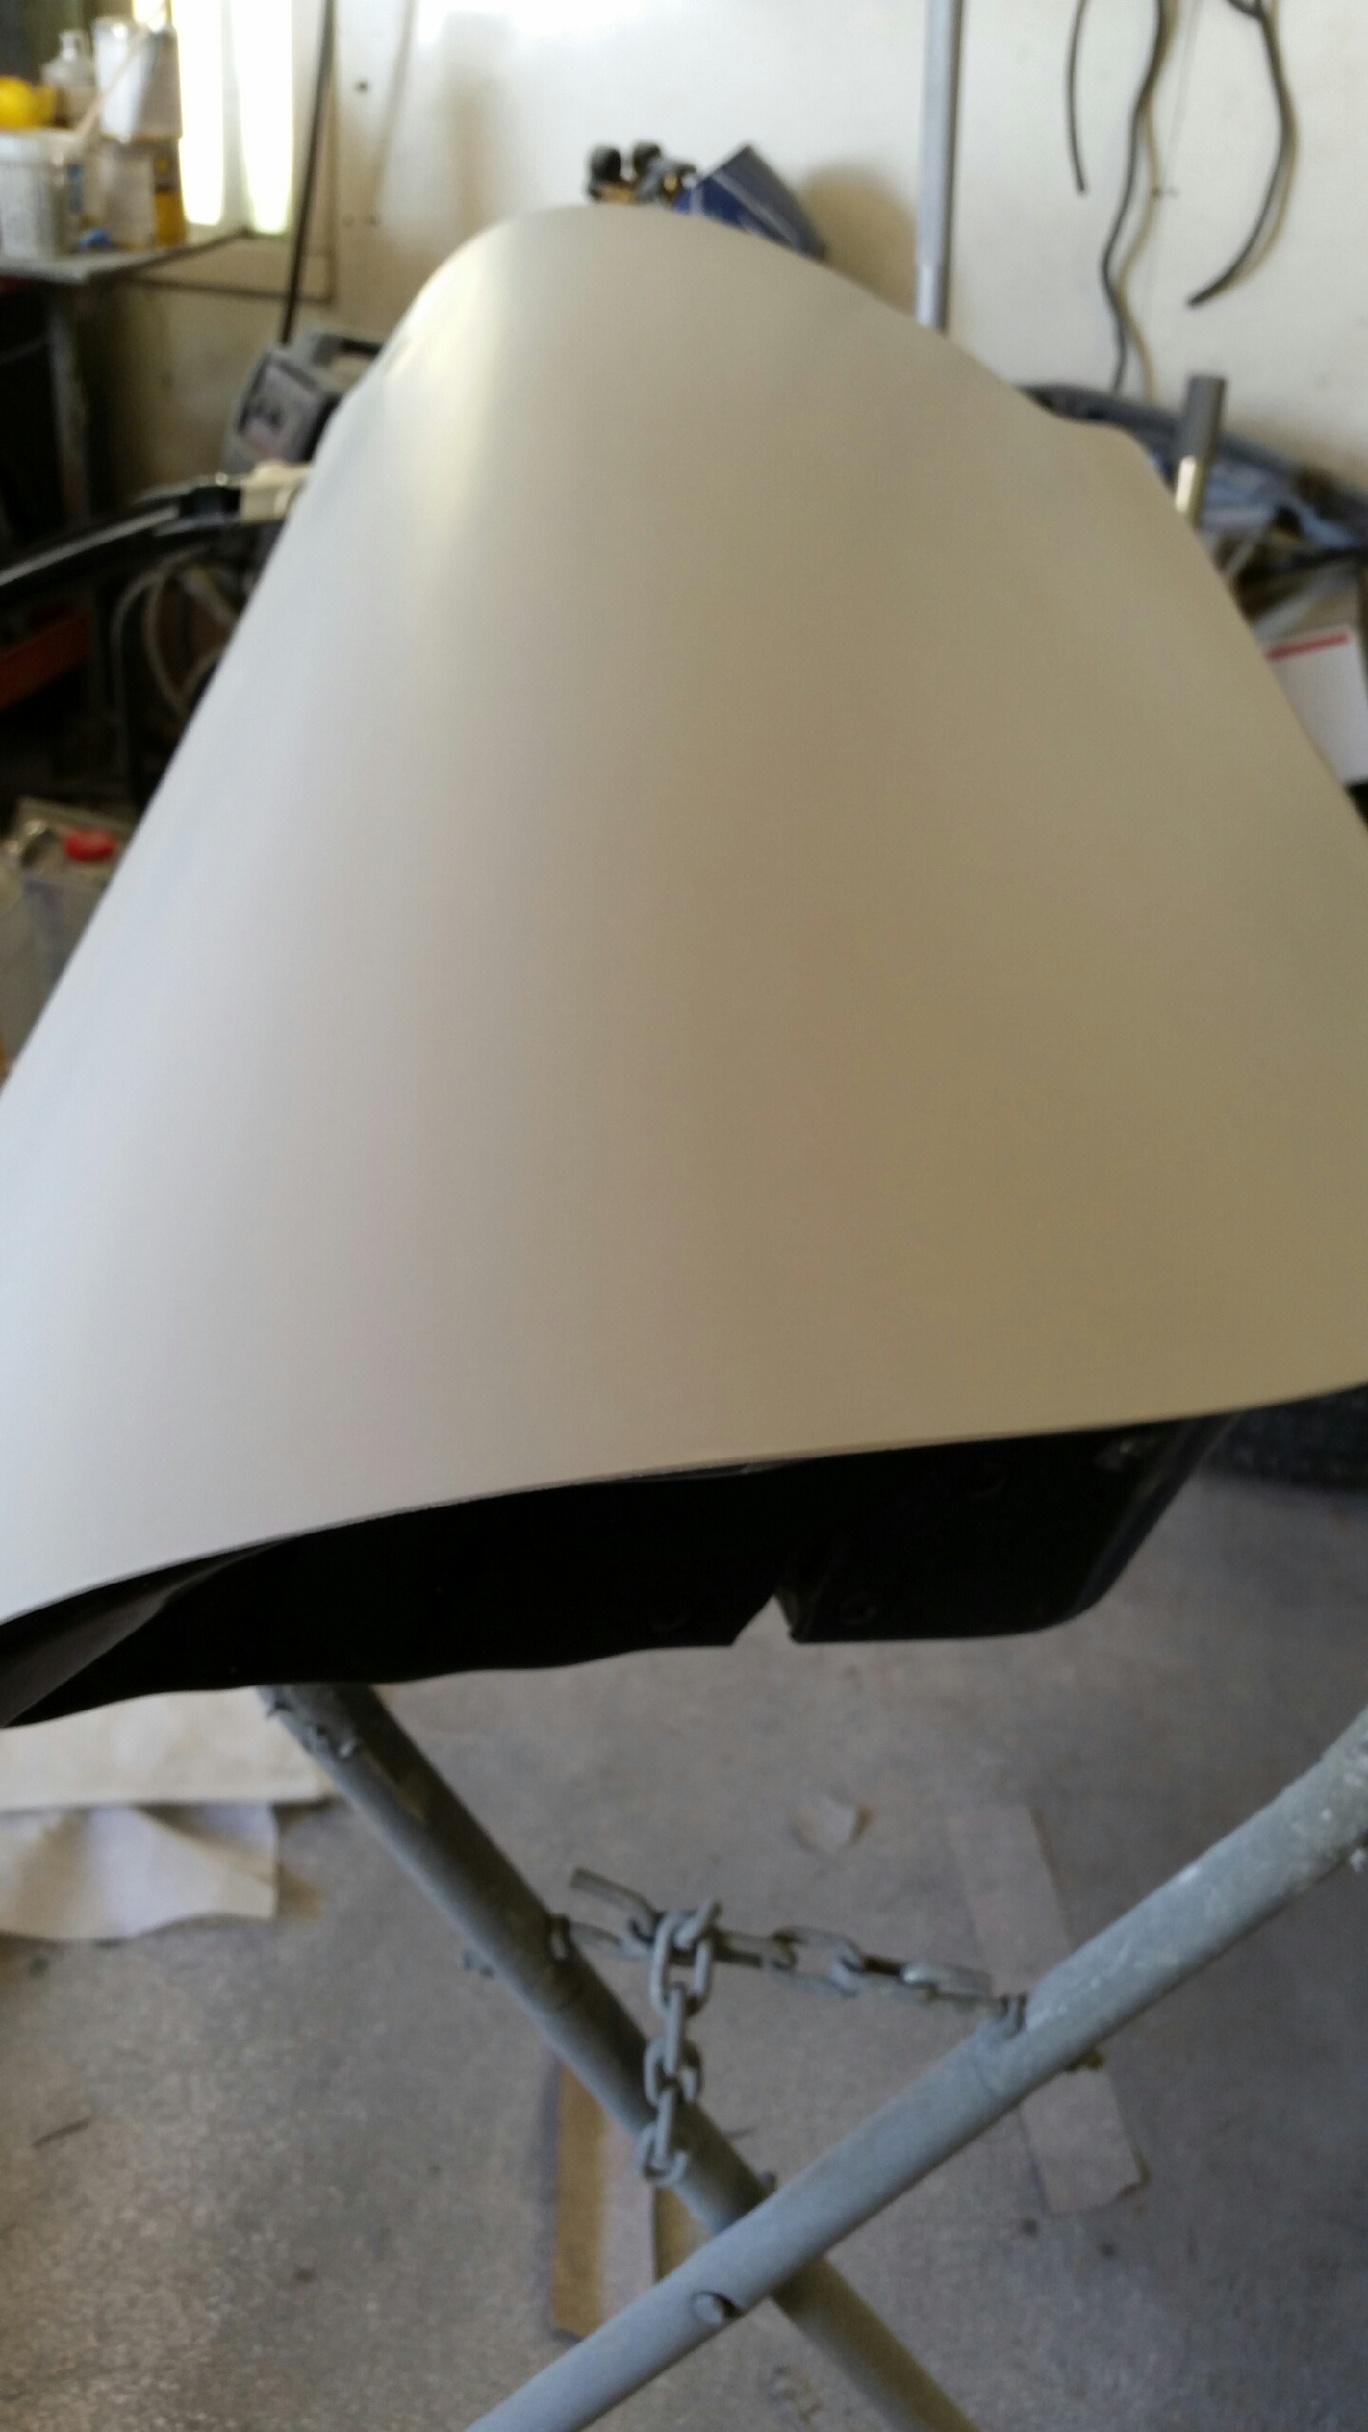
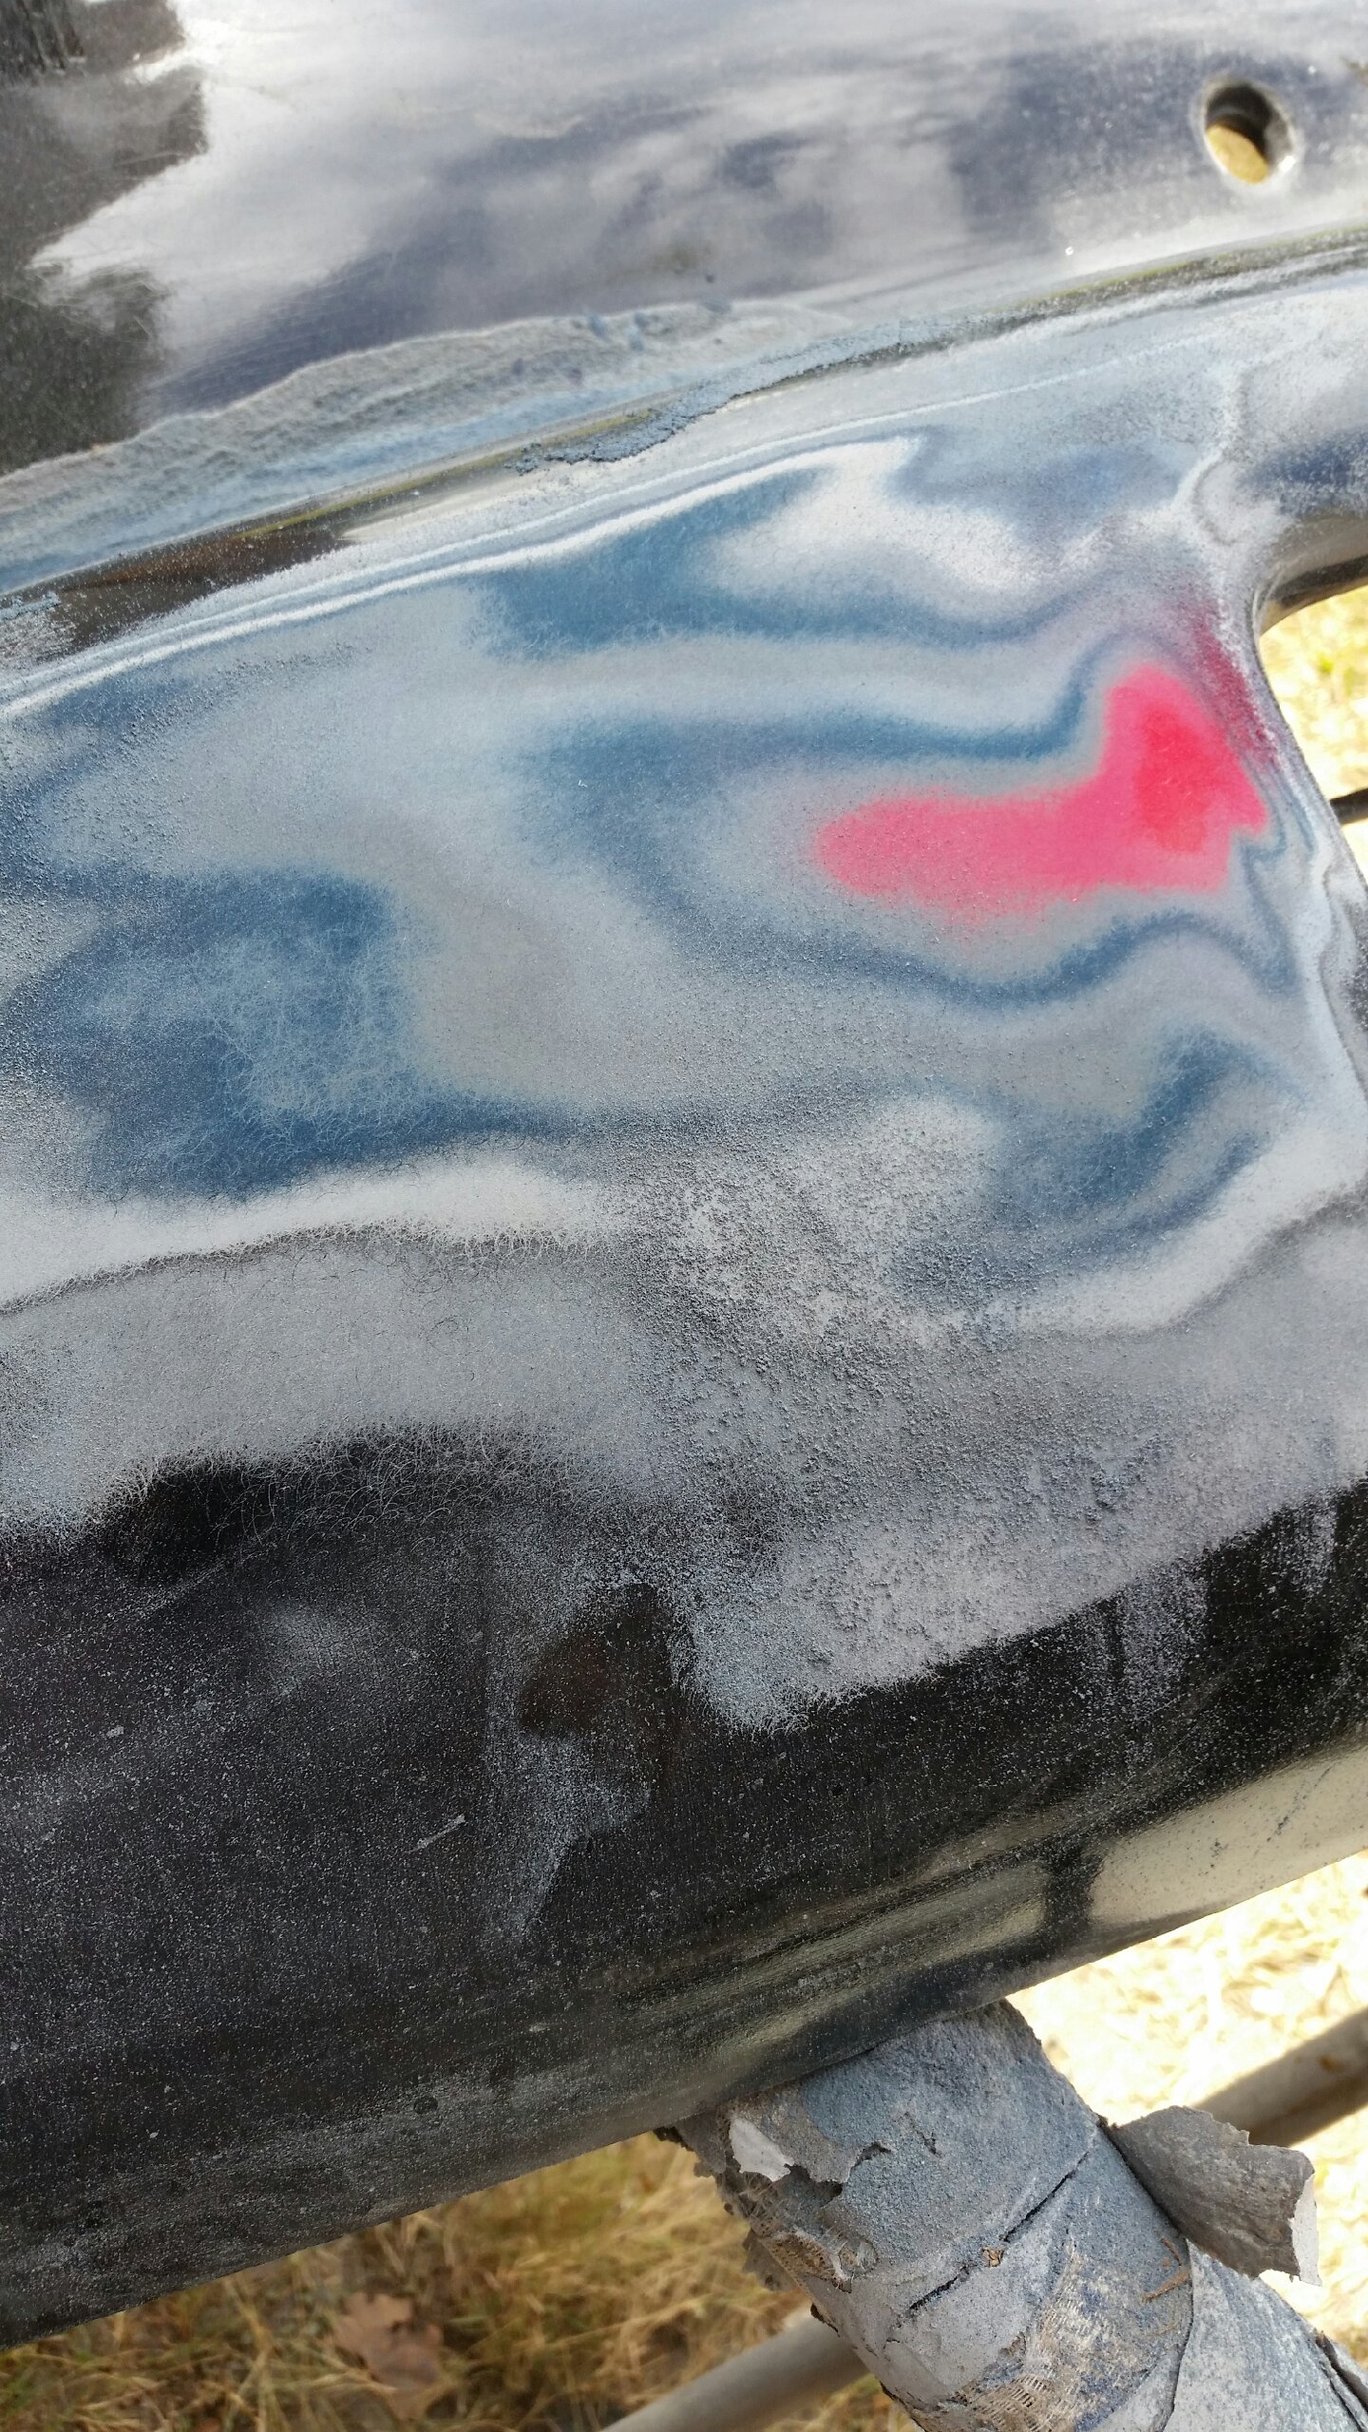
Last week John started working on the rear bumper. Found out it's not original and came red from the factory. The difference in color is actually helping John prep the bumper as its giving him a visual queue for when its time to stop sanding. The factory paint and primer is hard to beat on the composite parts so that's where John will stop and that's where we'll base the new paint job:
I also got a pleasant surprise on Sunday. John routed a trip he was taking through Starkville so I was able to meet him and fill up his trunk with parts
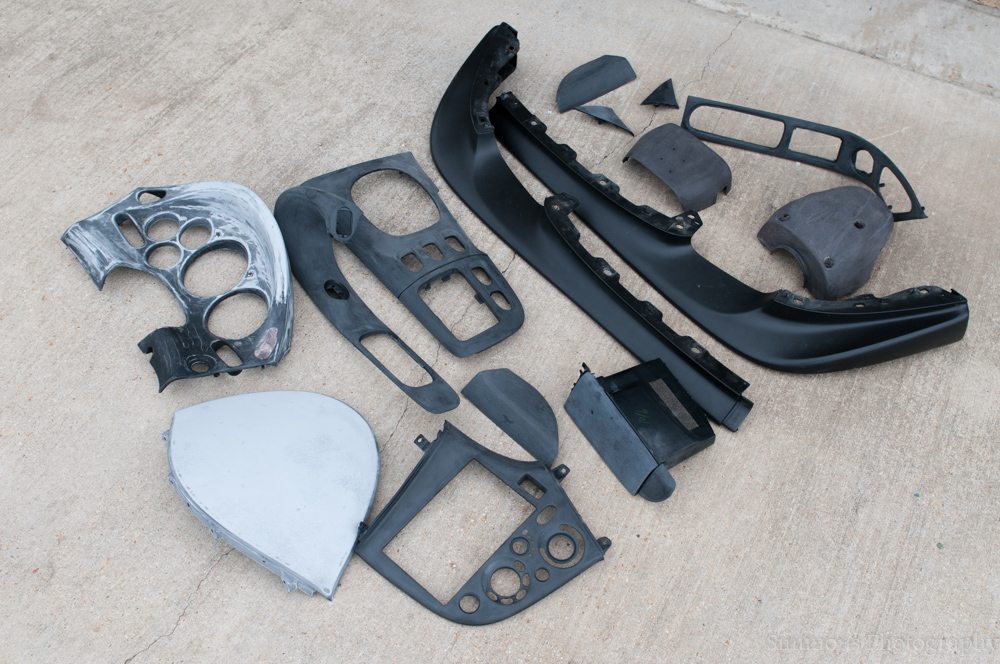
The above is what I've been working on with my almost non-existant free time. I've been stripping and repairing my interior panels in anticipation of being painted by John. Since the visit was a surprise I wasn't completely finished. In fact, you can see the actual cluster surround is only about 1/3 of the way stripped. Additionally, there are parts that will need to be sanded to whatever grit John wants to start with and there was 1 piece (driver's side door triangle) that will require extra work as I didn't strip it correctly and it ended up fuzzy which I think John called furring a panel. Apparently its something that can happen to plastic/composite panels if you're a newb and don't know what you're doing
I will say that the stripping was an absolute chore. I dealt with a lot of acetone to get the gooey stock coating off before I was able to sand. It's been a couple of months of working on it since I haven't had a lot of time to dedicate to it. Hopefully I helped and didn't just create more work for John though
We're going to try and find a slightly textured black paint to coat them with. My emphasis is on durability.
You may also notice I handed over my 99 spec lip. After talking it over with John we've decided to paint the front and rear lip / valance to go along with my painted rockers. May sound odd, but I'm thinking its going to look great. 94+ Mr2s had painted front lips and its a sharp look. I'm hoping it'll really stand out once its done.
Lane
I also got a pleasant surprise on Sunday. John routed a trip he was taking through Starkville so I was able to meet him and fill up his trunk with parts
The above is what I've been working on with my almost non-existant free time. I've been stripping and repairing my interior panels in anticipation of being painted by John. Since the visit was a surprise I wasn't completely finished. In fact, you can see the actual cluster surround is only about 1/3 of the way stripped. Additionally, there are parts that will need to be sanded to whatever grit John wants to start with and there was 1 piece (driver's side door triangle) that will require extra work as I didn't strip it correctly and it ended up fuzzy which I think John called furring a panel. Apparently its something that can happen to plastic/composite panels if you're a newb and don't know what you're doing
I will say that the stripping was an absolute chore. I dealt with a lot of acetone to get the gooey stock coating off before I was able to sand. It's been a couple of months of working on it since I haven't had a lot of time to dedicate to it. Hopefully I helped and didn't just create more work for John though
We're going to try and find a slightly textured black paint to coat them with. My emphasis is on durability.
You may also notice I handed over my 99 spec lip. After talking it over with John we've decided to paint the front and rear lip / valance to go along with my painted rockers. May sound odd, but I'm thinking its going to look great. 94+ Mr2s had painted front lips and its a sharp look. I'm hoping it'll really stand out once its done.
Lane
09-30-14, 08:23 PM
#25
It looks like you've been doing a top notch job. 
I'll chime in and say: don't paint that lip. Maybe a flat black (SEM works best) but I've painted lips int he past and it never works out. Too much flex and too much potential for gracefully grazing a parking block or curb. An unpainted lip will still look unscathed a painted lip becomes an eyesore.
I'll chime in and say: don't paint that lip. Maybe a flat black (SEM works best) but I've painted lips int he past and it never works out. Too much flex and too much potential for gracefully grazing a parking block or curb. An unpainted lip will still look unscathed a painted lip becomes an eyesore.

