Mississippi Paint Pro - Painting my RX7 - Going from the worst to the best
 10-01-14, 11:18 AM
#26
It looks like you've been doing a top notch job. 
I'll chime in and say: don't paint that lip. Maybe a flat black (SEM works best) but I've painted lips int he past and it never works out. Too much flex and too much potential for gracefully grazing a parking block or curb. An unpainted lip will still look unscathed a painted lip becomes an eyesore.
I'll chime in and say: don't paint that lip. Maybe a flat black (SEM works best) but I've painted lips int he past and it never works out. Too much flex and too much potential for gracefully grazing a parking block or curb. An unpainted lip will still look unscathed a painted lip becomes an eyesore.

Thanks for the 2 cents Matt. While I think you're concerns are 100% correct I think I'm still going to let it ride. If it turns out that its not durable enough to be daily driven I'll just buy another lip. I'm not made of money or anything but I think its a fairly risk free experiment.
I'm really looking forward to shooting the car as photography is a budding interest of mine. I think the matching lip is really going to make the front pop. If it gets trashed at least I'll have pretty pictures and memories
Lane

 10-01-14, 06:06 PM
#28
Full Member
Join Date: Apr 2002
Location: NYC
Posts: 87
Likes: 0
Received 0 Likes
on
0 Posts
Reading this with much interest, particularly your post about the hatch. I have a leak somewhere in the rear and was going to replace the hatch moulding. Now I'm thinking I may want a good bodyshop to take a look...not sure if there are good ones with FD experience in NJ...gonna have to ask around.
10-02-14, 07:32 AM
#29
Thanks! Do you have any idea where the leak is coming from around the hatch? I mean, a little bit more specifically?
One place you might check is the electrical pass-through joints at the very top of the hatch (where the hatch meets the roof). There are two electrical connectors that pass signals like the rear defroster, rear wiper, etc and those connectors have to be really well sealed because they are outside of the big weather seal that goes around the inner circle of the hatch.
On with the show
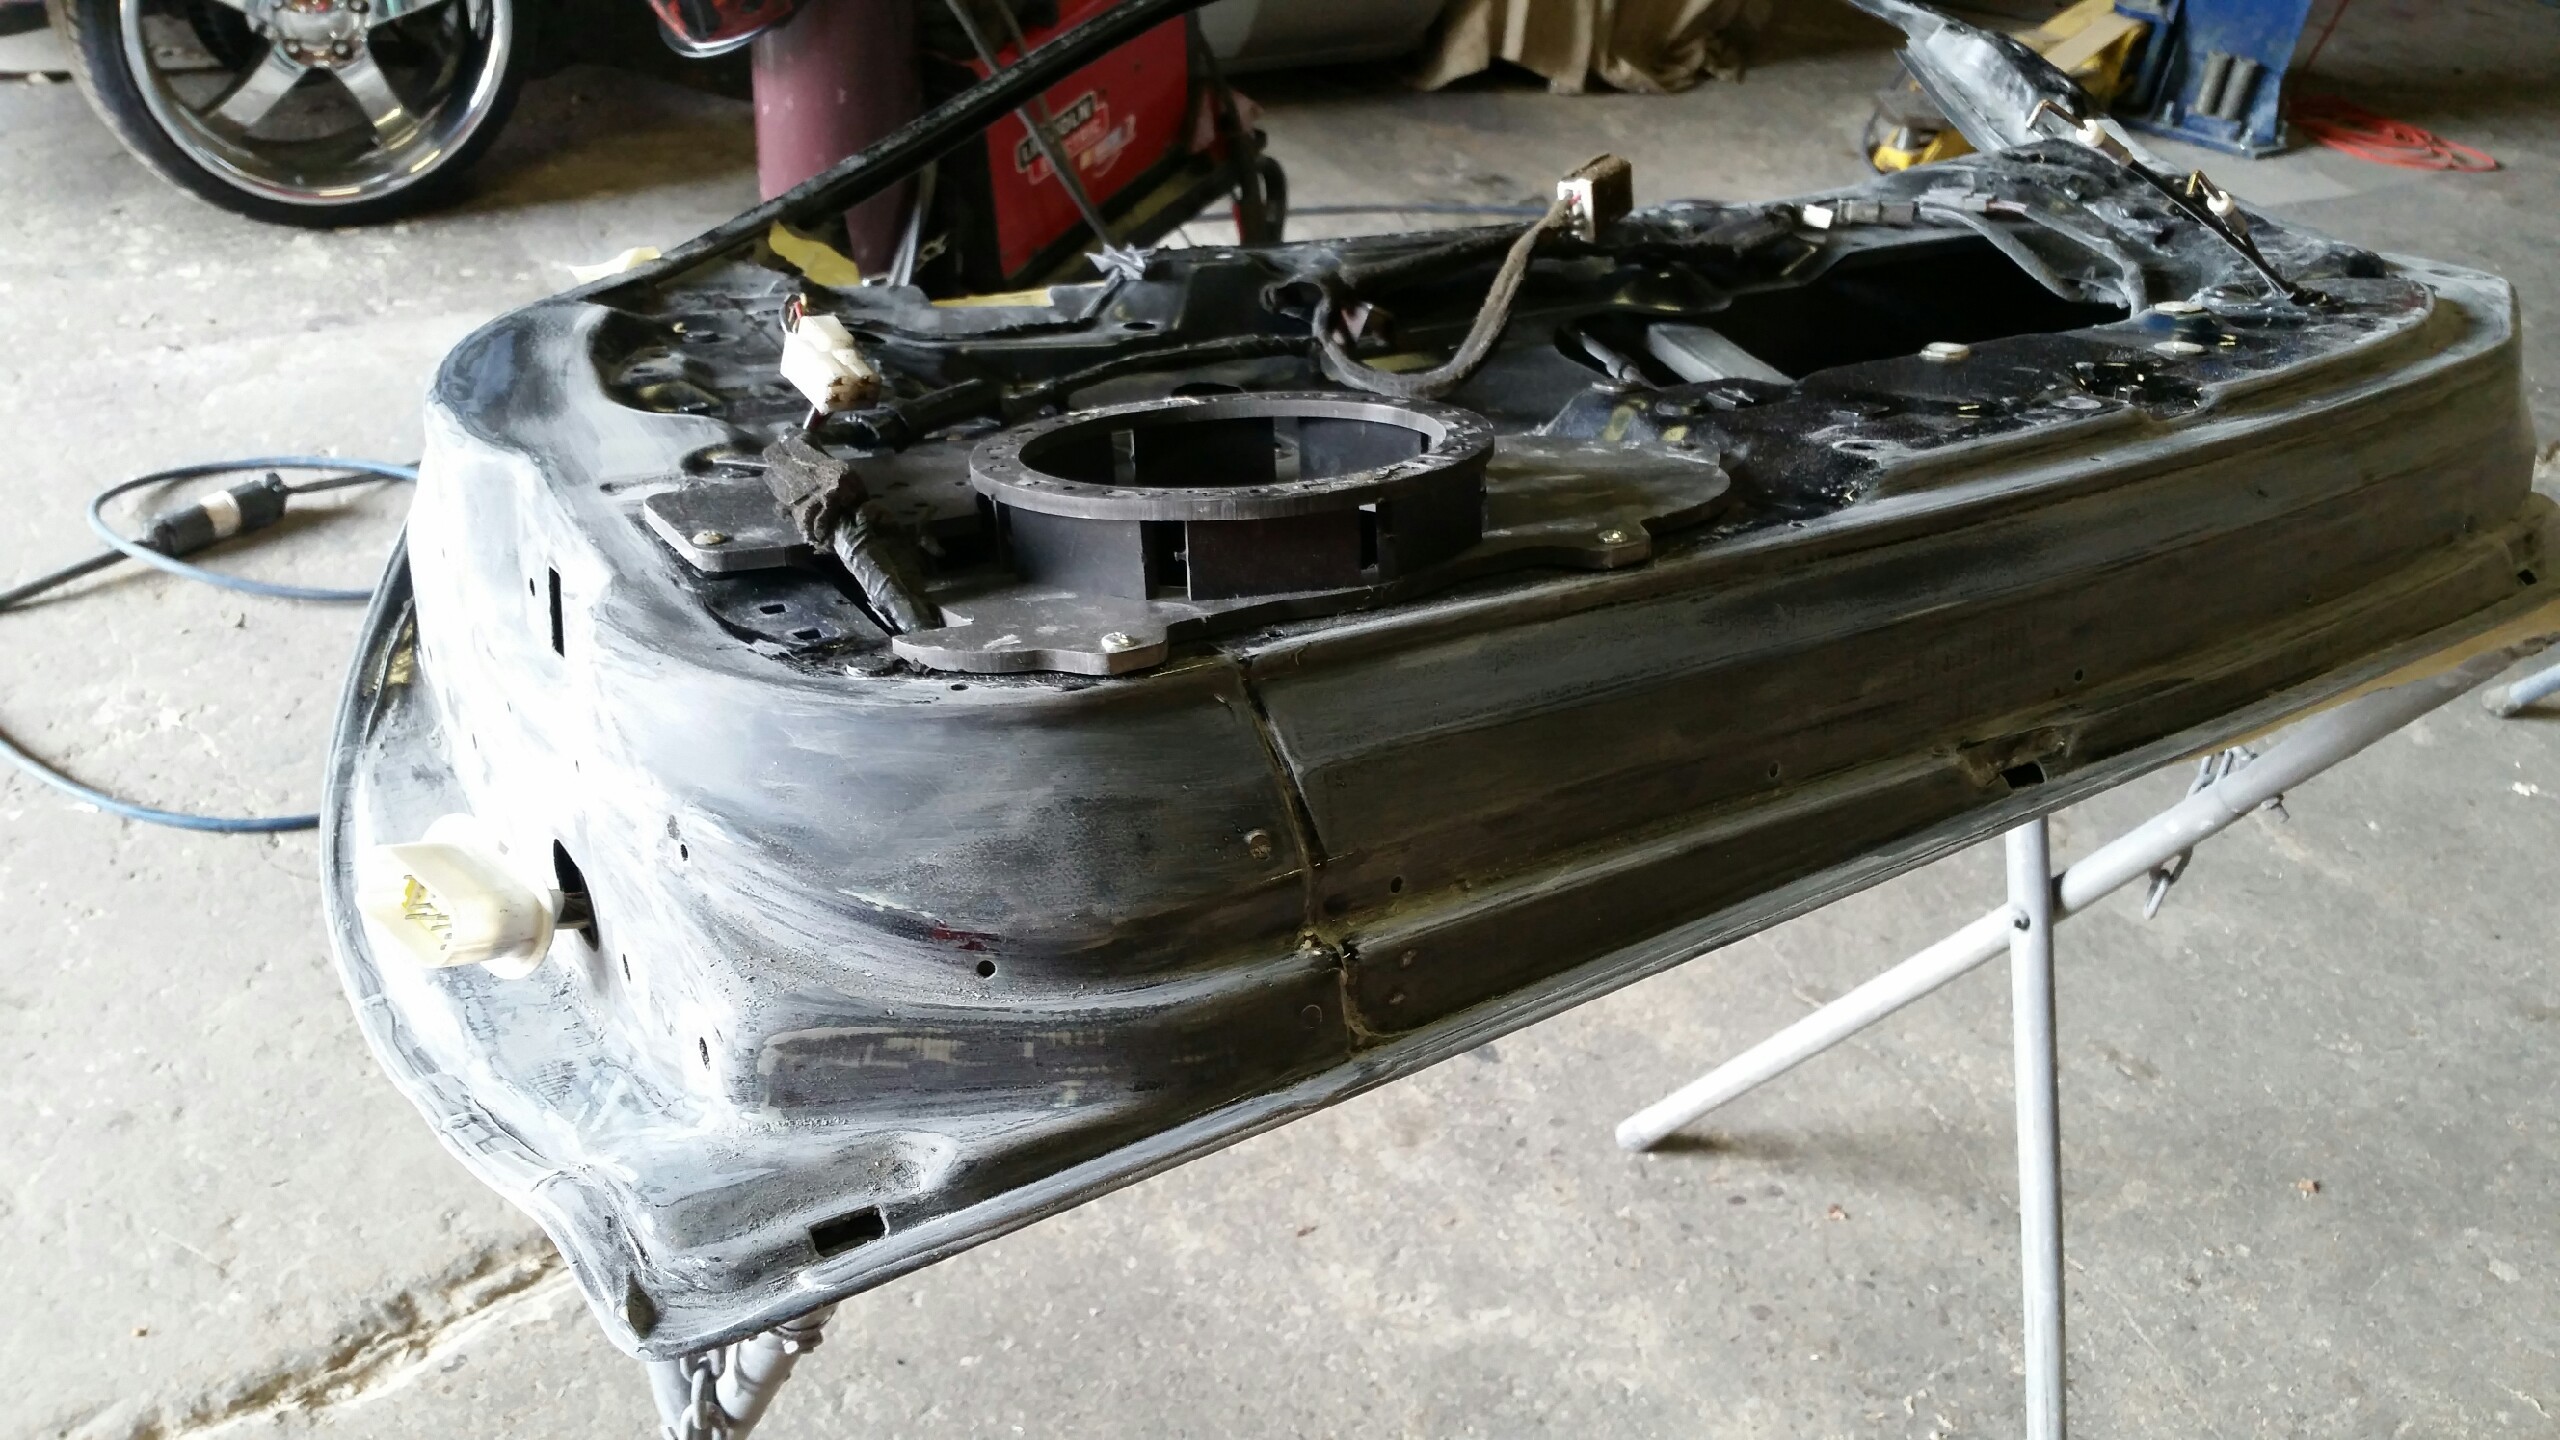
More progress on prepping the rear bumper
Lane
One place you might check is the electrical pass-through joints at the very top of the hatch (where the hatch meets the roof). There are two electrical connectors that pass signals like the rear defroster, rear wiper, etc and those connectors have to be really well sealed because they are outside of the big weather seal that goes around the inner circle of the hatch.
On with the show
More progress on prepping the rear bumper
Lane
10-03-14, 11:35 AM
#30
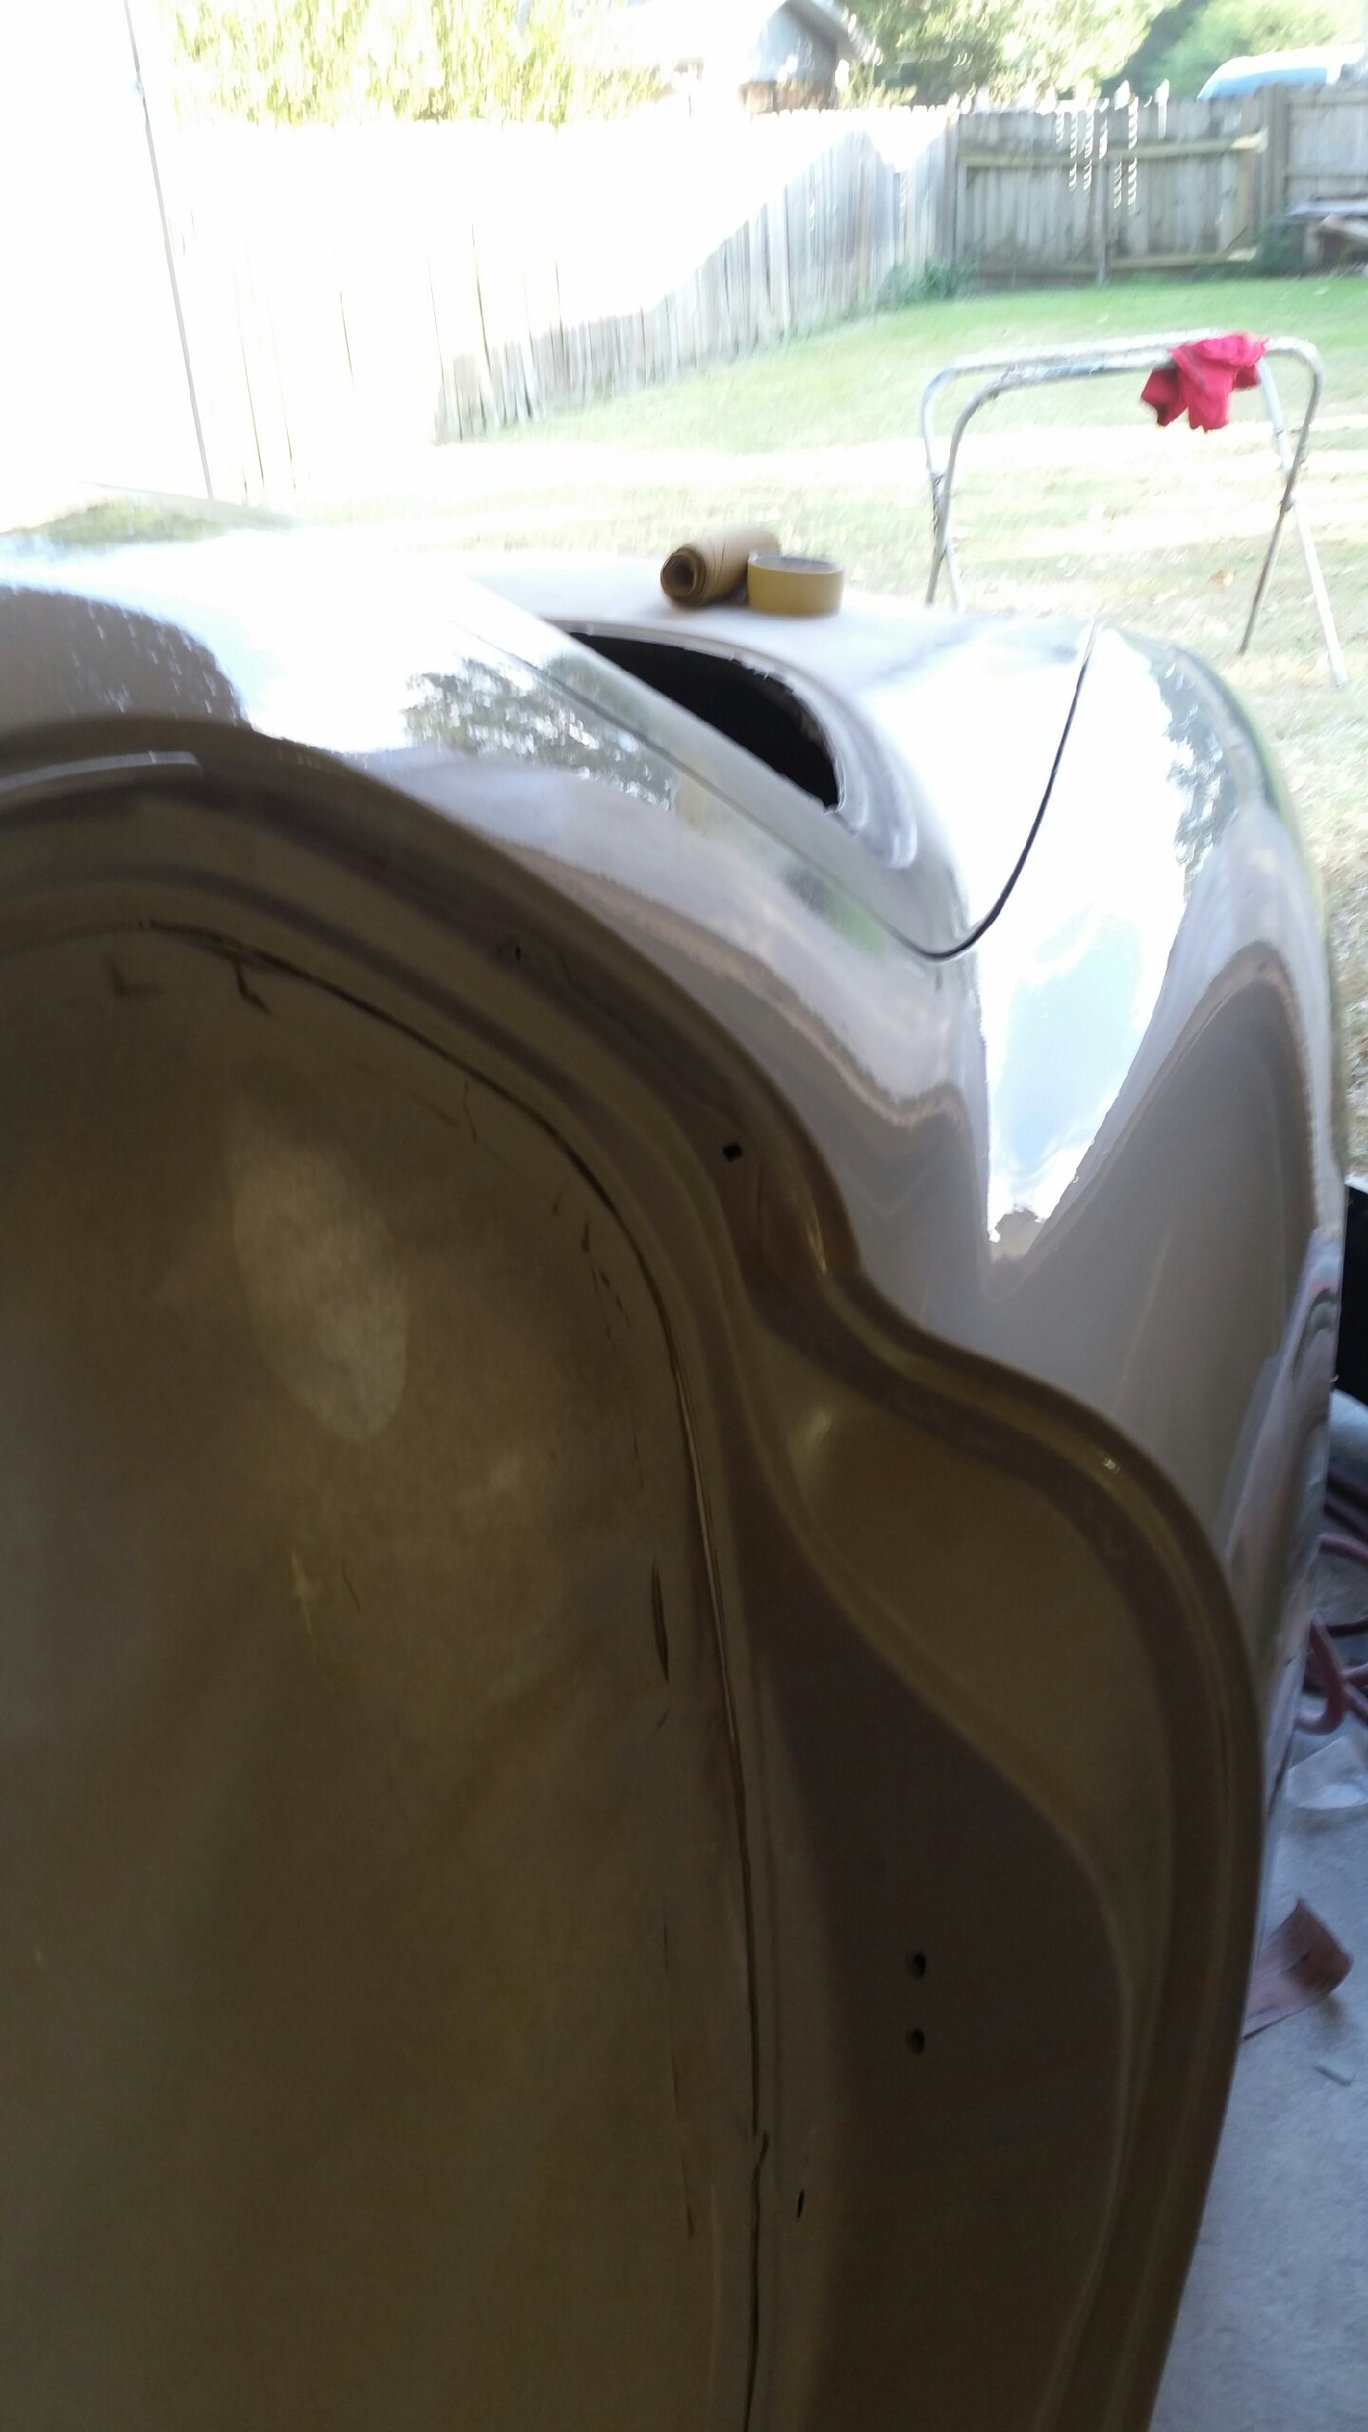
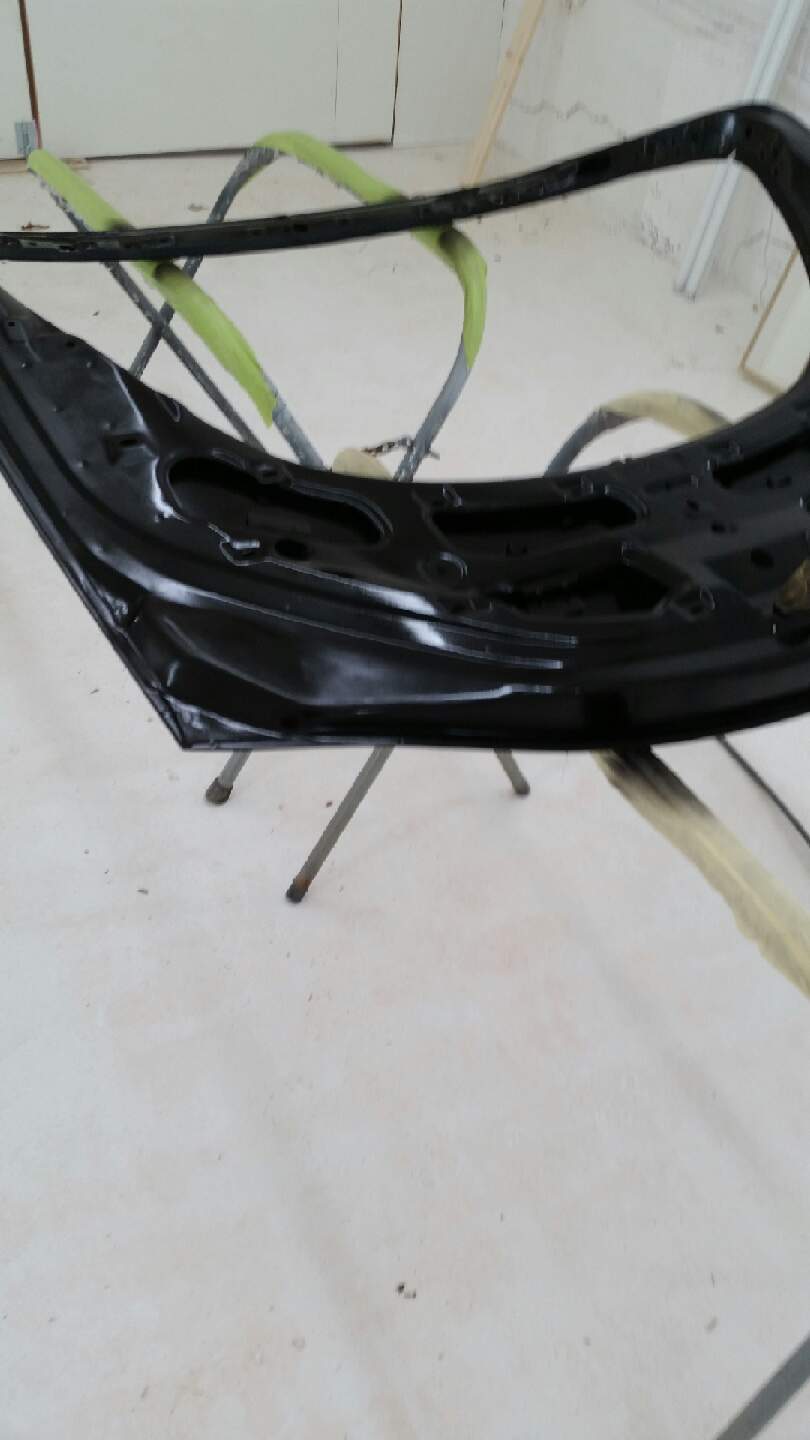
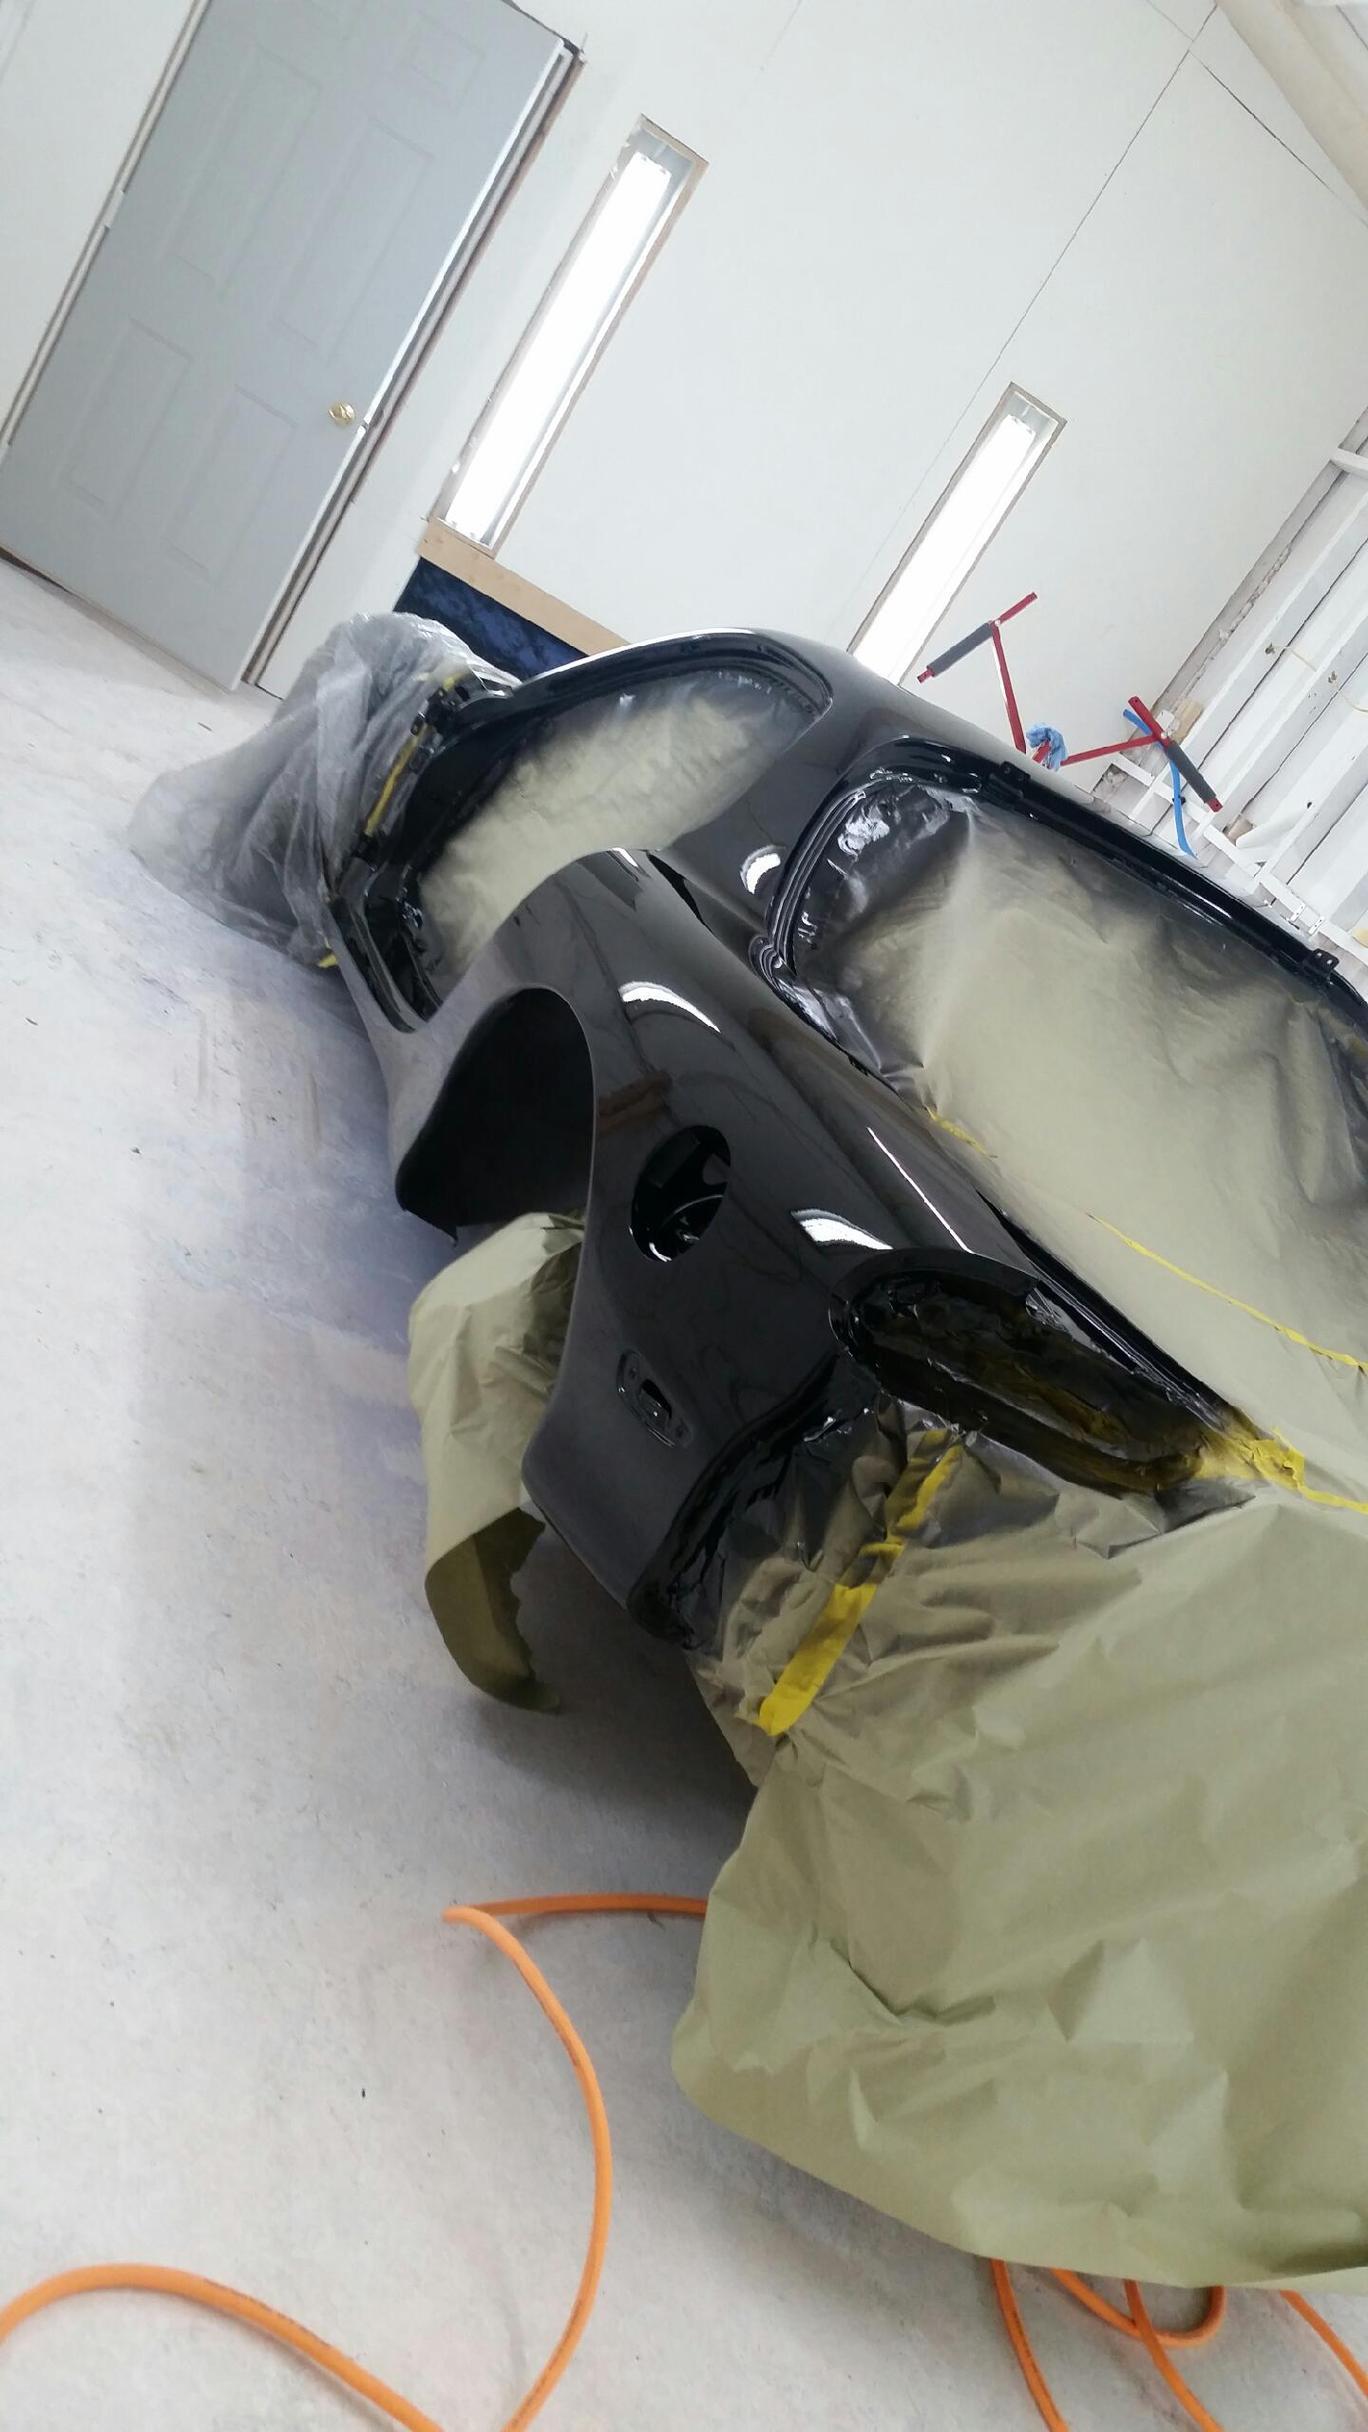
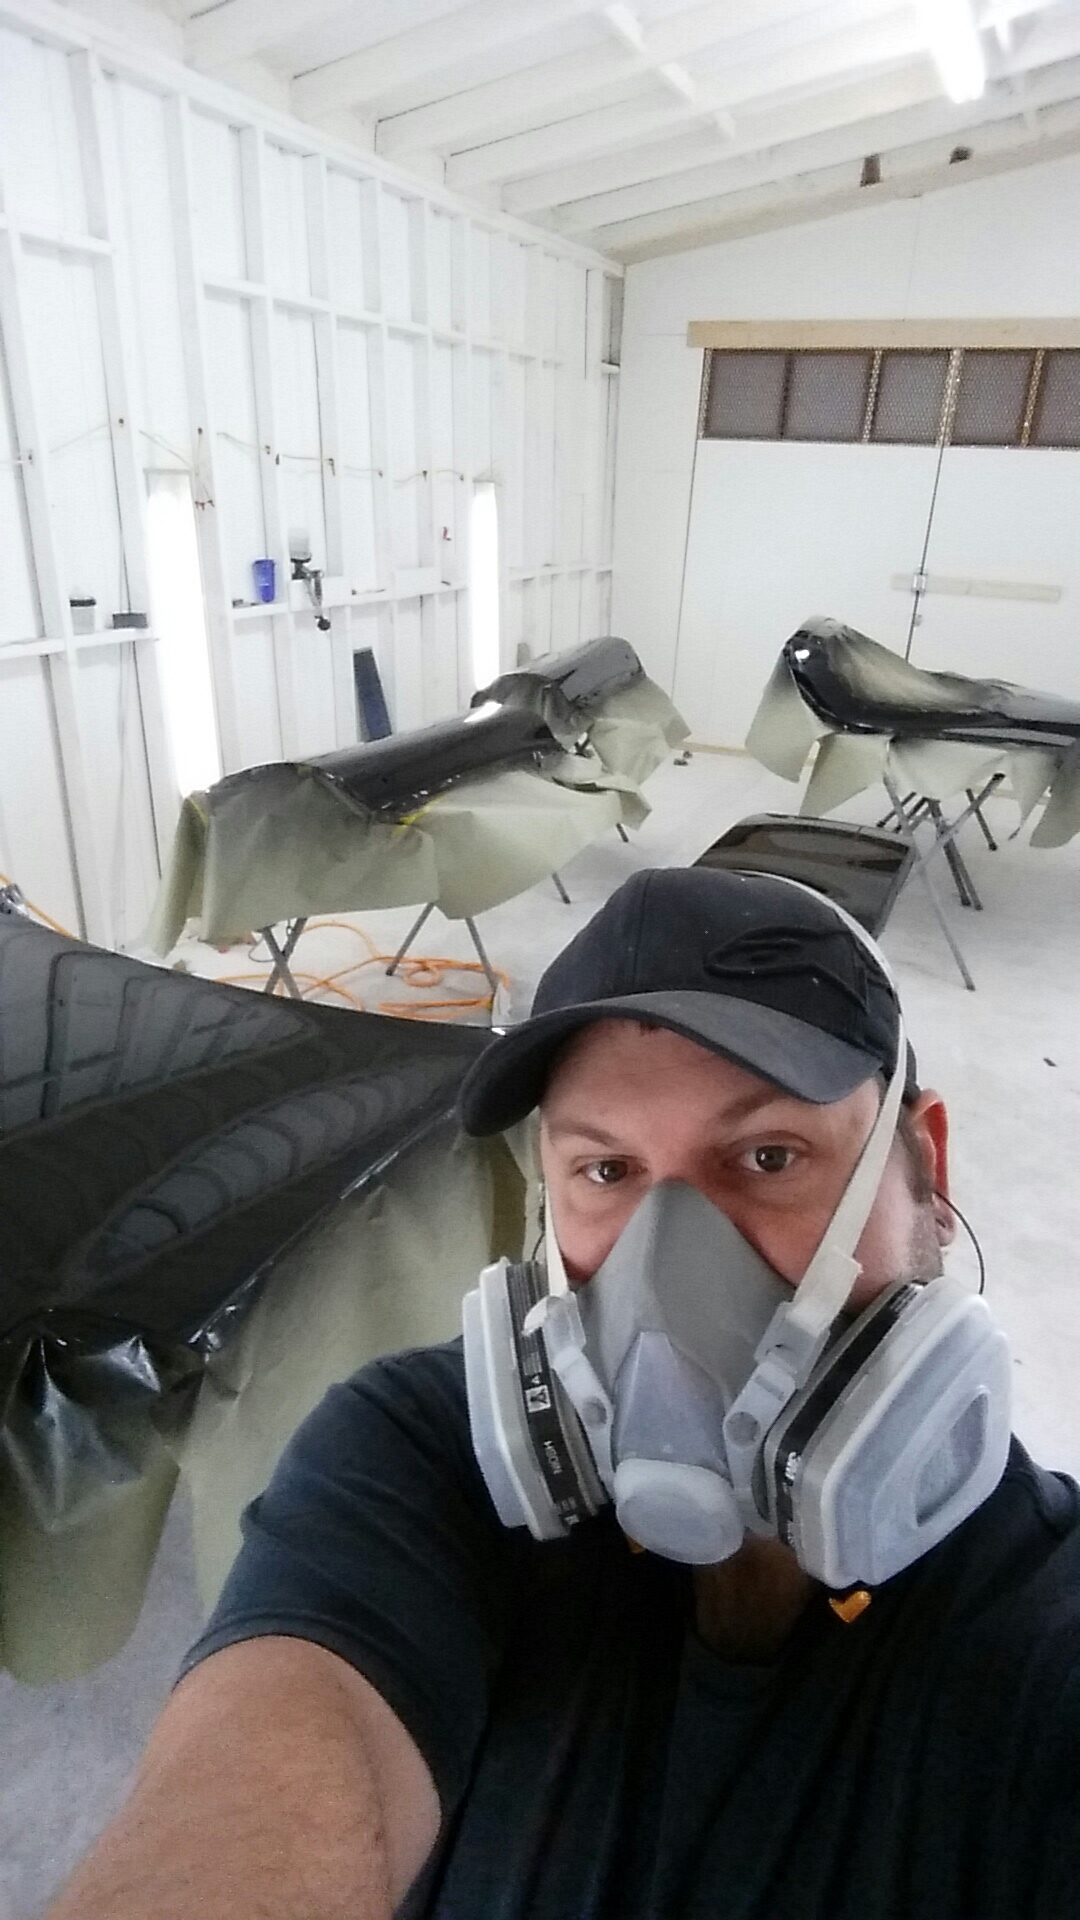
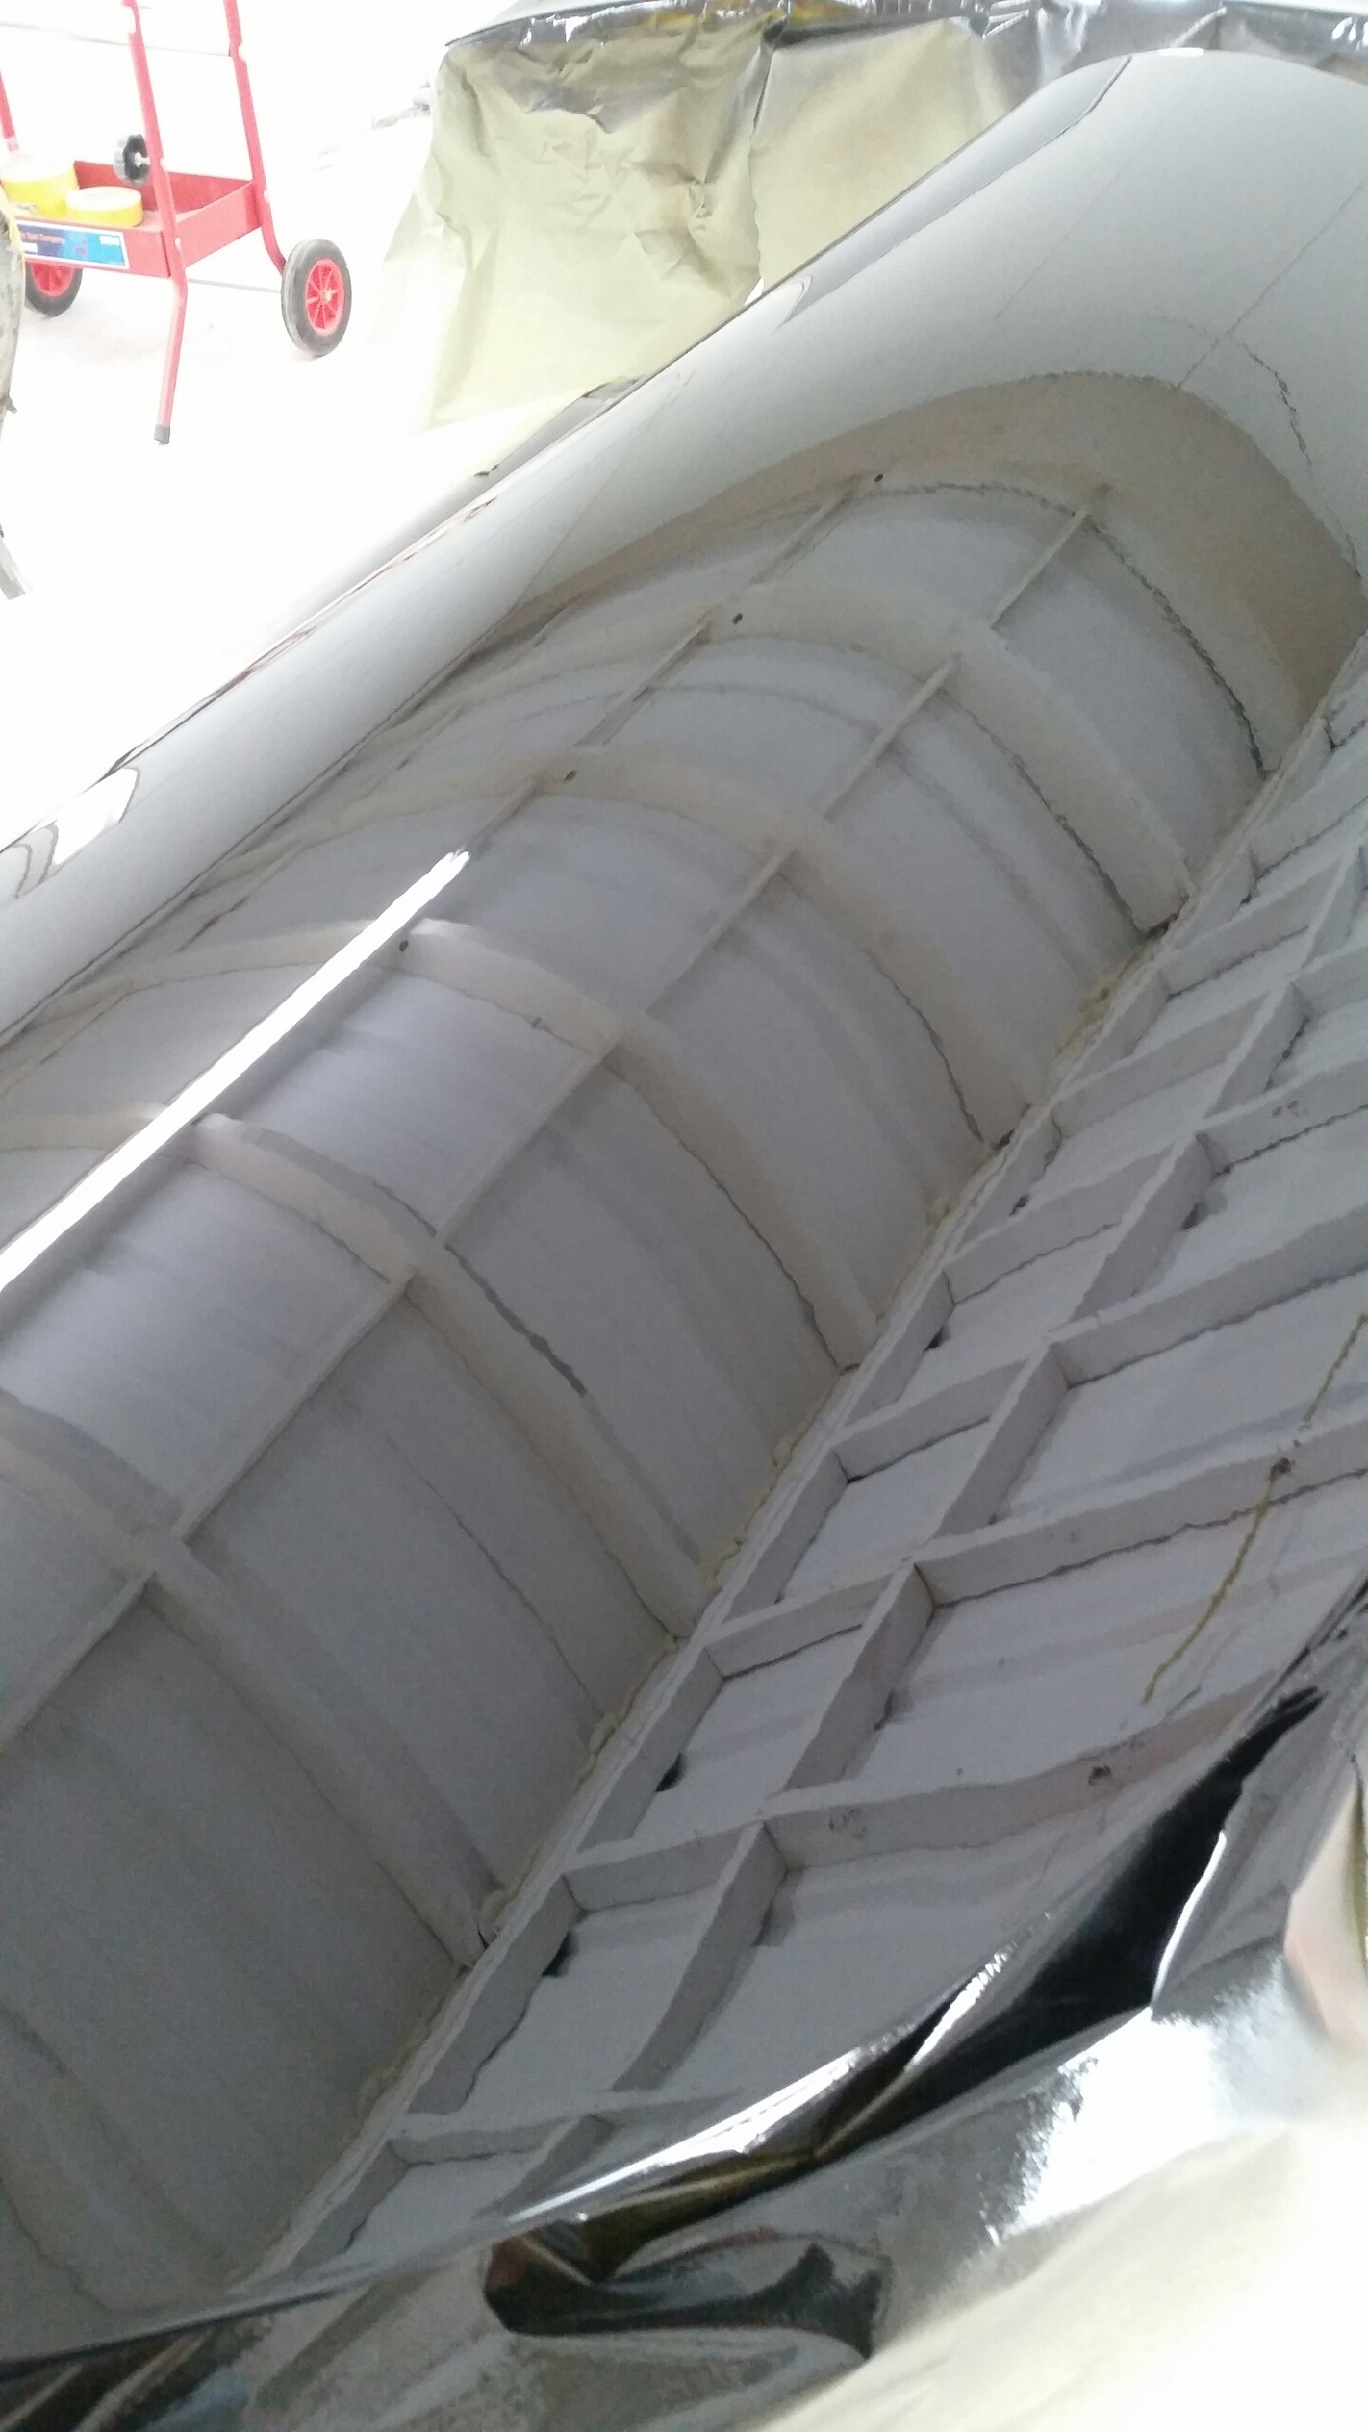
Another quickie in terms of photos today but some good stuff to document
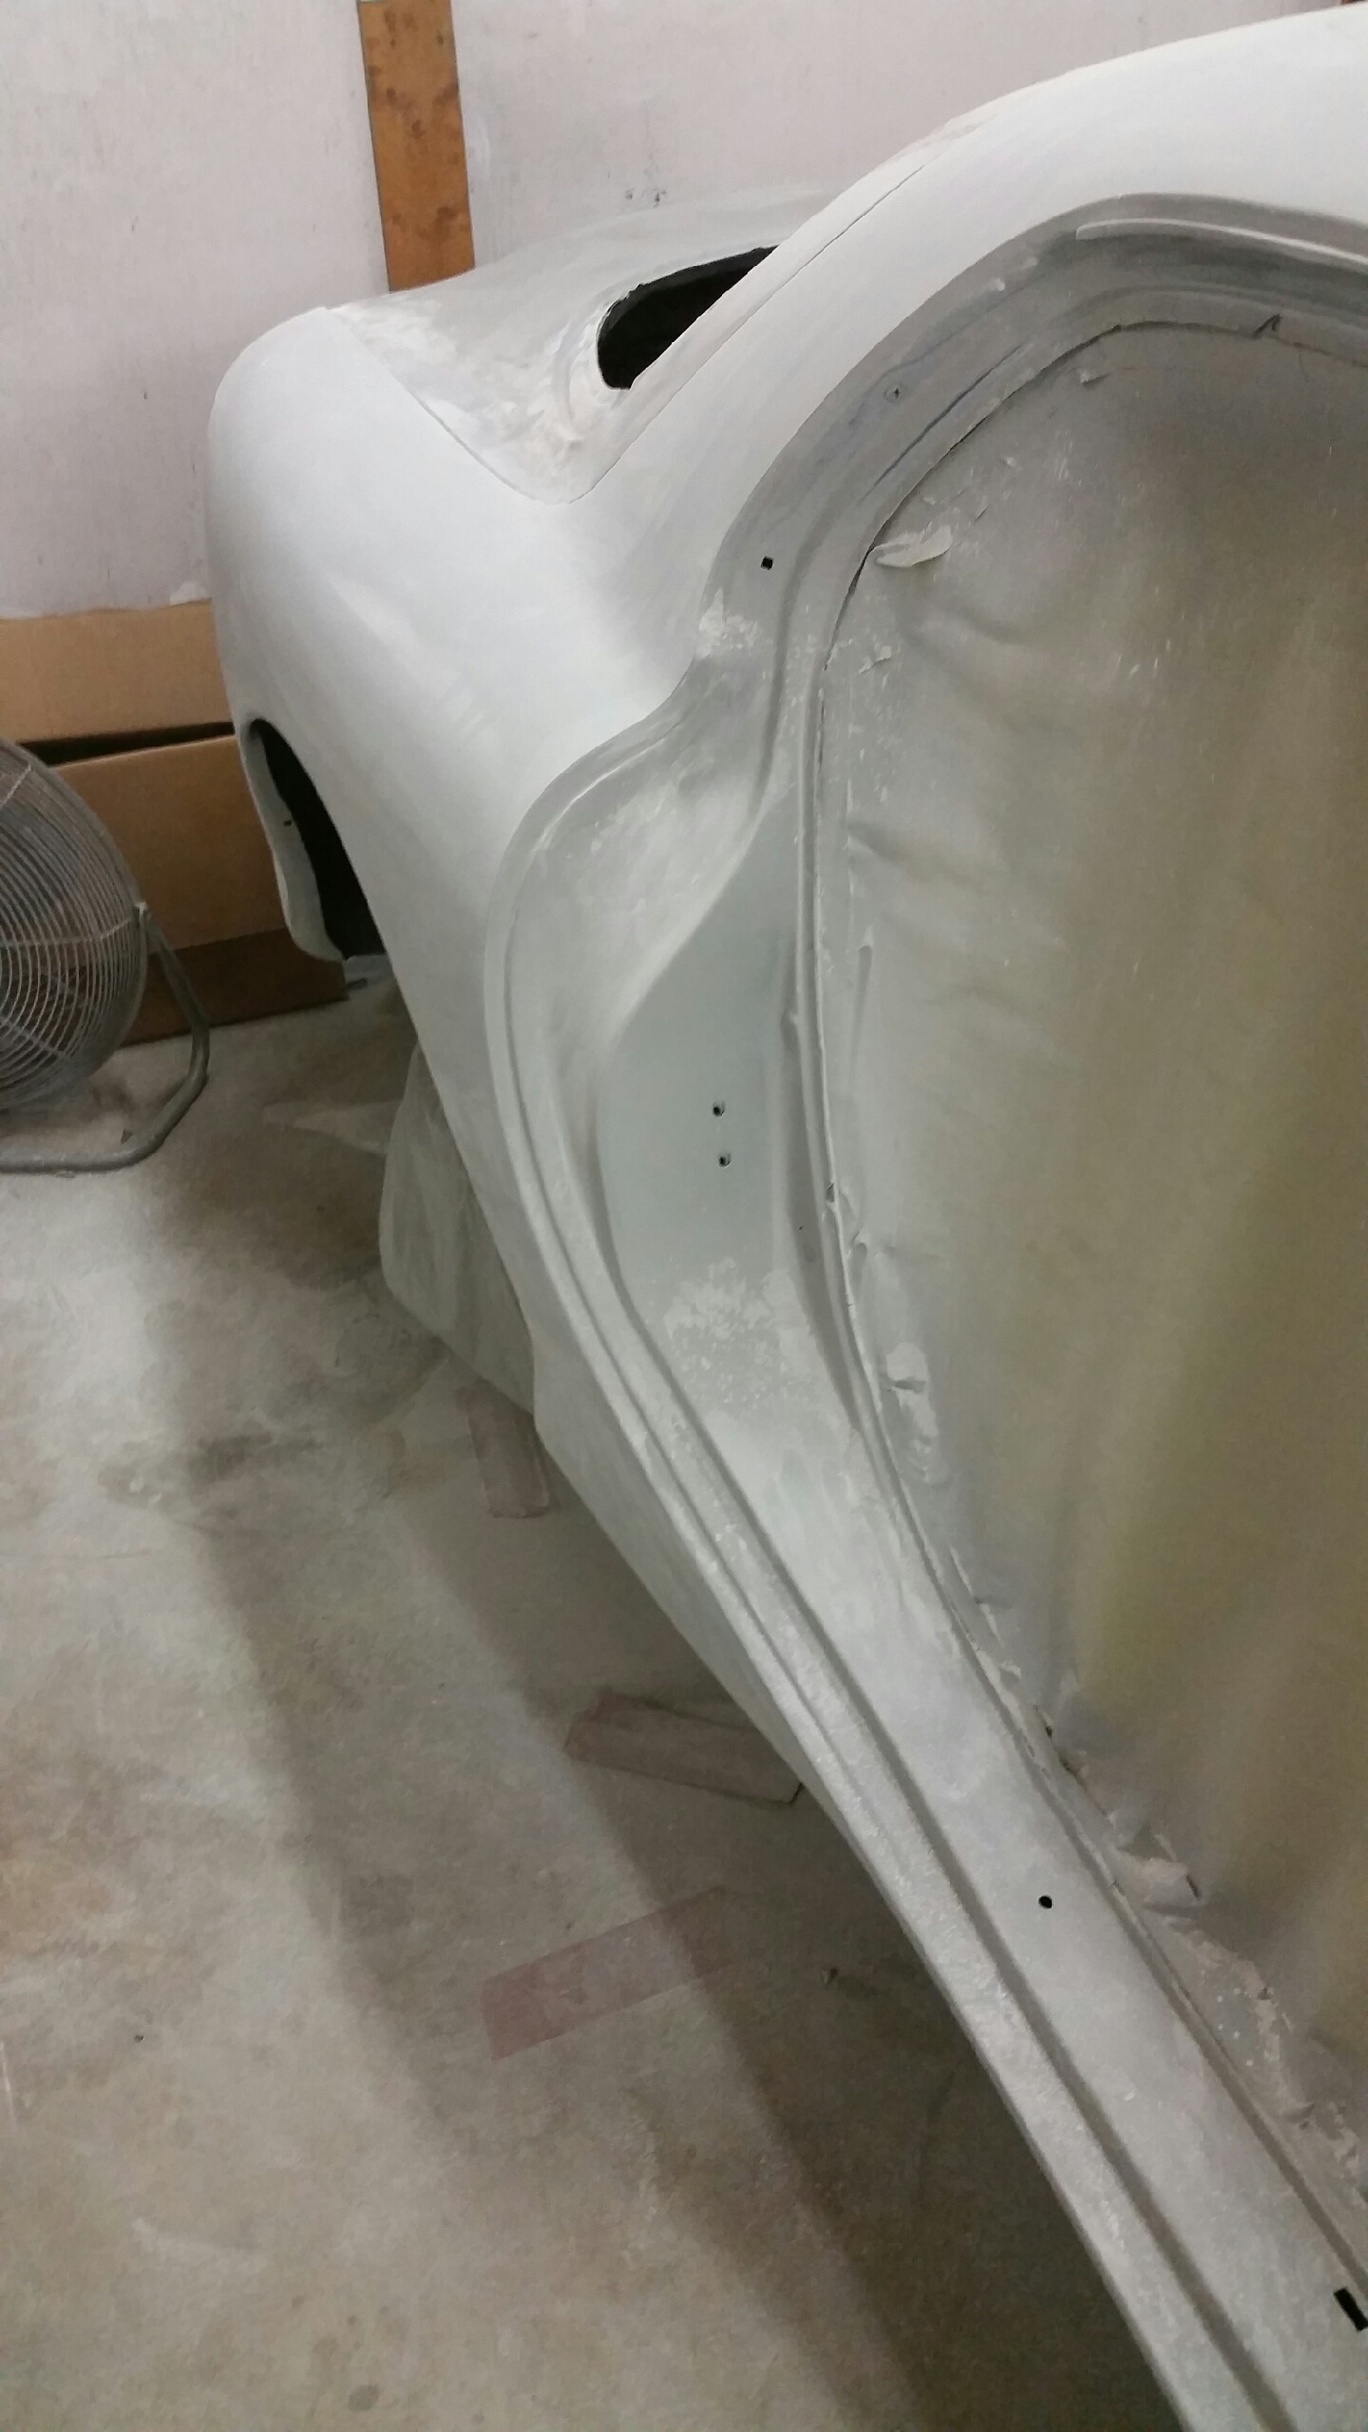
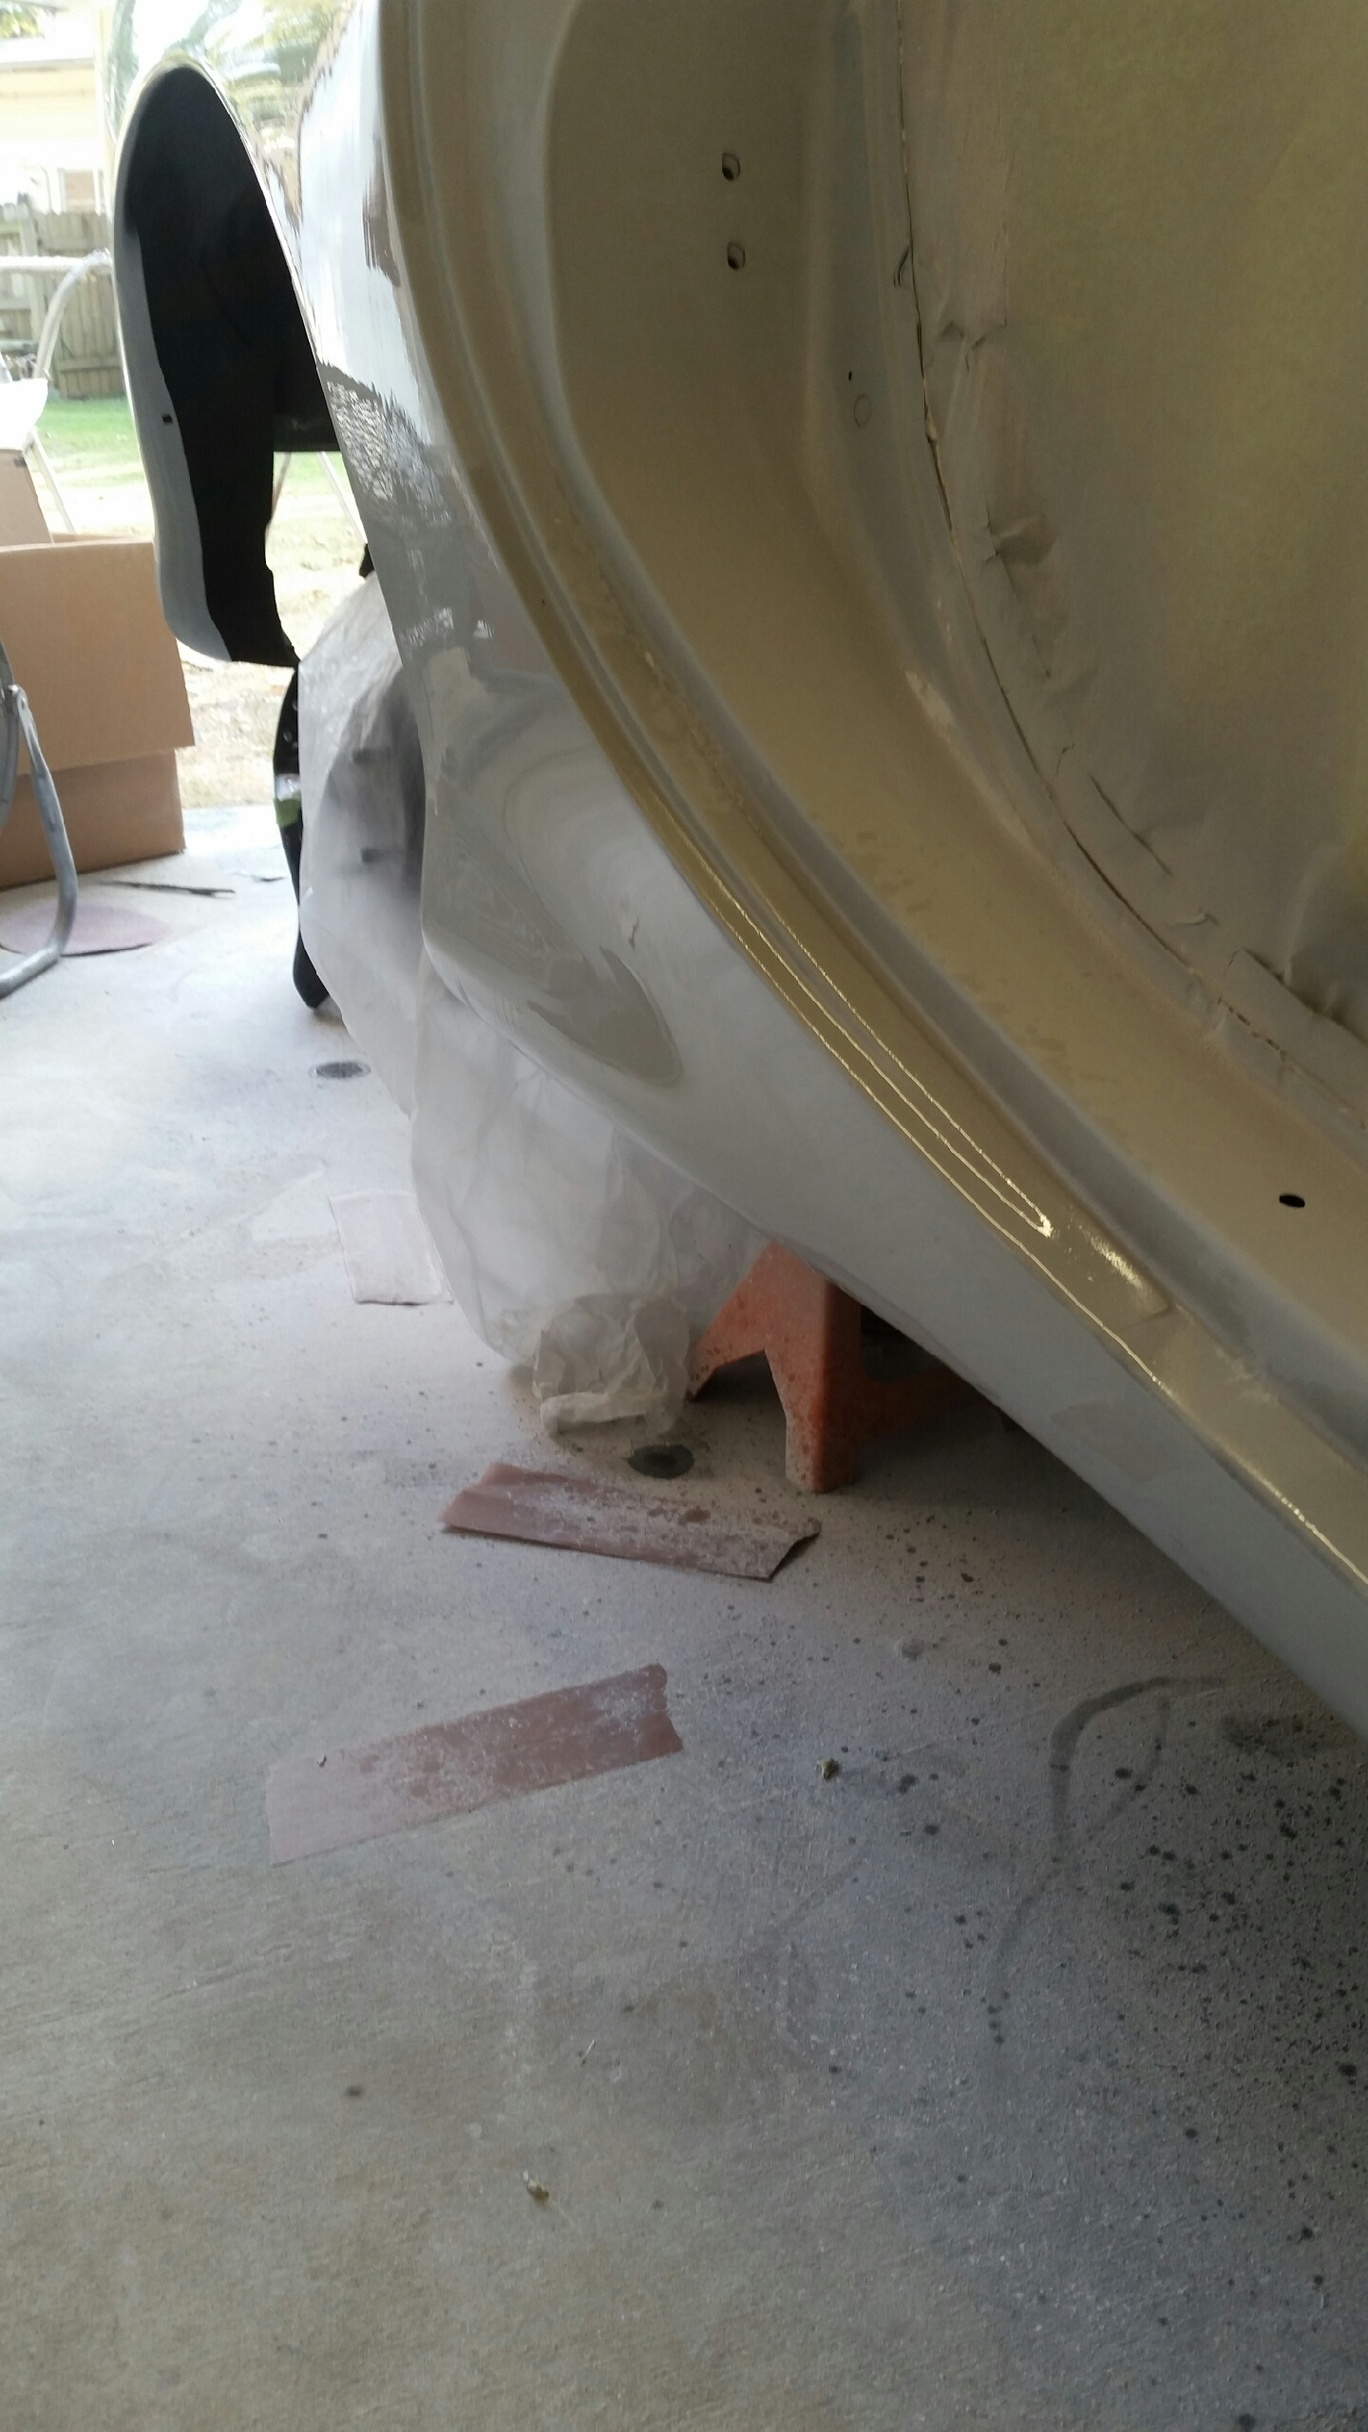
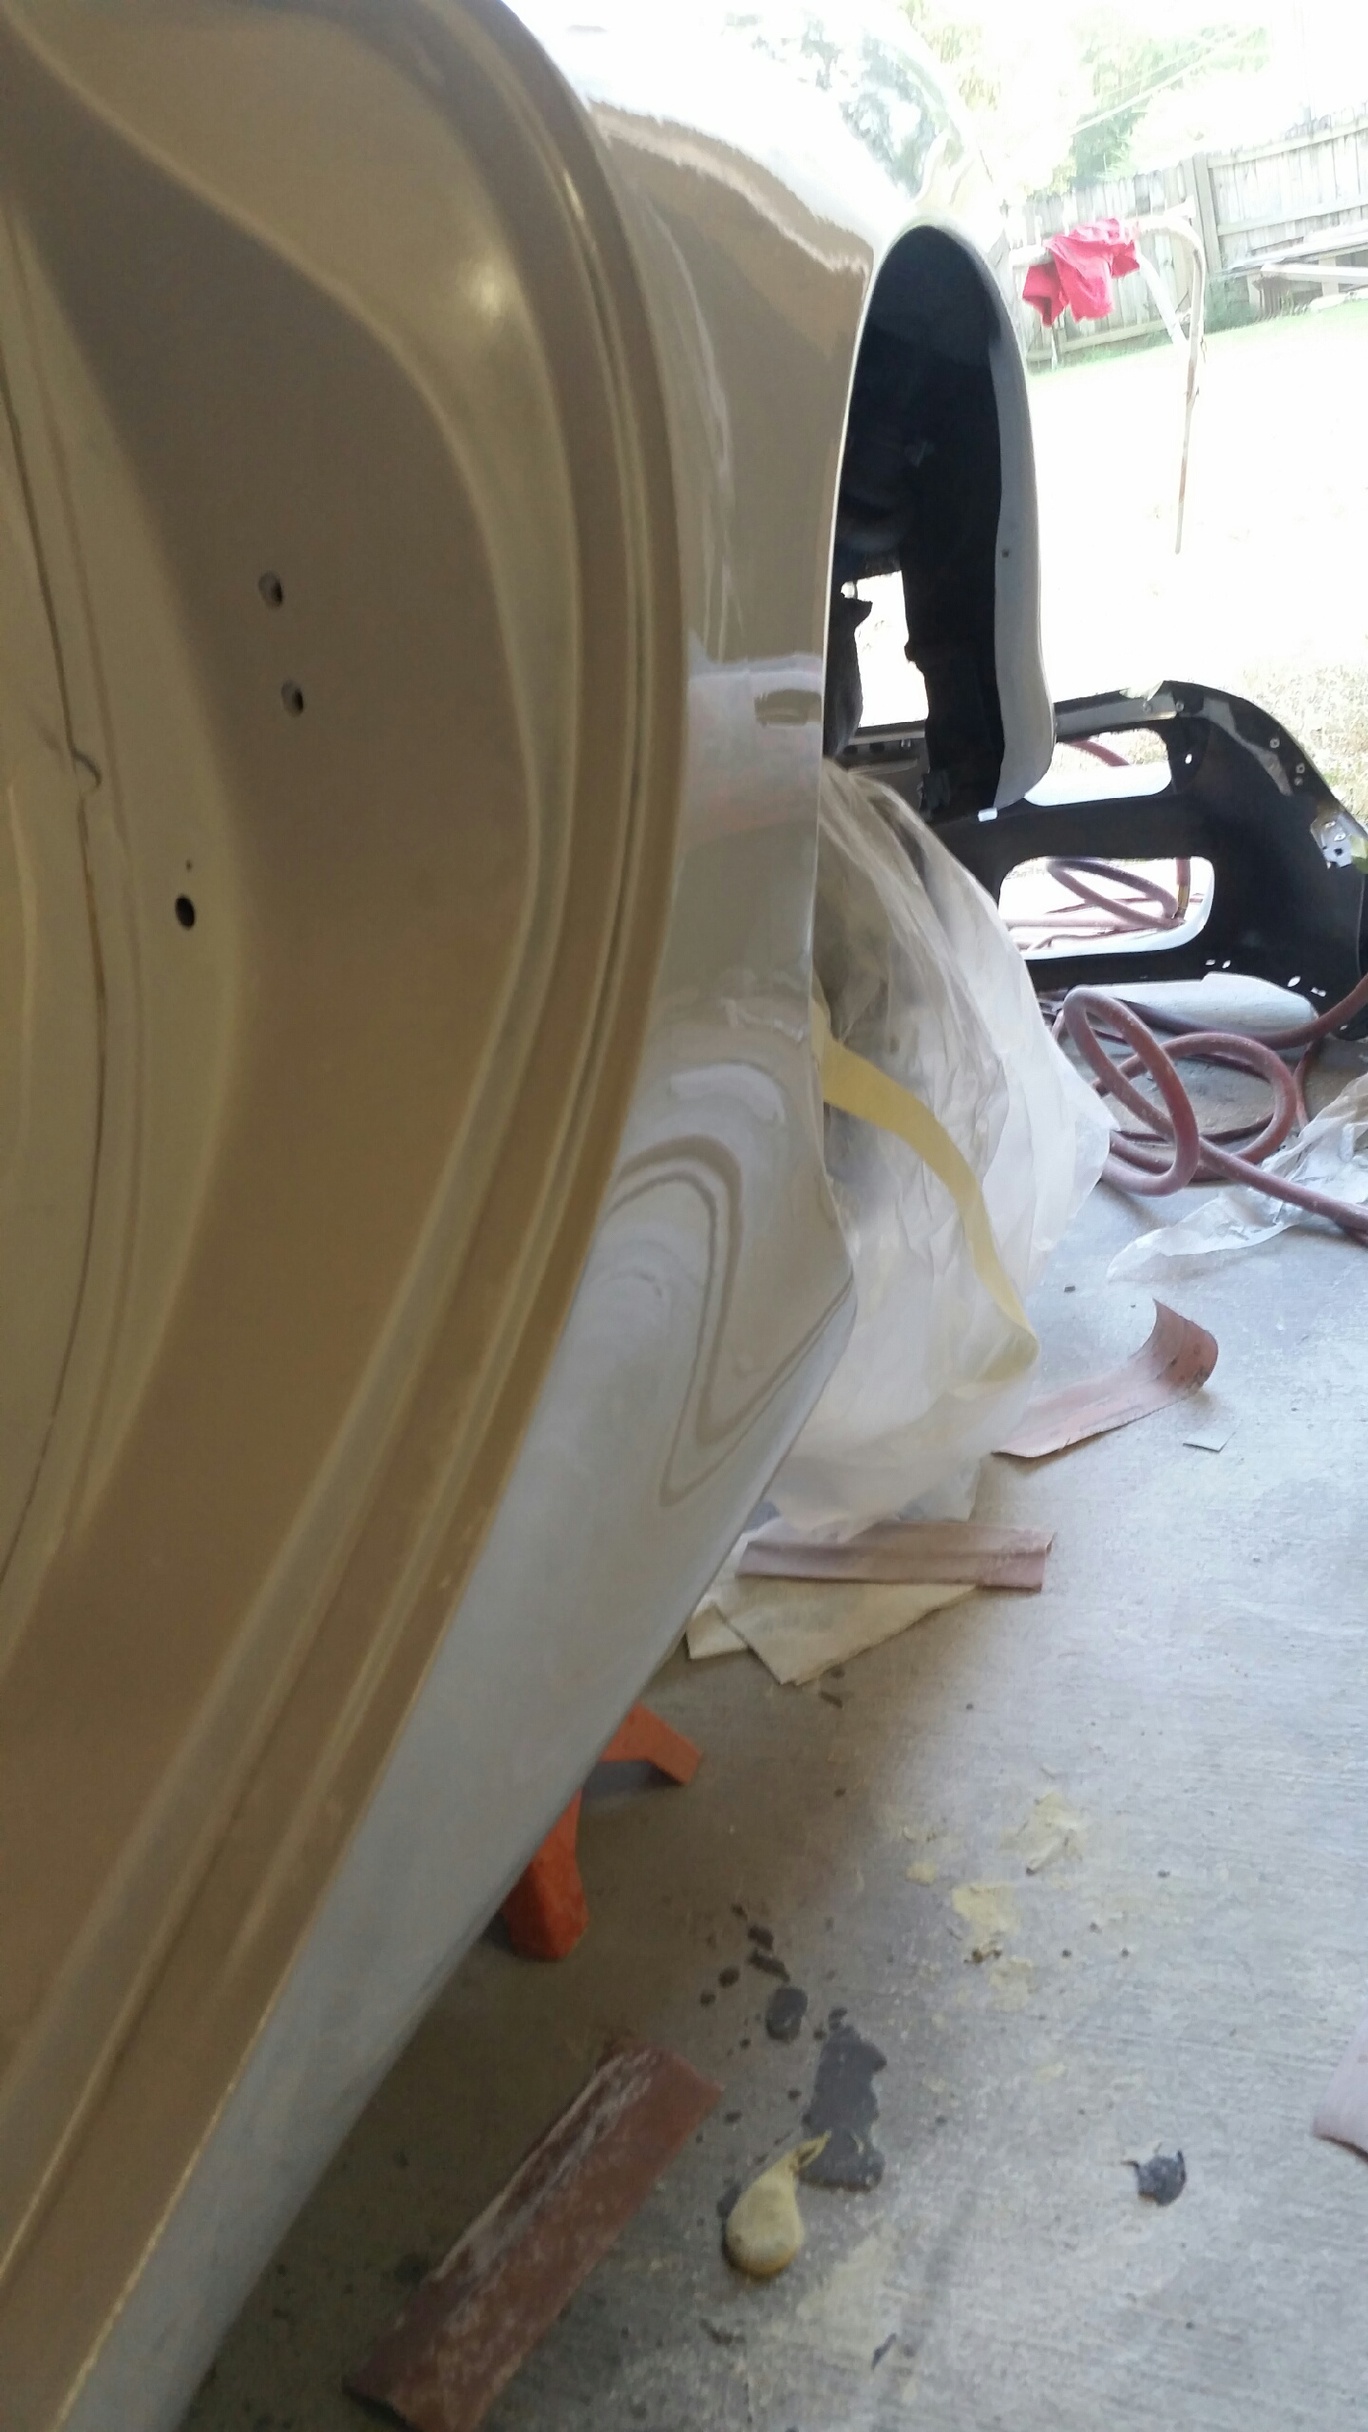
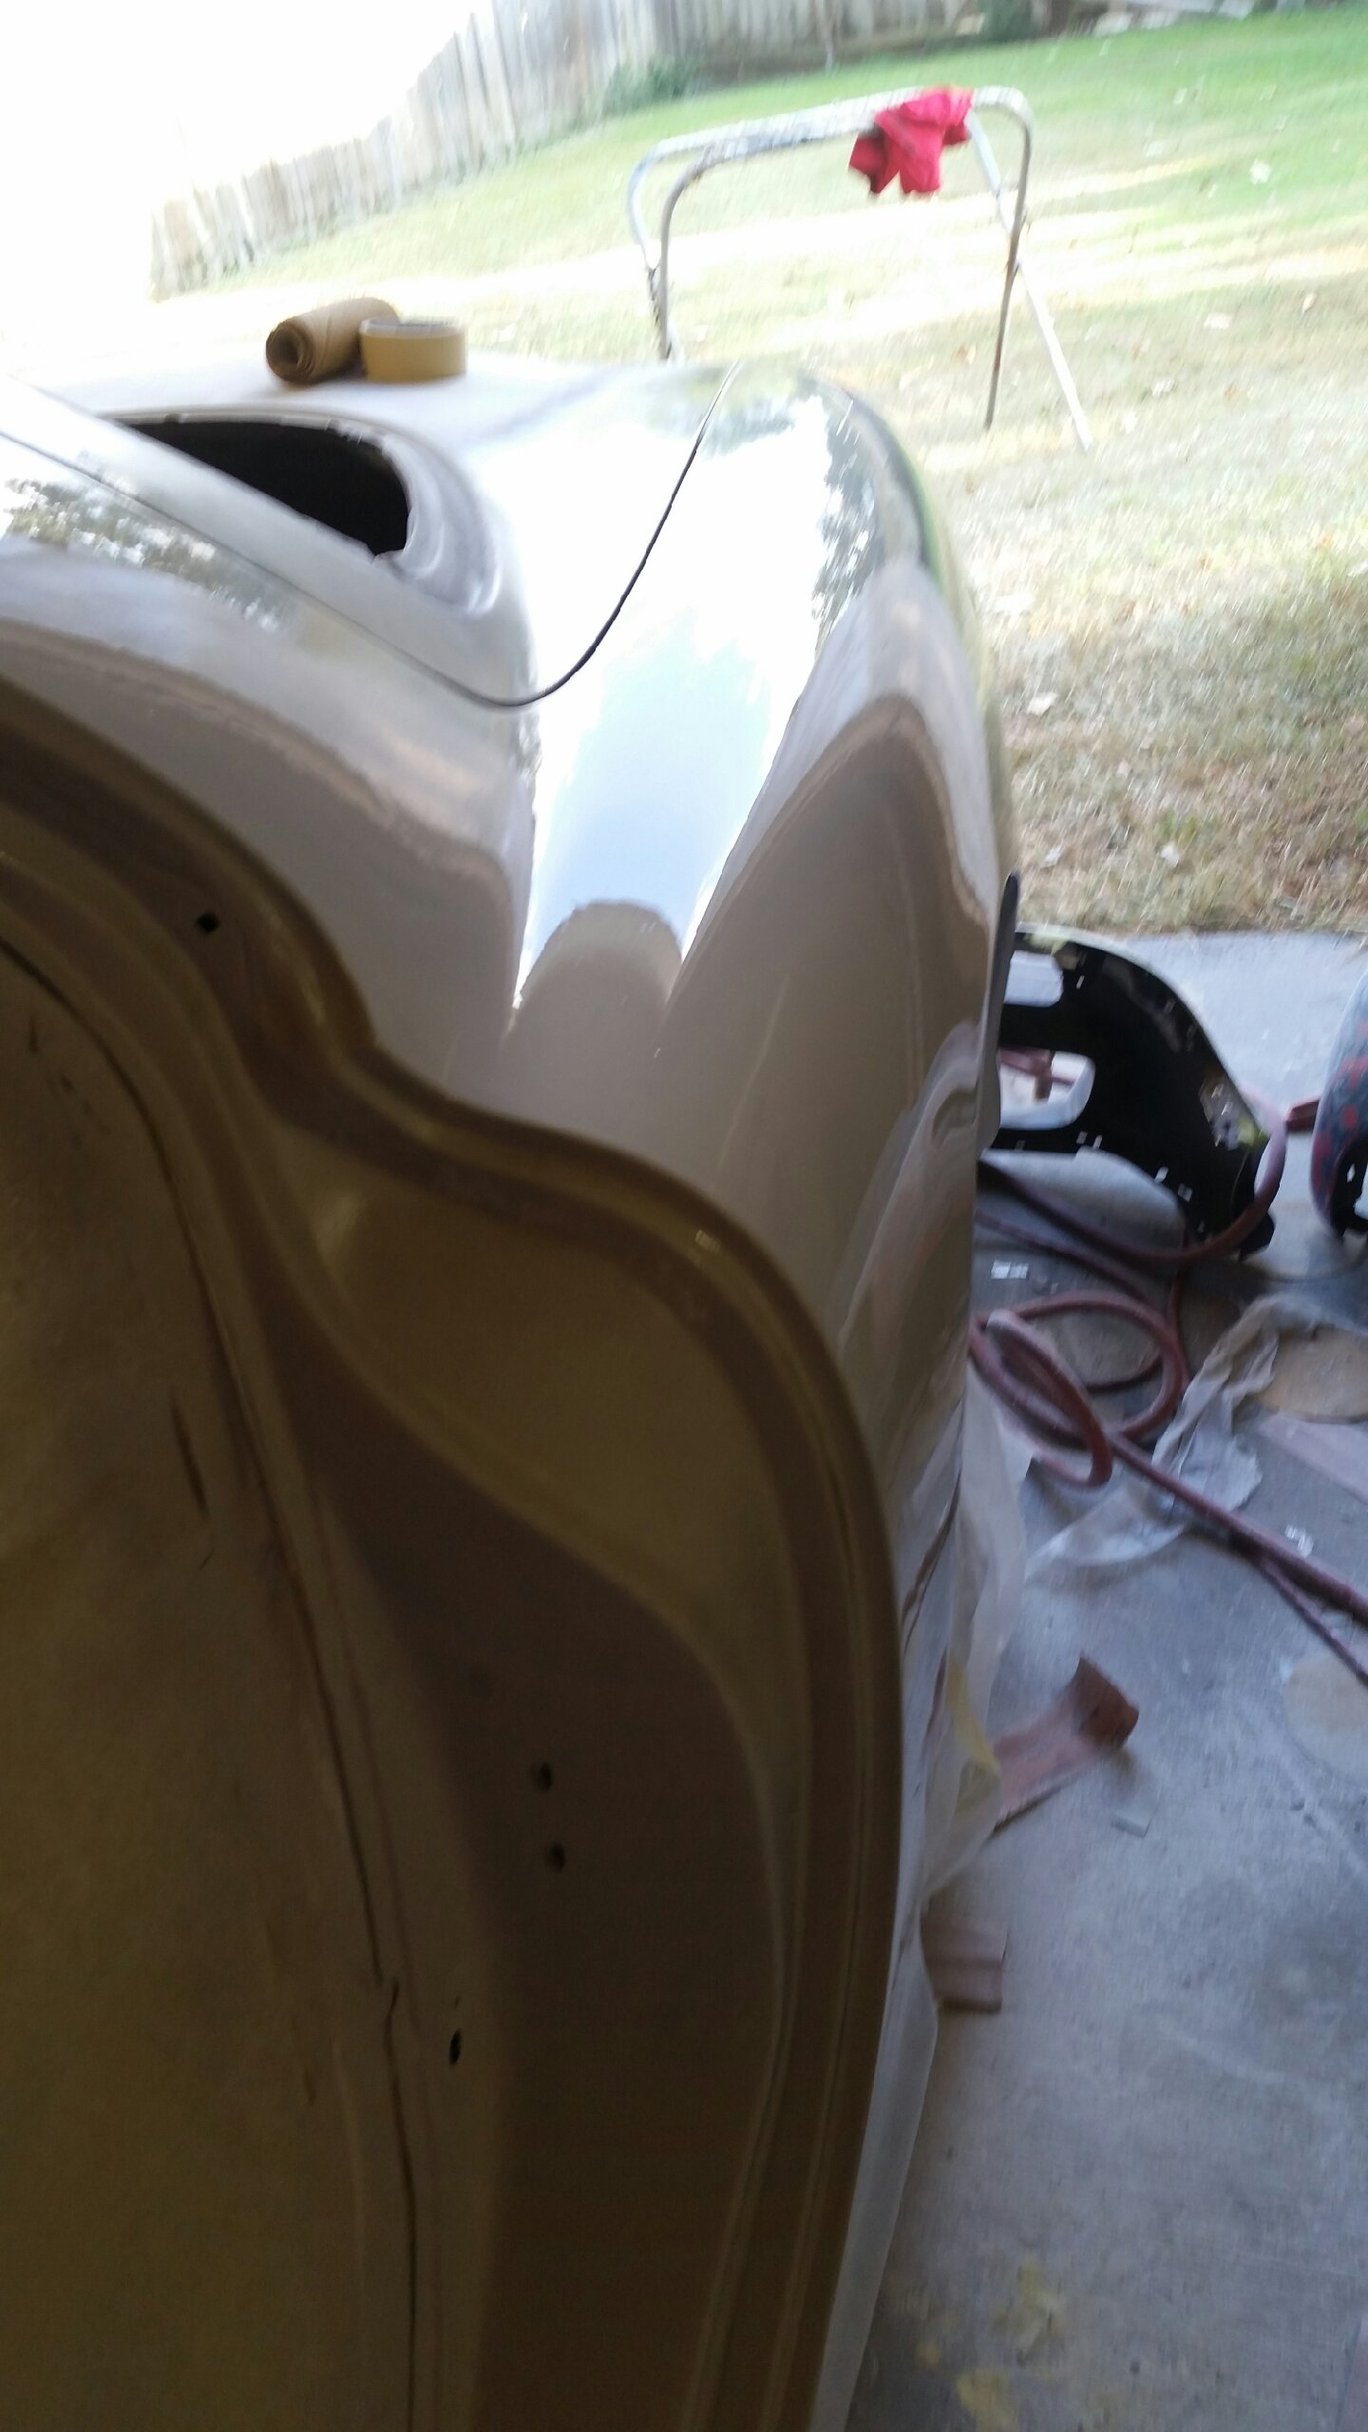
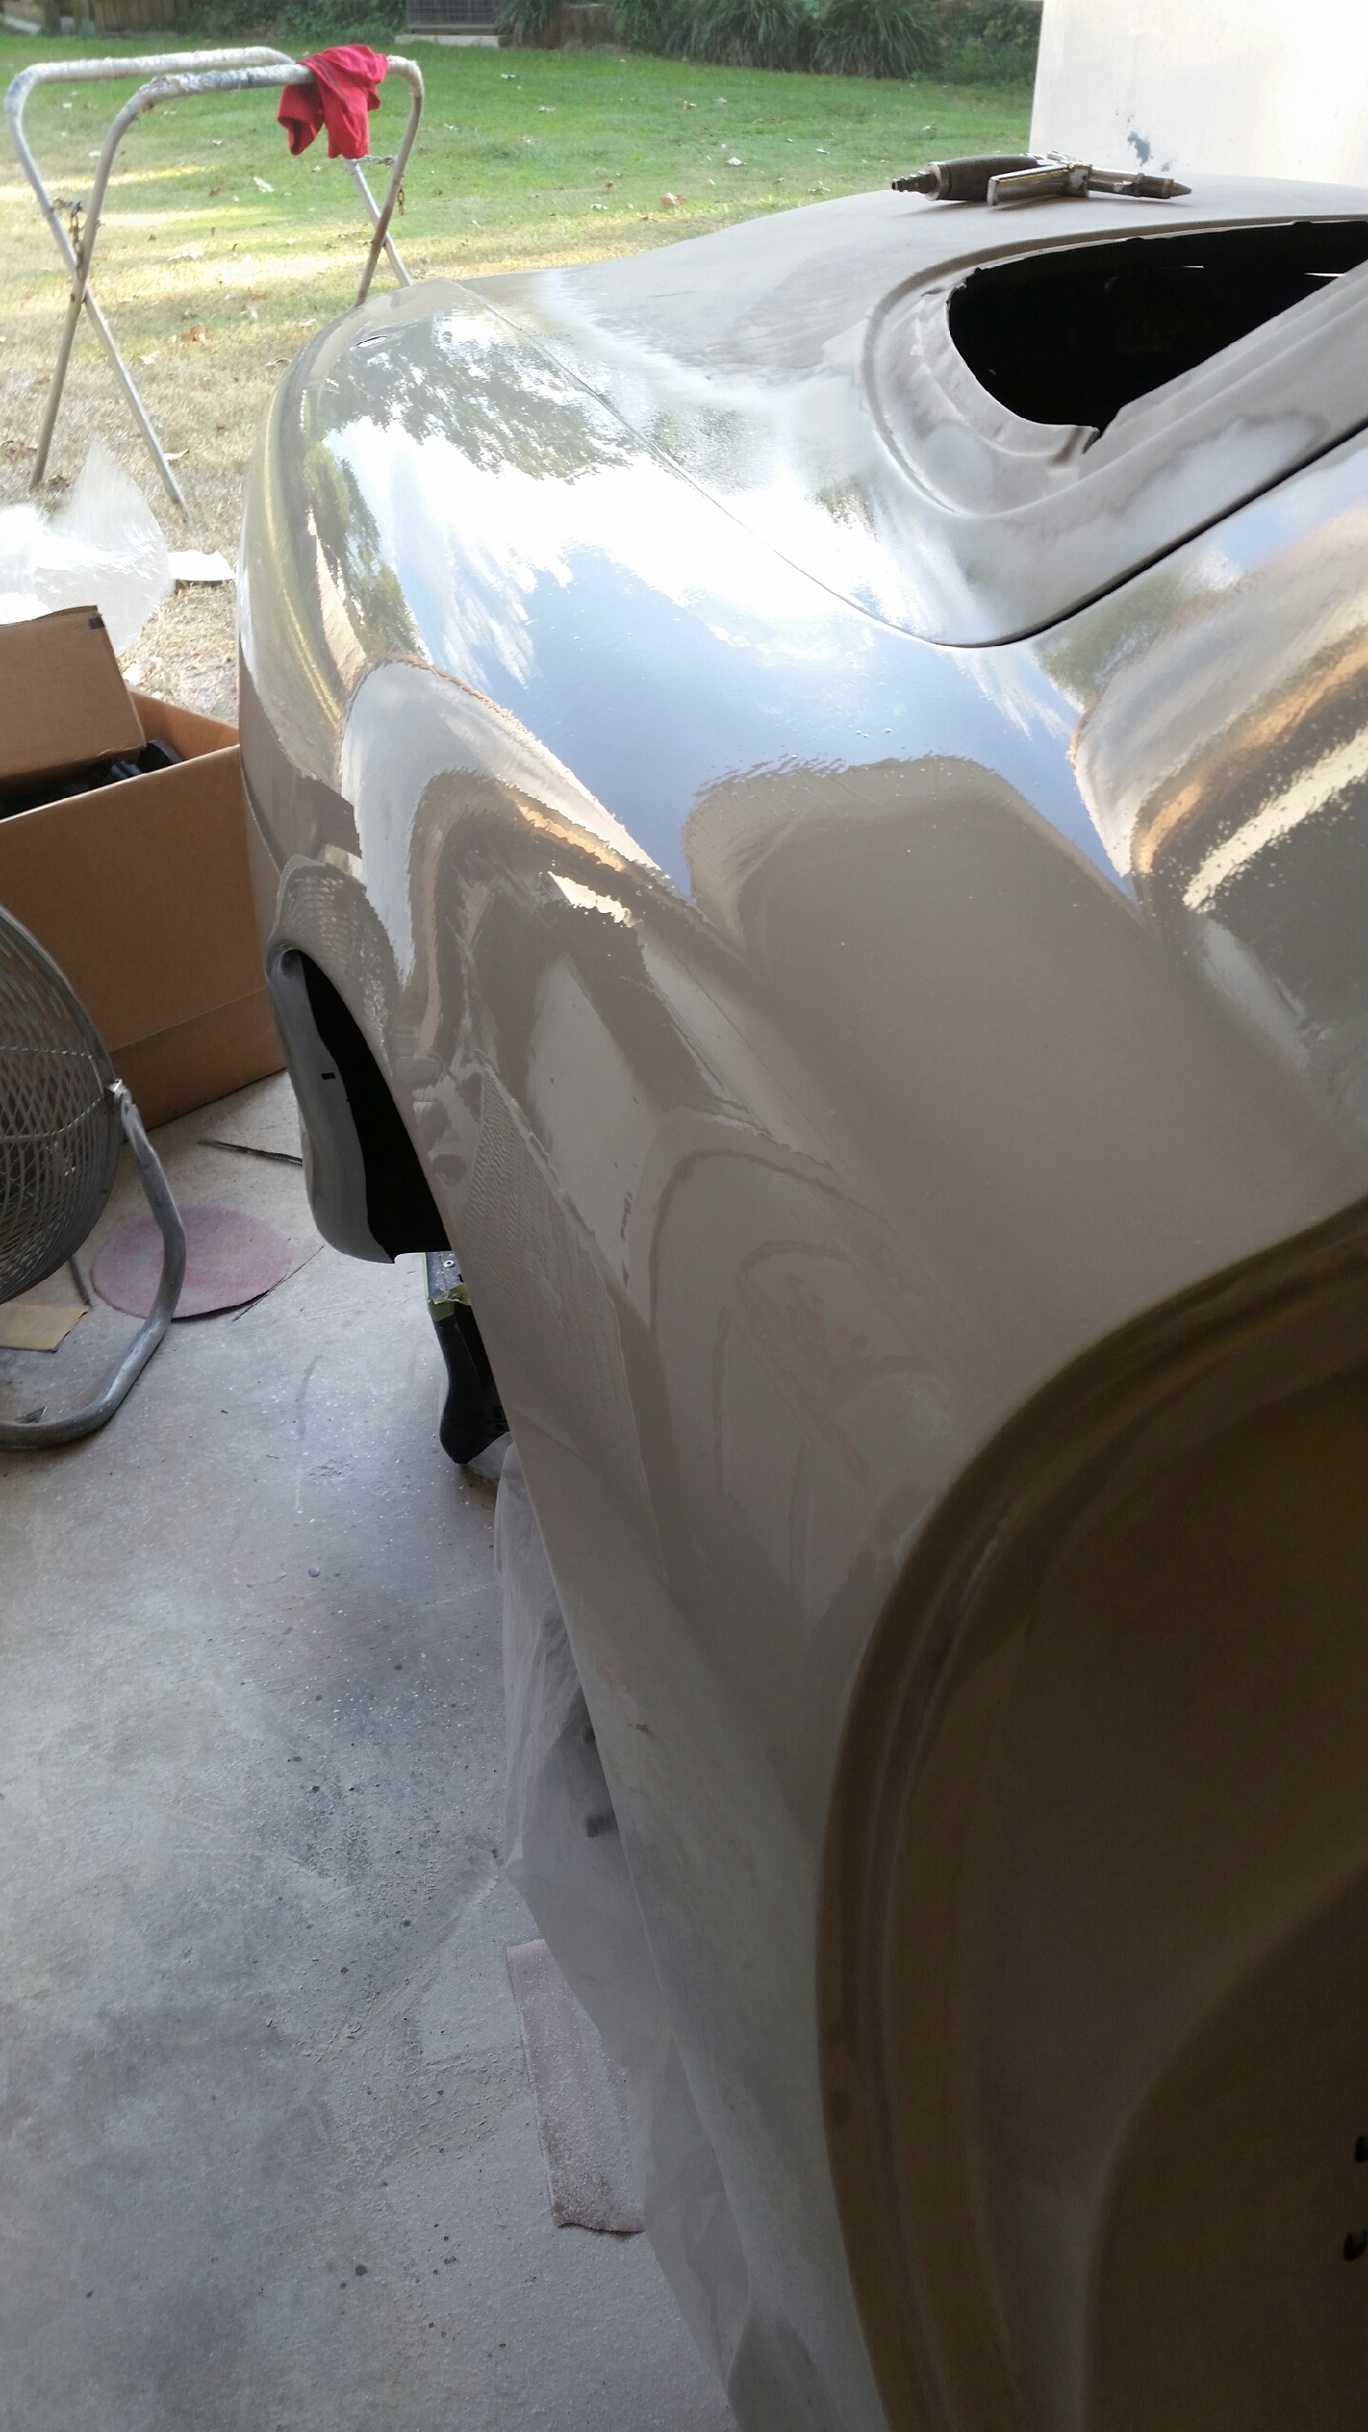
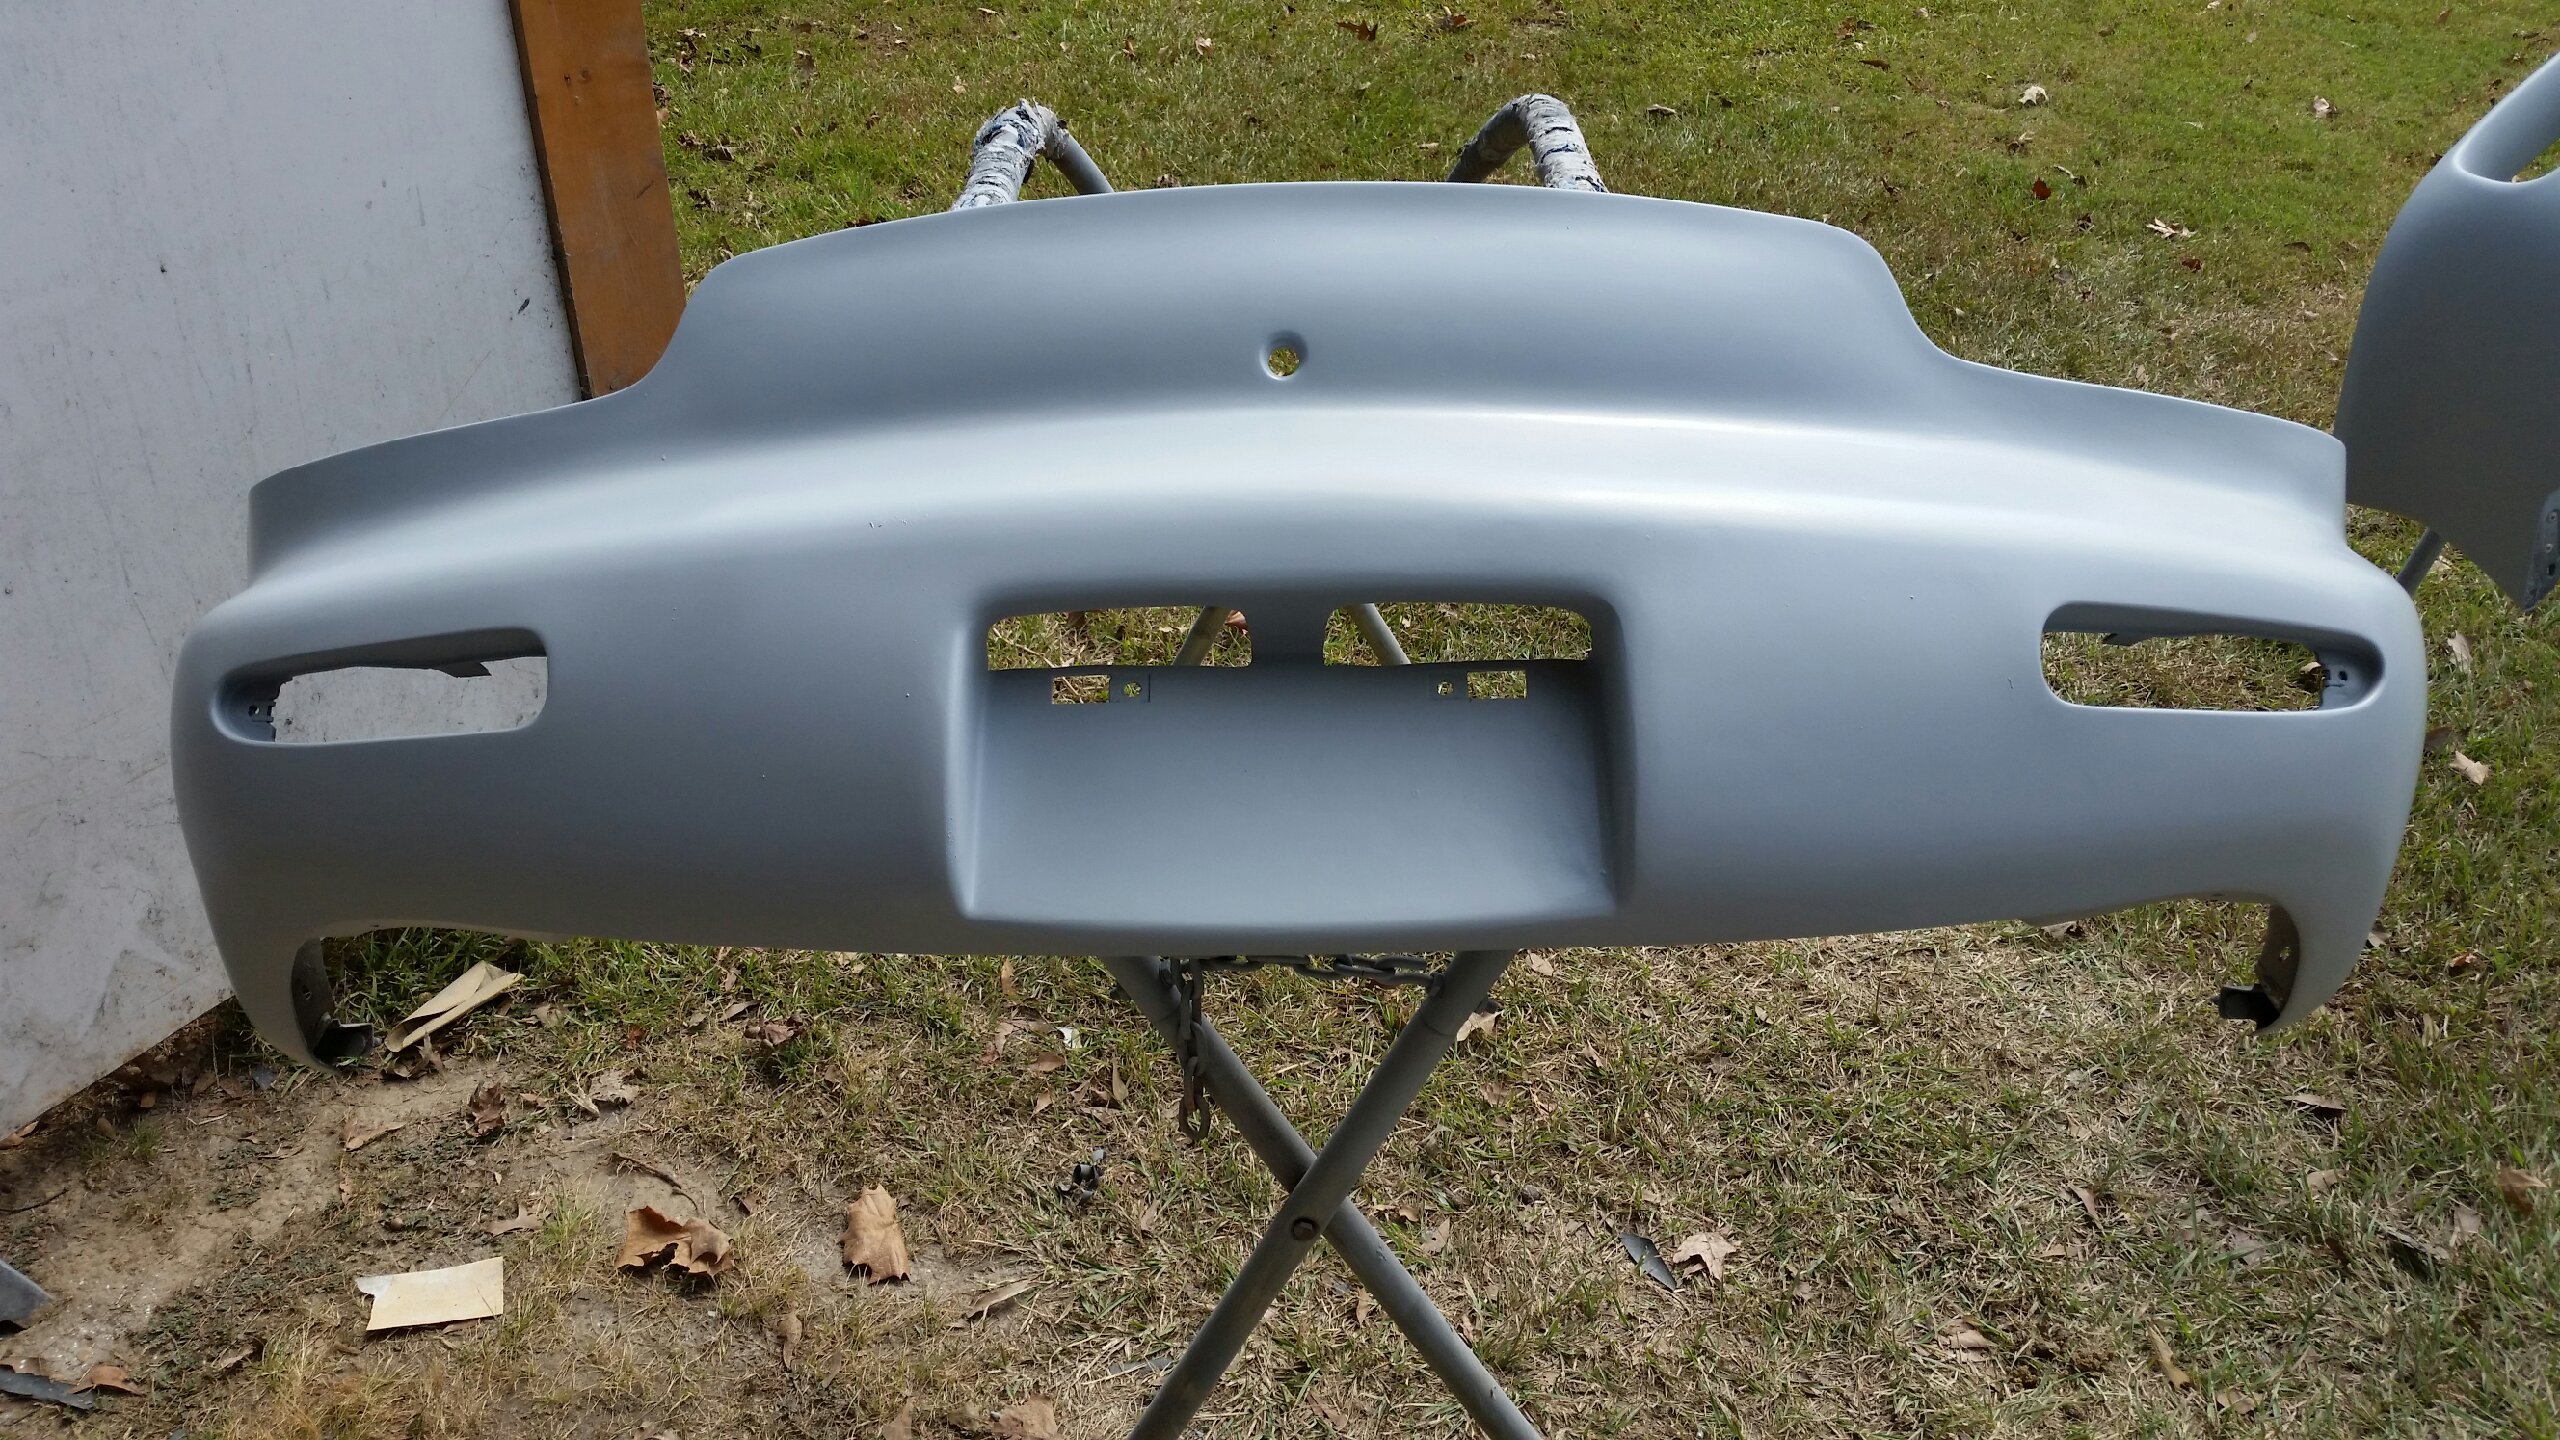
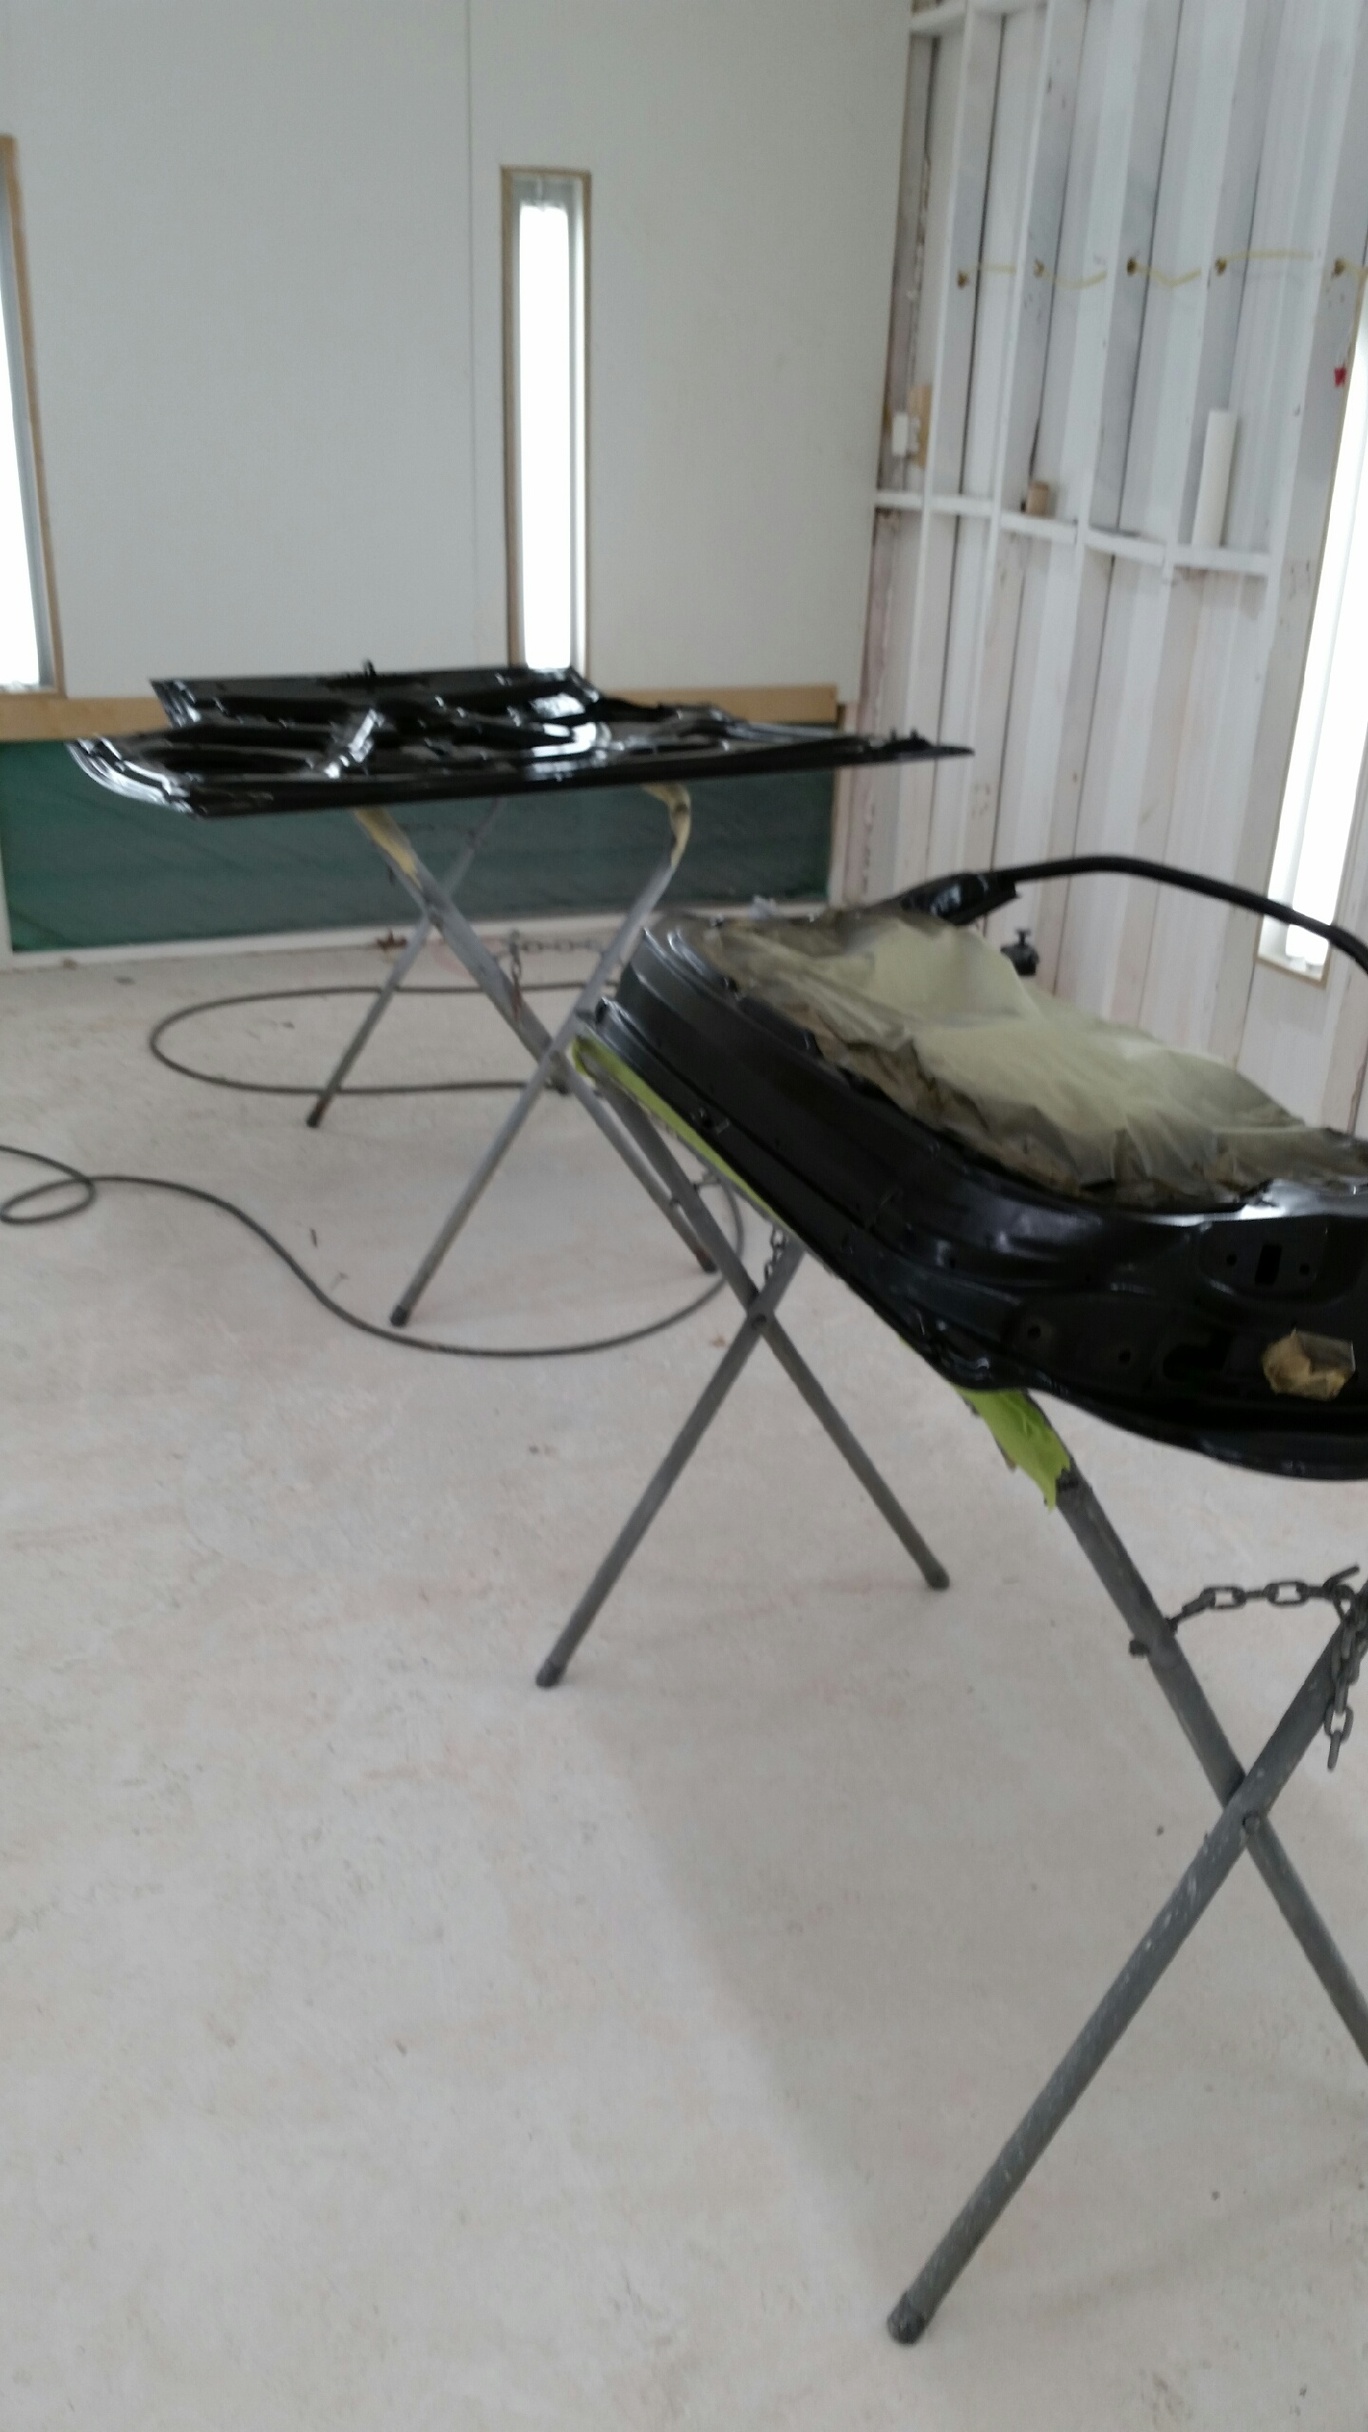
The rear bumper prep is almost done:
Its been a slow and labor intensive process as John has had to do almost all of it by hand, but I think we're just about ready to get it primed.
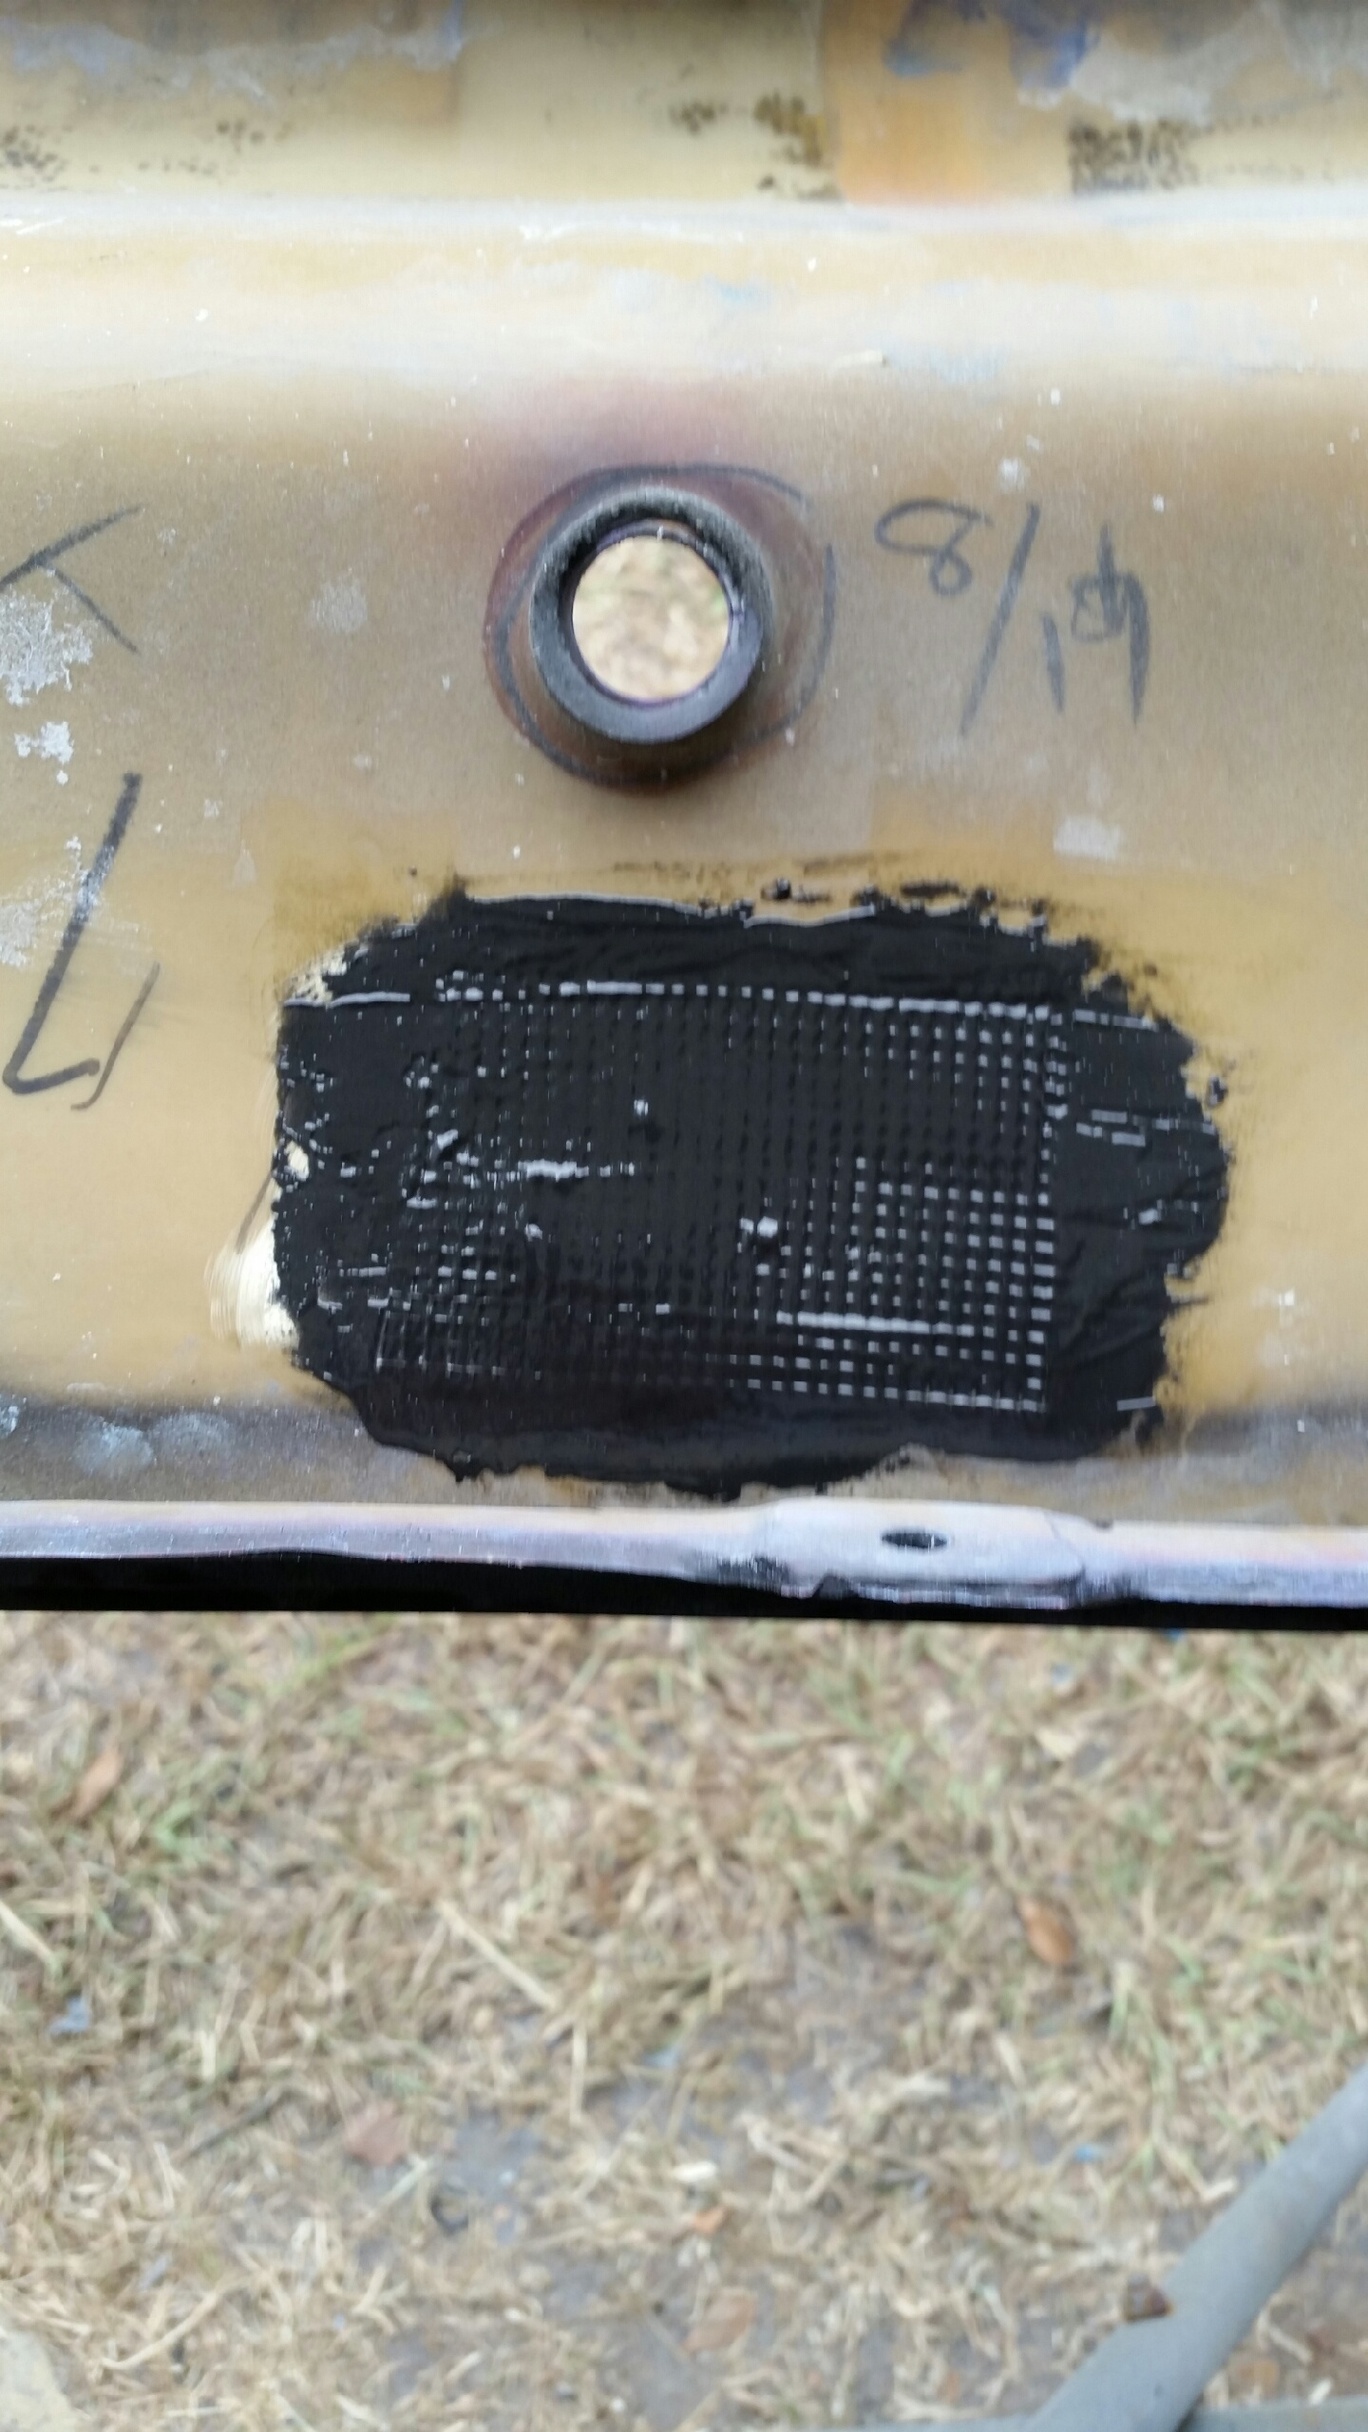
One thing John worked on yesterday was getting the emblem holes sealed. He ground the backside of the holes, re-drilled them, put a strong two part epoxy in the holes, then covered that with a reinforced mesh nylon that's made for fixing cracked bumpers. After that he put epoxy over the mesh to reinforce the epoxy in the holes which basically makes the bumper solid. The epoxy does have a different expansion rate than the bumper but once it cures he'll grind a low spot on the outside of the bumper and use the flexible filler to cover the epoxy and slick it out. The flexible filler will have an expansion rate similar to the bumper but we both understand that there's a possibility the holes may still show up on hot days. It's just the nature of the beast, but its as good of a solution as I could ever ask for.
Lane
The rear bumper prep is almost done:
Its been a slow and labor intensive process as John has had to do almost all of it by hand, but I think we're just about ready to get it primed.
One thing John worked on yesterday was getting the emblem holes sealed. He ground the backside of the holes, re-drilled them, put a strong two part epoxy in the holes, then covered that with a reinforced mesh nylon that's made for fixing cracked bumpers. After that he put epoxy over the mesh to reinforce the epoxy in the holes which basically makes the bumper solid. The epoxy does have a different expansion rate than the bumper but once it cures he'll grind a low spot on the outside of the bumper and use the flexible filler to cover the epoxy and slick it out. The flexible filler will have an expansion rate similar to the bumper but we both understand that there's a possibility the holes may still show up on hot days. It's just the nature of the beast, but its as good of a solution as I could ever ask for.
Lane
10-08-14, 04:06 PM
#32
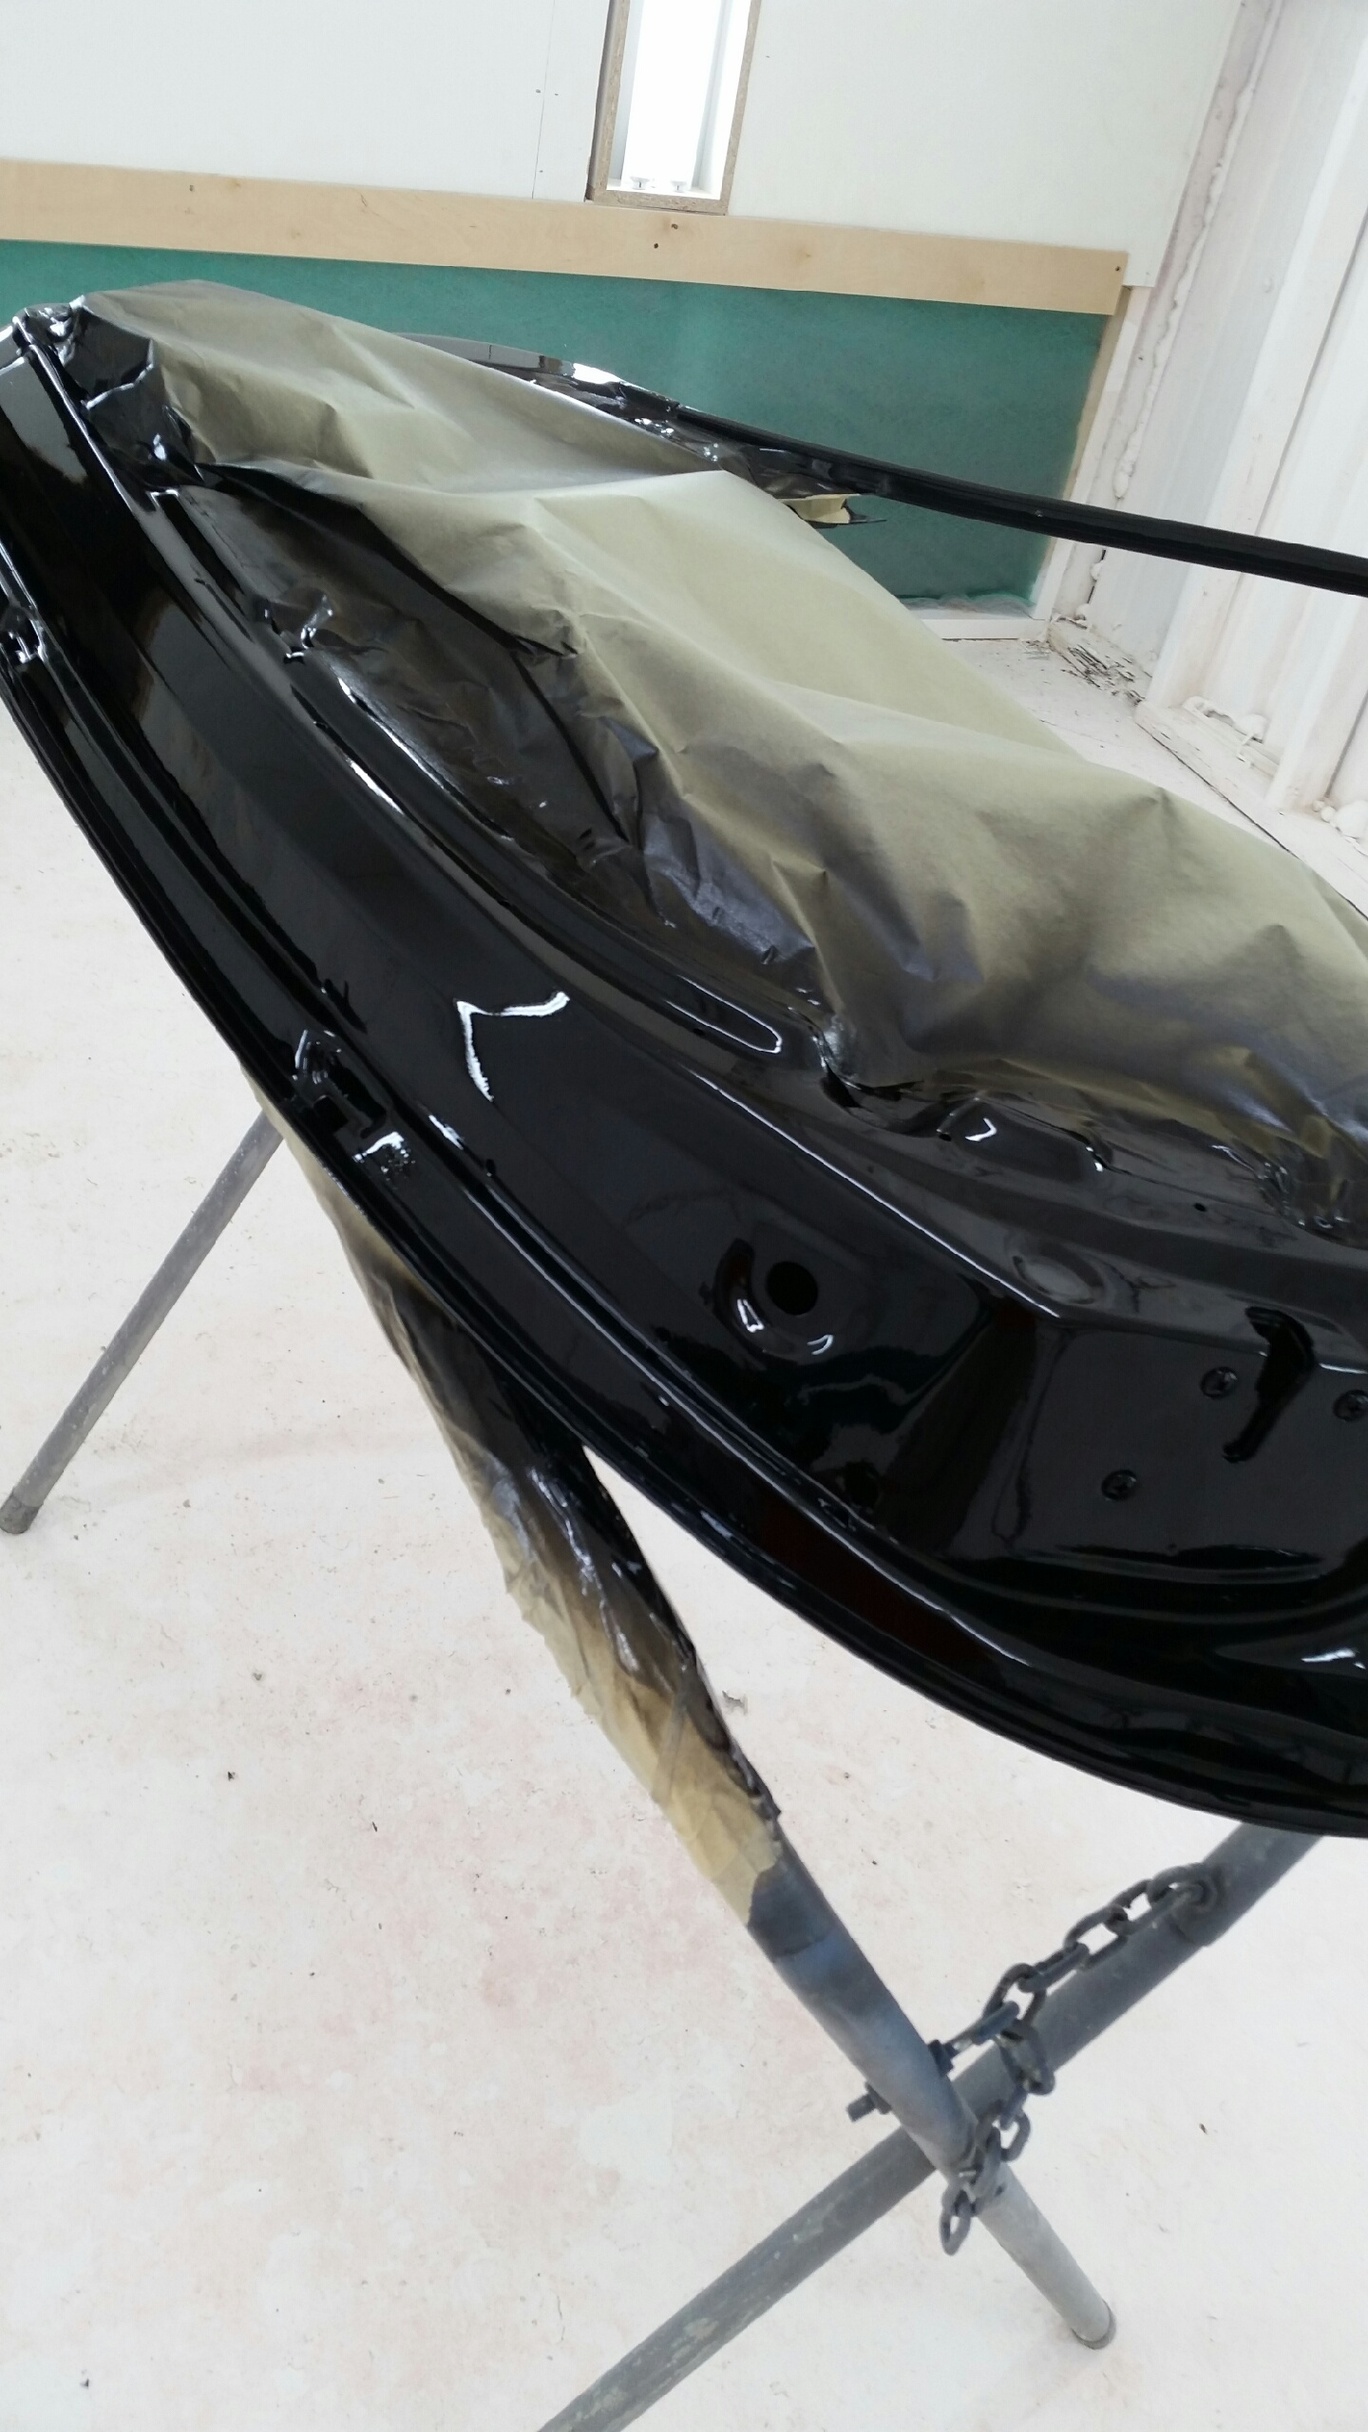
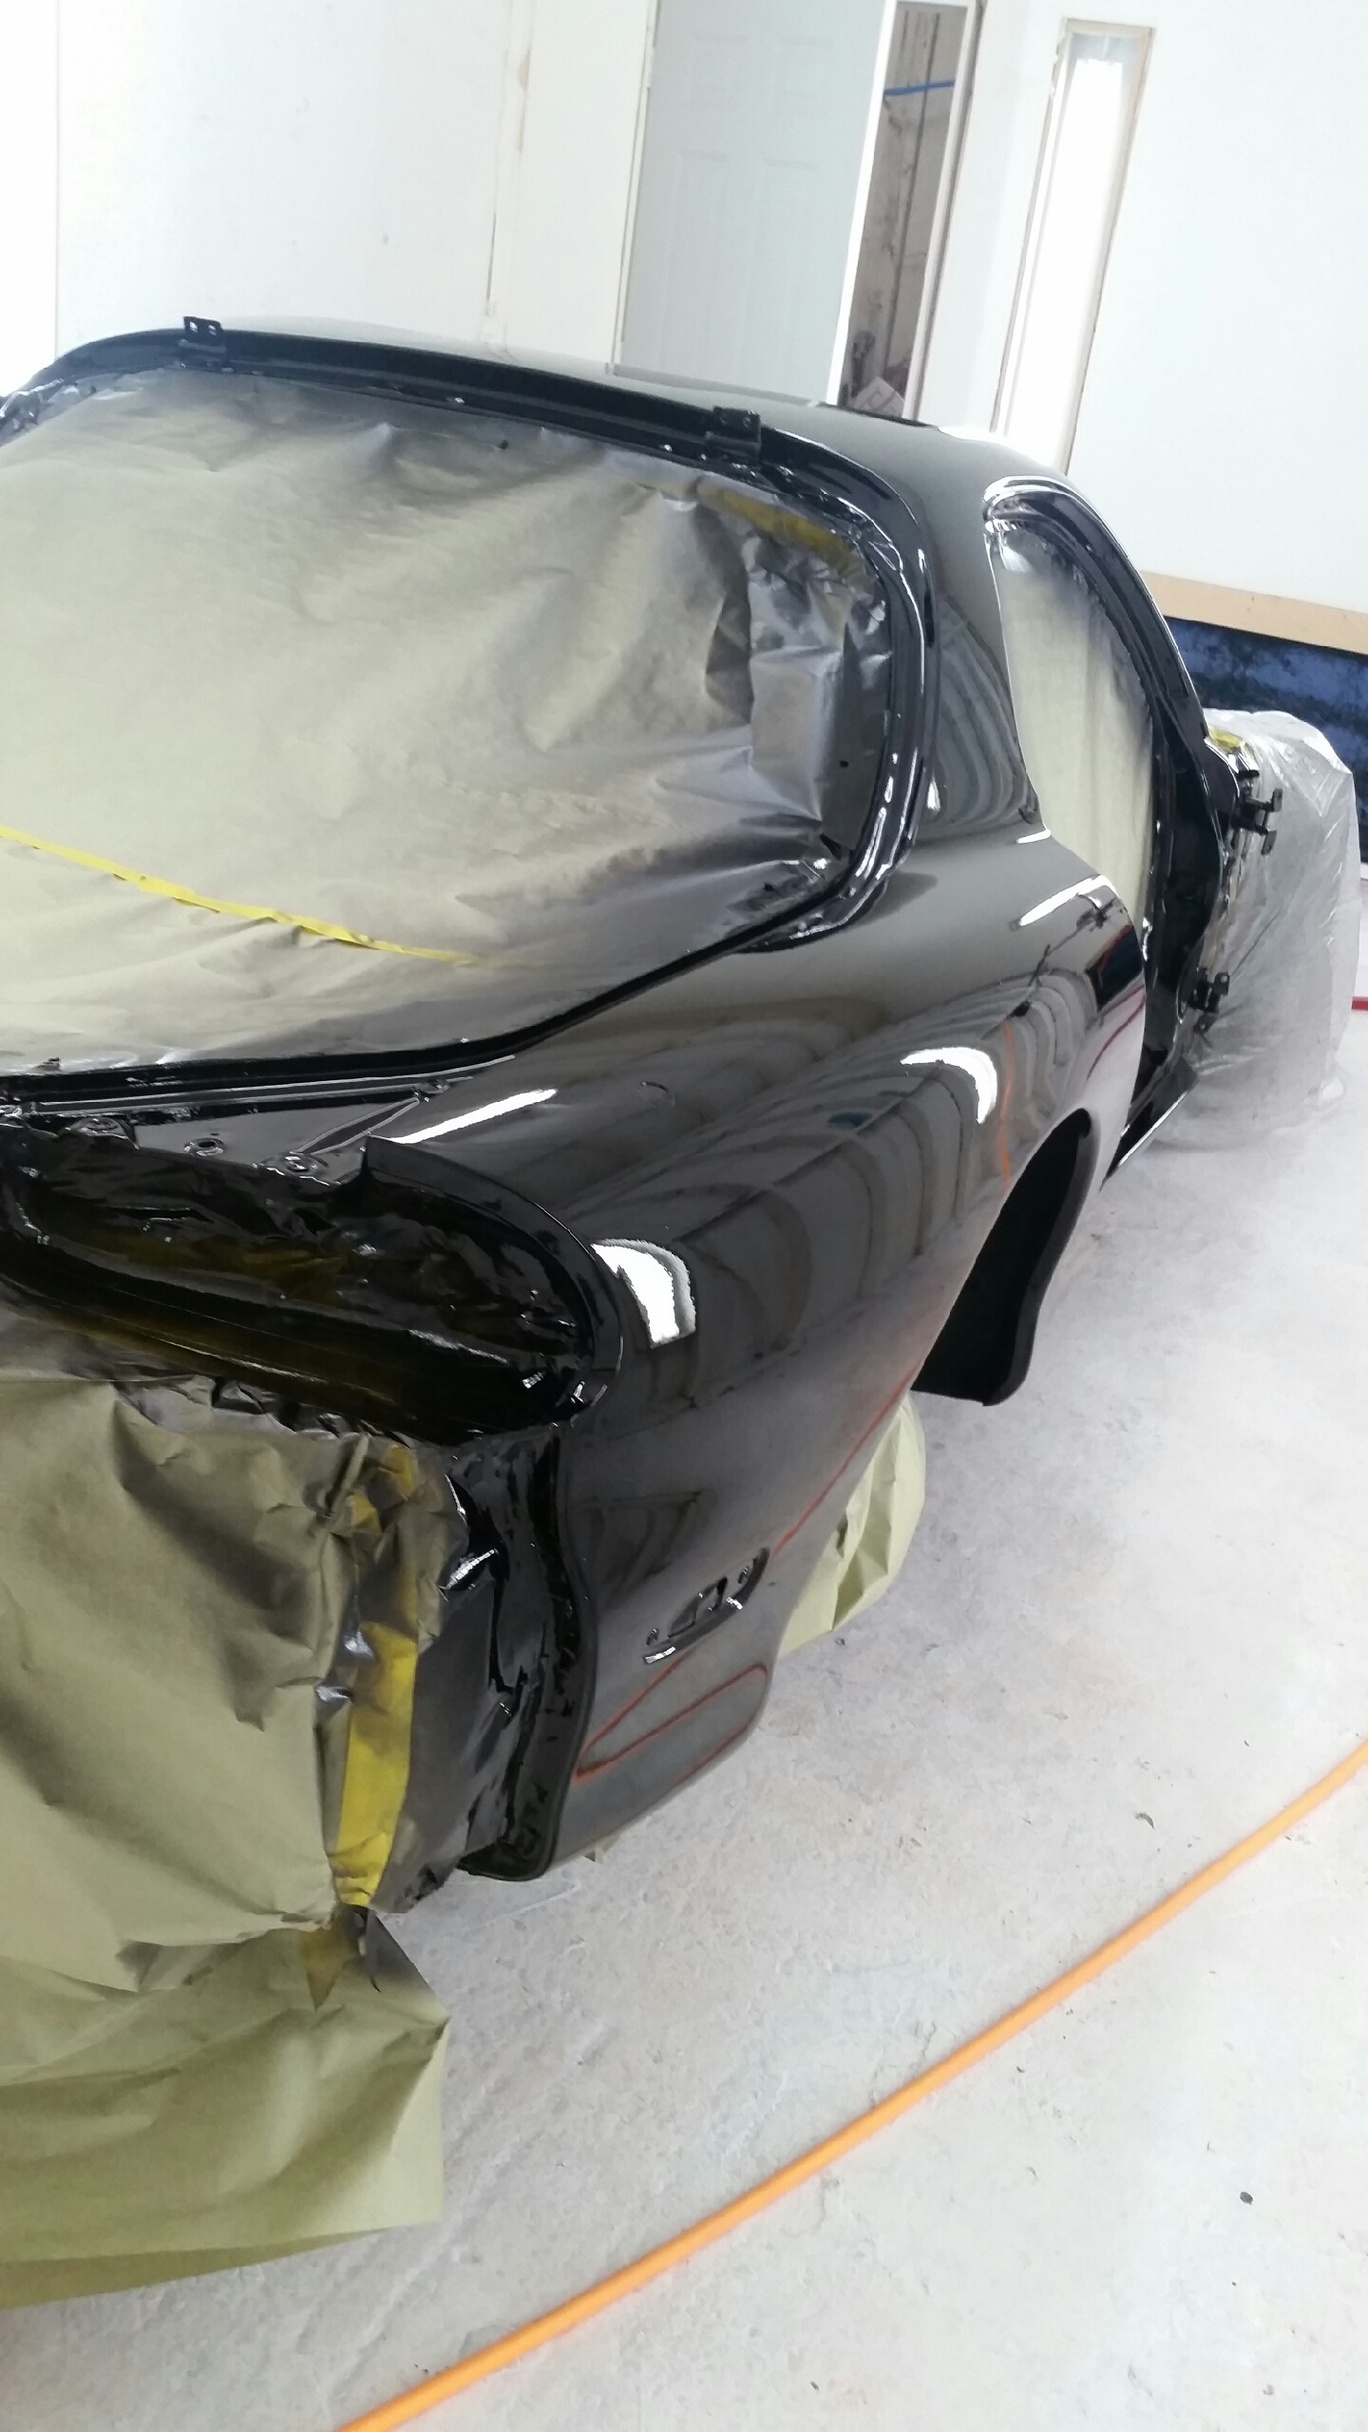
Update:
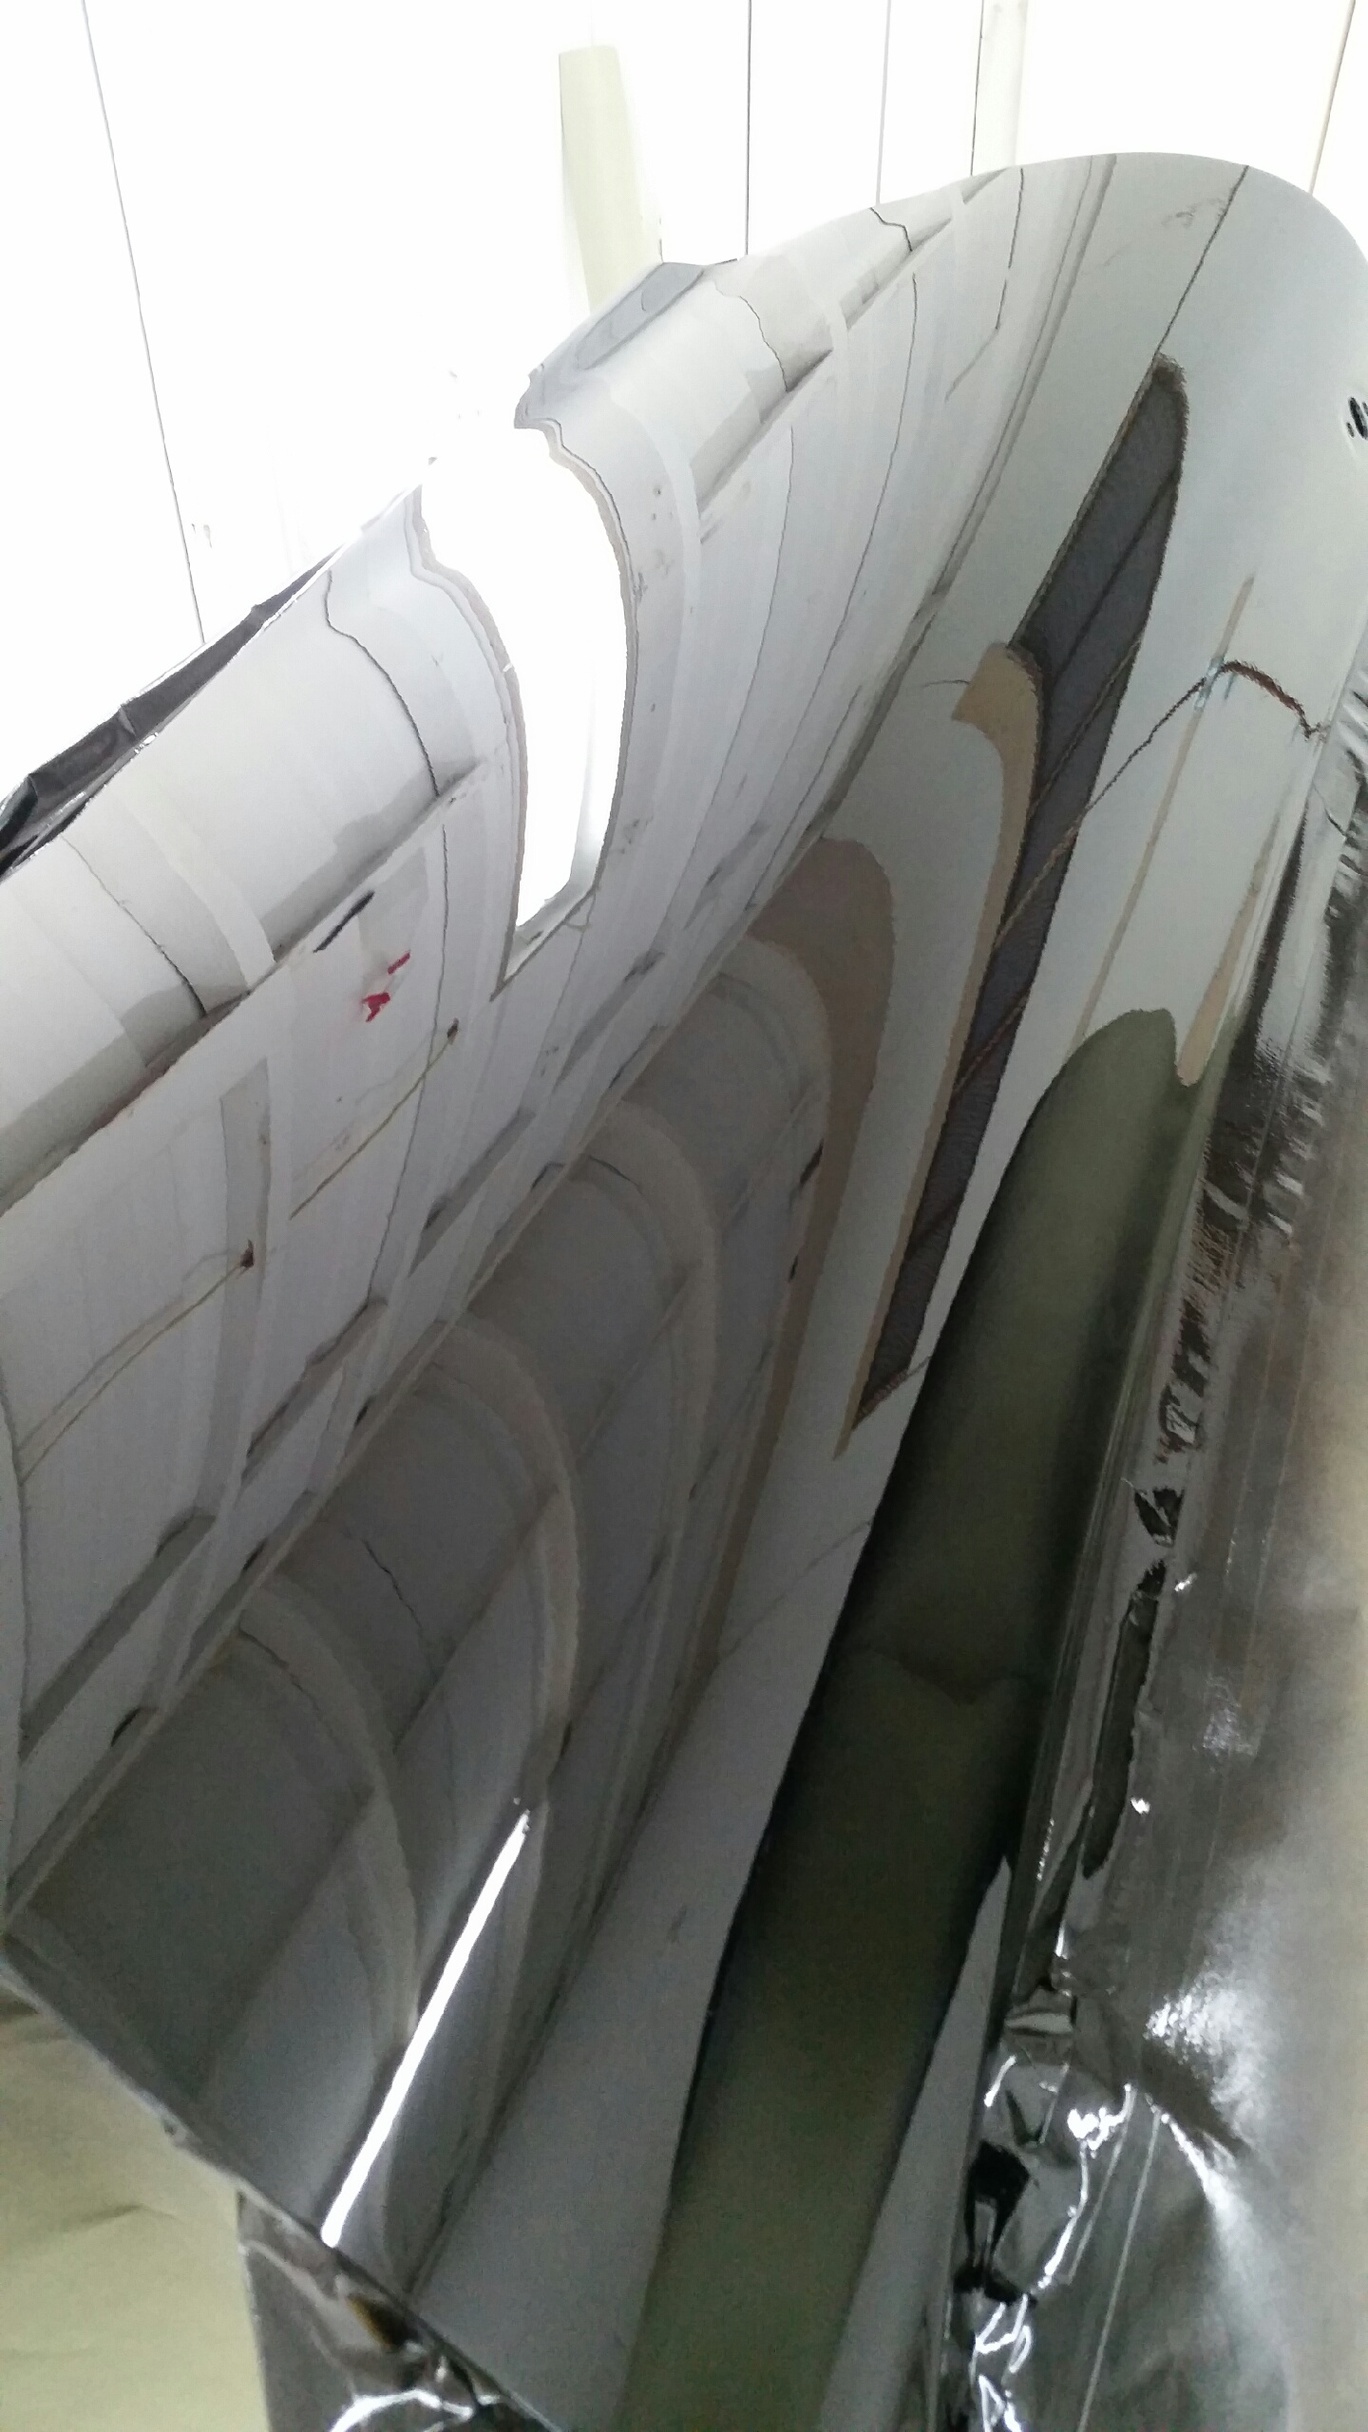
John found out that my paint cap door was also red and there were scraches behind it on the quarter leading to the rear bumper. Apparently a PO was airbraking with the fuel door and caught it on something causing it to tumble down the side and scratch up the rear bumper. This is the going theory for why those two parts weren't factory.
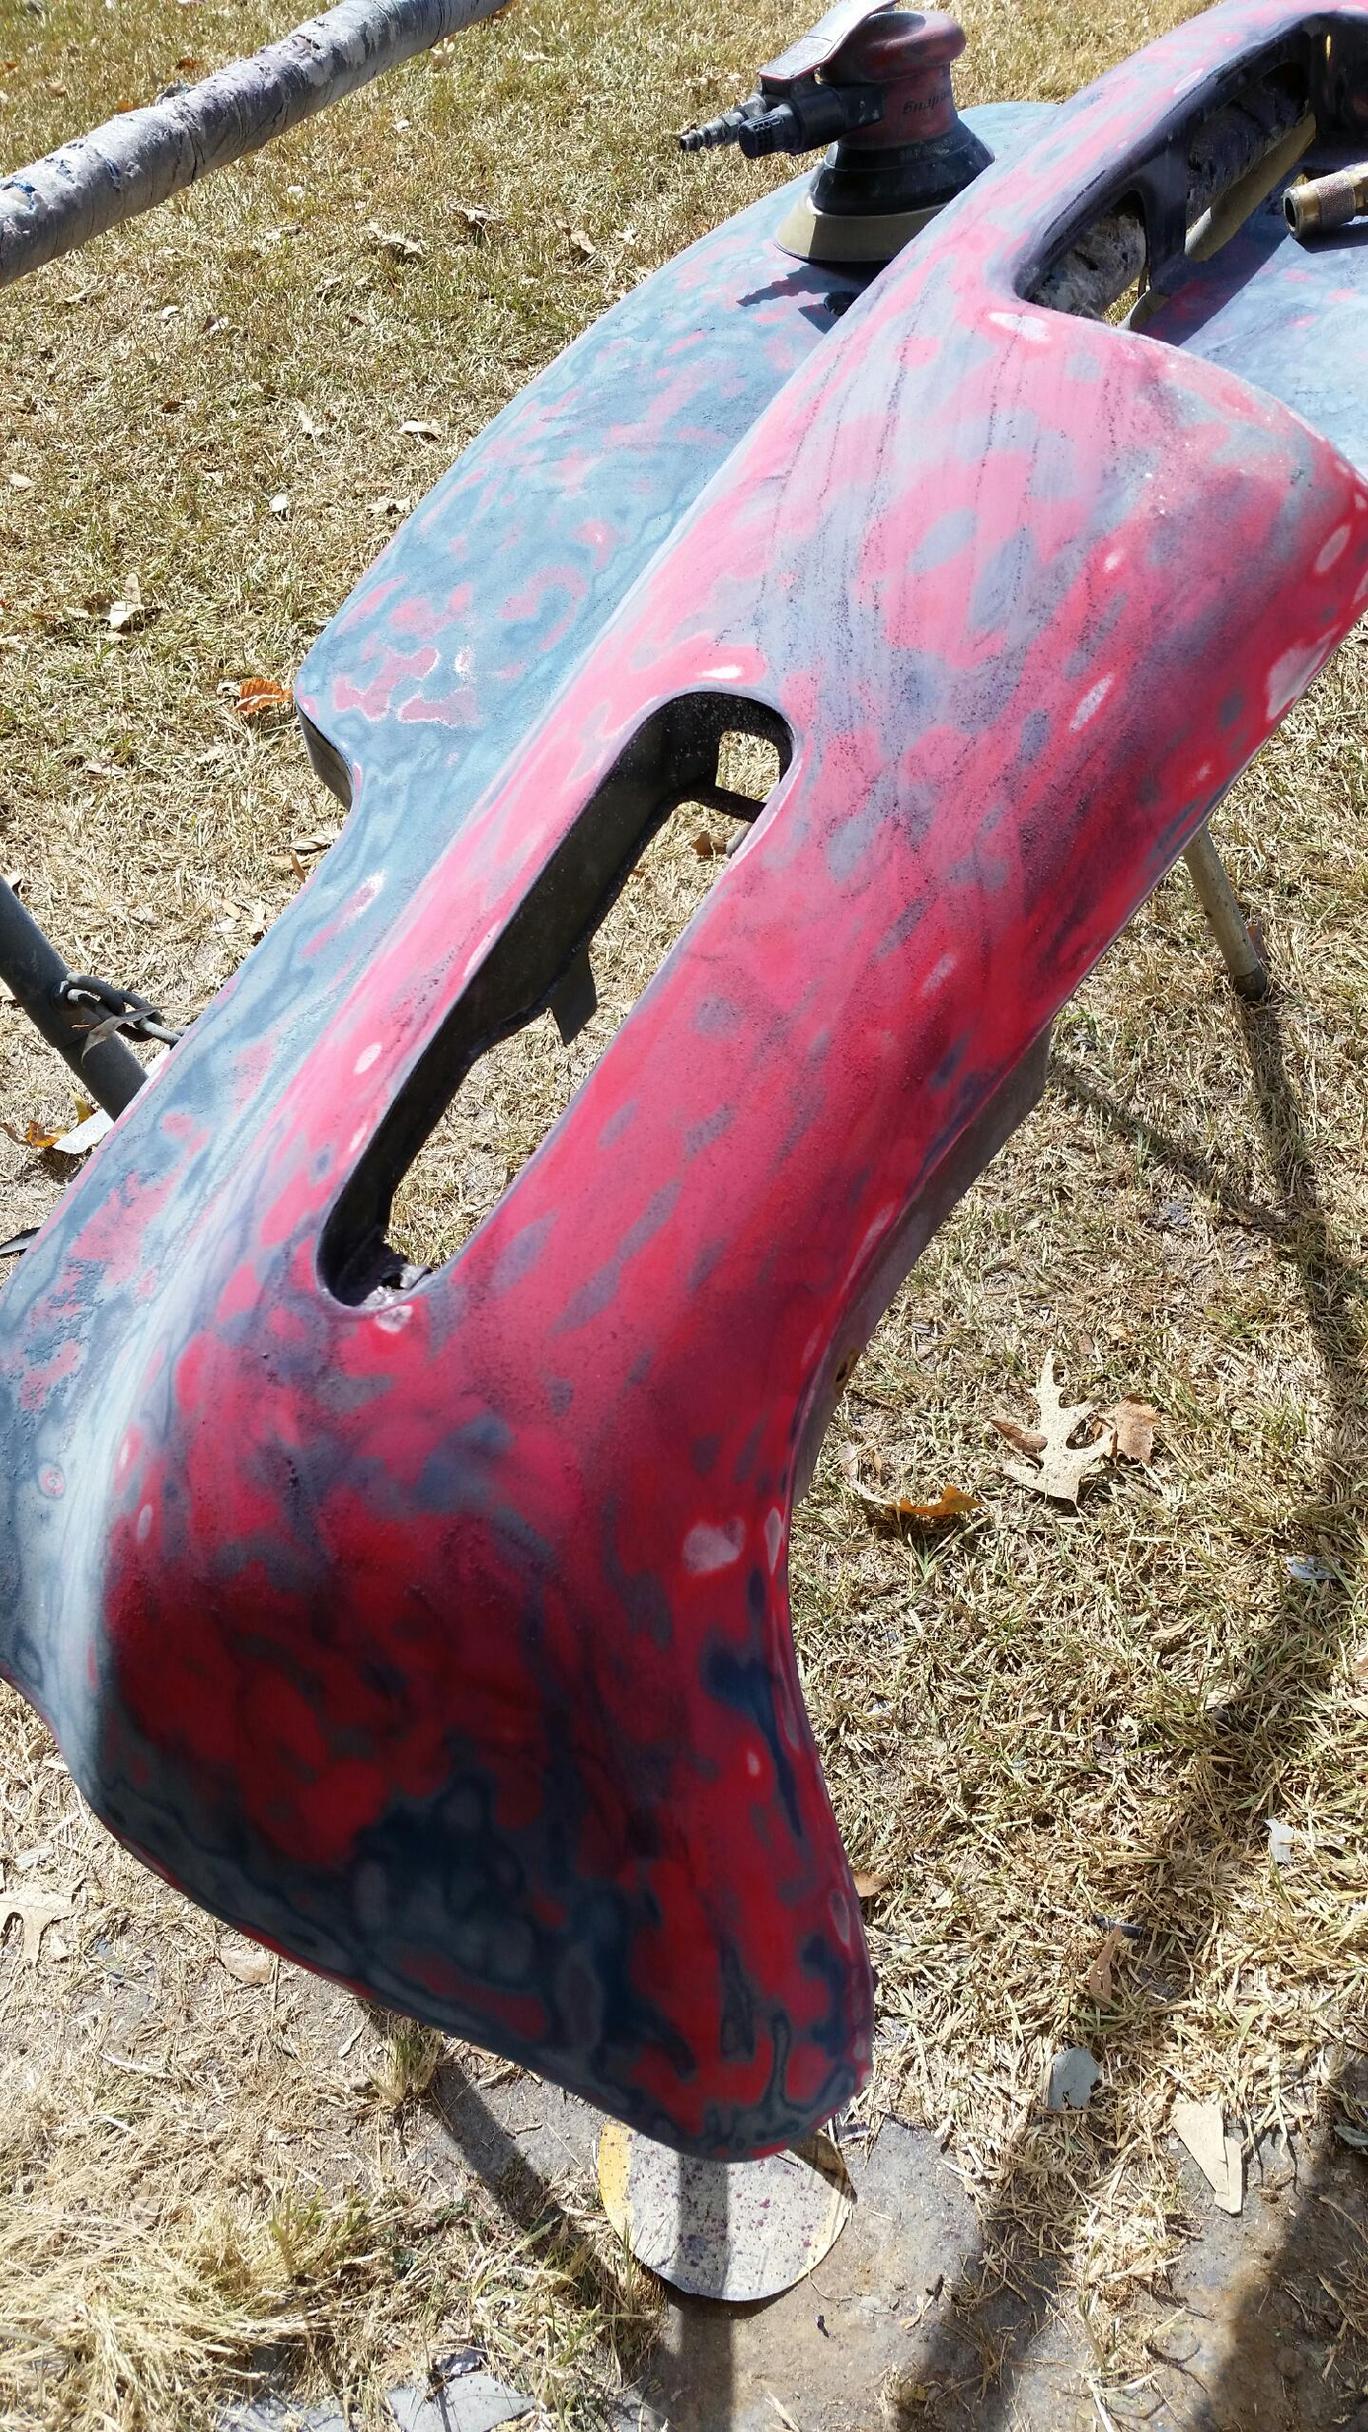
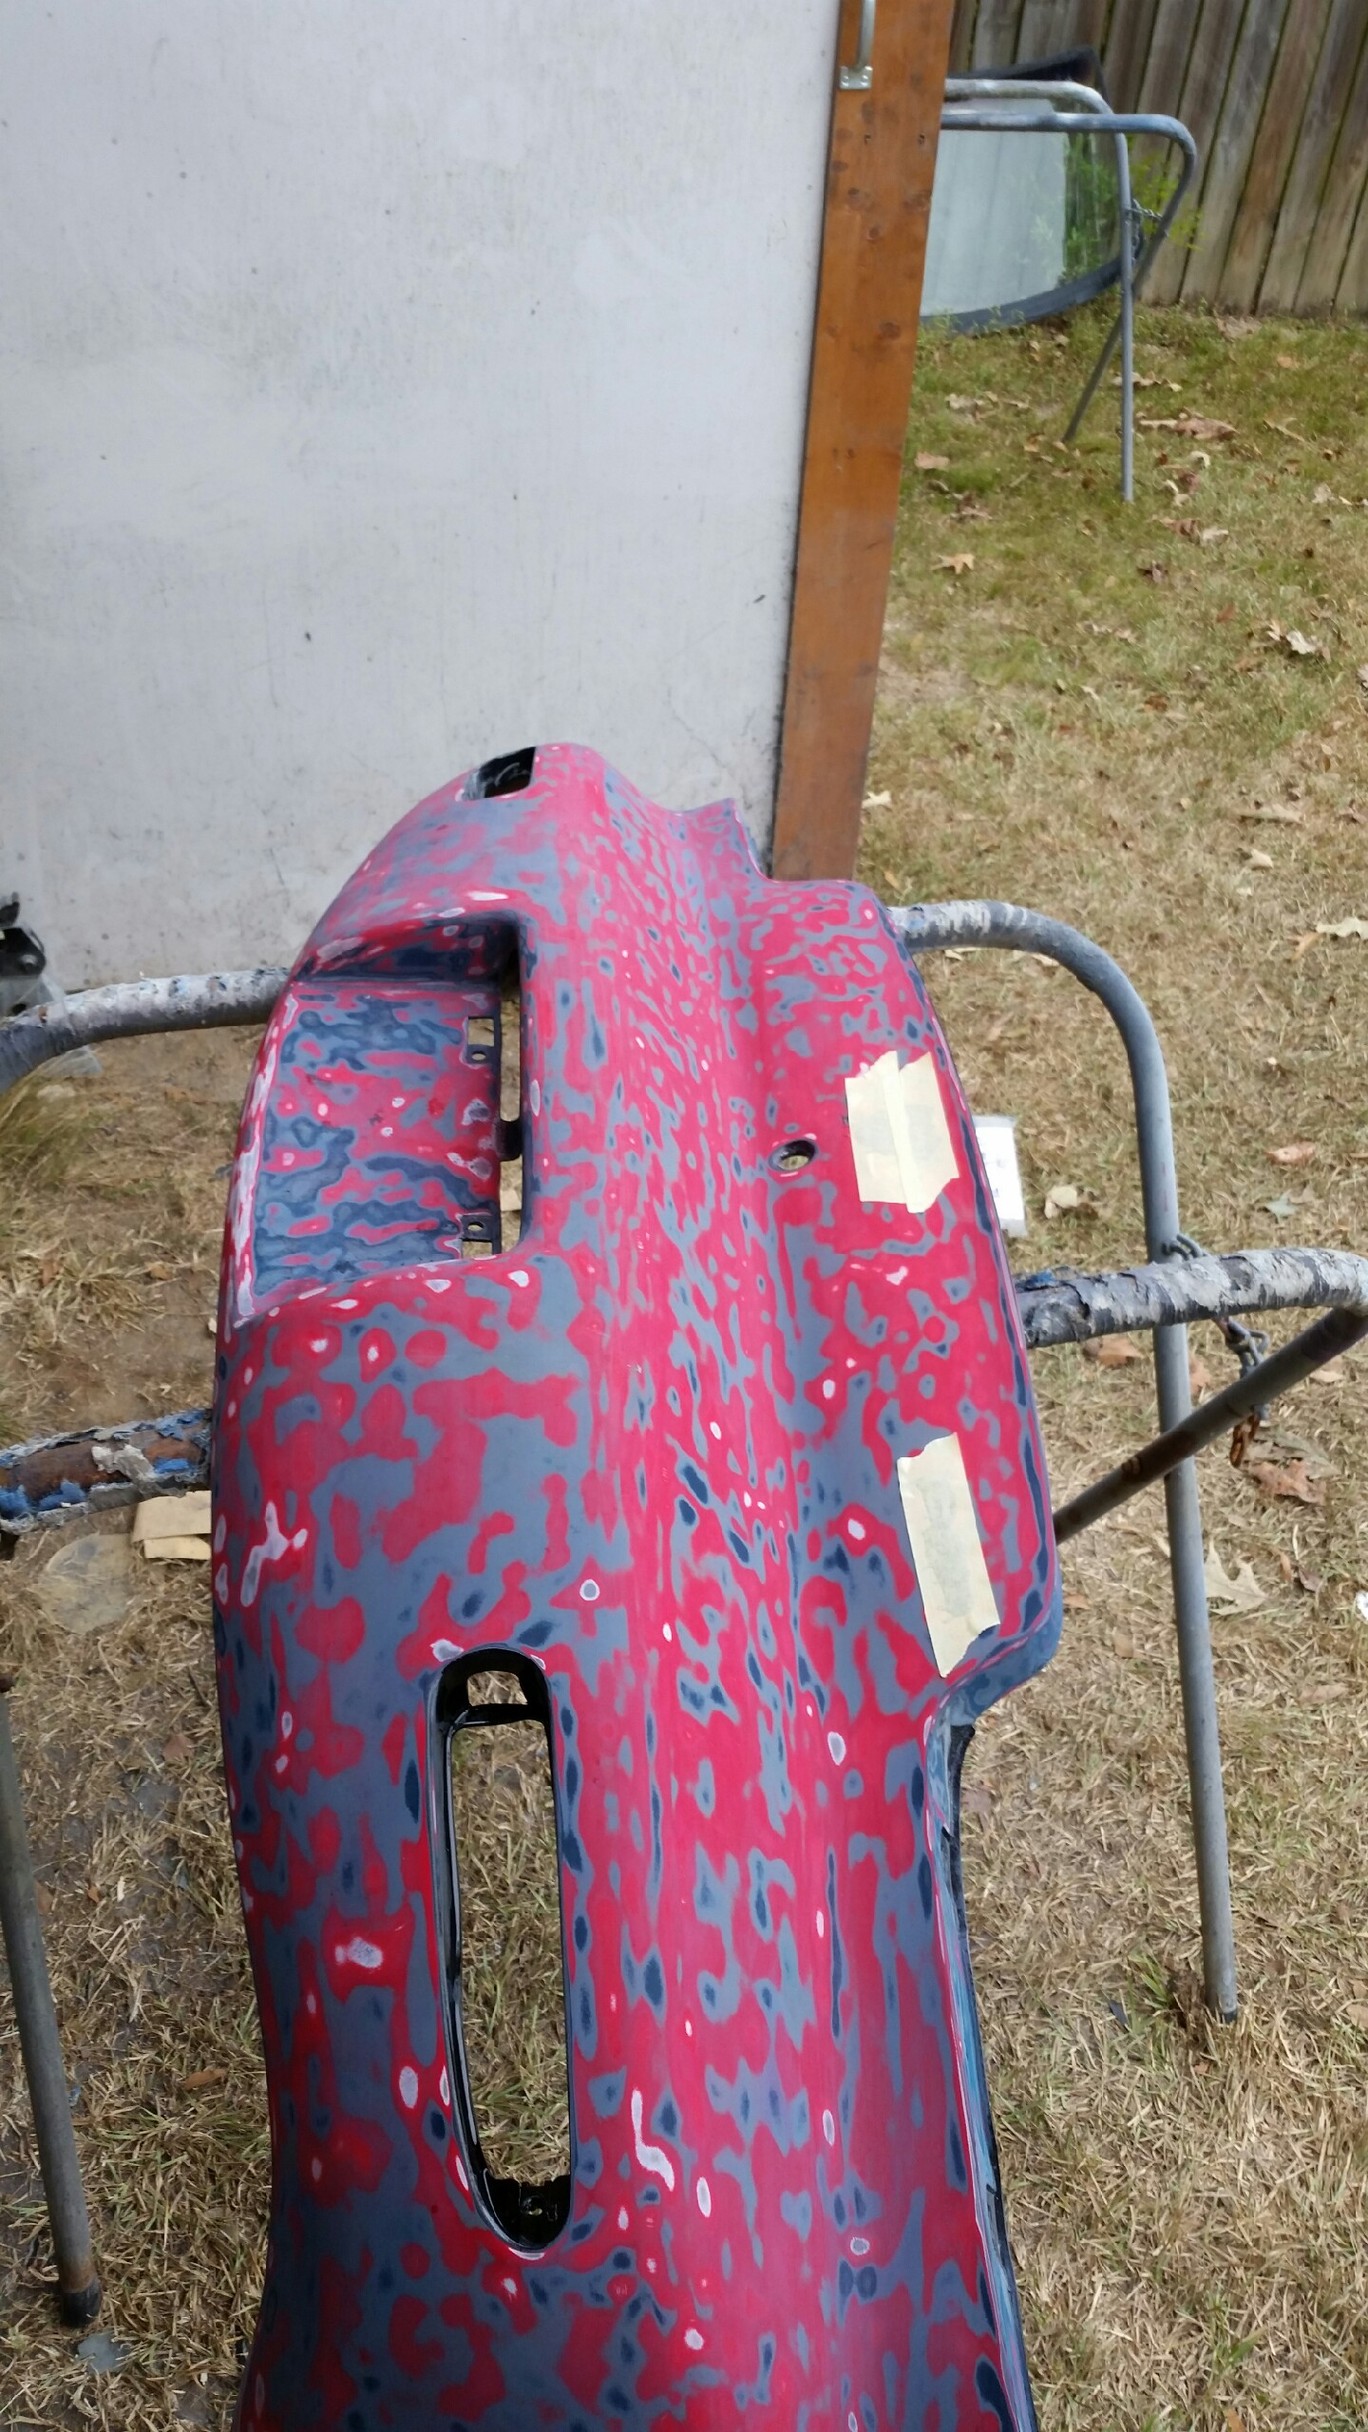
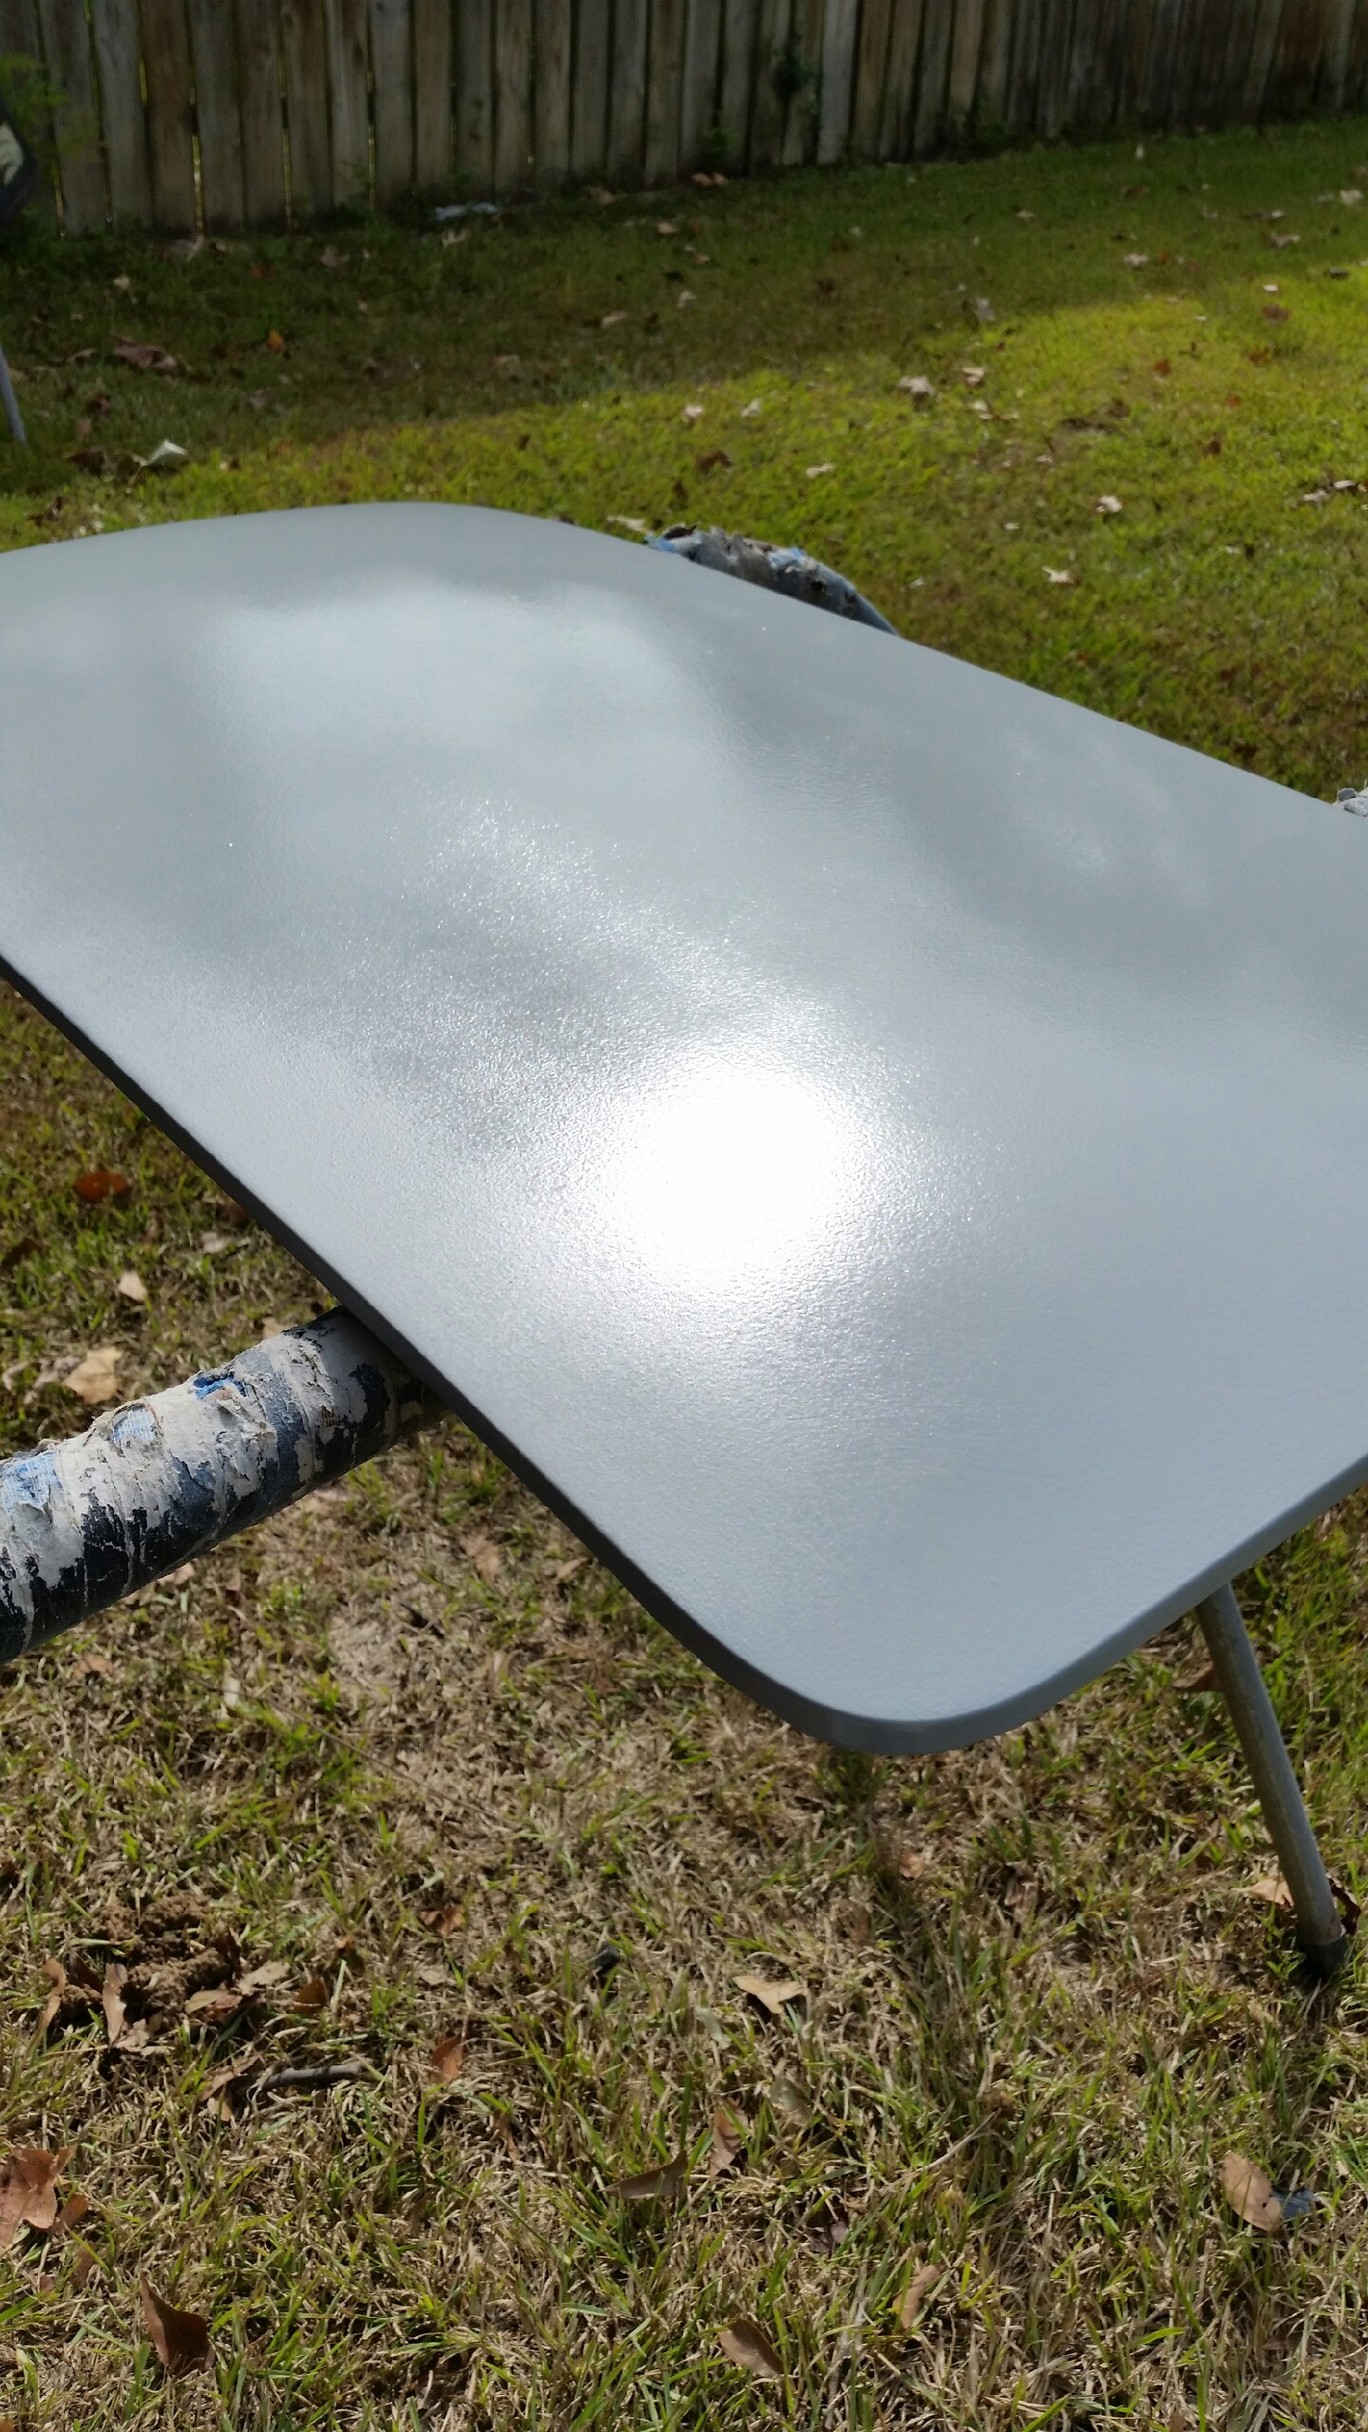
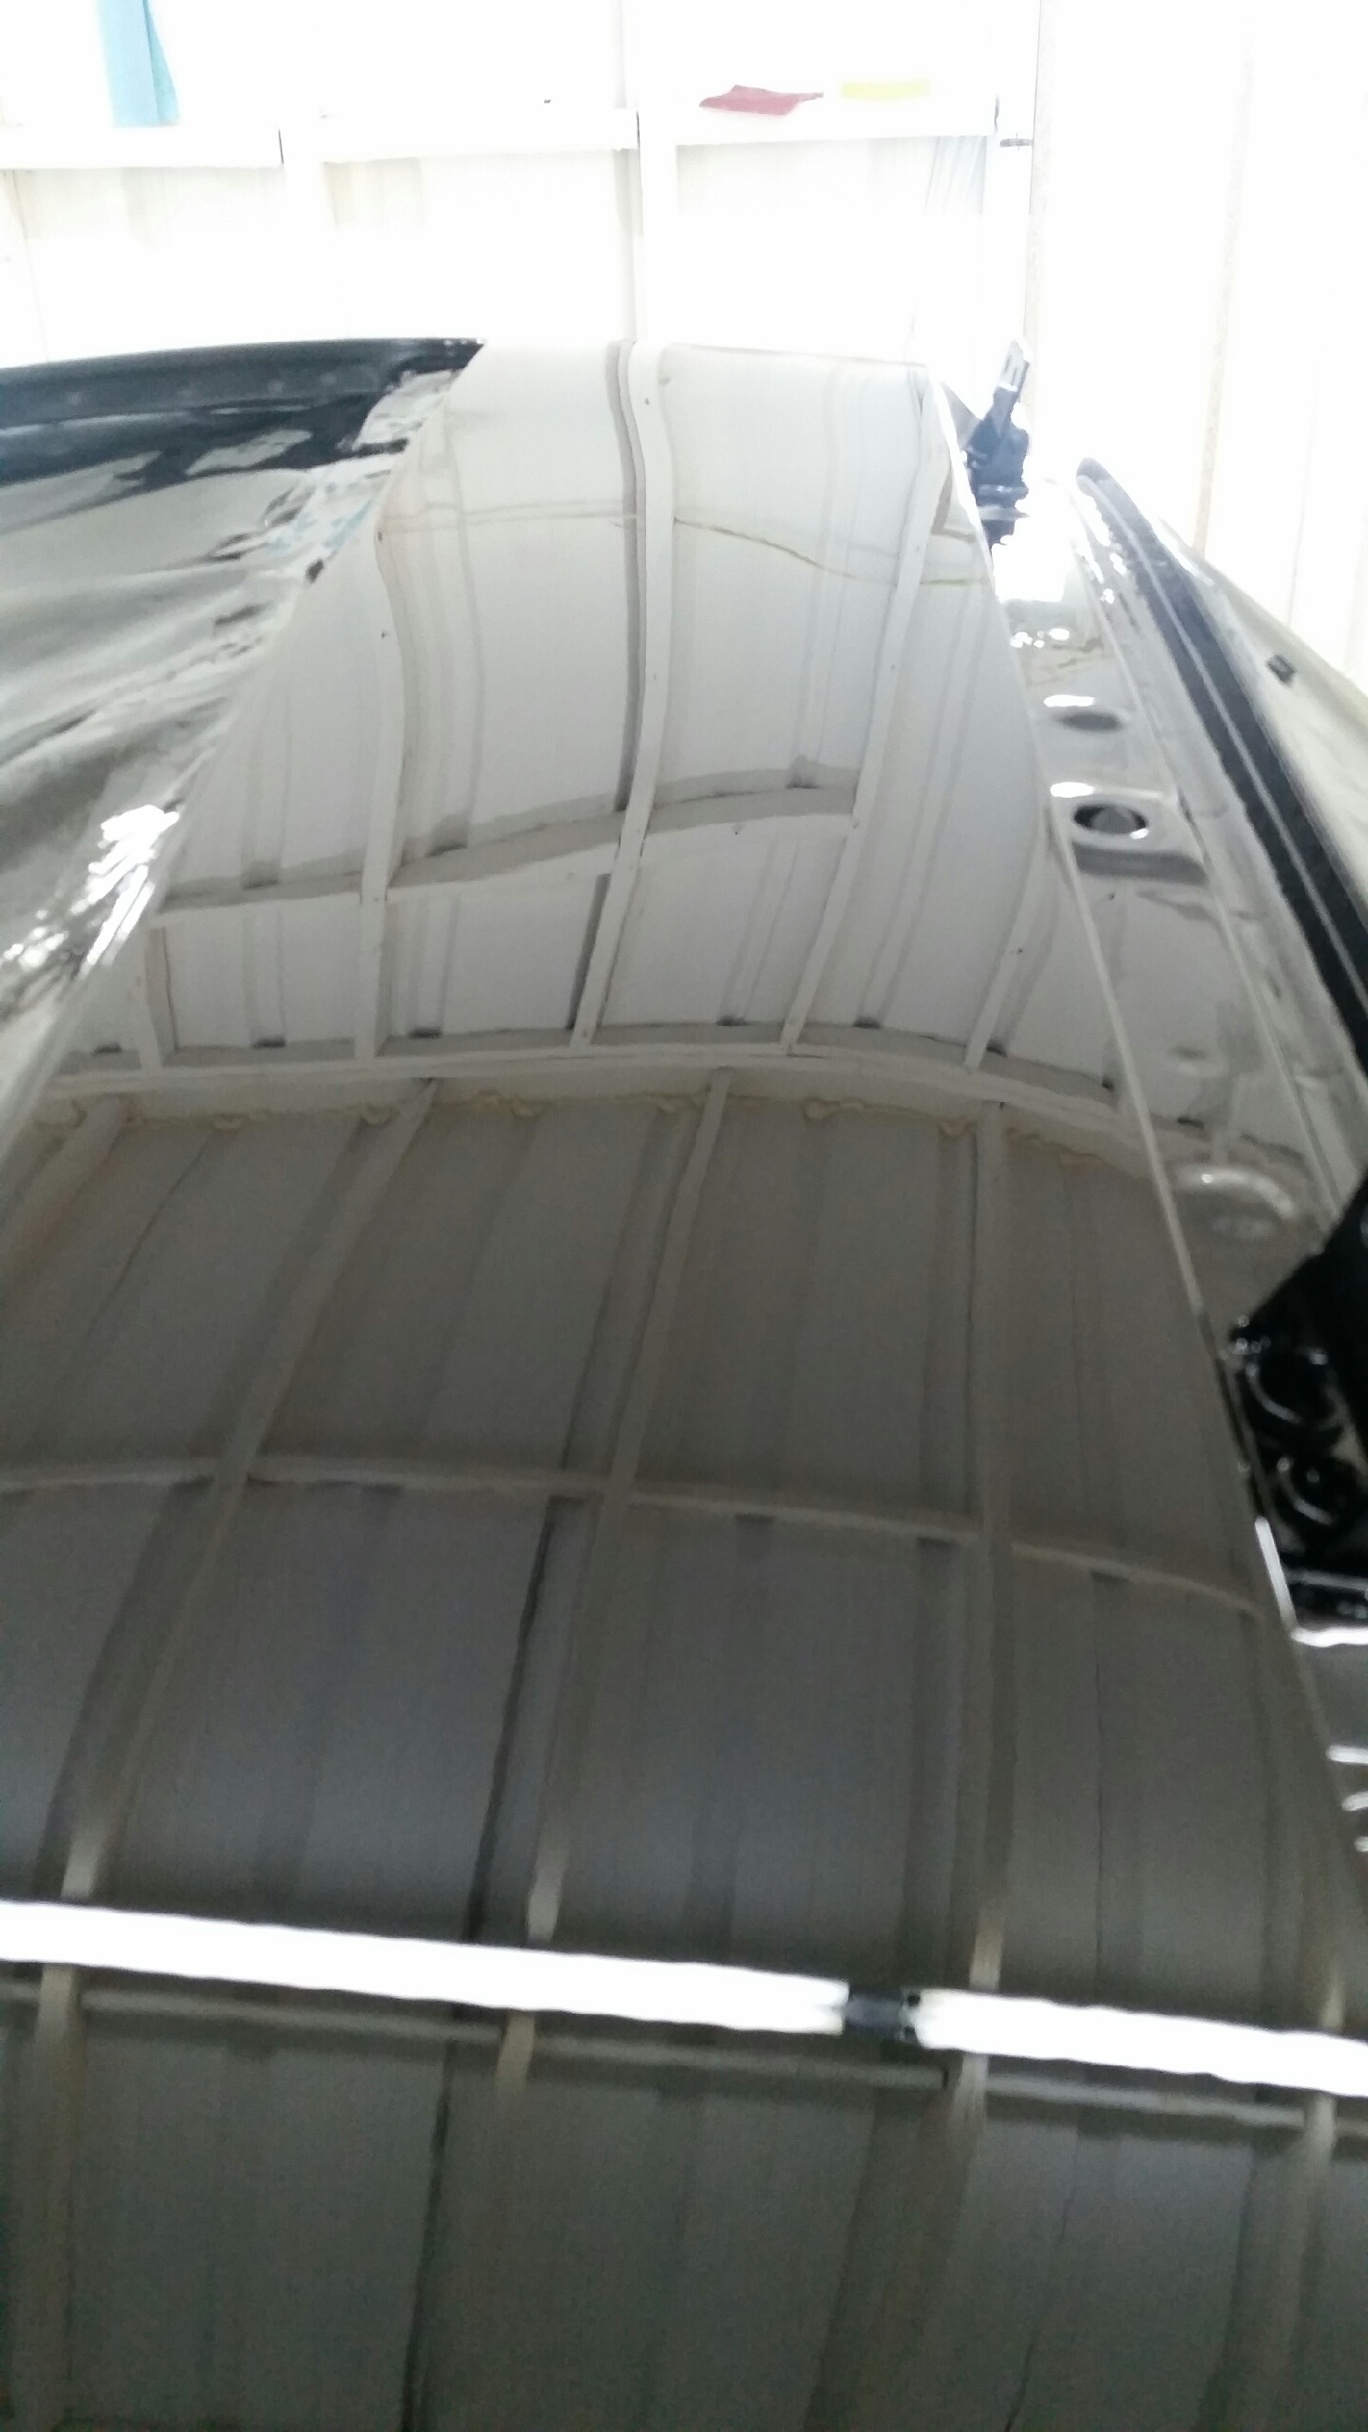
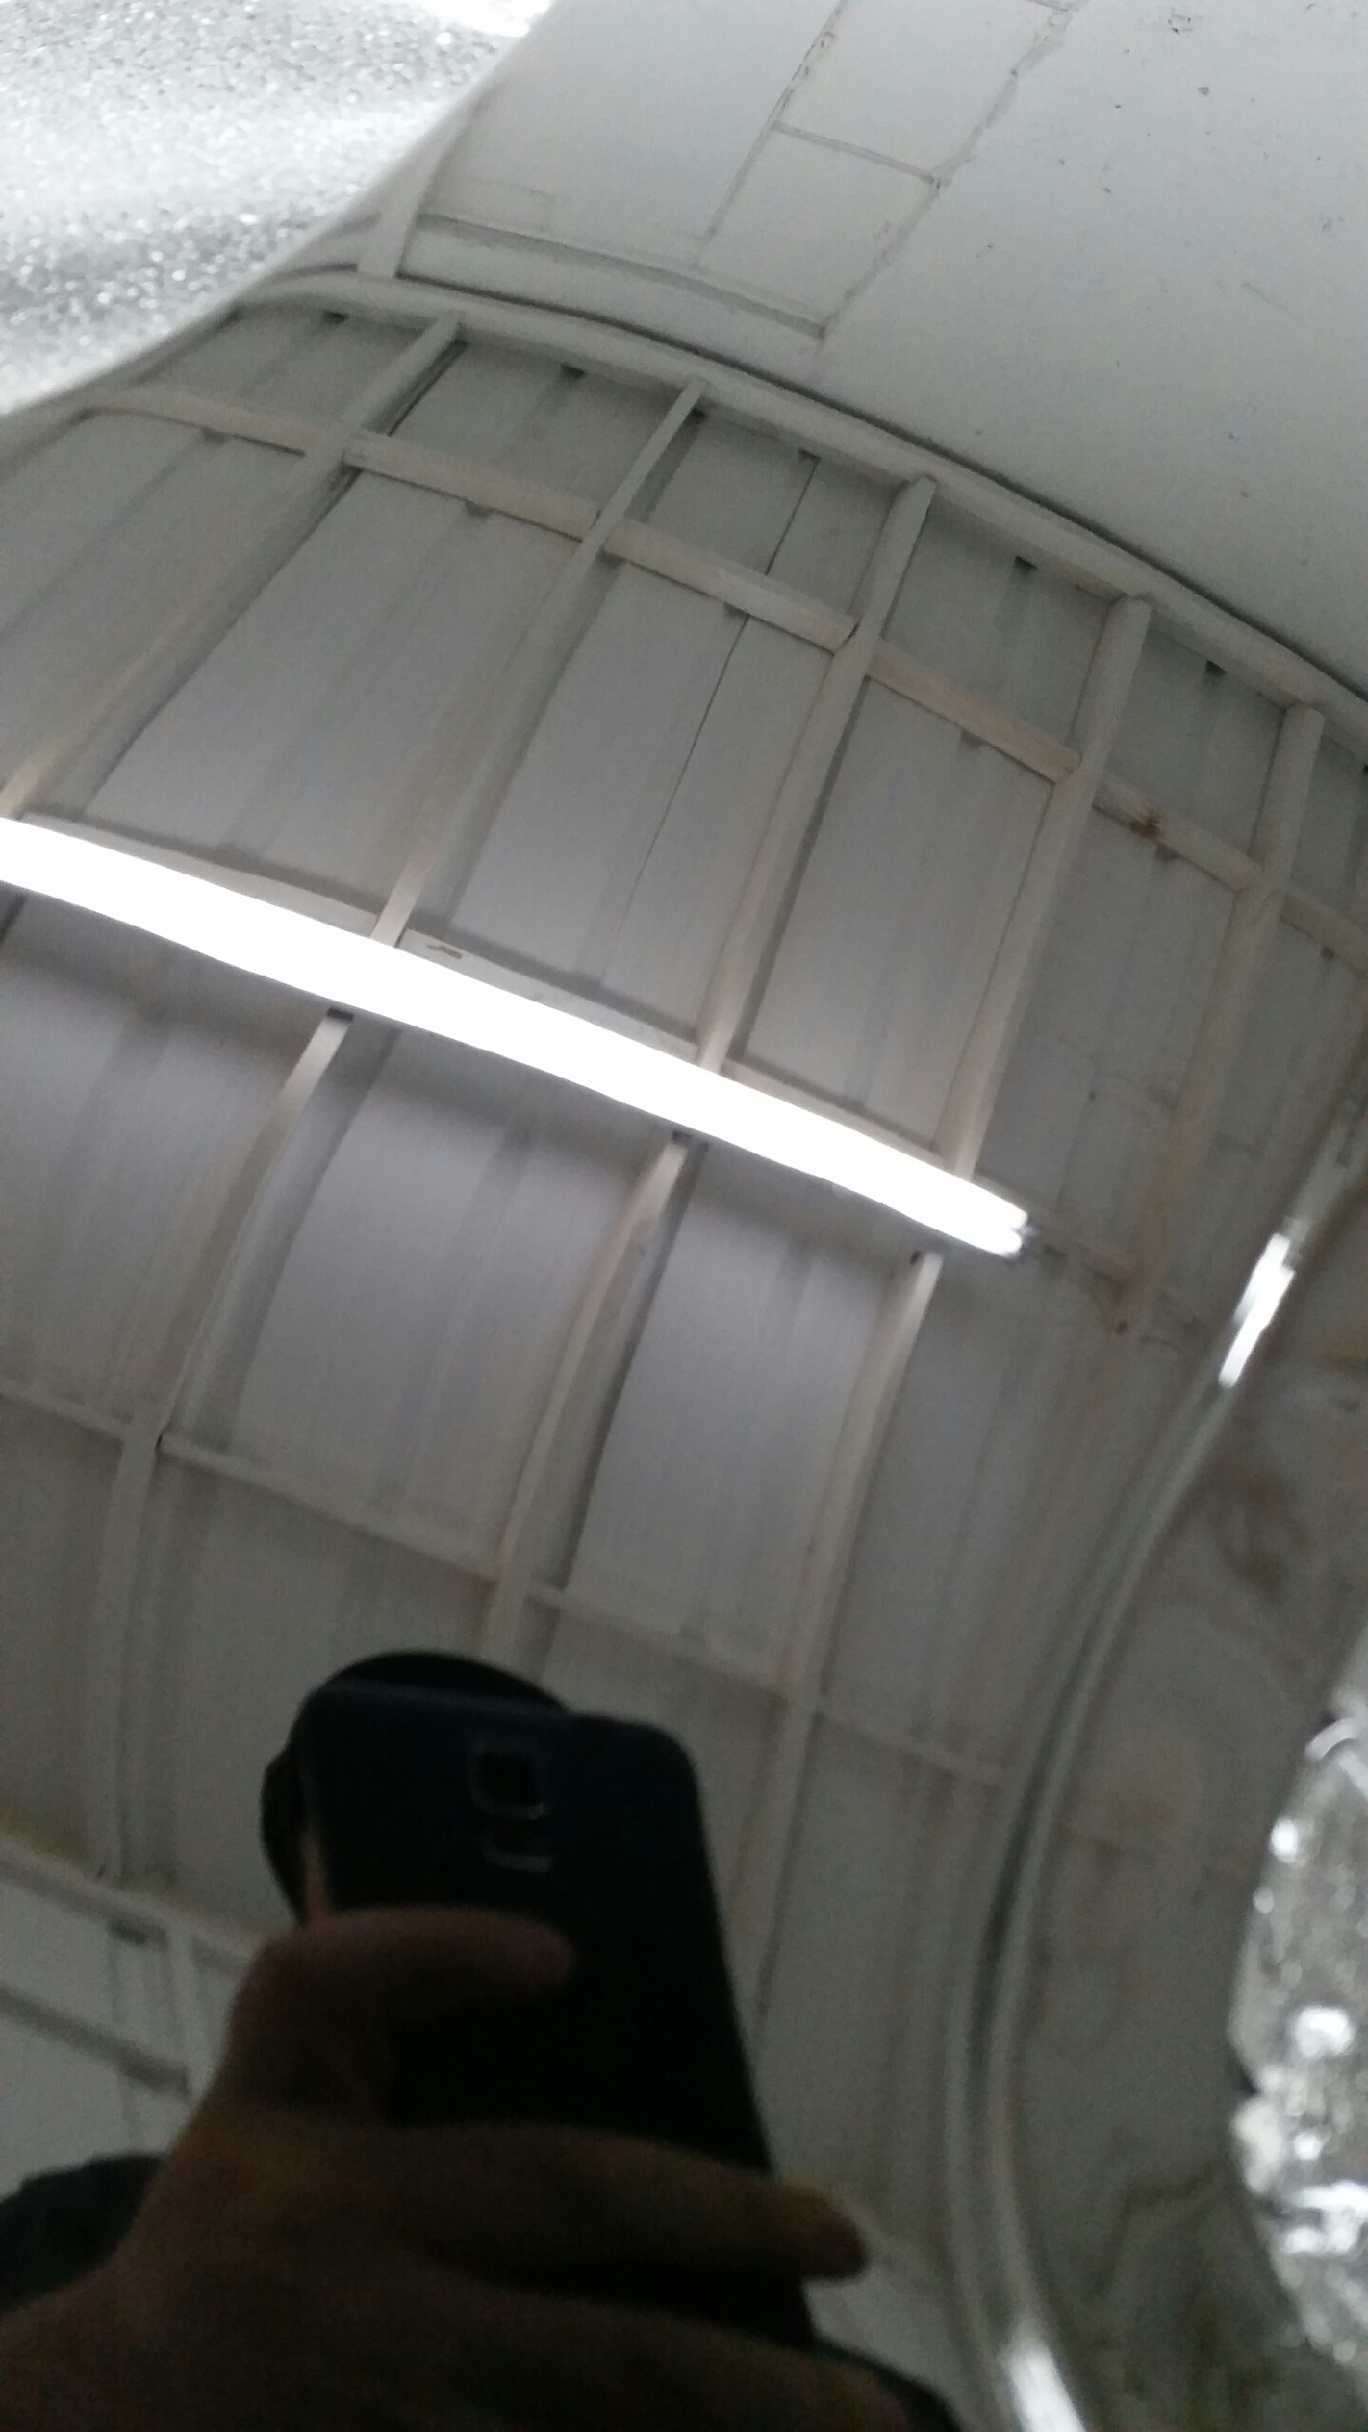
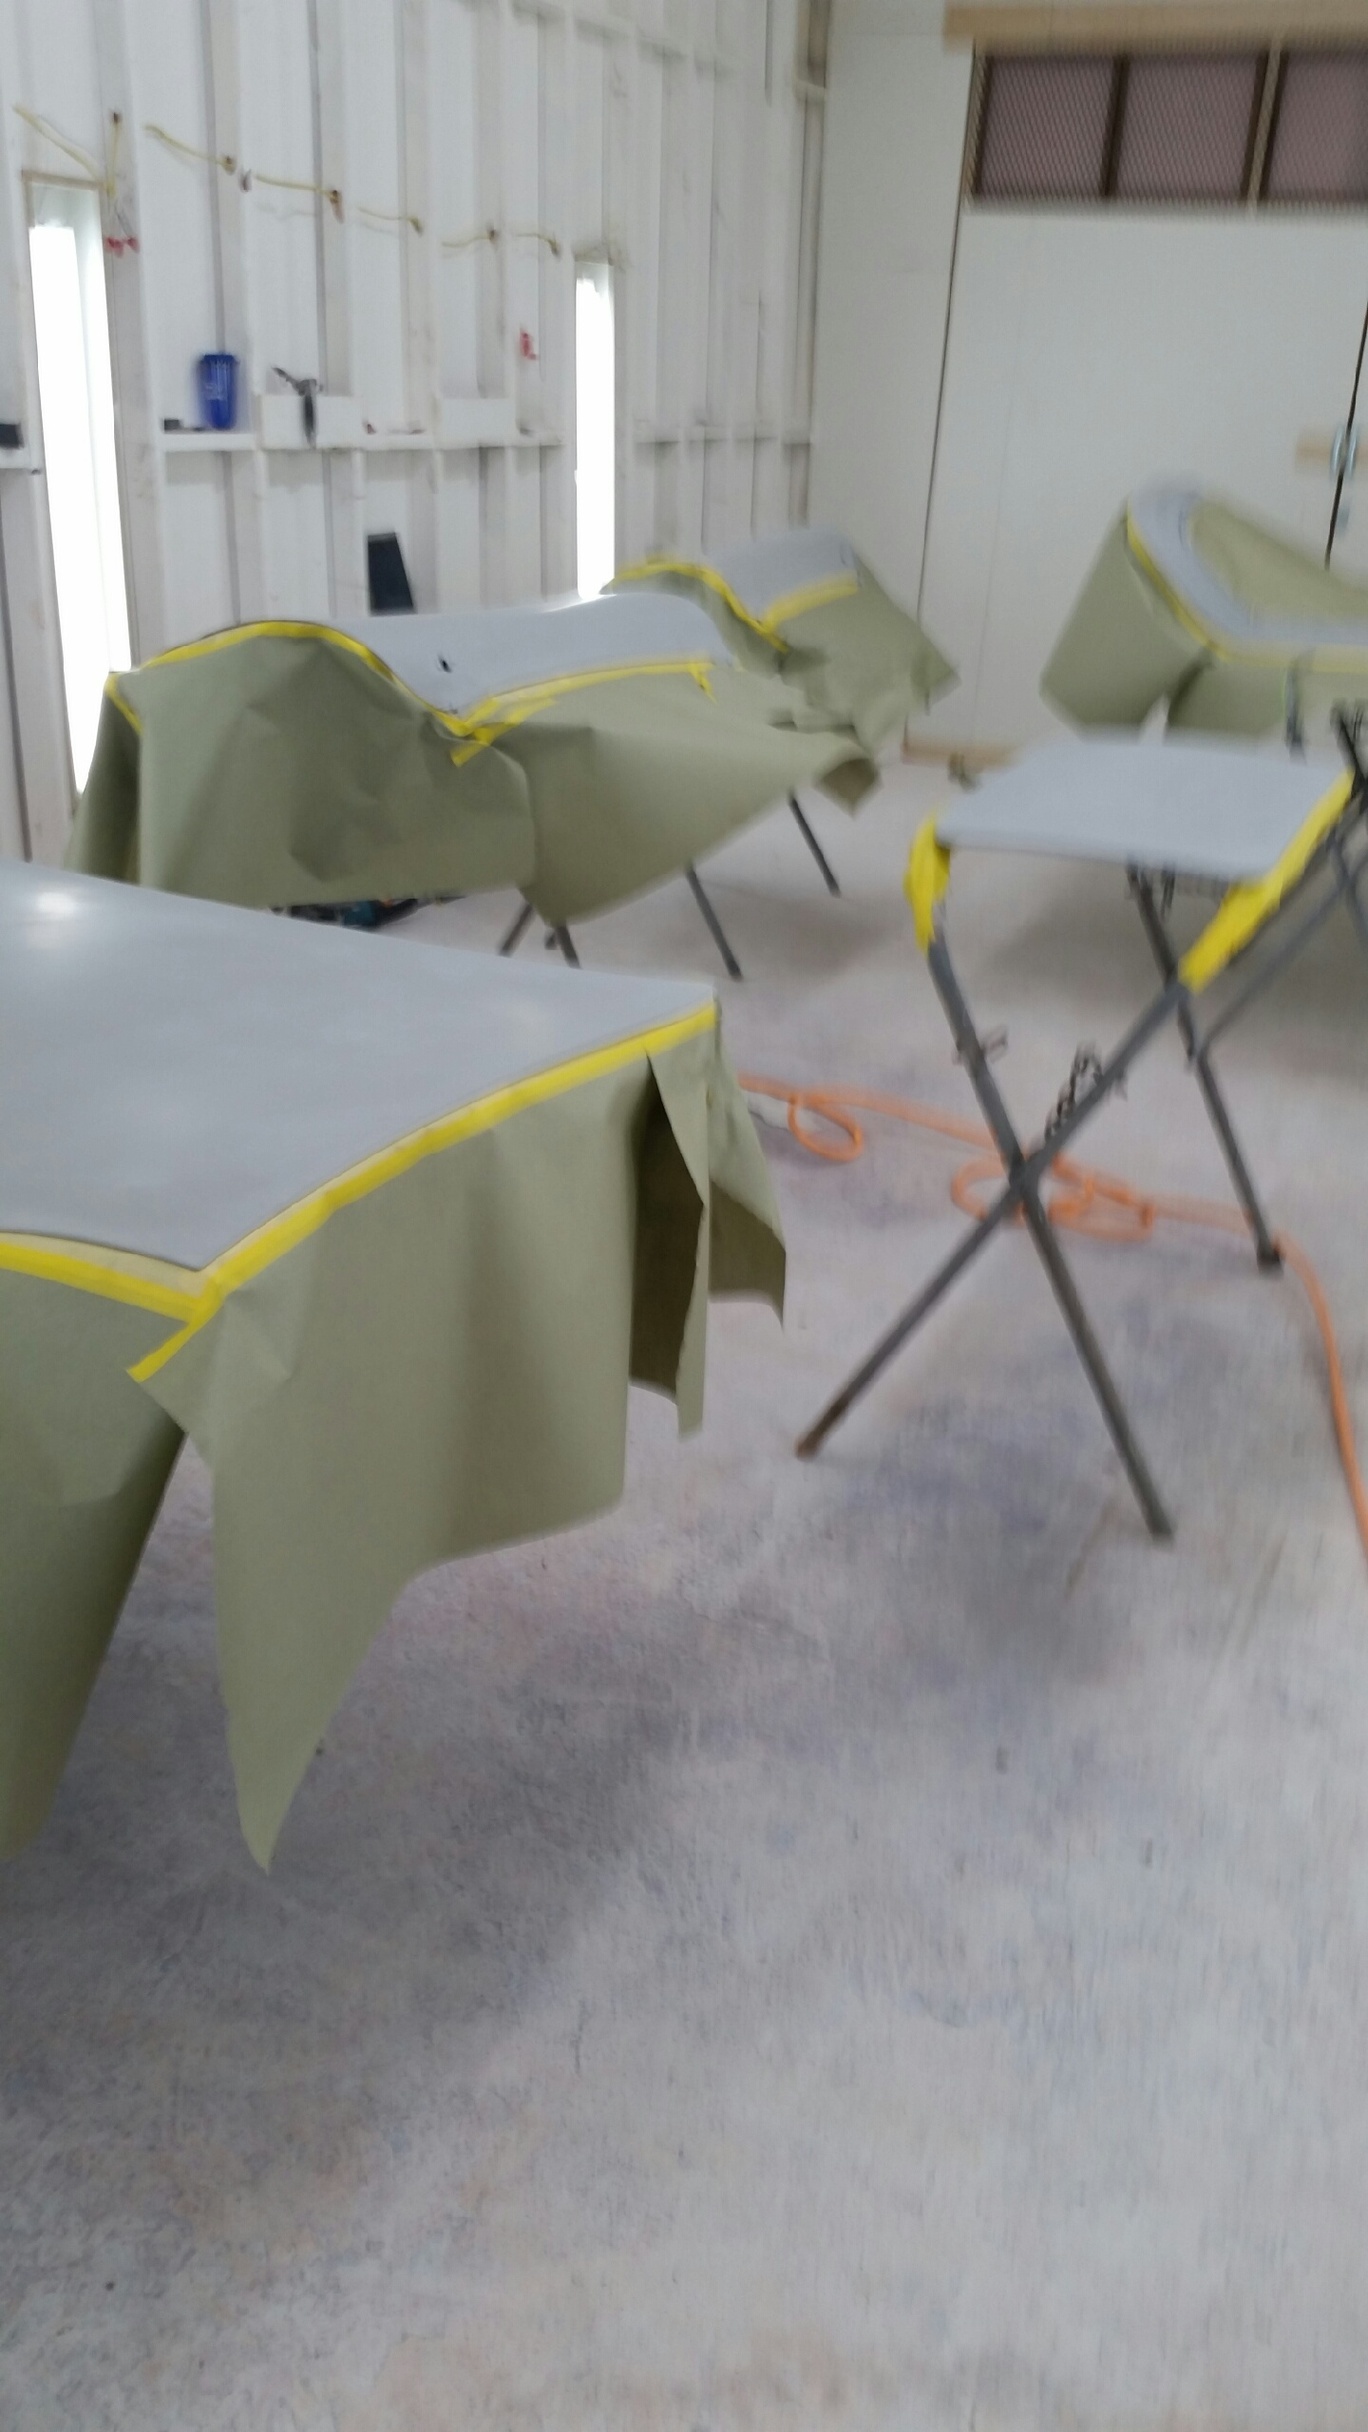
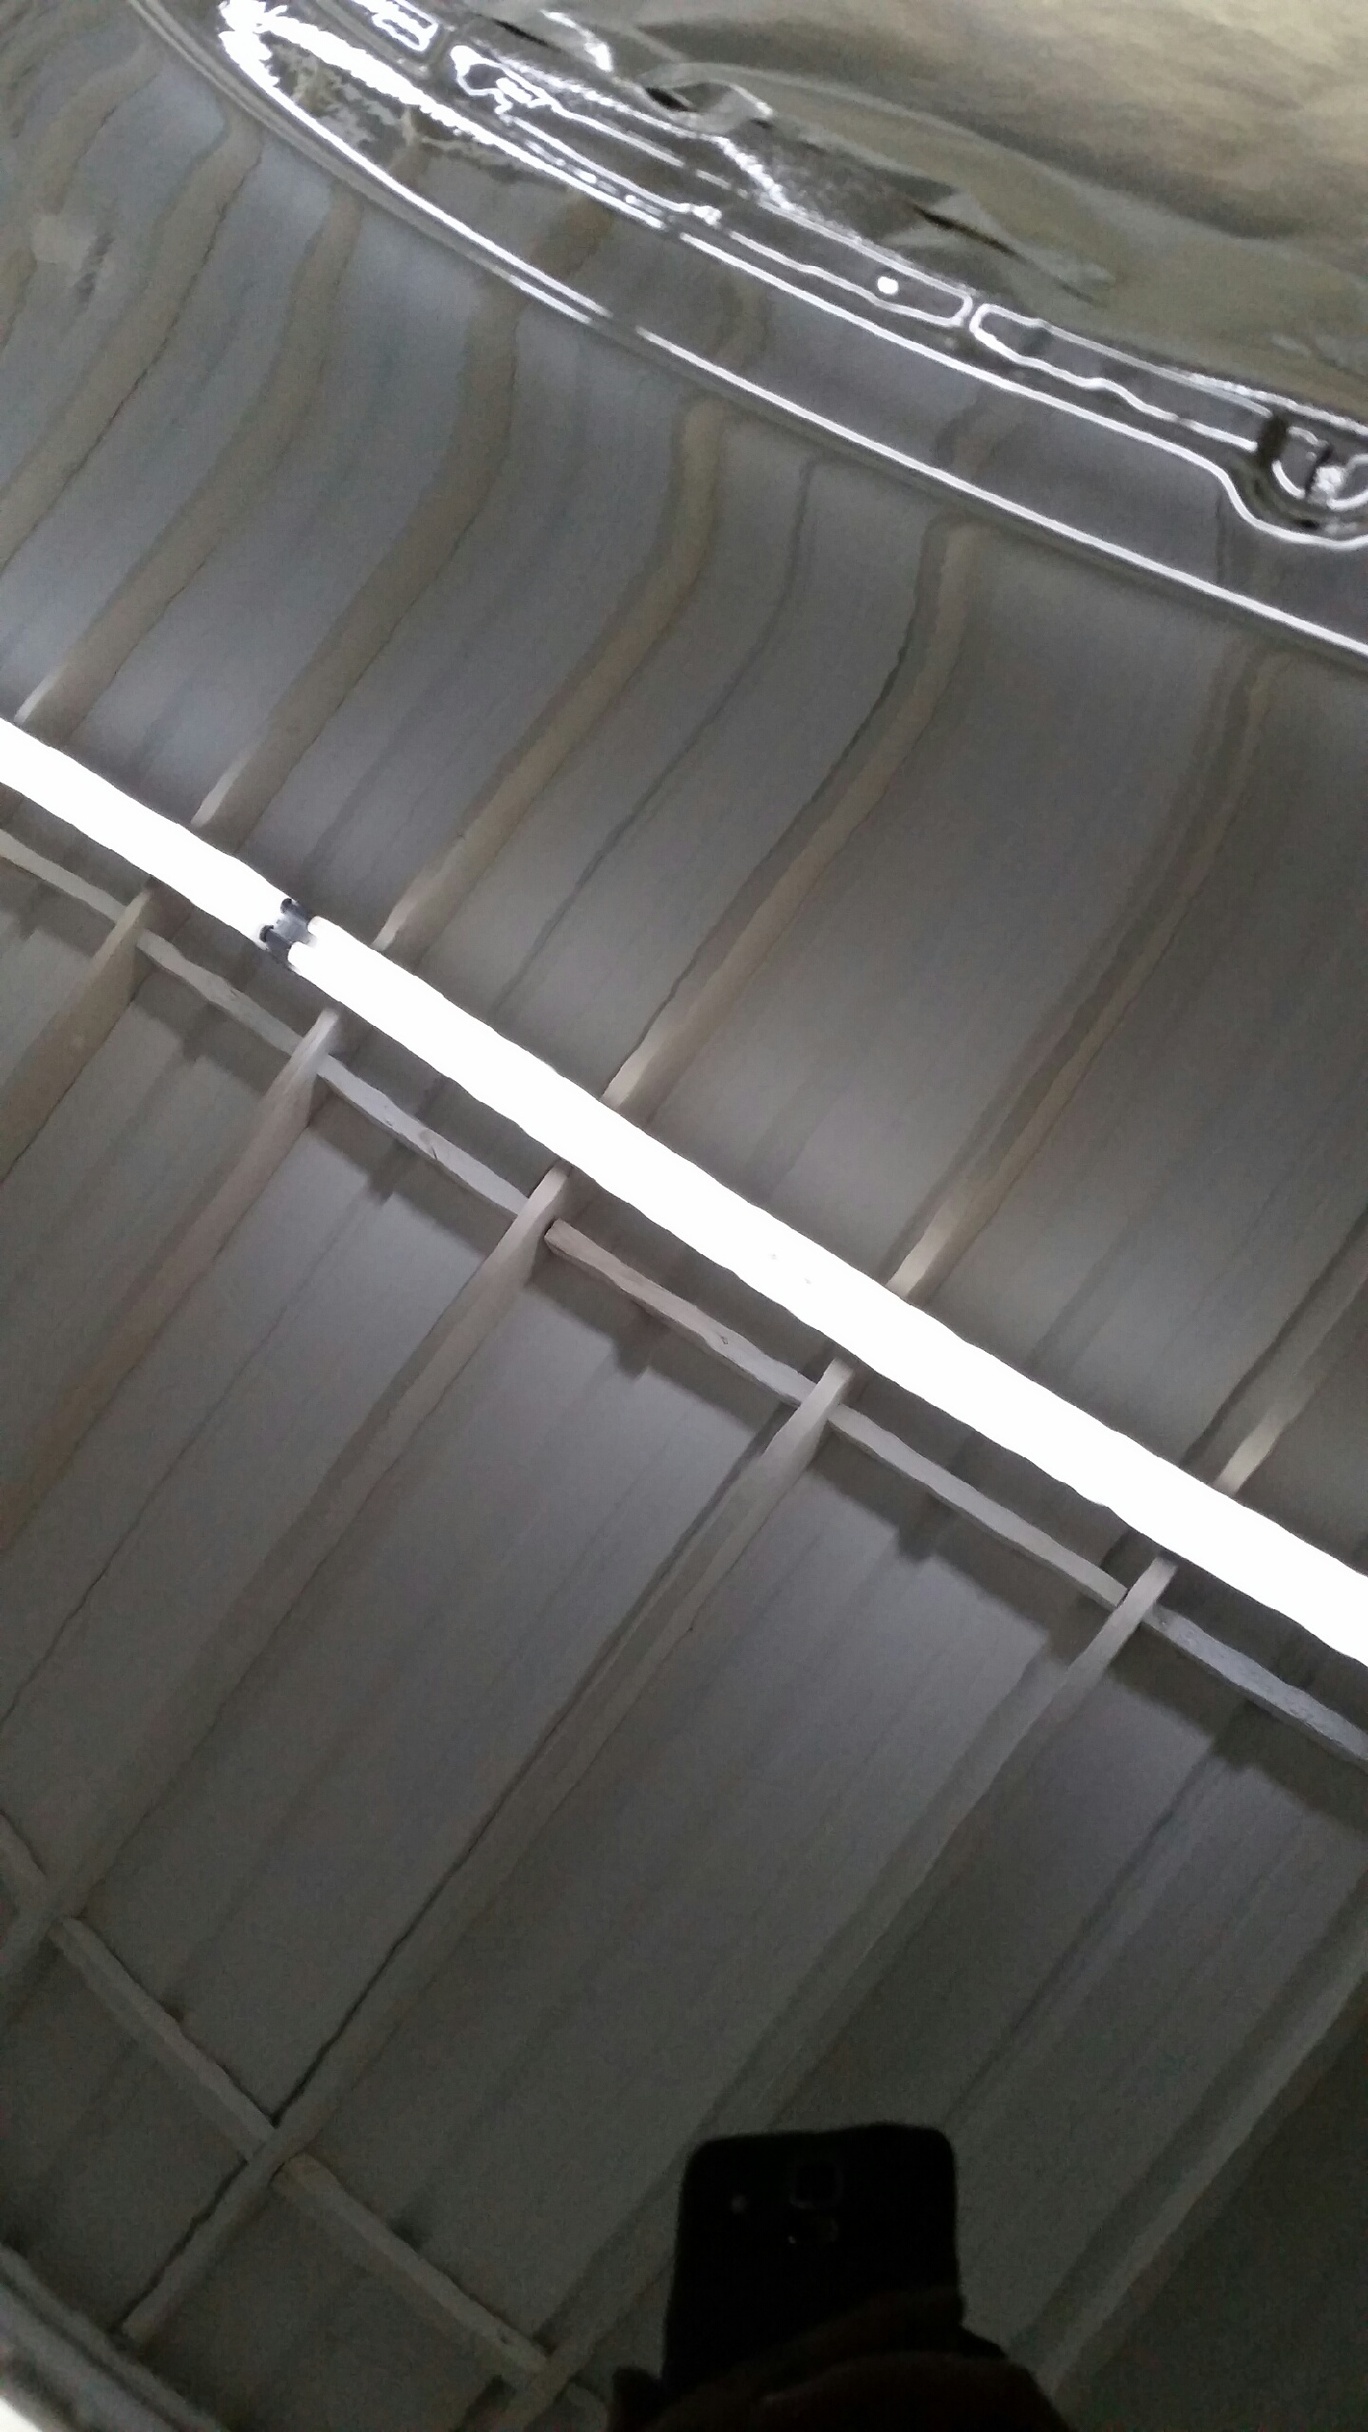
John finished stripping the sunroof, primed it, and got the guide coat on:
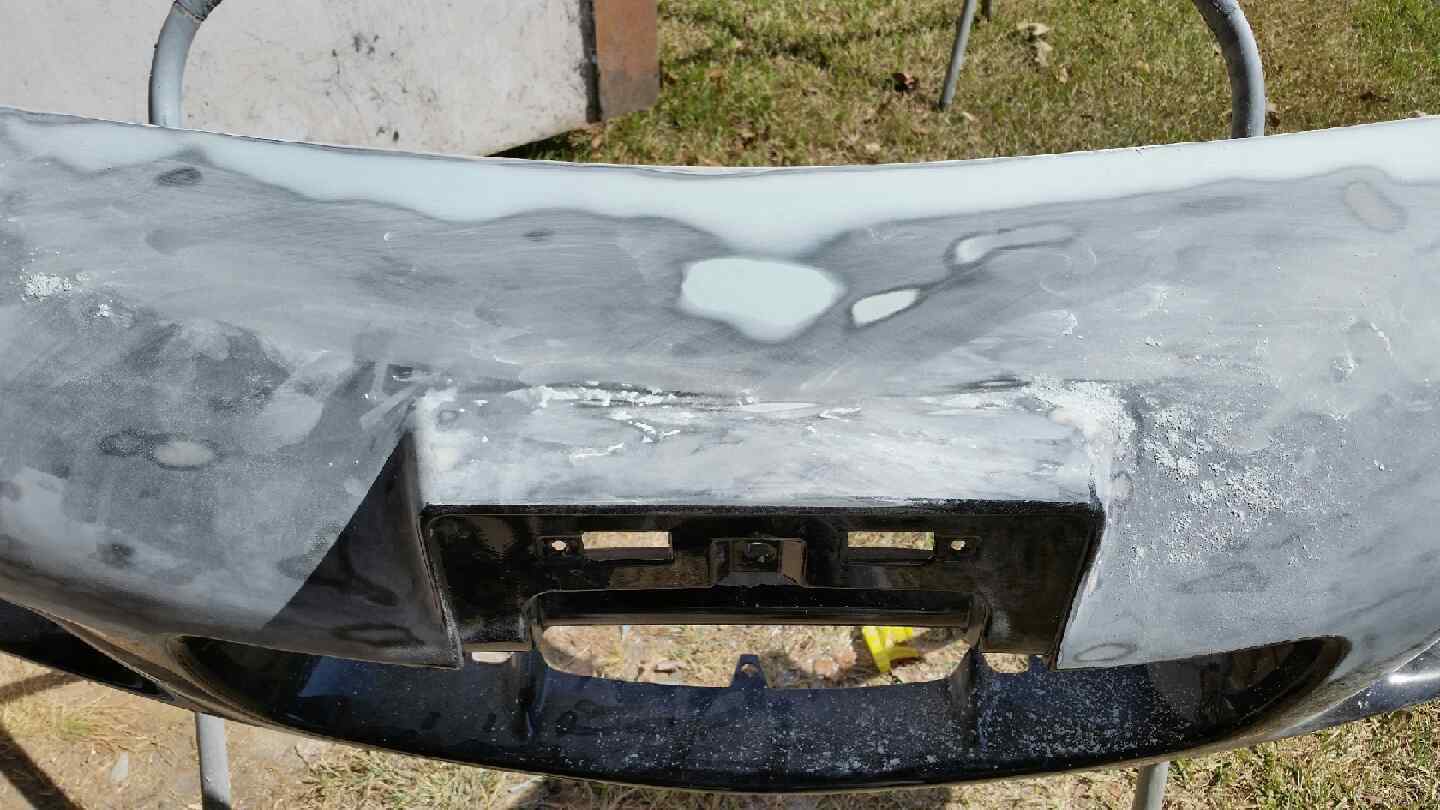
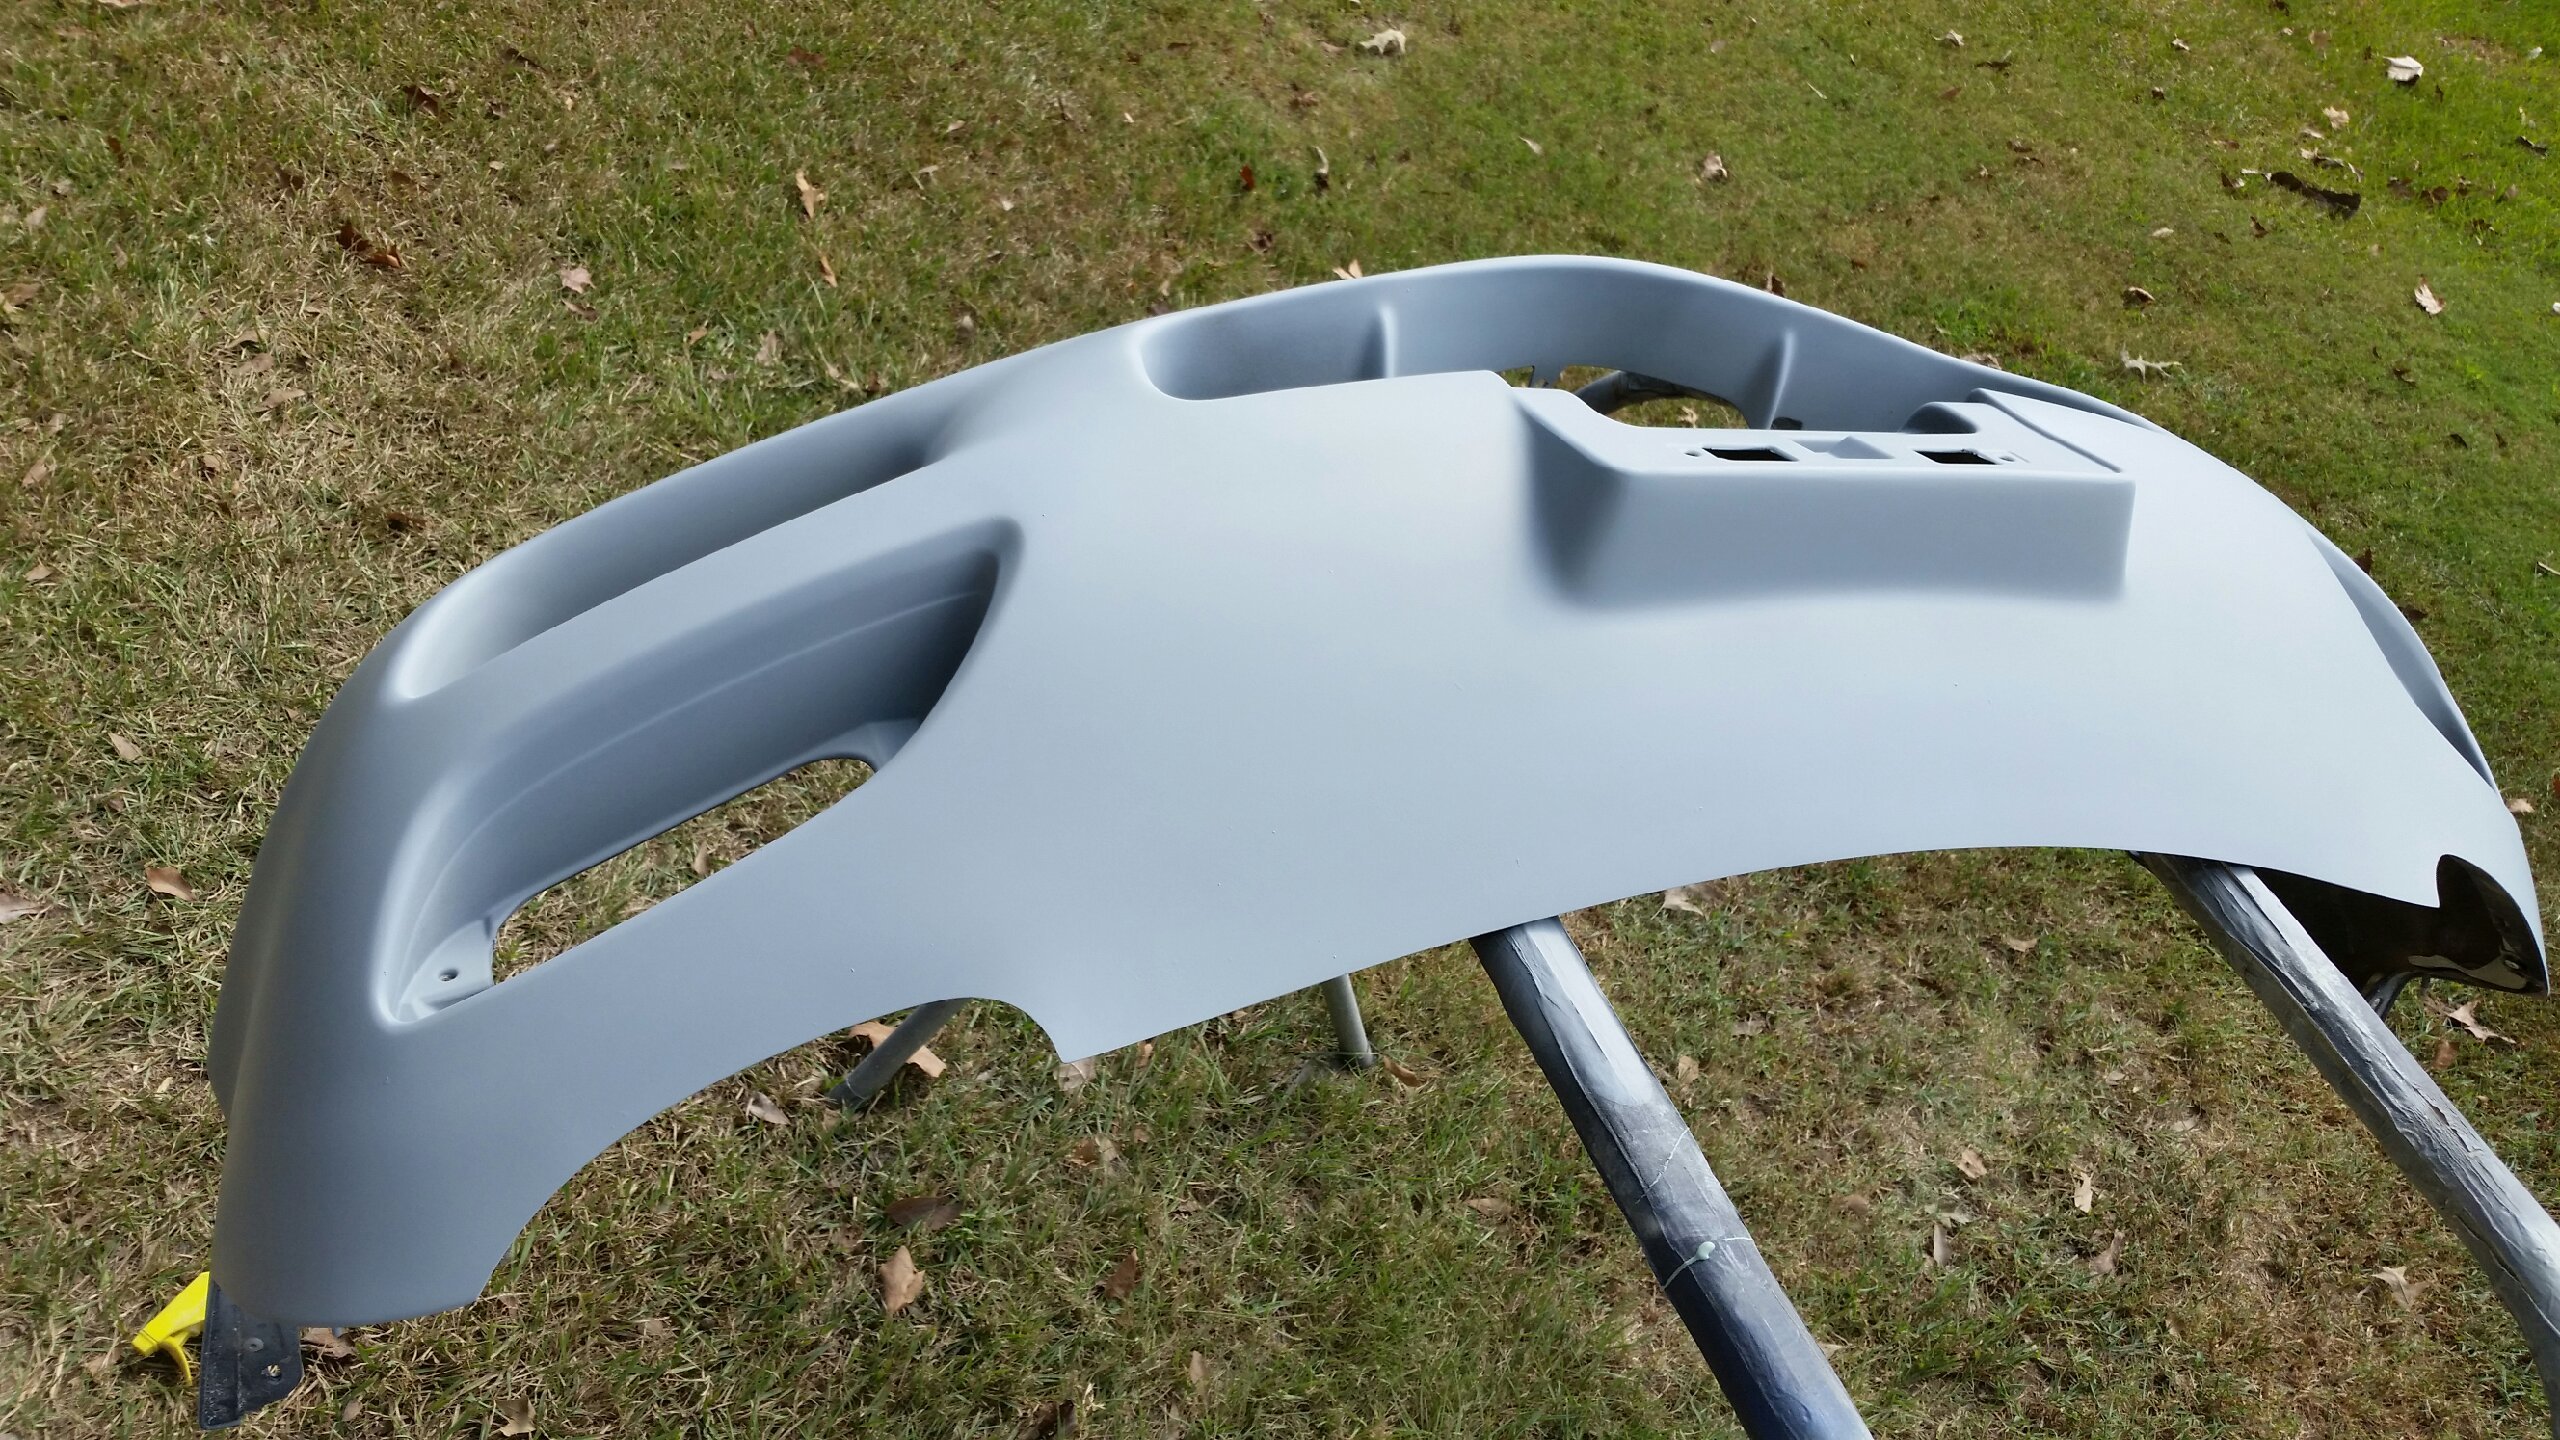
Additionally he's been putting a lot of fine detail work into my front and rear bumpers. Apparently the last shop had trouble filling the emblem holes in the front bumper and did it twice shooting the top of the bumper twice. John had to redo the work completely:
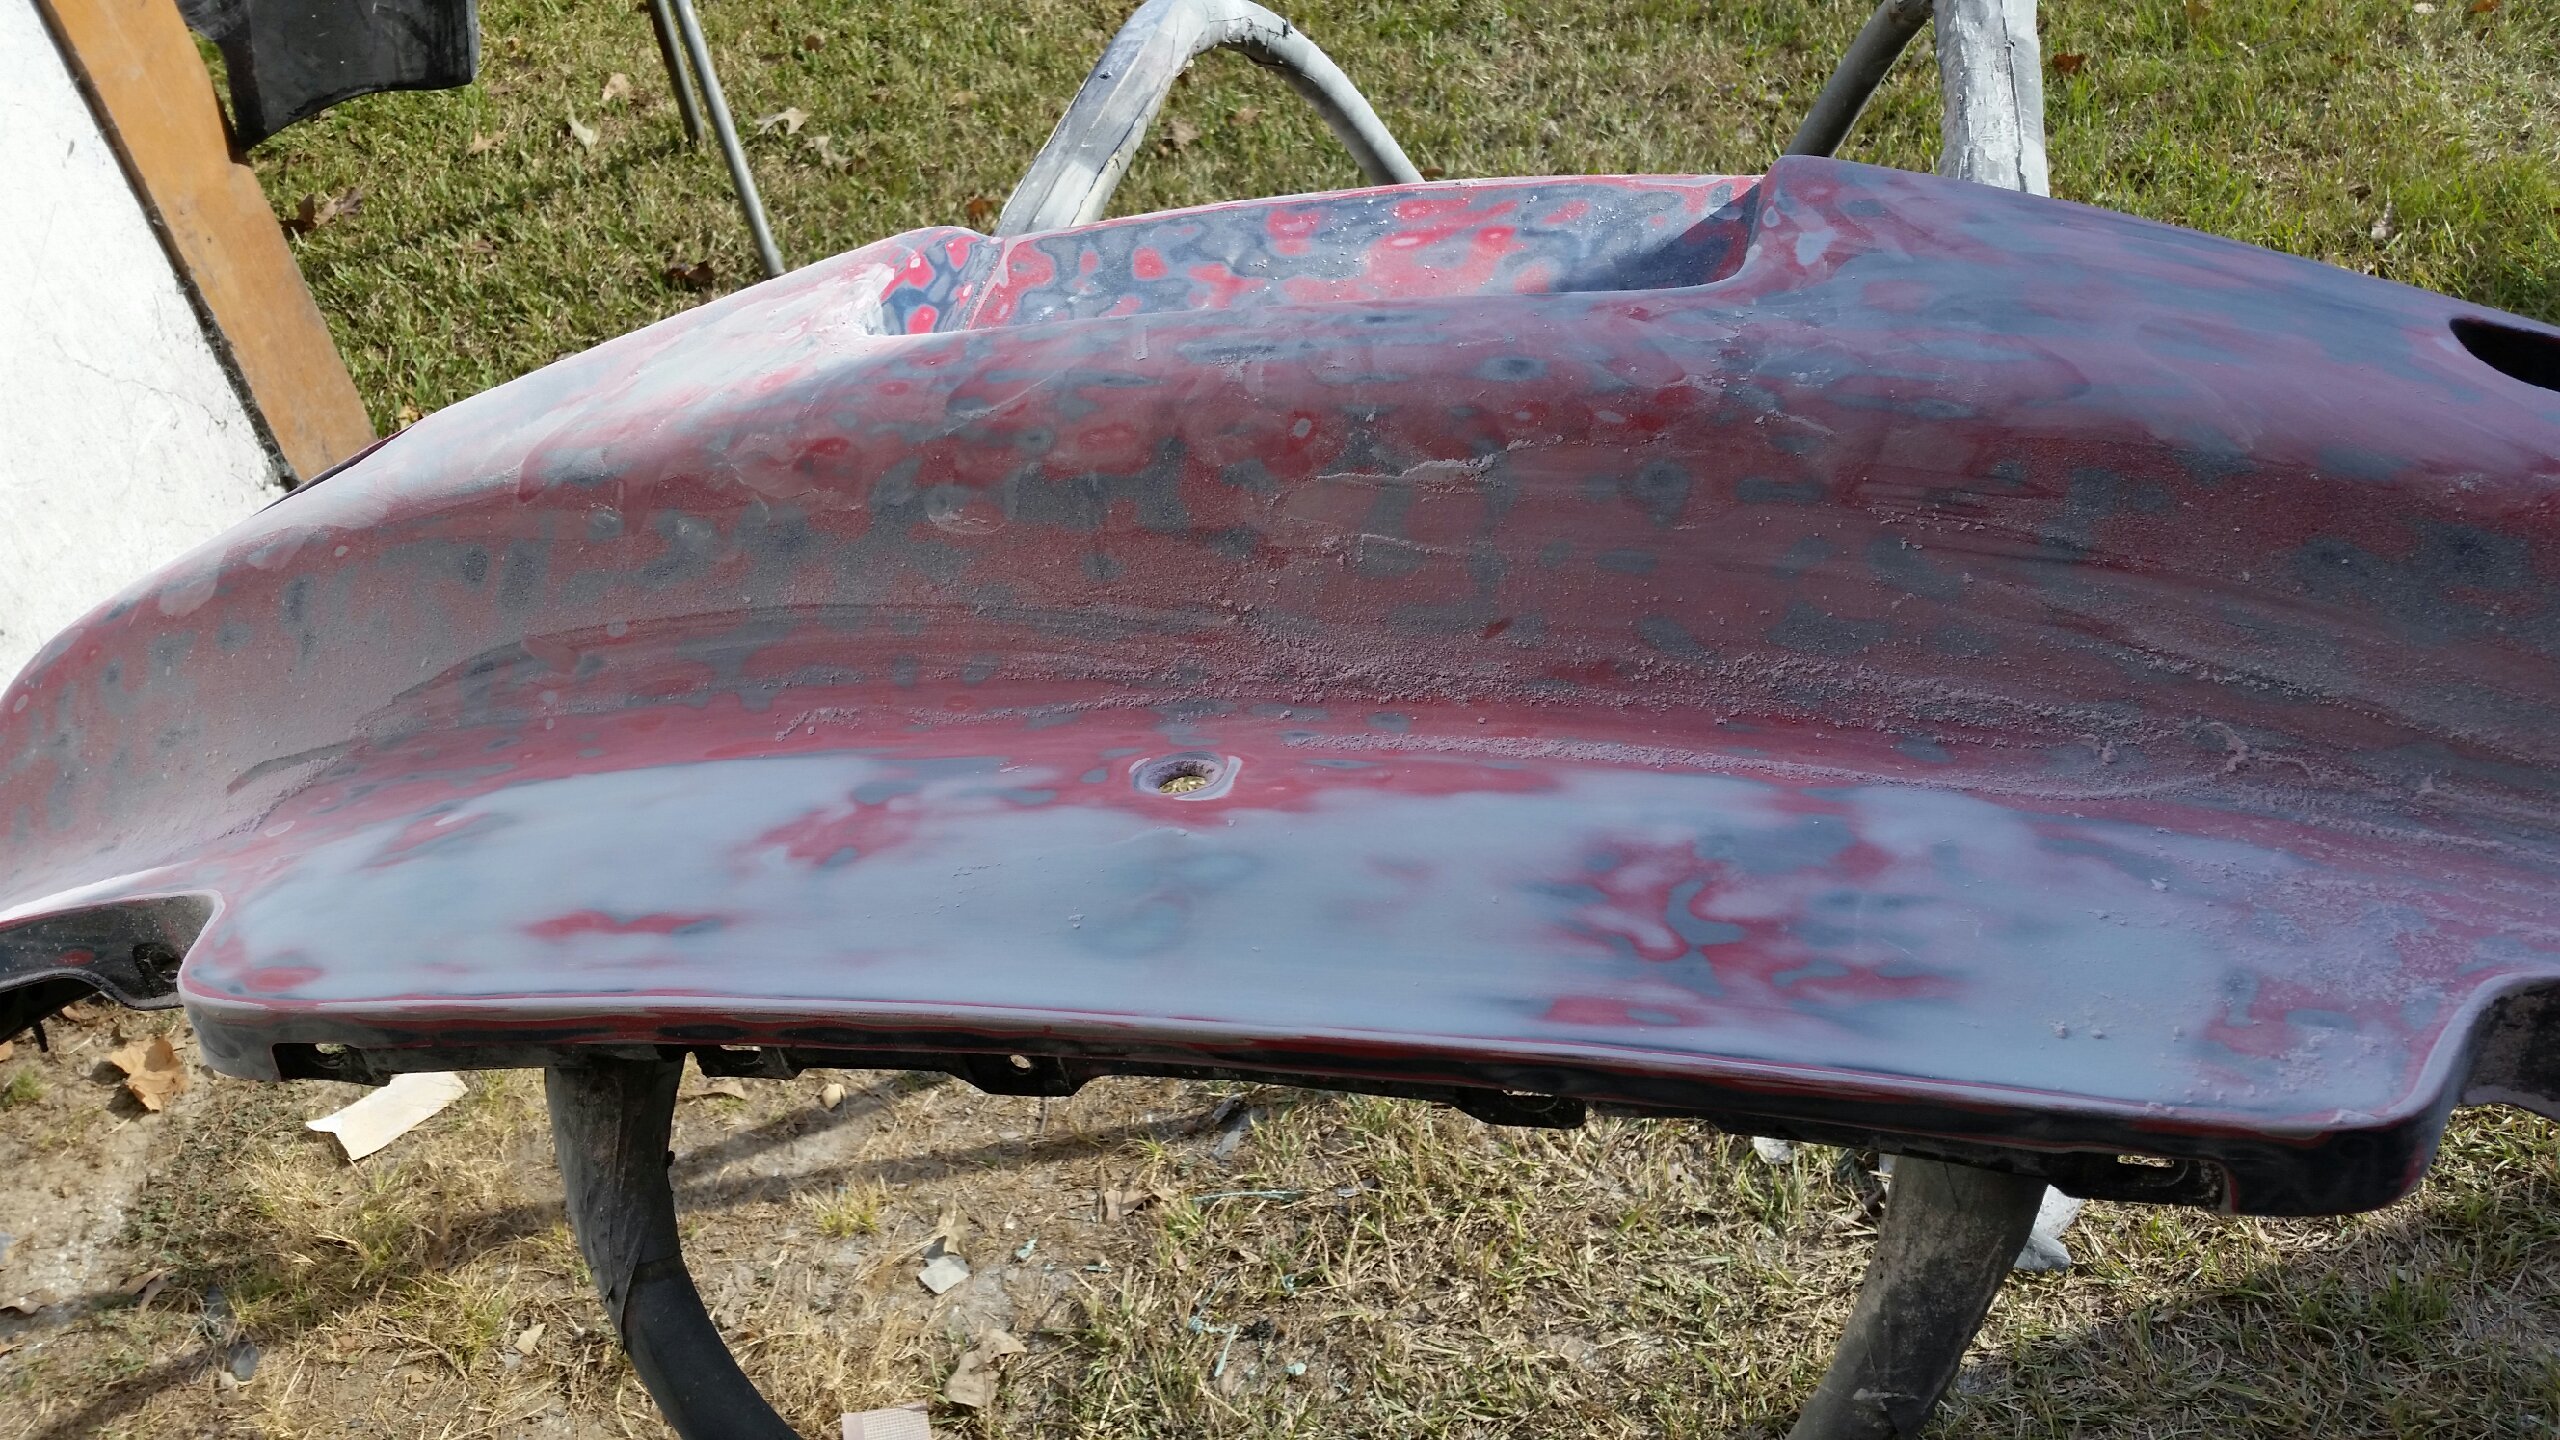
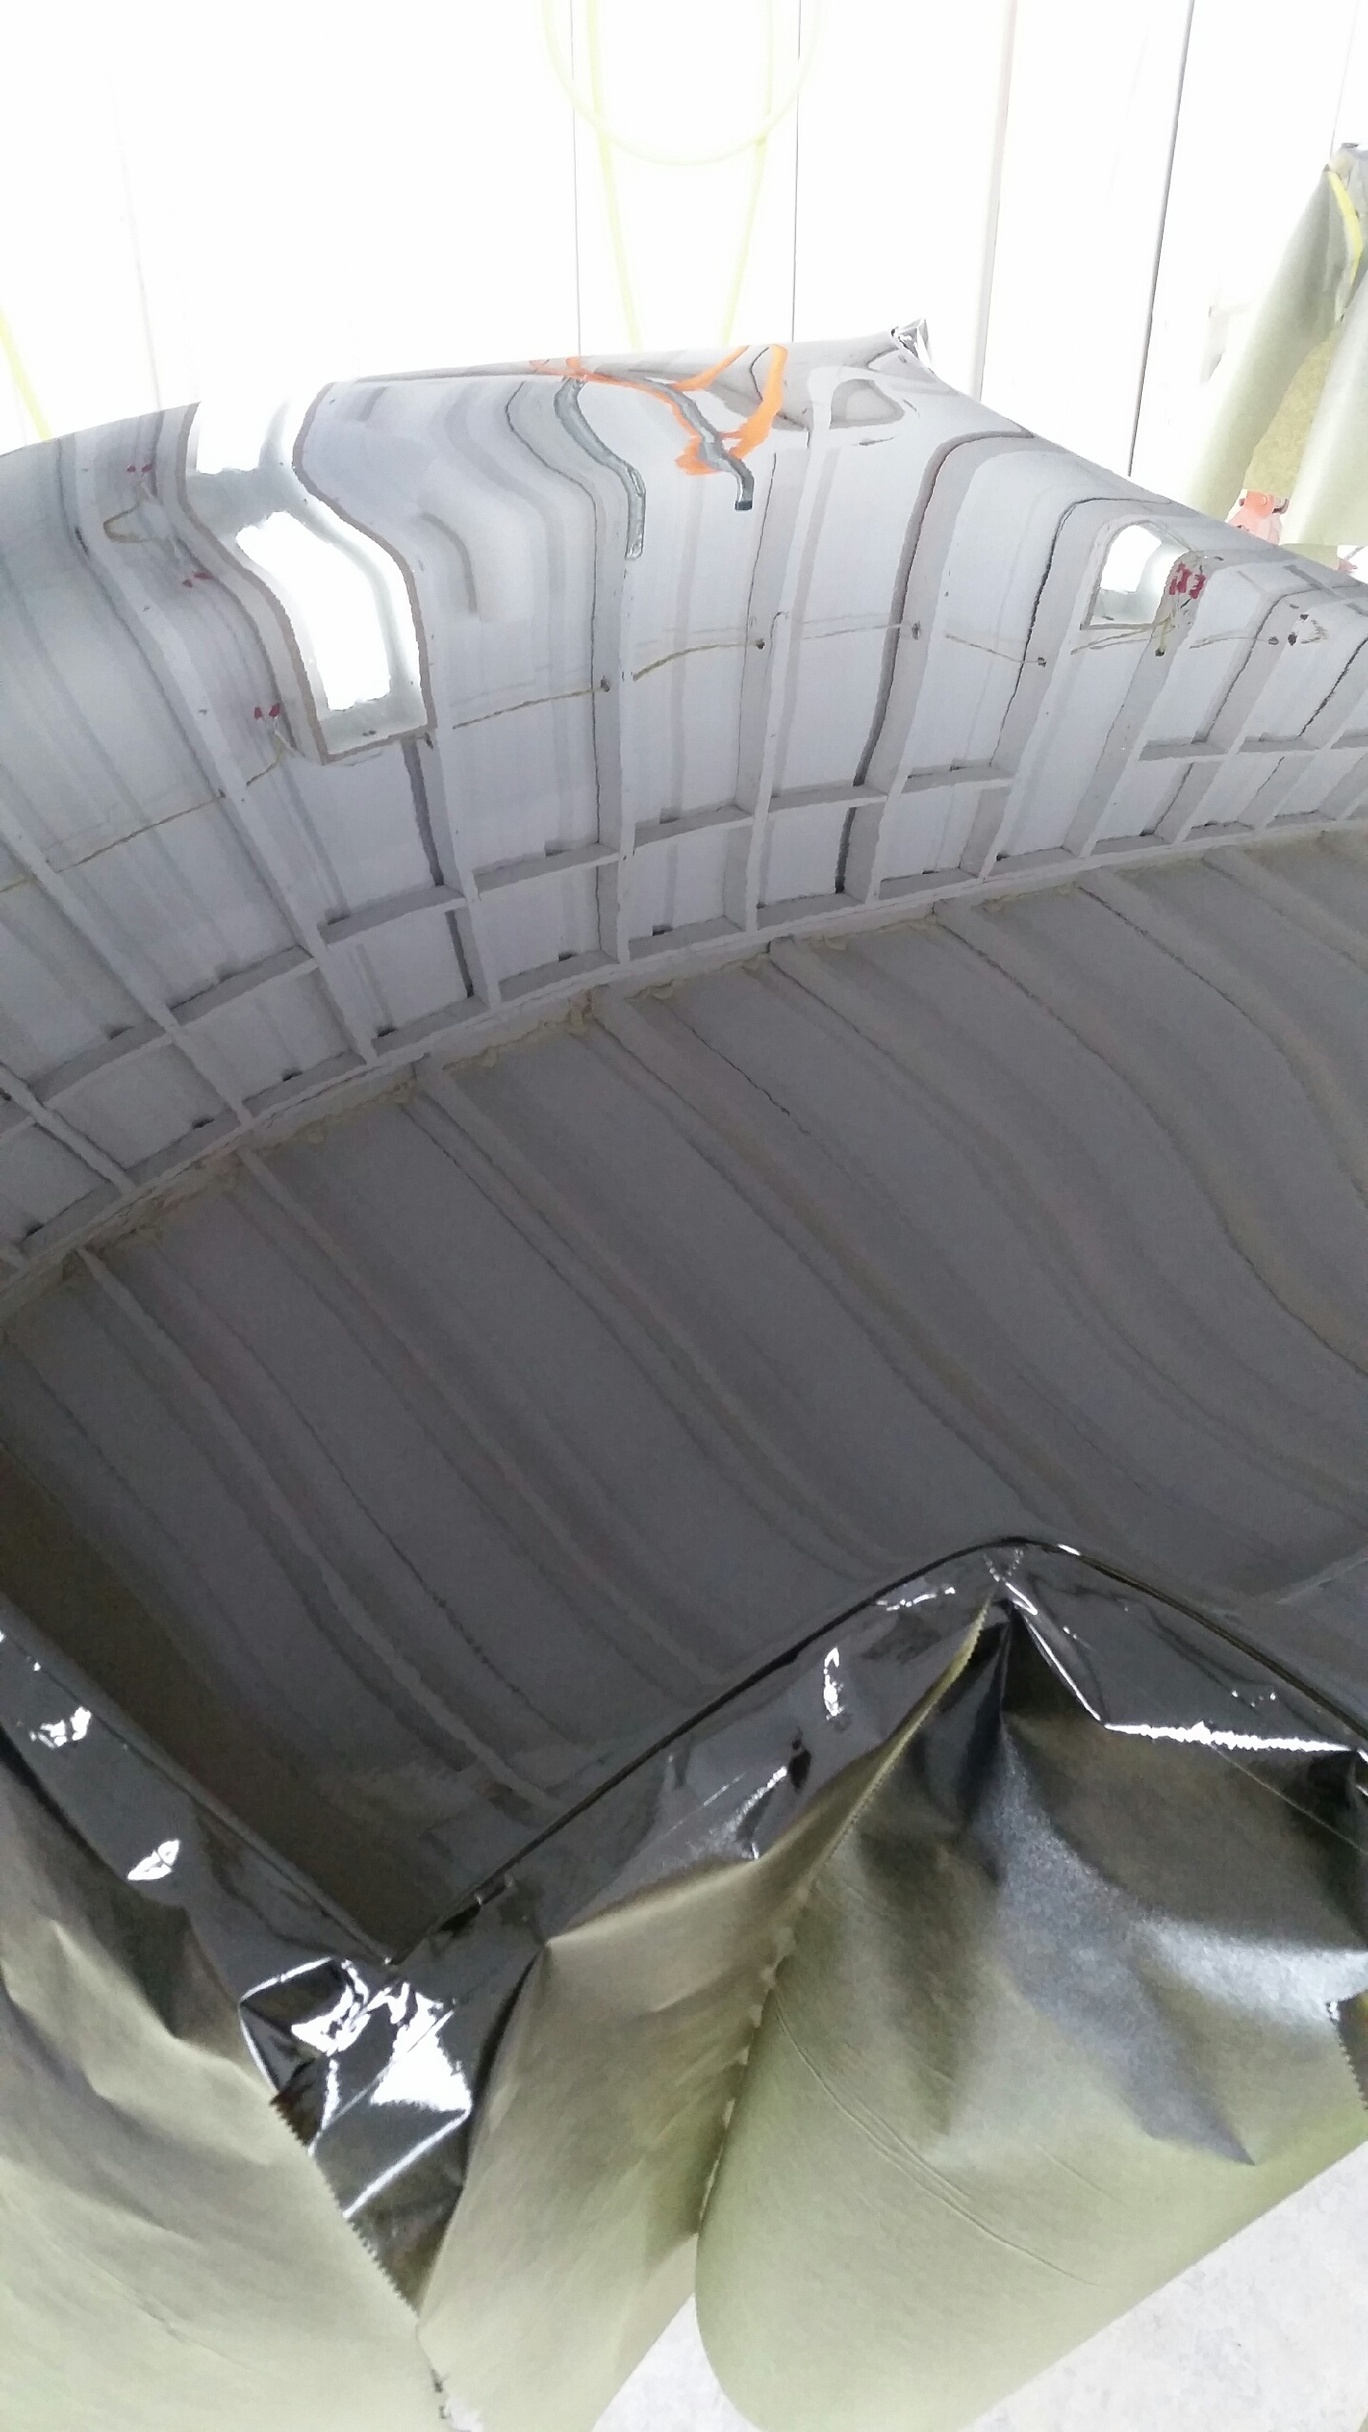
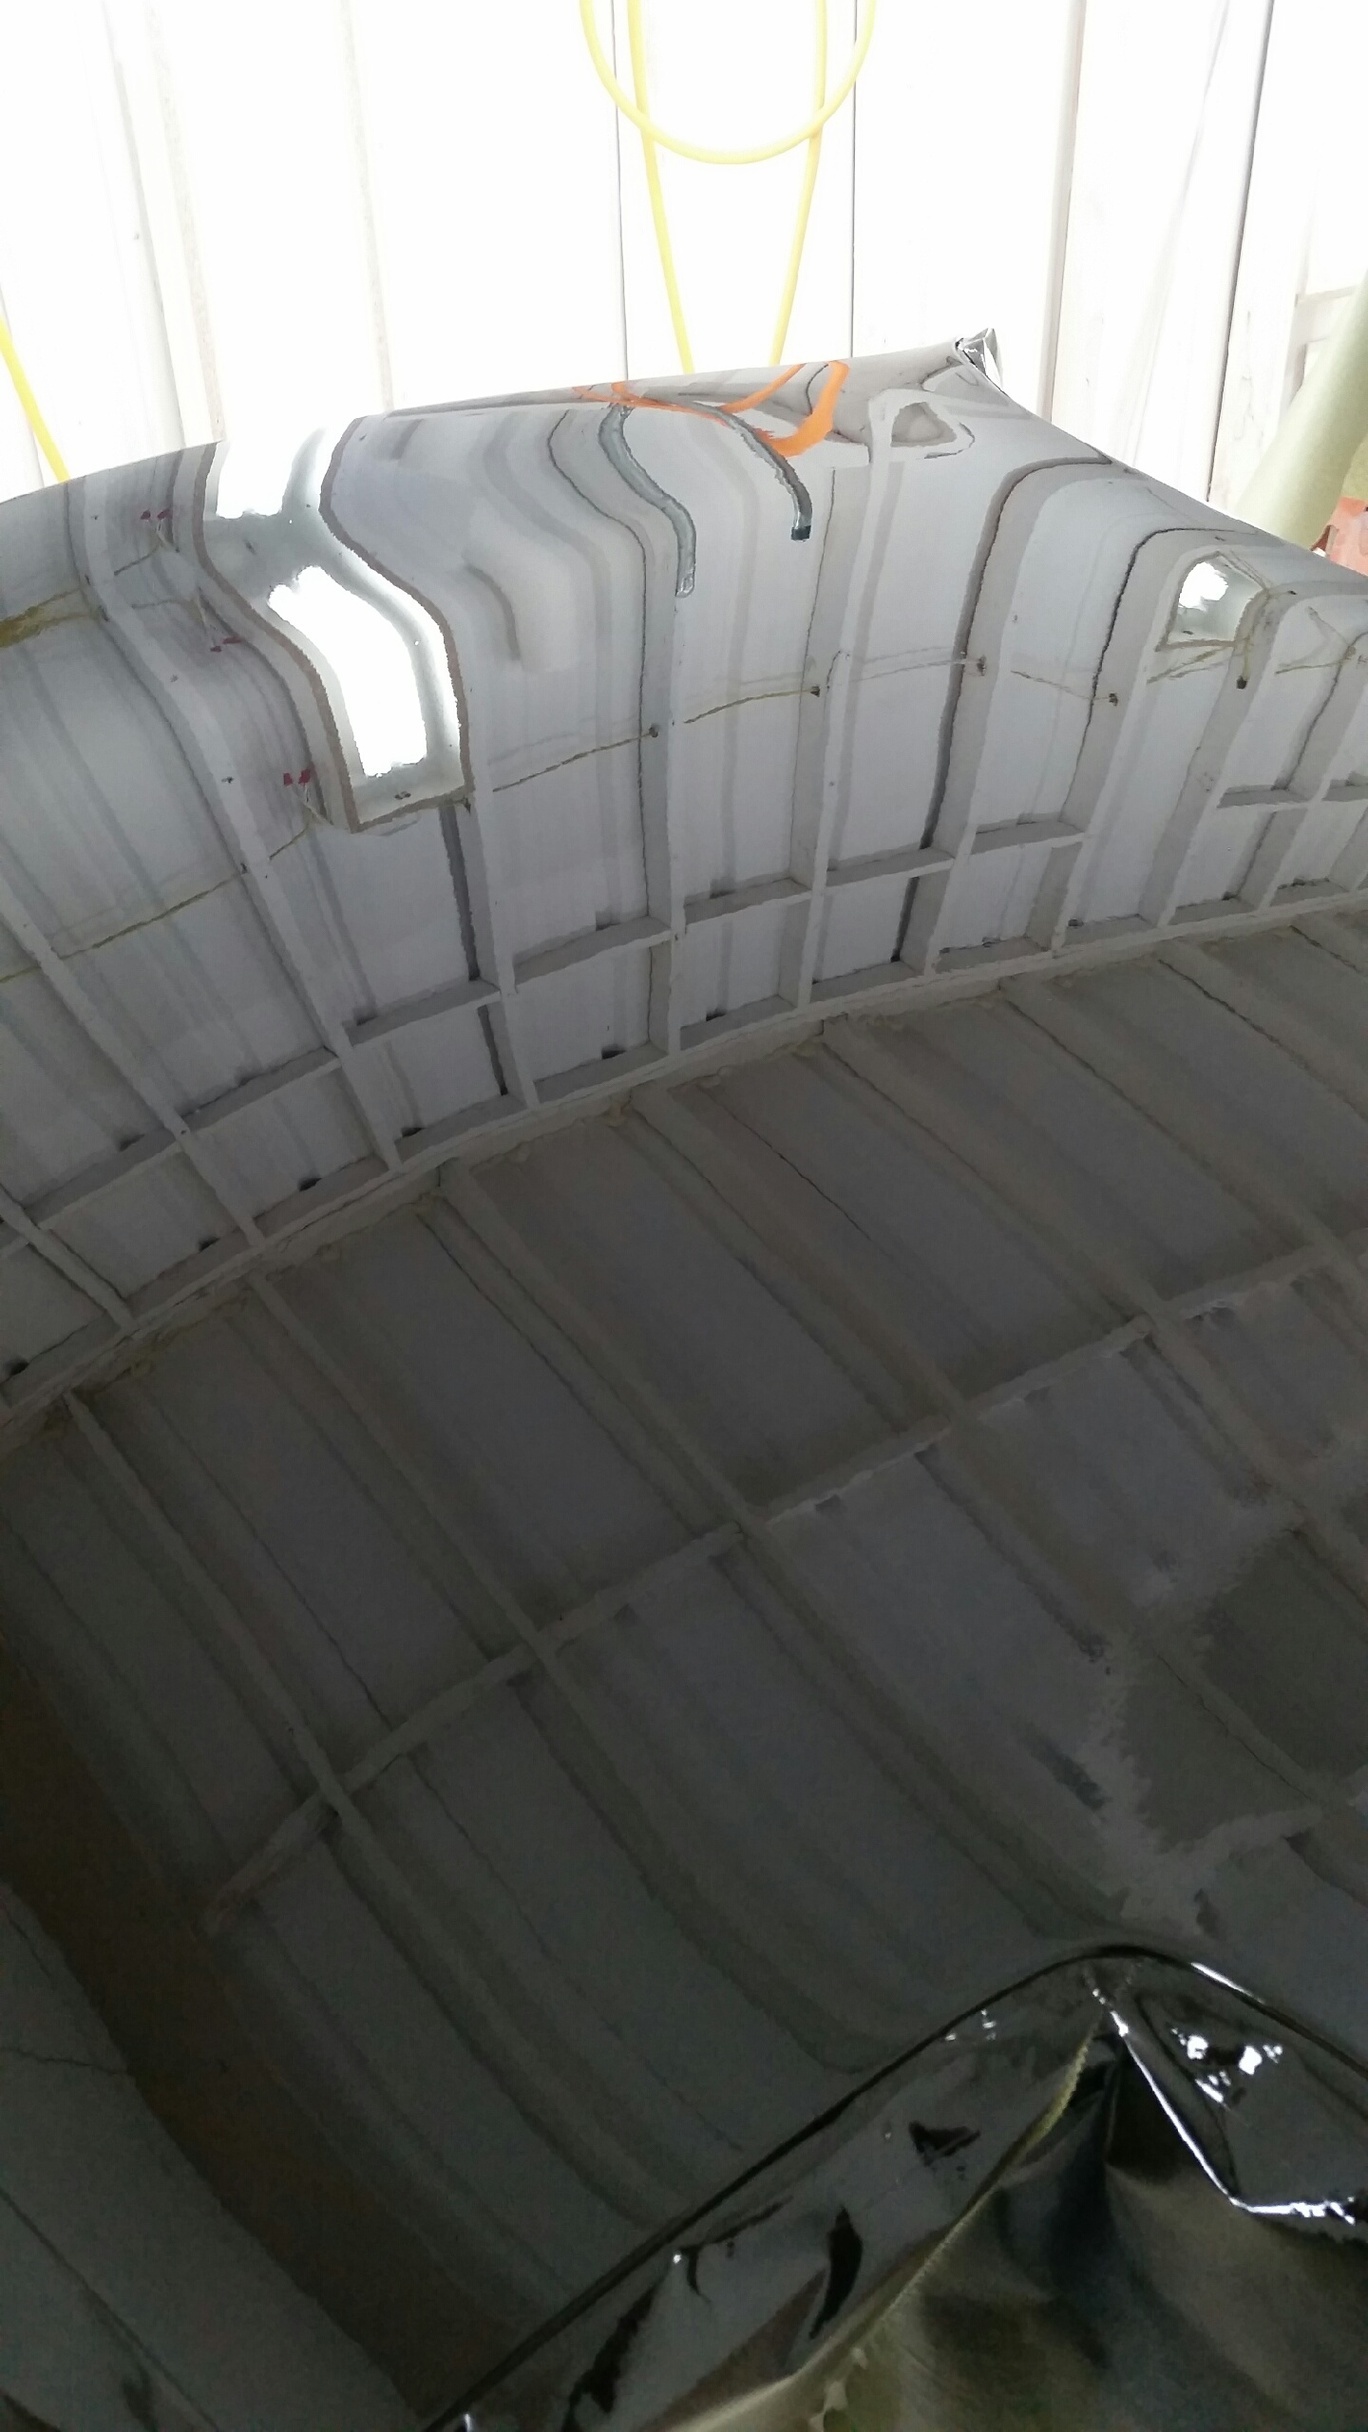
Rear bumper approaching its final prime prep stages:
Primer town!
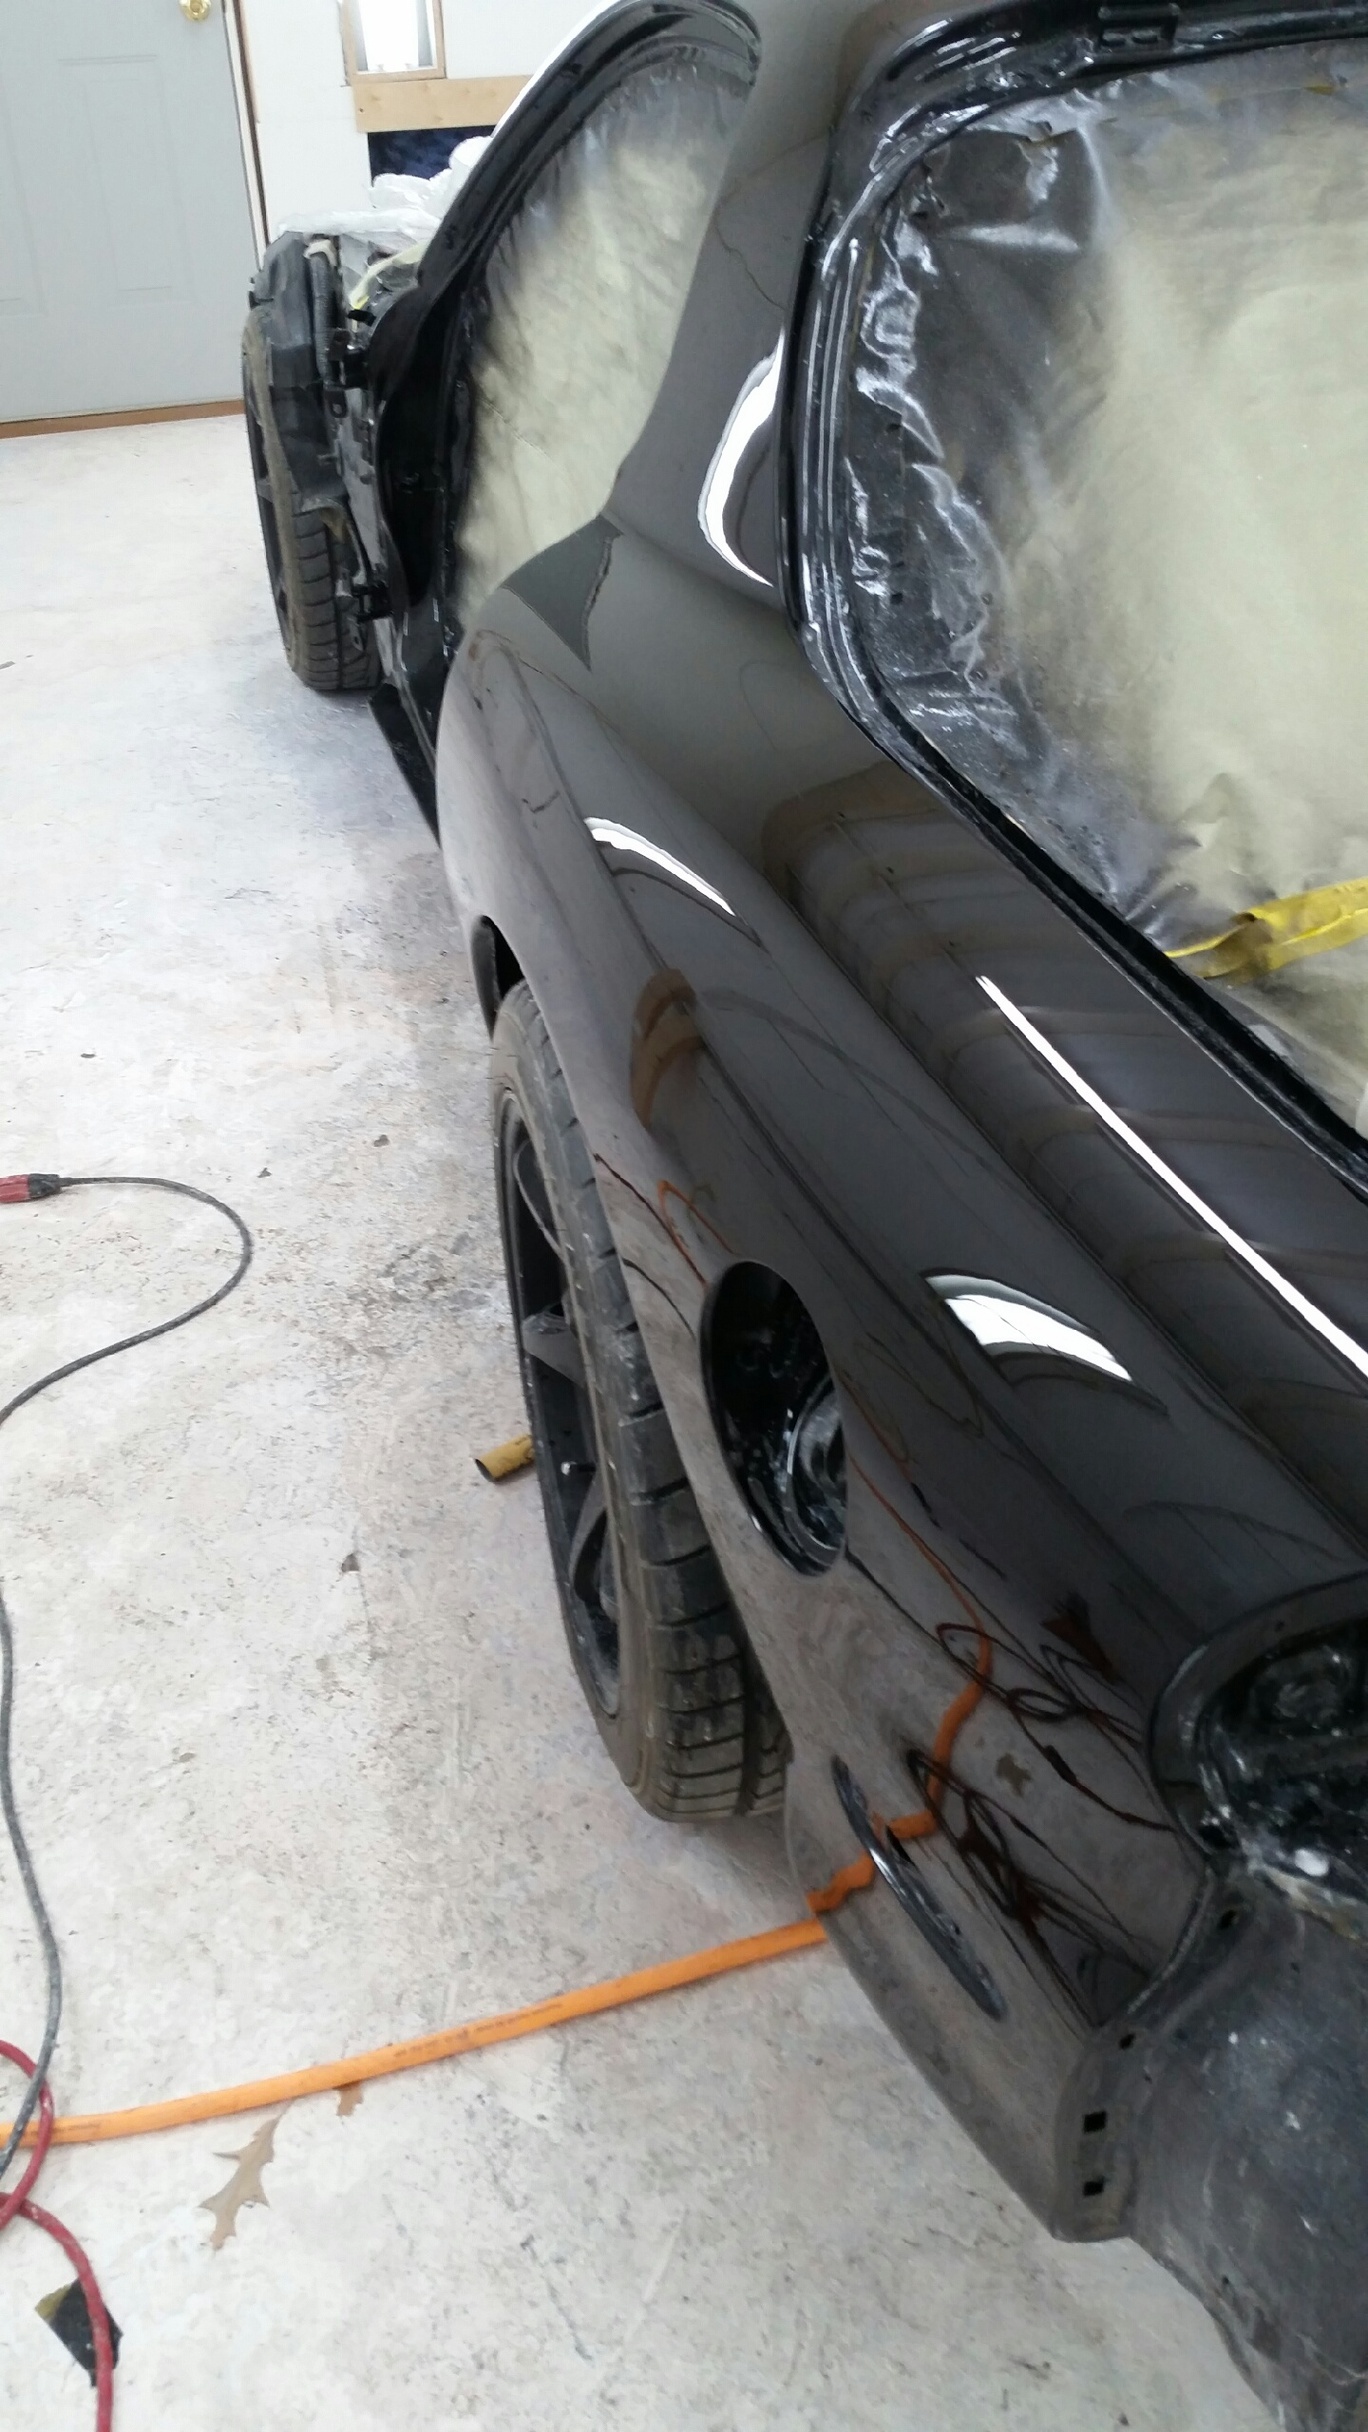
Finally, it's not really something John has been photographing but he's taking a lot of time getting the hood perfect. There was a spot where the PO dropped the hood on a 102mm TB that has taken quite a bit of work to get perfect as well as some slight hand prints where the bumper meets the hood caused by hard closes I guess. It's tedious work but he's putting the time into it to get it perfect. John's planning on hopefully getting the hood final primed tomorrow or fiday and final block sand the hood, sunroof, and trunk.
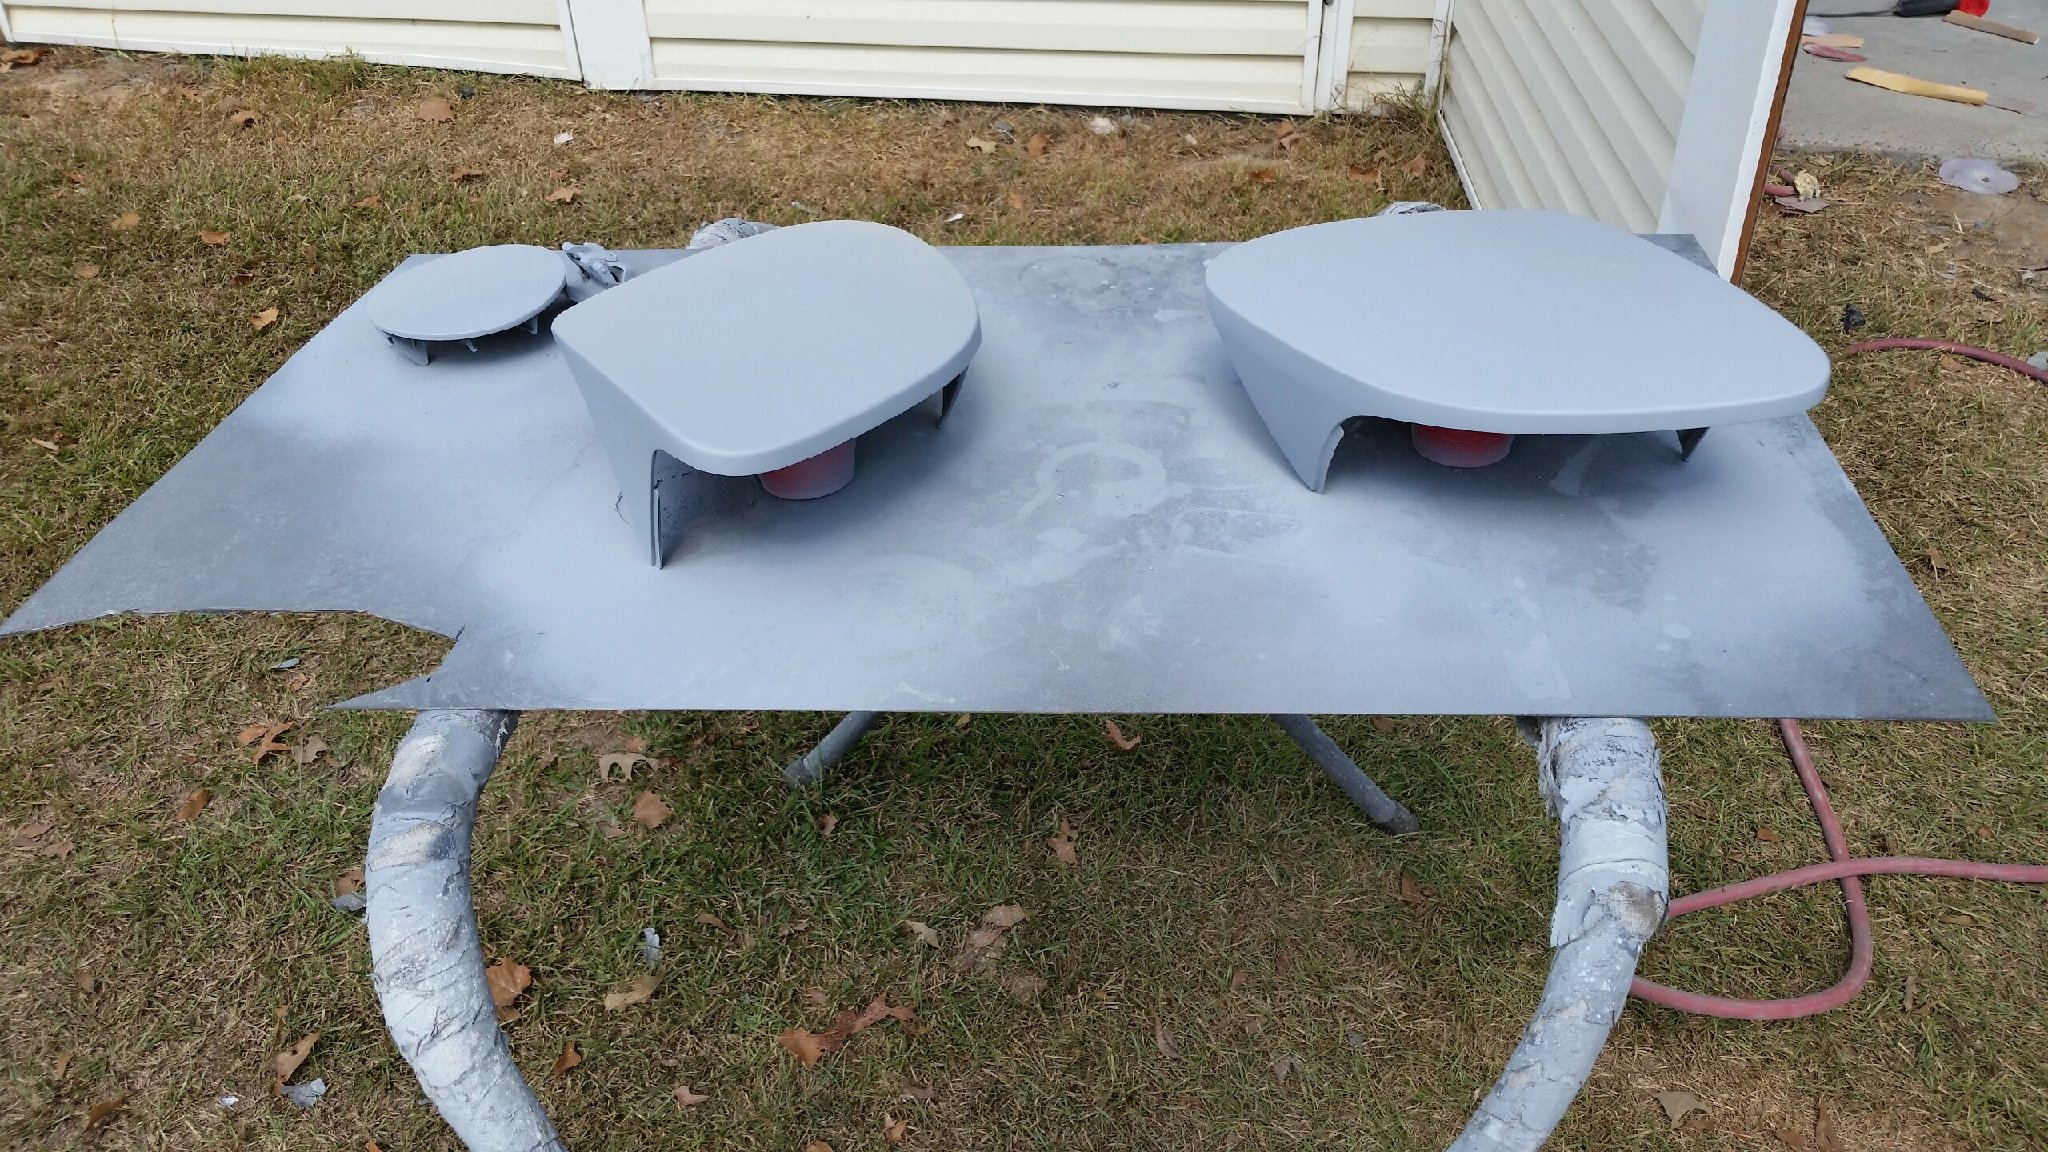
Only things left to prep are the fender vents, mirrors, front lip, and rear valance! After that it's paint time!!!
Hoping to get the jambs painted next week!
Lane
 10-20-14, 11:03 AM
#34
I'm so glad I saw this thread.
I'm from northwest Mississippi up near Memphis. It will probably be a few years before the budget allows me to paint my fd, but definitely something that I need to do. Will look him up and hope he will take on my project when I'm ready. Nice to see somebody focused on details and quality.
I see your from Starkville. I went to school down there. Hail State!
10-21-14, 07:52 AM
#36
https://www.rx7club.com/interior-ext.../#post11809084
Definitely still stoked about it! It's an amazing replacement piece
I'm so glad I saw this thread.
I'm from northwest Mississippi up near Memphis. It will probably be a few years before the budget allows me to paint my fd, but definitely something that I need to do. Will look him up and hope he will take on my project when I'm ready. Nice to see somebody focused on details and quality.
I see your from Starkville. I went to school down there. Hail State!
I'm from northwest Mississippi up near Memphis. It will probably be a few years before the budget allows me to paint my fd, but definitely something that I need to do. Will look him up and hope he will take on my project when I'm ready. Nice to see somebody focused on details and quality.
I see your from Starkville. I went to school down there. Hail State!
Definitely talk to John when you're ready. I think people get scared of even starting the conversation because they think they already know what a job like this would cost. While every car is different I can assure you that his rates make me feel like I'm steeling from him

You'll like my update below
More are on the way I promise! What would this thread be if I didn't finish it out with a finale of glamor shots

*Update* or lack of updates haha.
Y'all may have noticed that the frequency of updates has declined lately. When we first got started John was working only on the nights and weekends. Then he was working on the car full time for a few weeks. Now, as we near the finish line, John has been working on an extremely exciting plan for his own paint business. I can't spill all the beans yet or share any pictures but lets just say I don't think we're going to have to take my car to a competitors paint booth in a few weeks to lay down the base and clear
I'll break the news officially once John is done and then we'll resume the paint pr0n

Lane
 11-06-14, 02:43 PM
#38
Things are picking up again... FAST
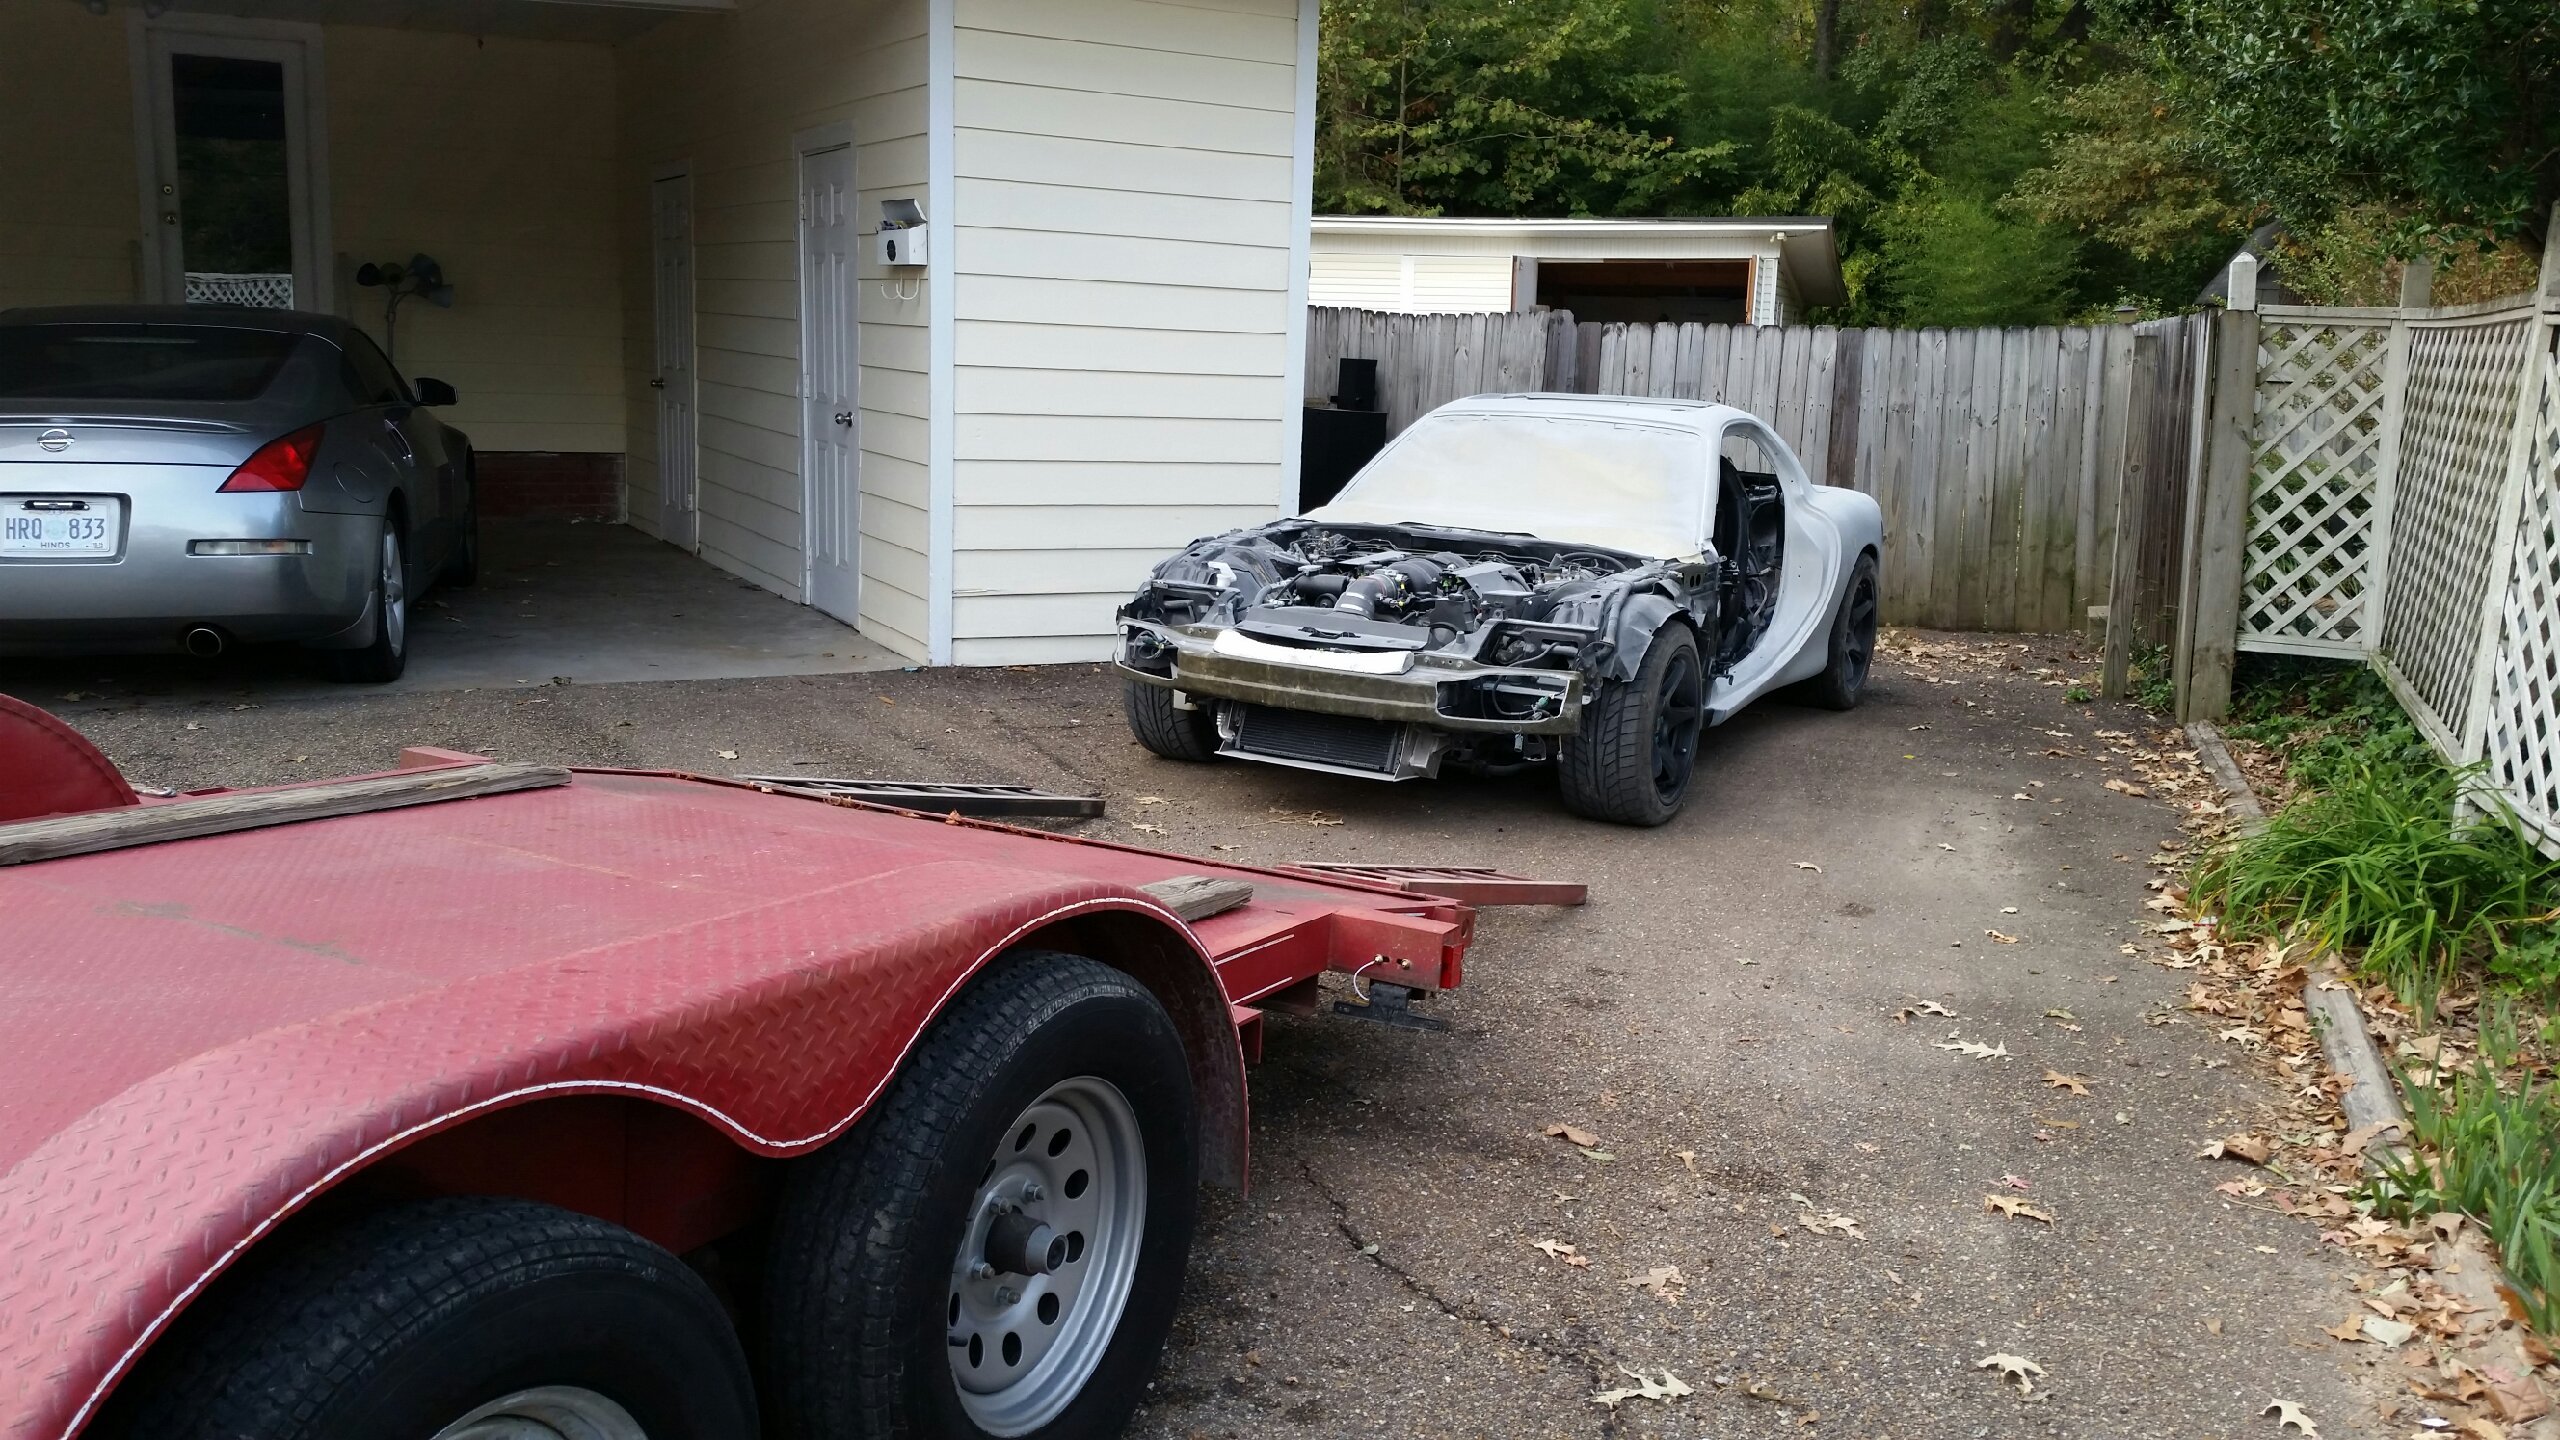
The arrival:
Getting the door jambs final prepped for base and clear:
Base laid:
CLEAR
First reflective pic is the door jamb. The second is the hatch.
I remember John telling me when I dropped off the car that the jambs would need to be painted in order to match. I agreed but now I can't believe how big of a statement that was
Lane
11-17-14, 09:22 AM
#39
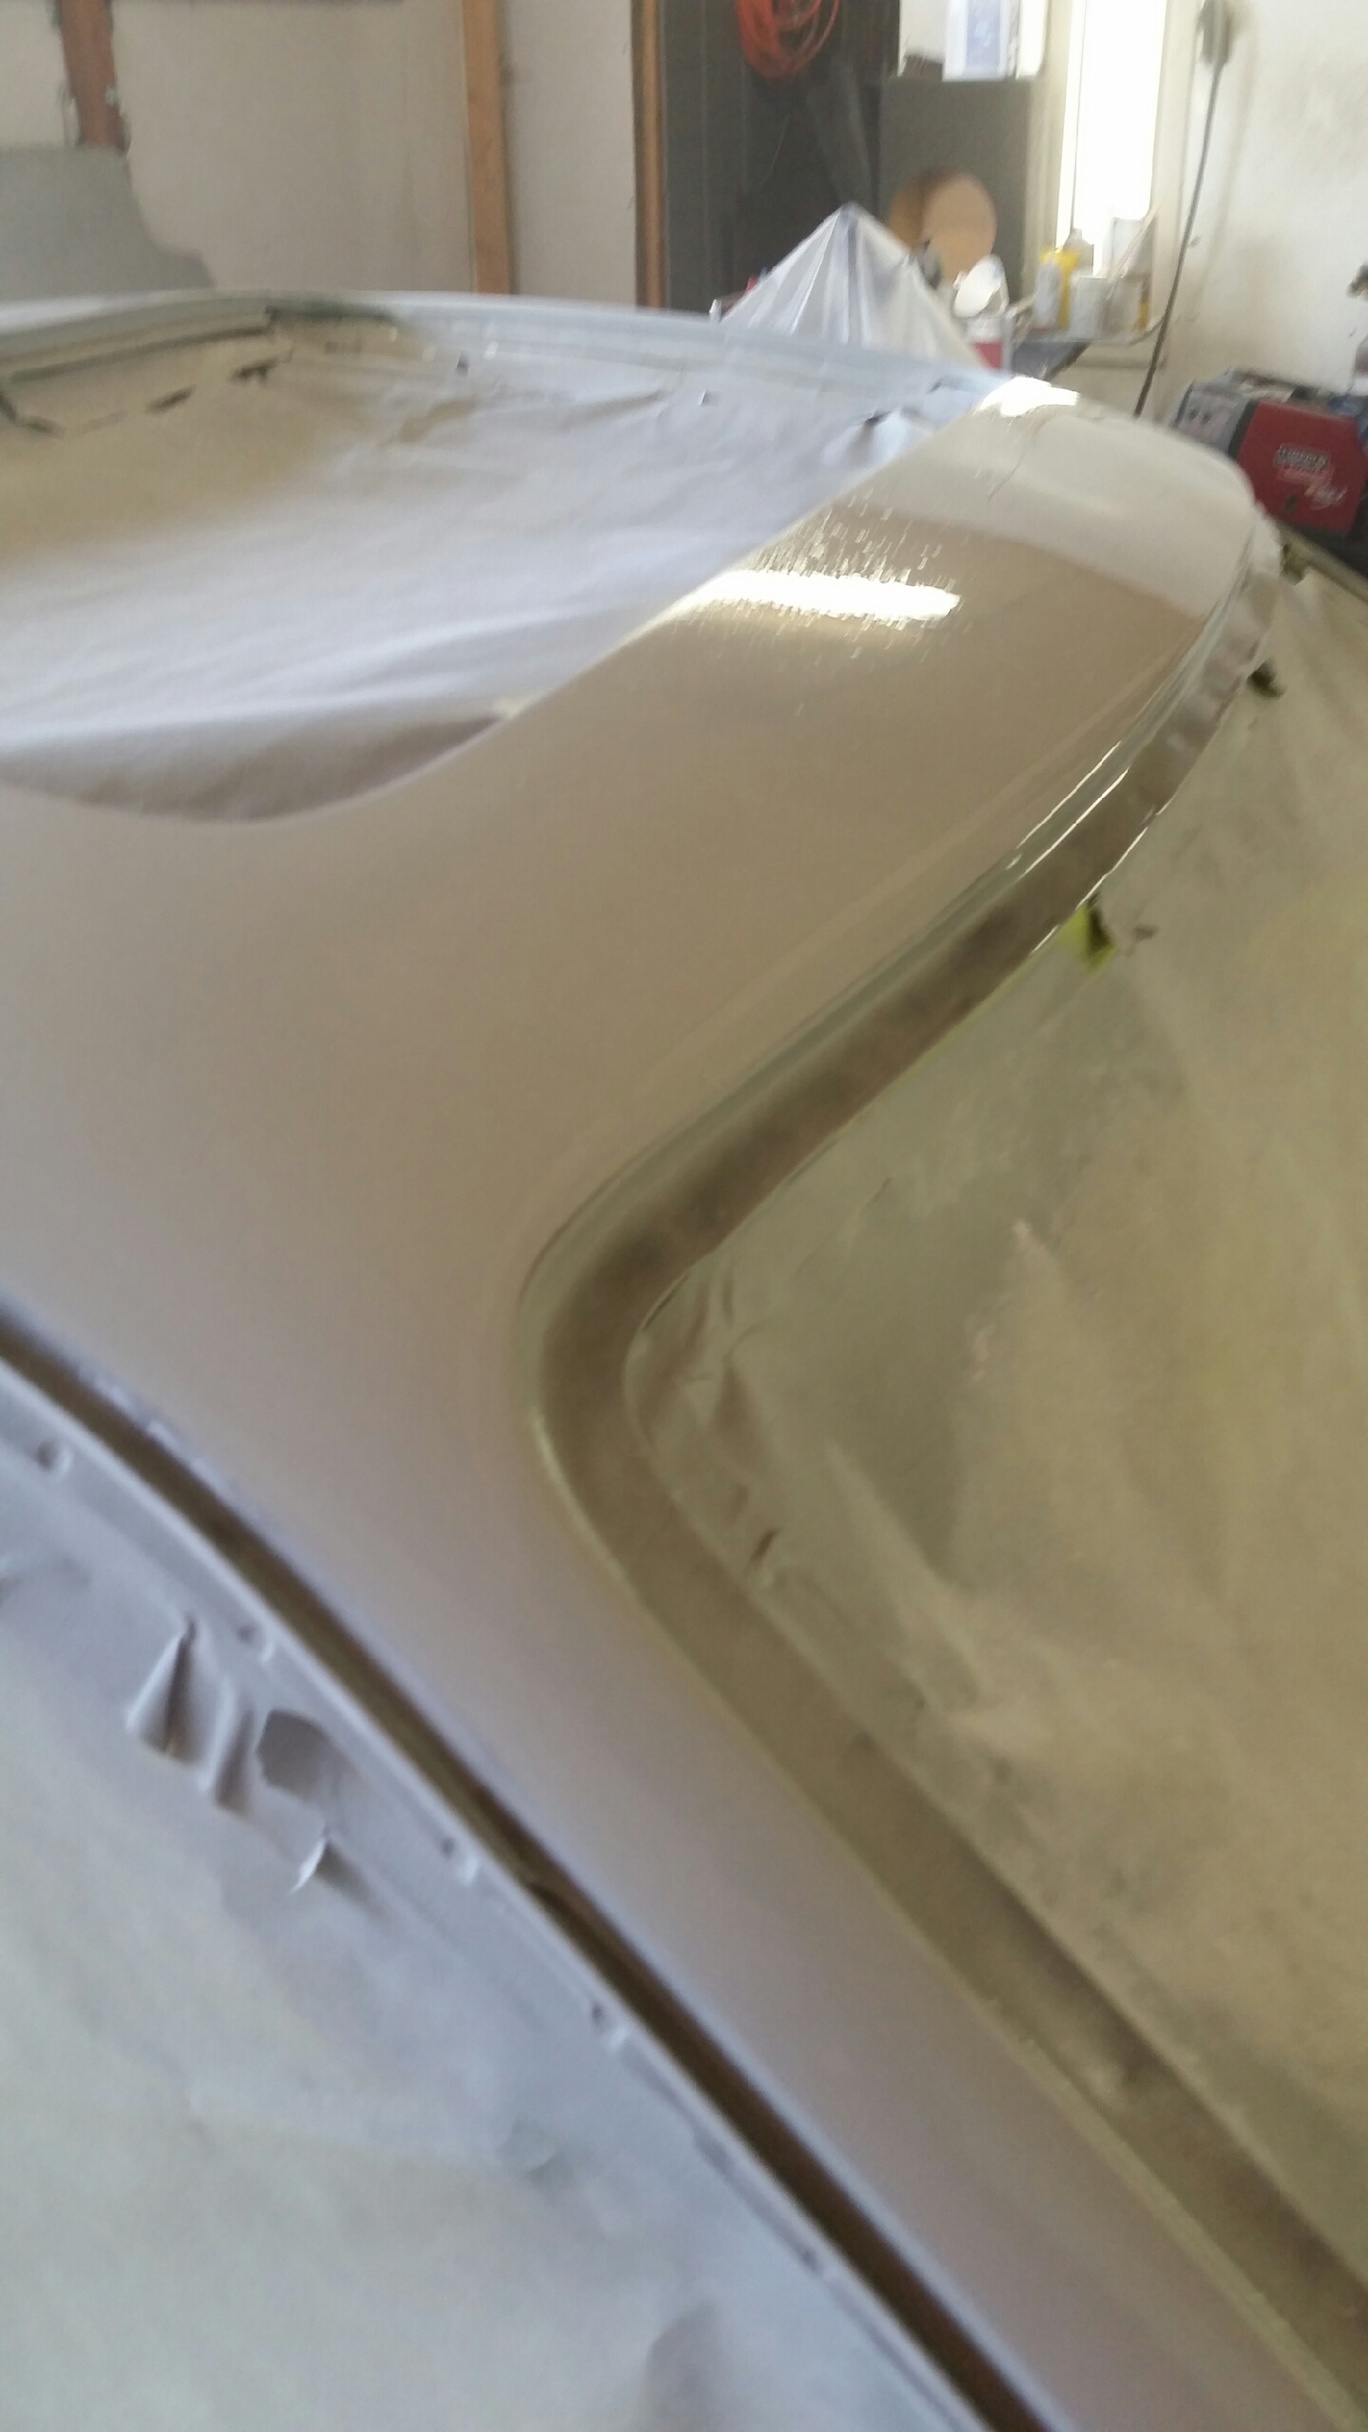
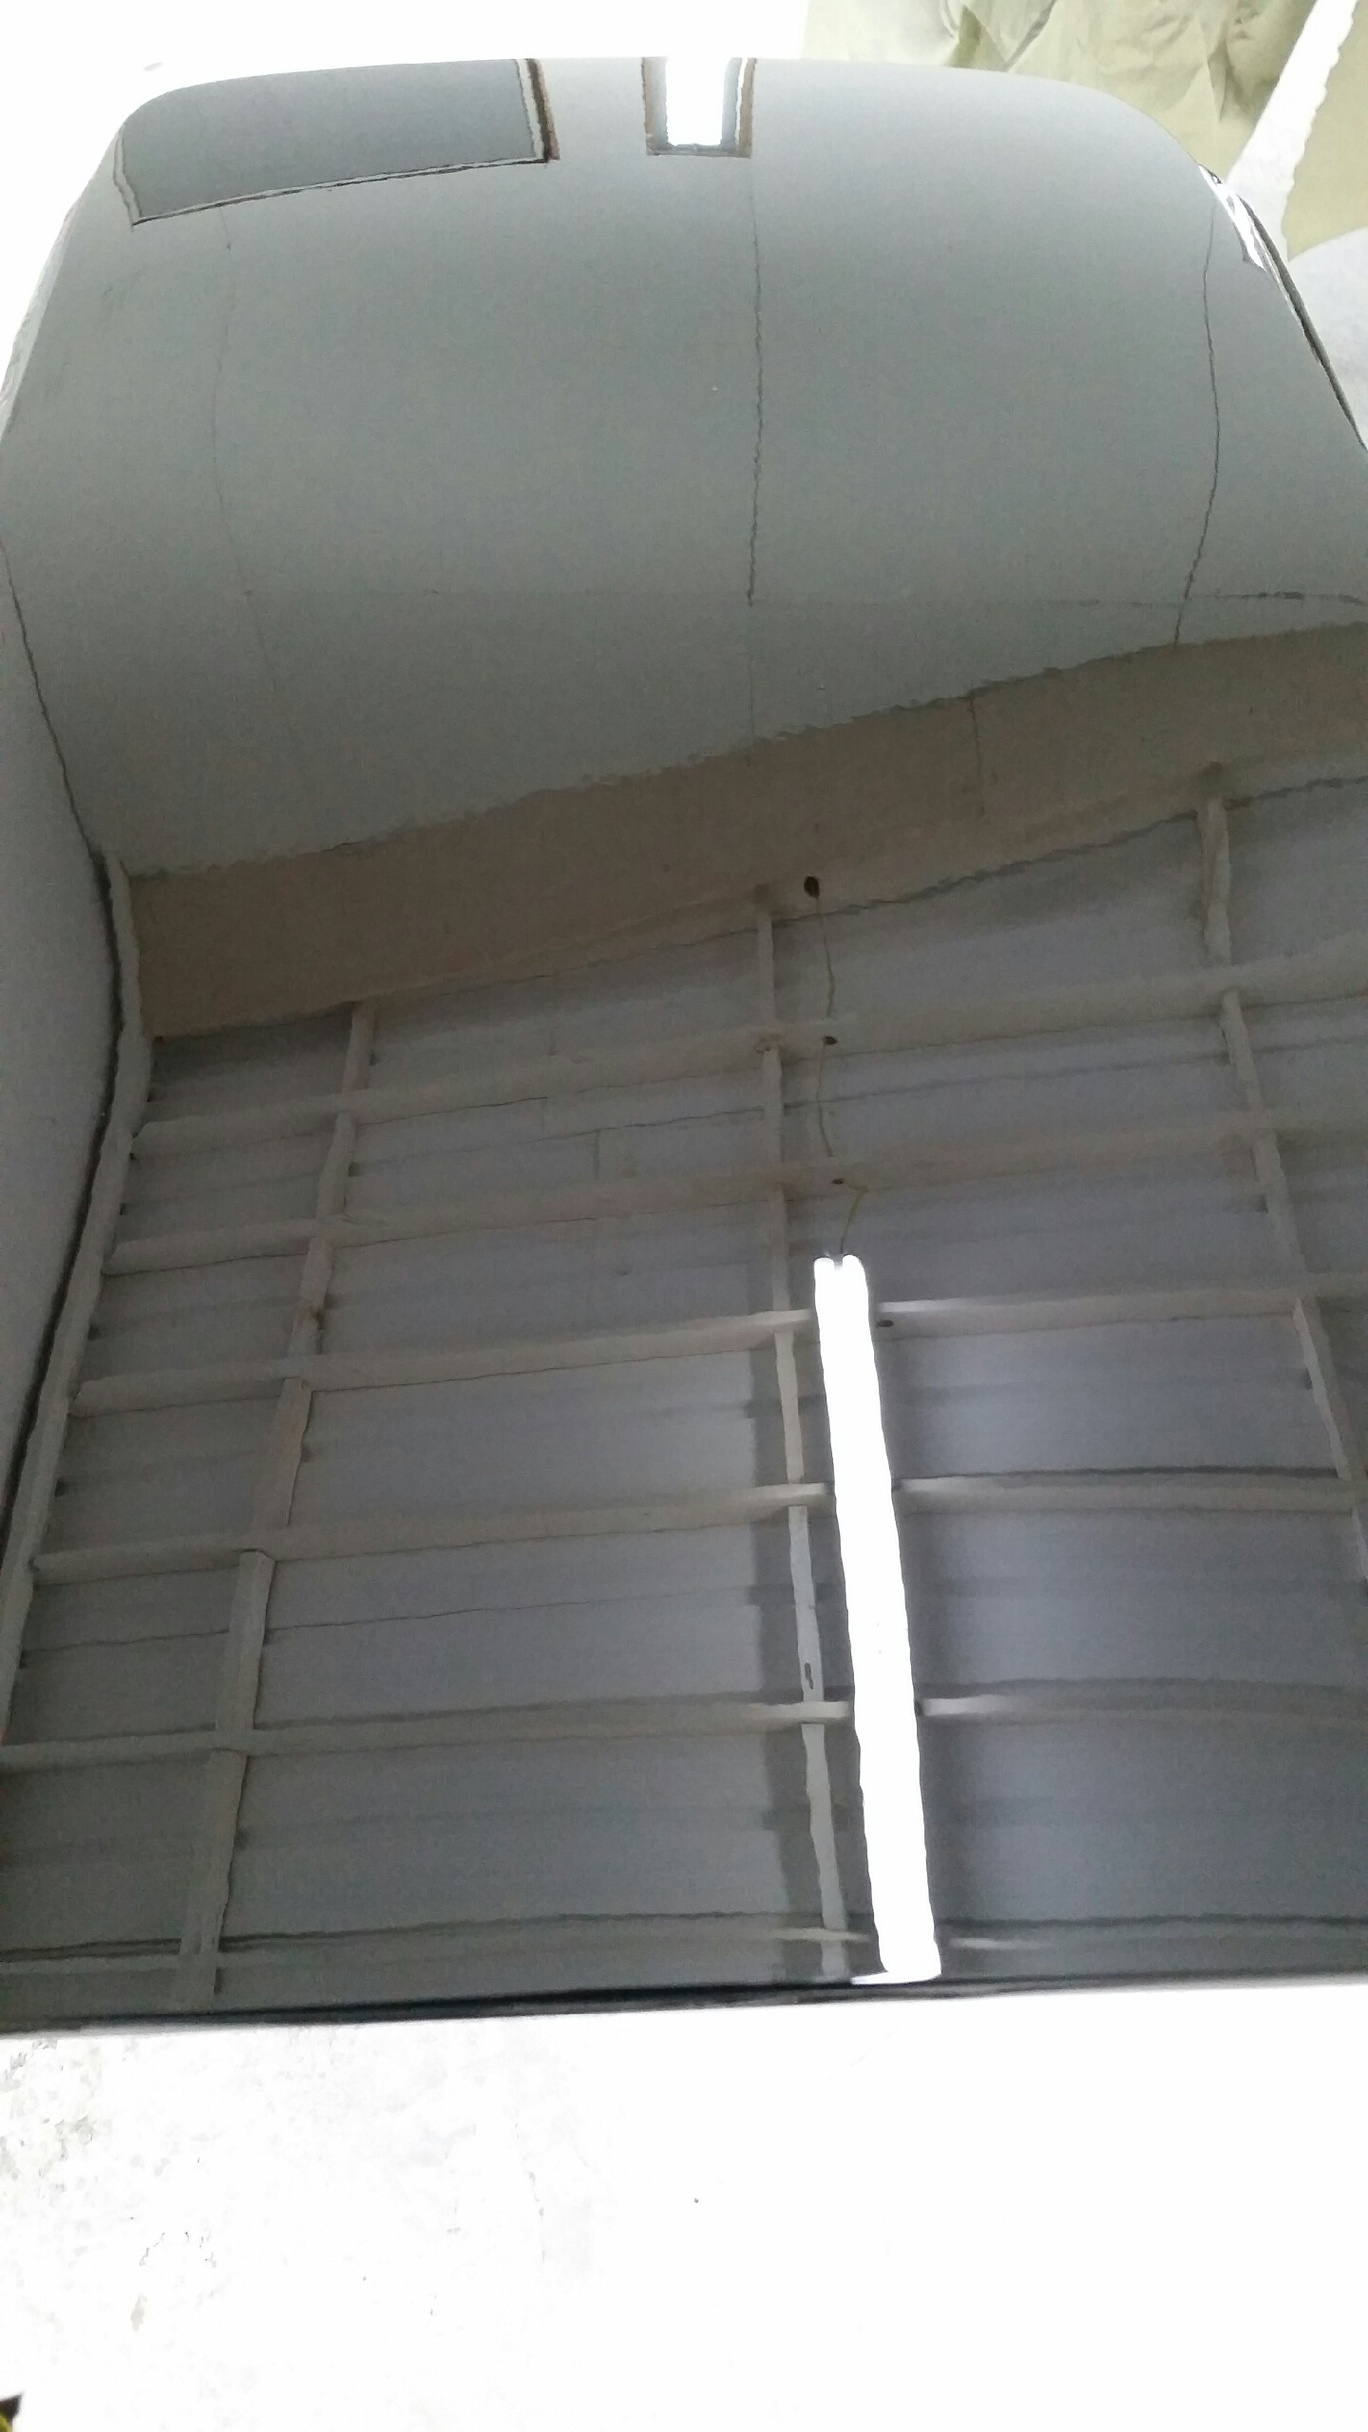
Here's a look at how John closed out last week:
Unhappy with the levelness of the hood, John went back and worked on it one more time. This is mainly due to the PO dropping the hood on a ~90mm TB that was too big to clear the hood.
I'd say he's got it now
Also got the underside of the hood painted along with the passenger door jambs:
I believe all we have left as far as paint goes is:
All parts need a final scuff for paint except the front bumper (needs additional sanding), hood needs block sanding, and mirrors need stripped and primed.
Lane
 12-11-14, 03:03 PM
#42
It's happening right now!!! 
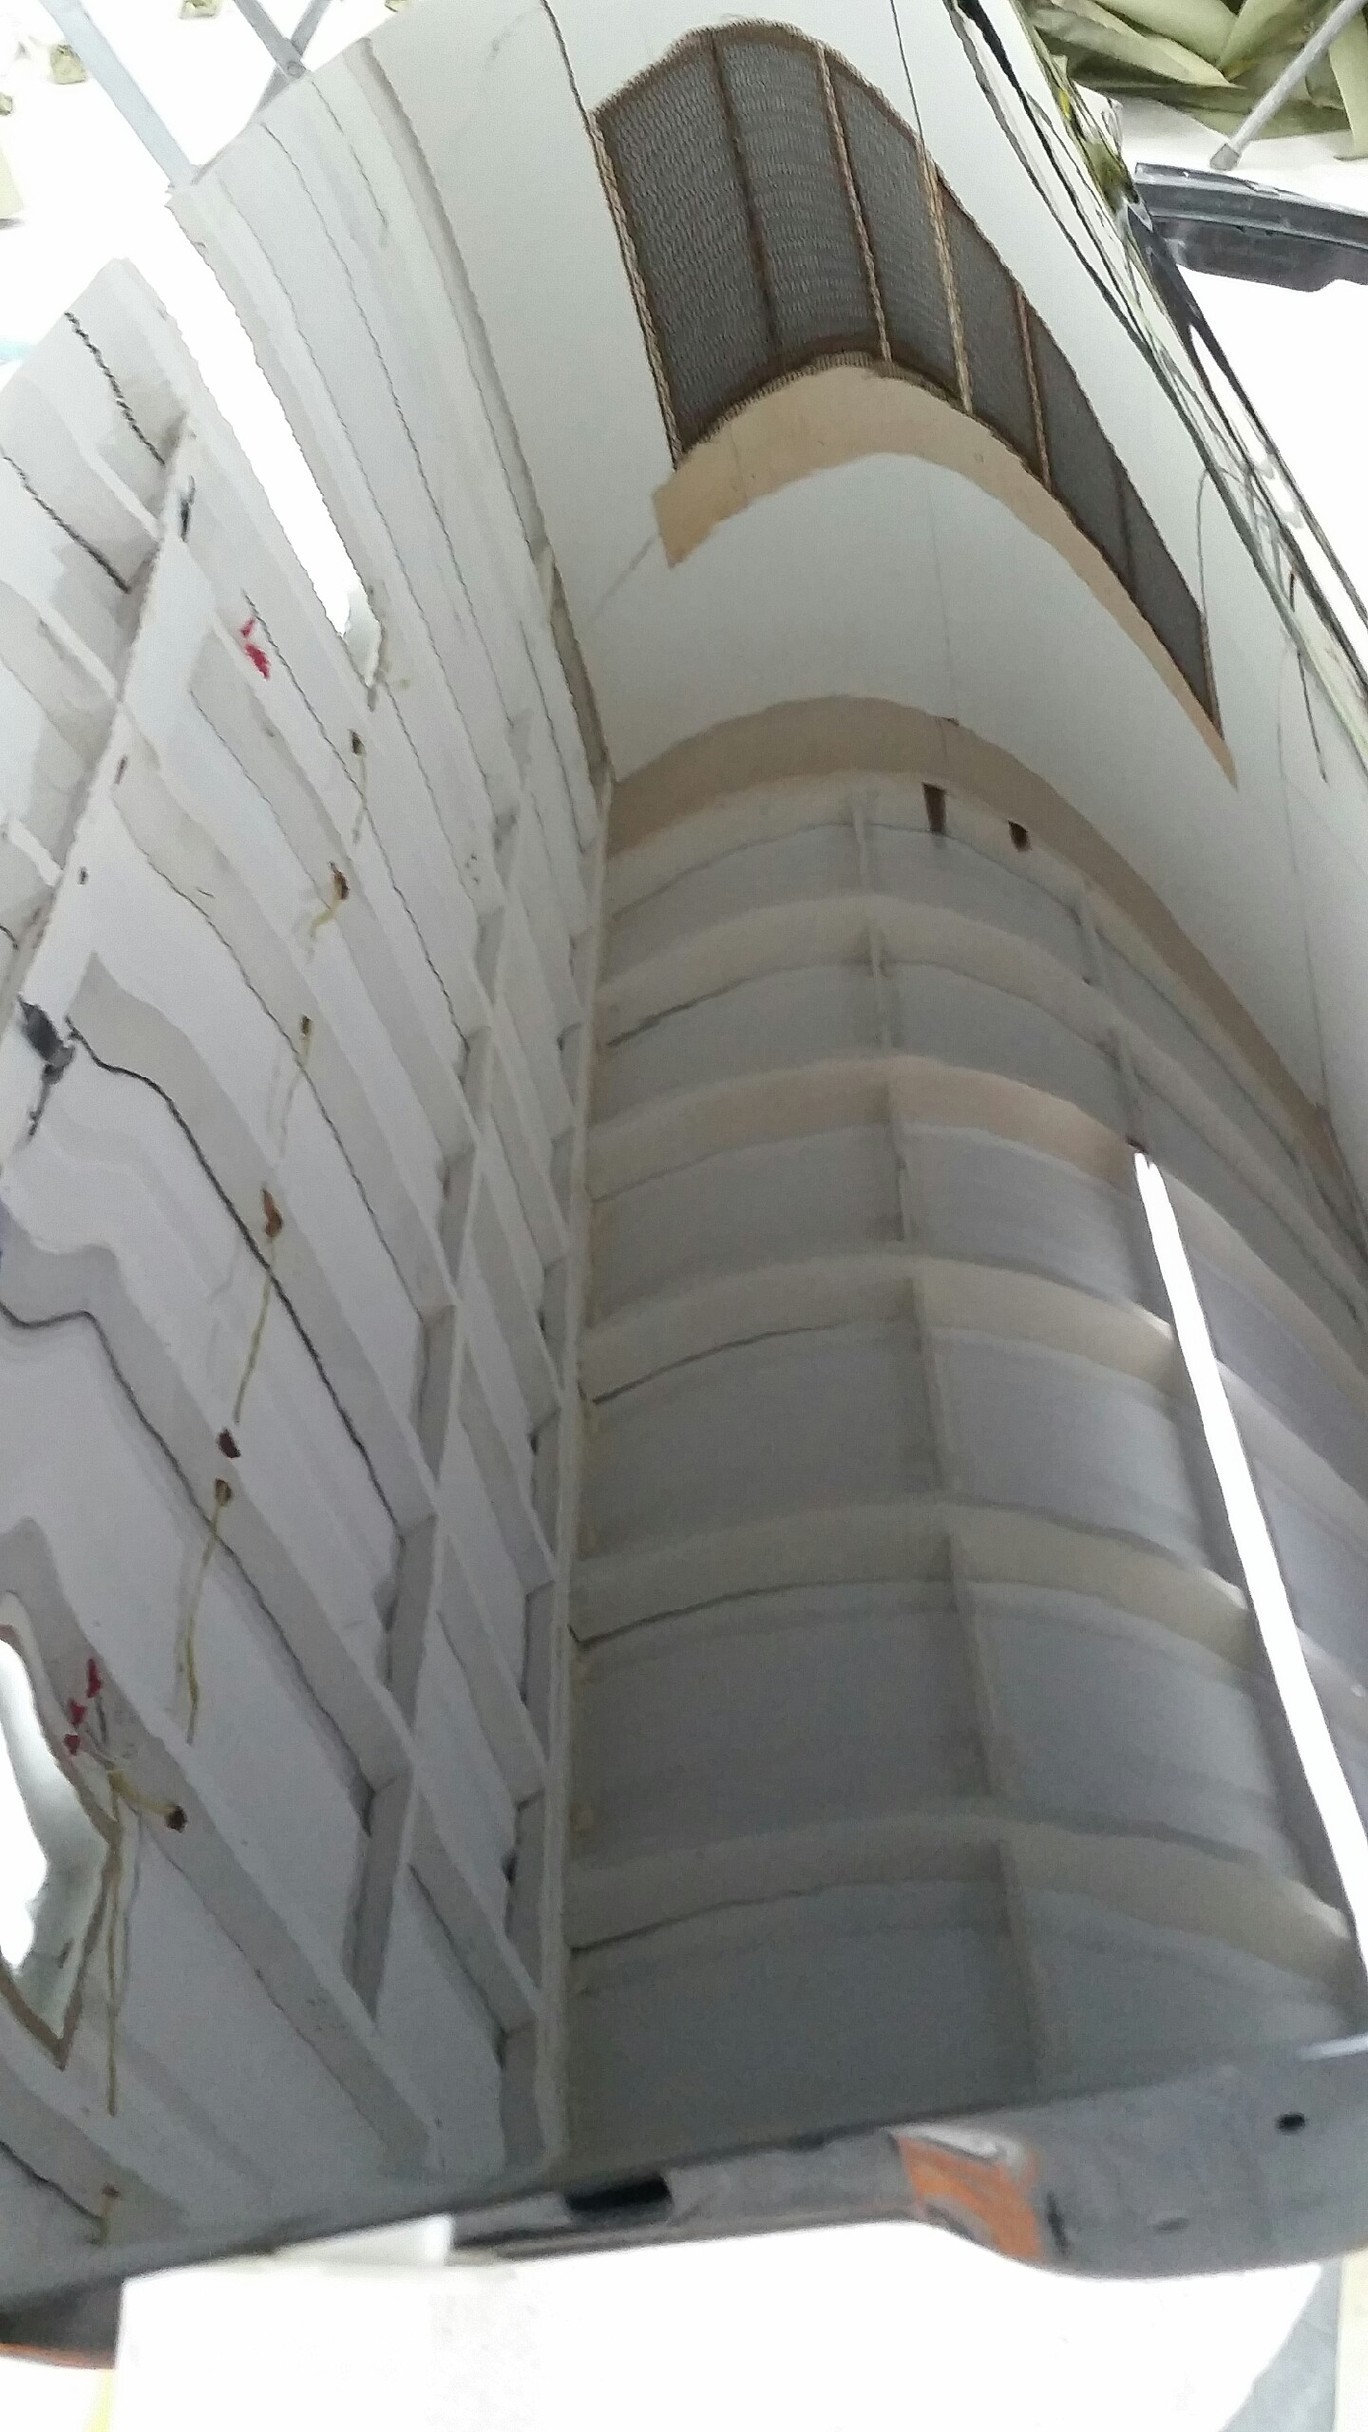
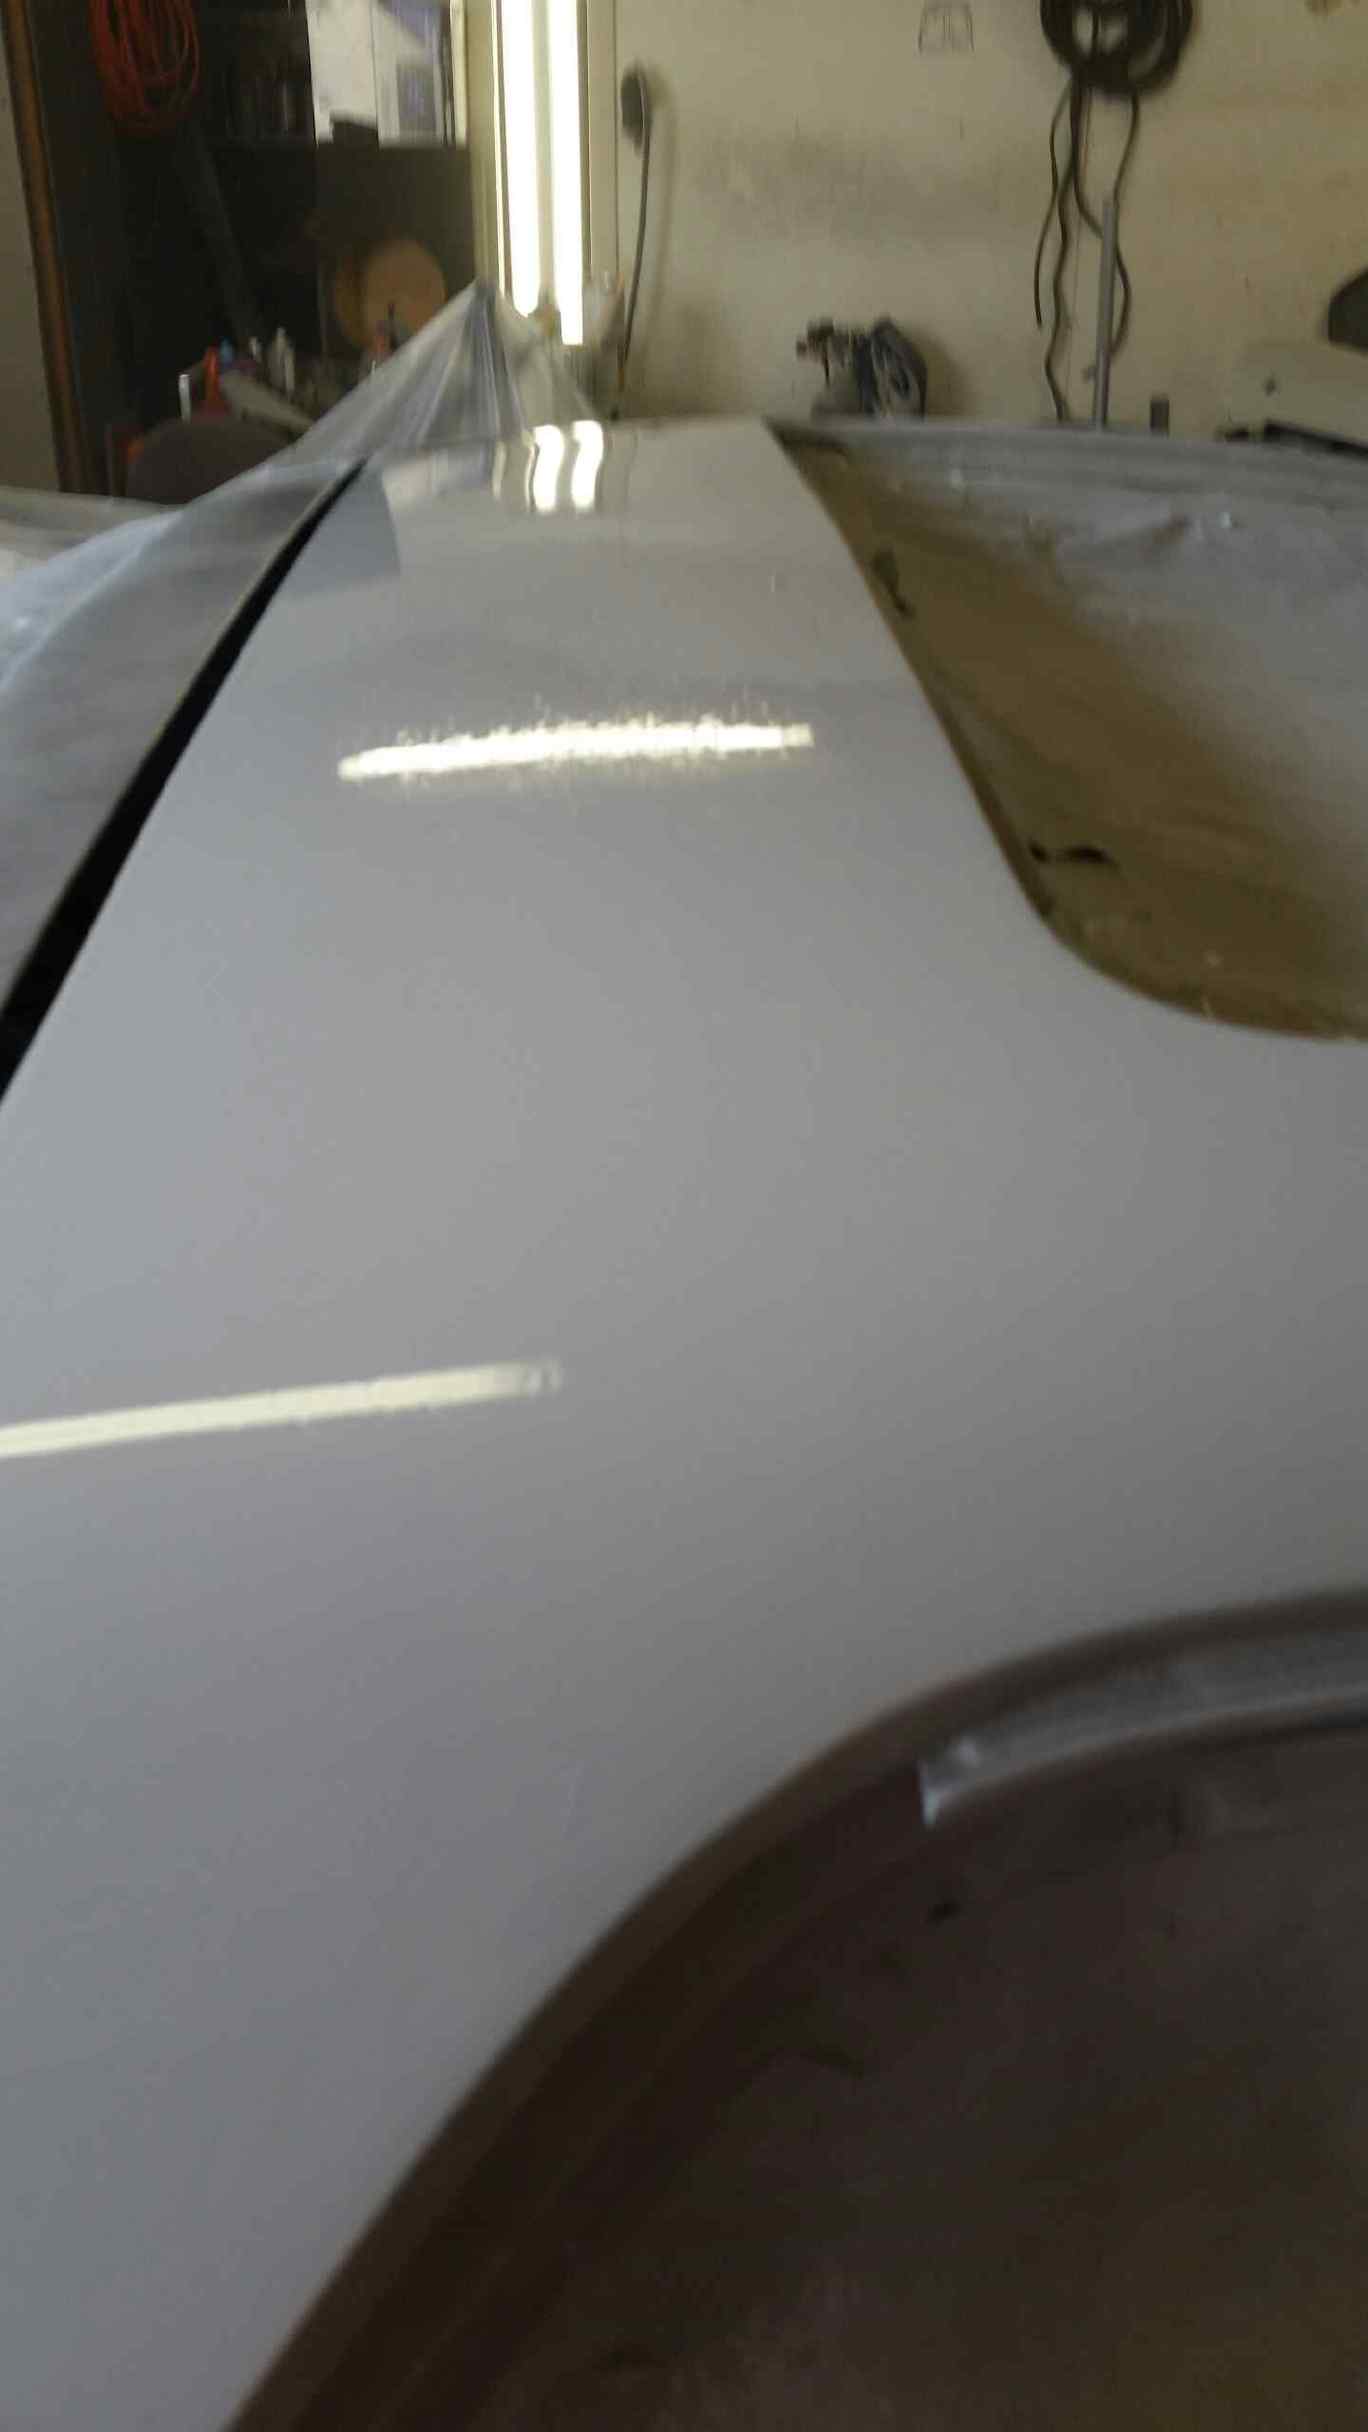
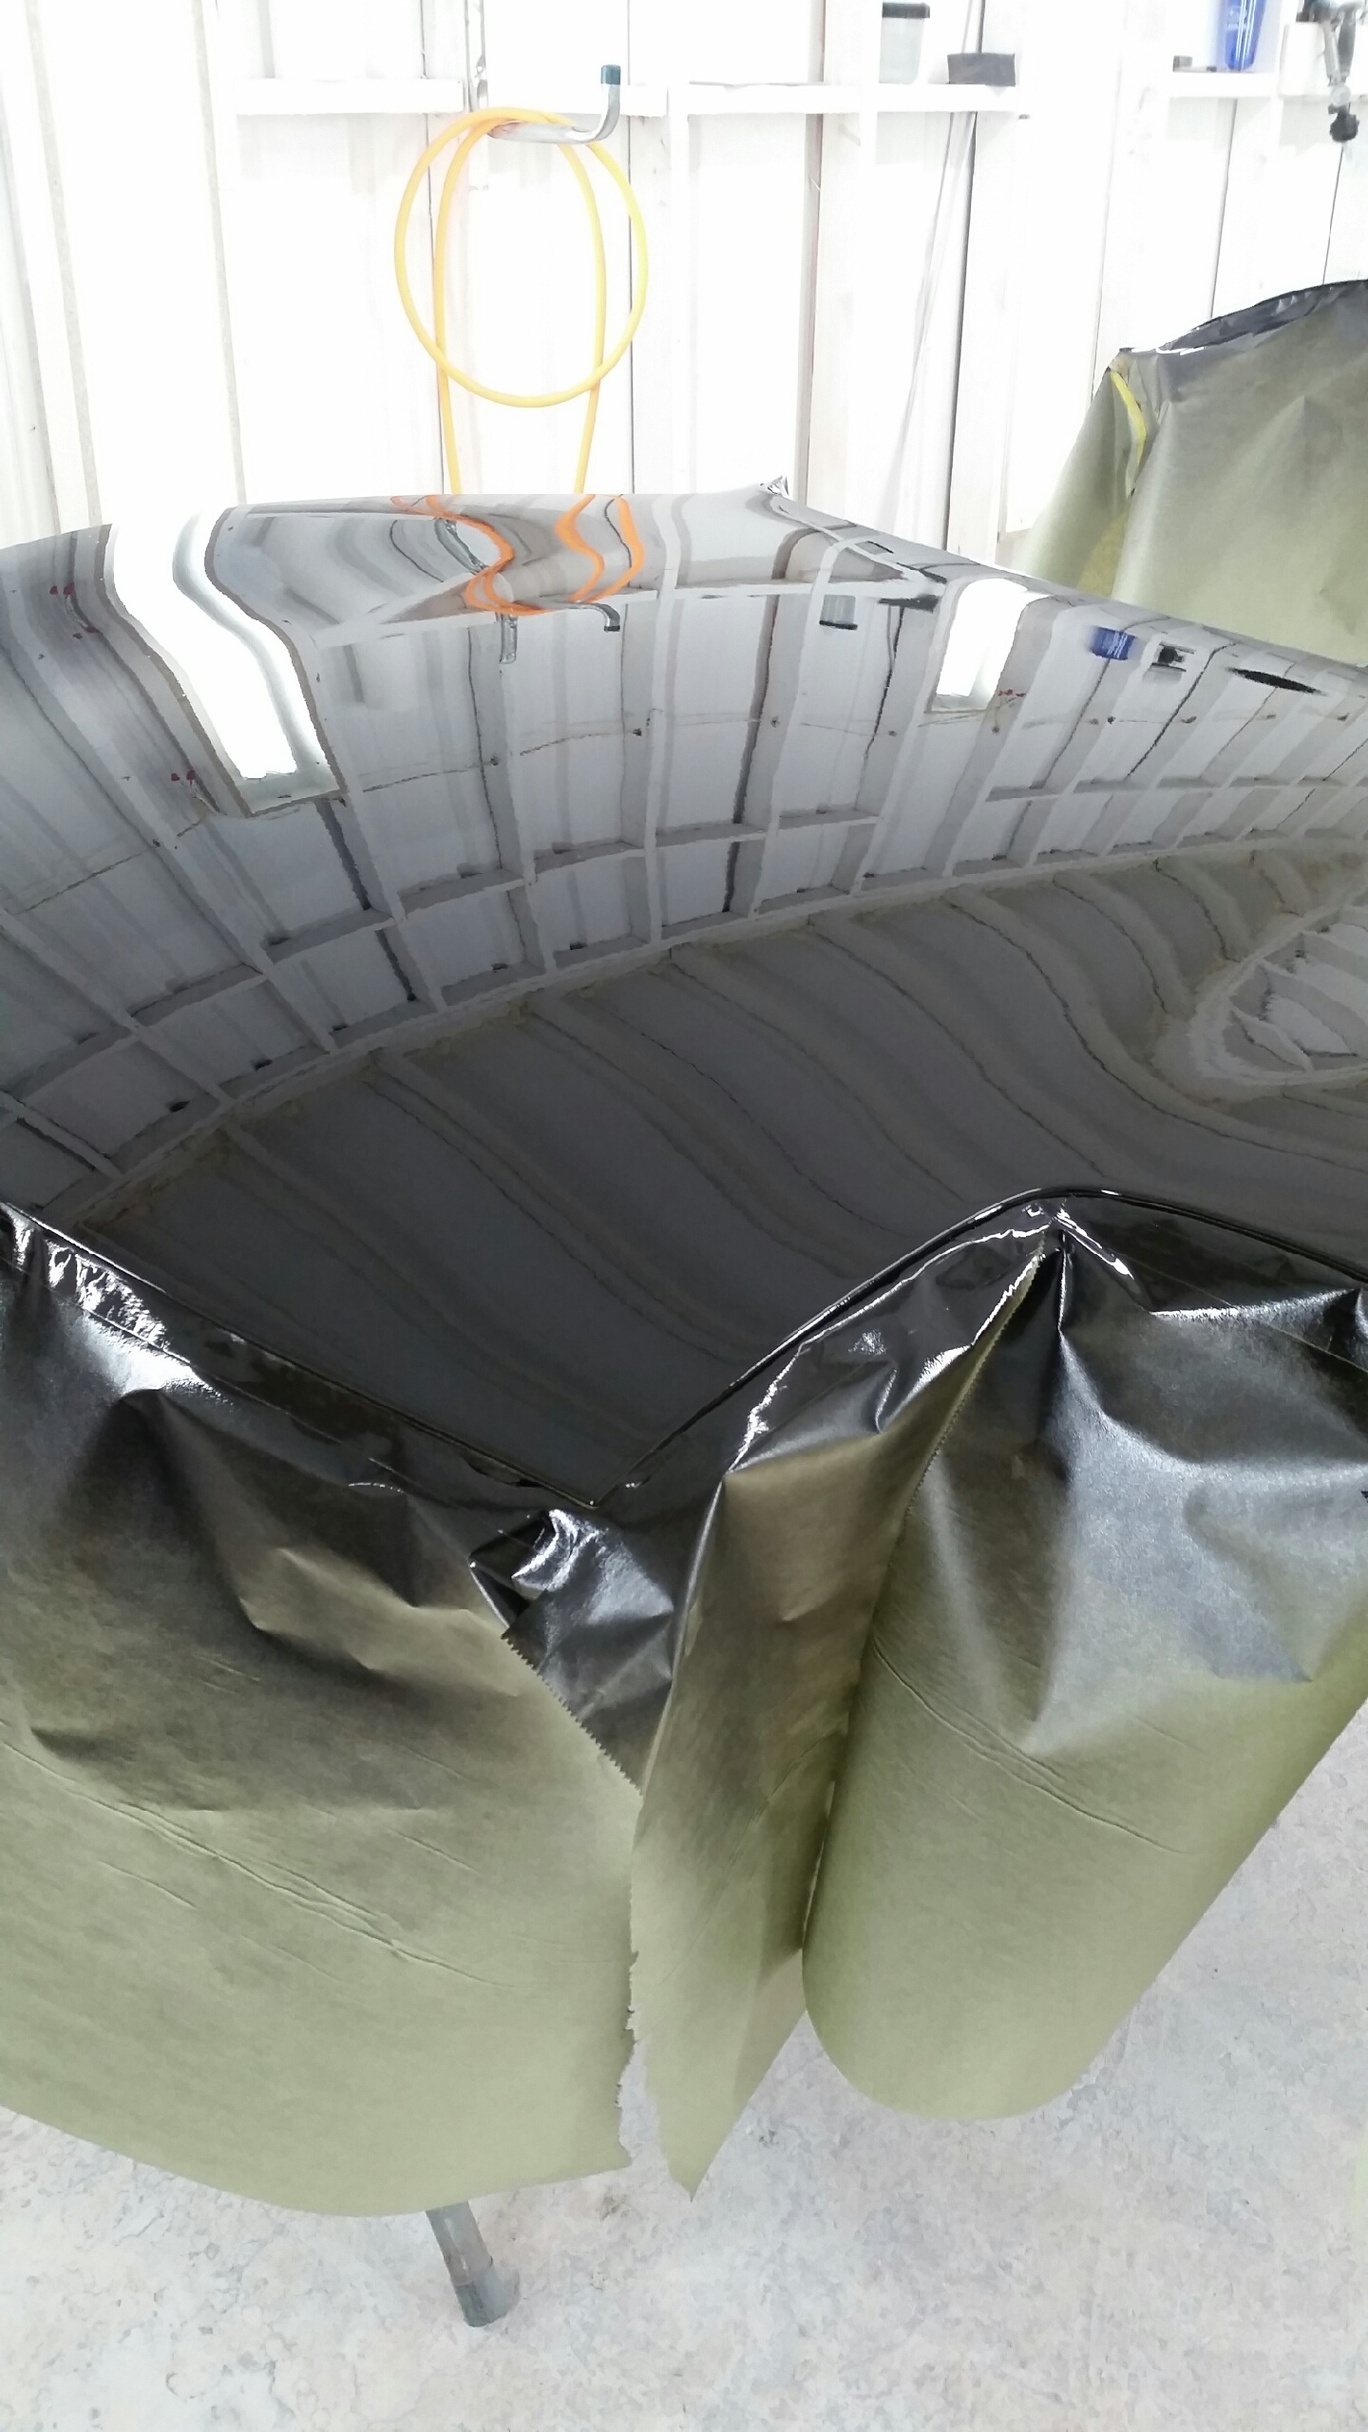
Roof after 2nd clear coat:
Roof after 3rd clear coat:
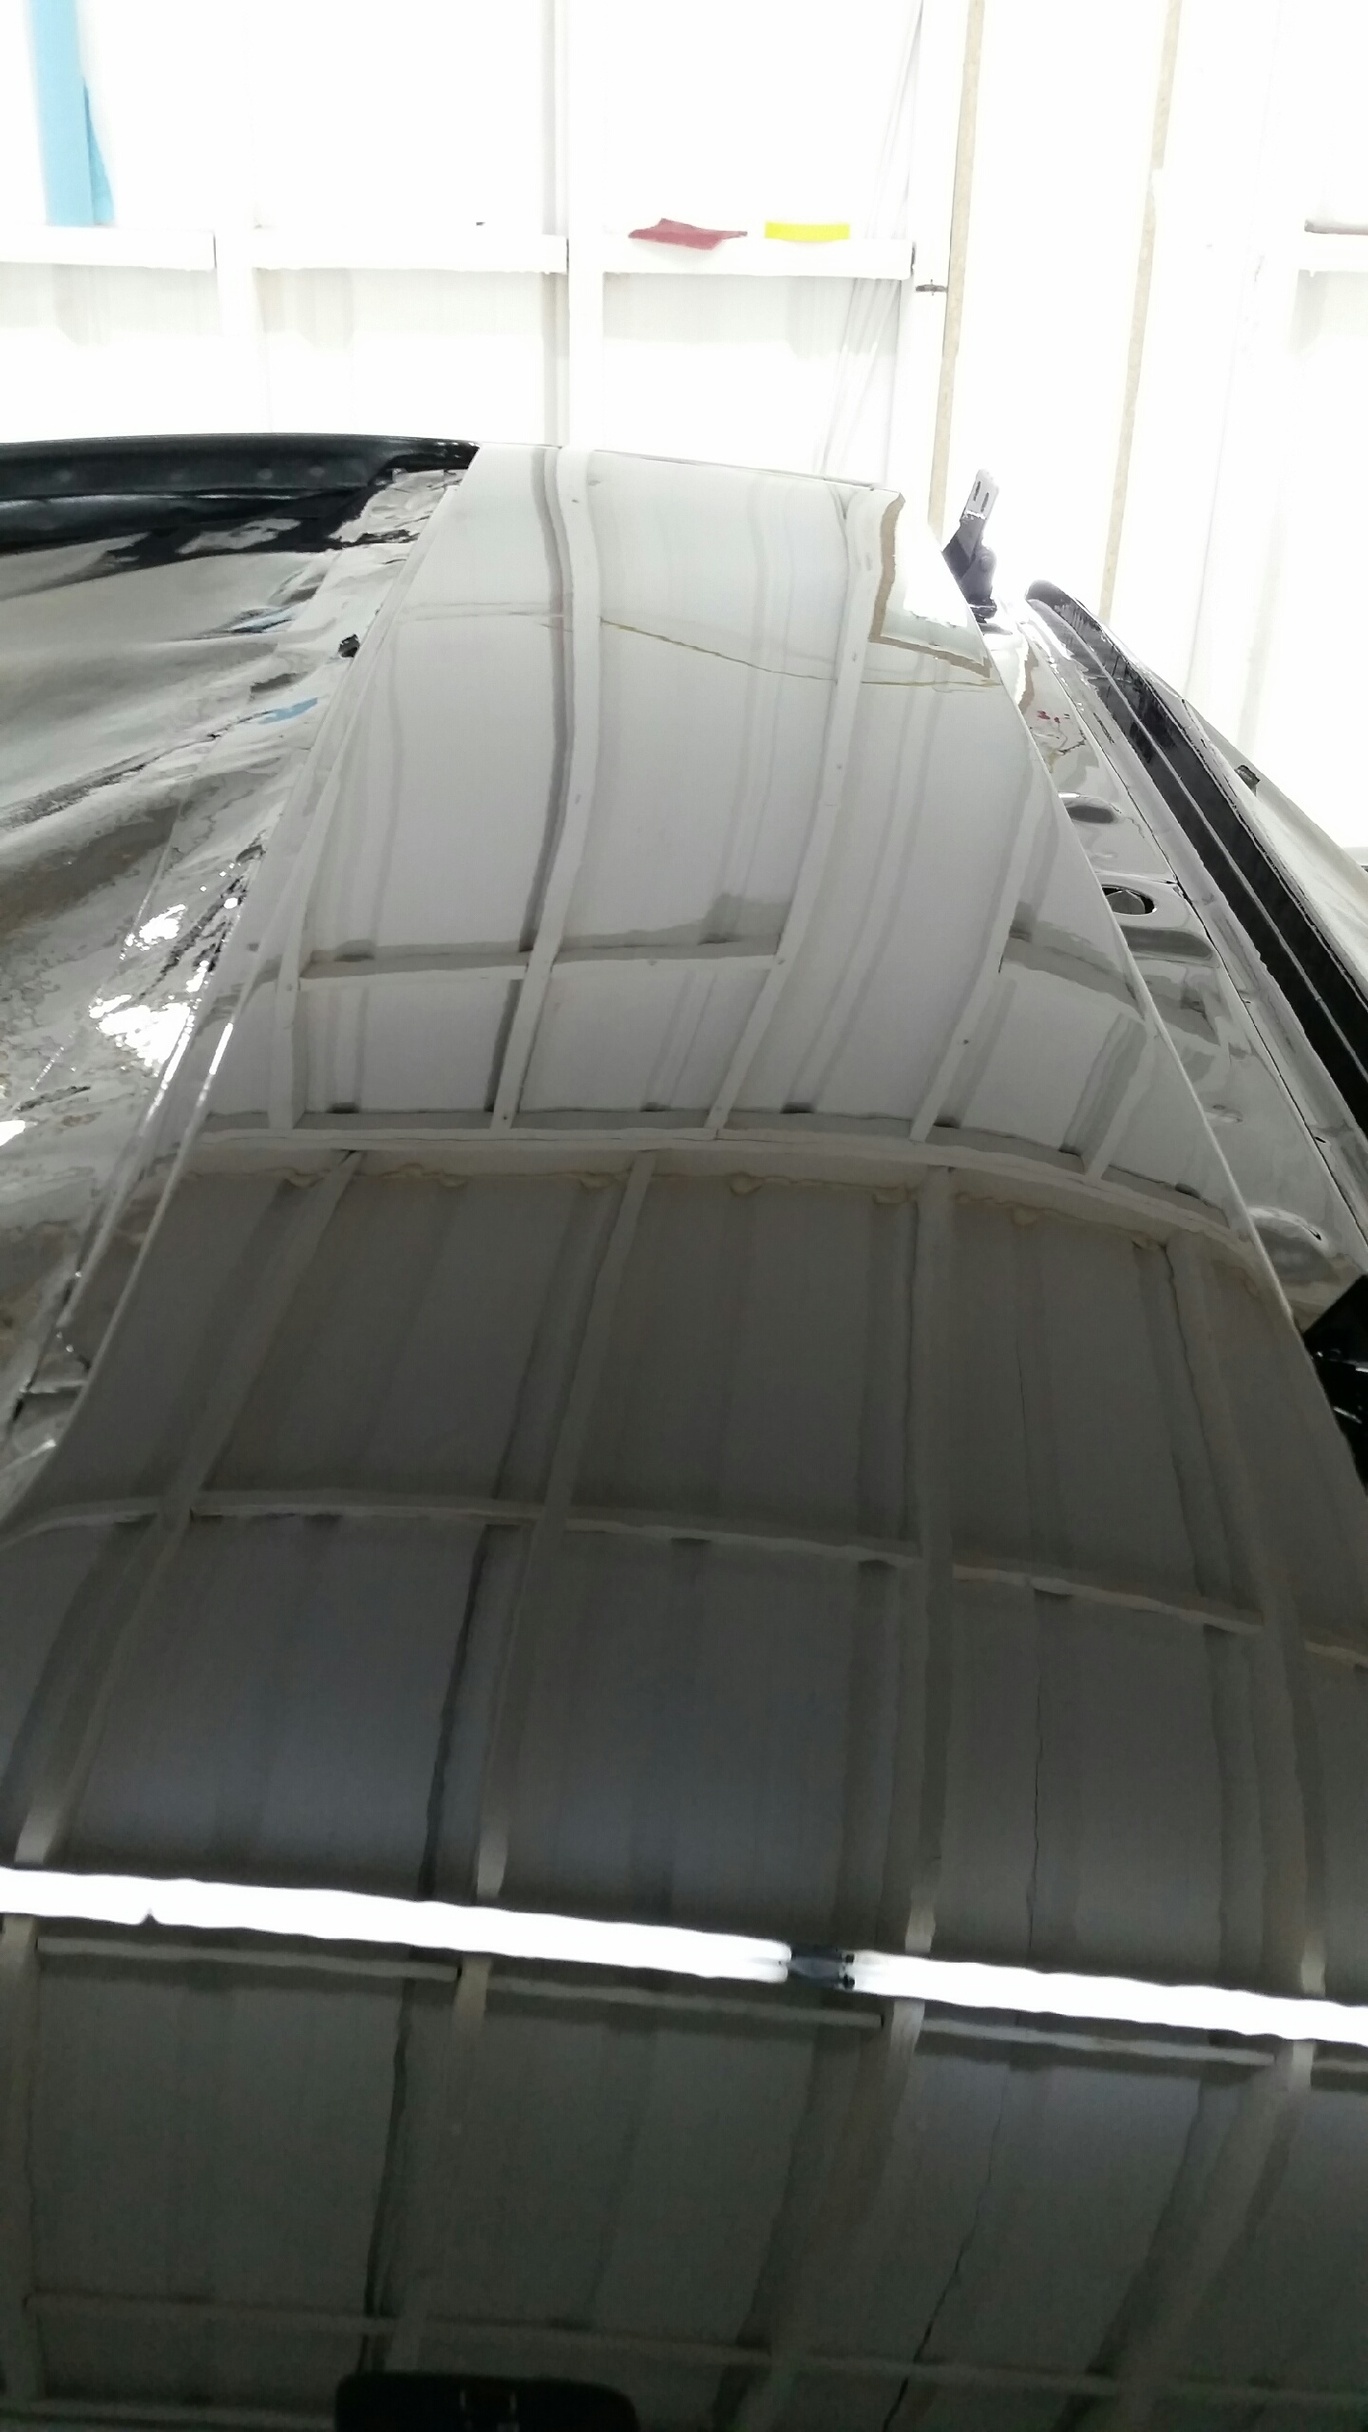
Door jambs after 3rd CC:
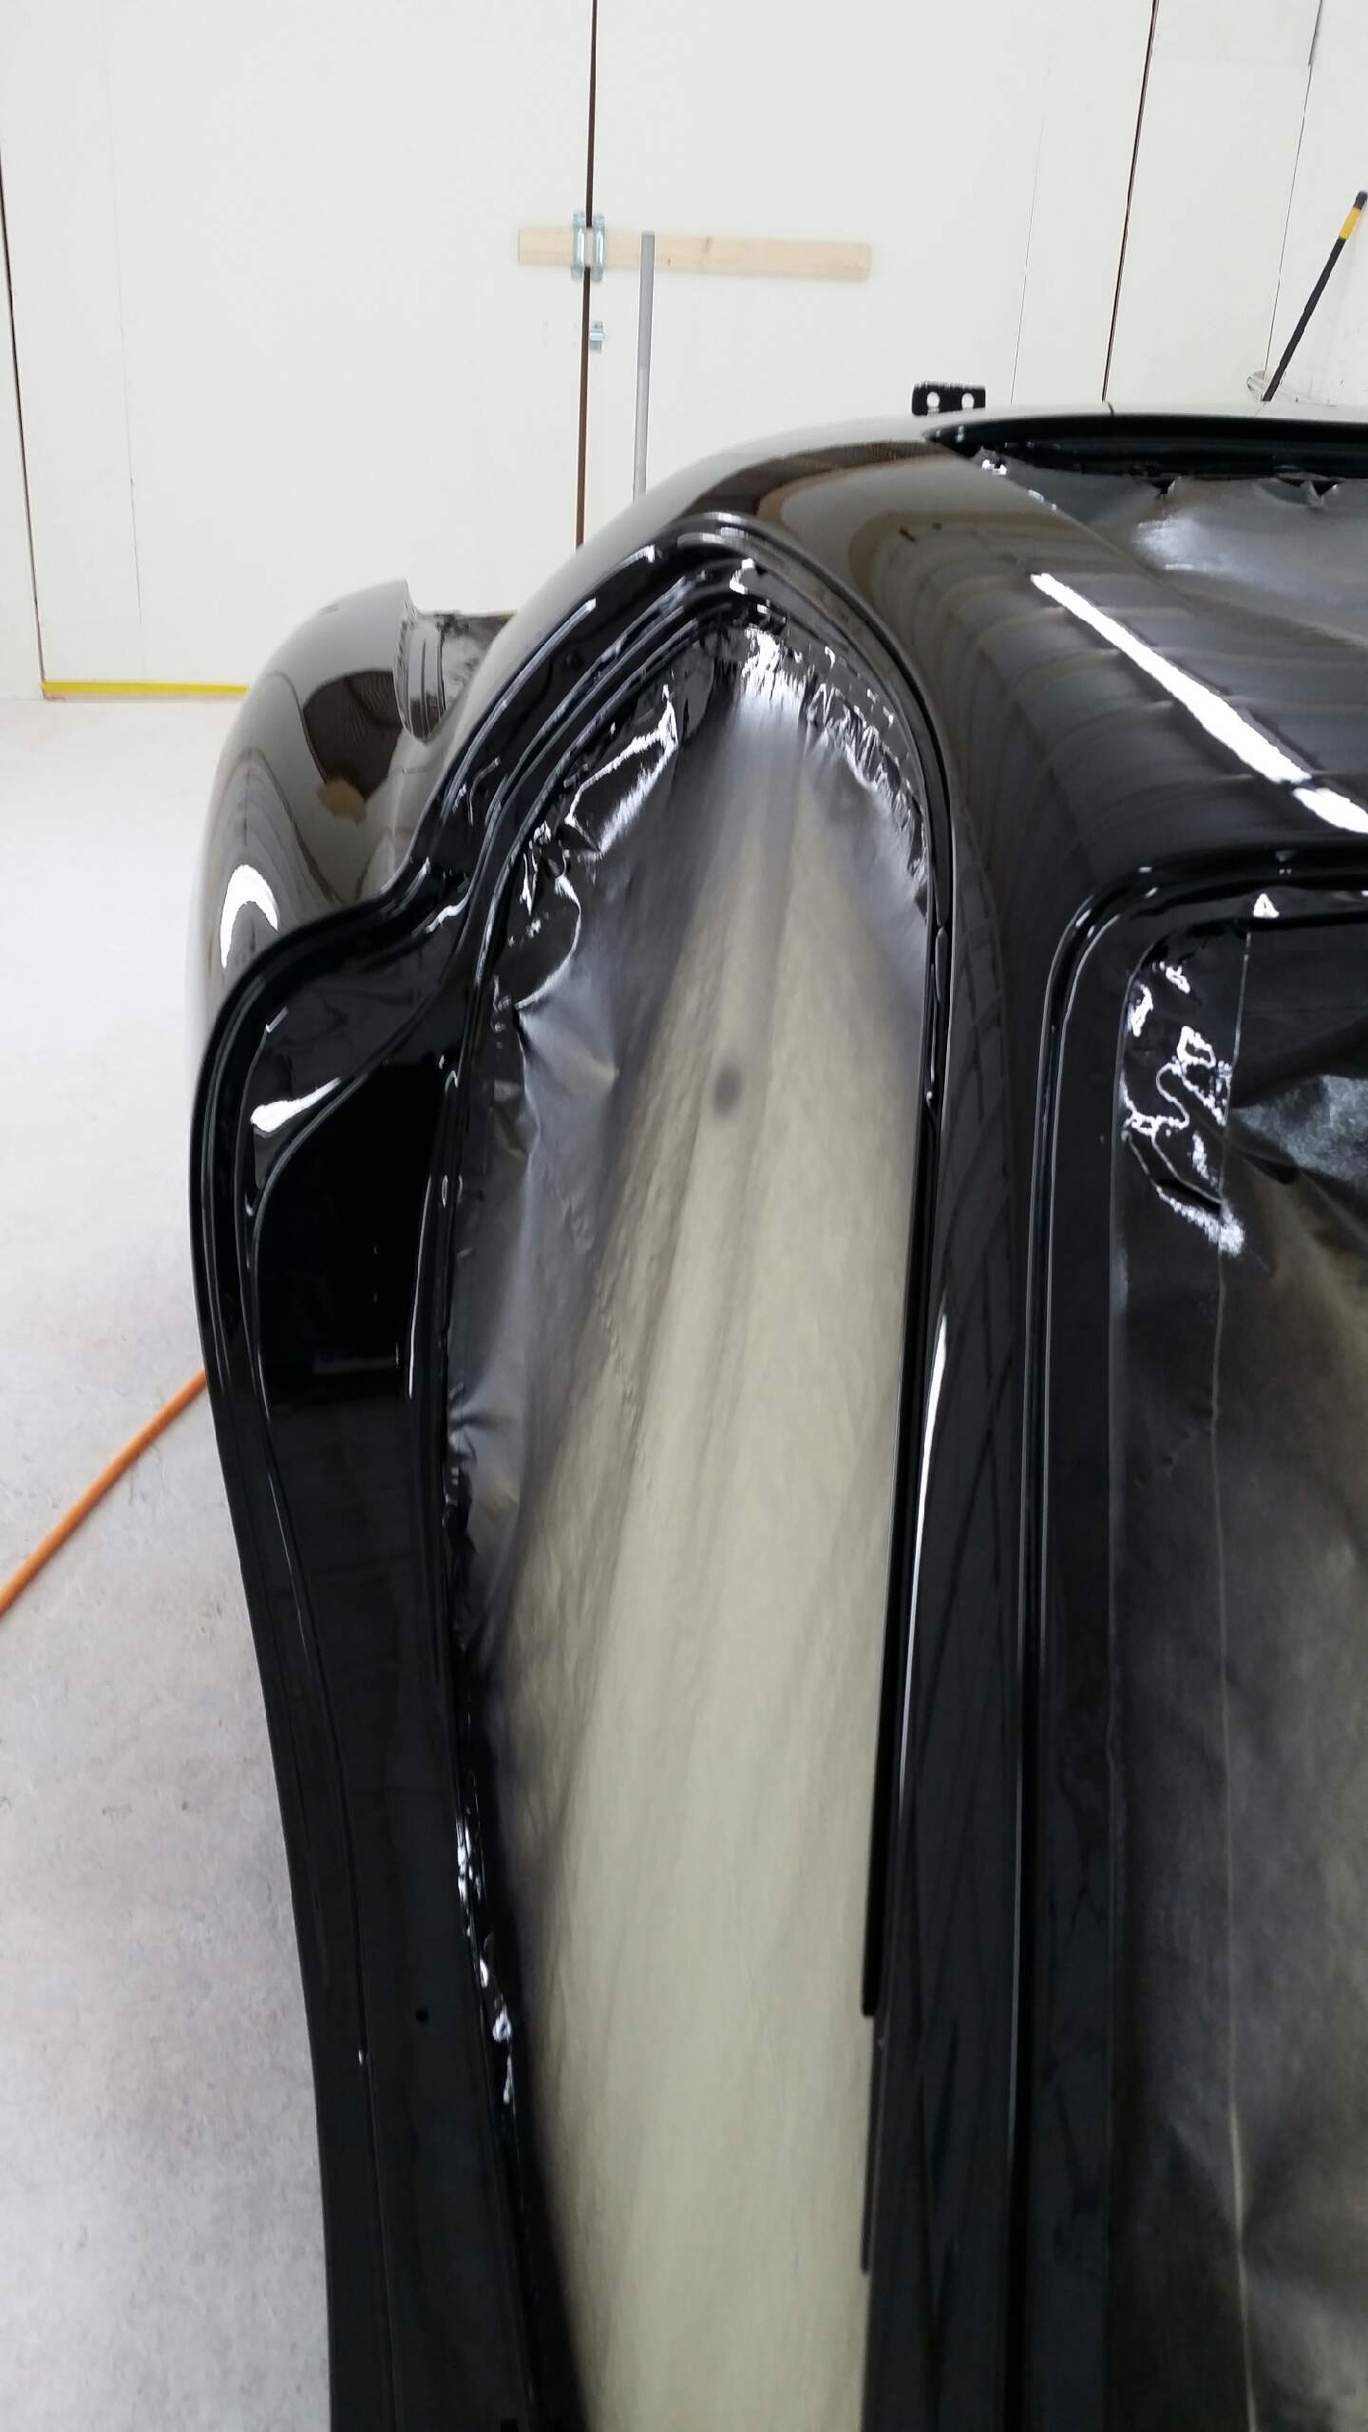
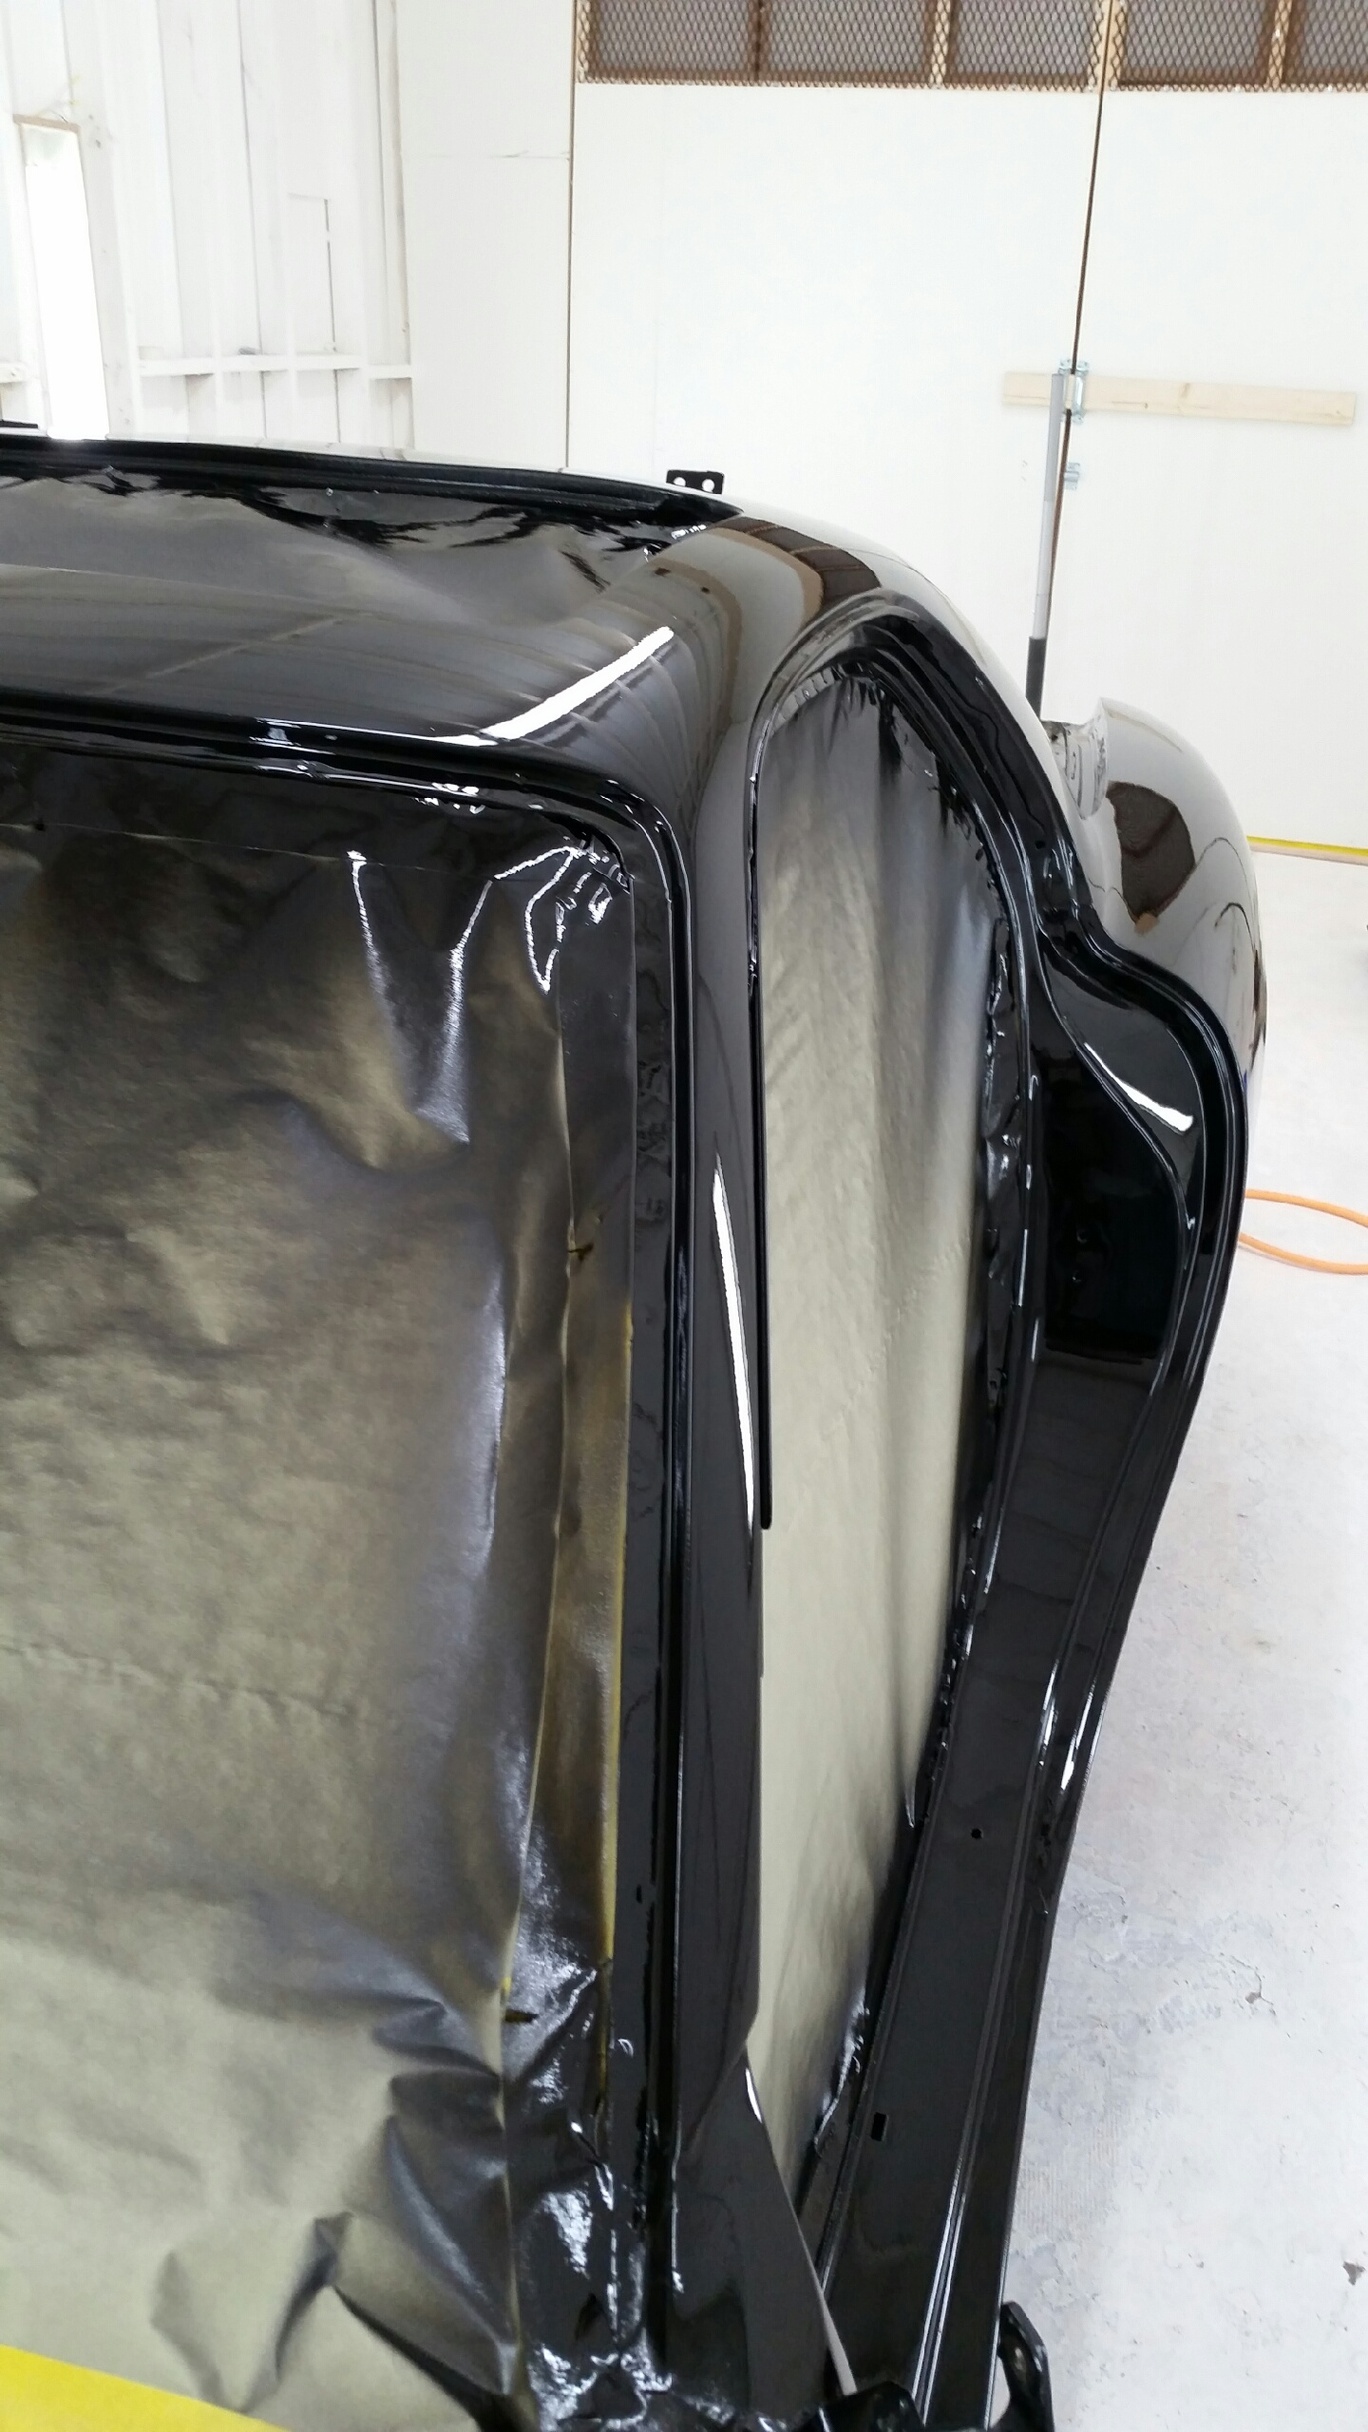
Mystery reflection pic

The best is still to come. John is teasing me with these in process pics
Mmmmm... I can just smell the sweet fumes of victory up here in Starkville
Lane
Roof after 2nd clear coat:
Roof after 3rd clear coat:
Door jambs after 3rd CC:
Mystery reflection pic
The best is still to come. John is teasing me with these in process pics
Mmmmm... I can just smell the sweet fumes of victory up here in Starkville
Lane
 12-15-14, 03:41 PM
#47
I think so
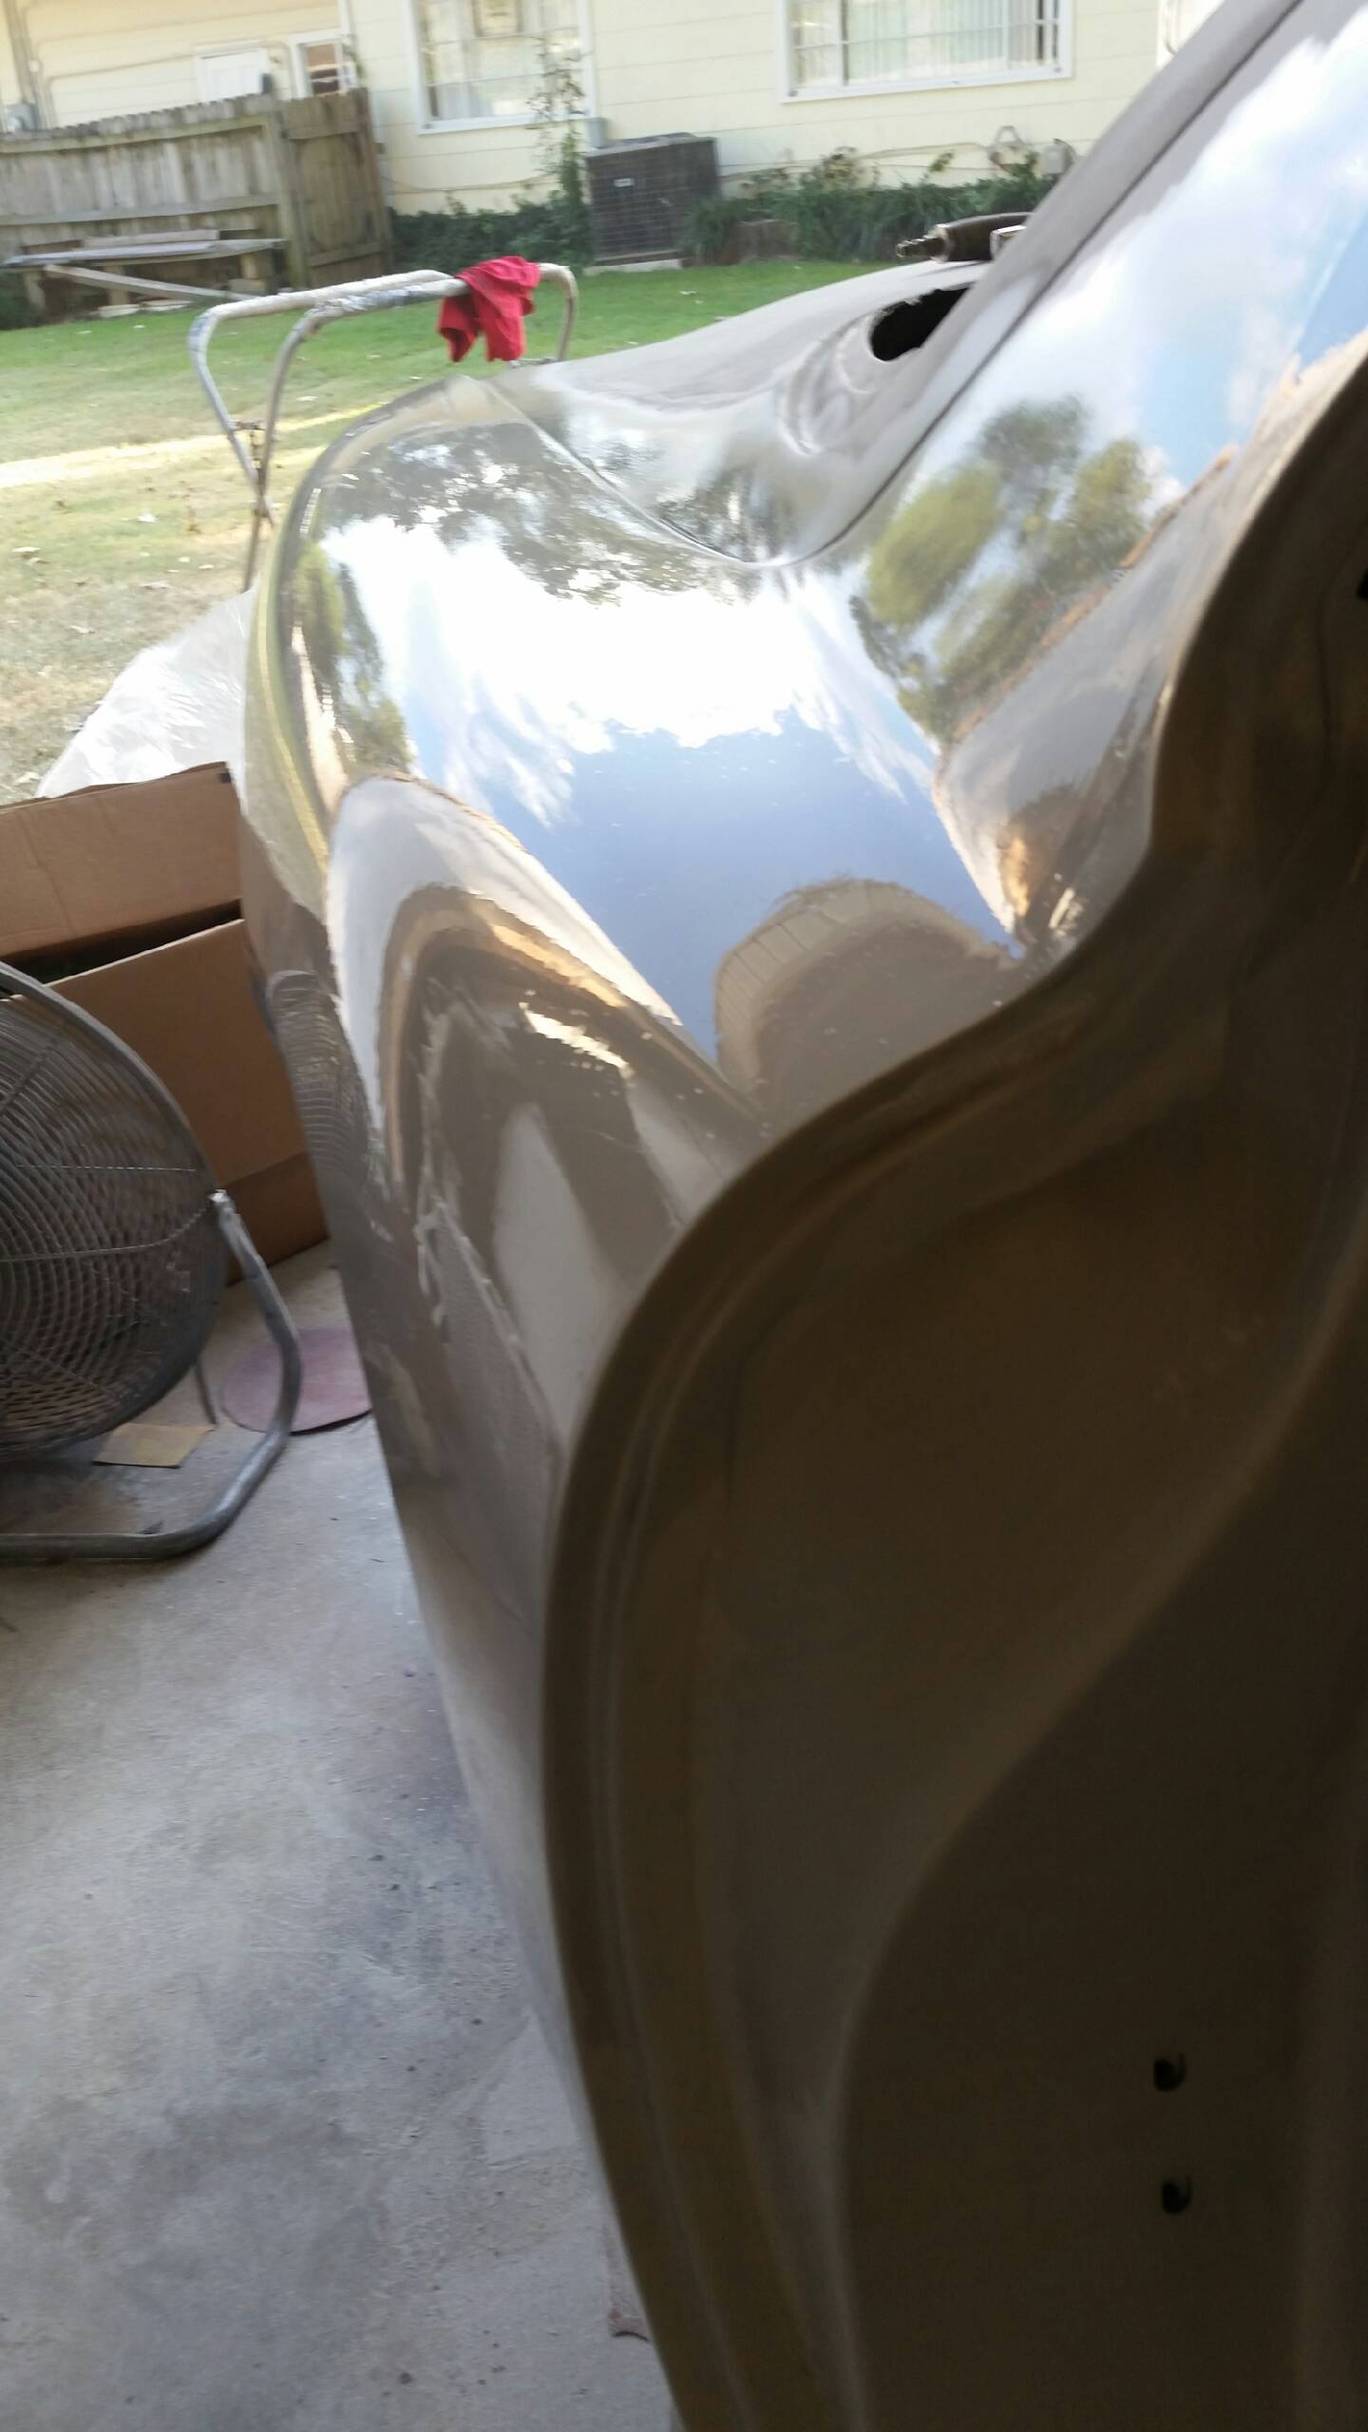
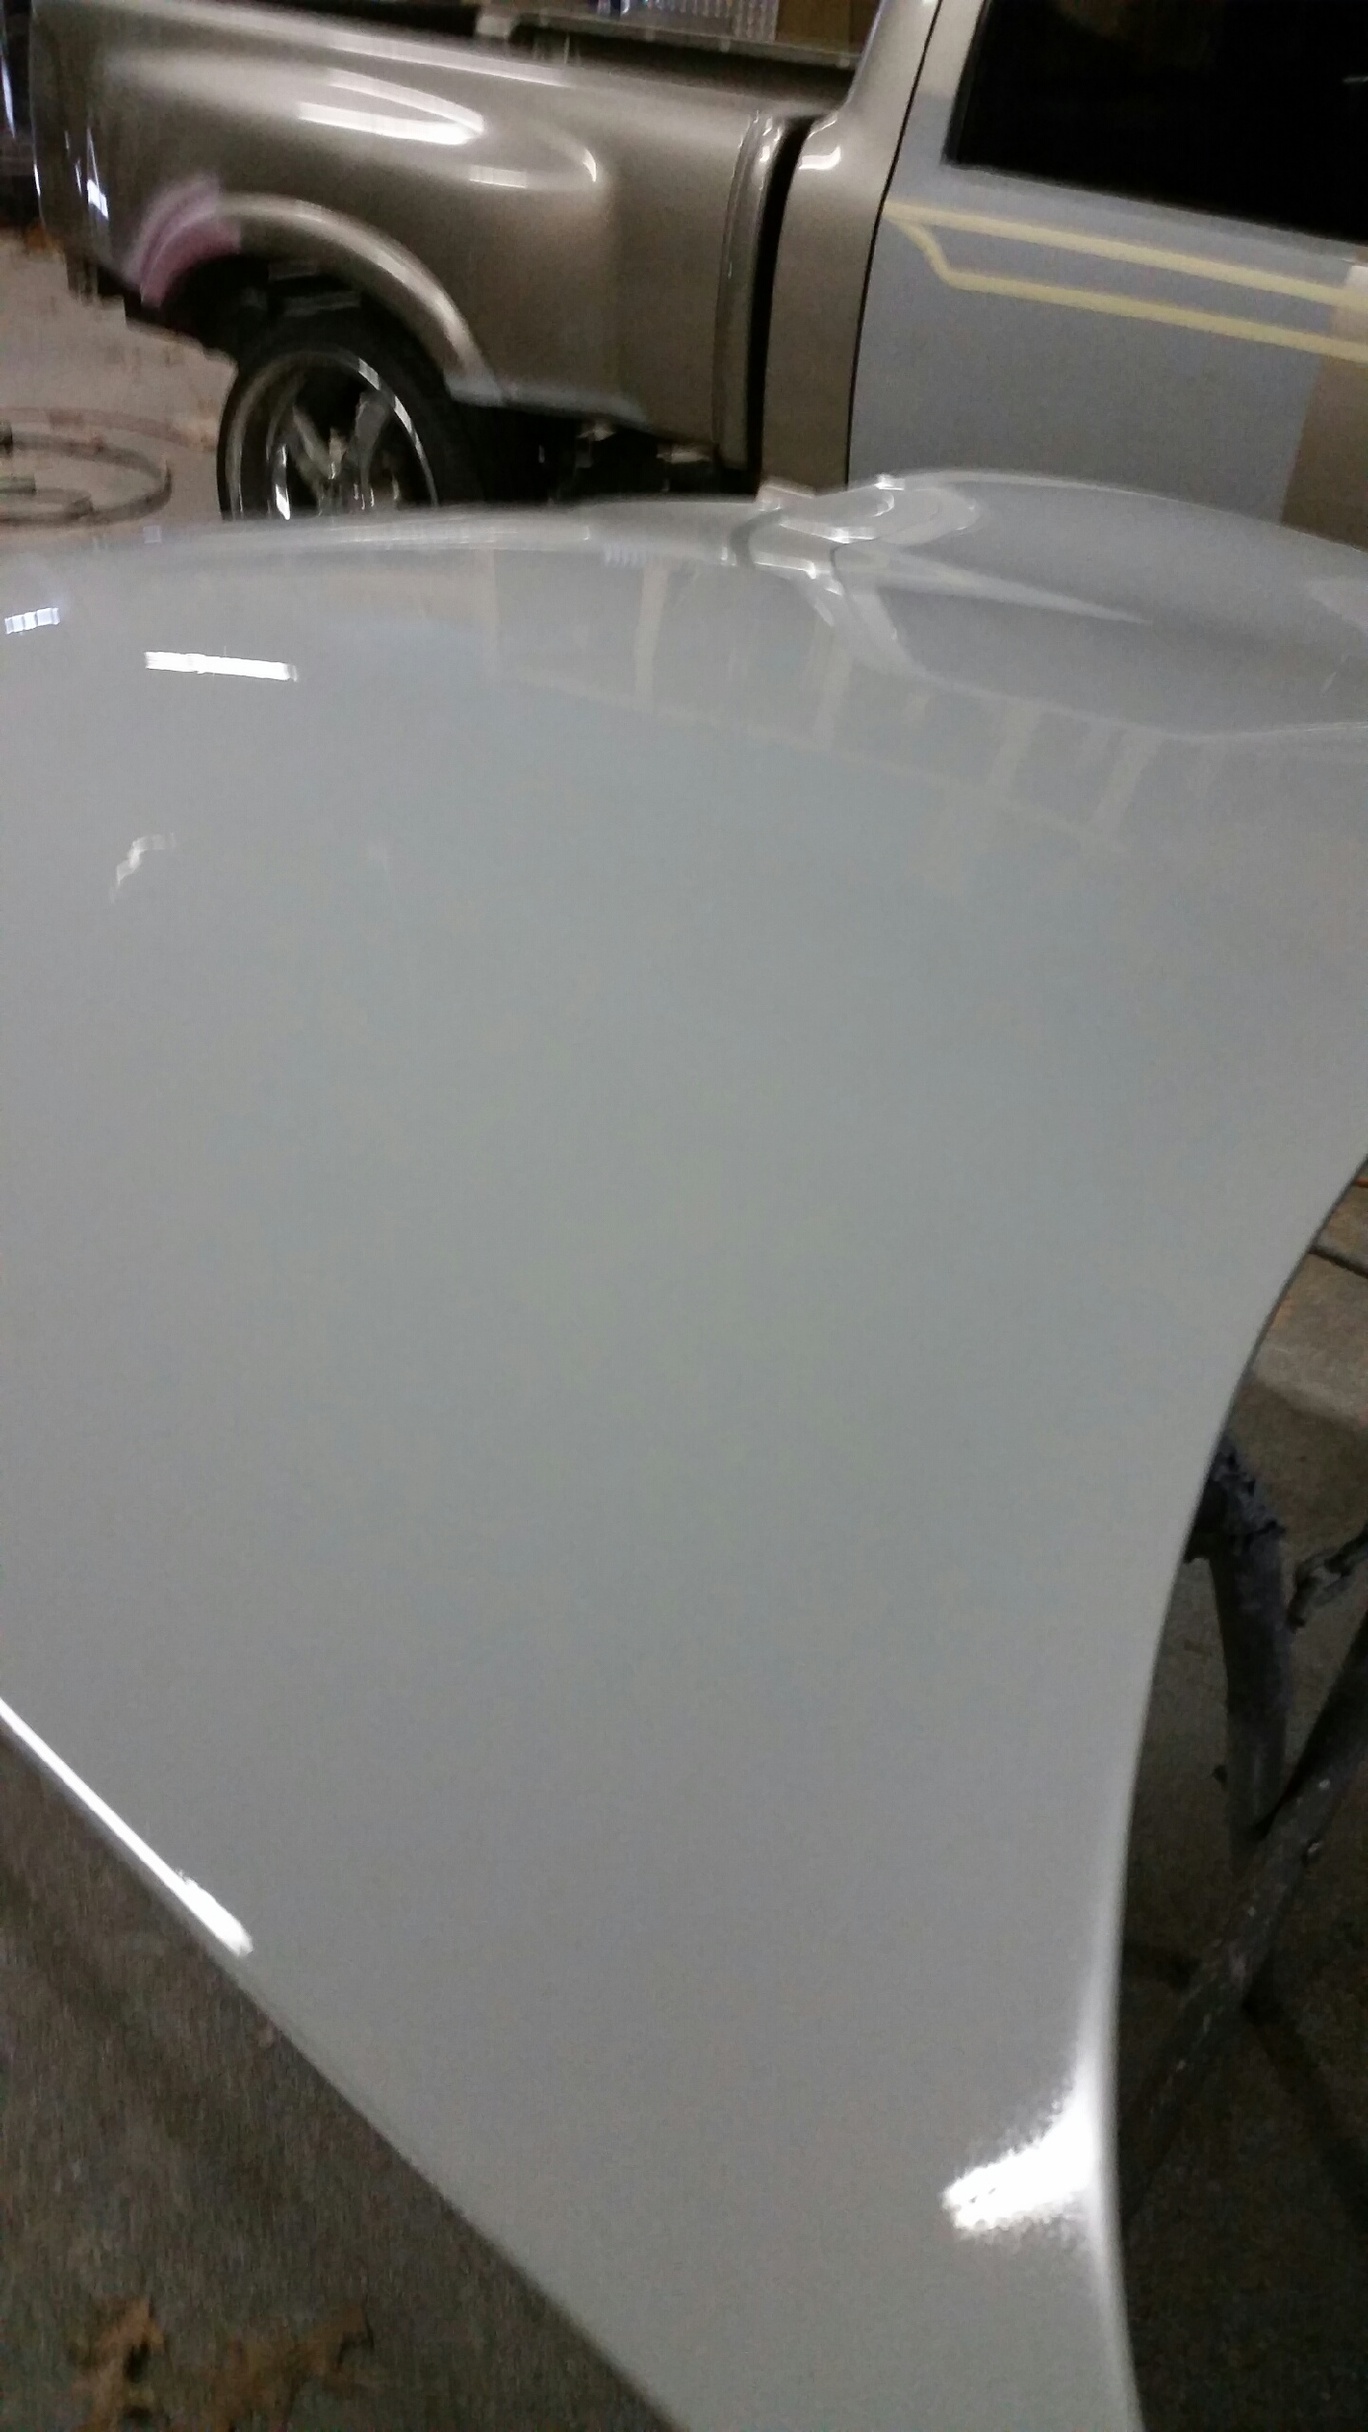
John continues to blow my mind with a quick round of colorsanding and buffing
I've literally been staring at the above pictures for 20 minutes in shock. After my last paint job I've just accepted that I'd never have paint that looks this good. Seeing this completely knocks me on my ***. It's like its someone elses car. Not mine.
Now back to my office chair to sit, stare, and drool :P
Lane
12-17-14, 04:14 PM
#49
------------
More **** for you pervs
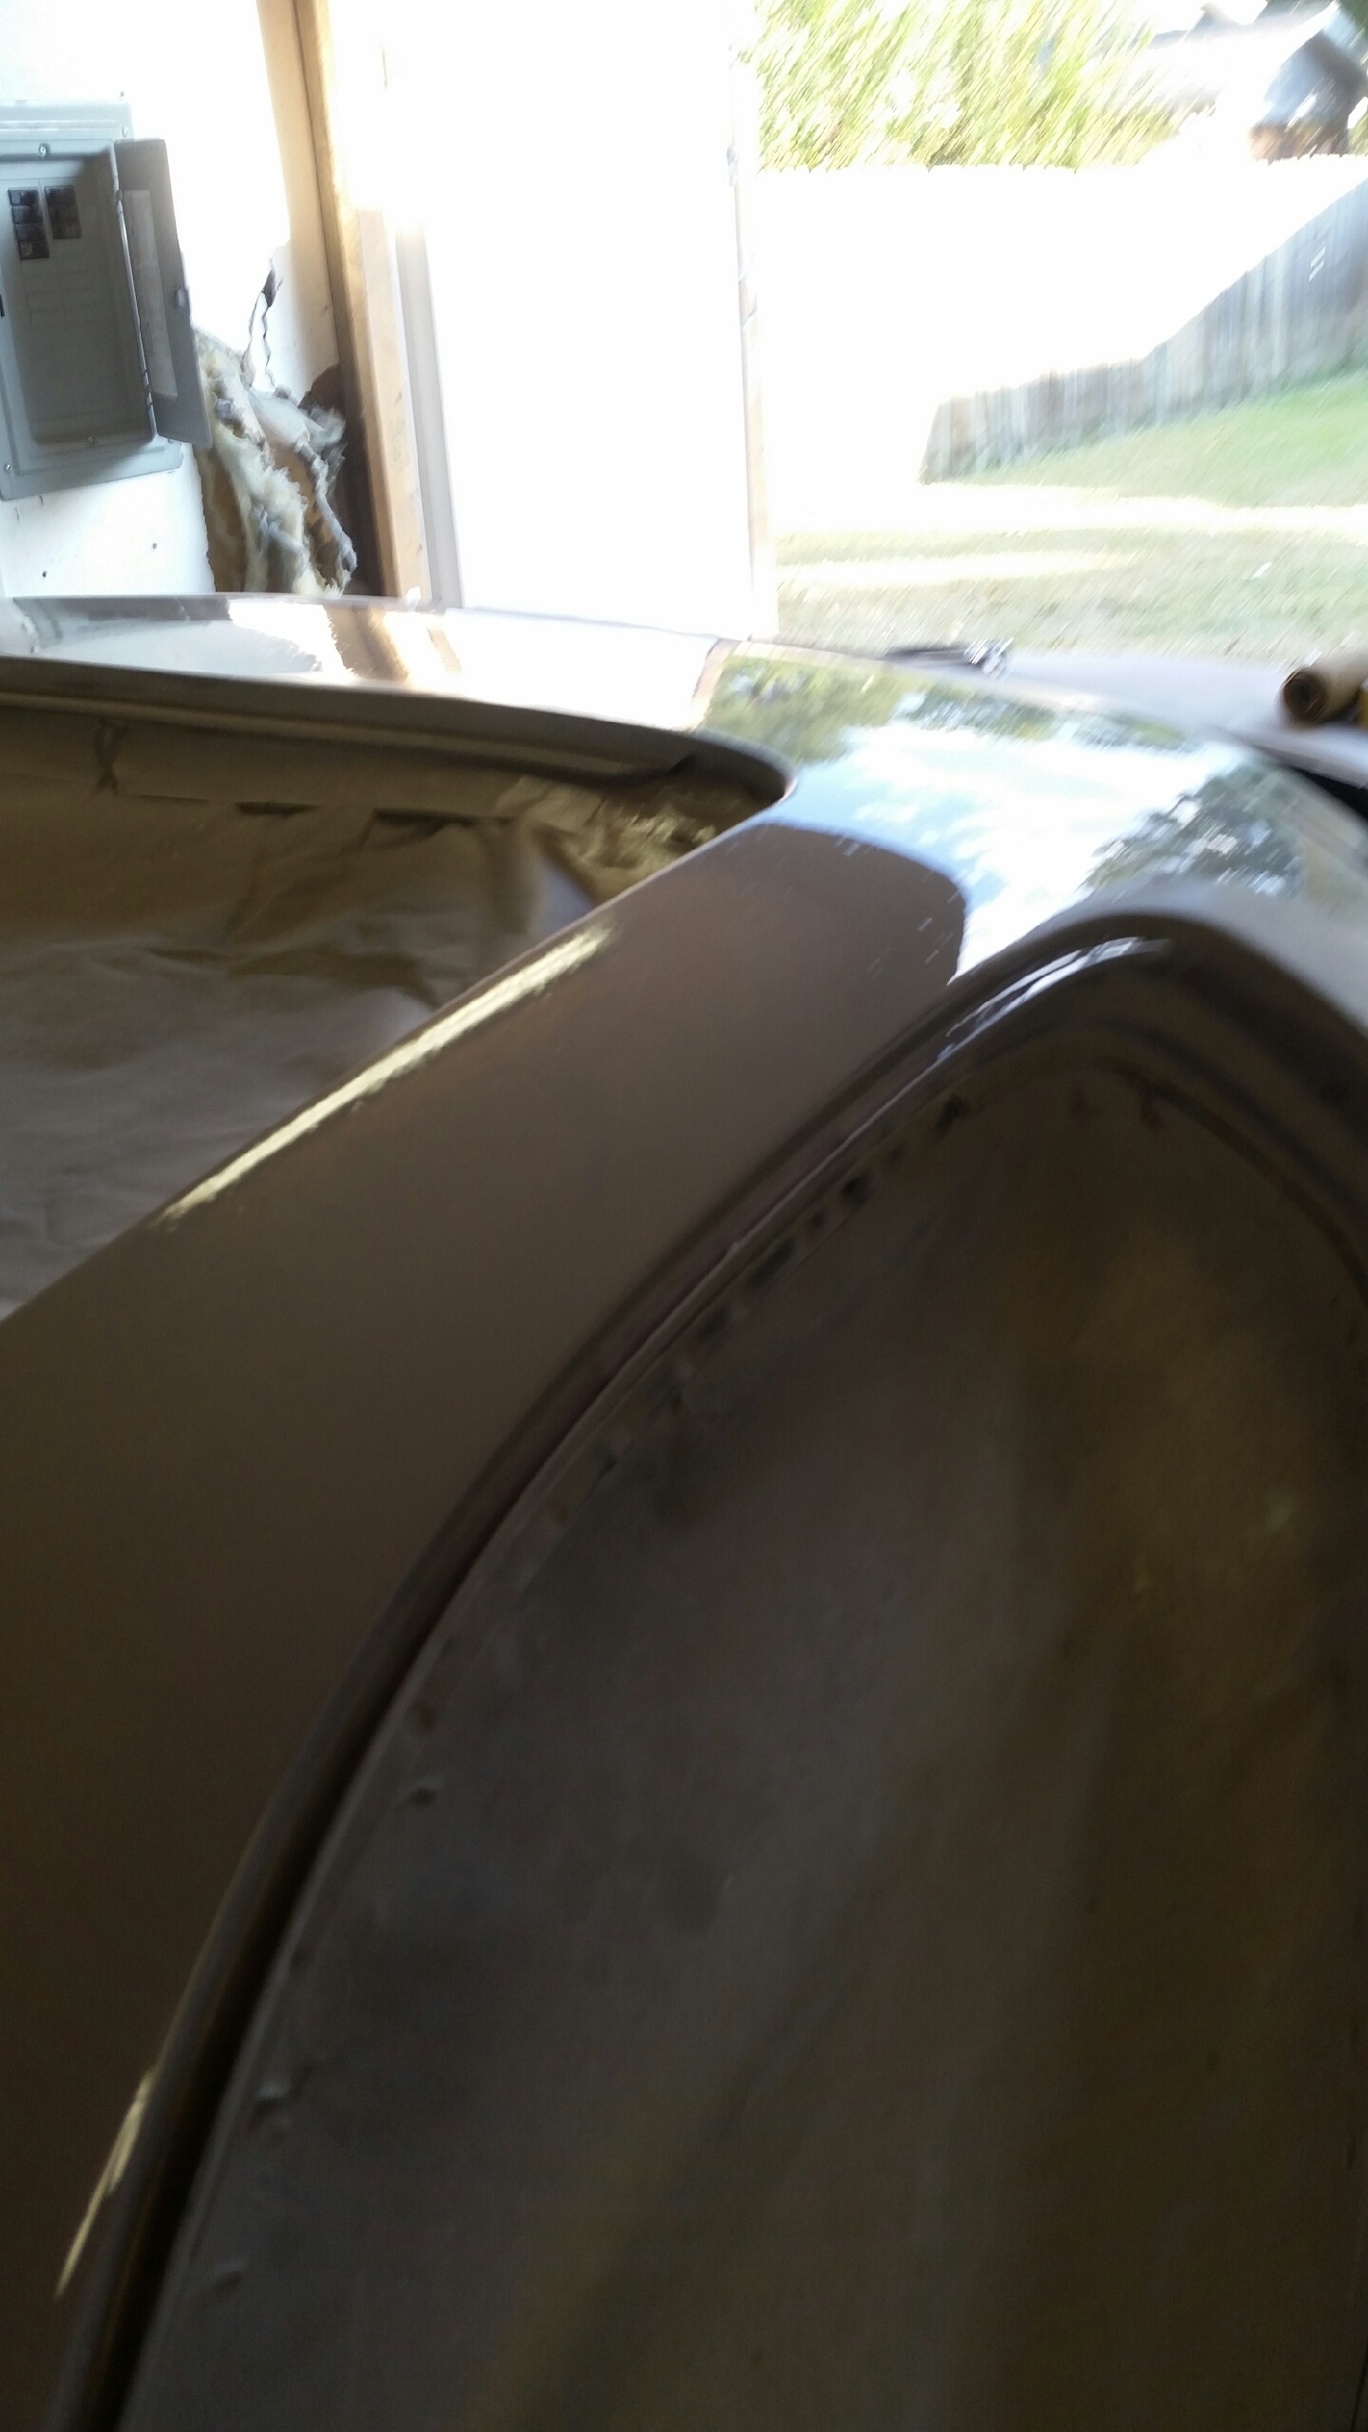
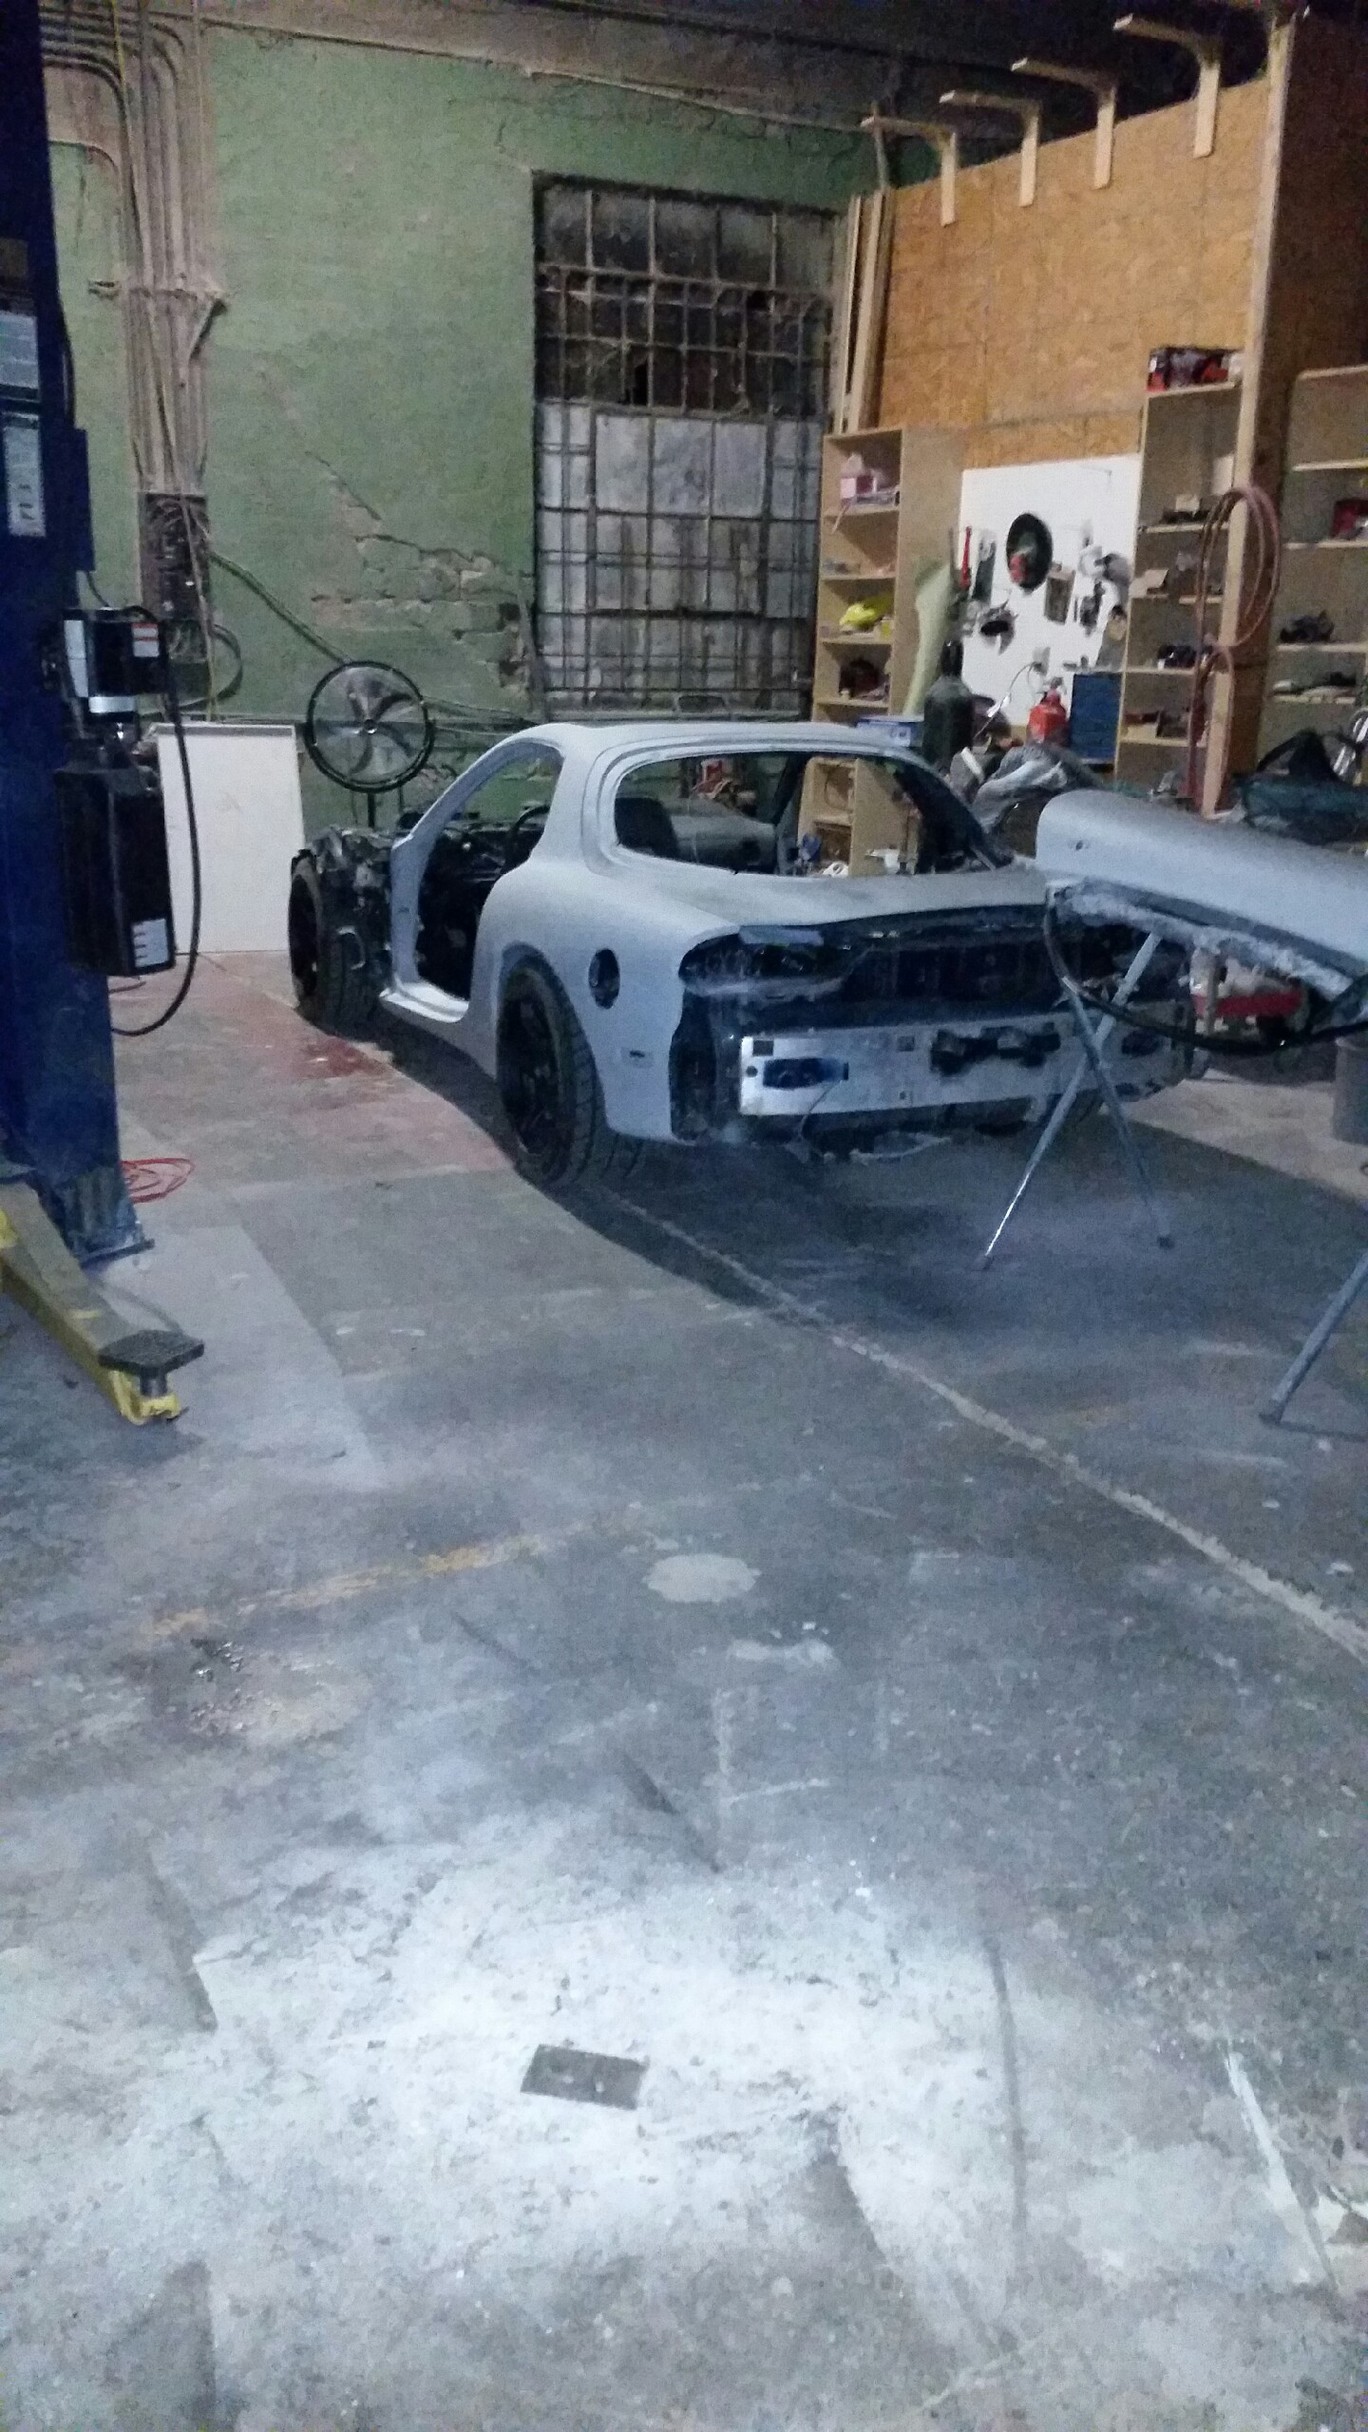
The chassis is out in the wild:
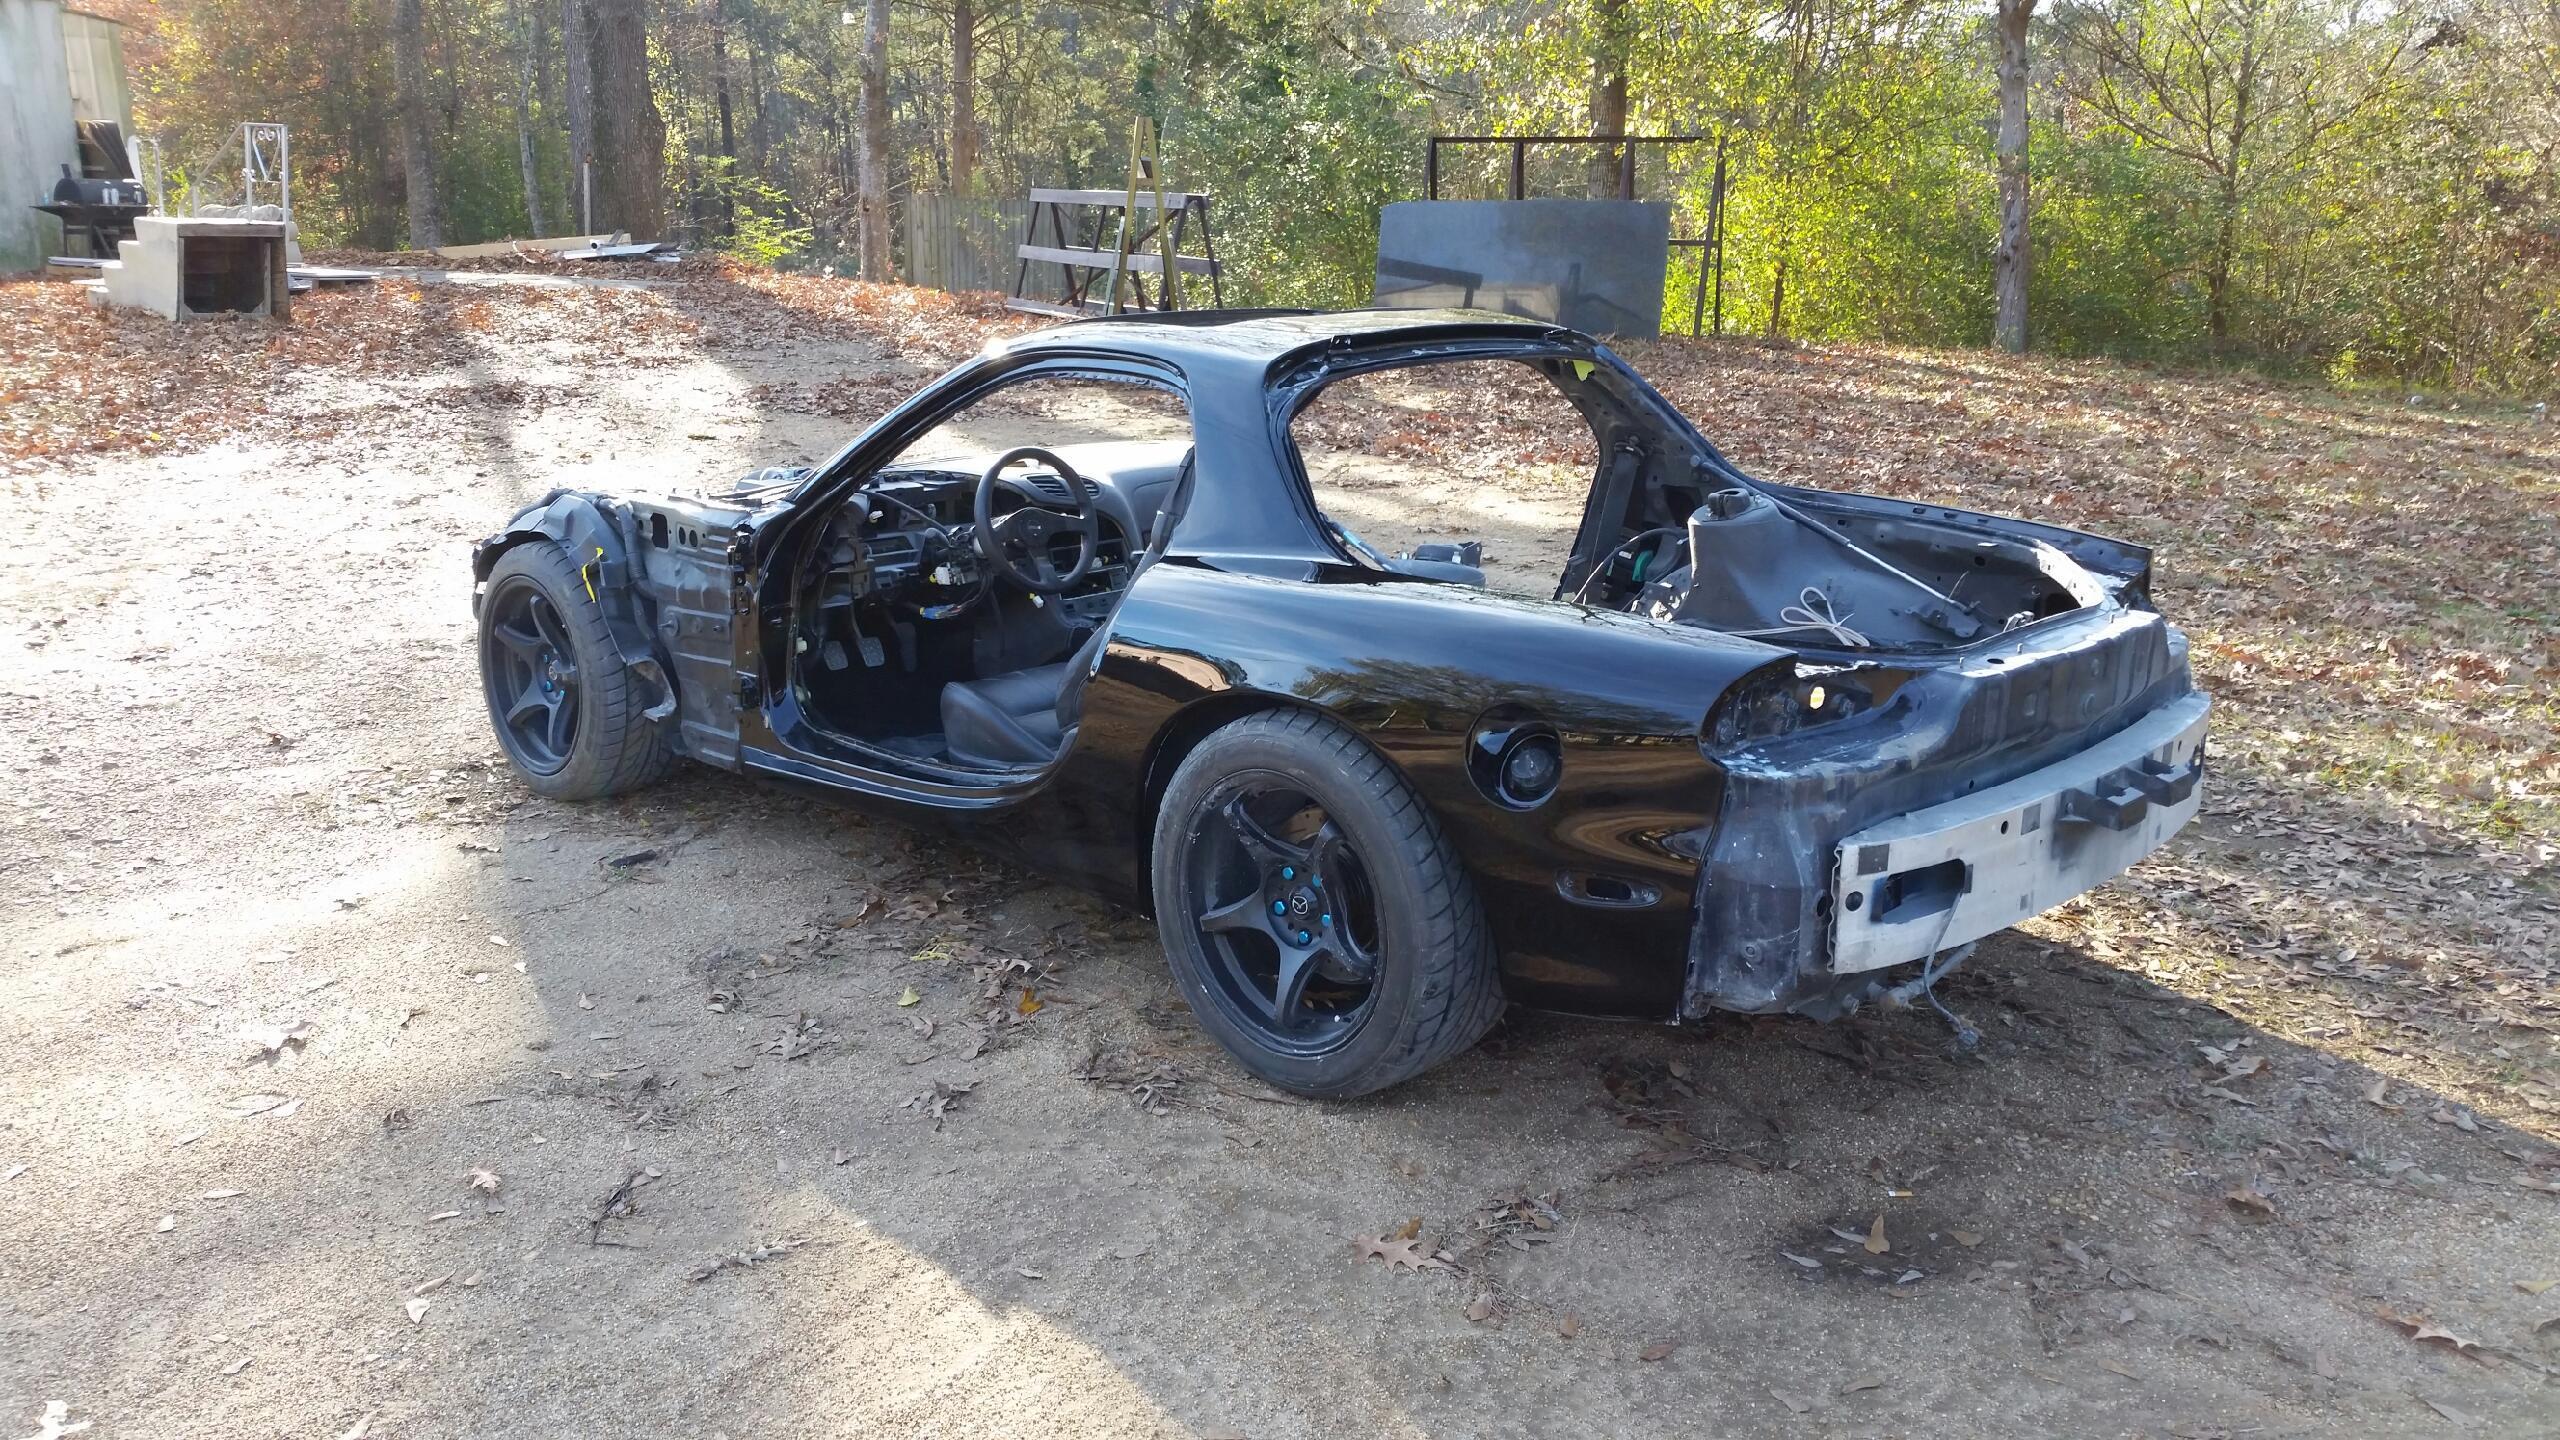
So you know what that means......
And here we are after the first clear coat:
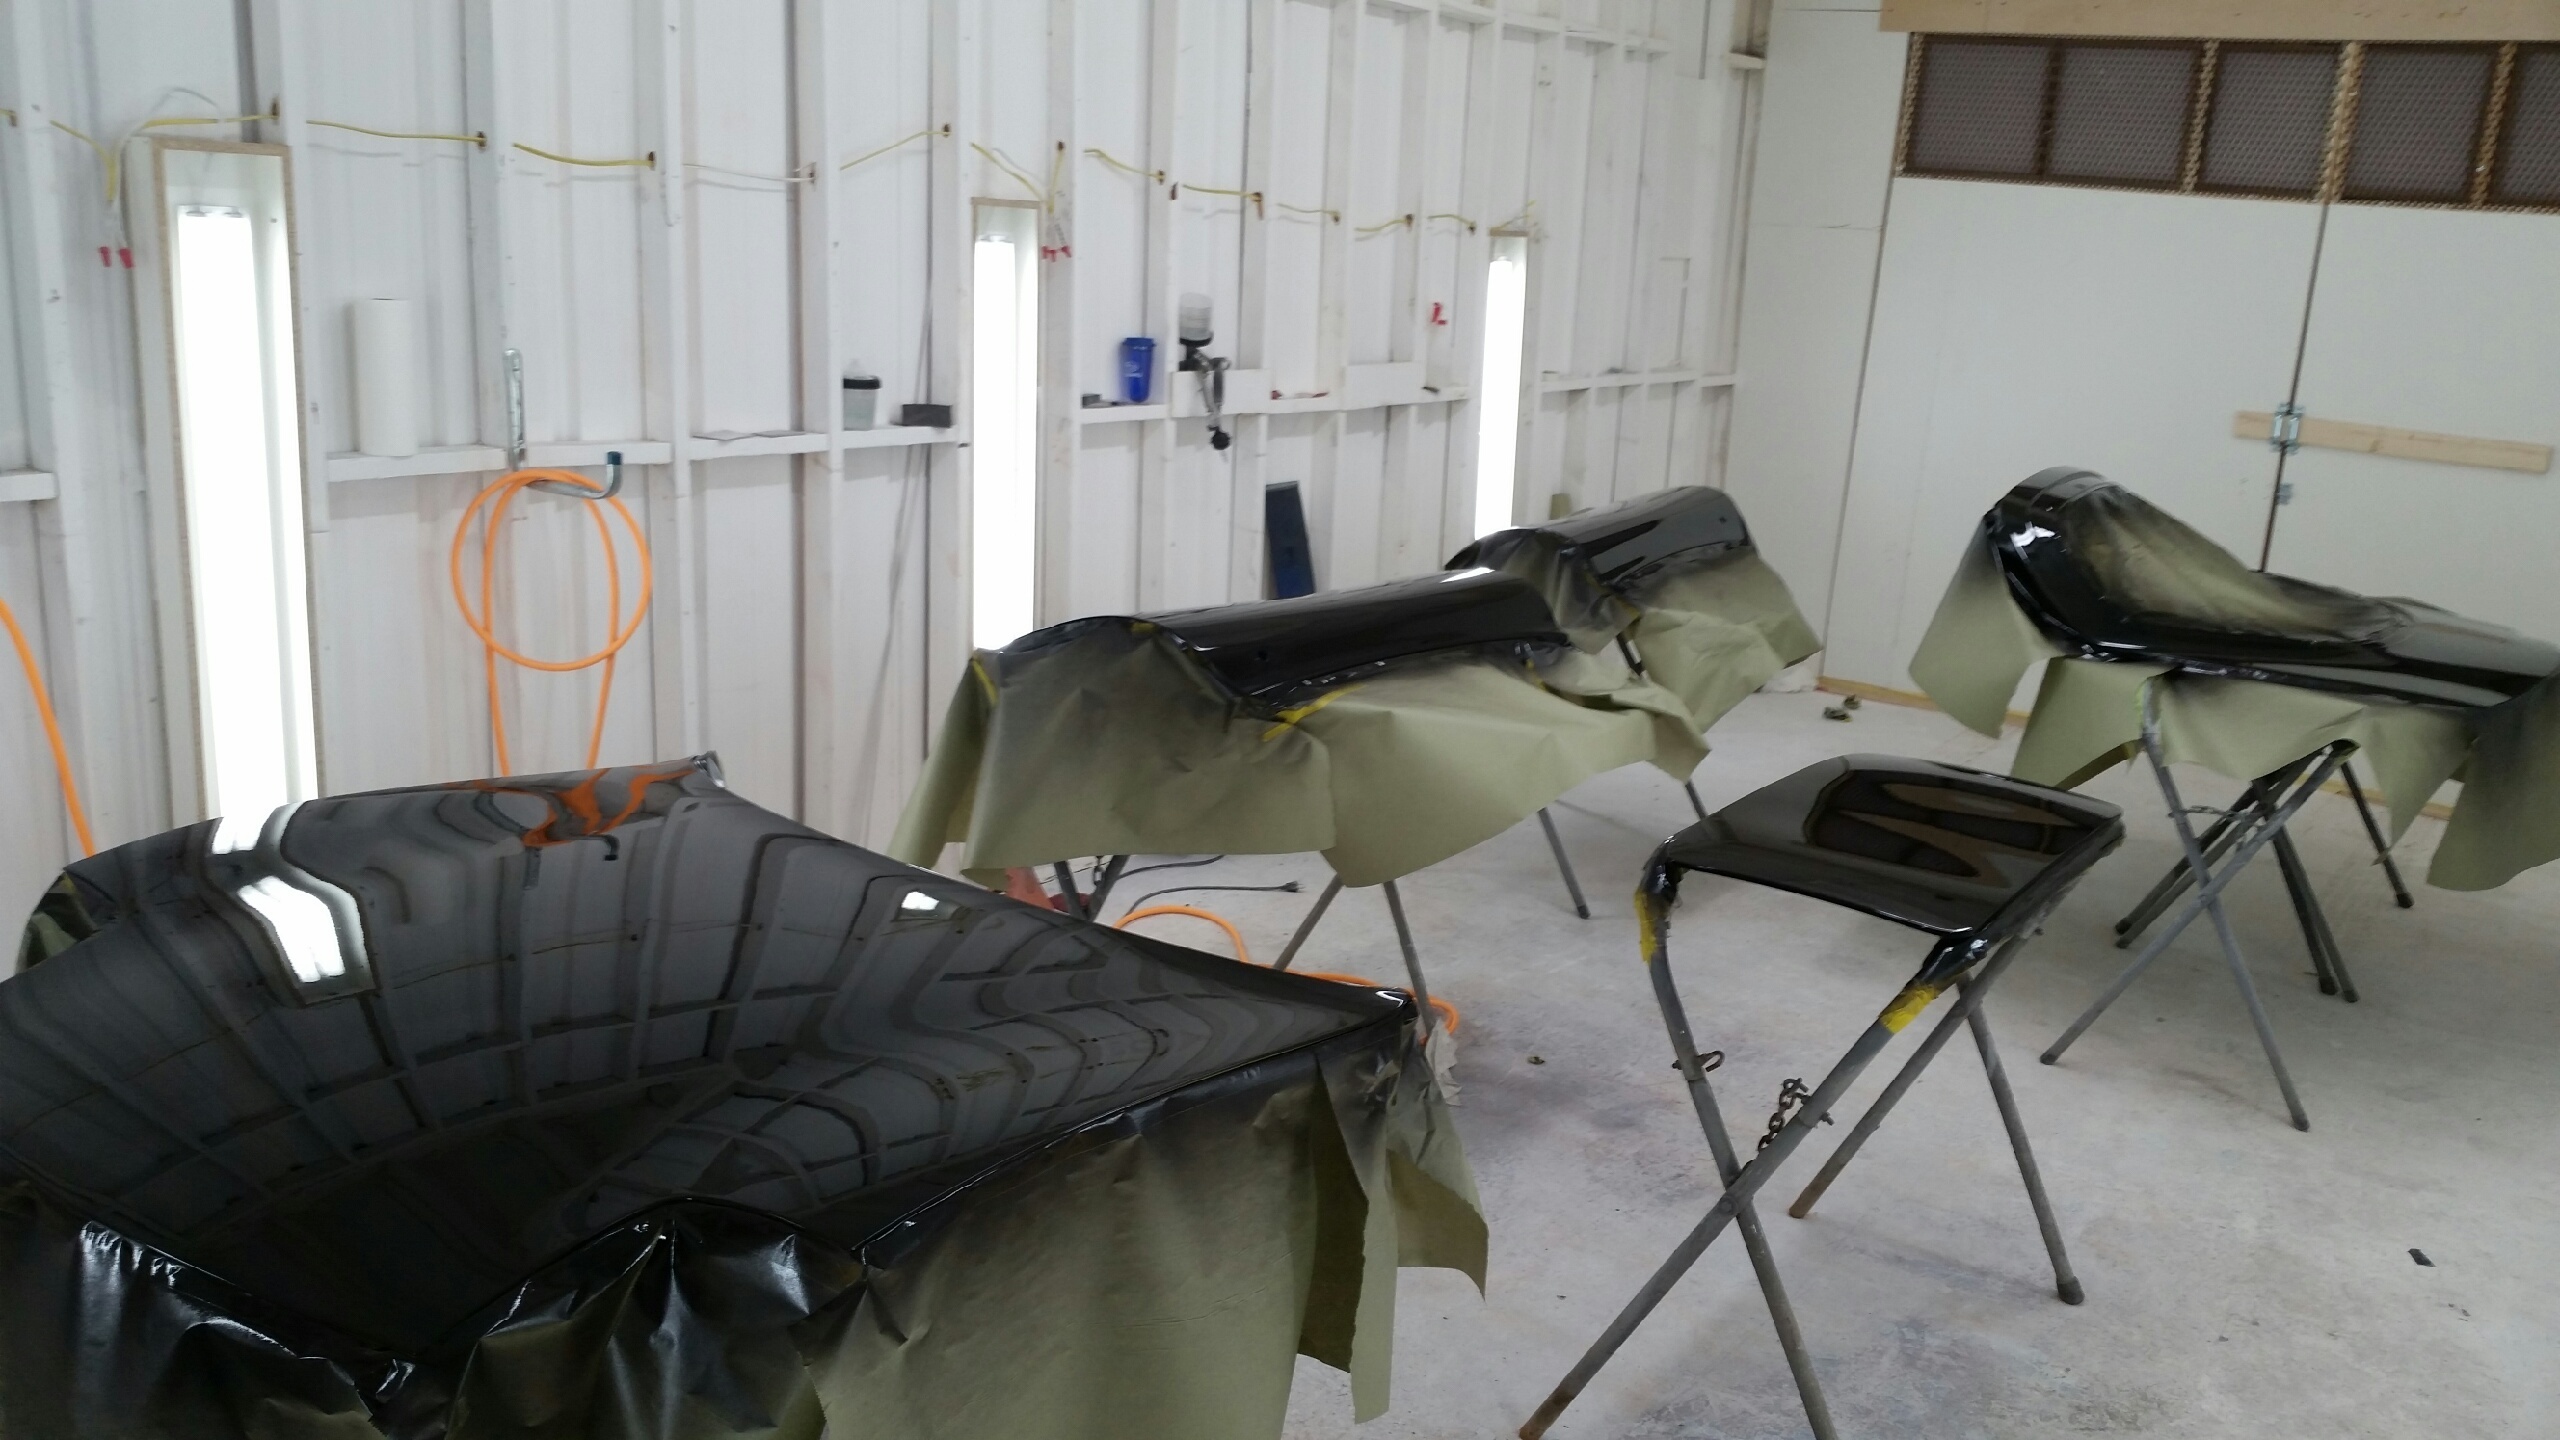
Going back for a second:
And boom goes the dynamite!
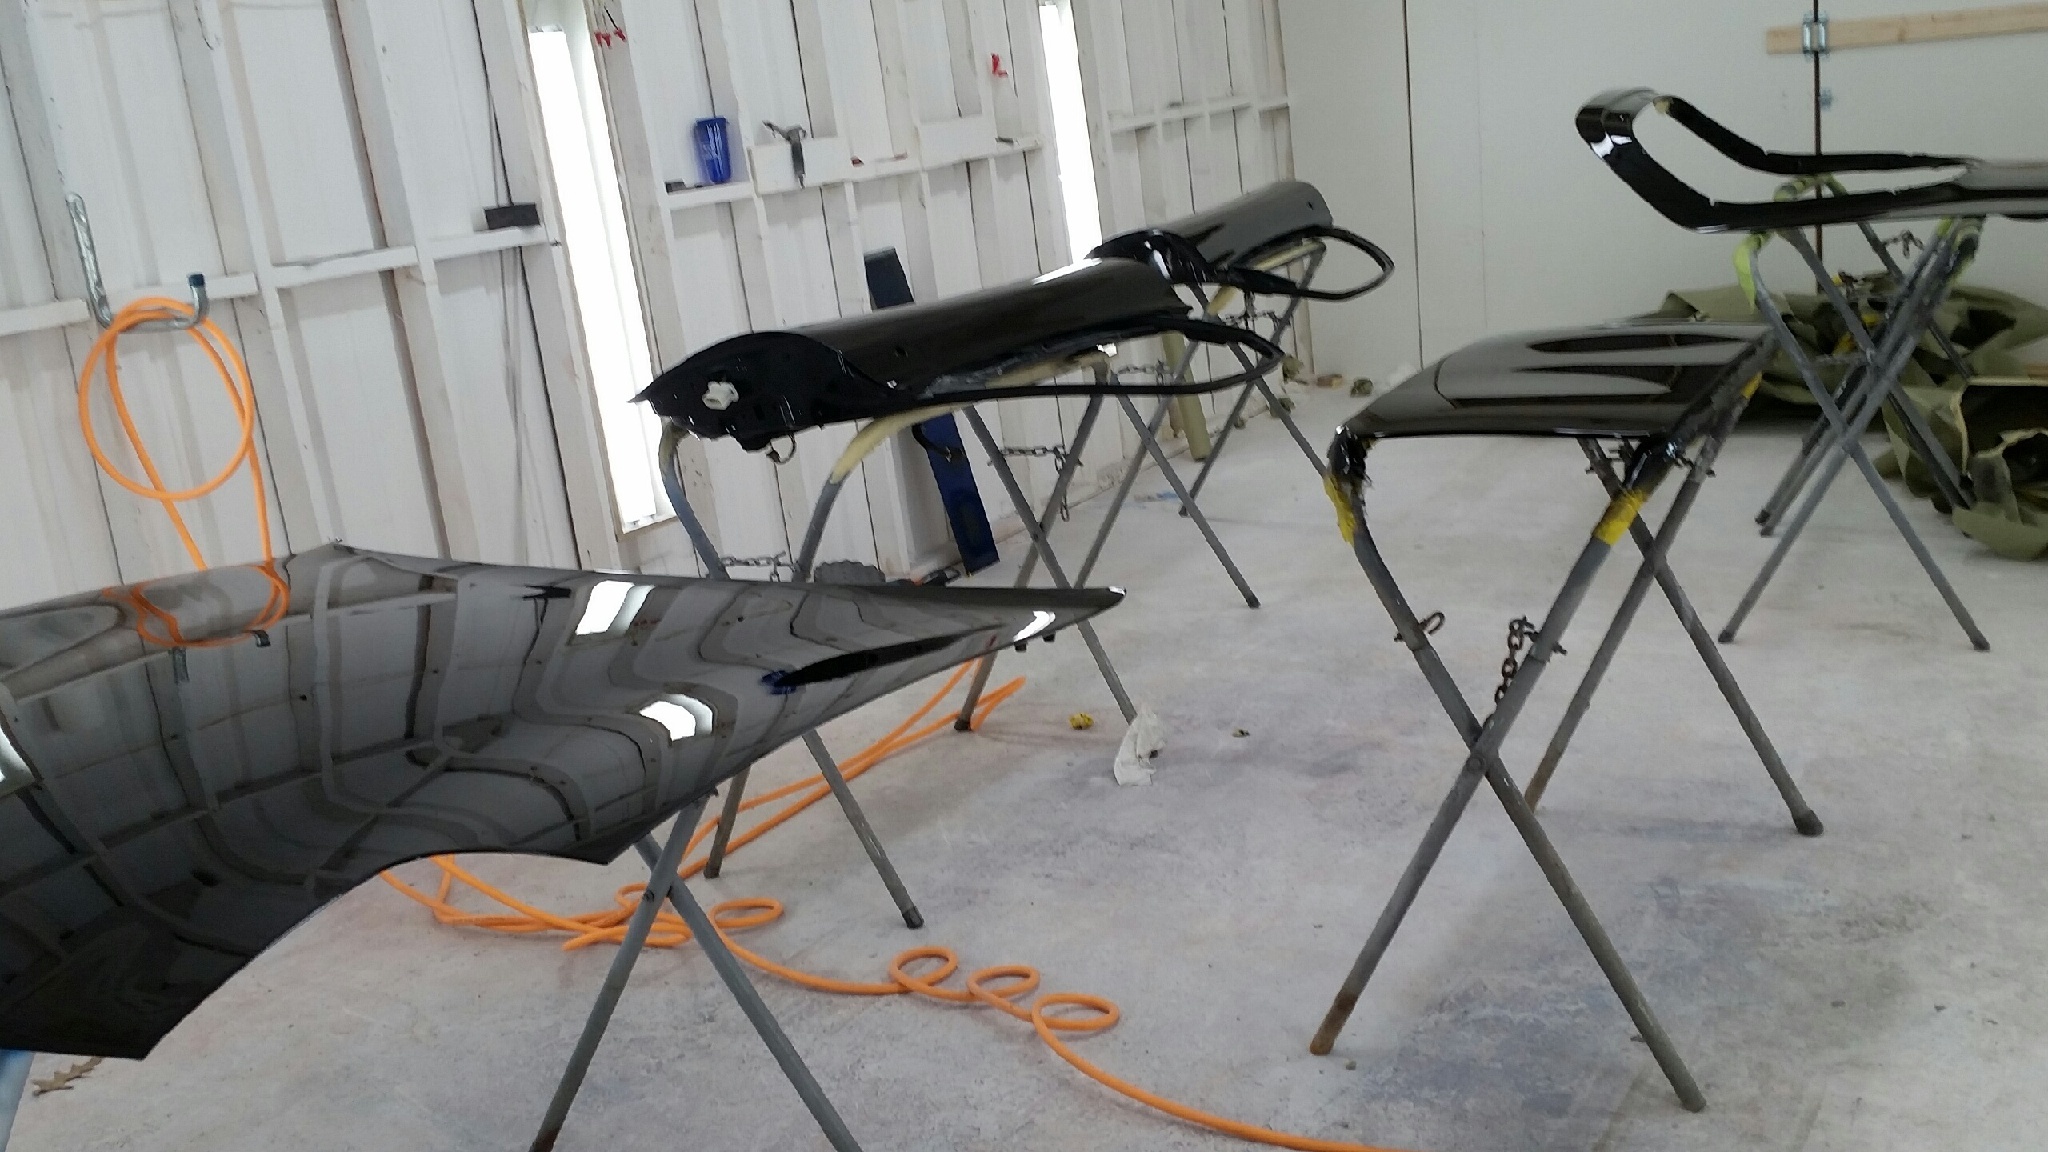
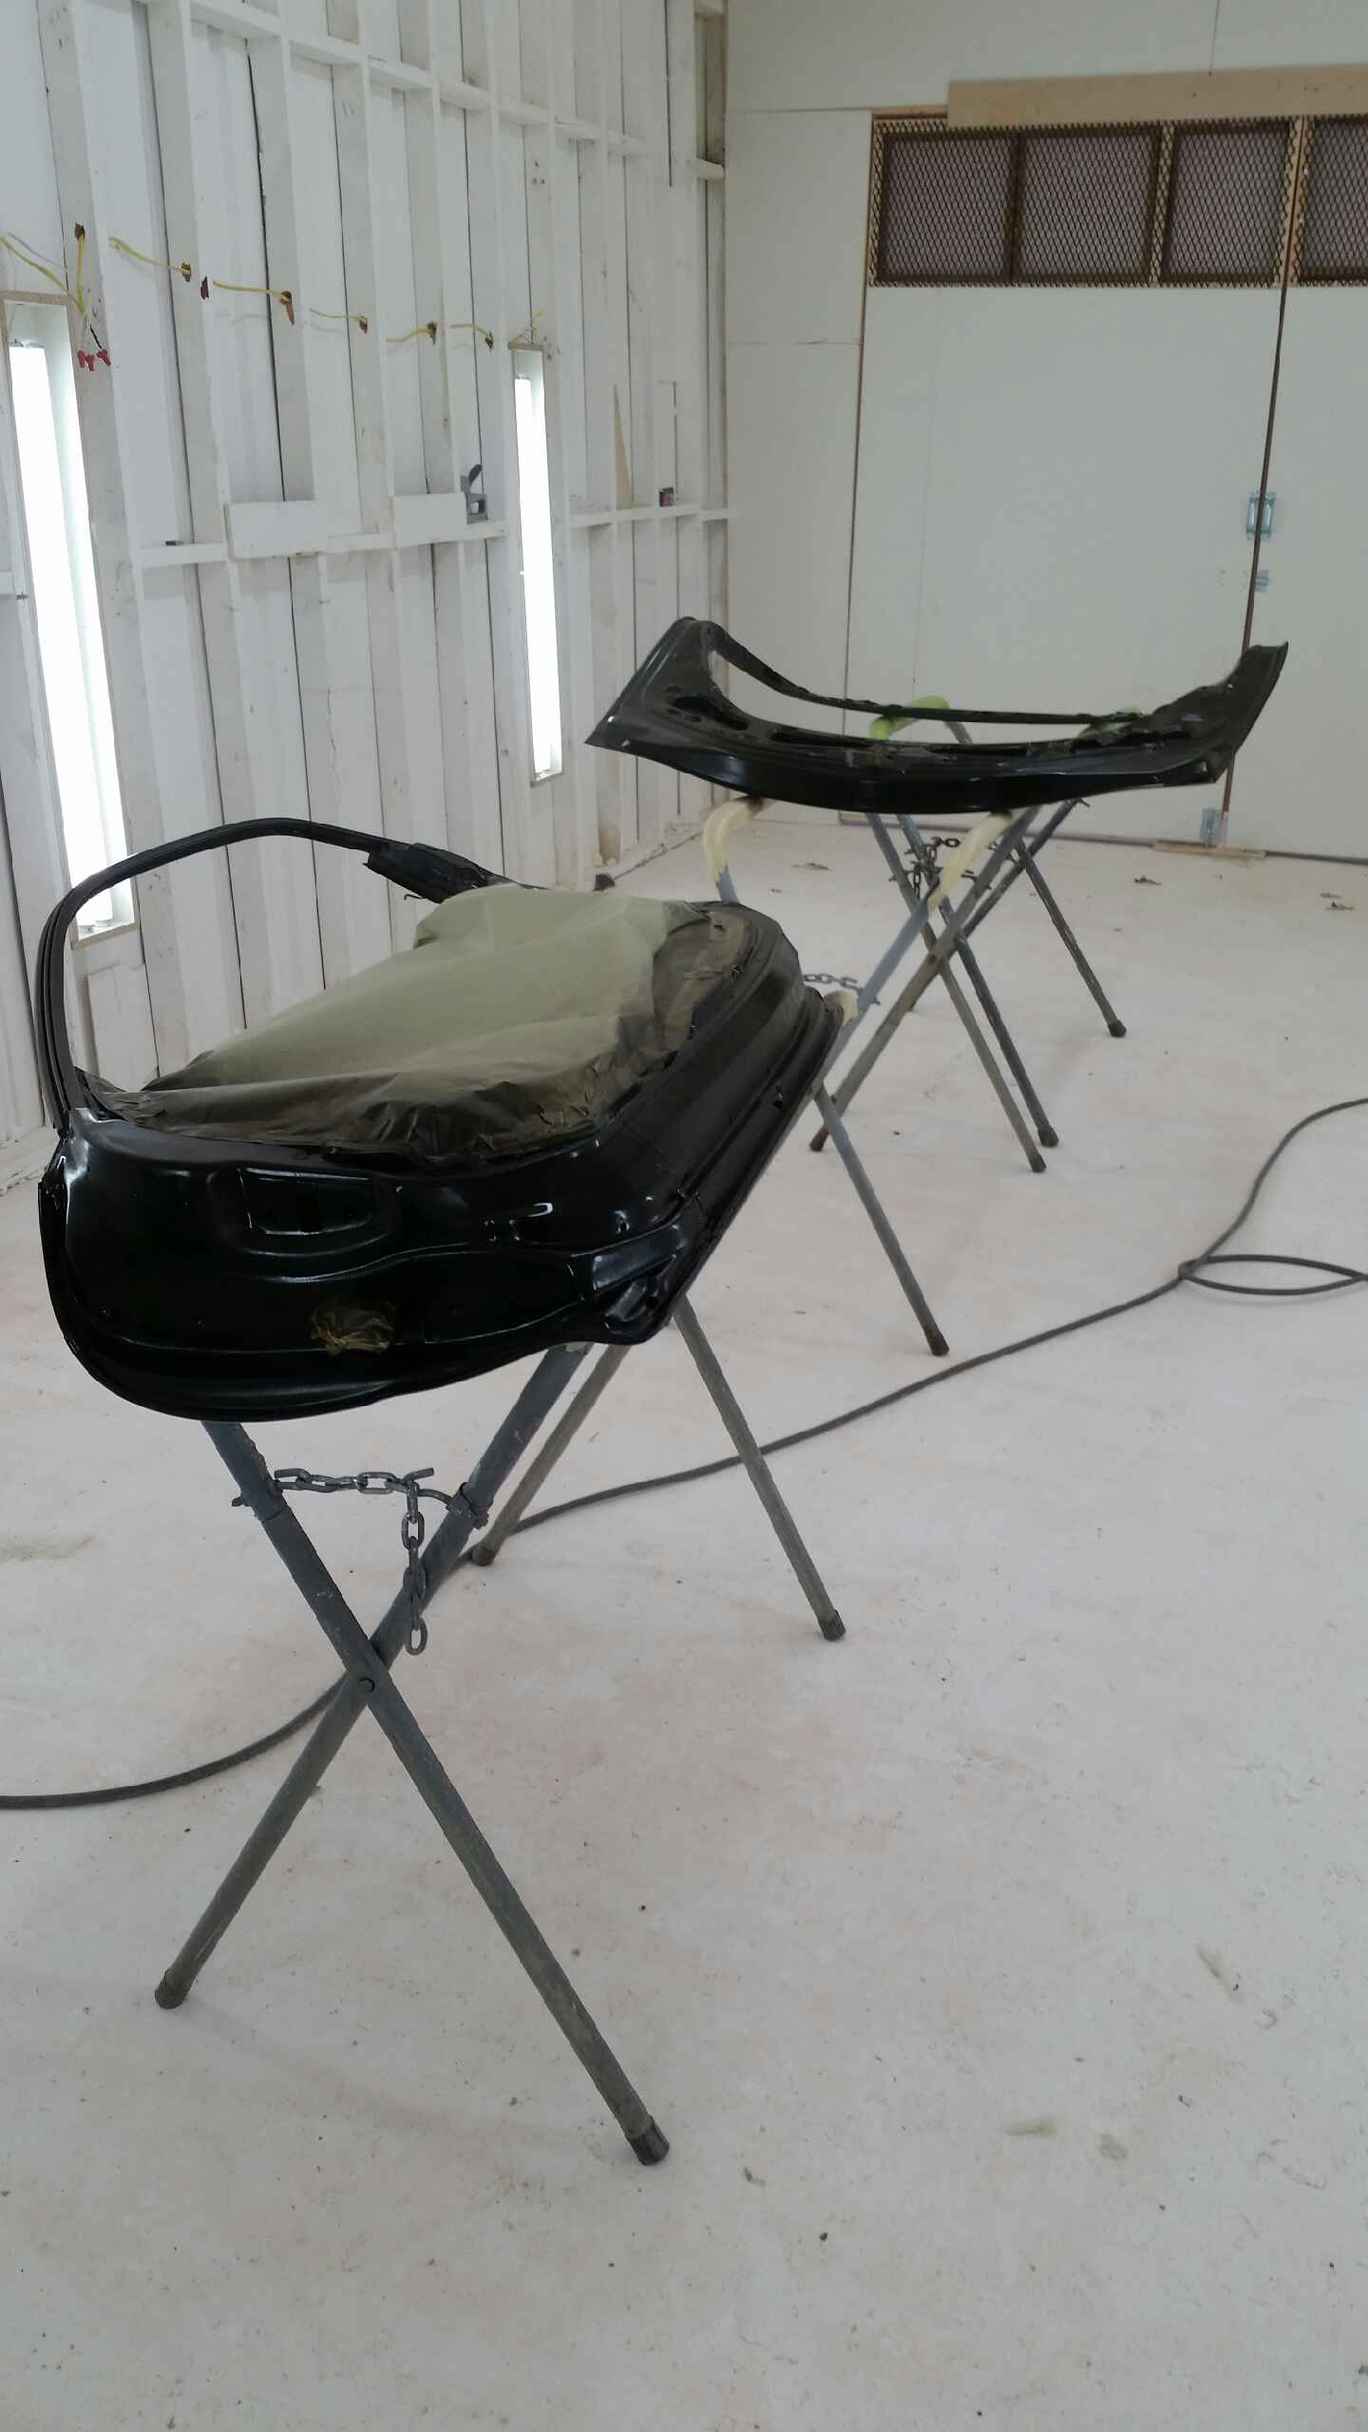
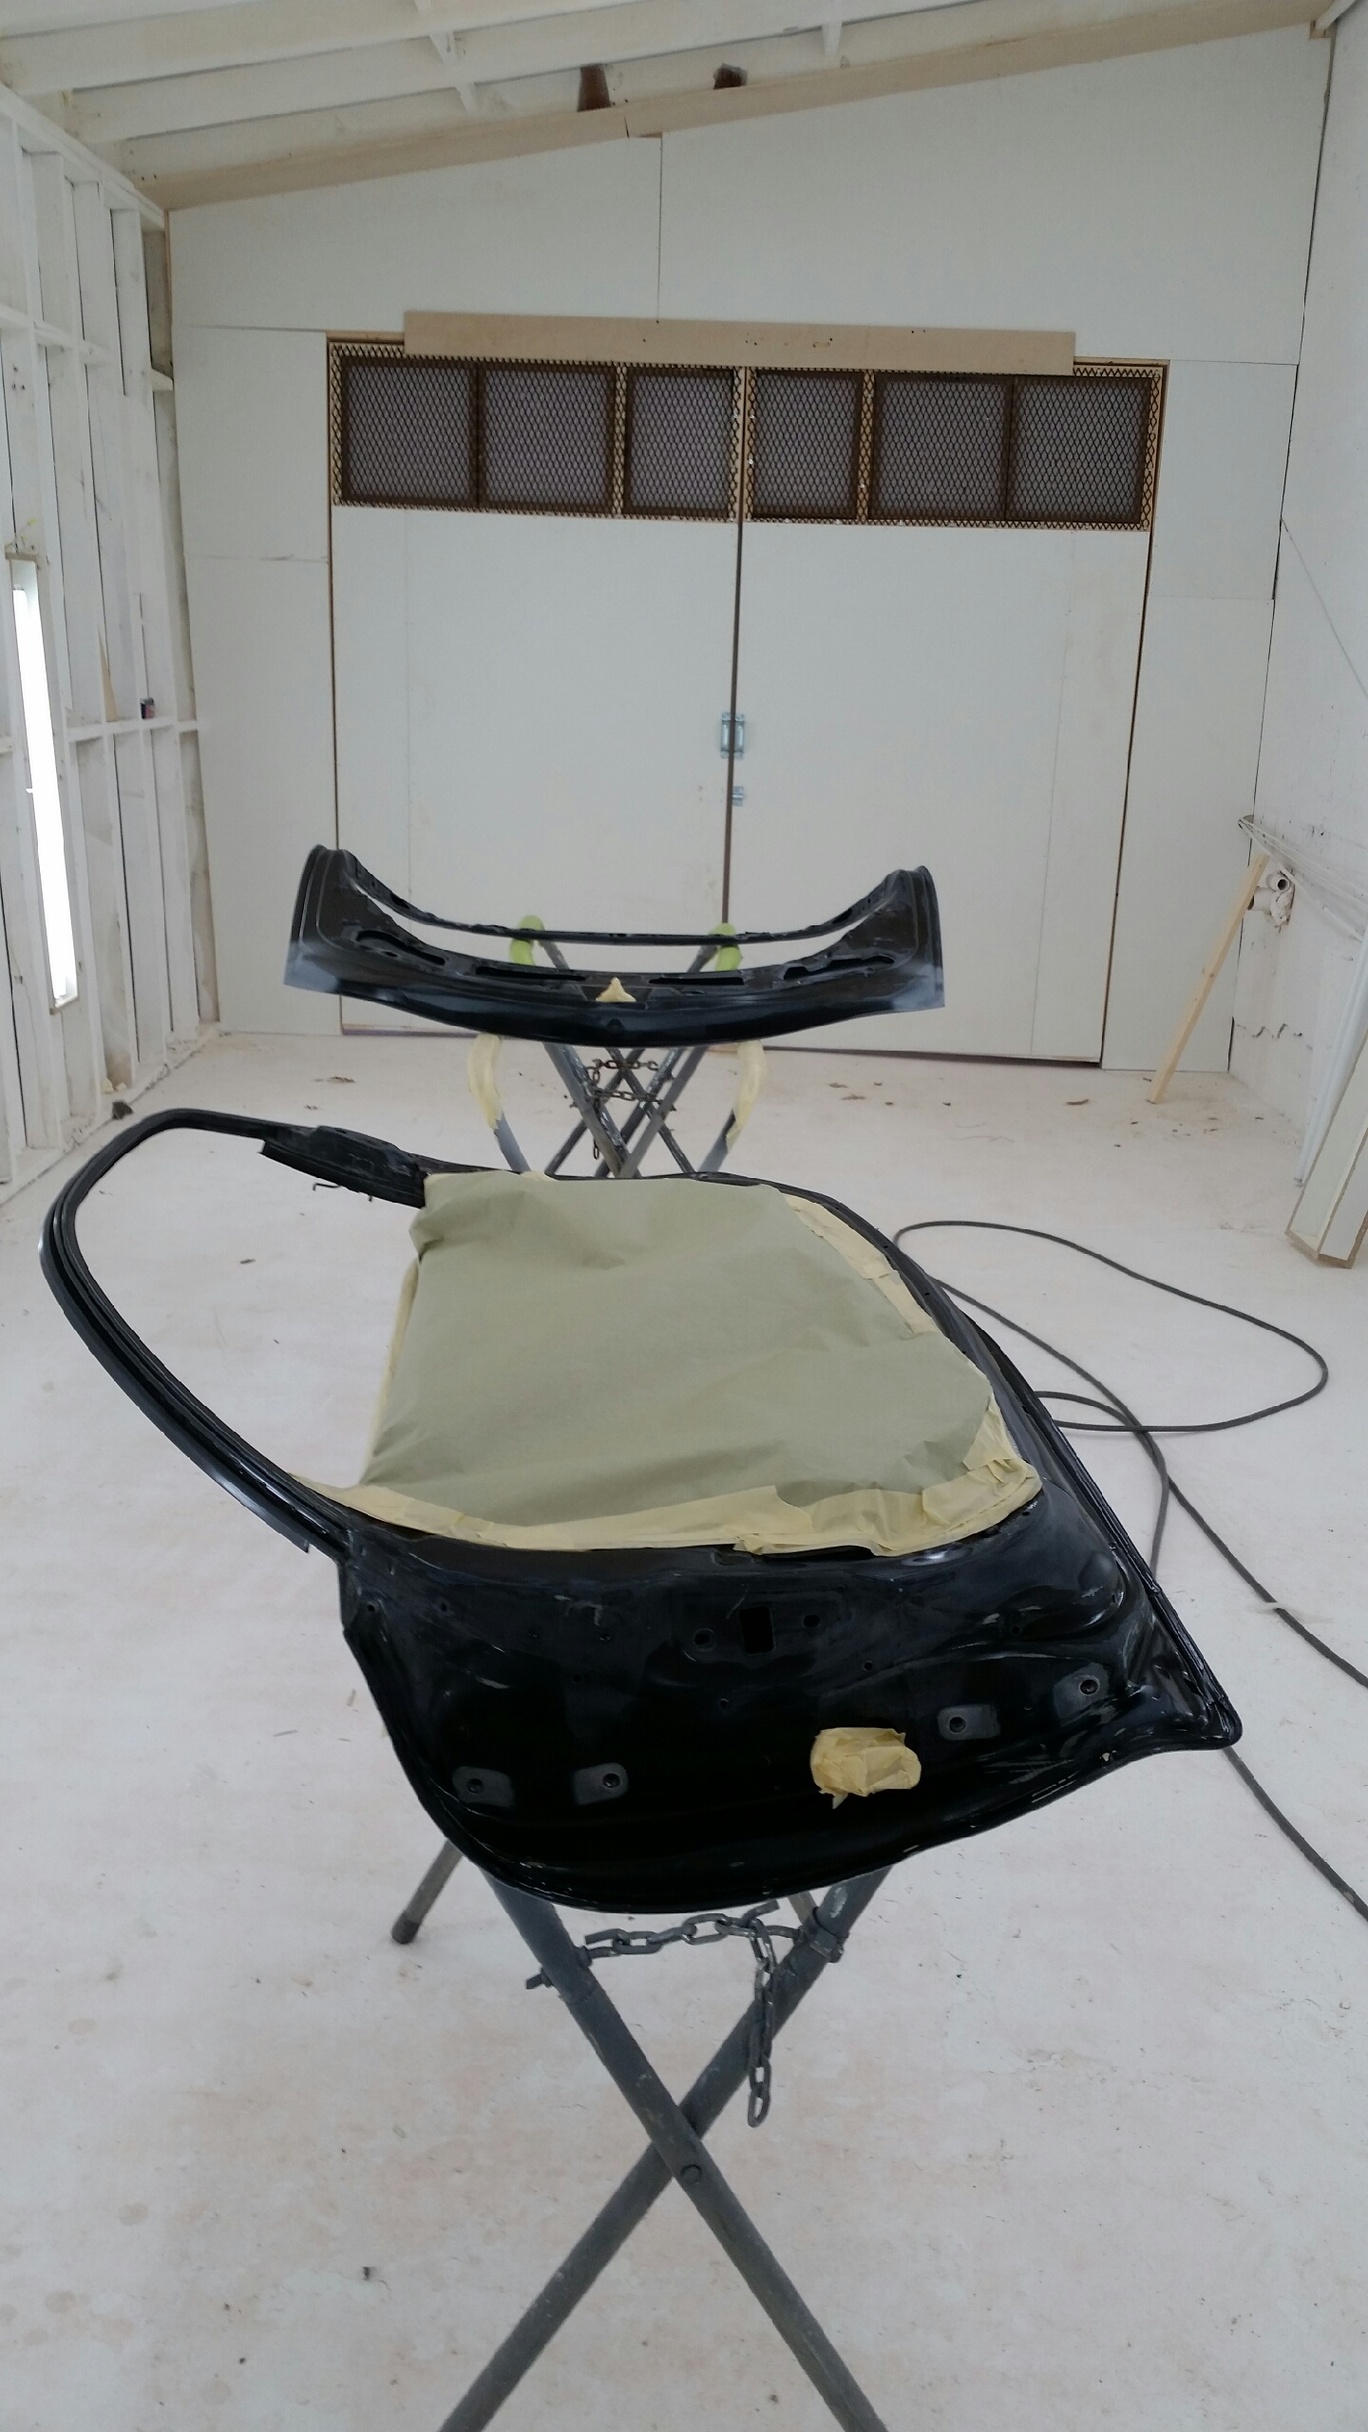
Hatch:
Sunroof:
Passenger Door:
Driver's Door:
HOOOOOD! :o
Needless to say John has wrecked the rest of my work day

Lane