From Zero to Hero: Heavy JDM Influenced Restoration

 12-28-15, 05:32 PM
#77
There was a holiday sale at Harbor Freight. I ended up getting it for 20% off at roughly 80 shipped. Harbor Freight regularly has this item hovering around there. Can't recommend it enough! It's currently on sale right now for 100.00 and there is a 20% coupon available. Here is the Item#60723.
01-03-16, 08:38 PM
#79
Update 1/3/2016:
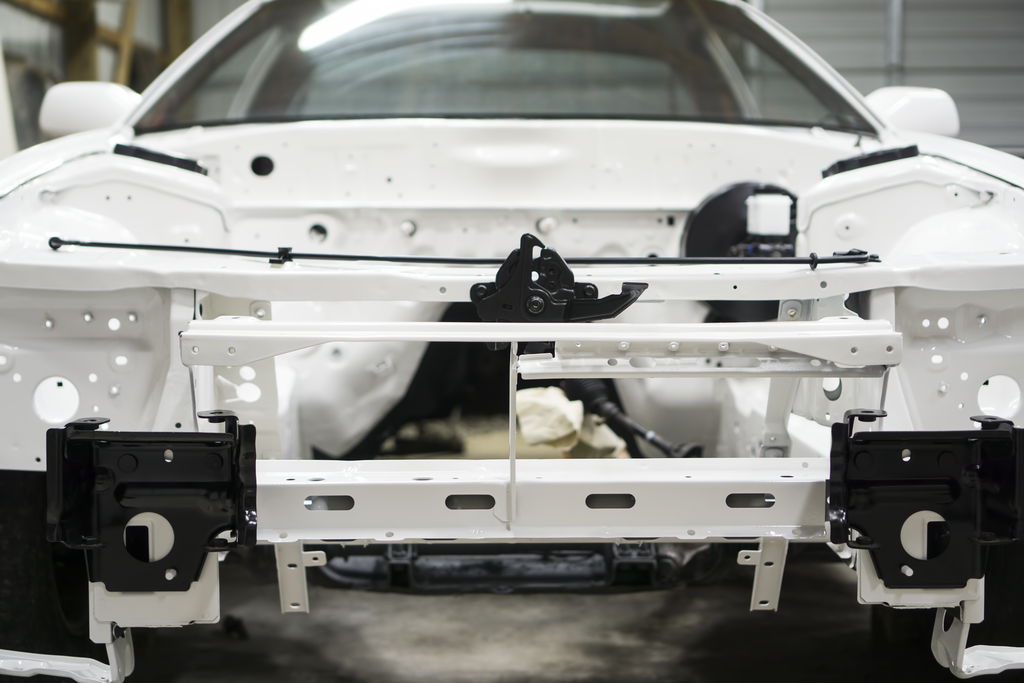
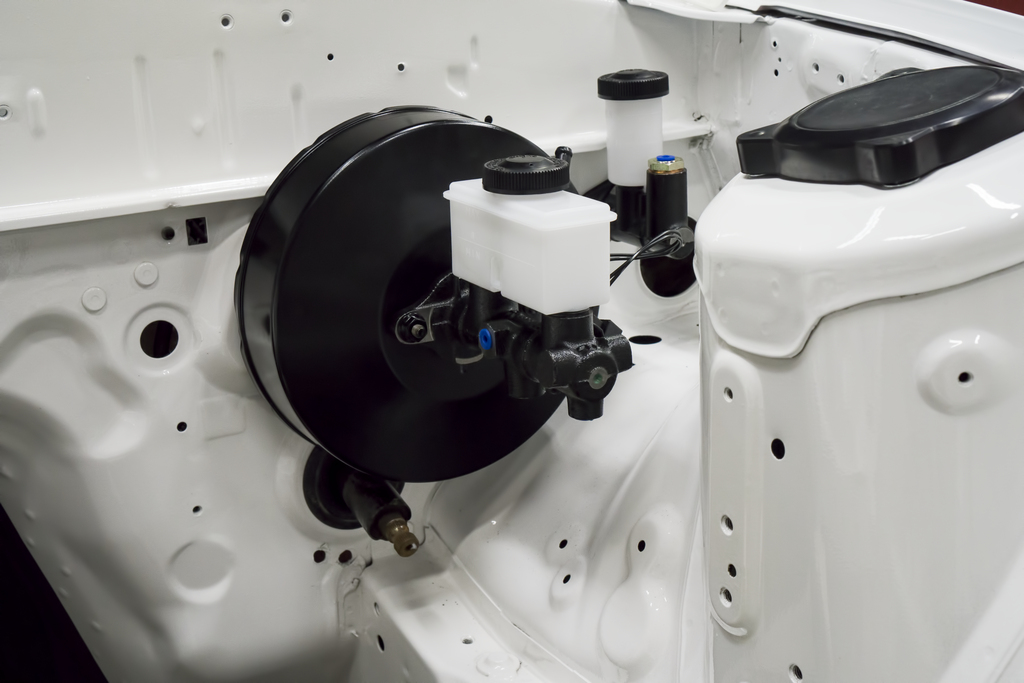
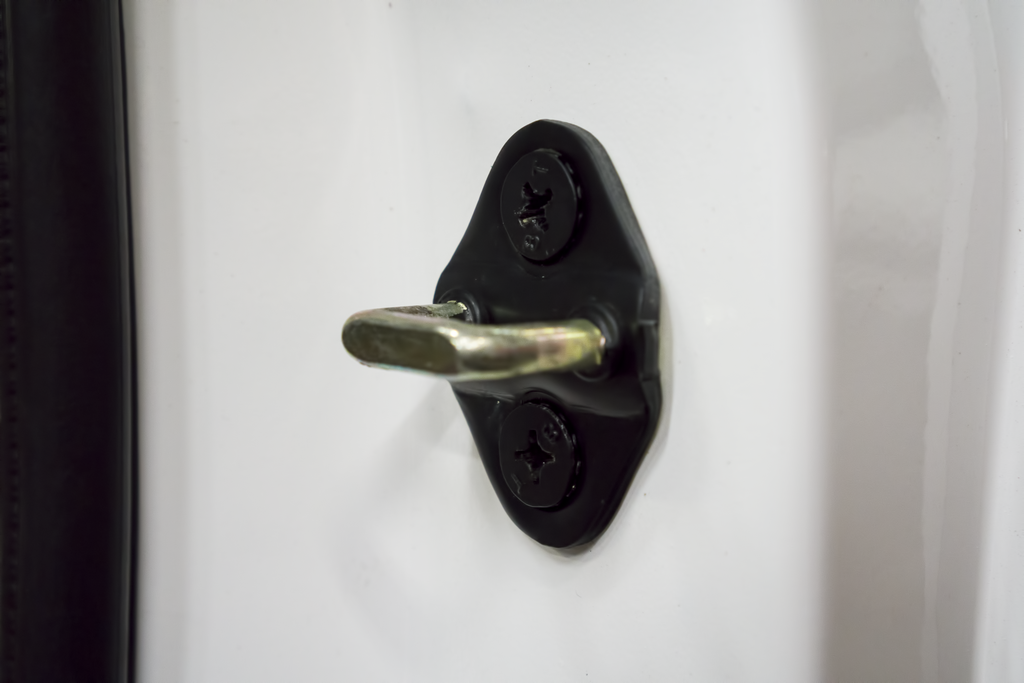
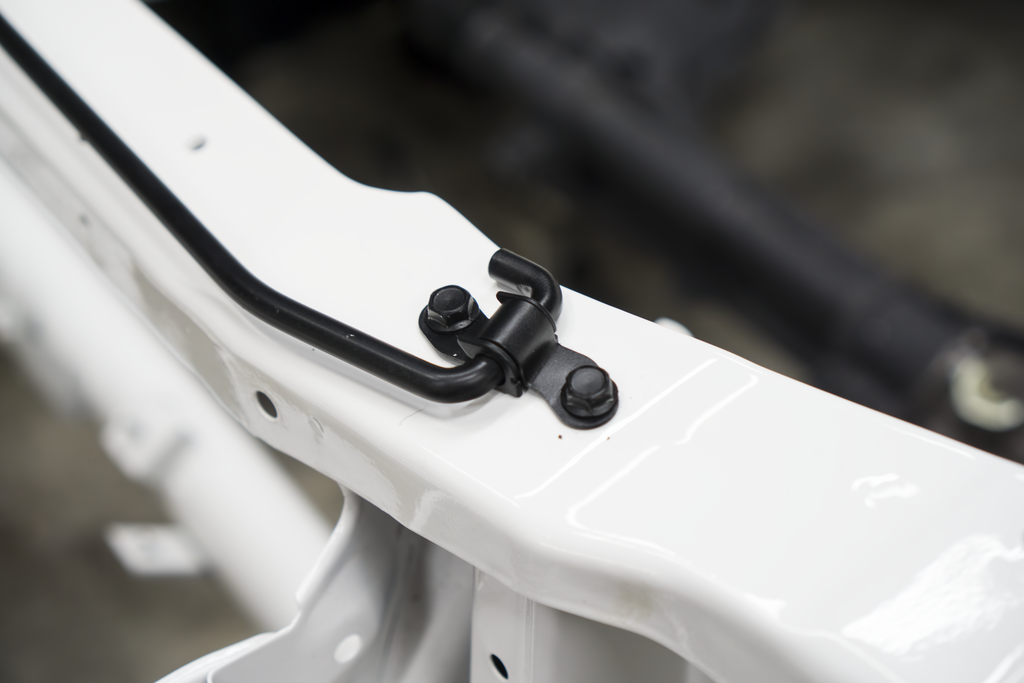
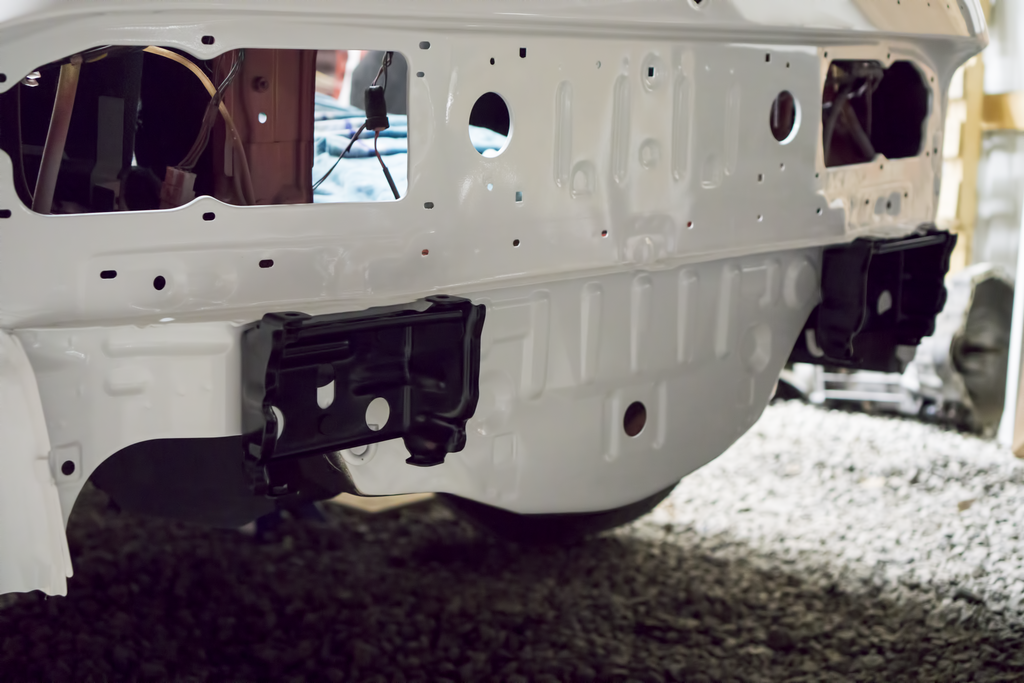
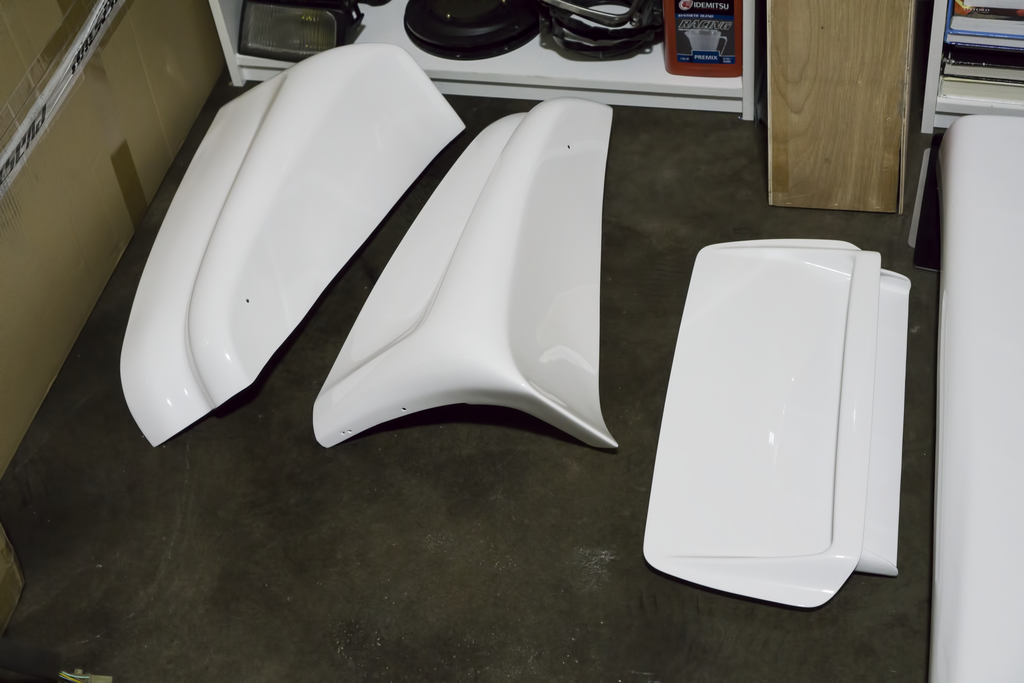
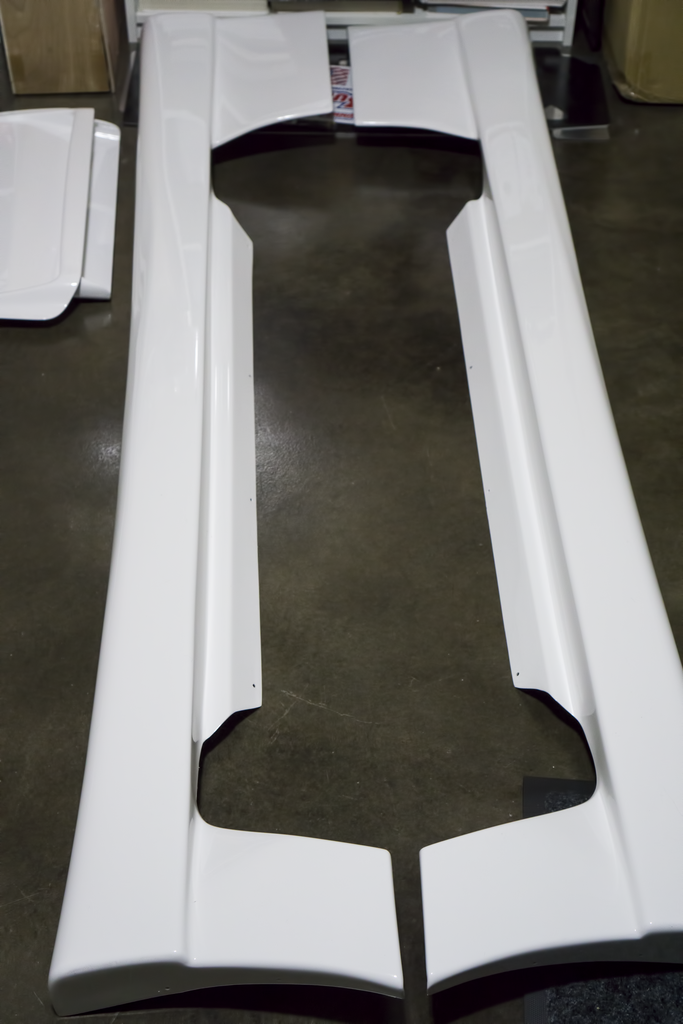
Wow, what a week. I had to power through it with a cold, but a lot has been done. This update will have to be done in two posts. I have a lot of pictures to share! My paint guy has been steadily getting things done and I’ve been bringing them back. I brought home with me the side skirts and the headlight housing tops. I spent the majority of my time working over on the car. I’m now falling behind with the parts I have here to get done. I went ahead and put in new ball joints as well as getting the coilovers on in the front. I also put on the front and rear support beam brackets. Although I am using hood dampeners I decided to also slap on the stock hood prop (just in case). I have the rear knuckles pulled and popped out the bearing. I’m now cleaning the knuckles up and spraying the dust shield. I have the DTSS eliminators ready to go in. While underneath I had a hand in dropping the fuel tank and gave it a good clean. I am surprised to say that there is zero rust on the inside of it. I was all ready to evapo-rust it for the next three days, but am glad I don’t have to do it. Since the tank is down I’m going to finish undercoating underneath it. I have the area cleaned and it’s good to go. I have in my possession a clutch diff that is currently on the car and a viscous diff that is sitting on the other shell. My plan is to use the clutch diff until it completely goes out and then swap in the viscous (or rebuild the clutch if I’m feeling fancy). I sprayed the door strikers and got them on to the car. There was a gentleman that made a gorgeous set of polished covers that go over the strikers. I’ve unfortunately not been able to track him down. Finally I’m able to shut my door without it slightly hanging open. I also got in the brake booster and master cylinder as well as the clutch master cylinder. I ended up getting the sunroof cleaned and re-greased. I got that into the car today. I will be ordering a new weather stripping seal for the top panel. As a bonus, I had forgotten to show you all my rear hatch with the fresh paint and the new seal.
Here is all the fancy stuff I got on (hooray for non-yellowed plastic!):
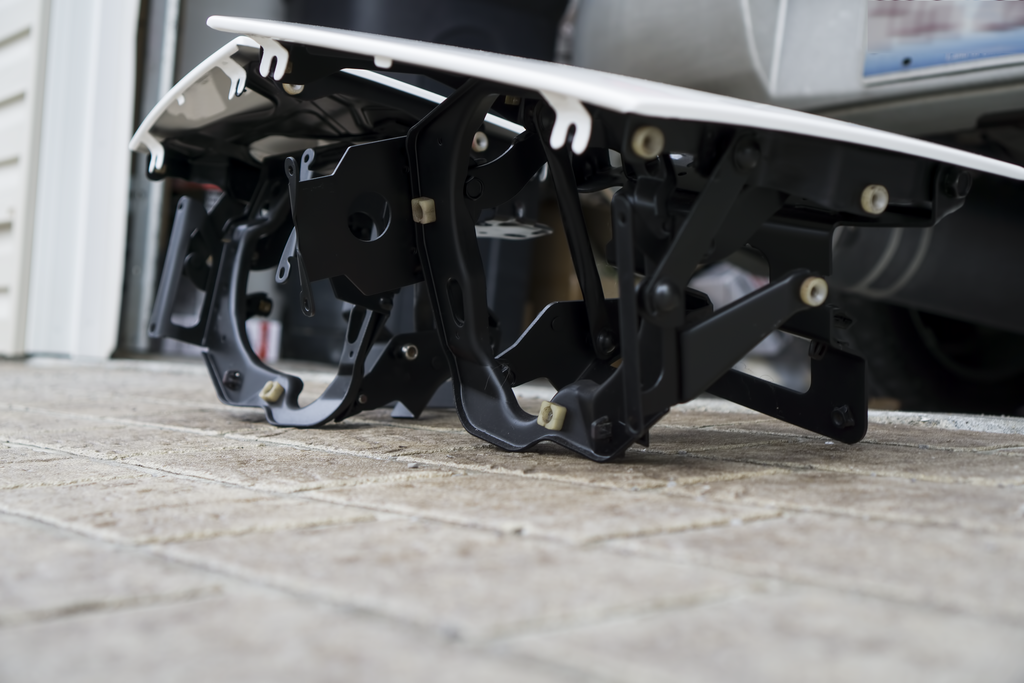
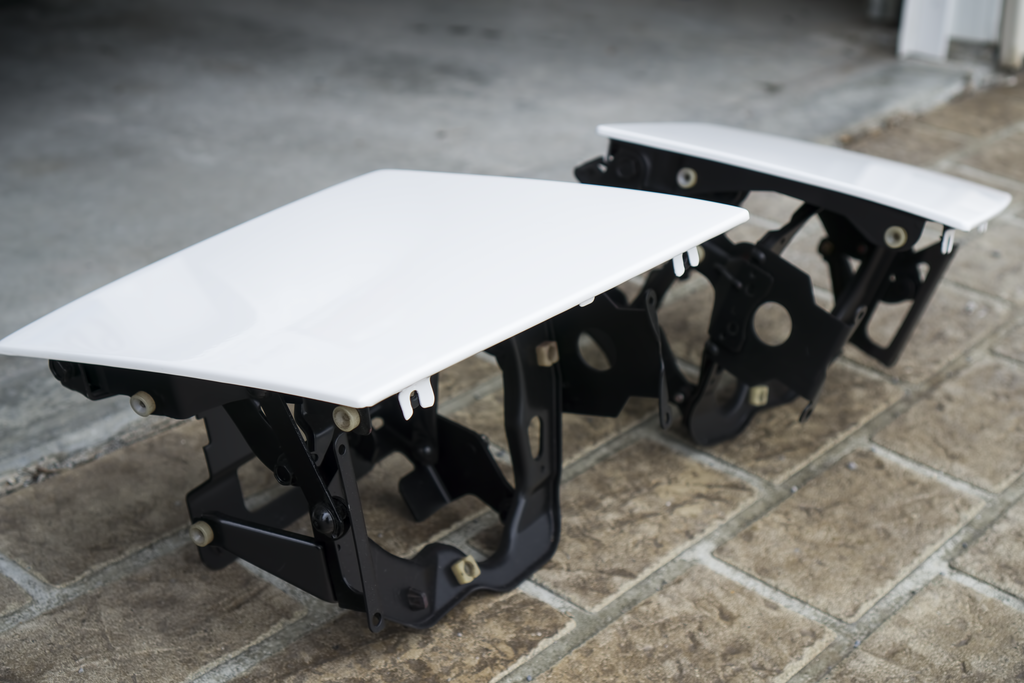
Here are the headlight housings (I still need to screw them on):
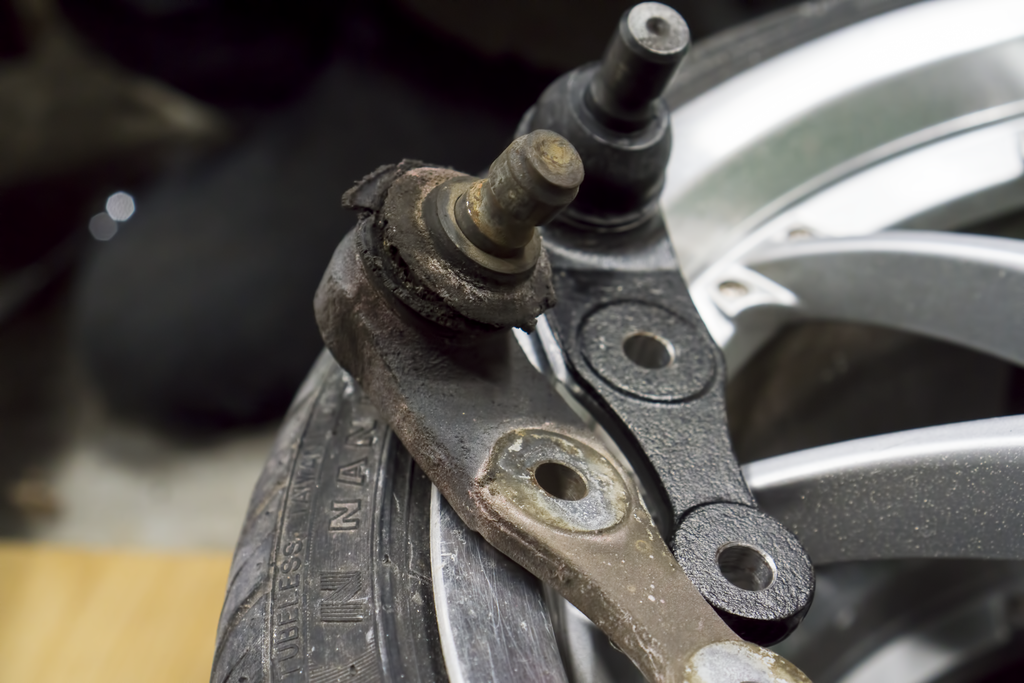
Here is the new ball joints (I’ve included a comparison between the two):
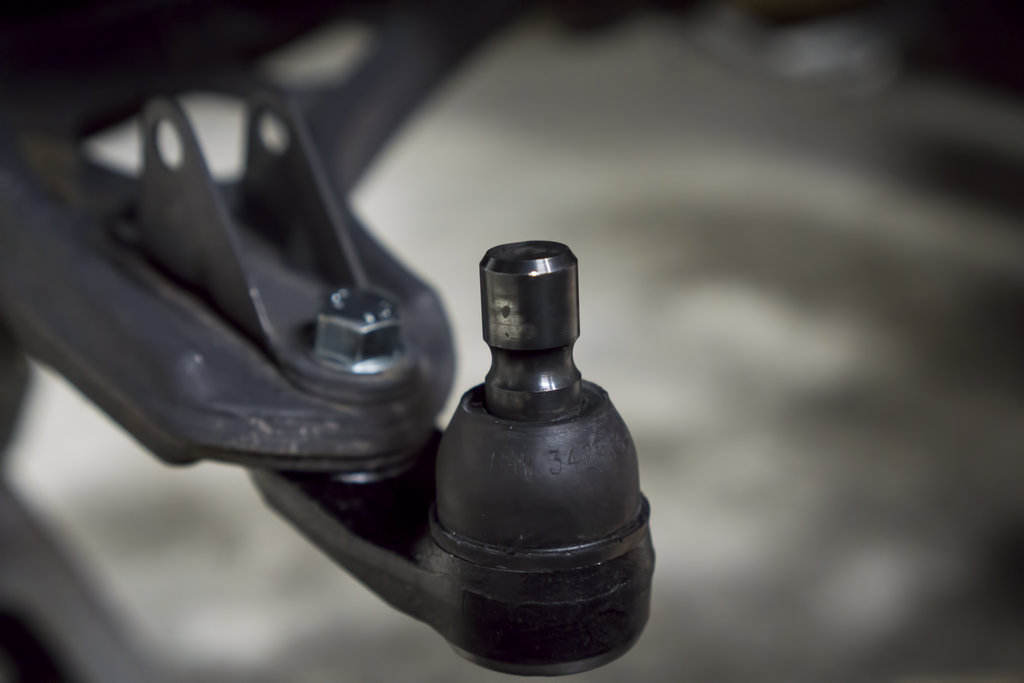
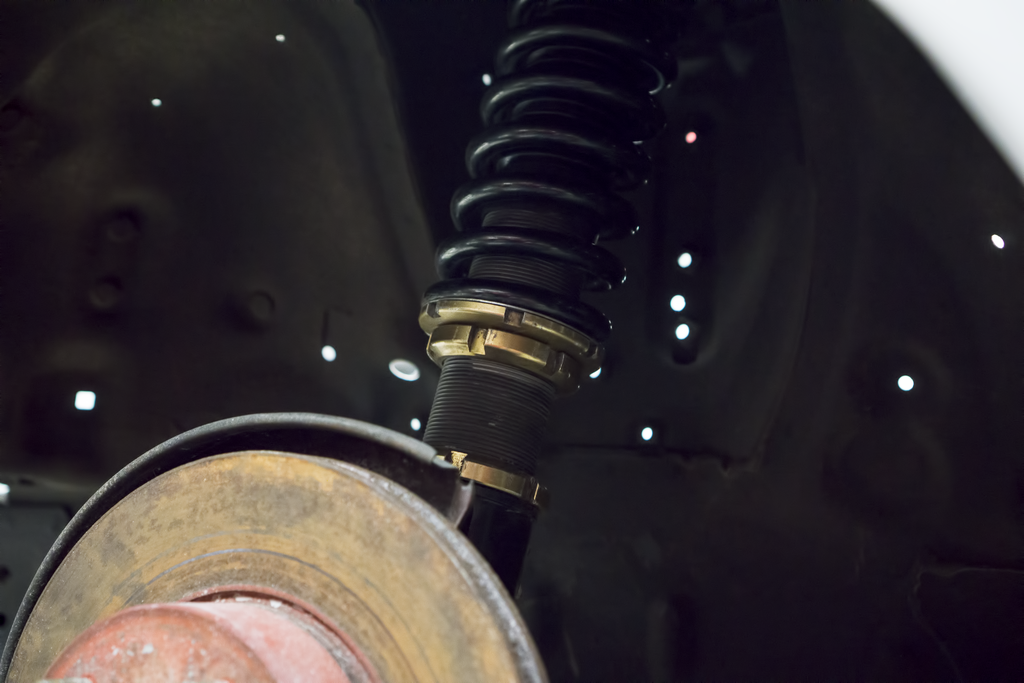
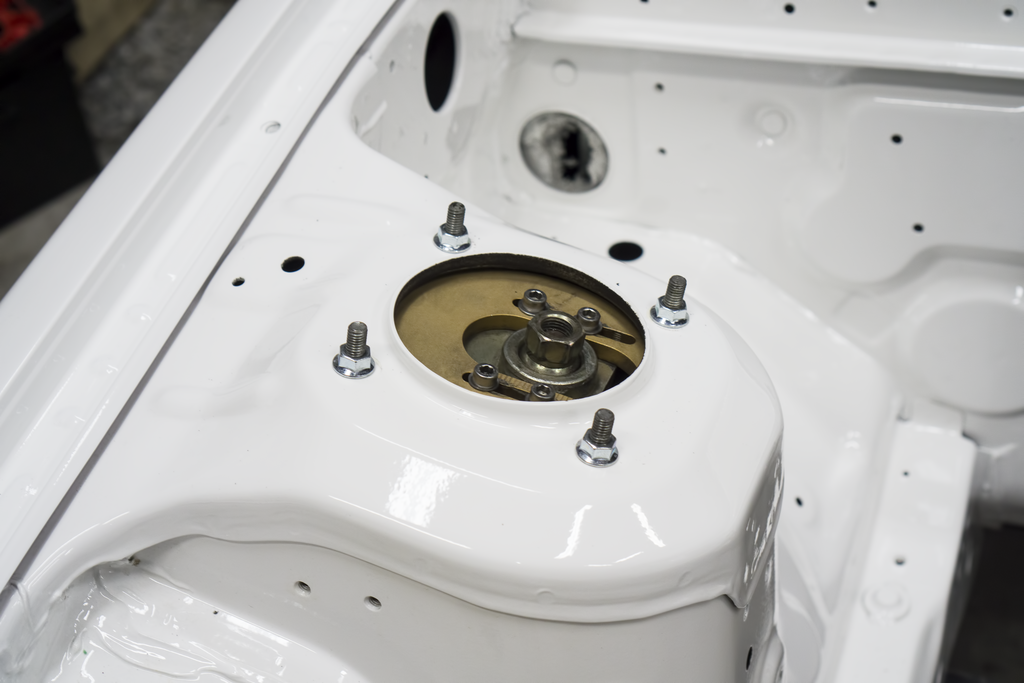
Here is a shot of the coilovers installed in the front:
Wow, what a week. I had to power through it with a cold, but a lot has been done. This update will have to be done in two posts. I have a lot of pictures to share! My paint guy has been steadily getting things done and I’ve been bringing them back. I brought home with me the side skirts and the headlight housing tops. I spent the majority of my time working over on the car. I’m now falling behind with the parts I have here to get done. I went ahead and put in new ball joints as well as getting the coilovers on in the front. I also put on the front and rear support beam brackets. Although I am using hood dampeners I decided to also slap on the stock hood prop (just in case). I have the rear knuckles pulled and popped out the bearing. I’m now cleaning the knuckles up and spraying the dust shield. I have the DTSS eliminators ready to go in. While underneath I had a hand in dropping the fuel tank and gave it a good clean. I am surprised to say that there is zero rust on the inside of it. I was all ready to evapo-rust it for the next three days, but am glad I don’t have to do it. Since the tank is down I’m going to finish undercoating underneath it. I have the area cleaned and it’s good to go. I have in my possession a clutch diff that is currently on the car and a viscous diff that is sitting on the other shell. My plan is to use the clutch diff until it completely goes out and then swap in the viscous (or rebuild the clutch if I’m feeling fancy). I sprayed the door strikers and got them on to the car. There was a gentleman that made a gorgeous set of polished covers that go over the strikers. I’ve unfortunately not been able to track him down. Finally I’m able to shut my door without it slightly hanging open. I also got in the brake booster and master cylinder as well as the clutch master cylinder. I ended up getting the sunroof cleaned and re-greased. I got that into the car today. I will be ordering a new weather stripping seal for the top panel. As a bonus, I had forgotten to show you all my rear hatch with the fresh paint and the new seal.
Here is all the fancy stuff I got on (hooray for non-yellowed plastic!):


Here are the headlight housings (I still need to screw them on):


Here is the new ball joints (I’ve included a comparison between the two):


Here is a shot of the coilovers installed in the front:


Last edited by Akomix; 01-03-16 at 08:42 PM.
01-03-16, 08:39 PM
#80
Update 1/3/2016 Continued:
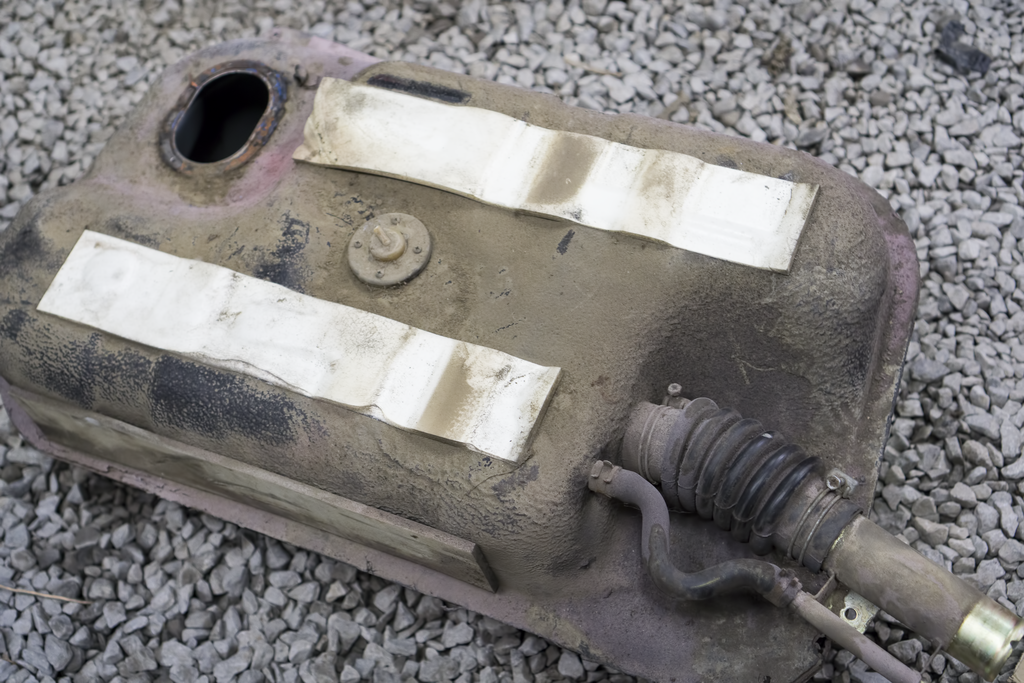
Here is a before and after picture of the fuel tank as well as an in progress cleaning shot underneath:
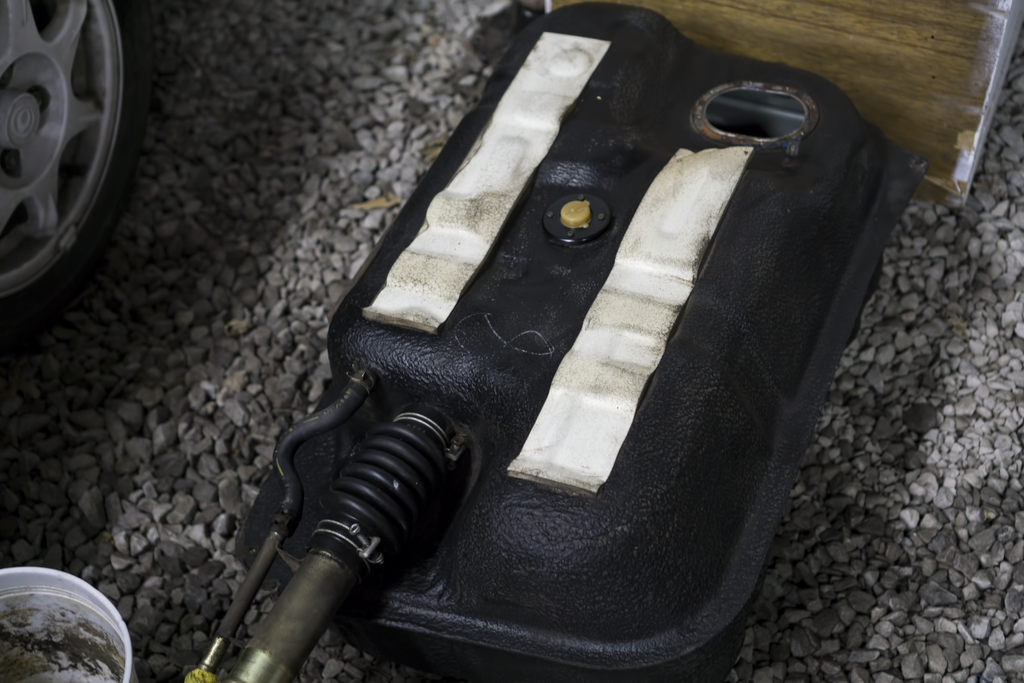
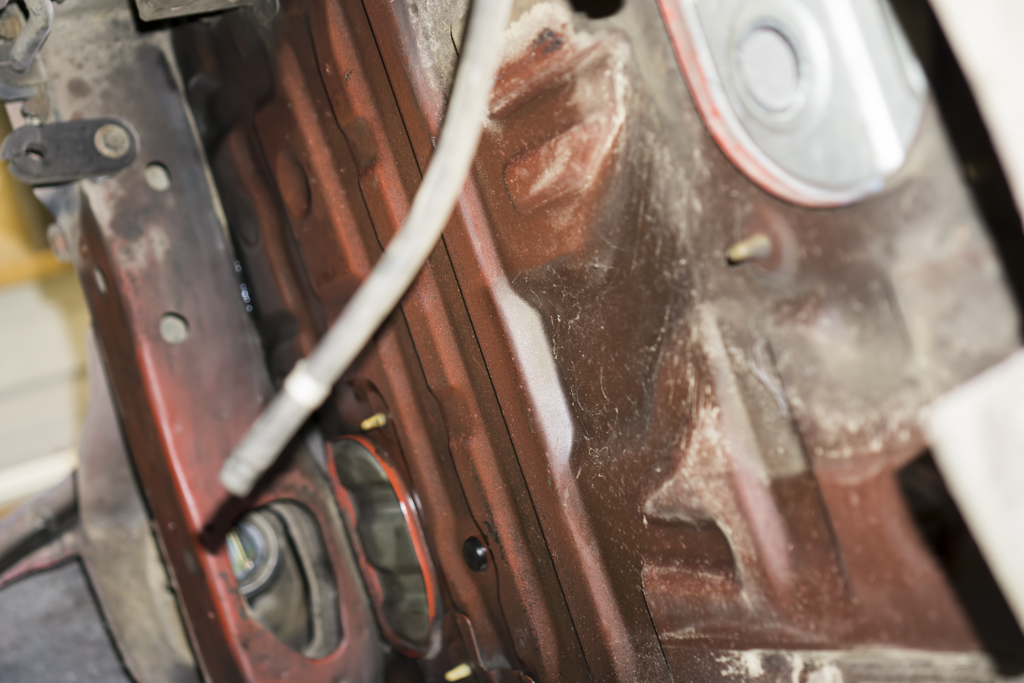
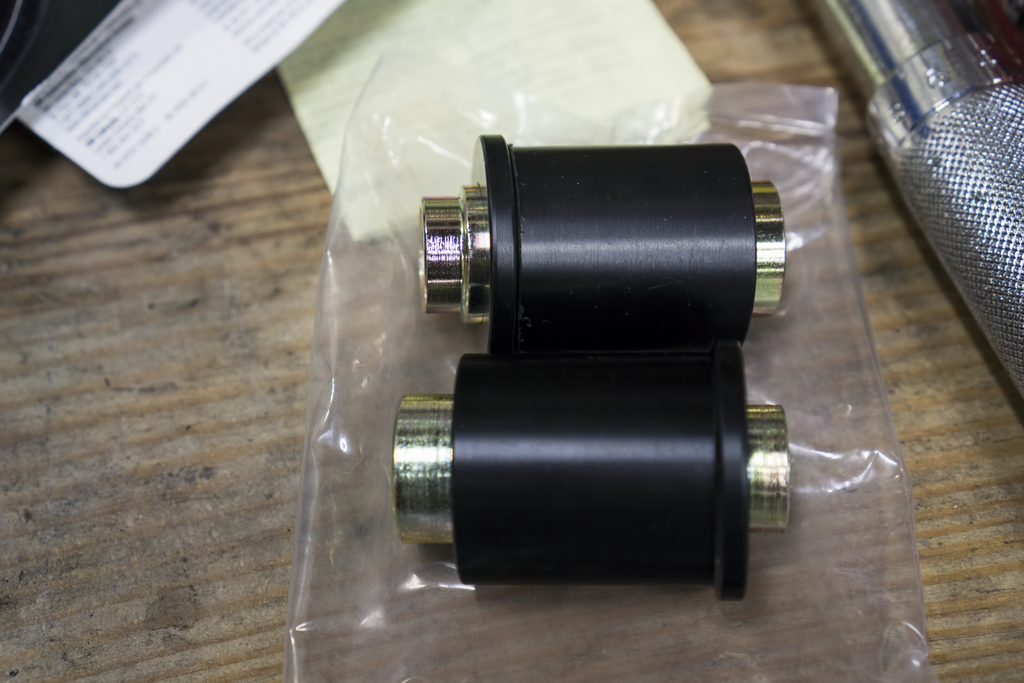
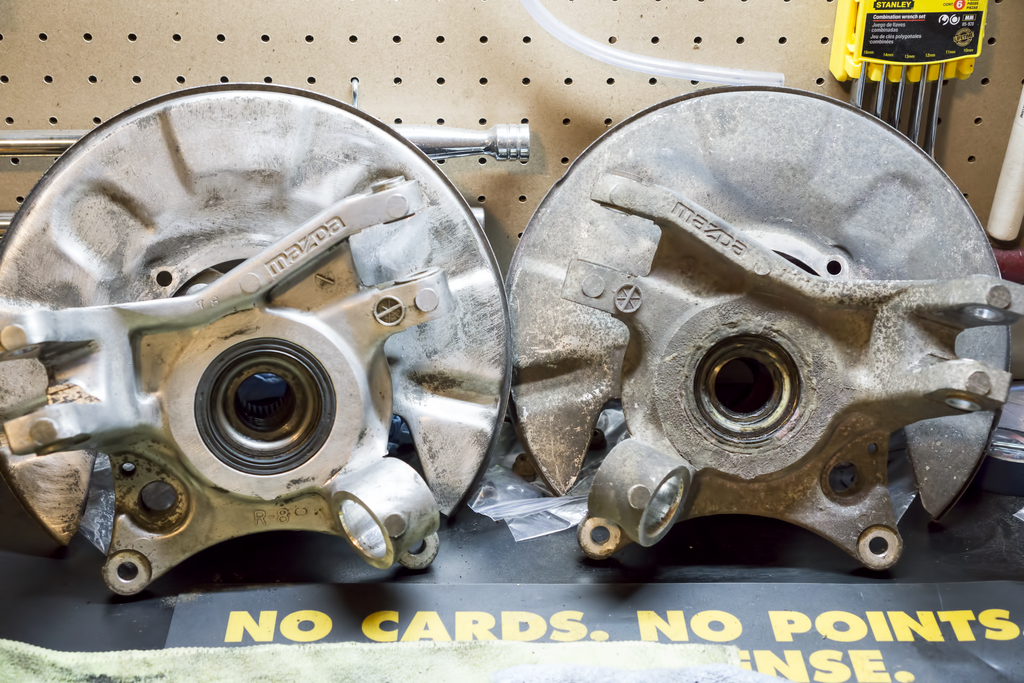
Here is a before shot of the knuckles that came out and the DTSS bushings (after shots next week..hopefully):

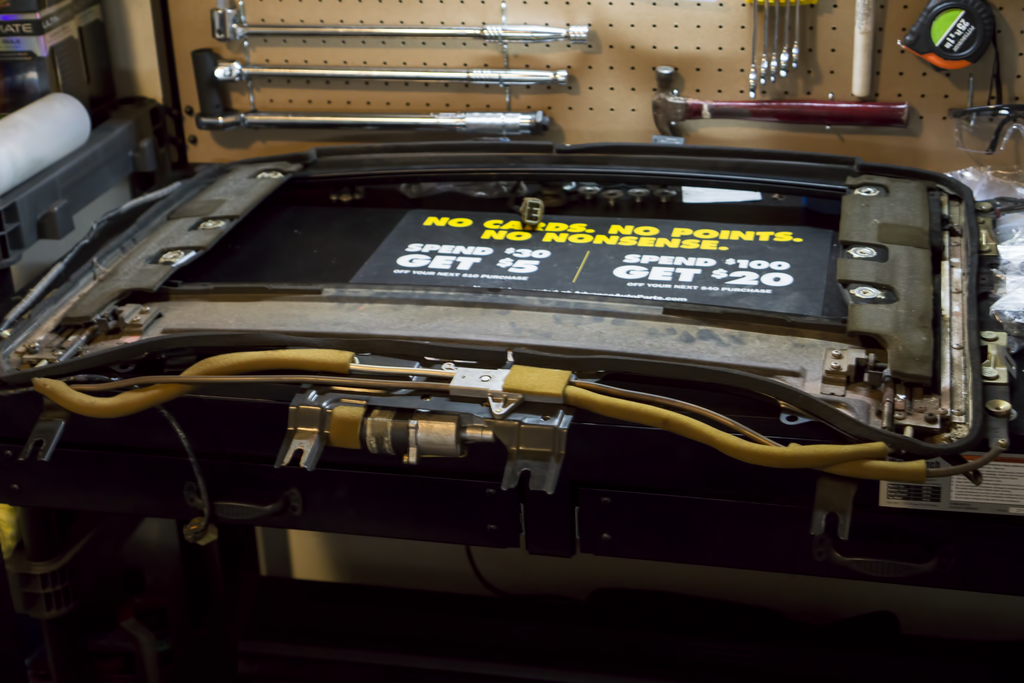
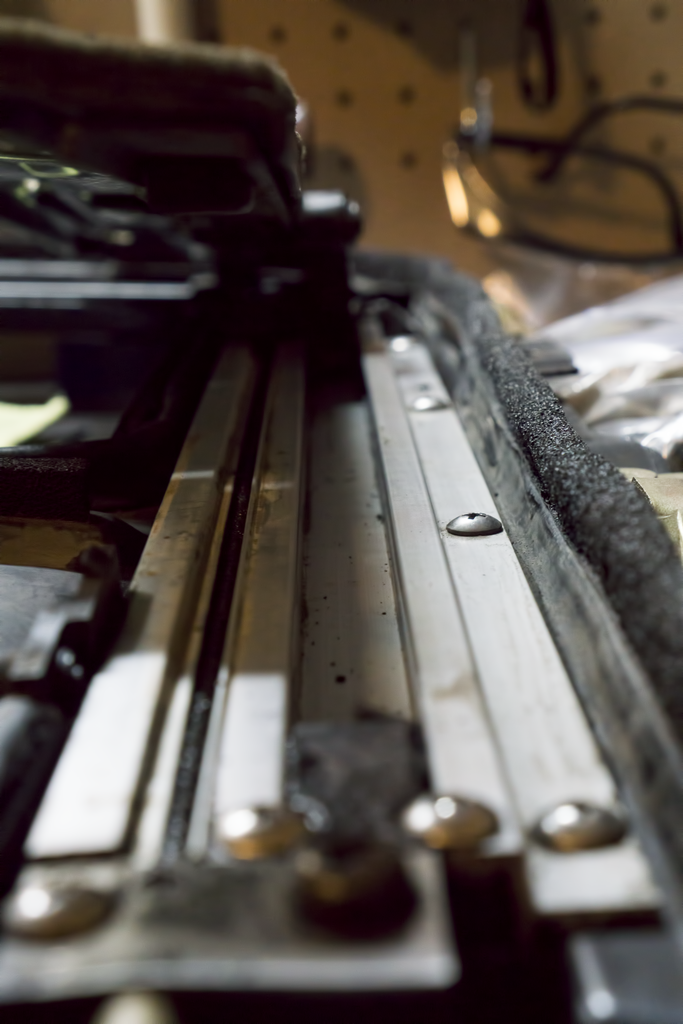
Here are a few shots of the sunroof (It�s completely clean now and in the car):

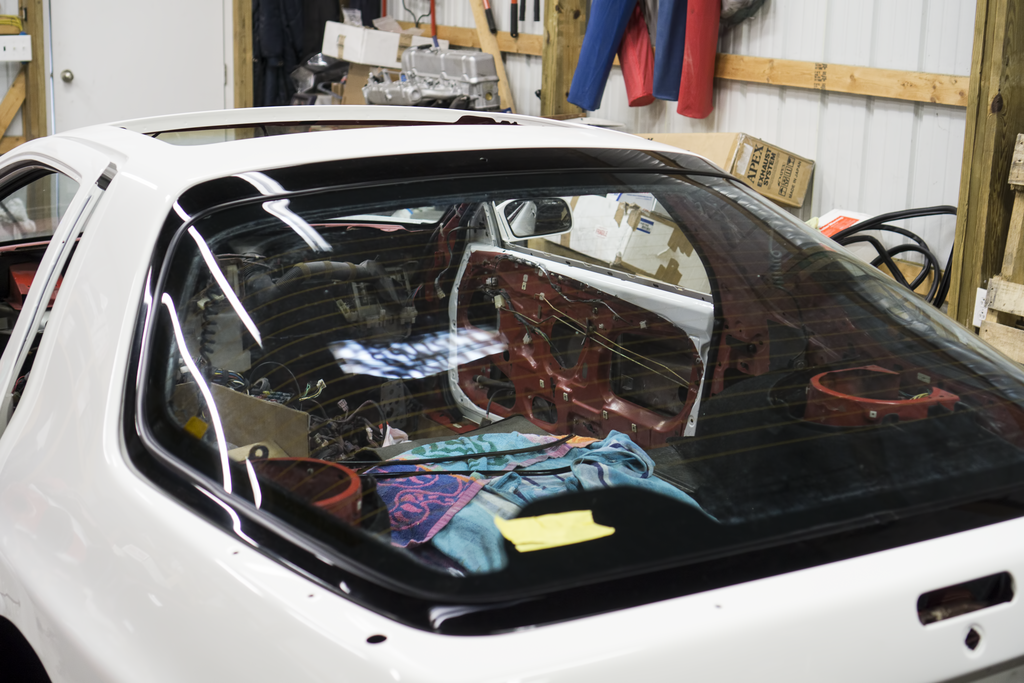
Last but not least, a bonus shot of the hatch:
Here is a before and after picture of the fuel tank as well as an in progress cleaning shot underneath:


Here is a before shot of the knuckles that came out and the DTSS bushings (after shots next week..hopefully):


Here are a few shots of the sunroof (It�s completely clean now and in the car):


Last but not least, a bonus shot of the hatch:


 01-04-16, 08:13 PM
#85
Full Member
Cool. Looking nice.
On the sunroof, is there anything you can grease with it installed? Or does it need to be uninstalled to get at the useful bits? Mine has always needed a little help.
On the sunroof, is there anything you can grease with it installed? Or does it need to be uninstalled to get at the useful bits? Mine has always needed a little help.
01-04-16, 08:34 PM
#86
Hope this helps!
01-05-16, 07:01 PM
#88
Full Member
You can crank it open and clean the rails without removing it from the car. It would be easier if you removed the top panel I think. I re-coated all the rails in white lithium grease. I've read that only fixes half of the prpblems with them. I plan to use a relay to ensure it gets 100% power as well.
Hope this helps!
Hope this helps!
01-06-16, 09:41 AM
#90
How hard was it to get the sunroof assembly level again? I'd thought about taking mine out too, as one side has a broken bracket where it meets the cable and one side is cracking. The frame also has some minor rust that should be taken care of with POR-15. I figure it would be much easier to work on outside of the car, but didn't know how much of a hassle it would be to make level again. I'm probably overthinking it.
01-06-16, 12:28 PM
#91
How hard was it to get the sunroof assembly level again? I'd thought about taking mine out too, as one side has a broken bracket where it meets the cable and one side is cracking. The frame also has some minor rust that should be taken care of with POR-15. I figure it would be much easier to work on outside of the car, but didn't know how much of a hassle it would be to make level again. I'm probably overthinking it.
Hope this helps.
01-07-16, 09:20 AM
#95
It is a double edged sword though...it's now incumbent upon you to make everything you bolt on look as pristine as the paint.
Not an easy job.
As you clearly now have a chassis worth preserving, I have a suggestion.
Make sure the drains for the wiper cavity are clear and then install screen on the back of the louvered filler panel that covers it (I used regular screen door mesh held on with Goop).
This will prevent leaves getting in and turning into mulch over time.
The rear hatch drains are also prone to debris clogging, which can be fixed by using coarse mesh pipe screens sourced from your local smoke emporium. The ones I found were stainless, pack of two (how convenient!) for $1 and dropped right into the round recess around the drain.
It has to be a fairly open mesh, the fine mesh I tried first clogged with dirt quickly.
Before you install the interior, check the plastic hoses on those rear drains, if they're stiff/cracked etc., now's the time to replace 'em because it's almost certain you'll need to rotoroot them at some point in the future.
Although you can refurb/paint a lot of the bay bits, there are parts that would be better just cleaned well and left bare, like the base of the wiper motor and the throttle body. For parts like these (especially the throttle body, which is a project to strip and reassemble), you can easily and relatively cheaply set yourself up a soda blasting rig.
It's nondestructive, you needn't take anything apart (it will even refresh rubber), and will leave the aluminum looking as good as it ever will.
Have fun chasing all the threaded holes in the bay.
01-07-16, 09:38 AM
#96
It is a double edged sword though...it's now incumbent upon you to make everything you bolt on look as pristine as the paint.
Not an easy job.
As you clearly now have a chassis worth preserving, I have a suggestion.
Make sure the drains for the wiper cavity are clear and then install screen on the back of the louvered filler panel that covers it (I used regular screen door mesh held on with Goop).
This will prevent leaves getting in and turning into mulch over time.
The rear hatch drains are also prone to debris clogging, which can be fixed by using coarse mesh pipe screens sourced from your local smoke emporium. The ones I found were stainless, pack of two (how convenient!) for $1 and dropped right into the round recess around the drain.
It has to be a fairly open mesh, the fine mesh I tried first clogged with dirt quickly.
Before you install the interior, check the plastic hoses on those rear drains, if they're stiff/cracked etc., now's the time to replace 'em because it's almost certain you'll need to rotoroot them at some point in the future.
Although you can refurb/paint a lot of the bay bits, there are parts that would be better just cleaned well and left bare, like the base of the wiper motor and the throttle body. For parts like these (especially the throttle body, which is a project to strip and reassemble), you can easily and relatively cheaply set yourself up a soda blasting rig.
It's nondestructive, you needn't take anything apart (it will even refresh rubber), and will leave the aluminum looking as good as it ever will.
Have fun chasing all the threaded holes in the bay.
Not an easy job.
As you clearly now have a chassis worth preserving, I have a suggestion.
Make sure the drains for the wiper cavity are clear and then install screen on the back of the louvered filler panel that covers it (I used regular screen door mesh held on with Goop).
This will prevent leaves getting in and turning into mulch over time.
The rear hatch drains are also prone to debris clogging, which can be fixed by using coarse mesh pipe screens sourced from your local smoke emporium. The ones I found were stainless, pack of two (how convenient!) for $1 and dropped right into the round recess around the drain.
It has to be a fairly open mesh, the fine mesh I tried first clogged with dirt quickly.
Before you install the interior, check the plastic hoses on those rear drains, if they're stiff/cracked etc., now's the time to replace 'em because it's almost certain you'll need to rotoroot them at some point in the future.
Although you can refurb/paint a lot of the bay bits, there are parts that would be better just cleaned well and left bare, like the base of the wiper motor and the throttle body. For parts like these (especially the throttle body, which is a project to strip and reassemble), you can easily and relatively cheaply set yourself up a soda blasting rig.
It's nondestructive, you needn't take anything apart (it will even refresh rubber), and will leave the aluminum looking as good as it ever will.
Have fun chasing all the threaded holes in the bay.
On a different note, I believe I pulled the 626 gas cap idea from you. Ingenious idea.
01-08-16, 12:56 PM
#97
If you have access to a compressor that moves a decent amount of air, HF has a spot blaster for cheap that works decent. I used it to soda blast my A arms and the rear hub carrier. They turned out really well. All I had to do was add a washer to restrict the amount of blasting media. Without it, it would spray too much and clog easily.
01-09-16, 09:24 AM
#98
If you have access to a compressor that moves a decent amount of air, HF has a spot blaster for cheap that works decent. I used it to soda blast my A arms and the rear hub carrier. They turned out really well. All I had to do was add a washer to restrict the amount of blasting media. Without it, it would spray too much and clog easily.
01-10-16, 07:42 PM
#99
Update 1/10/2016:
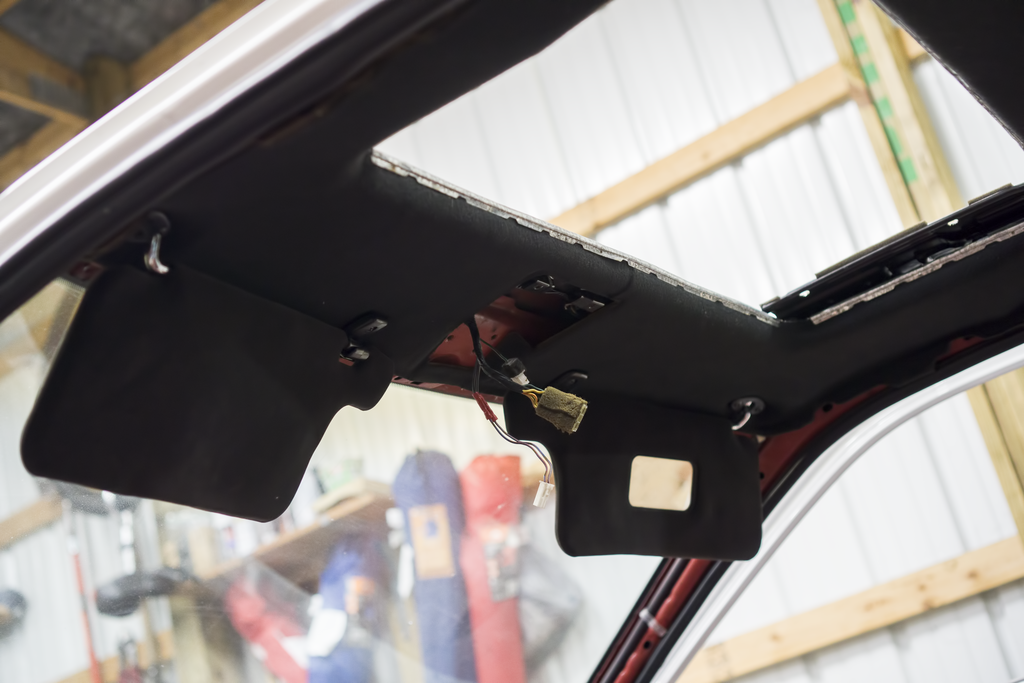
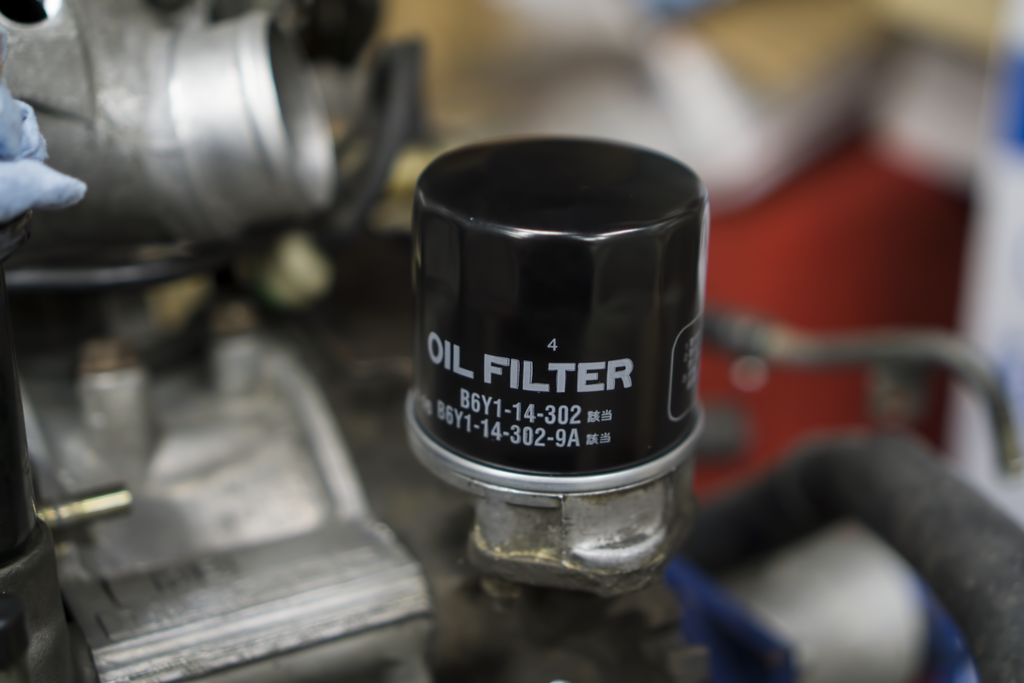
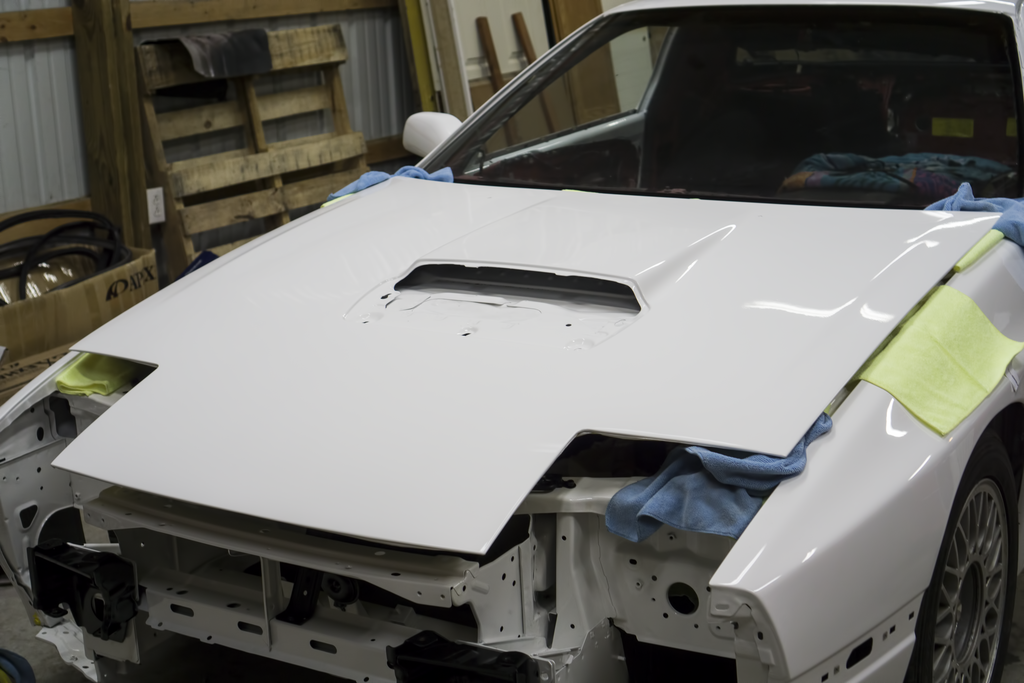
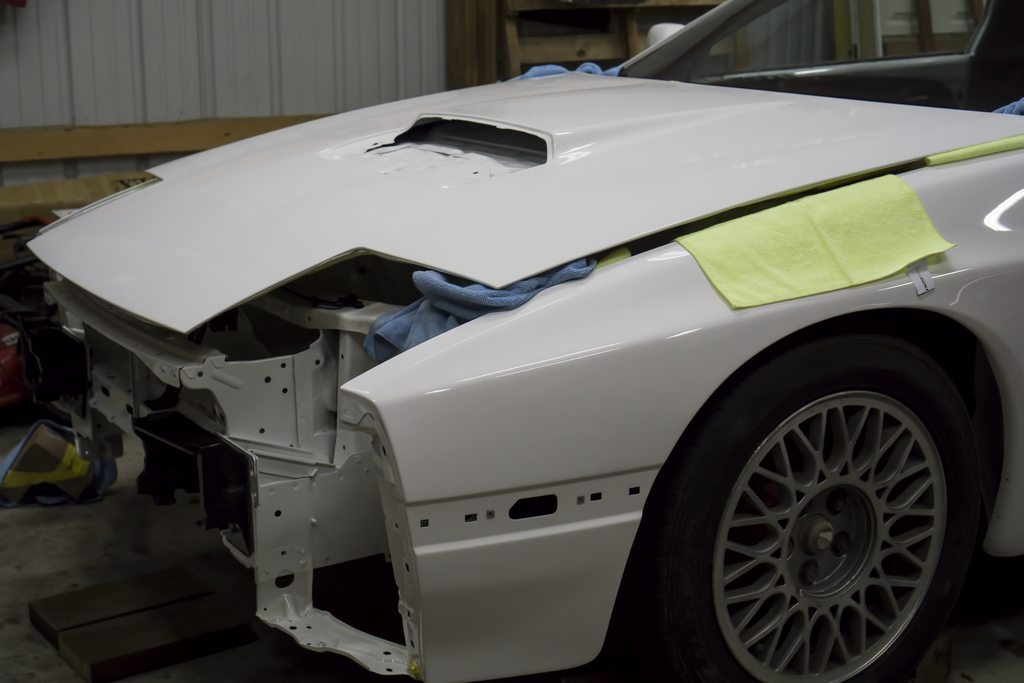
This week wasn�t as fruitful as I had hoped. It was around 15 degrees outside. I had 4 layers of clothing on and I was still cold. I didn�t get everything I wanted done, but I made solid progress. I cleaned up the knuckles, got the DTSS eliminators in, and painted the dust shield. I struggled getting them back on the car today for a solid 2 hours and gave up. Maybe next week I will fare better. I decided to paint the wiper motor earlier in the week. I have another one that I intend to strip and leave the base its standard color. I didn�t want to waste the day away struggling with the knuckles, so I moved on to other things that needed done. I got the rear support beam and license plate holder on. I went ahead and put in the headliner and the sun visors. I was going to put in the rear view, but I forgot the screws that hold it in place. I also got in the hatch rain gutter covers and the lining that runs along the top of the firewall. To wrap up the day I drained the oil tank and slapped on a new oil filter. I ended up making a special trip back later in the day as my hood and a few other things were done being painted. Next weekend I intend to change the spark plugs in the engine and pull out the steering rack. I also have a few trinkets coming in, and will be ordering the rest of the things I need this week.
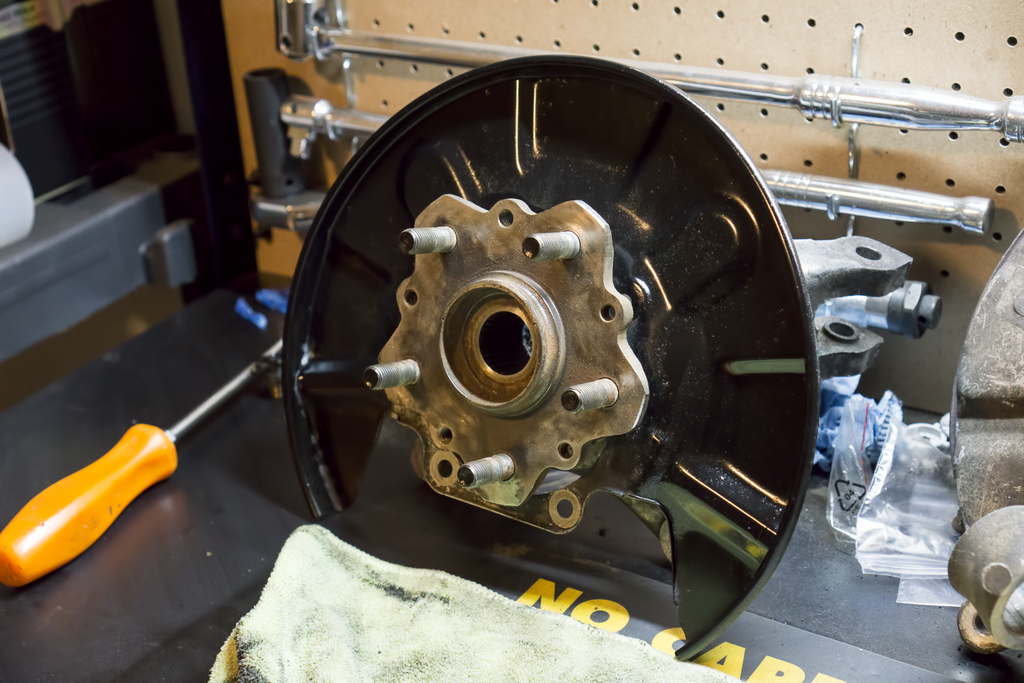
Here is an in progress and the finished knuckle:
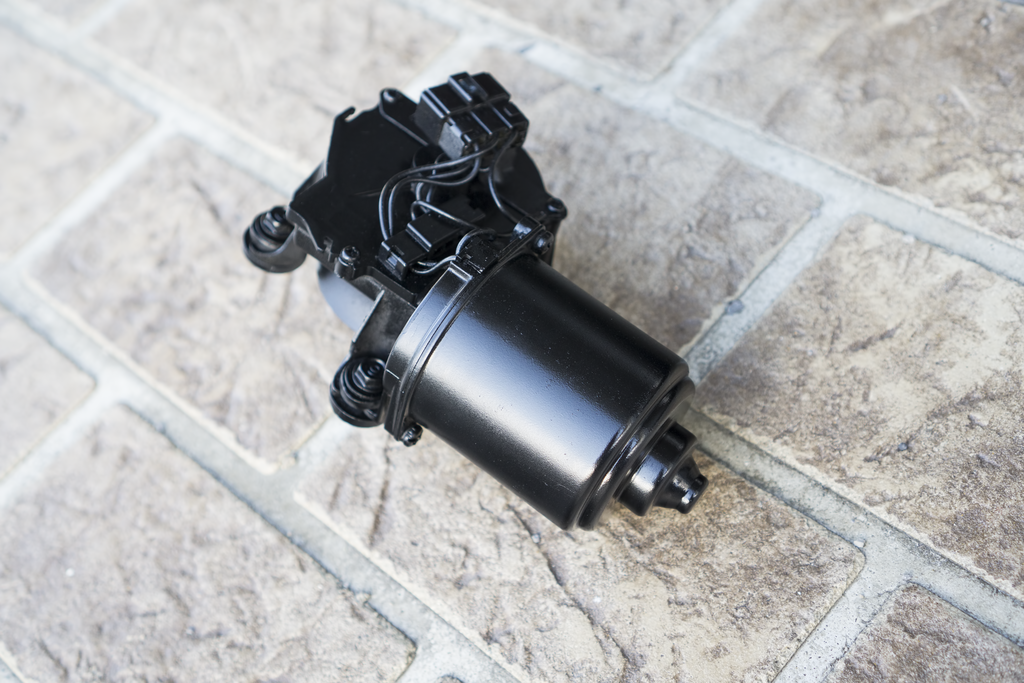
Here is the wiper motor (I think I�ll like the other variant better):
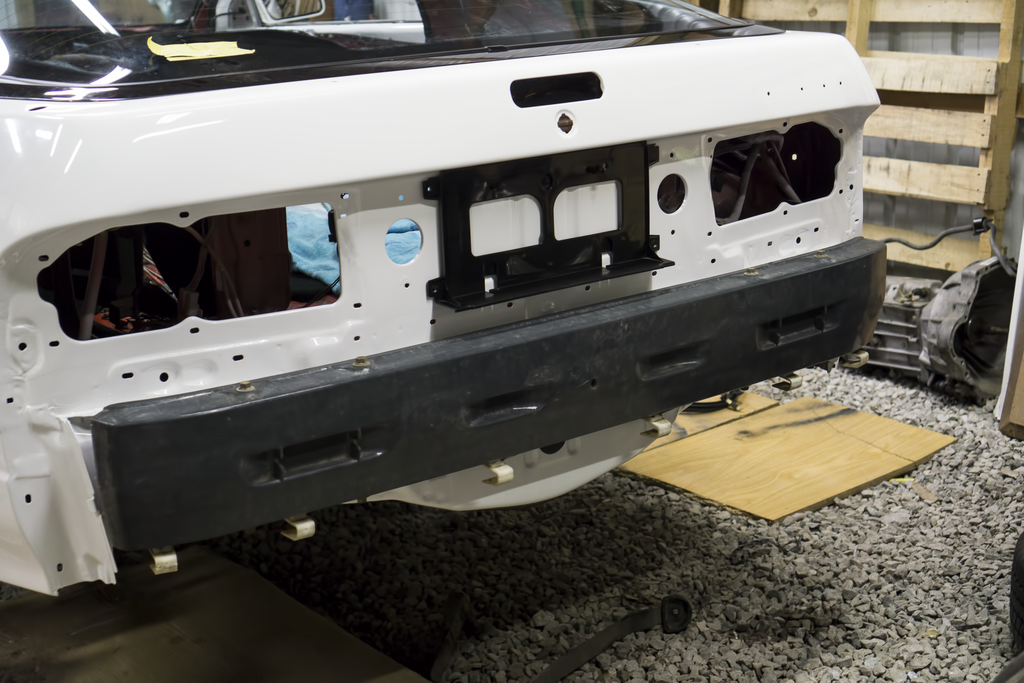
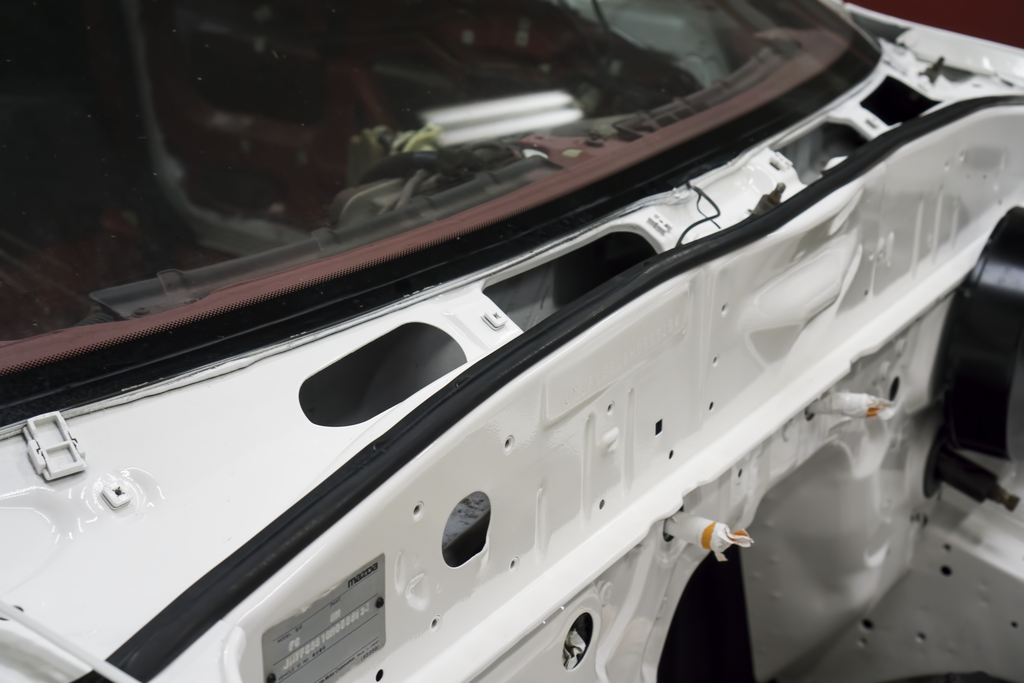
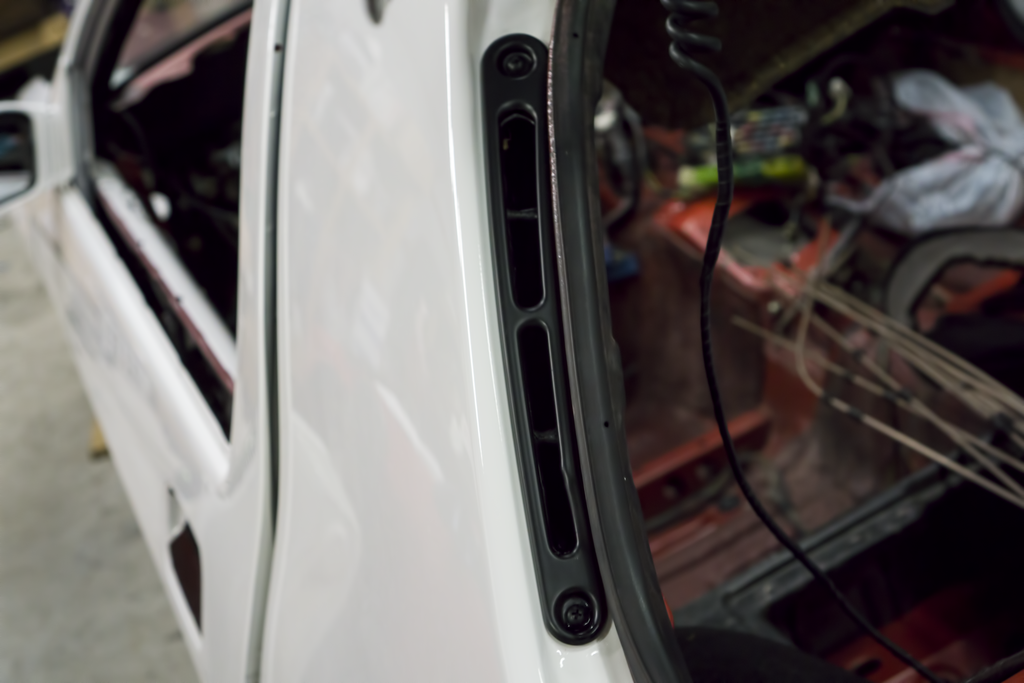
Here is all the fun things I got on today:
Here are all the goodies I brought home from paint:
This week wasn�t as fruitful as I had hoped. It was around 15 degrees outside. I had 4 layers of clothing on and I was still cold. I didn�t get everything I wanted done, but I made solid progress. I cleaned up the knuckles, got the DTSS eliminators in, and painted the dust shield. I struggled getting them back on the car today for a solid 2 hours and gave up. Maybe next week I will fare better. I decided to paint the wiper motor earlier in the week. I have another one that I intend to strip and leave the base its standard color. I didn�t want to waste the day away struggling with the knuckles, so I moved on to other things that needed done. I got the rear support beam and license plate holder on. I went ahead and put in the headliner and the sun visors. I was going to put in the rear view, but I forgot the screws that hold it in place. I also got in the hatch rain gutter covers and the lining that runs along the top of the firewall. To wrap up the day I drained the oil tank and slapped on a new oil filter. I ended up making a special trip back later in the day as my hood and a few other things were done being painted. Next weekend I intend to change the spark plugs in the engine and pull out the steering rack. I also have a few trinkets coming in, and will be ordering the rest of the things I need this week.
Here is an in progress and the finished knuckle:


Here is the wiper motor (I think I�ll like the other variant better):

Here is all the fun things I got on today:


Here are all the goodies I brought home from paint:


