From Zero to Hero: Heavy JDM Influenced Restoration
 11-22-15, 05:41 PM
#51
Update 11/22/2015:
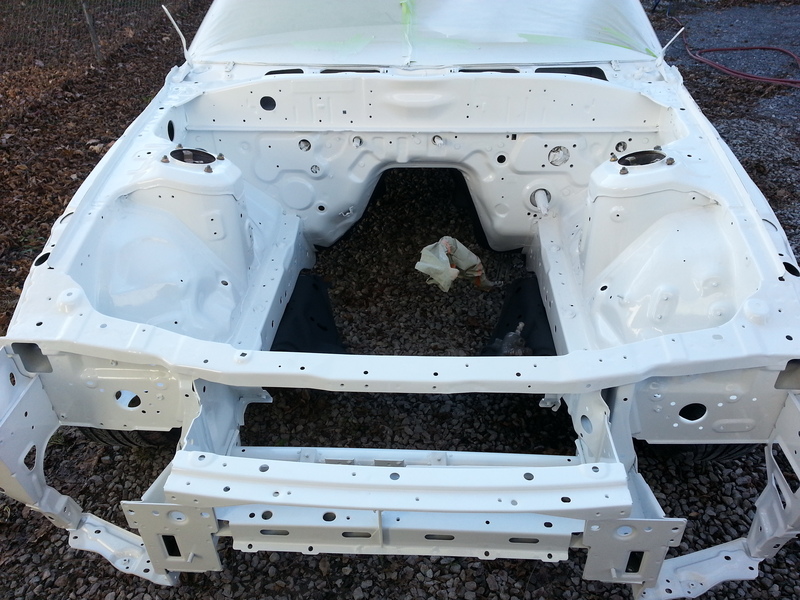
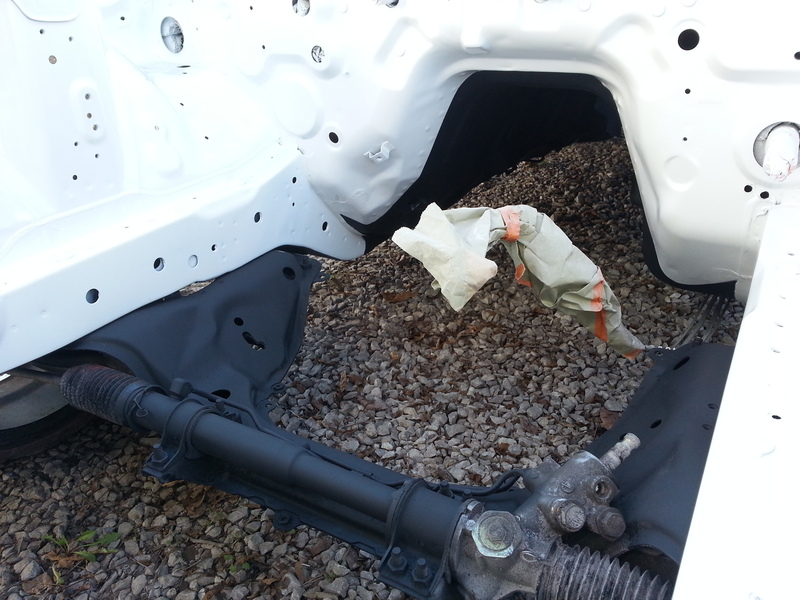
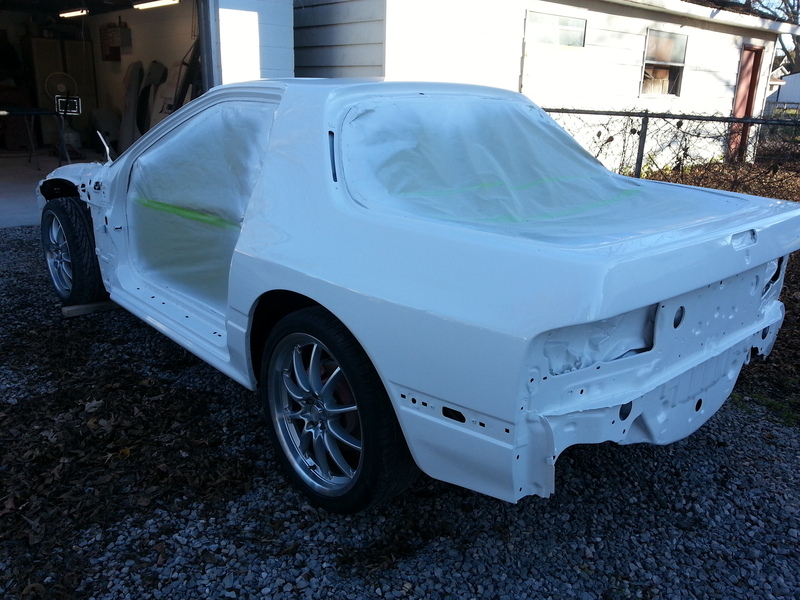
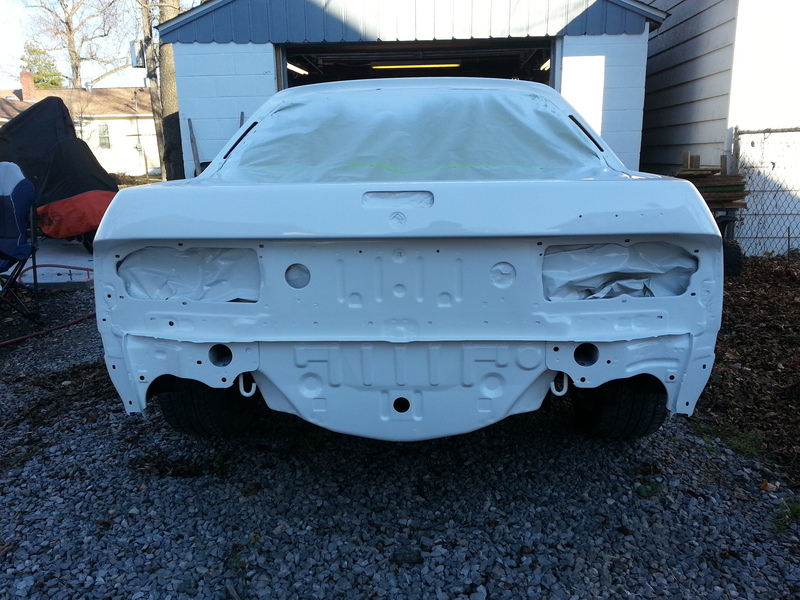
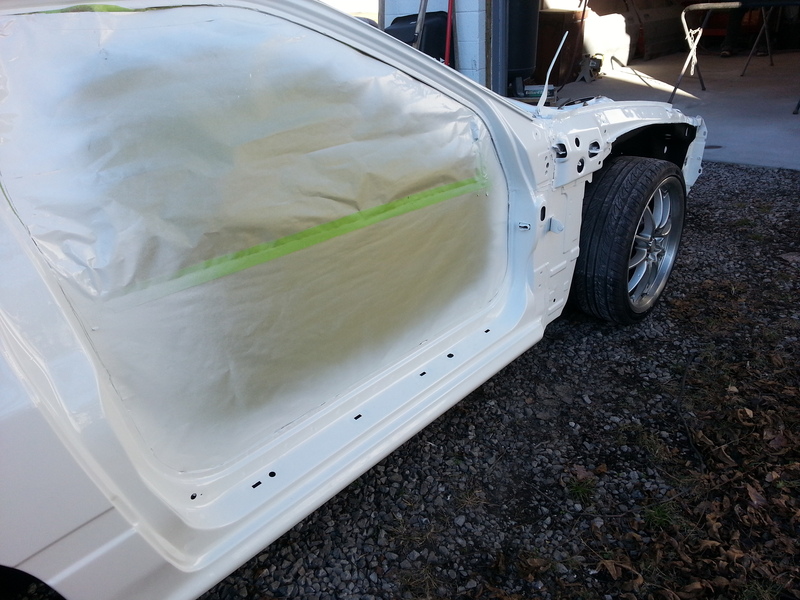
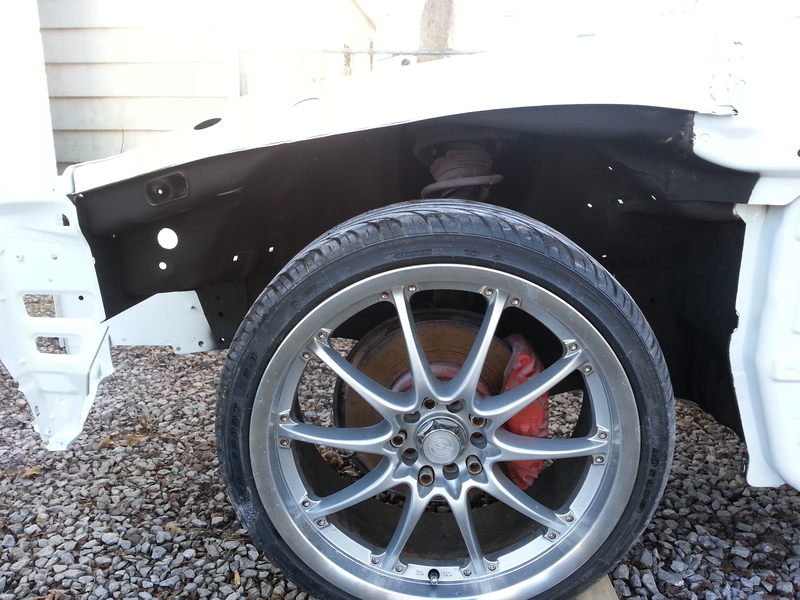
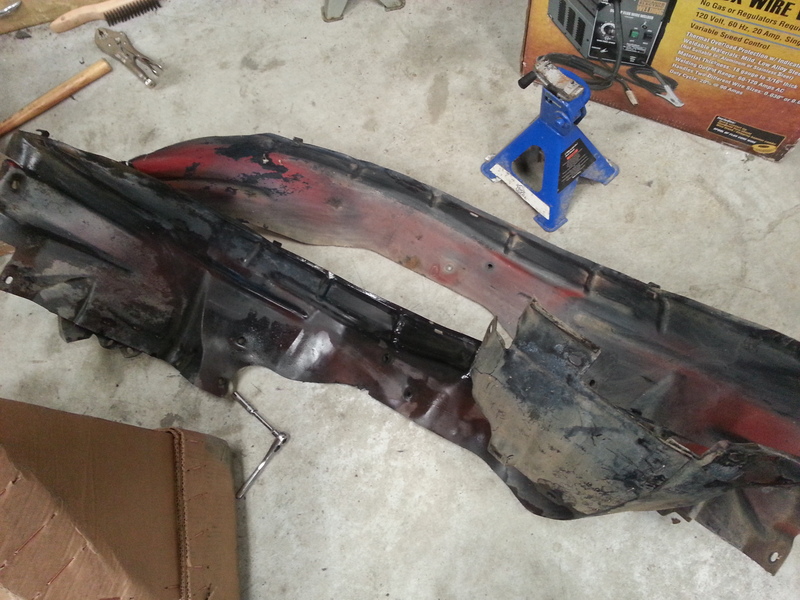
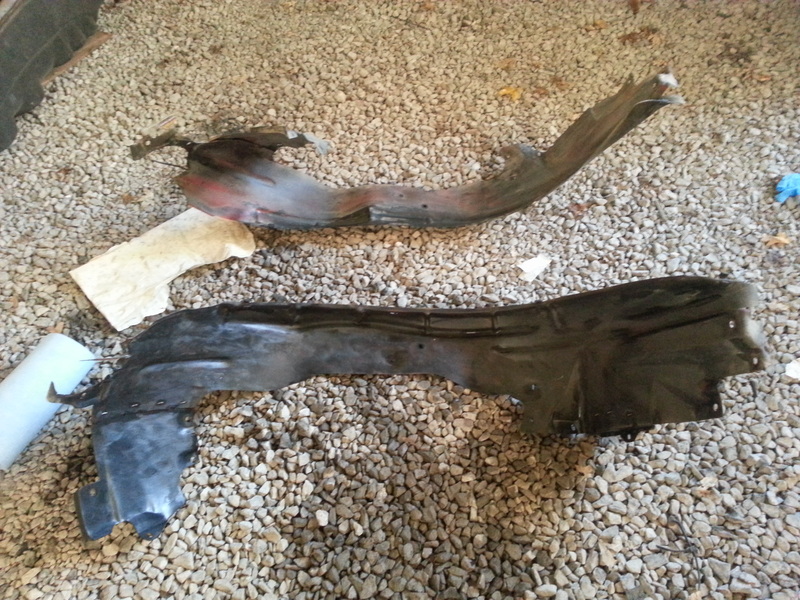
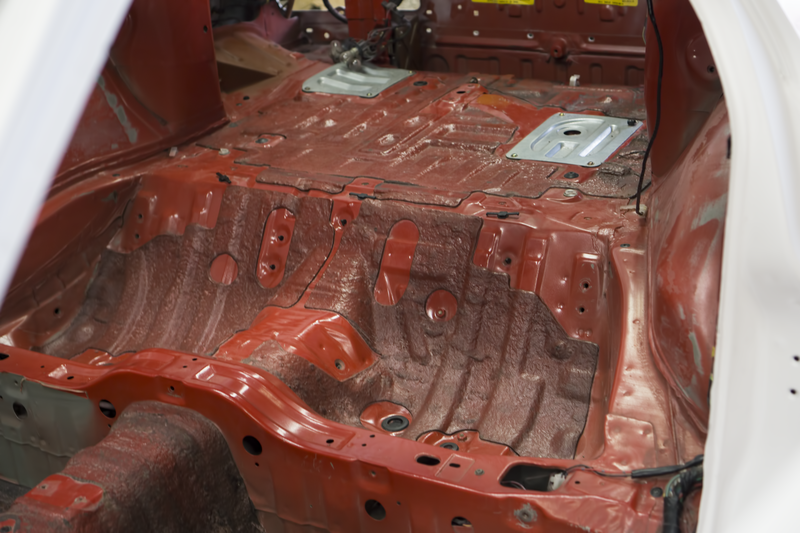
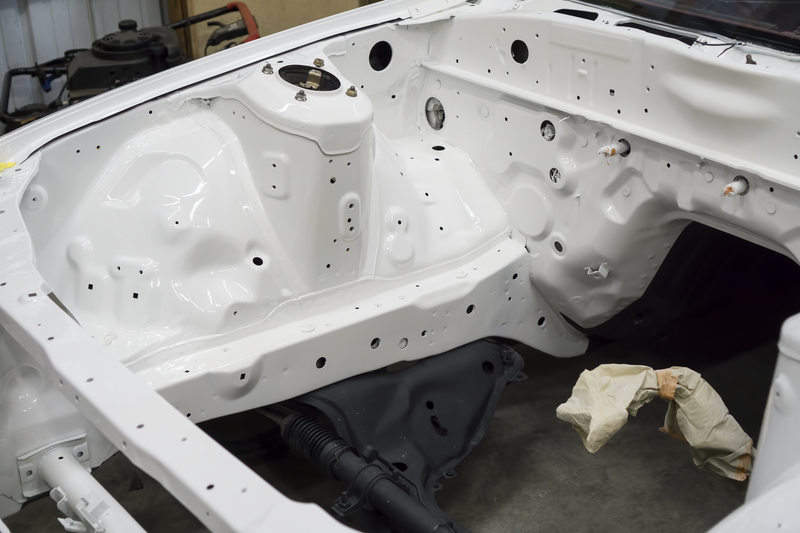
This is an exciting update. The car is coming along nicely. My guy is now moving on to the doors and fenders. He went ahead and used undercoating on the wheel wells and the entirety of the underside. I was floored when I went and saw it today. Cell phone pictures simply cannot do it justice. In other news, the wheels will be shipping to me soon if they haven�t already. I decided to go with EMS air. I didn�t expect the cost of shipping them to be so high (+-400). After the recent UPS scandal I definitely didn�t want to go that route� lol. My fender liners were covered in red overspray, so I wire brushed them. I�m probably going to spray them for now and buy newer ones after the car is up and running.
Here are the latest pictures of the car:
Here is how the fender liners originally were and a comparison of before and after:
This is an exciting update. The car is coming along nicely. My guy is now moving on to the doors and fenders. He went ahead and used undercoating on the wheel wells and the entirety of the underside. I was floored when I went and saw it today. Cell phone pictures simply cannot do it justice. In other news, the wheels will be shipping to me soon if they haven�t already. I decided to go with EMS air. I didn�t expect the cost of shipping them to be so high (+-400). After the recent UPS scandal I definitely didn�t want to go that route� lol. My fender liners were covered in red overspray, so I wire brushed them. I�m probably going to spray them for now and buy newer ones after the car is up and running.
Here are the latest pictures of the car:


Here is how the fender liners originally were and a comparison of before and after:


 11-24-15, 07:57 AM
#52
The paint on the main body looks great! You even have paint now where there was none from the factory. I bet you'll be running before I will!
11-24-15, 06:11 PM
#53
Haha, you would be correct. I haven't done an update in awhile. I may get enough done this weekend that one will be forthcoming next week. Still trying to have the car ready for primer by the end of the year. That is quickly approaching.
The paint on the main body looks great! You even have paint now where there was none from the factory. I bet you'll be running before I will!
The paint on the main body looks great! You even have paint now where there was none from the factory. I bet you'll be running before I will!
11-29-15, 02:44 PM
#54
Update 11/29/2015:
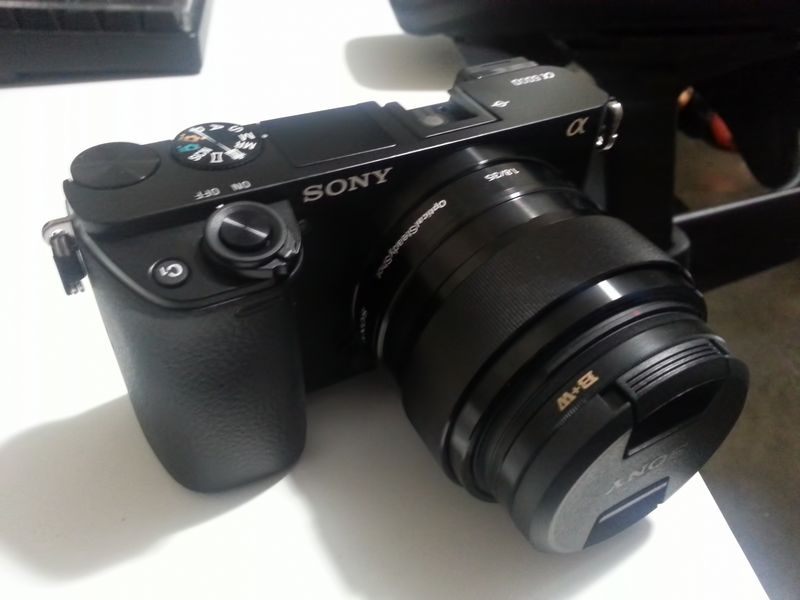
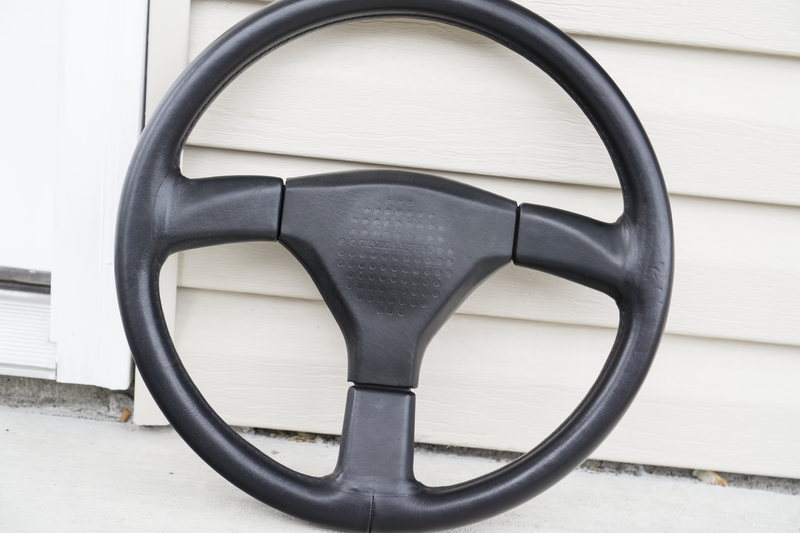
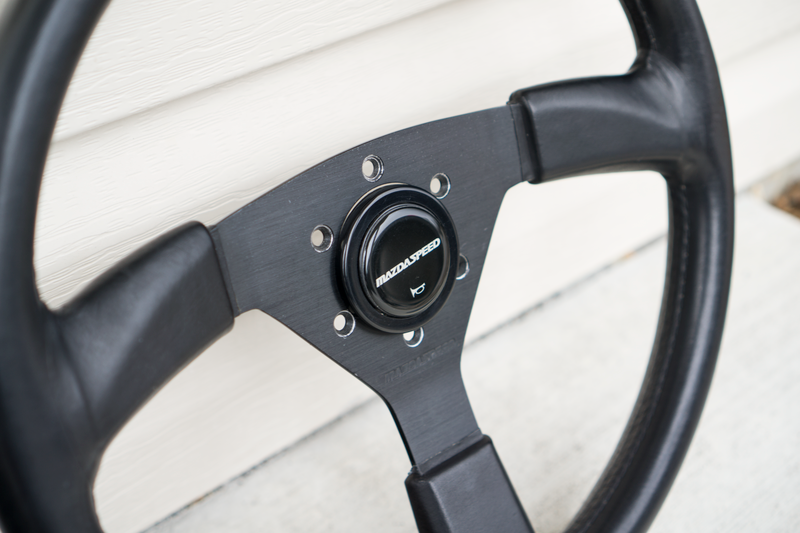
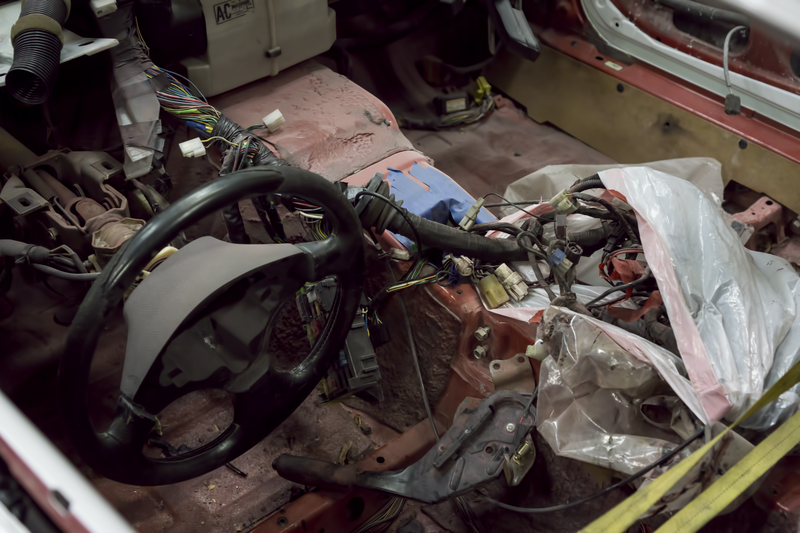
I hope everyone reading had a great Thanksgiving! You may have noticed that in the beginning I had some nicer quality photos of my parts. I ended up having to sell that camera, a Canon T2i with a 35mm f/2, to fund something else. I recently purchased a Sony A6000 with a 35mm f/1.8, so better pictures will resume again! On another front, my wheels have been processed through Chicago customs and will, hopefully, be coming to me this week. I ended up getting a few things scuffed and painted. They had red overspray on them and despite them not being visible, I still wanted to take care of them. Last I checked, the chassis was in the buffing stages. I believe the doors, hood, fenders, and hatch still need completed before I can bring it home to begin wiring and suspension work. I�ll be going over this next weekend to check it out and get some more pictures. I ordered a new clutch master/slave and am looking to purchase a new brake master as well. I'm not sure if the current ones were ever replaced or reconditioned, better safe than sorry. I have decided to go ahead and invest in a fuel switch. I feel that having both a power and fuel cut will help deter would be thieves. I do plan on investing in an aftermarket security system, but not until a later date. Obviously if a thief really wants the car, he�ll just tow it. I also retook some pictures of the steering wheel as I felt the initial ones were difficult to see.
Here is a picture of the new camera:
Here are a few before and after pictures of the pieces I sprayed (more are on the way!):
Here are the new pictures of the steering wheel I grabbed:
I hope everyone reading had a great Thanksgiving! You may have noticed that in the beginning I had some nicer quality photos of my parts. I ended up having to sell that camera, a Canon T2i with a 35mm f/2, to fund something else. I recently purchased a Sony A6000 with a 35mm f/1.8, so better pictures will resume again! On another front, my wheels have been processed through Chicago customs and will, hopefully, be coming to me this week. I ended up getting a few things scuffed and painted. They had red overspray on them and despite them not being visible, I still wanted to take care of them. Last I checked, the chassis was in the buffing stages. I believe the doors, hood, fenders, and hatch still need completed before I can bring it home to begin wiring and suspension work. I�ll be going over this next weekend to check it out and get some more pictures. I ordered a new clutch master/slave and am looking to purchase a new brake master as well. I'm not sure if the current ones were ever replaced or reconditioned, better safe than sorry. I have decided to go ahead and invest in a fuel switch. I feel that having both a power and fuel cut will help deter would be thieves. I do plan on investing in an aftermarket security system, but not until a later date. Obviously if a thief really wants the car, he�ll just tow it. I also retook some pictures of the steering wheel as I felt the initial ones were difficult to see.
Here is a picture of the new camera:

Here are a few before and after pictures of the pieces I sprayed (more are on the way!):


Here are the new pictures of the steering wheel I grabbed:

 12-06-15, 06:31 PM
#55
Update 12/6/2015:
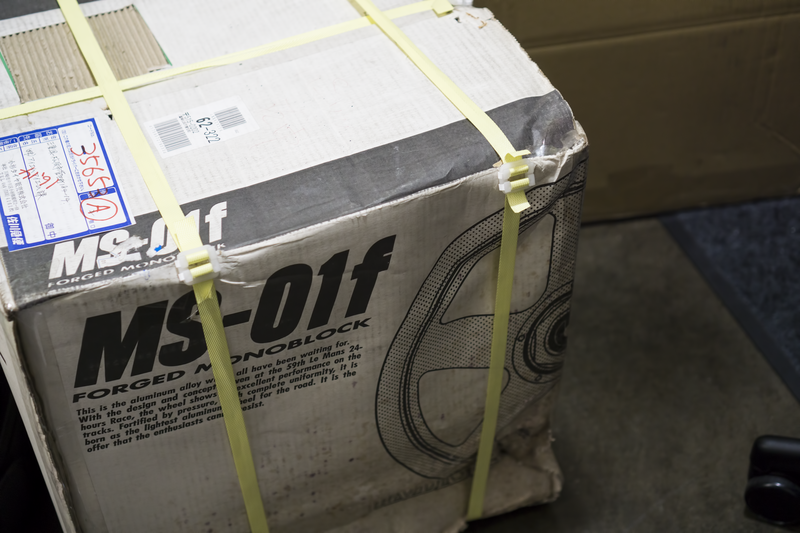
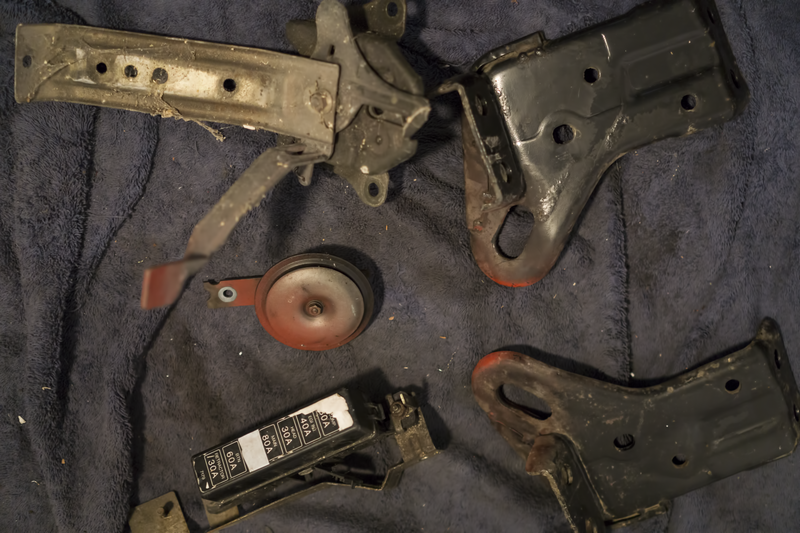
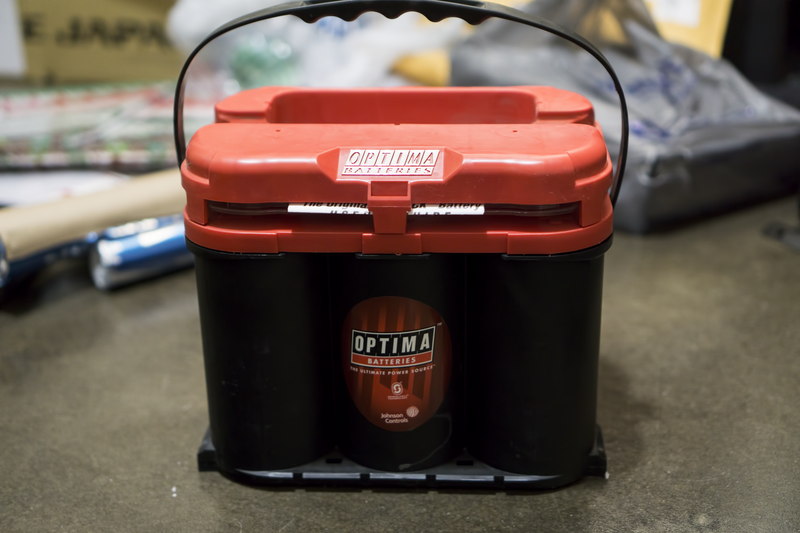
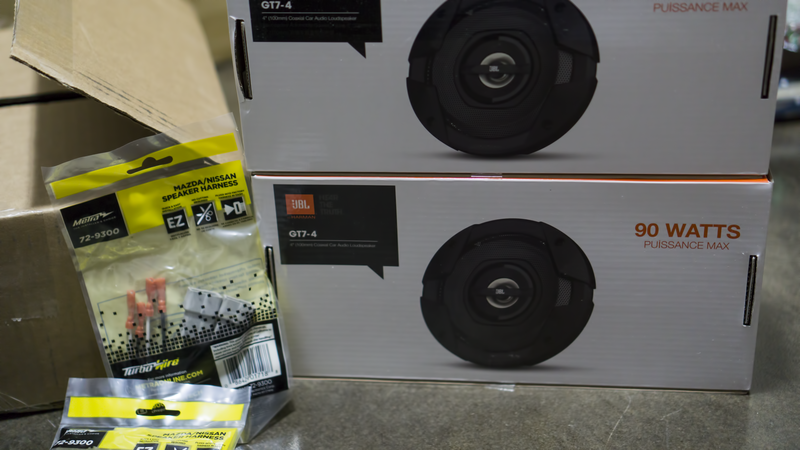
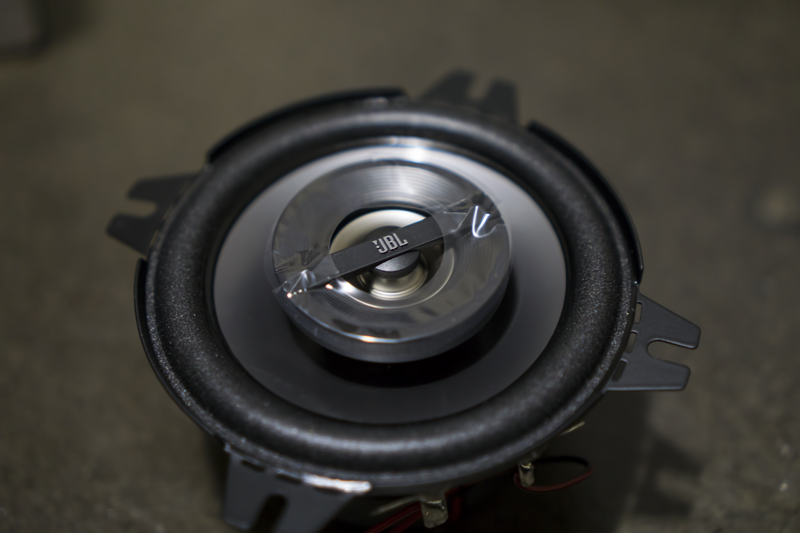
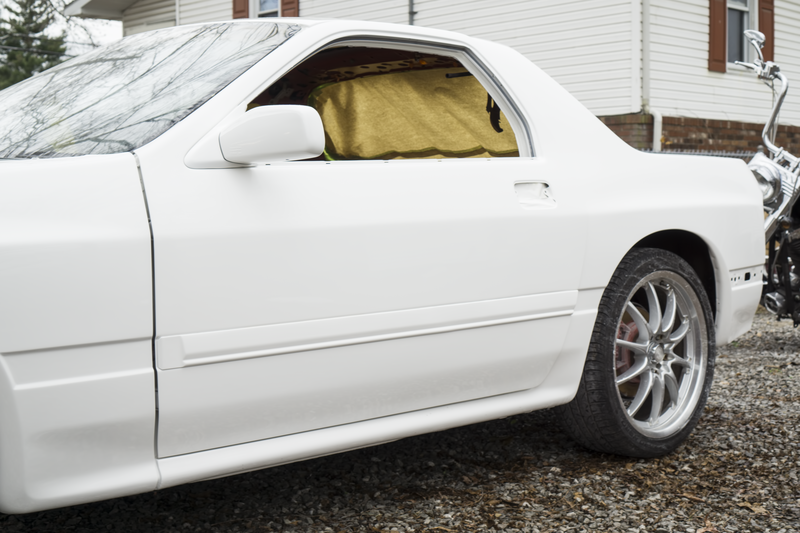
Well�. It�s been a pretty disheartening week. My wheels came in, two of them. It seems my other pair became lost after dispatch from Japan. I�m currently having to do a trace. I�ve been told that this has had to be done on multiple prior occasions and the packages always end up showing up. I�m crossing my fingers. In other news, my local Advance Auto Parts was shutting down and I received a good price on an Optima RedTop battery. A few days prior to the sale, I also scored some nice JBL GT-7 4� speakers on Black Friday. They were buy a pair get a pair free. Two will go up front in the dash and the other two will fit in the rear towers. The place I order from is great about giving you all the installation equipment for free as a bonus. I have speaker harnesses now, but I intended to upgrade all of the wiring. I brought some things back last weekend to get painted, but only got around to painting the stock horn. It had red over spray all over it, and we know how I feel about that. My last bit of news occurred today. I stopped by and saw the car and snapped two pics. It is looking good! He finished the fenders and was working on the doors today. I should have the chassis back this weekend, the weekend after being the latest. I snapped some pictures of the fenders that will be shown below.
Here are the latest pictures of the FC:
Here is a little sneak peak of the two wheels that came in (Let�s hope I get the other two!):
Here are all the projects I need to get painted (minus the fusebox) and the horn that is done:

Here are all the items I�ve collected this past week:
Well�. It�s been a pretty disheartening week. My wheels came in, two of them. It seems my other pair became lost after dispatch from Japan. I�m currently having to do a trace. I�ve been told that this has had to be done on multiple prior occasions and the packages always end up showing up. I�m crossing my fingers. In other news, my local Advance Auto Parts was shutting down and I received a good price on an Optima RedTop battery. A few days prior to the sale, I also scored some nice JBL GT-7 4� speakers on Black Friday. They were buy a pair get a pair free. Two will go up front in the dash and the other two will fit in the rear towers. The place I order from is great about giving you all the installation equipment for free as a bonus. I have speaker harnesses now, but I intended to upgrade all of the wiring. I brought some things back last weekend to get painted, but only got around to painting the stock horn. It had red over spray all over it, and we know how I feel about that. My last bit of news occurred today. I stopped by and saw the car and snapped two pics. It is looking good! He finished the fenders and was working on the doors today. I should have the chassis back this weekend, the weekend after being the latest. I snapped some pictures of the fenders that will be shown below.
Here are the latest pictures of the FC:


Here is a little sneak peak of the two wheels that came in (Let�s hope I get the other two!):


Here are all the projects I need to get painted (minus the fusebox) and the horn that is done:


Here are all the items I�ve collected this past week:


 12-06-15, 07:34 PM
#56
Full Member
Nice build. I love the fresh paint. I am currently working on a wiring harness for a new ECU, but once i've recovered from this project, cleaning up the paint will be high on the list. I like the wheels too. Keep posting lots of pics.
 12-13-15, 03:26 PM
#60
Update 12/13/2015:
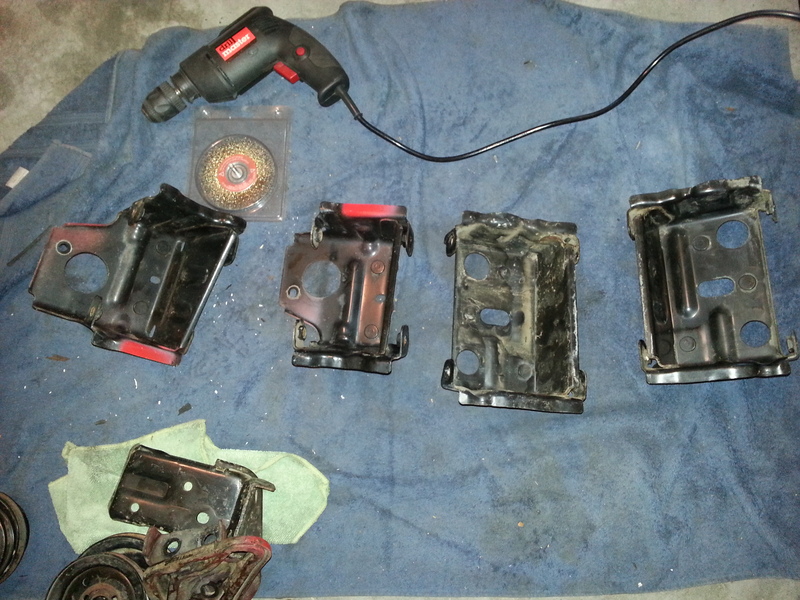
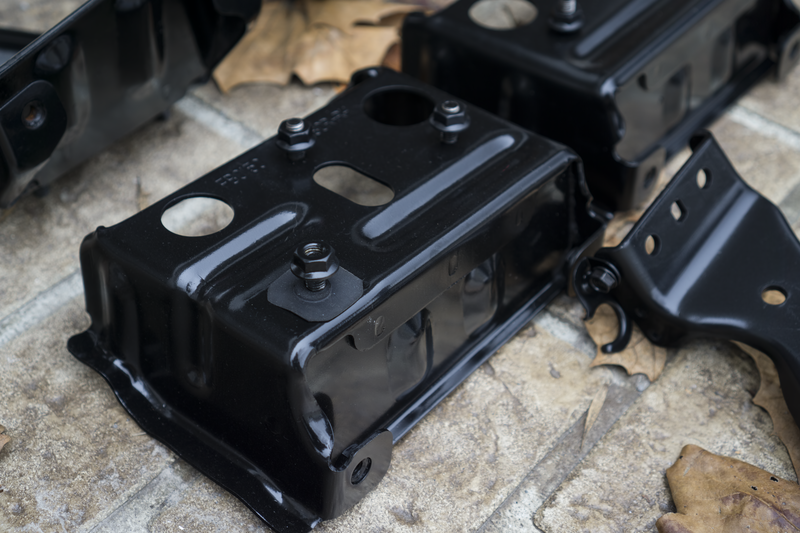
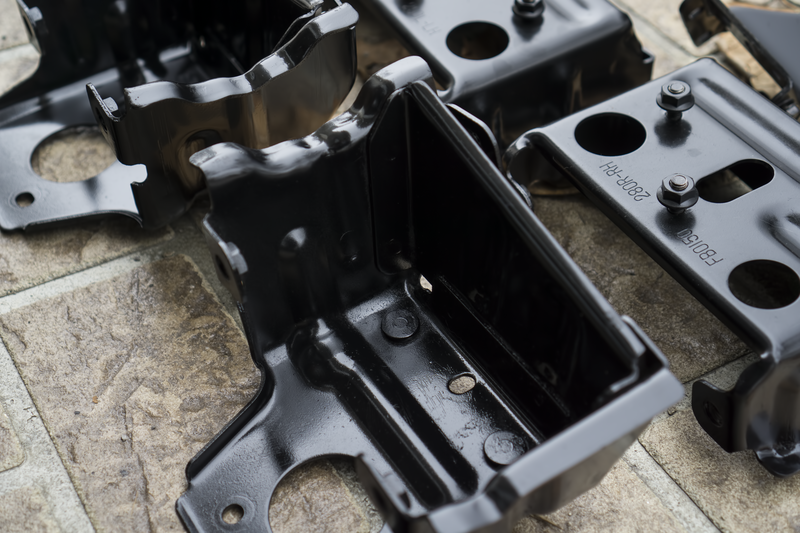
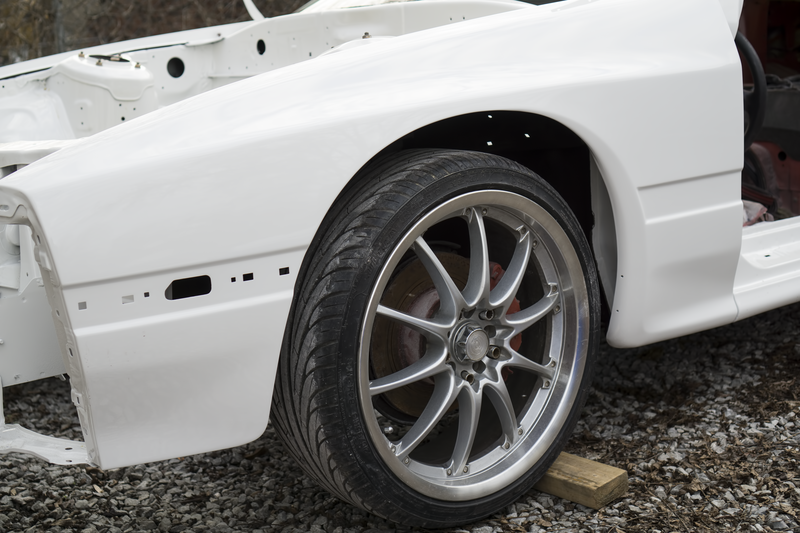
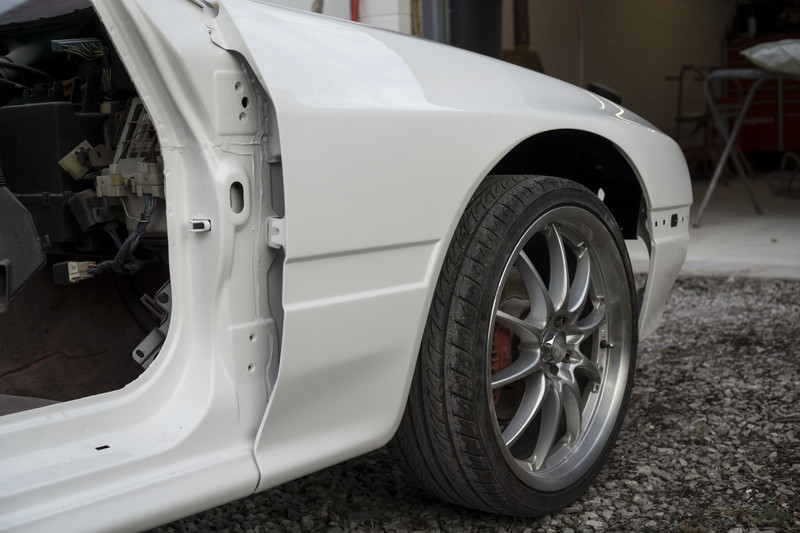
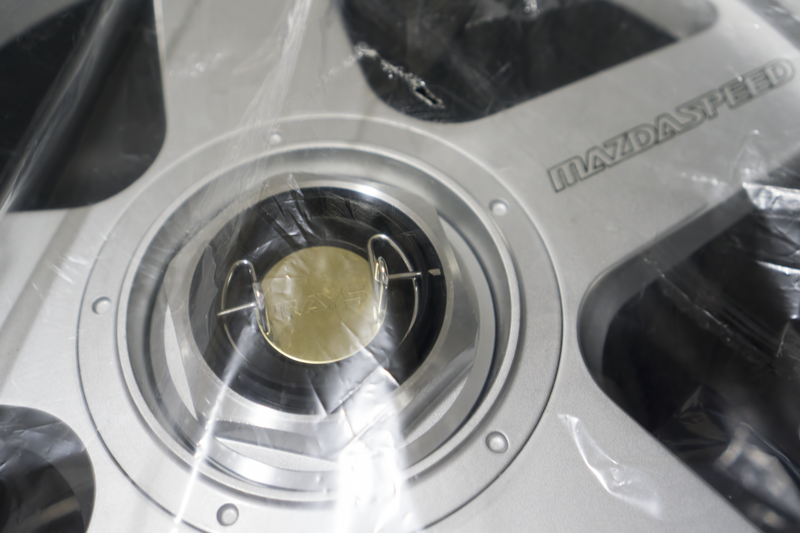
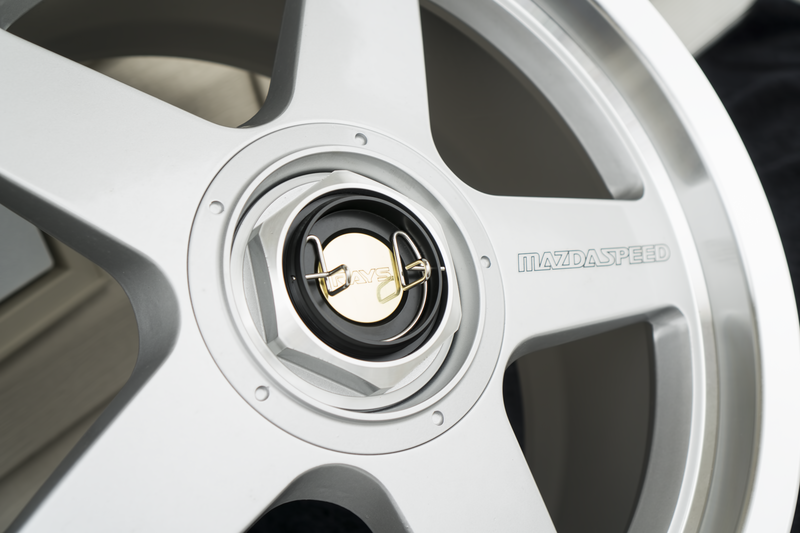
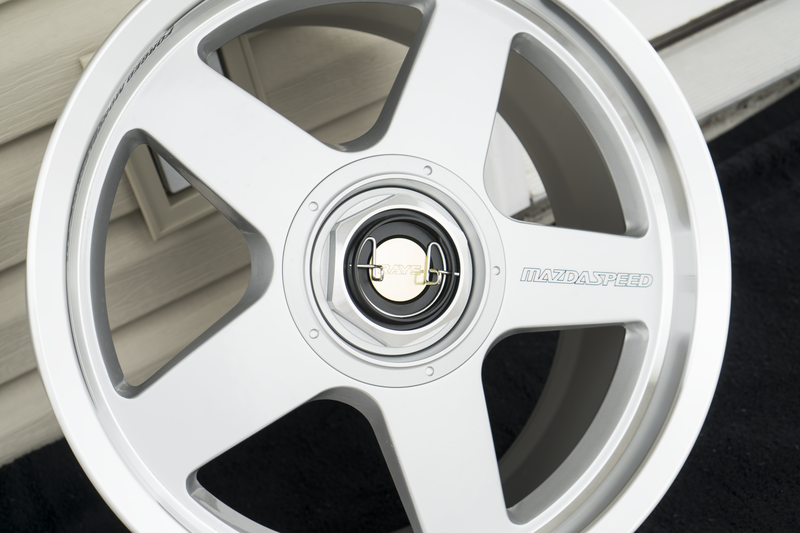
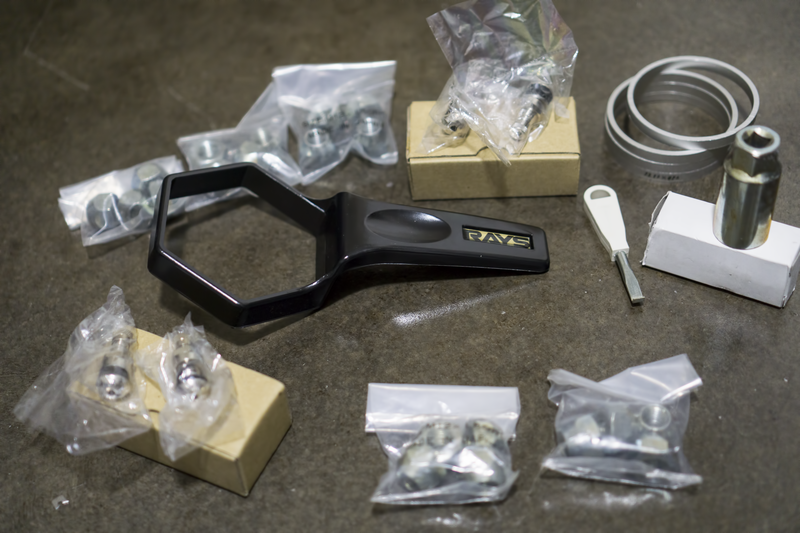
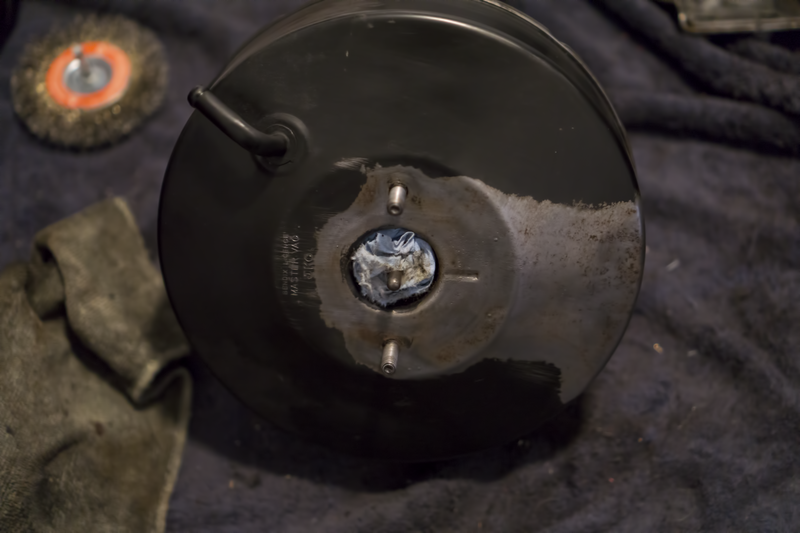
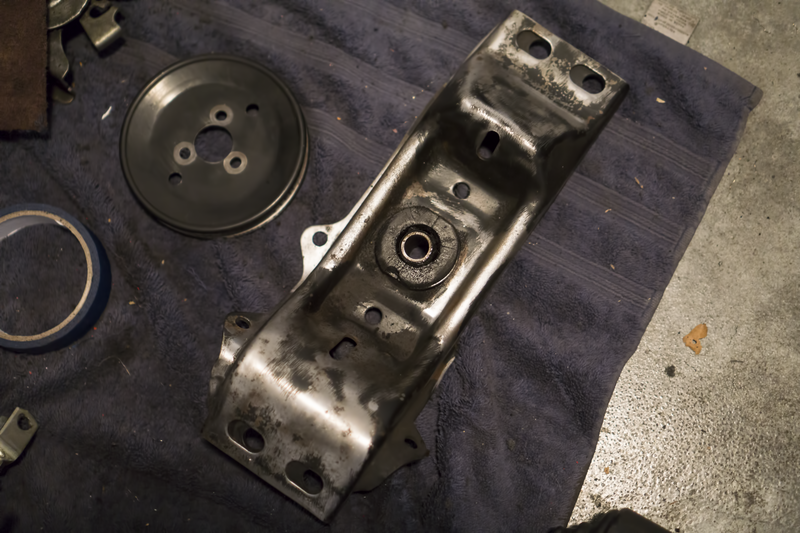
A lot of good things ended up happening this past week. My other pair of wheels came in! The trace ended up working, I have a feeling that US Customs either misplaced the item or became terribly backed up. I was surprised to see that the wheels also came with their originally intended valve stems, along with a bountiful amount of other items (Pictures Below!). I brought home a few items to strip and get painted. The brake booster and transmission bracket were covered in surface rust so I�m taking care of them now. I�ve unfortunately been having to do all this while sitting on the ground since I lack a workbench. I discovered, thanks to my girlfriend�s slip-up, that I have a workbench coming for Christmas. I�m going to invest in a bench grinder and wire wheel and clean every single bolt that I�ve taken off of the car. I went and checked in on the car today. It�s coming along nicely. He finished with the hatch directly after I left, but I snagged some pics of the doors and side mirrors. I had him spray my rear emblems with the same black paint that is going on the hatch and rear tails. I was in awe when I saw them, I didn�t think adding paint to the emblems would turn out so well. I�m having to take another T2 hood to him Wednesday because the one I sent was an absolute atrocity. We are still planning on picking the car up next weekend.
Here are finally, pictures of the wheels:
Here is a current project I just completed as well as the in progress brake booster and bracket. Don�t mind the dust in the first pic, they�ve been sitting in my garage for a few days already compelted:
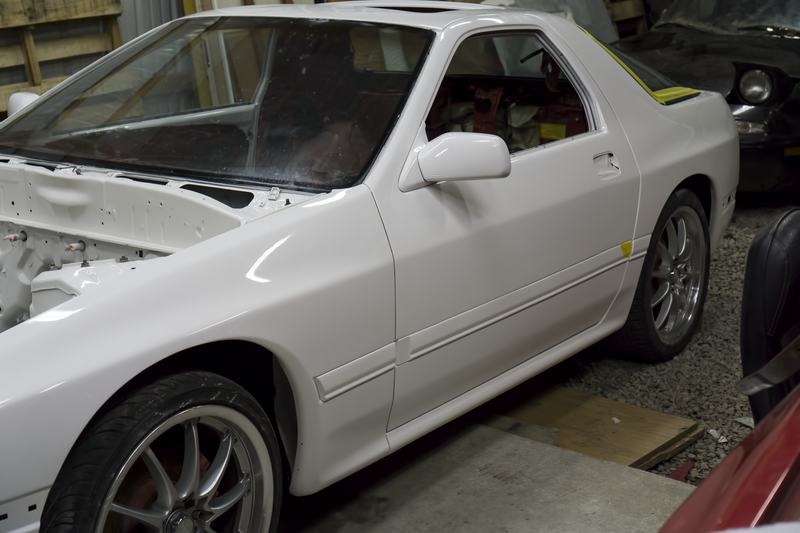
Here are the most up to date pictures of the car. The pictures really don�t do the paint job justice, and a lack of sun definitely didn�t help either. I really love the JDM side mirrors though; they turned out great:
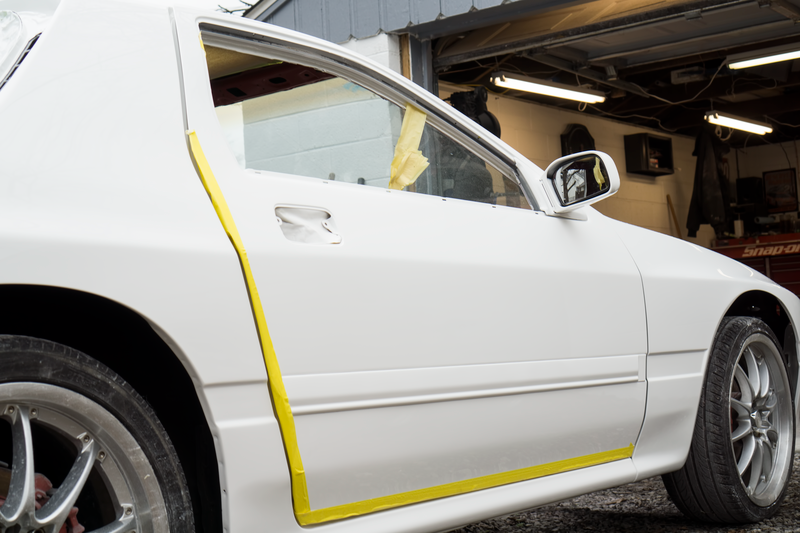
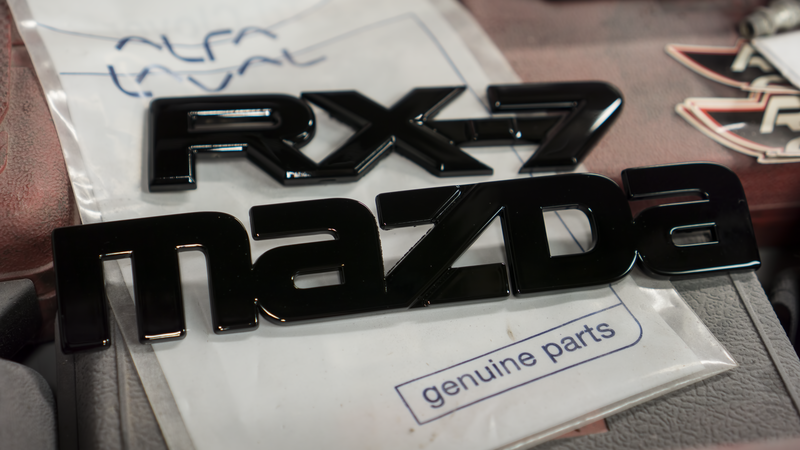
A lot of good things ended up happening this past week. My other pair of wheels came in! The trace ended up working, I have a feeling that US Customs either misplaced the item or became terribly backed up. I was surprised to see that the wheels also came with their originally intended valve stems, along with a bountiful amount of other items (Pictures Below!). I brought home a few items to strip and get painted. The brake booster and transmission bracket were covered in surface rust so I�m taking care of them now. I�ve unfortunately been having to do all this while sitting on the ground since I lack a workbench. I discovered, thanks to my girlfriend�s slip-up, that I have a workbench coming for Christmas. I�m going to invest in a bench grinder and wire wheel and clean every single bolt that I�ve taken off of the car. I went and checked in on the car today. It�s coming along nicely. He finished with the hatch directly after I left, but I snagged some pics of the doors and side mirrors. I had him spray my rear emblems with the same black paint that is going on the hatch and rear tails. I was in awe when I saw them, I didn�t think adding paint to the emblems would turn out so well. I�m having to take another T2 hood to him Wednesday because the one I sent was an absolute atrocity. We are still planning on picking the car up next weekend.
Here are finally, pictures of the wheels:


Here is a current project I just completed as well as the in progress brake booster and bracket. Don�t mind the dust in the first pic, they�ve been sitting in my garage for a few days already compelted:


Here are the most up to date pictures of the car. The pictures really don�t do the paint job justice, and a lack of sun definitely didn�t help either. I really love the JDM side mirrors though; they turned out great:


 12-15-15, 09:55 AM
#64
Thank you sir. I've been very impressed with the body work/paint work that's been done. I'm looking forward to seeing the finished product this weekend. Well...mostly finished, I'm sure there will be a few small things he still needs to finish.
 12-15-15, 01:08 PM
#67
Moderator
iTrader: (3)
Join Date: Mar 2001
Location: https://www2.mazda.com/en/100th/
Posts: 30,792
Received 2,573 Likes
on
1,829 Posts
when you get the right finish, bring em a bucket of bolts, and its fairly inexpensive.
12-15-15, 01:08 PM
#68
i'd need to re-google this, but we used to think it was a gold cad plating, but its probably a gold zinc plating. you should find a plating shop and go look at some samples, Mazda's finish is shiny, with a rainbow to it, while most are just a flat.
when you get the right finish, bring em a bucket of bolts, and its fairly inexpensive.
when you get the right finish, bring em a bucket of bolts, and its fairly inexpensive.
Last edited by Akomix; 12-15-15 at 01:11 PM.
12-15-15, 01:08 PM
#69
Moderator
iTrader: (3)
Join Date: Mar 2001
Location: https://www2.mazda.com/en/100th/
Posts: 30,792
Received 2,573 Likes
on
1,829 Posts
i really like this project so far, you're making me want to re-repaint mine!
12-20-15, 05:42 PM
#70
Update 12/20/2015:
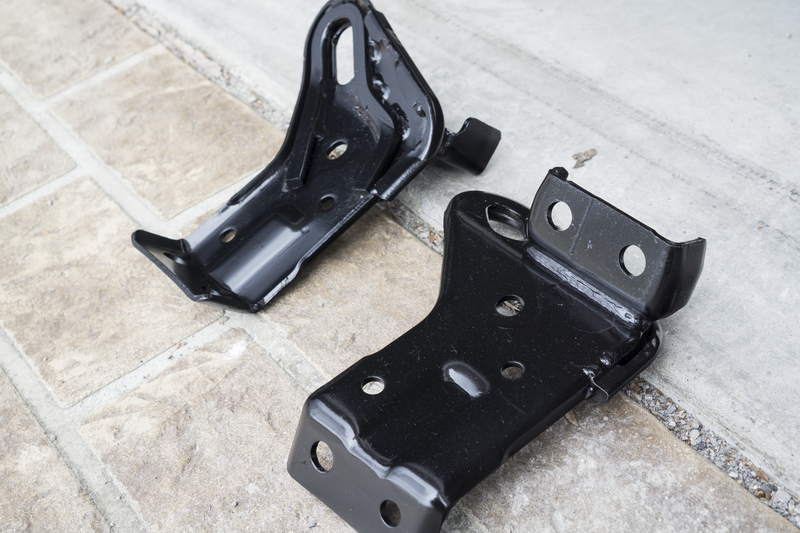
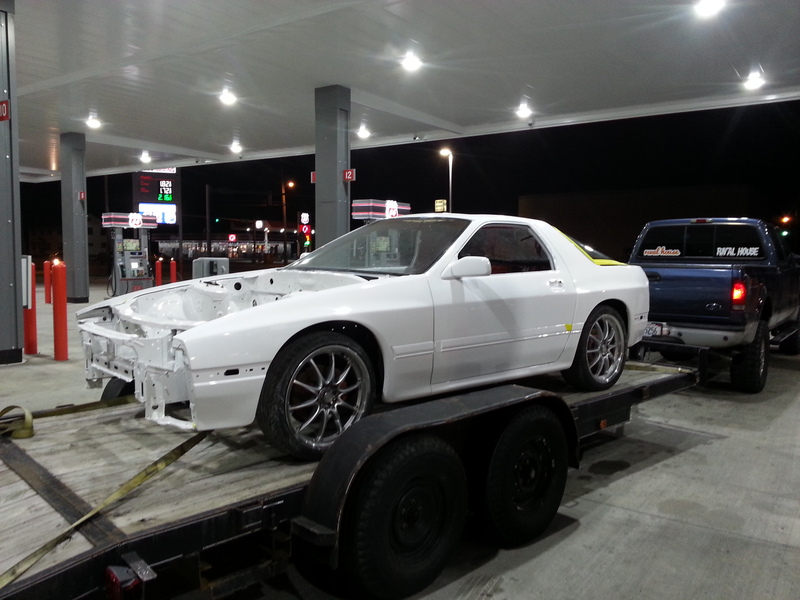
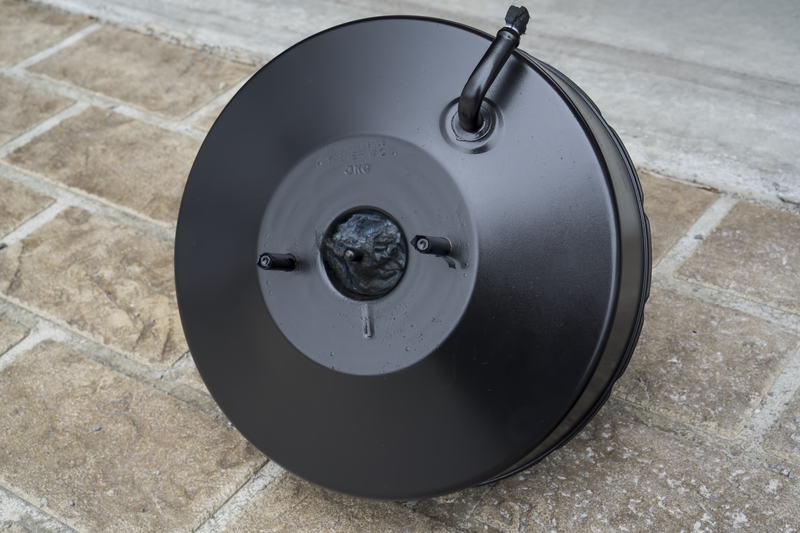
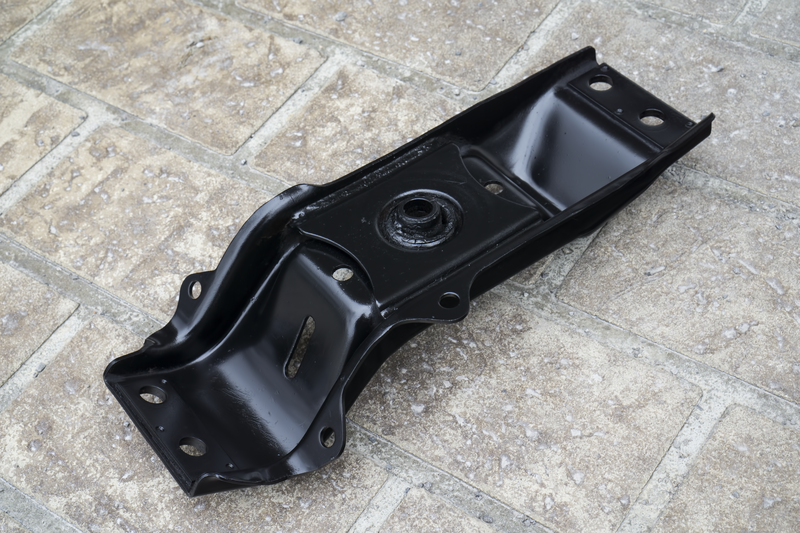
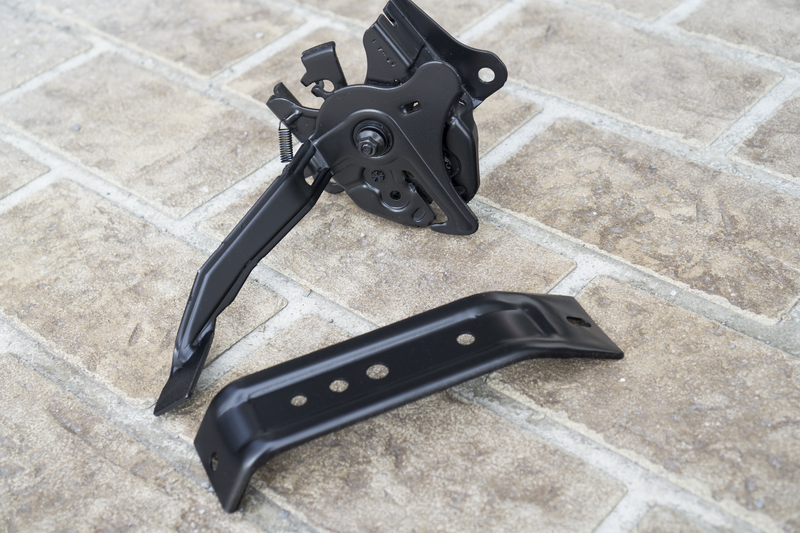
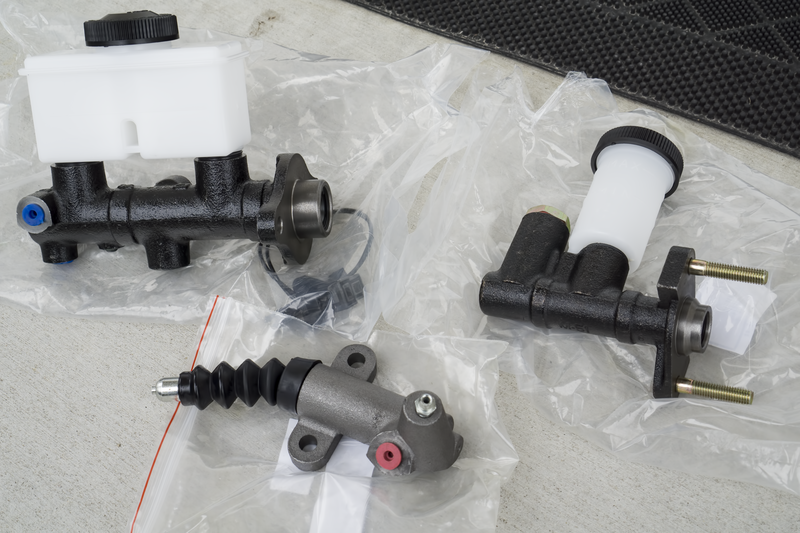
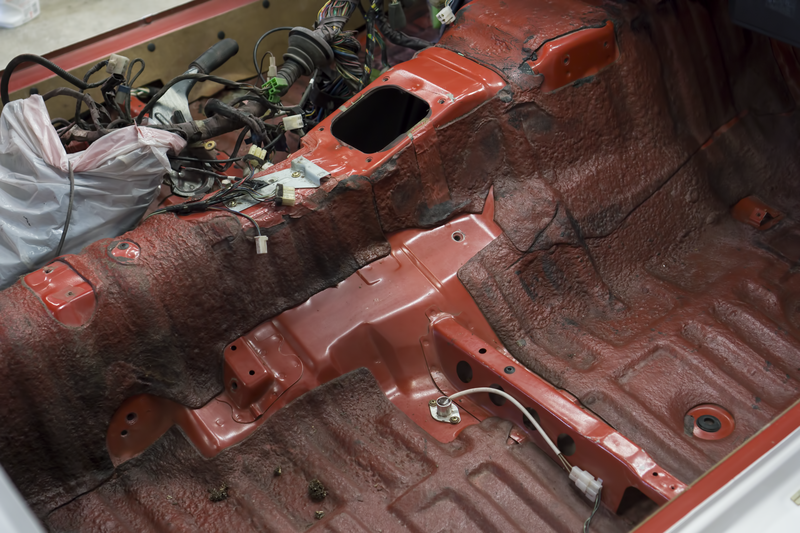
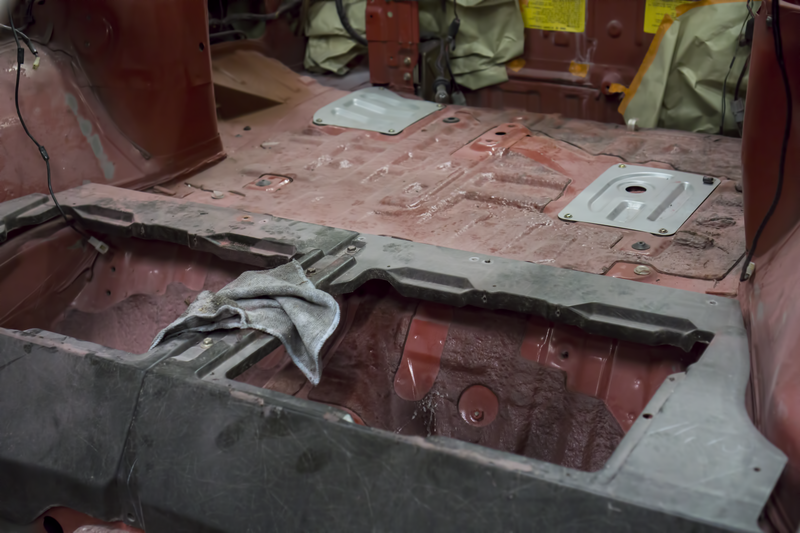
The car is finally back with me. We went and picked it up Saturday evening. There are still a few things that need painted, but at least the chassis is back so we can begin the fun stuff. I finished spraying the brake booster and transmission bracket that I began earlier. I also started and finished the hood latch. The brake booster turned out, �okay�. I have plans to upgrade to something better in the future so it wasn�t a huge concern of mine. I now have in my possession a new brake master cylinder, clutch master cylinder, and clutch slave. I am fortunate in that I do not have to deal with ABS. Today I went over and cleaned the exterior of the car with water and a microfiber. It had unfortunately seen a rainy day and had colored water spots in certain areas. The inside was covered in sanding dust. I spent a good 3-4 hours and got rid of it all (before and after pictures below!). Since space is an issue at my house I�m going to work on finishing up my sunroof project (cleaning it completely to ensure 100% functionality) and spraying a few more things. When I�m over with my car the goal is to accomplish wiring and suspension first before the engine goes in. I have a big list of to-dos in an excel document that I won�t bore you all with .
.
Here is a picture of the car in transit. At the same gas station it was when we took it to my paint guy:
Here are all the things I finished getting painted:
Here are all the purchased items that arrived (Yay for non-yellowed plastic!):
Here is the interior of the car with all the dust (before and after):
Lastly, some updated shots of the car:
The car is finally back with me. We went and picked it up Saturday evening. There are still a few things that need painted, but at least the chassis is back so we can begin the fun stuff. I finished spraying the brake booster and transmission bracket that I began earlier. I also started and finished the hood latch. The brake booster turned out, �okay�. I have plans to upgrade to something better in the future so it wasn�t a huge concern of mine. I now have in my possession a new brake master cylinder, clutch master cylinder, and clutch slave. I am fortunate in that I do not have to deal with ABS. Today I went over and cleaned the exterior of the car with water and a microfiber. It had unfortunately seen a rainy day and had colored water spots in certain areas. The inside was covered in sanding dust. I spent a good 3-4 hours and got rid of it all (before and after pictures below!). Since space is an issue at my house I�m going to work on finishing up my sunroof project (cleaning it completely to ensure 100% functionality) and spraying a few more things. When I�m over with my car the goal is to accomplish wiring and suspension first before the engine goes in. I have a big list of to-dos in an excel document that I won�t bore you all with
. Here is a picture of the car in transit. At the same gas station it was when we took it to my paint guy:

Here are all the things I finished getting painted:


Here are all the purchased items that arrived (Yay for non-yellowed plastic!):

Here is the interior of the car with all the dust (before and after):


Lastly, some updated shots of the car:


 12-23-15, 10:02 PM
#73
Thanks Jerry. Next week should be pretty boring with all the holiday stuff taking precedence. I may have something, at first glance, quite shocking.
Haha thanks! The original plan was nothing like what has occurred. What you are witnessing with this build is scope creep that's spiraled out of control. Ohh well  .
.
.
12-27-15, 01:48 PM
#75
Update 12/27/2015:
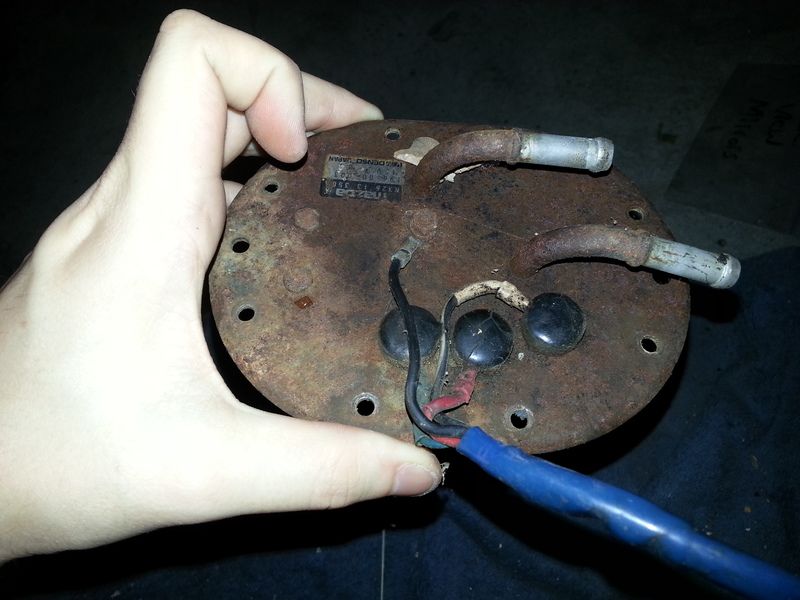
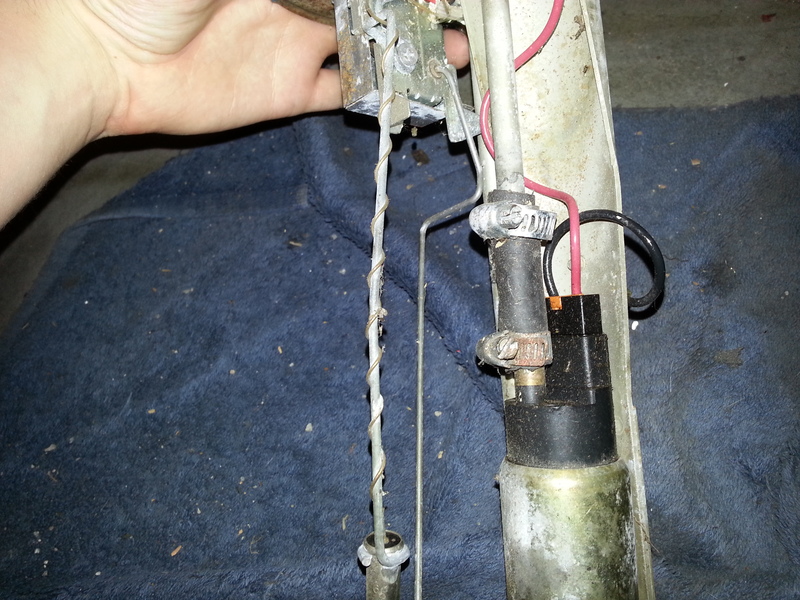
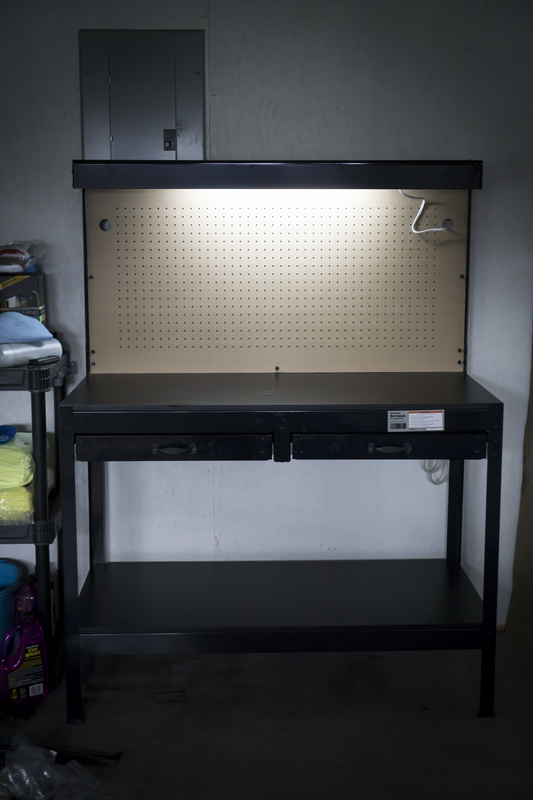
When it rains, it pours. I turned the STi over yesterday and heard a loud slapping sound. I have narrowed it down to either the normal cold start piston slap, or the tensioner going out. I then checked the rear of the car and discovered white smoke coming out of the exhaust. I have narrowed it down to my turbo completely dying, head gasket needs replaced, or simply condensation. I am currently away from home until Tuesday and can�t further diagnose it until my return. Switching subjects back to the part of this thread, the RX-7. I pulled the fuel pump out of the S4 gas tank and saw something that is not useable. The wires were cut, studs on the bottom were broken being rigged back together, and the amount of rust was in abundance. I�ve since purchased a used one that should be a little easier to clean up and make usable. I will also be using the Walbro 255 from the original S5 shell. I spent the majority of the day putting together my workbench that came in. I�m very surprised how sturdy it is for a Harbor Freight budget bench. I�m currently at my dad�s house until Tuesday. I�m off all this week, so I hope to be able to get a lot done.
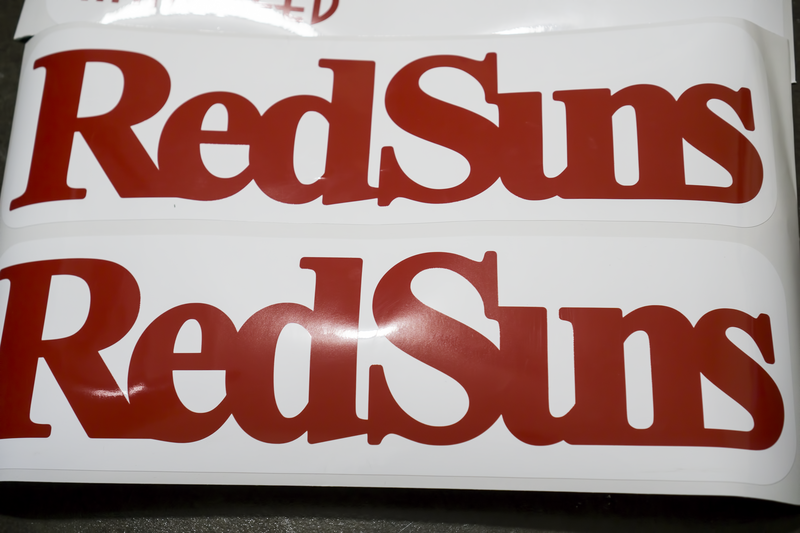
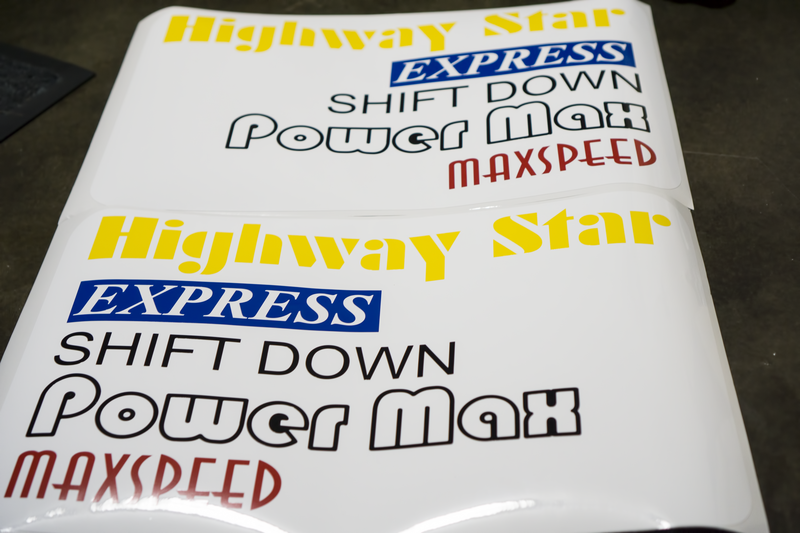
You may recall in the beginning of the thread I had mentioned wanting to create a 1:1 replication of the one from Initial D. I purchased some Red Suns decals and the door decals that match. You may be thinking, �Woah, wait? You are going to ruin this build with stickers?�. The answer is no. The decals are in a material called static cling vinyl; meaning I can take them on and off at will. This will allow me to slap then on when I feel like it, such as dressing it up for Halloween, and have them off the other 95% of the time.
Here are the pictures of the fuel pump (poor thing):

Here is the workbench that I can�t recommend enough:
Here are the decals that turned out better than I had expected:
When it rains, it pours. I turned the STi over yesterday and heard a loud slapping sound. I have narrowed it down to either the normal cold start piston slap, or the tensioner going out. I then checked the rear of the car and discovered white smoke coming out of the exhaust. I have narrowed it down to my turbo completely dying, head gasket needs replaced, or simply condensation. I am currently away from home until Tuesday and can�t further diagnose it until my return. Switching subjects back to the part of this thread, the RX-7. I pulled the fuel pump out of the S4 gas tank and saw something that is not useable. The wires were cut, studs on the bottom were broken being rigged back together, and the amount of rust was in abundance. I�ve since purchased a used one that should be a little easier to clean up and make usable. I will also be using the Walbro 255 from the original S5 shell. I spent the majority of the day putting together my workbench that came in. I�m very surprised how sturdy it is for a Harbor Freight budget bench. I�m currently at my dad�s house until Tuesday. I�m off all this week, so I hope to be able to get a lot done.
You may recall in the beginning of the thread I had mentioned wanting to create a 1:1 replication of the one from Initial D. I purchased some Red Suns decals and the door decals that match. You may be thinking, �Woah, wait? You are going to ruin this build with stickers?�. The answer is no. The decals are in a material called static cling vinyl; meaning I can take them on and off at will. This will allow me to slap then on when I feel like it, such as dressing it up for Halloween, and have them off the other 95% of the time.
Here are the pictures of the fuel pump (poor thing):


Here is the workbench that I can�t recommend enough:

Here are the decals that turned out better than I had expected:

