When you click on links to various merchants on this site and make a purchase, this can result in this site earning a commission. Affiliate programs and affiliations include, but are not limited to, the eBay Partner Network.
550 primaries and 720 secondaries, wired as such: http://i307.photobucket.com/albums/n..._schematic.gif
I'm not at the house right now, so I don't have TS loaded up on this computer to look at my settings. The 2 injectors are selected that way because they're staged (i.e. primaries/secondaries). It works though, I promise
Oh wow...yeah I'm gonna have a "little" bit more fuel! haha
I just ordered two more ID 1000 injectors, they should be in this week. My weatherpack connectors should be in this week as well.
I replaced my clutch master and slave, and now my grinding transmission between 3-4 is gone! I was very happy about that.
Spoke with my mechanic who is doing the oil/water lines for the turbo. He wants me to wire up his 700 hp RX3, and his 550 hp 20B FD before we work on my car. I am OK with that since he isn't charging me. I like how we work for favors, it really keeps the cost down. So...one more week hopefully! I am itching to get this thing together now that I have all of the pieces!
Feeling a bit lazy...My posts never get approved for the for sale section so I am going to leave this here.
I am looking for a twin scroll solenoid. I would like to keep the twin scroll system and control it with the megasquirt. or if someone knows of something similar that i can use and isnt 25 years old, that would be great too.
Search "vacuum solenoid valve" on ebaymotors.com. All kinds of options. I'd choose something like a Ford or Chevy unit, since they're cheap and will always be available later on. If it were me though, I'd just go to a junkyard and snag one off a vehicle, along with its connector.
Actually, I would just grab one of the numerous solenoids from an old rat's nest and be done with it. Most likely, you'll have the connector laying around for it too, making everything easy.
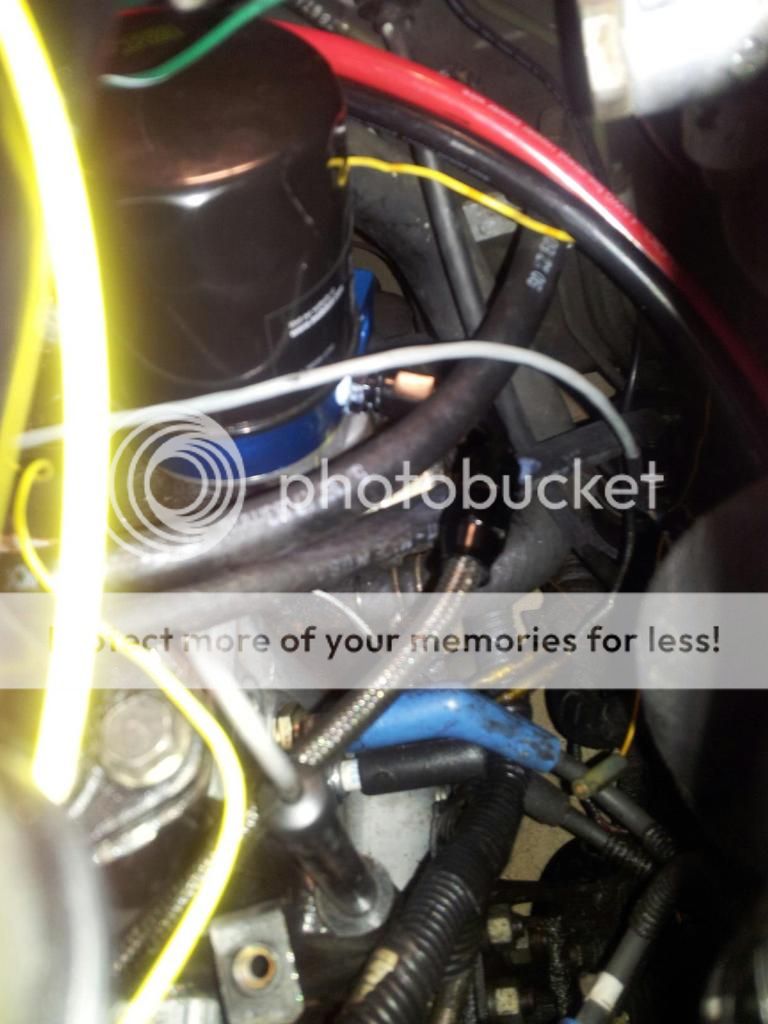
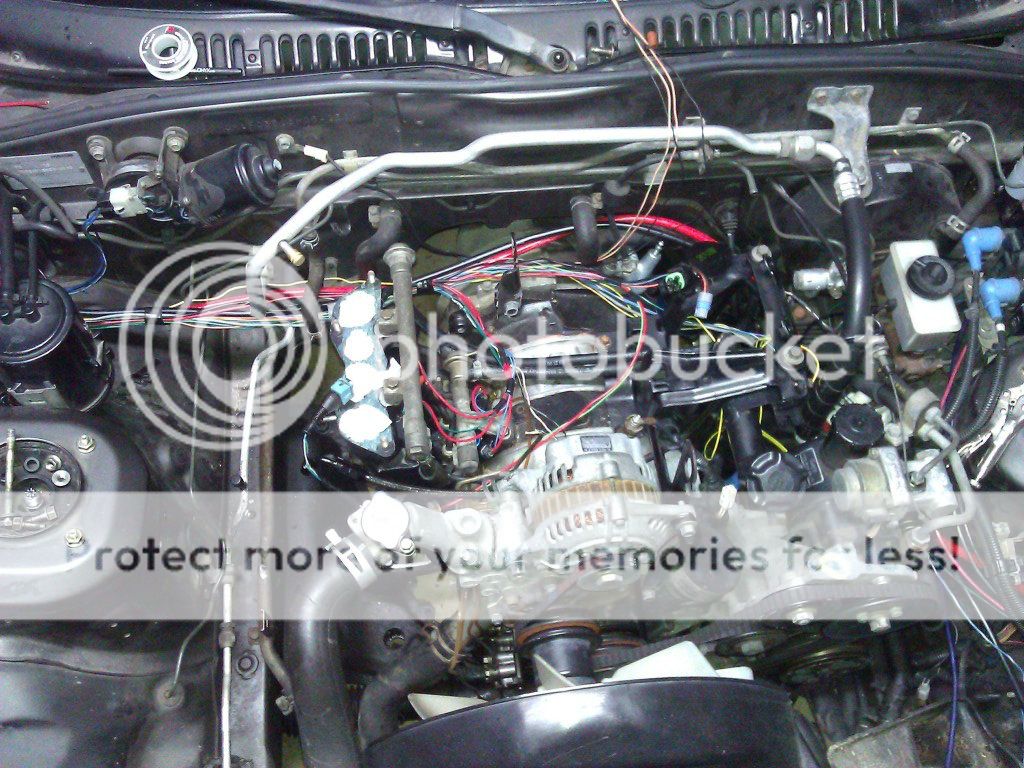
Here is one more crappy picture from my cell phone since my camera died. I am not sure if I reattached my twin scroll actuator right. The angles of the arm look really weird. Maybe its just me.
playing with that wire harness was some nasty ****. I had sticky hands until I took some RC car fuel and rubbed and rubbed and rubbed till it came off.
just a mock up...getting excited!!
Last edited by driftxsequence; 07-15-20 at 01:36 PM.
Please please please use new connectors! Weather tight connections are so much better than cutting the old crusty non-weather proof connectors and resoldering them!
Bosch EV1 style connectors can be bought from DIY autotune, and they fit the injectors and BAC. The IAT and ECT sensor get brand new ones too if you use the GM sensors. I'd get a small pack of connectors for the rest, such as the coils and TPS. Don't forget that you have to use SHIELDED wire for the CAS as well. Very key there
Trust me I am! I purchsed a few from DIYAutoTune.
I purchased new ID injectors from Turblown so I have all new plugs to attach. I also purchased some 22 gauge shielded wire from Home Depot yesterday. I purchased some stuff on the internet but it was stiff and didnt include the aluminum shield like the picture showed...
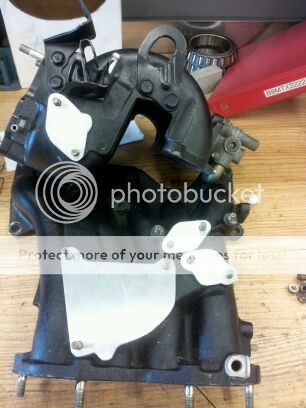
Made some progress last night...Got the upper intake attached to the TB and intake elbow. Not sure which throttle body to use. The NA has already been simplified and had all of the accessories removed, the T2 TB is stock. The secondary plates are corroded and need to be removed. I am feeling a bit lazy and dont want to disassemble it, but I know then I cannot get to the idle adjustment screws on the NA unit. what do!?
I also have most of the wiring finished for the wideband and boost gauge. I have them on the a-pillar and had some extra 4 conductor wire left from teh CAS that I am running to the gauges in the radio area to run for power,light dimming. the nice thing is the boost gauge requires 3 wires, while the wideband uses all 4. That means I was able to wire em both both together to power them both, and then run 1 single wire to the ECU panel for the wideband to receive its info from the sensor.
I found a website to get some AN fittings from that I am going to use to make an oil feed/drain and coolant feed/drain. roughly $80 to do the oil system, still need to figure out where to get coolant to and from. The nipple on the rear housing has been welded closed, I assume I can cut it and get coolant from there- but where do I drain to? If anyone has any ideas or tips please let me know (as well as the correct fittings to secure to the nipple etc
Besides that, most wires are now in place..I still need to add the ends to the BAC,TPS, tap the IAT sensor, wire up the coils, solder the positive wires for the injectors, and then wire up everything at the ECU panel.
Living in the northeast(delaware), who would you recommend for a tune? I was planning on going to JPR but am open to others I may not know about.
I wouldn't worry too much about the TB adjustment screw, its not even a part of the idle setting procedure in the FSM. If you could retain the secondary butterflies and IF they are the vac actuated kind, you could hook a vac line to that diaphram and have them open as you come into boost. Apparently Bumpstart has done this with good success on 6p-t builds.
The easiest way would be to get a turbo waterpump housing...kinda like the easiest way to do the oil return was to get a turbo front cover....
Unless stock parts are expensive its really not worth the time or money to build a custom oil return for the stock turbo, I'm sure you could find the stock lines for less than $80 and they work fine. I'll sell you my oil drain line (ran for about 5 miles) that runs from the oil pressure sensor location to the turbo inlet. If you need the inlet flange and other fittings I have those too.
*edit* and for the love of GOD please learn to re-size your pics before you start another page of this thread.
Small progress on the 7. Hooked up the CAS sensor, temporarily plugged in the ECU and verified that the TPS is working. So far so good! I have a few medium sized road blocks that are stopping me from making major process. The last few nights have been small things such as wiring up the wideband/boost gauge, connecting power wires, lots of head scratching and plenty of soldering!
I have been flabbergasted by how much there is to do and what is going on in the engine bay. When I think about what I want to do, I can visualize it, but once I get into the engine bay it throws me off and I kinda just stand there and drool...like...wait....wut do i do again?
Sharingan The pictures were an accident and even with deleting them from facebook...they are still here o.0.
To be honest, I see getting a whole new waterpump as a lot of work, not only do I have to source one and a gasket but I have to take the time to replace it. Is it possible to tap it?
I have the stock turbo lines (all 4) but it would be easier again to tap the engine. I was looking at how to take off the front cover, and that requires removing the waterpump and the oil pan...so why not just remove the oil pan and tap it?
A friend of mine used some of his free time at work to create me some sweet aluminum block off plates....cost? nothing! all he needs is an extra hand when he moves to his new house..
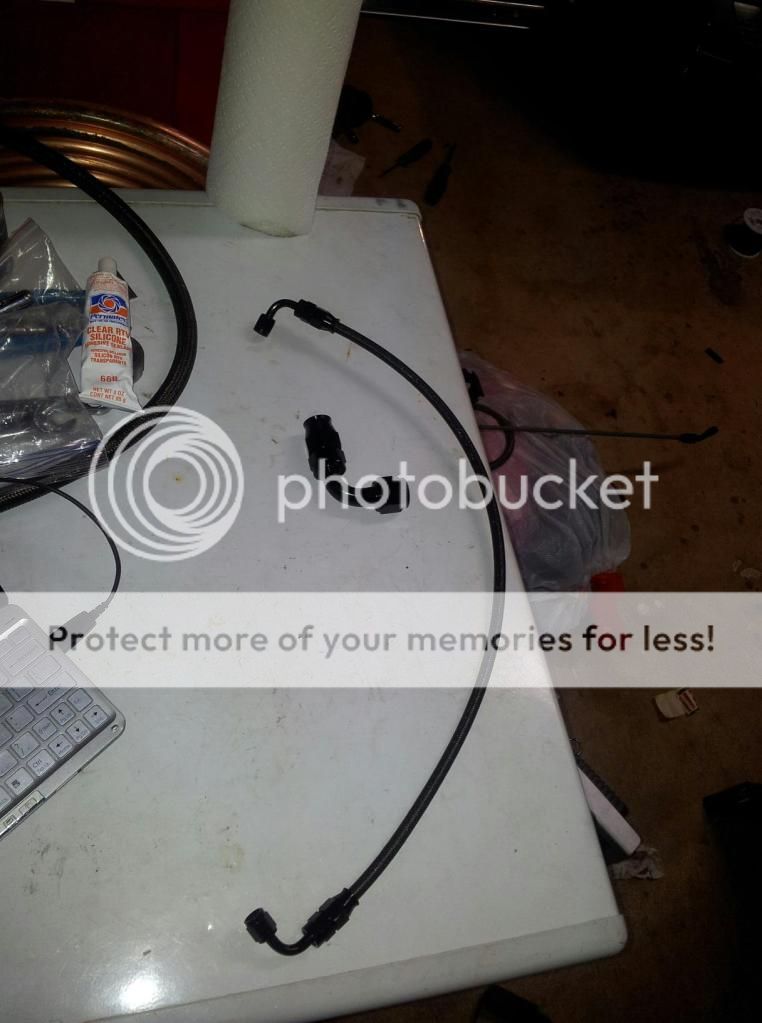
My turbo oil feed lines came in from AN Fittings and Stainless Steel Lines I got part of the drain system. I ordered the -10AN flange from a seperate website due to none in stock from anfittingsdirect. I also then need a fitting for when i tap the front cover.
Speaking of which, Since I need to remove the waterpump to tap the rear for my coolant drain. I plan on doing my coolant the same way aaron did his on his 6 port block.
I also switched to uploading images to photobucket now instead of facebook, hopefully the sizes will be better!
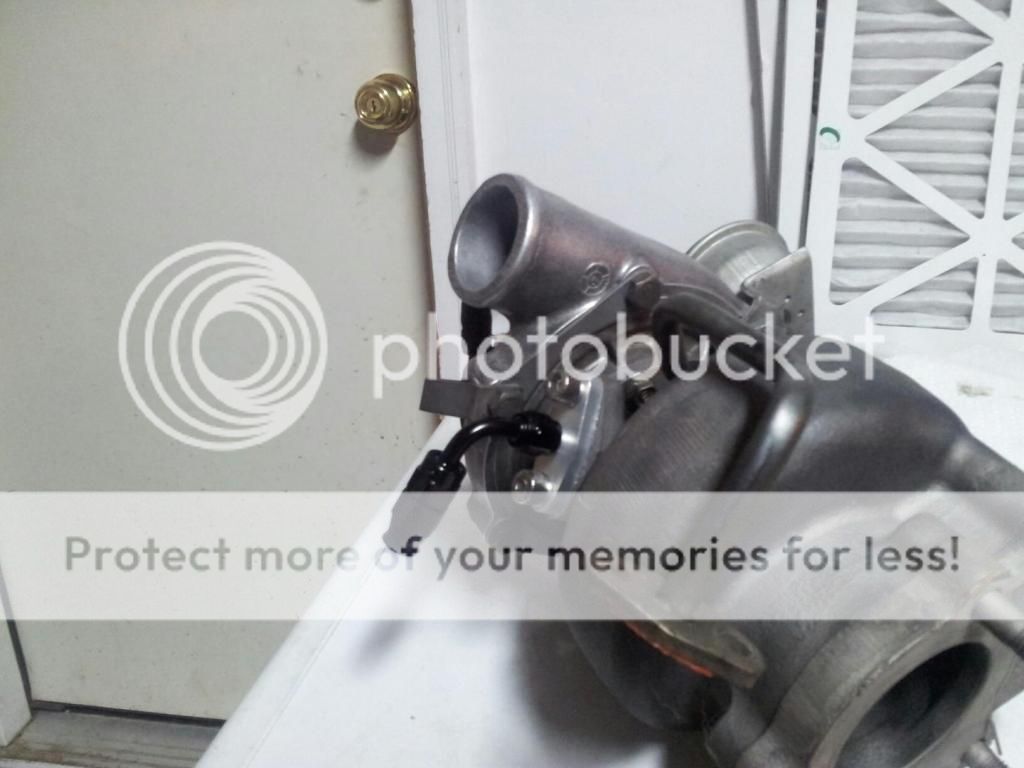
I had forgotten to put the manifold on when I measured the length. It kind of hugs the edge of the intake manifold but it's not stressing the hose.
I did run into a problem. The -10 AN 90 elbow for the drain side wont fit. It hits between the exhaust flange and the other side. I am not sure what I am going to do about that...
I also saw that the nipple on the back of my WP housing is also welded shut like the one on the rear iron. I'll have to either drill it out or just chop it off at the weld (shouldnt be too deep right?) What do you guys think?
Tonight I ported the lower intake manifold a little more to its final sizes, wired up the leading and trailing coil, painted my block off plates and layed out how my ecu panel will sit. It needs a little a couple more small modifications to fit. I'd say it was a good night!
Here is what is left to do...the tasks seem so short but they are gonna take a while to figure out since I am still trying to figure out some of the wiring diagram posted by Aaron.
Injectors are soldered up, BAC, AIT and TPS grounds are soldered up. I forgot to add the coolant ground, so I'll have to resolder one of those grounds later.
Cant decide if I want to keep the twin scroll or not, not sure if it will help or hurt at 350HP
Okay, I'll do that. Maybe I'll settle for 300...not quite sure yet...I'd like to push it as far as I can on the TMIC, thats for sure.
Took care of the coolant nipple tonight. It wasnt as bad as I thought, just a bunch of metal shavings. I took a magnet and picked up as much as I could. I initially took the dremel and a cut off wheel, just teh tip to see how far it went, then ground out the rest to make sure I had enough nipple left. (hah)
final product. I might cut down the hose to a shorter length, I have a feeling I'll have bubbles stuck up there.
No picture of the other side. Didnt finish that one yet....I might tackle that tomorrow night unless I take a break and go to our local friday night meets.
More progress! most of the ECU panel is wired up. I need to tap into a switch 12v source (probably gonna grab from the radio harness spot) and run a wire to a block to provide switched power to the ECU and relays. After that, I need to provide power to the gauges, run a boost gauge hose through the firewall for the ECU and gauge and thats about it for the interior. Then to focus on whats left in the engine bay. It feels good to be getting closer to the end!
a couple pictures:
My girlfriend thought I looked funny cramped up under here trying to solder
You can't grab power from the radio harness for the ecu! What happens when you crank the car? You lose all power to ECU! You have to wire in to the ignition switch, silly.
I must have been sleep drunk last night! Sorry about that.
Tonight I grabbed 12v switched power from the trailing coil. Got that and the main ECU relay wired up into place...I took a video but my phone will only allow me to upload it to facebook and not photobucket...lame. Probably 5 or 6 wires left in the passenger footwell area. Then to finish up in the engine bay! I am so excited. I am getting a bit antsy and want to rush to get finished, and it's taking everything inside of me to take it slow and do things right. Soldering all of the lugs instead of just crimping, double checking I grabbed the correct wire etc...I am really scared of messing up and blowing my engine
 06-15-12, 10:45 PM