Jared's RB-7

 06-22-16, 11:20 PM
#27
Junior Member
Thread Starter

Join Date: Jan 2012
Location: Santa Clarita, Ca
Posts: 35
Likes: 0
Received 0 Likes
on
0 Posts
07-04-16, 09:56 AM
#28
Junior Member
Thread Starter
Join Date: Jan 2012
Location: Santa Clarita, Ca
Posts: 35
Likes: 0
Received 0 Likes
on
0 Posts
A little update to what has been done� My schedule has been insane lately, but I have been making attempts to keep hammering away at this car to completion. I have wiring, plumbing and some minor aesthetics until the car is able to fire� At least I keep telling myself that.
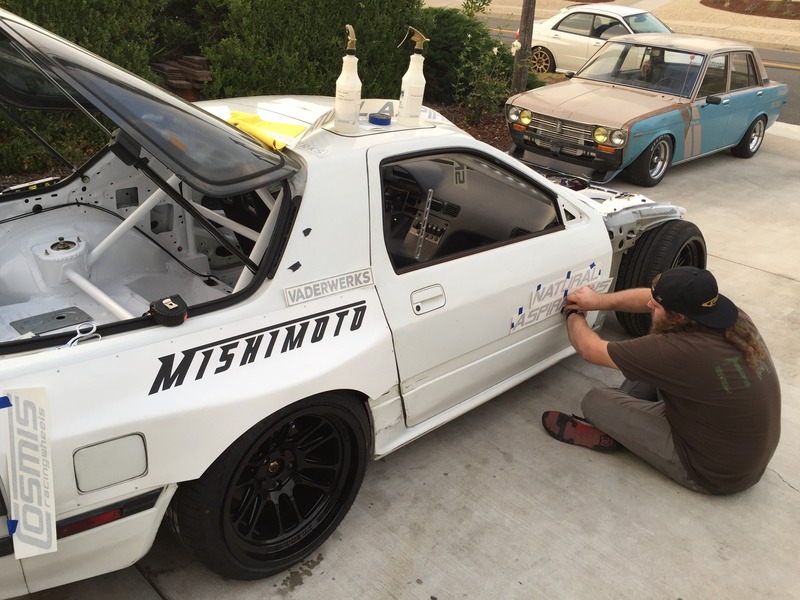
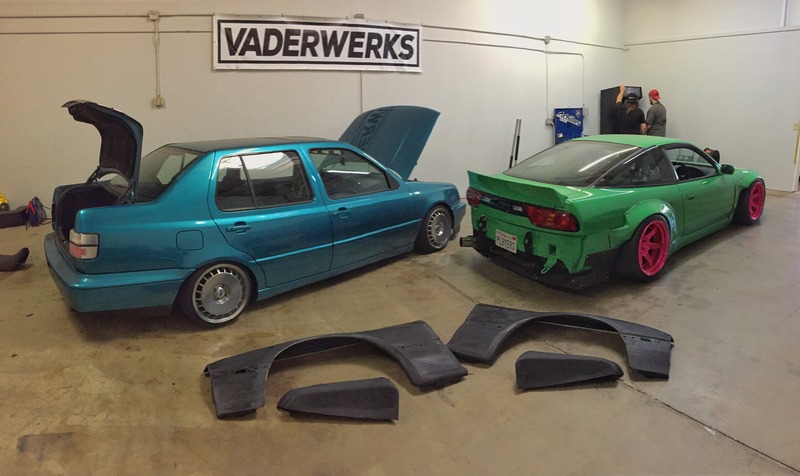
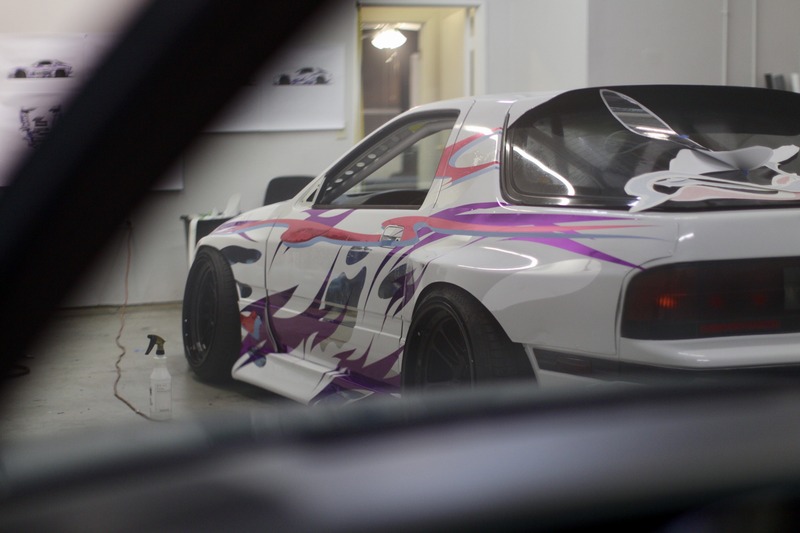
Ok, so my good friend Gino, owner of vaderwerks vinyl co., stopped by with some neat stickers to put on the car to aid in brand representation for the sweet parts I have been getting for the build.
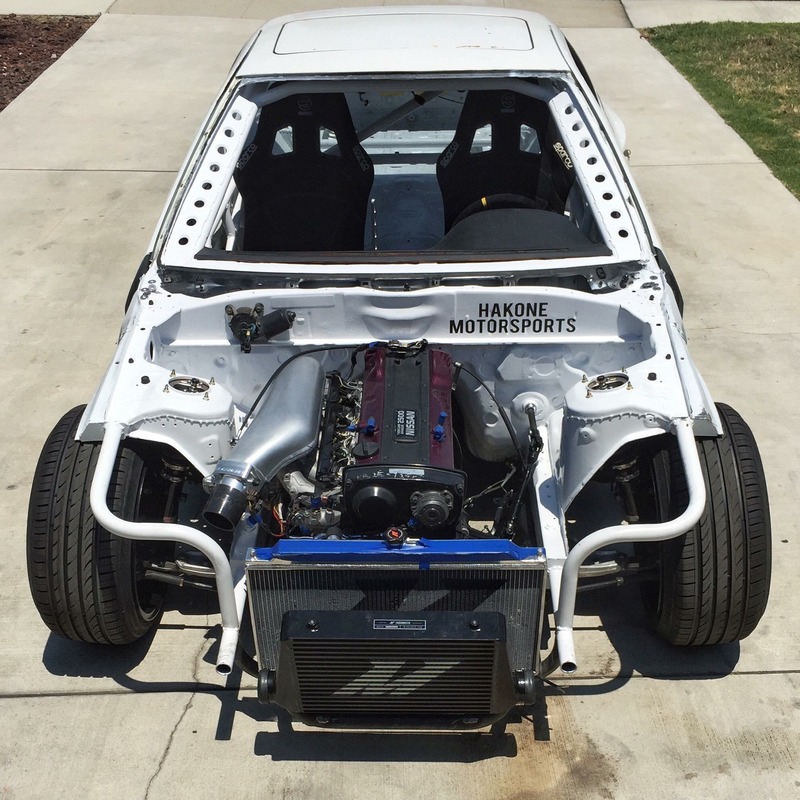
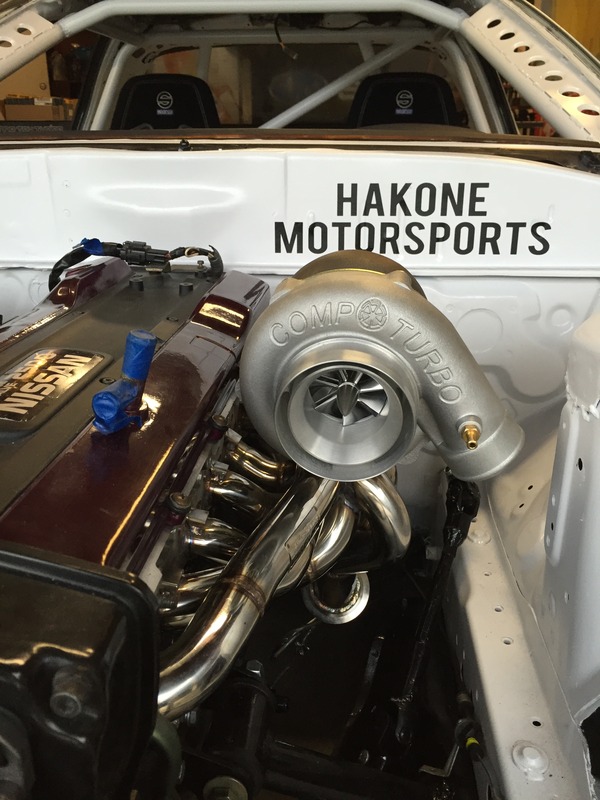
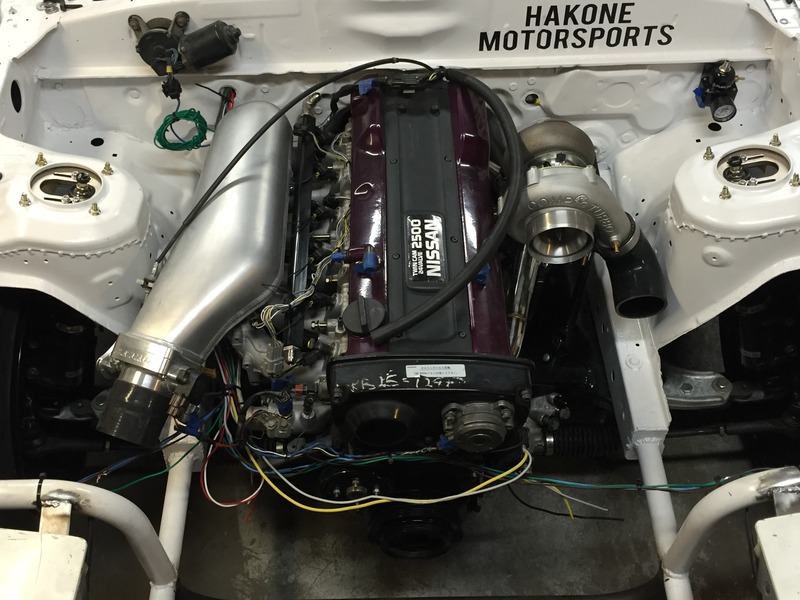
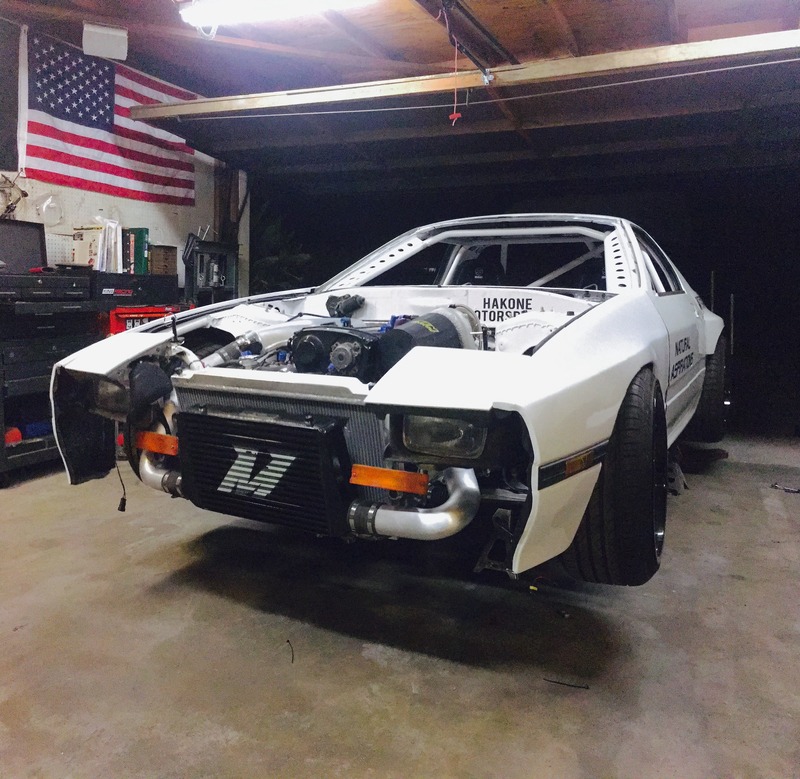
Also, I found that the OBX manifold fits extremely well. The way the plumbing on the manifold couldn�t have been any better, which was desired due to the engine mounts on this engine. Also, in addition to the amazing price on these manifolds, they have a lifetime warranty. I think that�s pretty rad! One thing I will have to do is drill all the holes maybe 1/16� bigger and weld on a new EWG flange. Overall, fitment is pretty spot on!
Ok, so my good friend Gino, owner of vaderwerks vinyl co., stopped by with some neat stickers to put on the car to aid in brand representation for the sweet parts I have been getting for the build.
Also, I found that the OBX manifold fits extremely well. The way the plumbing on the manifold couldn�t have been any better, which was desired due to the engine mounts on this engine. Also, in addition to the amazing price on these manifolds, they have a lifetime warranty. I think that�s pretty rad! One thing I will have to do is drill all the holes maybe 1/16� bigger and weld on a new EWG flange. Overall, fitment is pretty spot on!
07-13-16, 12:42 AM
#29
Junior Member
Thread Starter
Join Date: Jan 2012
Location: Santa Clarita, Ca
Posts: 35
Likes: 0
Received 0 Likes
on
0 Posts
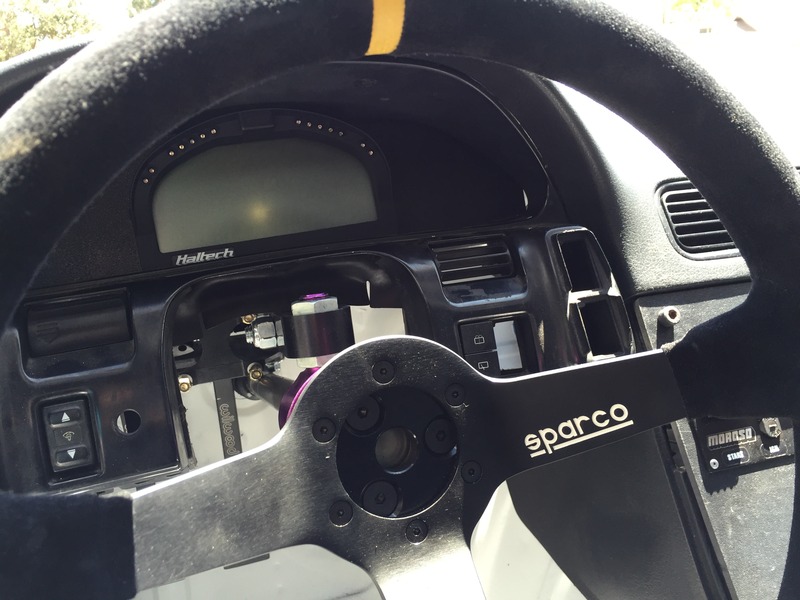
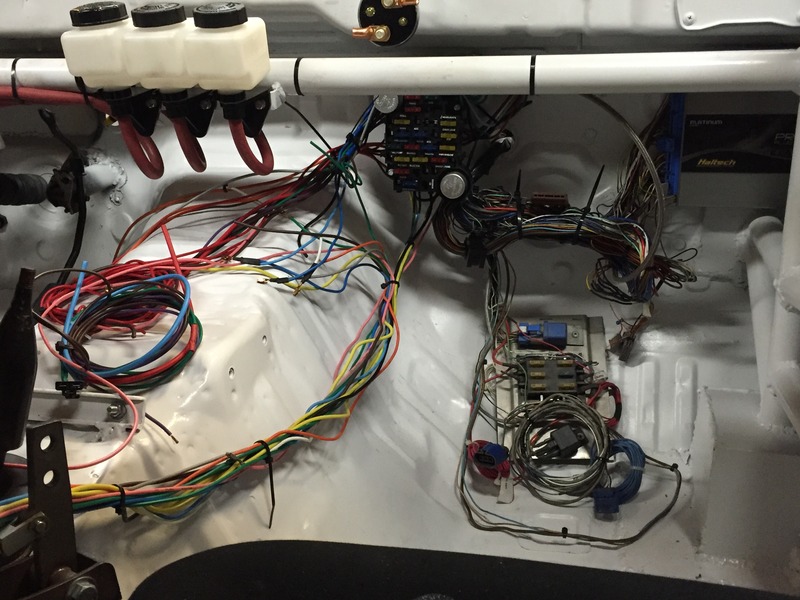
Over the weekend I dove into the project of mounting the racepak and haltech pro platinum ECU I got through Chris at Natural Aspirations. I also started figuring out what to do with some of this wiring, but I will post pictures later about that. I used the mounting plate that was included. I used a couple pieces of flat stock and riveted it to the bottom of the plate and added the �” ABS contour cut section to the front using a 90 degree bent piece of flat stock. More photos of the mounting assembly if anyone is interested… Anyways, here is the end result.
07-13-16, 10:21 PM
#30
Junior Member
Thread Starter
Join Date: Jan 2012
Location: Santa Clarita, Ca
Posts: 35
Likes: 0
Received 0 Likes
on
0 Posts
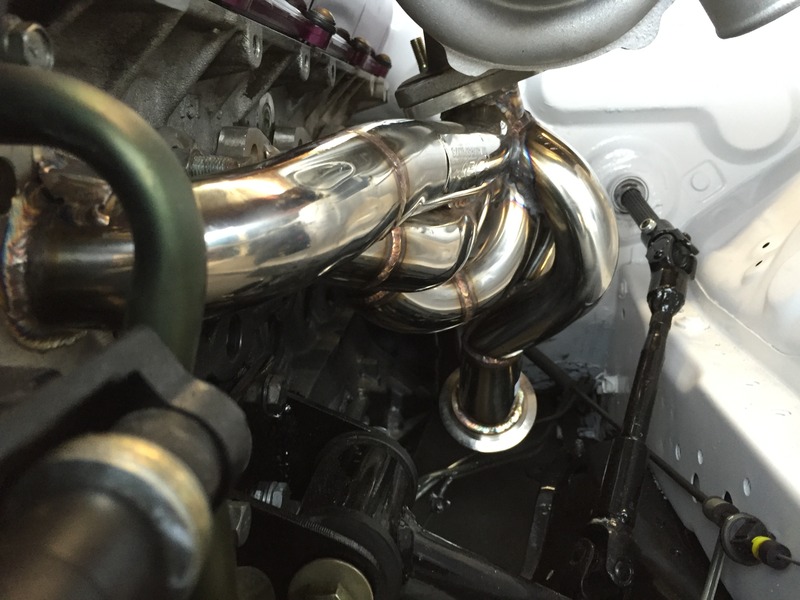
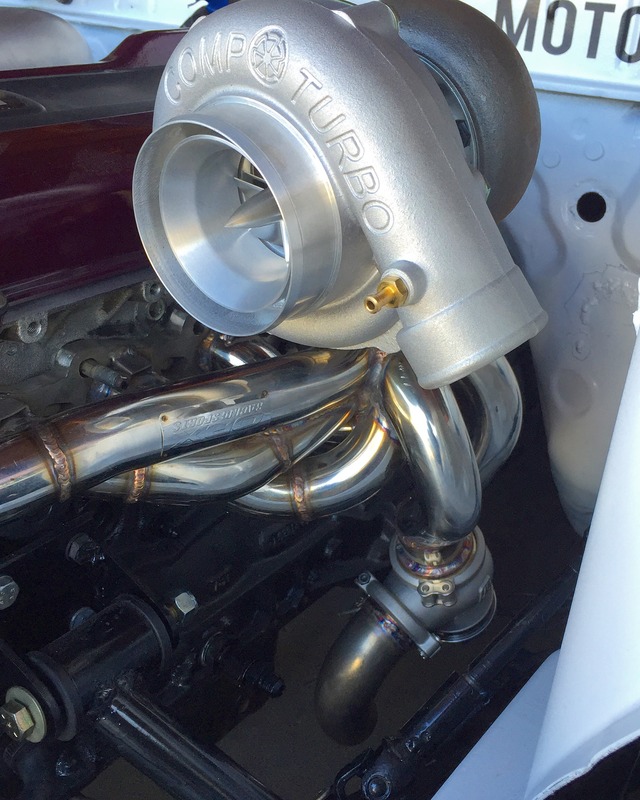
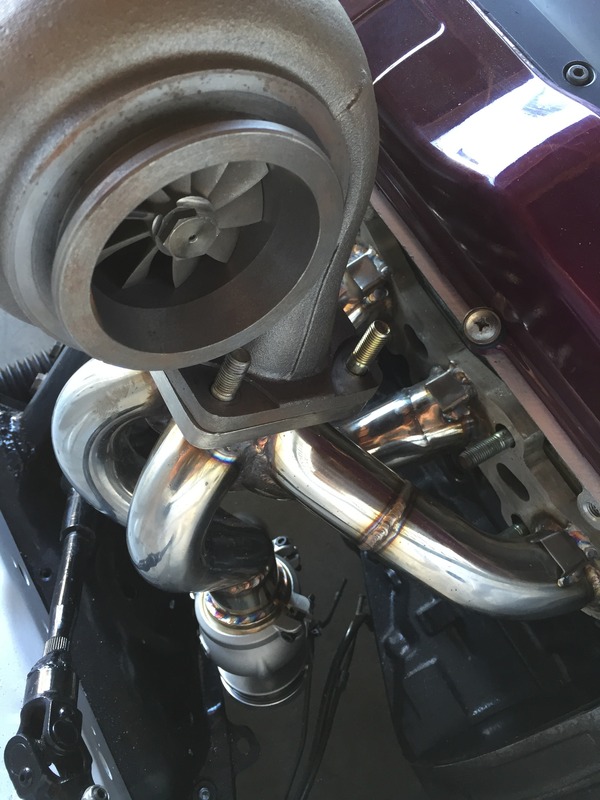
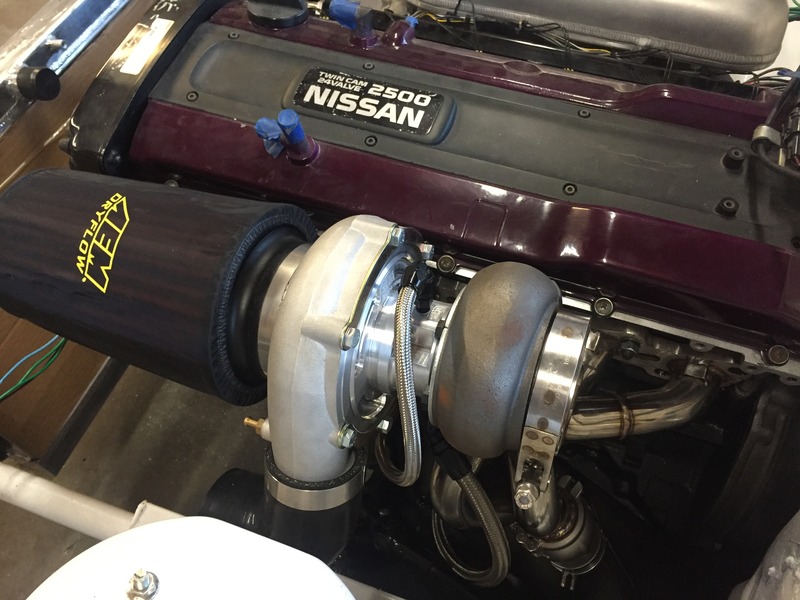
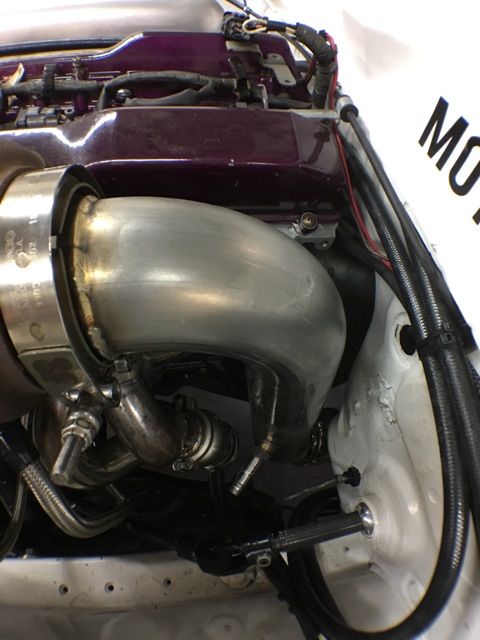
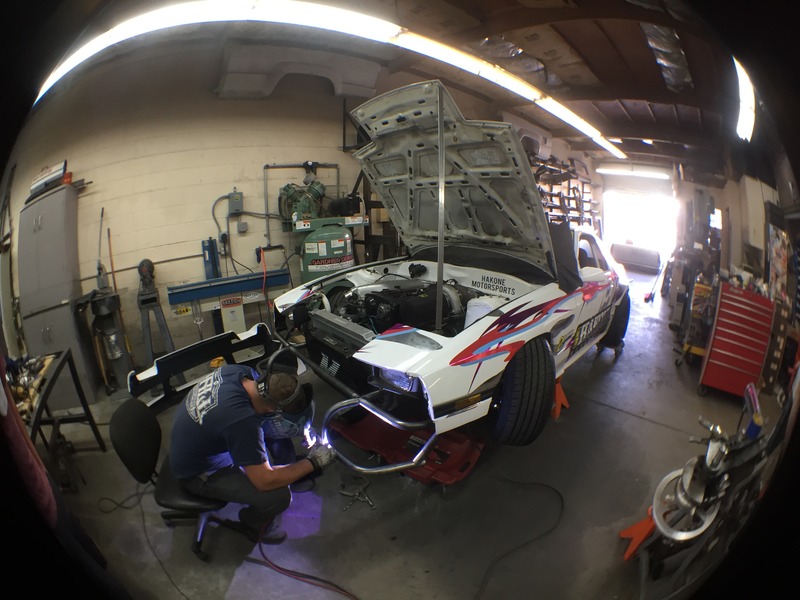
Today I was fortunate enough to be able to break away from my normal schedule and work on the car a bit today. I wanted to get the manifold to mount up a little better and retrofit the correct external waste gate flange and further get a dump tube fabricated. Sean over at Empire Fabrication really hooked me up with getting this whole external waste gate setup sorted out. He cut the existing oversized flange and fabricated a 50mm dump tube for the waste gate. The welds, height and placement couldn’t have been done any better.


Last edited by jaredperry; 07-14-16 at 12:14 AM.
07-24-16, 11:47 AM
#31
Junior Member
Thread Starter
Join Date: Jan 2012
Location: Santa Clarita, Ca
Posts: 35
Likes: 0
Received 0 Likes
on
0 Posts
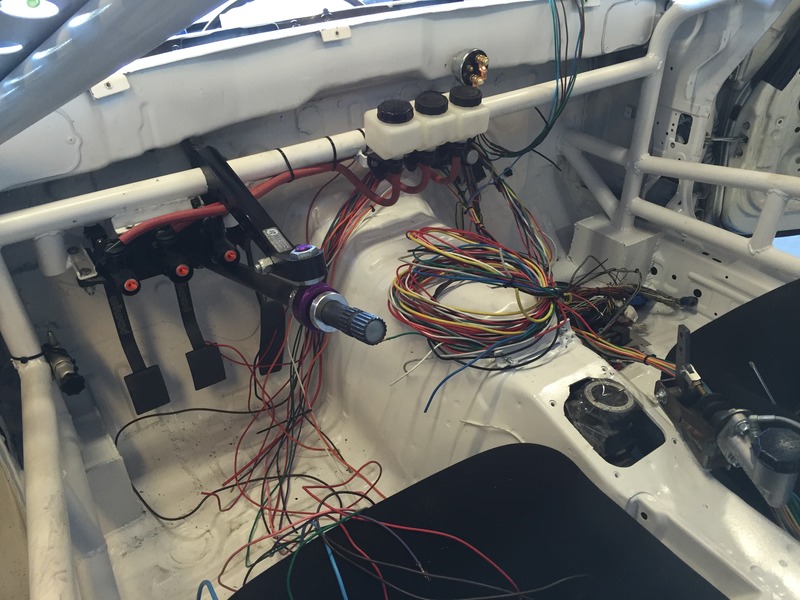
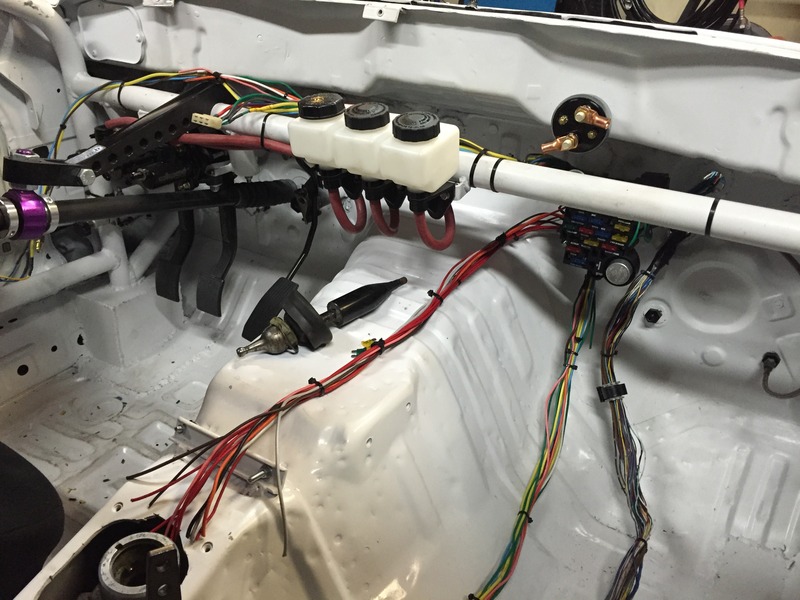
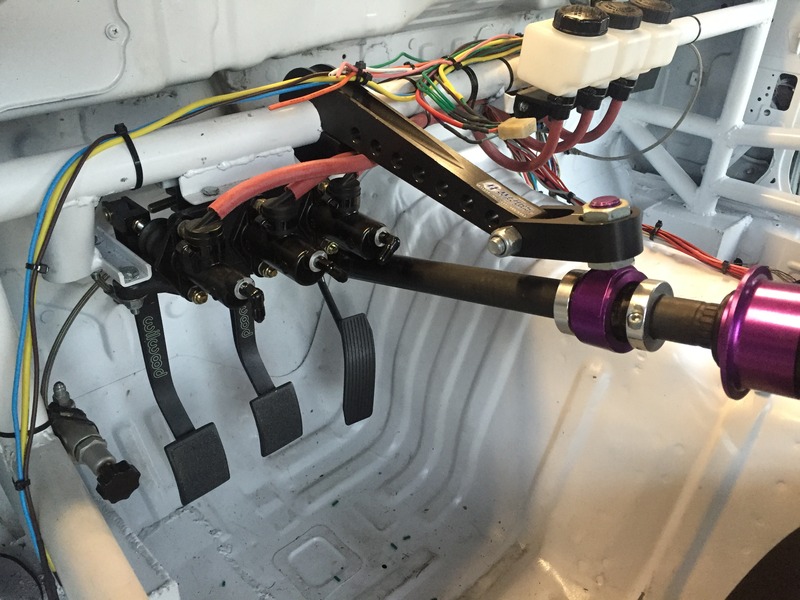
I started wiring last weekend and my goodness… I didn’t realize the extent of what I am up against and it’s going to be pretty time consuming for one guy. I was able to get everything I needed to routed and in the correct direction. Also, I was able to mount the Haltech and prep for the cables to be run from the Racepak to the ECU.
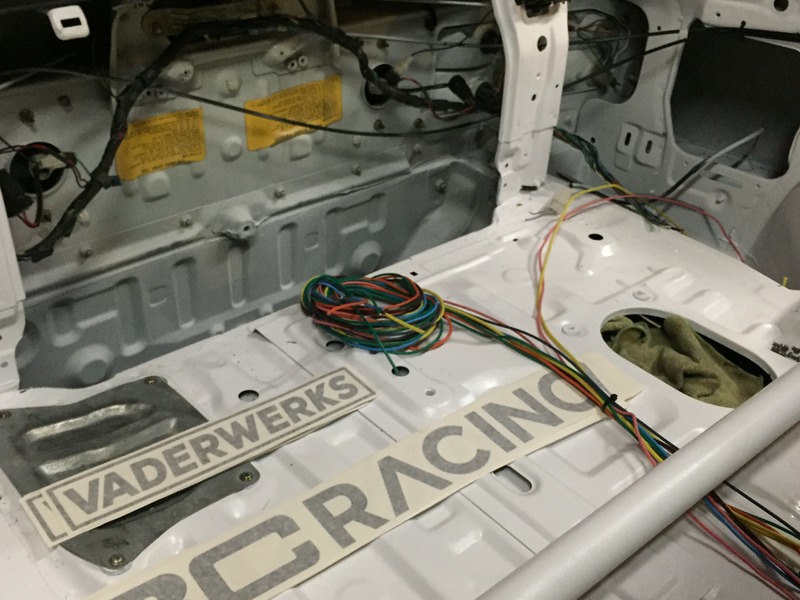
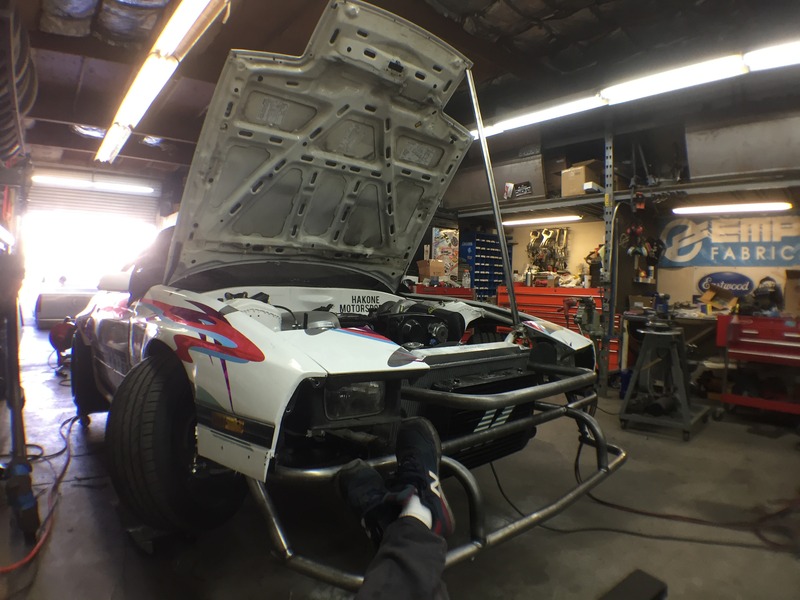
Also, I welded up the head light housings last weekend to help with the wiring. The front end is growing to be more and more, but I really cannot build anything until the bumper arrives. Anyways, here is the progress:

Also, I welded up the head light housings last weekend to help with the wiring. The front end is growing to be more and more, but I really cannot build anything until the bumper arrives. Anyways, here is the progress:
08-07-16, 02:27 AM
#32
Junior Member
Thread Starter
Join Date: Jan 2012
Location: Santa Clarita, Ca
Posts: 35
Likes: 0
Received 0 Likes
on
0 Posts
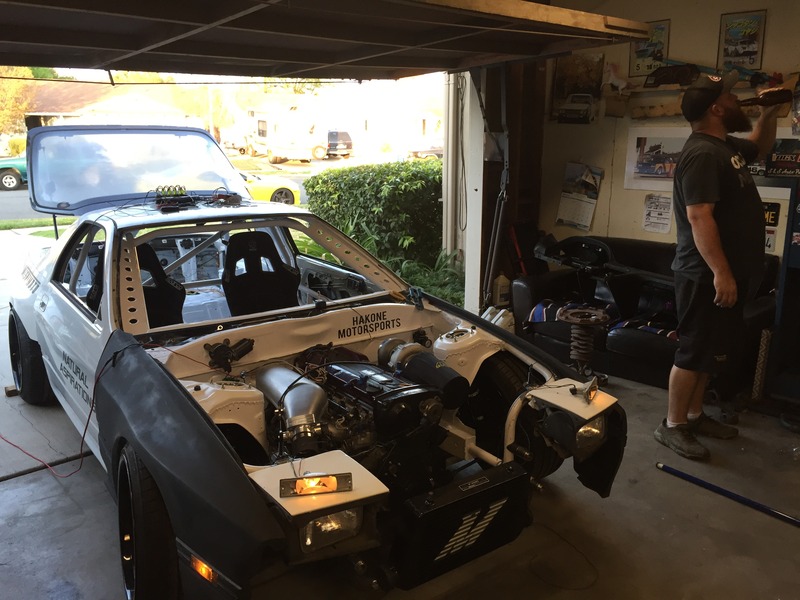
Over the last week a bunch of progress was made with the car.
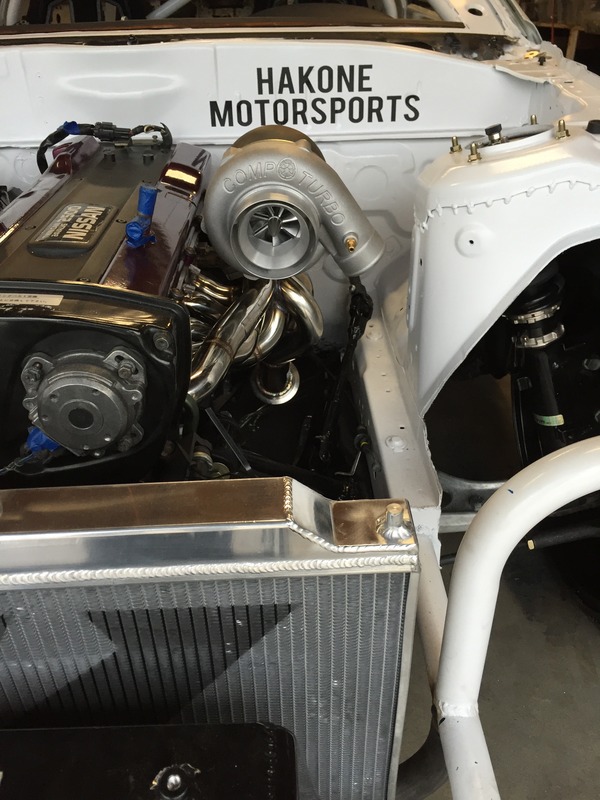
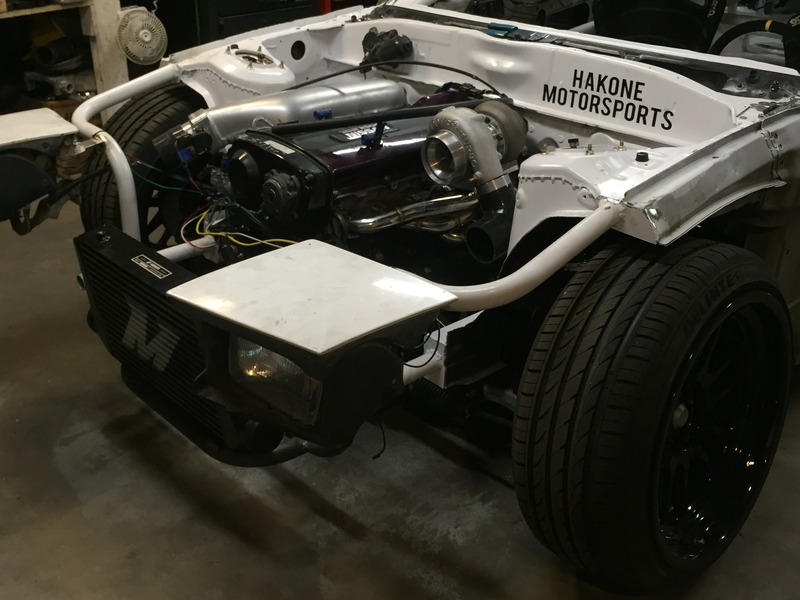
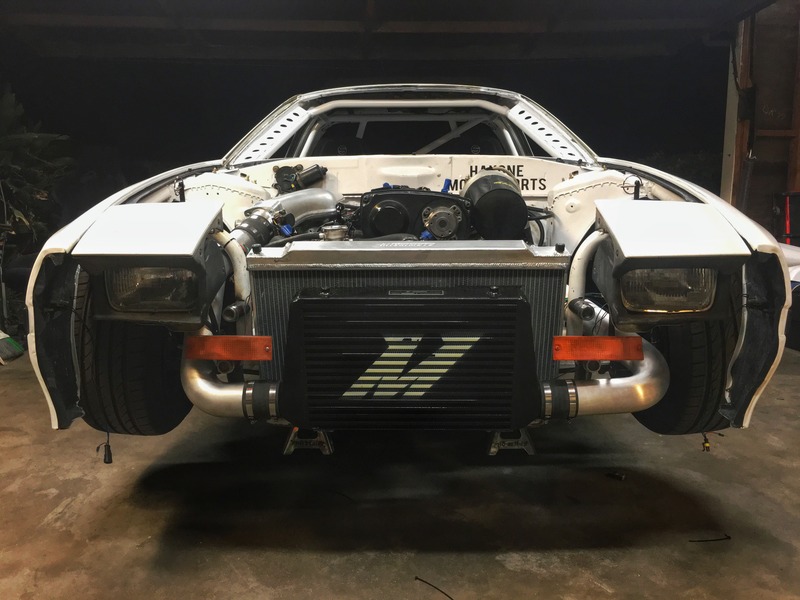
The two row Mishimoto radiator was replaced with a three row, which required a bit of modification to the front end. I was also able to move the Mishimoto intercooler back and down a bit to accommodate with the new radiator space requirements. With all that welding going on I figured it was a good time to install the hood pins and start the initial front chassis harness routing.
The lights are now operational with the help of a friend. Blinkers, high / low beam and hazards are good to go including the brake lights.
Next up to bat for the car is finalizing the engine harness, which entails a bit of housekeeping and new wiring with the added air temperature sensor and boost control solenoid for the haltech pro plug in setup.
I was also able to get the -4 AN oil feed and -8 AN oil drain lines made up for the turbo in addition to running some -3 AN lines for the brakes and proportioning valve.
The two row Mishimoto radiator was replaced with a three row, which required a bit of modification to the front end. I was also able to move the Mishimoto intercooler back and down a bit to accommodate with the new radiator space requirements. With all that welding going on I figured it was a good time to install the hood pins and start the initial front chassis harness routing.
The lights are now operational with the help of a friend. Blinkers, high / low beam and hazards are good to go including the brake lights.


Next up to bat for the car is finalizing the engine harness, which entails a bit of housekeeping and new wiring with the added air temperature sensor and boost control solenoid for the haltech pro plug in setup.
I was also able to get the -4 AN oil feed and -8 AN oil drain lines made up for the turbo in addition to running some -3 AN lines for the brakes and proportioning valve.
 08-08-16, 11:54 PM
#33
Junior Member
Thread Starter
Join Date: Jan 2012
Location: Santa Clarita, Ca
Posts: 35
Likes: 0
Received 0 Likes
on
0 Posts
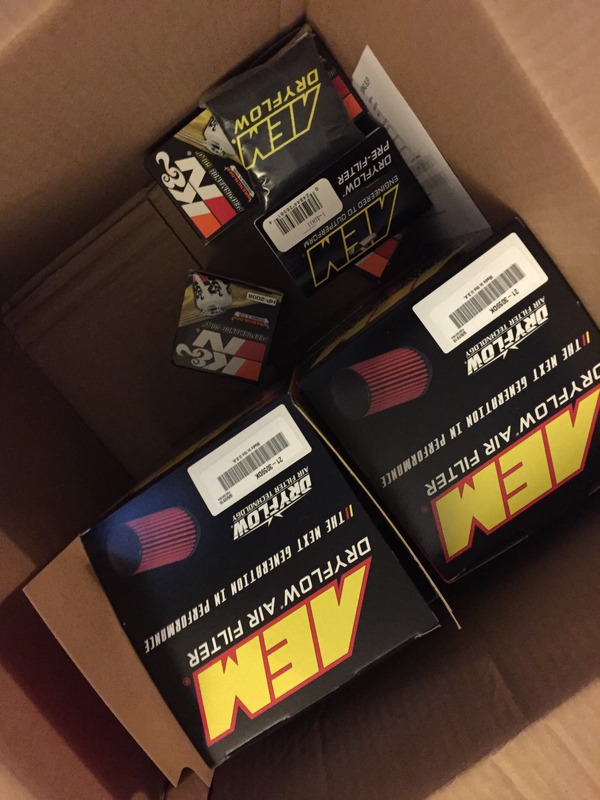
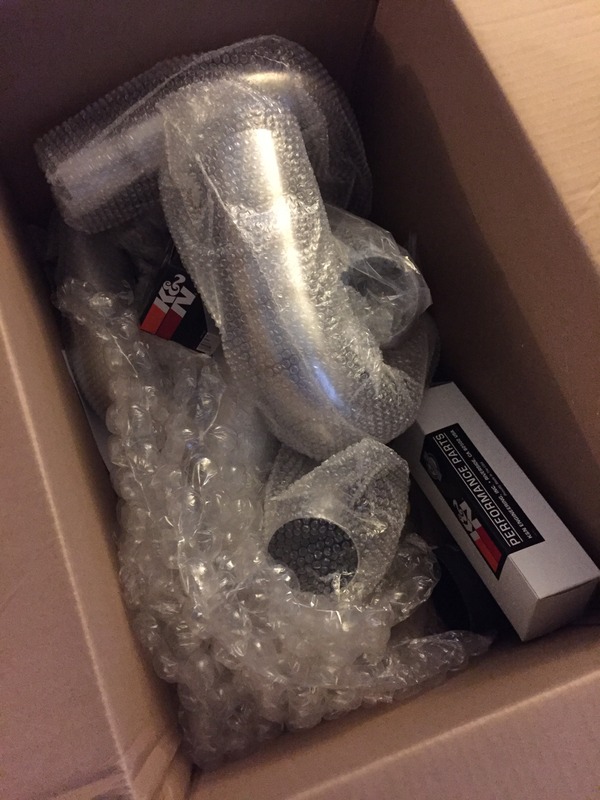
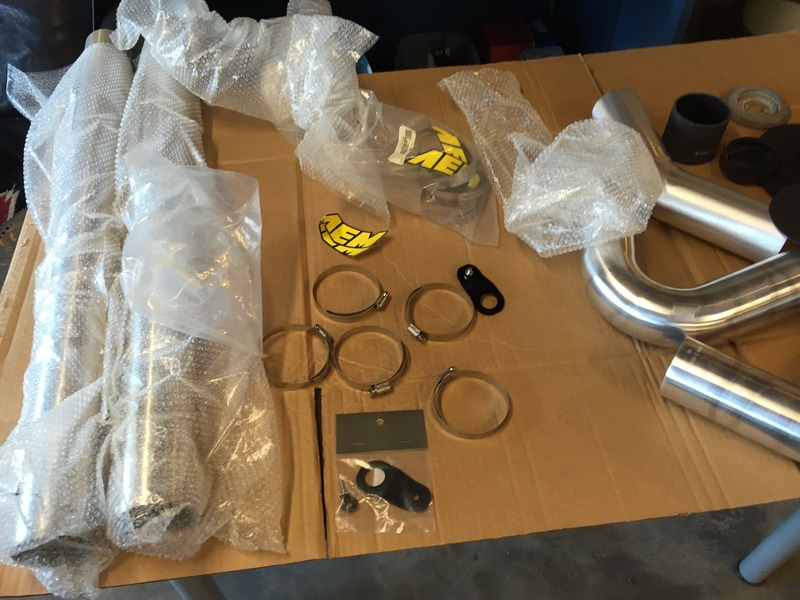
A bunch of stuff arrived for the car this weekend. A box of K&N fuel, oil filters, AEM intake filters and a bunch of AEM 3” tubing made its way to my doorstep. I can’t thank the people over at K&N enough for the opportunity to use their products on this specific car build.
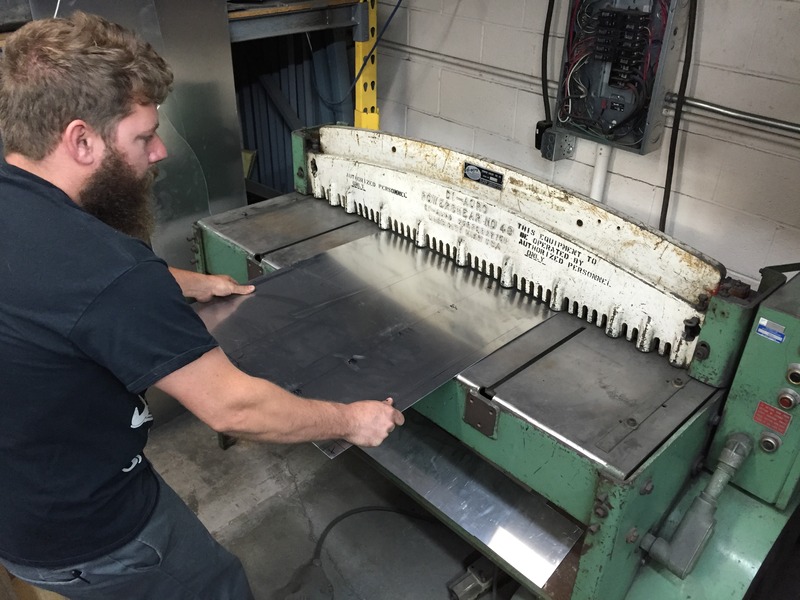
I also spun over to empire fabrication in Simi this weekend to see if Sean, the owner, could school me on some fabrication. He was able to make something pretty rad from some sheet aluminum in a matter of a few minutes. Talk about talented.
Here he is measuring out the Mishimoto fans and the radiator and quickly gathering ideas to run with.
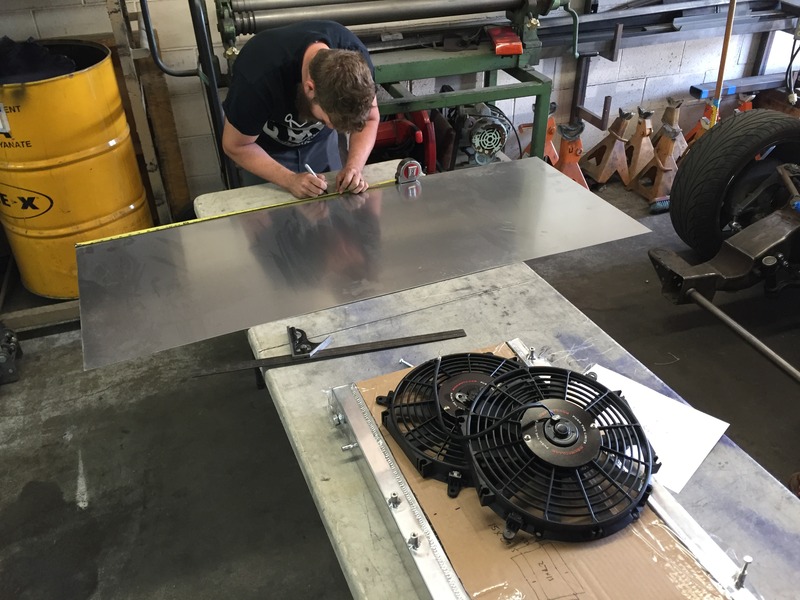
Here, after the break lines and overall dimensions were figured, he is shearing the material for those perfect lines.
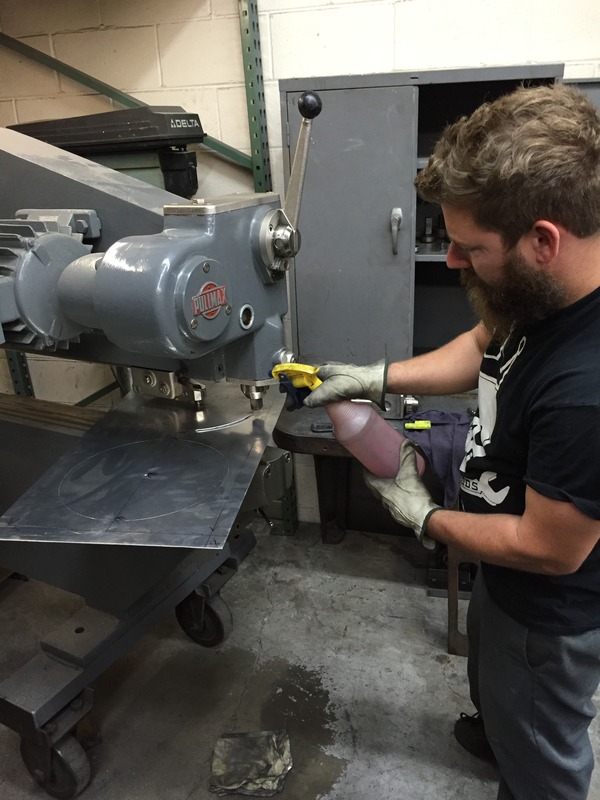
Another sweet tool over at Empire is the Pulmax. This machine was used to shear perfect circles in the material for the fans to pull air from. They turned out awesome!
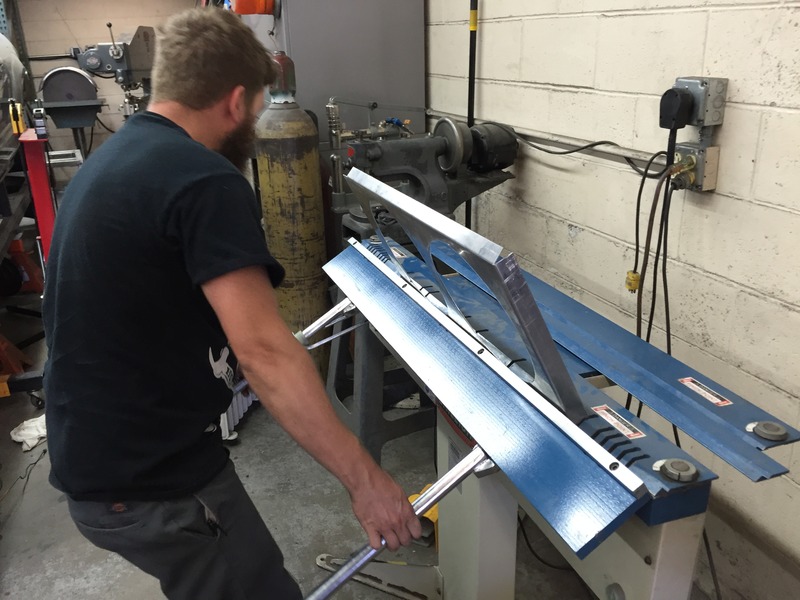
Here, the press break was used to create the 45* and 90* bends to fit the outsides of the Mishimoto radiator and hold the slim fans.
A bit of fitment verification goin down.
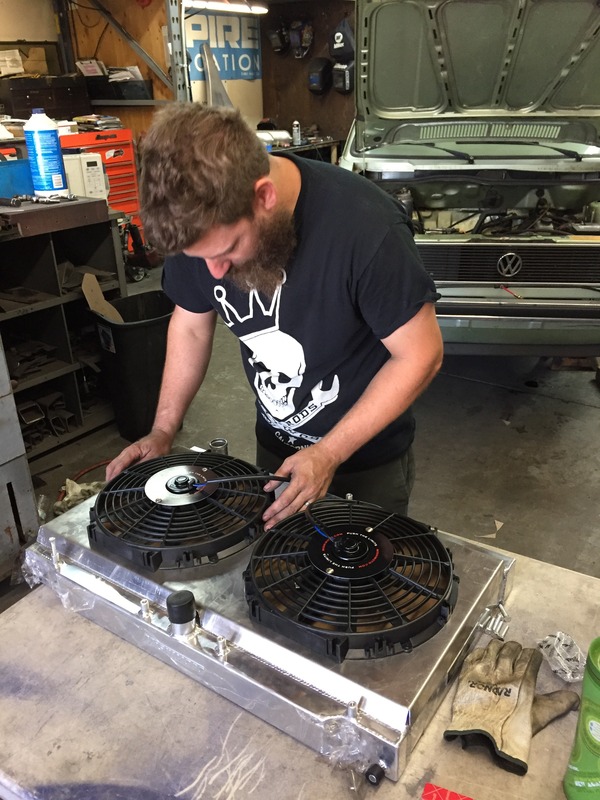
Lastly, here he is throwing down some dimes with his eastwood tig 200 to mount it onto the radiator. This I feel is a better design with all the vibration that is to bound happen than to bolt a shroud onto the radiator.
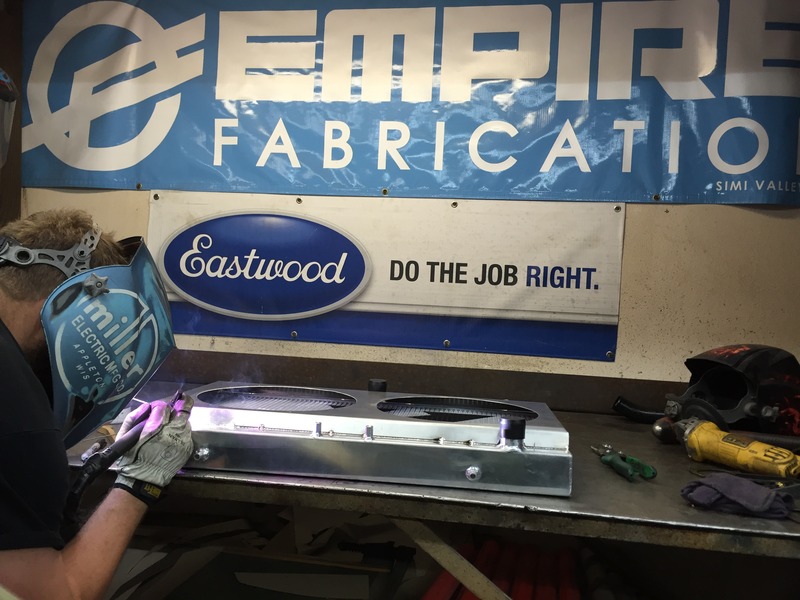
The end product turned out awesome and with a great amount of clearance.
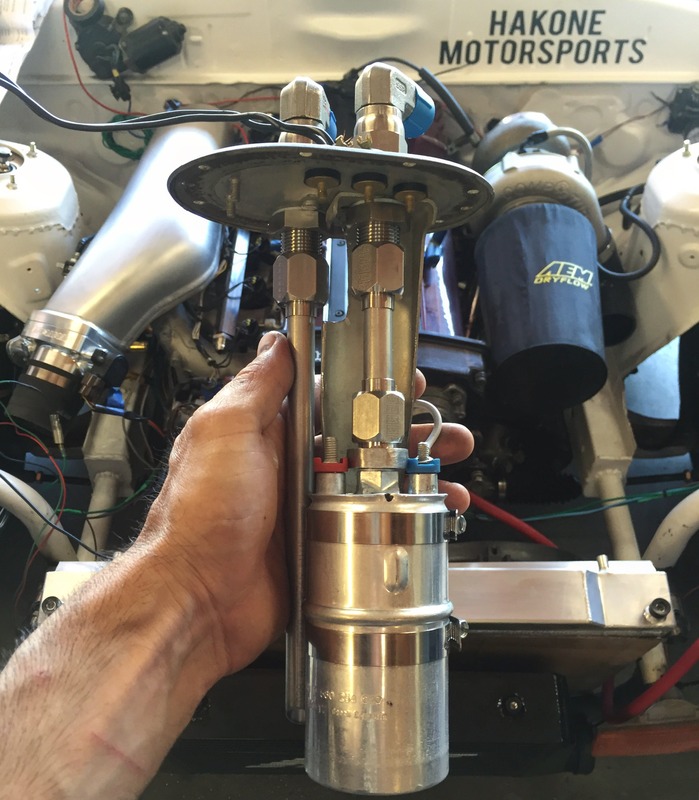
I was also able to make a fuel pump hanger this weekend with the help of my buddy Clint. I used the stock hanger, -8 bulkhead fittings and some 5/8” straight tubing with a single flare on the end. The pump is a Bosch 040 submersible pump. I think she came out pretty nice.
I also spun over to empire fabrication in Simi this weekend to see if Sean, the owner, could school me on some fabrication. He was able to make something pretty rad from some sheet aluminum in a matter of a few minutes. Talk about talented.
Here he is measuring out the Mishimoto fans and the radiator and quickly gathering ideas to run with.
Here, after the break lines and overall dimensions were figured, he is shearing the material for those perfect lines.
Another sweet tool over at Empire is the Pulmax. This machine was used to shear perfect circles in the material for the fans to pull air from. They turned out awesome!
Here, the press break was used to create the 45* and 90* bends to fit the outsides of the Mishimoto radiator and hold the slim fans.
A bit of fitment verification goin down.
Lastly, here he is throwing down some dimes with his eastwood tig 200 to mount it onto the radiator. This I feel is a better design with all the vibration that is to bound happen than to bolt a shroud onto the radiator.
The end product turned out awesome and with a great amount of clearance.
I was also able to make a fuel pump hanger this weekend with the help of my buddy Clint. I used the stock hanger, -8 bulkhead fittings and some 5/8” straight tubing with a single flare on the end. The pump is a Bosch 040 submersible pump. I think she came out pretty nice.
Last edited by jaredperry; 08-09-16 at 12:13 AM.
08-12-16, 11:25 AM
#34
Junior Member
Thread Starter
Join Date: Jan 2012
Location: Santa Clarita, Ca
Posts: 35
Likes: 0
Received 0 Likes
on
0 Posts
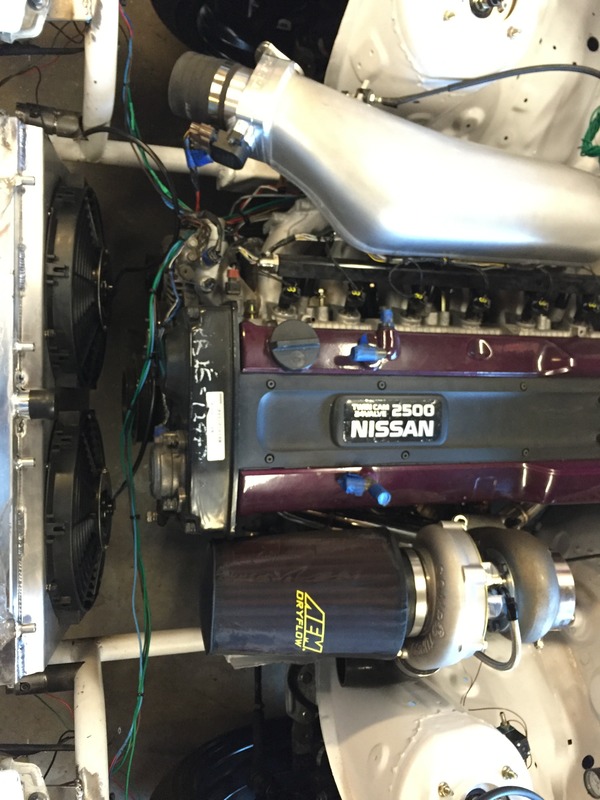
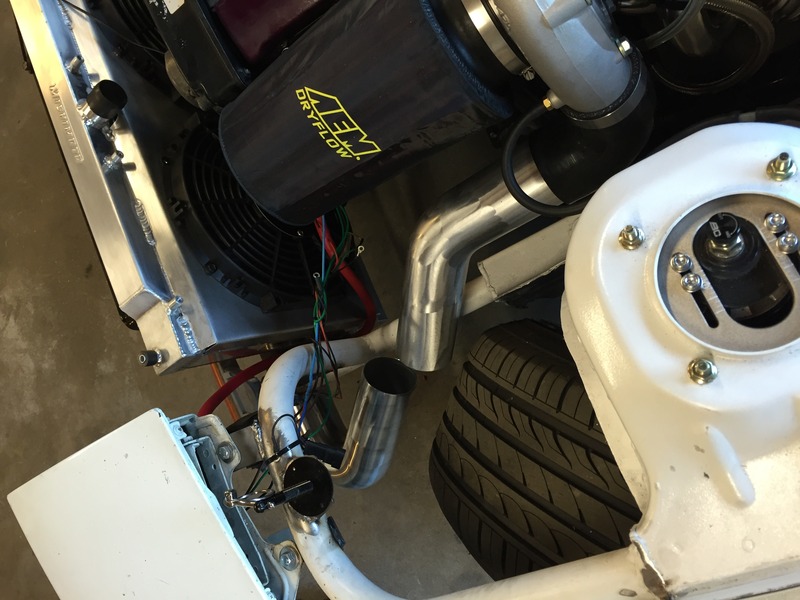
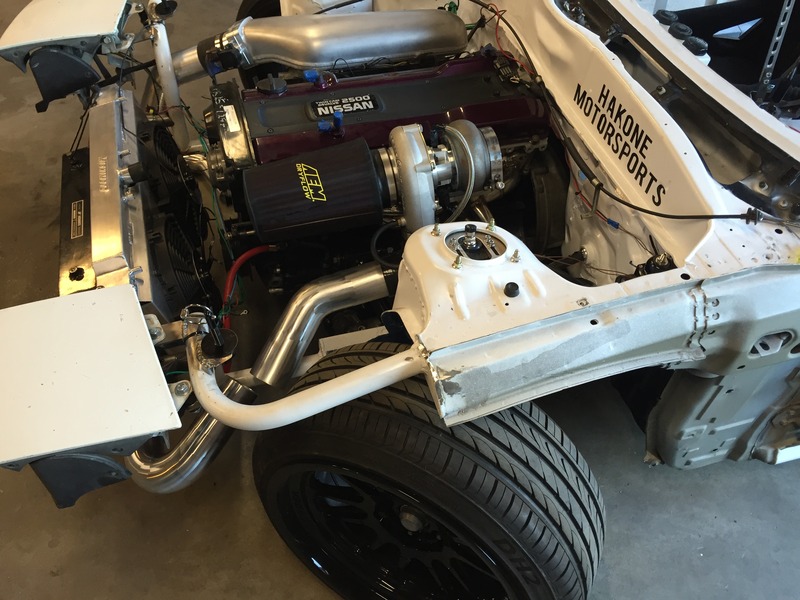
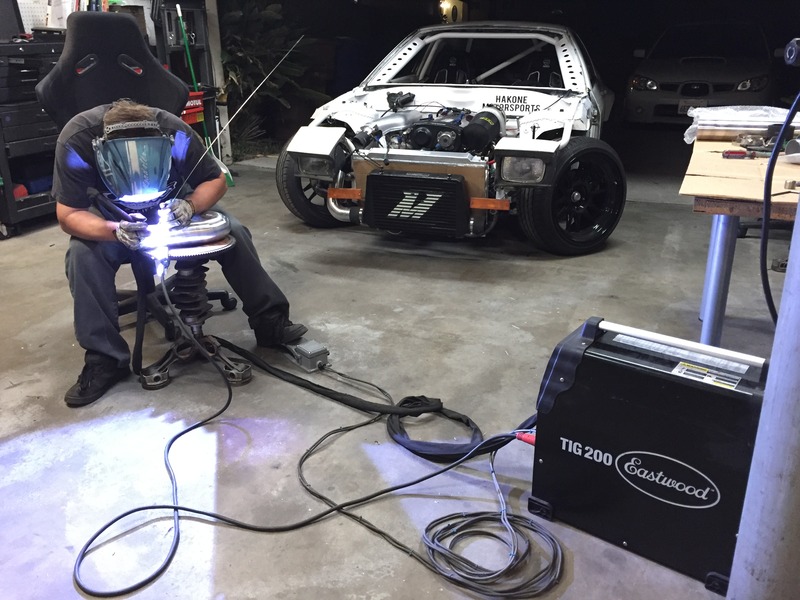
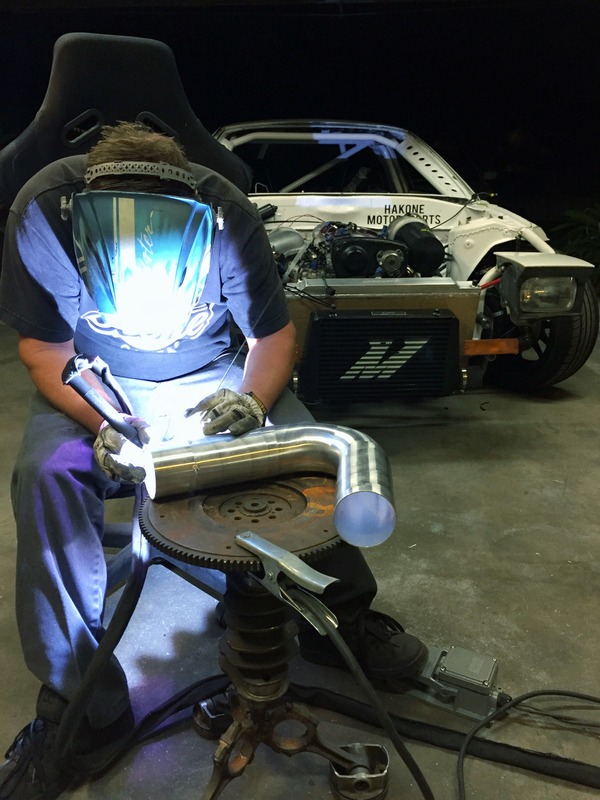
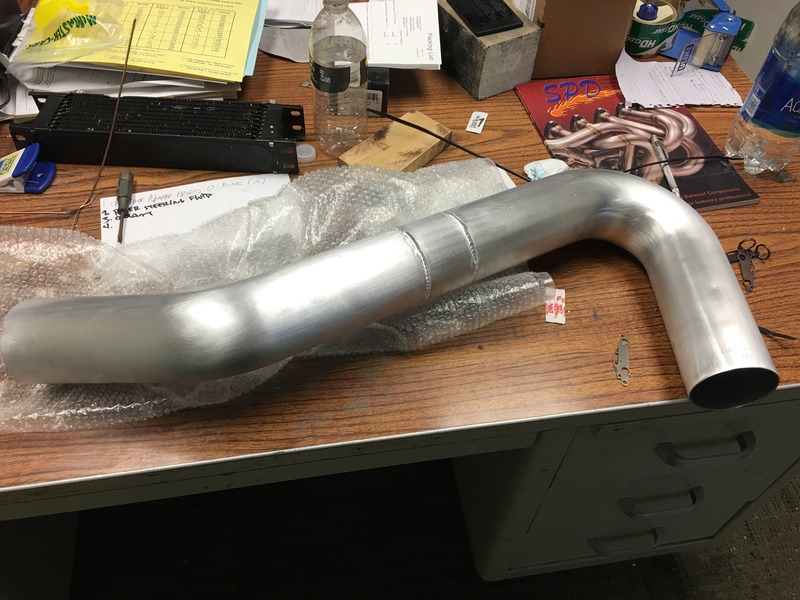
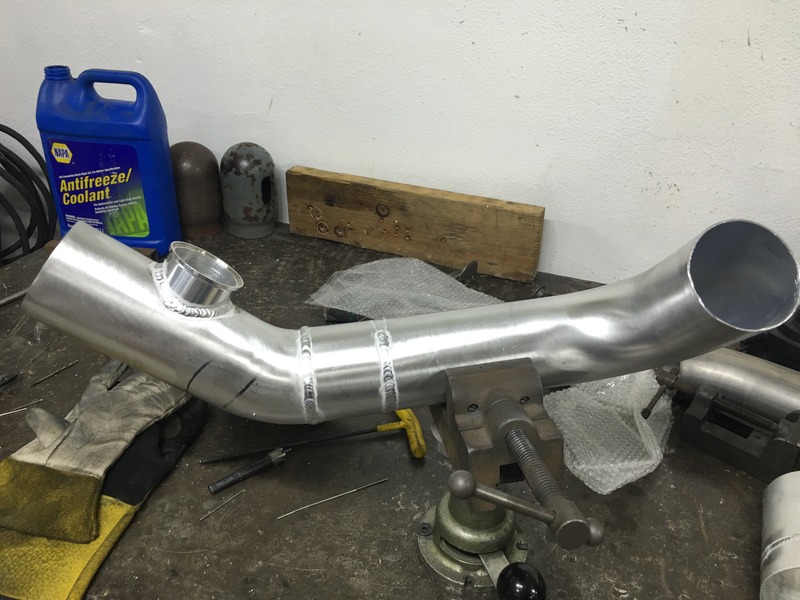
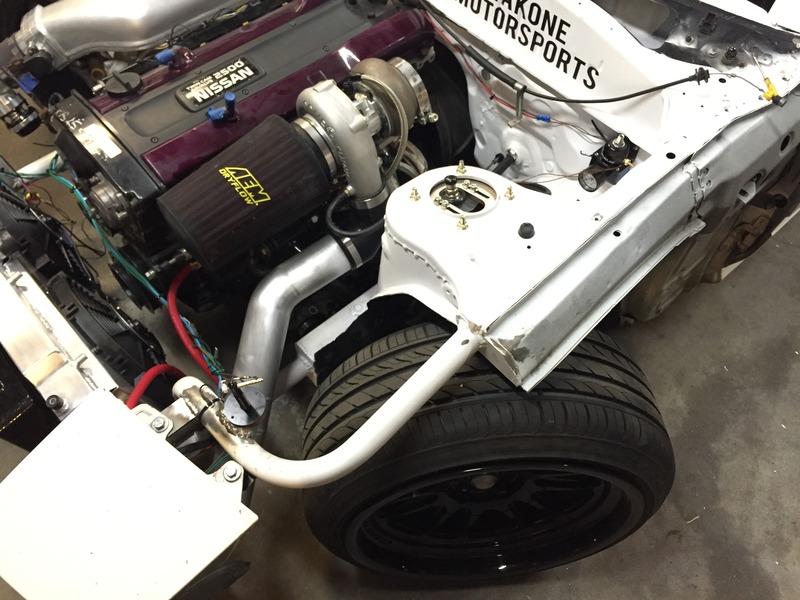
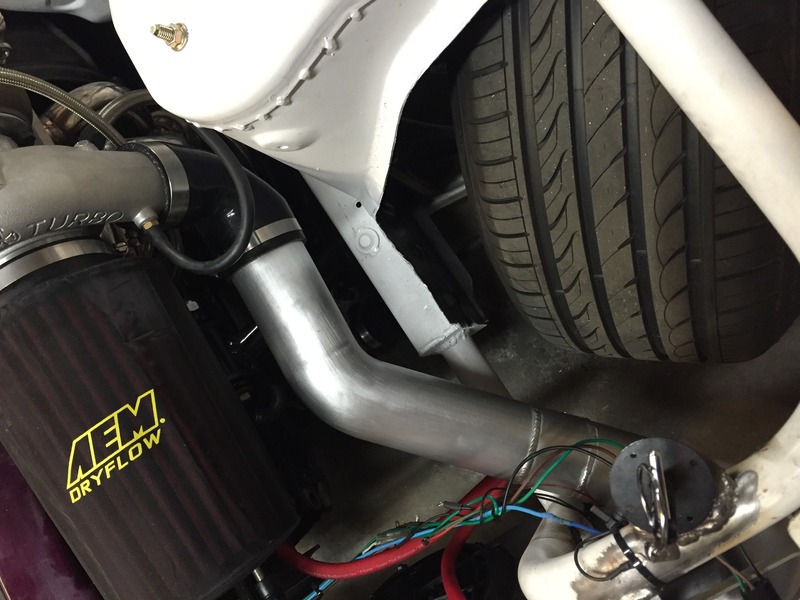
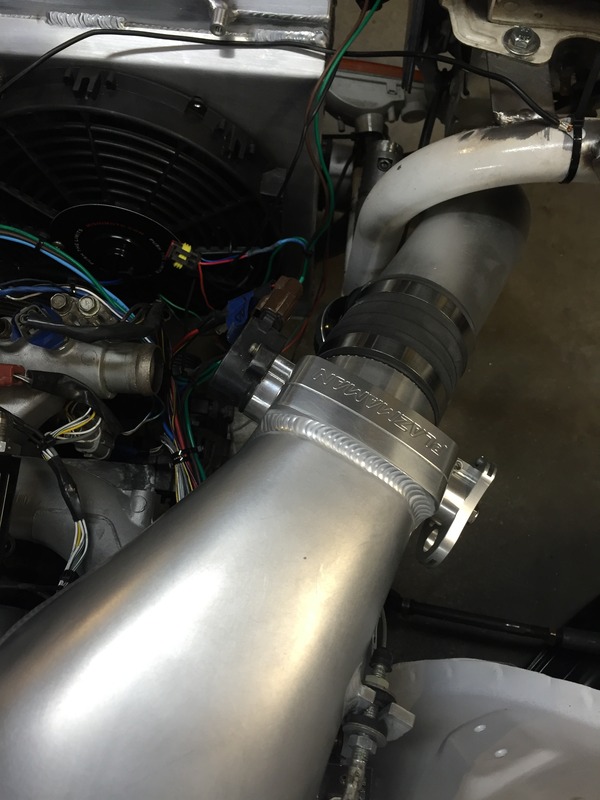
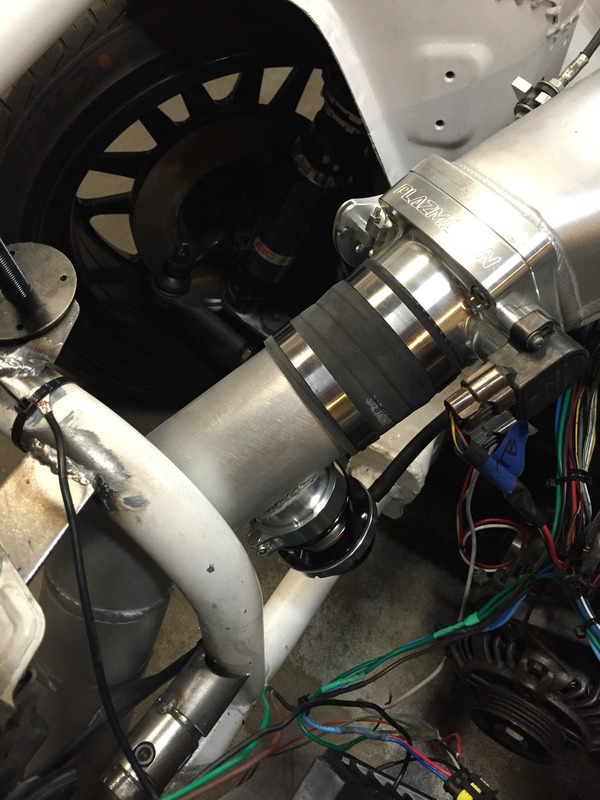
During this week Sean from empire fabrication was kind enough to come over and work with me. We ended up turning some fancy AEM intakes straight sections and bends into front mount intercooler charge pipes. I didn�t anticipate how short these throws ended up being, but I am really excited as to how they turned out; its almost as if this RB25 engine was meant for the FC chassis. He was even able to mount the turbosmart race port BOV for me.
Misc AEM Intakes tubing parts. I failed to get a picture prior. Dude was working too fast�
Sean throwin bends around to see what will work best.
Looks like a 90* and a 120* are pretty much a plug and play. Those AEM tubes sure are fancy.
Sean is suggesting a custom charge pipe setup here. We ended up going a different route with this side.

A 120* and a 90* again look to be a perfect fit.
Full Lock on the drivers side shows that there is plenty of room.
Tig welding with a eastwood 200.
Misc AEM Intakes tubing parts. I failed to get a picture prior. Dude was working too fast�
Sean throwin bends around to see what will work best.
Looks like a 90* and a 120* are pretty much a plug and play. Those AEM tubes sure are fancy.
Sean is suggesting a custom charge pipe setup here. We ended up going a different route with this side.
A 120* and a 90* again look to be a perfect fit.
Full Lock on the drivers side shows that there is plenty of room.
Tig welding with a eastwood 200.

 08-20-16, 12:05 PM
#36
Junior Member
Thread Starter
Join Date: Jan 2012
Location: Santa Clarita, Ca
Posts: 35
Likes: 0
Received 0 Likes
on
0 Posts
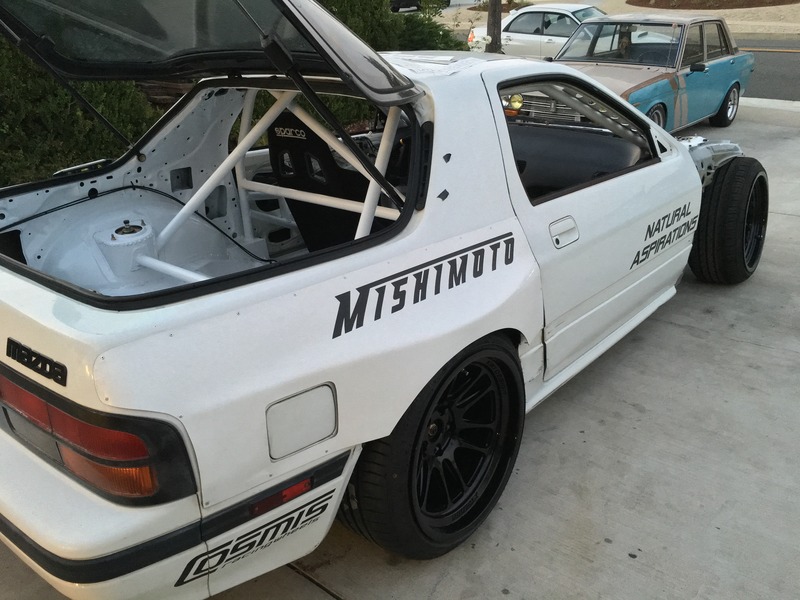
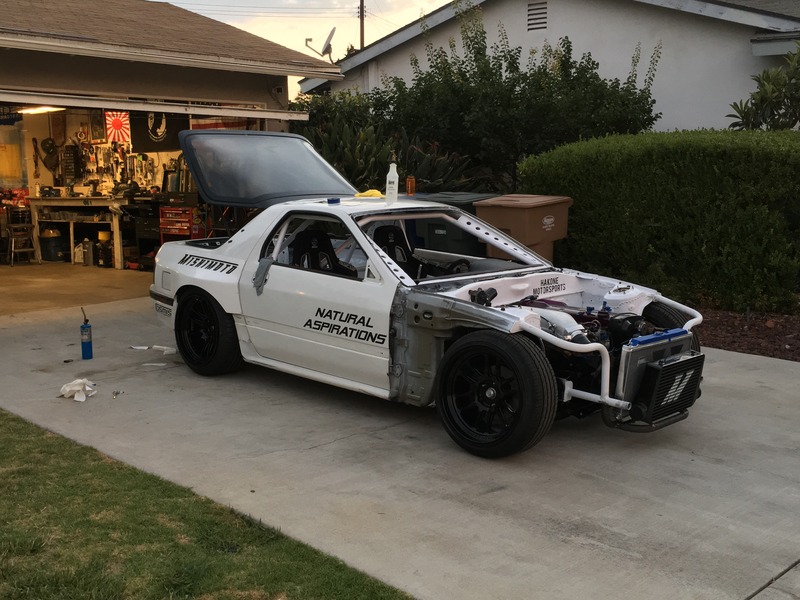
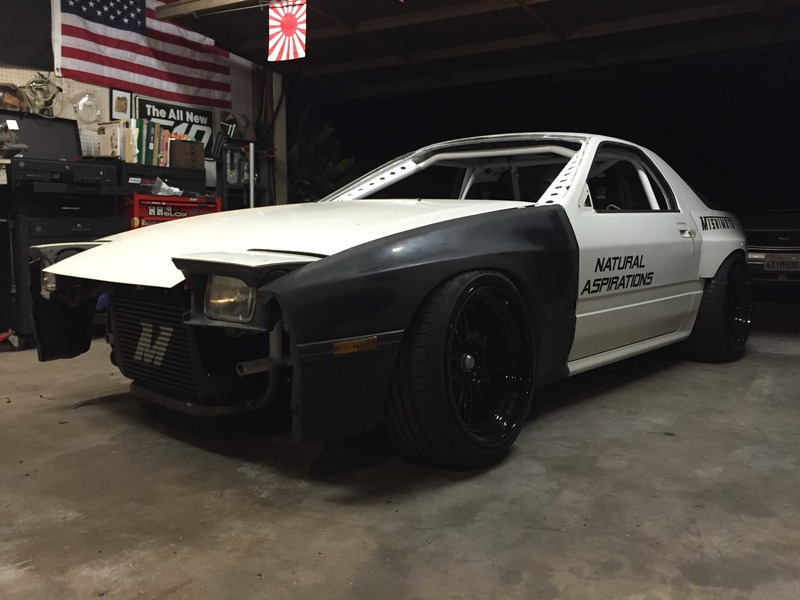
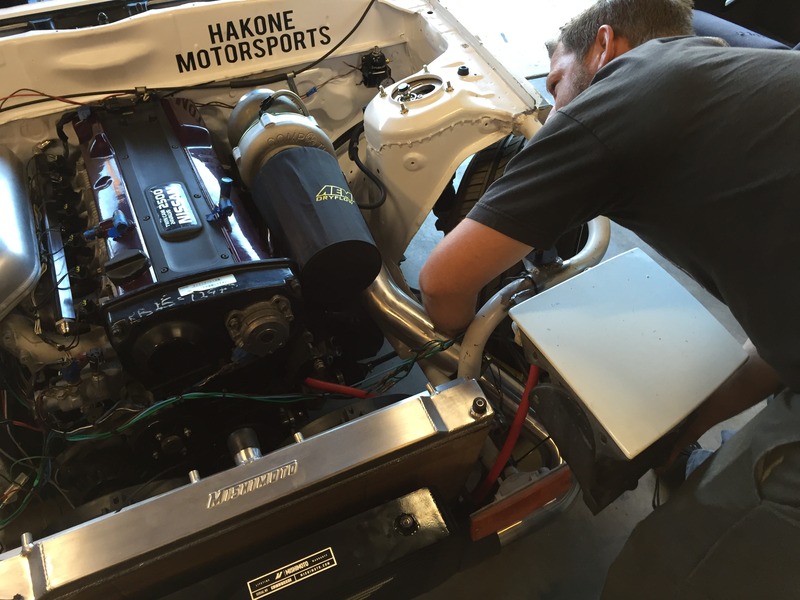
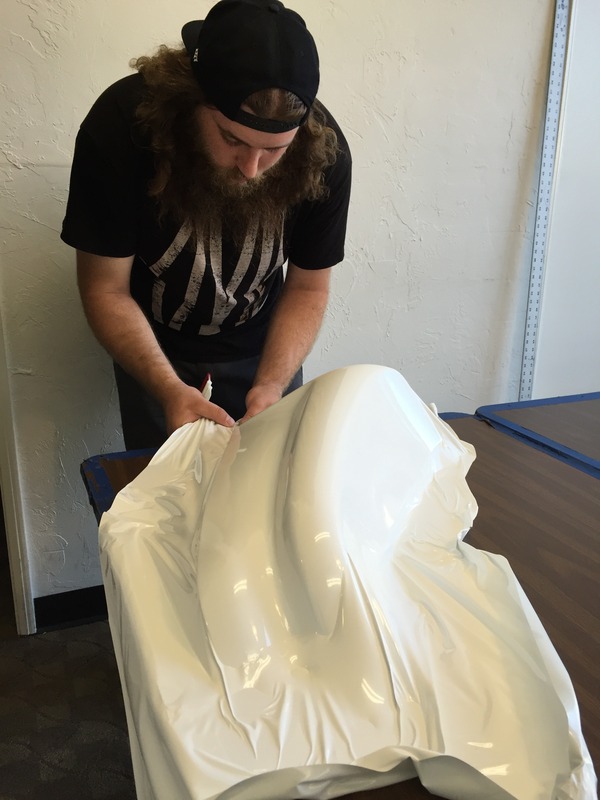
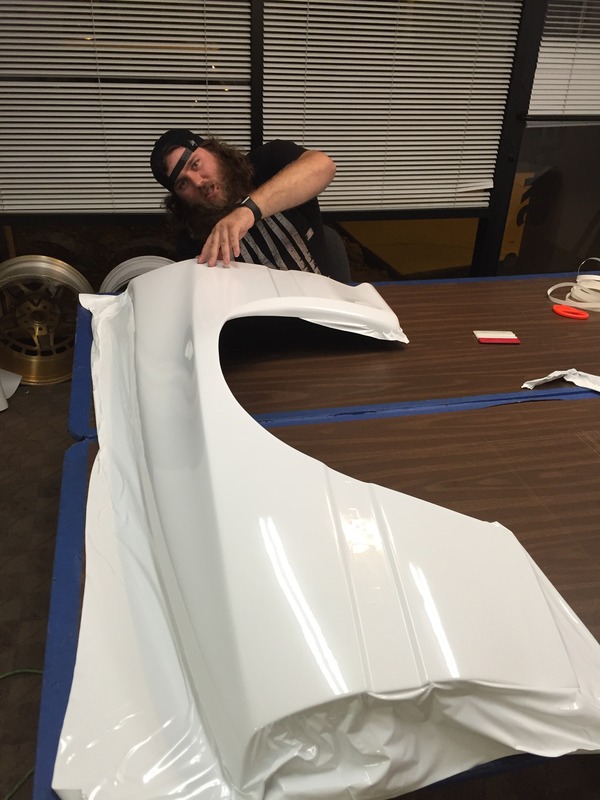
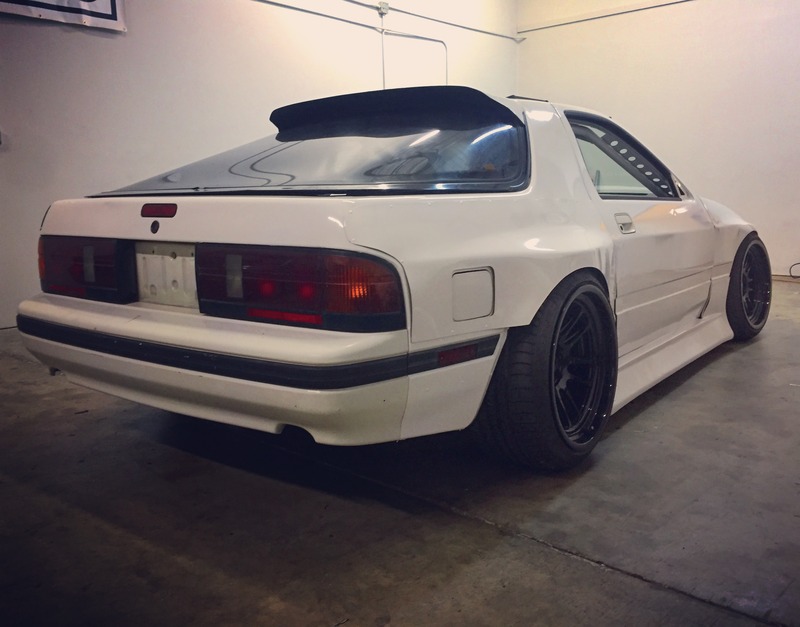
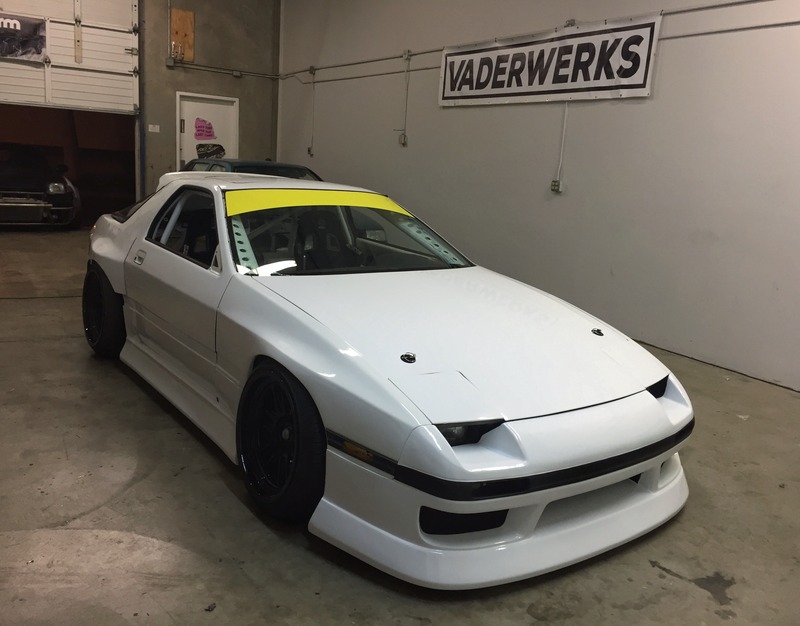
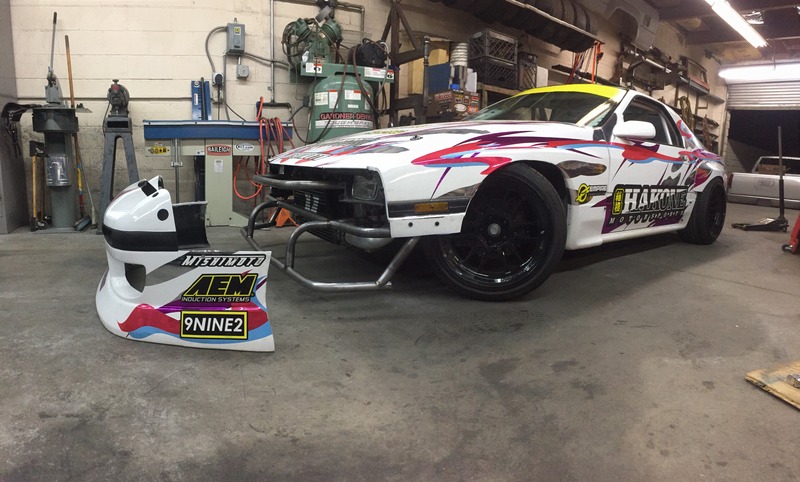
My buddy Gino over at vaderwerks found some time and wrapped some body parts for the car for last weekend. Fenders and spats are from Shine Auto. Naturally, I was stoked to install the body parts and did so along with starting an initial shakedown for the first start.
With my friends Gino’s help, we ran all the Teflon Steel Braided Fuel lines with AN PTFE Fittings and plumbed in the Cold Start and PCV plumbing system.
I ended up re-routing a lot of electrical wires, changing out the water pump, idlers, timing belt, thermostat and spark plugs. The windshield was also replaced over the weekend.
Oh, here is the first start.
 02-08-17, 12:28 PM
#42
Junior Member
Thread Starter
Join Date: Jan 2012
Location: Santa Clarita, Ca
Posts: 35
Likes: 0
Received 0 Likes
on
0 Posts

 02-11-17, 03:30 PM
#44
Junior Member
Thread Starter
Join Date: Jan 2012
Location: Santa Clarita, Ca
Posts: 35
Likes: 0
Received 0 Likes
on
0 Posts
04-29-17, 01:33 AM
#45
Junior Member
Thread Starter
Join Date: Jan 2012
Location: Santa Clarita, Ca
Posts: 35
Likes: 0
Received 0 Likes
on
0 Posts
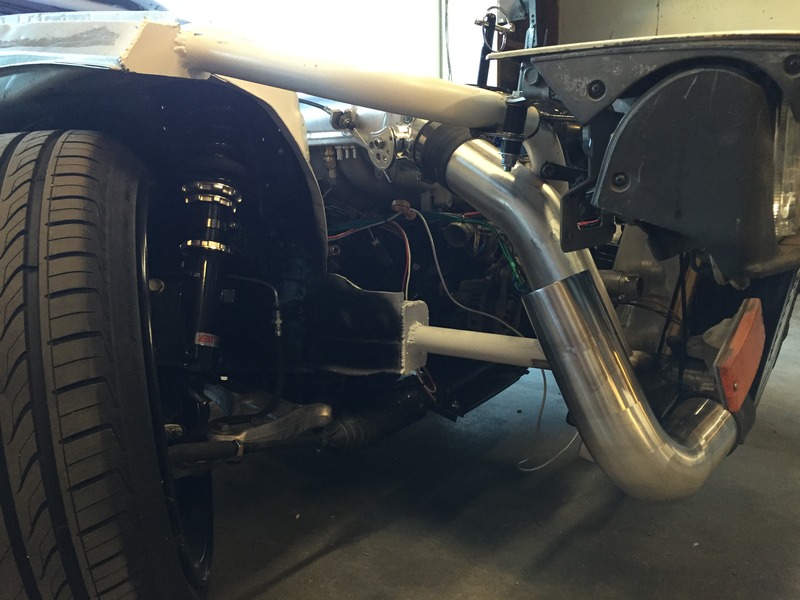
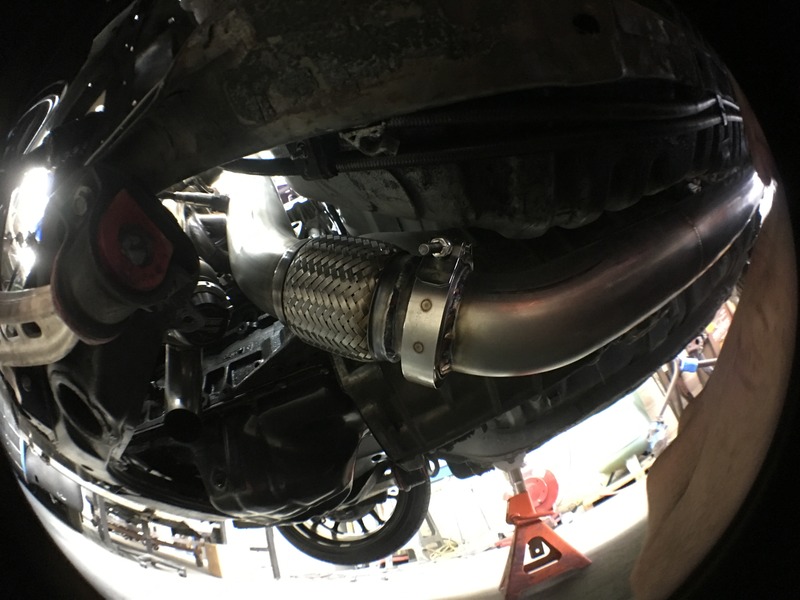
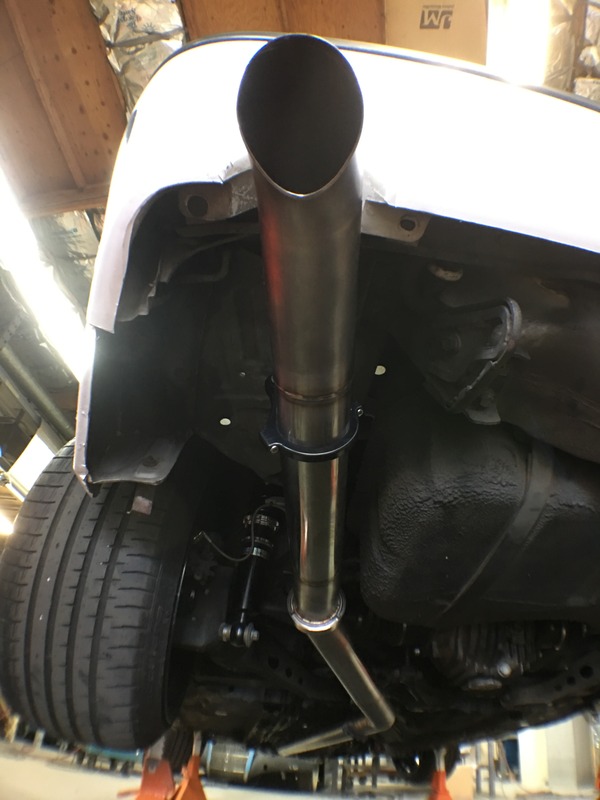
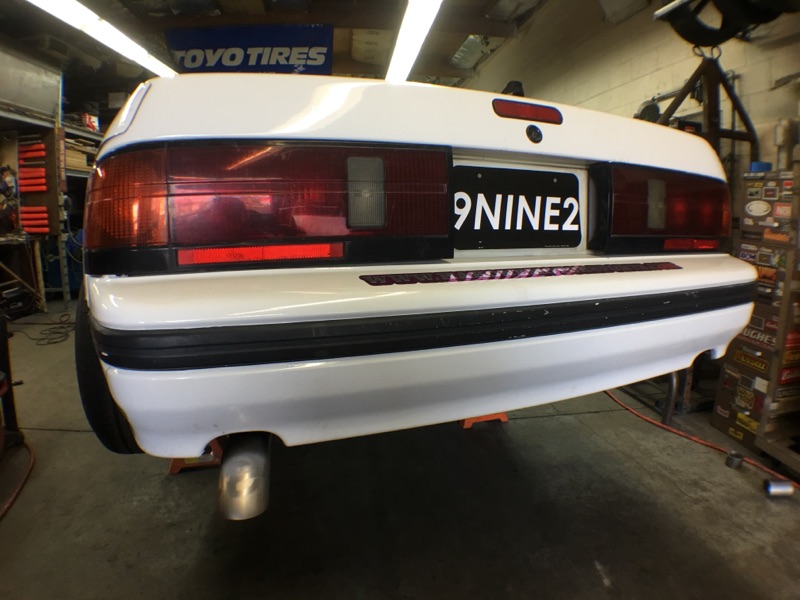
So I took the car over to a good fired Sean who owns Empire Fabrication in Simi Valley couple days ago. We were able to knock out a turbo back exhaust and a beefy bash bar from start to finish over the course of a couple long days. The exhaust is tig welded and made of 3" Stainless Steel turbo back using Deeds Engineering CNC'd exhaust hangers, bushings, and Billet V band Clamps. I think it all came out rad. The next thing is to install the LS2 coil packs and a tune over at Natural Aspirations.
 05-05-17, 10:05 AM
#48
Junior Member
Thread Starter
Join Date: Jan 2012
Location: Santa Clarita, Ca
Posts: 35
Likes: 0
Received 0 Likes
on
0 Posts
On a similar note, it would be nice to make up a mount kit for those who wish to do a similar swap. There isn't one kit out for the RB to FC.
 05-10-17, 07:53 AM
#50

This is just an insane build!
For your chassis harness, did you just use like a 21 circuit painless chassis kit? If you did, does it have enough circuits to run all of the lights and rad fans, fuel pumps, as well as leftover for an interior blower motor? I haven't gone through my car yet to figure out what circuits i'm trying to protect but I am trying to get a good idea of how well that kit was able to be adapted to the FC. I need to run all the lights plus have at least a blower motor in my car in order to pass state safety inspection.
Oh and if it wasn't the Painless kit, which kit did you end up going with?