(Australia) Cams series 5 build
 03-07-13, 03:32 AM
#26
Full Member
Thread Starter
iTrader: (1)

Join Date: Jul 2011
Location: Sydney, Australia
Posts: 138
Likes: 0
Received 0 Likes
on
0 Posts
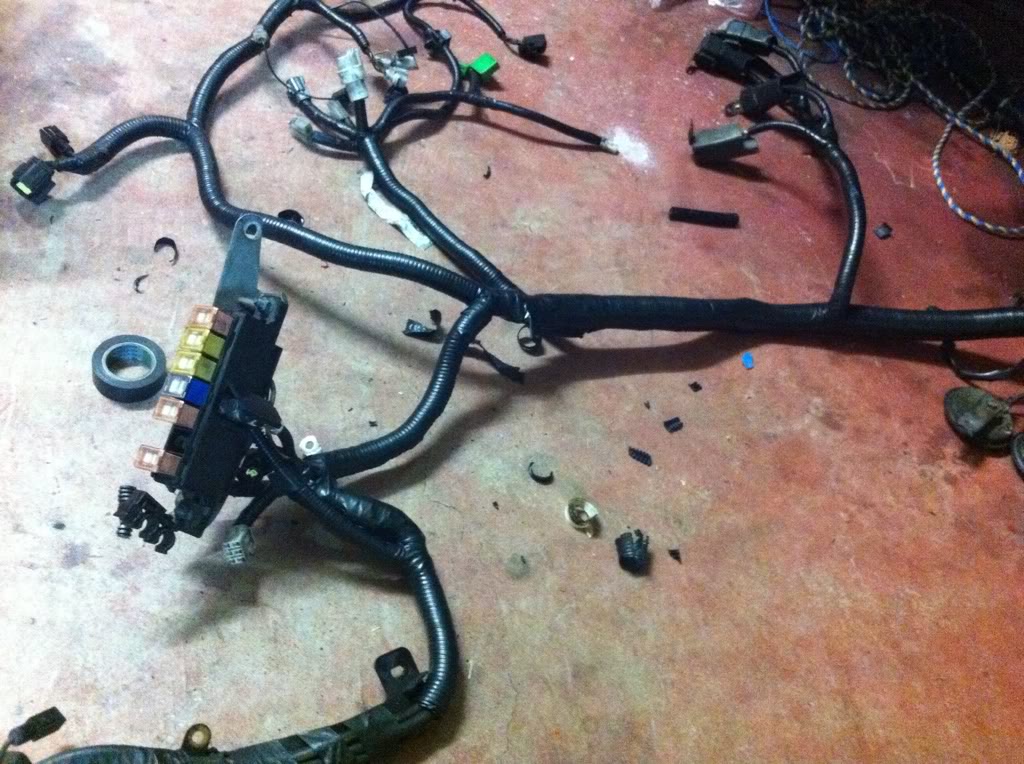
Started on the harness, I haven't even rewired anything an it took me a couple of hours just to wrap and tape what I've done. Never expected it to be so time consuming.
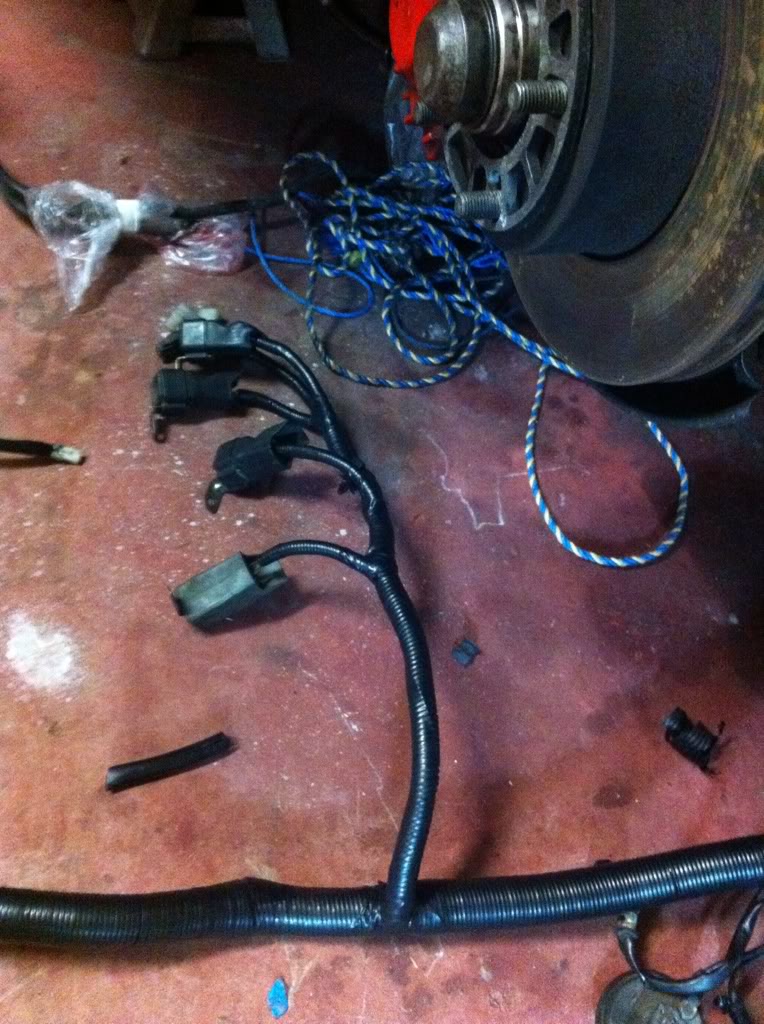
This was how far I got in 3 about hours!! Poor effort, I know lol

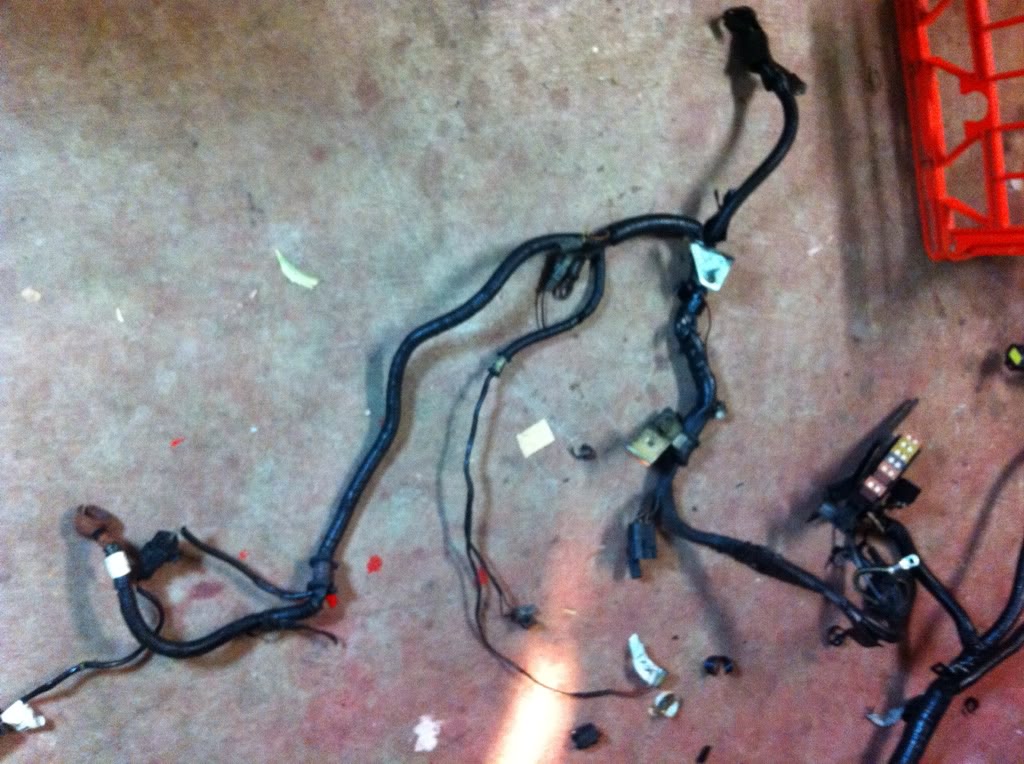
And this is whats left on the drivers side, then the passenger side begins. Lucky it's only a small harness!!!

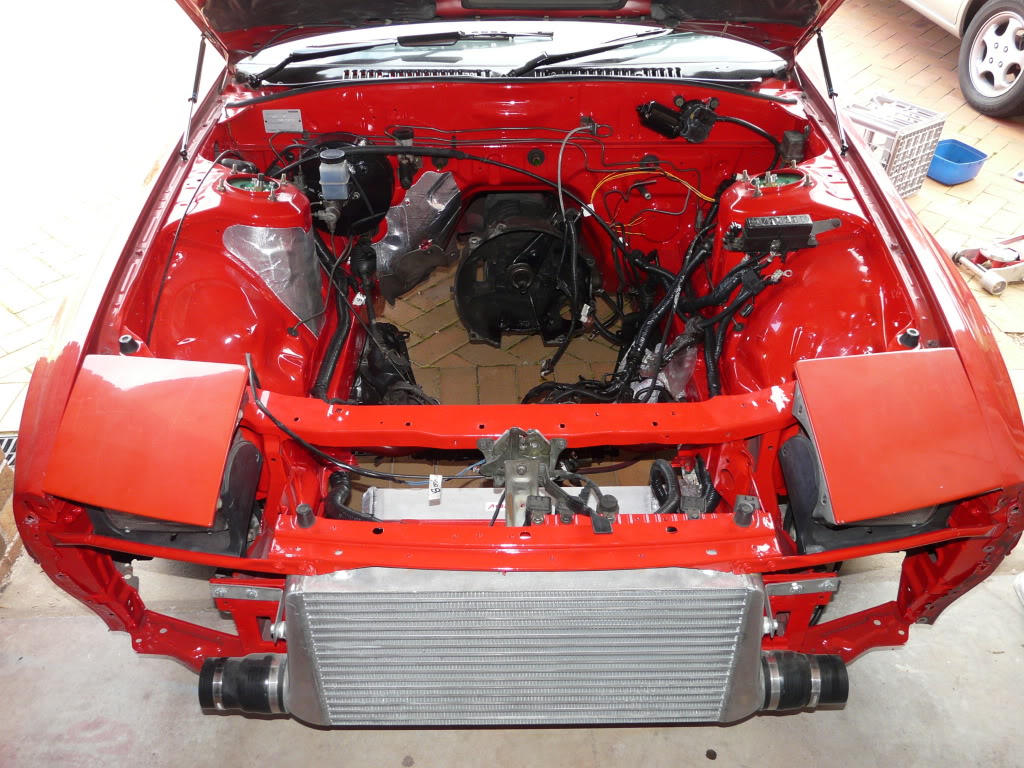
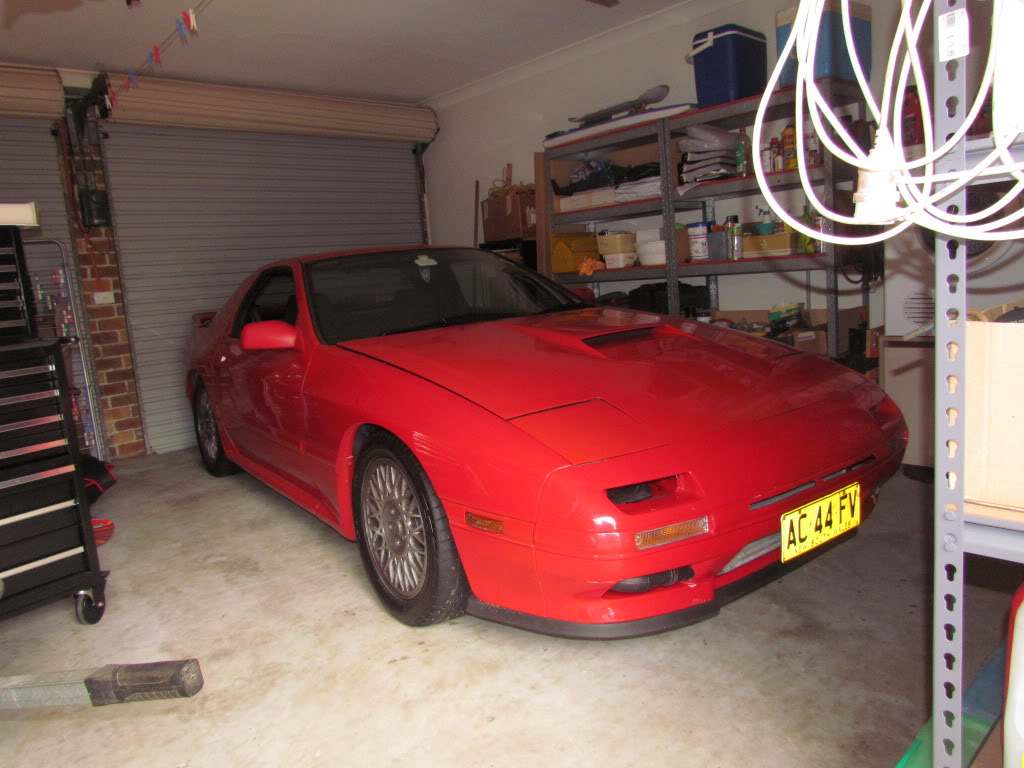
Waiting on my brake master cyl, so I can put some wheels on it and push it out into the sun. Then we really get to see how good I can paint lol
Have also decided I am going to take on the job of respraying the whole car over the next 12 - 24 months(I don't like short deadlines lol) and I may have to run a run a wide body kit but it will only be 20mm fronts and 30mm rears. If I can I would like 20 or 25 rears if anyone know of some. No kit just the guards and maybe re amemiya rear pods.
Waiting on everyone to come back from holidays and then the block gets its turn.
Hoping for a least 100 more hp or around the 500hp mark. I guess we just have to wait and see what my turbo will allow now. If the gt35 won't make it I might go up to a gt42, but we'll wait and see.
This was how far I got in 3 about hours!! Poor effort, I know lol
And this is whats left on the drivers side, then the passenger side begins. Lucky it's only a small harness!!!
Waiting on my brake master cyl, so I can put some wheels on it and push it out into the sun. Then we really get to see how good I can paint lol
Have also decided I am going to take on the job of respraying the whole car over the next 12 - 24 months(I don't like short deadlines lol) and I may have to run a run a wide body kit but it will only be 20mm fronts and 30mm rears. If I can I would like 20 or 25 rears if anyone know of some. No kit just the guards and maybe re amemiya rear pods.
Waiting on everyone to come back from holidays and then the block gets its turn.
Hoping for a least 100 more hp or around the 500hp mark. I guess we just have to wait and see what my turbo will allow now. If the gt35 won't make it I might go up to a gt42, but we'll wait and see.
 03-07-13, 03:38 AM
#28
Full Member
Thread Starter
iTrader: (1)
Join Date: Jul 2011
Location: Sydney, Australia
Posts: 138
Likes: 0
Received 0 Likes
on
0 Posts
Havent updated this in a long time. alot has changed and happened, this is copy an pasted from my other build thread on Ausrotary . Enjoy.
Started on the harness, I haven't even rewired anything an it took me a couple of hours just to wrap and tape what I've done. Never expected it to be so time consuming.

This was how far I got in 3 about hours!! Poor effort, I know lol
And this is whats left on the drivers side, then the passenger side begins. Lucky it's only a small harness!!!
Waiting on my brake master cyl, so I can put some wheels on it and push it out into the sun. Then we really get to see how good I can paint lol
Have also decided I am going to take on the job of respraying the whole car over the next 12 - 24 months(I don't like short deadlines lol) and I may have to run a run a wide body kit but it will only be 20mm fronts and 30mm rears. If I can I would like 20 or 25 rears if anyone know of some. No kit just the guards and maybe re amemiya rear pods.
Waiting on everyone to come back from holidays and then the block gets its turn.
Hoping for a least 100 more hp or around the 500hp mark. I guess we just have to wait and see what my turbo will allow now. If the gt35 won't make it I might go up to a gt42, but we'll wait and see.
Started on the harness, I haven't even rewired anything an it took me a couple of hours just to wrap and tape what I've done. Never expected it to be so time consuming.
This was how far I got in 3 about hours!! Poor effort, I know lol
And this is whats left on the drivers side, then the passenger side begins. Lucky it's only a small harness!!!
Waiting on my brake master cyl, so I can put some wheels on it and push it out into the sun. Then we really get to see how good I can paint lol
Have also decided I am going to take on the job of respraying the whole car over the next 12 - 24 months(I don't like short deadlines lol) and I may have to run a run a wide body kit but it will only be 20mm fronts and 30mm rears. If I can I would like 20 or 25 rears if anyone know of some. No kit just the guards and maybe re amemiya rear pods.
Waiting on everyone to come back from holidays and then the block gets its turn.
Hoping for a least 100 more hp or around the 500hp mark. I guess we just have to wait and see what my turbo will allow now. If the gt35 won't make it I might go up to a gt42, but we'll wait and see.
Last edited by Cambo_88; 03-07-13 at 03:41 AM.


 03-07-13, 03:46 AM
#32
Full Member
Thread Starter
iTrader: (1)
Join Date: Jul 2011
Location: Sydney, Australia
Posts: 138
Likes: 0
Received 0 Likes
on
0 Posts
A14DB568-C406-46D6-B4F4-FBD506723FD3-4386-000005E83FB32449.mp4
:bounce: :bounce2: :bounce: picked it up on Saturday. Already had the ****** in pieces. Turns out that if you rebuild/replace with new, almost every bloody part the one you don't will always **** you up lol. New clutch master, slave, brake master, the list goes on. Brake booster!!!!!! ***** up and I had no brakes. Got a old one of Troy and swapped it over last night, works fine now.
03-07-13, 03:47 AM
#33
Full Member
Thread Starter
iTrader: (1)
Join Date: Jul 2011
Location: Sydney, Australia
Posts: 138
Likes: 0
Received 0 Likes
on
0 Posts
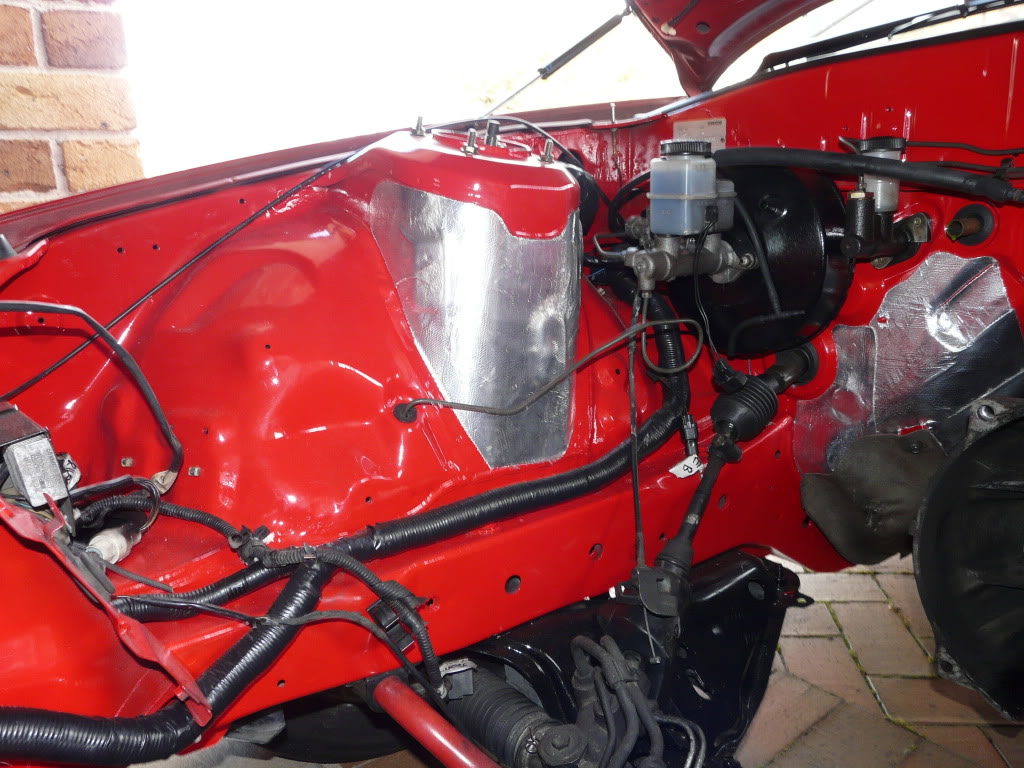
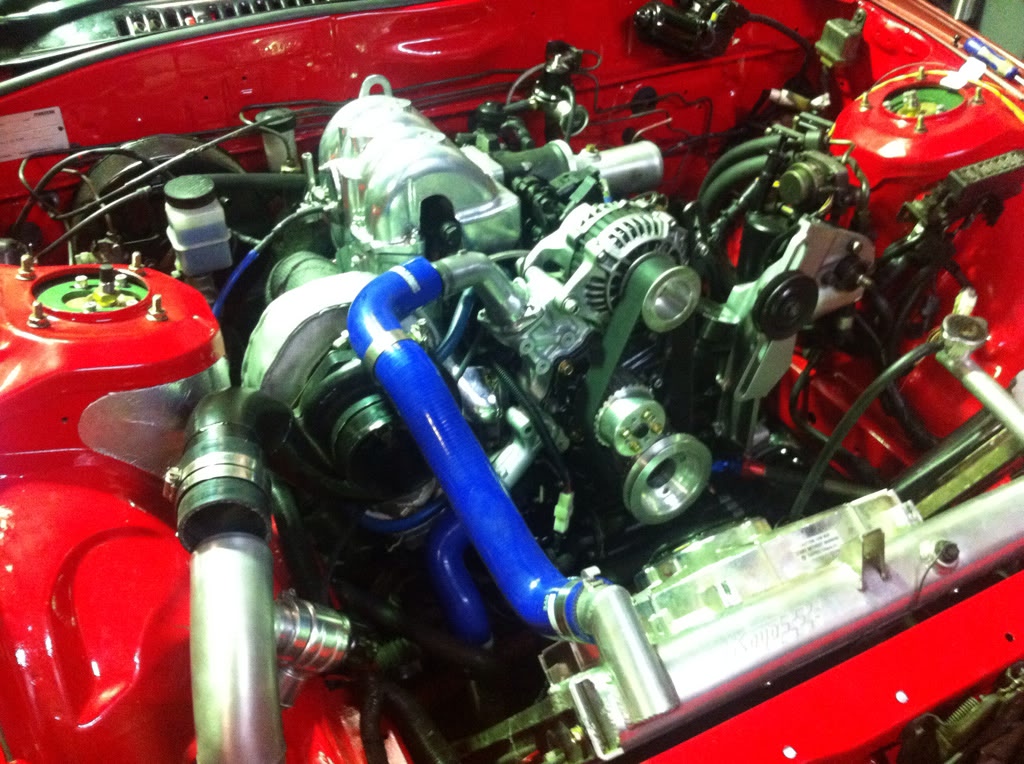
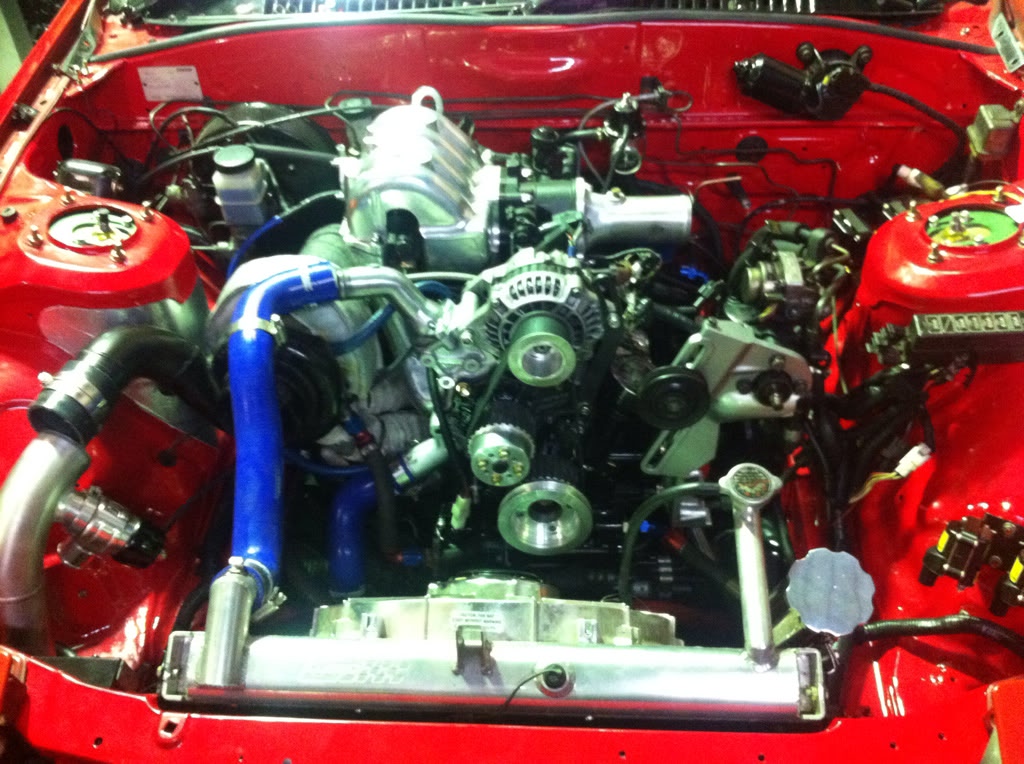
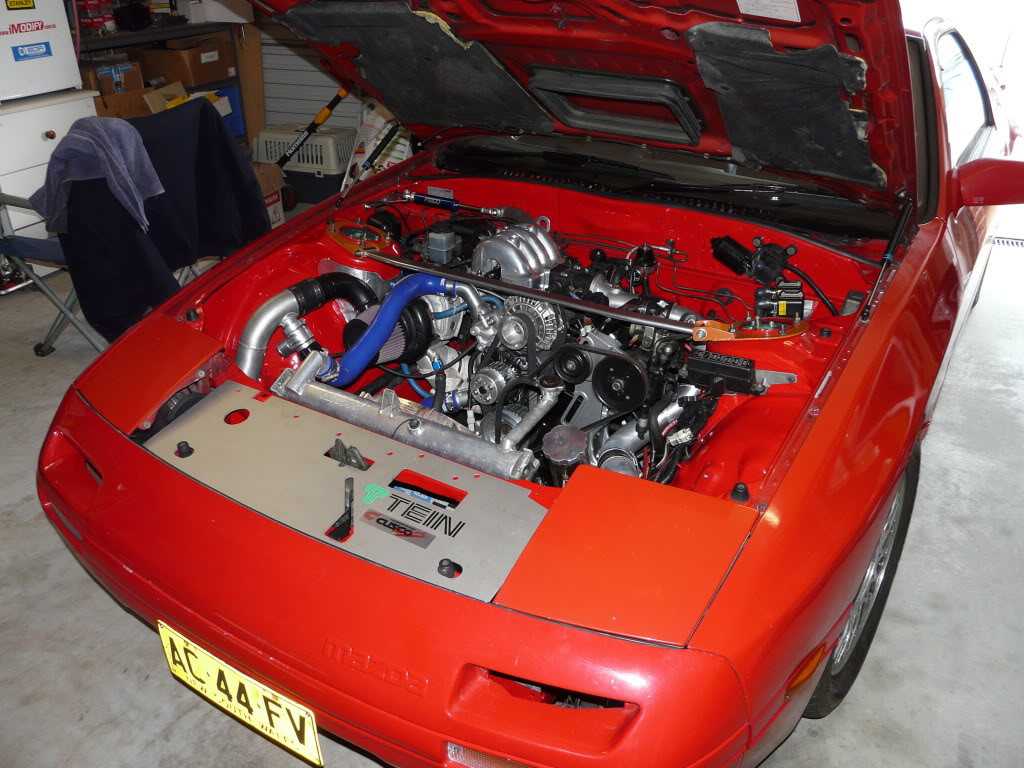
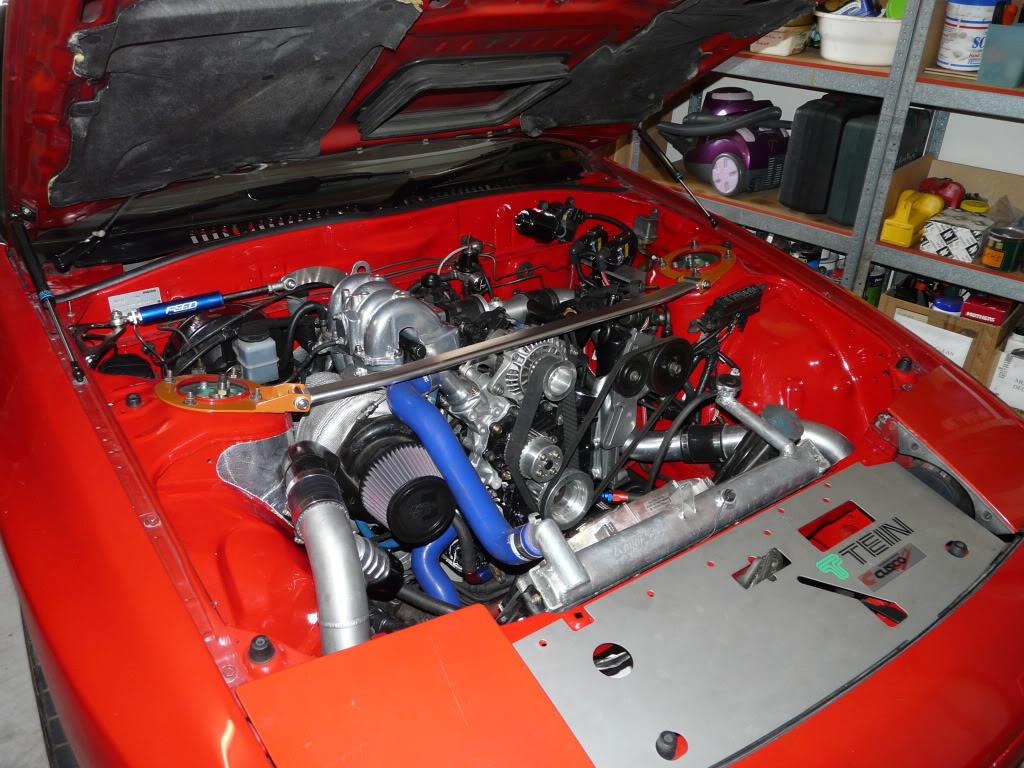
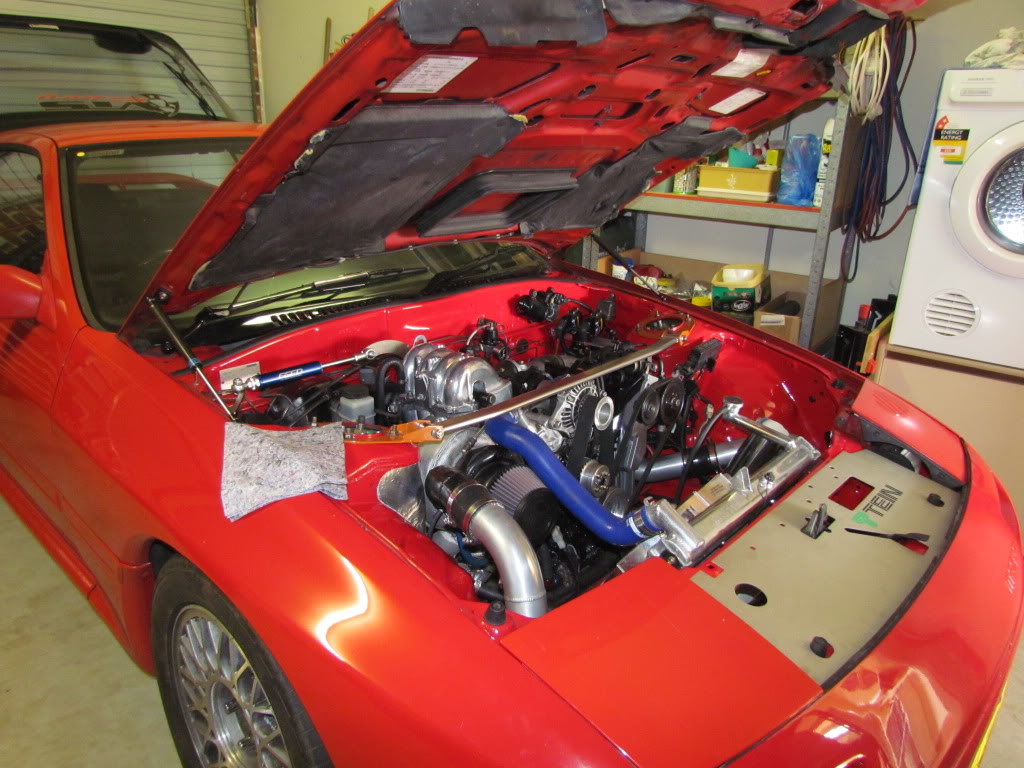
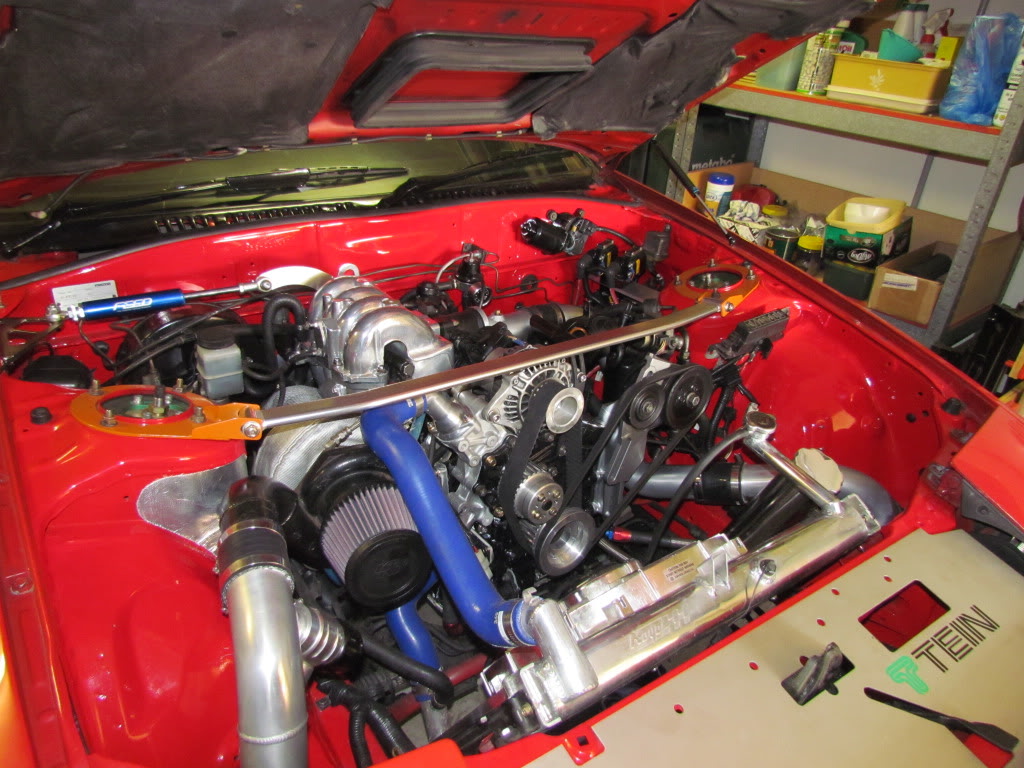
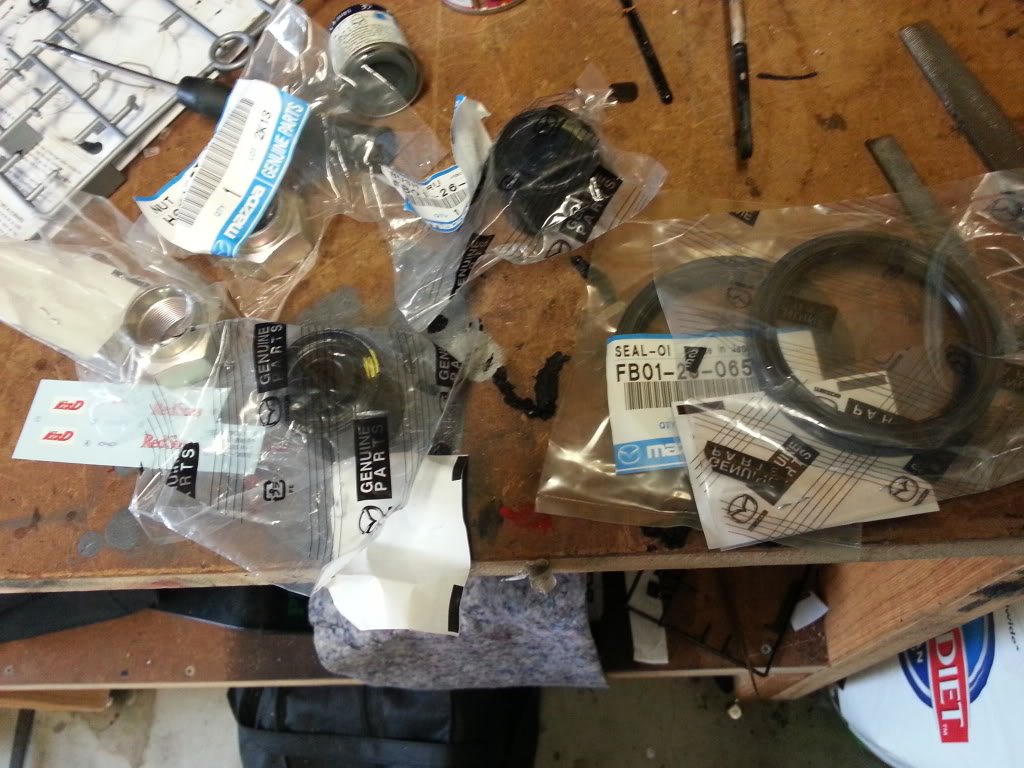
Added a few of my parts that were sitting on the shelf.
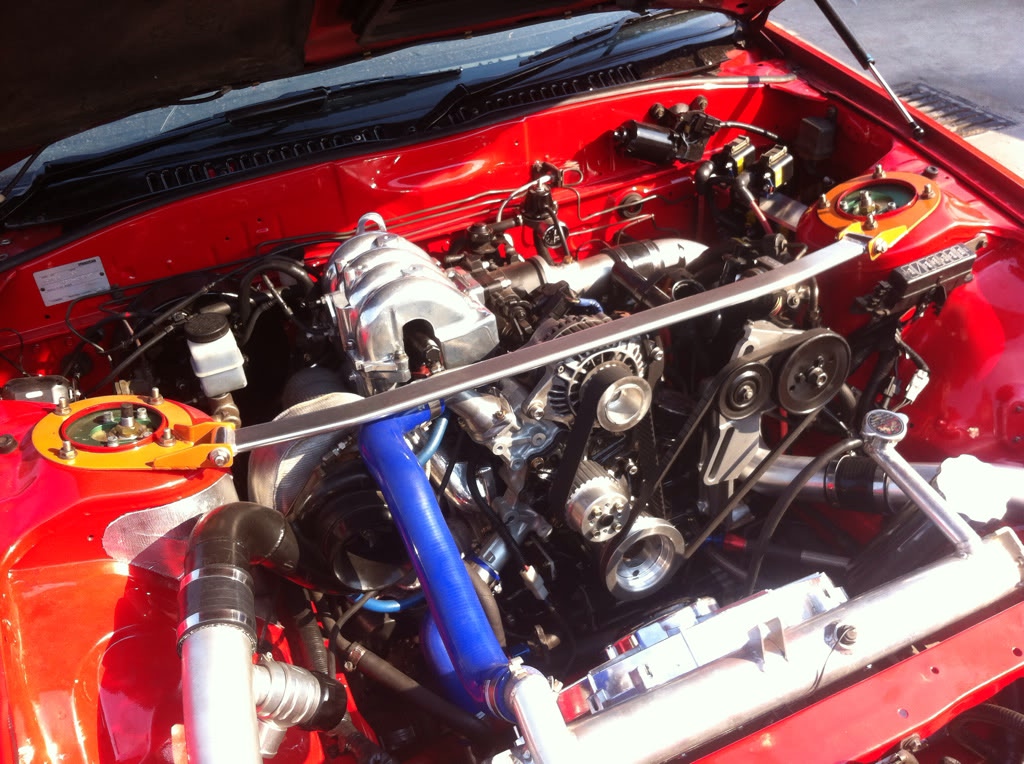
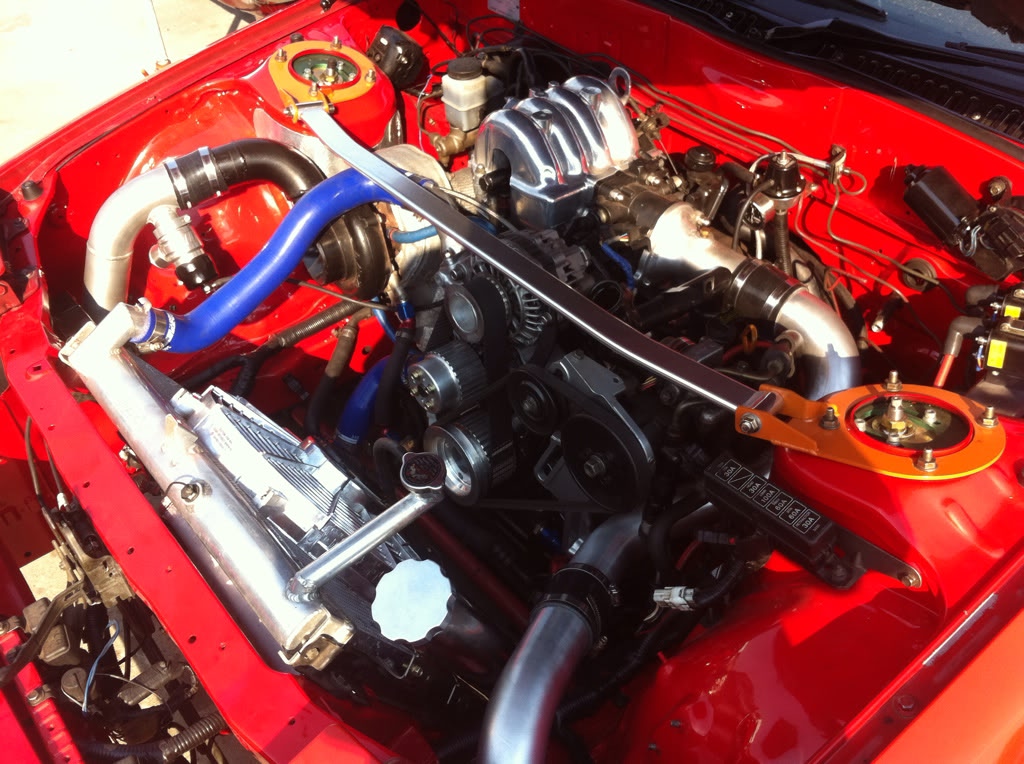
Fujita engineering engine damper (Not cheap!!), and cusco brake master cyl stopper . Still have to adjust all the panels and everything to get it all lined up properly.
And you can see my nice 'NEW' rusty brake booster too!! (Cant see it that bad but it still ***** me cos i know)

Fujita engineering engine damper (Not cheap!!), and cusco brake master cyl stopper . Still have to adjust all the panels and everything to get it all lined up properly.
And you can see my nice 'NEW' rusty brake booster too!! (Cant see it that bad but it still ***** me cos i know)
 03-07-13, 03:51 AM
#35
Full Member
Thread Starter
iTrader: (1)
Join Date: Jul 2011
Location: Sydney, Australia
Posts: 138
Likes: 0
Received 0 Likes
on
0 Posts
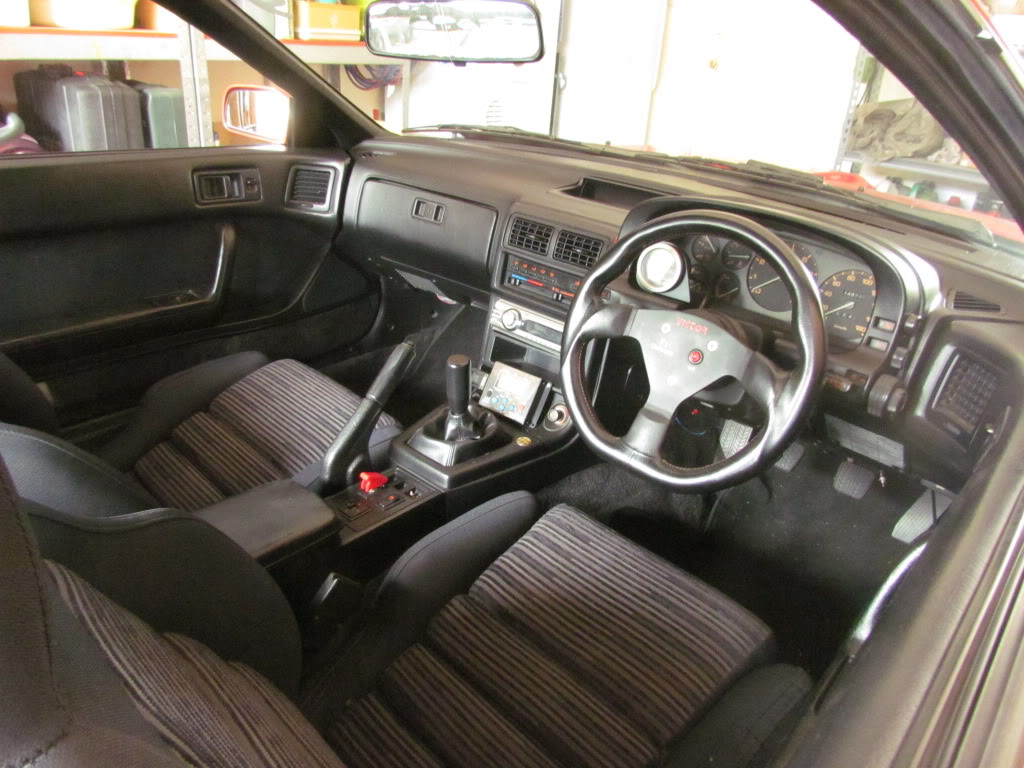
Doing my DTSS eliminators at the moment and installed half of my front lip. Its a rubbery type material that doesnt crack or get damaged if you bottom out. Cleaned up my interior as well because im waiting on parts from the states at the moment. Parts for the fuel system are all on back order too. Hopefully she makes the dyno this year hahaha.
 03-07-13, 03:54 AM
#38
Full Member
Thread Starter
iTrader: (1)
Join Date: Jul 2011
Location: Sydney, Australia
Posts: 138
Likes: 0
Received 0 Likes
on
0 Posts
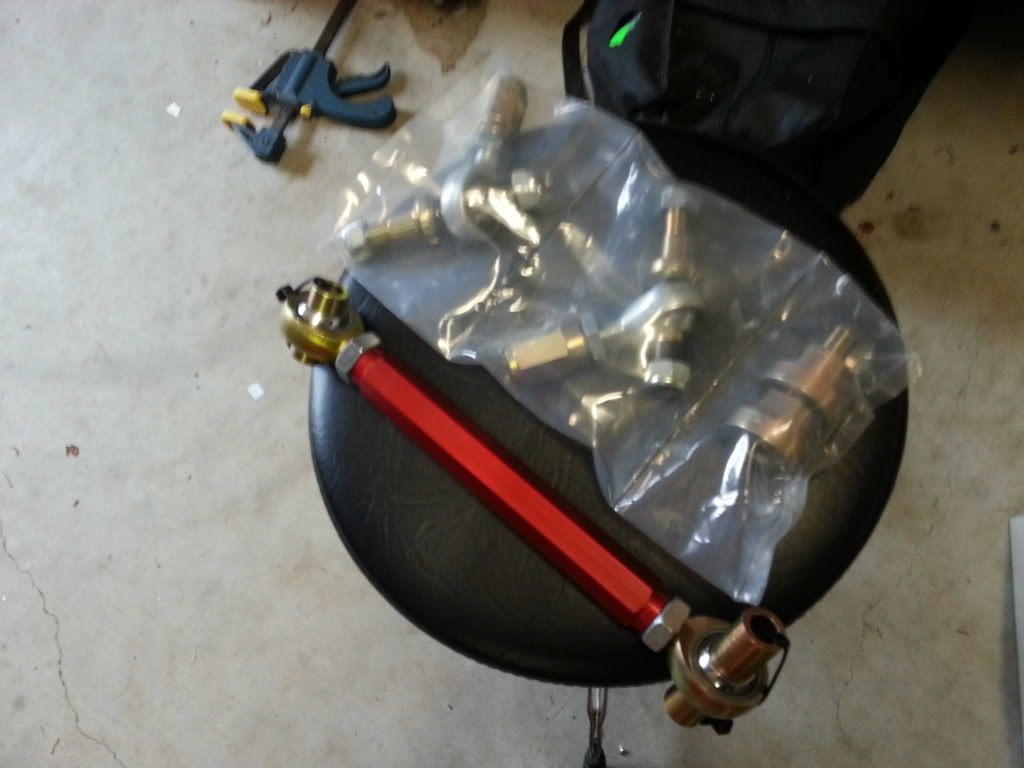
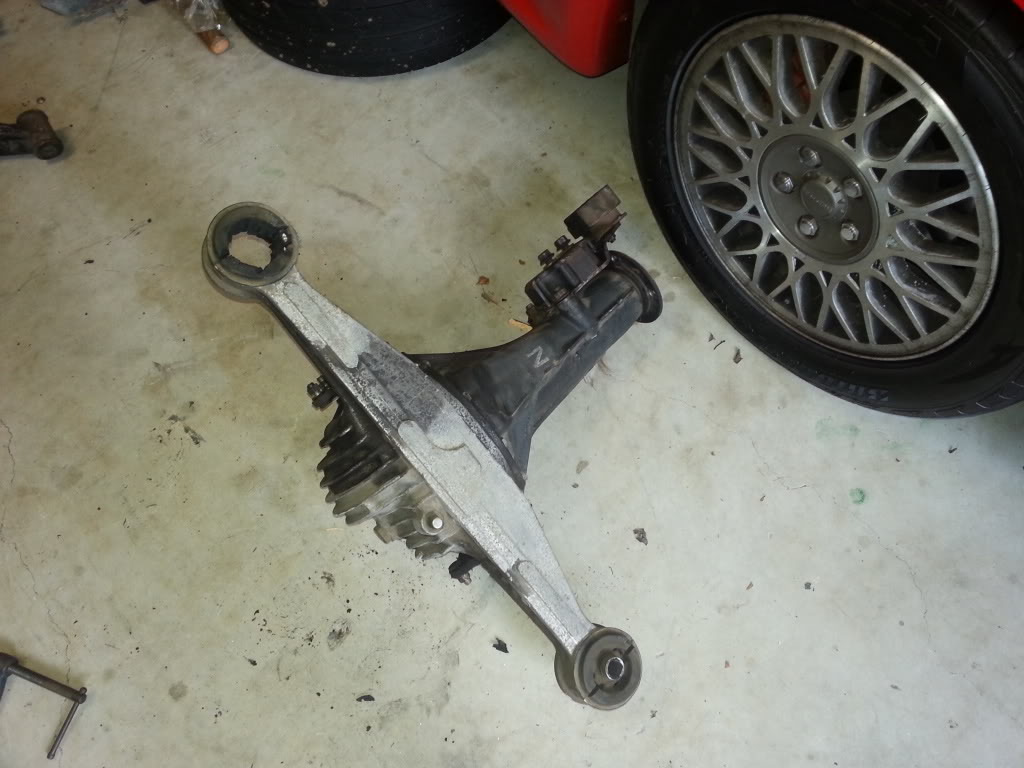
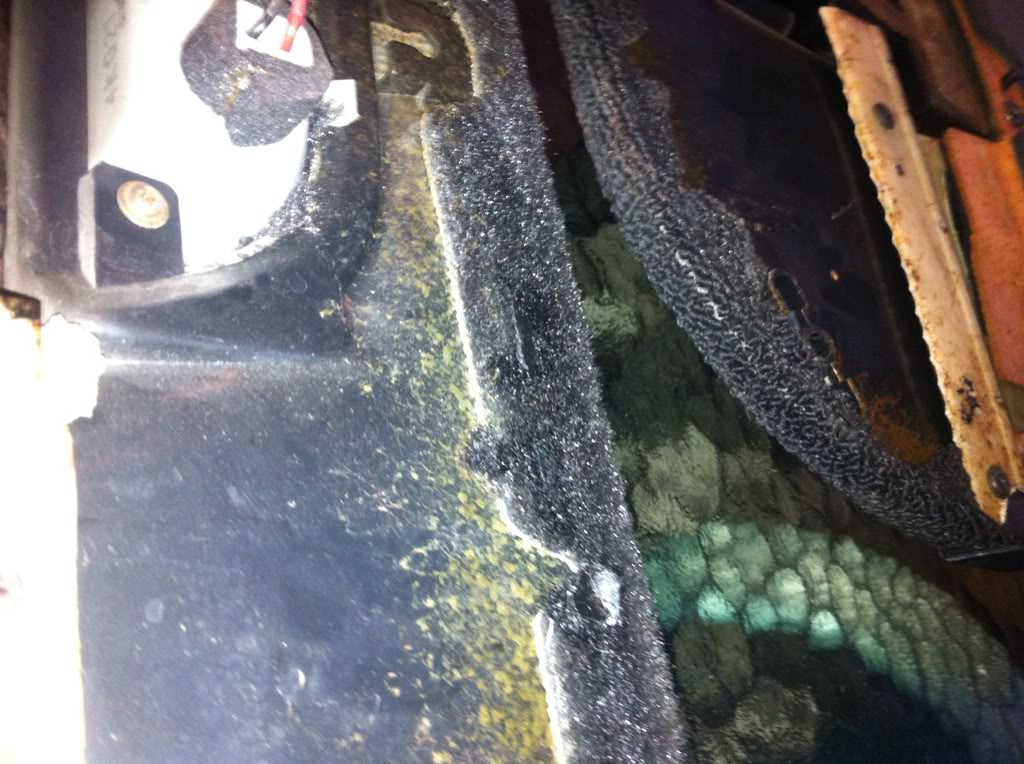
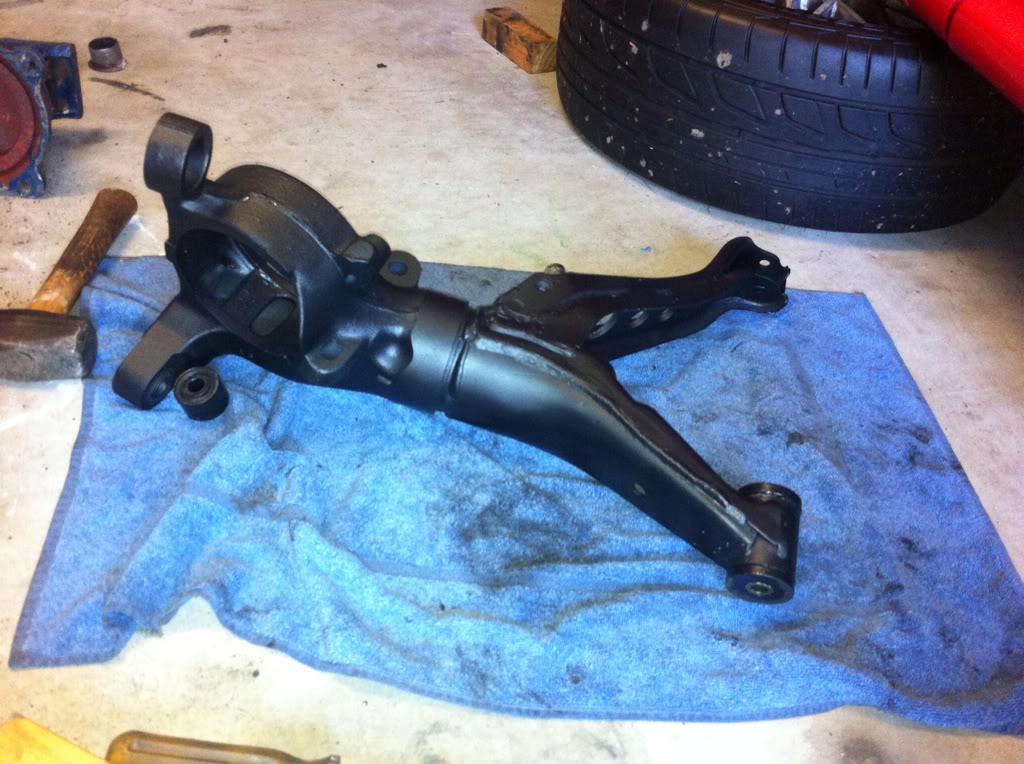
tripped over last night and this dropped out lol
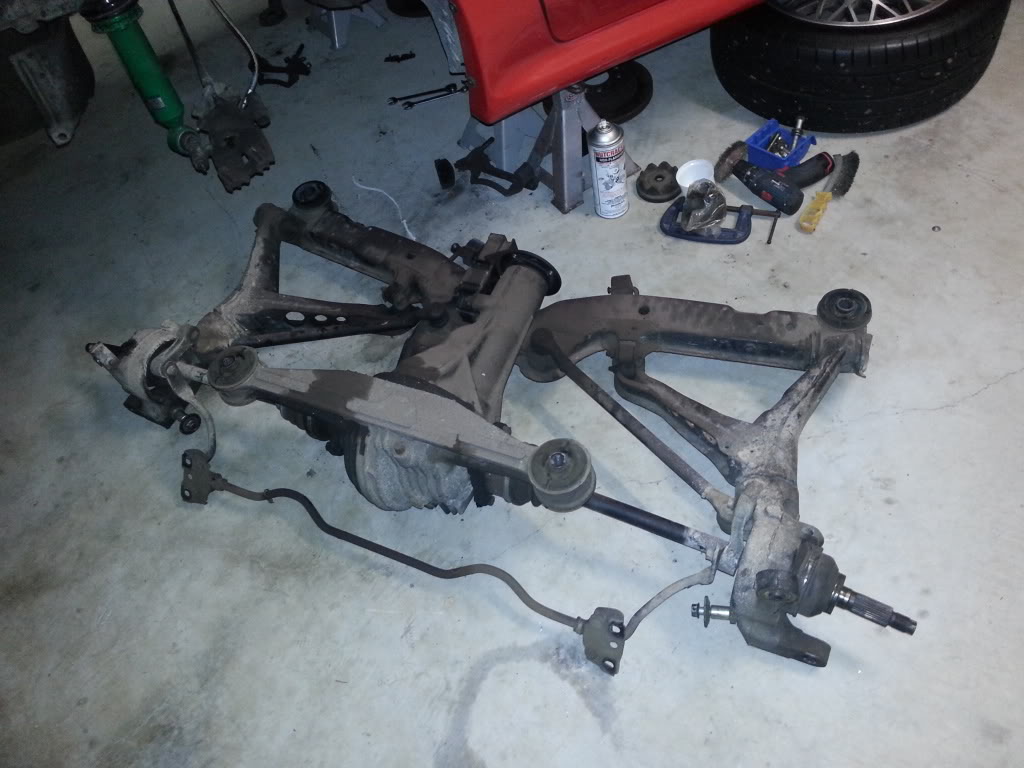
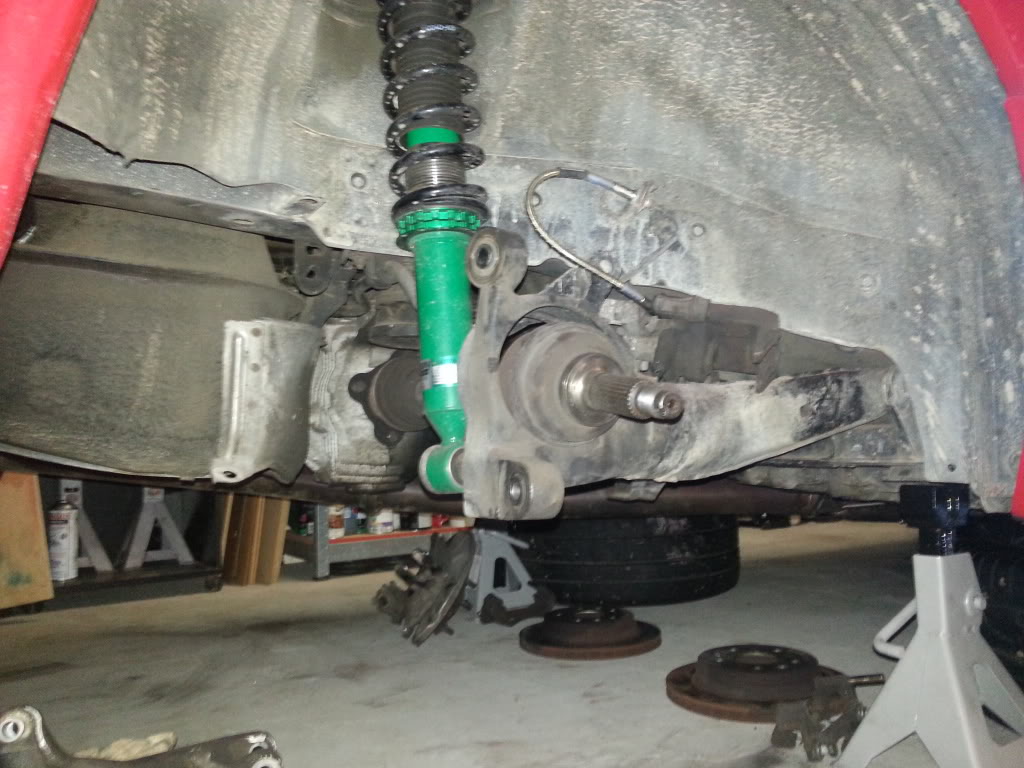
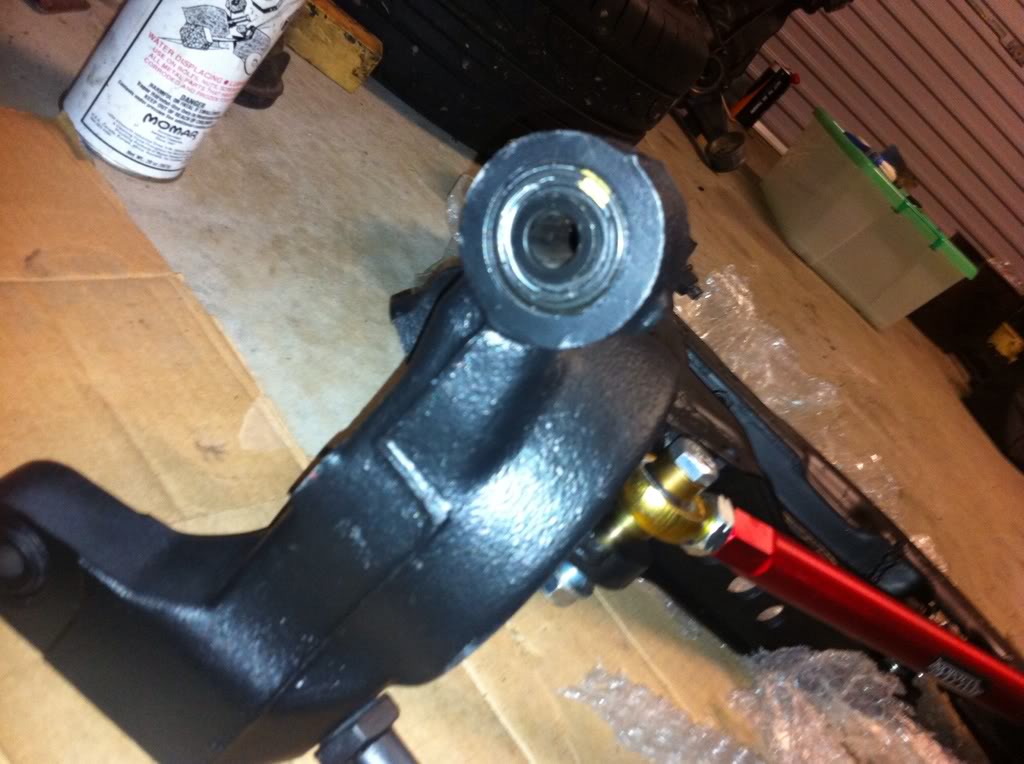
And thats where its at right now. diff is getting mounts and arms done, all bushes. maybe a 1.5 way or 2 way lsd while its out but we will wait and see.
And thats where its at right now. diff is getting mounts and arms done, all bushes. maybe a 1.5 way or 2 way lsd while its out but we will wait and see.
03-10-13, 04:59 AM
#40
Full Member
Thread Starter
iTrader: (1)
Join Date: Jul 2011
Location: Sydney, Australia
Posts: 138
Likes: 0
Received 0 Likes
on
0 Posts
yea i know but im going to also be running a flat mounted oil cooler and e85.
im also getting a shroud and smaller intercooler later on
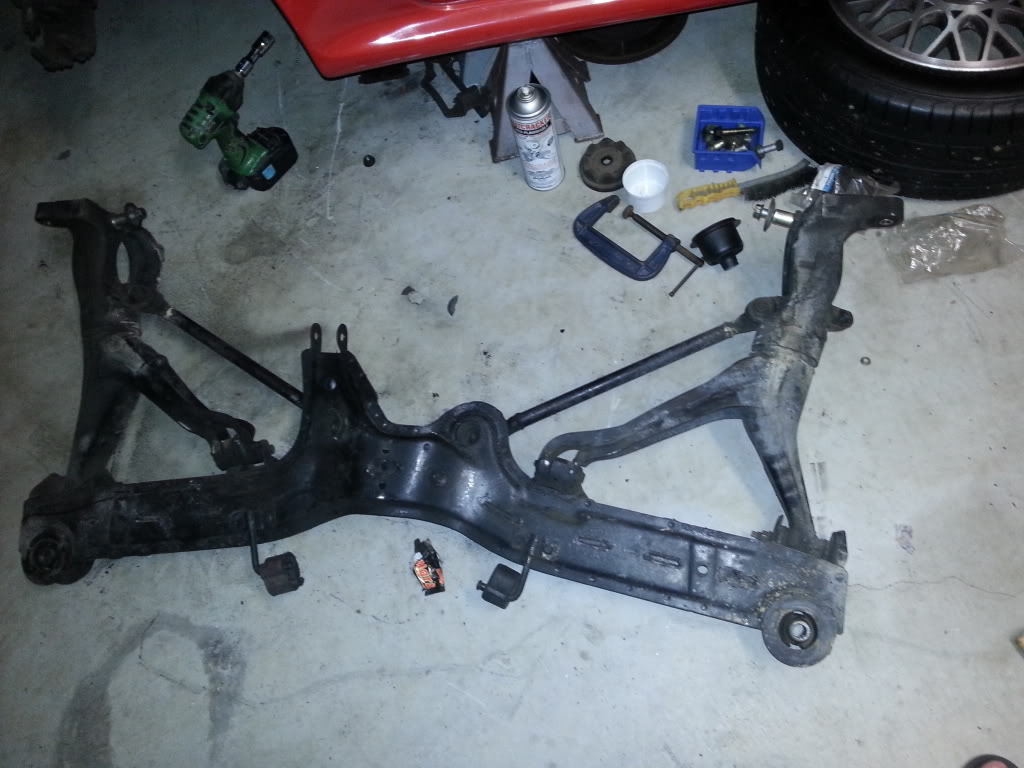
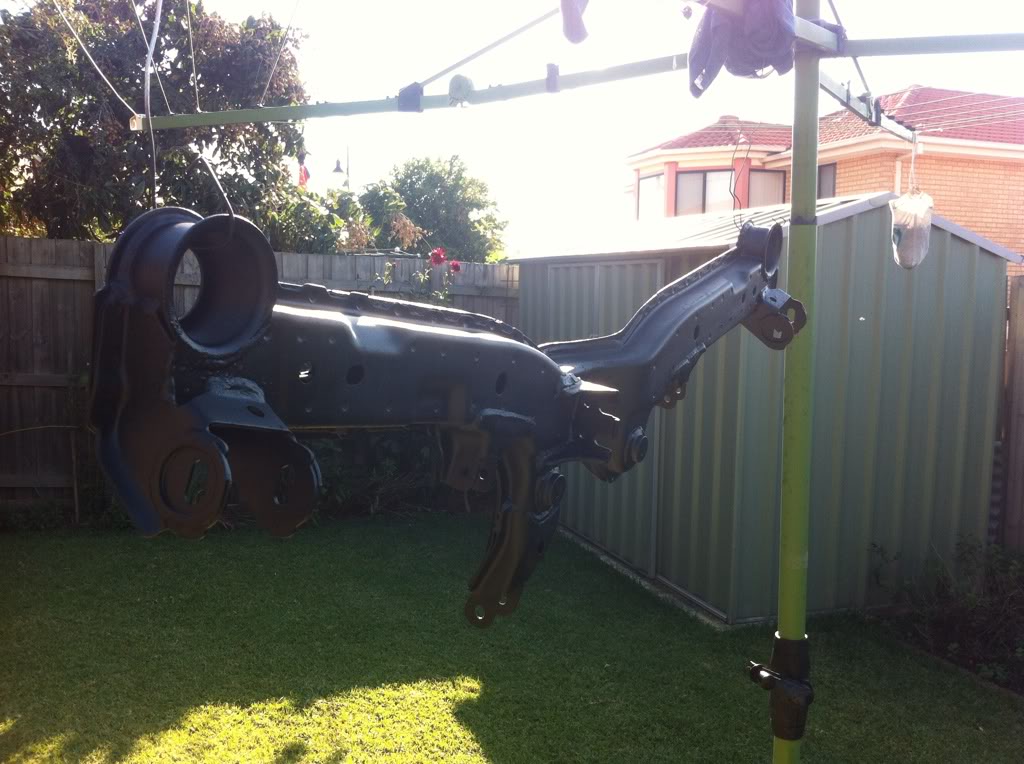
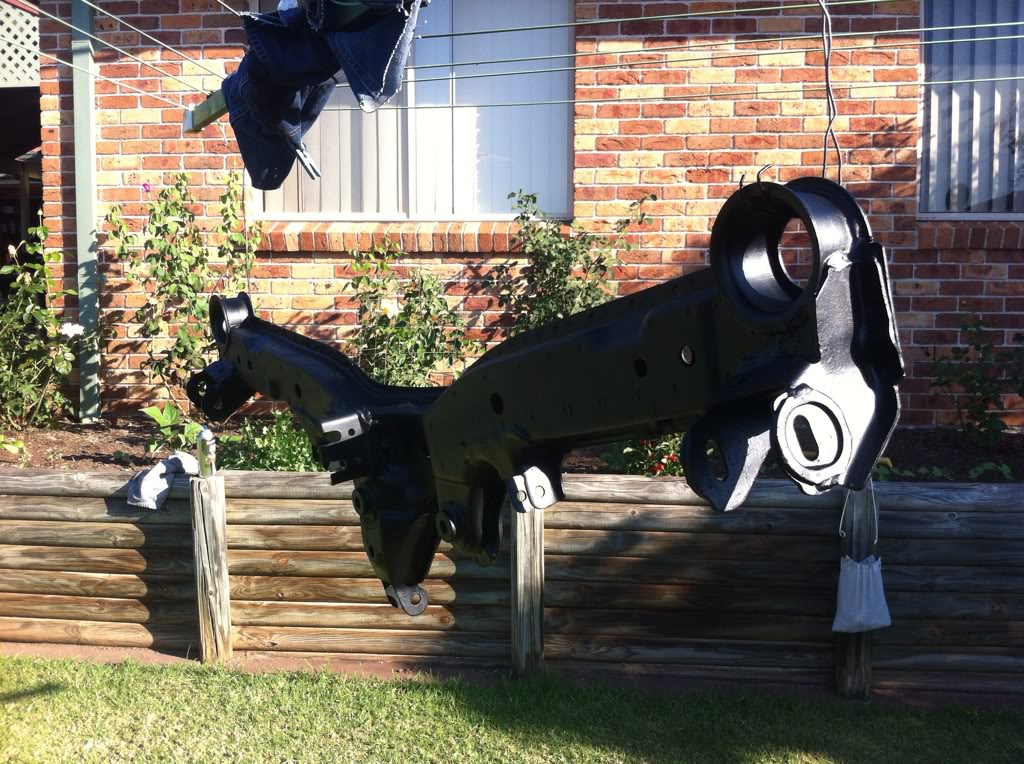
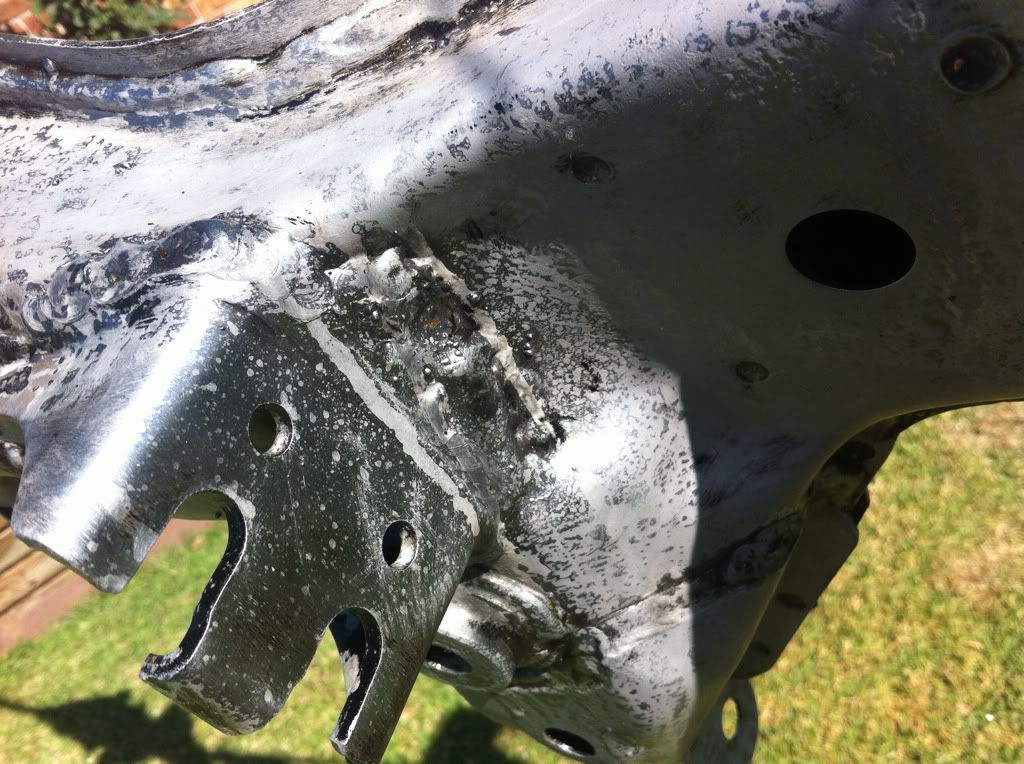
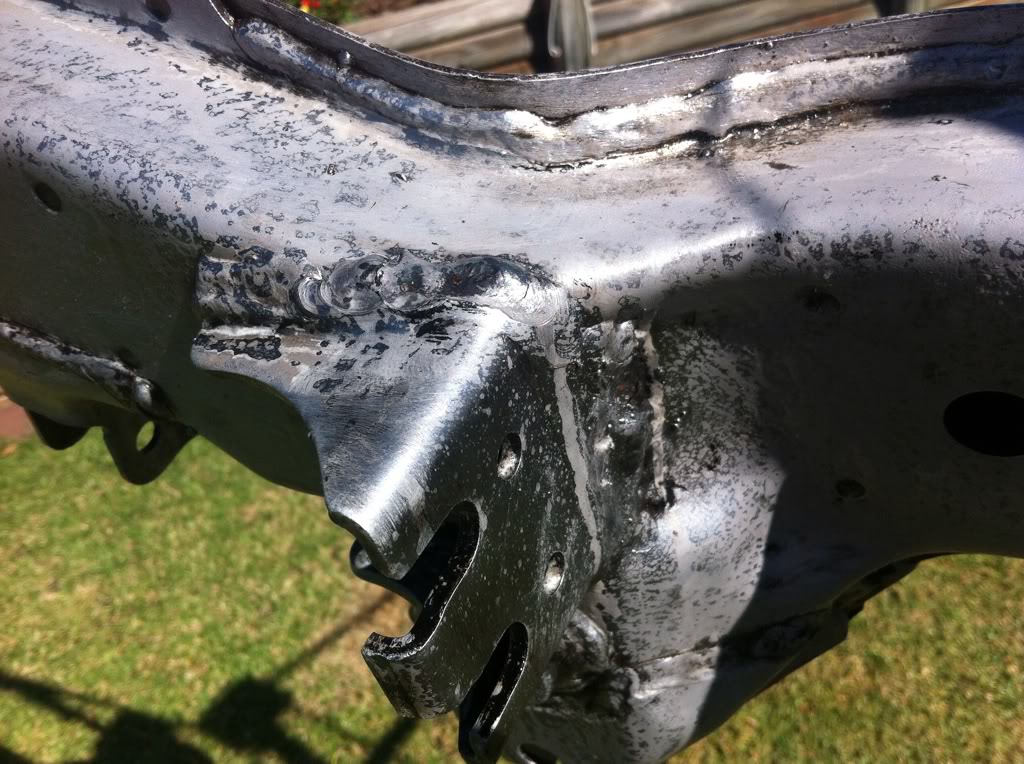
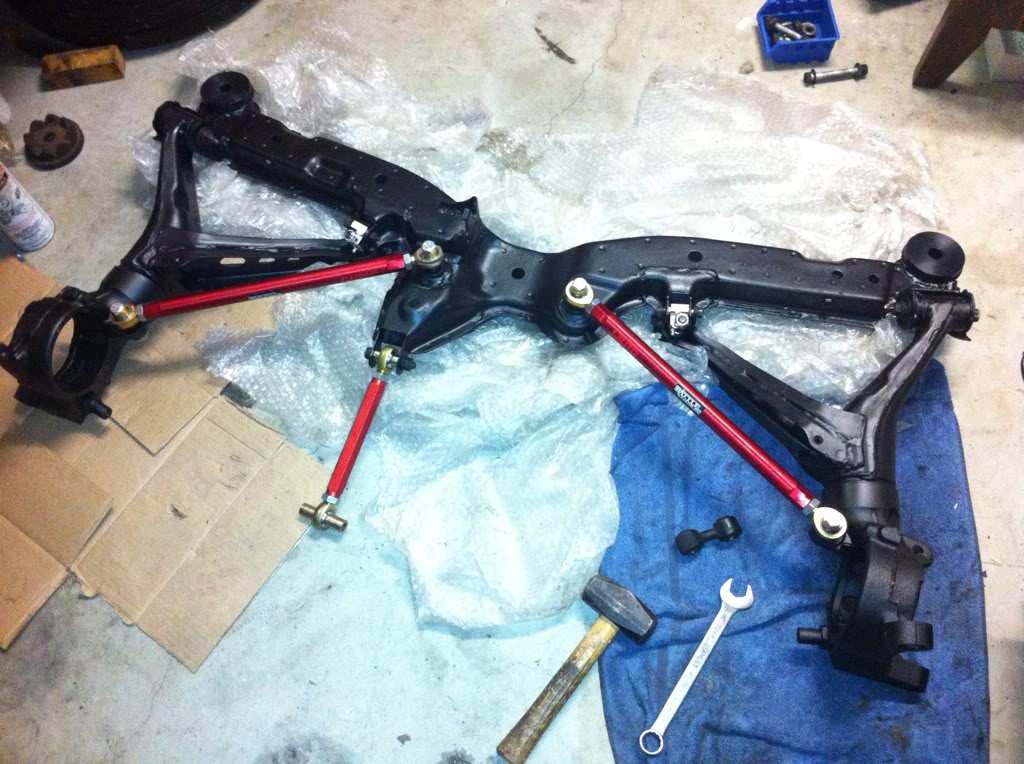
subframe is stripped, also ordered some more parts for the diff and subframe.
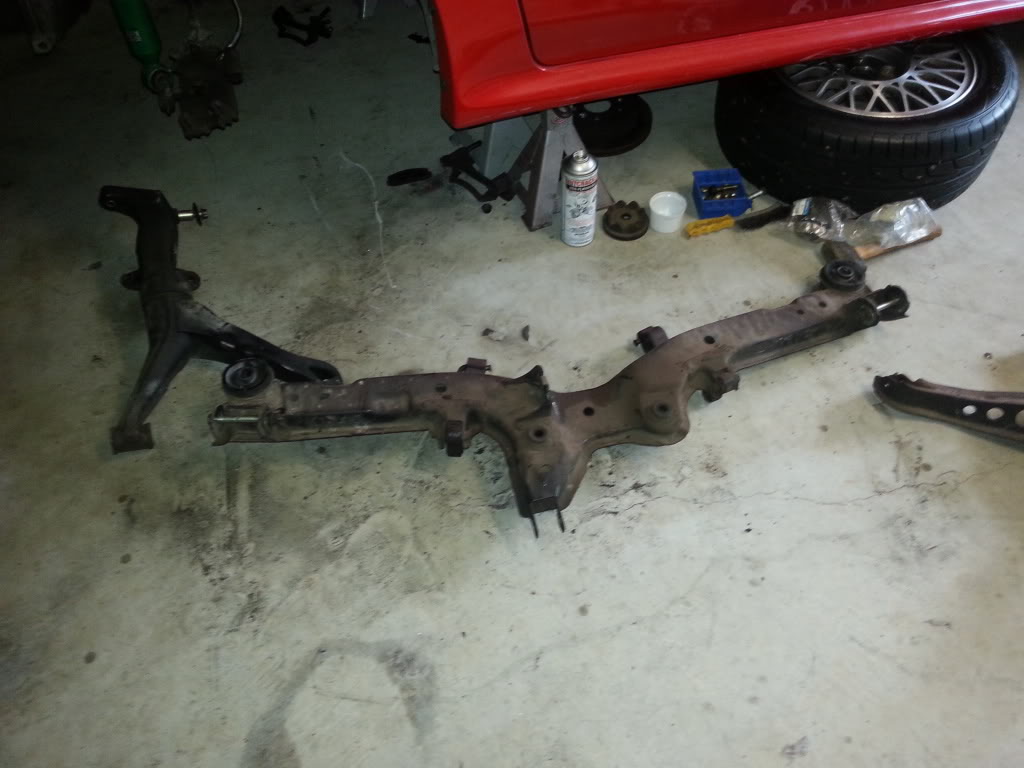
im also getting a shroud and smaller intercooler later on
subframe is stripped, also ordered some more parts for the diff and subframe.
04-02-13, 08:54 PM
#43
Full Member
Thread Starter
iTrader: (1)
Join Date: Jul 2011
Location: Sydney, Australia
Posts: 138
Likes: 0
Received 0 Likes
on
0 Posts
Thanks Guys,
Bit of an update, I flew interstate picked up a hire car and drove 1700kms (1050 miles) home to get these baby's
I think it was worth it lol
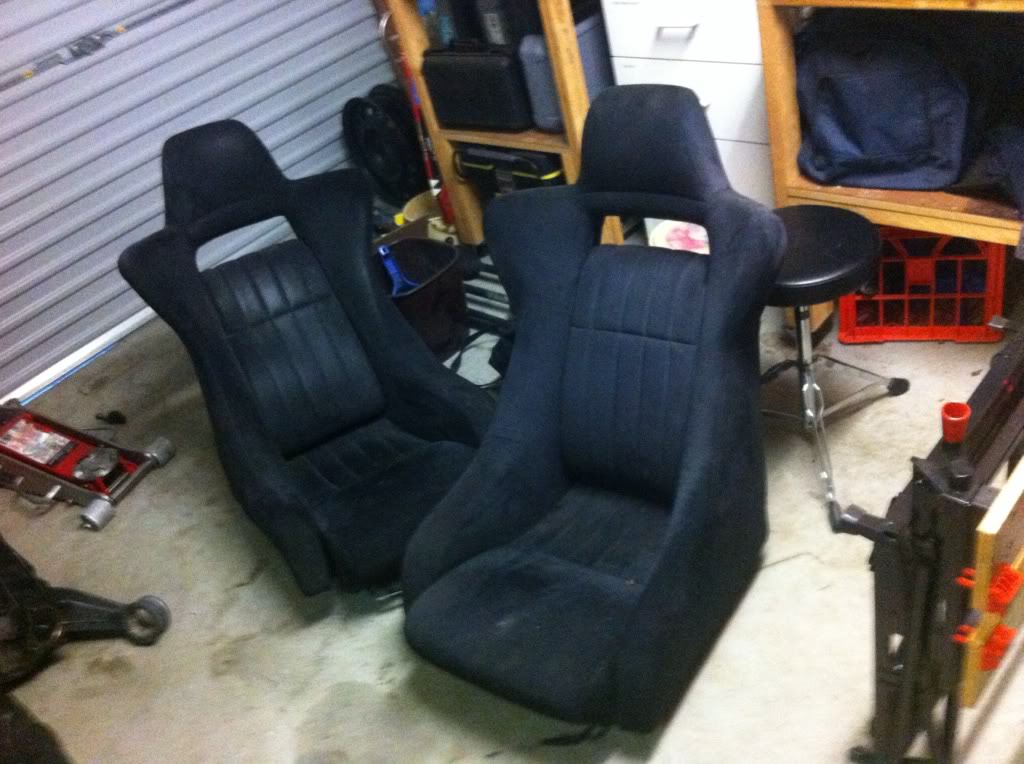
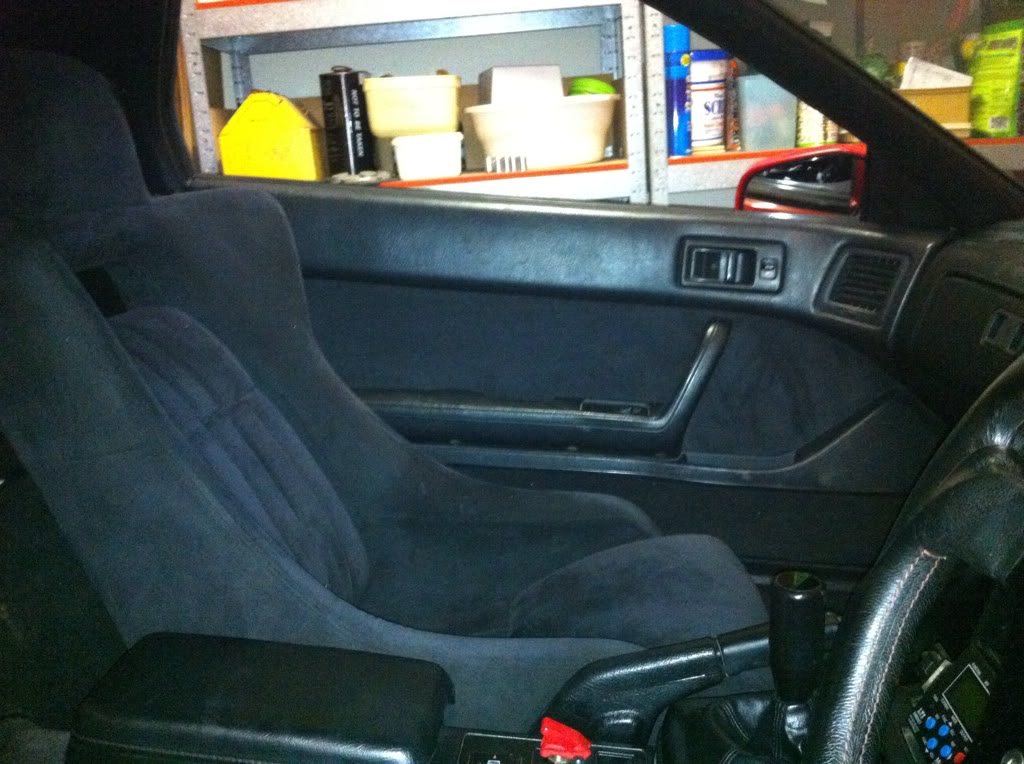
Also got rear bins along with the seats and door trims. its all cleaned up and installed so I will get some decent pics up in the next few days
Bit of an update, I flew interstate picked up a hire car and drove 1700kms (1050 miles) home to get these baby's
I think it was worth it lol
Also got rear bins along with the seats and door trims. its all cleaned up and installed so I will get some decent pics up in the next few days
04-03-13, 02:49 PM
#46
Full Member
Thread Starter
iTrader: (1)
Join Date: Jul 2011
Location: Sydney, Australia
Posts: 138
Likes: 0
Received 0 Likes
on
0 Posts
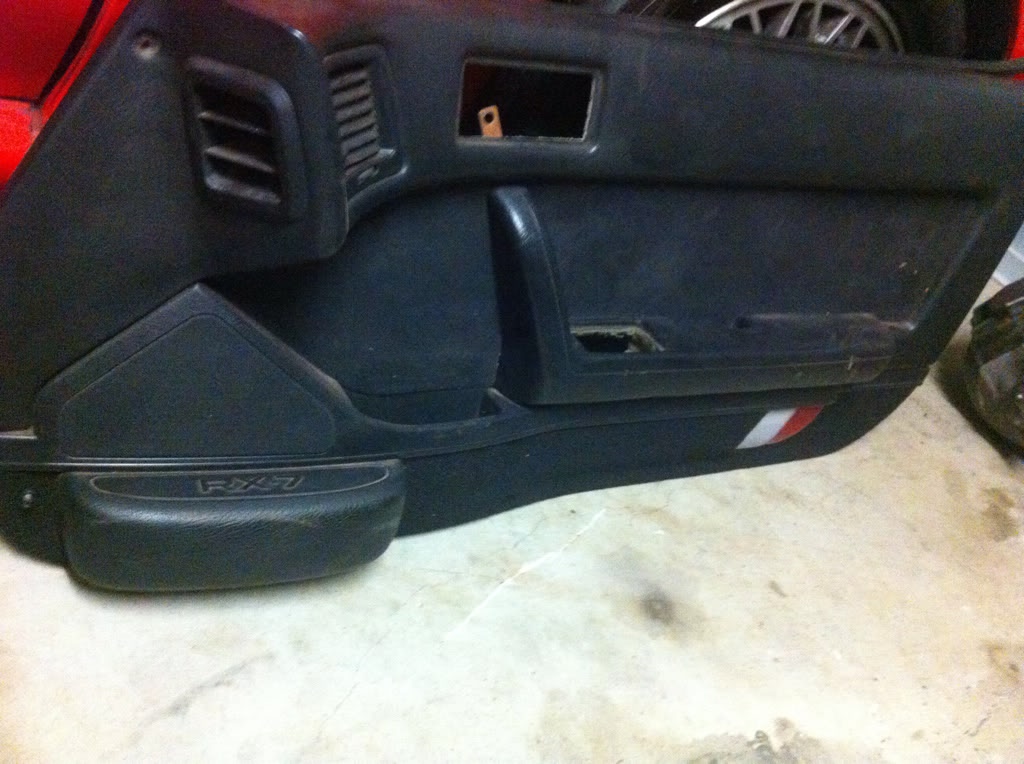
Thanks guys. Lol yea I'm pretty happy I got the knee pad too. Normally there all cracked and faling apart but mine hasnt got any cracks
All cleaned up.

Suede door trims
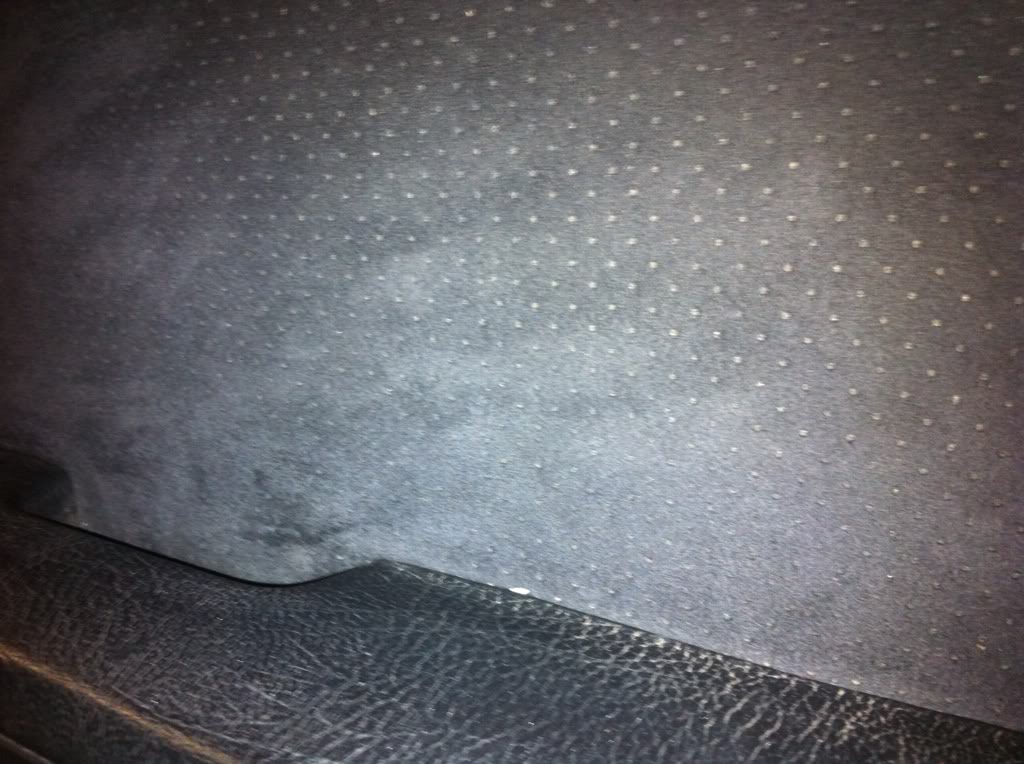
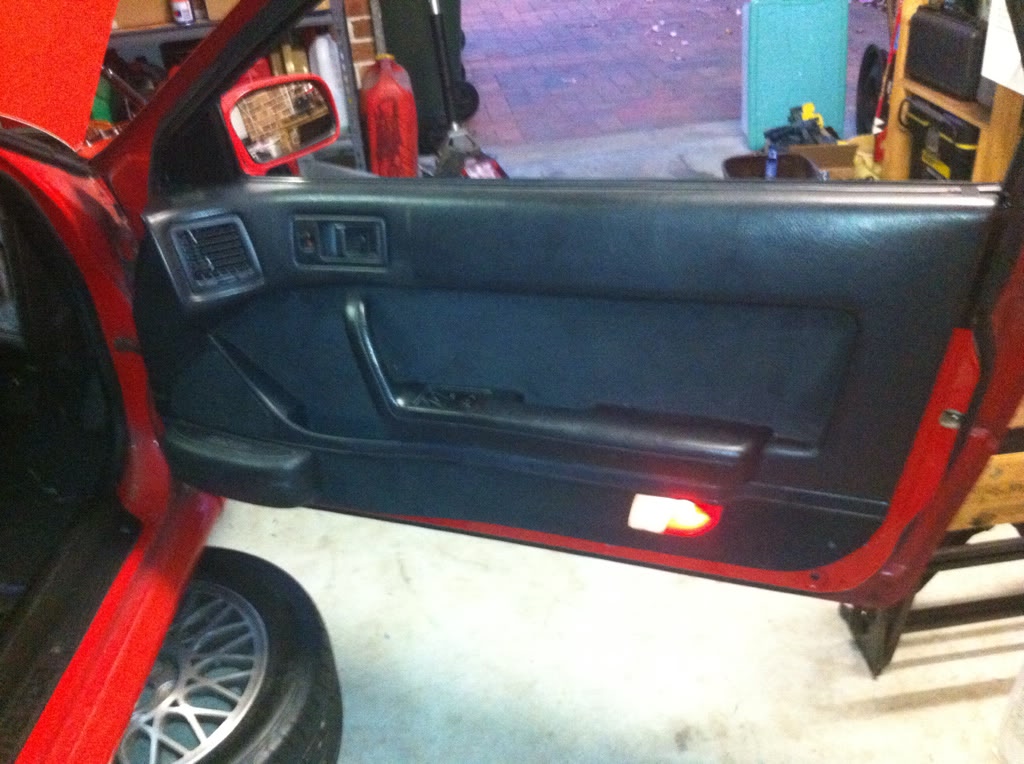
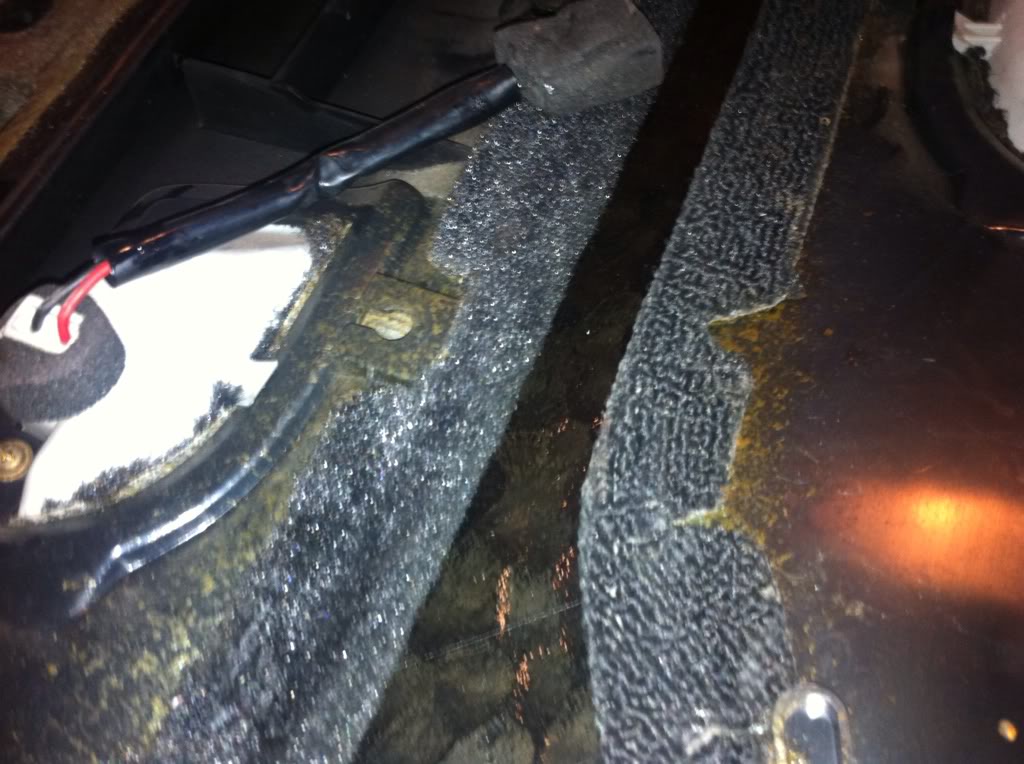
Differences in carpets
All cleaned up.
Suede door trims
Differences in carpets

 04-27-13, 01:13 AM
#49
Full Member
Thread Starter
iTrader: (1)
Join Date: Jul 2011
Location: Sydney, Australia
Posts: 138
Likes: 0
Received 0 Likes
on
0 Posts
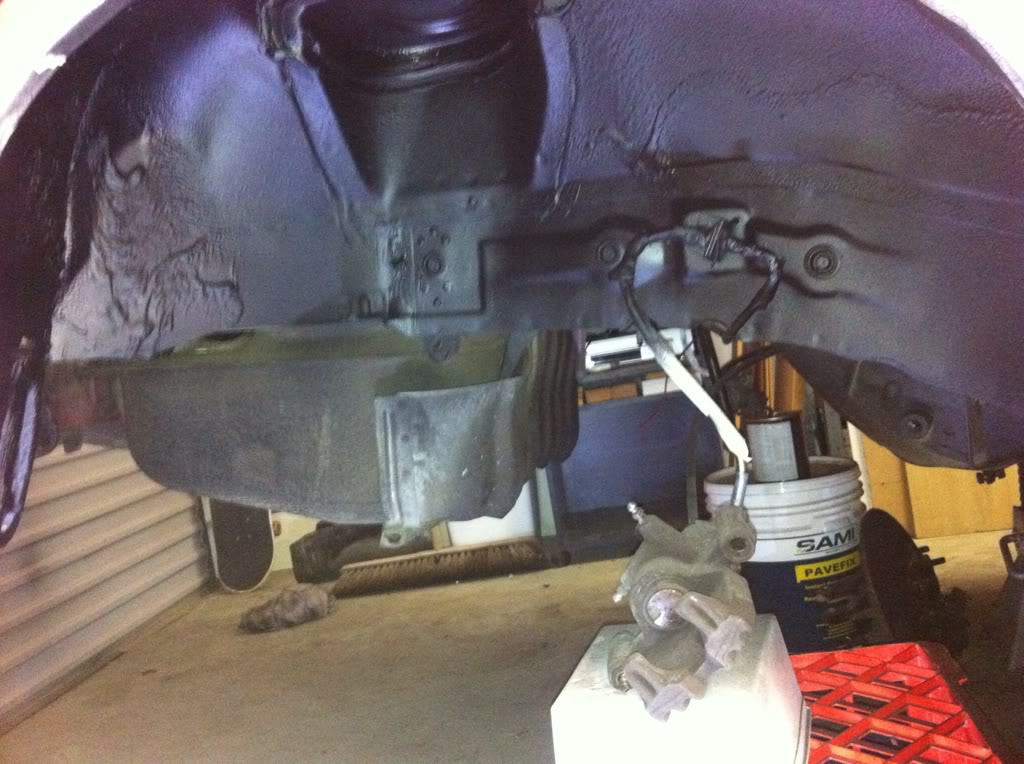
Painted the wheel arches yesterday and today.
Back we're a lot easier to clean than the front due to not much braking power in the rear of a car. Hence not as much brake dust.
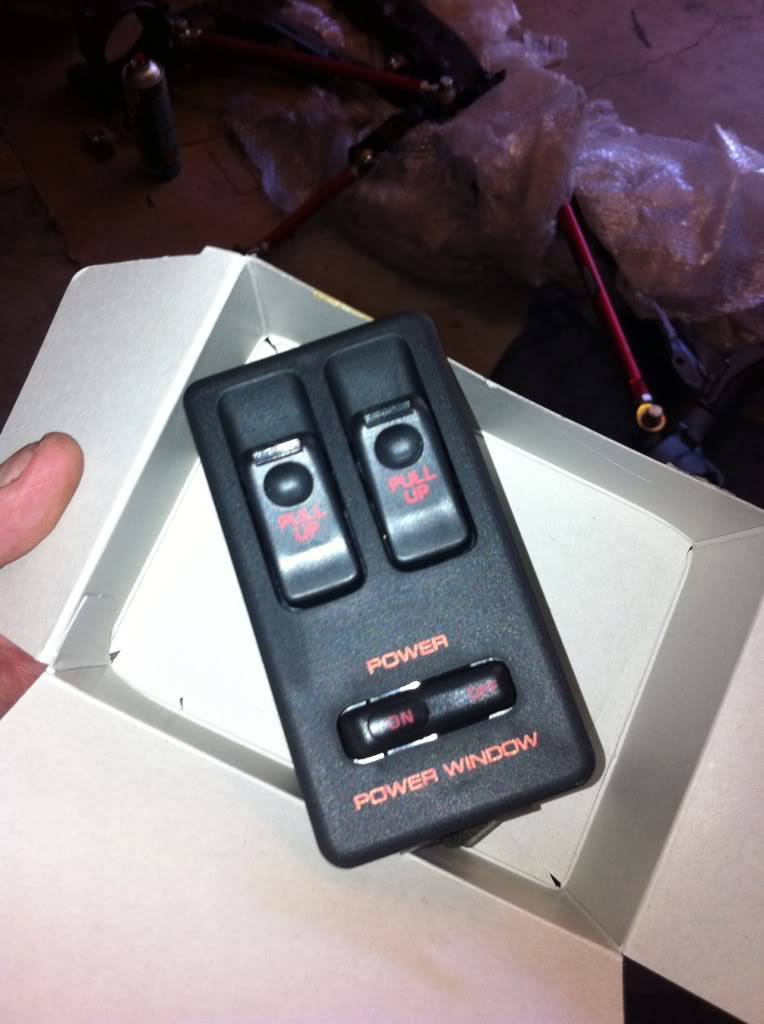
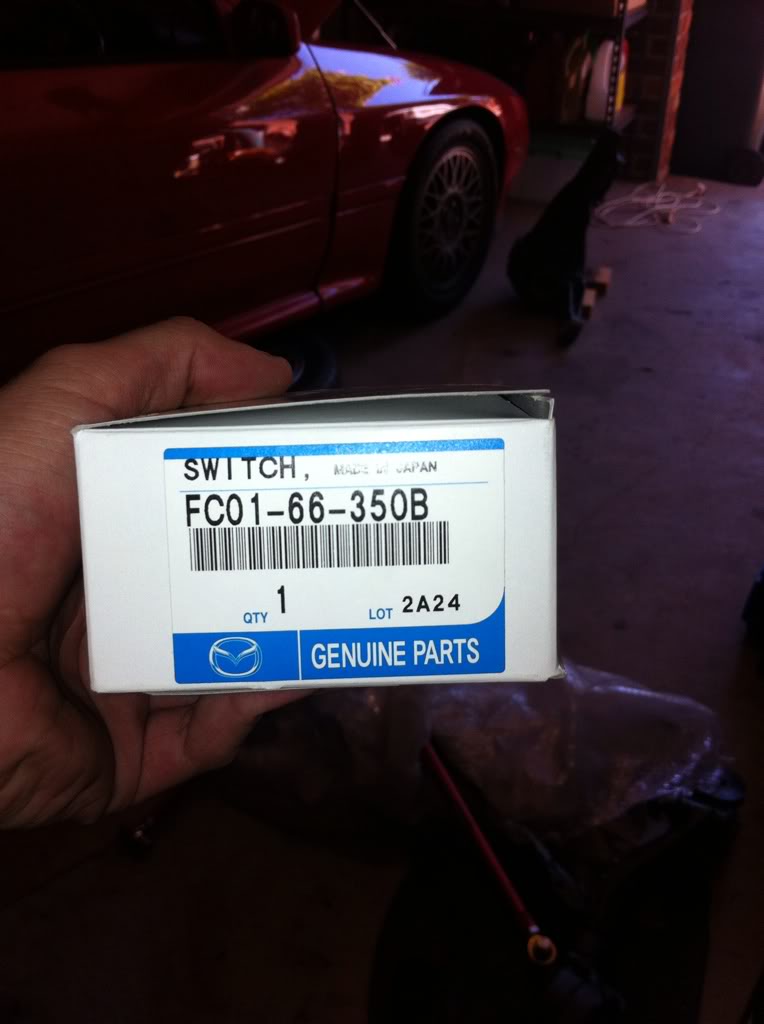
Got a new window switch too, my second hand replacement looked like **** and anointed the crap outta me lol
Back we're a lot easier to clean than the front due to not much braking power in the rear of a car. Hence not as much brake dust.
Got a new window switch too, my second hand replacement looked like **** and anointed the crap outta me lol
07-09-13, 09:41 PM
#50
Full Member
Thread Starter
iTrader: (1)
Join Date: Jul 2011
Location: Sydney, Australia
Posts: 138
Likes: 0
Received 0 Likes
on
0 Posts
Been lazy and haven't updated this in a while.
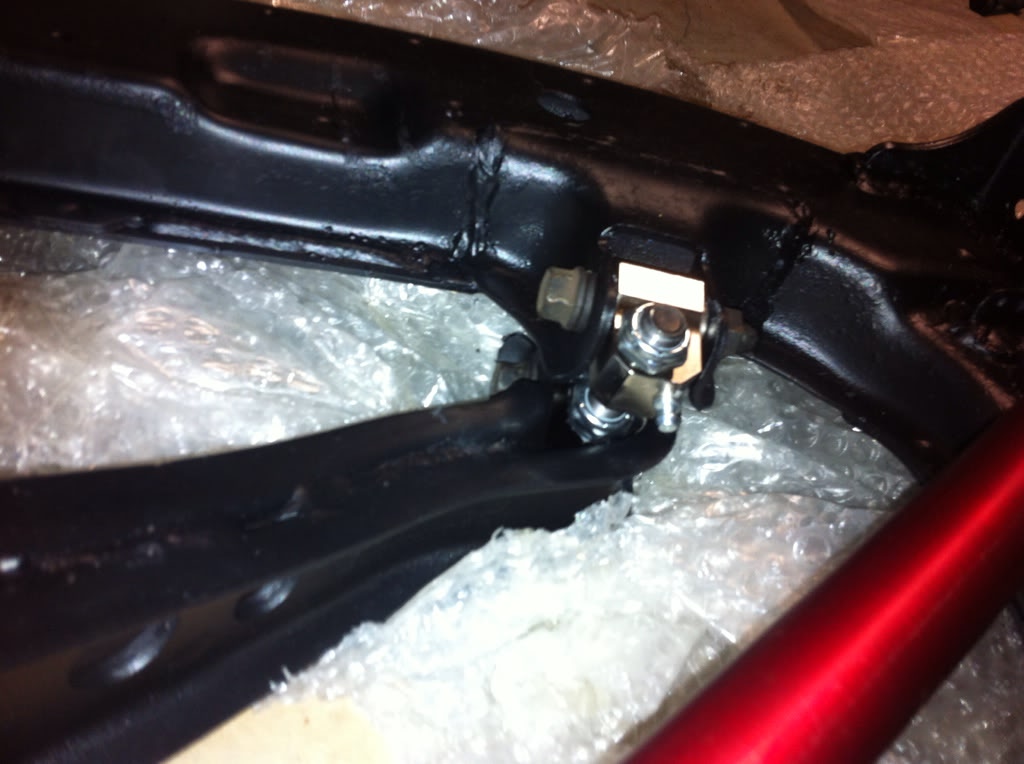
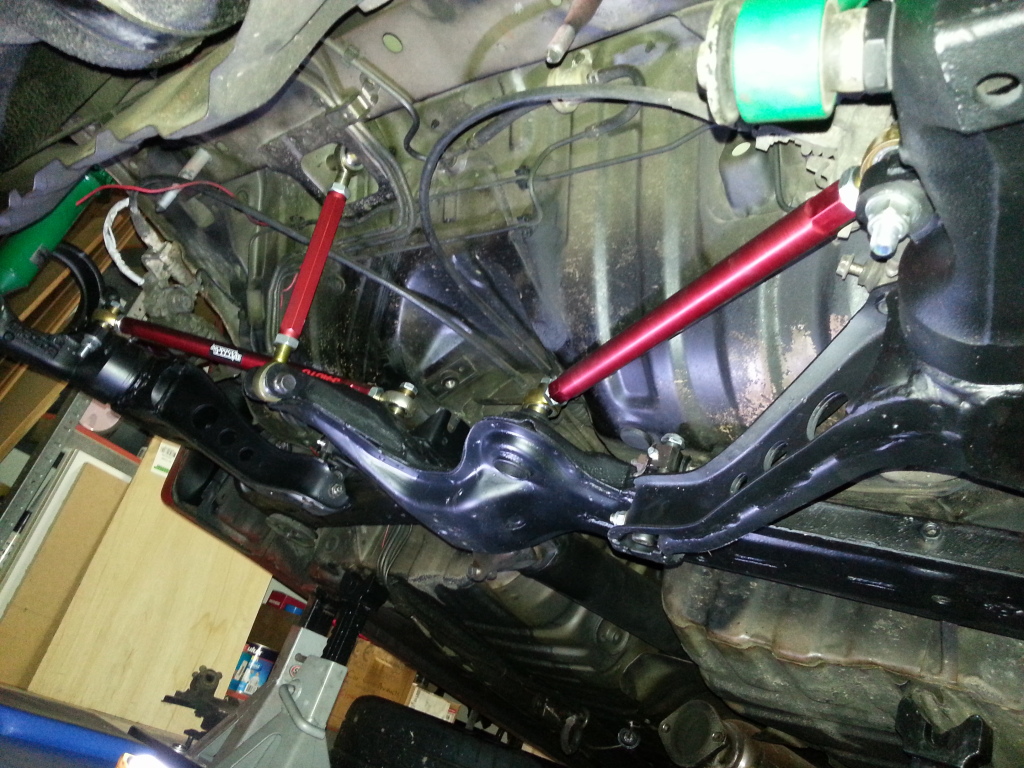
Put my subframe back in a few weeks ago just to clean up the garage floor.
Also decided not to worry about my diff or axles until I break them.
Then i got bored after watching my cousin polish his supercharger on the weekend.
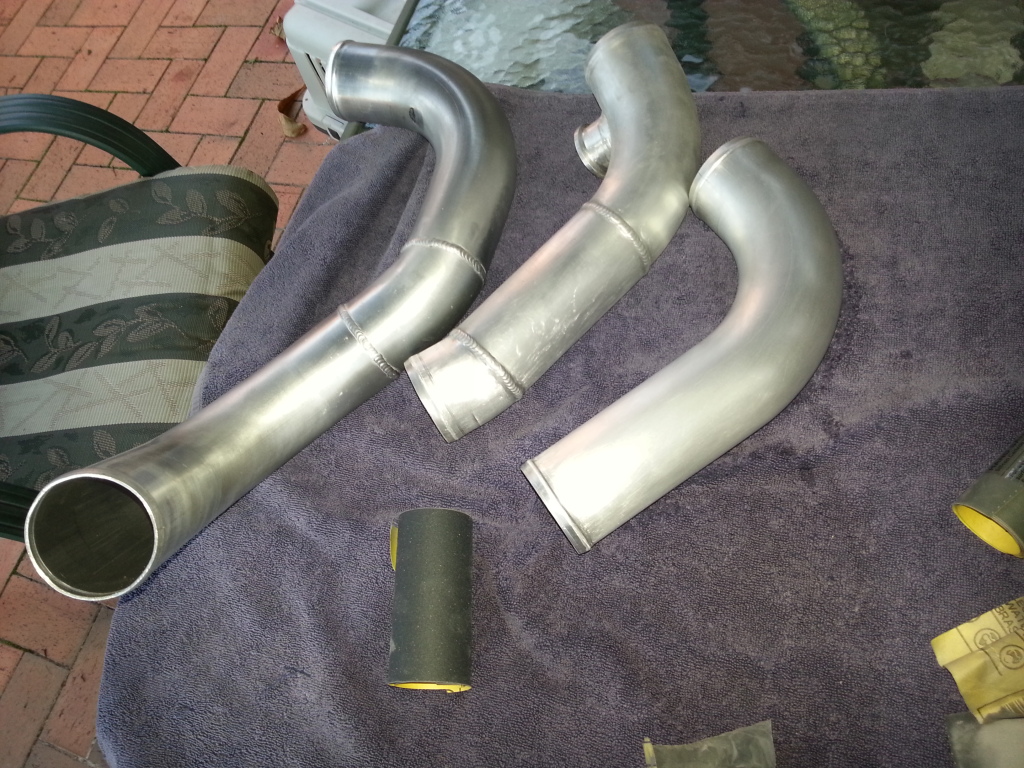
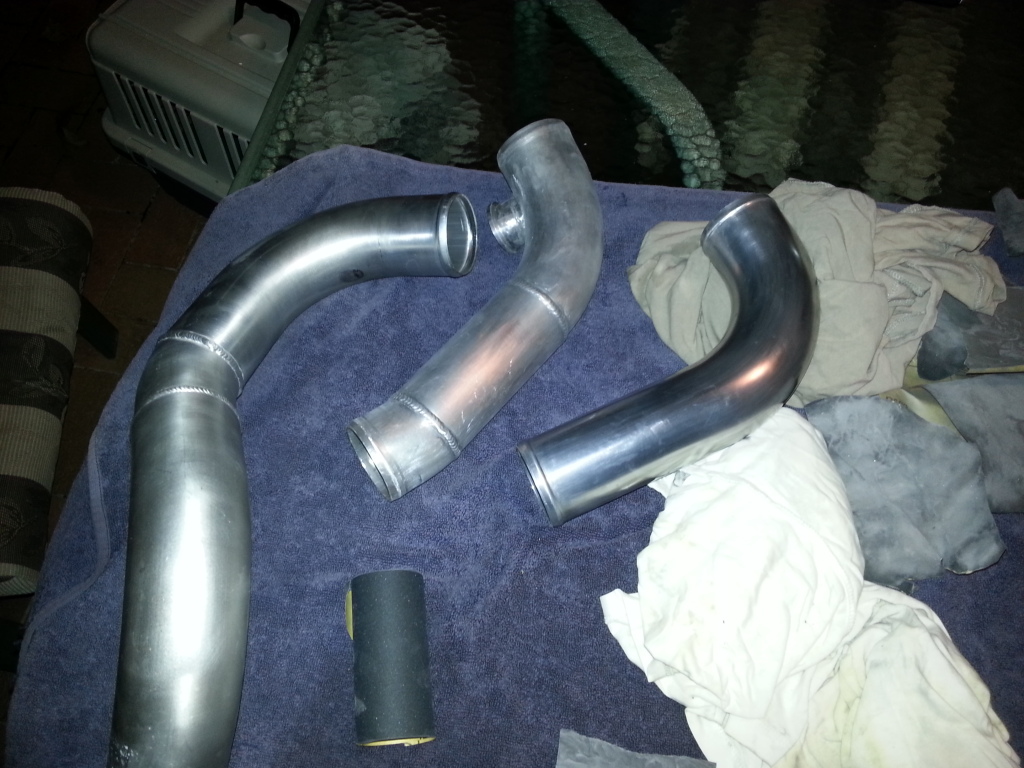
So i started on my cooler pipes lol
How they started out.
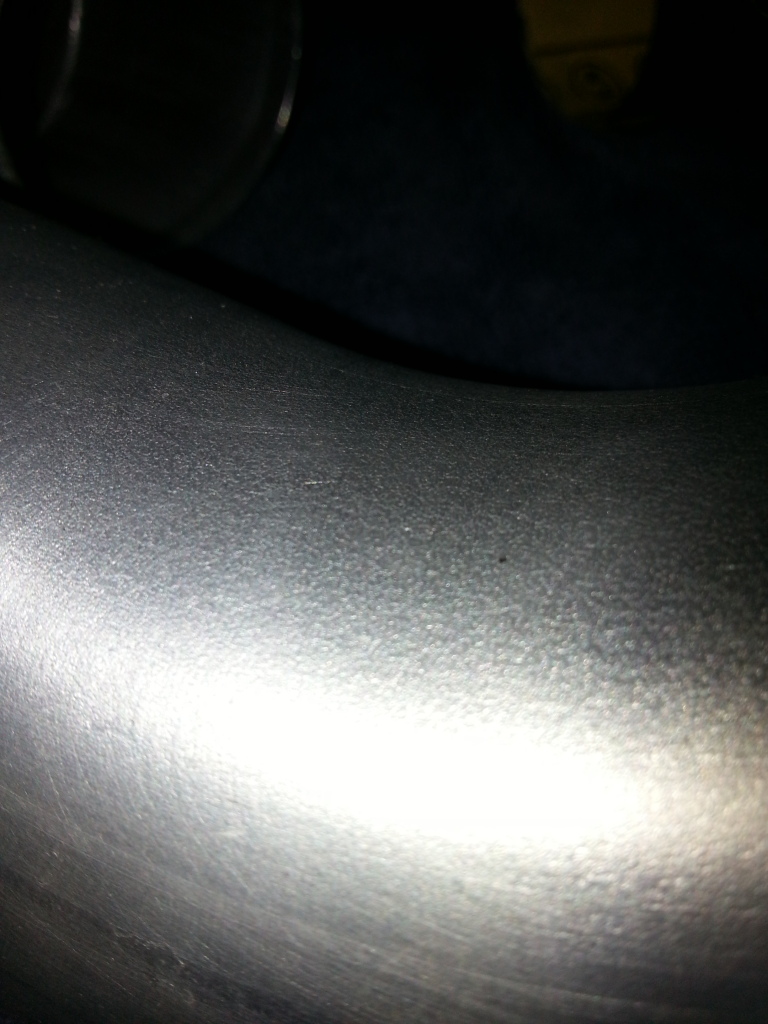
Stages of sanding from left to right.
No sanding. 400 grit. 600 wet and finished with 1200 wet
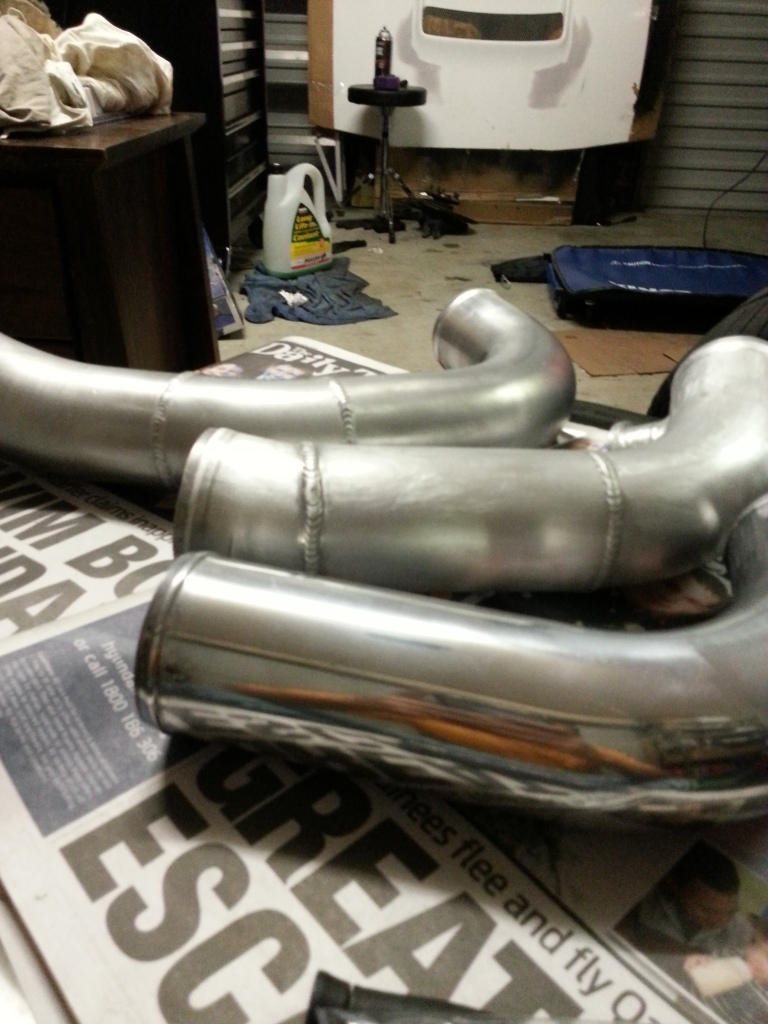
After the first round of wax on wax off lol
Finished but my drill polishing pad broke so have to finish in the morning
Put my subframe back in a few weeks ago just to clean up the garage floor.
Also decided not to worry about my diff or axles until I break them.
Then i got bored after watching my cousin polish his supercharger on the weekend.
So i started on my cooler pipes lol
How they started out.
Stages of sanding from left to right.
No sanding. 400 grit. 600 wet and finished with 1200 wet
After the first round of wax on wax off lol
Finished but my drill polishing pad broke so have to finish in the morning