(Australia) Cams series 5 build
 11-30-11, 02:45 PM
#1
Full Member
Thread Starter
iTrader: (1)

Join Date: Jul 2011
Location: Sydney, Australia
Posts: 138
Likes: 0
Received 0 Likes
on
0 Posts
(Australia) Cams series 5 build
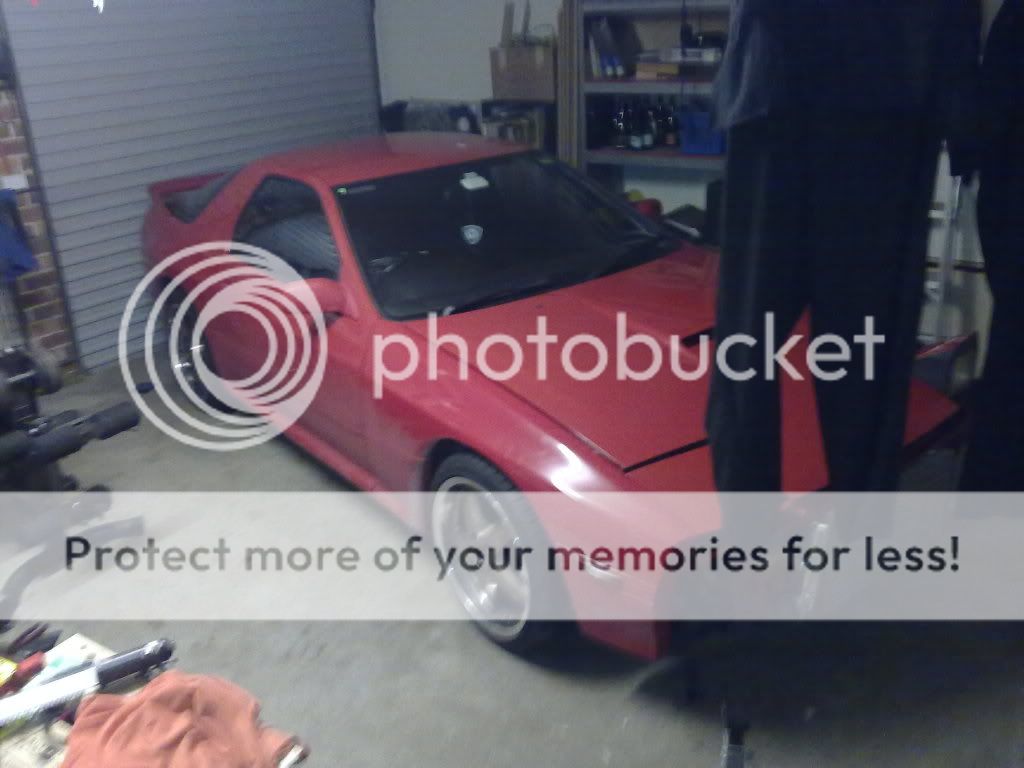
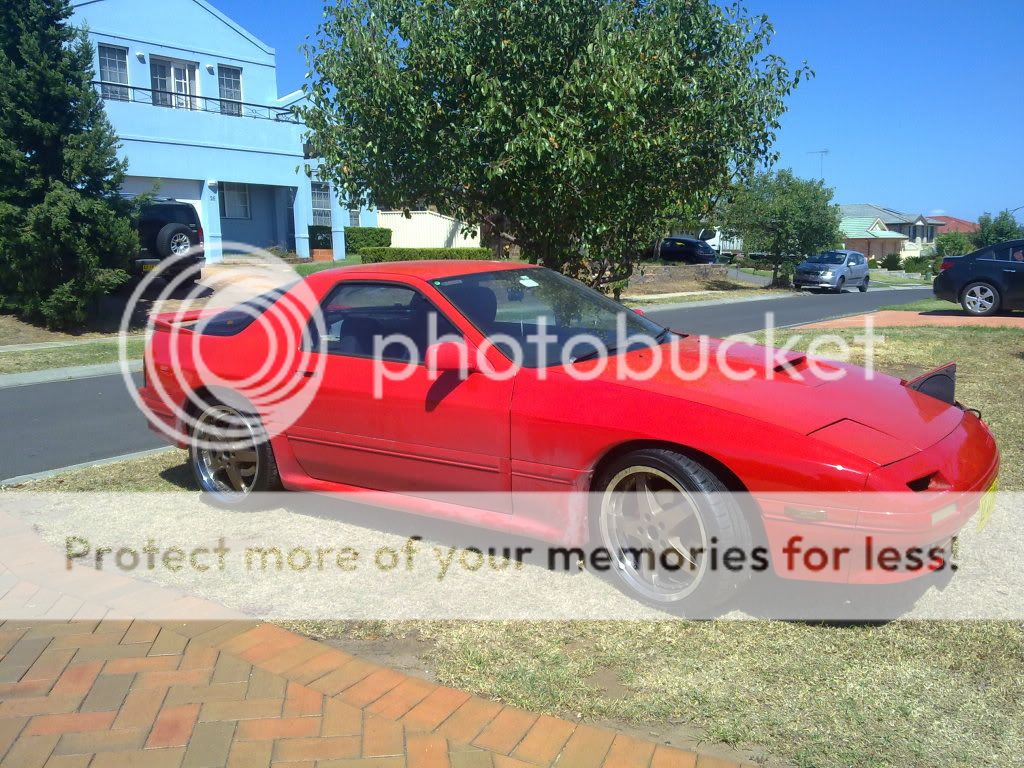
Ok finally got to 10 posts. This is my build thread on my 1989 jdm series 5 rx7, This is just copied and pasted from another forum. All the locations are australian.
Any questions or handy hints let me know, if you don't like it, oh well, I built it for me and me only.
Happy reading!!
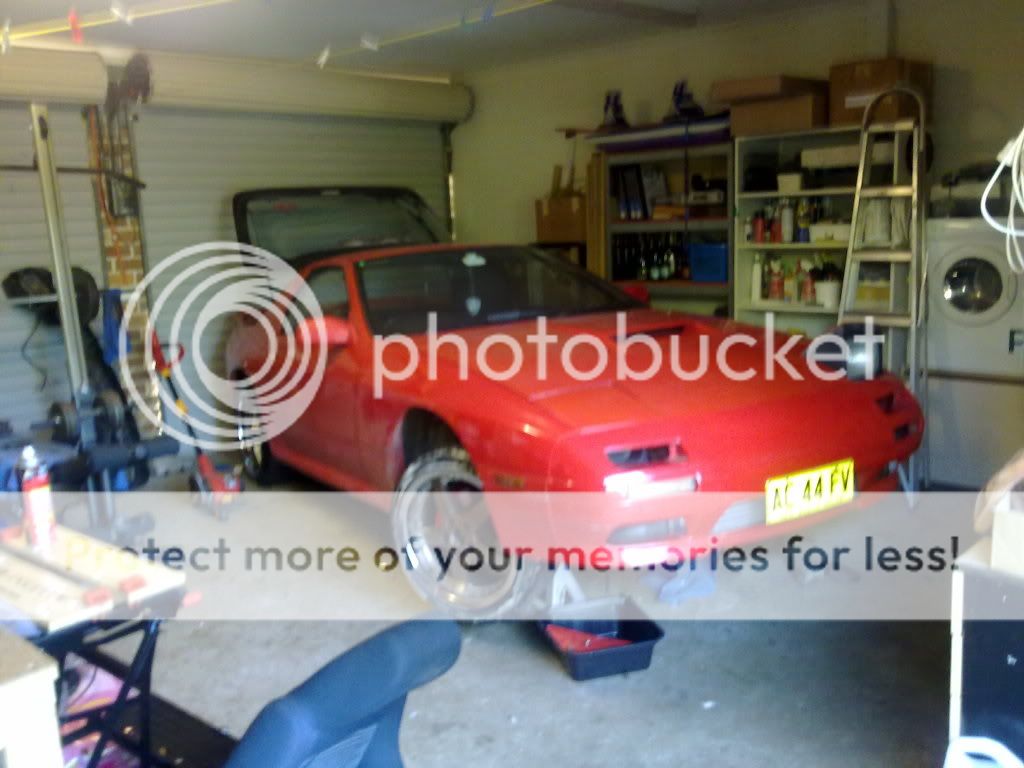
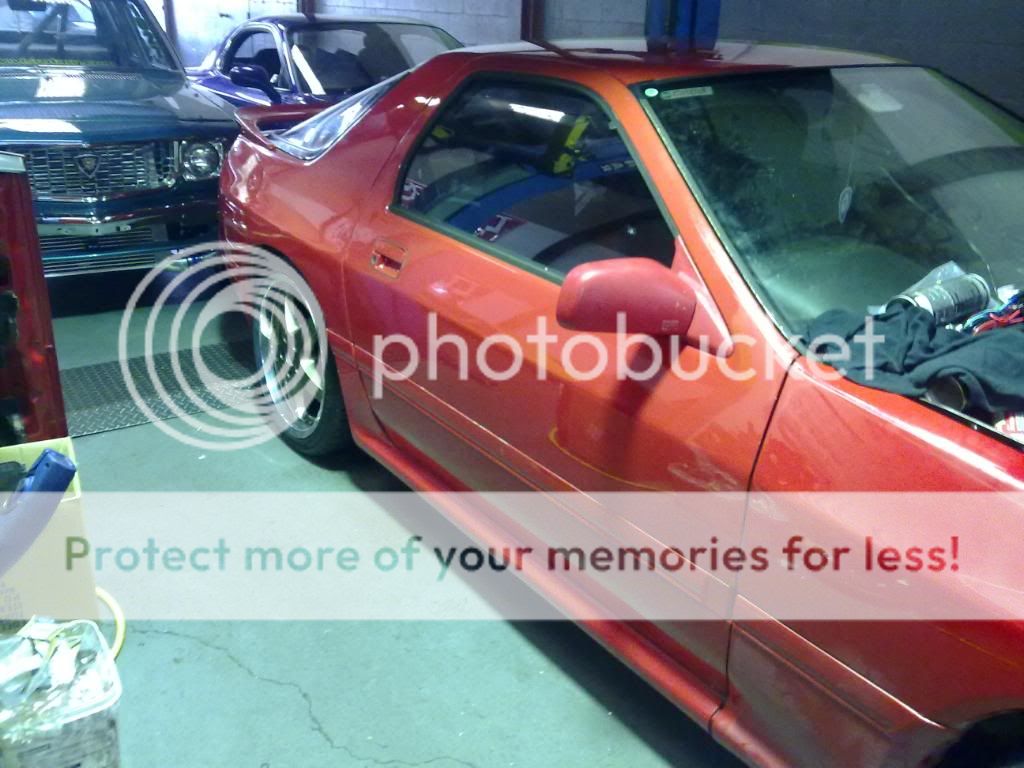
Hi Guys havent been bothered to post any pics up of my car as it was pretty stock for the first 3 years i owned it but over the past 8 months i have been slowly upgrading parts on the rotor.
First it started with a minor electrical issue that was apparantly a faulty sensor. after months and months of changing things (list included Turbo, Fuel pump, ecu, air flow meter) i decided to take my car to VIS Rotary out at Narellan.
First thing troy said was that he thought it was a wiring issue and with my previous attempt to trouble shoot the problem, i had narrowed down the possibilities. So with that in mind troy advised me that an aftermarket computer would be the go because they would include a new harness(which was where the problem was).
It was then that i gave troy the go ahead to install a microtech lt10s. from there on he proceded to install and tune the new ecu. finally after 8 months of limp mode driving i had my rotor back on the road.
After about 6 months of driving and enjoying my car i had decided to search for a little more power.
I hadnt decided what path i wanted to go down but after alot of reading and researching i had decided i would go down the path of a gt35/40. the next challenge was to round up the money to aquire the parts i required.
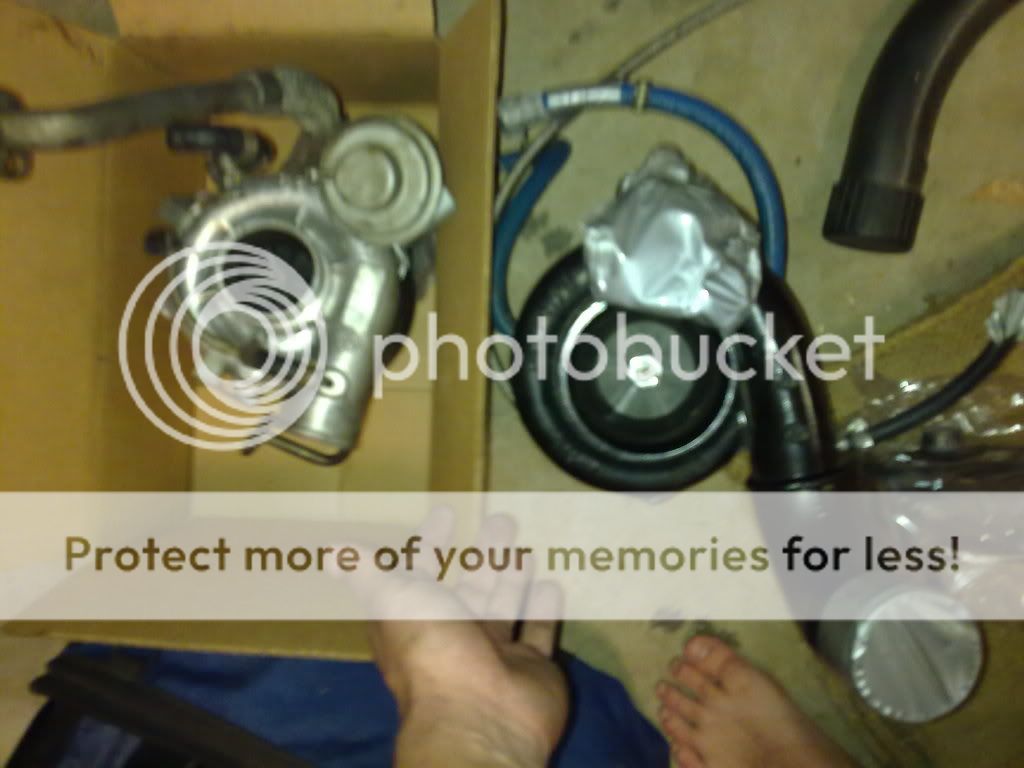
From then on i was in search of a garrett gt35/40 new or used and somehow i managed to stumble across a second hand gt35 with a manifold, dumpipe and oil/water lines.
I spent the next 2 months spending like crazy buying everything from a set of teins to a turbosmart 50mm wastegate.
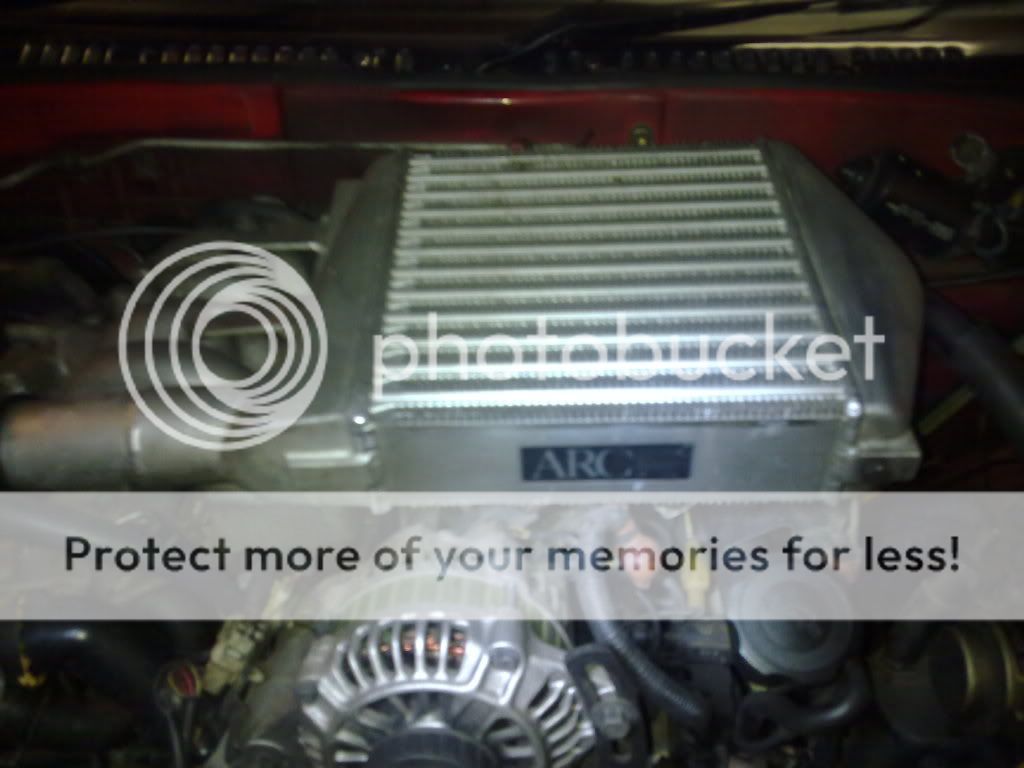
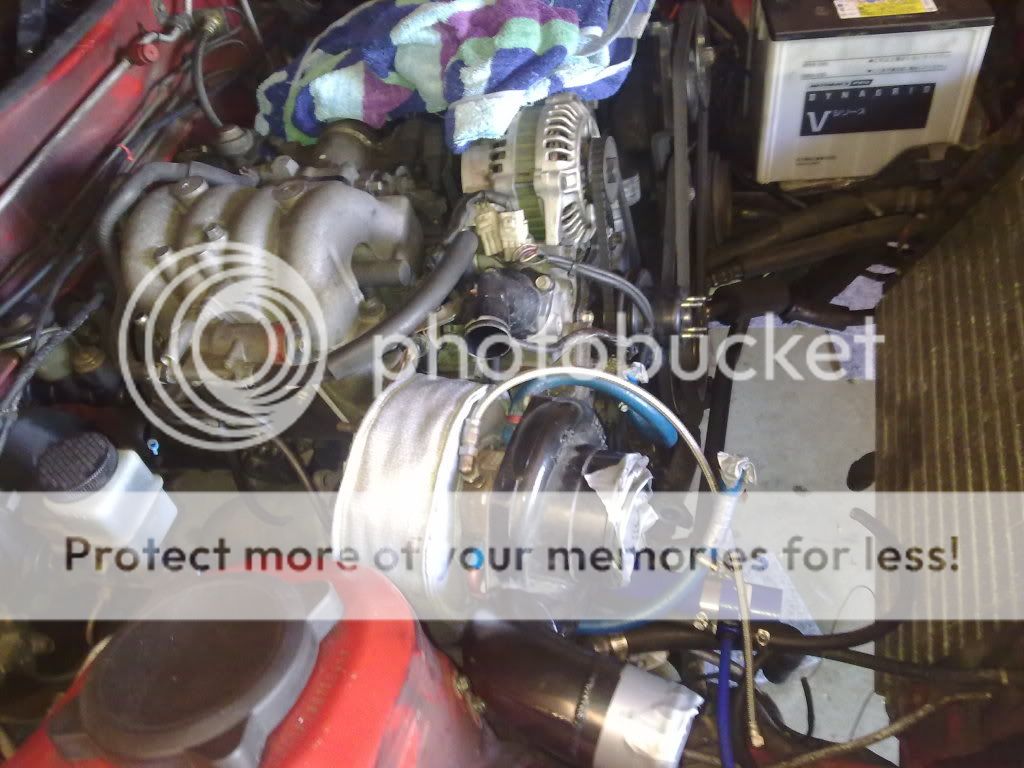
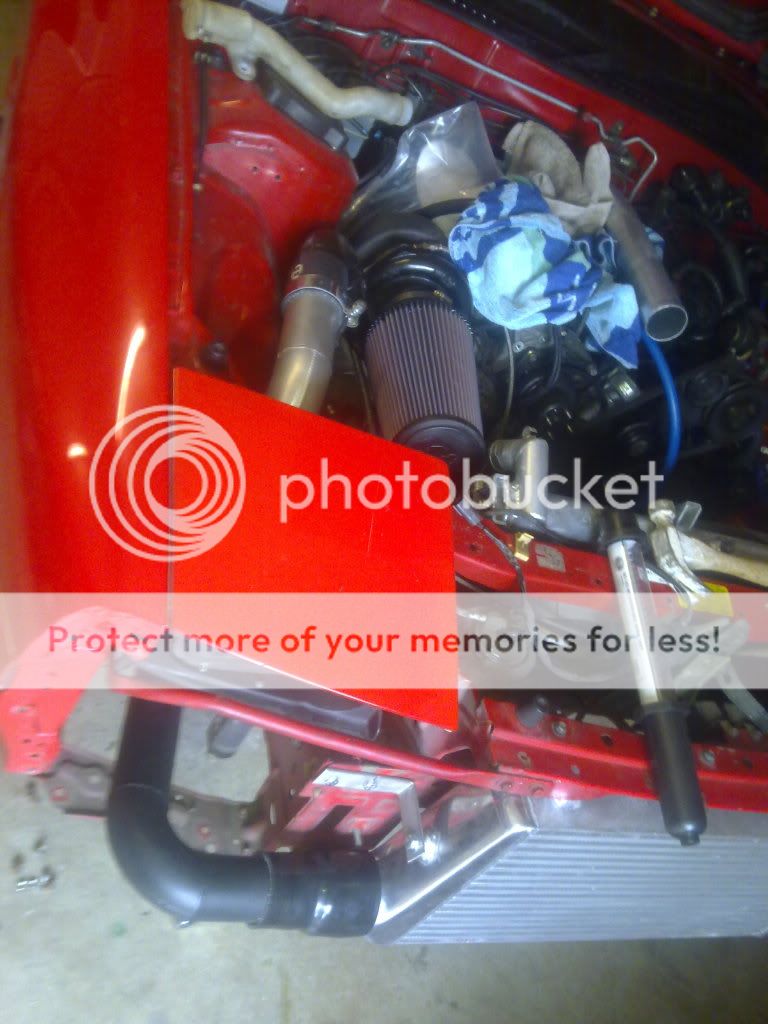
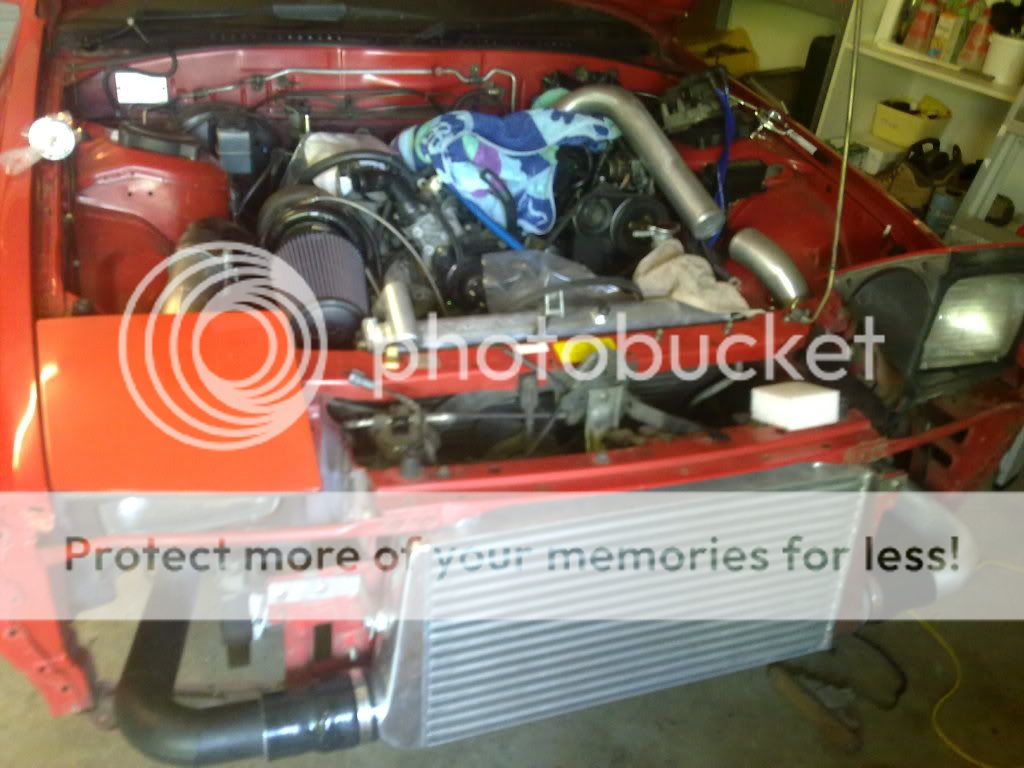
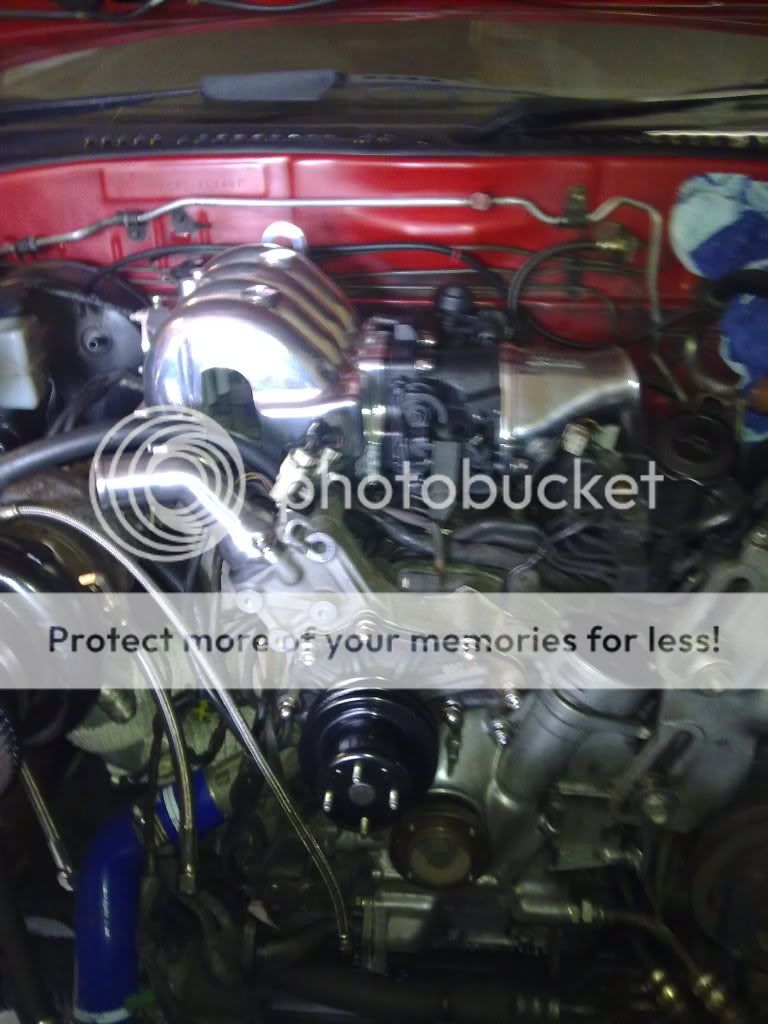
During this stage i also mounted and piped the cooler kit bought from ASE turbo in SA, mounted the turbo and manifold, and started to remove any unneccasary parts and wiring.
After about 2 months of slowly modifying the rotor i decided to take it to VIS for troy to finish off the rest of the stuff that i ran out of time to do.
Car is still in the shop as i type but now its the hard part of knowing the deadline is near and waiting for that phone call from troy.
Photos start after about 2 years of owning the rotor.
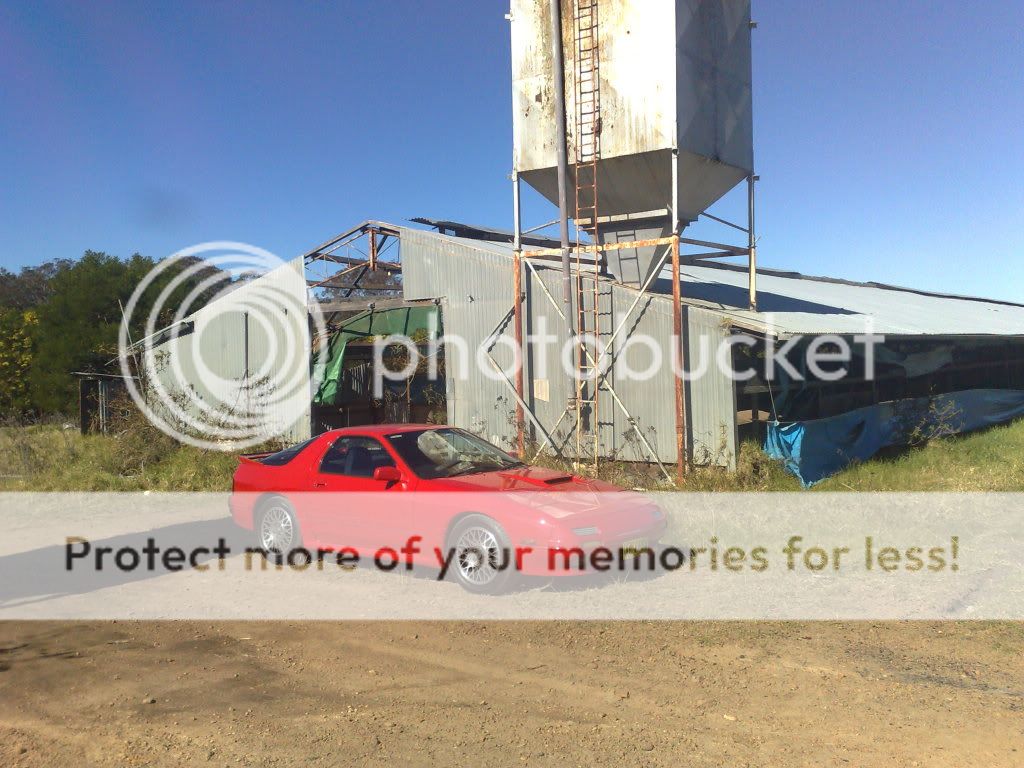
Out in the bush where we go riding.
After the first trip to troy
Any questions or handy hints let me know, if you don't like it, oh well, I built it for me and me only.
Happy reading!!
Hi Guys havent been bothered to post any pics up of my car as it was pretty stock for the first 3 years i owned it but over the past 8 months i have been slowly upgrading parts on the rotor.
First it started with a minor electrical issue that was apparantly a faulty sensor. after months and months of changing things (list included Turbo, Fuel pump, ecu, air flow meter) i decided to take my car to VIS Rotary out at Narellan.
First thing troy said was that he thought it was a wiring issue and with my previous attempt to trouble shoot the problem, i had narrowed down the possibilities. So with that in mind troy advised me that an aftermarket computer would be the go because they would include a new harness(which was where the problem was).
It was then that i gave troy the go ahead to install a microtech lt10s. from there on he proceded to install and tune the new ecu. finally after 8 months of limp mode driving i had my rotor back on the road.
After about 6 months of driving and enjoying my car i had decided to search for a little more power.
I hadnt decided what path i wanted to go down but after alot of reading and researching i had decided i would go down the path of a gt35/40. the next challenge was to round up the money to aquire the parts i required.
From then on i was in search of a garrett gt35/40 new or used and somehow i managed to stumble across a second hand gt35 with a manifold, dumpipe and oil/water lines.
I spent the next 2 months spending like crazy buying everything from a set of teins to a turbosmart 50mm wastegate.
During this stage i also mounted and piped the cooler kit bought from ASE turbo in SA, mounted the turbo and manifold, and started to remove any unneccasary parts and wiring.
After about 2 months of slowly modifying the rotor i decided to take it to VIS for troy to finish off the rest of the stuff that i ran out of time to do.
Car is still in the shop as i type but now its the hard part of knowing the deadline is near and waiting for that phone call from troy.
Photos start after about 2 years of owning the rotor.
Out in the bush where we go riding.
After the first trip to troy
 11-30-11, 02:50 PM
#2
Full Member
Thread Starter
iTrader: (1)
Join Date: Jul 2011
Location: Sydney, Australia
Posts: 138
Likes: 0
Received 0 Likes
on
0 Posts


Heat shield got stuck whilst removing.
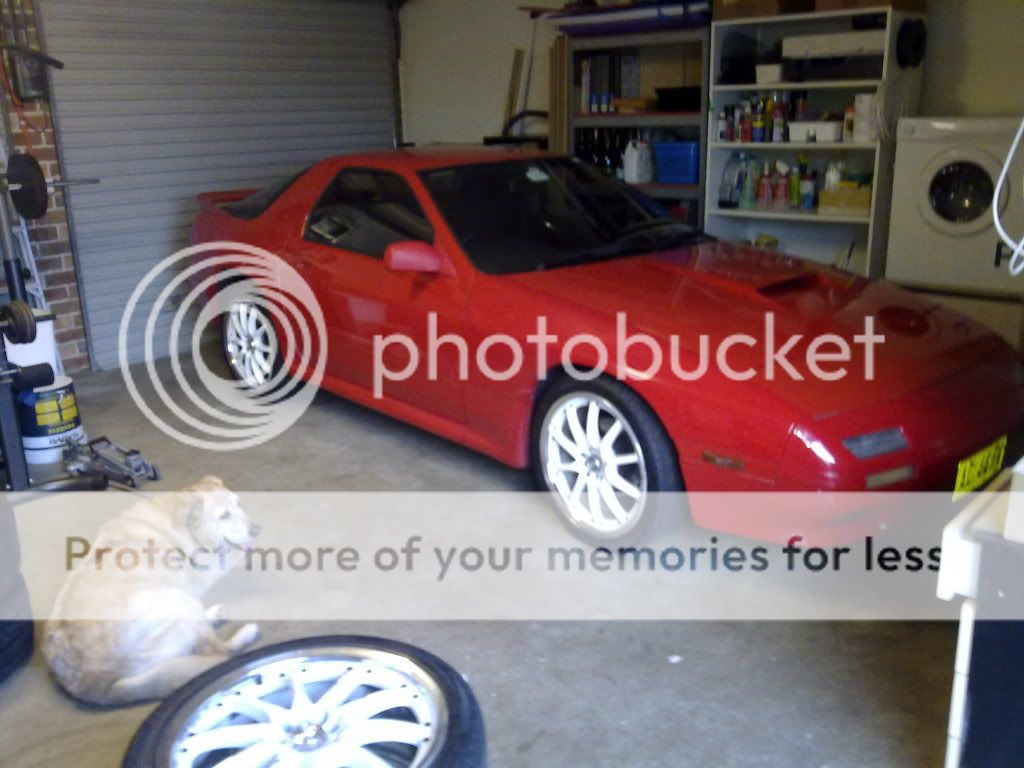
Bought some rims just for tyres
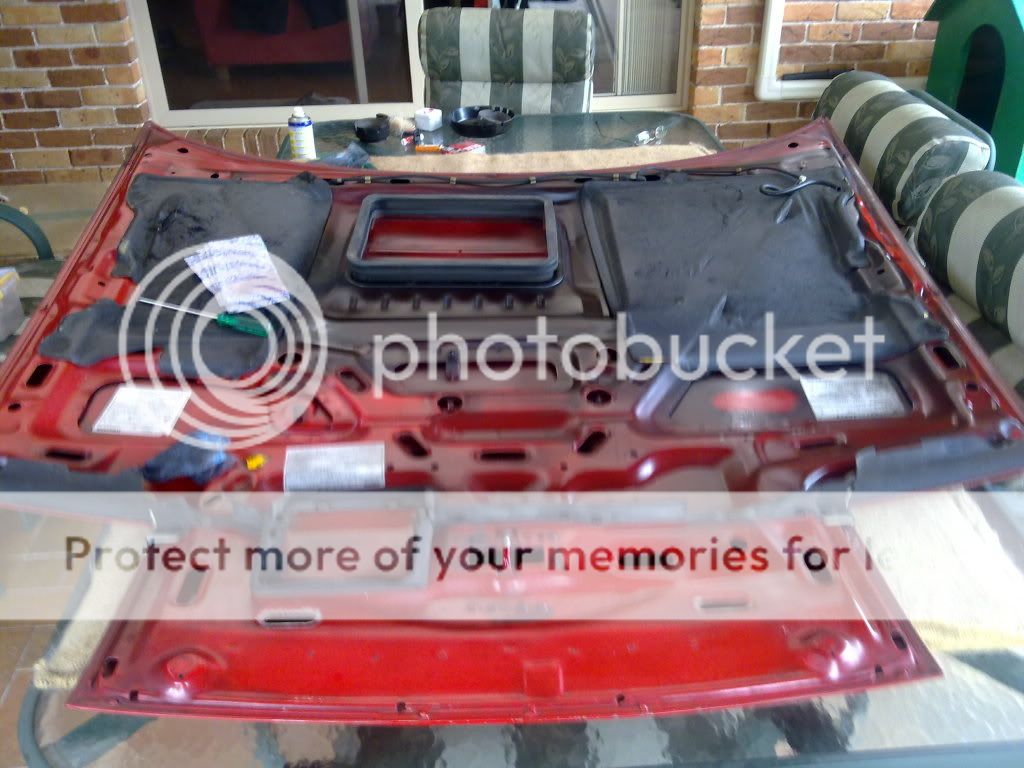
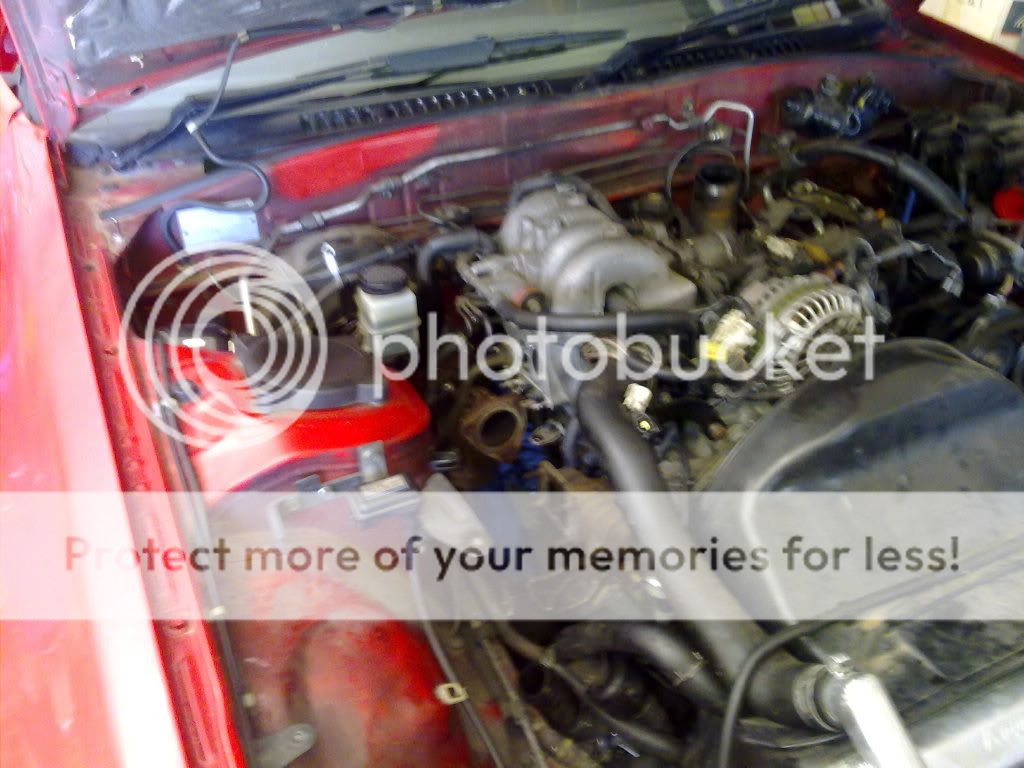
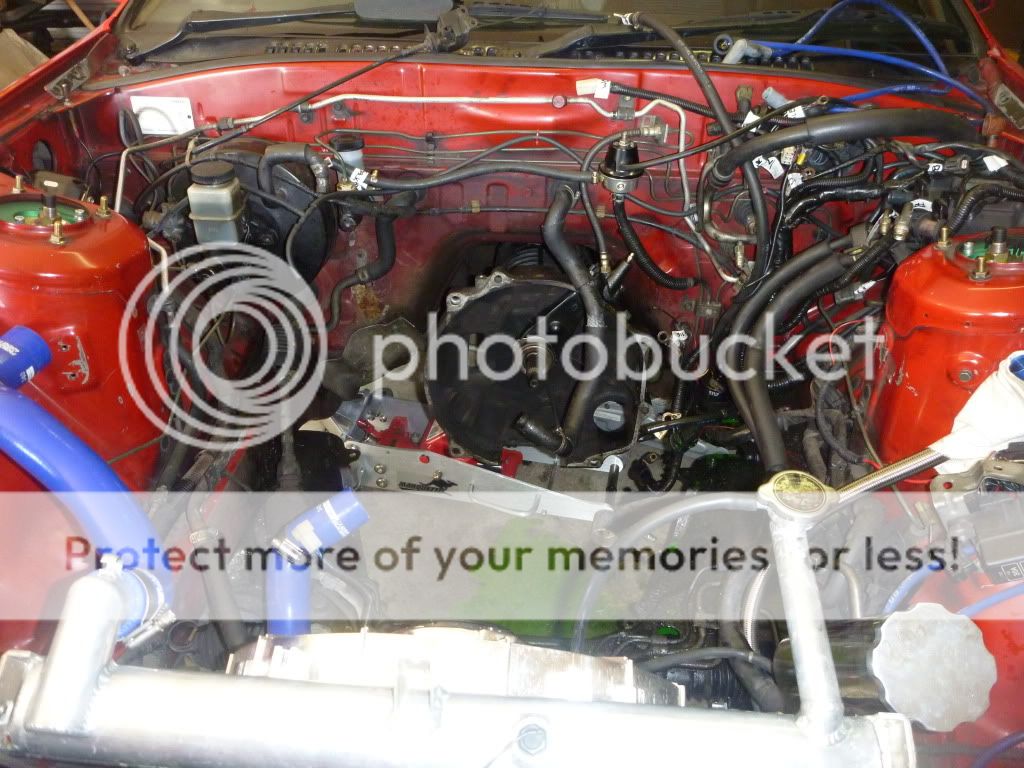
Started to clean the engine bay and bonnet
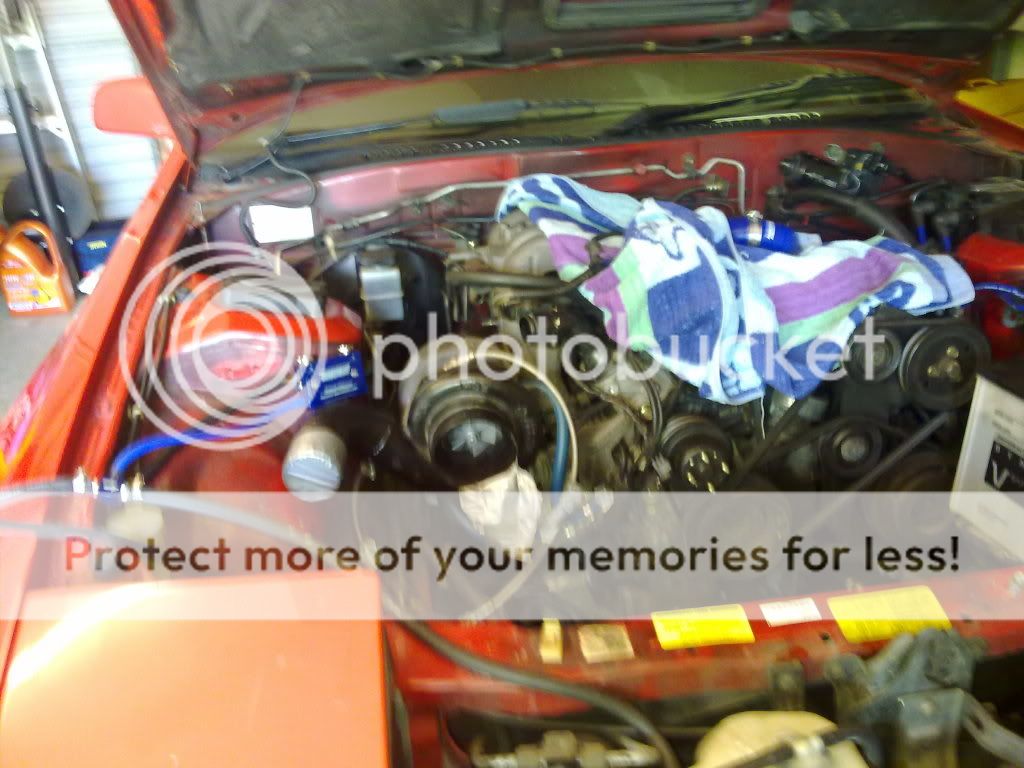
started to change turbo
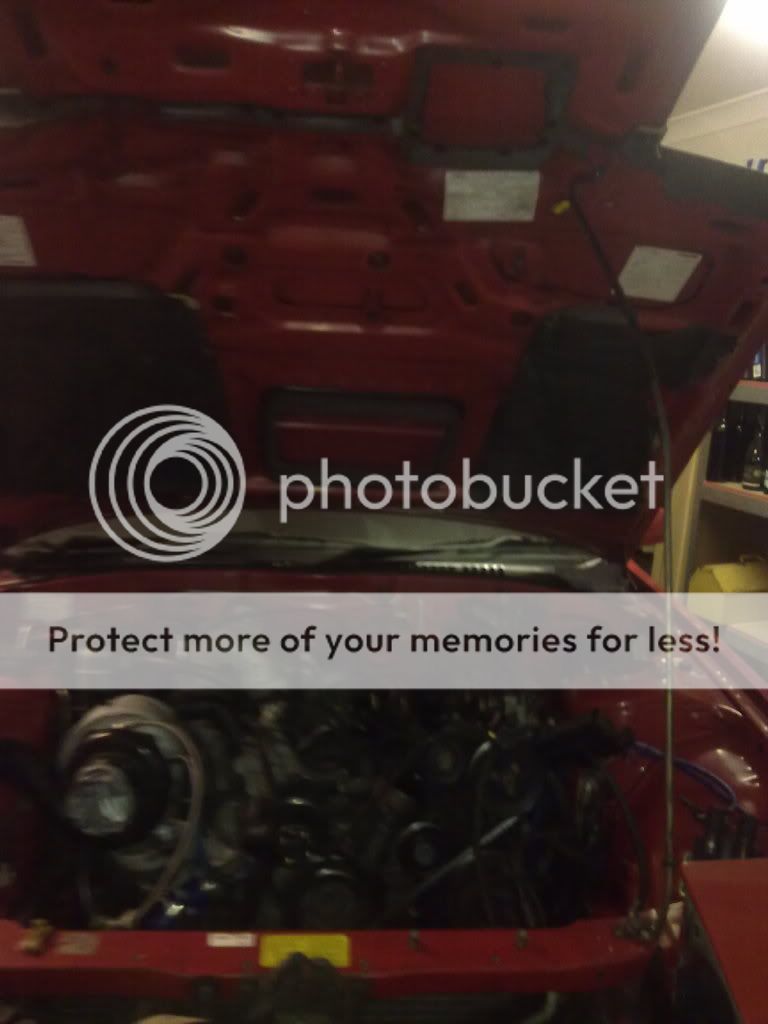
Engine bay and bonnet cleaned just waiting on the cooler
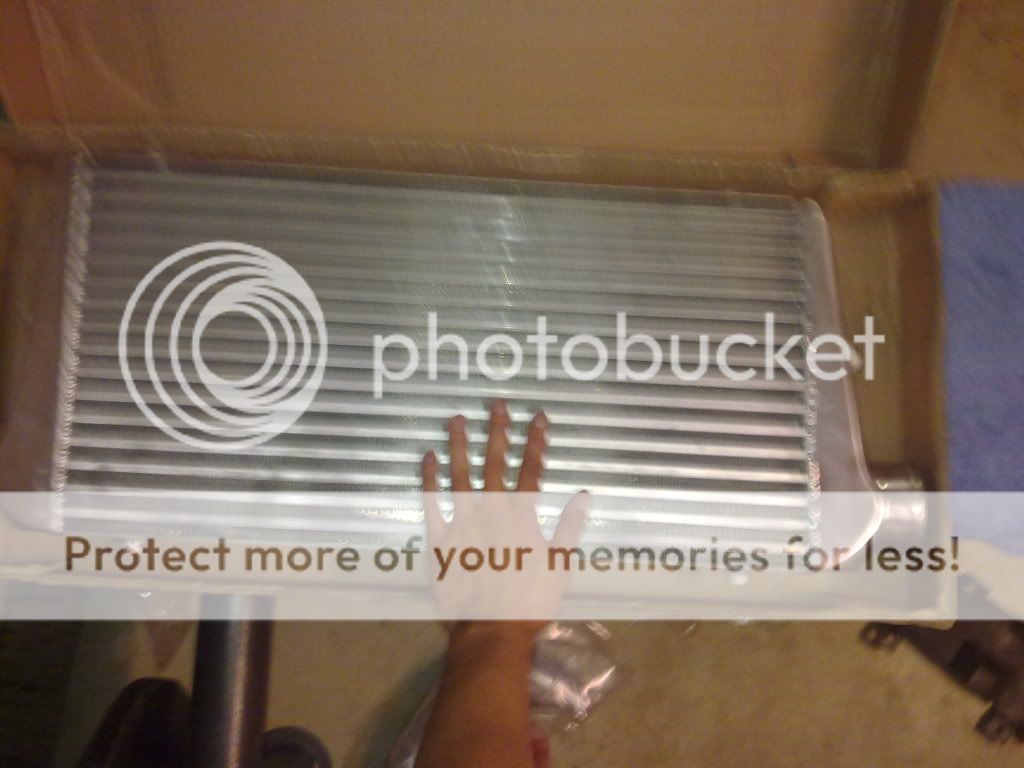
Waited 3 weeks so i had to touch it to make sure it is real
 11-30-11, 02:54 PM
#3
Full Member
Thread Starter
iTrader: (1)
Join Date: Jul 2011
Location: Sydney, Australia
Posts: 138
Likes: 0
Received 0 Likes
on
0 Posts
Bought some better looking rims
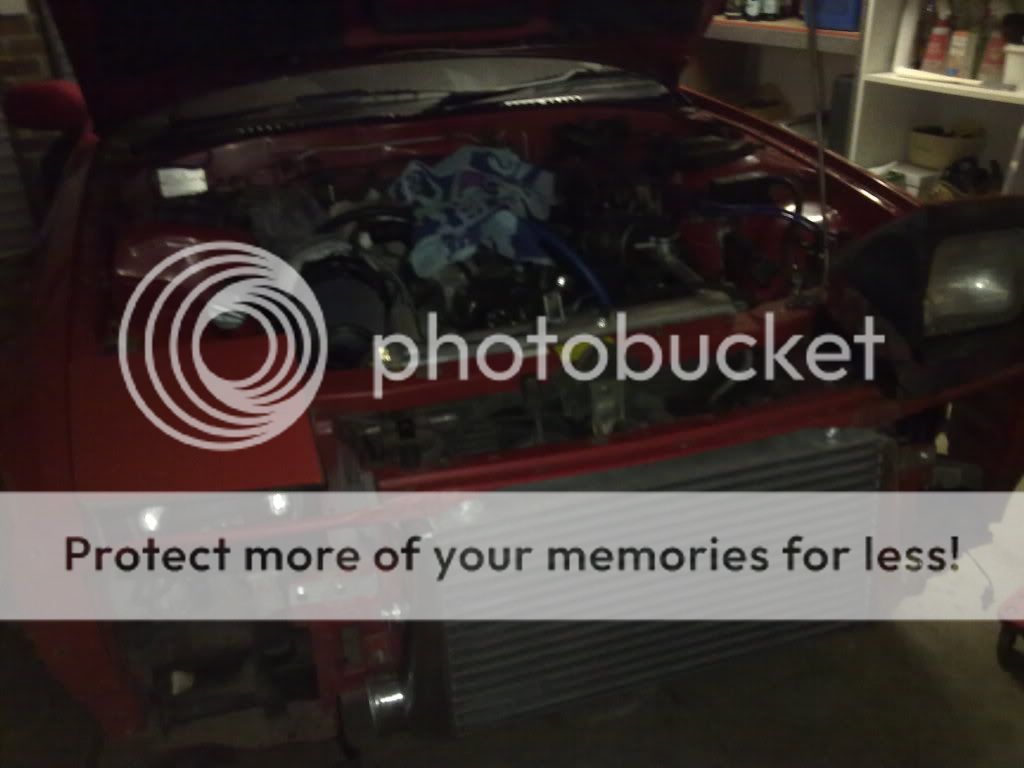
Cooler starting to get piped
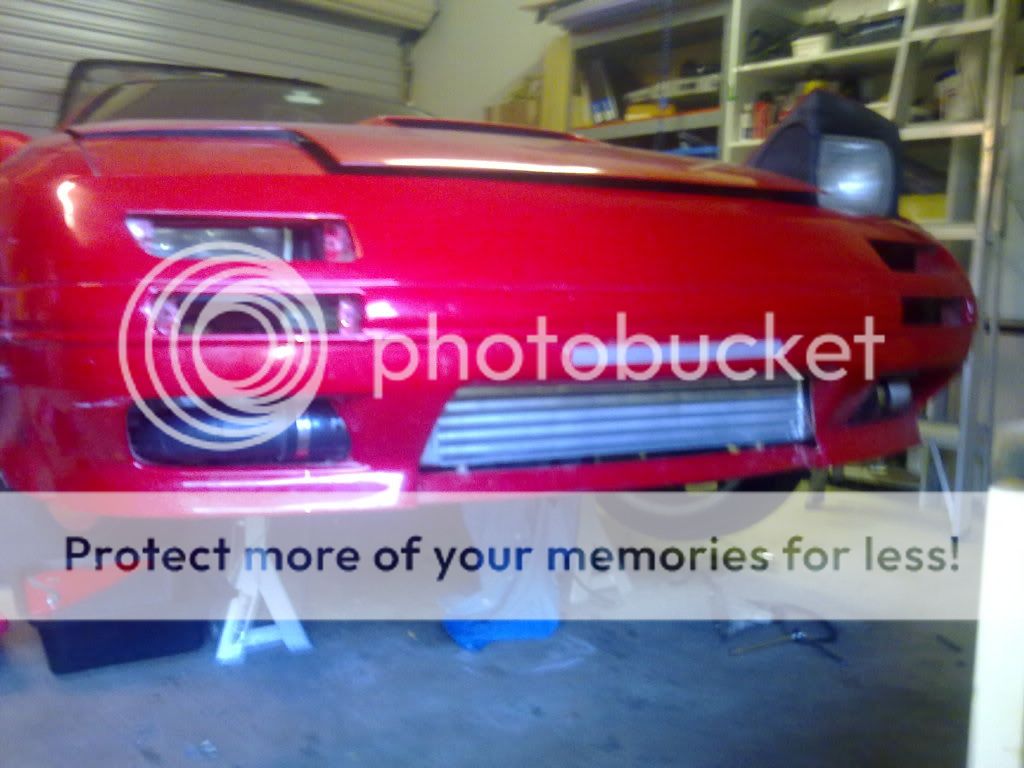
Front bar back on and cut around the front mount
Front mount finished
Mounted a boost guage nice and neat

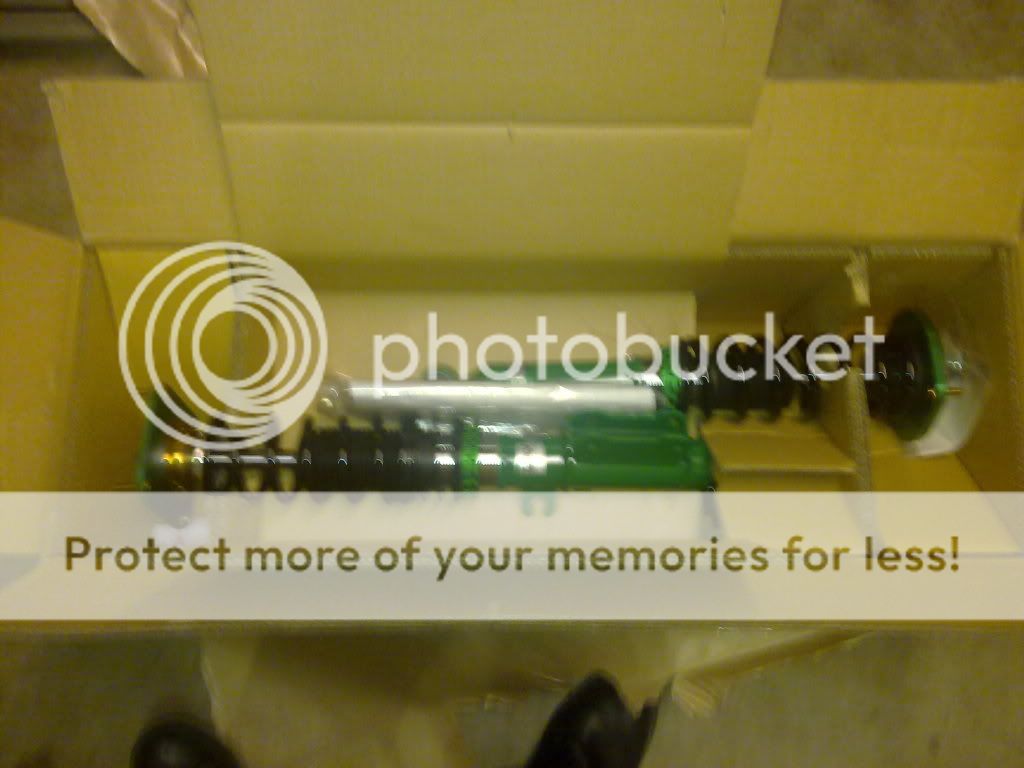
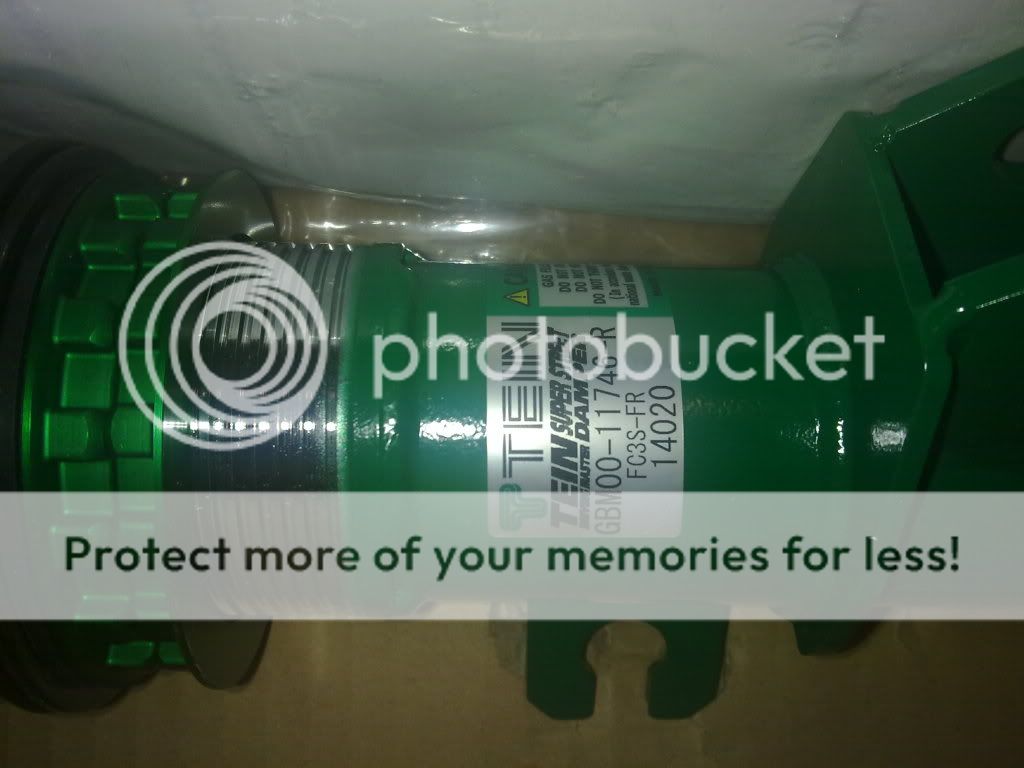
Set of teins
Sent a few pieces off to be chromed
About to get picked up on the towie
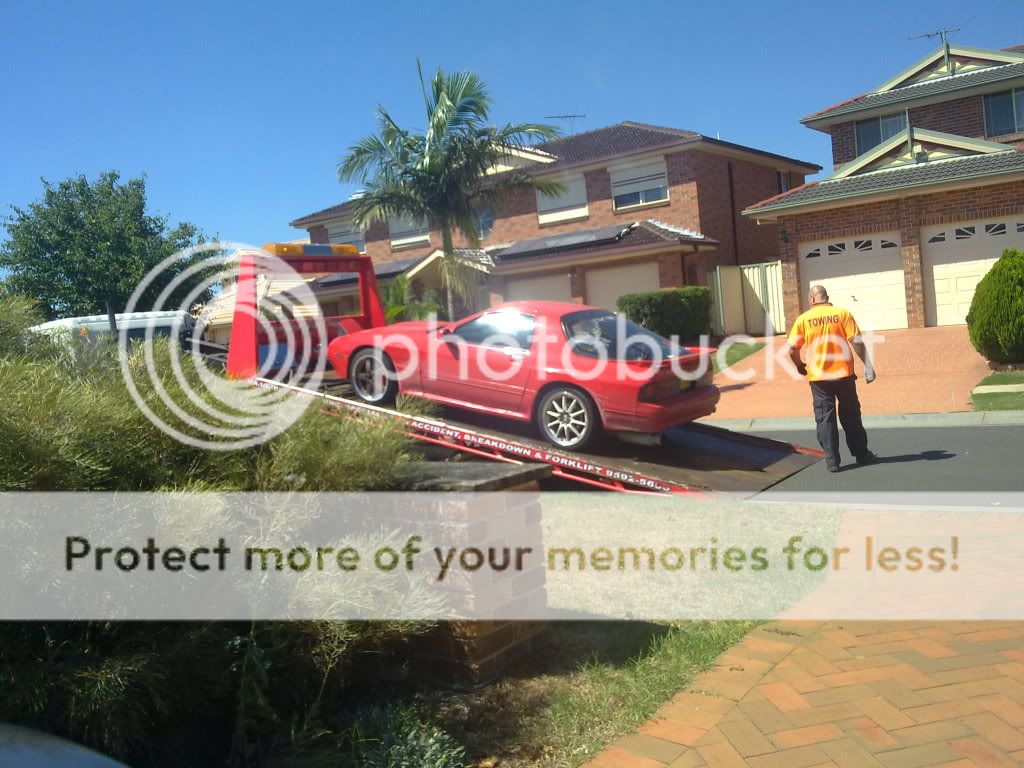
on the towie now off to VIS
Now its all up to the man troy
11-30-11, 02:57 PM
#4
Full Member
Thread Starter
iTrader: (1)
Join Date: Jul 2011
Location: Sydney, Australia
Posts: 138
Likes: 0
Received 0 Likes
on
0 Posts
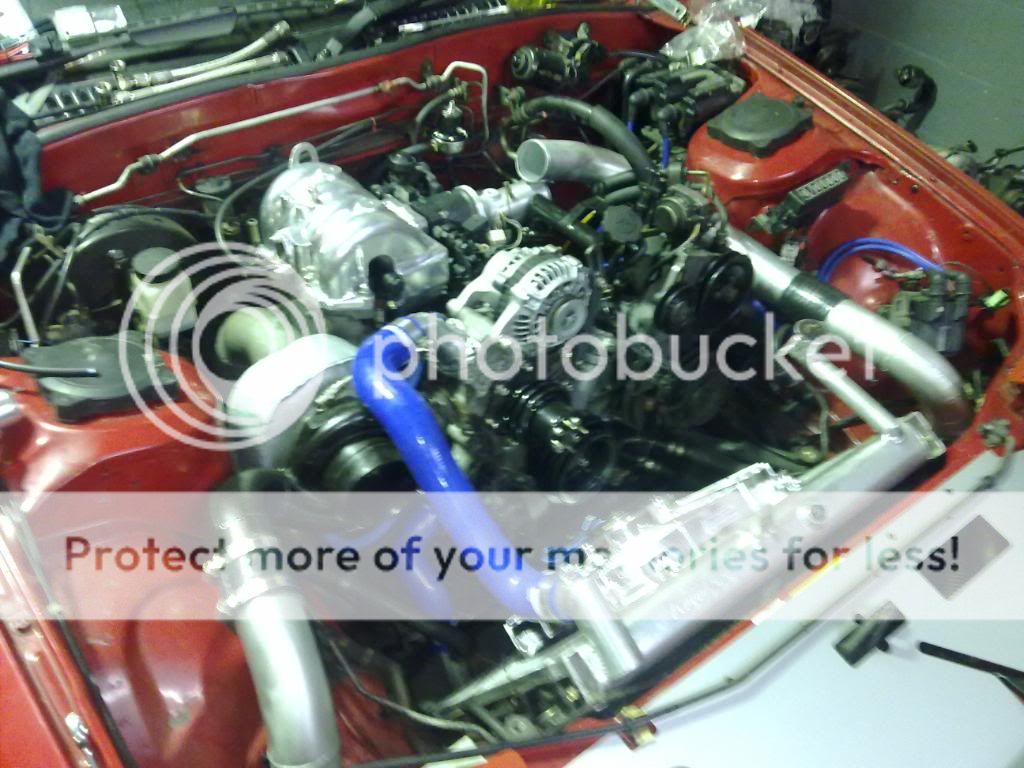
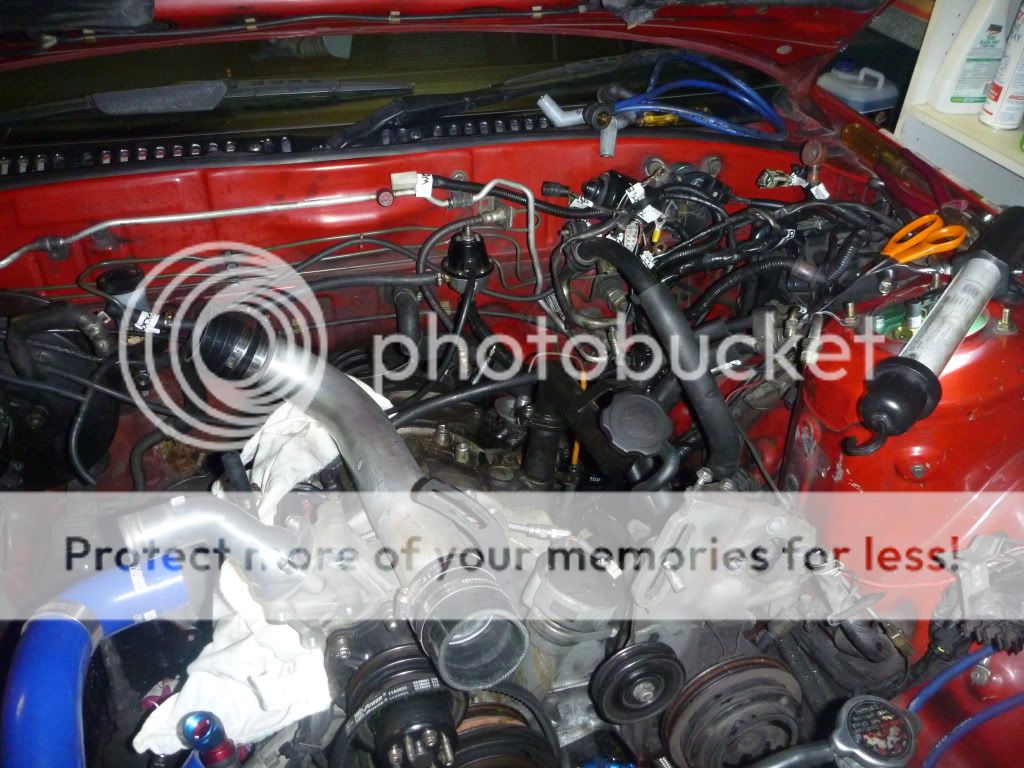
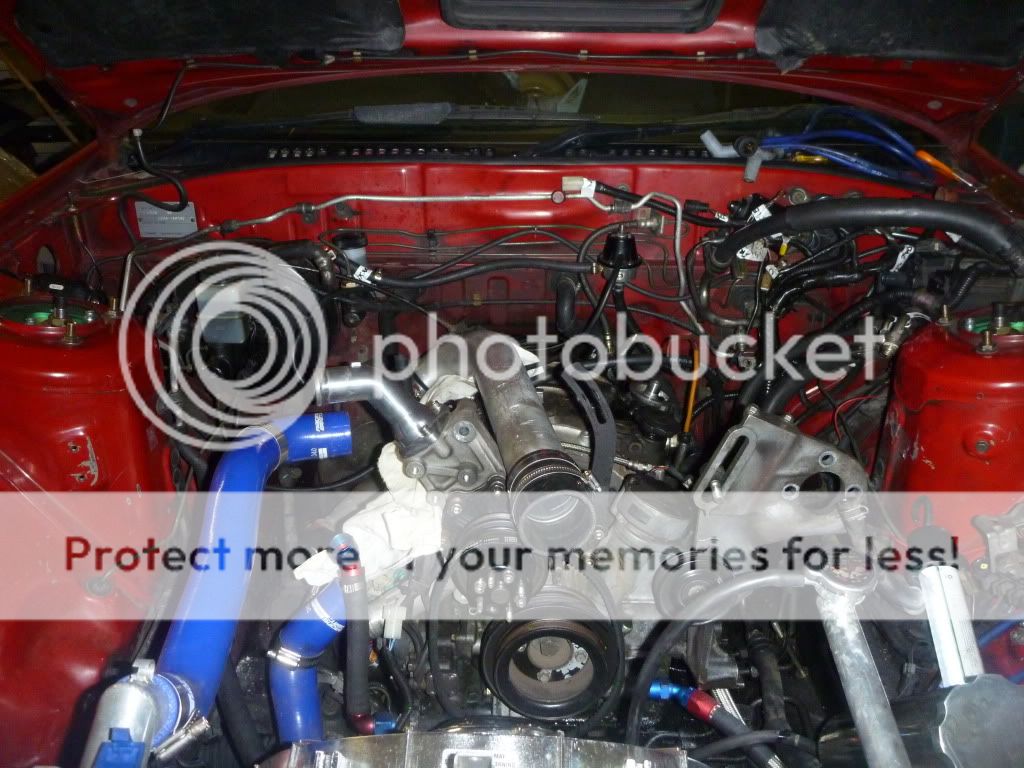
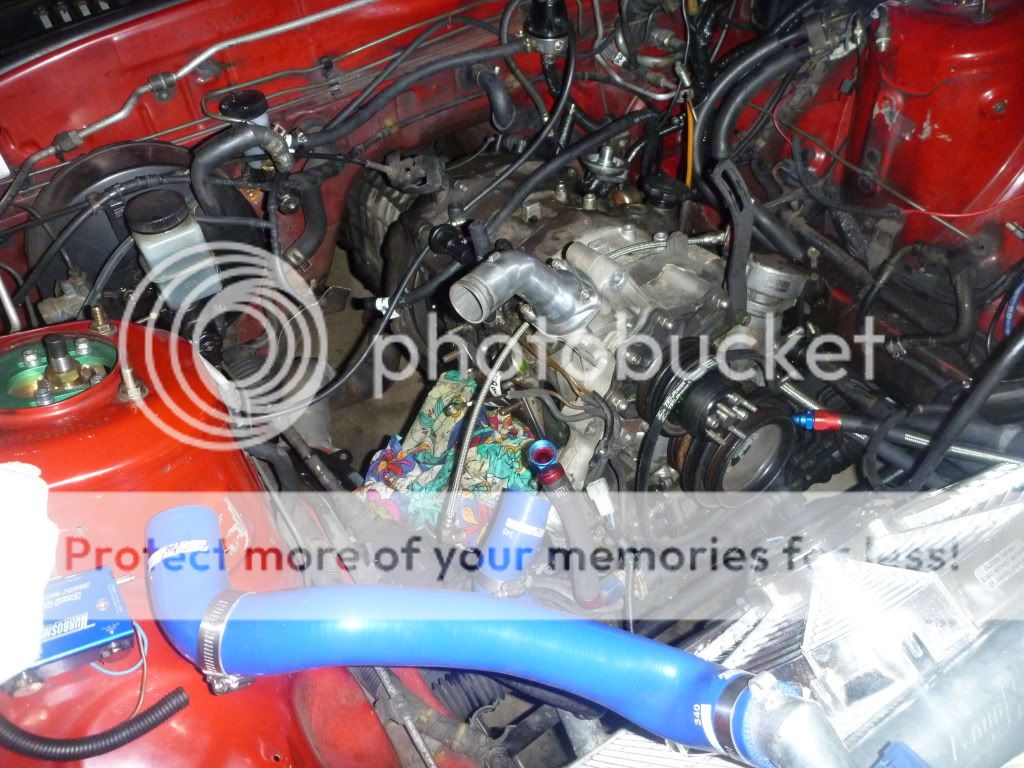
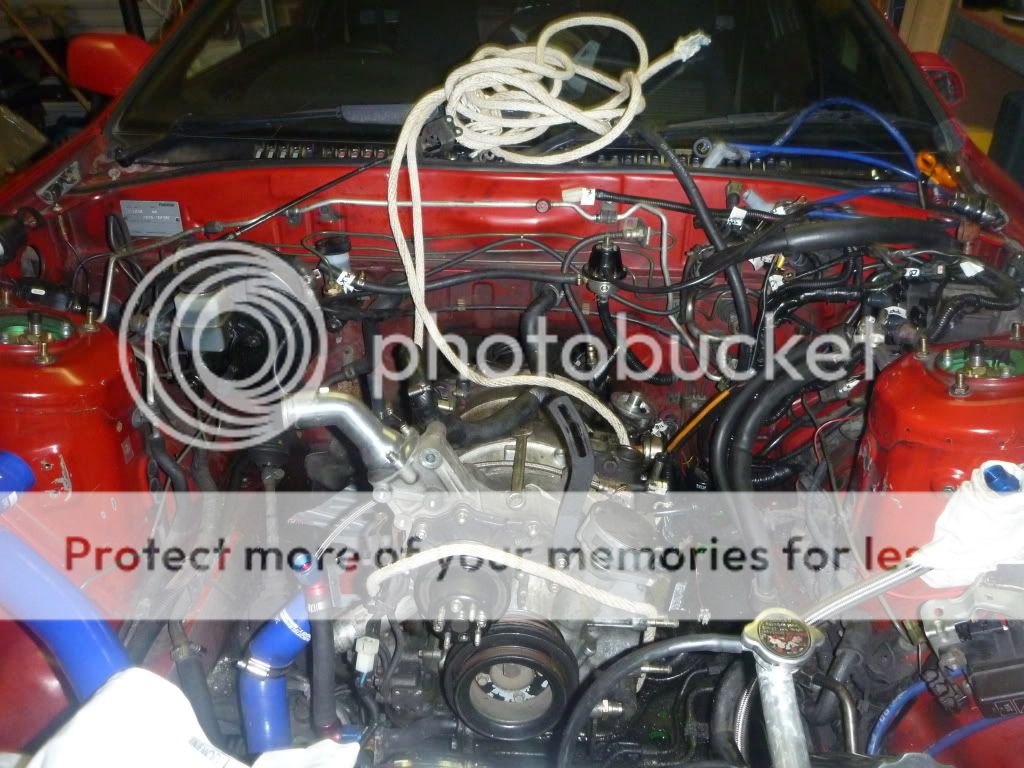
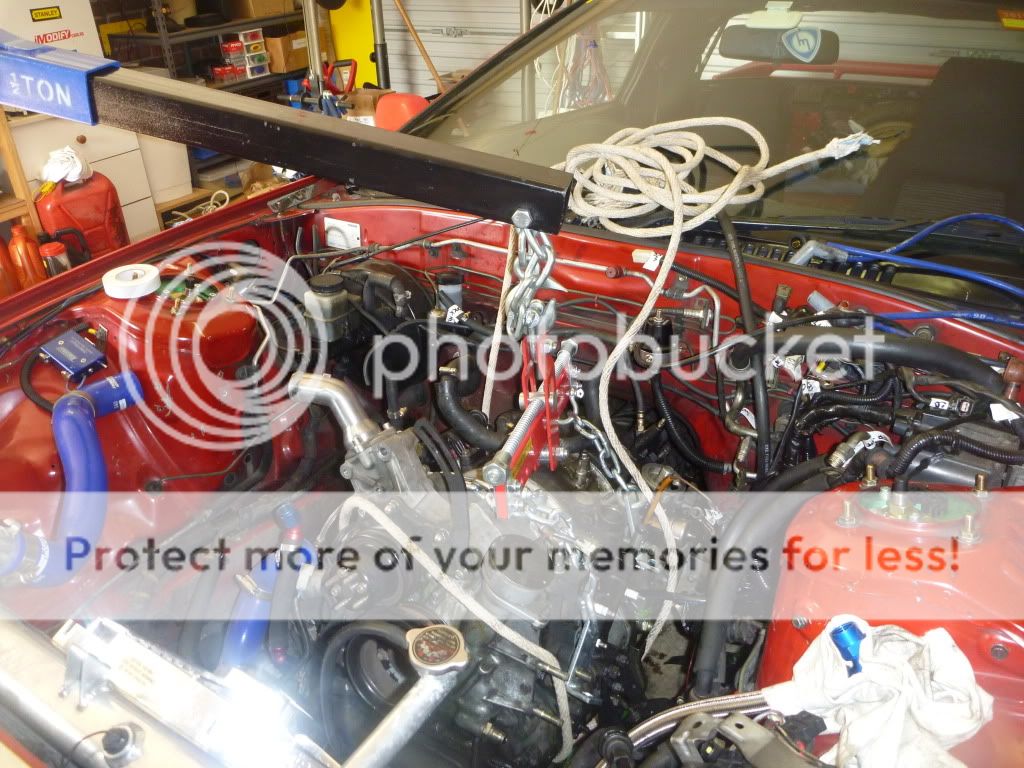
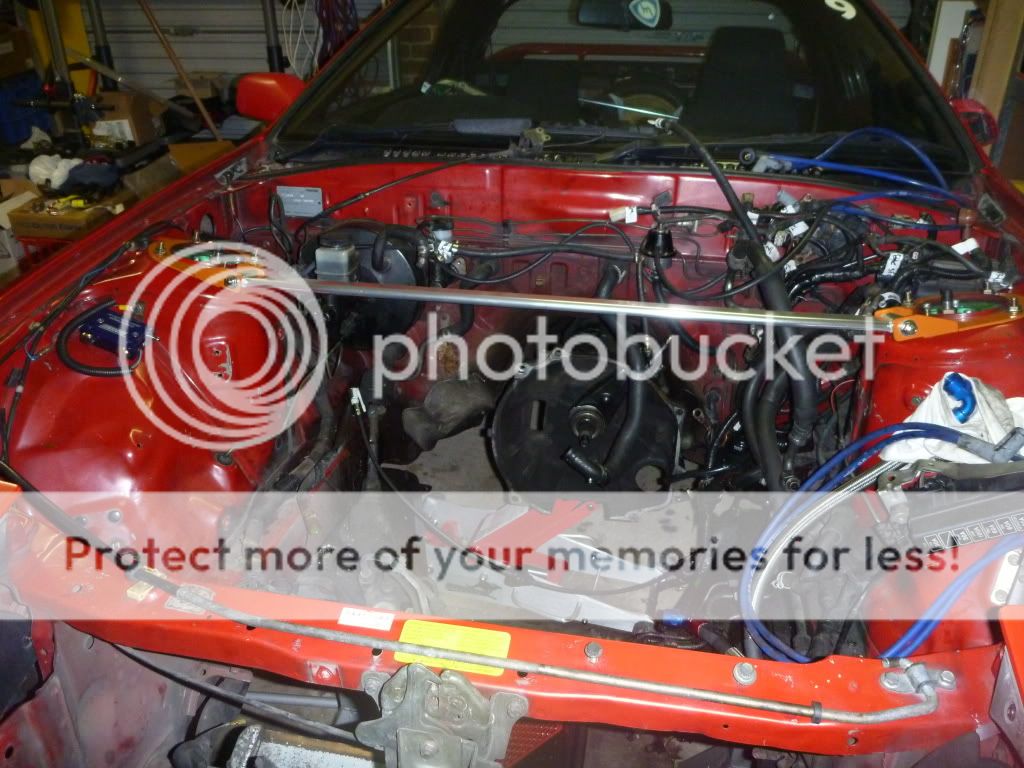
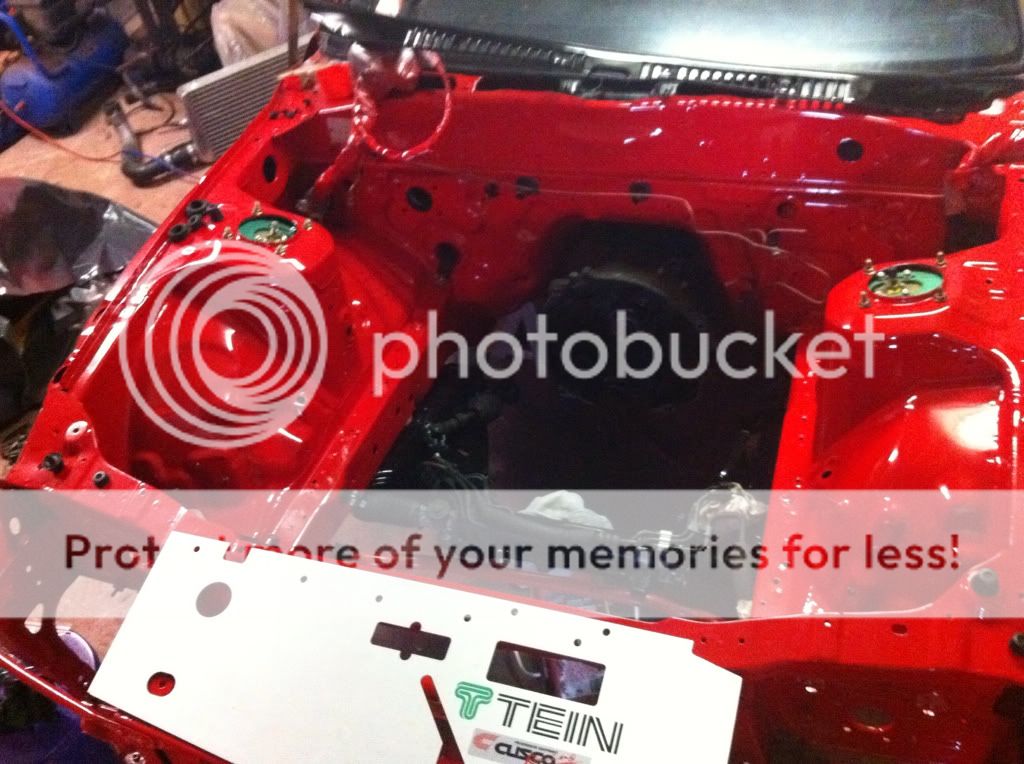
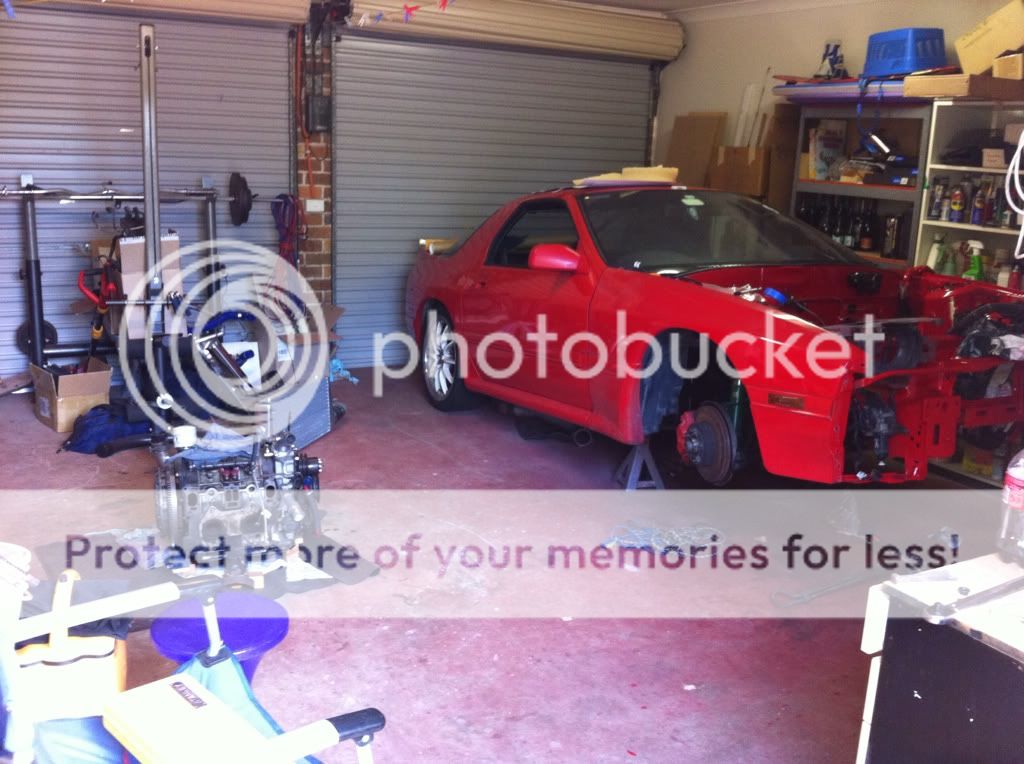
Engine is almost 100% done
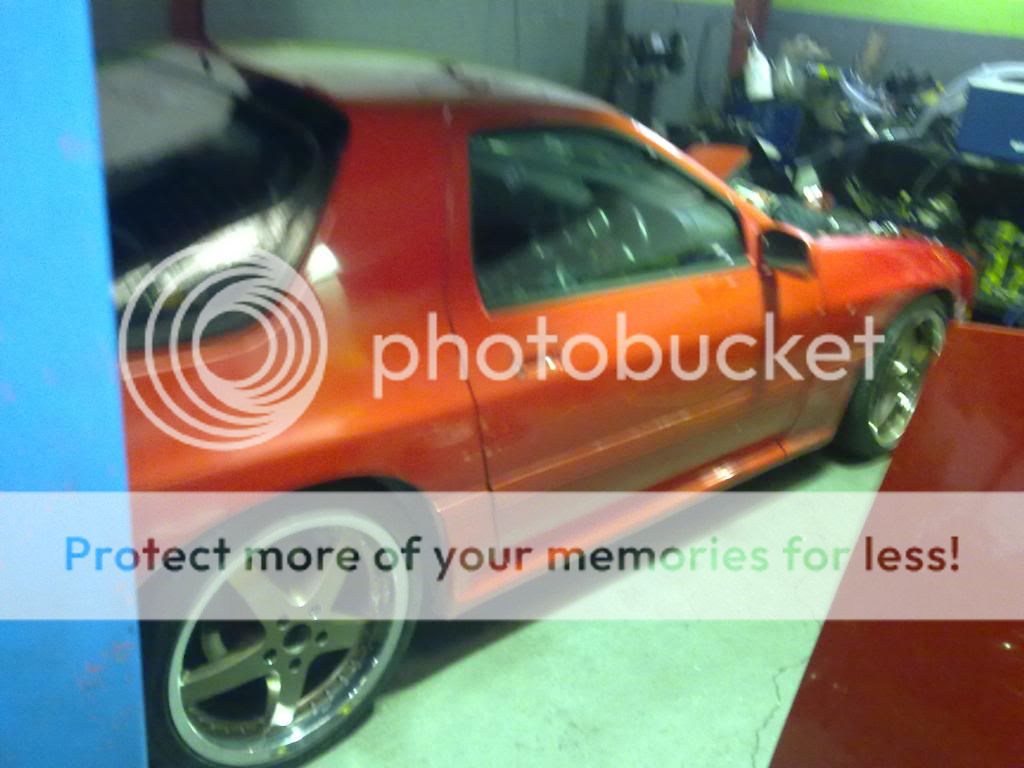
Photos dont do the coilovers justice, looks alot better and lower in real life

Uploaded with ImageShack.us

Uploaded with ImageShack.us
11-30-11, 03:05 PM
#5
Full Member
Thread Starter
iTrader: (1)
Join Date: Jul 2011
Location: Sydney, Australia
Posts: 138
Likes: 0
Received 0 Likes
on
0 Posts

Uploaded with ImageShack.us

Uploaded with ImageShack.us

Uploaded with ImageShack.us
Put in a new radiator overflow bottle

Uploaded with ImageShack.us

Uploaded with ImageShack.us
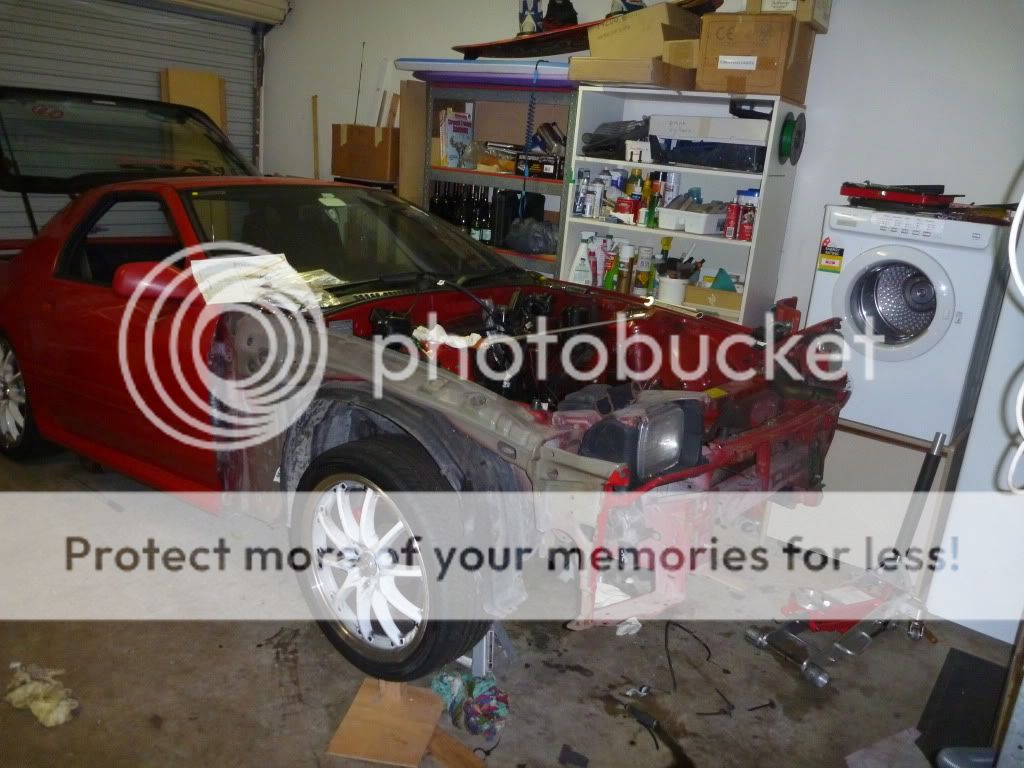
Ok so that was how the car sat for about a year. A few track days later and I wanted more power. At the track I had also had the car running quite low on oil due to a leak that came up whilst on the track. I then decided it would be better to rebuild now rather than when I blow a seal or something.
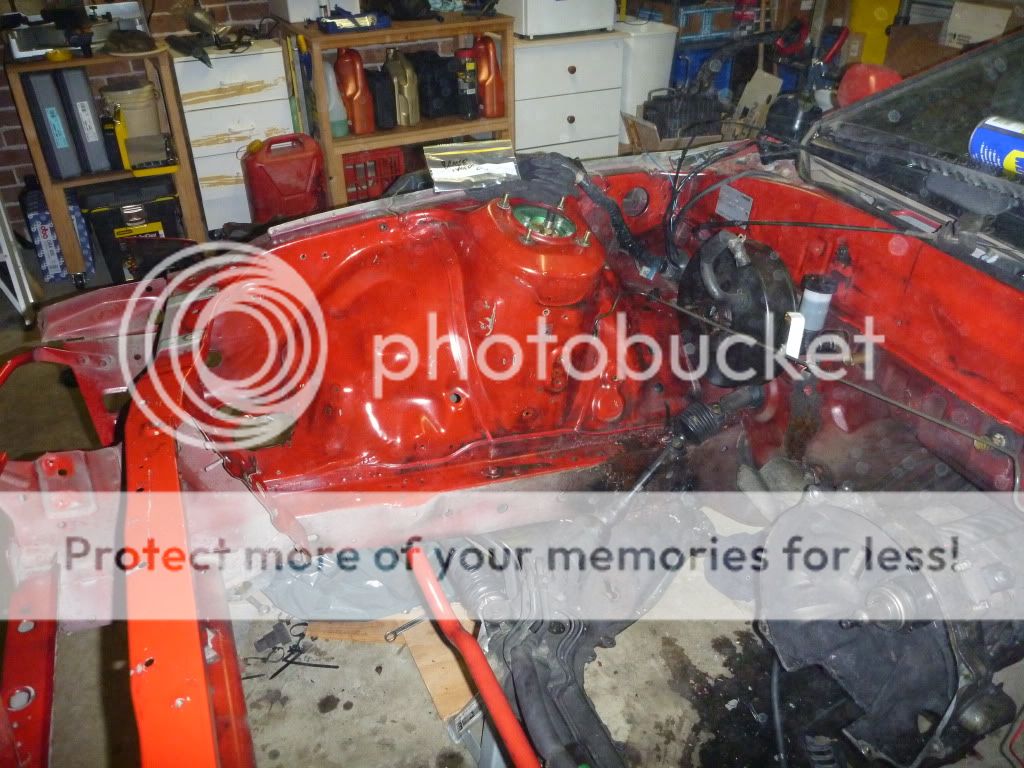
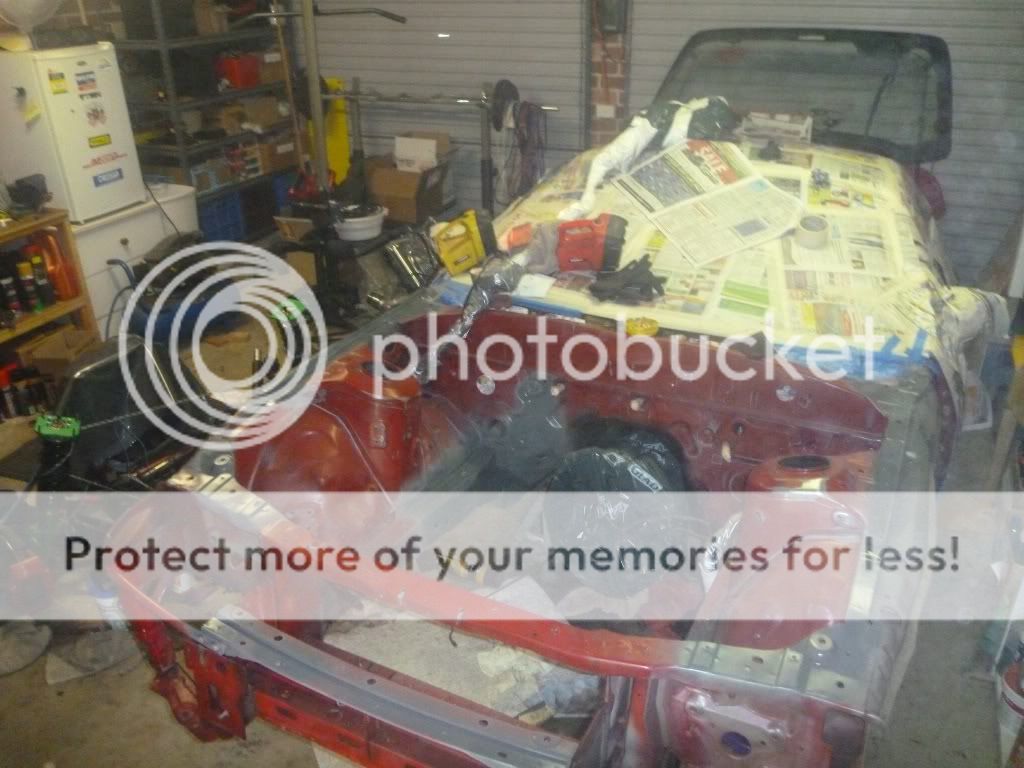
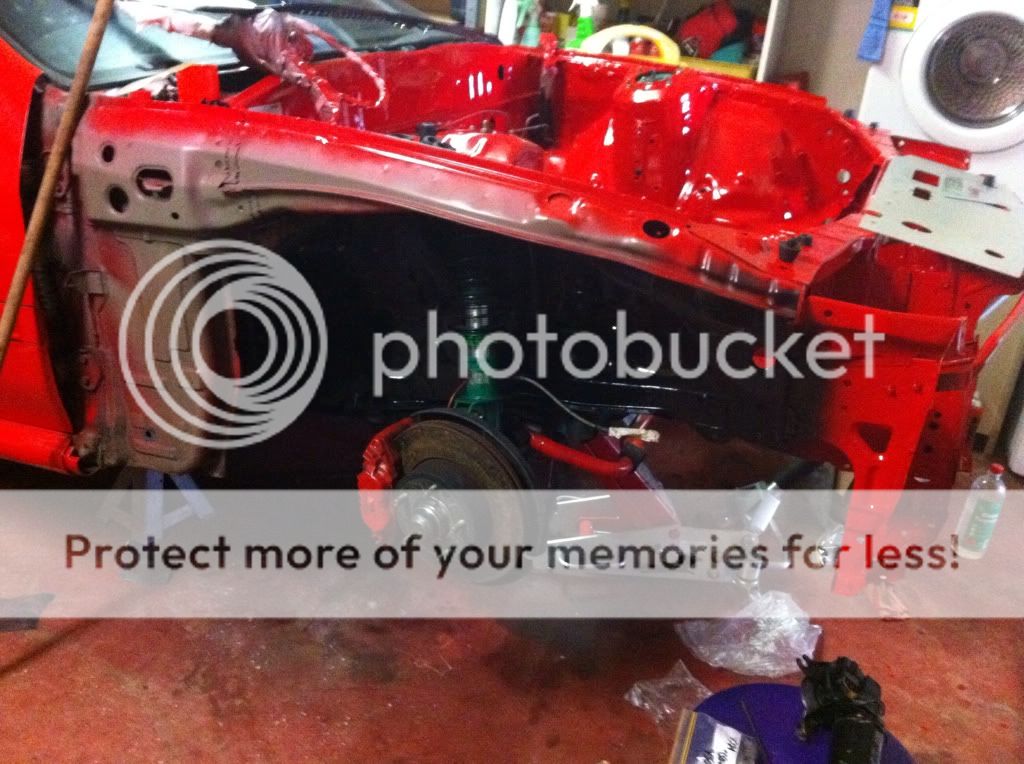
So I decide to strip the engine bay.
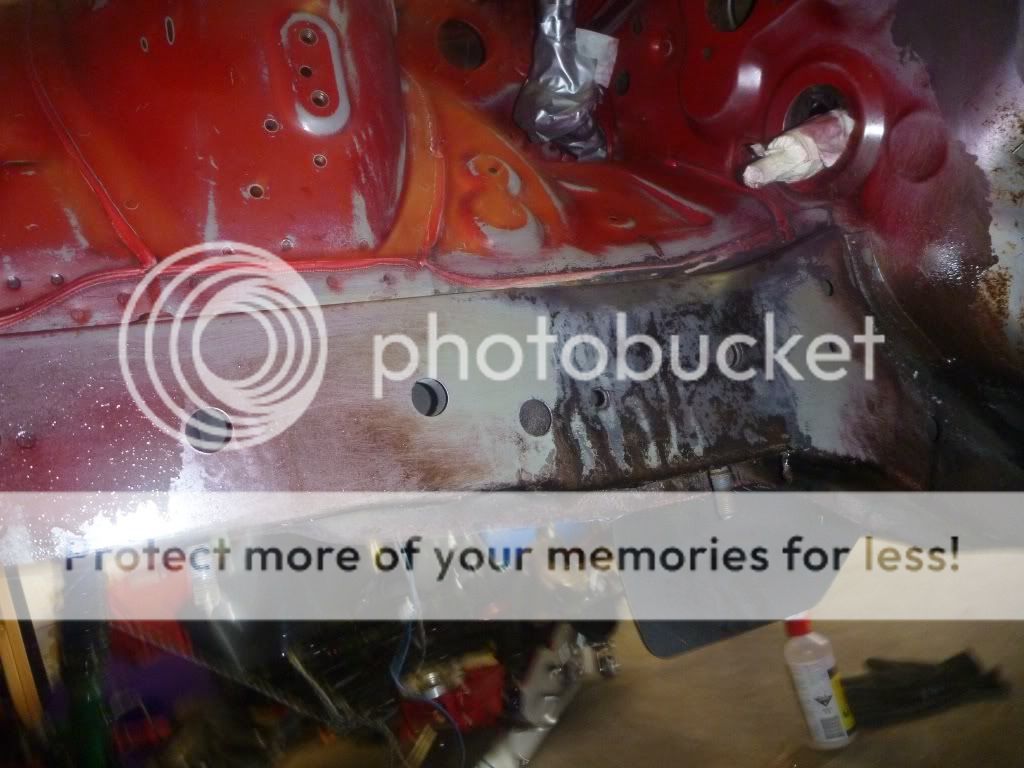
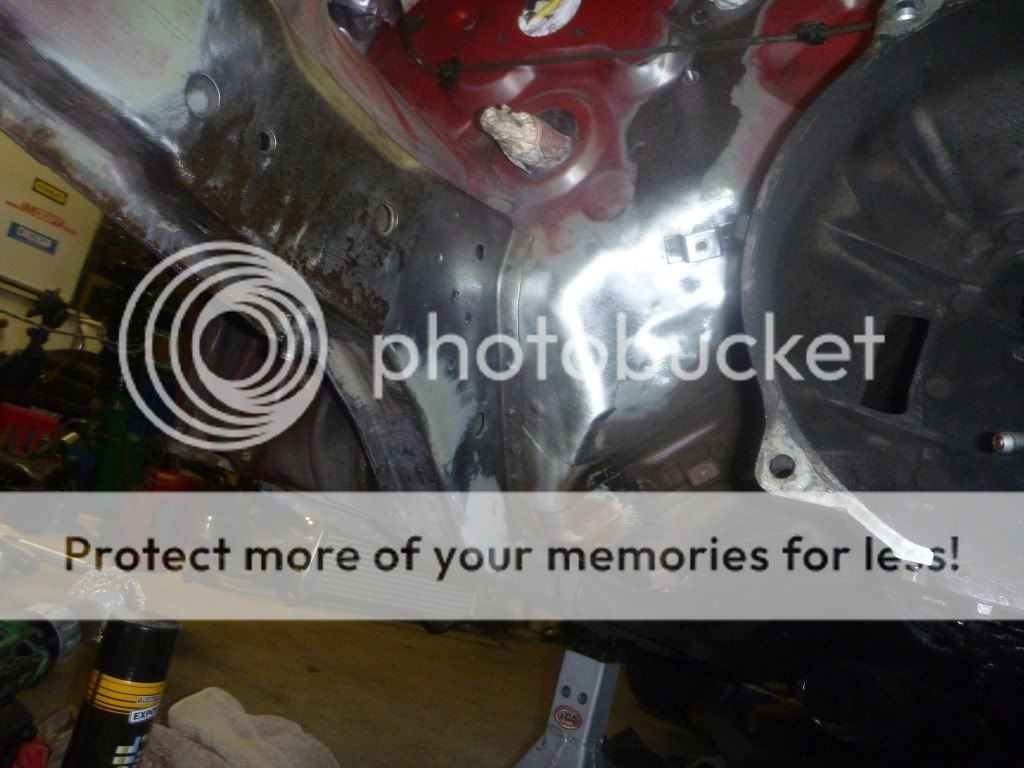
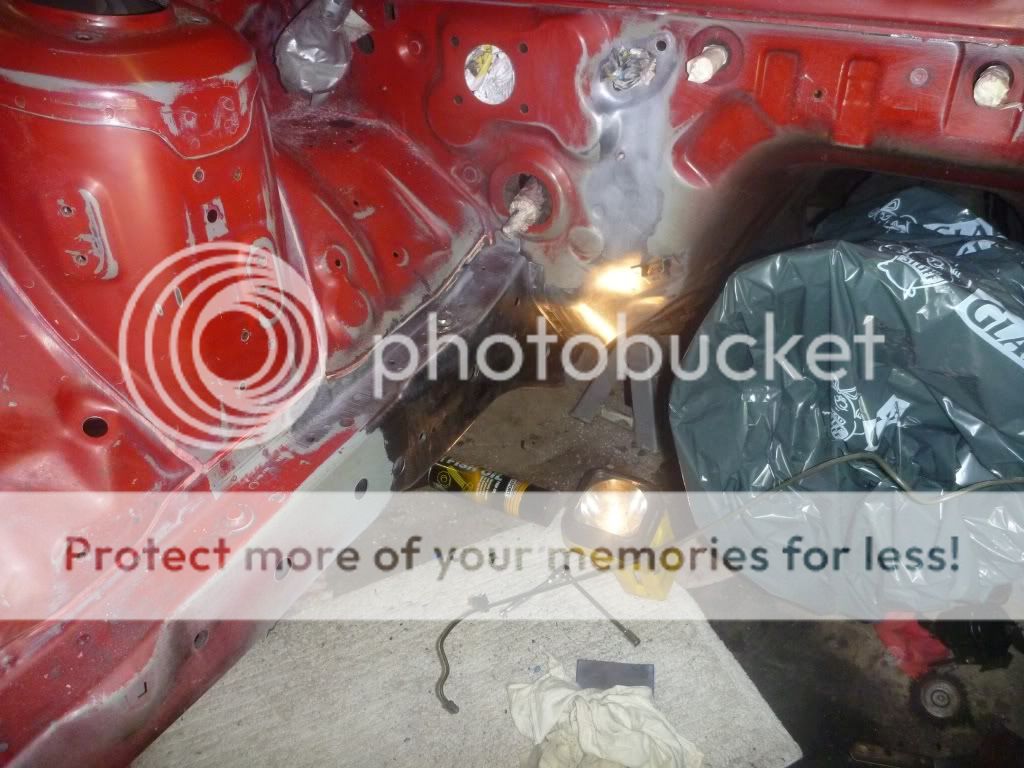
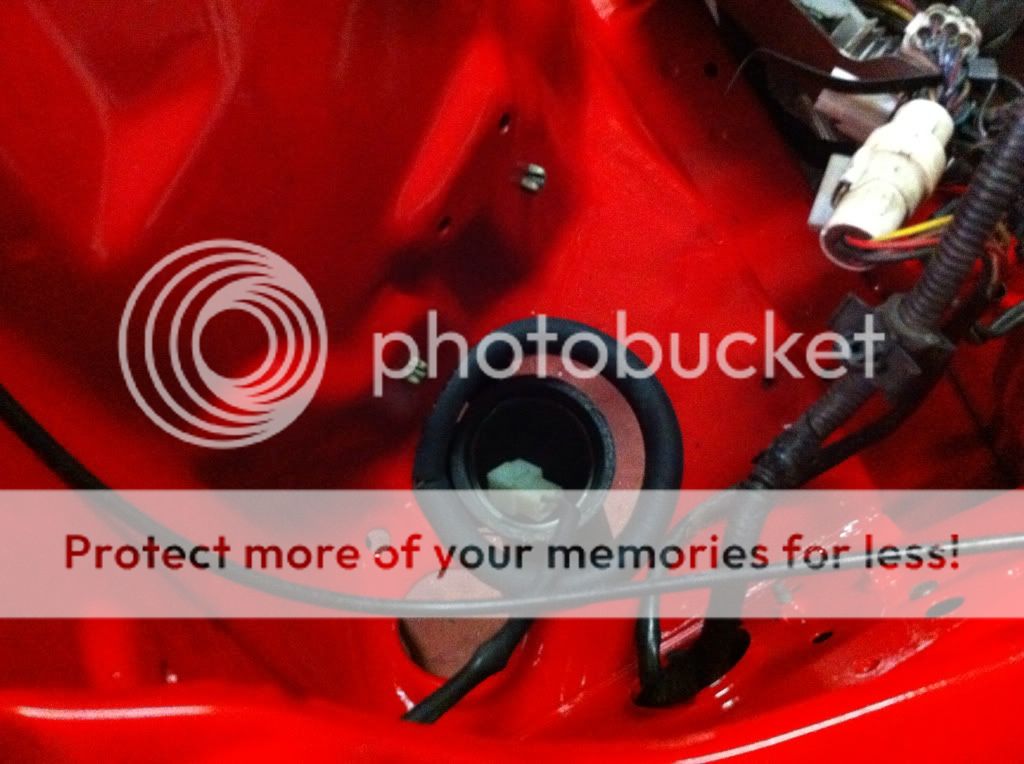
It was whilst stripping I noticed some surface rust on the chassis rail and on the firewall. This was all due to a leaking clutch master cylinder, one part that I was lazy about changing and just kept topping the fluid up. Never again!!
Anyway I took all the rust spots back to bare metal and removed all the rust with a wire brush drill bit.
11-30-11, 03:09 PM
#6
Full Member
Thread Starter
iTrader: (1)
Join Date: Jul 2011
Location: Sydney, Australia
Posts: 138
Likes: 0
Received 0 Likes
on
0 Posts
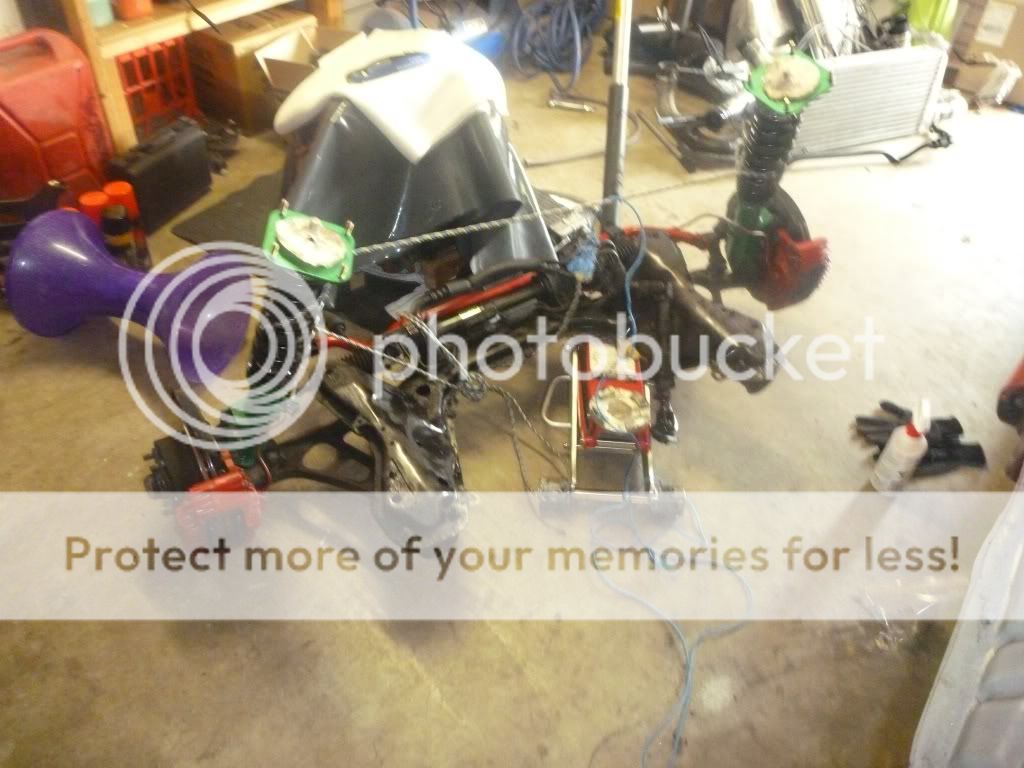
Time for some more pics..
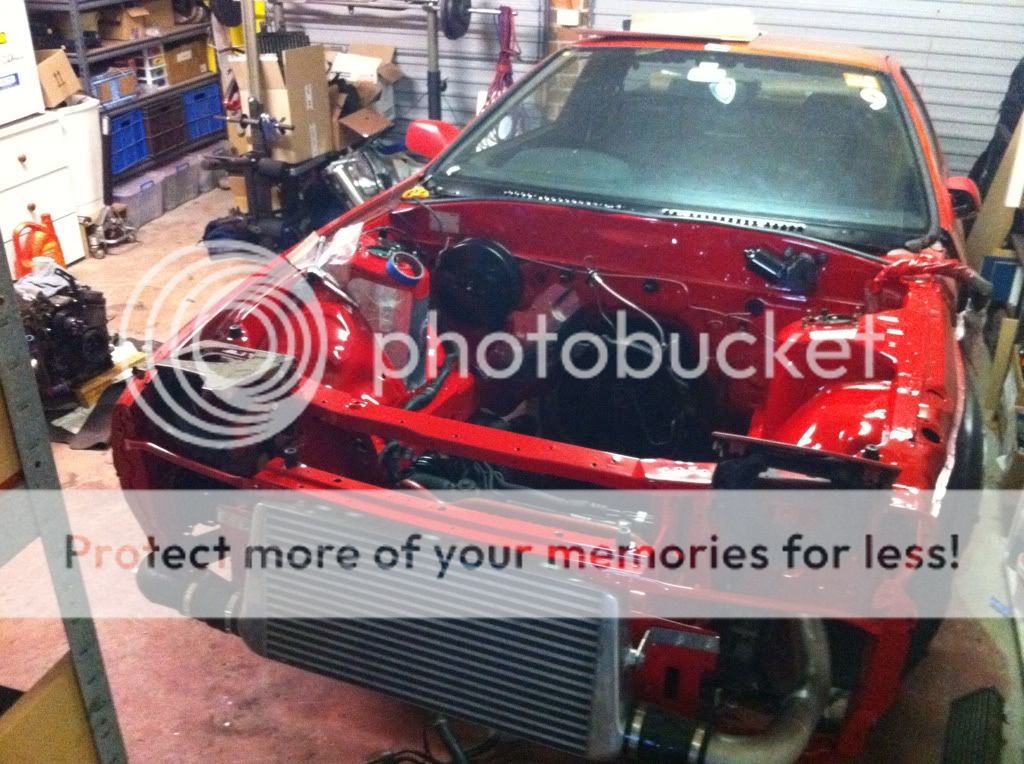
First stages of removing the engine.
Almost ready to come out.
No I didn't pull it out with rope lol, it's just incase.
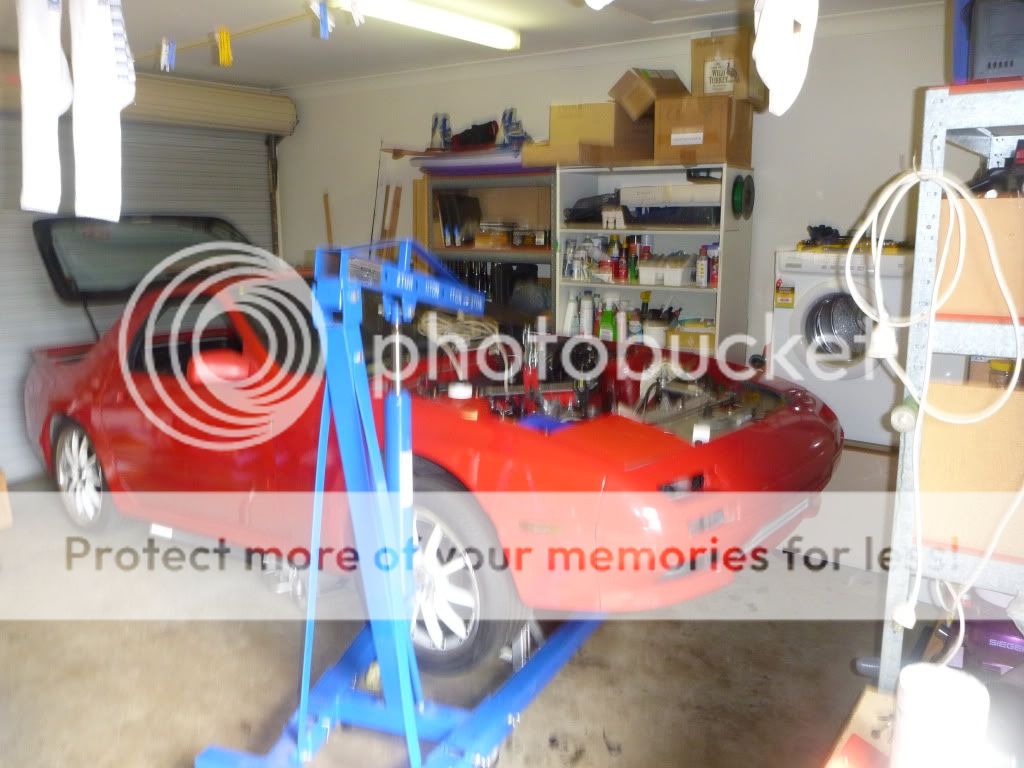
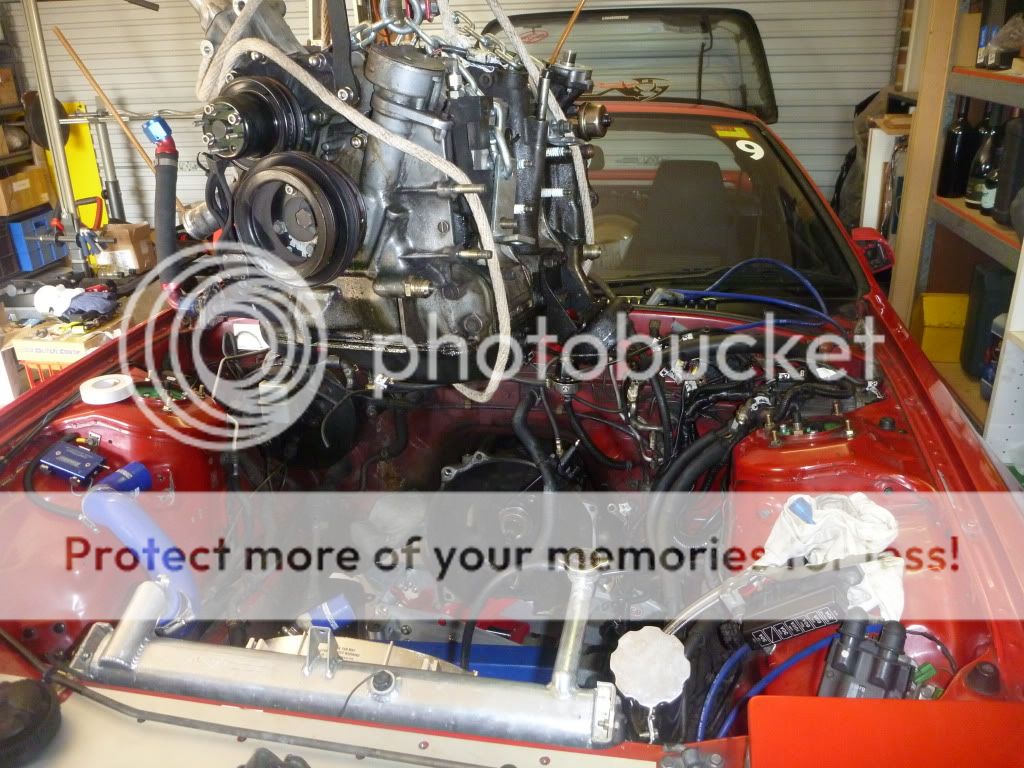
Out she comes
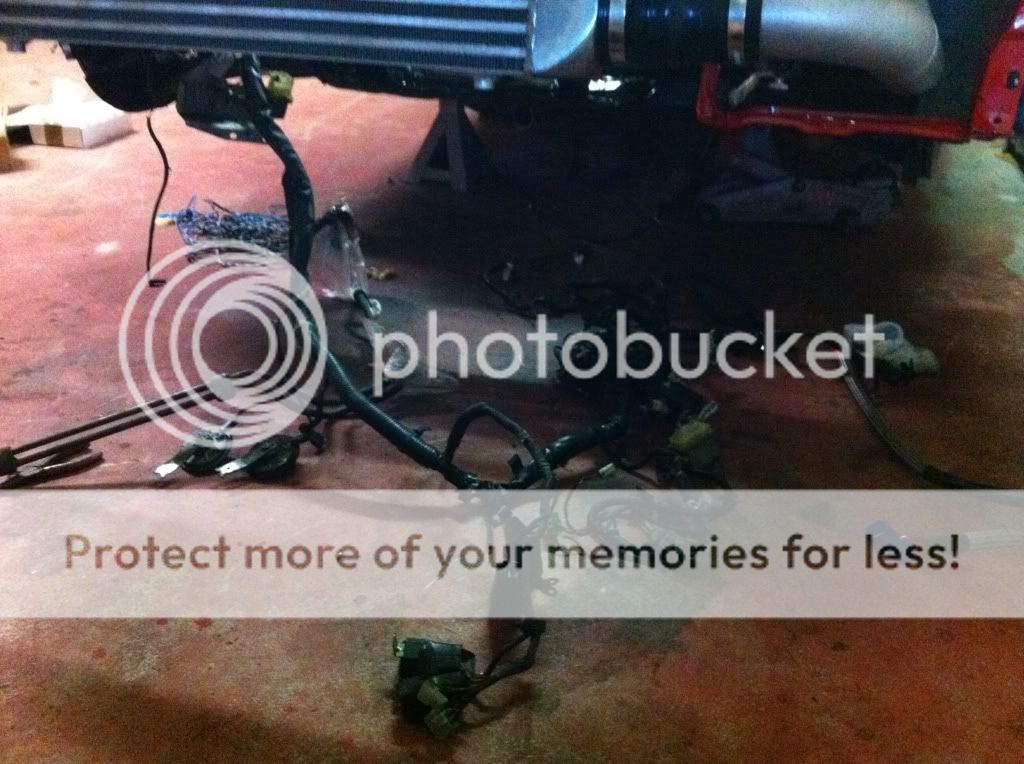
Time to remove all this now..
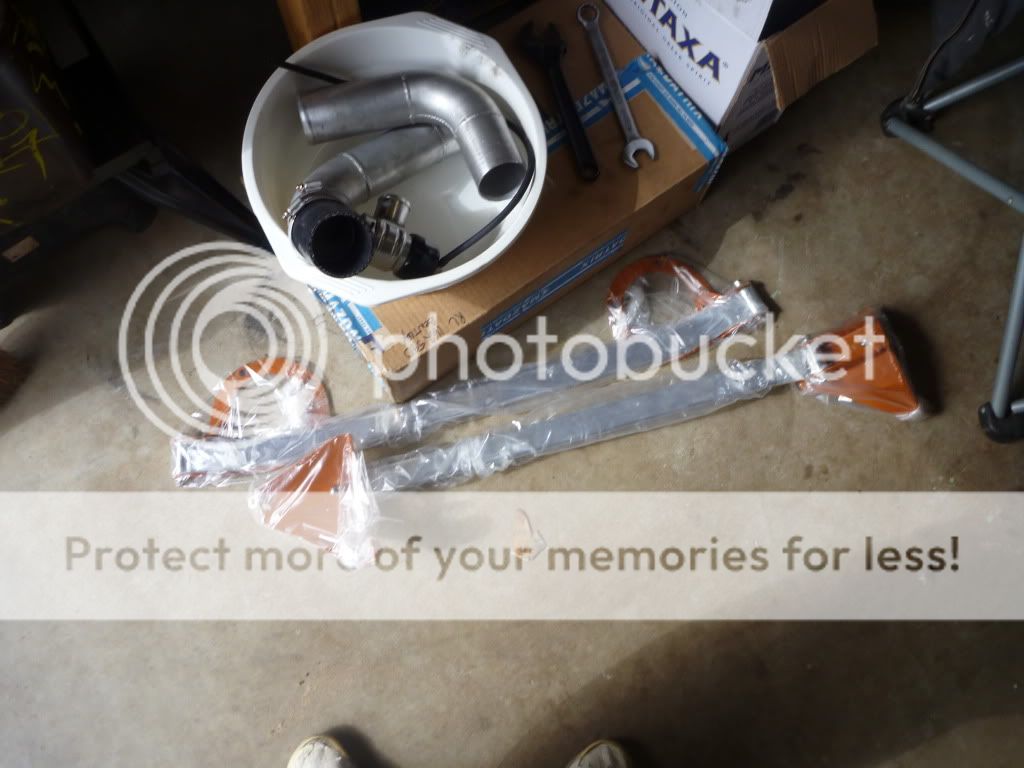
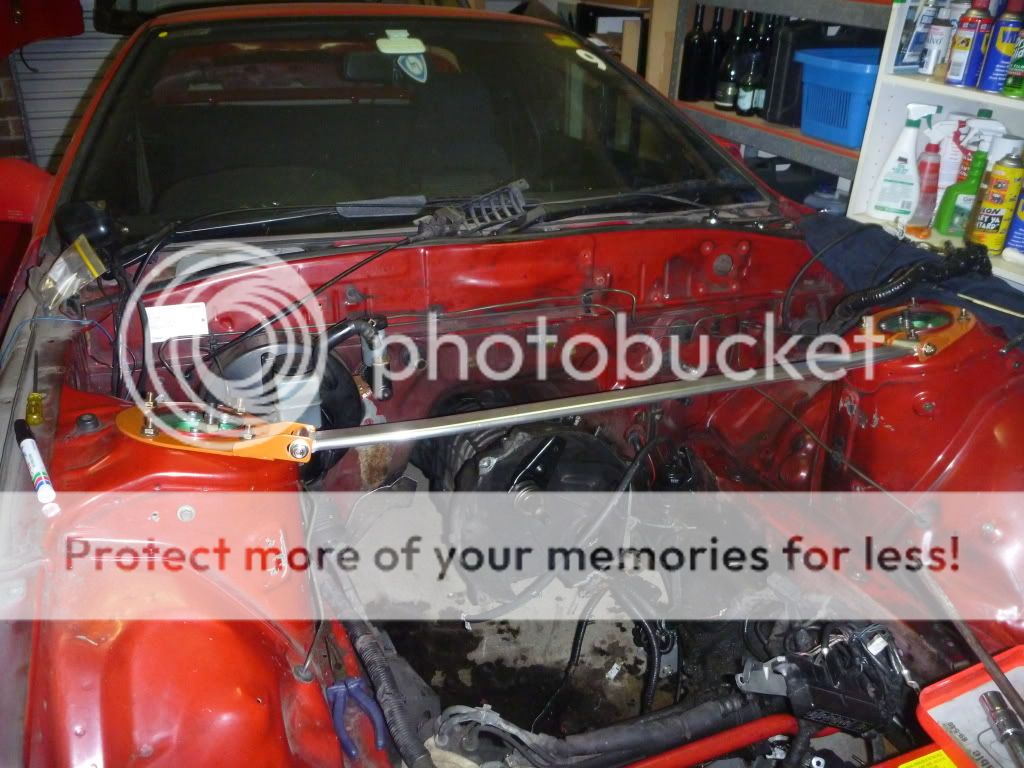
Strut braces came so they had to go on for a test fit lol

First stages of removing the engine.
Almost ready to come out.
No I didn't pull it out with rope lol, it's just incase.
Out she comes
Time to remove all this now..
Strut braces came so they had to go on for a test fit lol
Trending Topics
11-30-11, 03:15 PM
#8
Full Member
Thread Starter
iTrader: (1)
Join Date: Jul 2011
Location: Sydney, Australia
Posts: 138
Likes: 0
Received 0 Likes
on
0 Posts
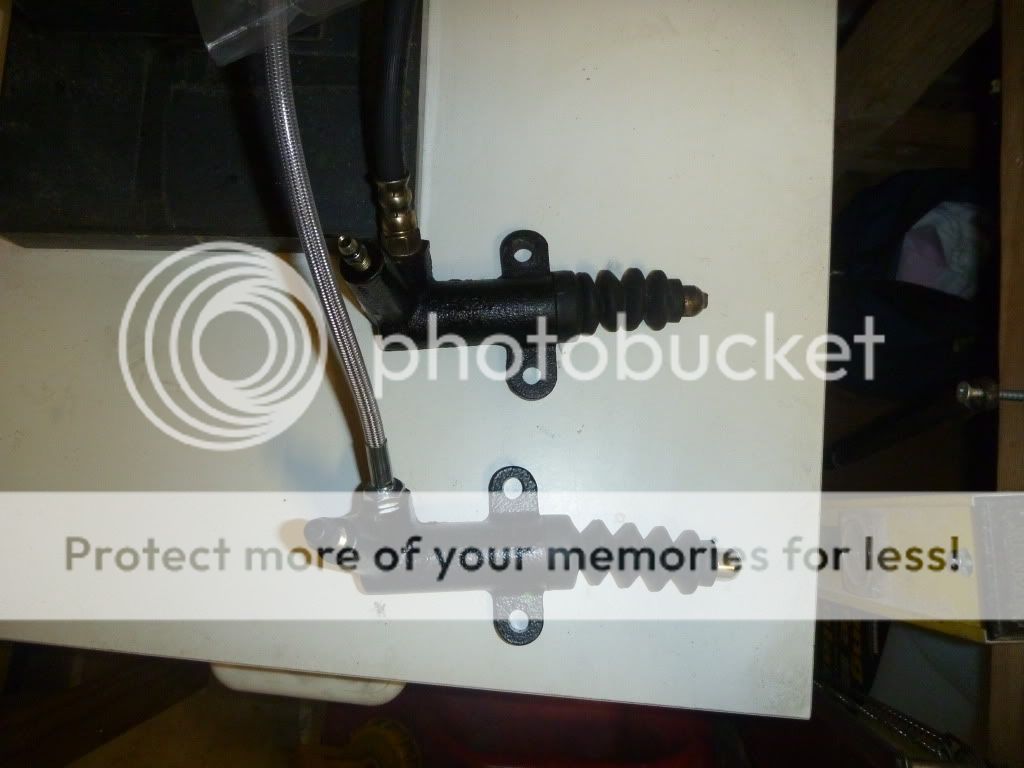
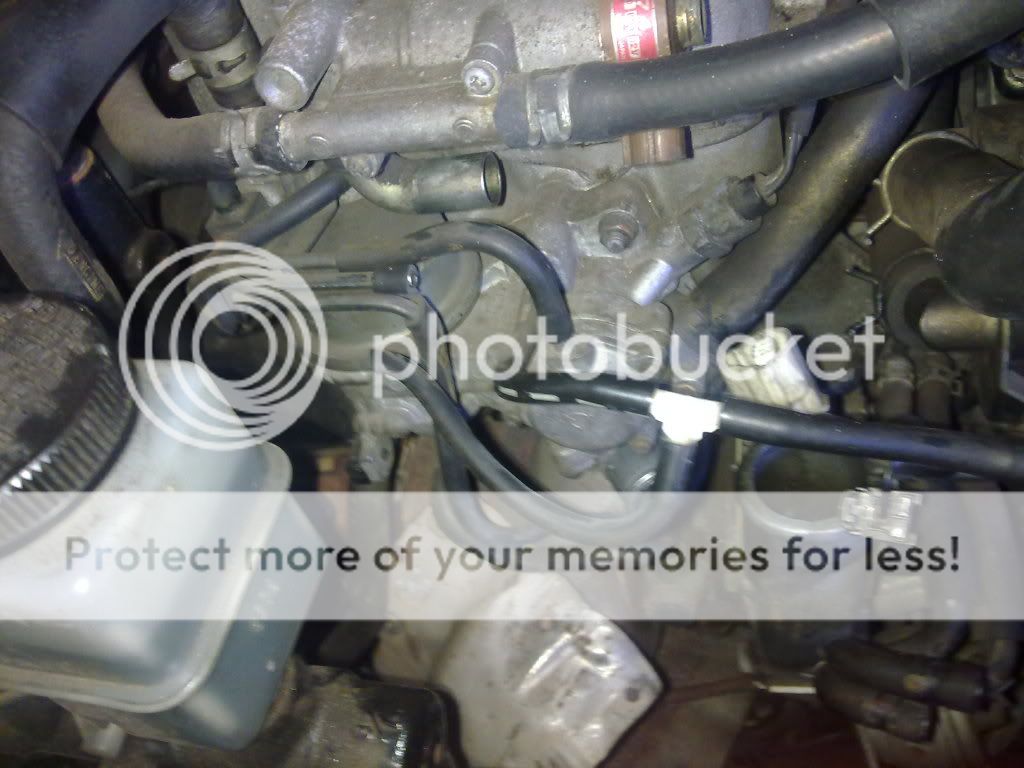
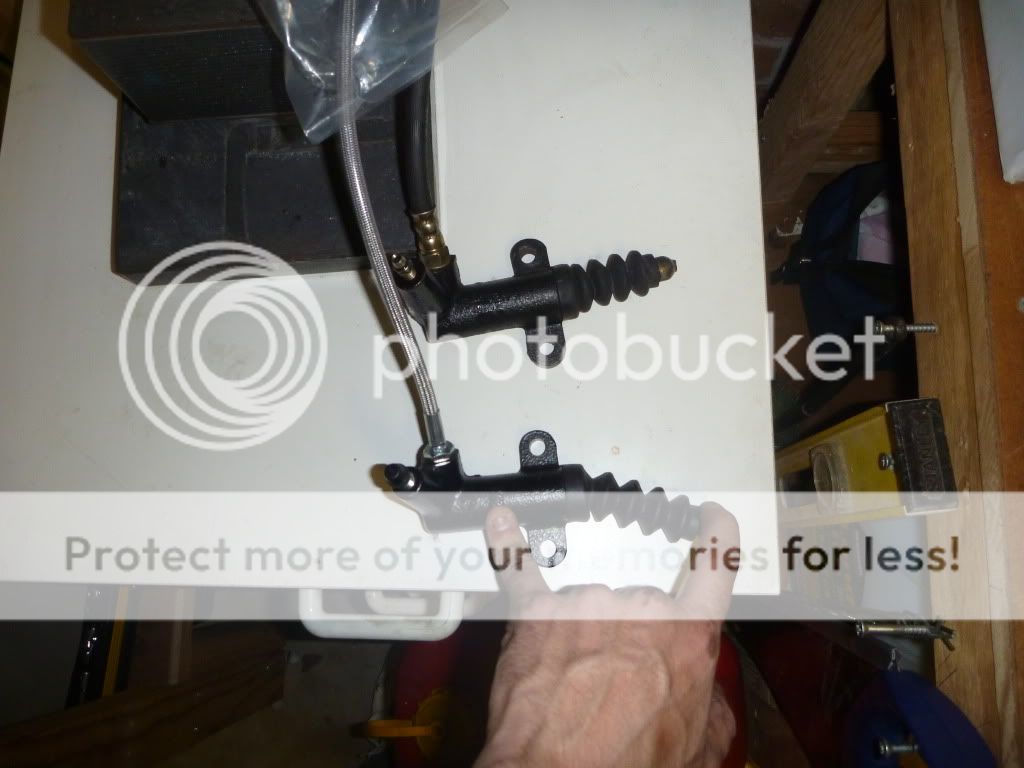
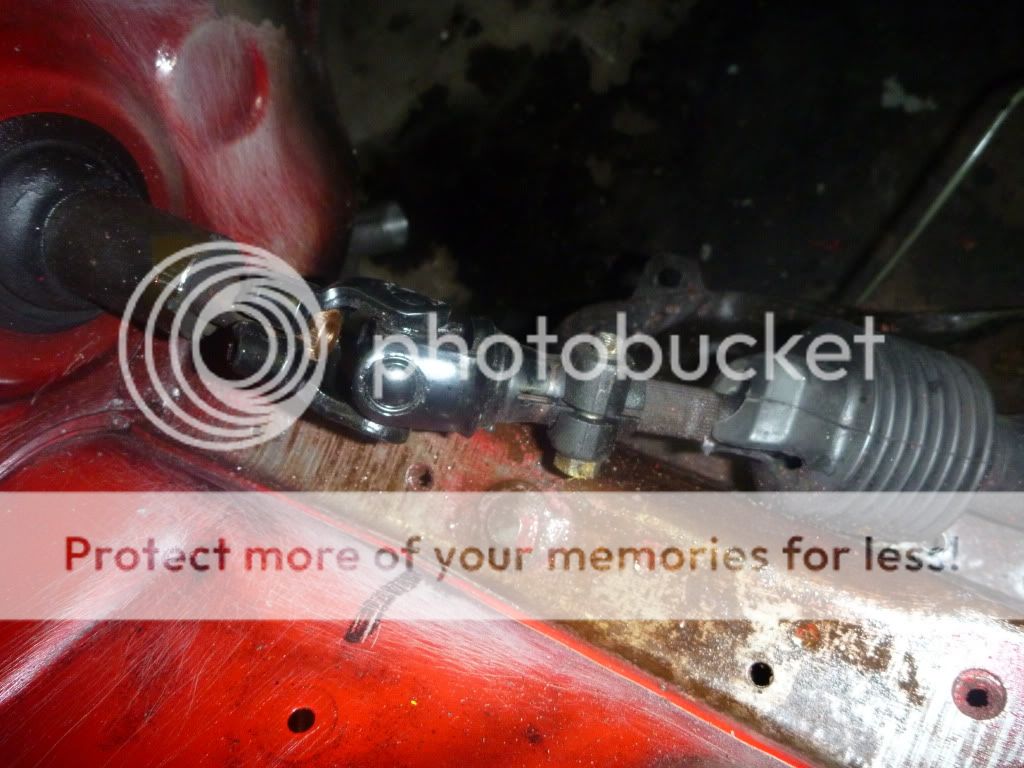
The bottom one is a feed (fujita engineering), the top is stock.
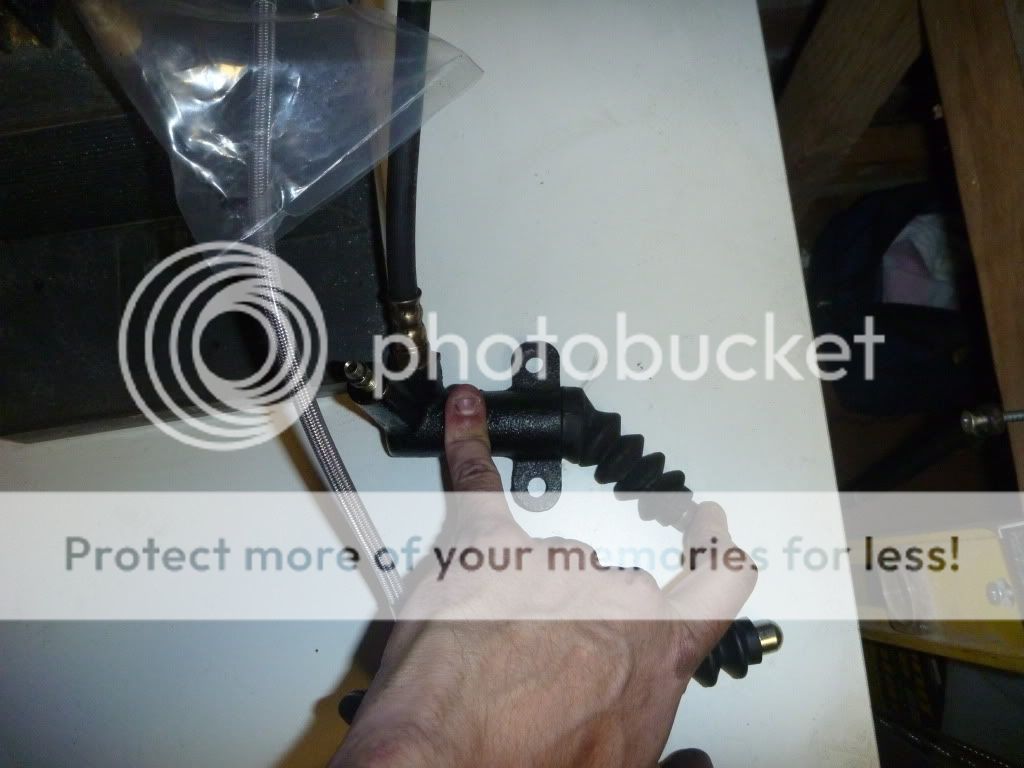
The piston rod is alot smaller in the stock one.
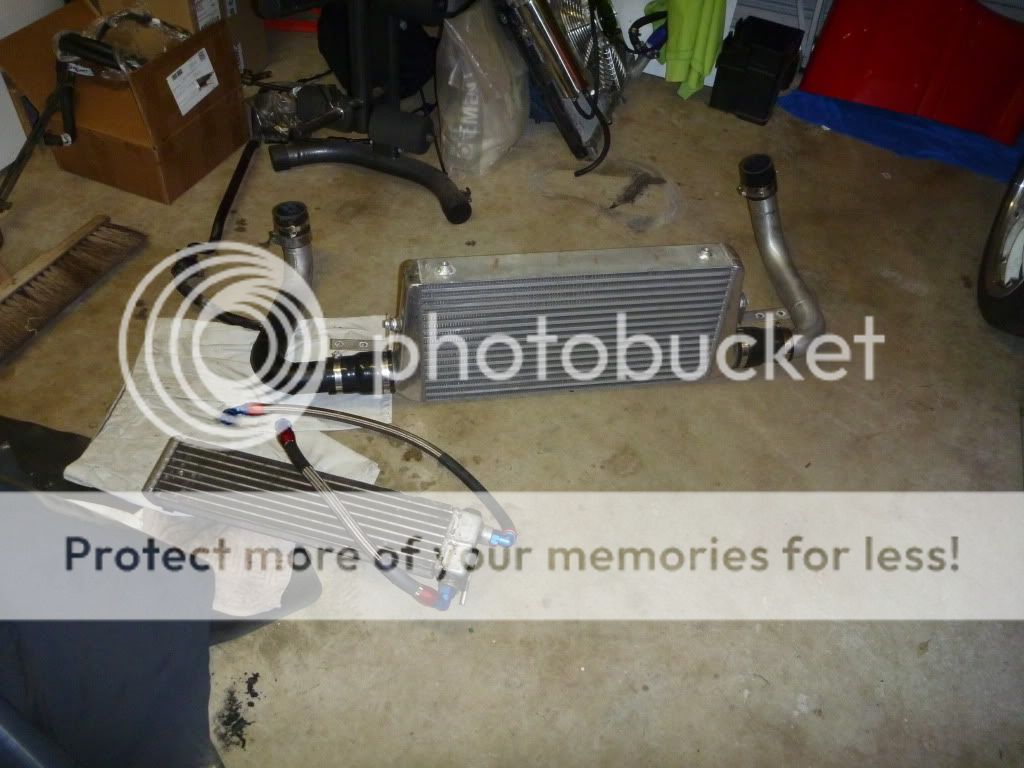
Radiator setup

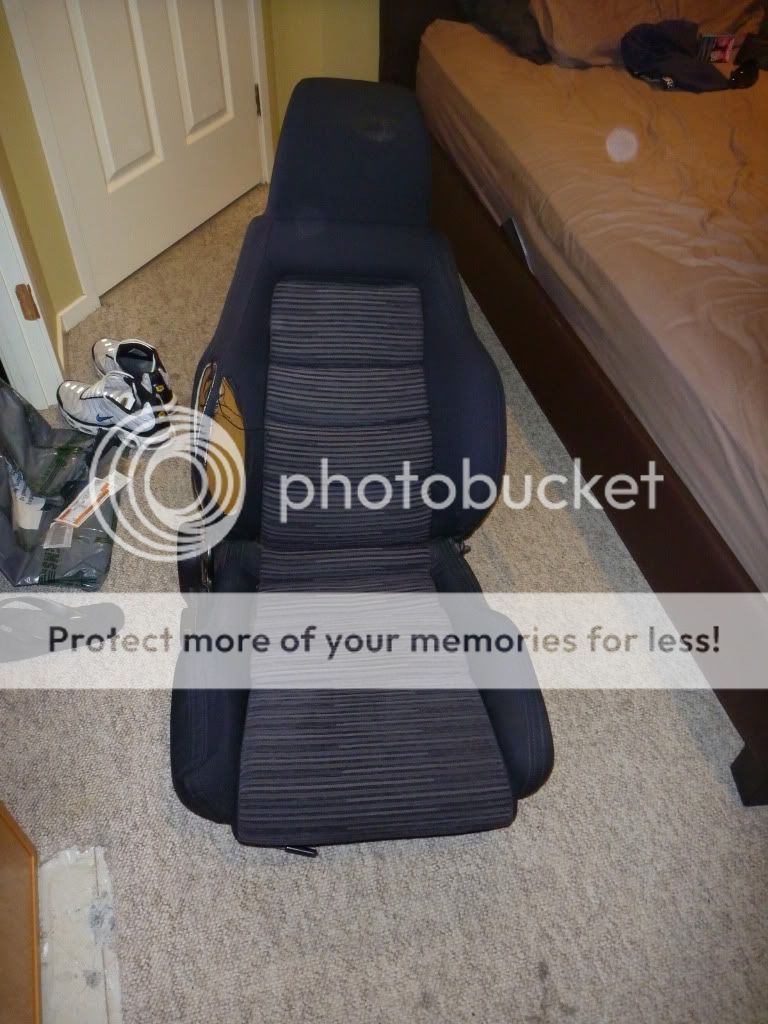
Now to recover my torn seats
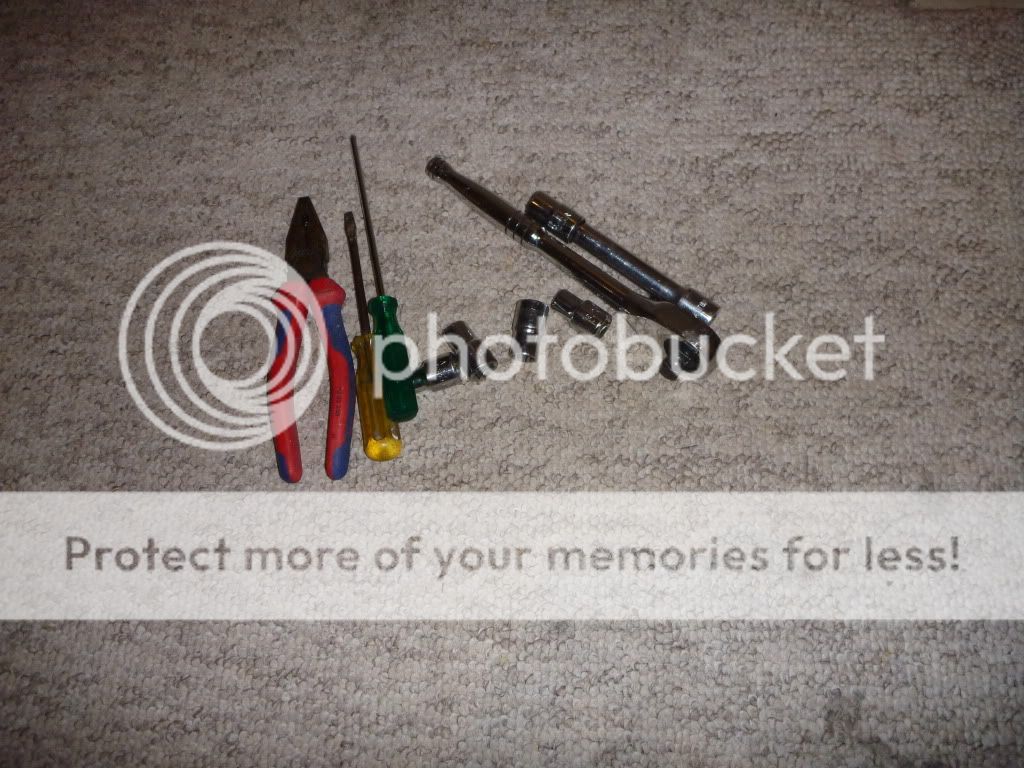
Tools for the job
Wish I hadn't removed the Original cover off the base section
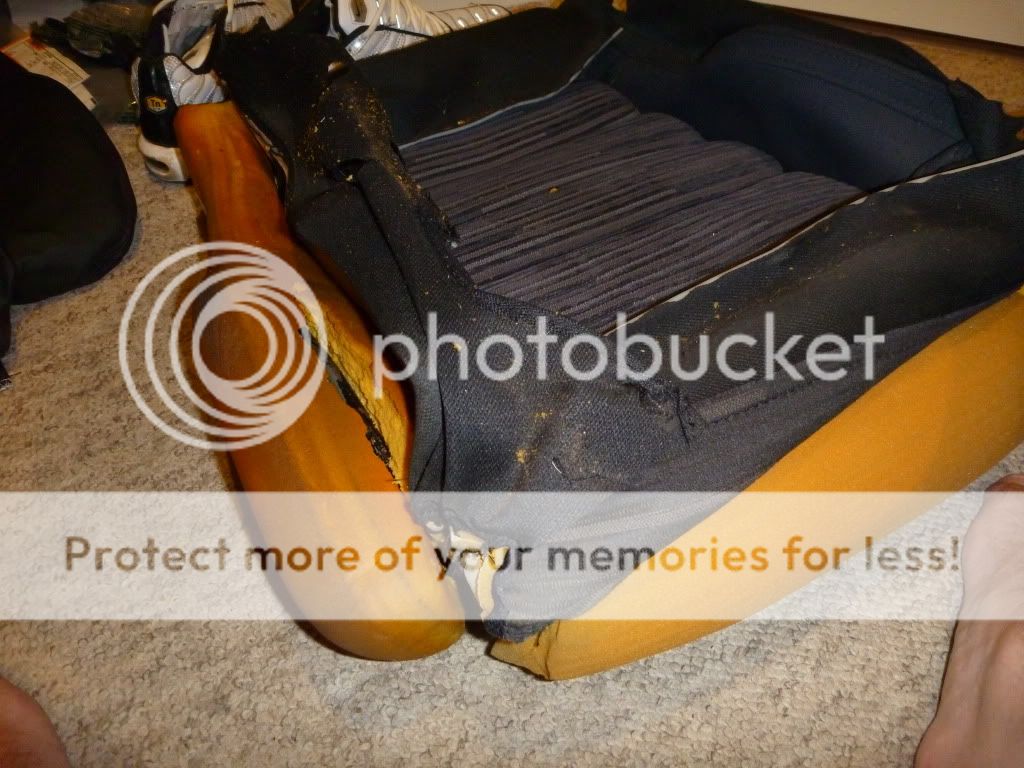
All apart
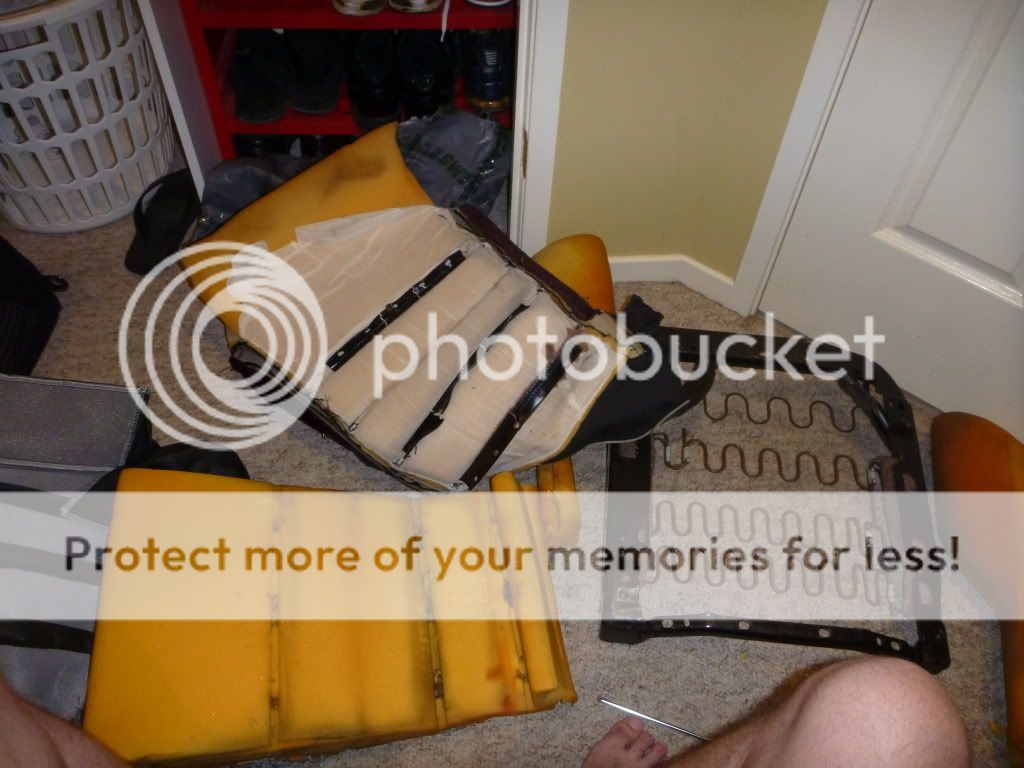
Back together
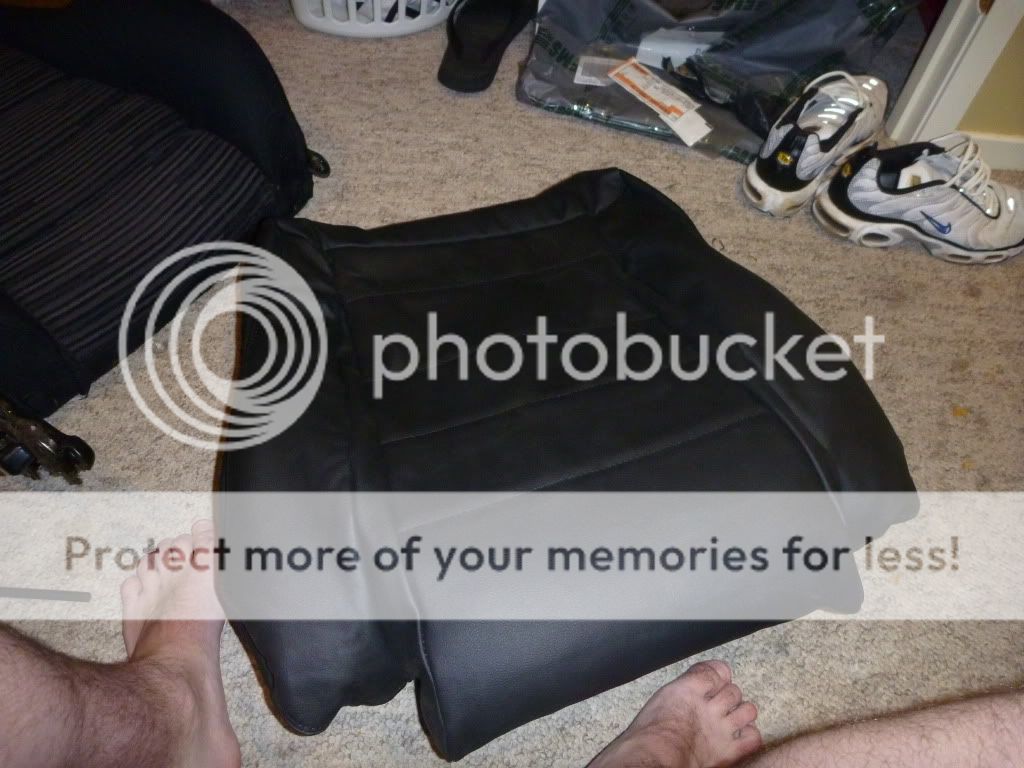
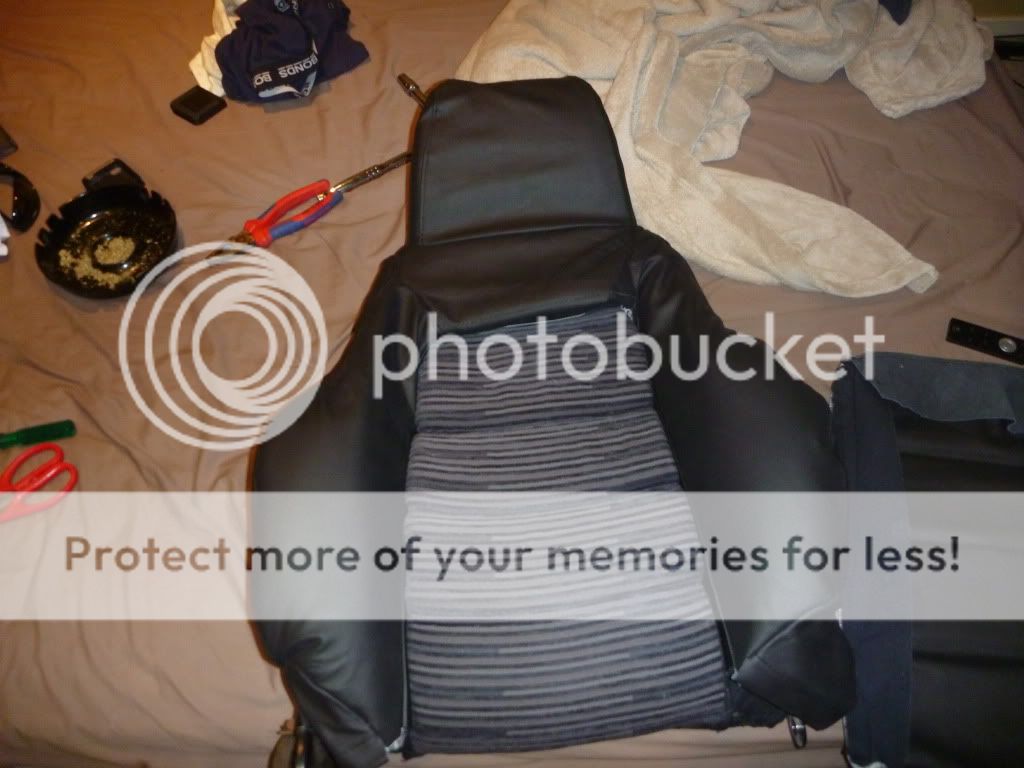
Looks **** IMO, now onto the backrest.
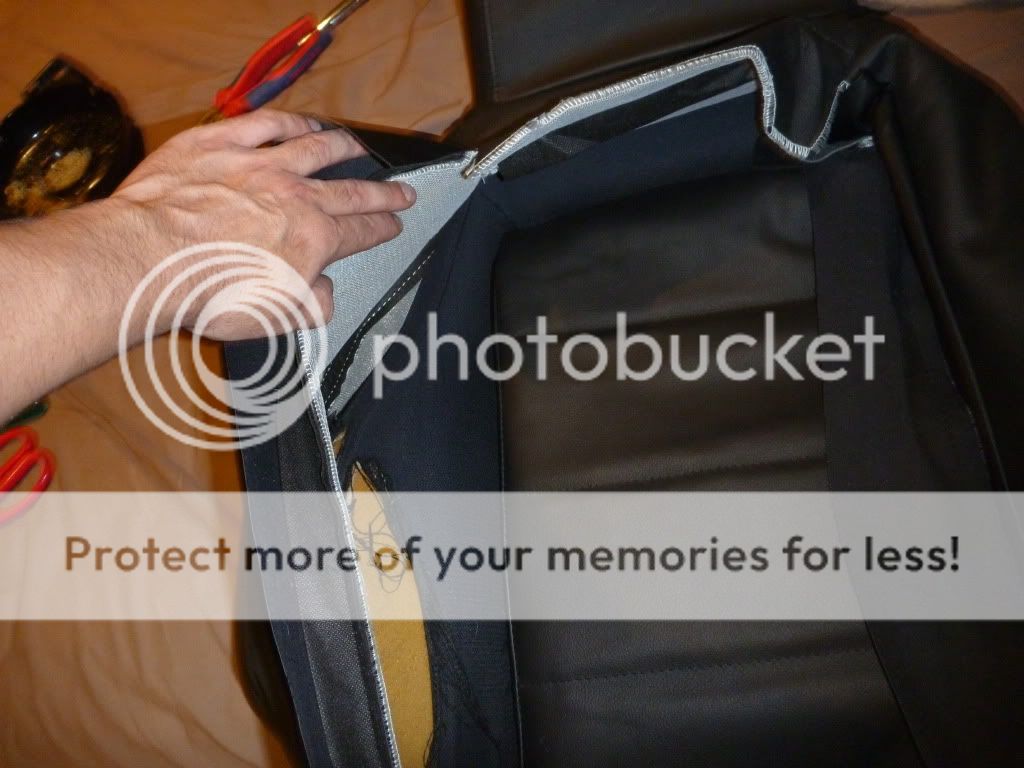
Didn't remove the original on the backrest, came up heaps better.
 11-30-11, 03:23 PM
#9
Full Member
Thread Starter
iTrader: (1)
Join Date: Jul 2011
Location: Sydney, Australia
Posts: 138
Likes: 0
Received 0 Likes
on
0 Posts
Backrest came out sweet!!!

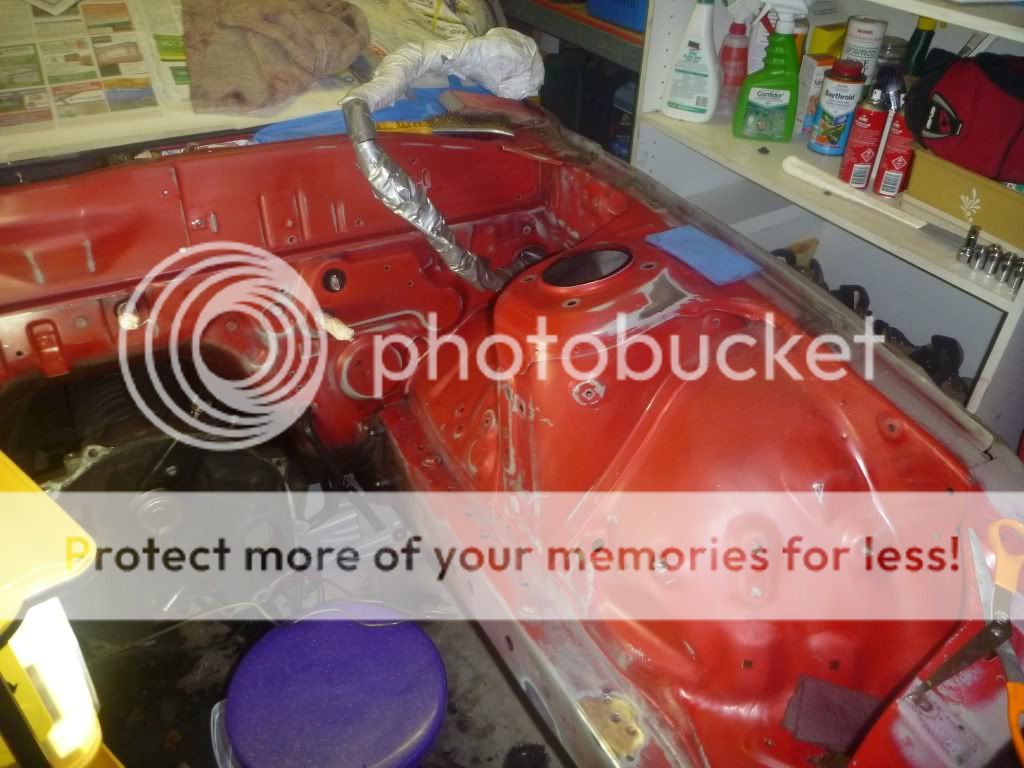
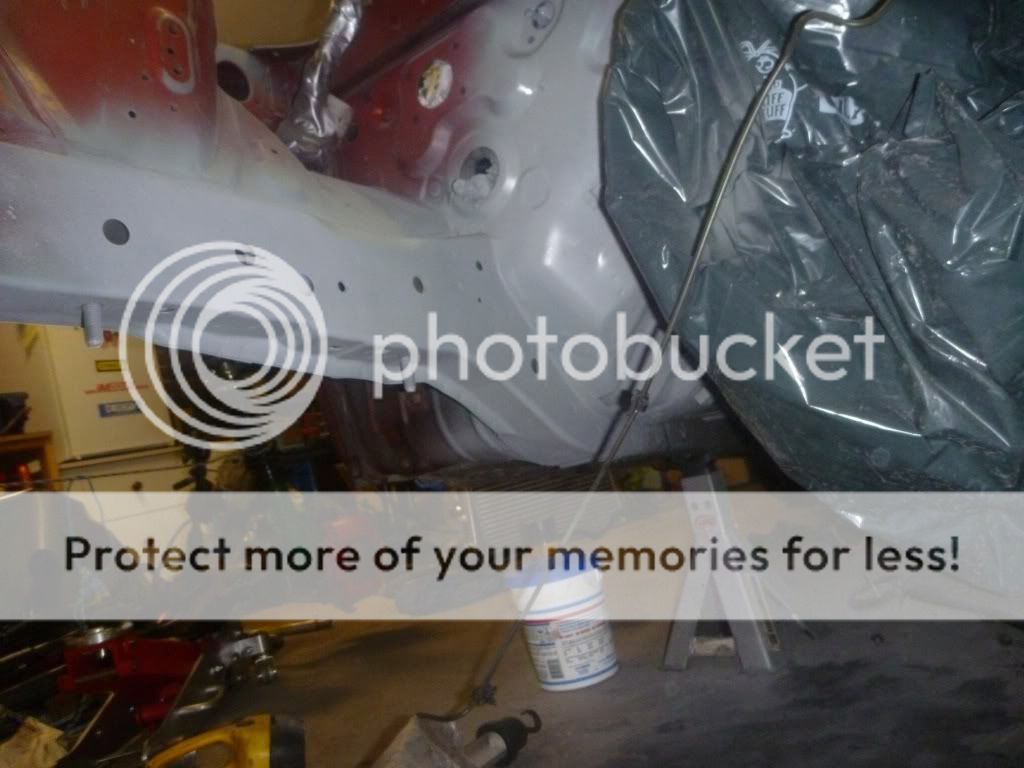
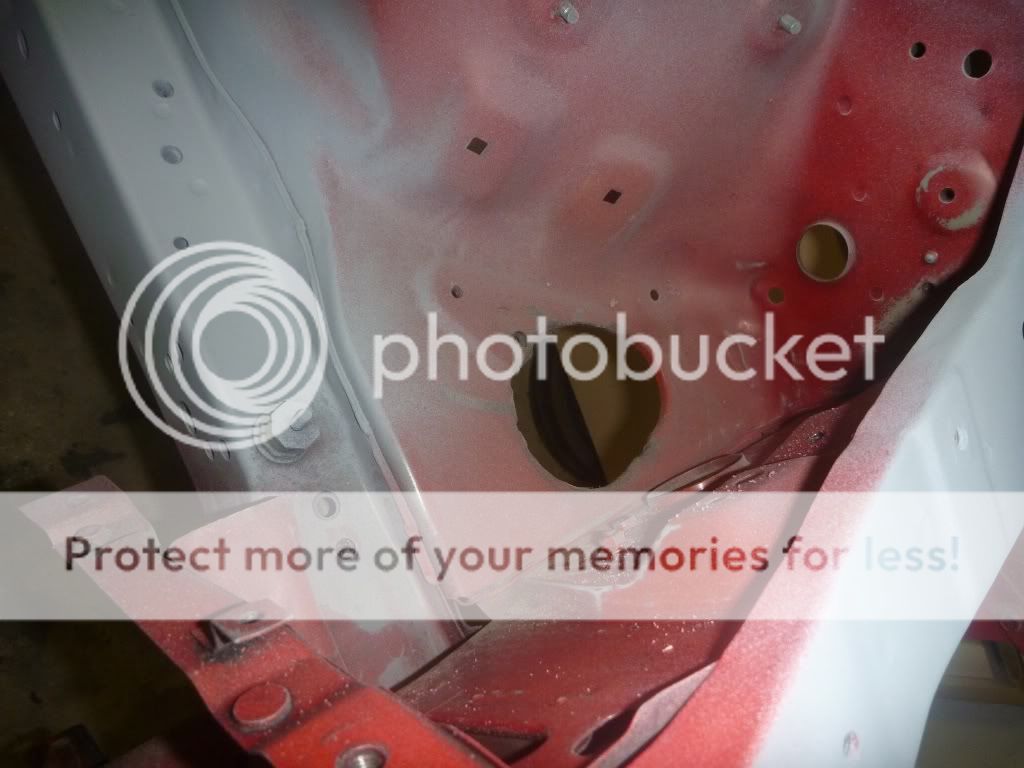
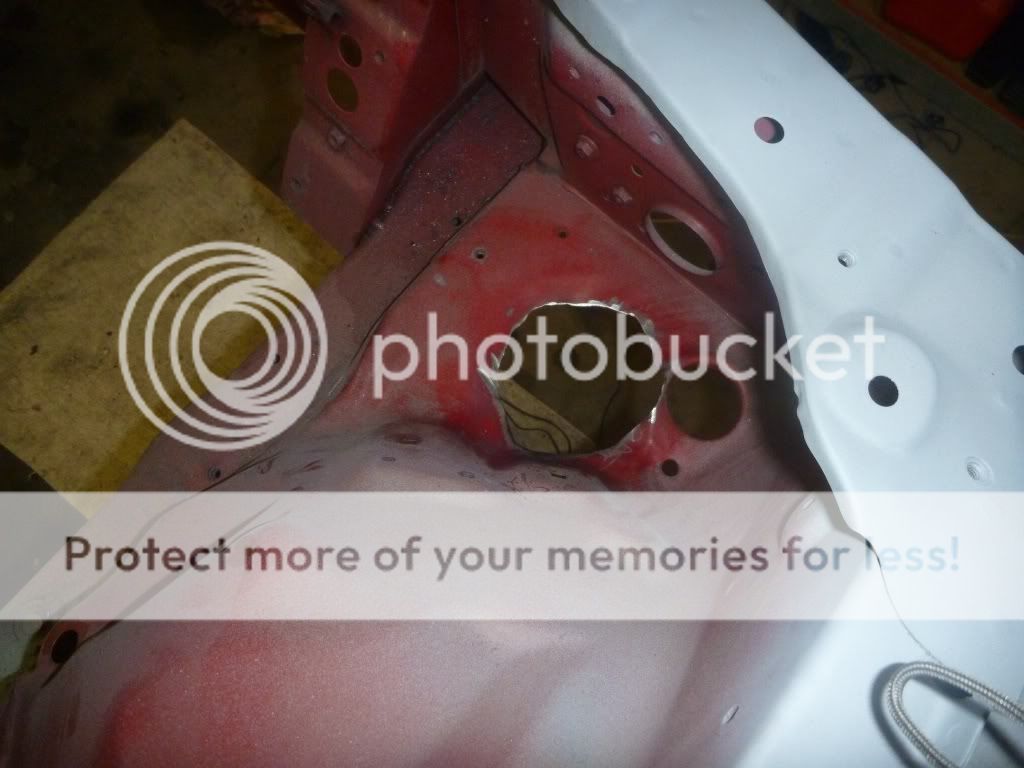
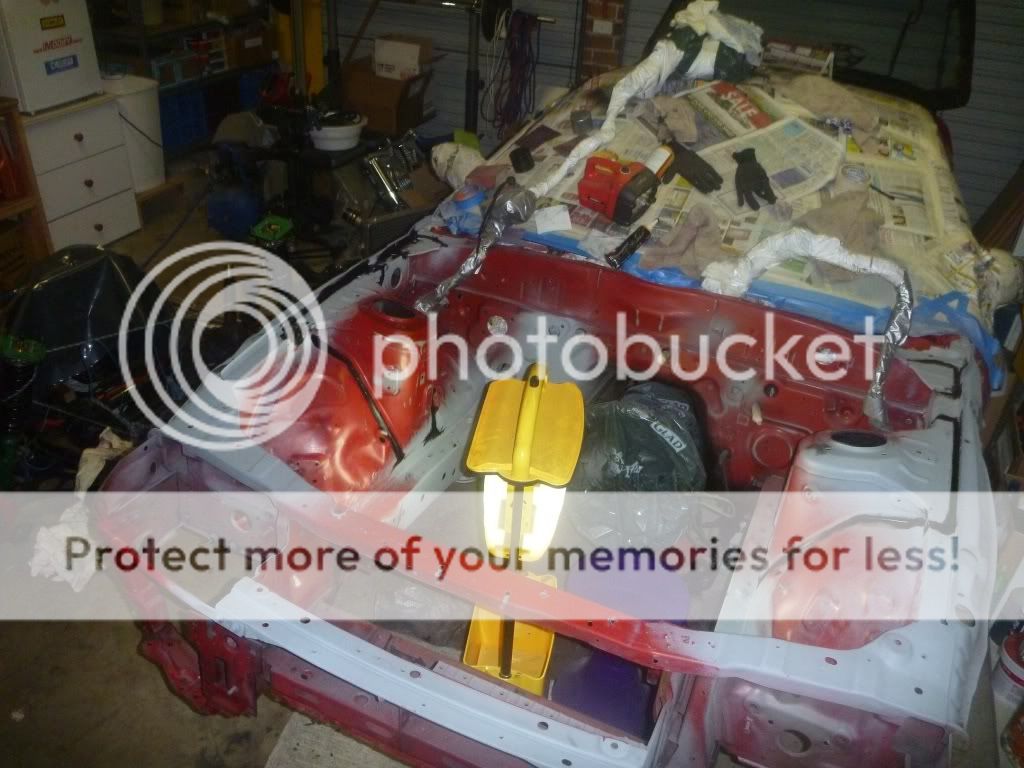
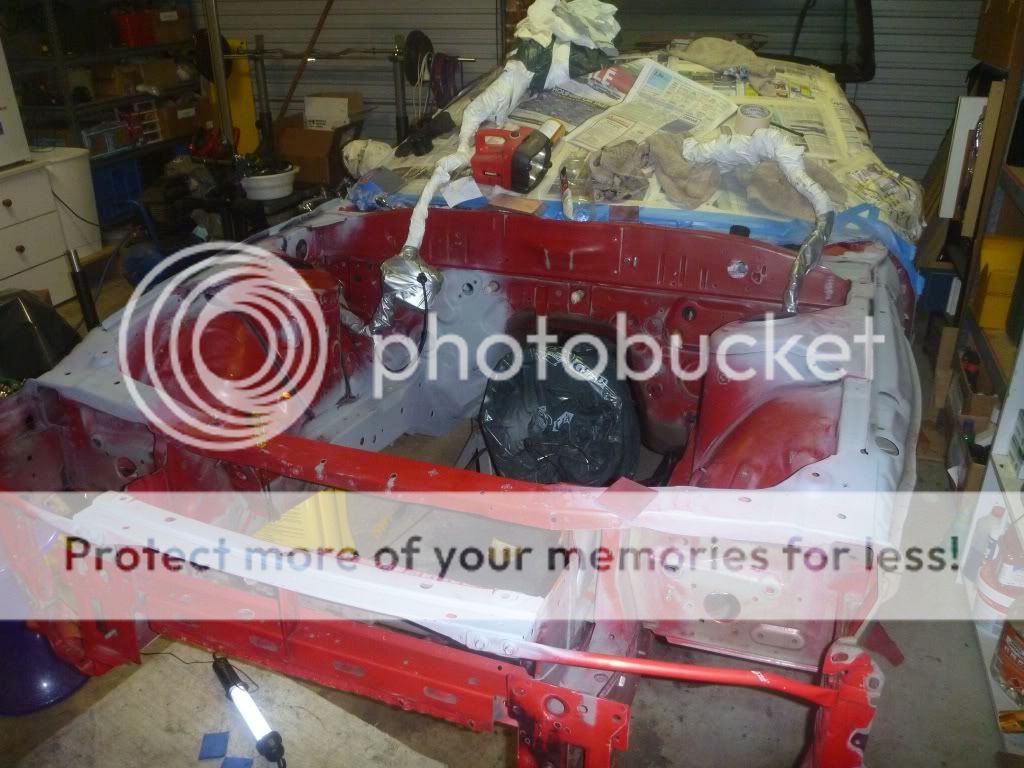
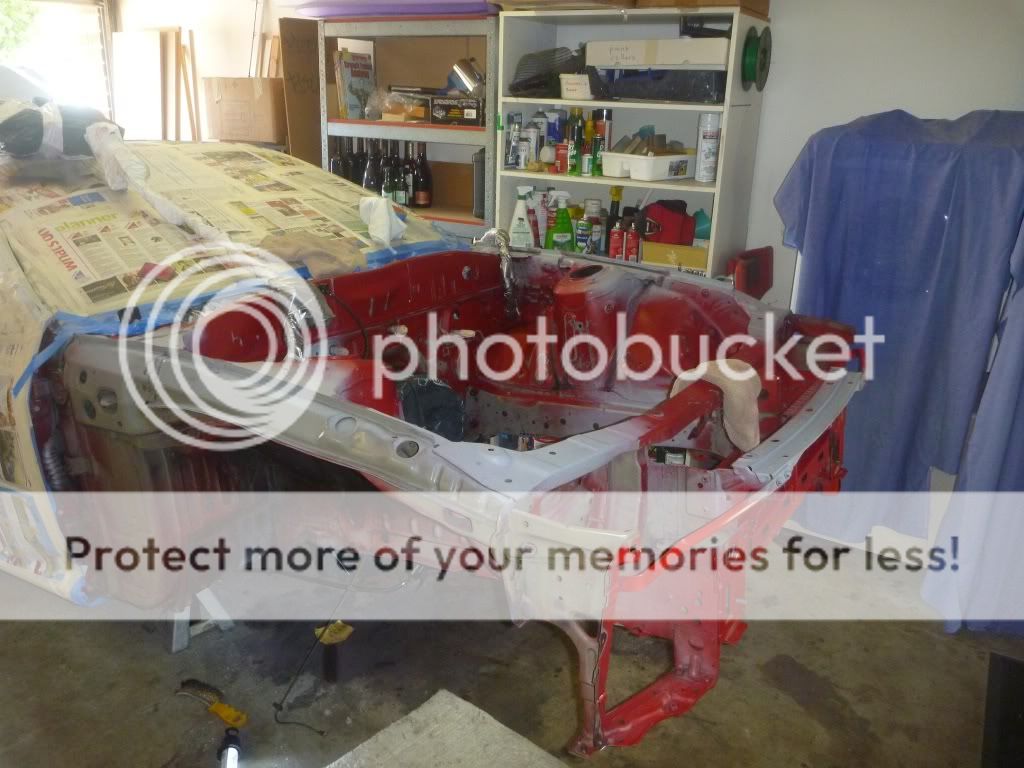
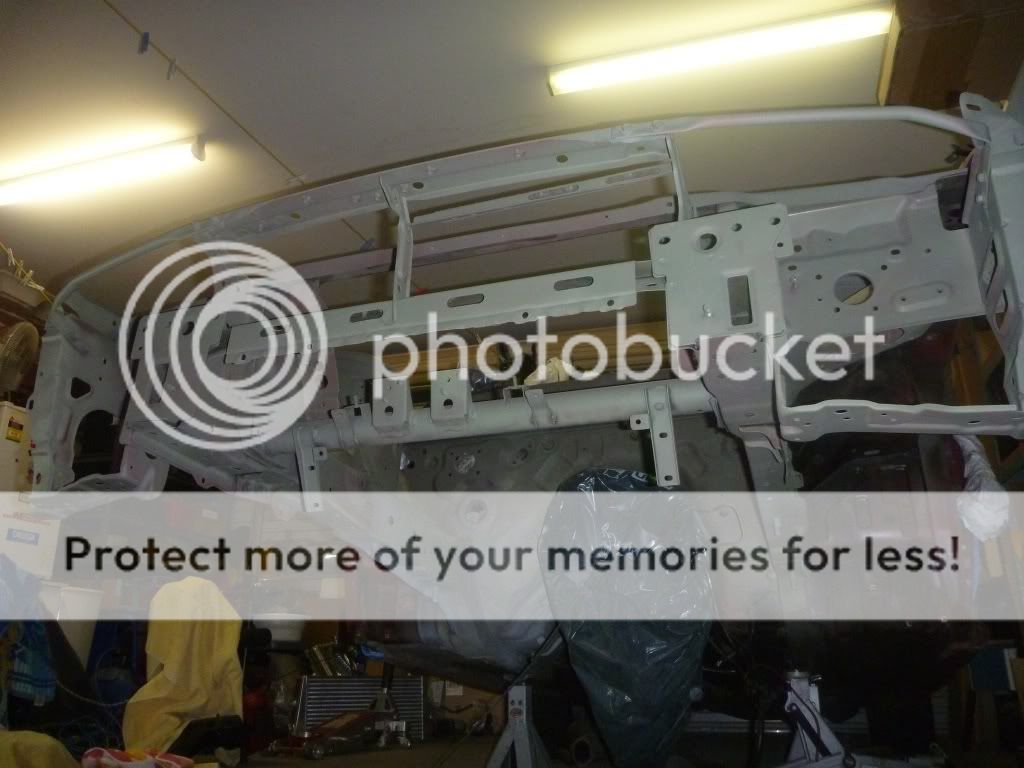
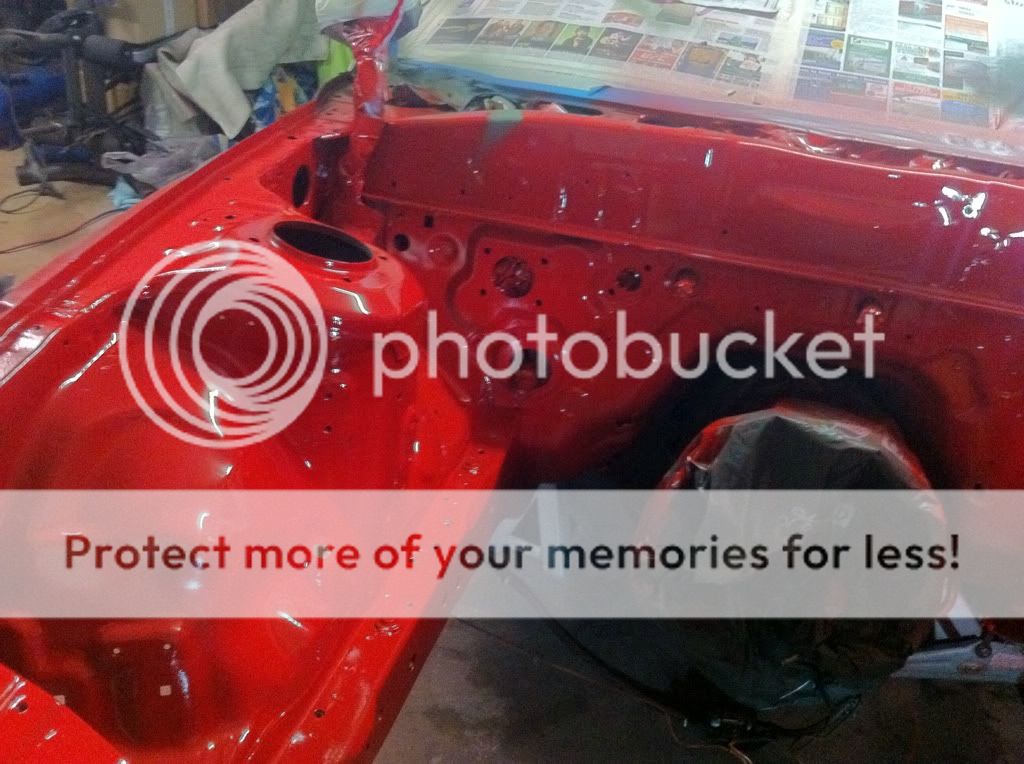
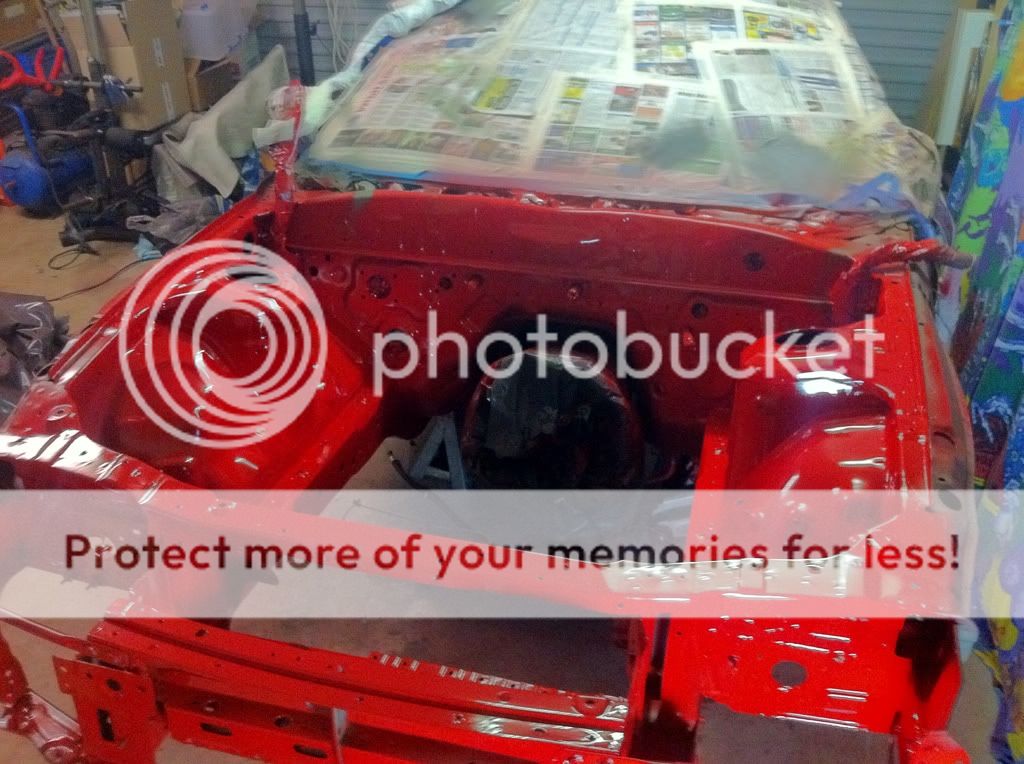
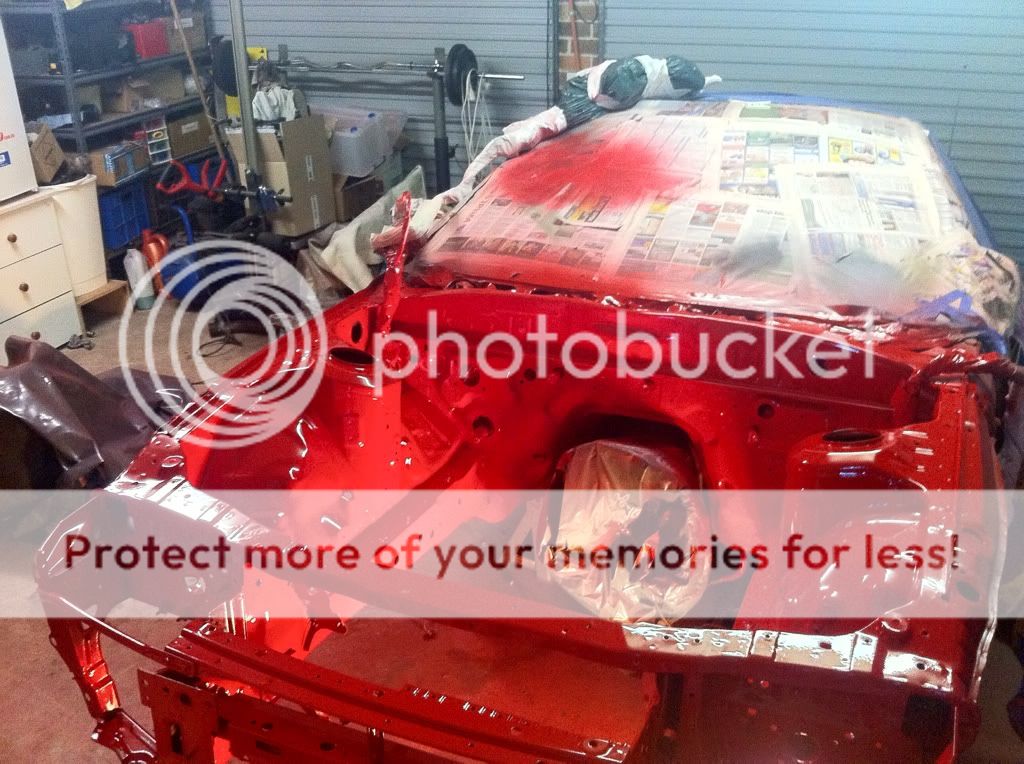
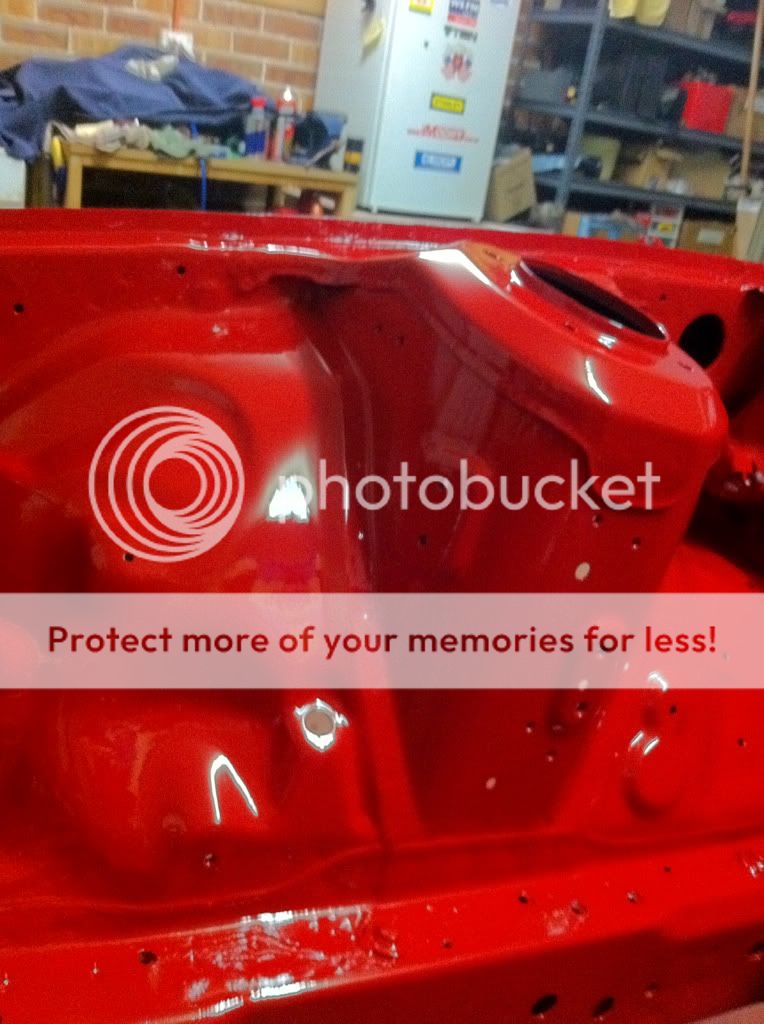
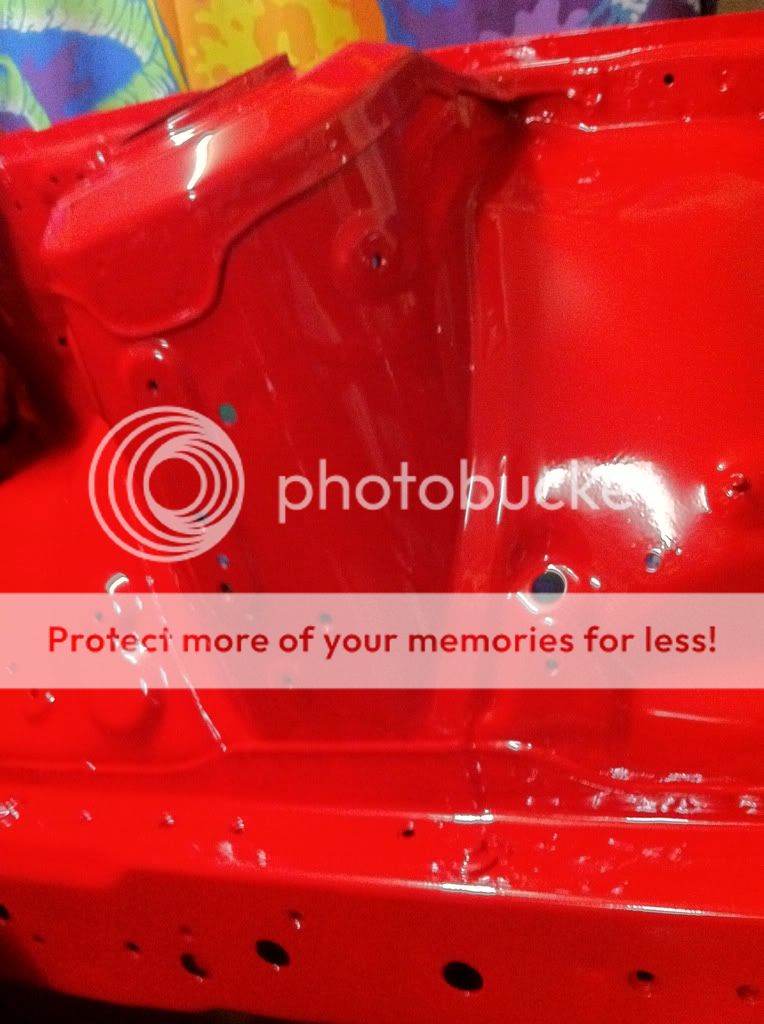
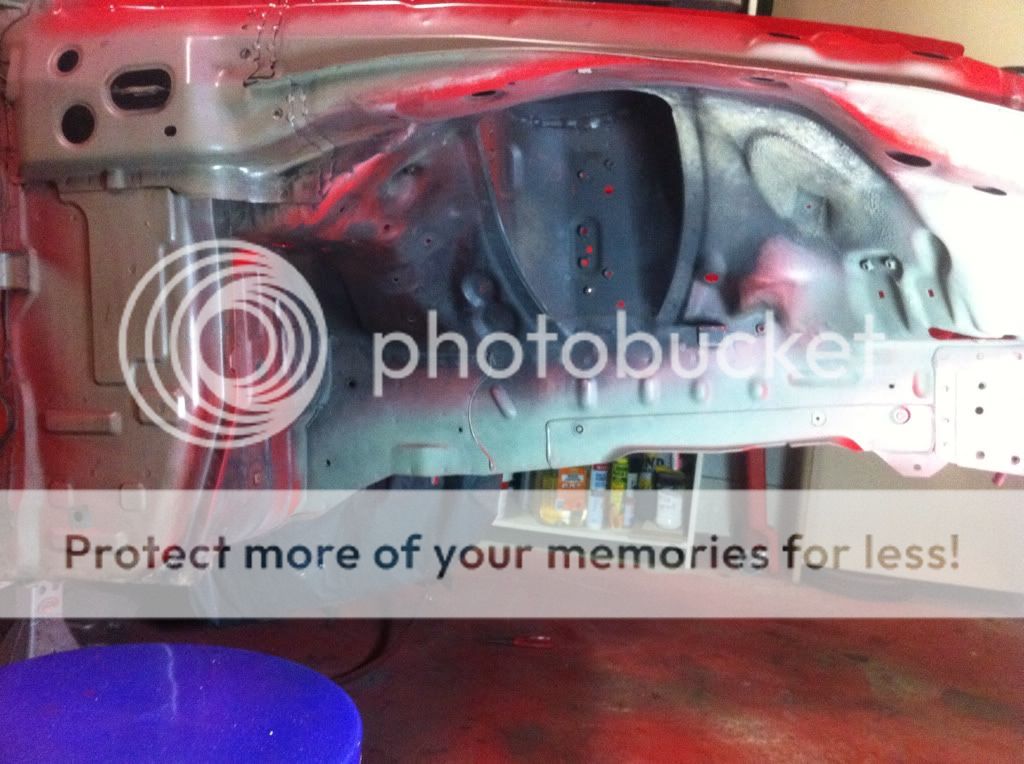
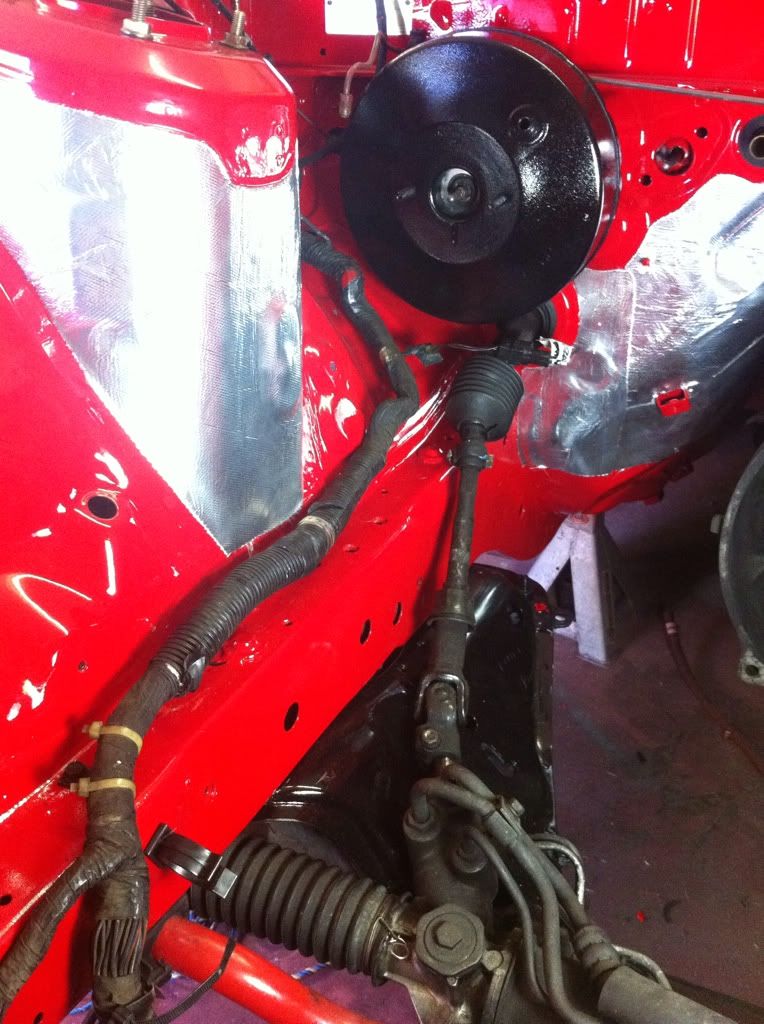
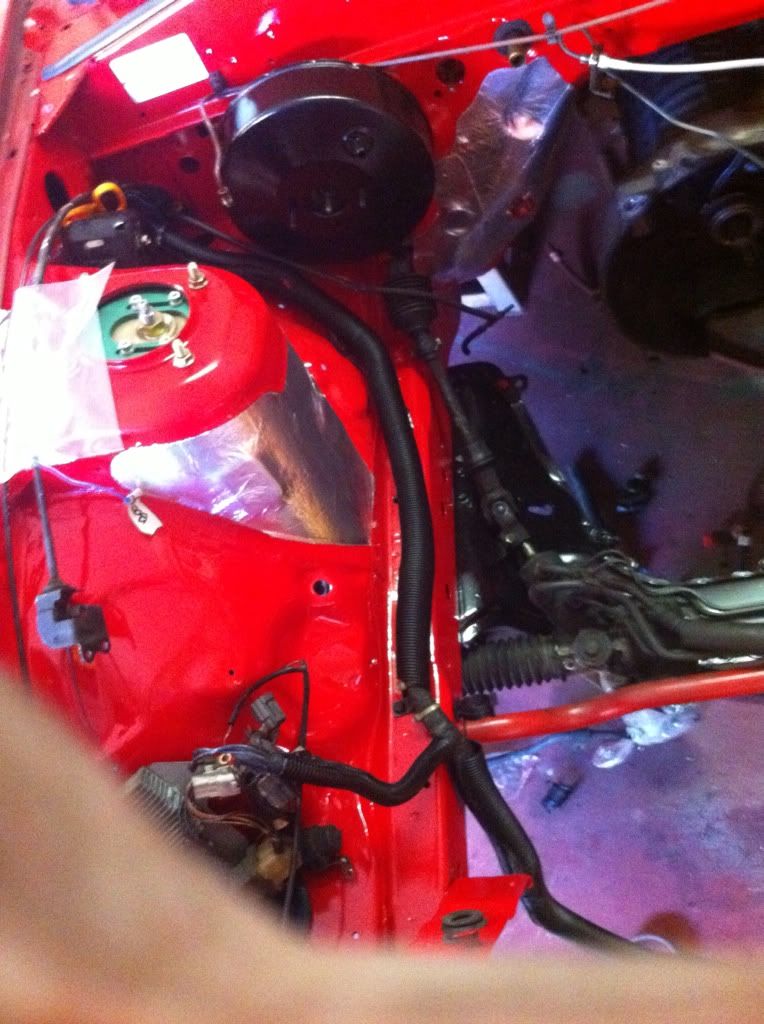
Started on the bay this week. Its in primer for the moment. Hopefully it should be painted by the weekend.
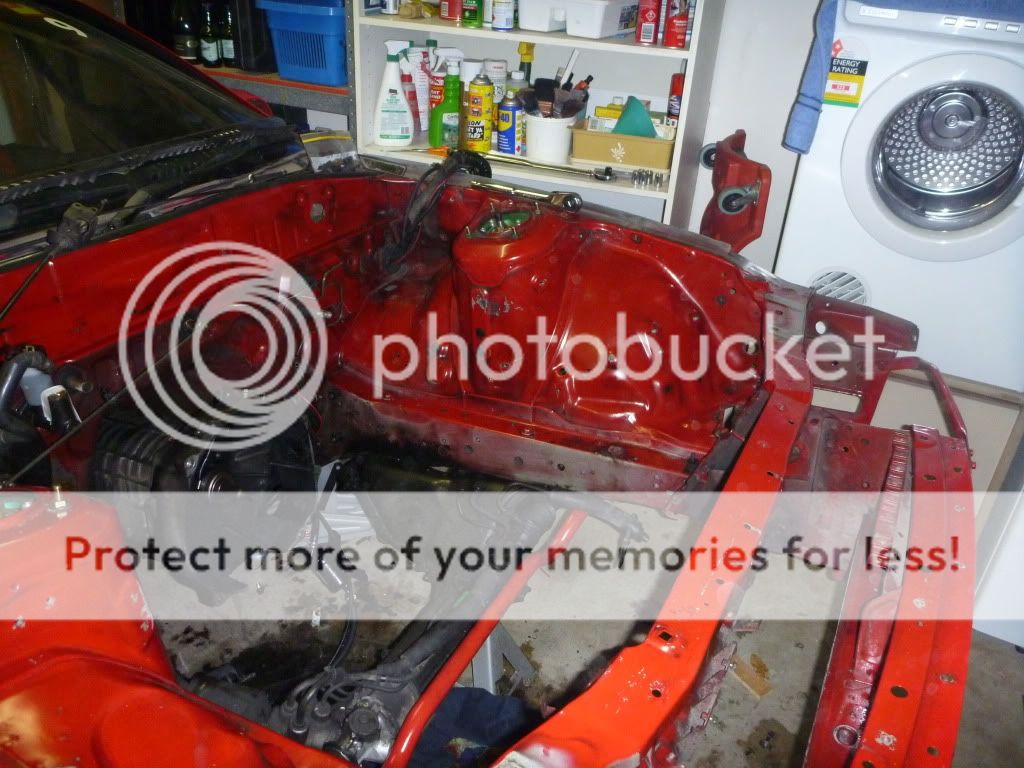
Cleaning the bay
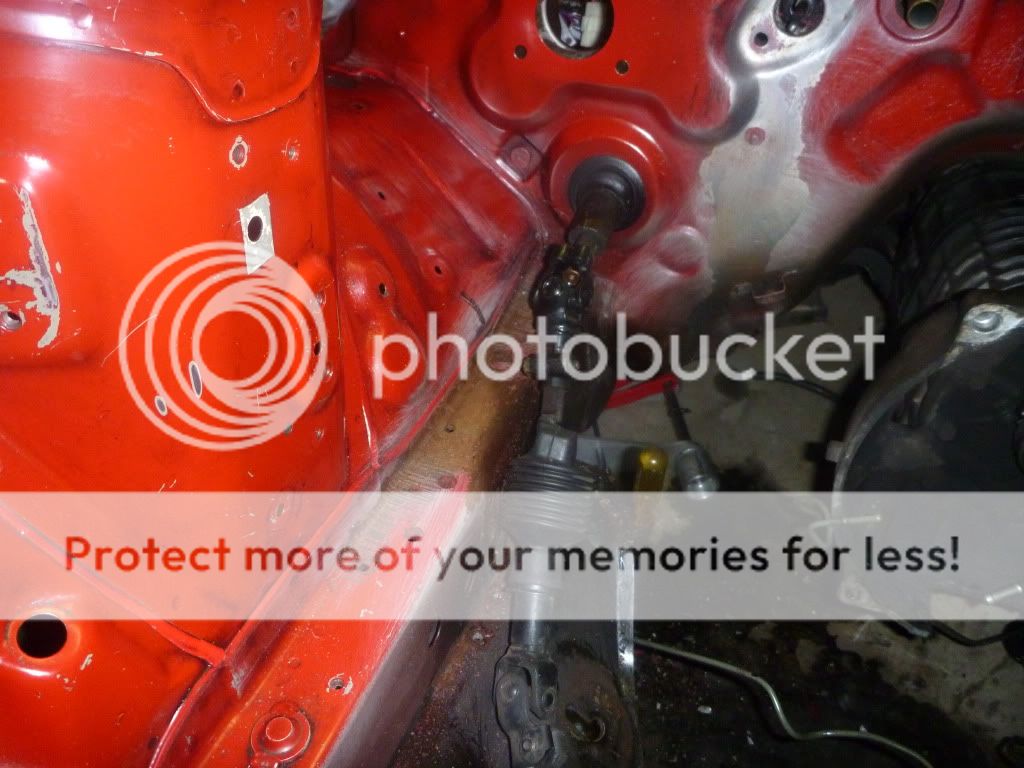
Didnt expect the rust on the chassis rail to be as bad as it was!!
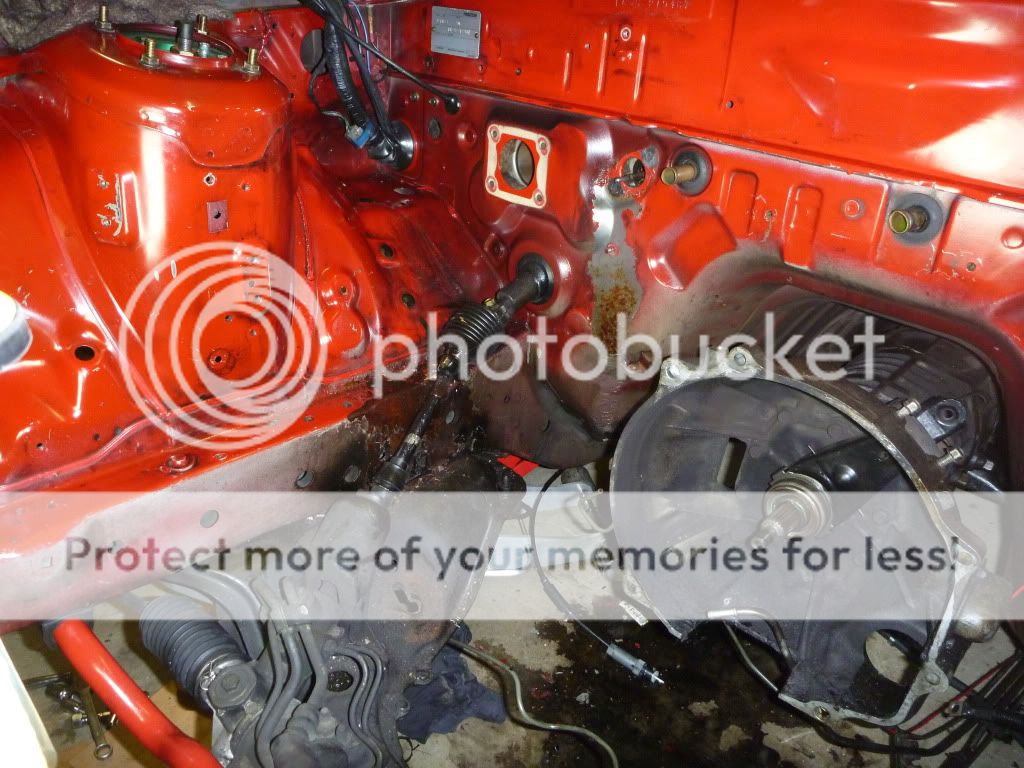
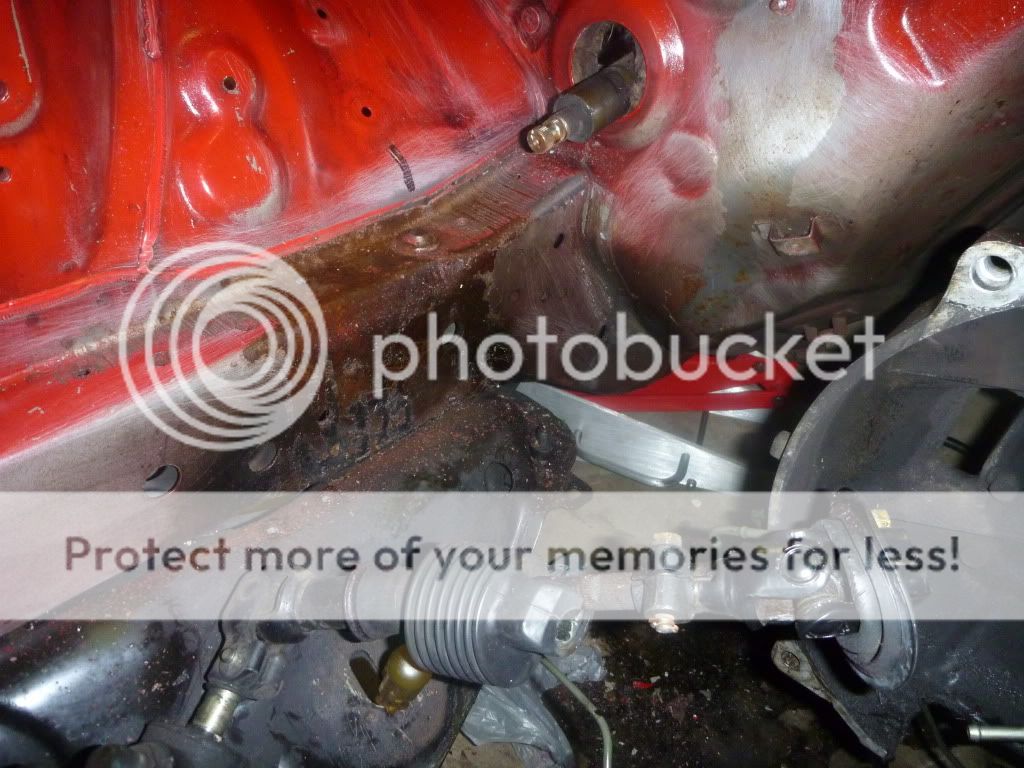
Started removing it with a wire brush wheel
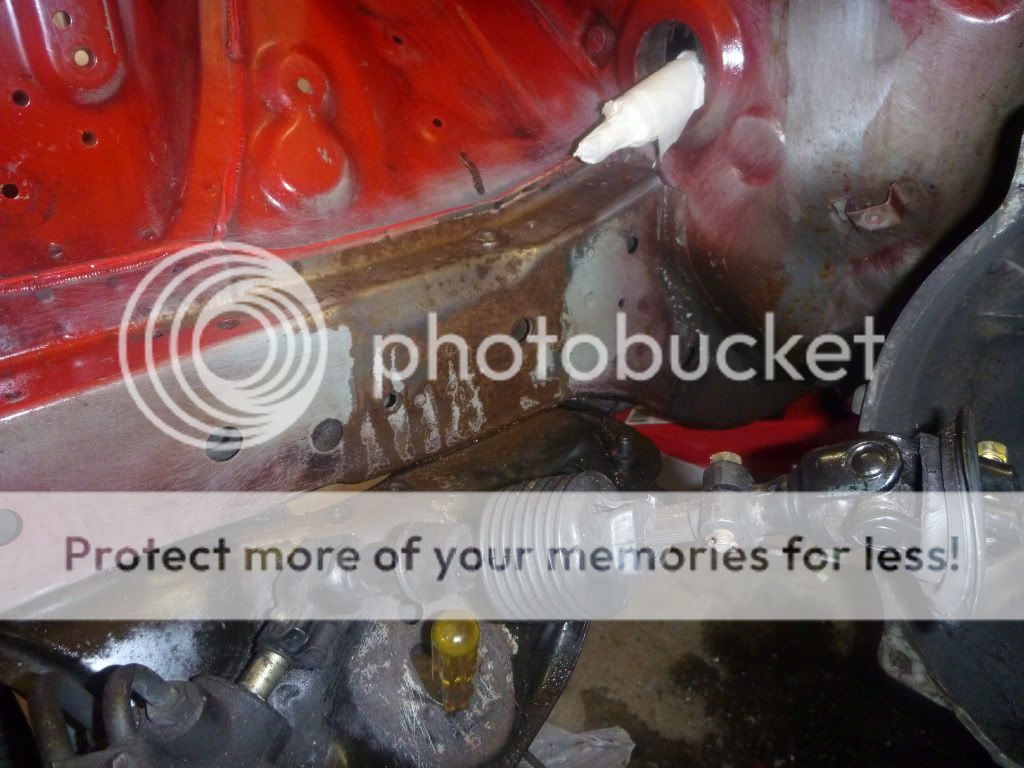
Slowly getting rid of the surface rust.
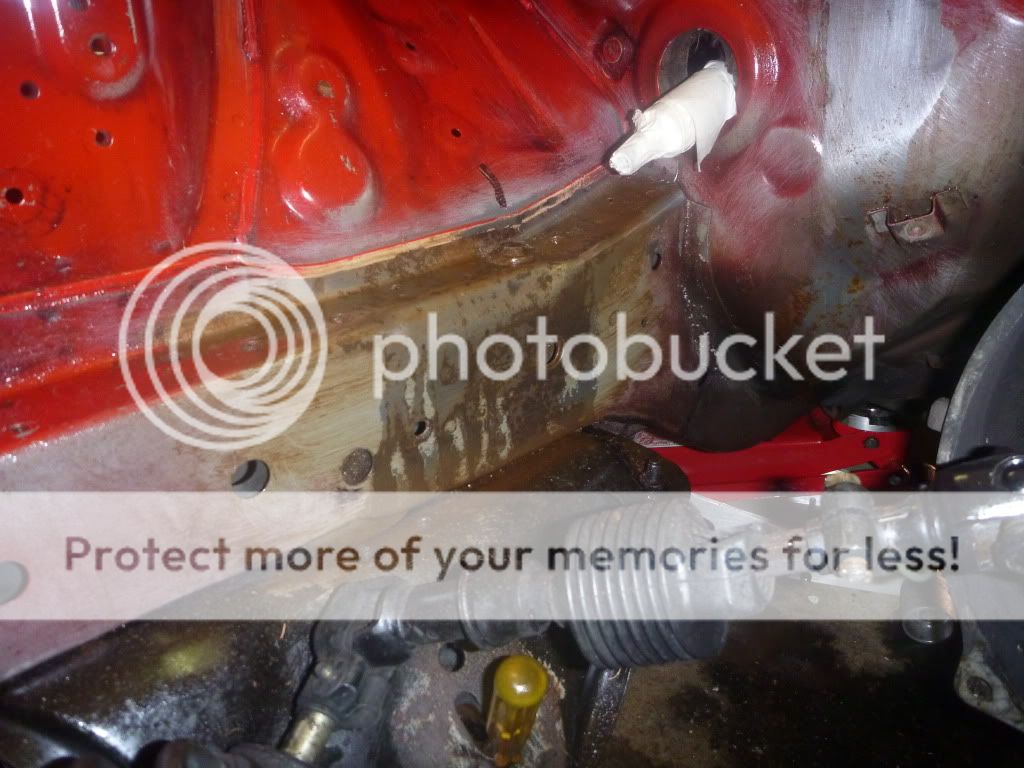
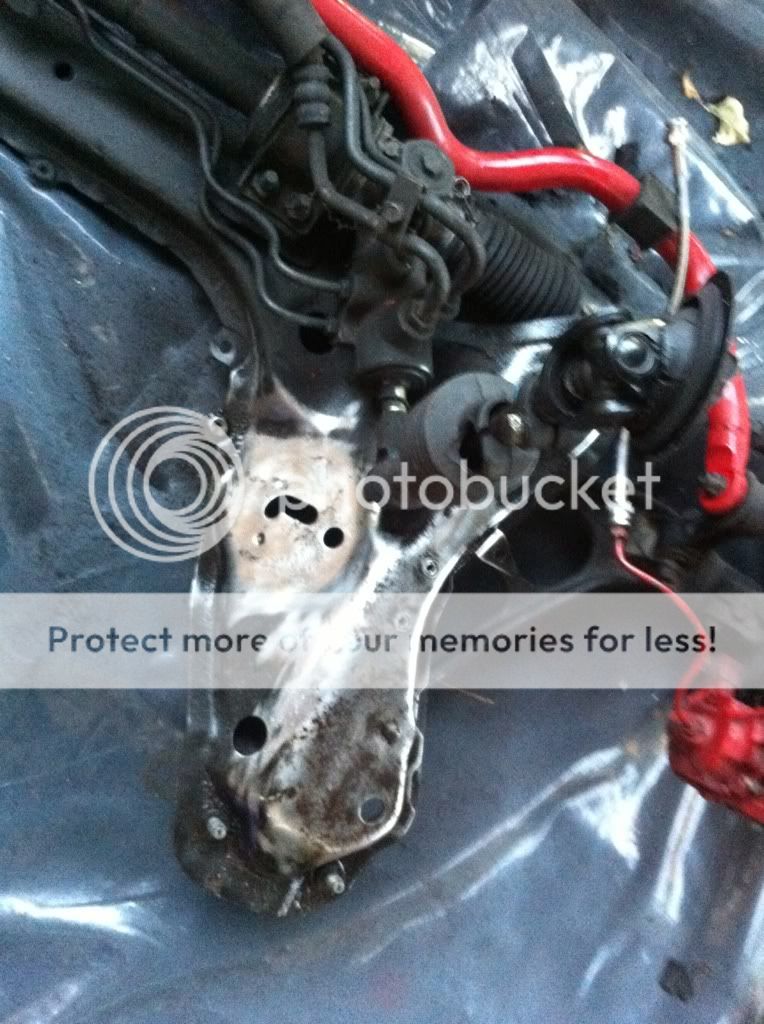
dropped the subframe to get underneath as the rust went underneath the chassis rail aswell.
Started on the bay this week. Its in primer for the moment. Hopefully it should be painted by the weekend.
Cleaning the bay
Didnt expect the rust on the chassis rail to be as bad as it was!!
Started removing it with a wire brush wheel
Slowly getting rid of the surface rust.
dropped the subframe to get underneath as the rust went underneath the chassis rail aswell.
11-30-11, 03:27 PM
#10
Full Member
Thread Starter
iTrader: (1)
Join Date: Jul 2011
Location: Sydney, Australia
Posts: 138
Likes: 0
Received 0 Likes
on
0 Posts
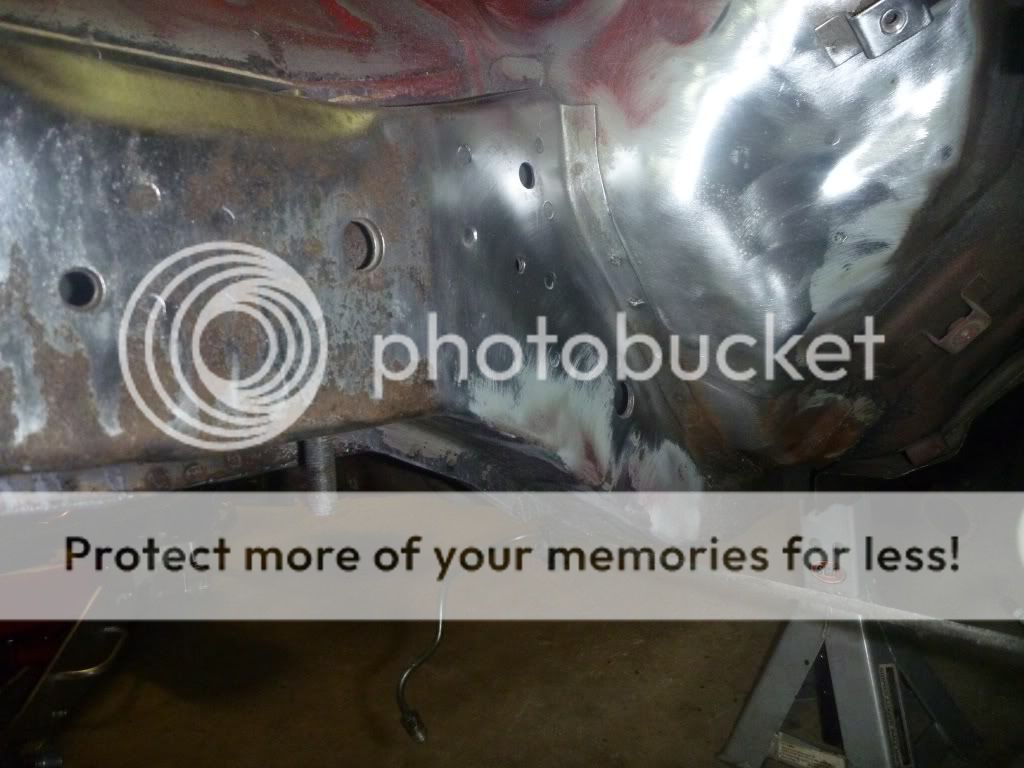
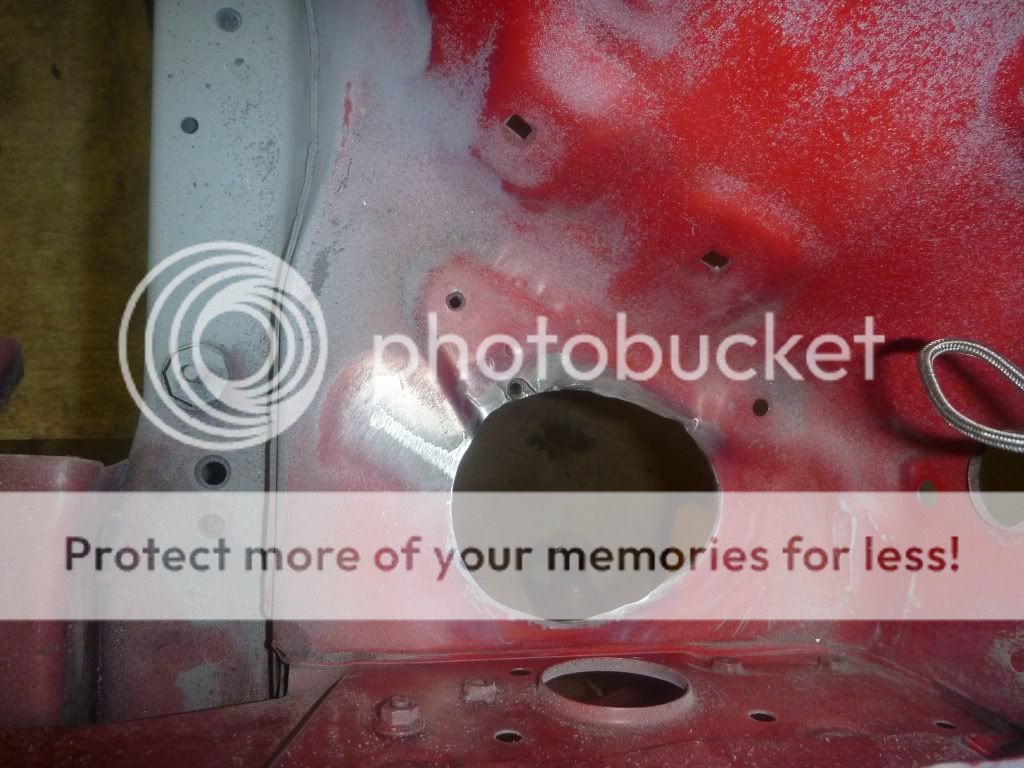
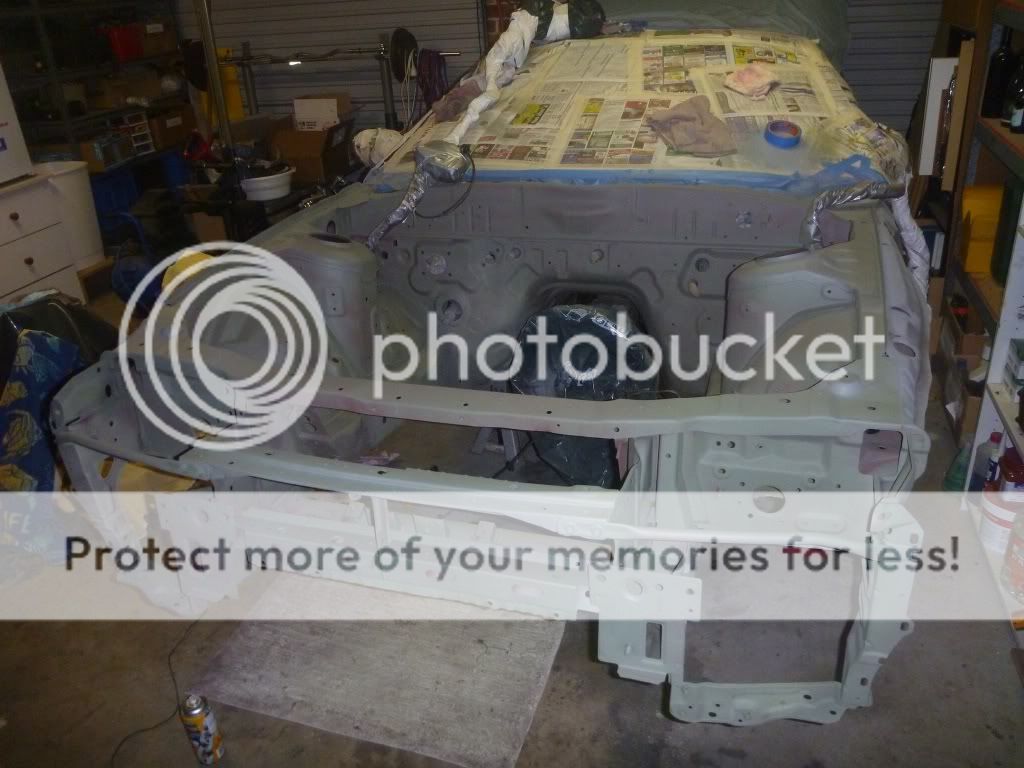
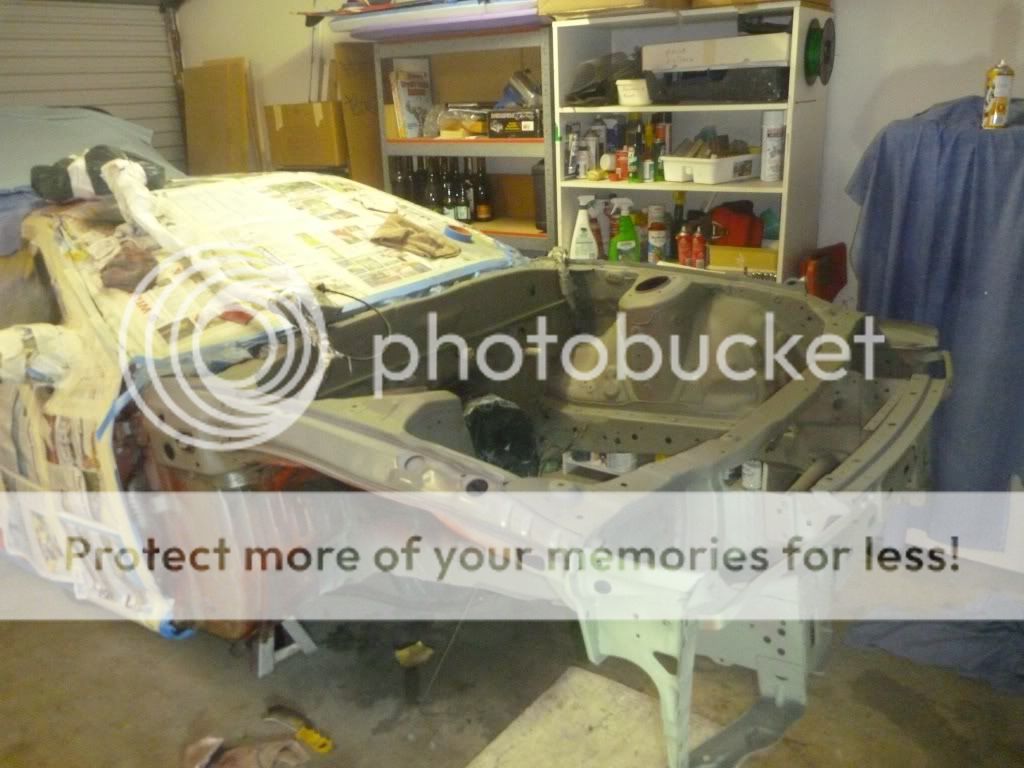
Started sanding as the wire brush got a bit tiresome.
Almost done with the rust removal.
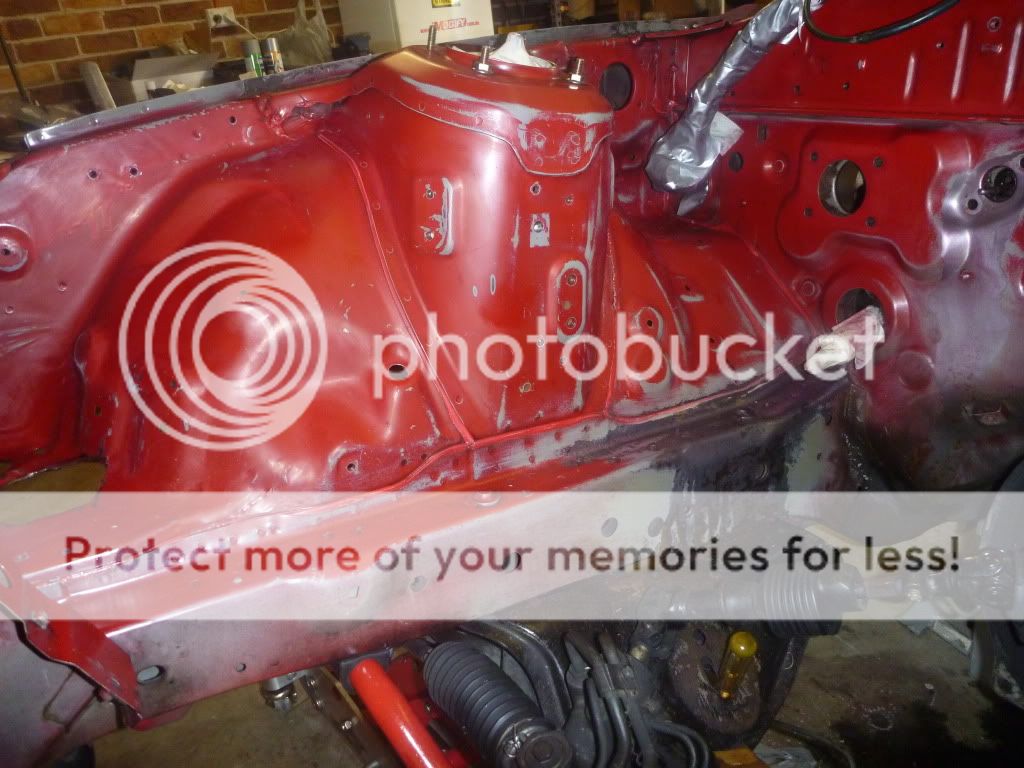
Unfortunatly this was the only pic of the finished job.
Primed all the bare metal areas

Cleaned up the intercooler holes i cut with the grinder lol This time i did it with a dremel.
Before pics

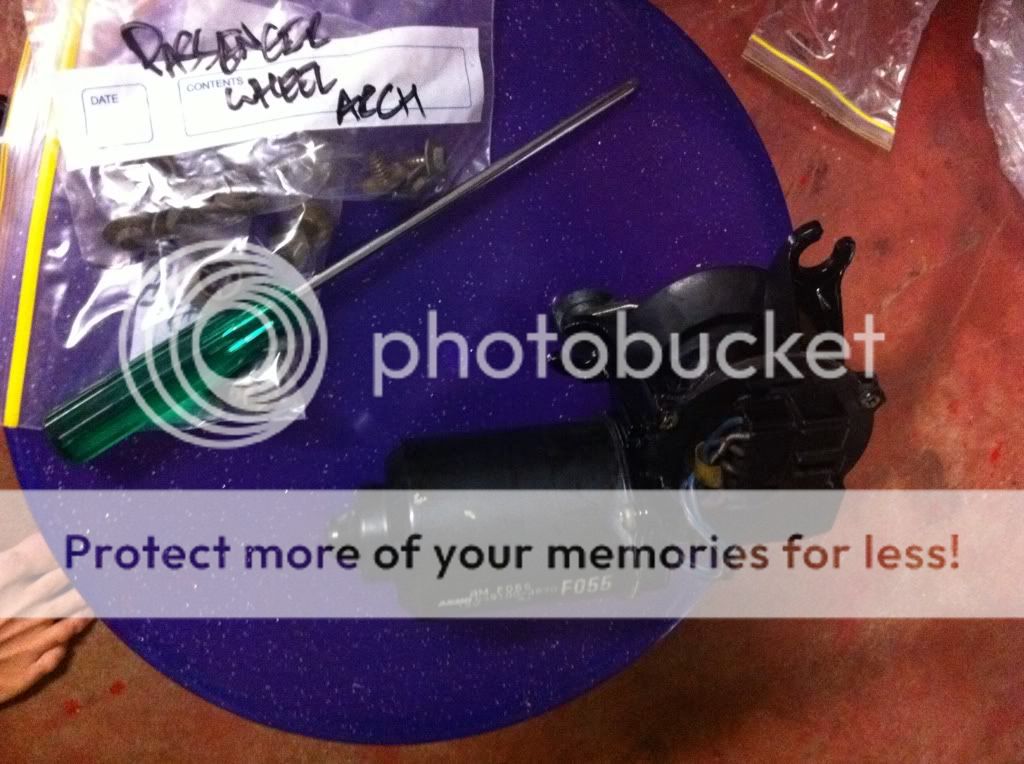
Drivers
Passengers
After pics
Drivers
Passenger
Seam seals were a bit lumpy so i decided to clean them up (hopefully it wasnt a bad idea down the track)

 11-30-11, 07:27 PM
#15
Passion for Racing
Join Date: Aug 2010
Location: Crown Point, Indiana
Posts: 1,066
Likes: 0
Received 2 Likes
on
2 Posts
Excellent progress! How long did it take to do the entire paint job, from before the engine was pulled to it being all done? I'm hoping to do this during winter.
 12-01-11, 04:06 PM
#17
Full Member
Thread Starter
iTrader: (1)
Join Date: Jul 2011
Location: Sydney, Australia
Posts: 138
Likes: 0
Received 0 Likes
on
0 Posts
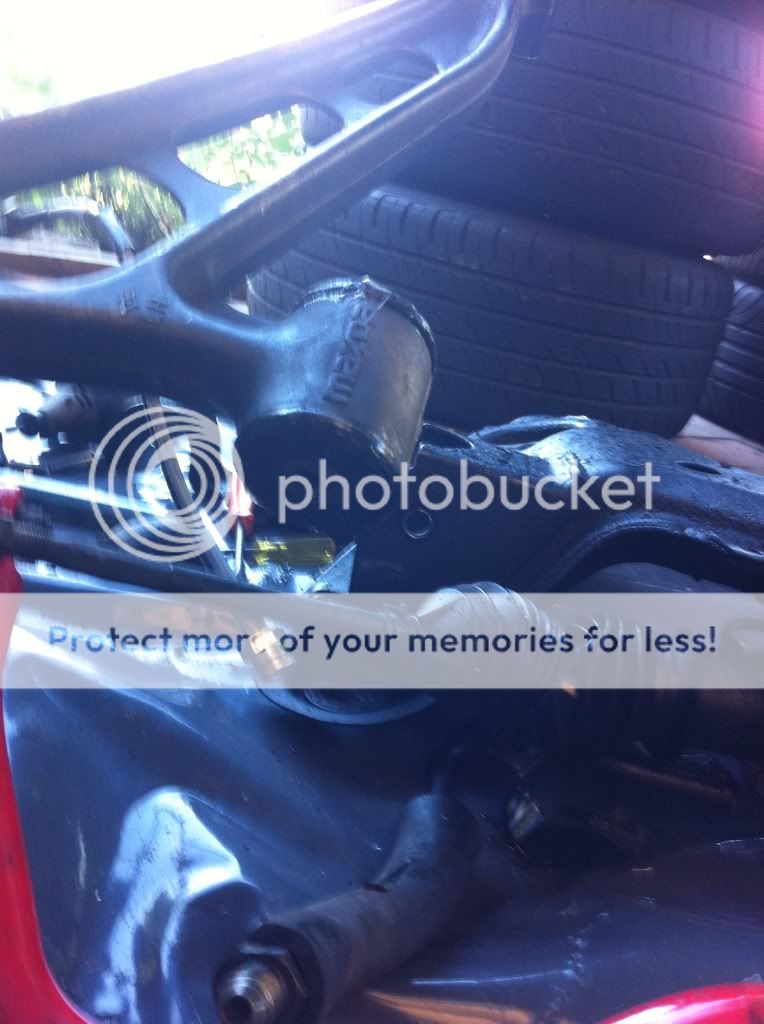
Thanks guys. started doing the bushings on the subframe last night, theyre a bitch to get out of the sleeves on the control arms, hopefully the new poly ones go in easier.
REAmemiya_fan - it took me about a month to get everything out and ready for paint, and then about another 2 weeks priming, sanding and painting. I still havent started putting it back together, as i need to paint the subframe and some steering components. I only work on it after work and on weekends, so it takes a little longer.
stevensimon - lol we do have shoes, we just choose not to wear them all the time lol(most of the time actually).
12-10-11, 03:00 PM
#18
Thanks guys. started doing the bushings on the subframe last night, theyre a bitch to get out of the sleeves on the control arms, hopefully the new poly ones go in easier.
REAmemiya_fan - it took me about a month to get everything out and ready for paint, and then about another 2 weeks priming, sanding and painting. I still havent started putting it back together, as i need to paint the subframe and some steering components. I only work on it after work and on weekends, so it takes a little longer.
stevensimon - lol we do have shoes, we just choose not to wear them all the time lol(most of the time actually).
REAmemiya_fan - it took me about a month to get everything out and ready for paint, and then about another 2 weeks priming, sanding and painting. I still havent started putting it back together, as i need to paint the subframe and some steering components. I only work on it after work and on weekends, so it takes a little longer.
stevensimon - lol we do have shoes, we just choose not to wear them all the time lol(most of the time actually).
12-15-11, 01:10 AM
#19
Full Member
Thread Starter
iTrader: (1)
Join Date: Jul 2011
Location: Sydney, Australia
Posts: 138
Likes: 0
Received 0 Likes
on
0 Posts
Bushes finally gave way
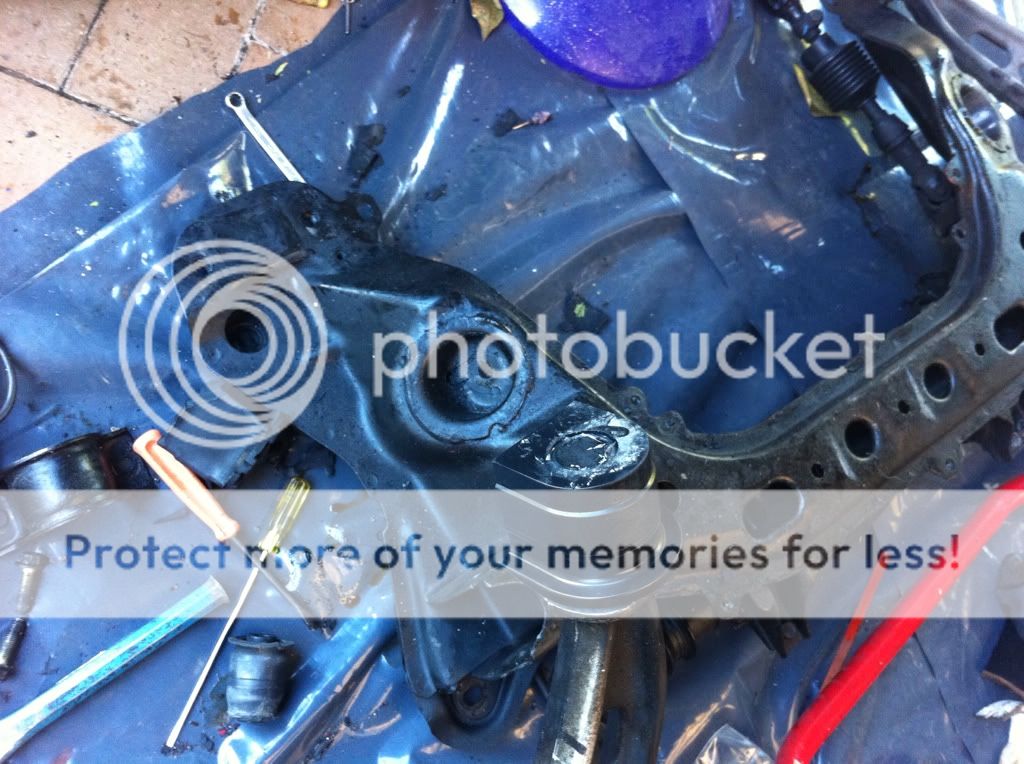
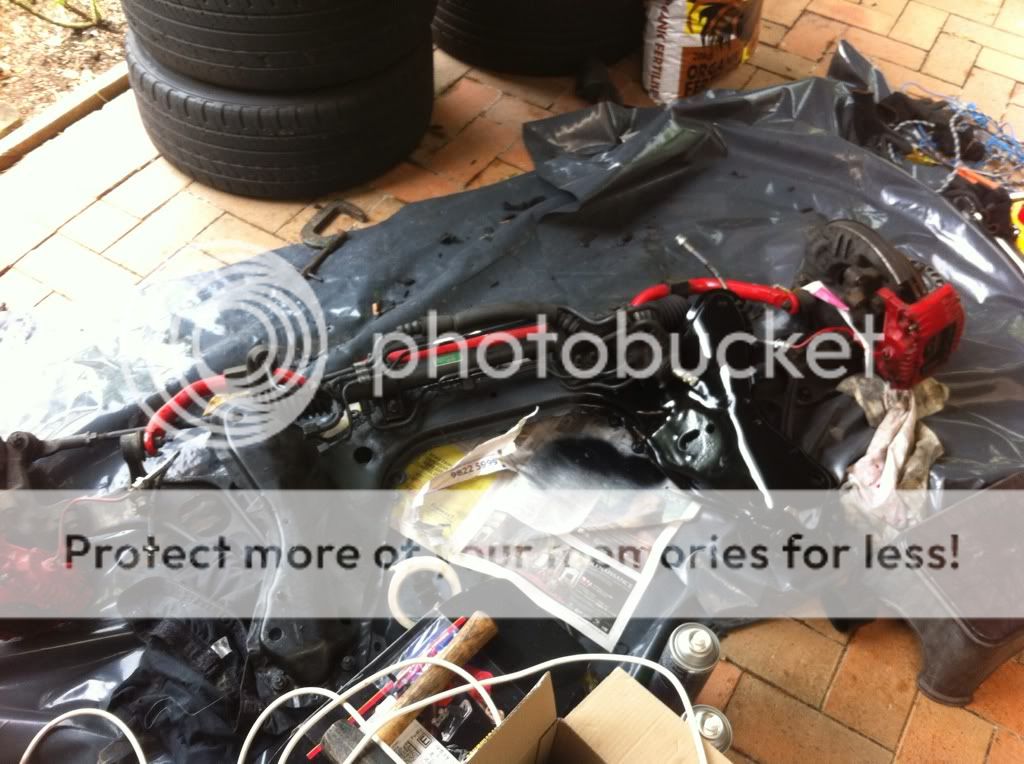
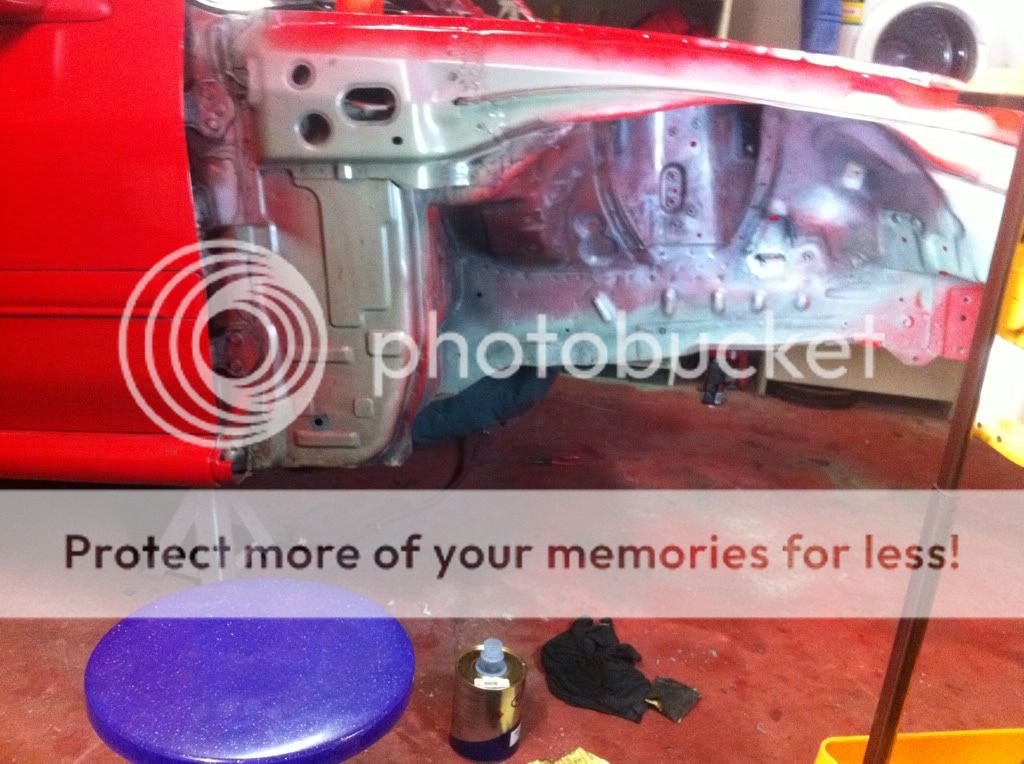
Started on the subframe. There was a little bit of surface rust on there so it had to go bare metal aswell.
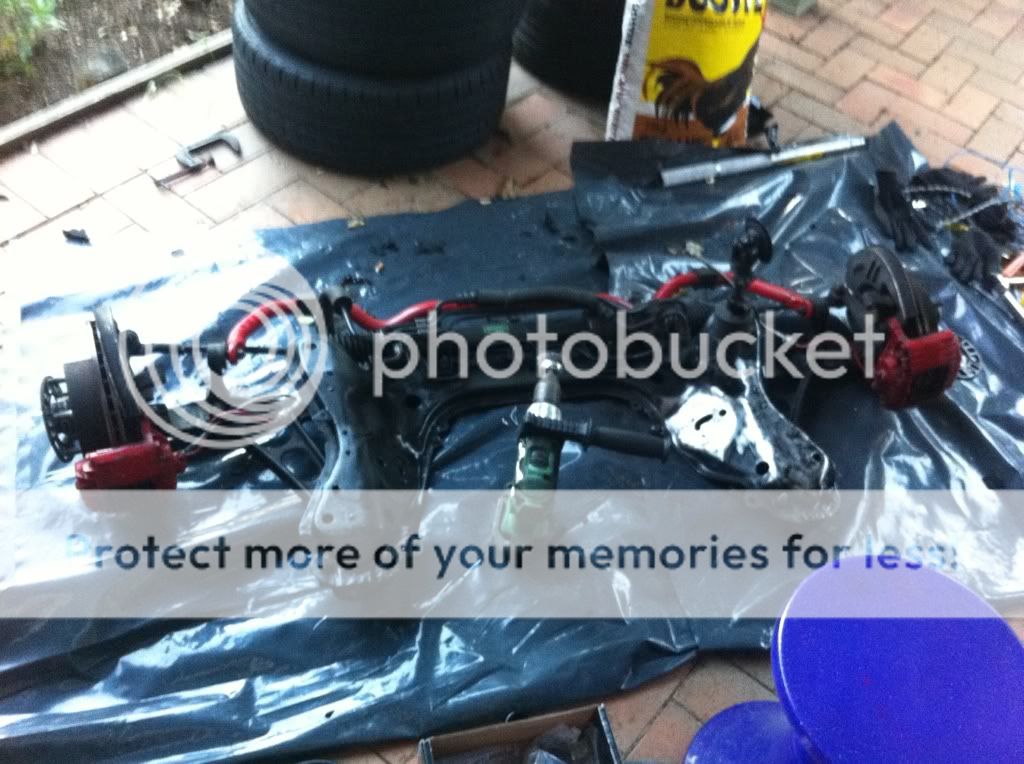
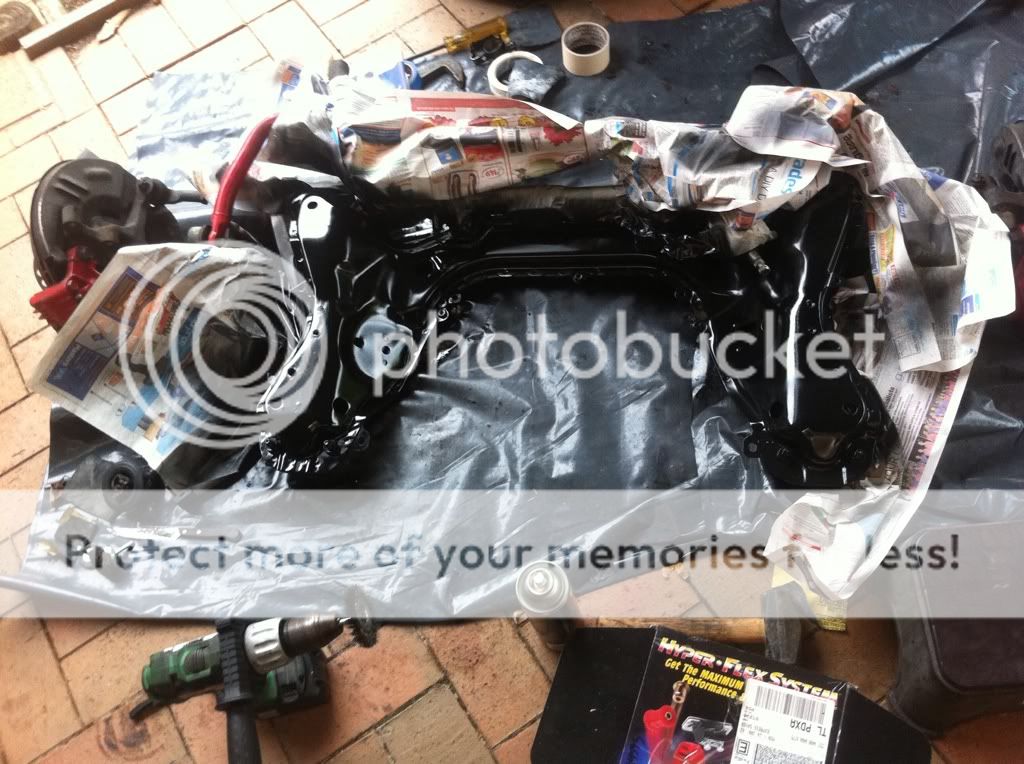
I know you don't see much of it, but once it had dried the different colors of black really **** me, so onto the other side I went. Ended up redoing the whole thing lol
some bright ****** then decided to paint the wheel arches. NEVER AGAIN!!
Cleaning was a nightmare!! 20yo brake dust is pretty tuff lol
Started on the subframe. There was a little bit of surface rust on there so it had to go bare metal aswell.
I know you don't see much of it, but once it had dried the different colors of black really **** me, so onto the other side I went. Ended up redoing the whole thing lol
some bright ****** then decided to paint the wheel arches. NEVER AGAIN!!
Cleaning was a nightmare!! 20yo brake dust is pretty tuff lol
12-15-11, 01:14 AM
#20
Full Member
Thread Starter
iTrader: (1)
Join Date: Jul 2011
Location: Sydney, Australia
Posts: 138
Likes: 0
Received 0 Likes
on
0 Posts
Regret it now, because its taking so long, but hopefully not once its all done lol
 01-02-12, 05:54 PM
#22
Full Member
Thread Starter
iTrader: (1)
Join Date: Jul 2011
Location: Sydney, Australia
Posts: 138
Likes: 0
Received 0 Likes
on
0 Posts
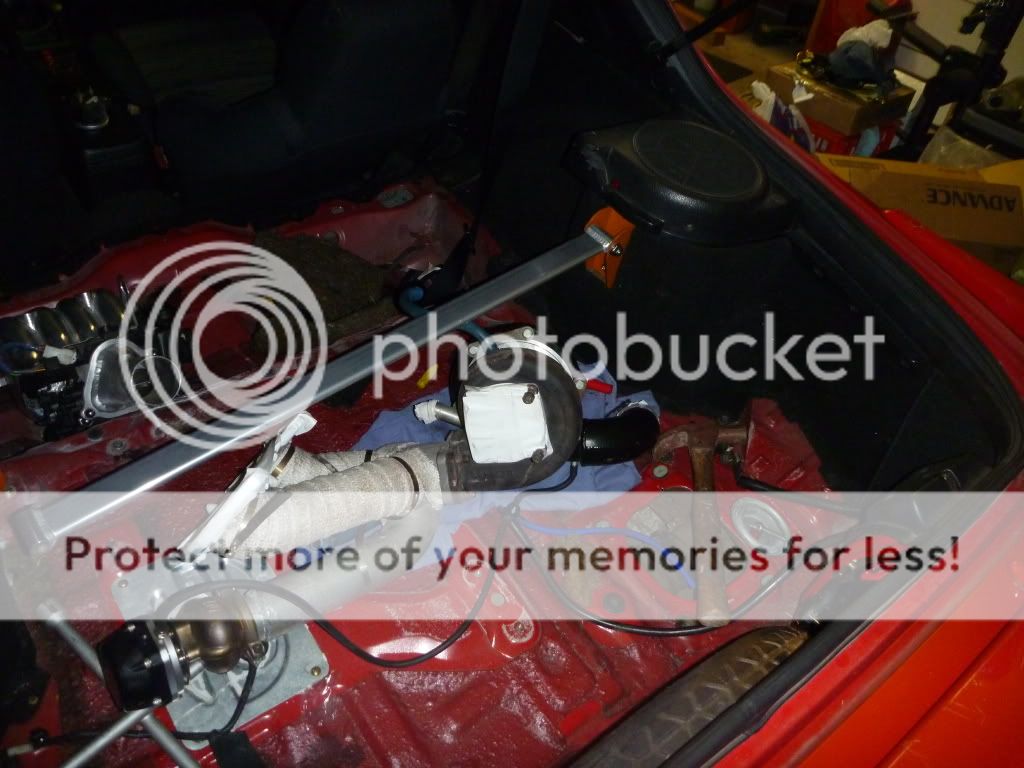
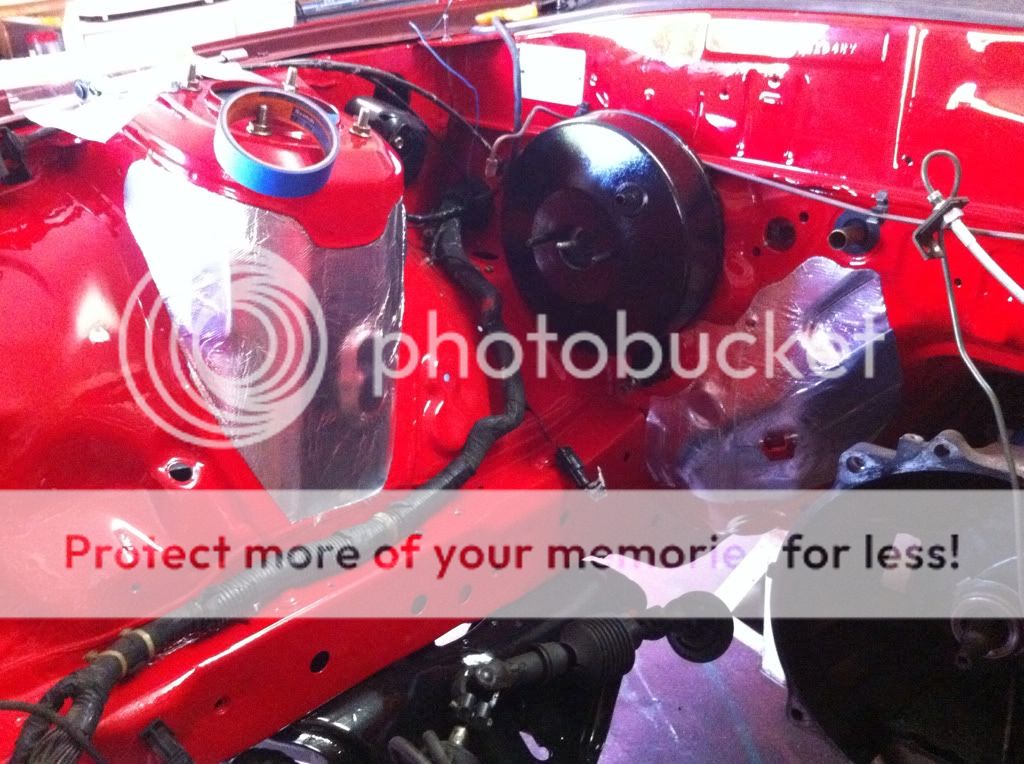
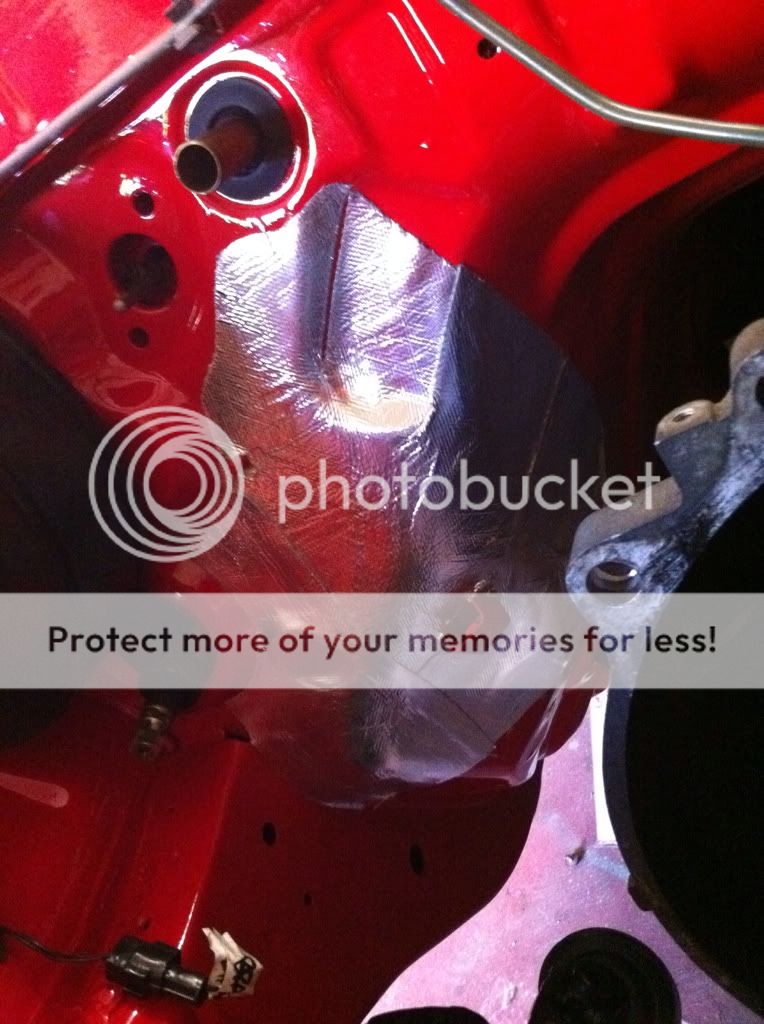
Got a bit more done today and yesterday. heat shielded near turbo and dumpy. It's just a fiberglass matting that's covered in foil, but it's rated to 550c.
Also cleaned up the shed as it was a mine field in there(kept stepping on **** barefoot)
Also cleaned up the shed as it was a mine field in there(kept stepping on **** barefoot)
 01-03-12, 02:03 AM
#25
Full Member
Thread Starter
iTrader: (1)
Join Date: Jul 2011
Location: Sydney, Australia
Posts: 138
Likes: 0
Received 0 Likes
on
0 Posts
Cheers man, for the wheel arches and other parts, black 3M rattle can engine enamel. For the bay it was 2 pac blaze red.
Started on the harness, still have to tape it all up
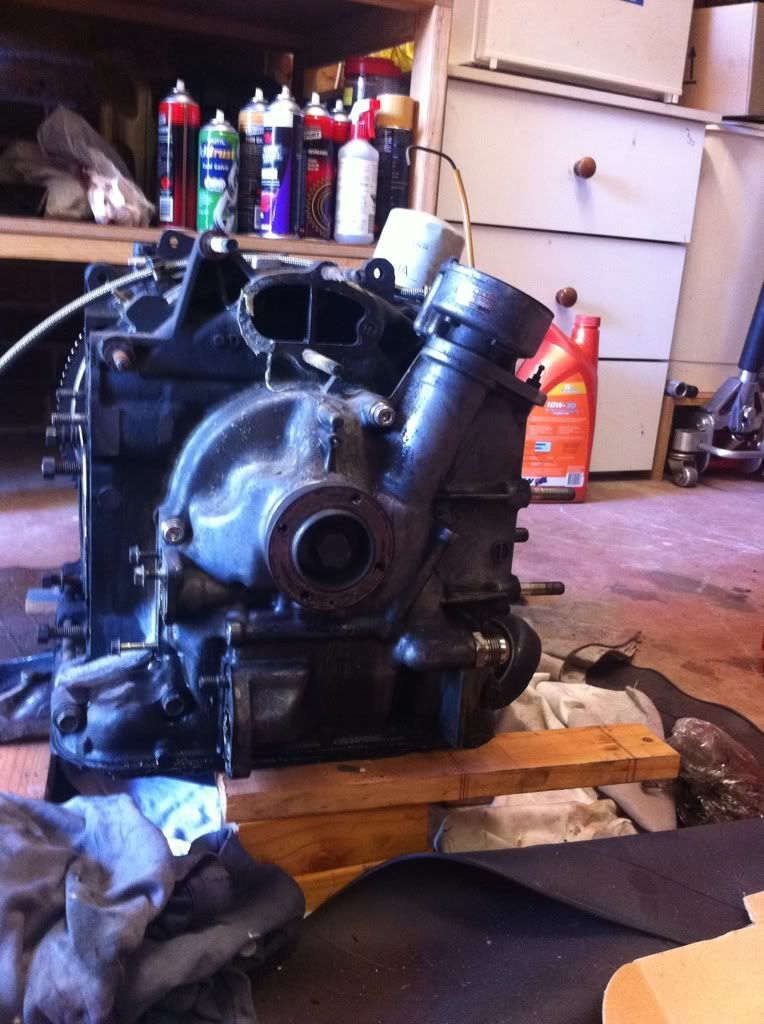
Also started getting the block ready to be shipped for machine work

Started on the harness, still have to tape it all up
Also started getting the block ready to be shipped for machine work