6 port euro spec s5 t2 build


 02-17-15, 12:43 AM
#29
Senior Member
Thread Starter
mazda is notorious because of the rust problems around here, mainly because of the first gen mazda 6. now everybody tells all mazda´s are prone to body problems, same story with the rotary engine, i guess the stories of engine lasting only up to 100000kilometers are from the time when nsu still sold cars.
02-21-15, 10:13 AM
#30
Senior Member
Thread Starter
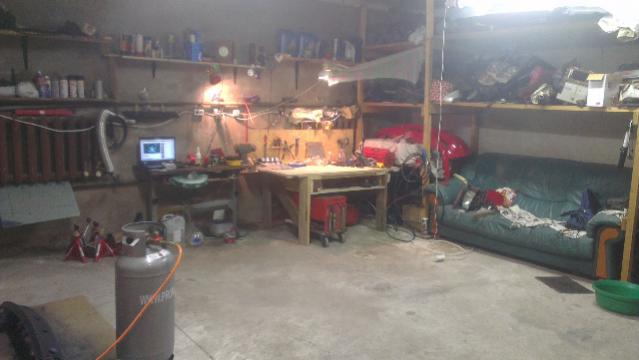
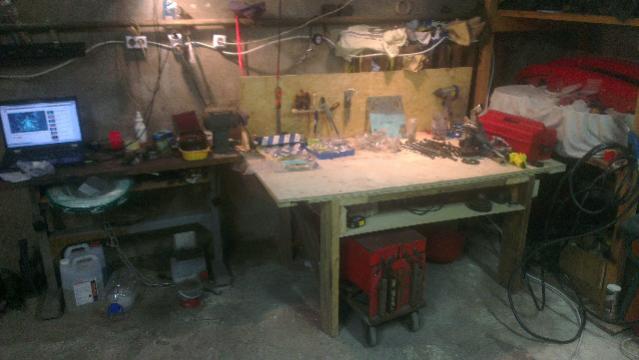
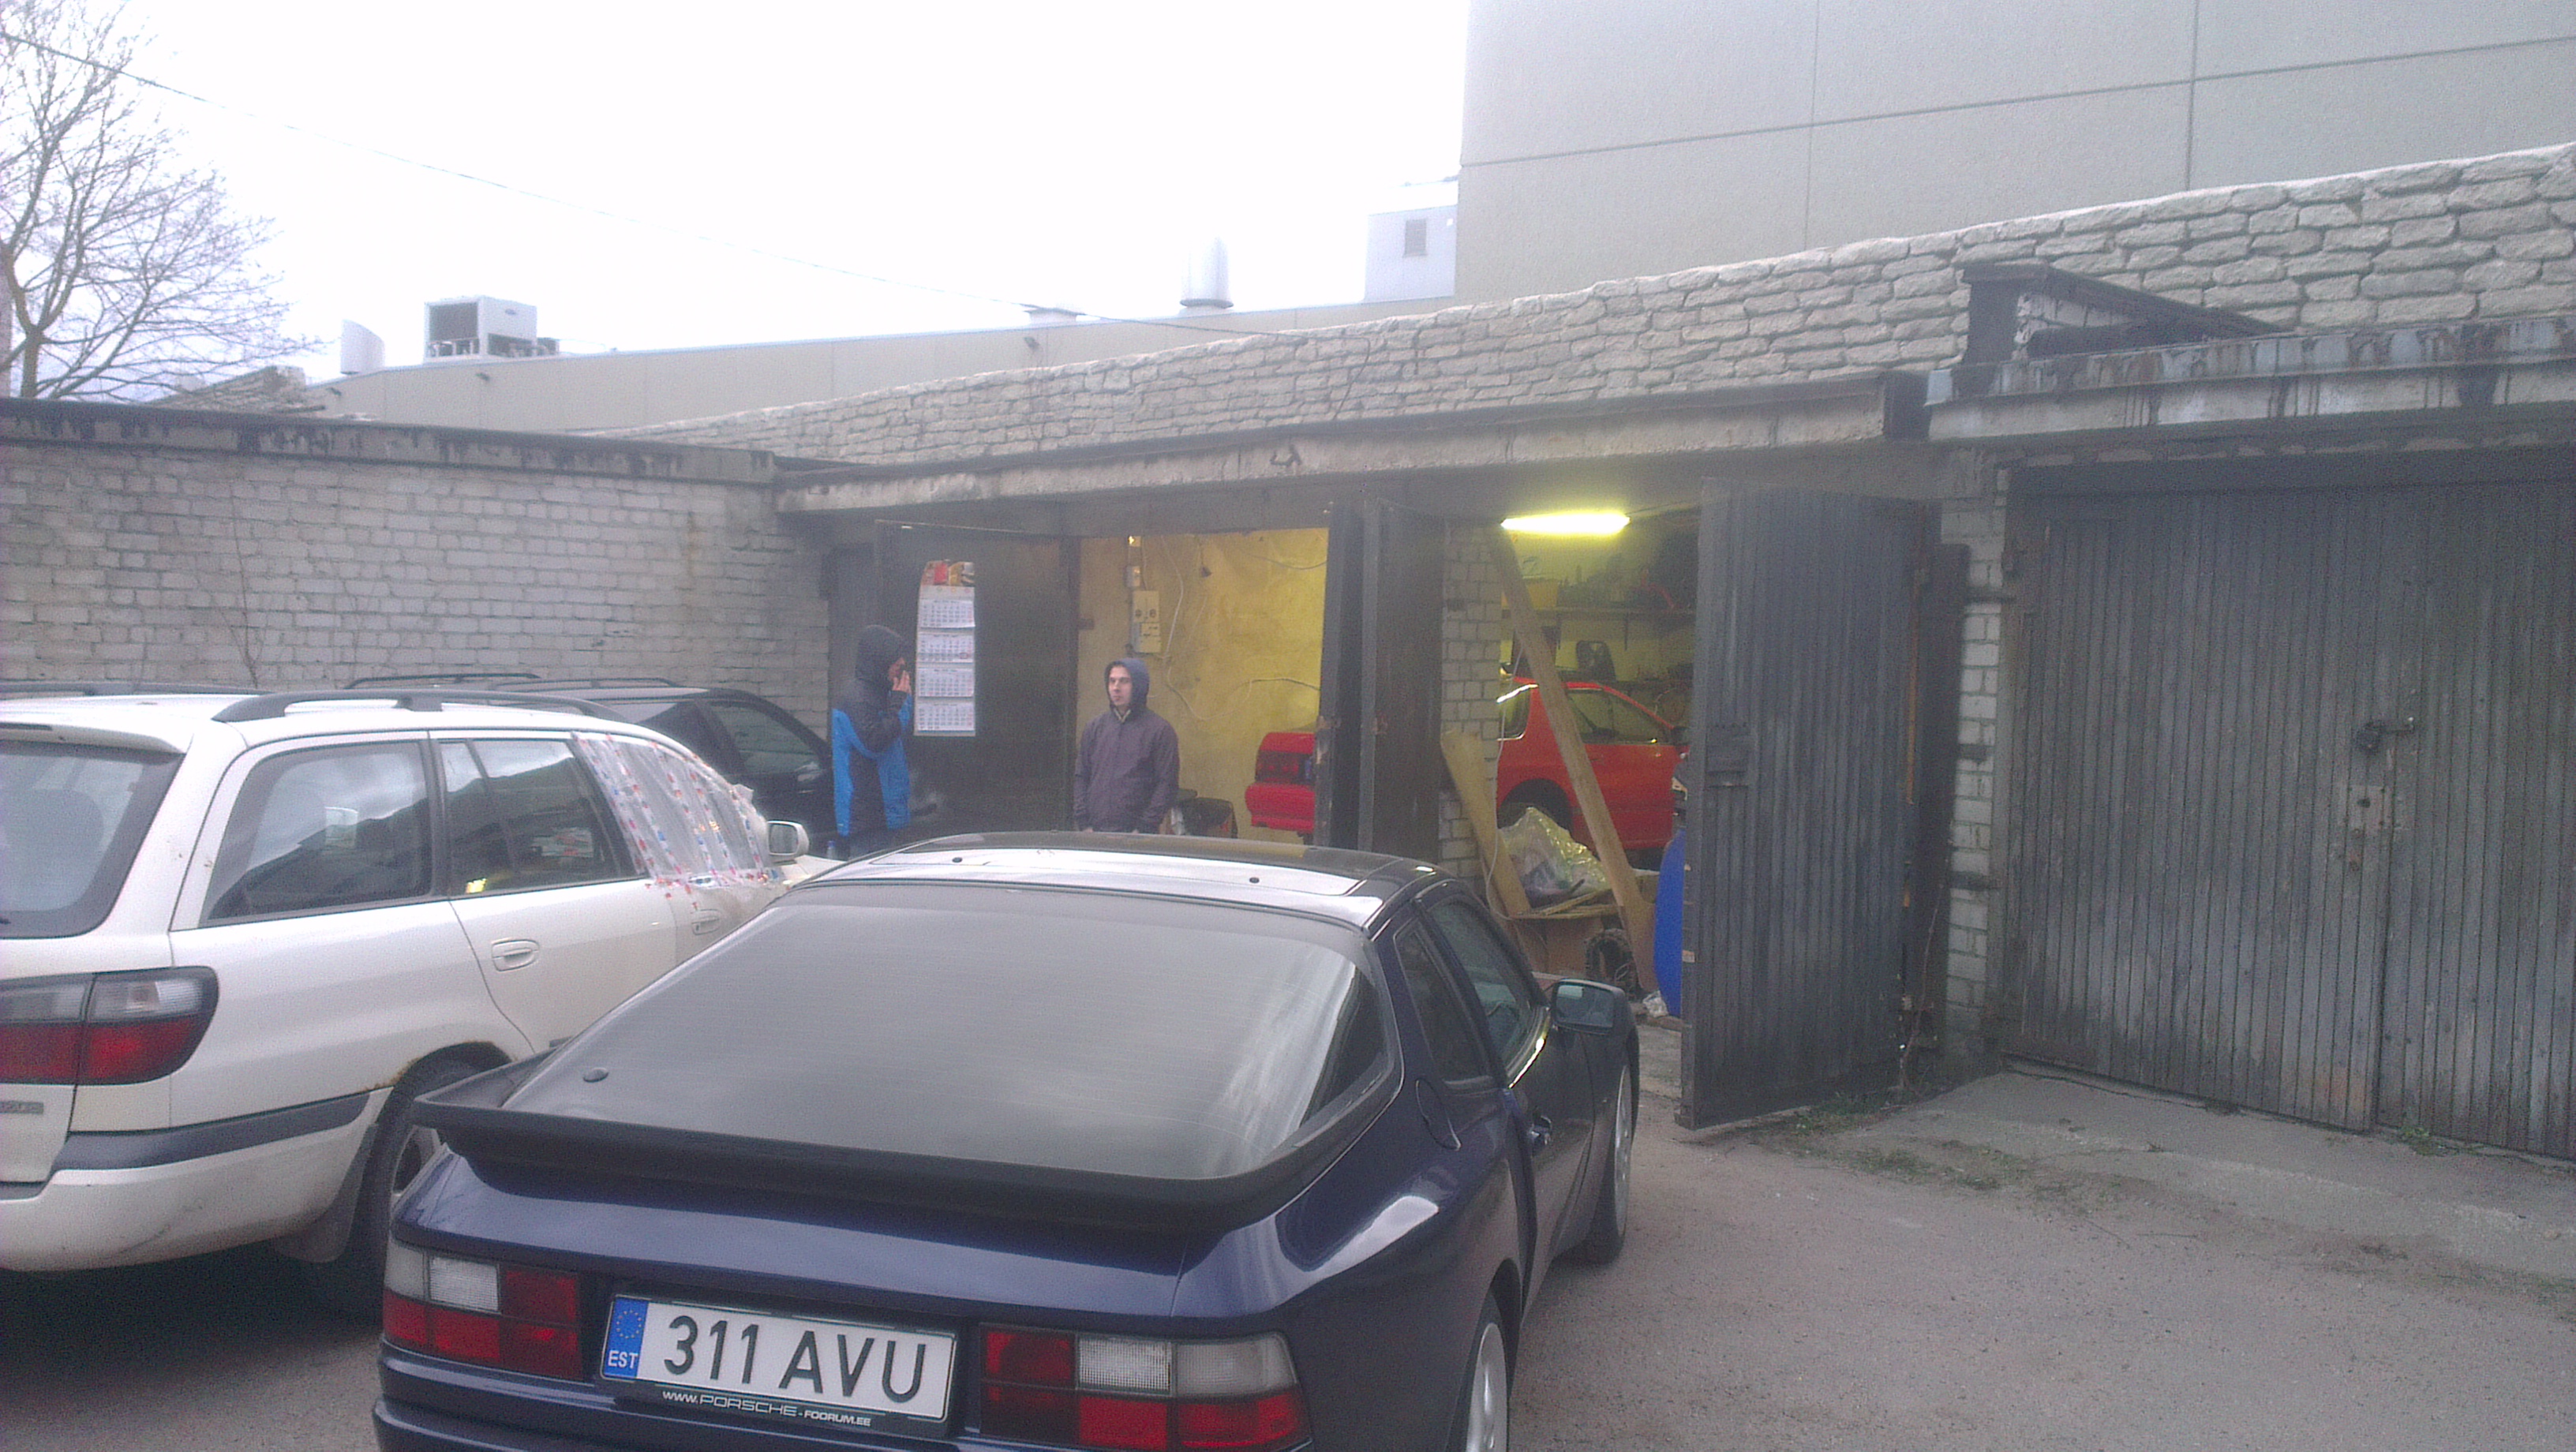
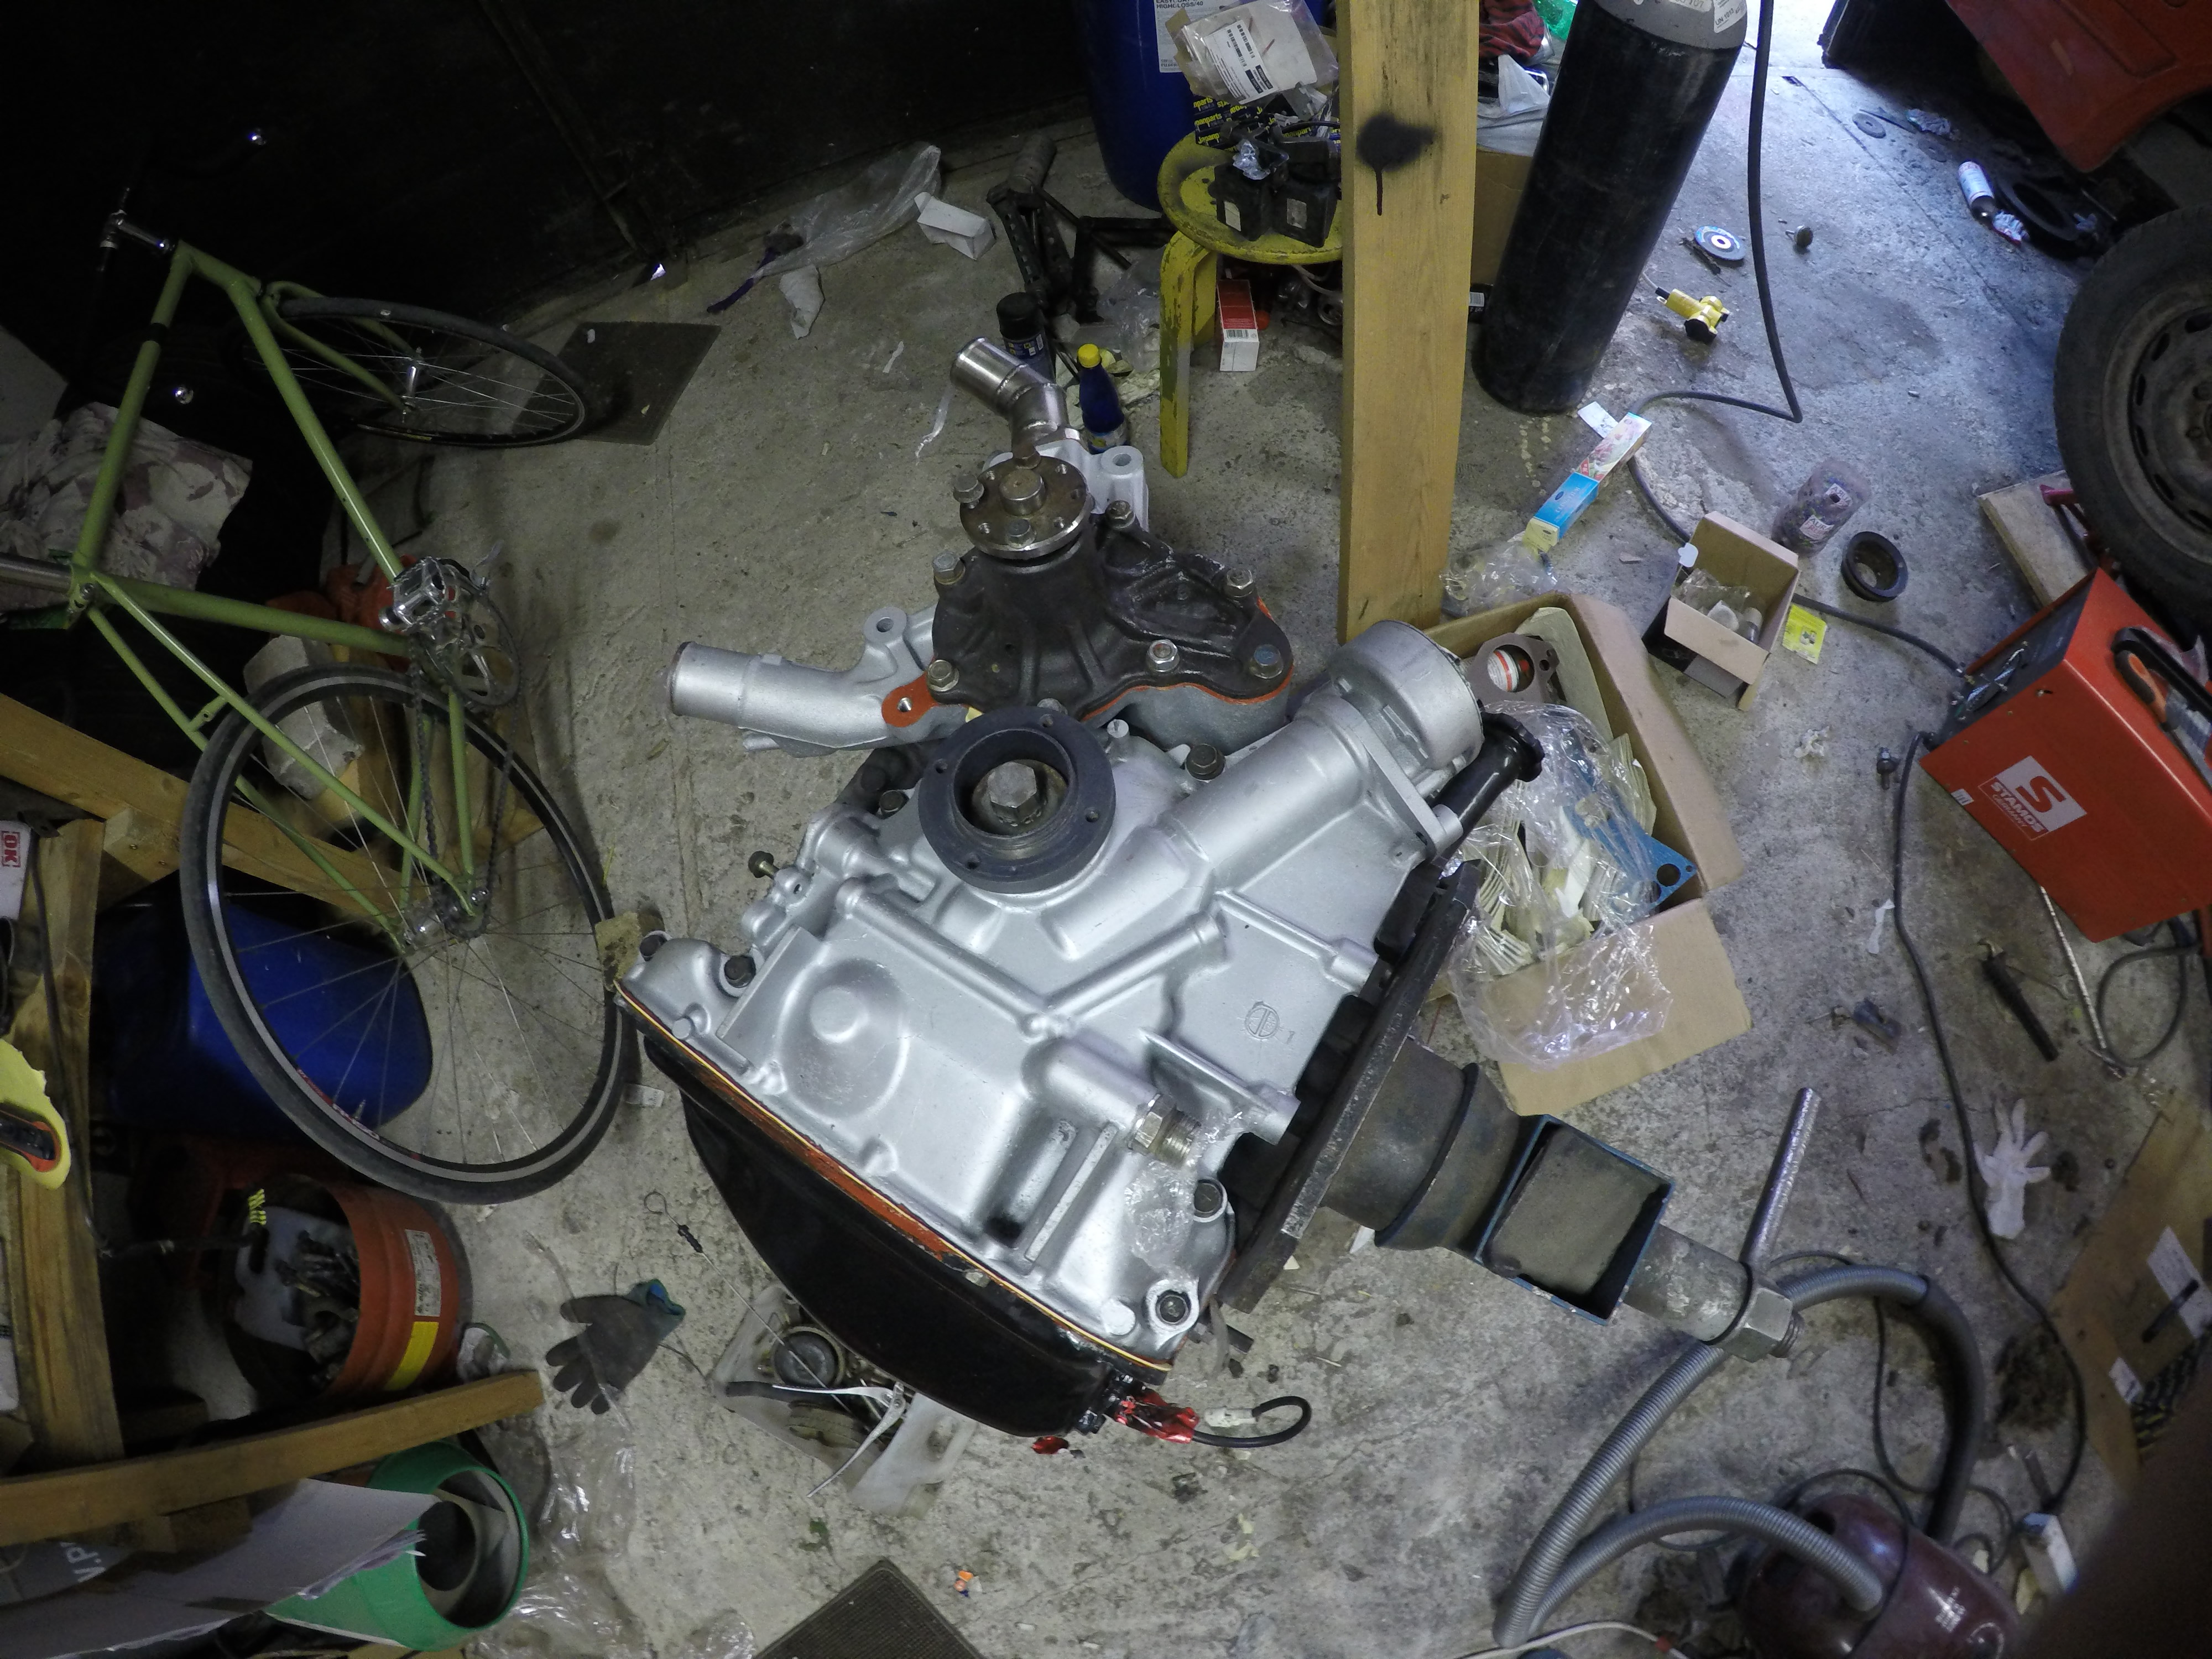
Cleaned up the garage because no car in there for some time, also made an assembly table from the material i had laying around. A one week vacation to put together the engine, most of it at least. Cw, flywheel and clutch are still in ship container and should arrive in march.. cant wait!
02-27-15, 09:41 AM
#31
Senior Member
Thread Starter
i learned a lesson, do net lend out your stuff you need! i gave my waterjacket o rings to a friend in need in autumn, but now it turns out he had somethings else instead of these, he ordered them from hayward rotary, hope they arrive in monday because its my last day of vacation what seems like wasted time right now 
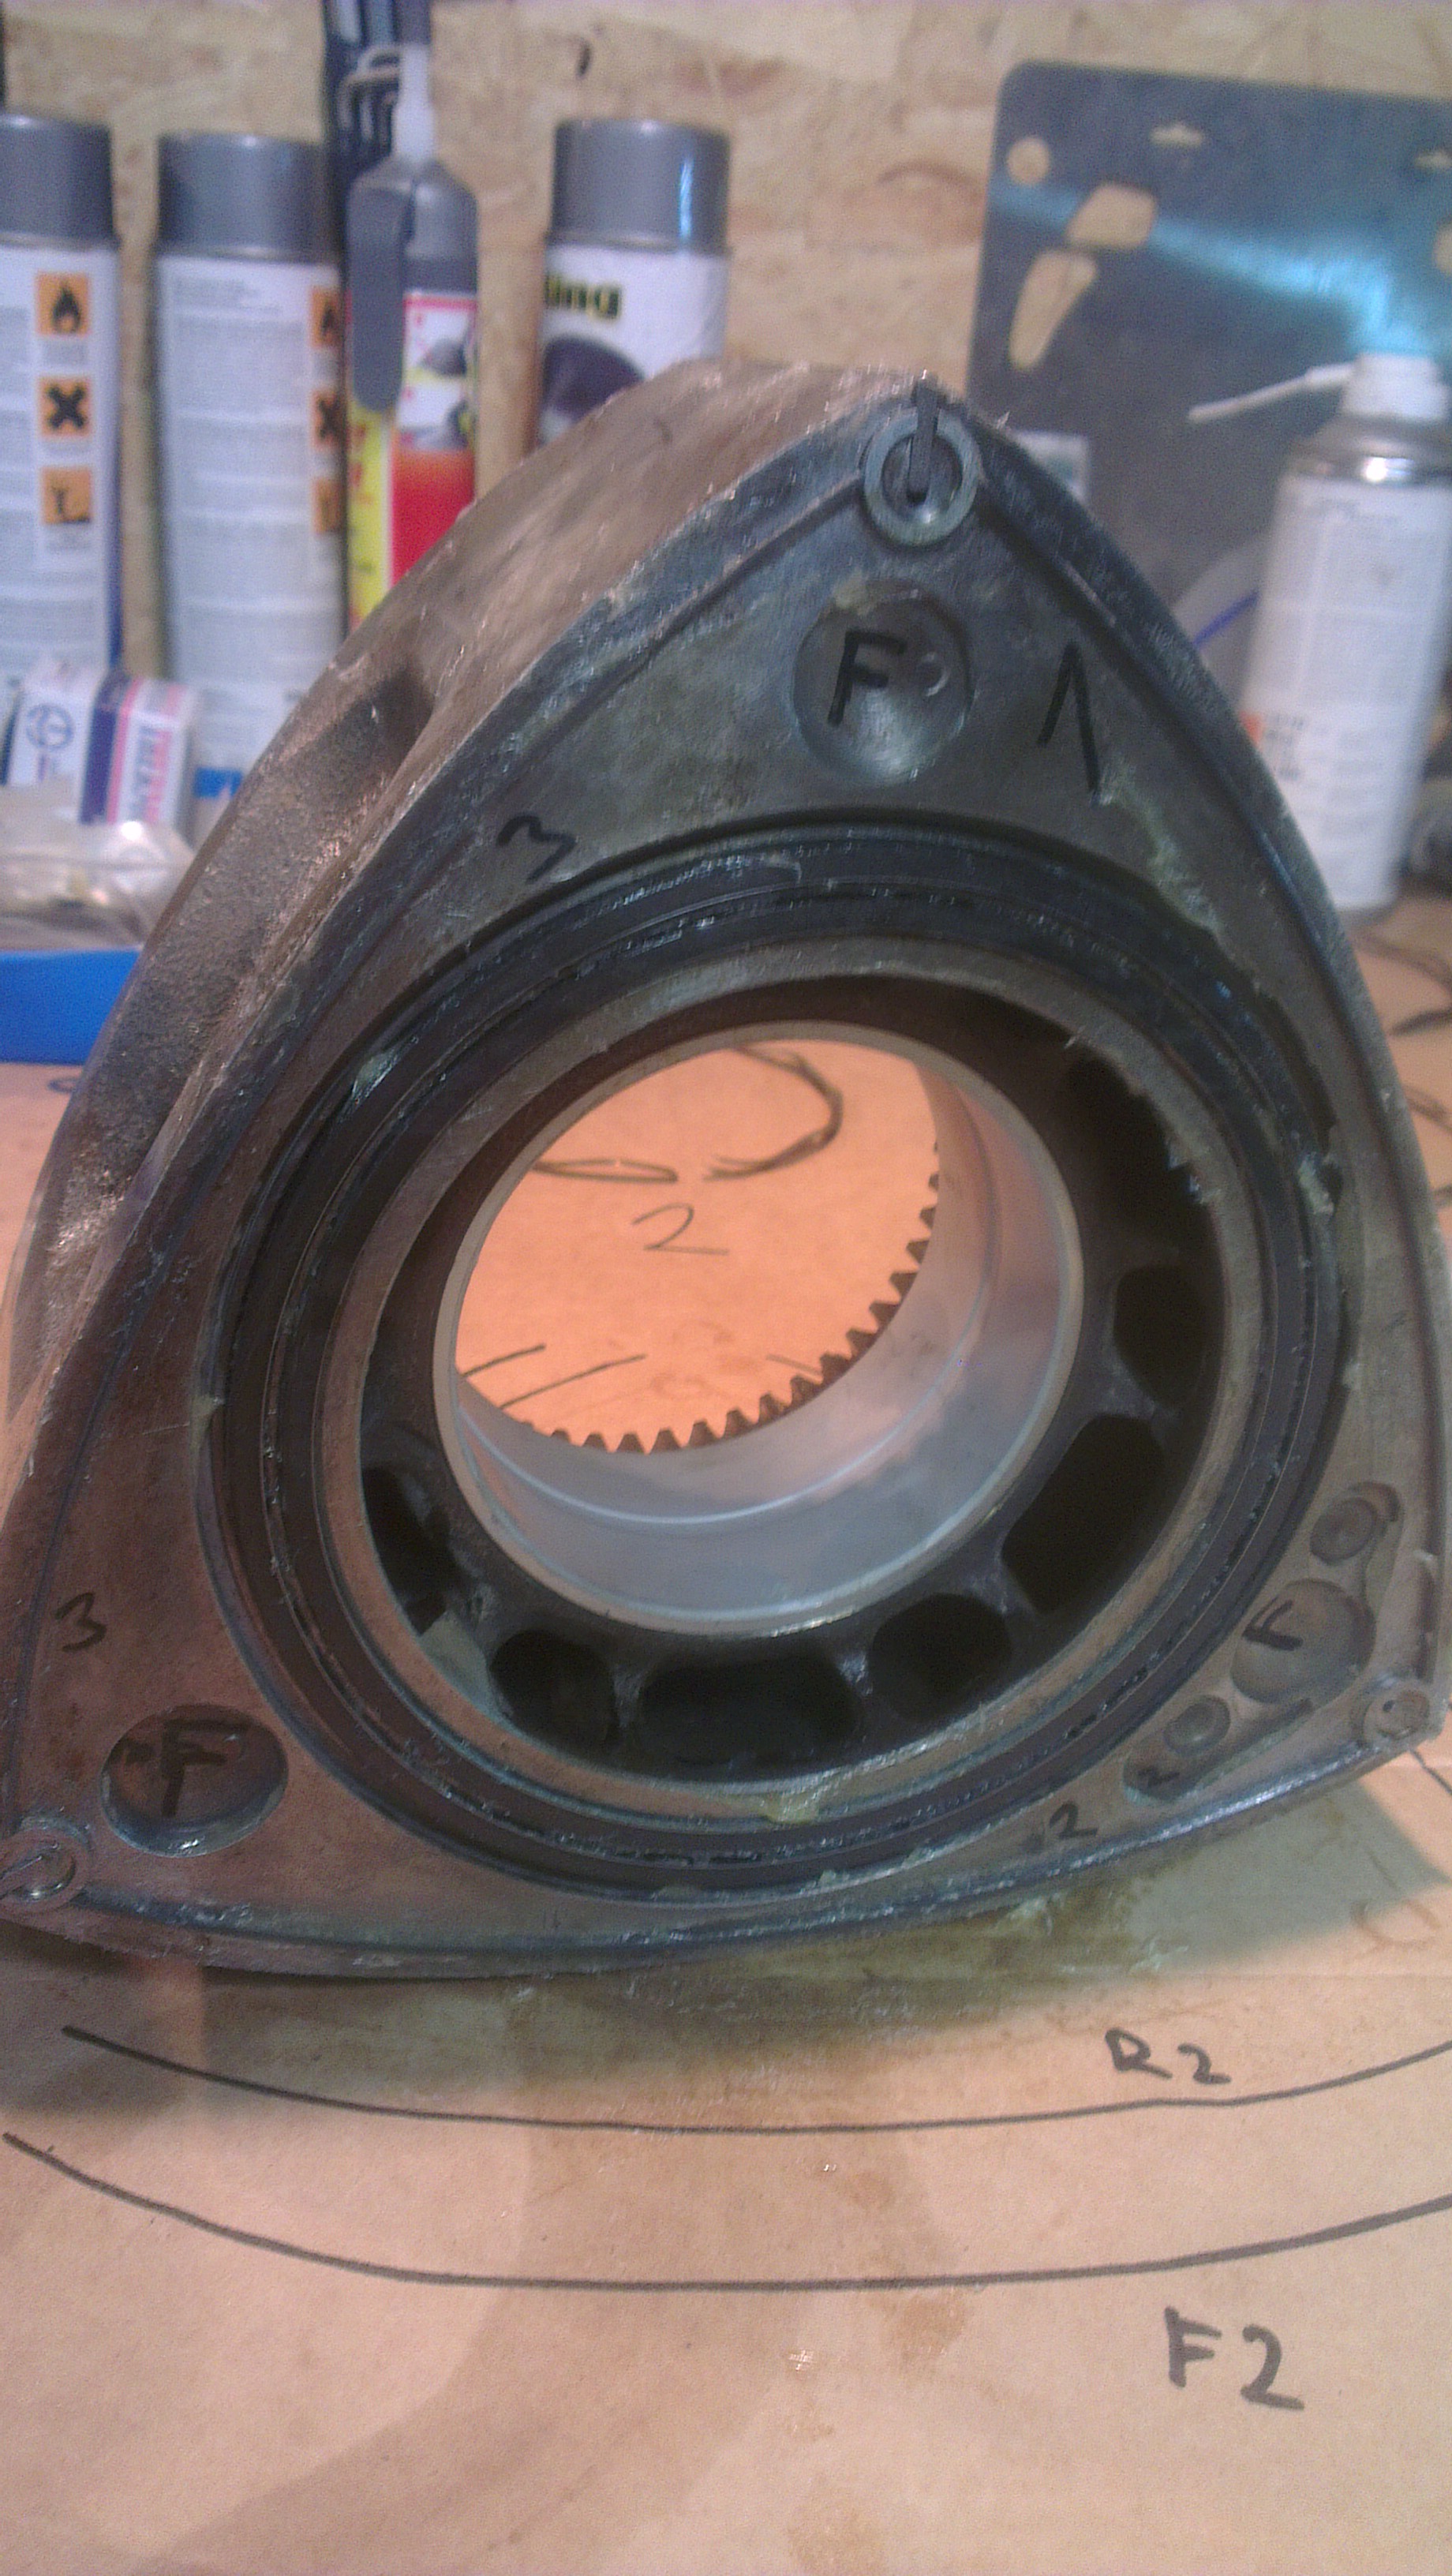
Some questions have come up, my front iron is s5 n/a i think, all other are s4 n/a, do i need some other oil o rings for the s5 front iron?
also one of my front torrington bearings washer is damaged and i need a new one, do they have a difference? one for the inside and one to the outside of thrust plate...
asked a local mazda dealer and they sent me a picture of the front thrust bearing assembly where both of the thrust washers have different part numbers (11-5041 and 11-5071)
atkins rotary sells only 79-92 thrust washers but in their rebuild video they say that place the thickest one in first!
03-03-15, 09:23 AM
#32
Senior Member
Thread Starter
ignore my last questions, i misunderstood and now got the answers 
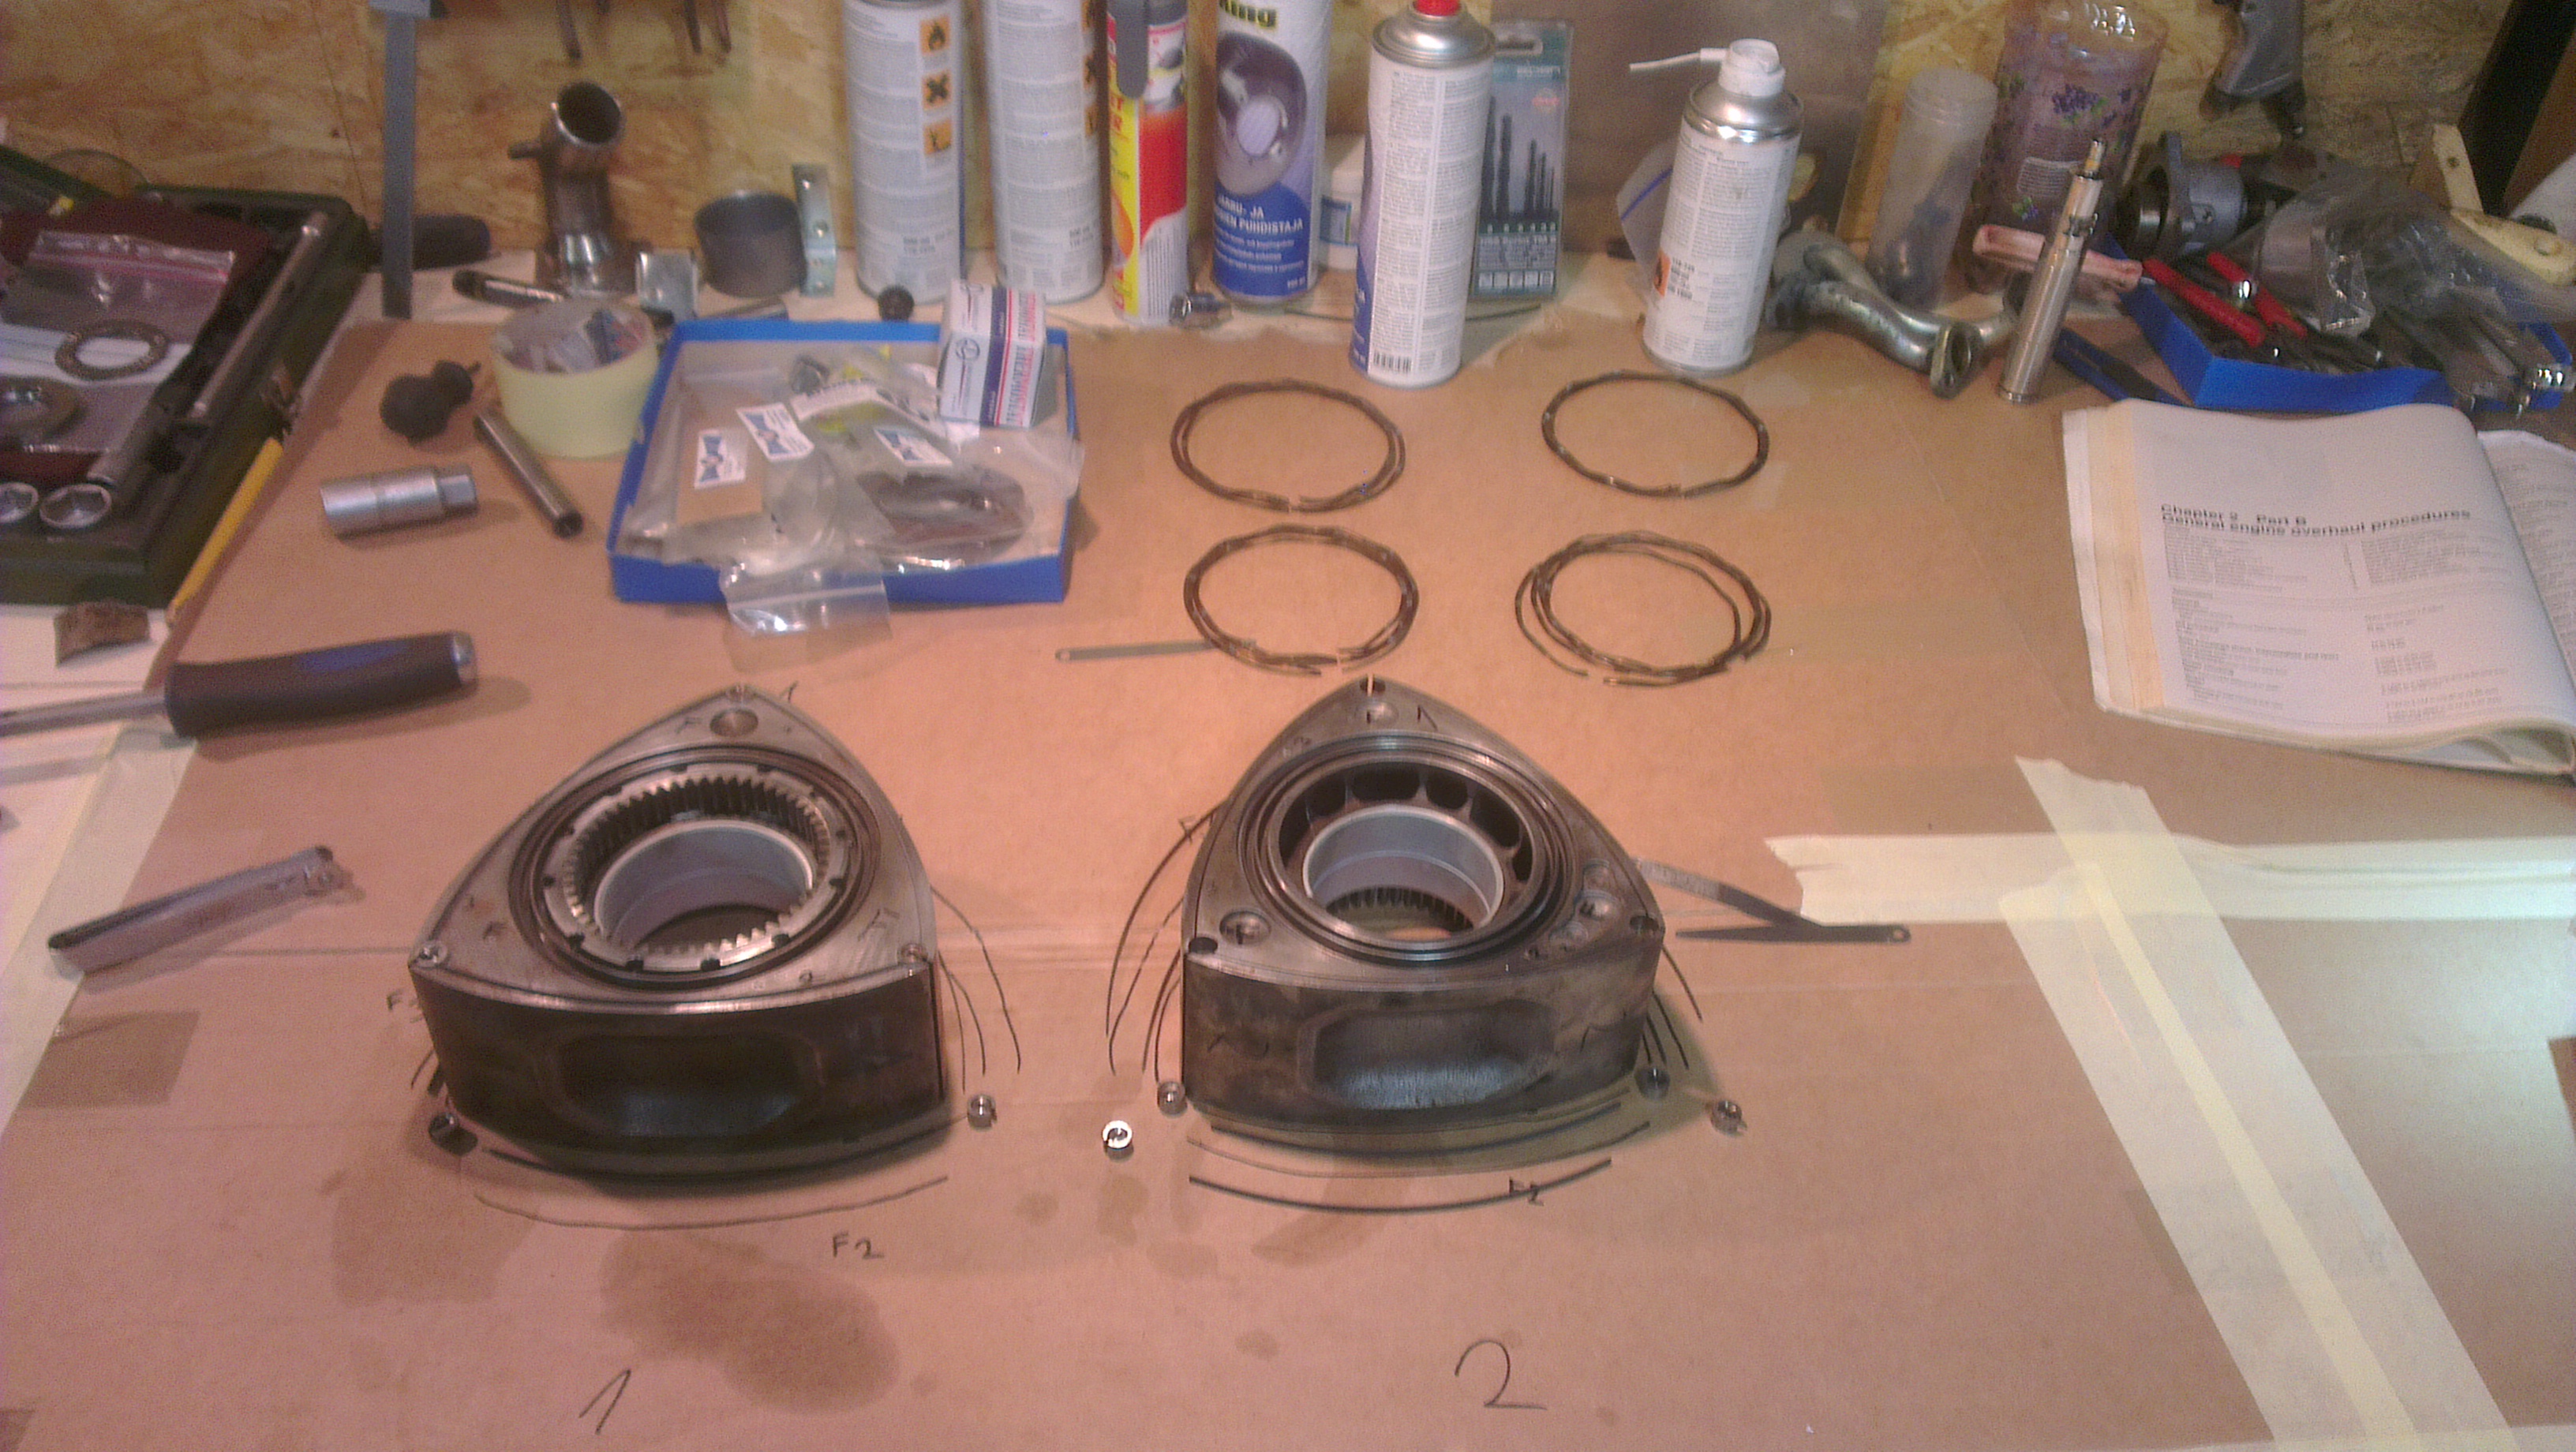
anyway i assembled the rotors what was a pure joy but grinding side seals were a nightmare. now i just have to wait for those water jacket seals.
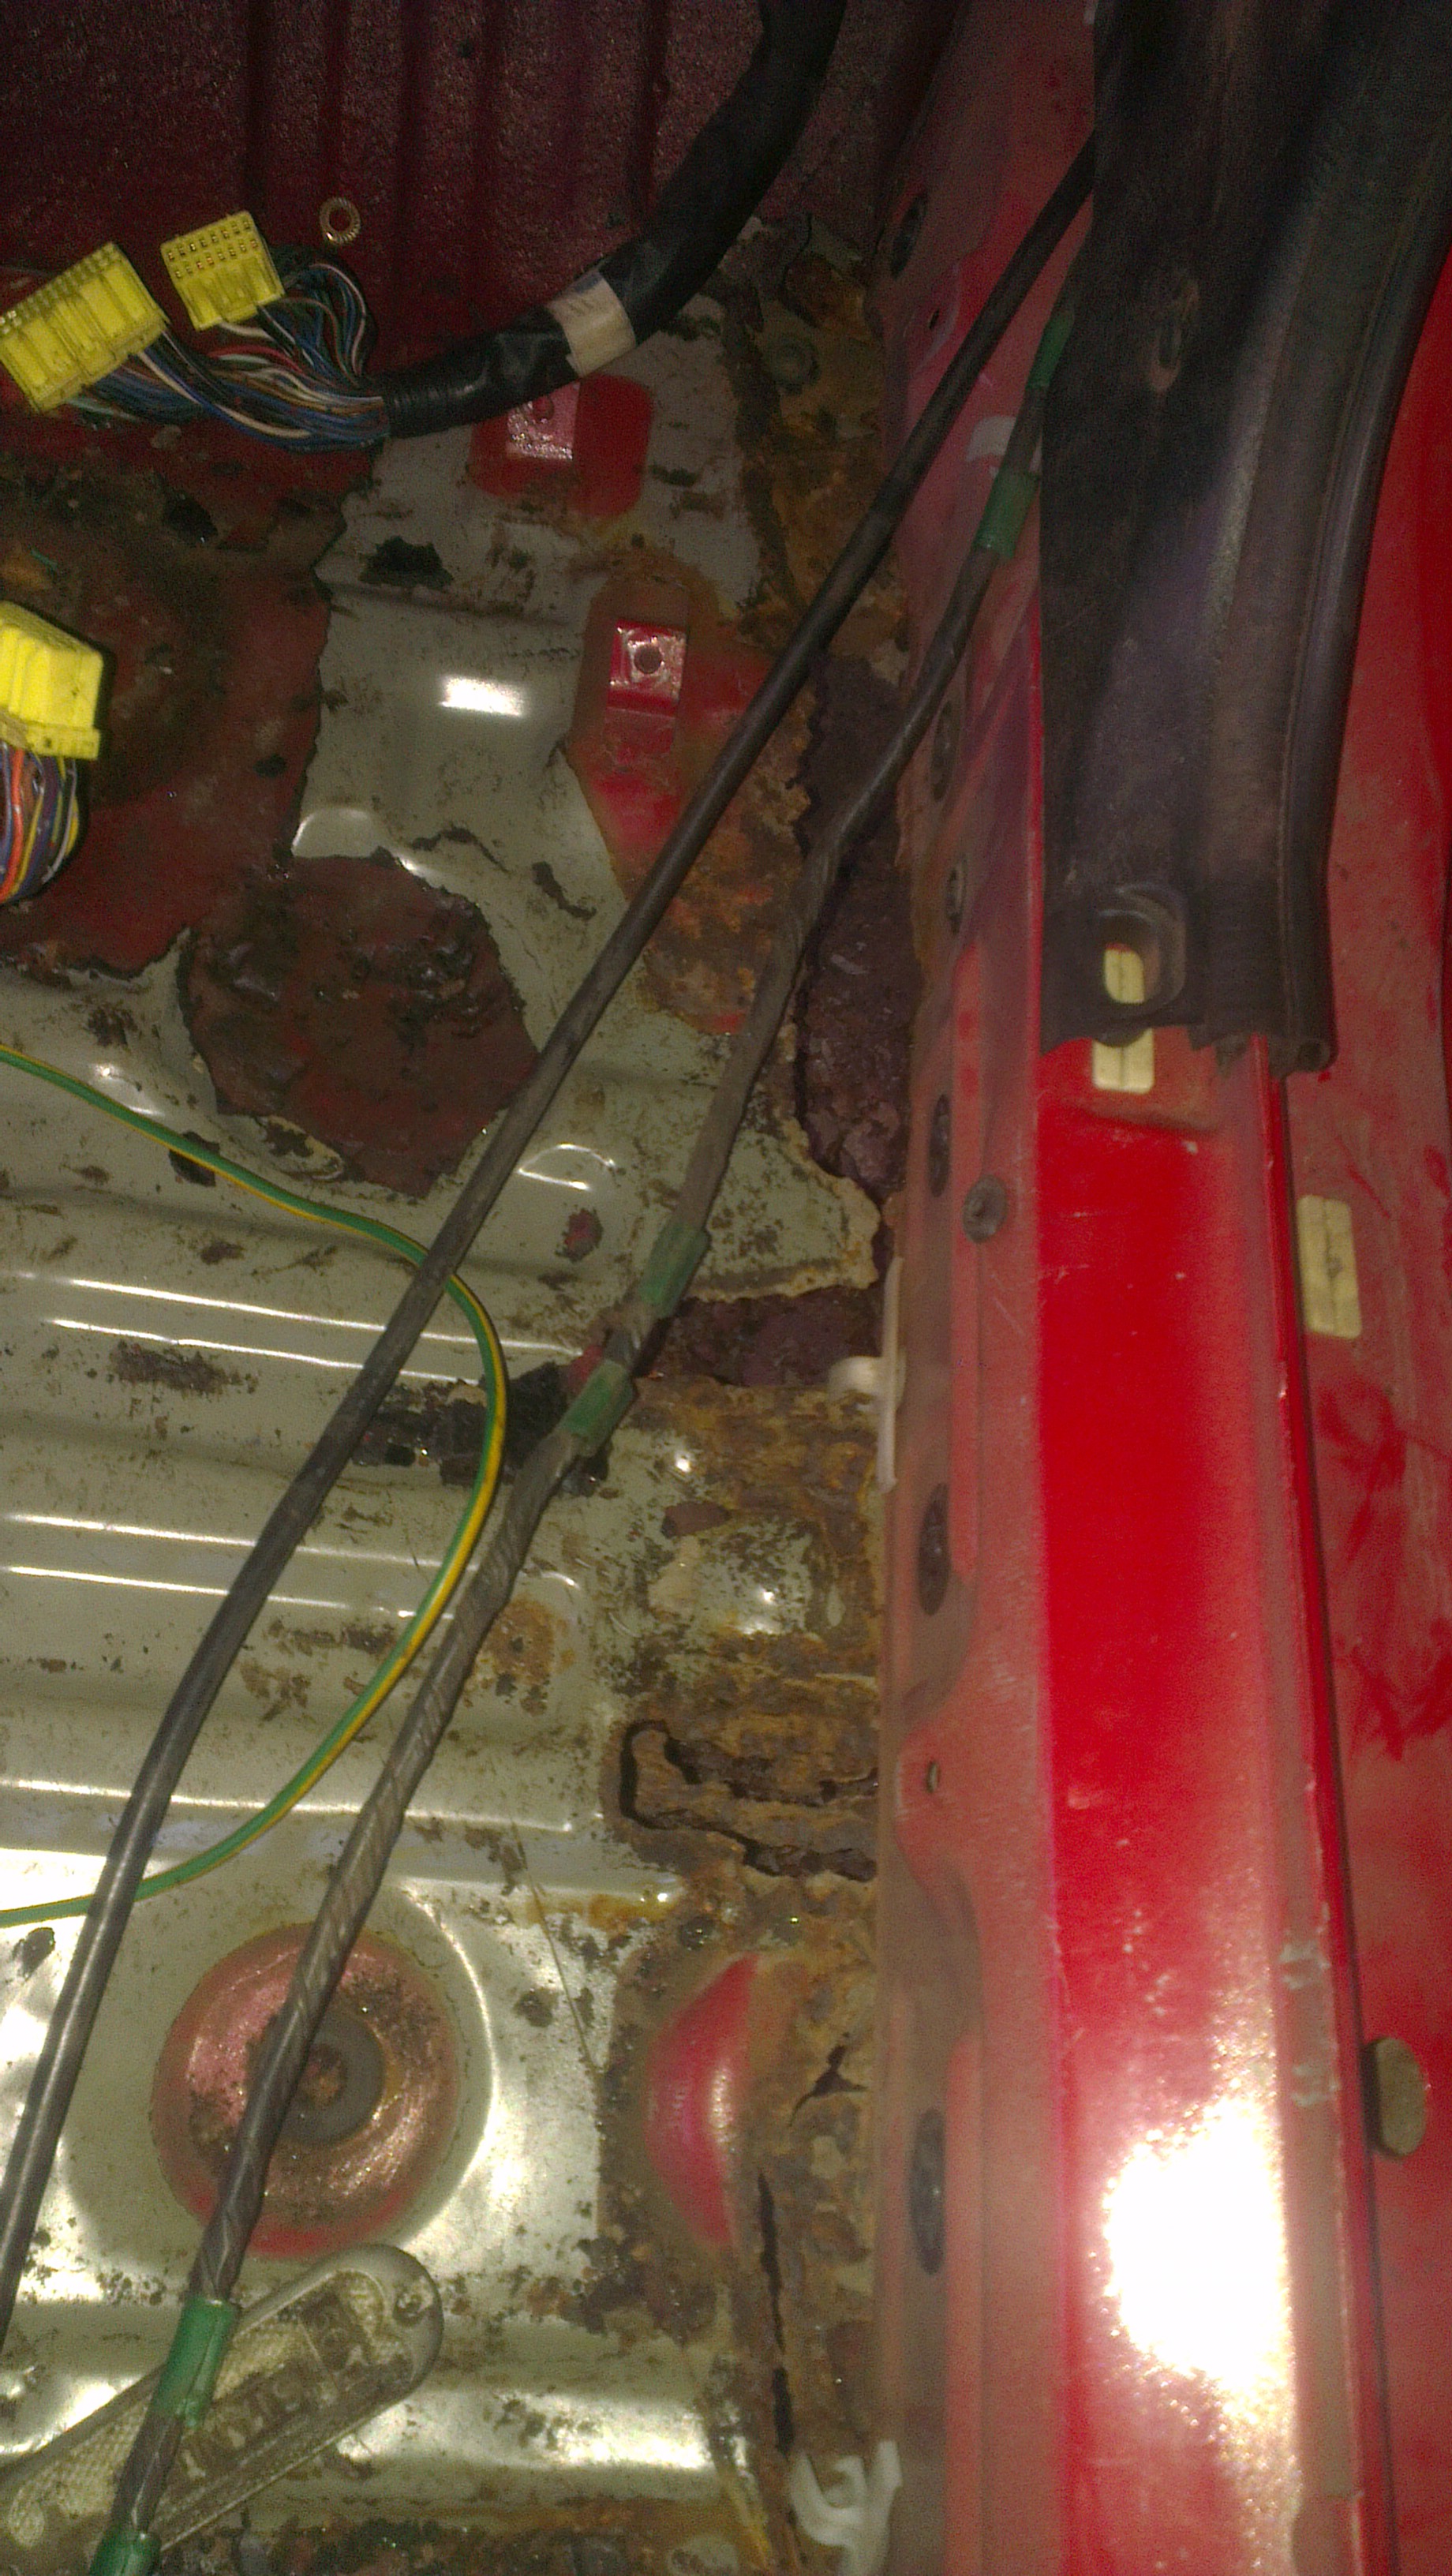
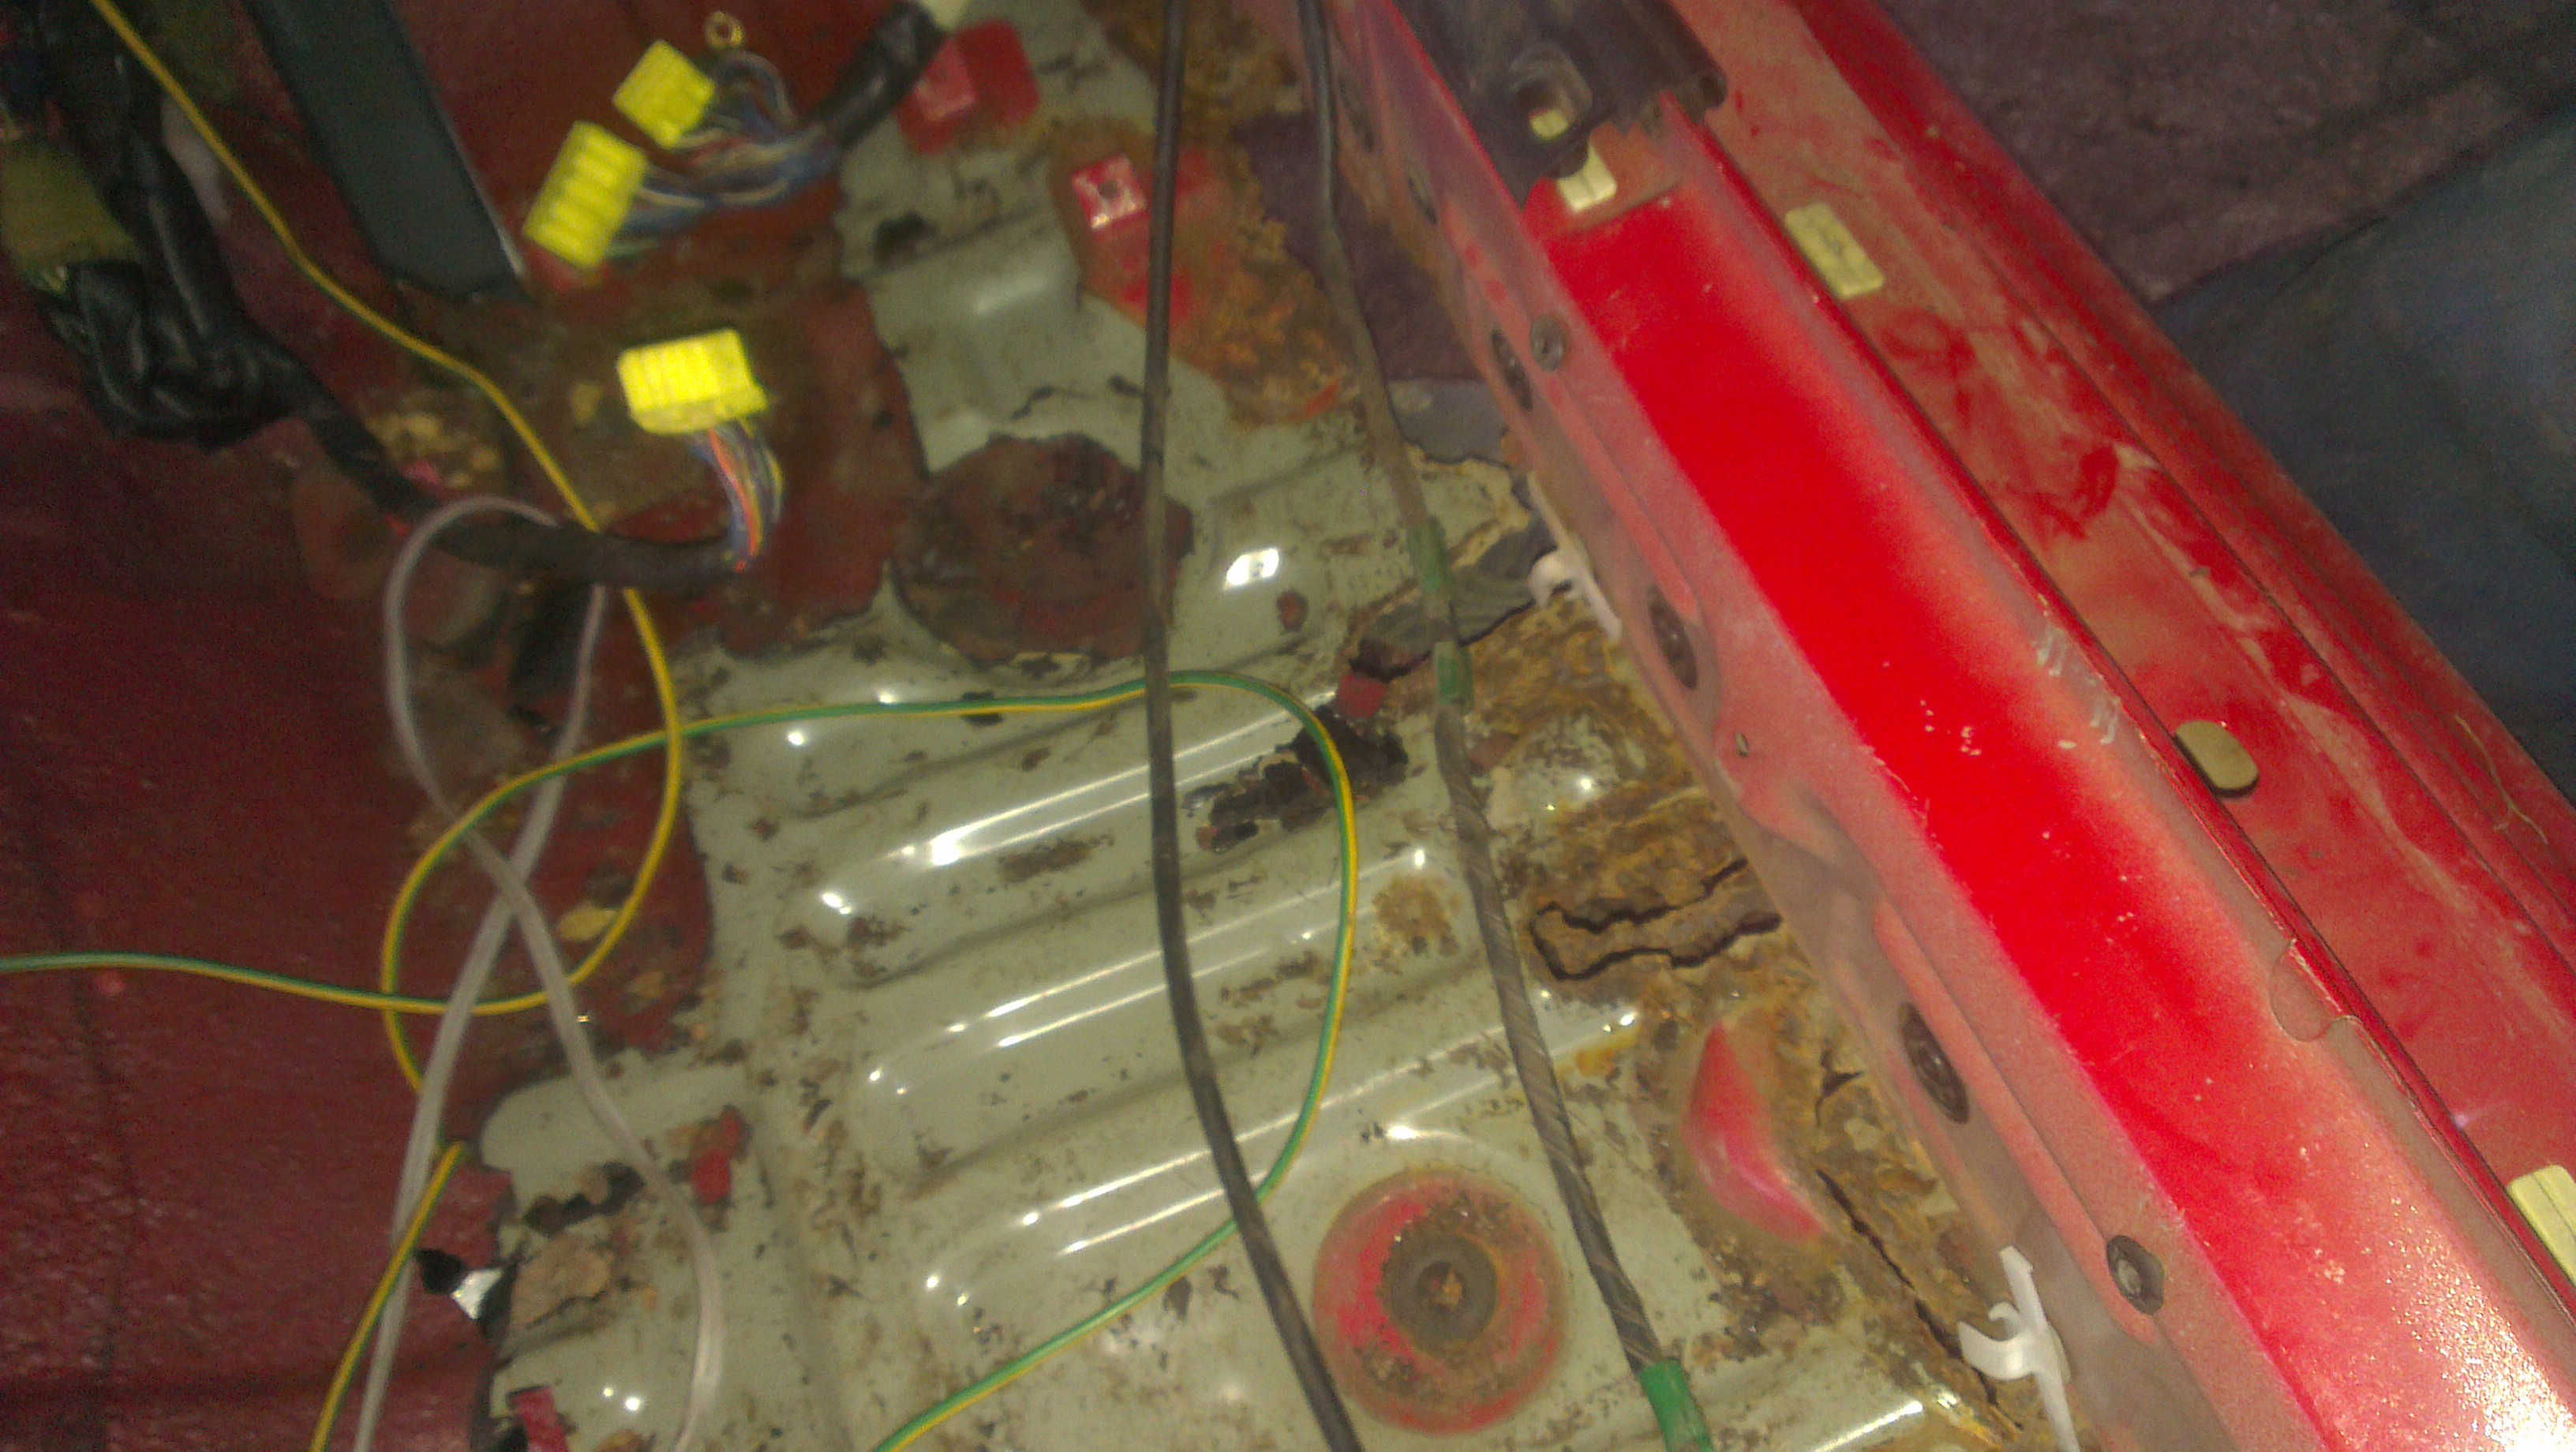
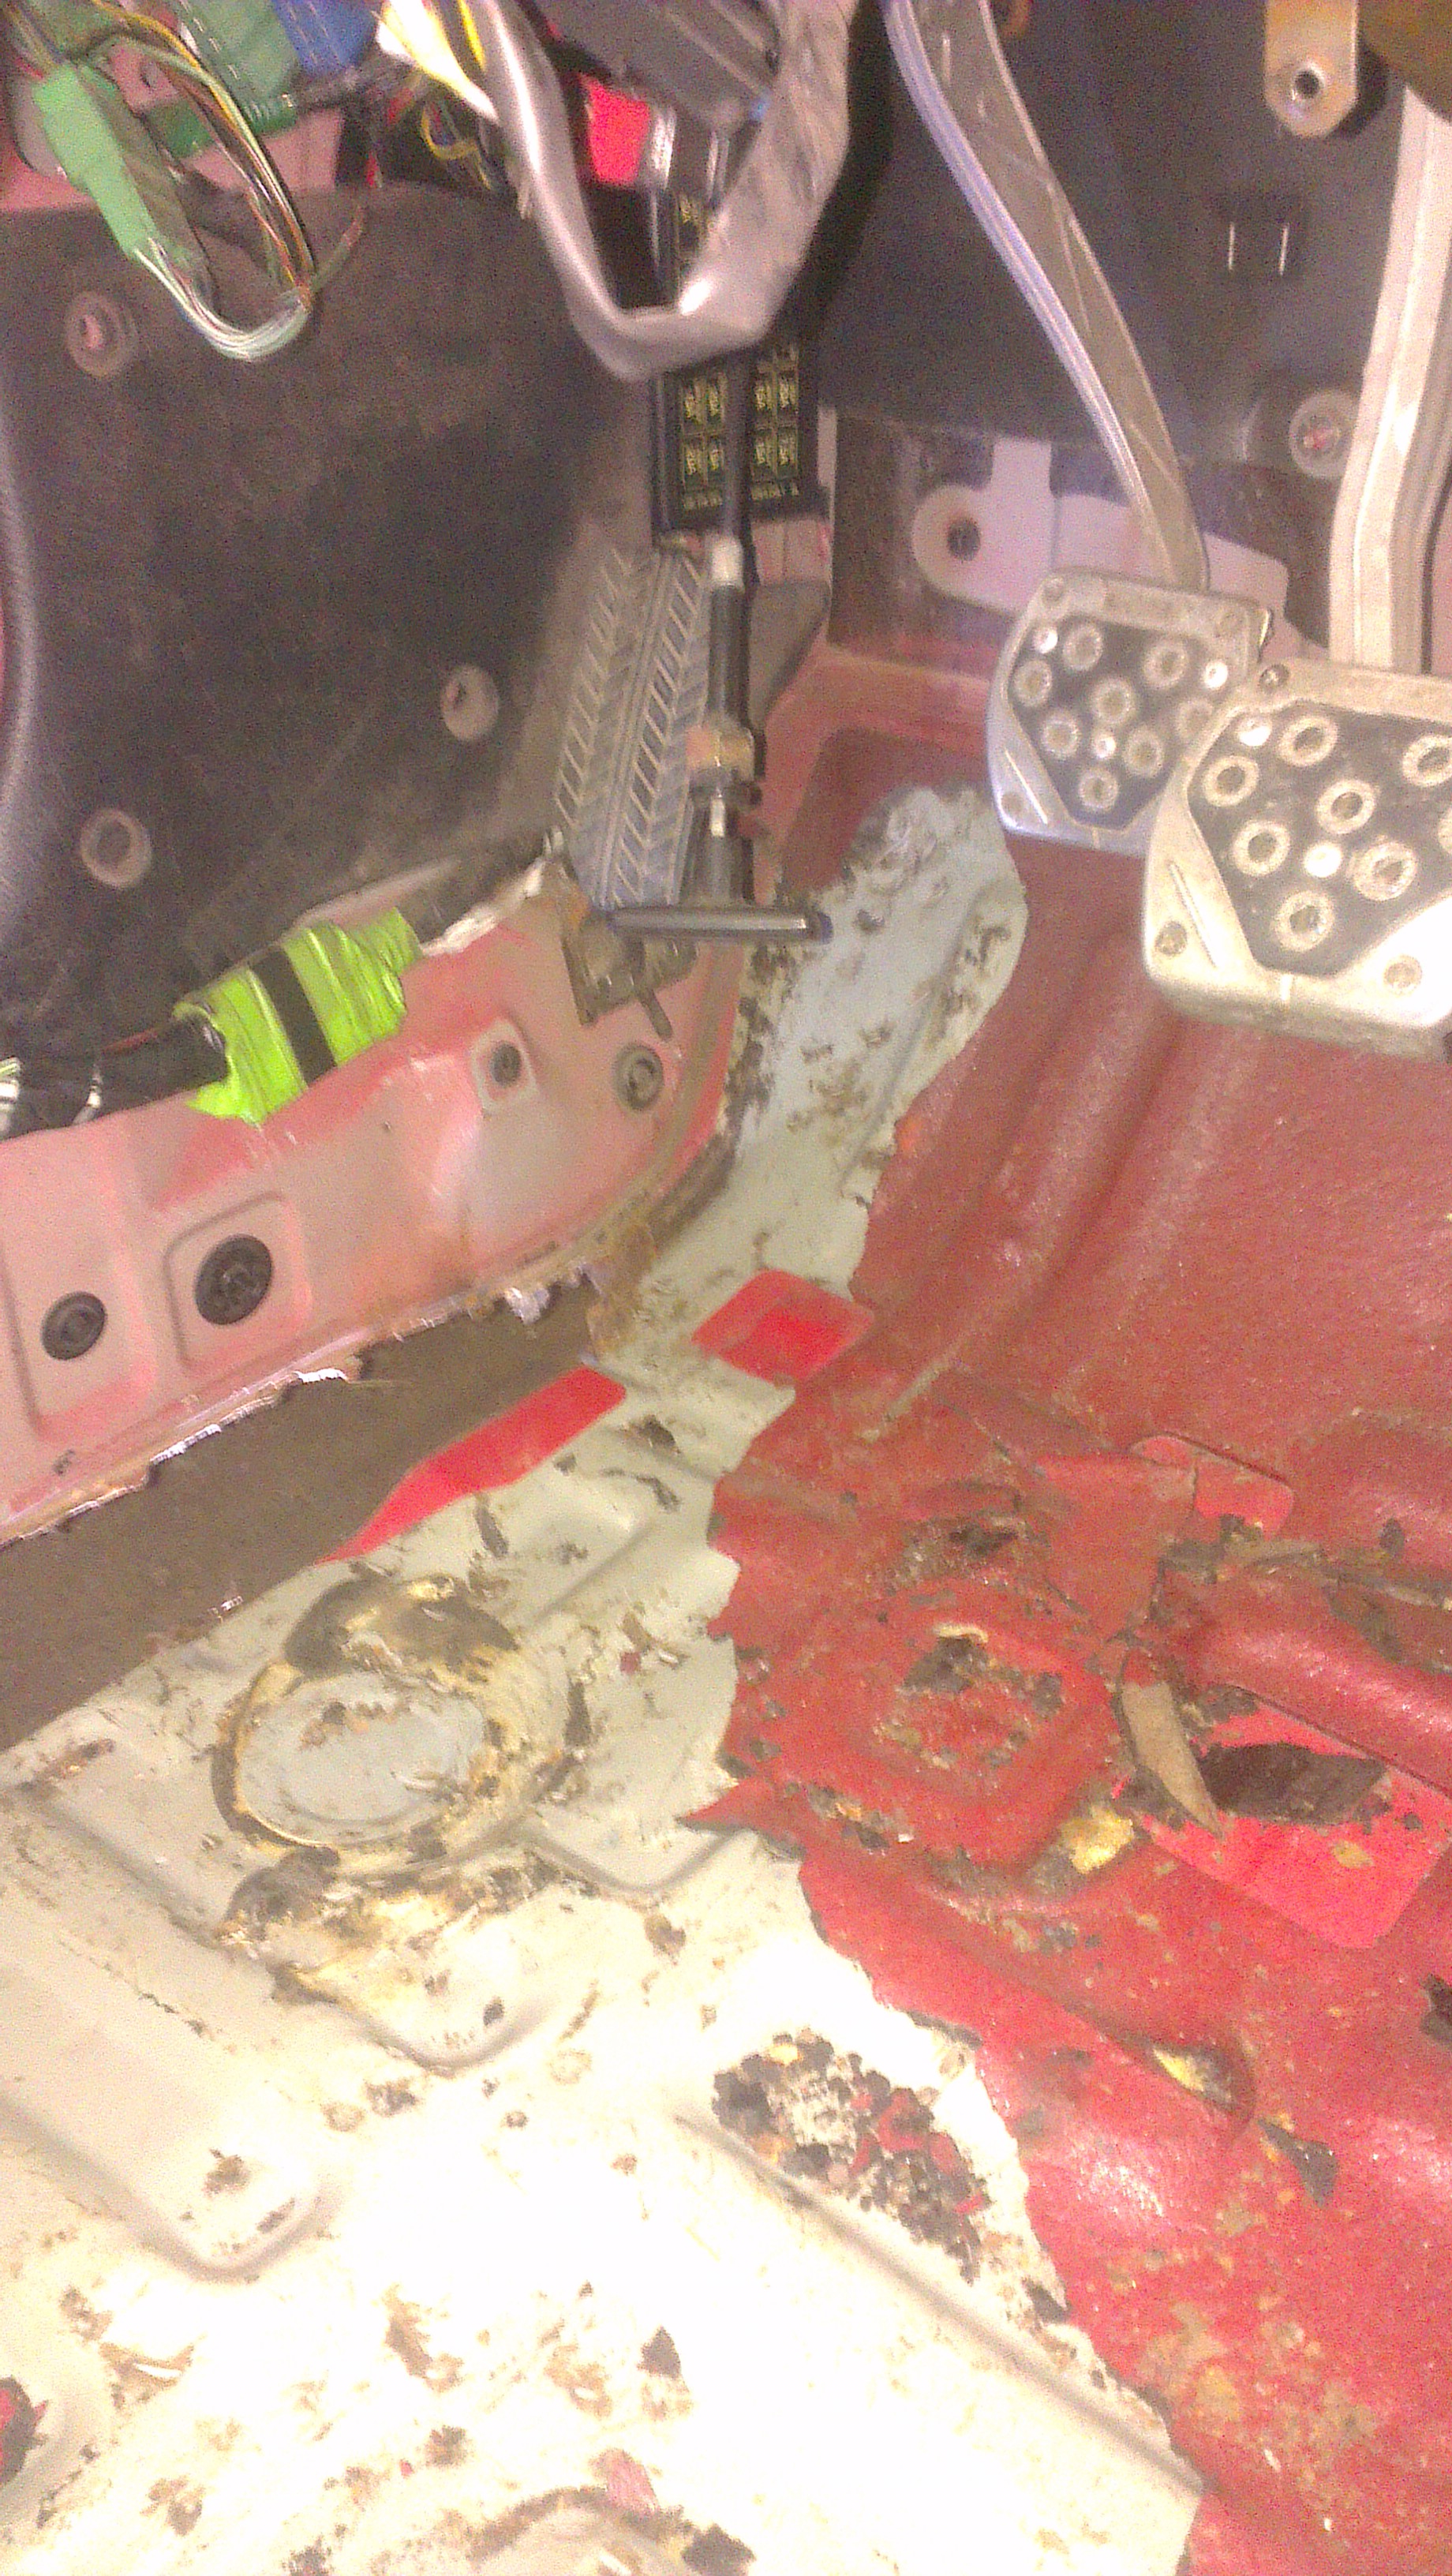
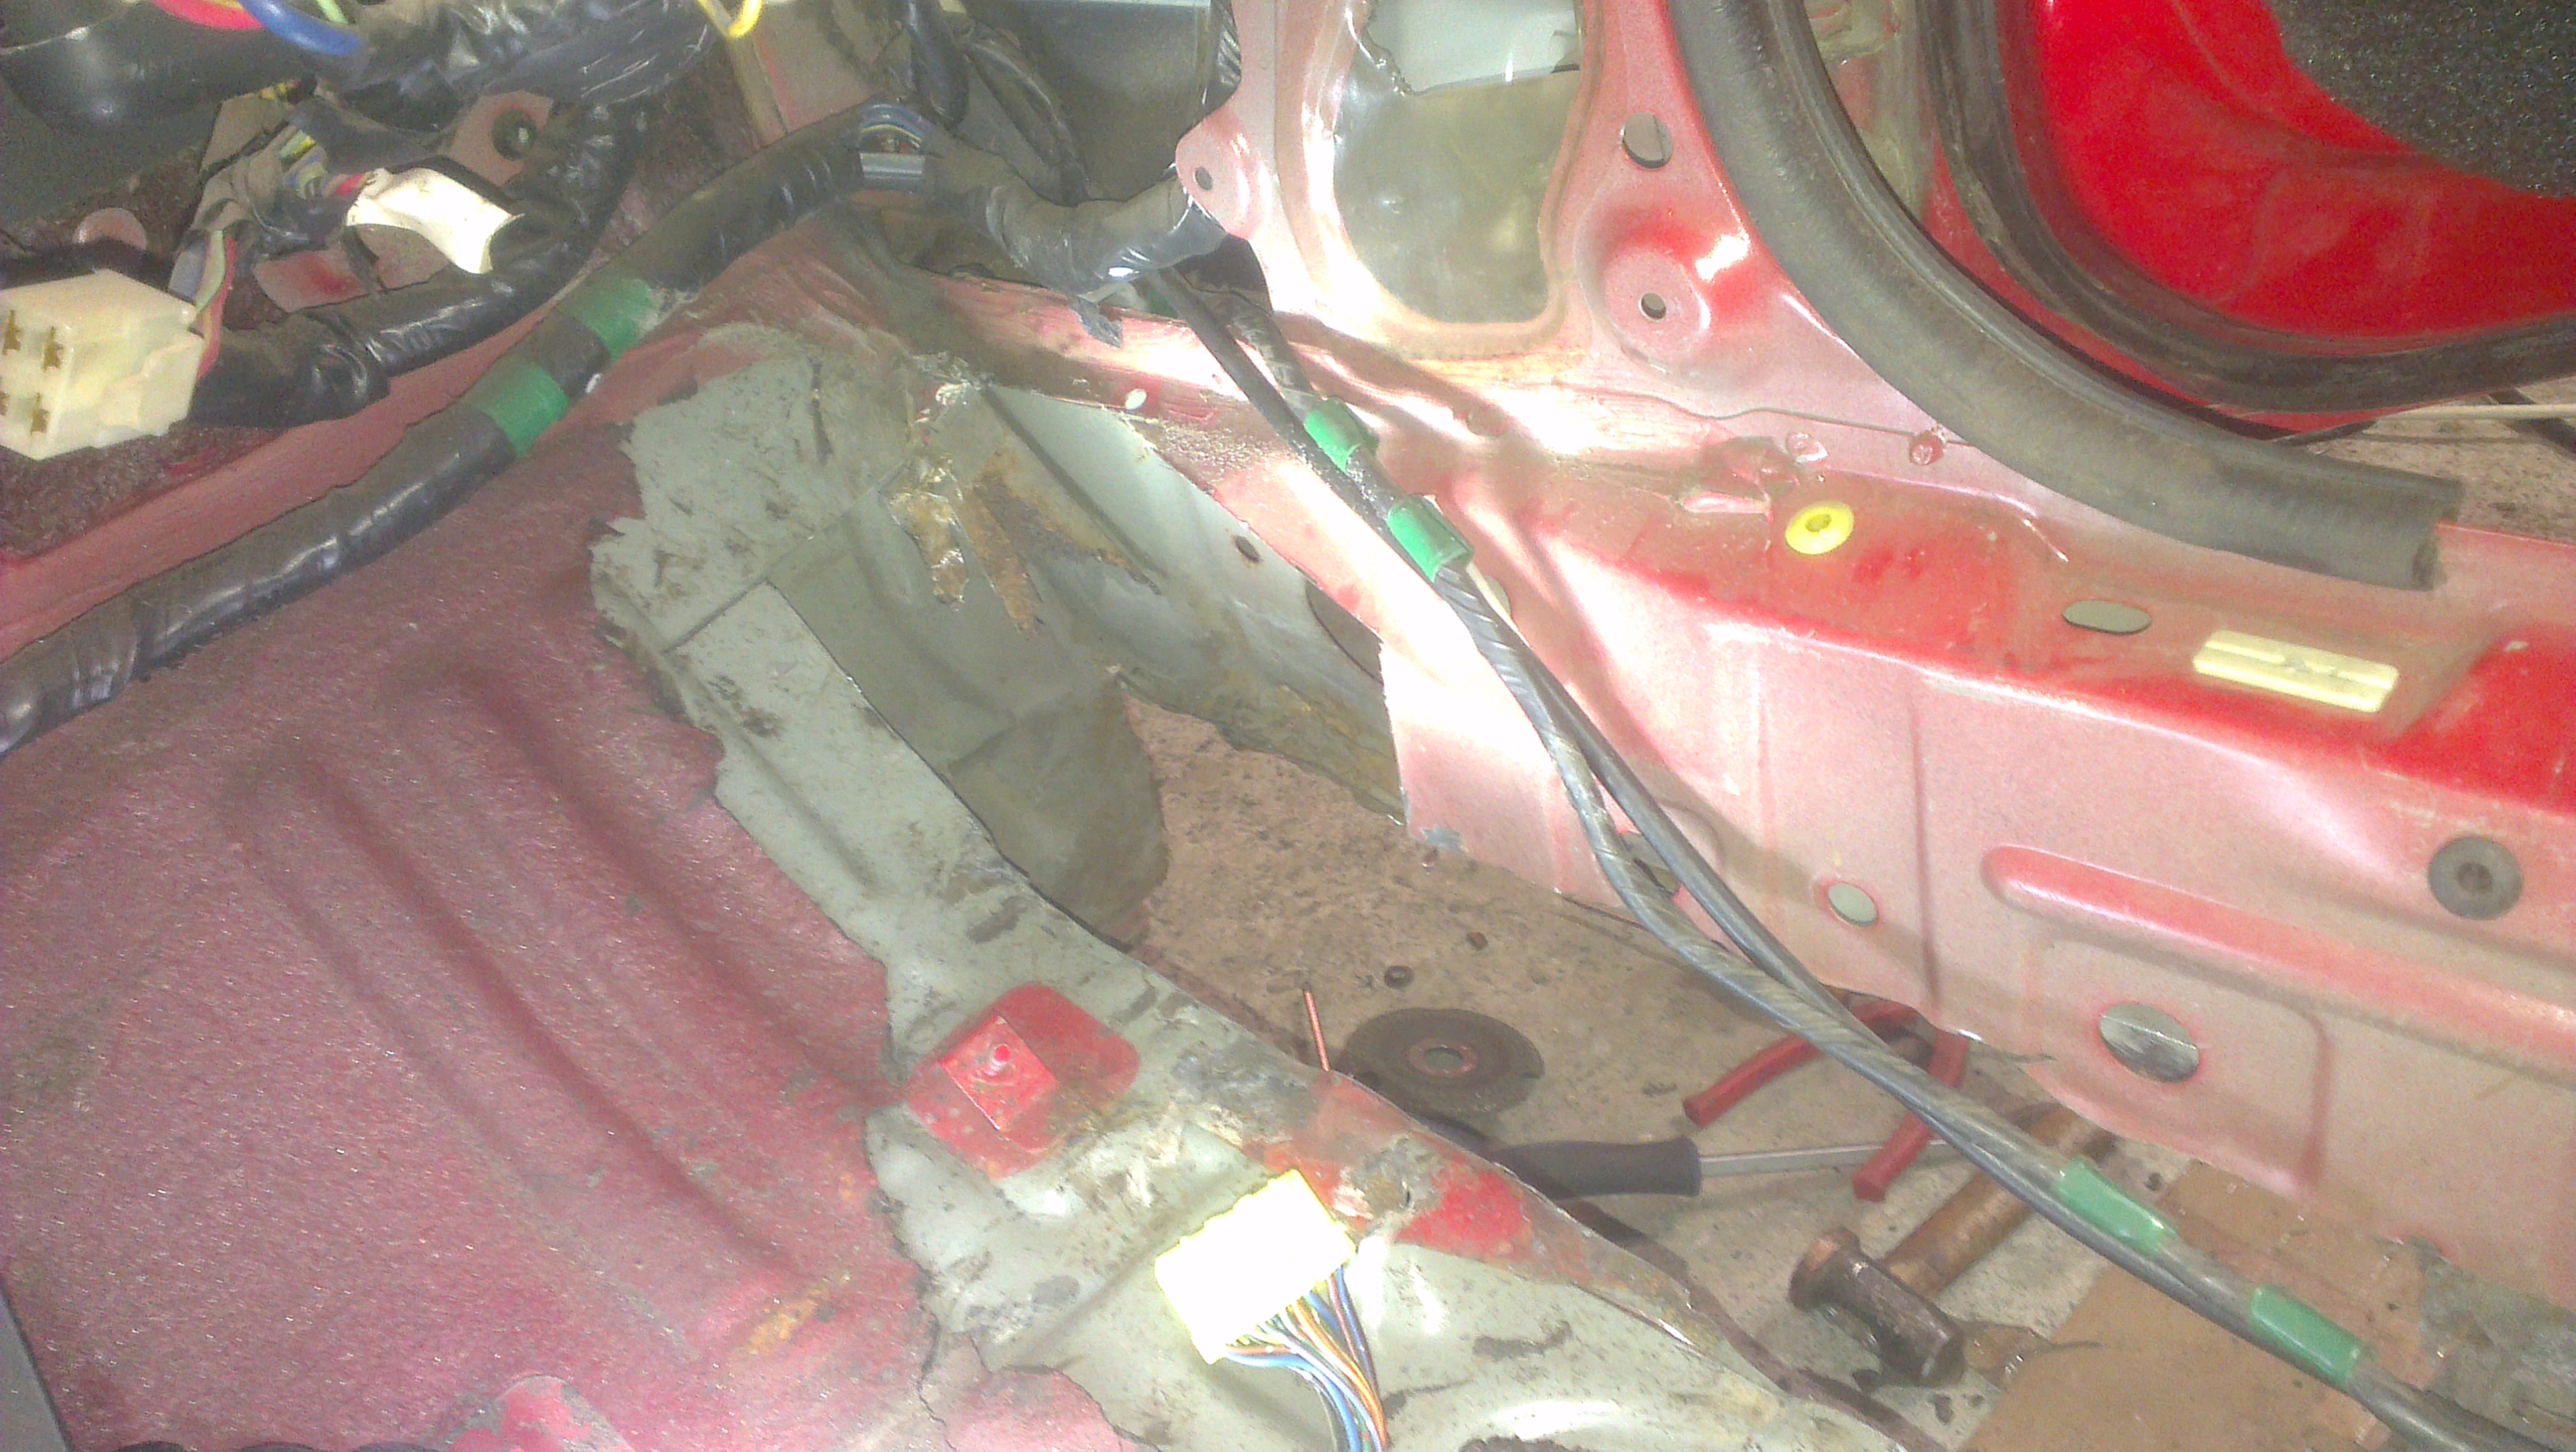
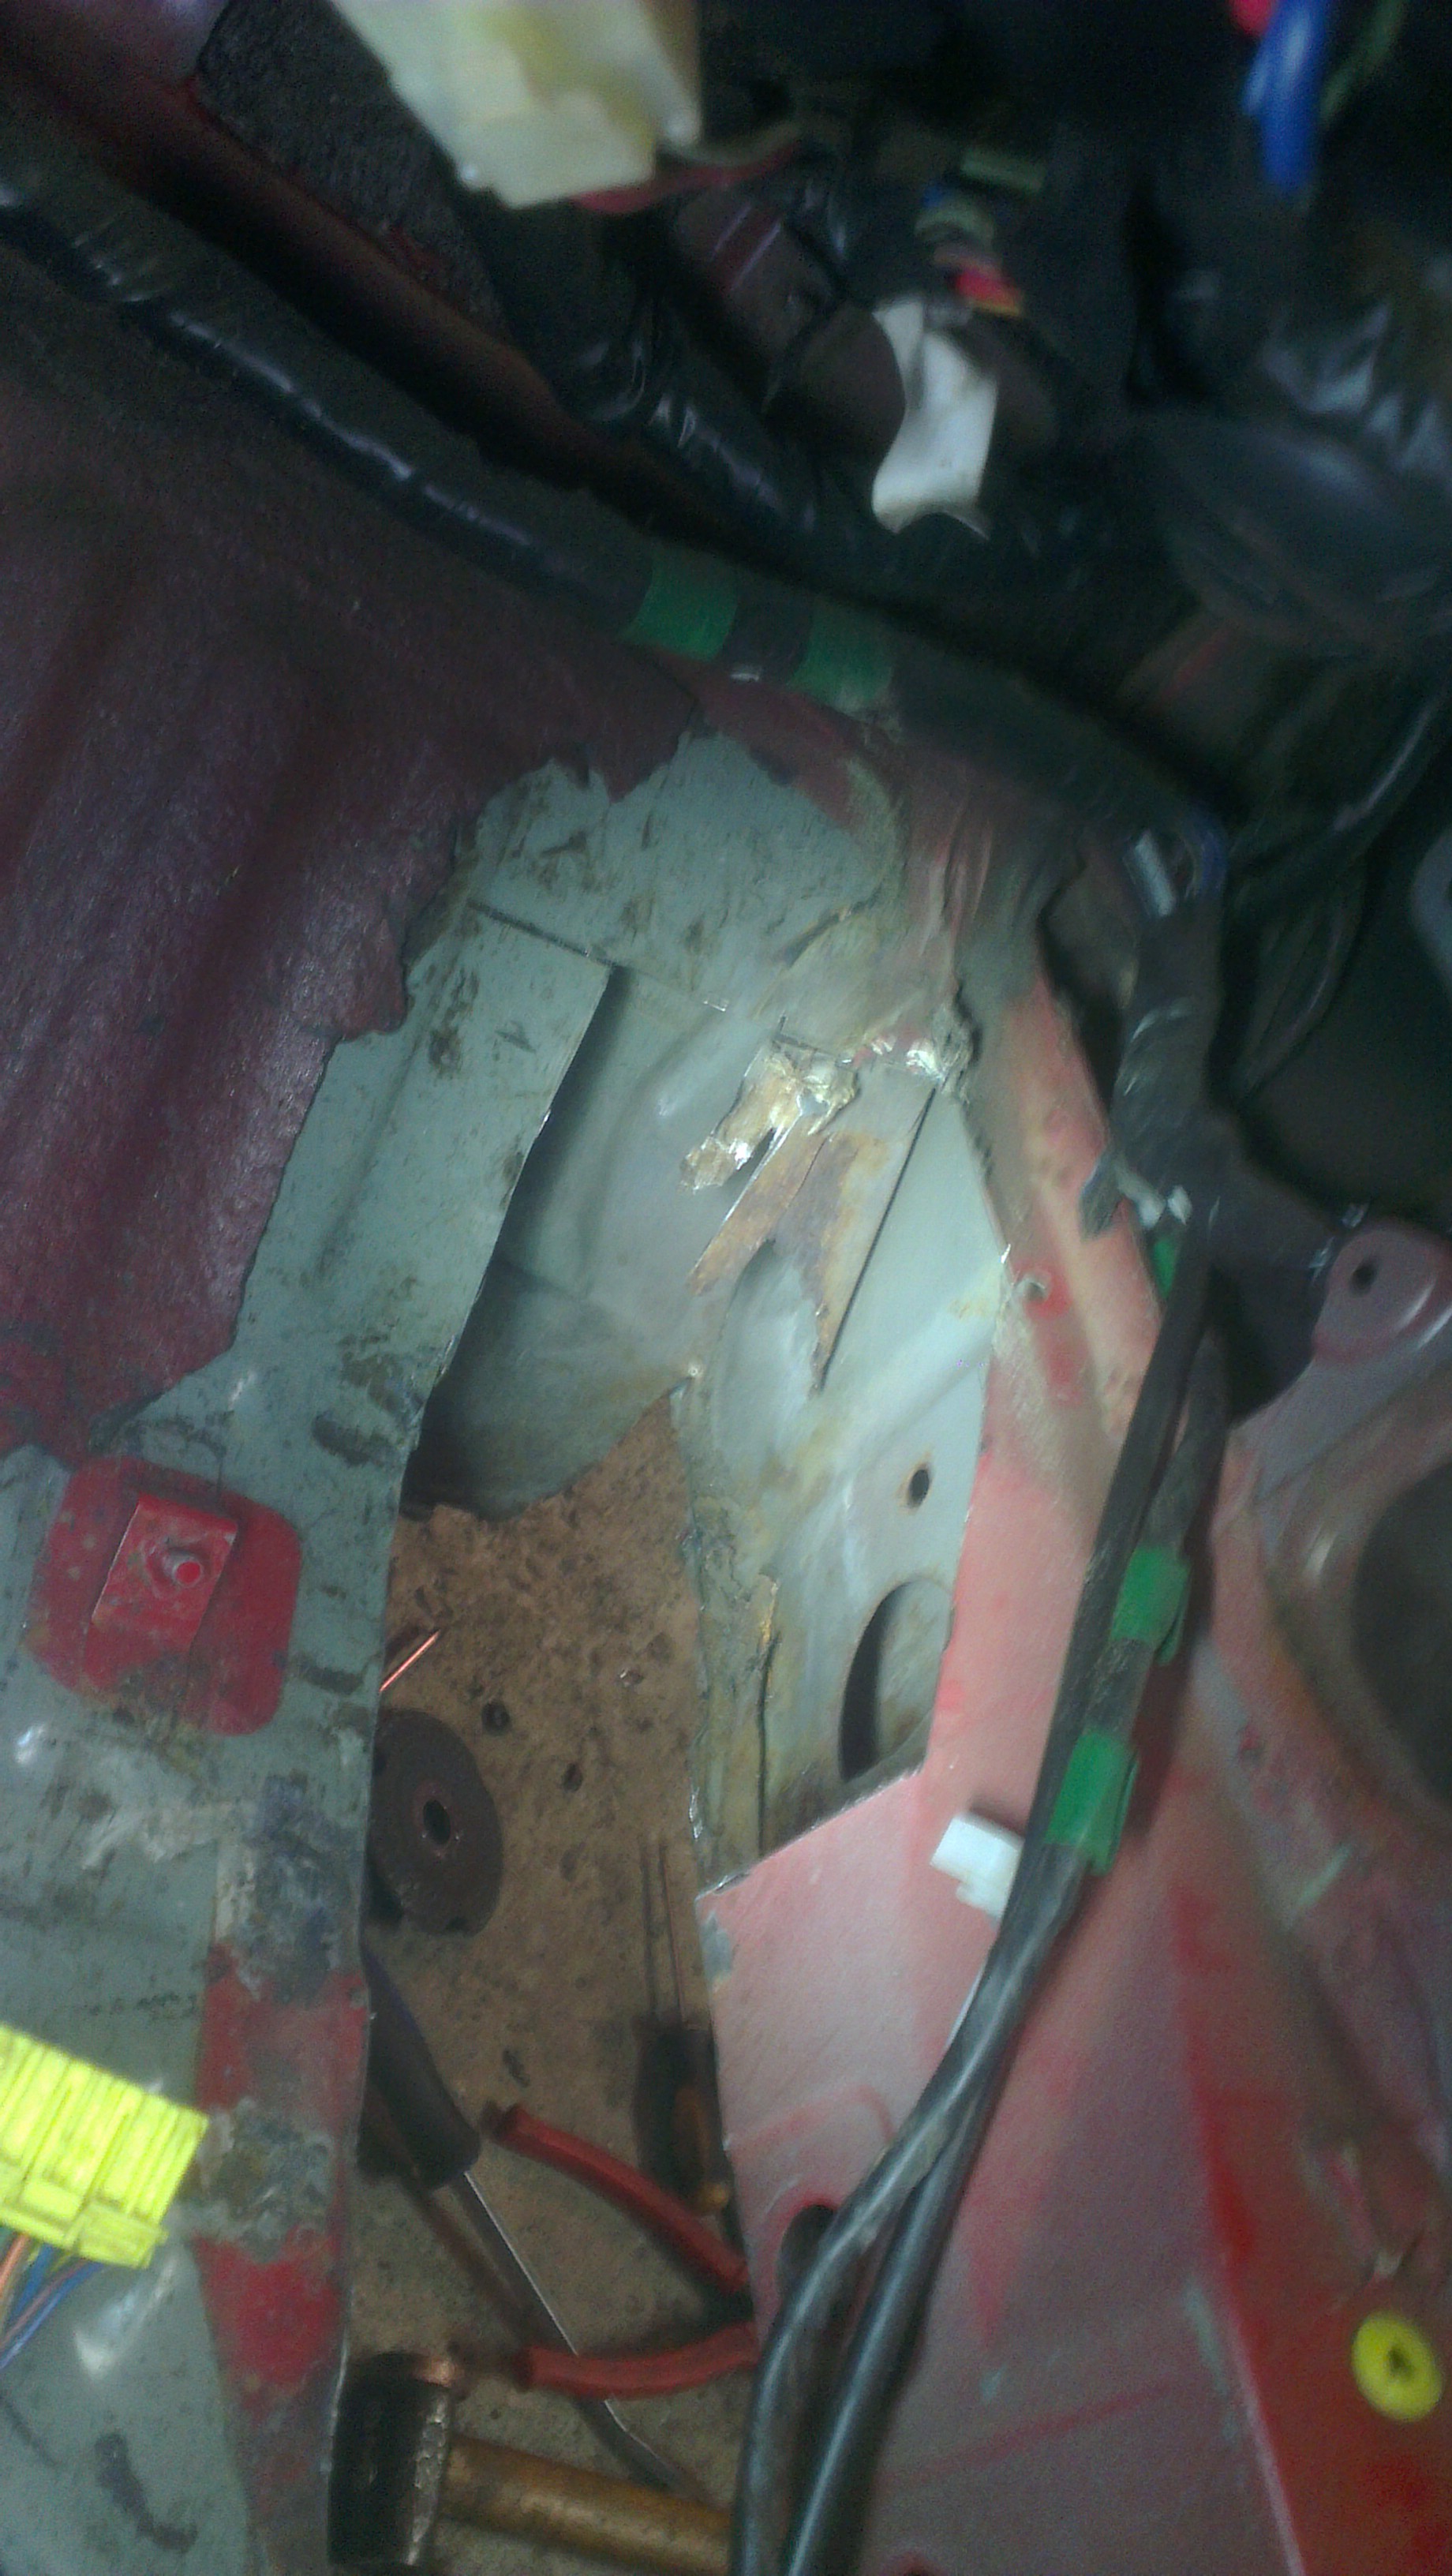
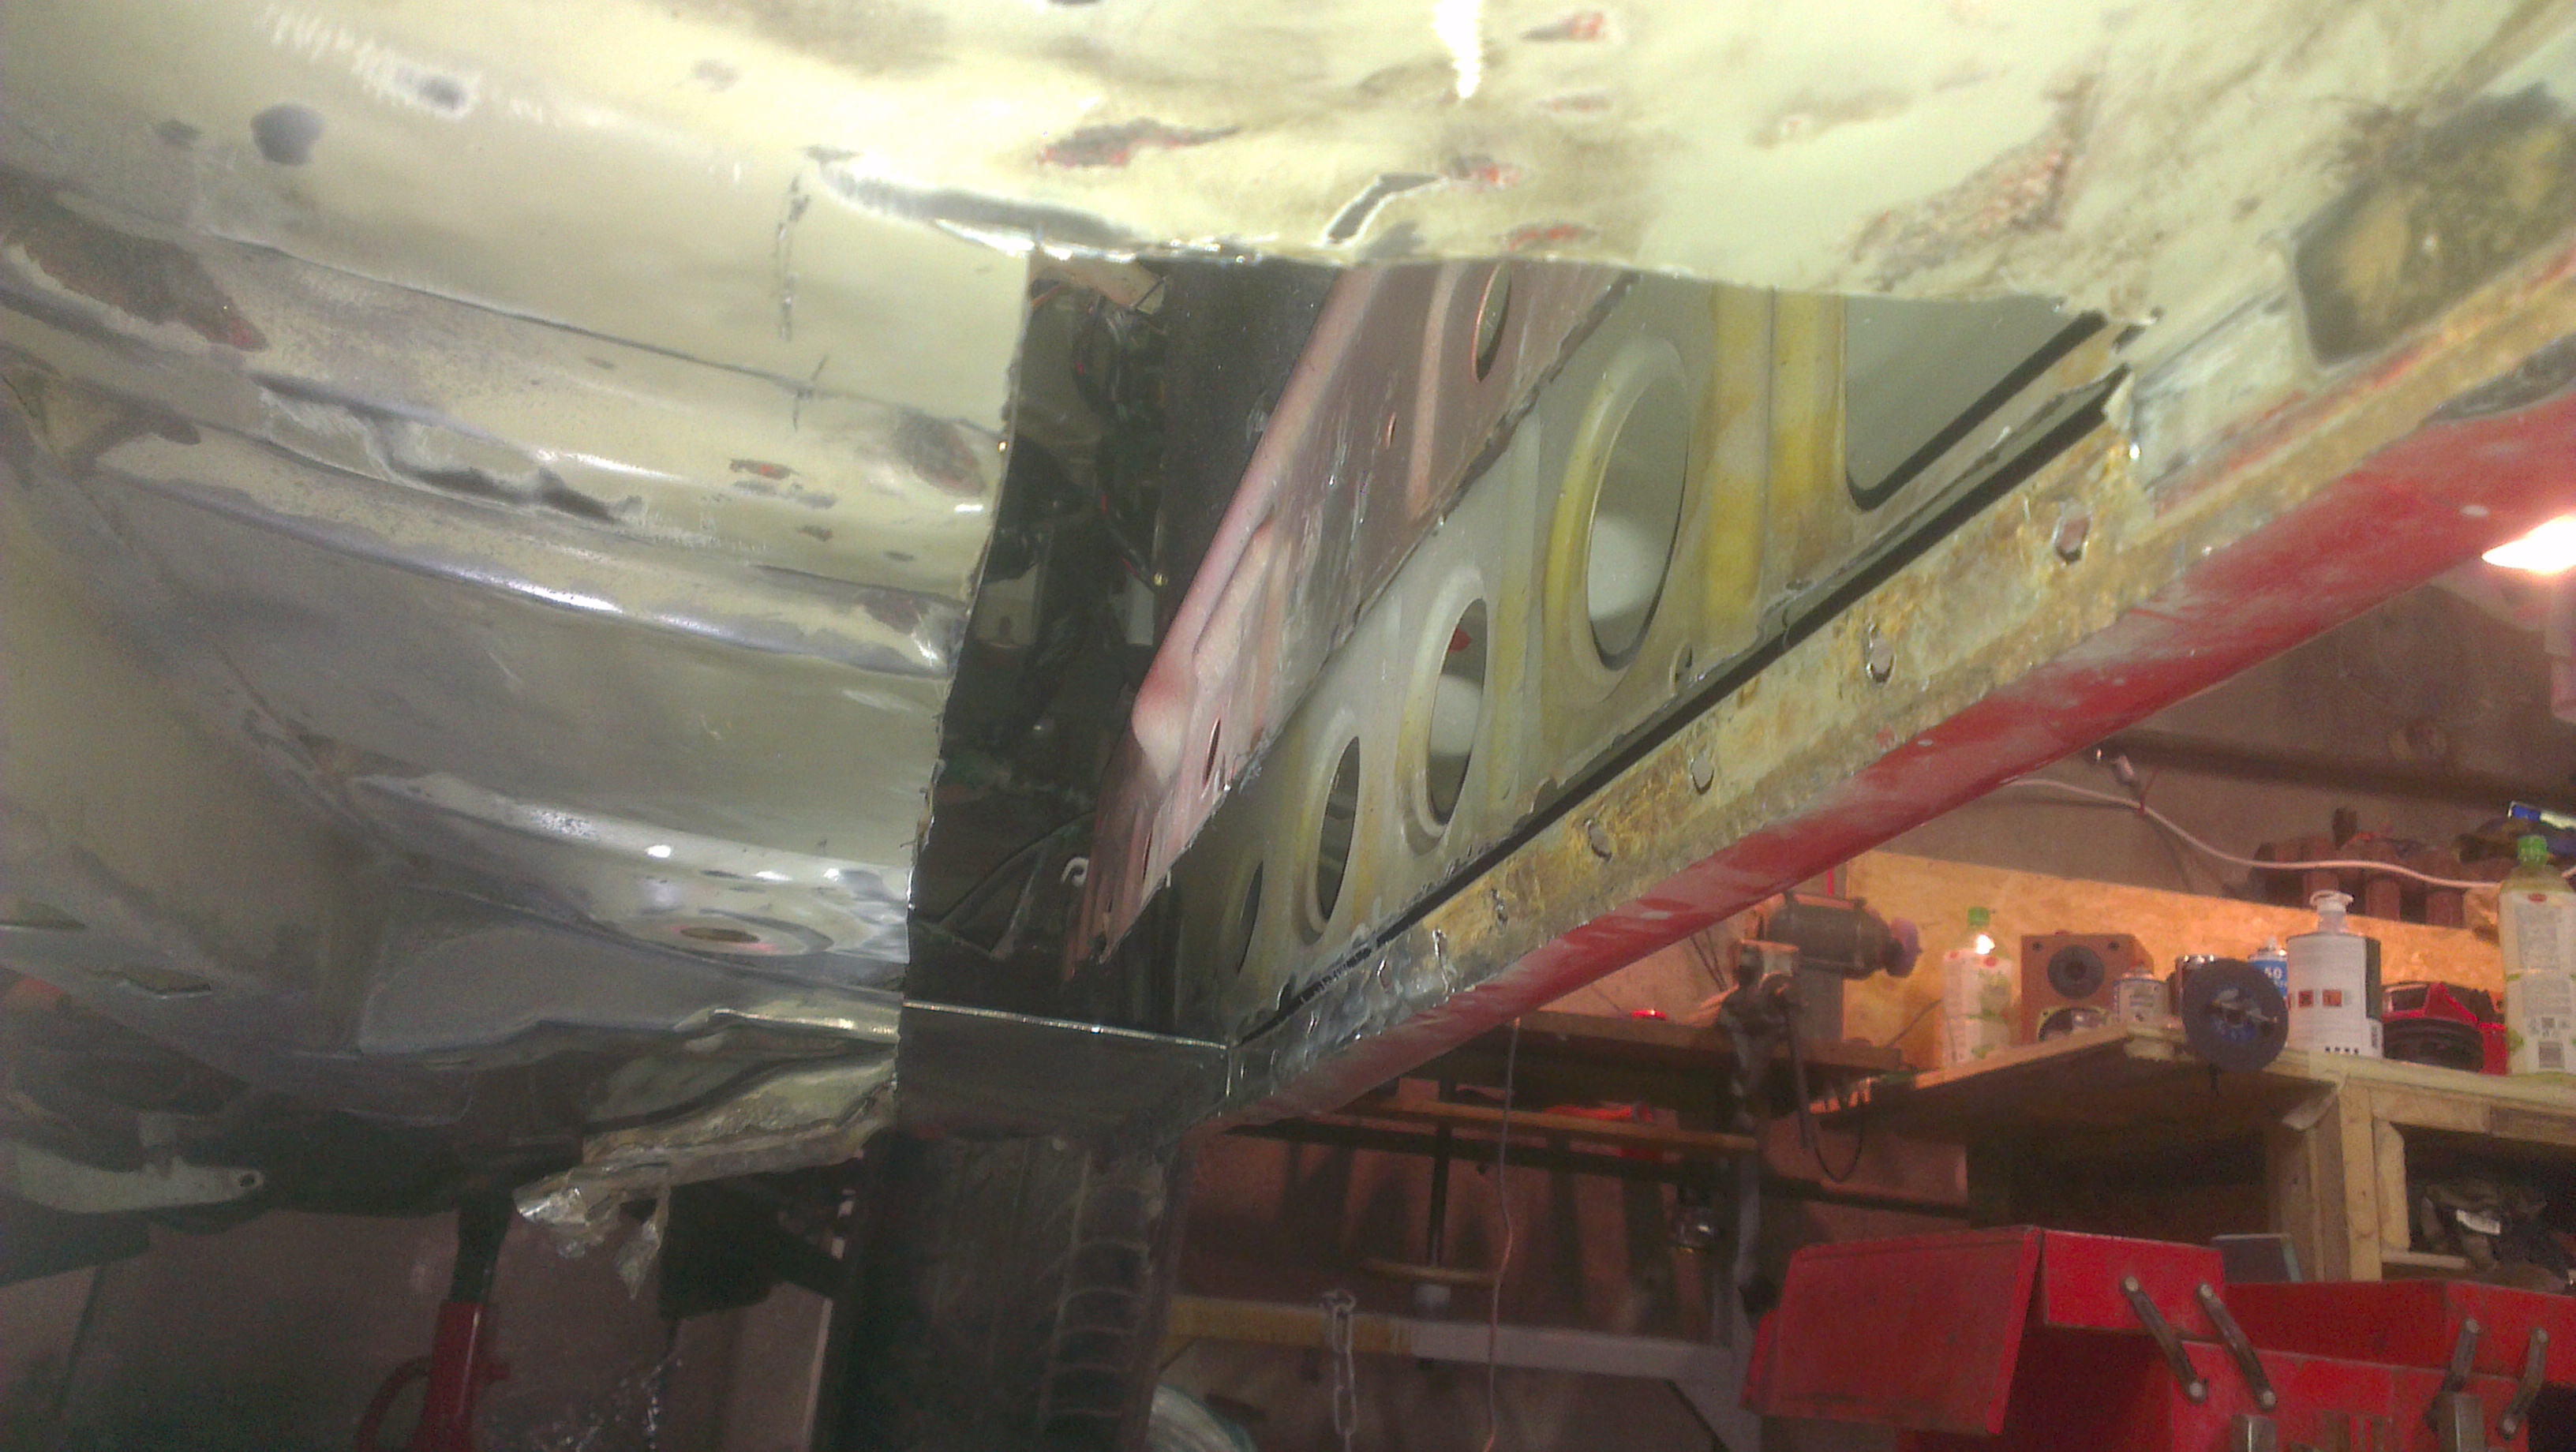
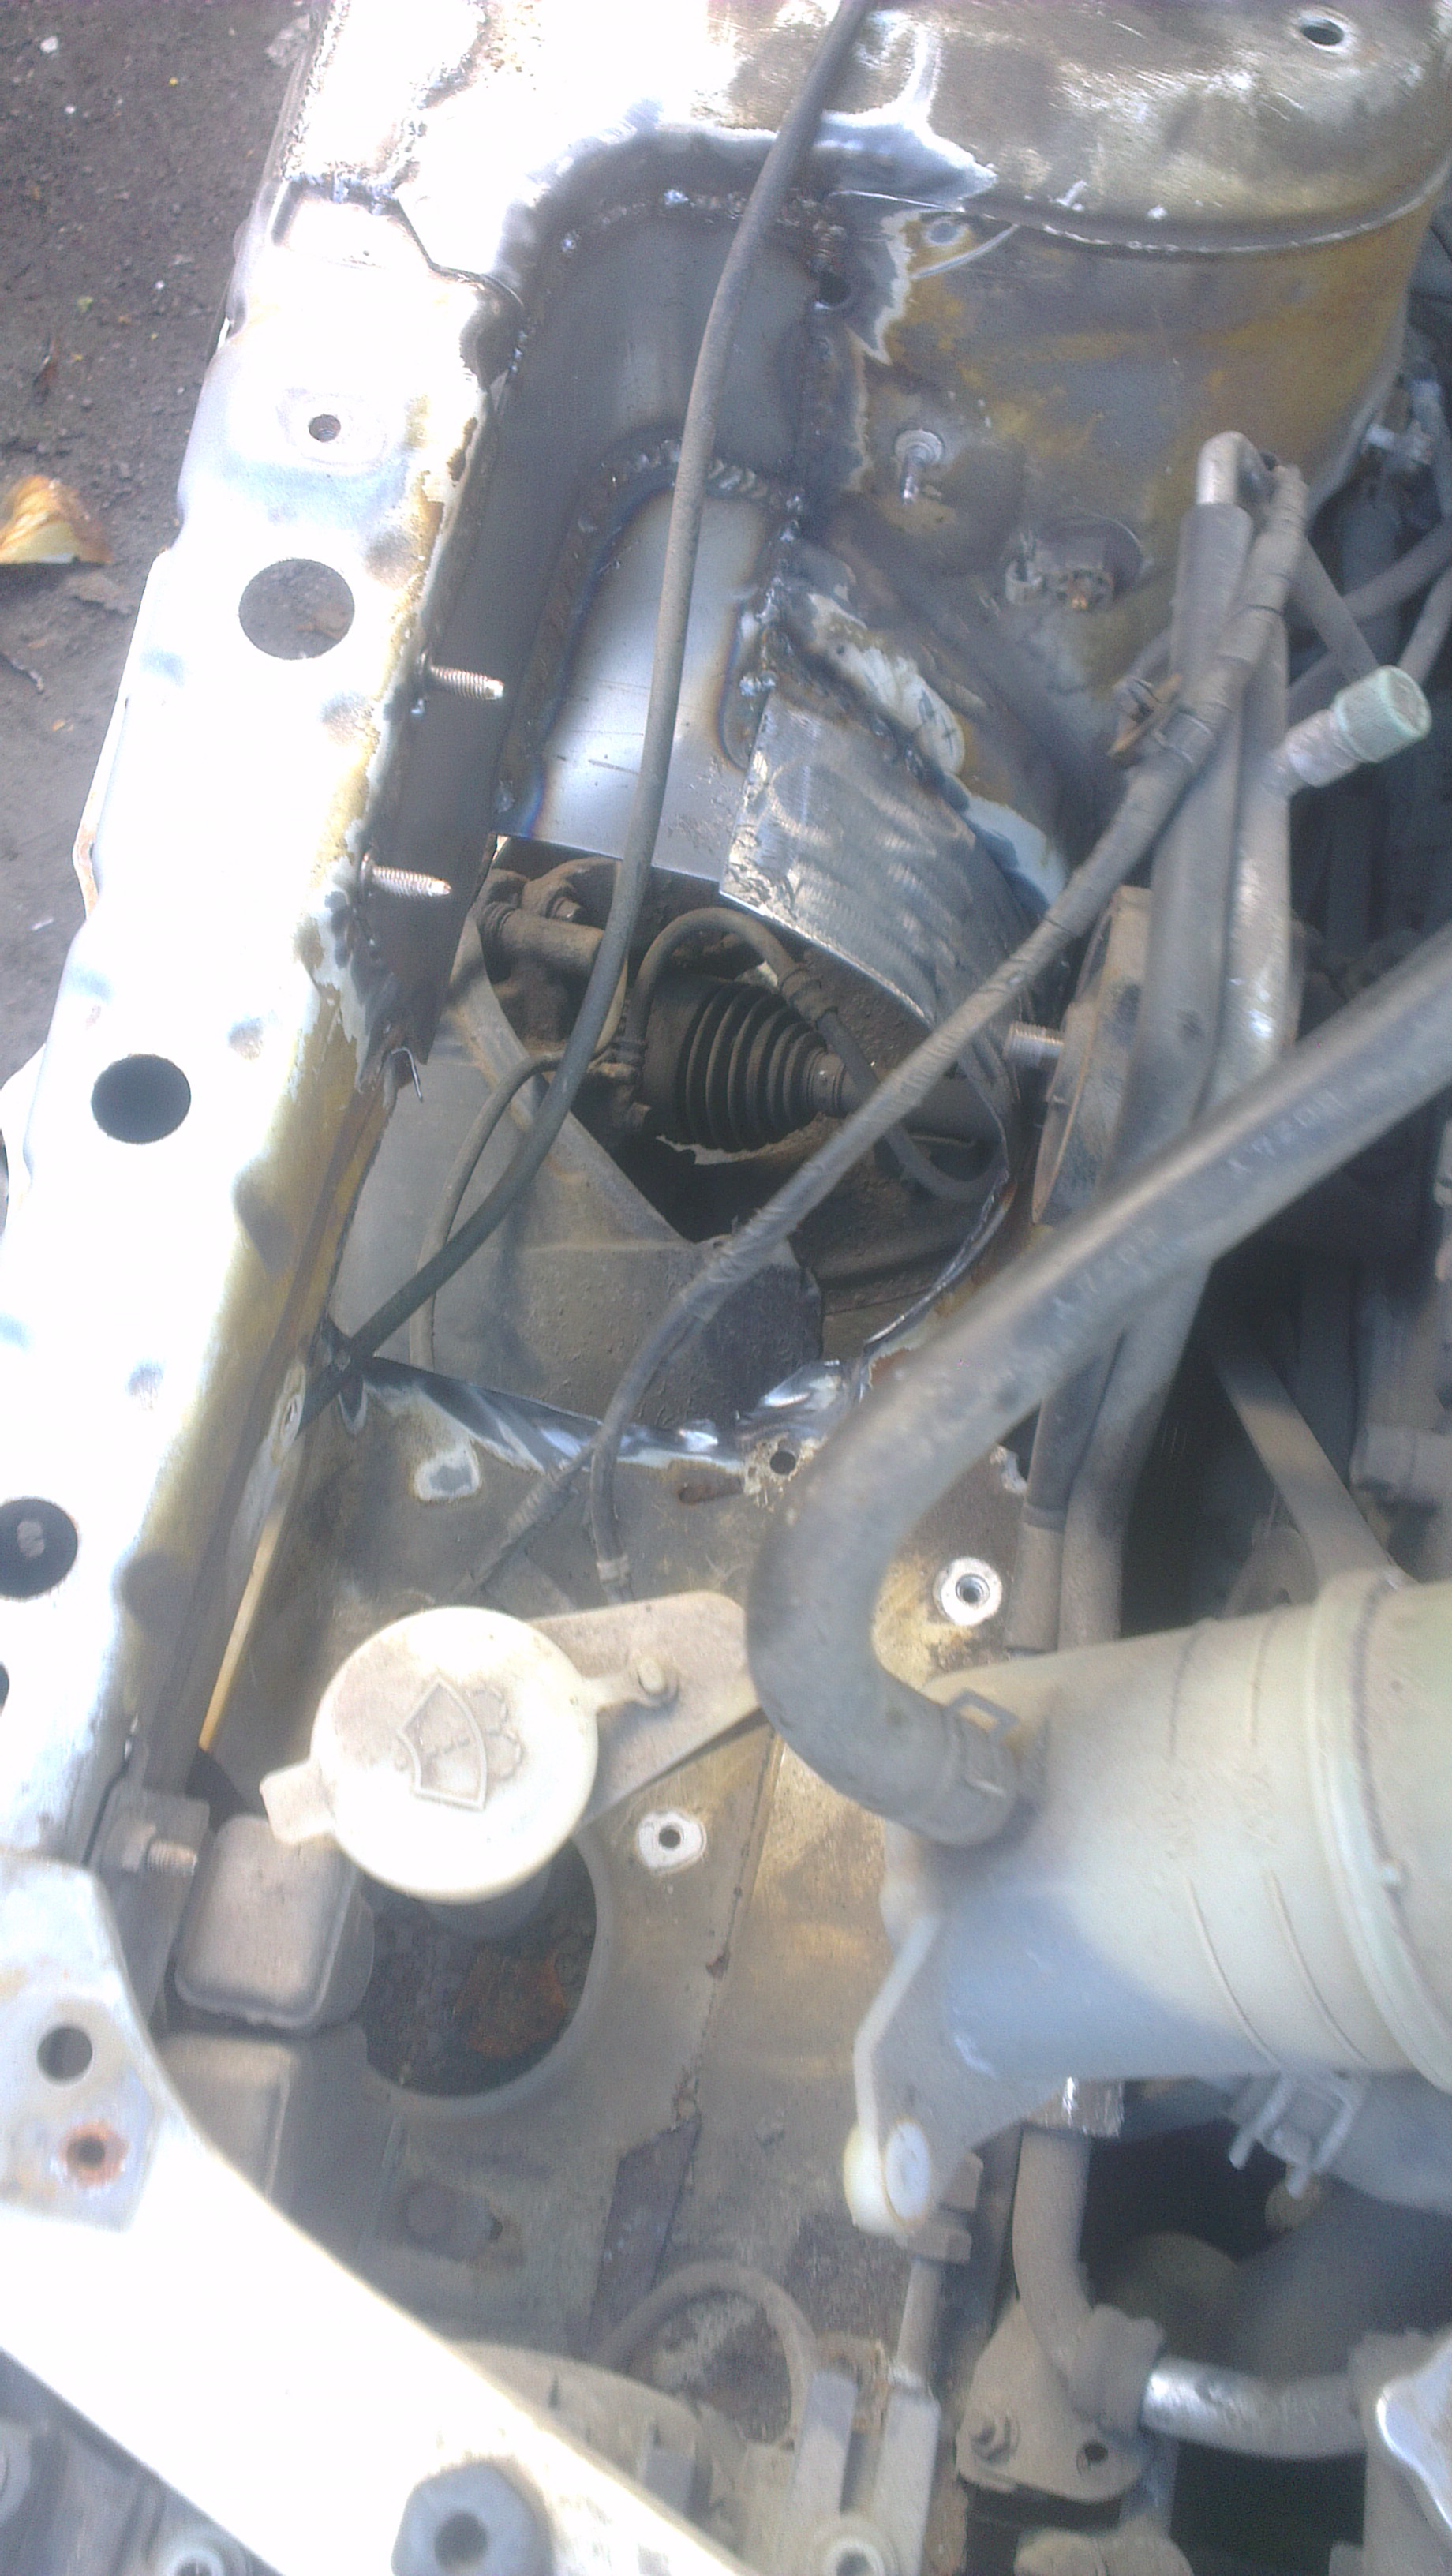
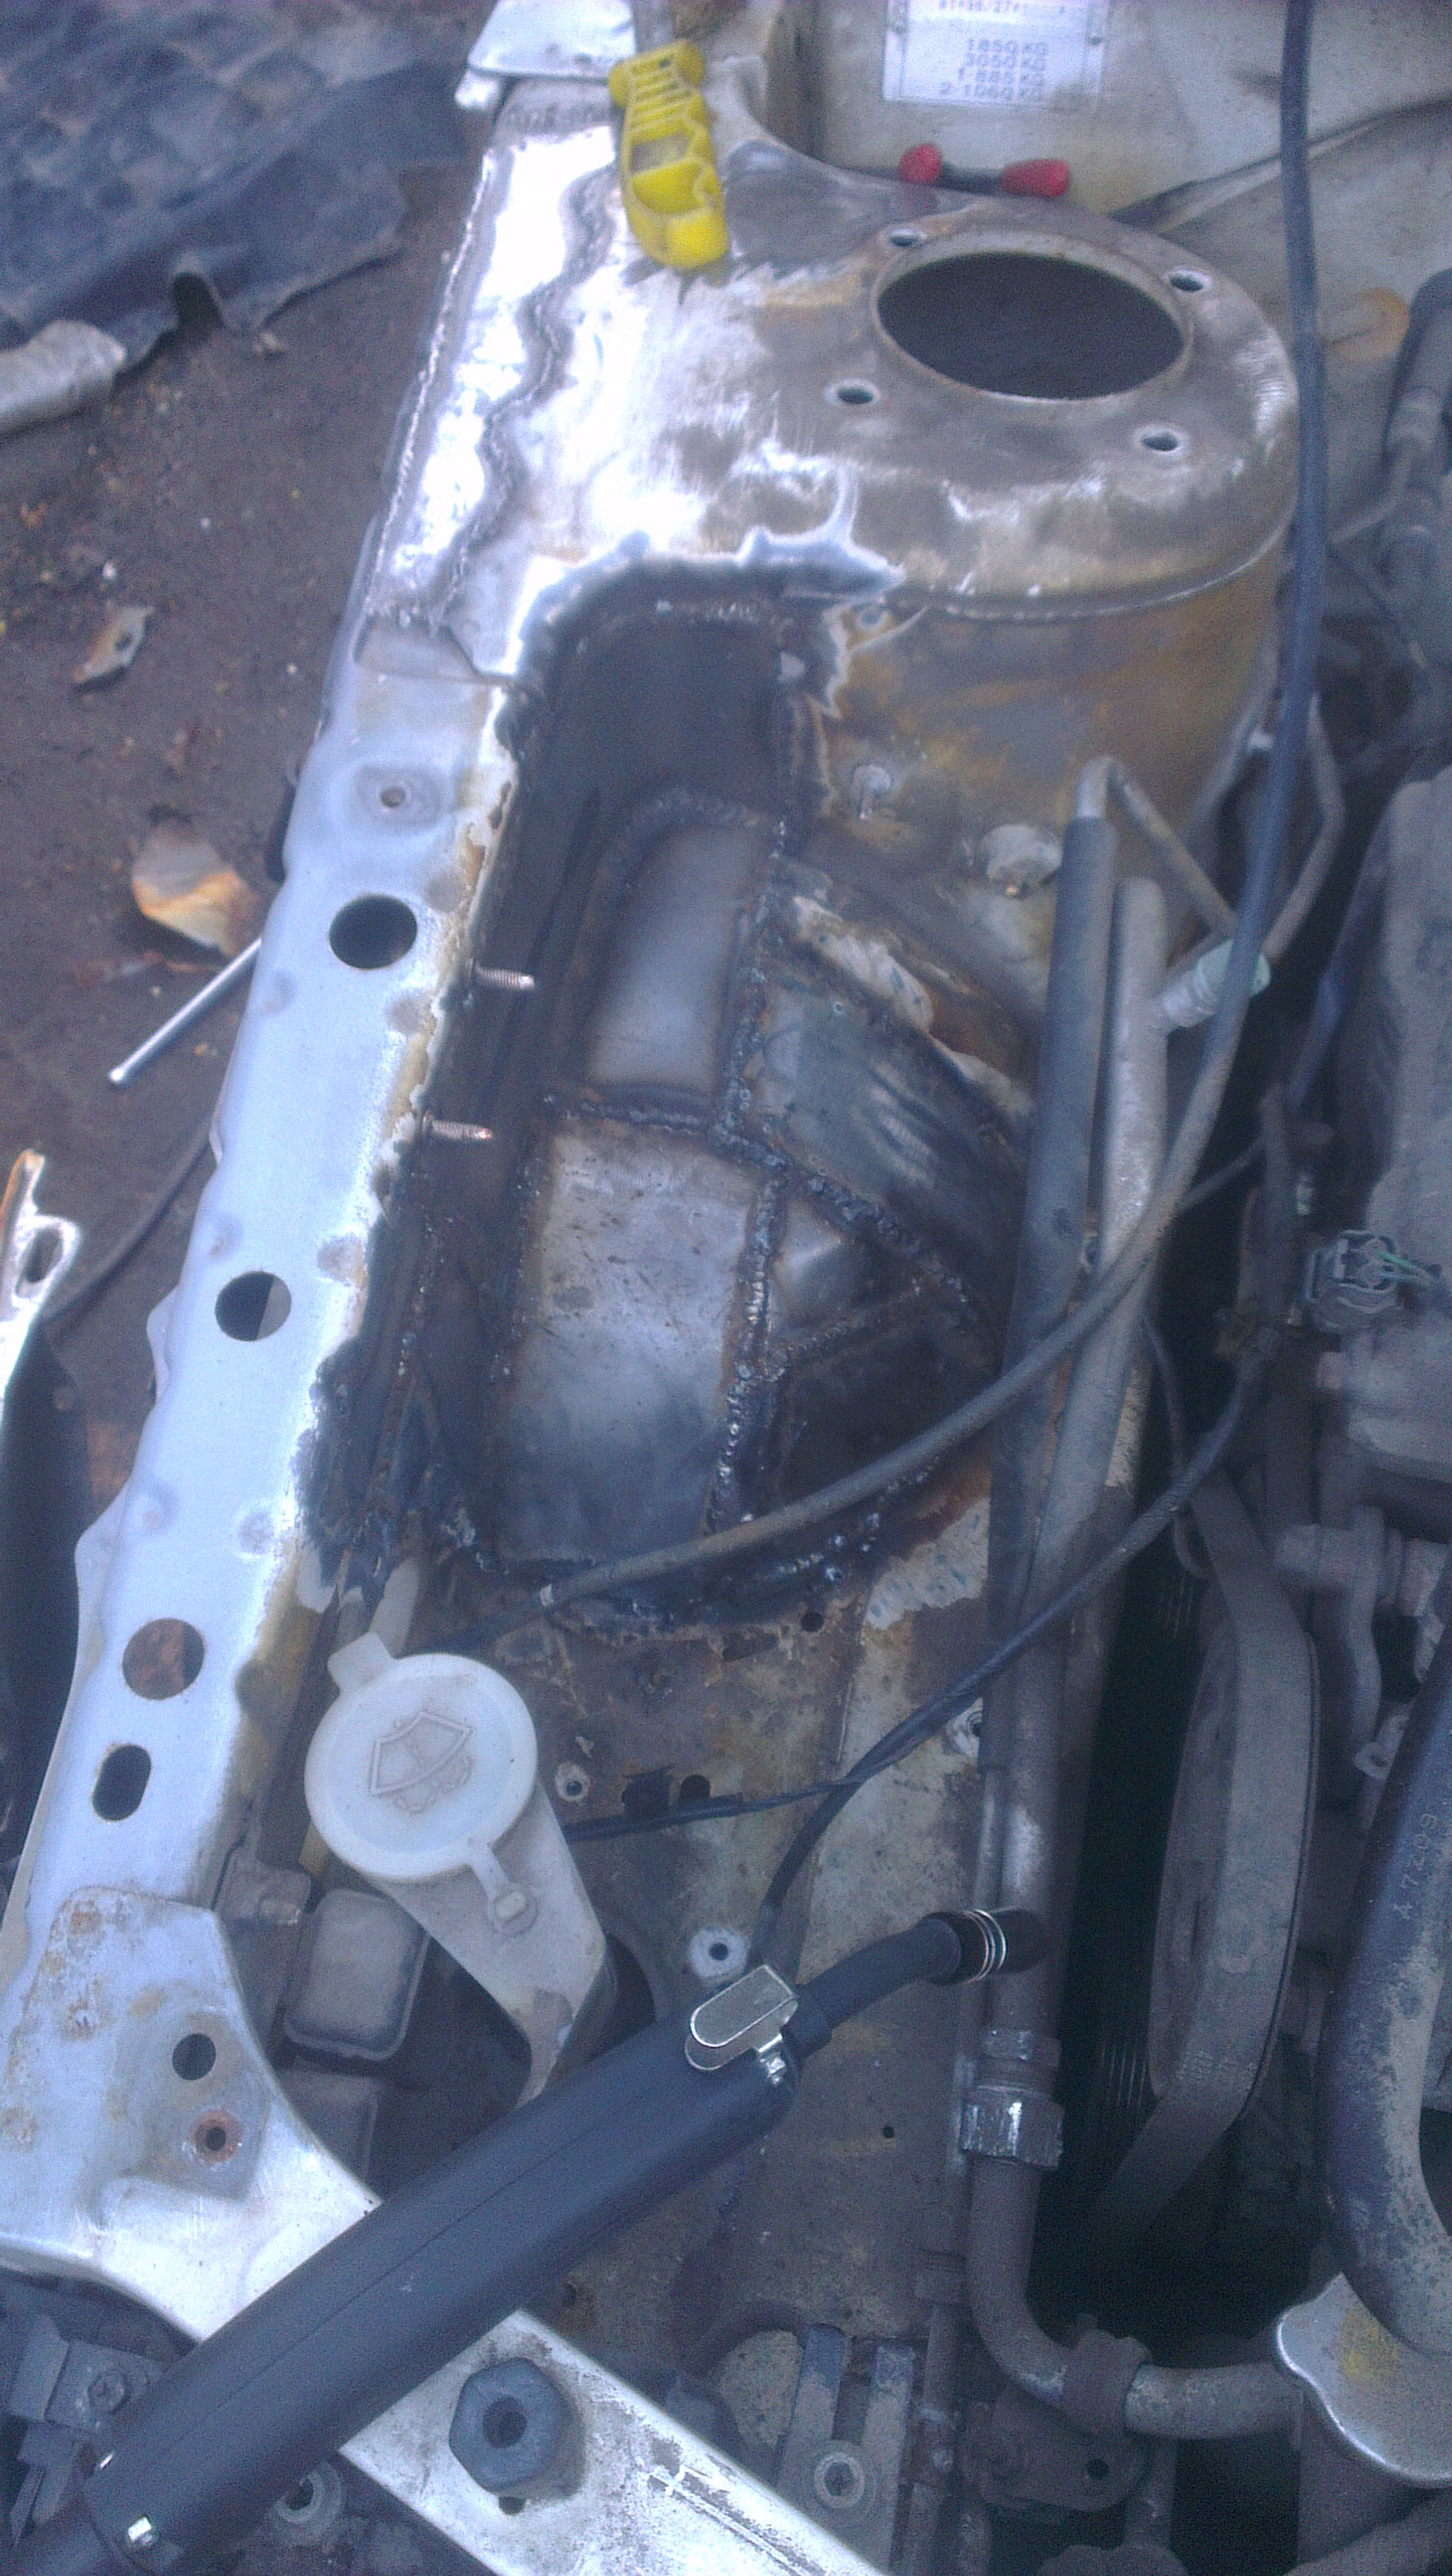
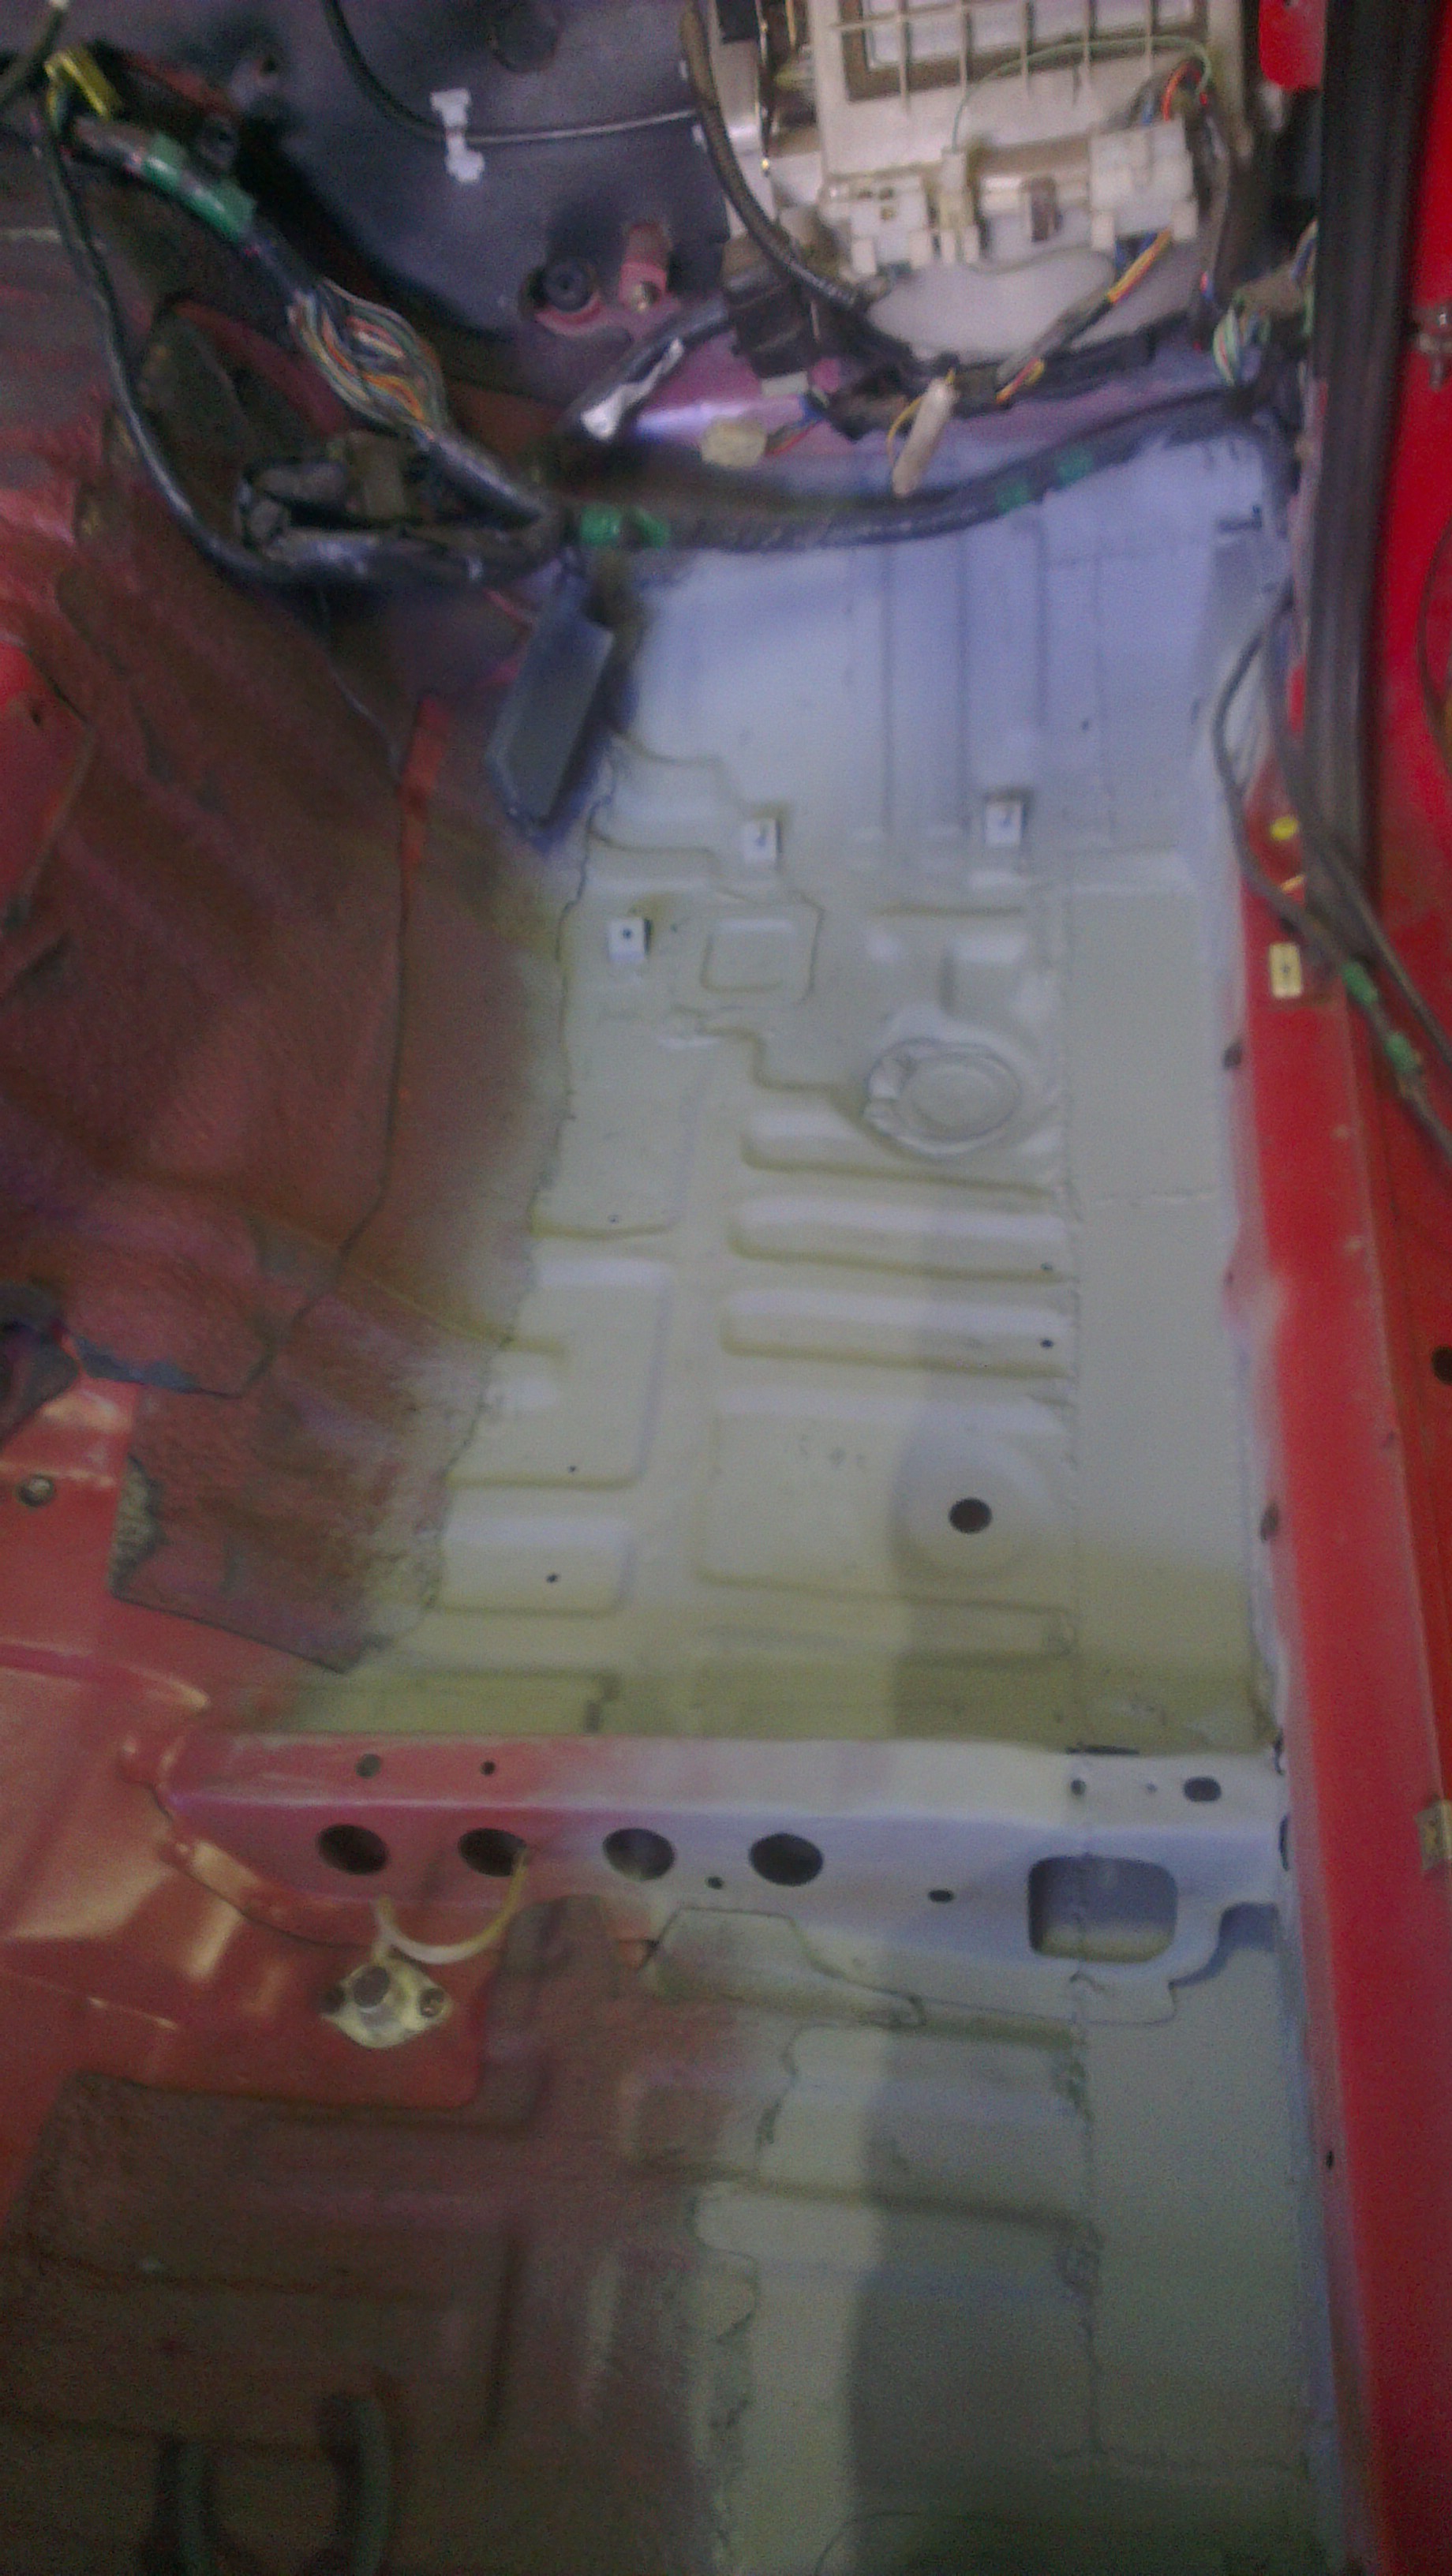
also we cut away more of the rusty floor, the middle sheet metal between outer and inner door well is also heavily corroded about an inch from the bottom. now we had a look inside the body under the pedals and back seats and everything is ok there.
sprayed acid to every corroded part, so it eats away the rust and we can clean it up, cut out the parts and start welding it back together.

anyway i assembled the rotors what was a pure joy but grinding side seals were a nightmare. now i just have to wait for those water jacket seals.
also we cut away more of the rusty floor, the middle sheet metal between outer and inner door well is also heavily corroded about an inch from the bottom. now we had a look inside the body under the pedals and back seats and everything is ok there.
sprayed acid to every corroded part, so it eats away the rust and we can clean it up, cut out the parts and start welding it back together.
 04-26-15, 06:33 AM
#33
Senior Member
Thread Starter
Have´nt posted a while because nothing was happening...
Brought the car back to my own garage because i got pissed off that nothing was done there.
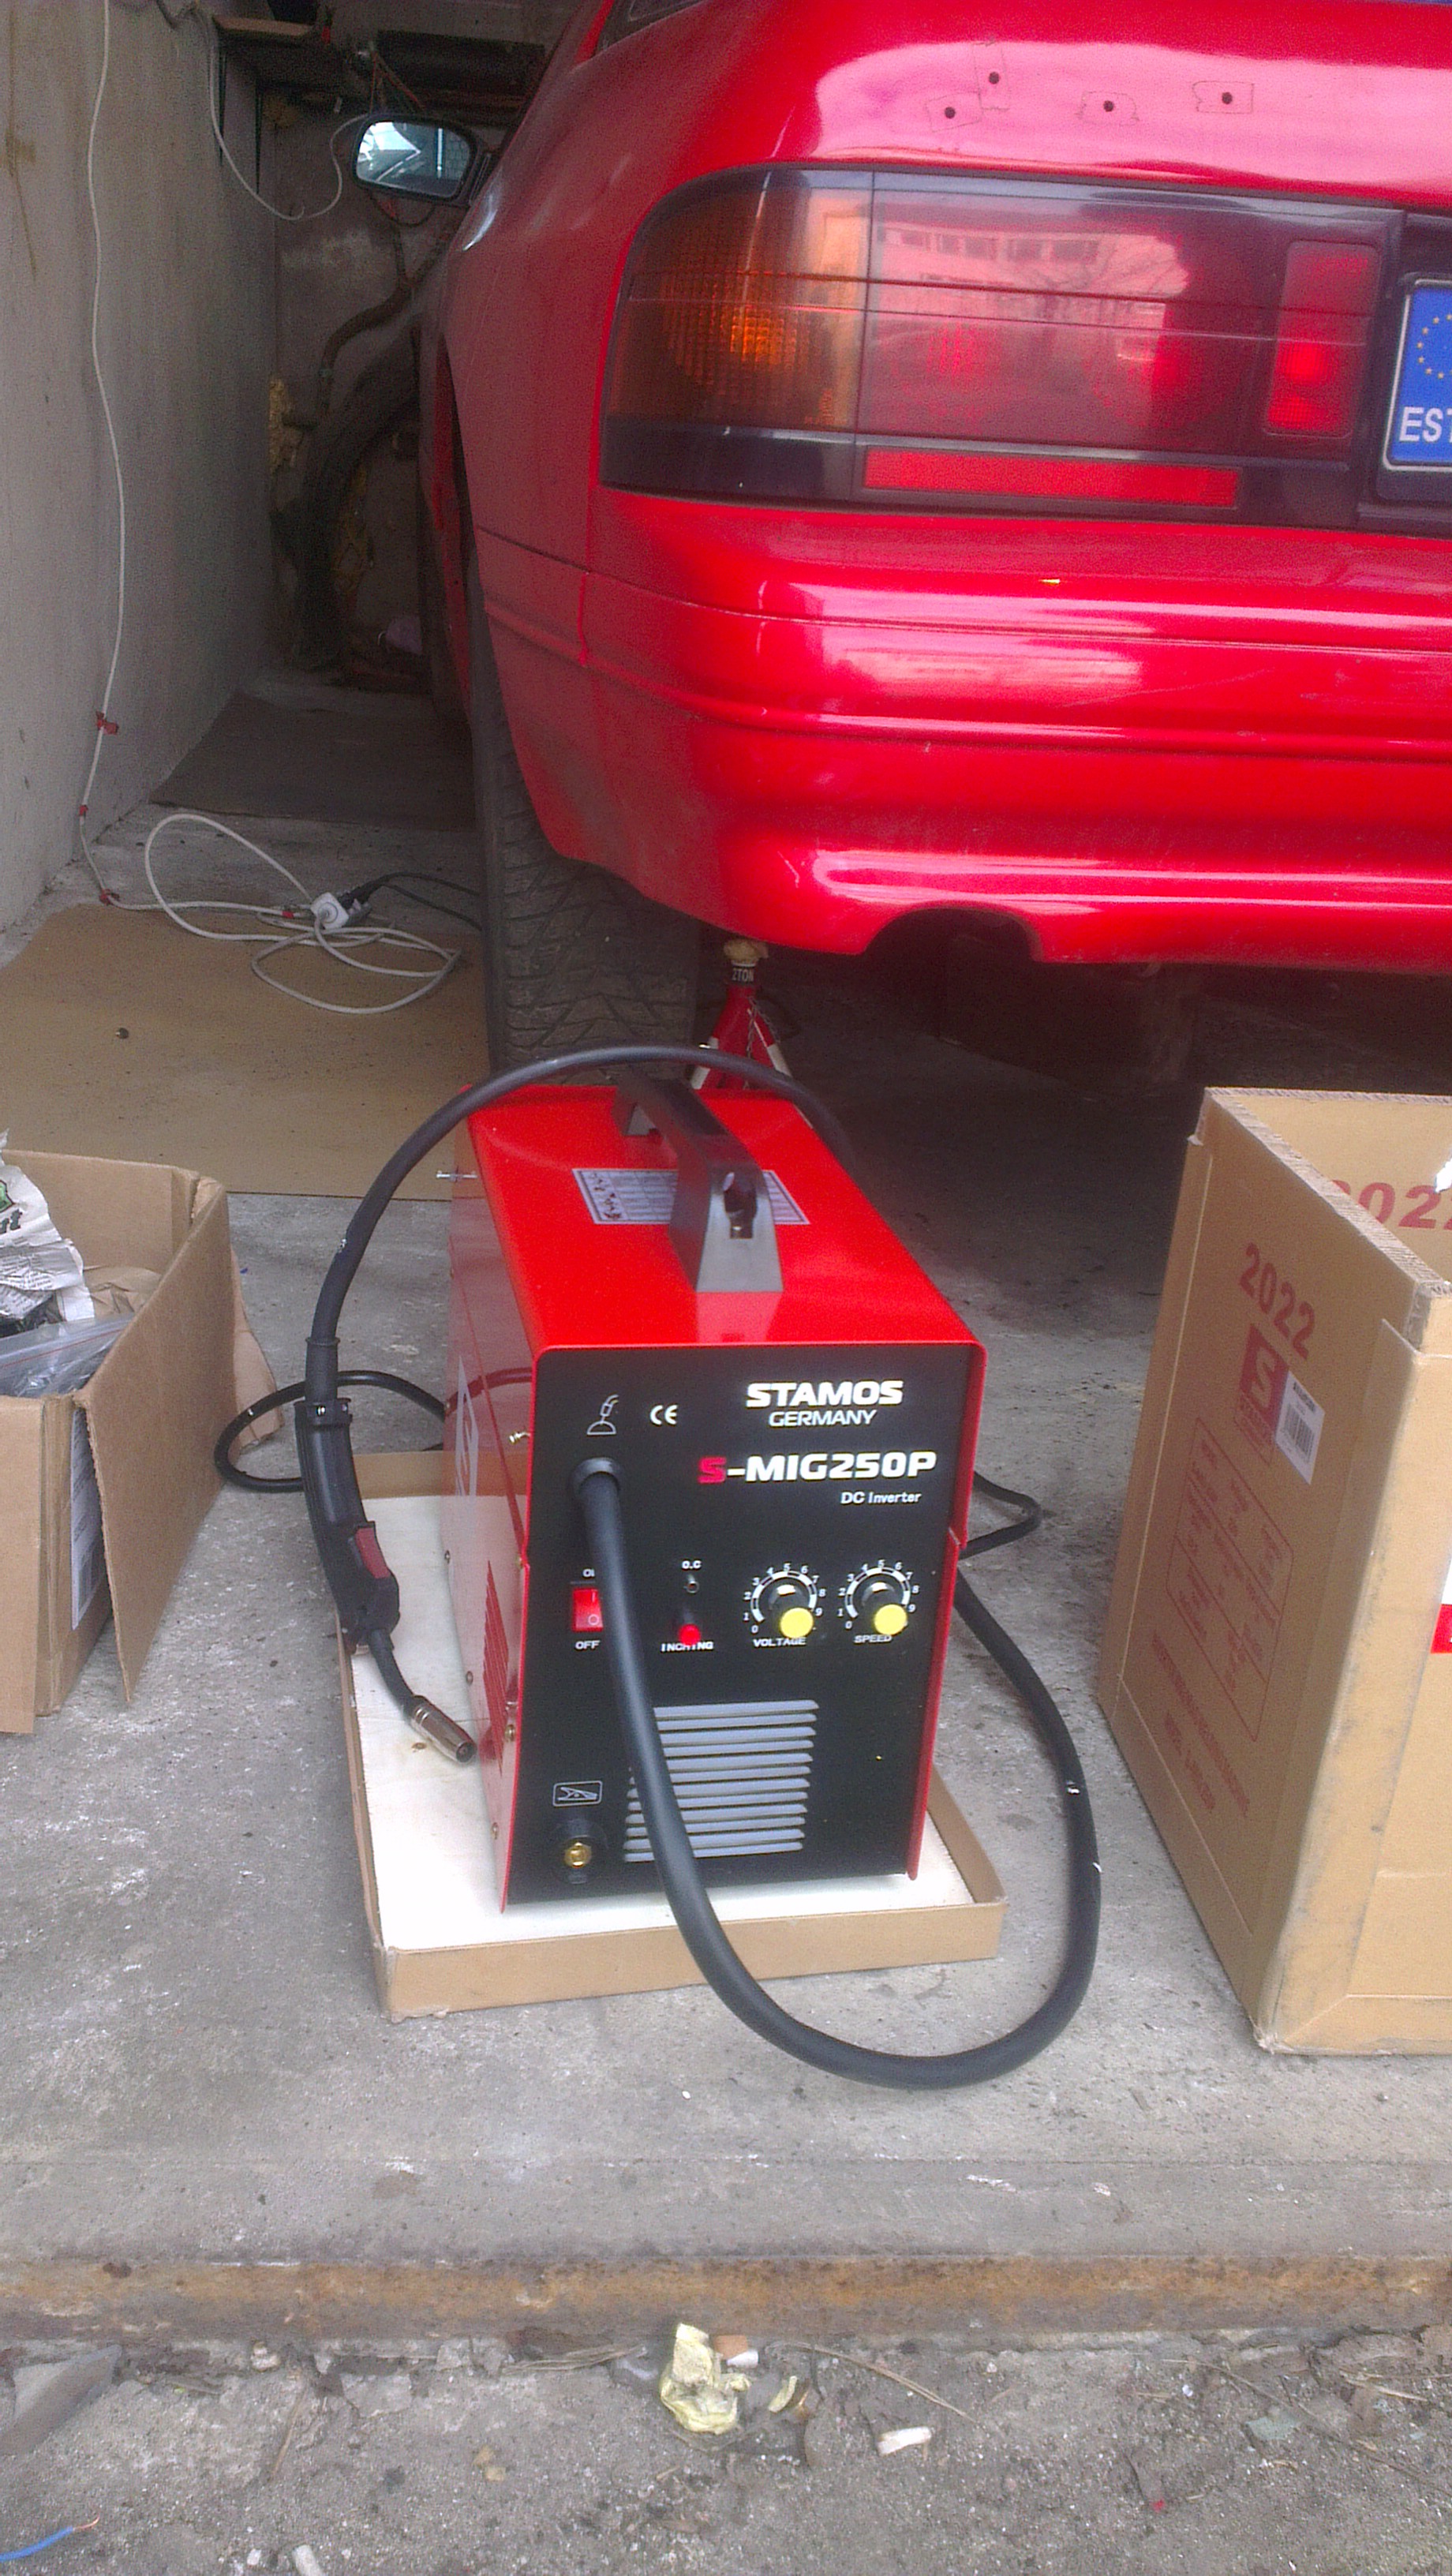
Ordered a welder right away and it arrived!
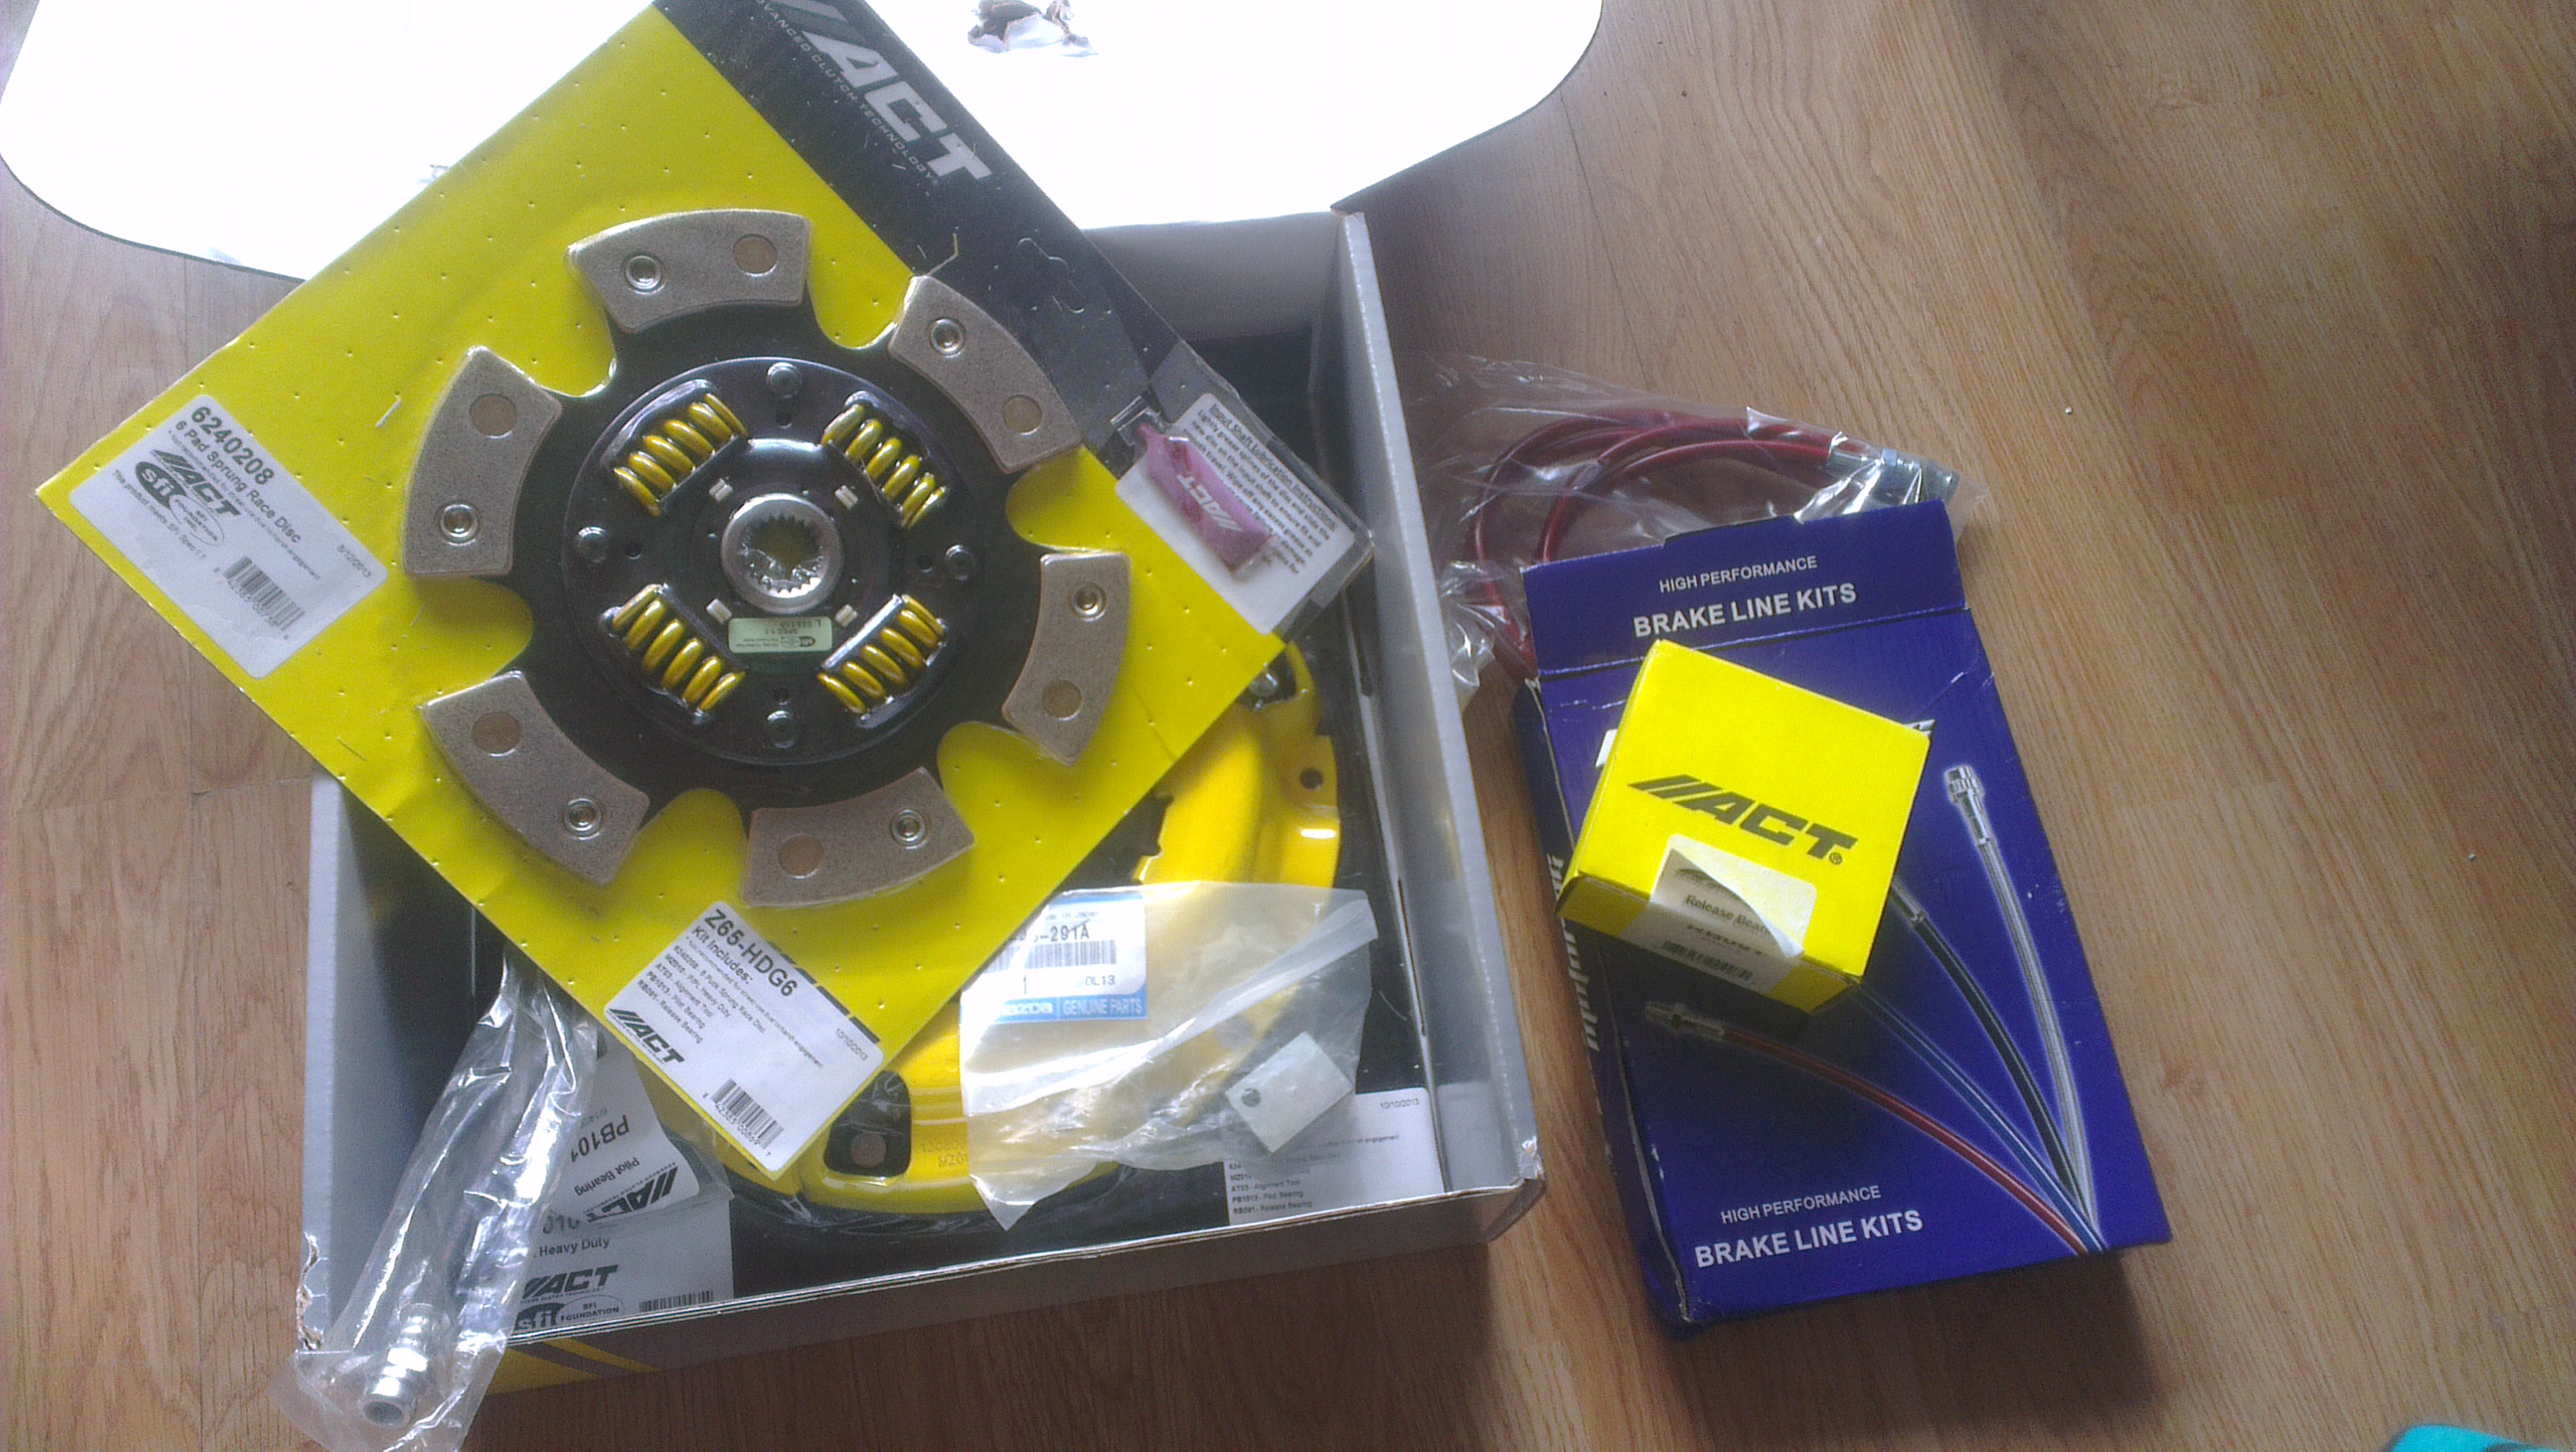
also got my clutch, brake lines and a s4 cw + flywheel
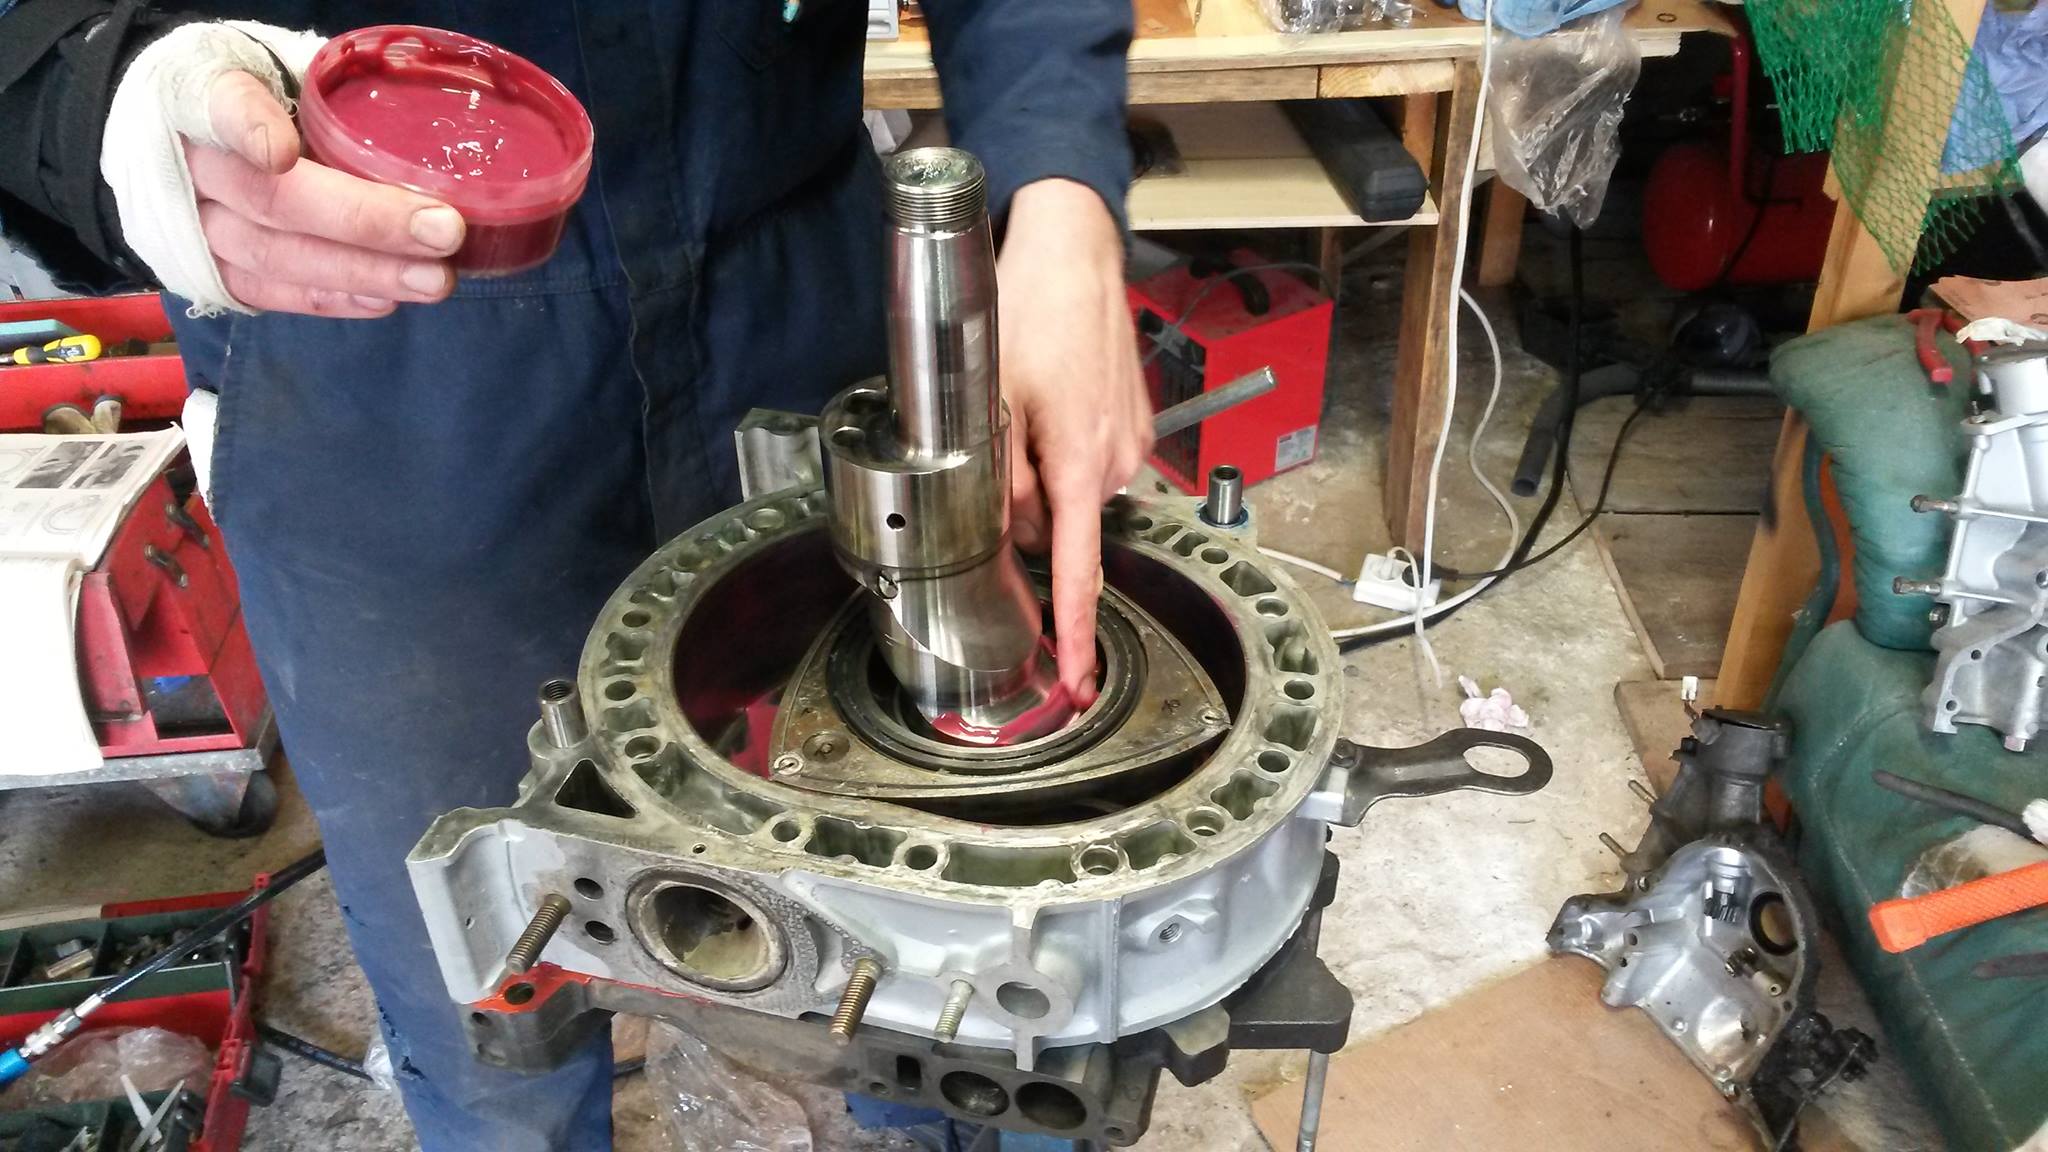
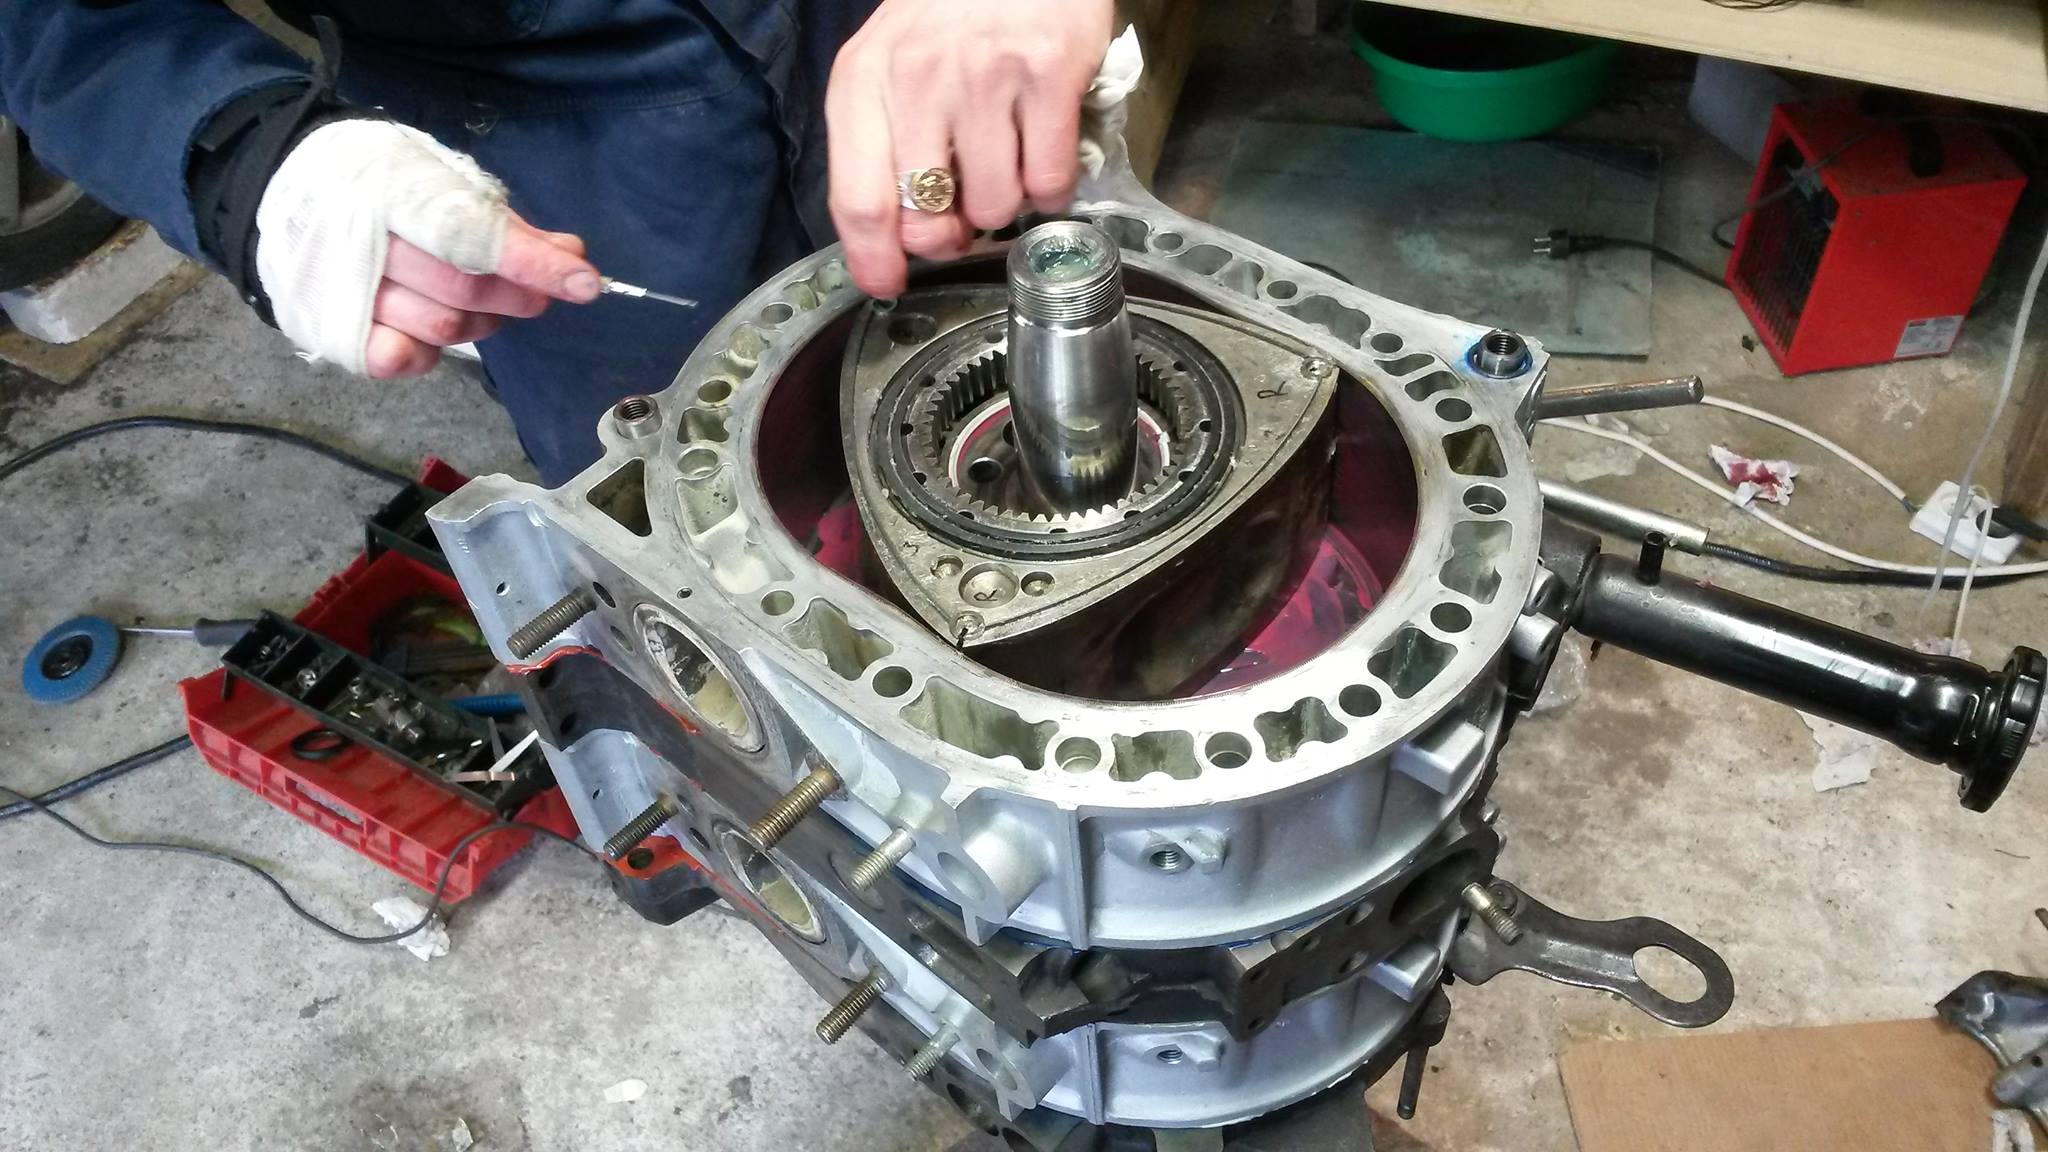
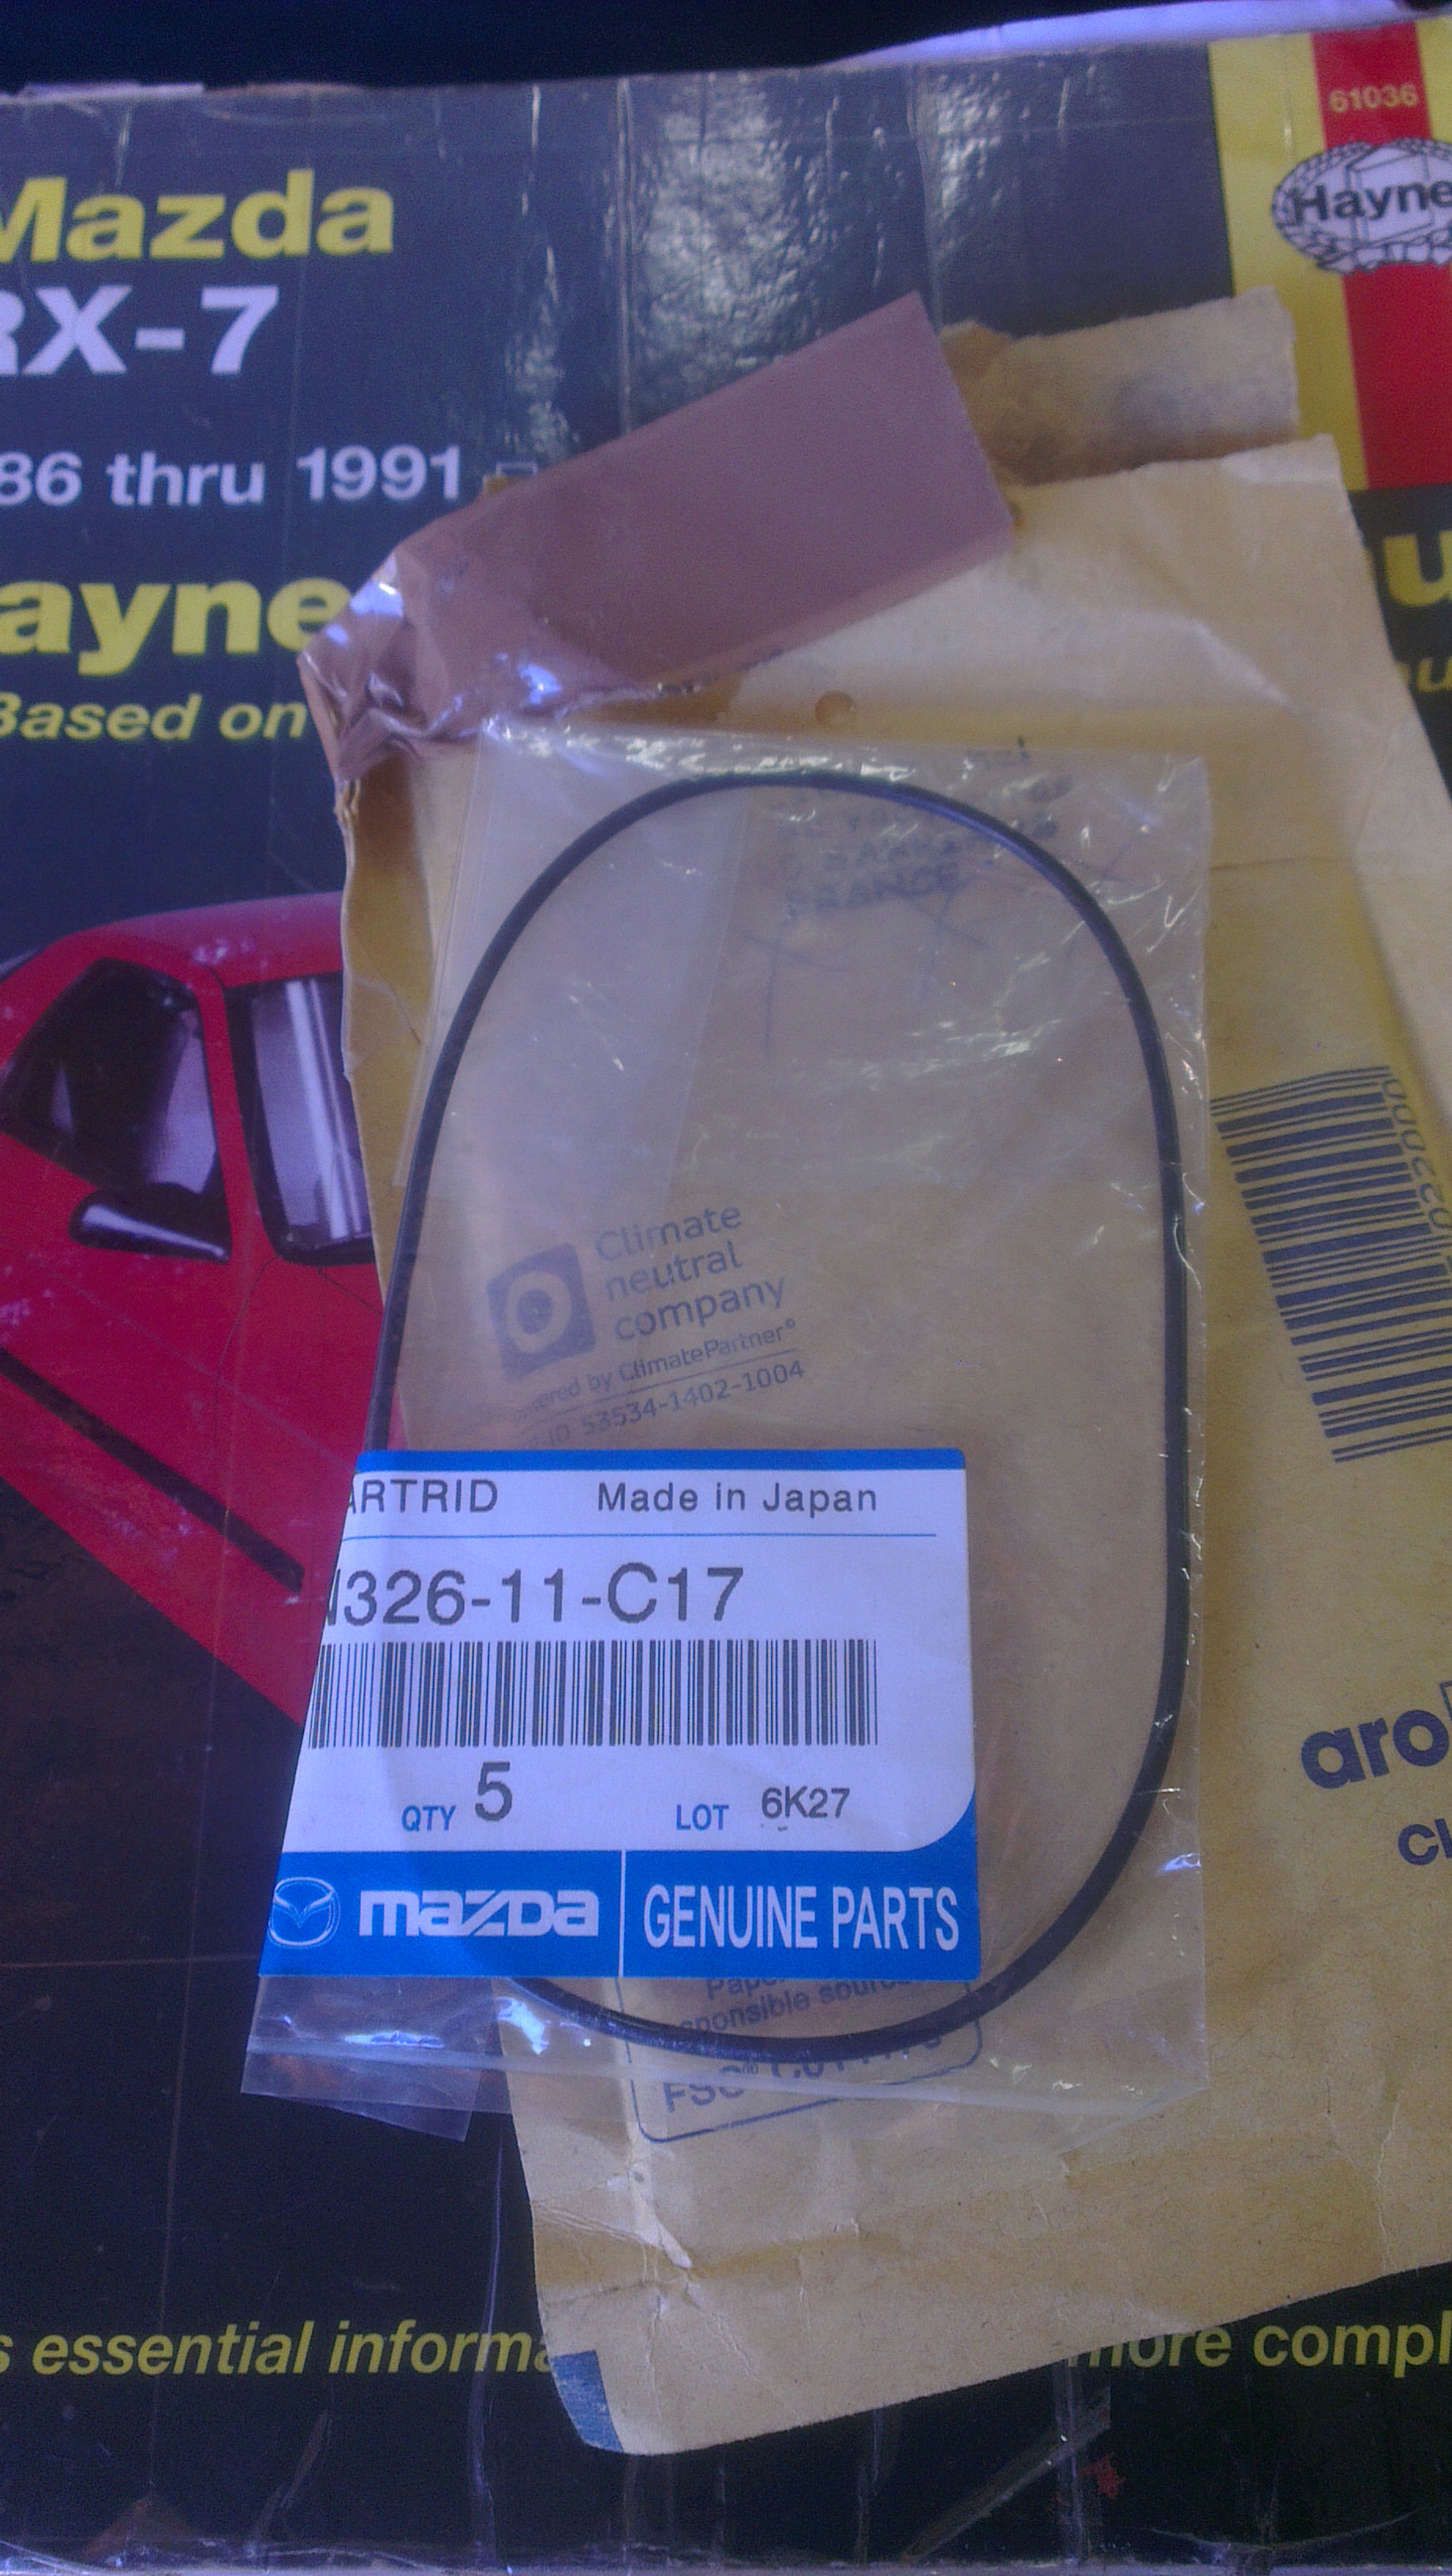
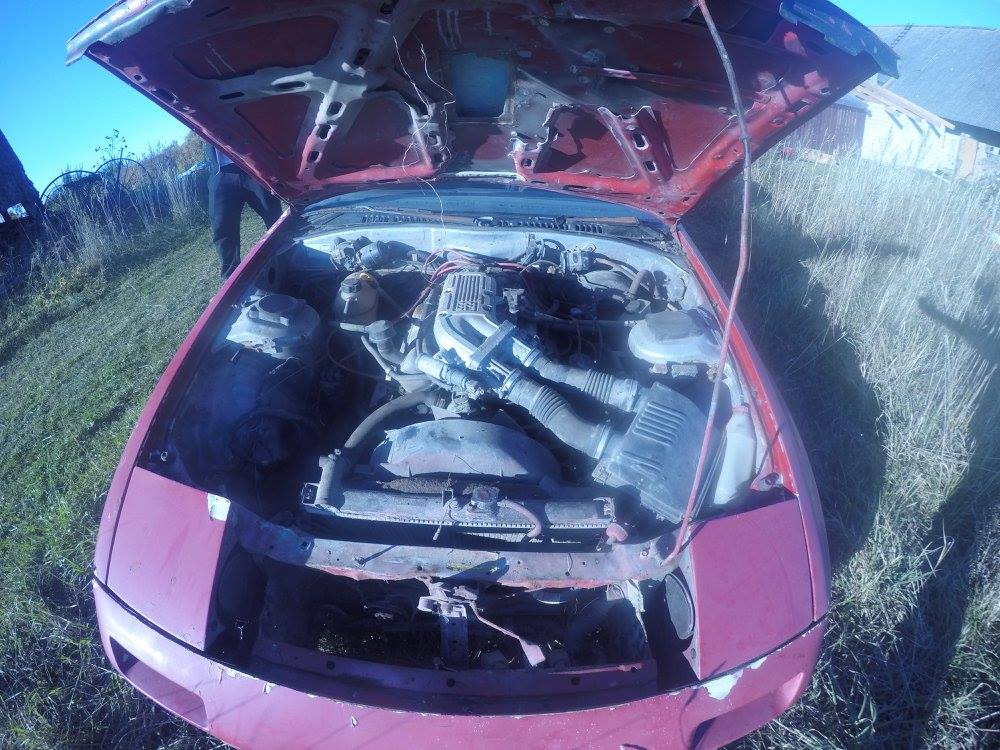
Also I finally got my water jacket o rings so i could assemble the engine, waited this moment for so long. It does not have the front cover or anything else put on yet and i found out that i dont have the rear main gear o ring in my seal kit, so i hope i can find it locally. btw does anyone know how thick is the o ring back there?

Got some bad luck lately, broke my hand bone @ work, my jacket stolen from a party, right after that my car was broken in to through a side window and my backpack stolen (which had a mazda badge carefully sewed on to) and on top of that my woman left me.
But finally i see my car getting to somewhere and i enjoy the work i have done, yesterday before assembling the engine i got to drive my friends 944 s2 and that reminded me how a sports car feels and put a wide grin on my face and i´think im pretty okay now.
Brought the car back to my own garage because i got pissed off that nothing was done there.
Ordered a welder right away and it arrived!
also got my clutch, brake lines and a s4 cw + flywheel
Also I finally got my water jacket o rings so i could assemble the engine, waited this moment for so long. It does not have the front cover or anything else put on yet and i found out that i dont have the rear main gear o ring in my seal kit, so i hope i can find it locally. btw does anyone know how thick is the o ring back there?
Got some bad luck lately, broke my hand bone @ work, my jacket stolen from a party, right after that my car was broken in to through a side window and my backpack stolen (which had a mazda badge carefully sewed on to) and on top of that my woman left me.
But finally i see my car getting to somewhere and i enjoy the work i have done, yesterday before assembling the engine i got to drive my friends 944 s2 and that reminded me how a sports car feels and put a wide grin on my face and i´think im pretty okay now.
05-01-15, 01:31 PM
#34
NA-BOOSTIN
Loving the progress brotha . Just got my keg back together a few days ago . As far as the front cover issue . I've ran into the same problem . My motor is s4 for sure but a mazda remain from 99" . When I had a omp it was a s4 style . But when I look at the front iron where the oring goes its s5 style and will only work with the Teflon ring with oring .so I'm thinking it a revised s4 iron possibly . That sucks cause when I went to put my front cover on the cover would have been crushing down weird if tightened down with only rtv like I want to . So I ordered a 2004 rx8 cover gasket with water pump gasket attached . There's a thread about using it . It a metal/rubber gasket that does work for s5 up irons .
I added some new pic in my album under my user name if you wanna take a look .
I added some new pic in my album under my user name if you wanna take a look .
Last edited by unek87; 05-01-15 at 01:39 PM.
05-06-15, 01:59 PM
#36
Senior Member
Thread Starter
Theres two main problems in life: One is what has wheels under it and the second one has ***** on it.
I think im okay with just one for now.
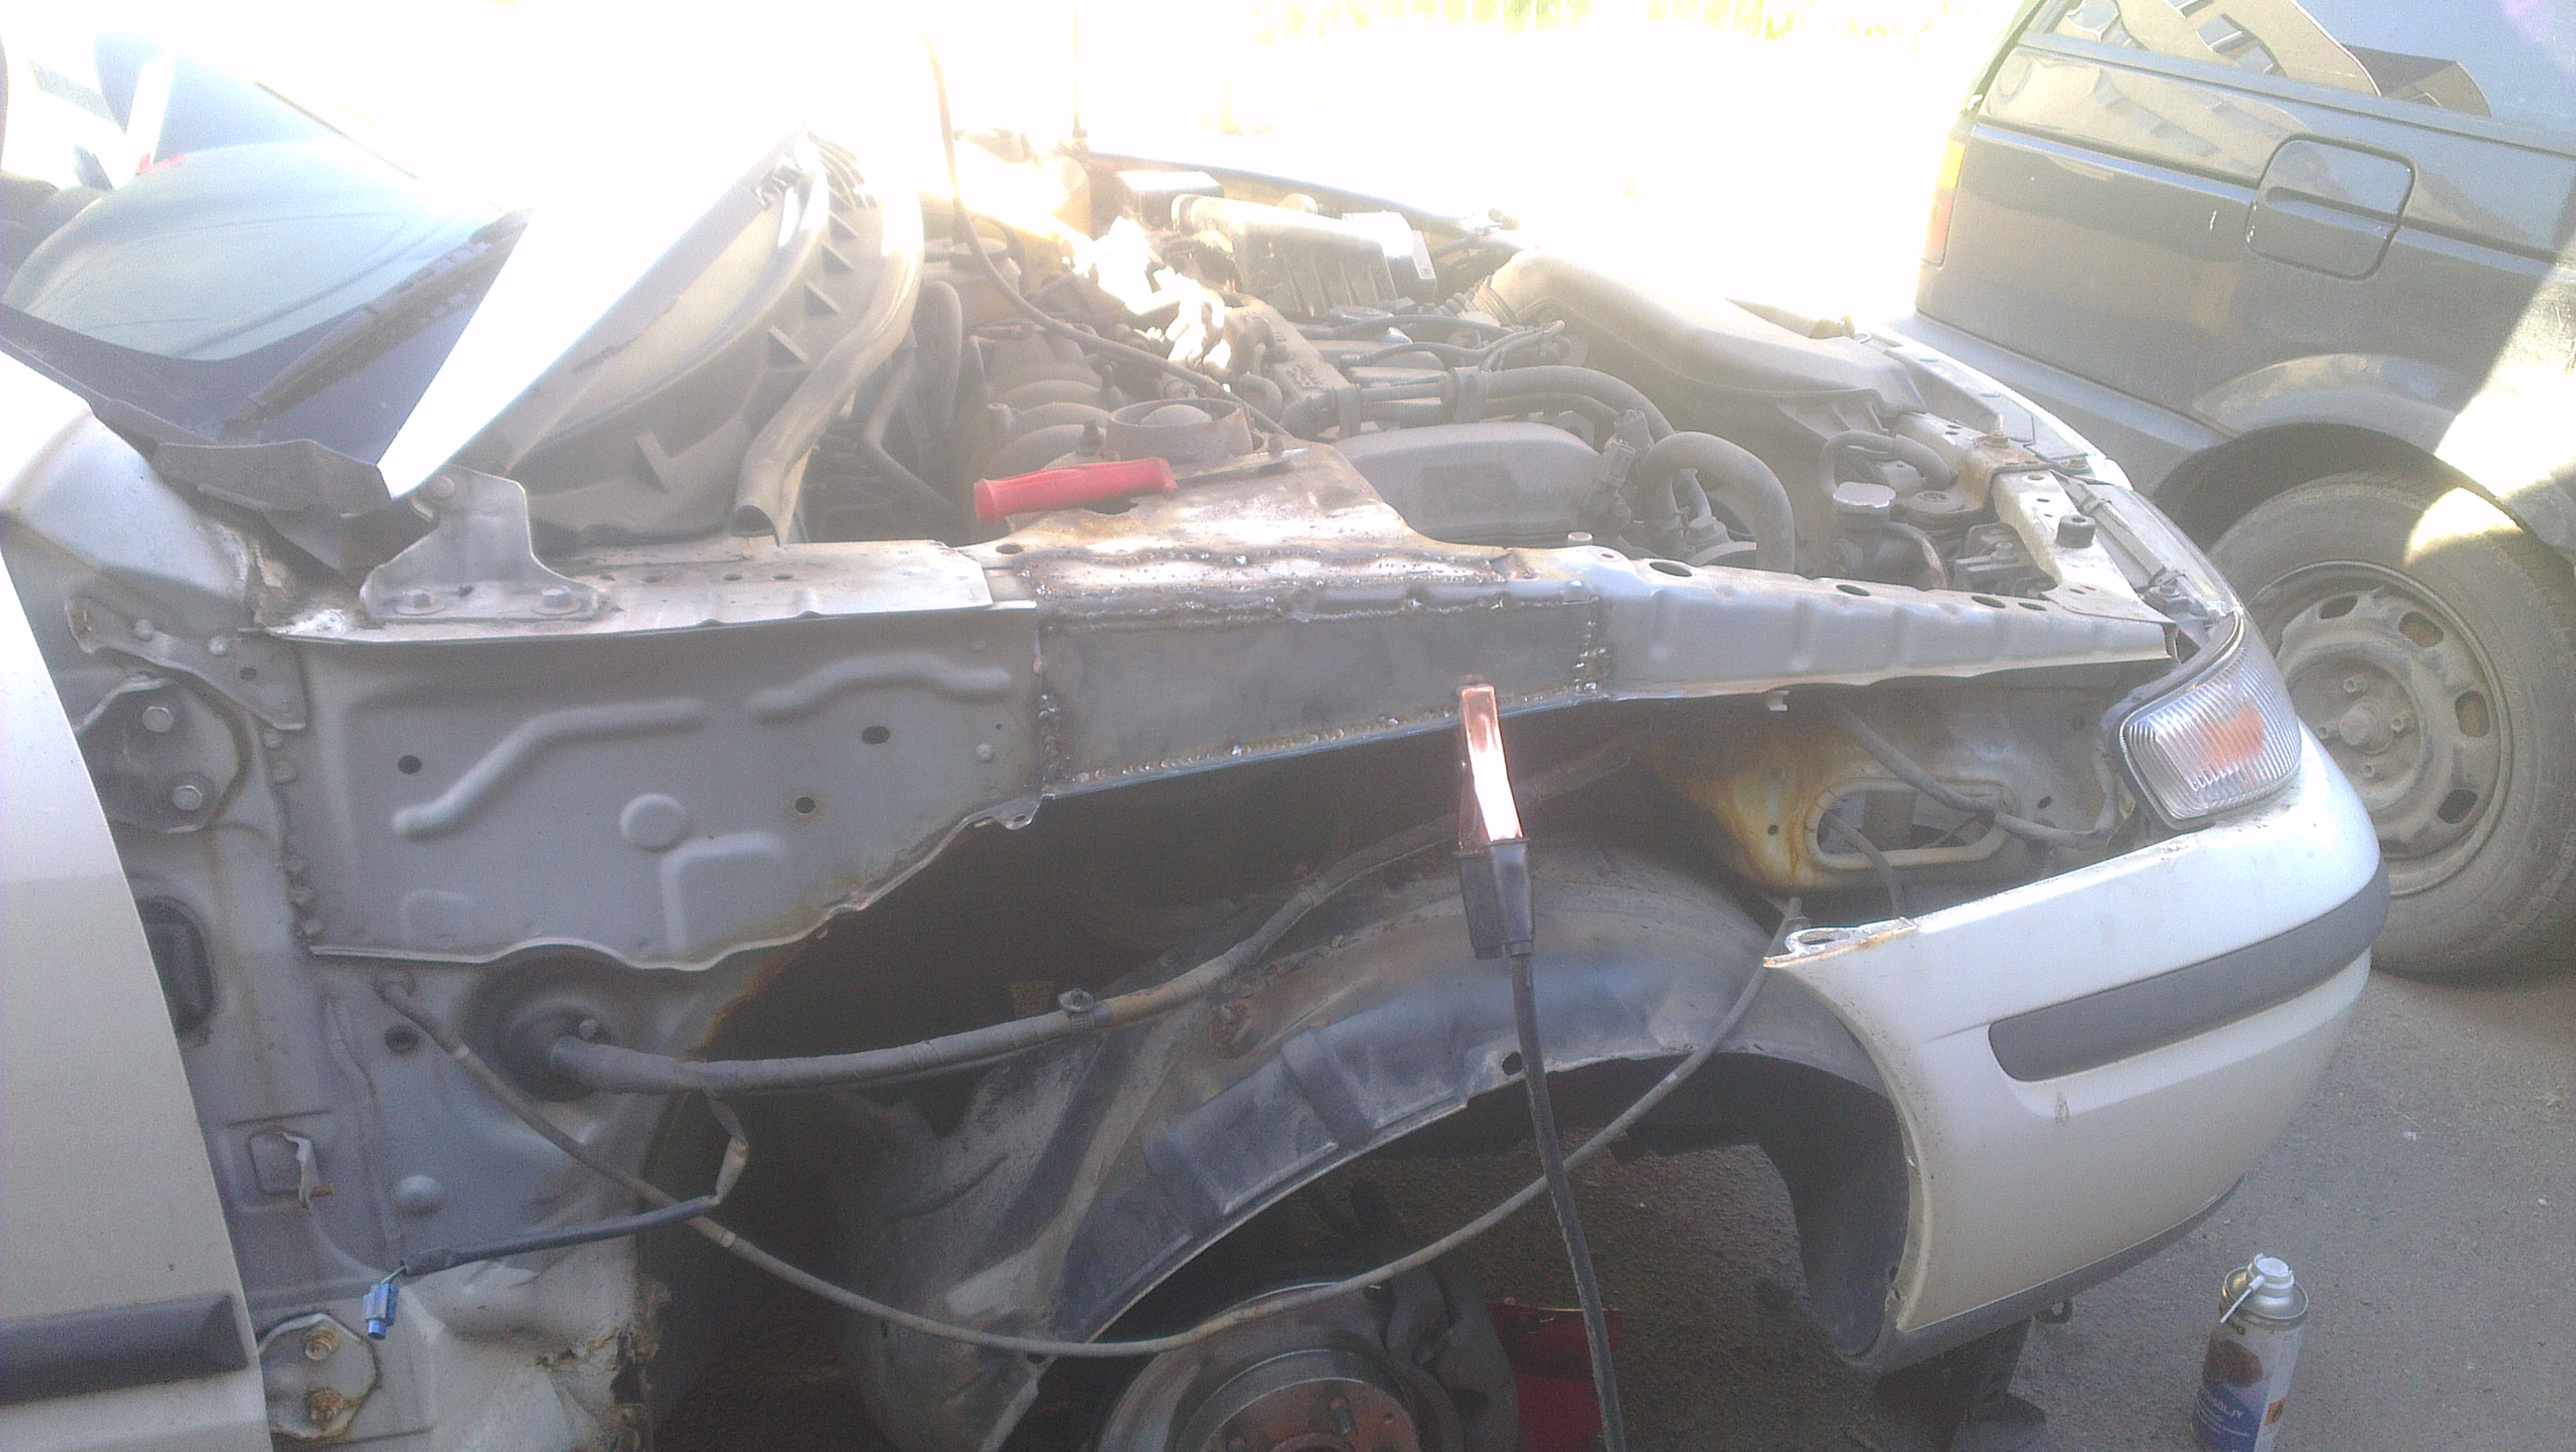
But the broken bone is a gift from cosmic forces, i have been in garage like almost every day for two weeks now. Bodywork is so time consuming so i got lucky with my hand still working and having the time to weld it together AND get paid for doing my own car. I wonder how far i would have gotten if i only did this on weekends
One side of the floor pan is done
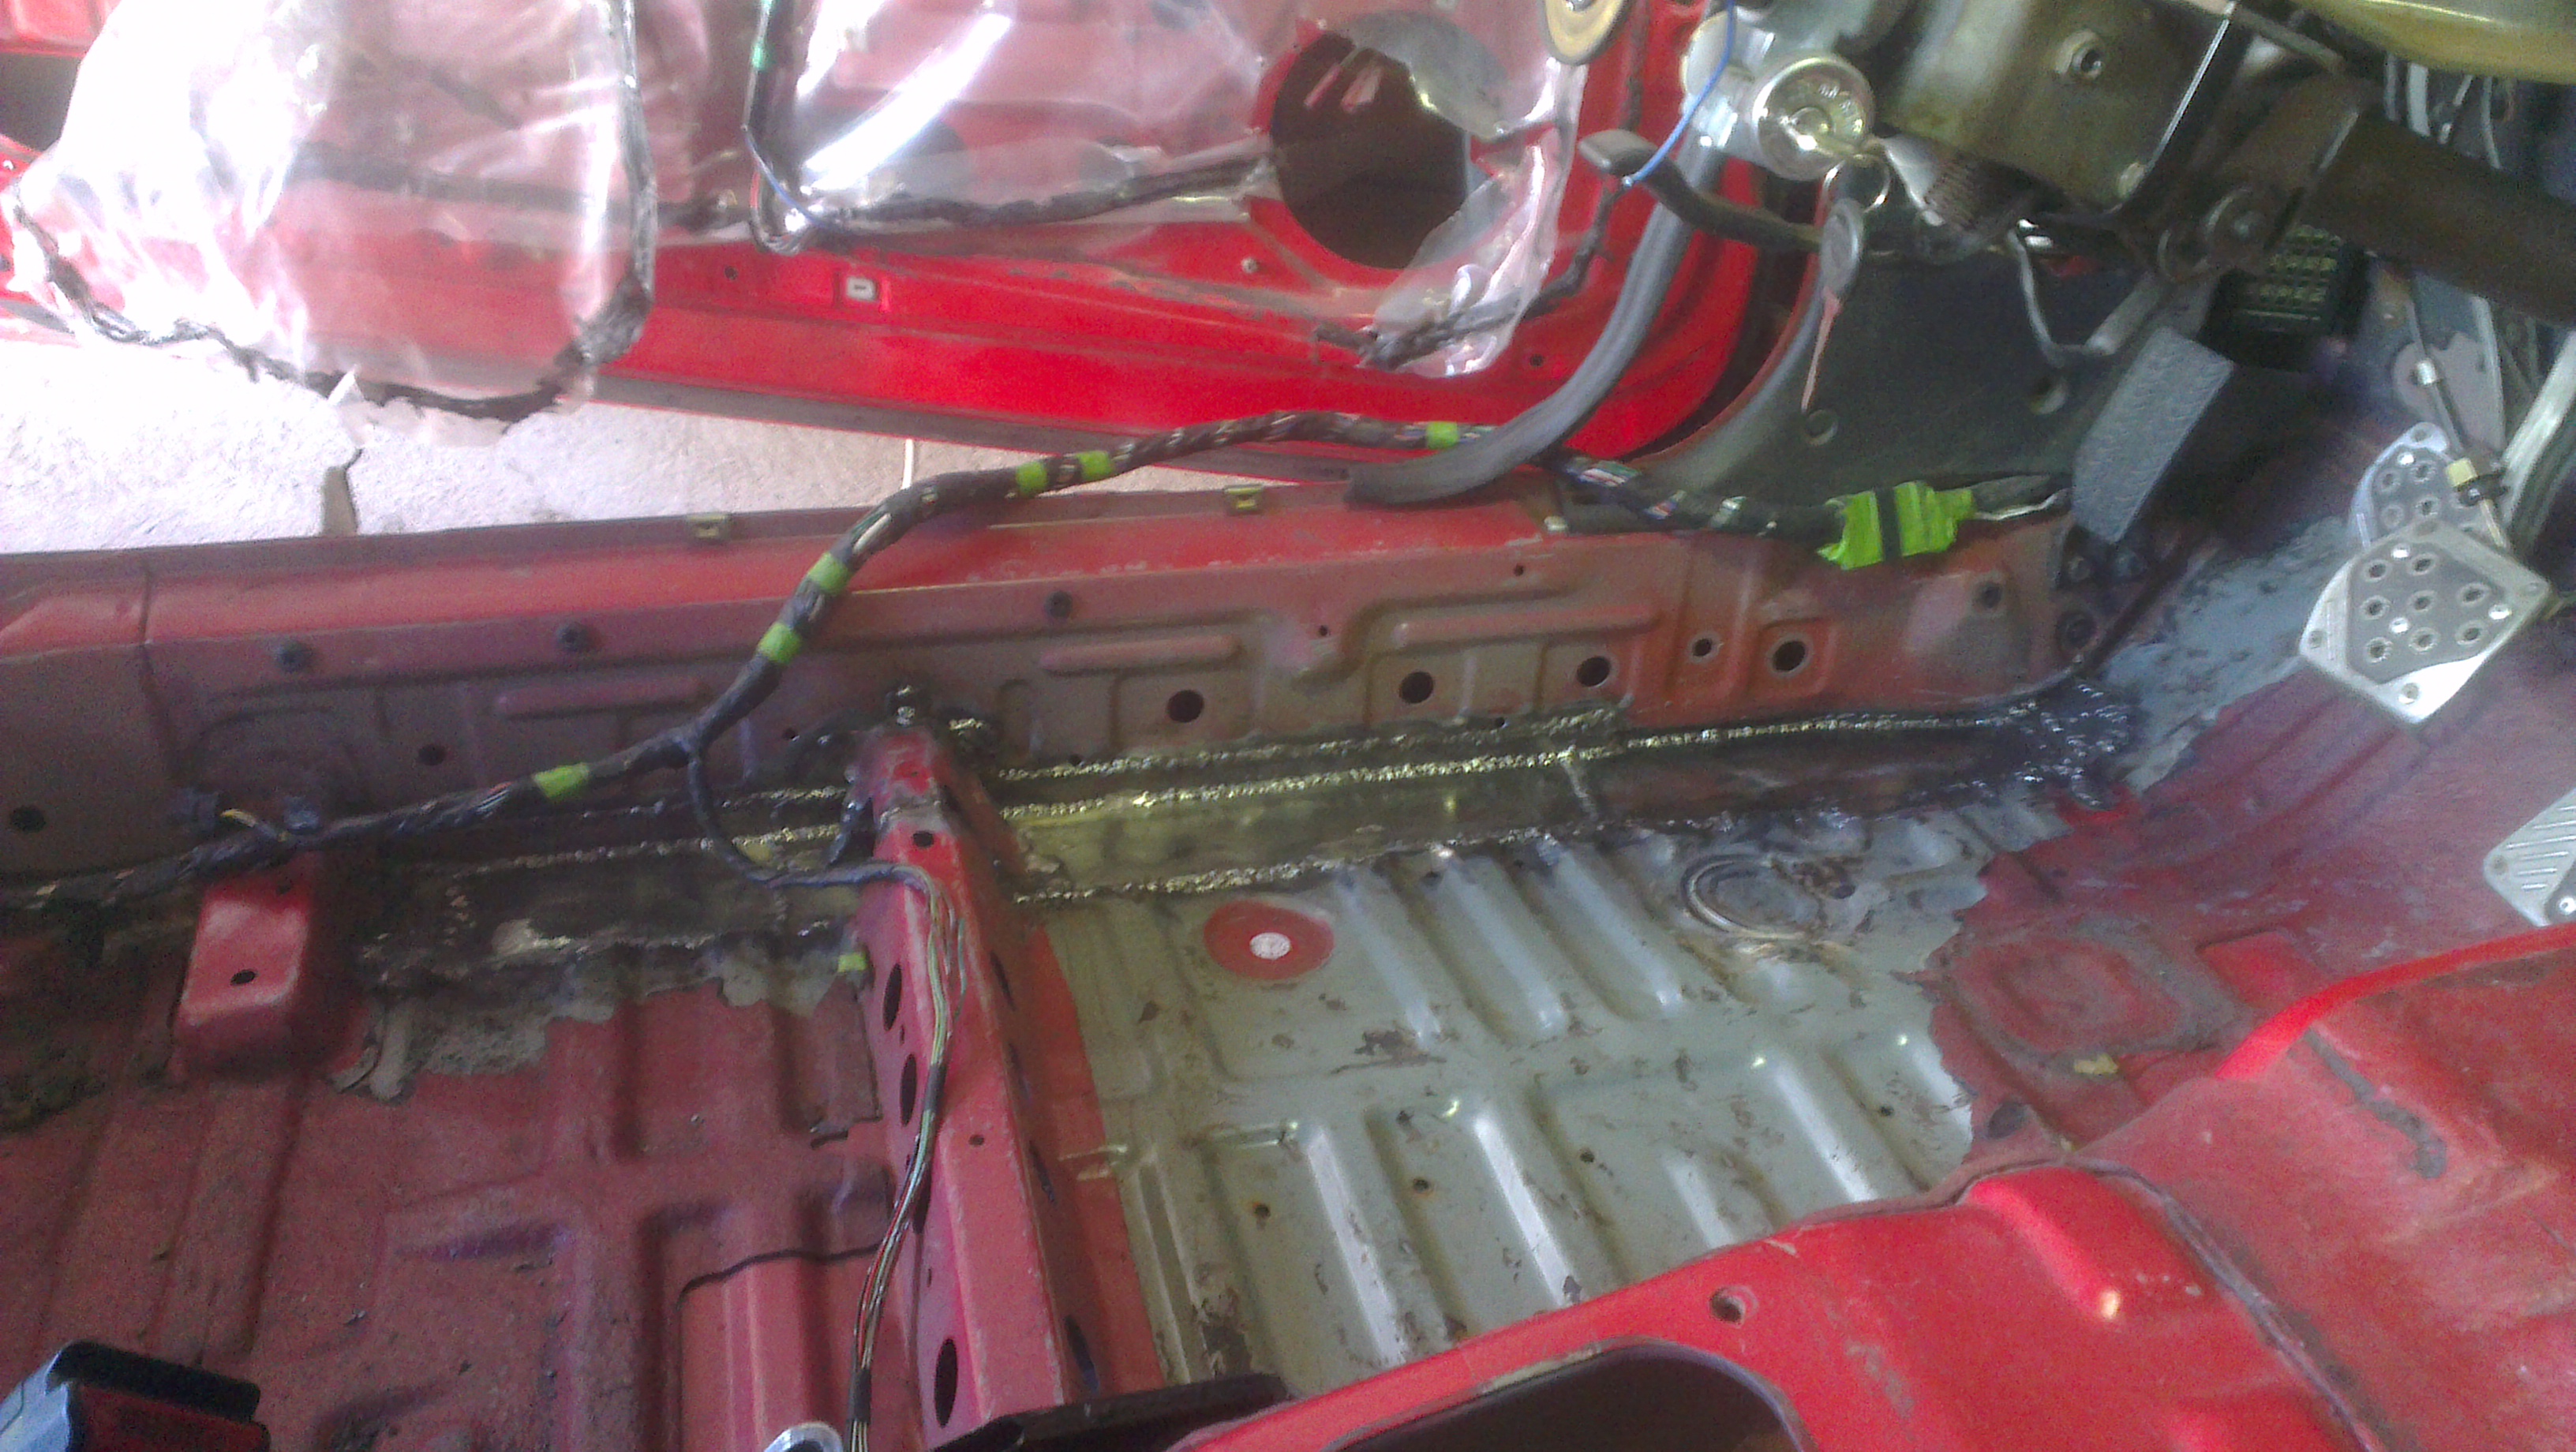
with primer on
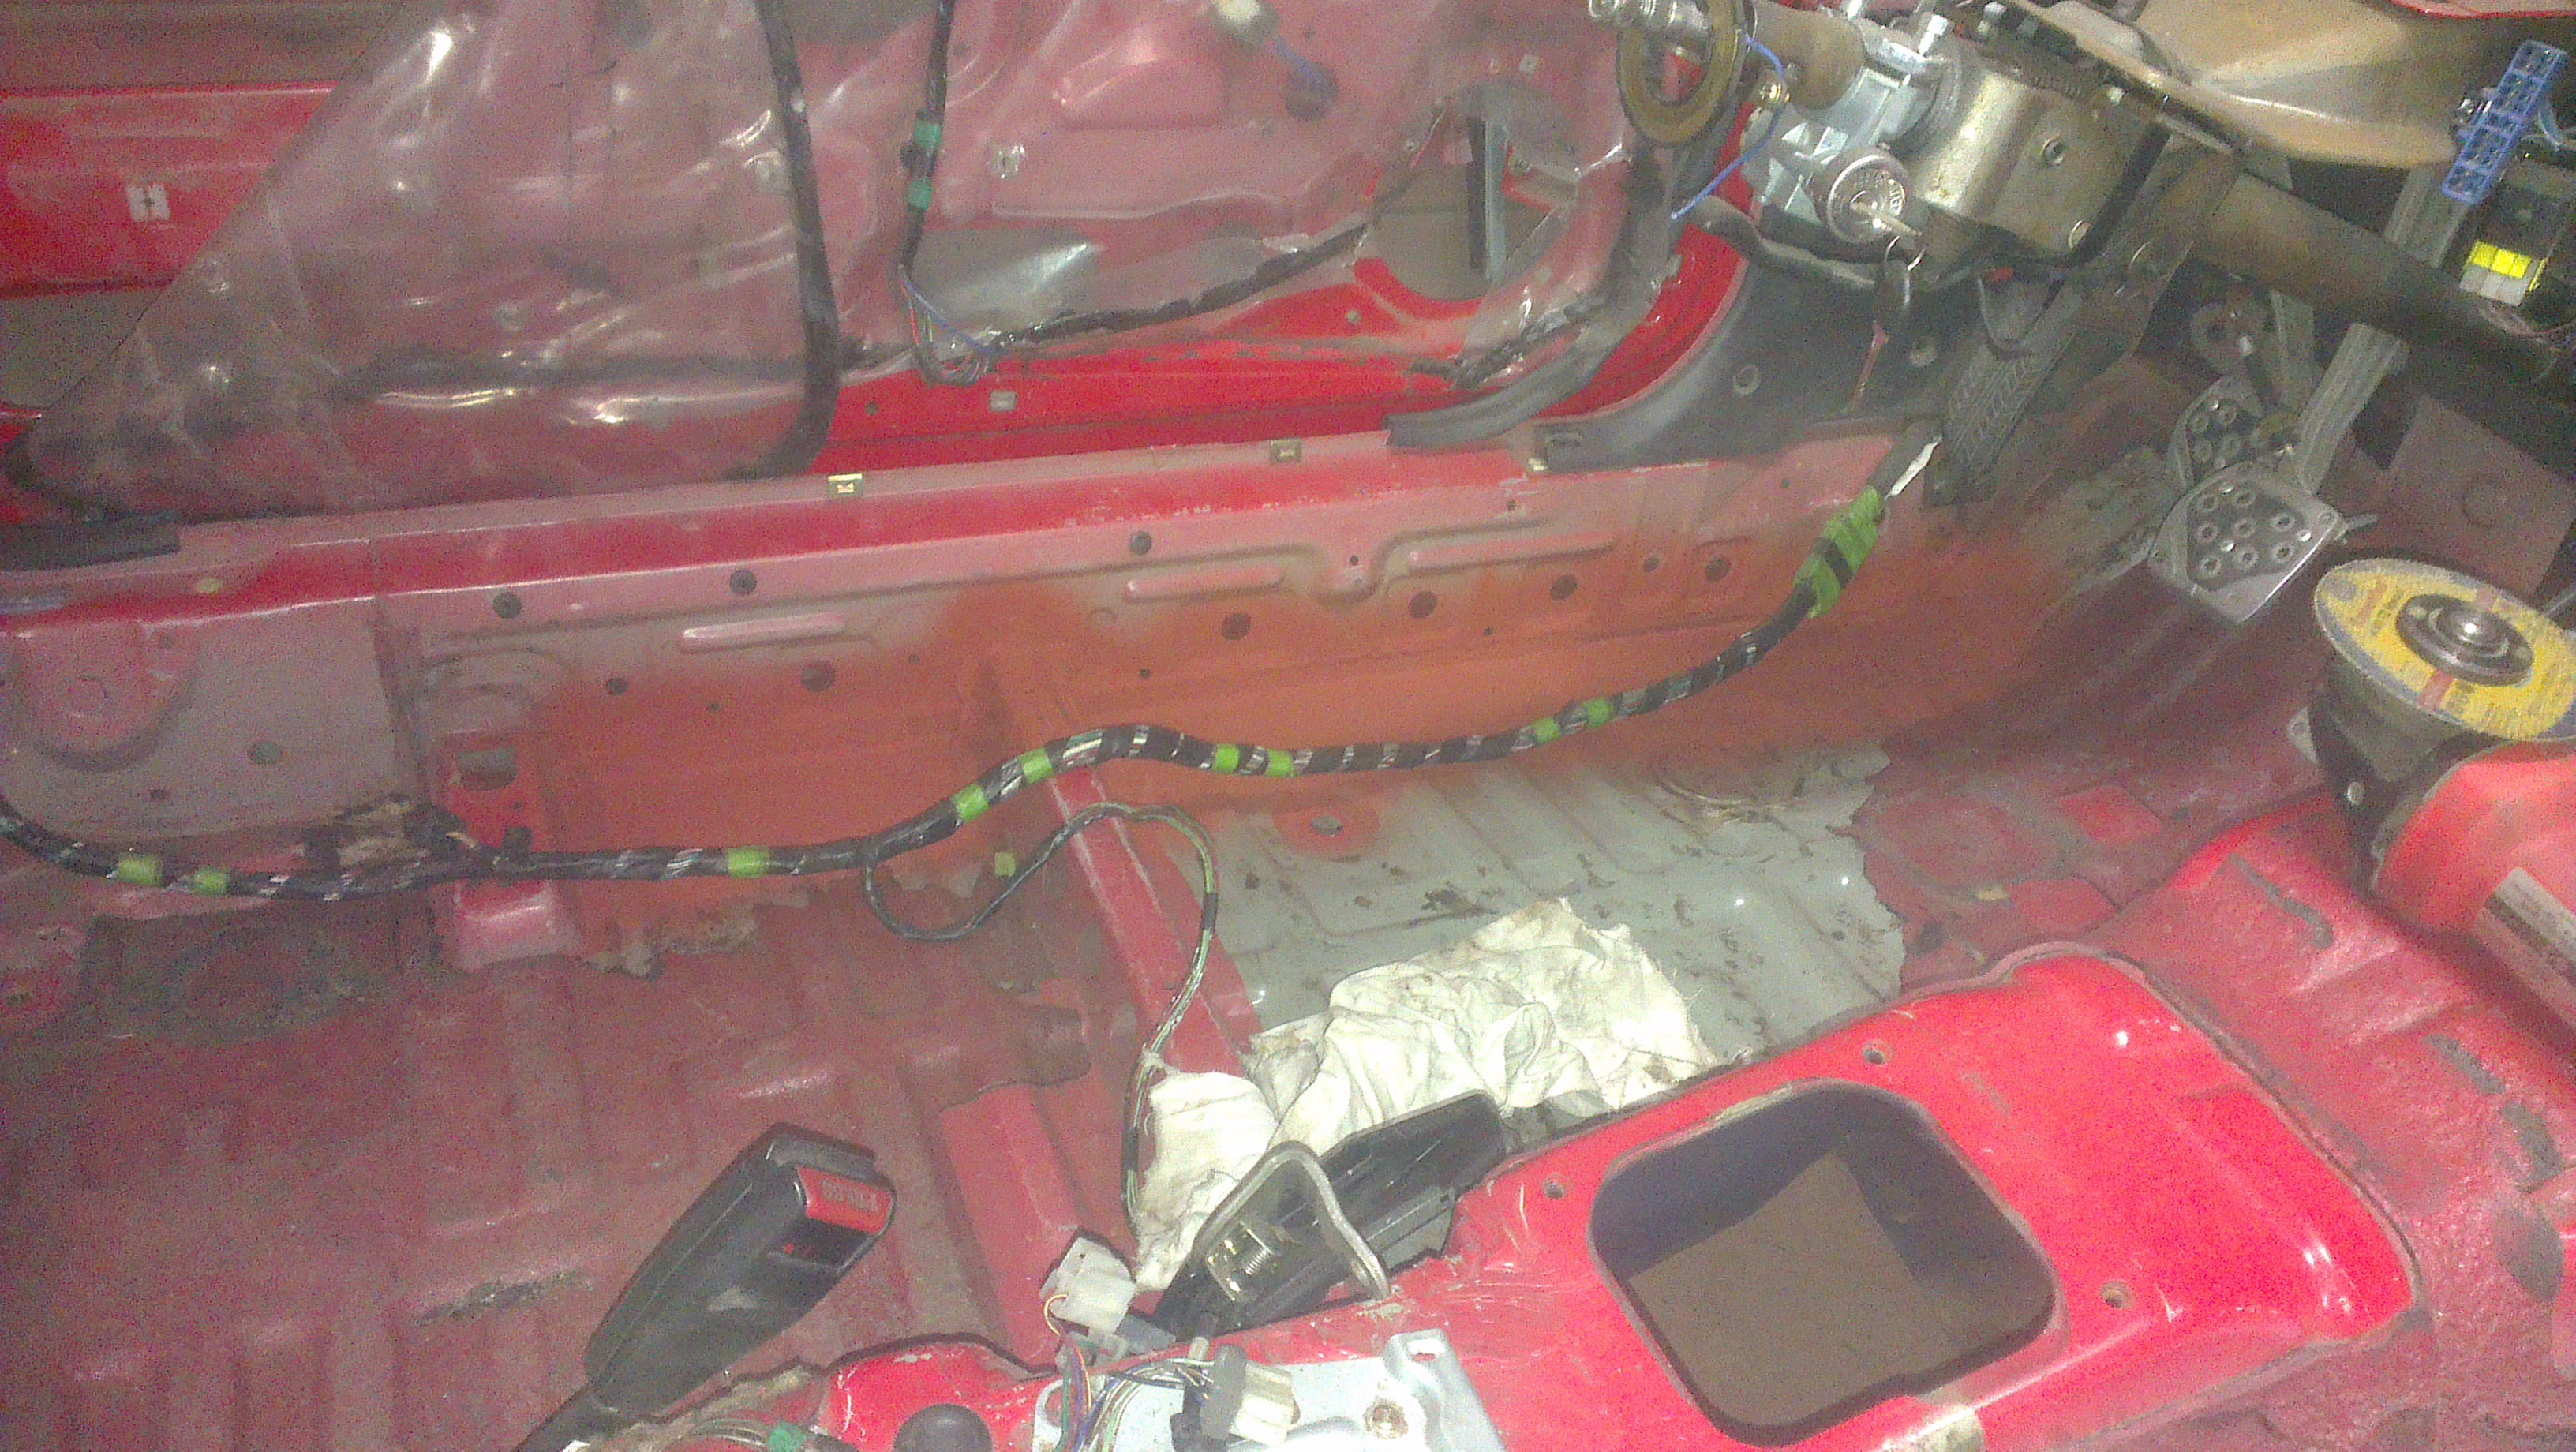
It does´nt look pretty but the drivers side door shuts so smooth now!
Moved to the back of the car where the spare wheel sits.
One small hole to patch, but like always after grinding the black stuff away theres more rust holes, still pretty easy to do on these spots.
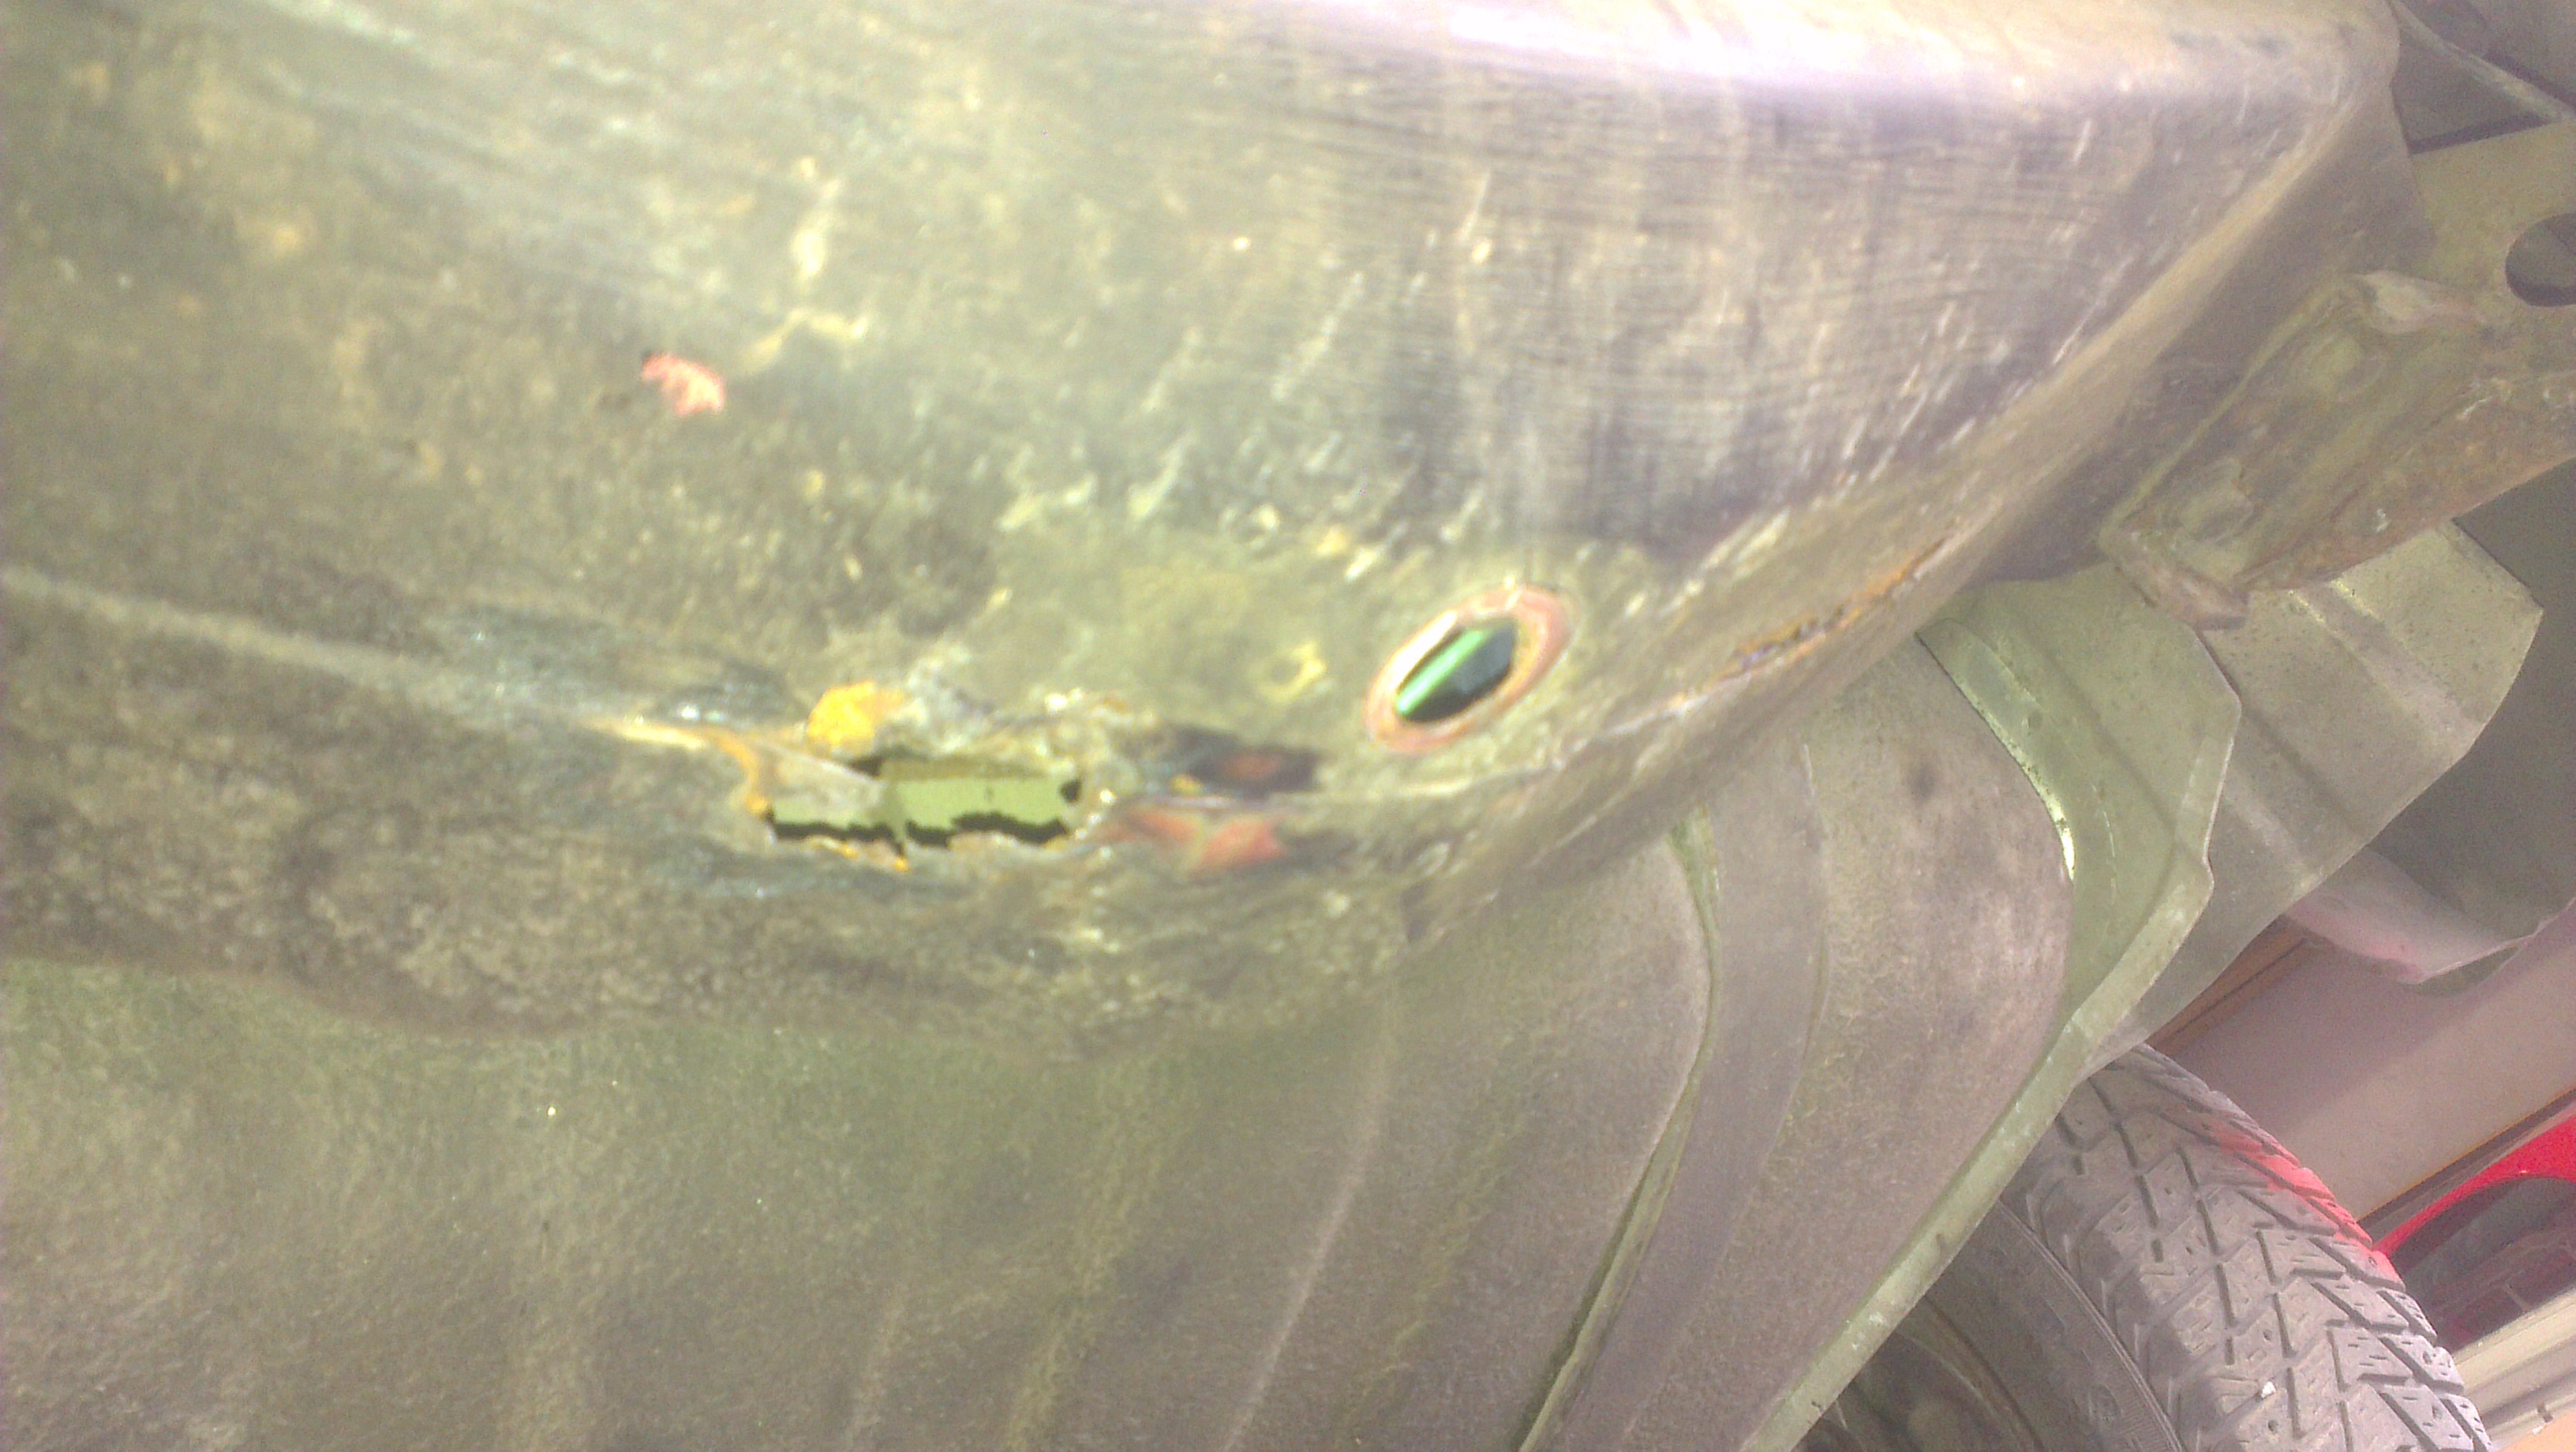
i didnt make any more pics of this but its done and i moved to the passenger side....
Had to cut that inner sheet metal to get the rusty steel out from the hollow place.
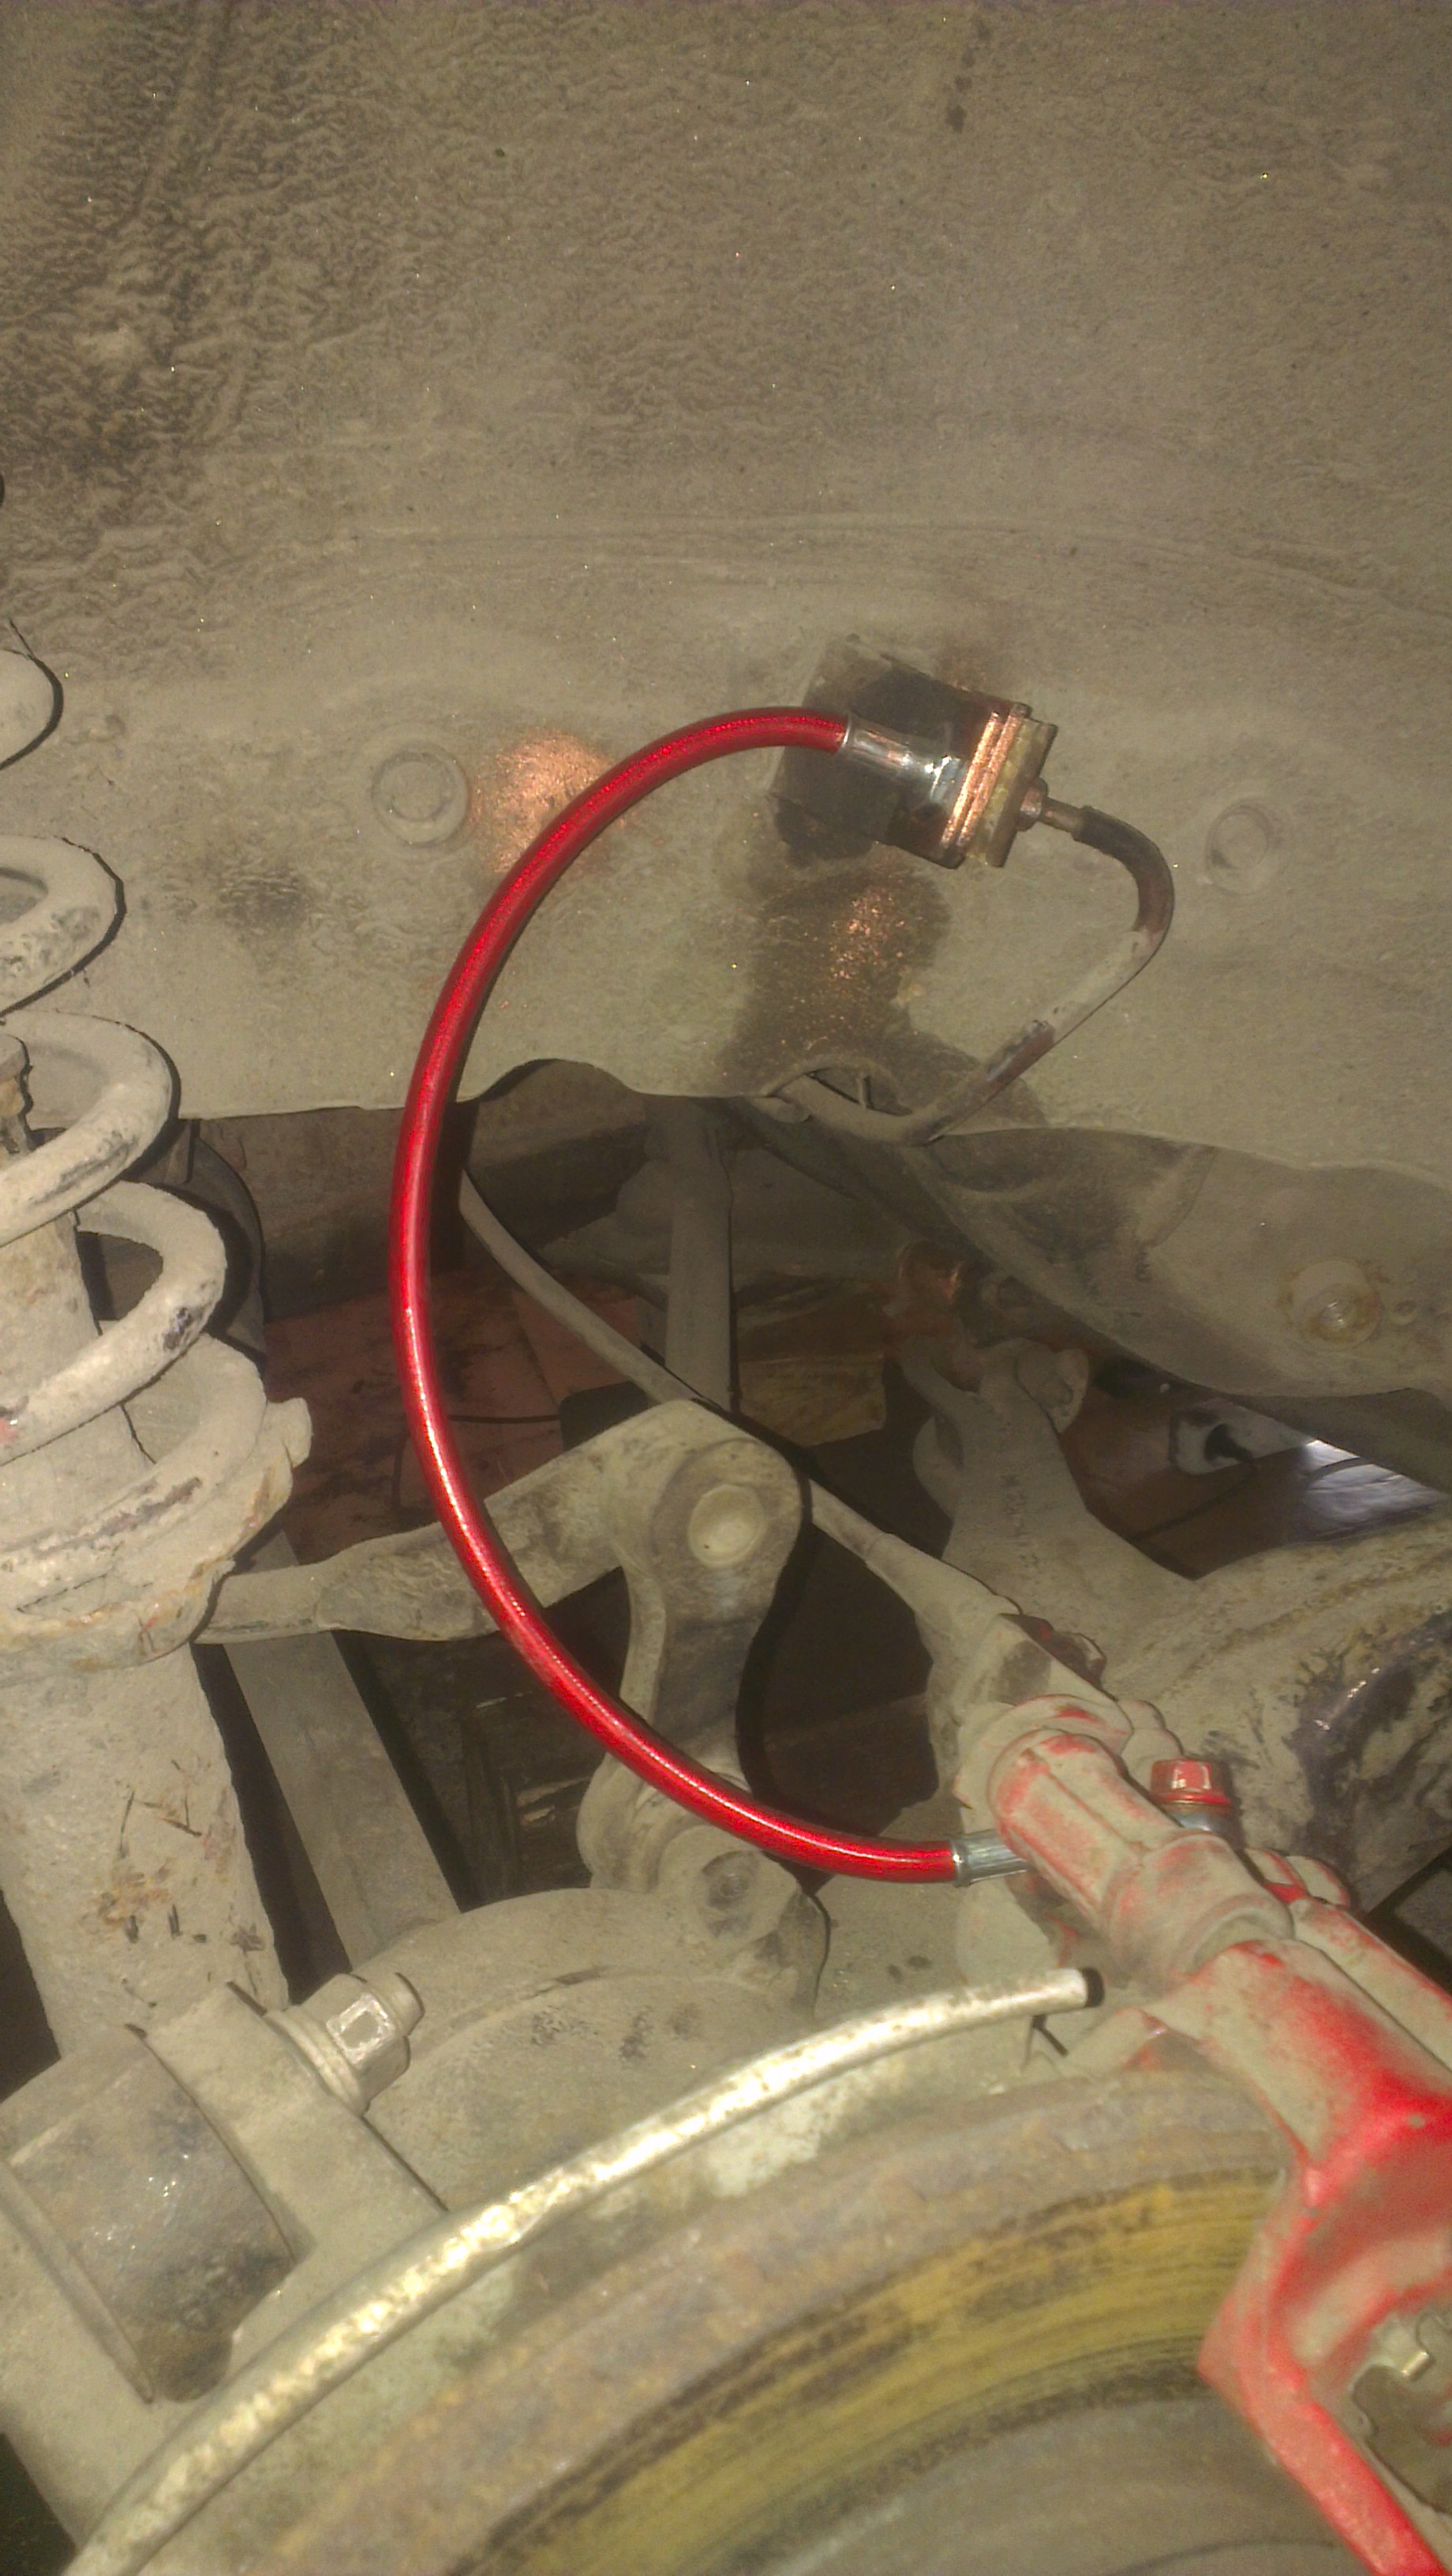
Got tired of the bodywork for a moment and installed ss brake lines.
Left early from garage today because im literally pennyless and did´nt have money to buy cutting disks and paint and such. But tomorrow is a new day.
Still have´nt got my rear o ring,trying to get it from sweden, atkins wants 50$ and mazdatrix about 25$ for shipping a 8$ part... so i have not looked on the front side of the engine.. i hope i have the right seal or it works with silicone only, but i´ll keep that in mind unek!
I think im okay with just one for now.
But the broken bone is a gift from cosmic forces, i have been in garage like almost every day for two weeks now. Bodywork is so time consuming so i got lucky with my hand still working and having the time to weld it together AND get paid for doing my own car. I wonder how far i would have gotten if i only did this on weekends
One side of the floor pan is done
with primer on
It does´nt look pretty but the drivers side door shuts so smooth now!
Moved to the back of the car where the spare wheel sits.
One small hole to patch, but like always after grinding the black stuff away theres more rust holes, still pretty easy to do on these spots.
i didnt make any more pics of this but its done and i moved to the passenger side....
Had to cut that inner sheet metal to get the rusty steel out from the hollow place.
Got tired of the bodywork for a moment and installed ss brake lines.
Left early from garage today because im literally pennyless and did´nt have money to buy cutting disks and paint and such. But tomorrow is a new day.
Still have´nt got my rear o ring,trying to get it from sweden, atkins wants 50$ and mazdatrix about 25$ for shipping a 8$ part... so i have not looked on the front side of the engine.. i hope i have the right seal or it works with silicone only, but i´ll keep that in mind unek!
Last edited by psyaddict; 05-06-15 at 02:08 PM.
06-07-15, 05:00 PM
#38
Senior Member
Thread Starter
rear gear 0-ring delivered to my post box in 2 days, thanks to Fredrik @ Rotaryracing.se
so lately i have been doing this:

took the fender of @ saturday to have a look....
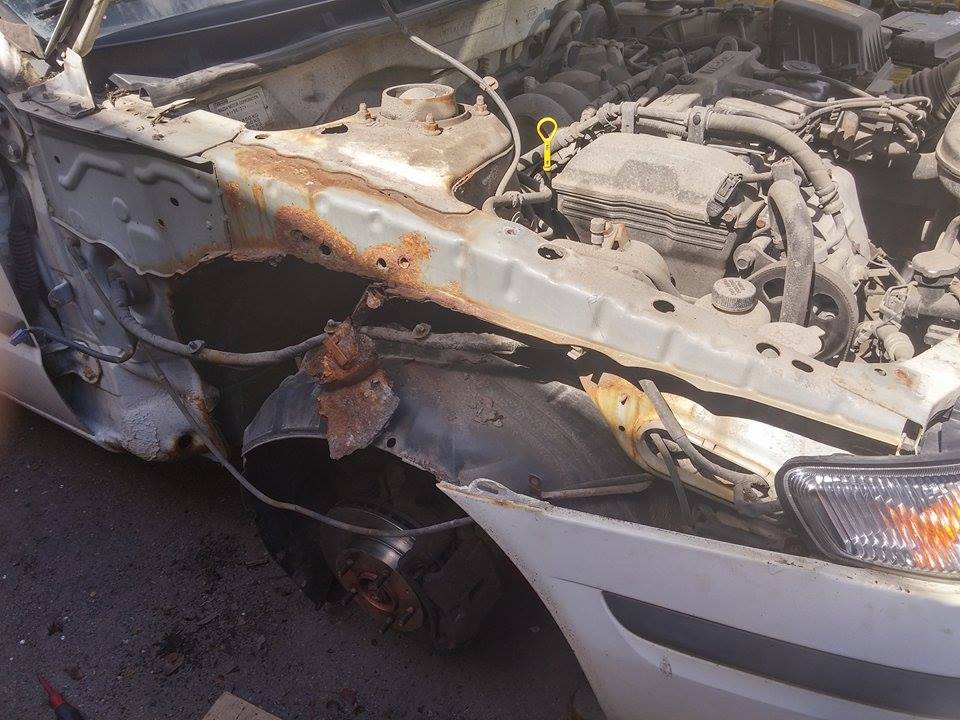
this ended in Monday morning at 1am, had to go to work at 8am.
I really need that car, its festival time, so i had to give it some love...
ngk laser platinum plugs
sway bar working again
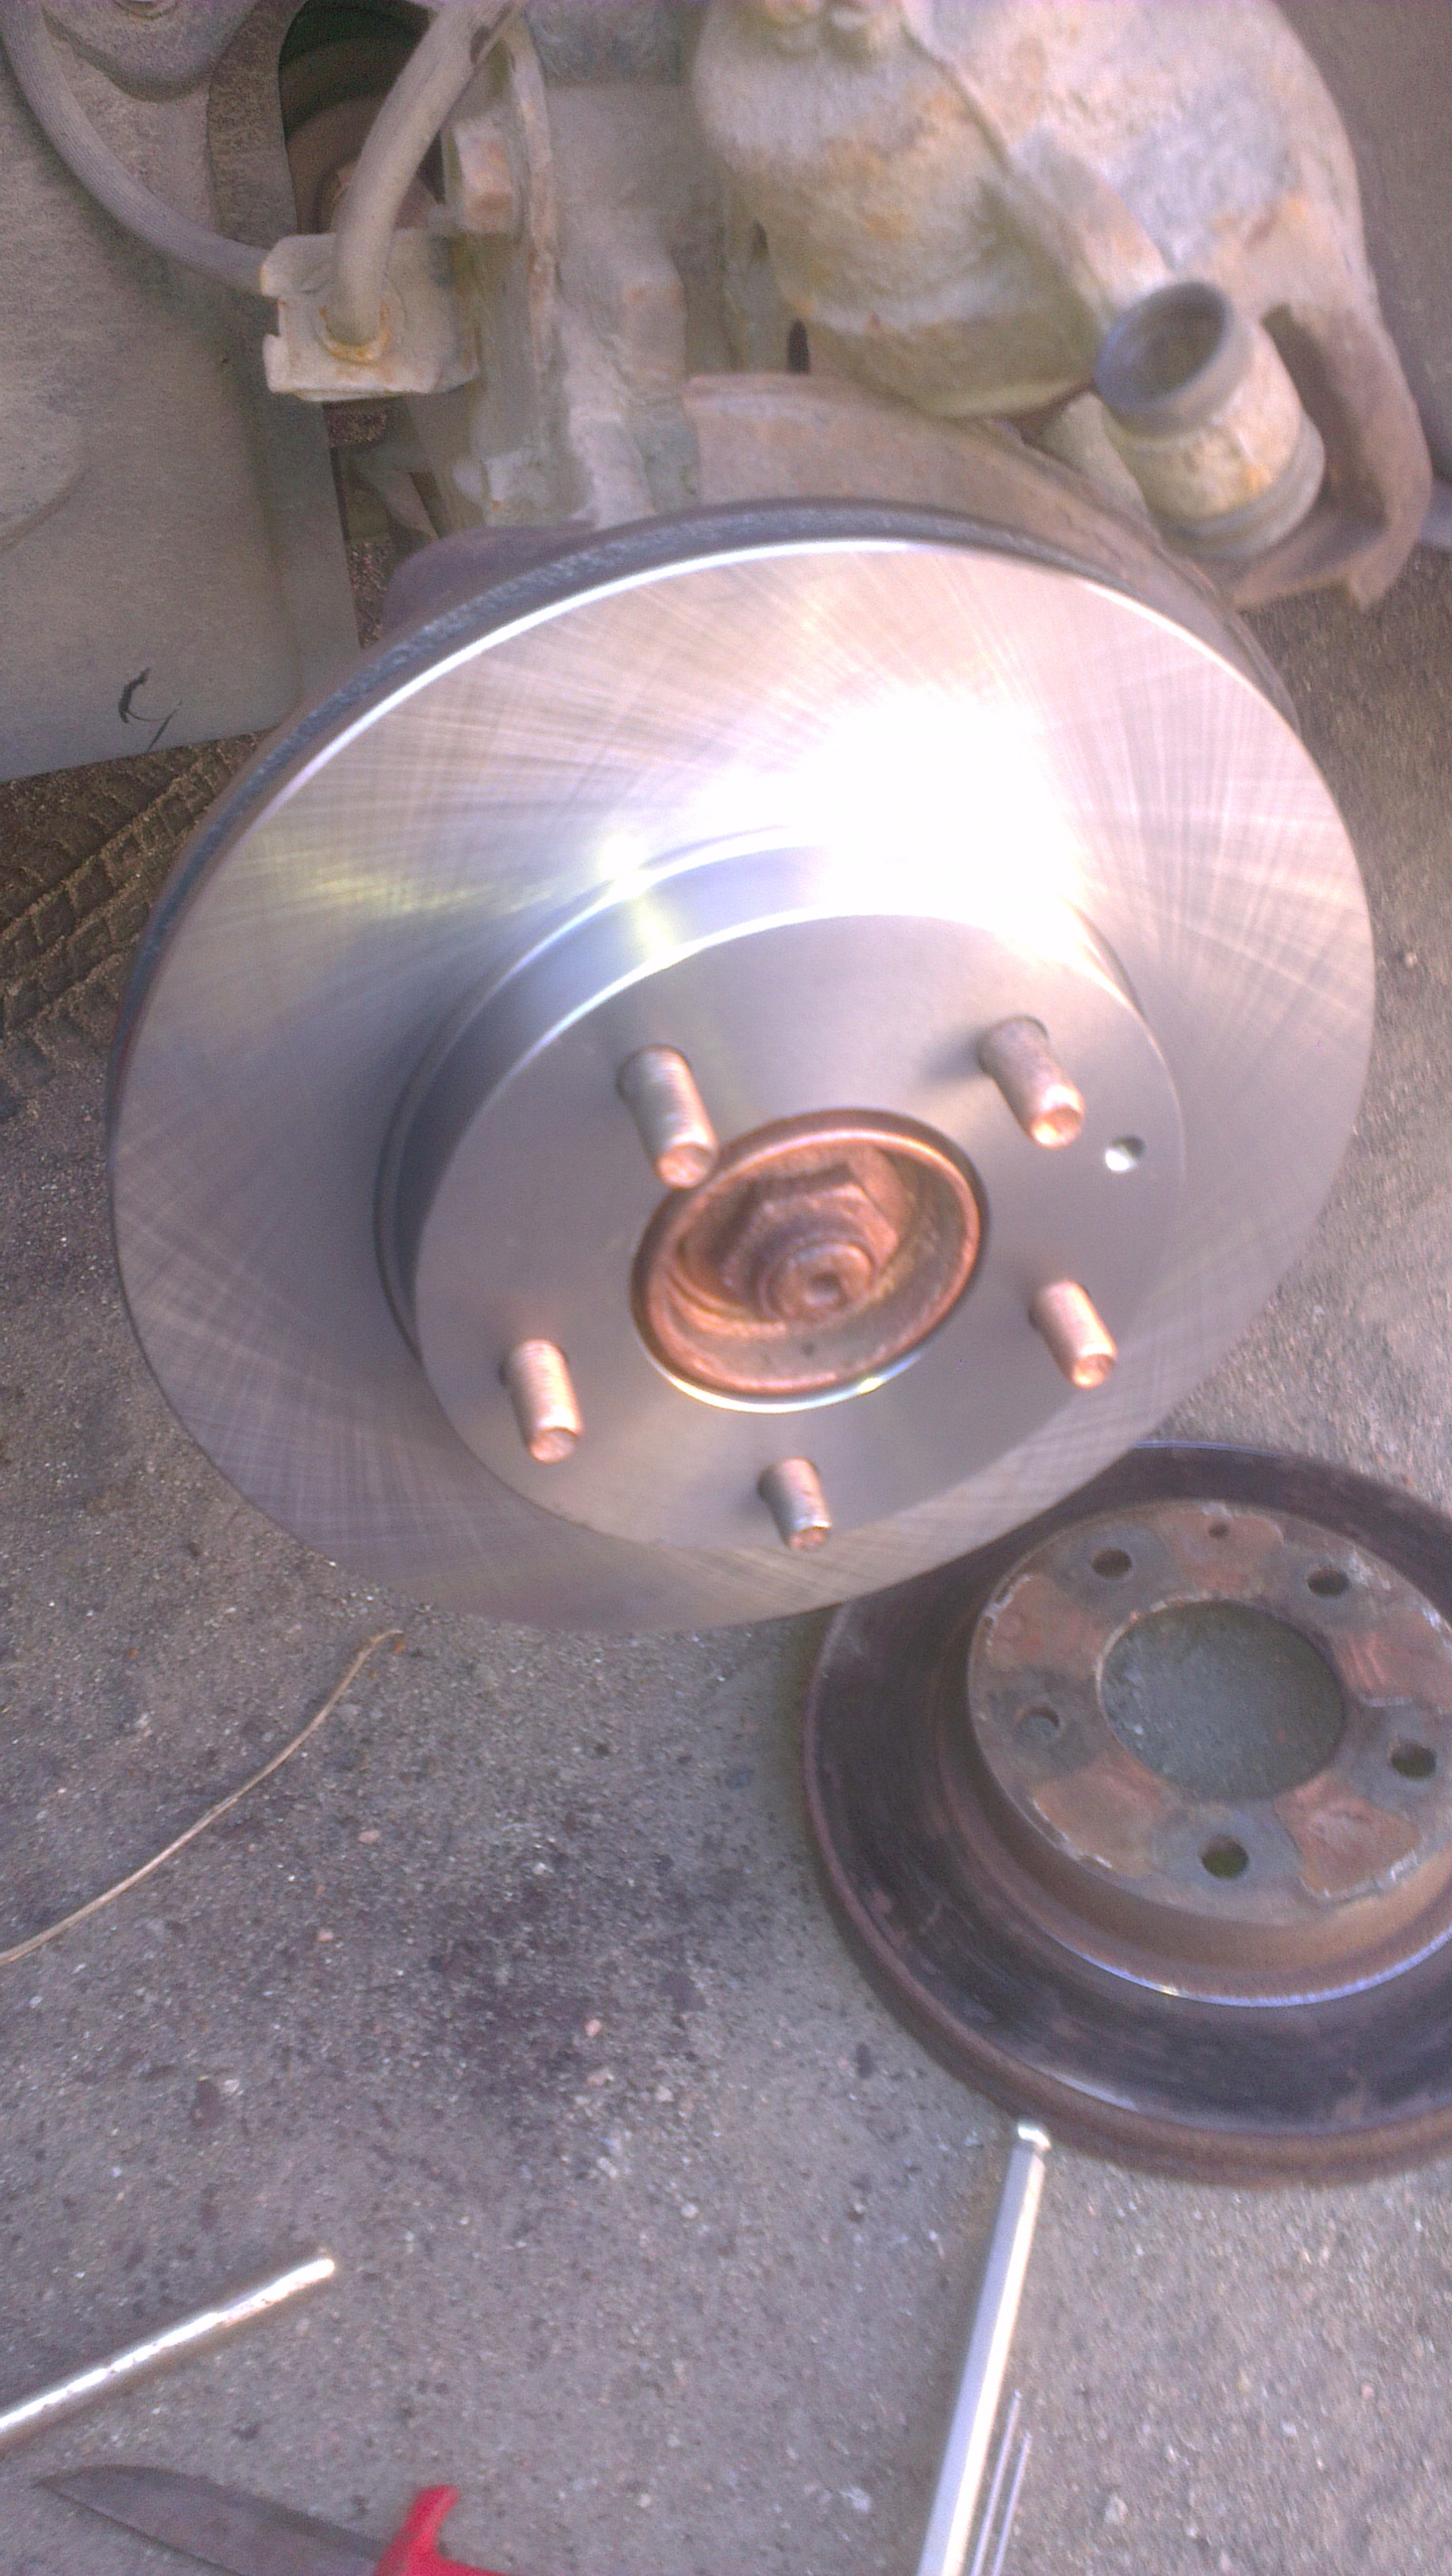
new front brake pads and rotors
some bodywork done (not complete)
new generator belt
gonna change engine and gearbox oil(already in the trunk), buy new chinese tires and new rear brakes also. Never had new tires on that car always got some old for free
Im back to work, but i gonna try to go to garage as much as possible, the bodywork is almost done, need to paint, put body wax in hollow areas and spray undercoating, a little bit of engine bay painting and i can reinstall gearbox and engine to fit the turbo and make an exhaust manifold.
made this time lapse video with my new gopro
Strange noise warning, beware!
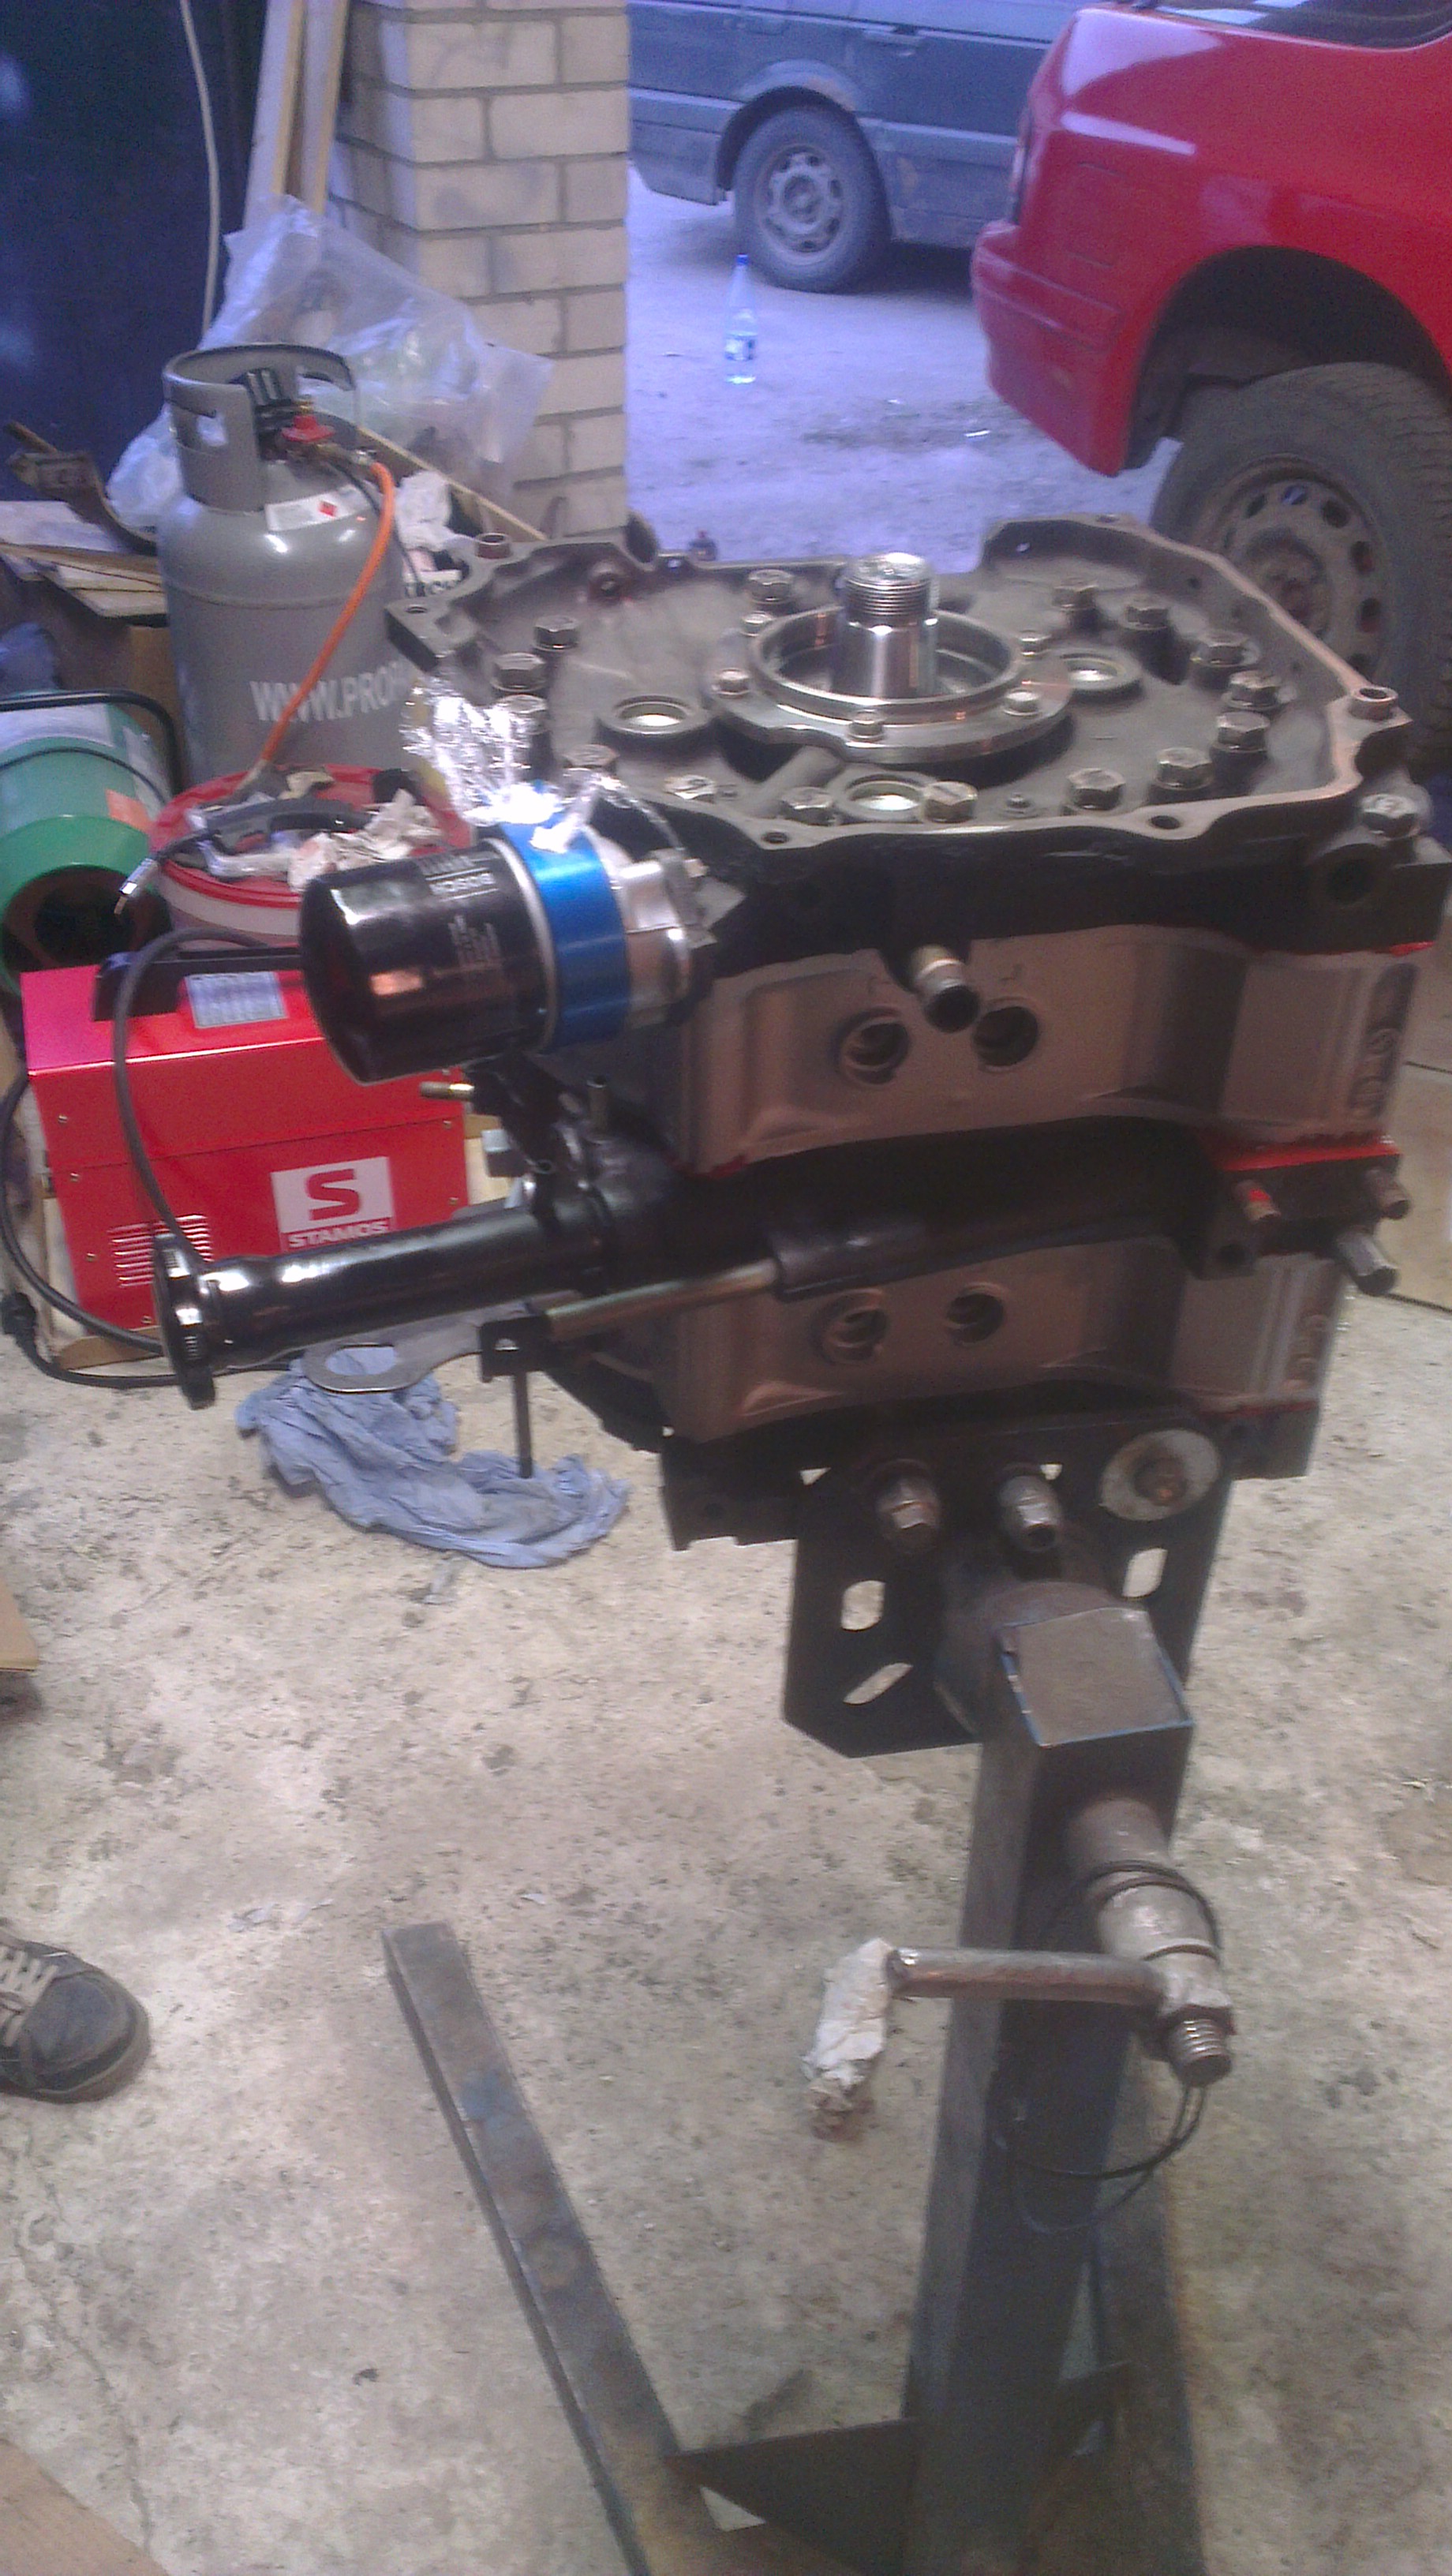
oilpan attached so shortblock is together finally
so lately i have been doing this:
took the fender of @ saturday to have a look....
this ended in Monday morning at 1am, had to go to work at 8am.
I really need that car, its festival time, so i had to give it some love...
ngk laser platinum plugs
sway bar working again
new front brake pads and rotors
some bodywork done (not complete)
new generator belt
gonna change engine and gearbox oil(already in the trunk), buy new chinese tires and new rear brakes also. Never had new tires on that car always got some old for free
Im back to work, but i gonna try to go to garage as much as possible, the bodywork is almost done, need to paint, put body wax in hollow areas and spray undercoating, a little bit of engine bay painting and i can reinstall gearbox and engine to fit the turbo and make an exhaust manifold.
made this time lapse video with my new gopro
Strange noise warning, beware!
oilpan attached so shortblock is together finally
Last edited by psyaddict; 06-07-15 at 05:38 PM.
06-26-15, 01:58 AM
#39
Senior Member
Thread Starter
bodywork is basically done:
i really dont like how the half ripped sound deadening looks, so i must get some dry ice also.
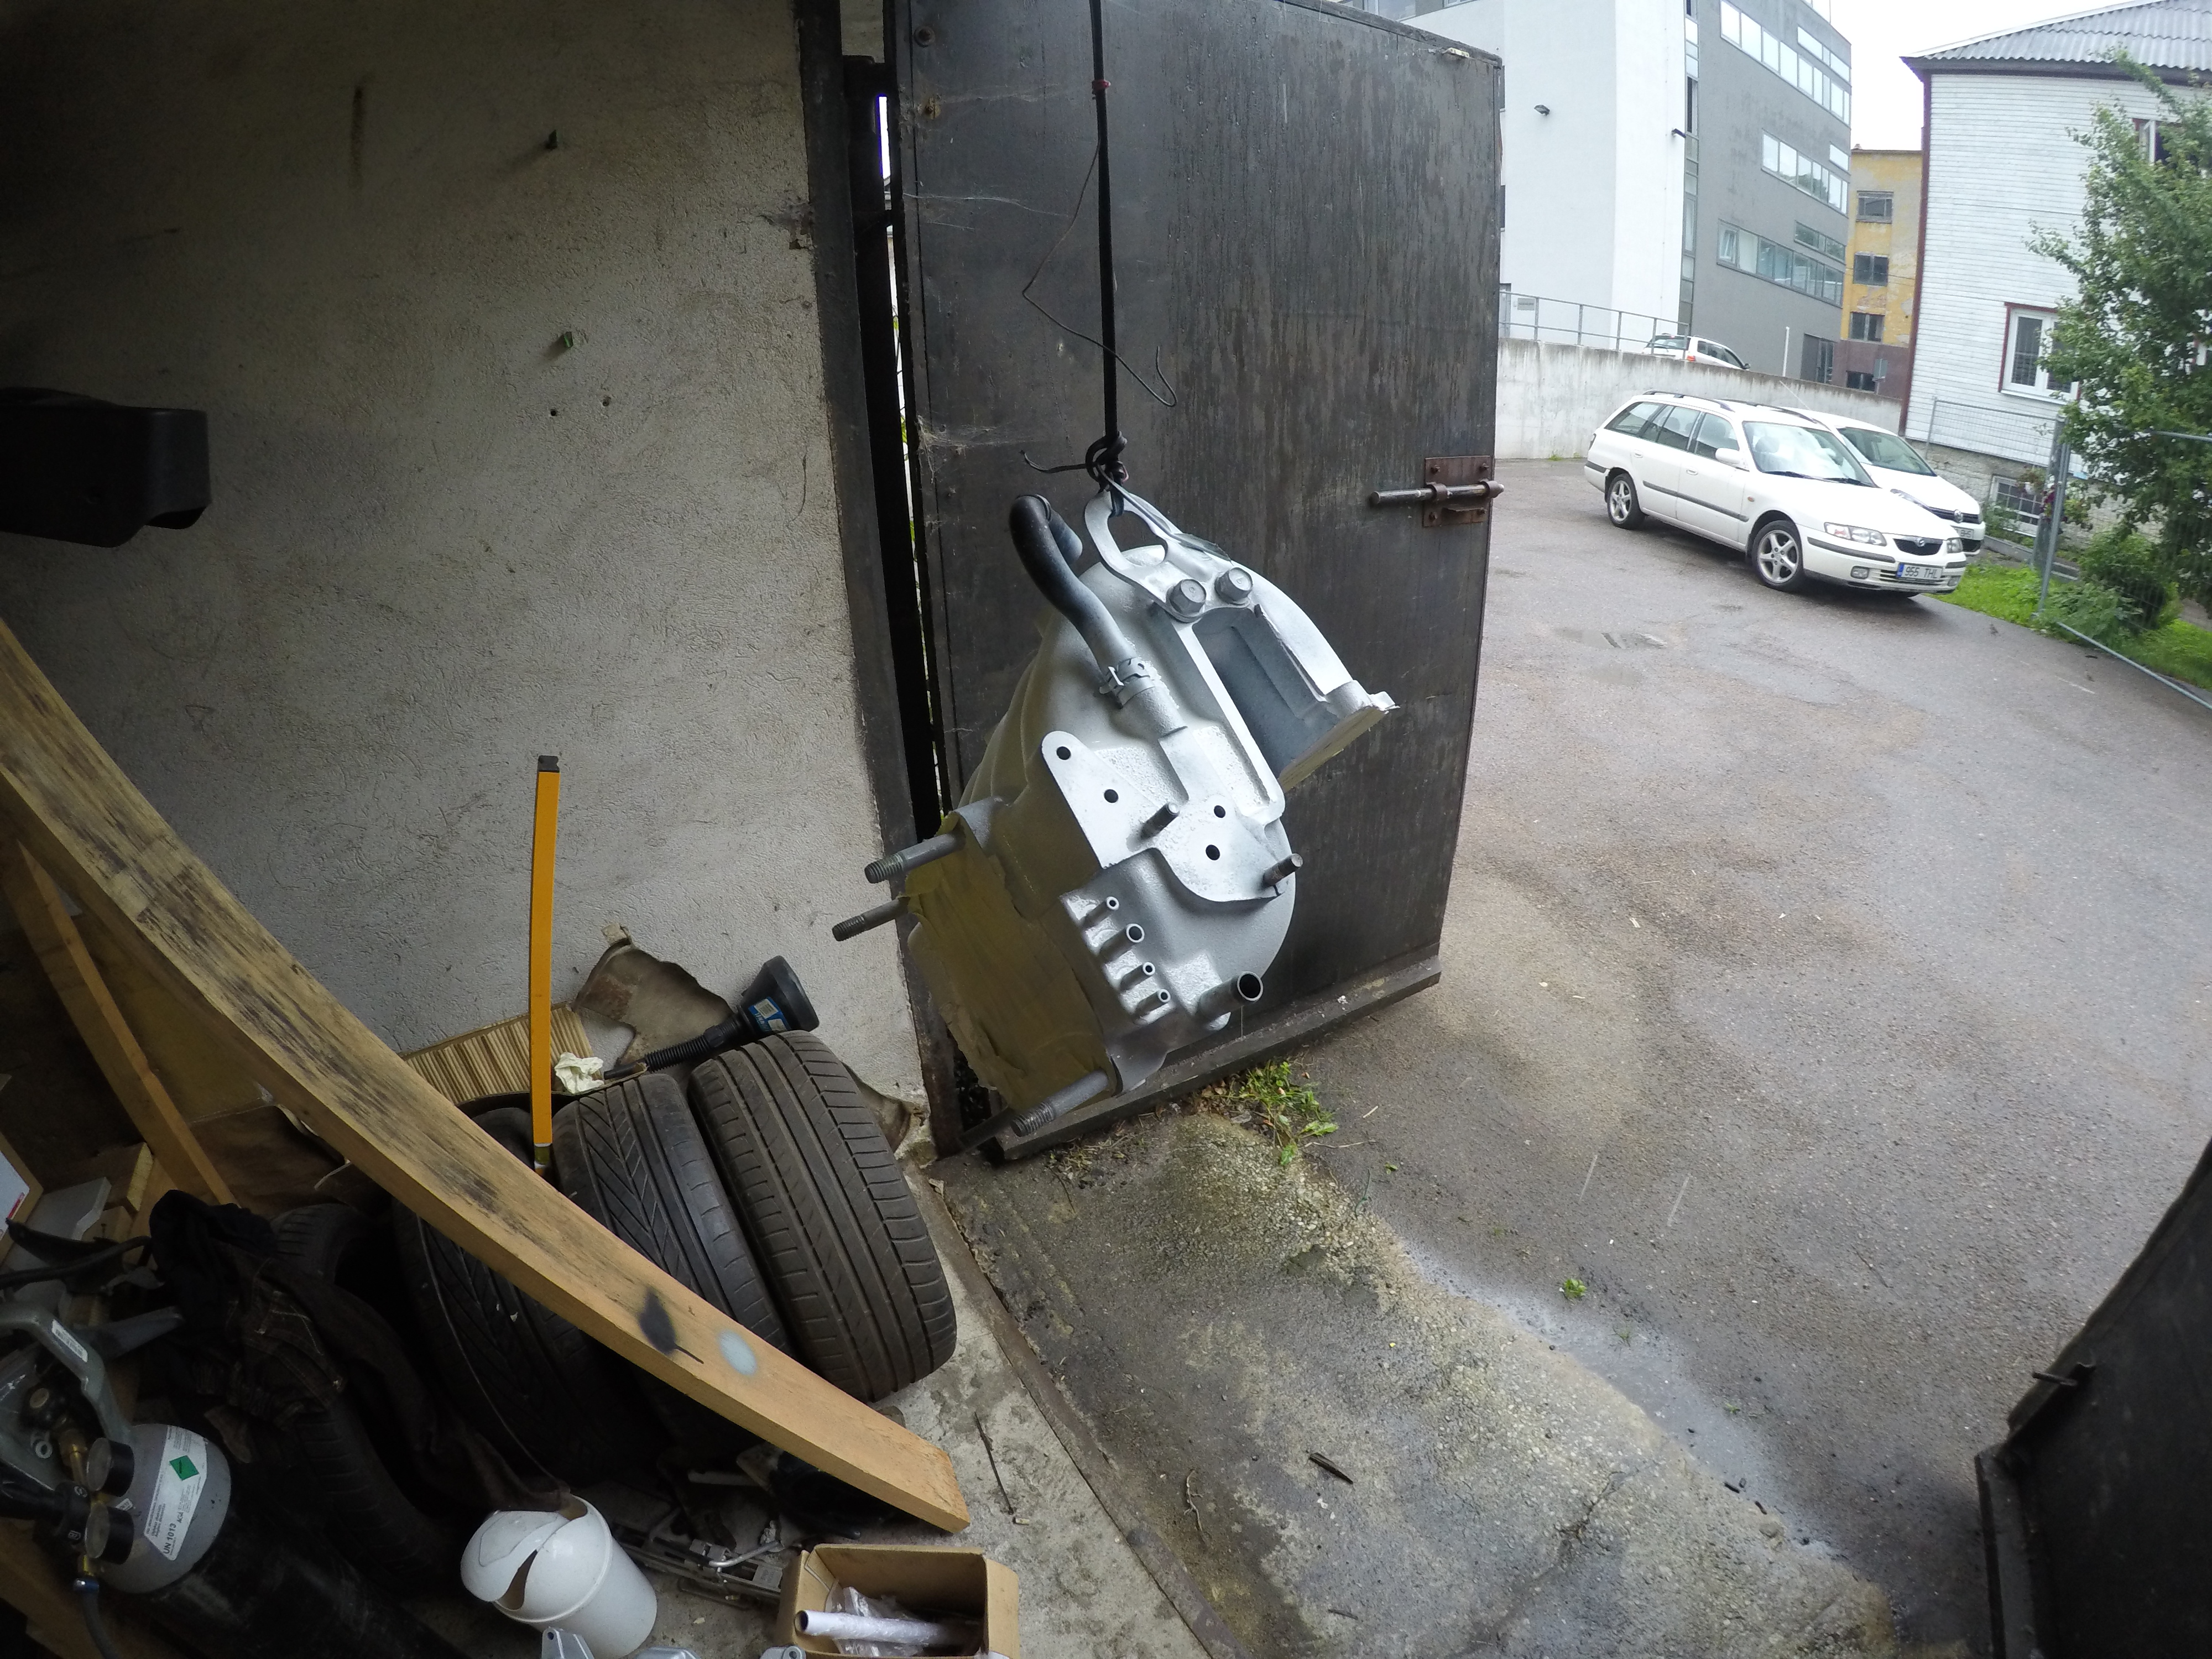
AND what the hell is that attached to a floor with the wire? I have always wondered
I put the gearbox under the car, it looked like building a stonehenge
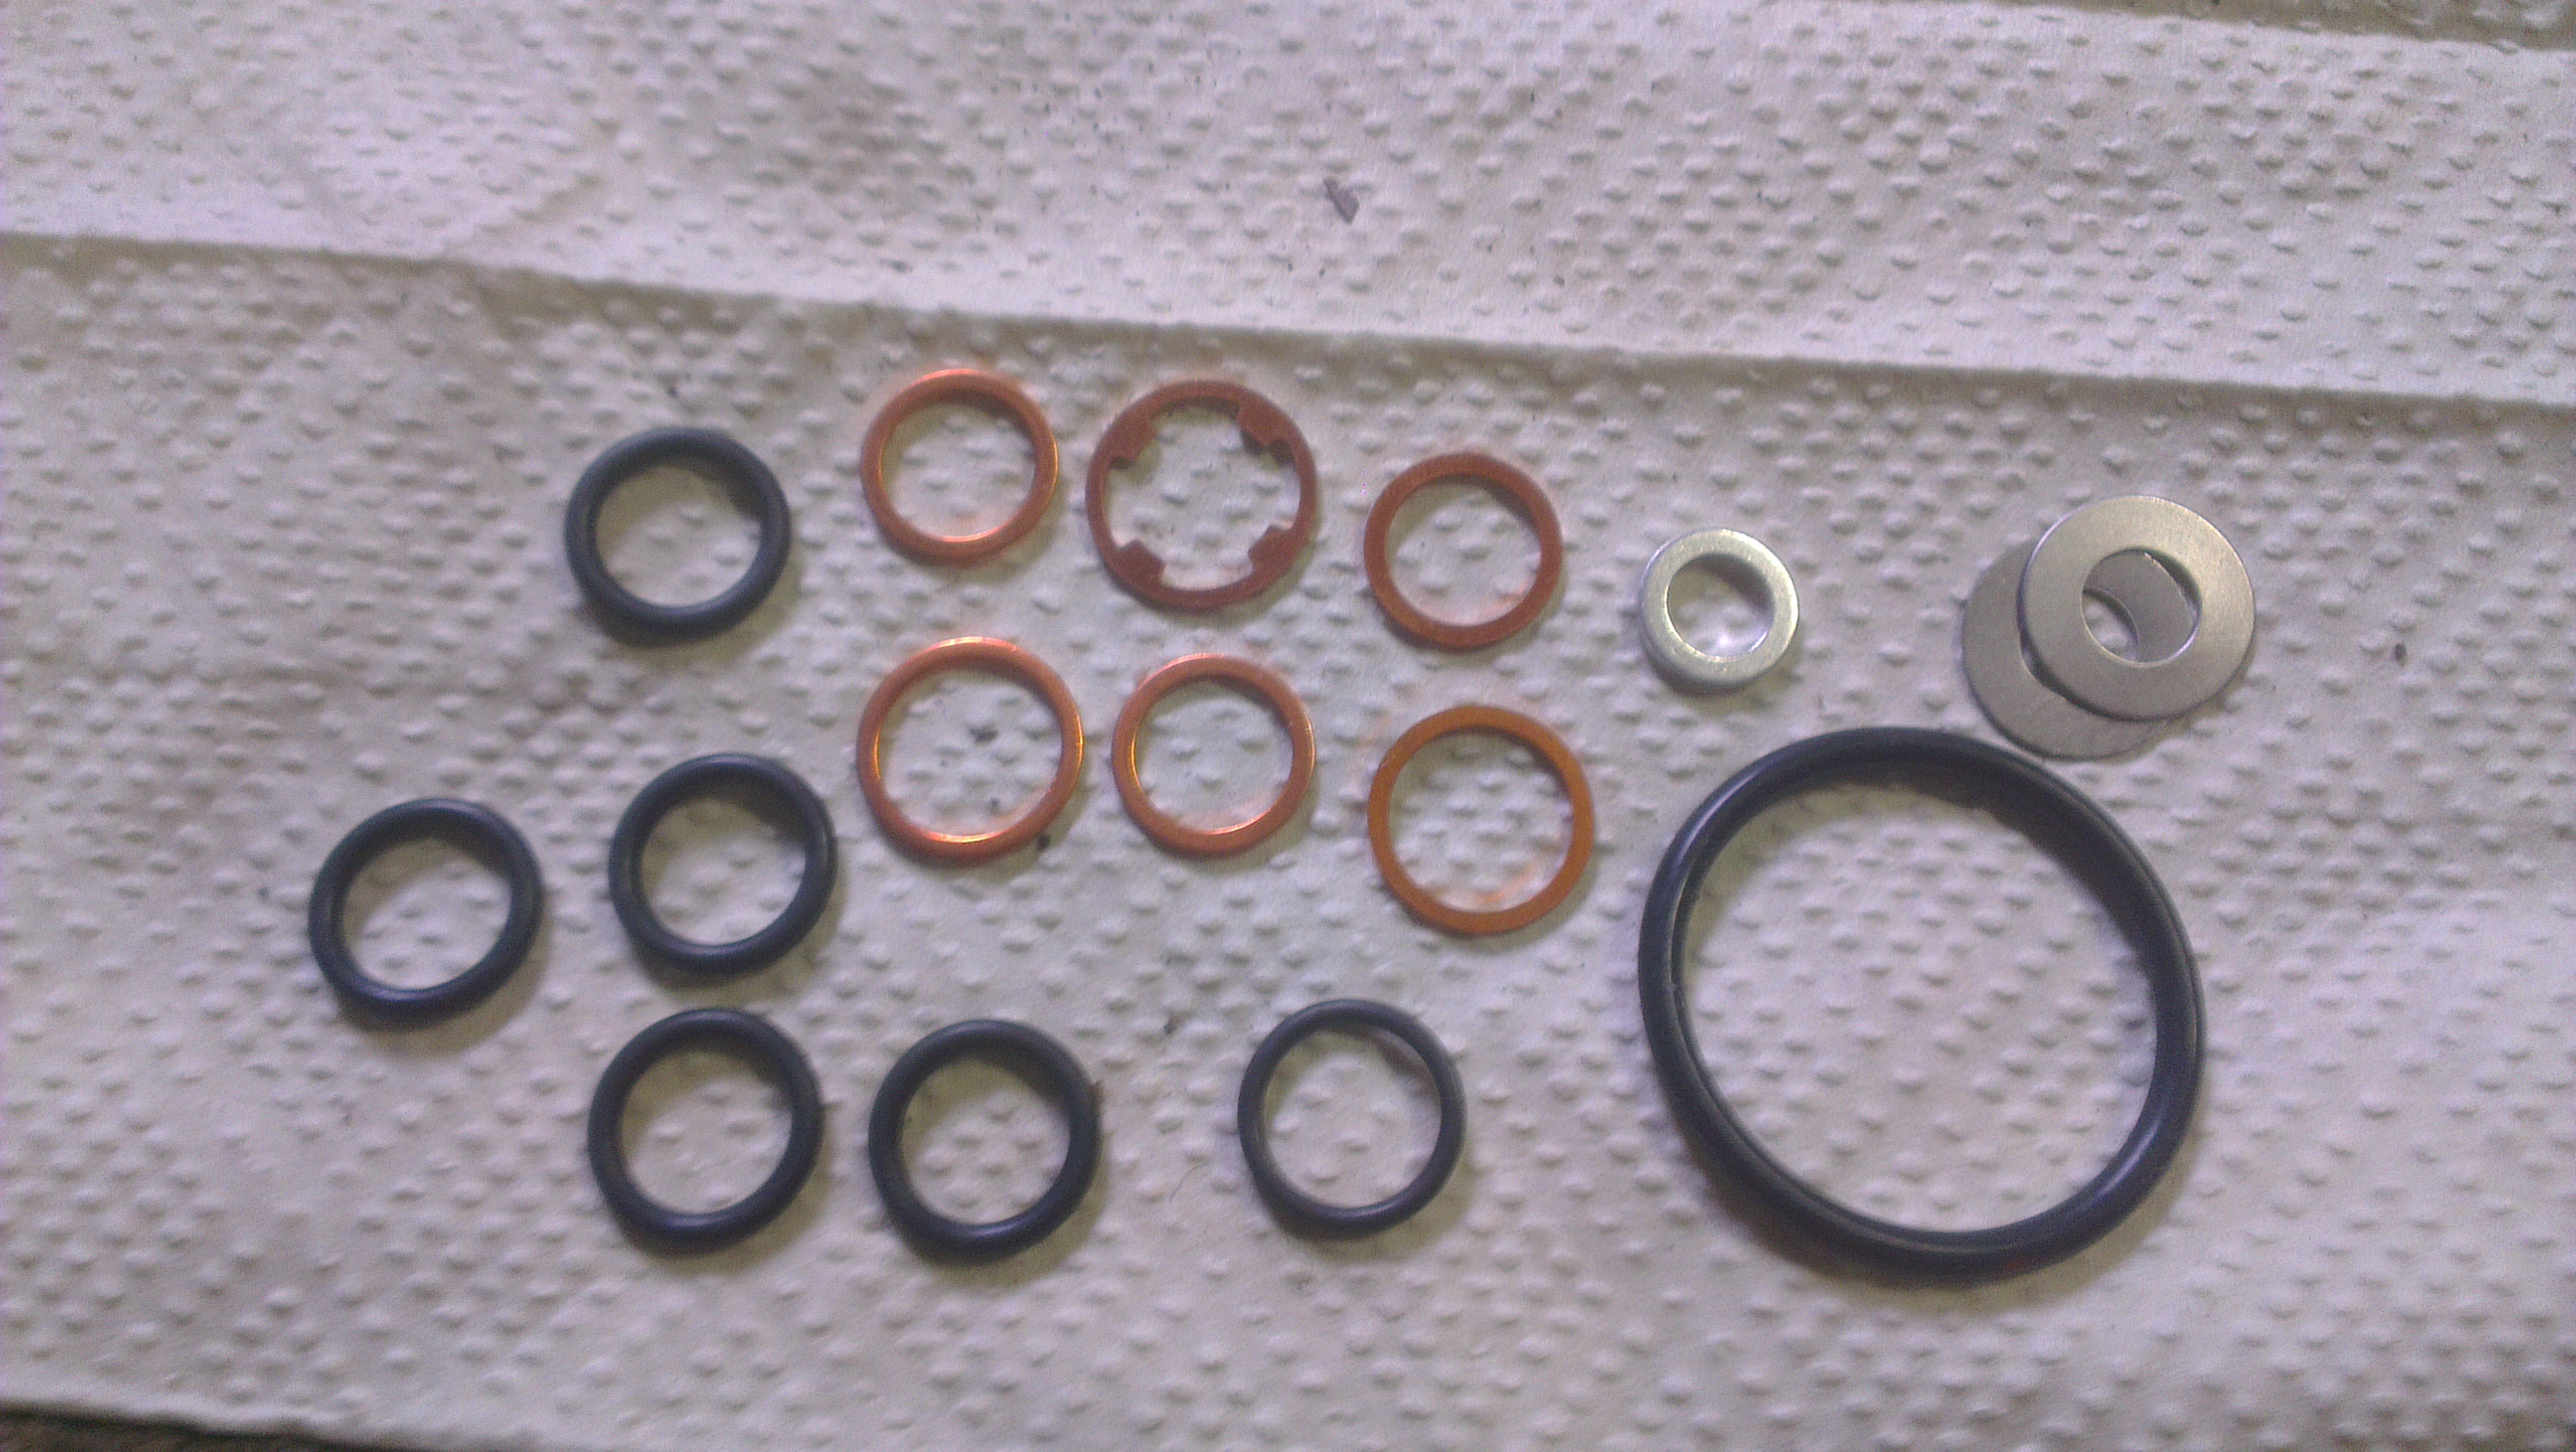
i´m about to lift on the engine but i have these things from the rebuild kit that i dont know where they go to....
some o-rings and copper/aluminium washers, these probably go to metering oil pump? but where does the different looking washer go? must get the anwser before i lift on the engine...
i really dont like how the half ripped sound deadening looks, so i must get some dry ice also.
AND what the hell is that attached to a floor with the wire? I have always wondered
I put the gearbox under the car, it looked like building a stonehenge
i´m about to lift on the engine but i have these things from the rebuild kit that i dont know where they go to....
some o-rings and copper/aluminium washers, these probably go to metering oil pump? but where does the different looking washer go? must get the anwser before i lift on the engine...
 06-26-15, 12:36 PM
#42
Senior Member
Thread Starter
Yes i try to do as much as i can, time is a problem in summer, but at least i'm having fun doing all this. Gonna go find all those bolts now to put the engine in, put them somewhere 2 years ago
 06-29-15, 02:03 PM
#43
Senior Member
Thread Starter
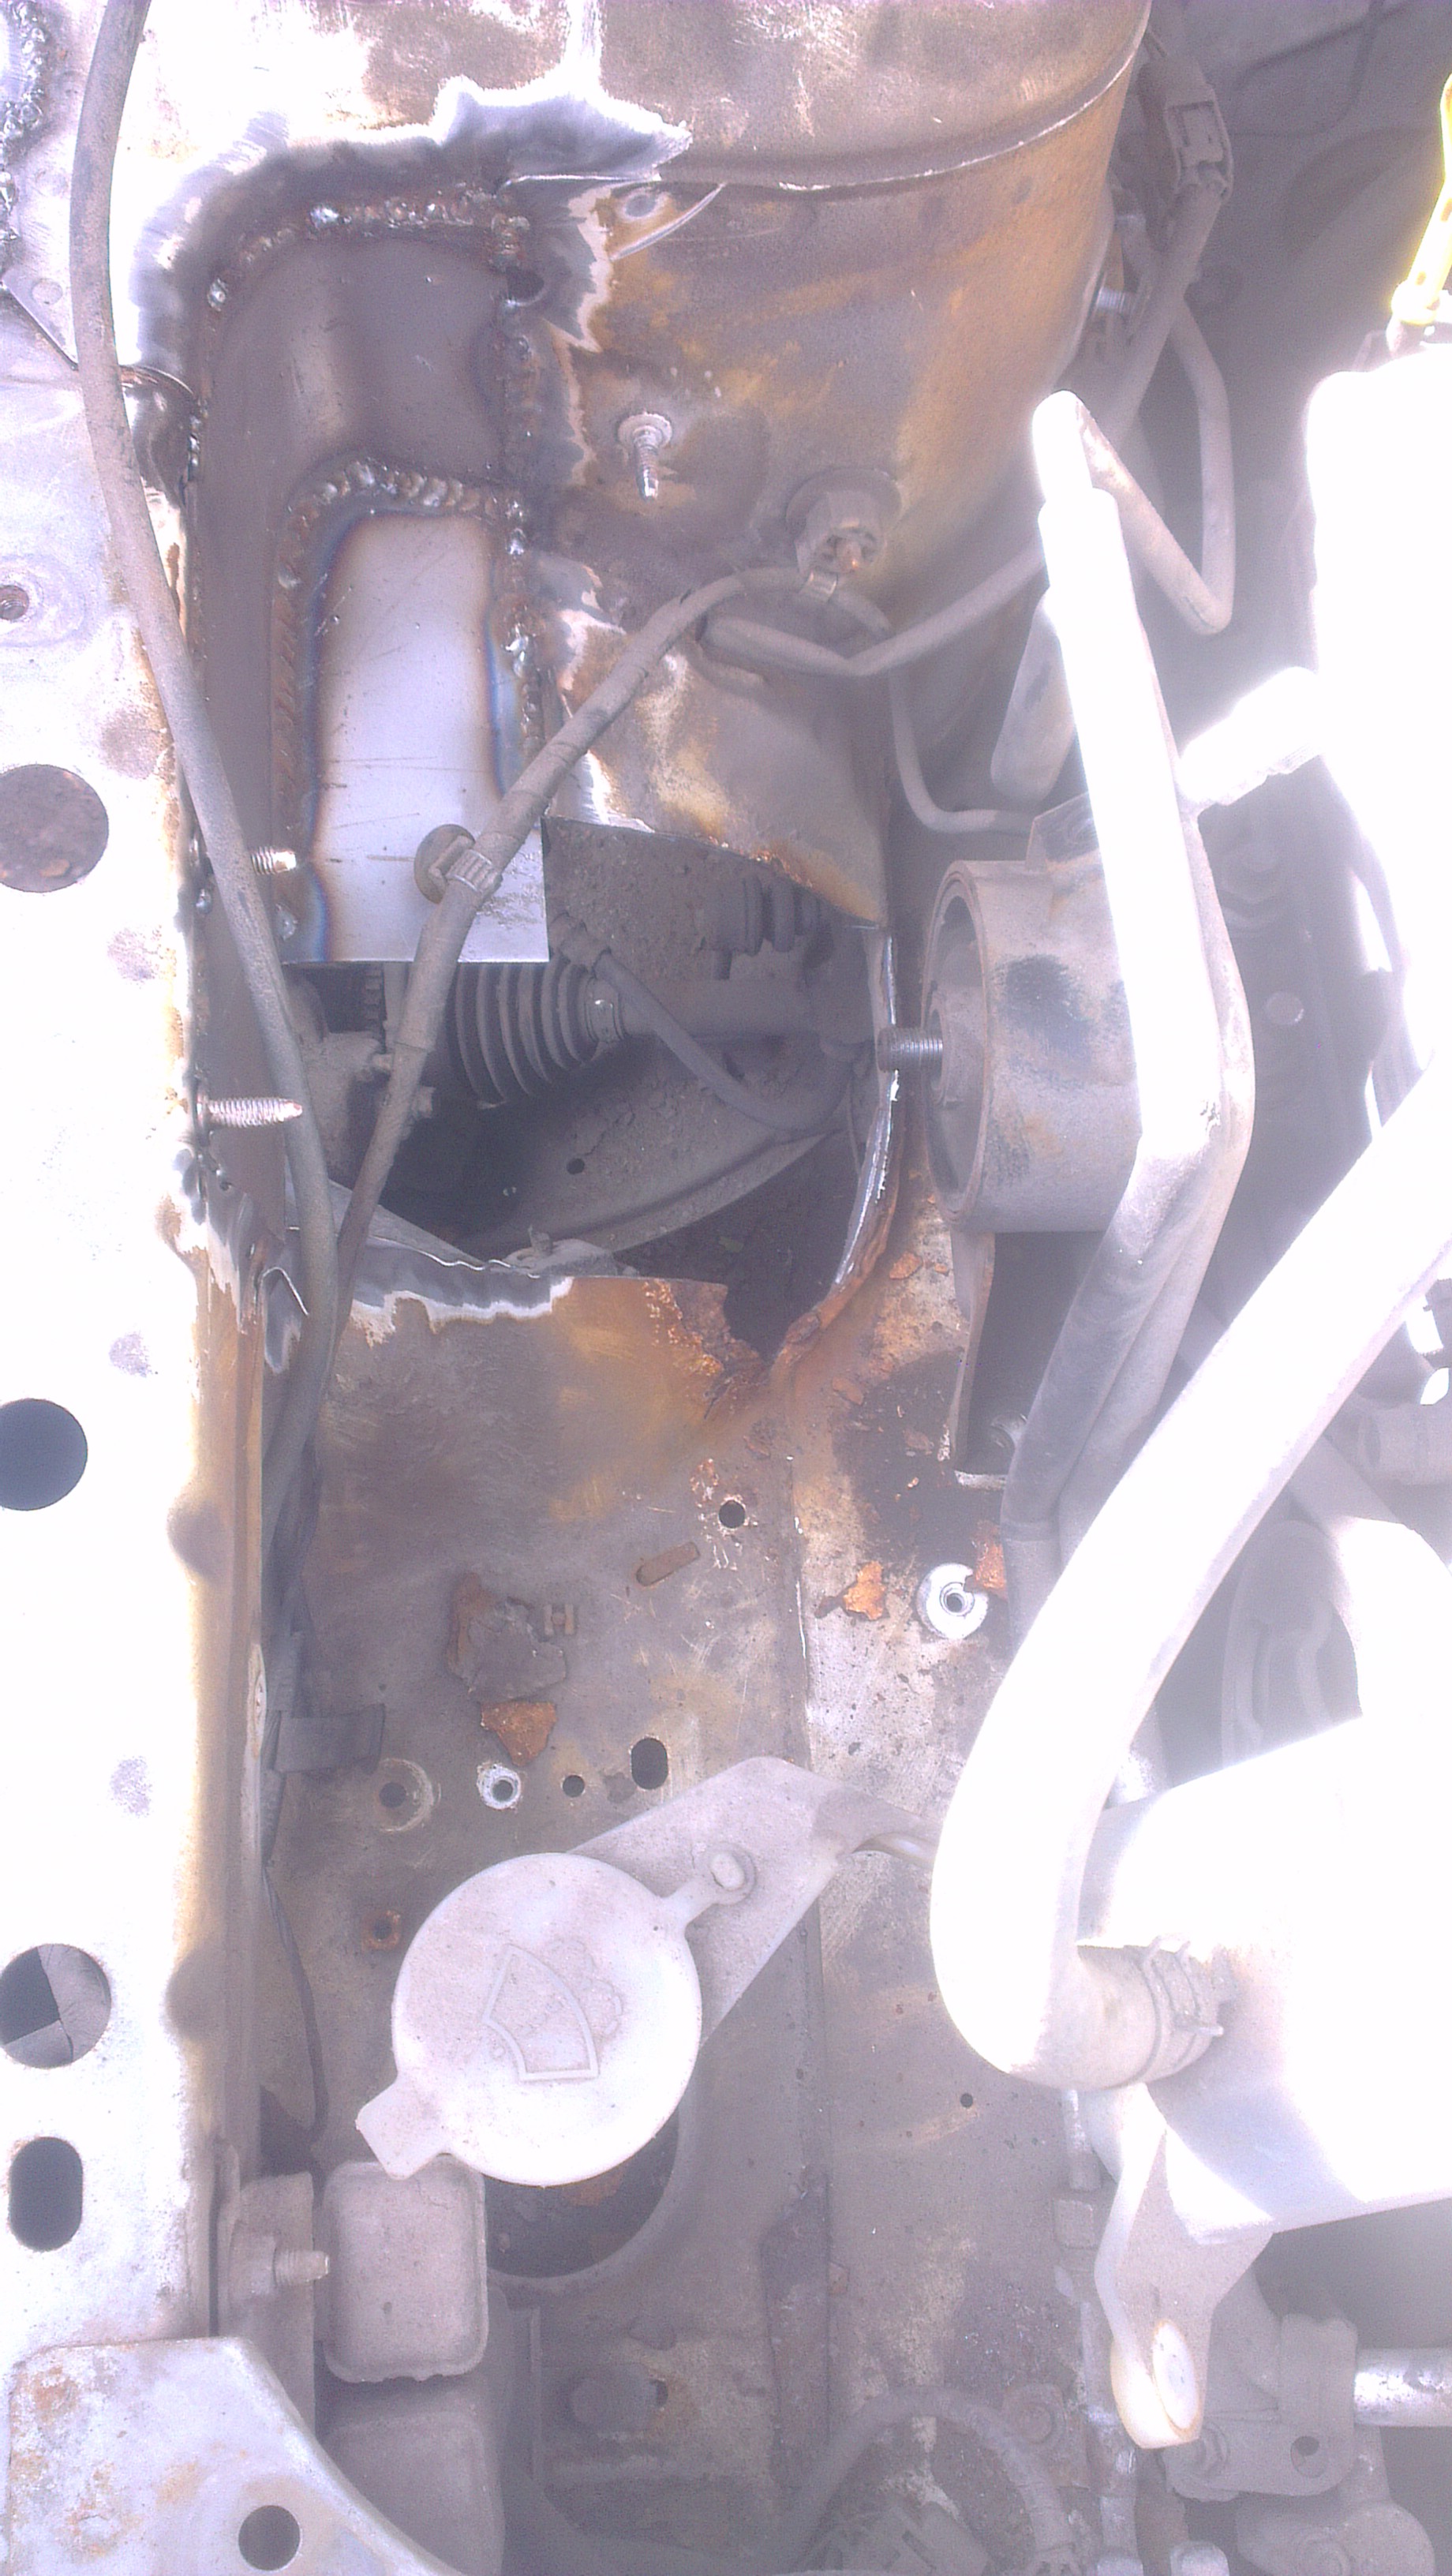
I washed the front subframe and cleaned everything before the install
Installed the abs delete kit, looks awful
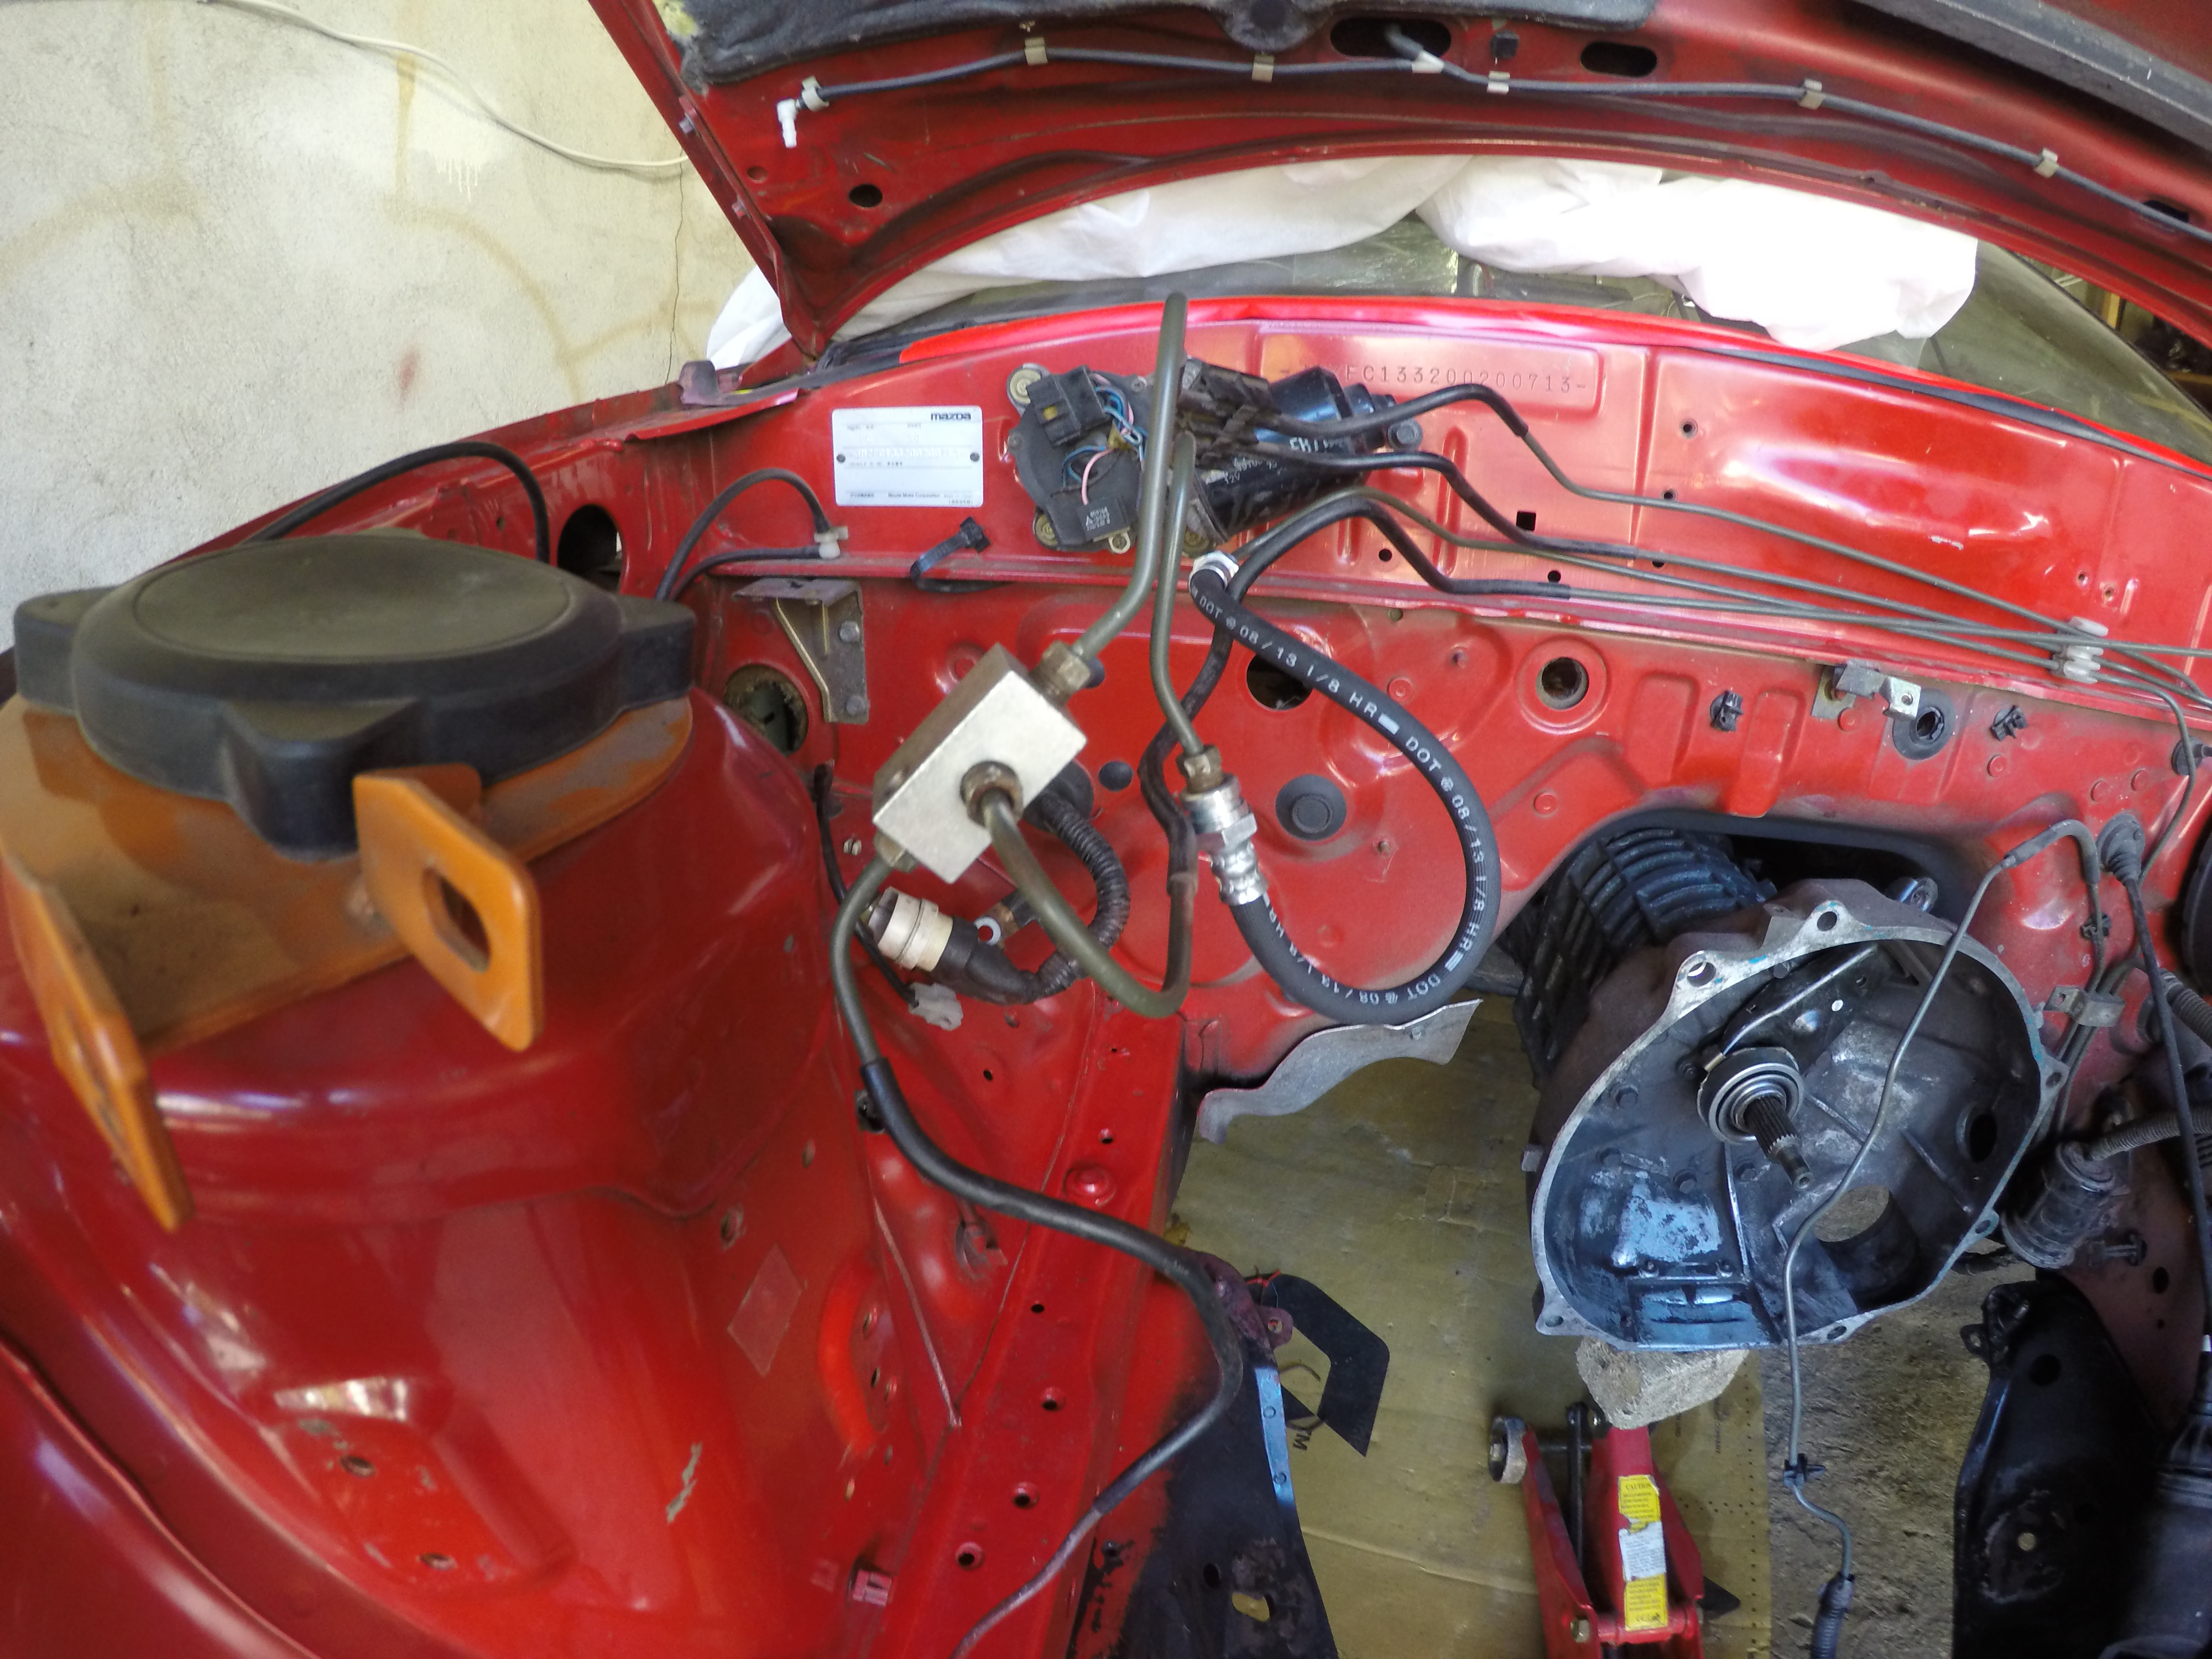
have to cut those brake lines and relocate the stuff at some point.
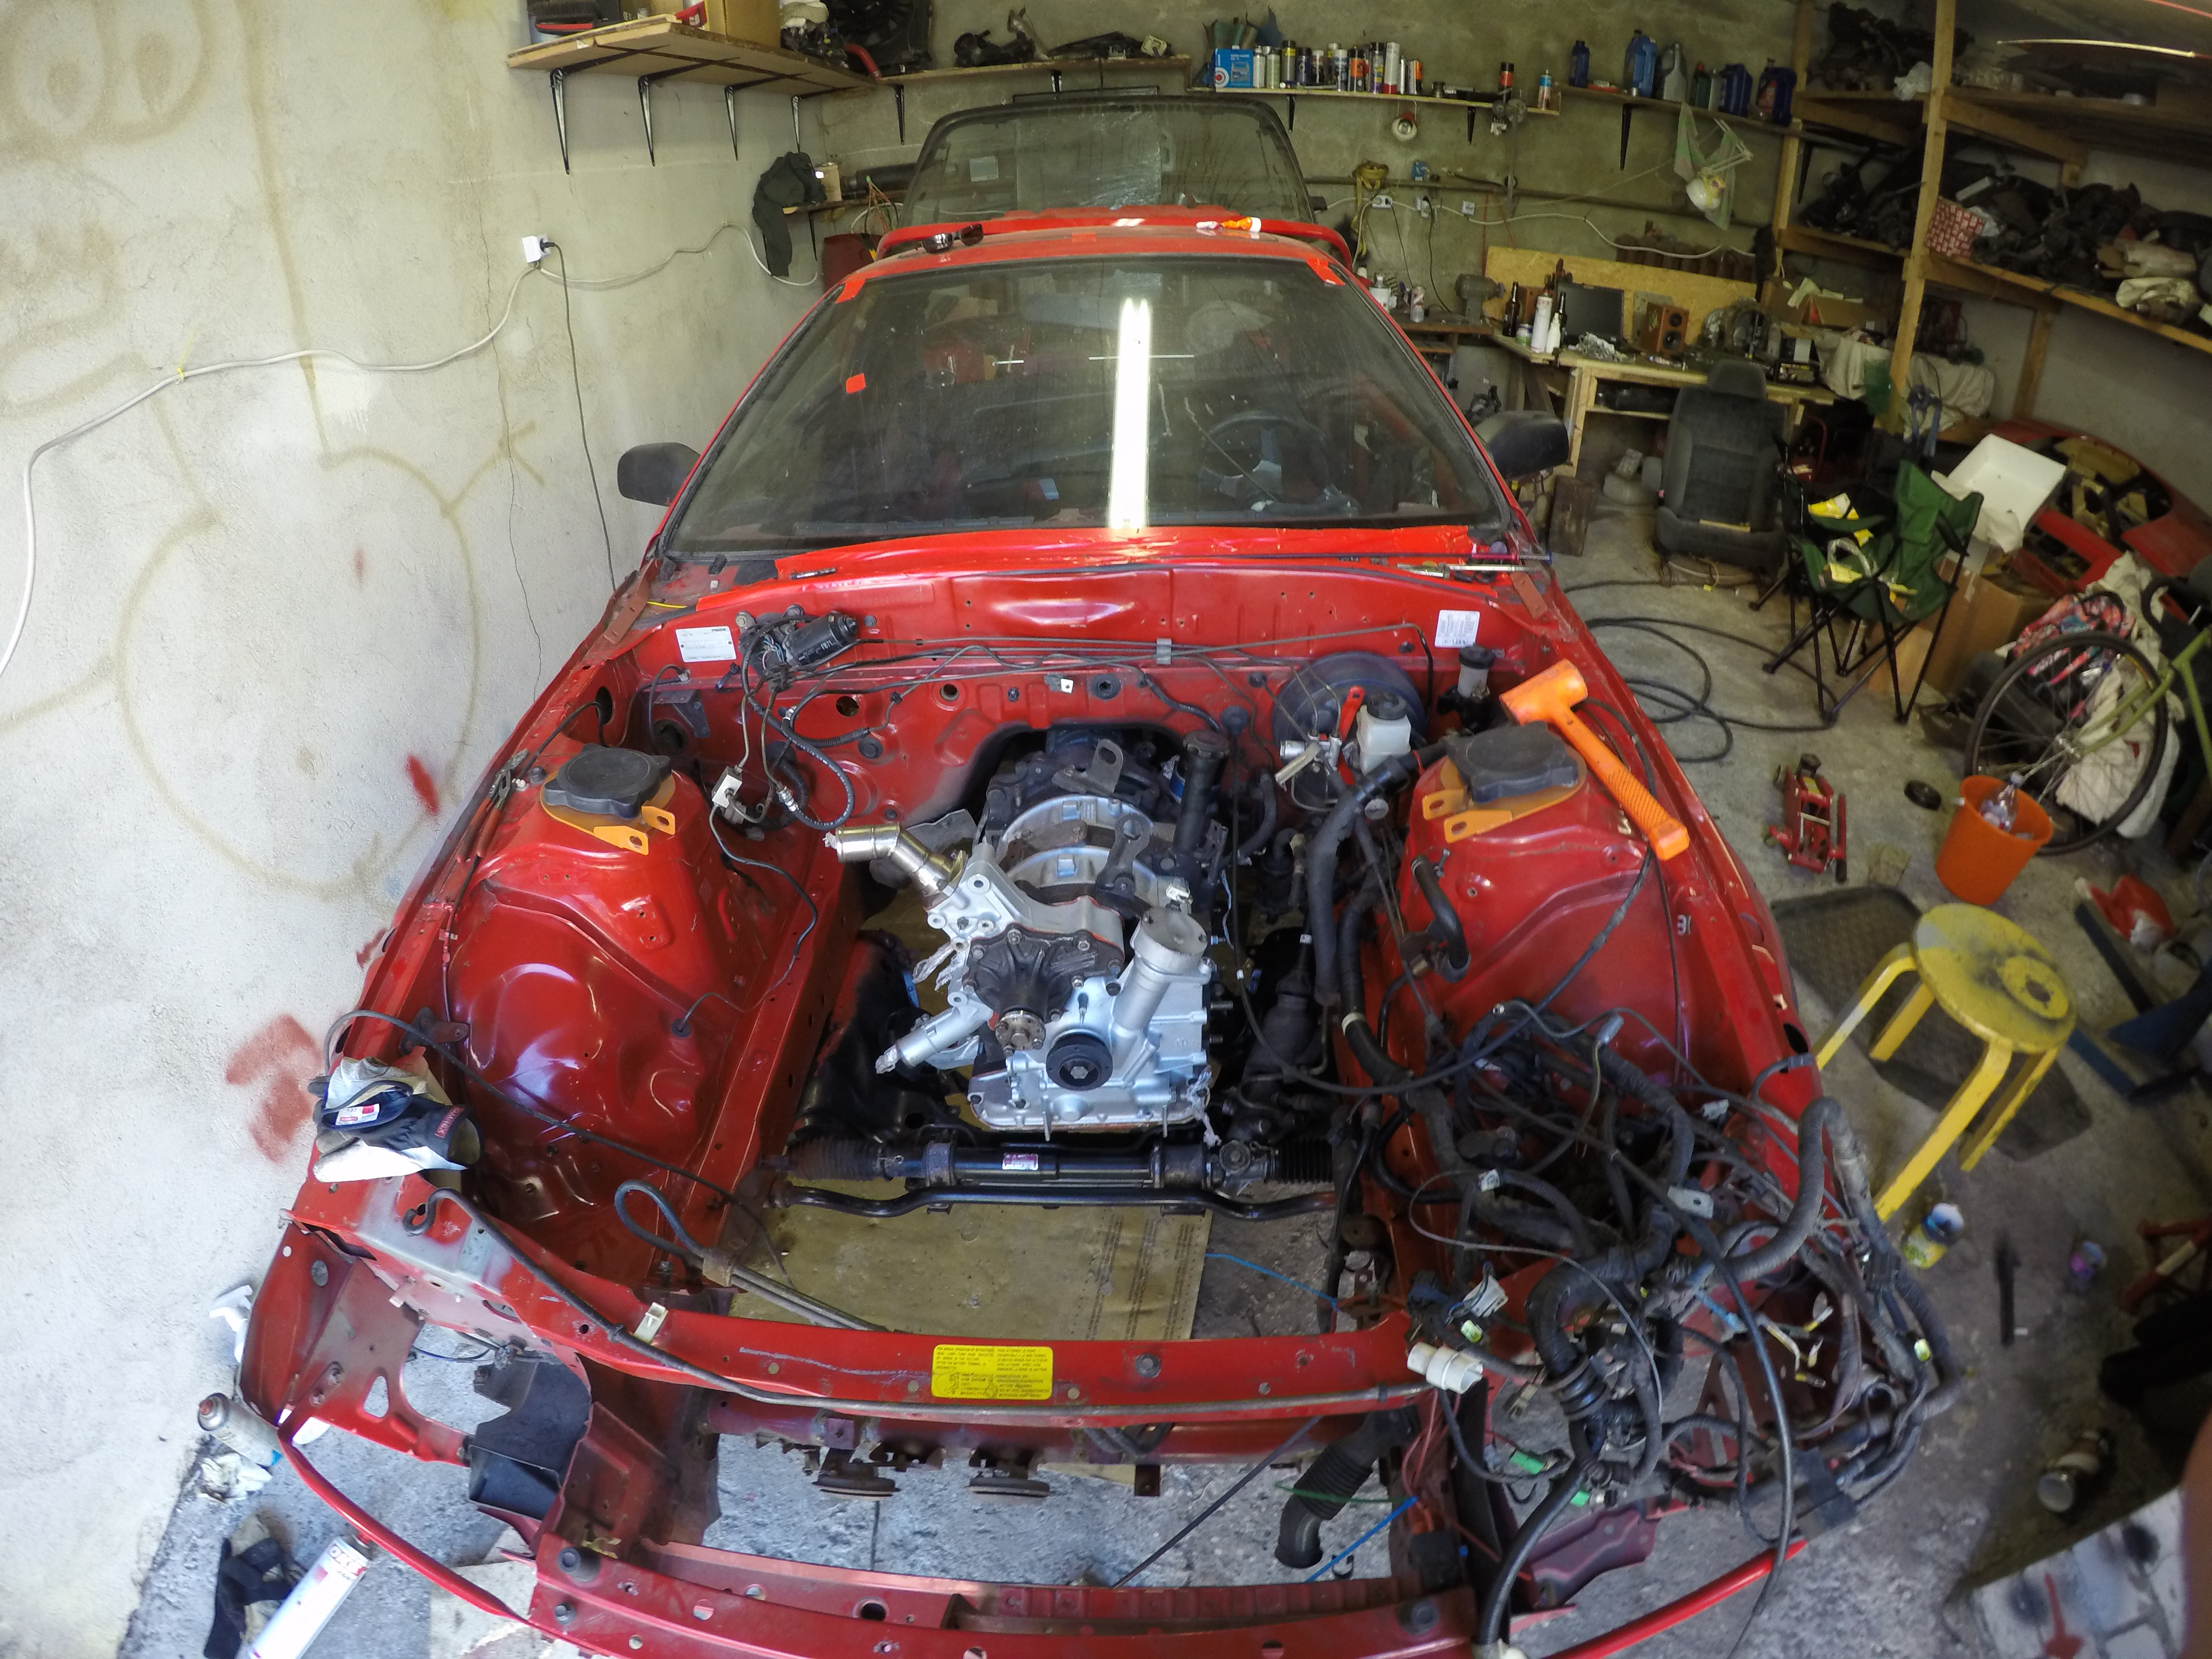
And now theres something to look under the hood! yay!
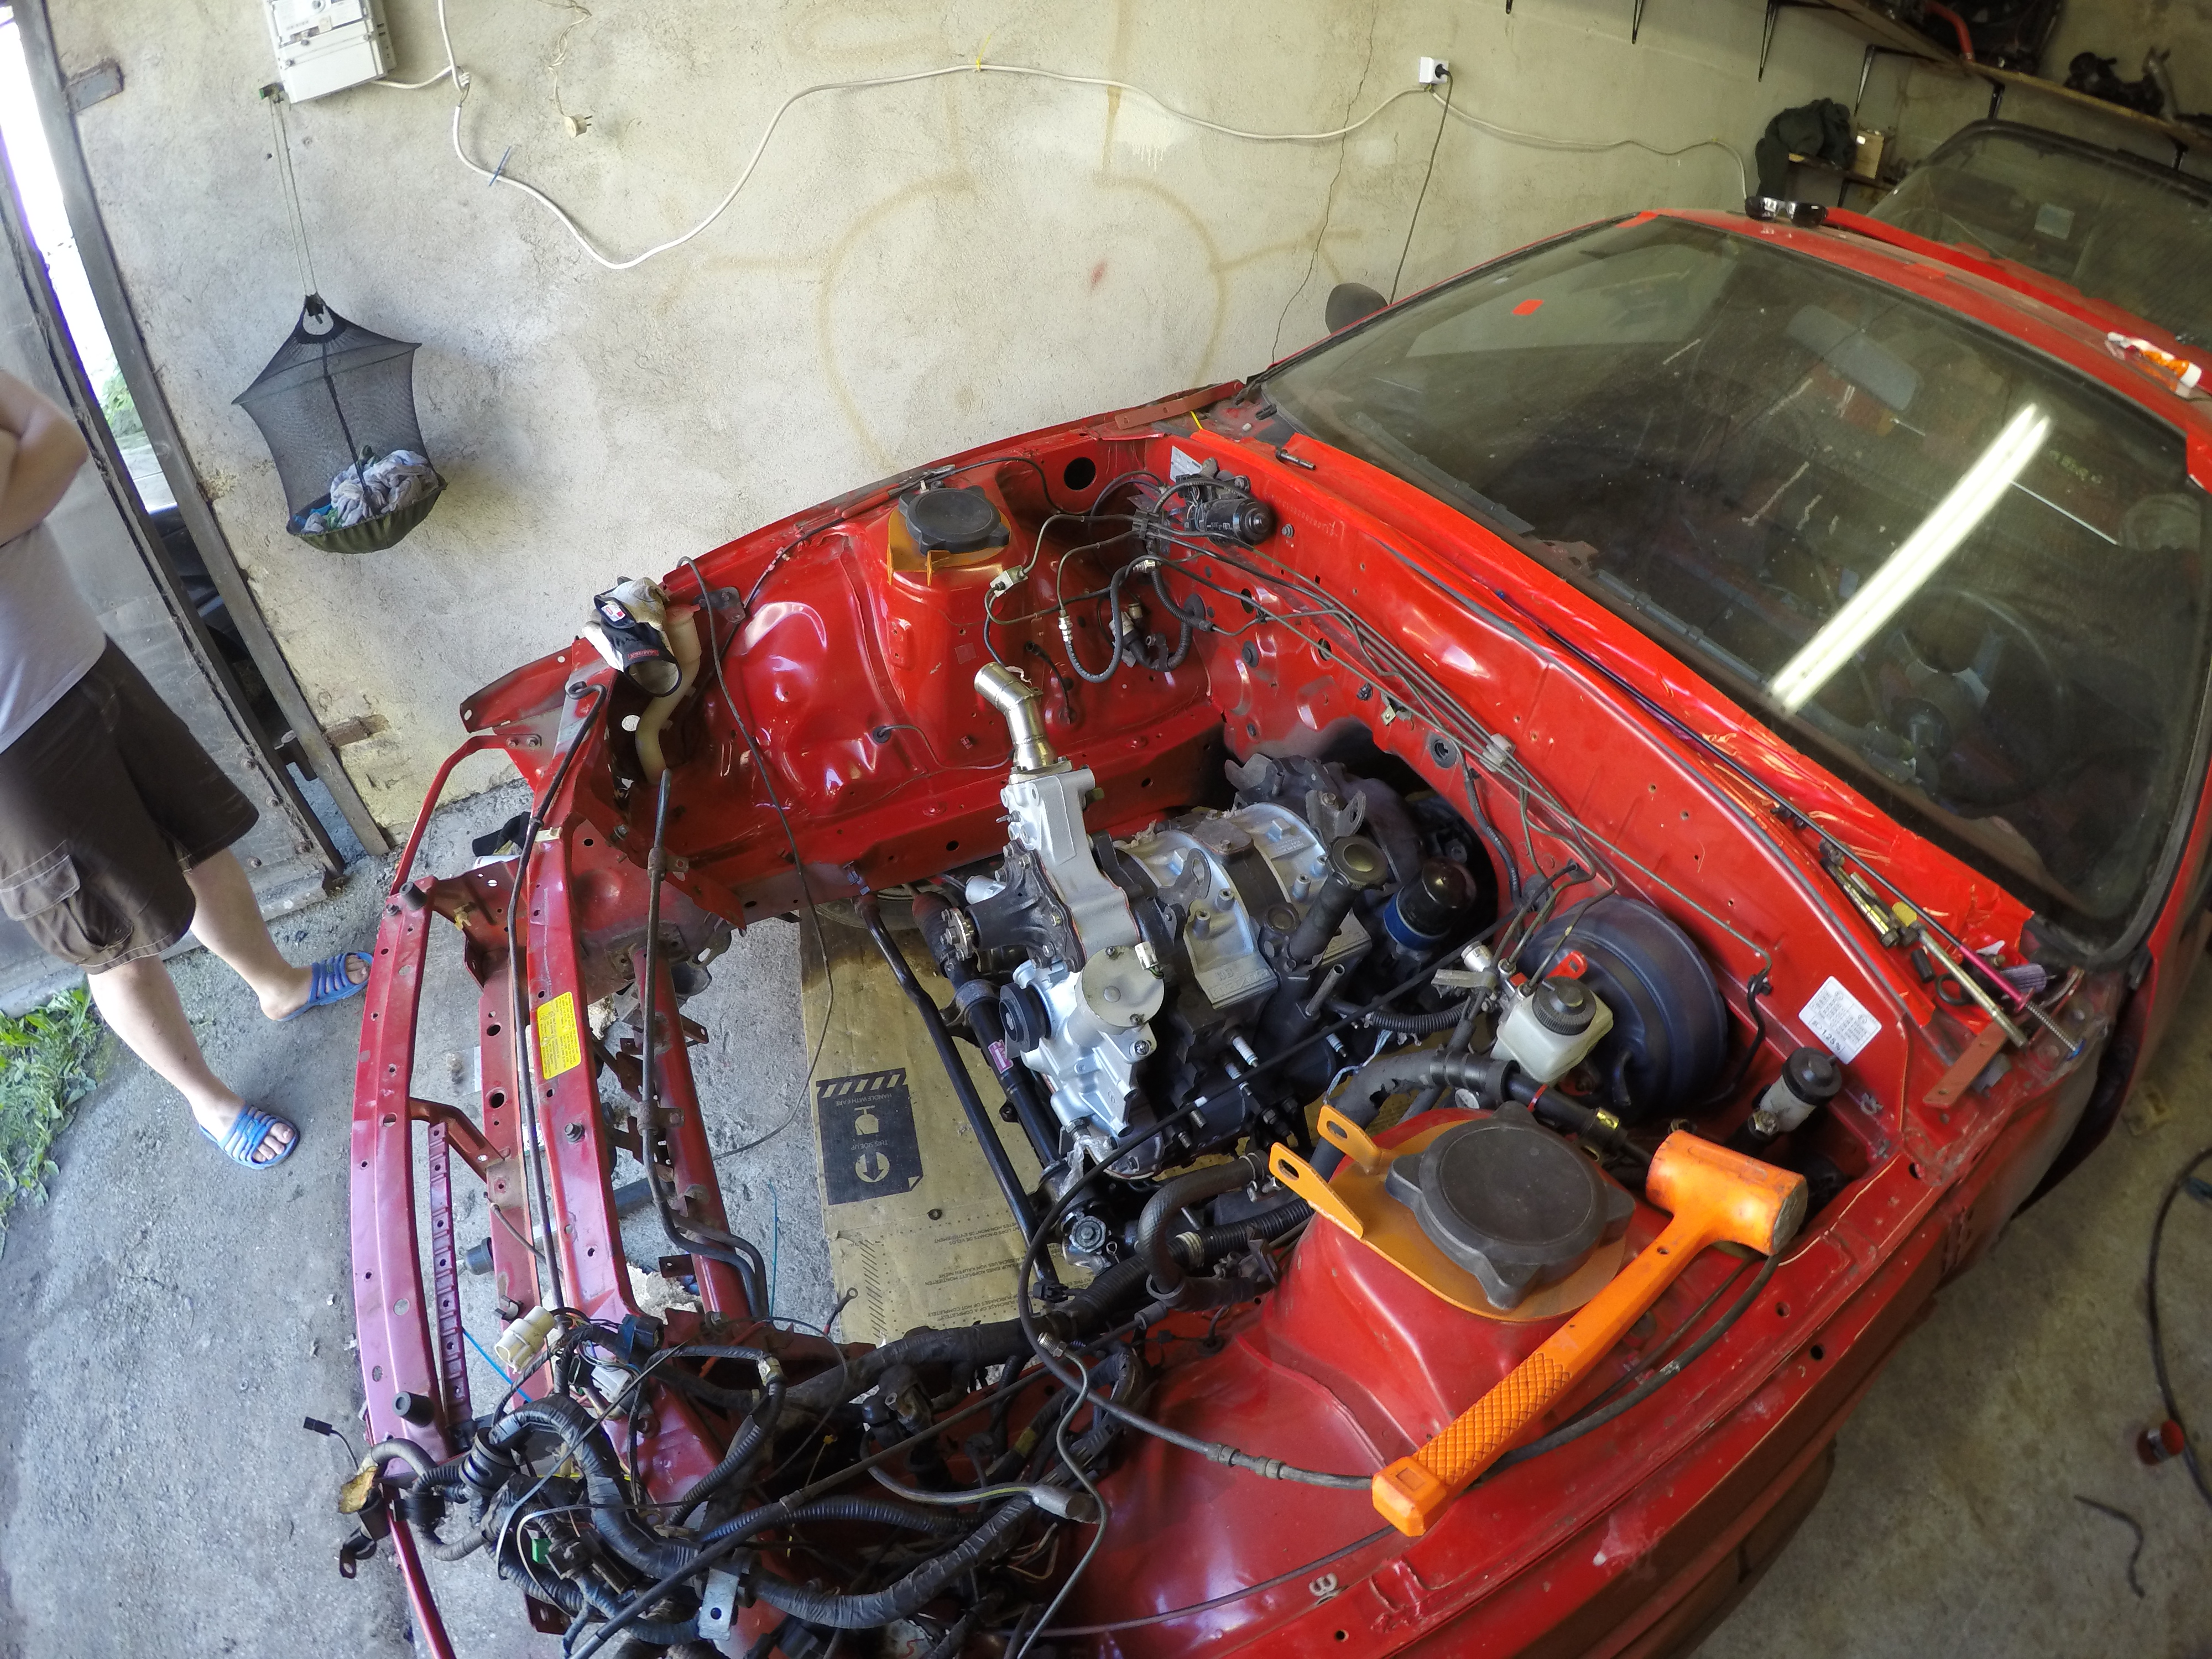
a short time-lapse of the process:
It was a really hot and sweaty sunday
Installed the abs delete kit, looks awful
have to cut those brake lines and relocate the stuff at some point.
And now theres something to look under the hood! yay!
a short time-lapse of the process:
07-24-15, 02:38 AM
#46
Senior Member
Thread Starter
not much has happened since last post, i hardly had money to buy 2 cans of paint 
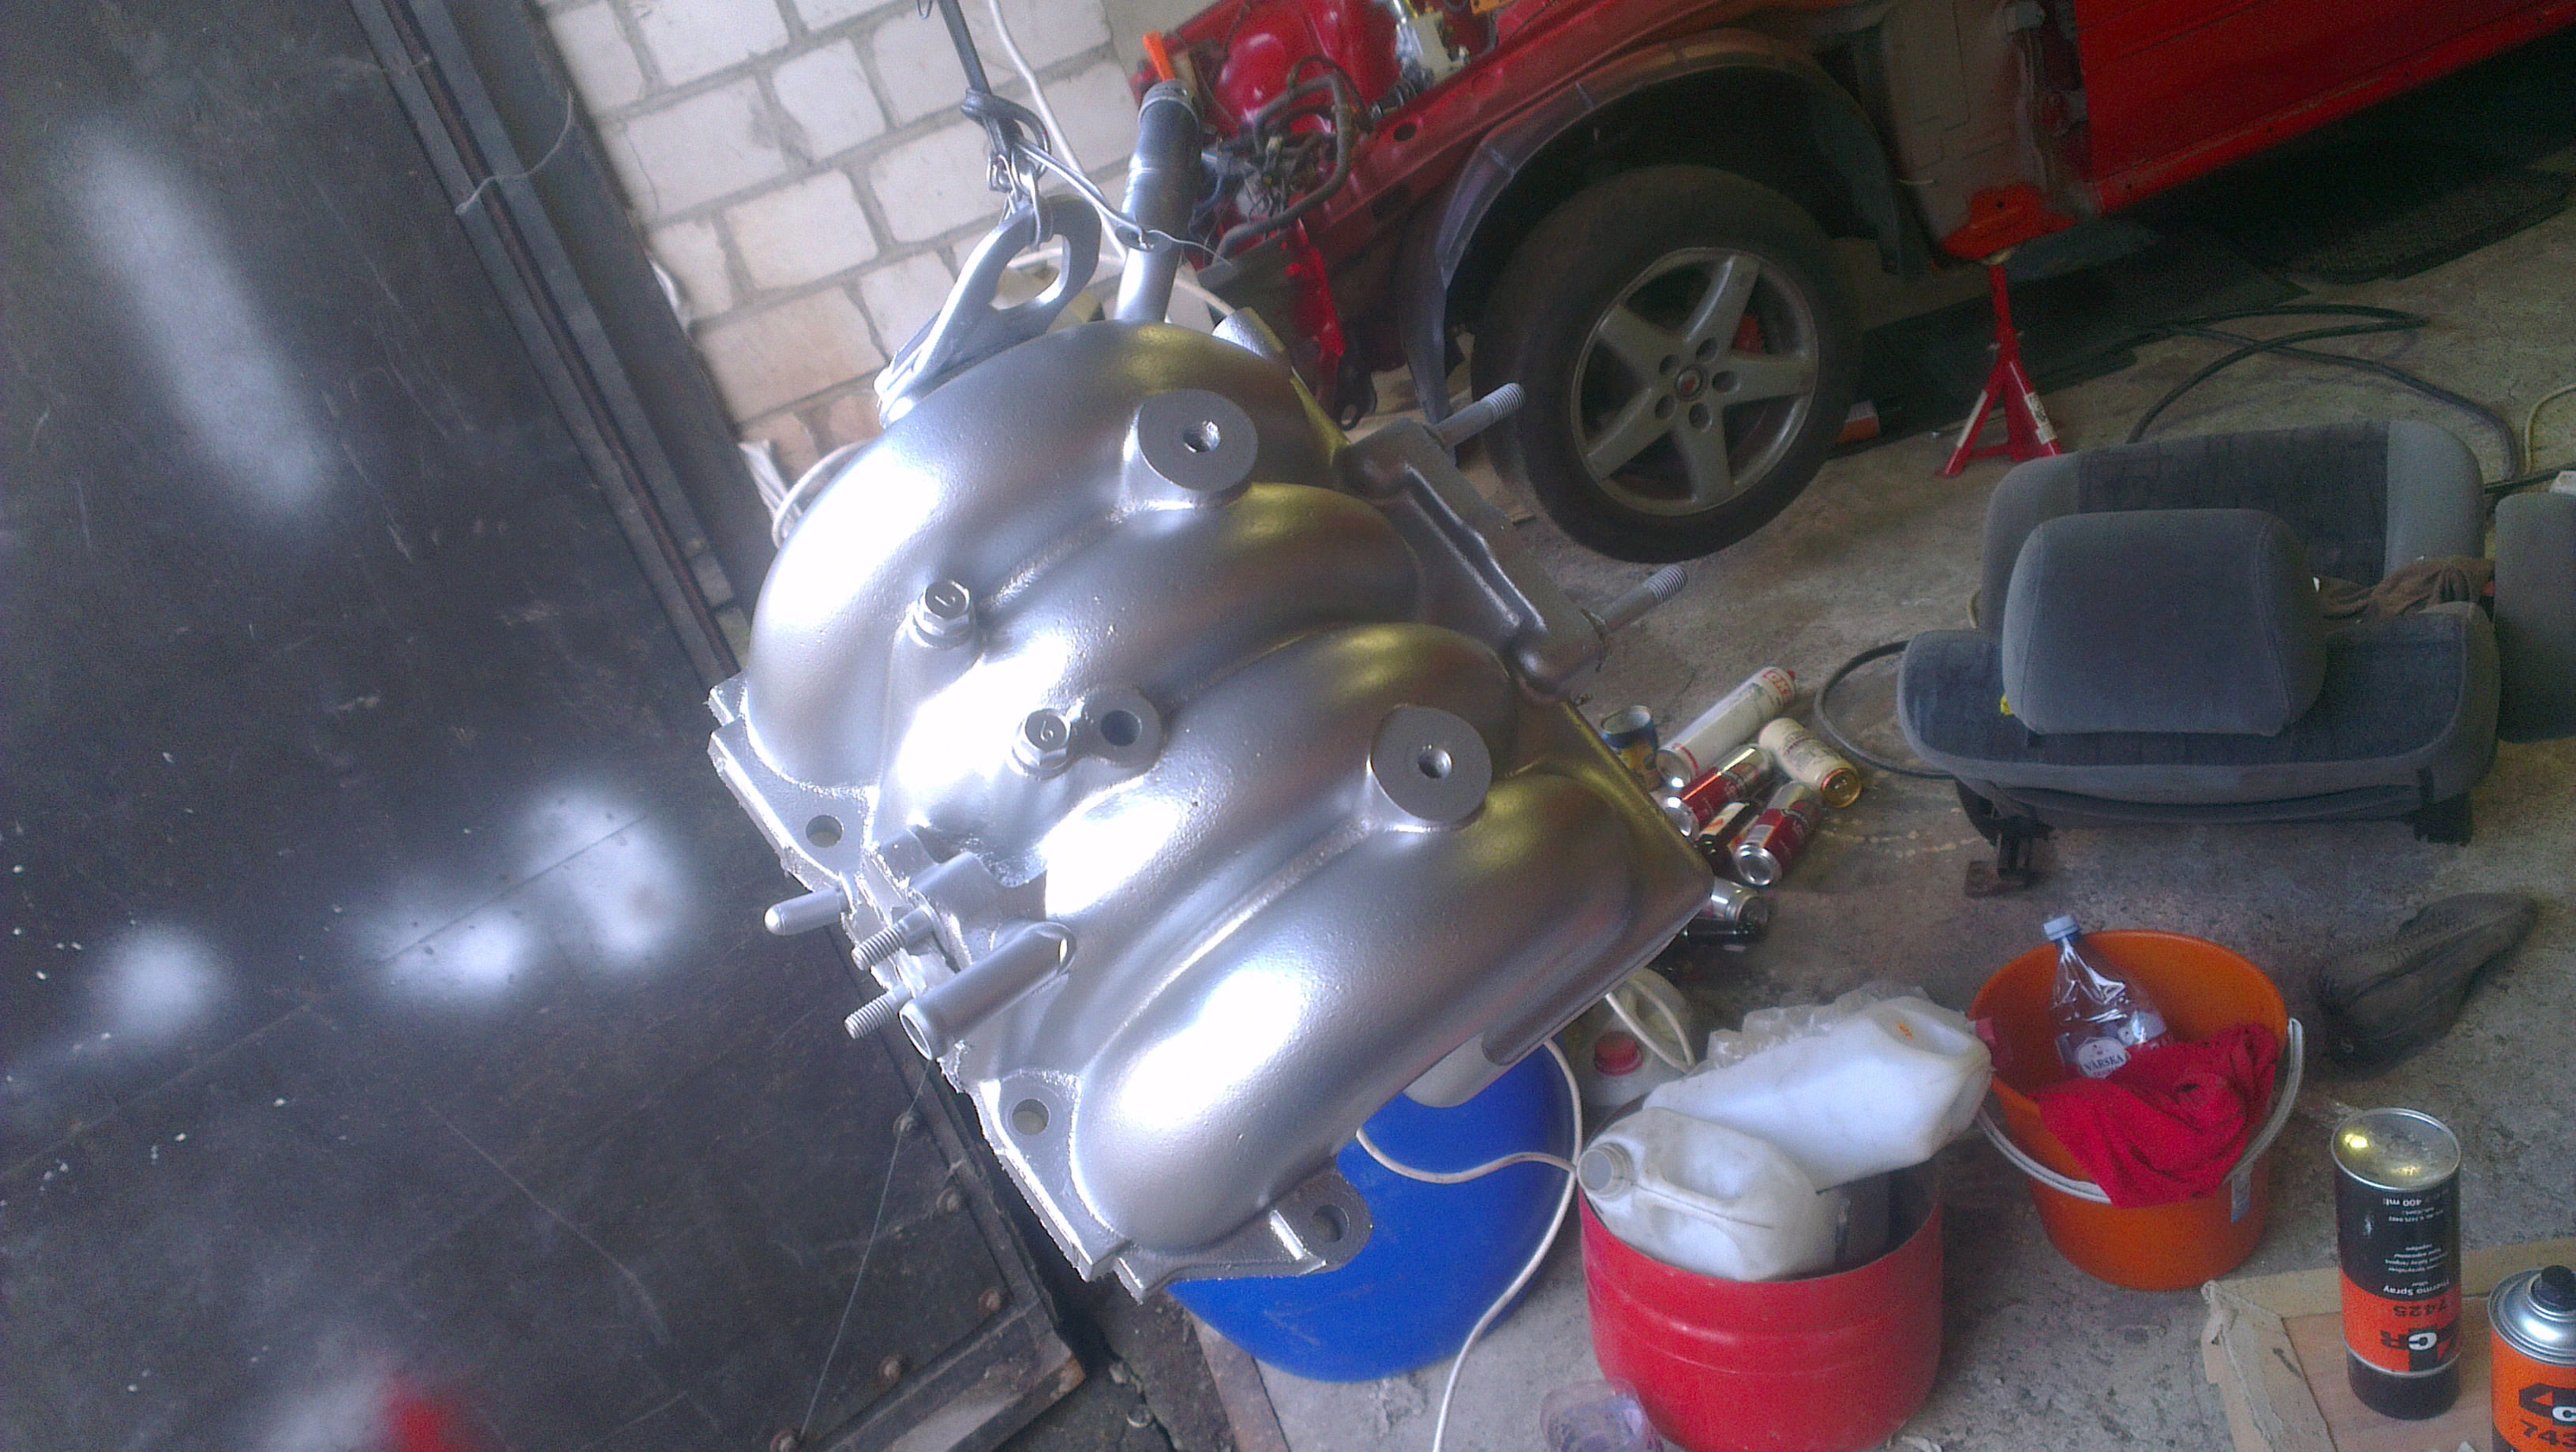
washed and cleaned intake manifolds
drying on my window
painted the lim with a heat resistant paint
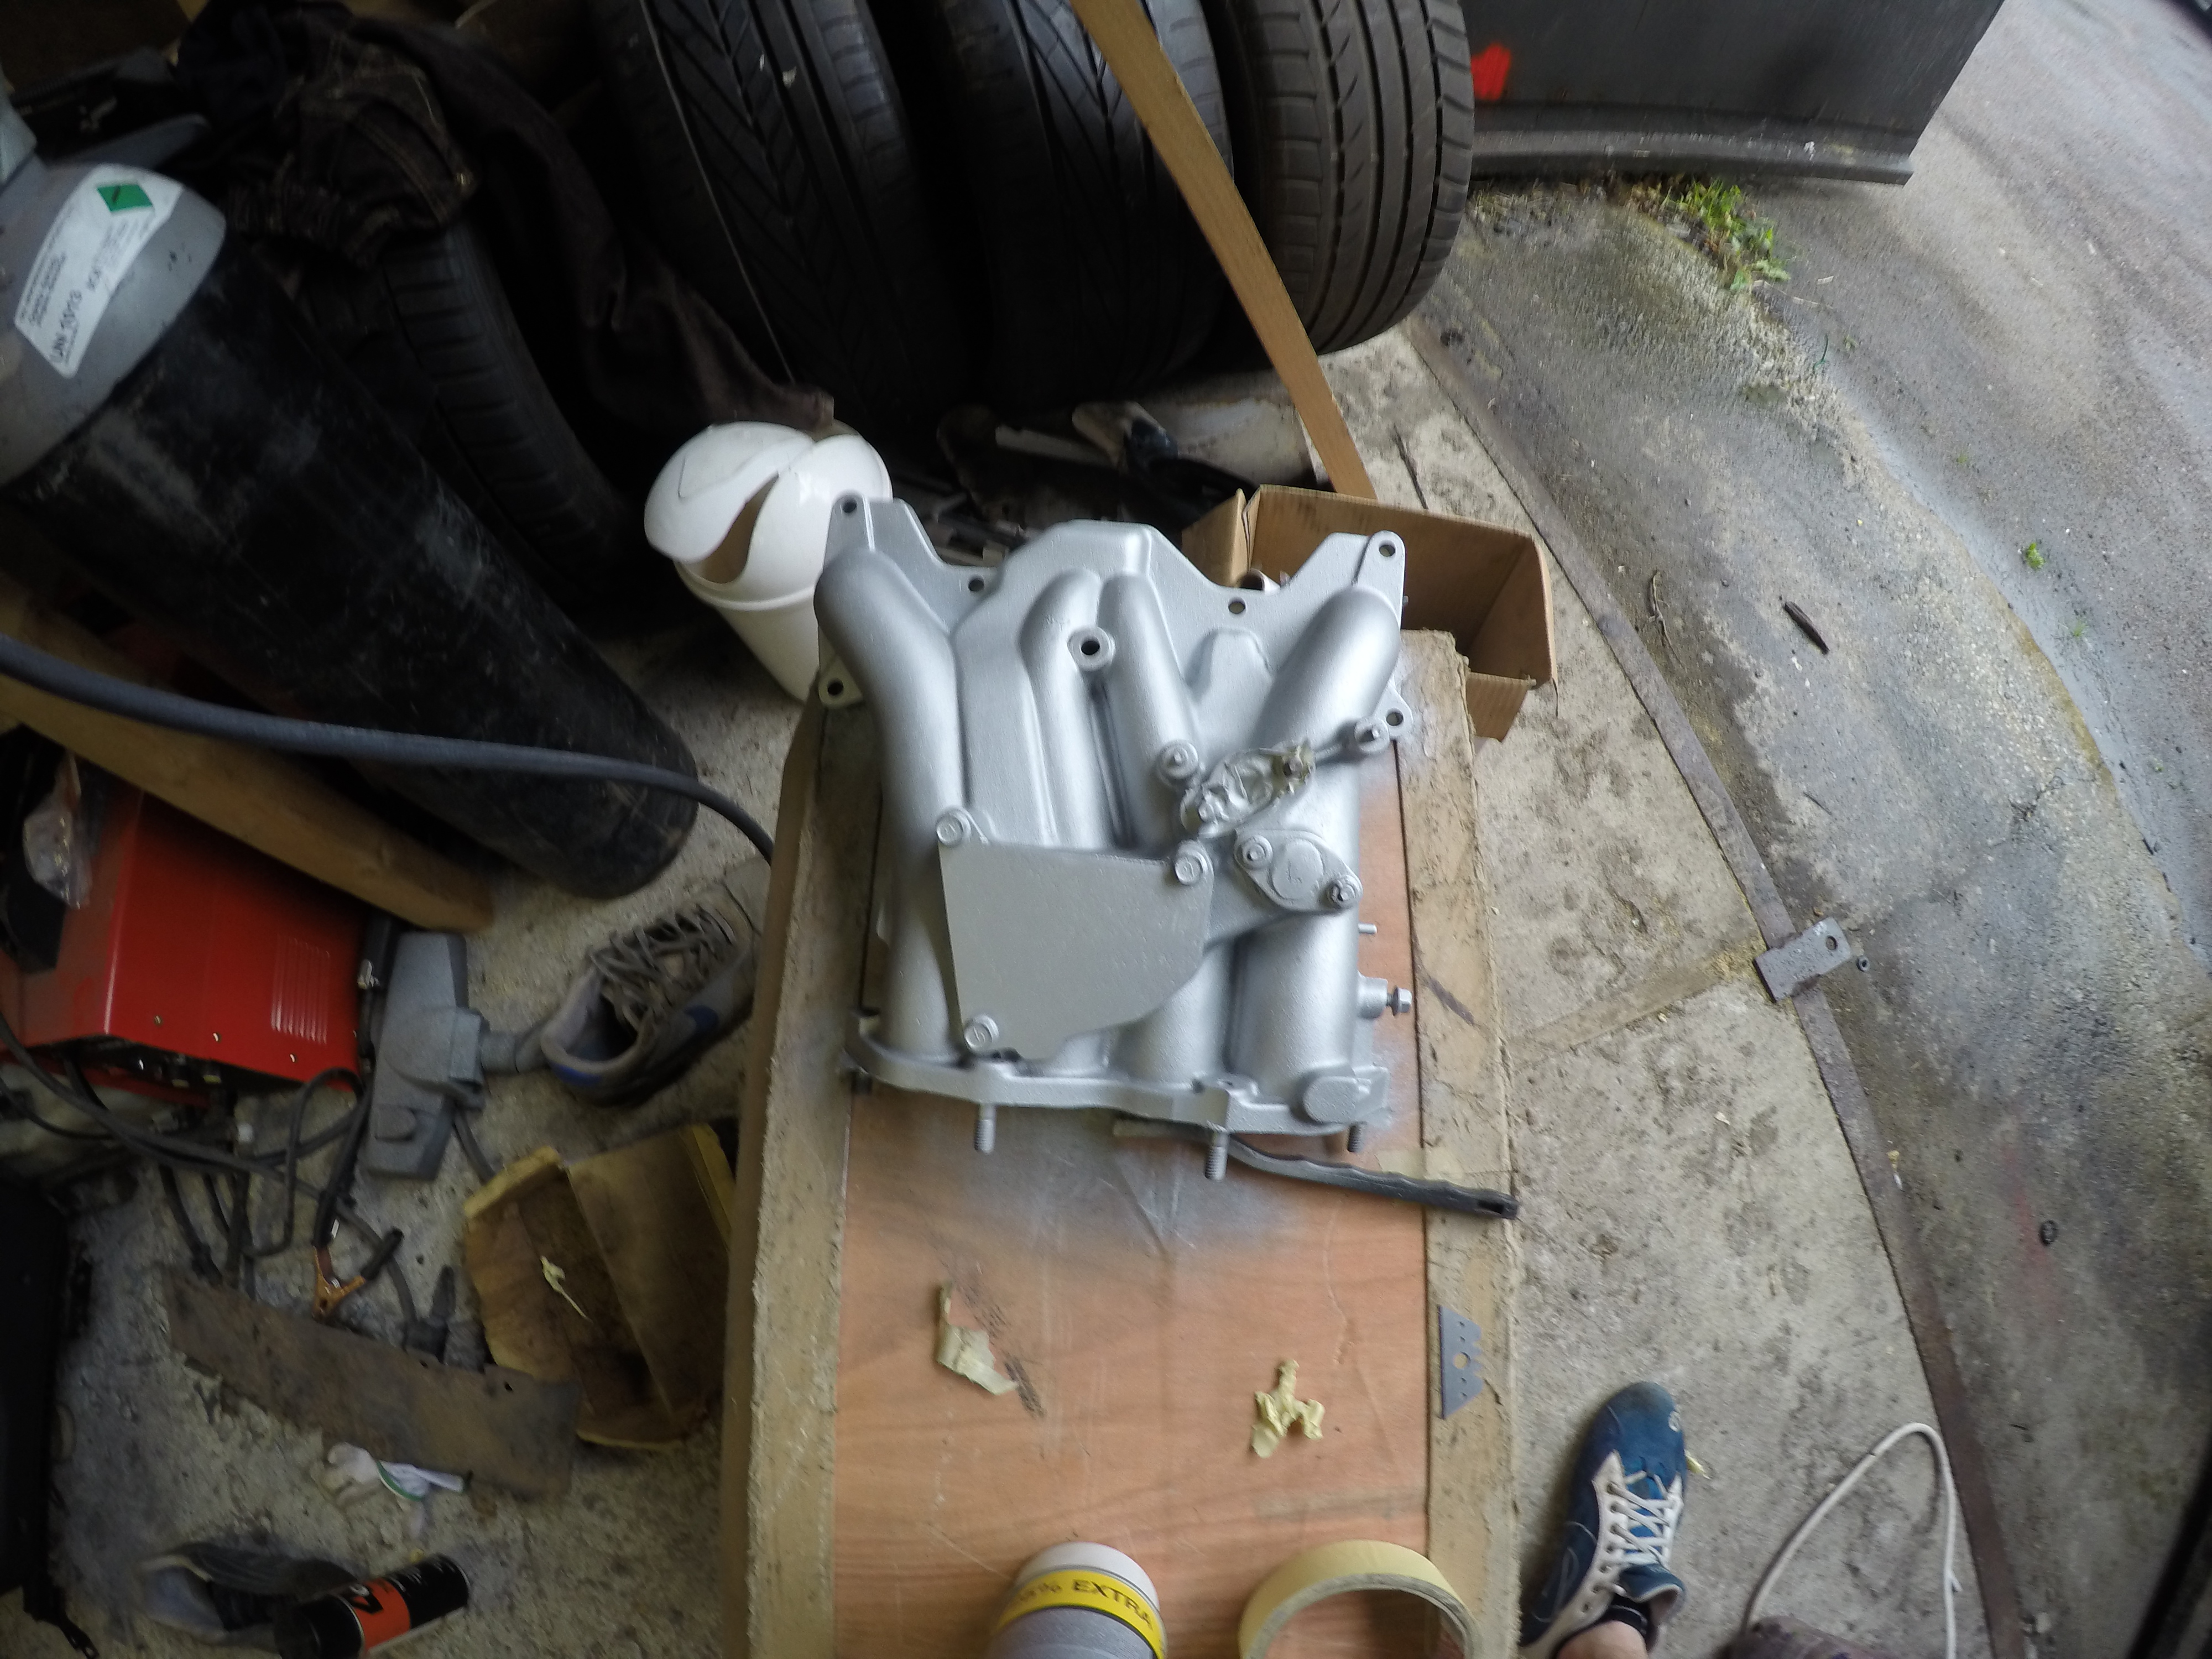
uim with primer and silver paint
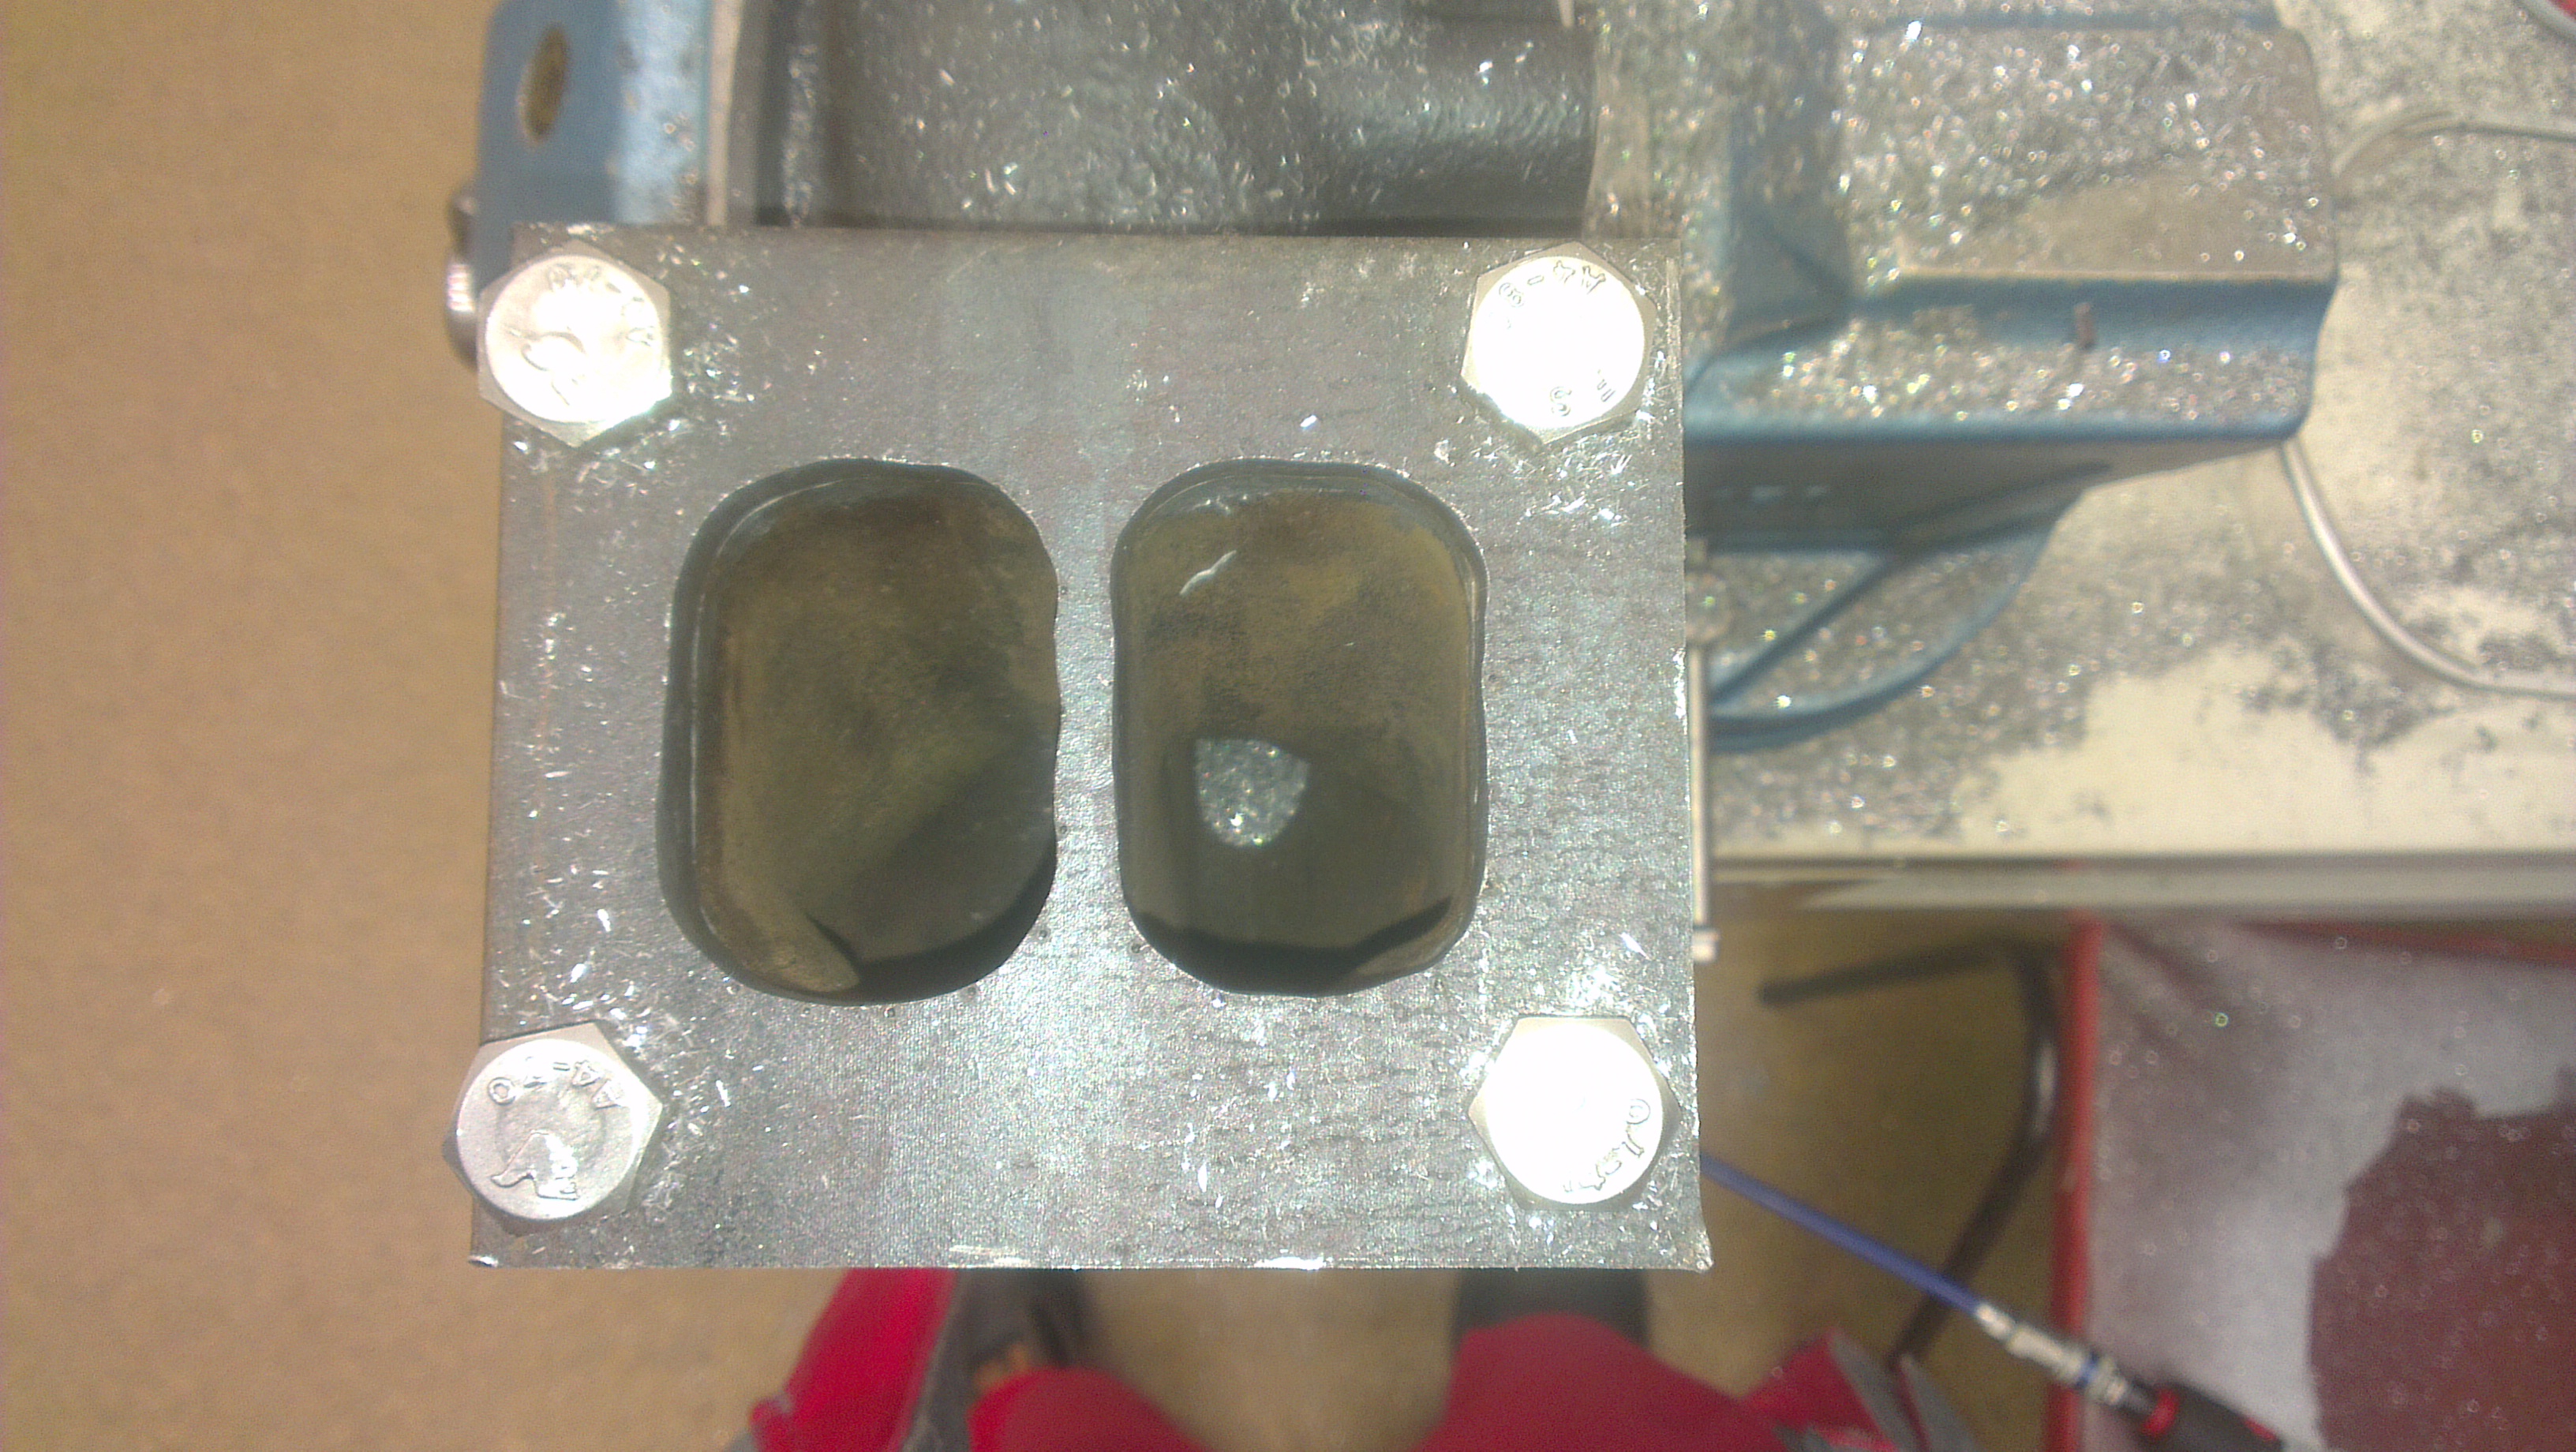
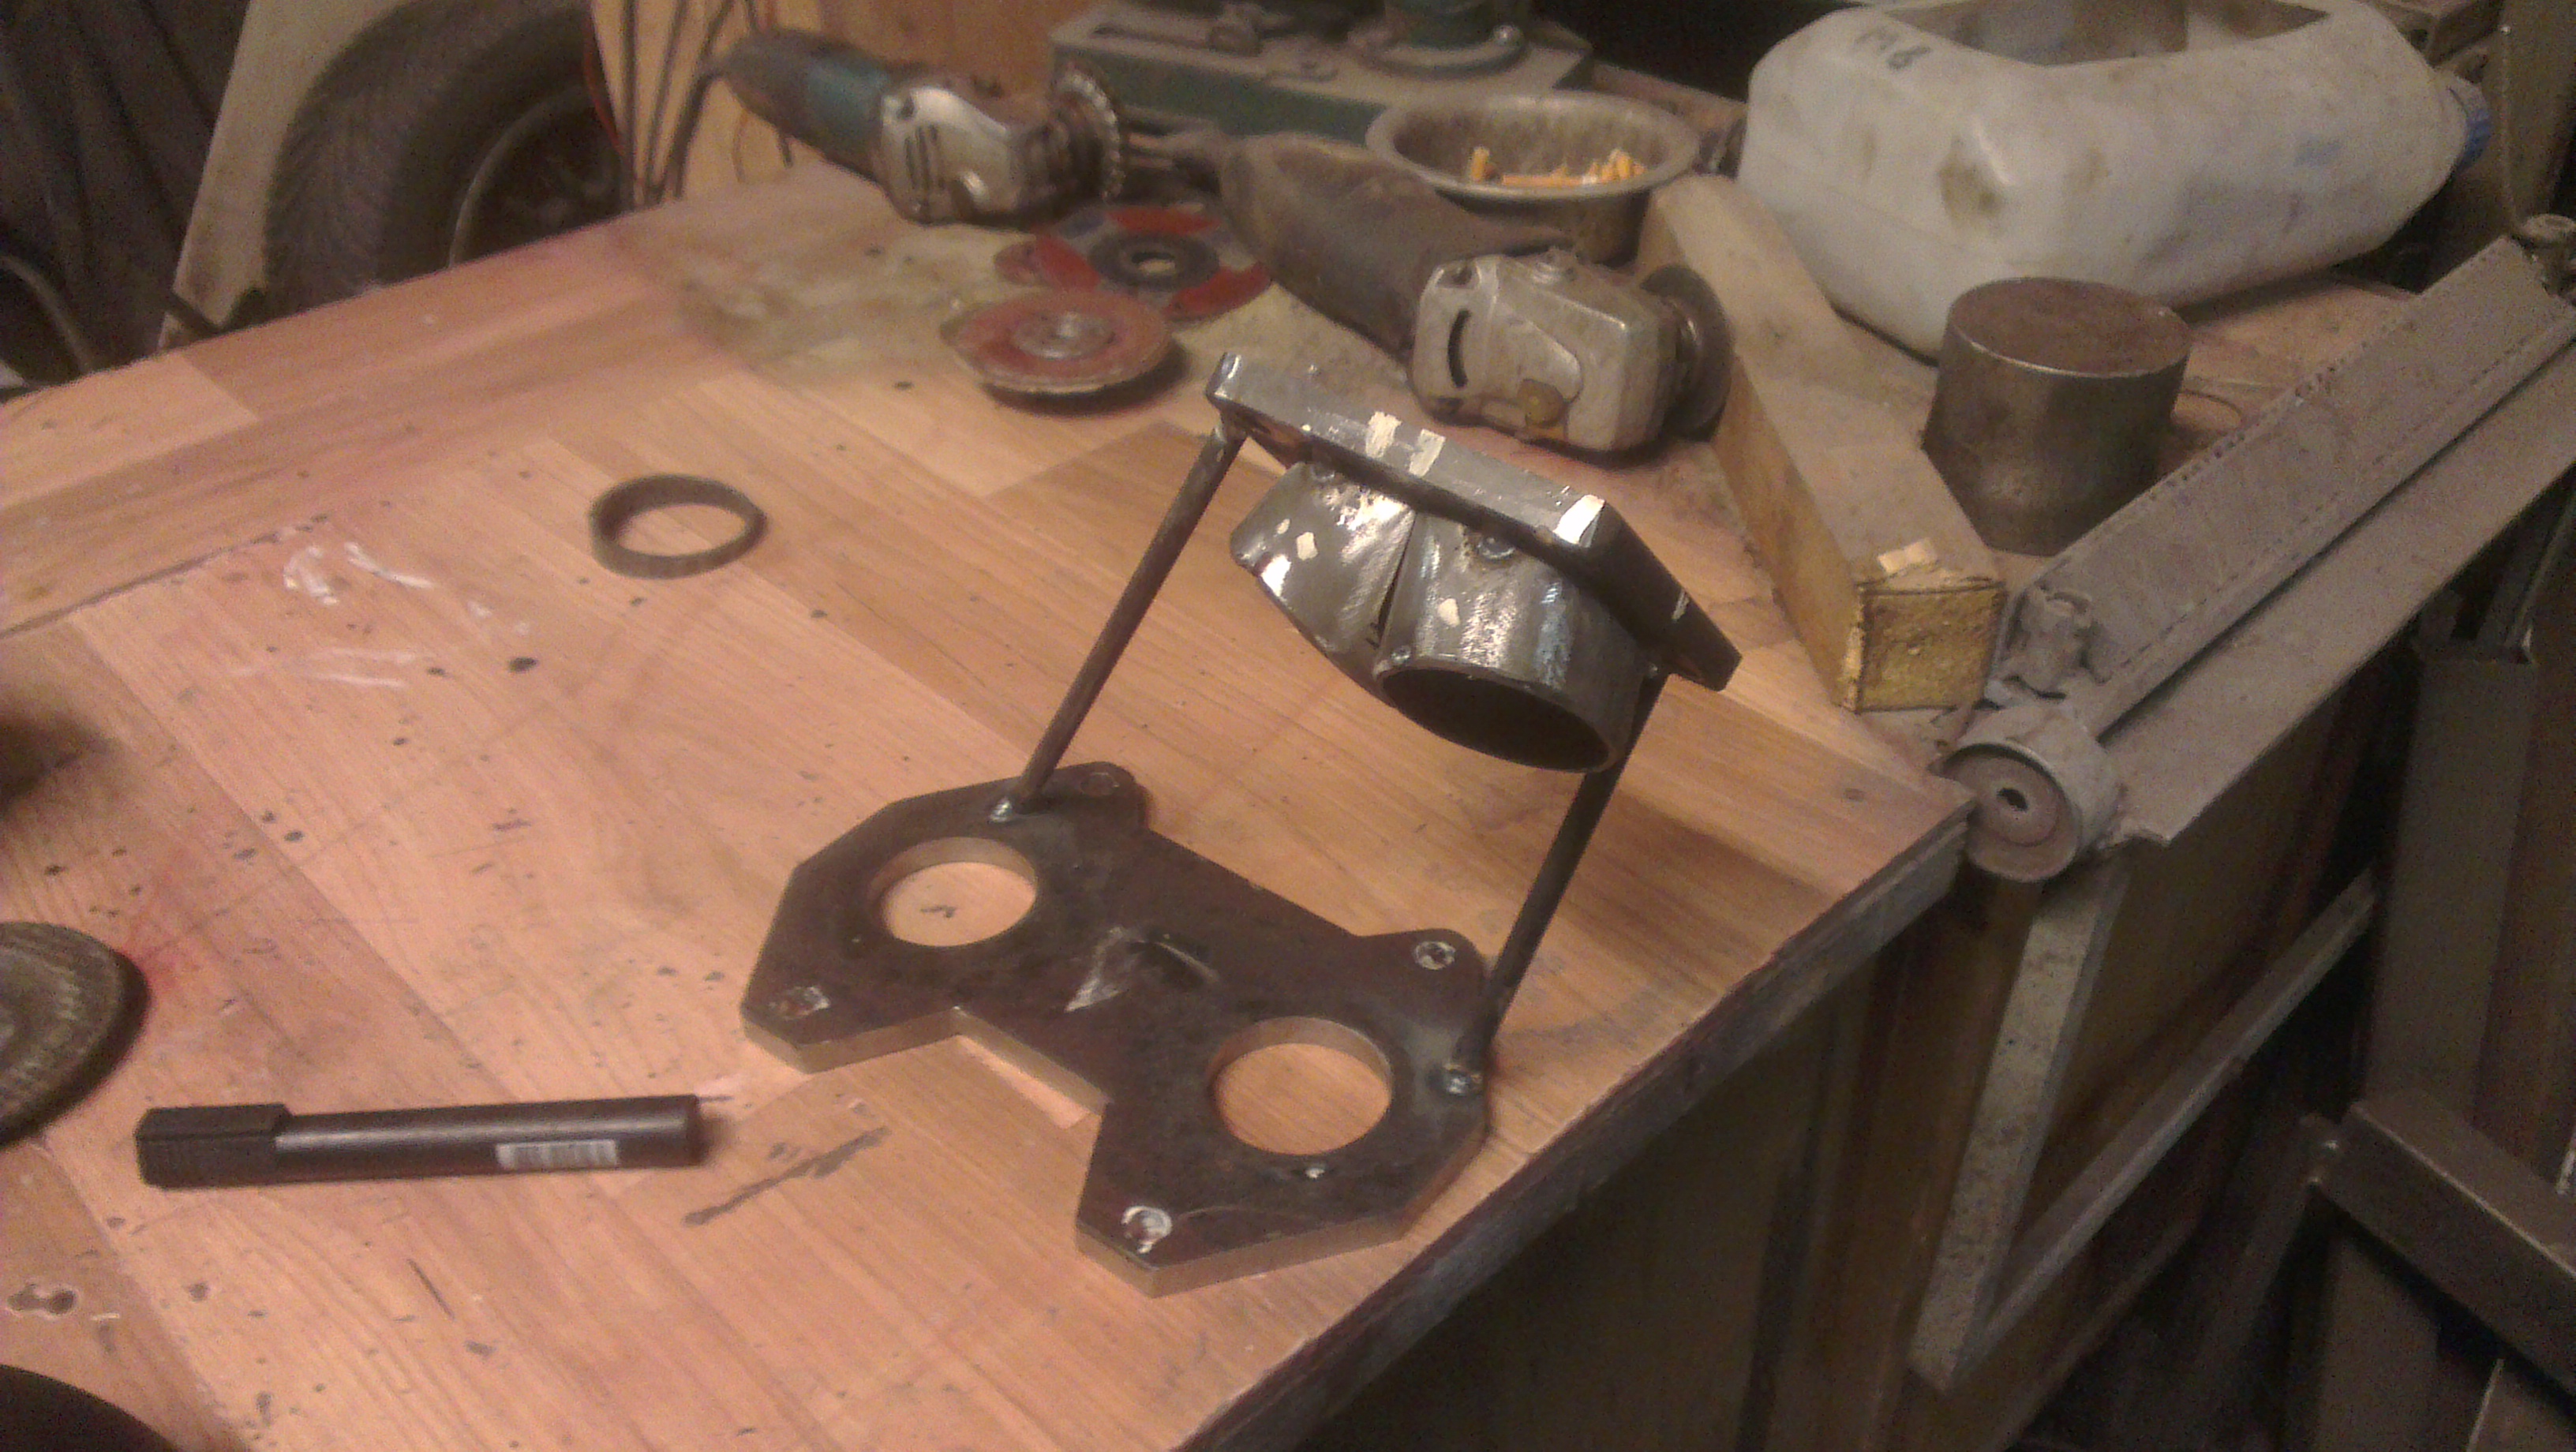
made an exhaust and a turbo flange, material cost was 8 euros, enough for 4 flanges.
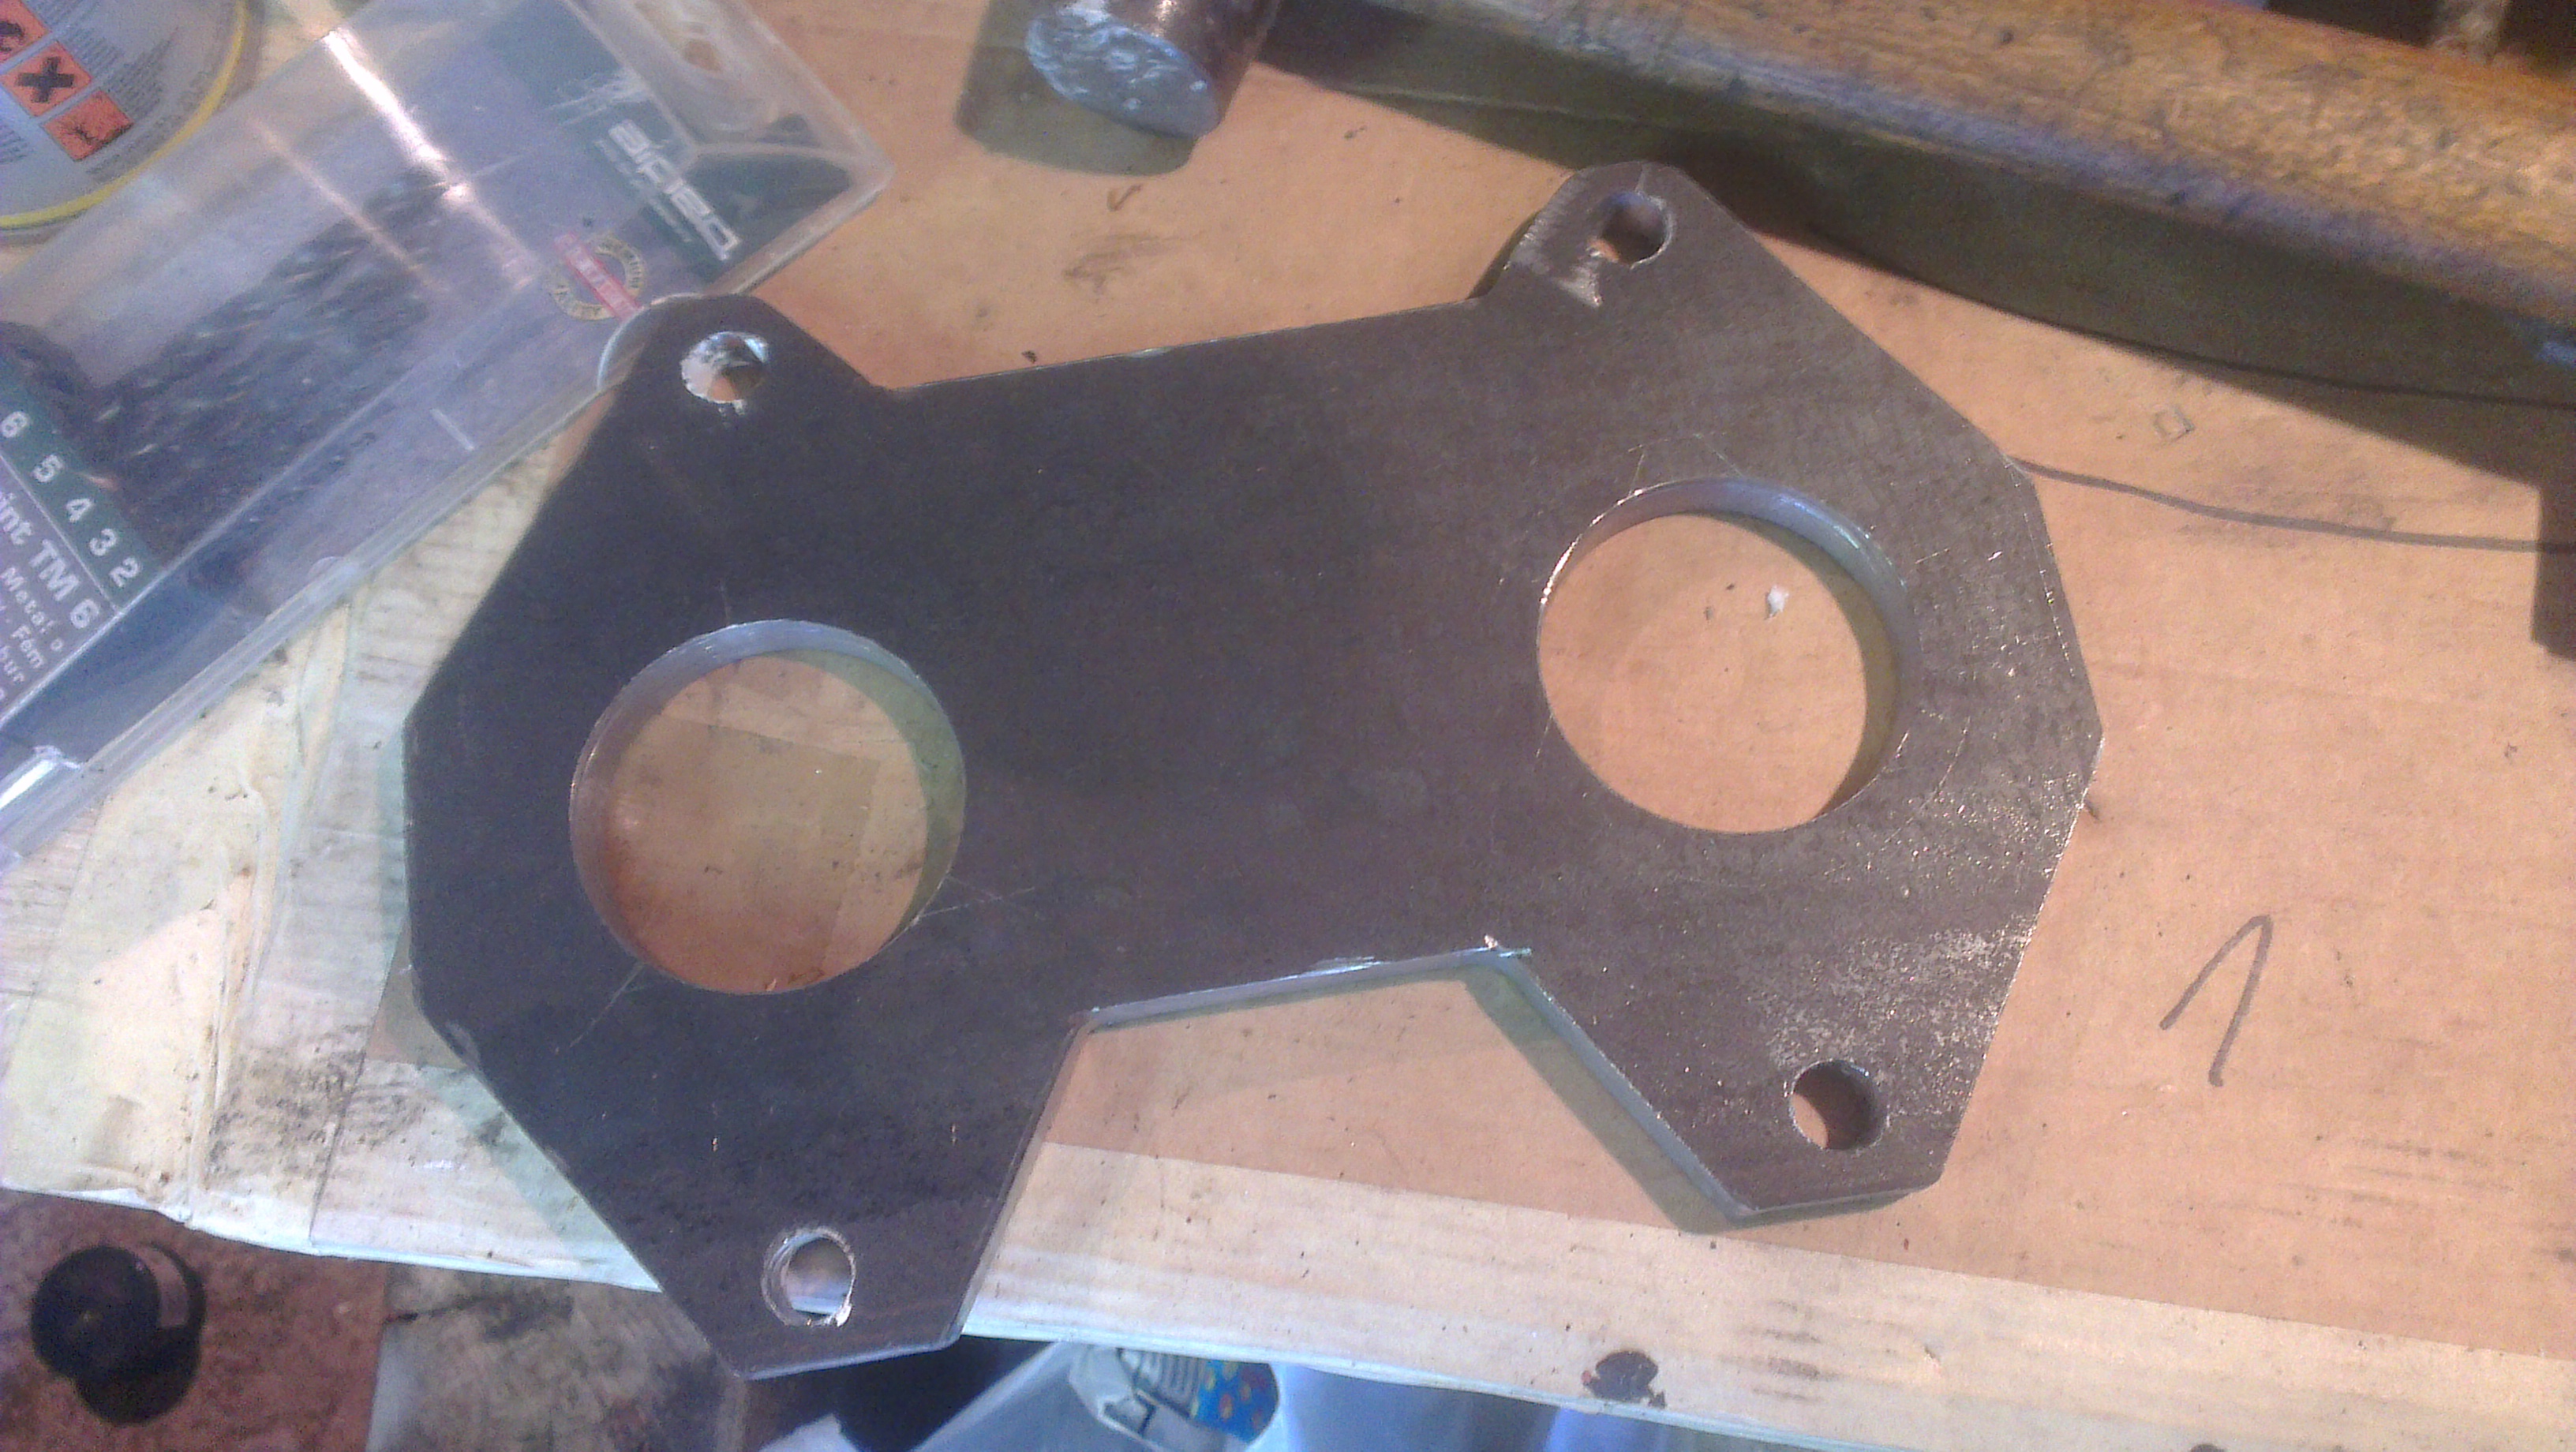
not perfectly straight but still smooth
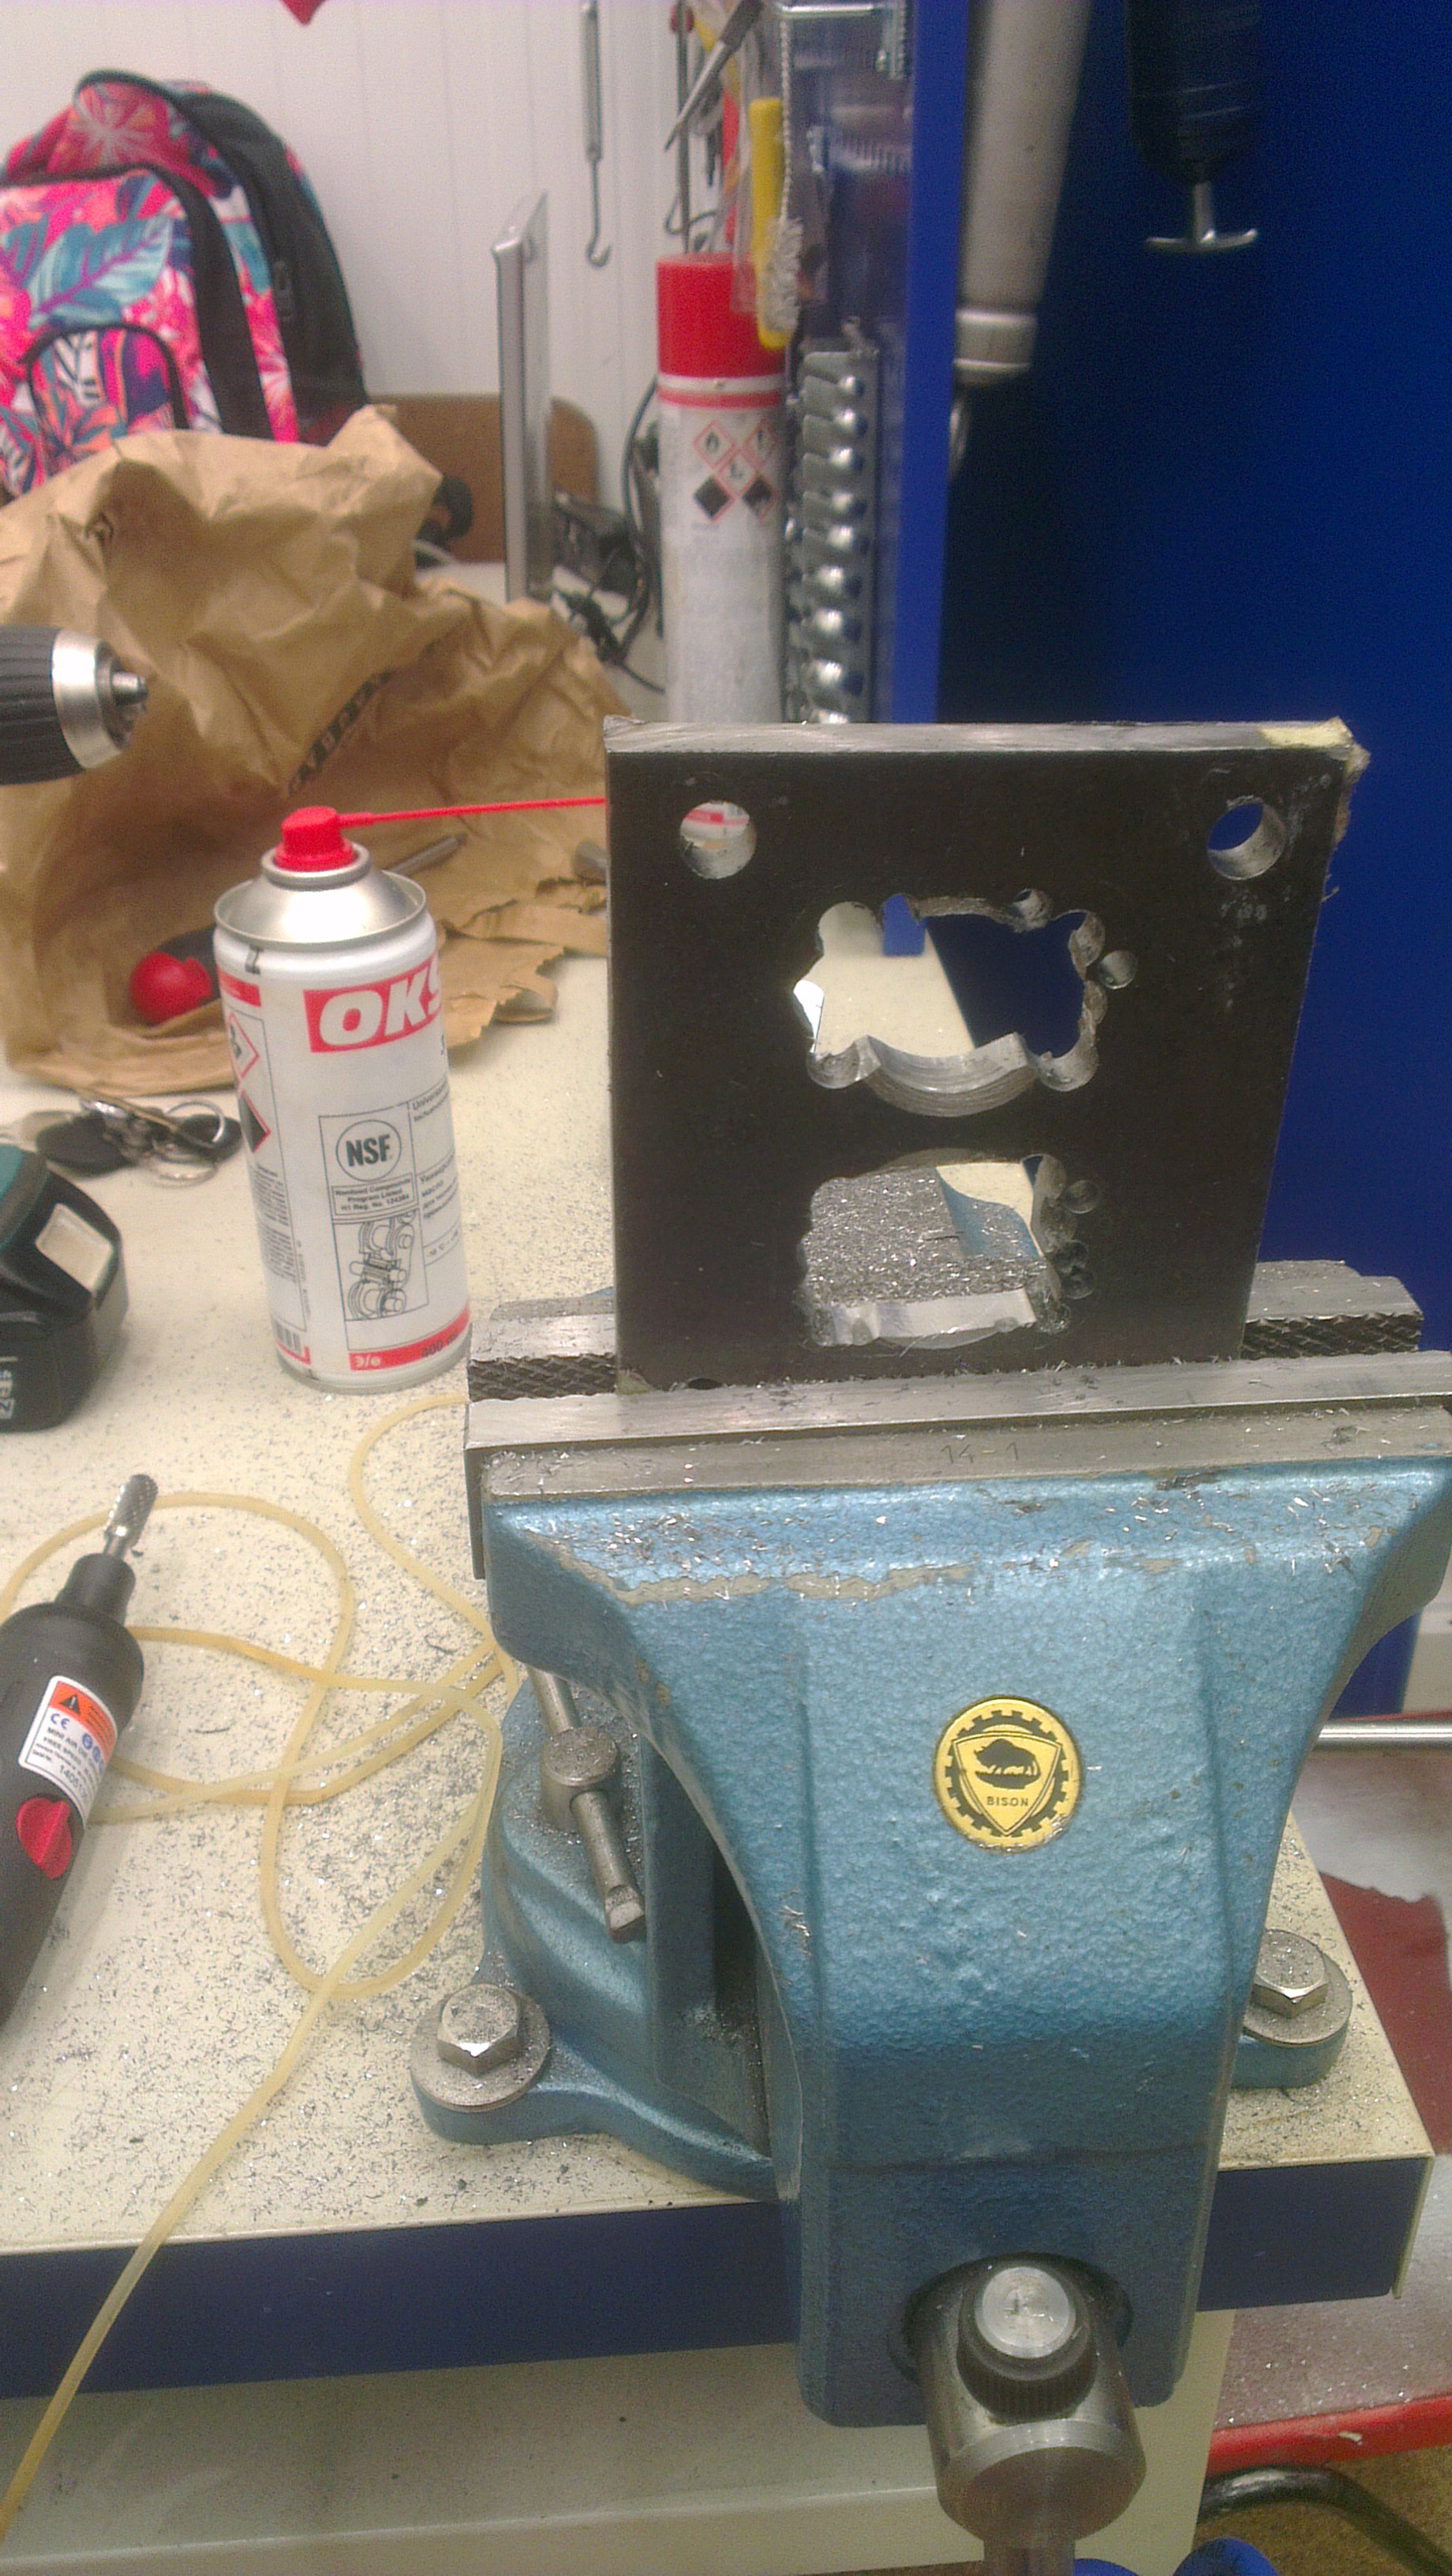
half of the metal i ground out of the turbo flange

other half is still in my skin
took apart the throttle body, its painted now, still have to figure out how to put the throttle cable assembly together.. made a thread to the 2nd gen specific https://www.rx7club.com/2nd-generati...cture-1086959/
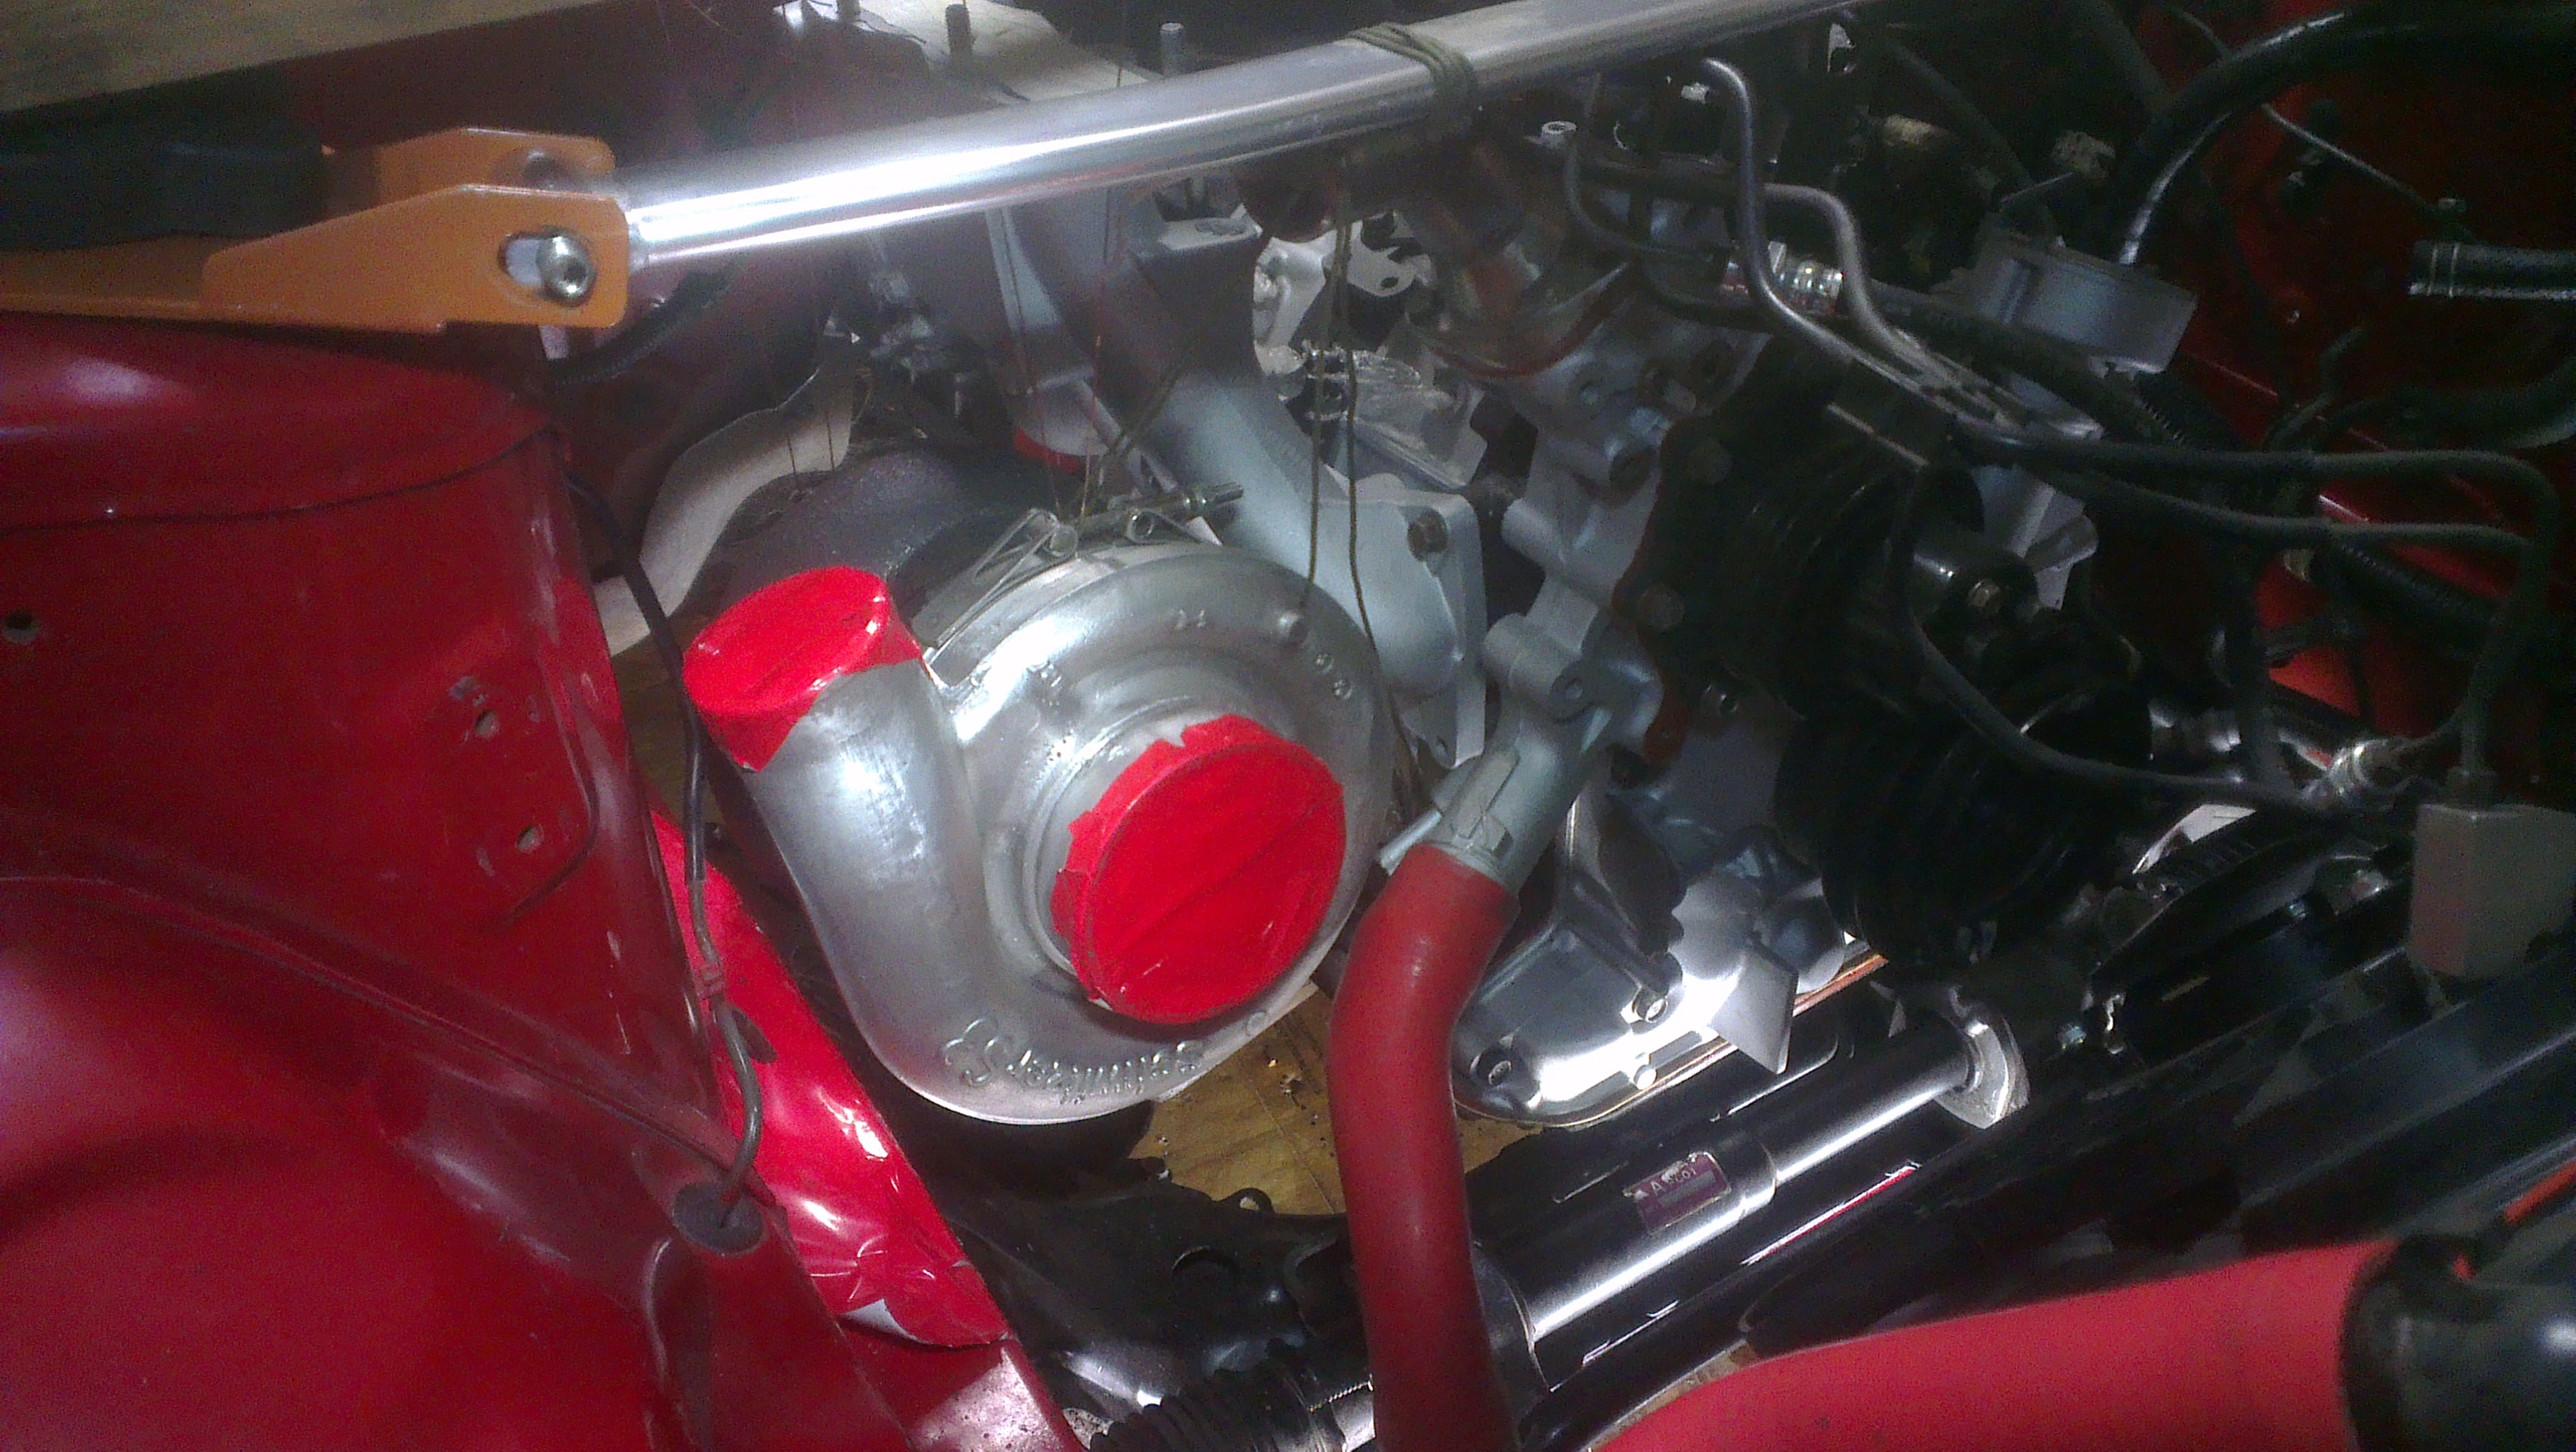
took the turbo to garage, that snail is big!
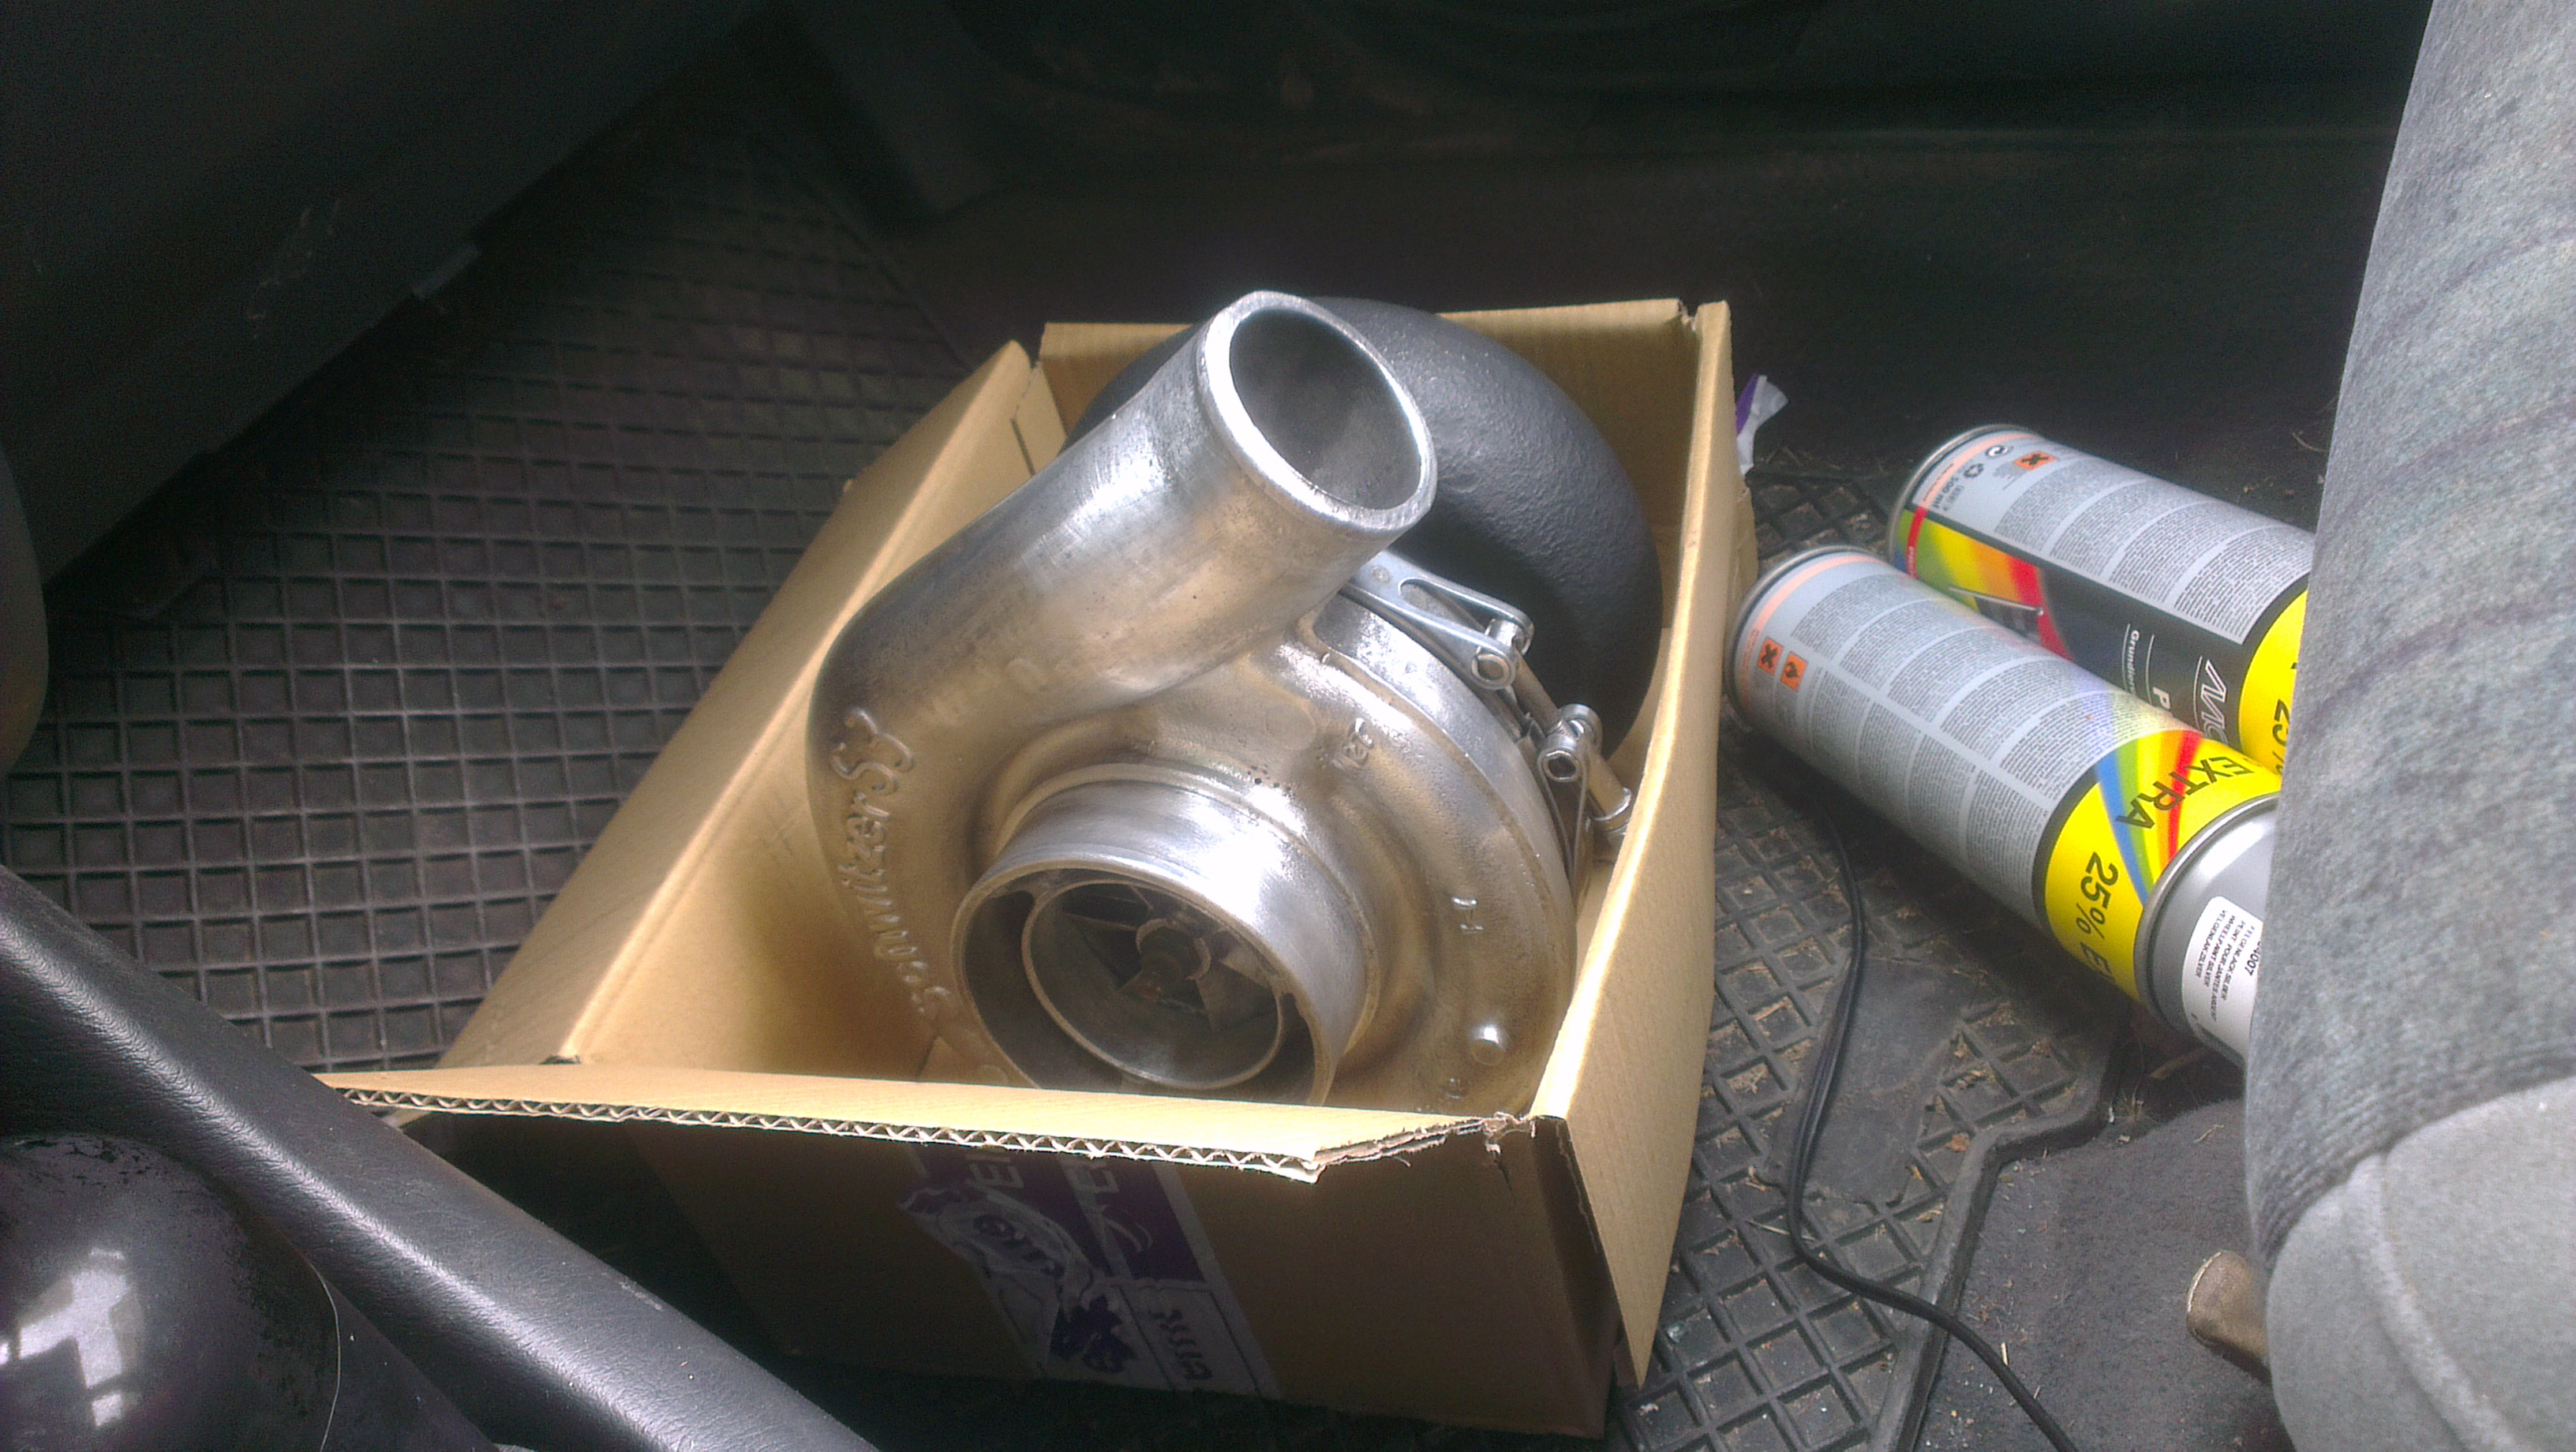
needed some sandpaper to fit the turbine housing on, it was a bit corroded...
washed and cleaned intake manifolds
drying on my window
painted the lim with a heat resistant paint
uim with primer and silver paint
made an exhaust and a turbo flange, material cost was 8 euros, enough for 4 flanges.
not perfectly straight but still smooth
half of the metal i ground out of the turbo flange
other half is still in my skin
took apart the throttle body, its painted now, still have to figure out how to put the throttle cable assembly together.. made a thread to the 2nd gen specific https://www.rx7club.com/2nd-generati...cture-1086959/
took the turbo to garage, that snail is big!
needed some sandpaper to fit the turbine housing on, it was a bit corroded...
07-24-15, 02:40 AM
#47
Senior Member
Thread Starter
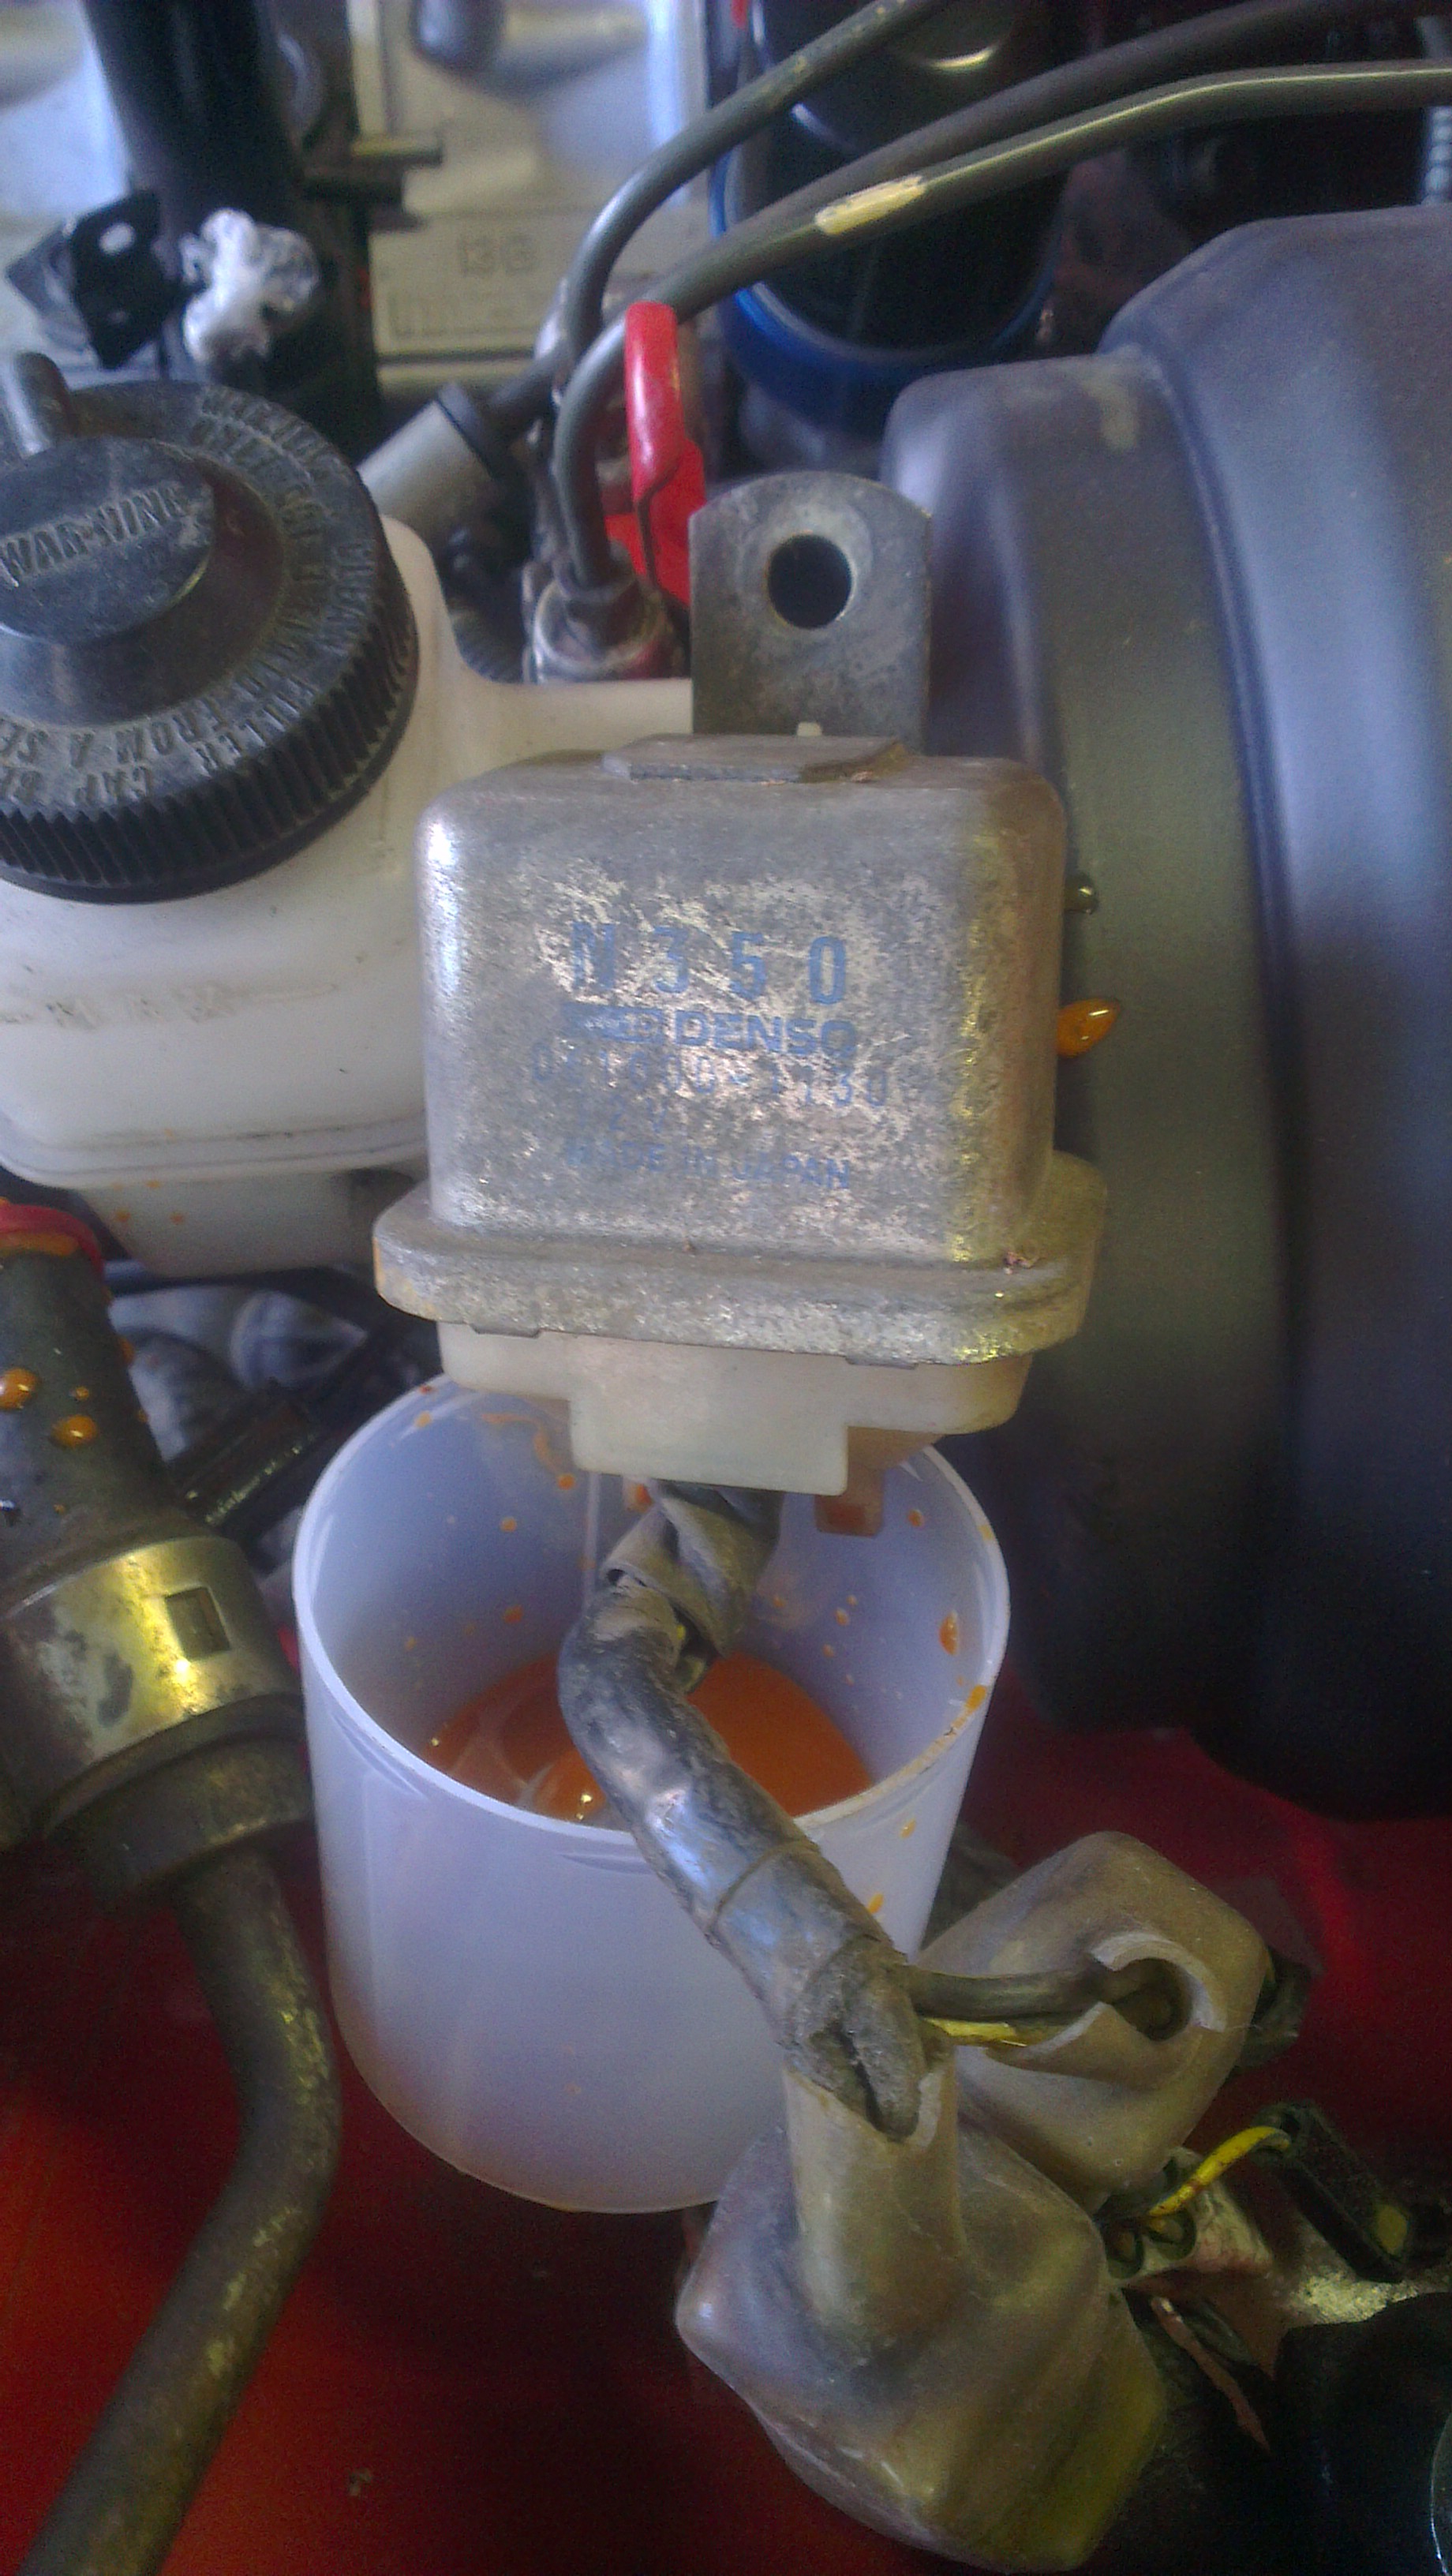
I accidentally discovered that this n350 thing is full orange liquid what smelled like burnt electronics. is that the main relay? do all rx7-s have the same part?
i may find one from the garage or ask from the owner of my first 7 if he has it on..
also i got a ride in this
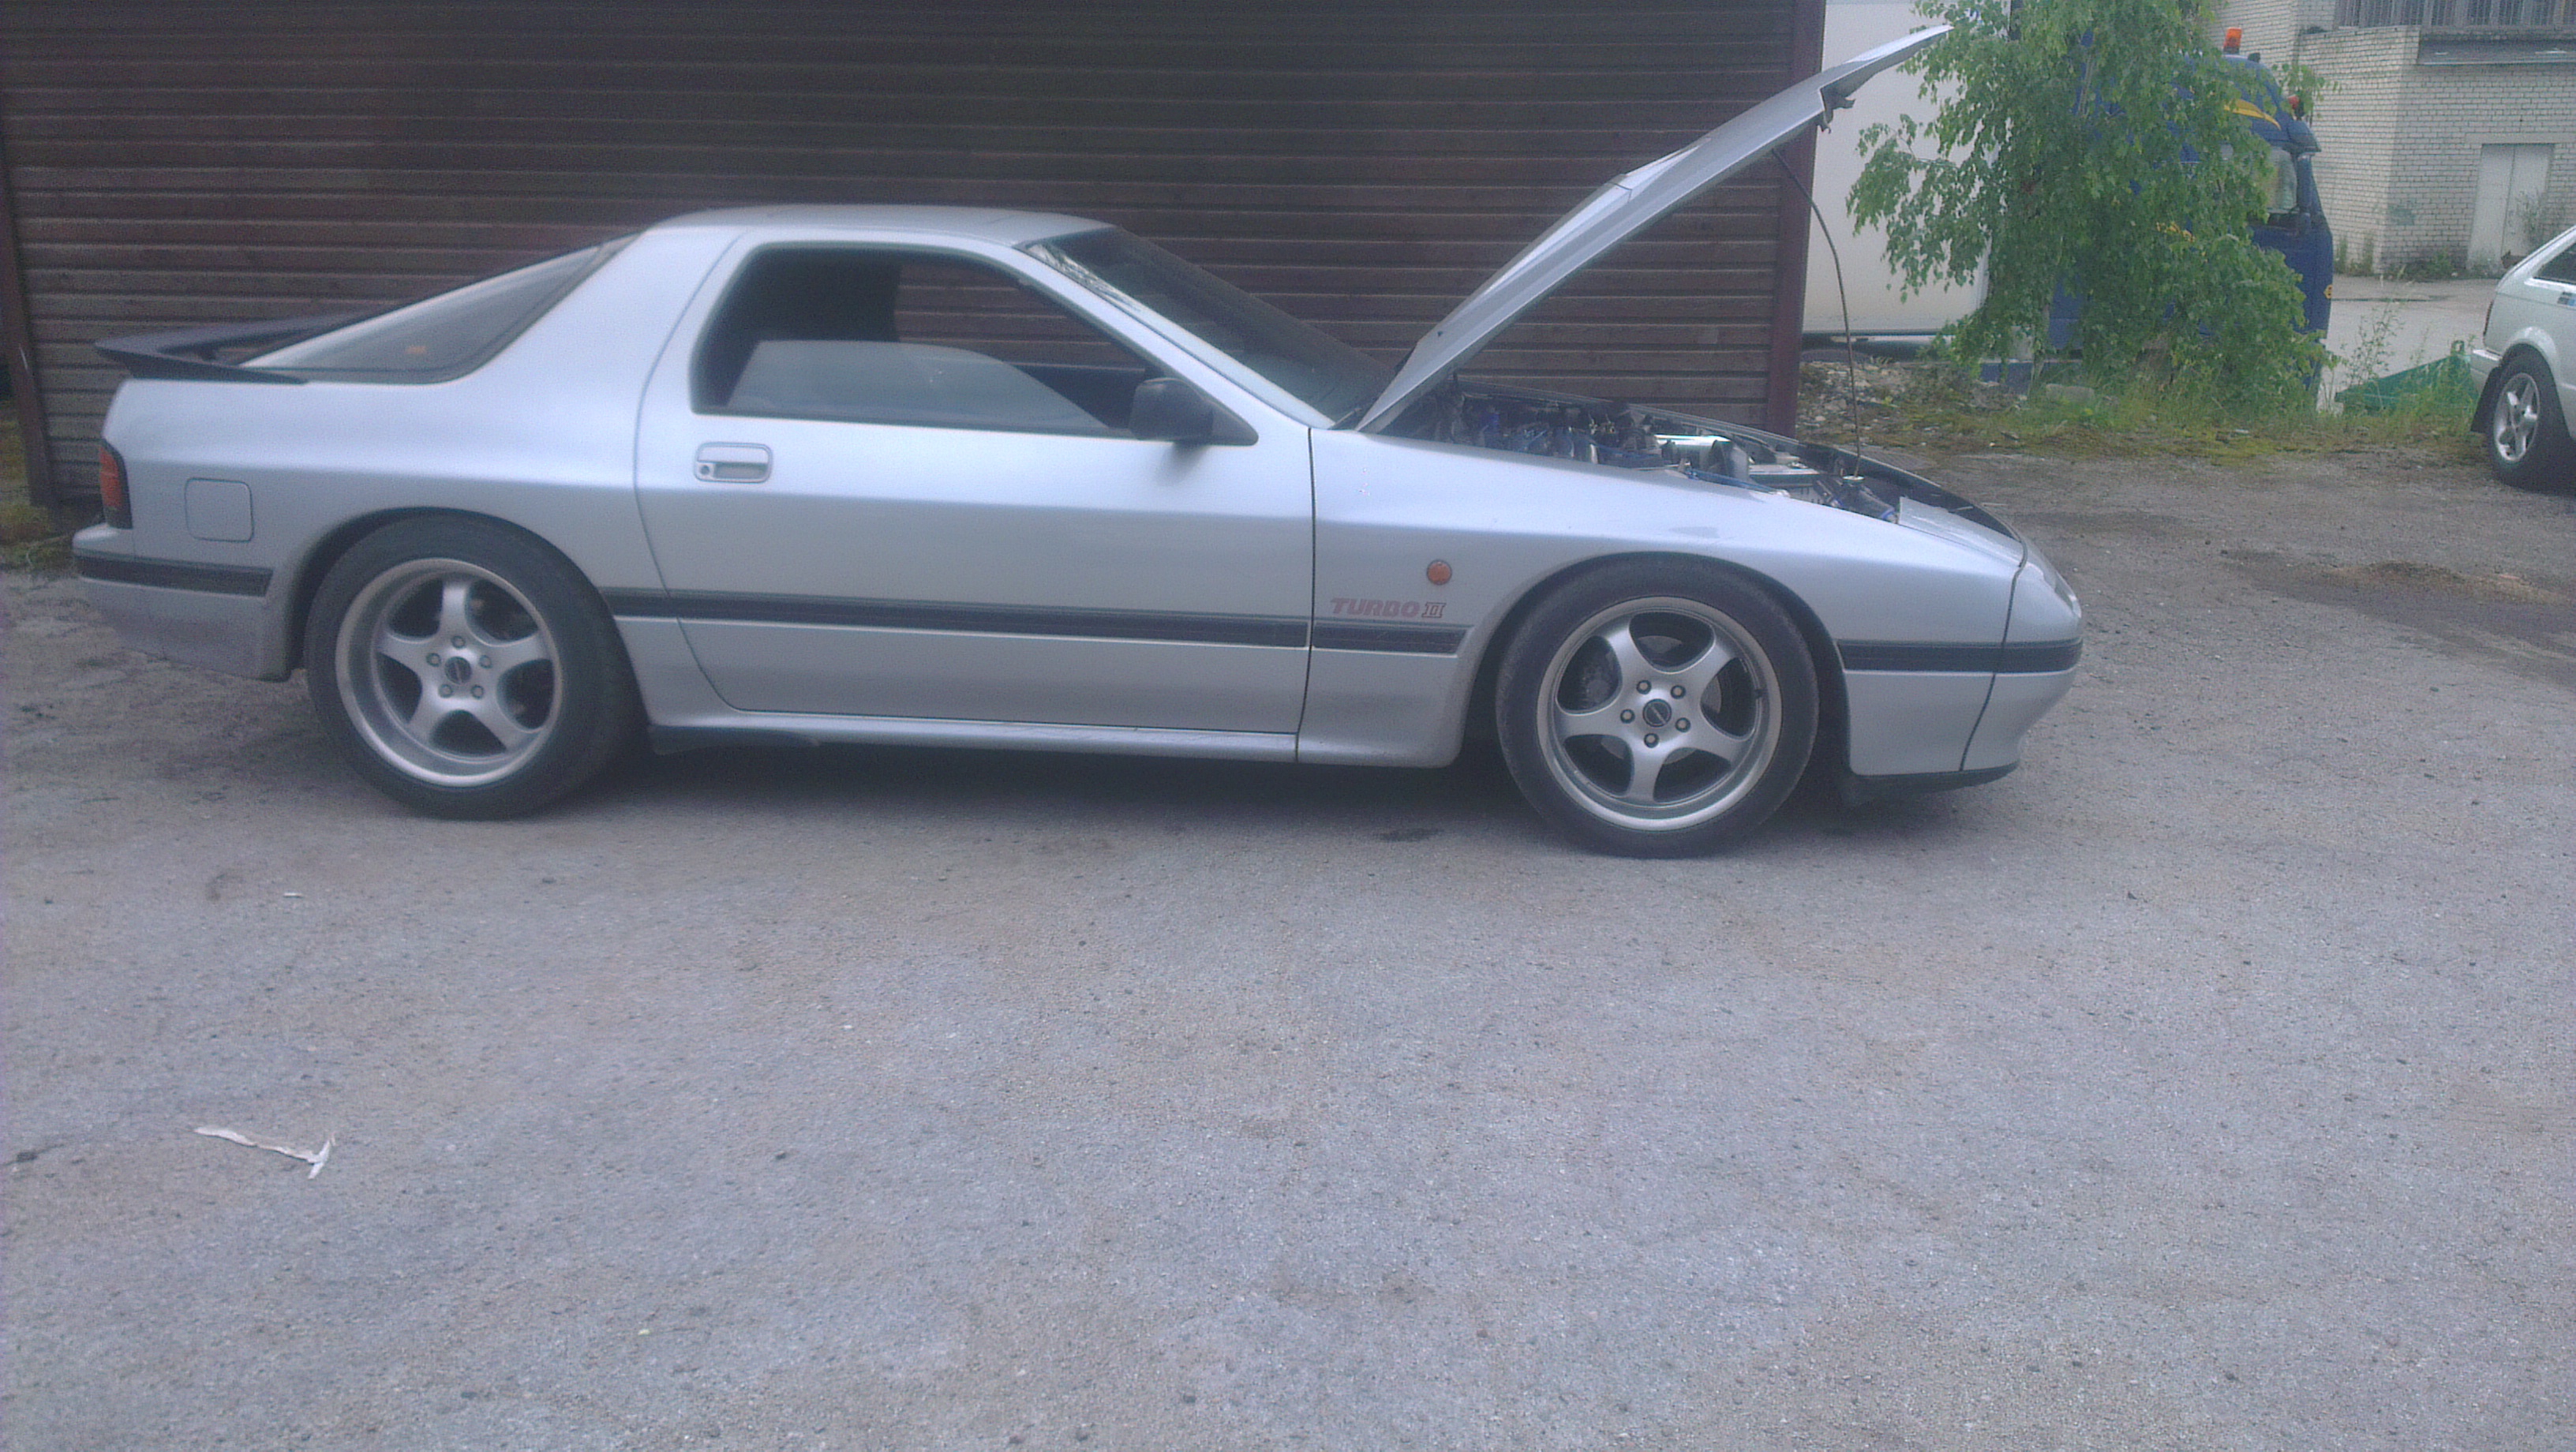
oh man that car is fast.
too bad its going for sale, but at least it stays in estonia.
and some more 80´s awesomeness

i may find one from the garage or ask from the owner of my first 7 if he has it on..
also i got a ride in this
oh man that car is fast.
too bad its going for sale, but at least it stays in estonia.
and some more 80´s awesomeness
11-02-15, 01:36 AM
#48
Senior Member
Thread Starter
I´m back
things were standing still for about two months, enjoyed the short summer while it lasted and my daily driver made me broke, still suffering in money problems but i do my best to get everything in order.
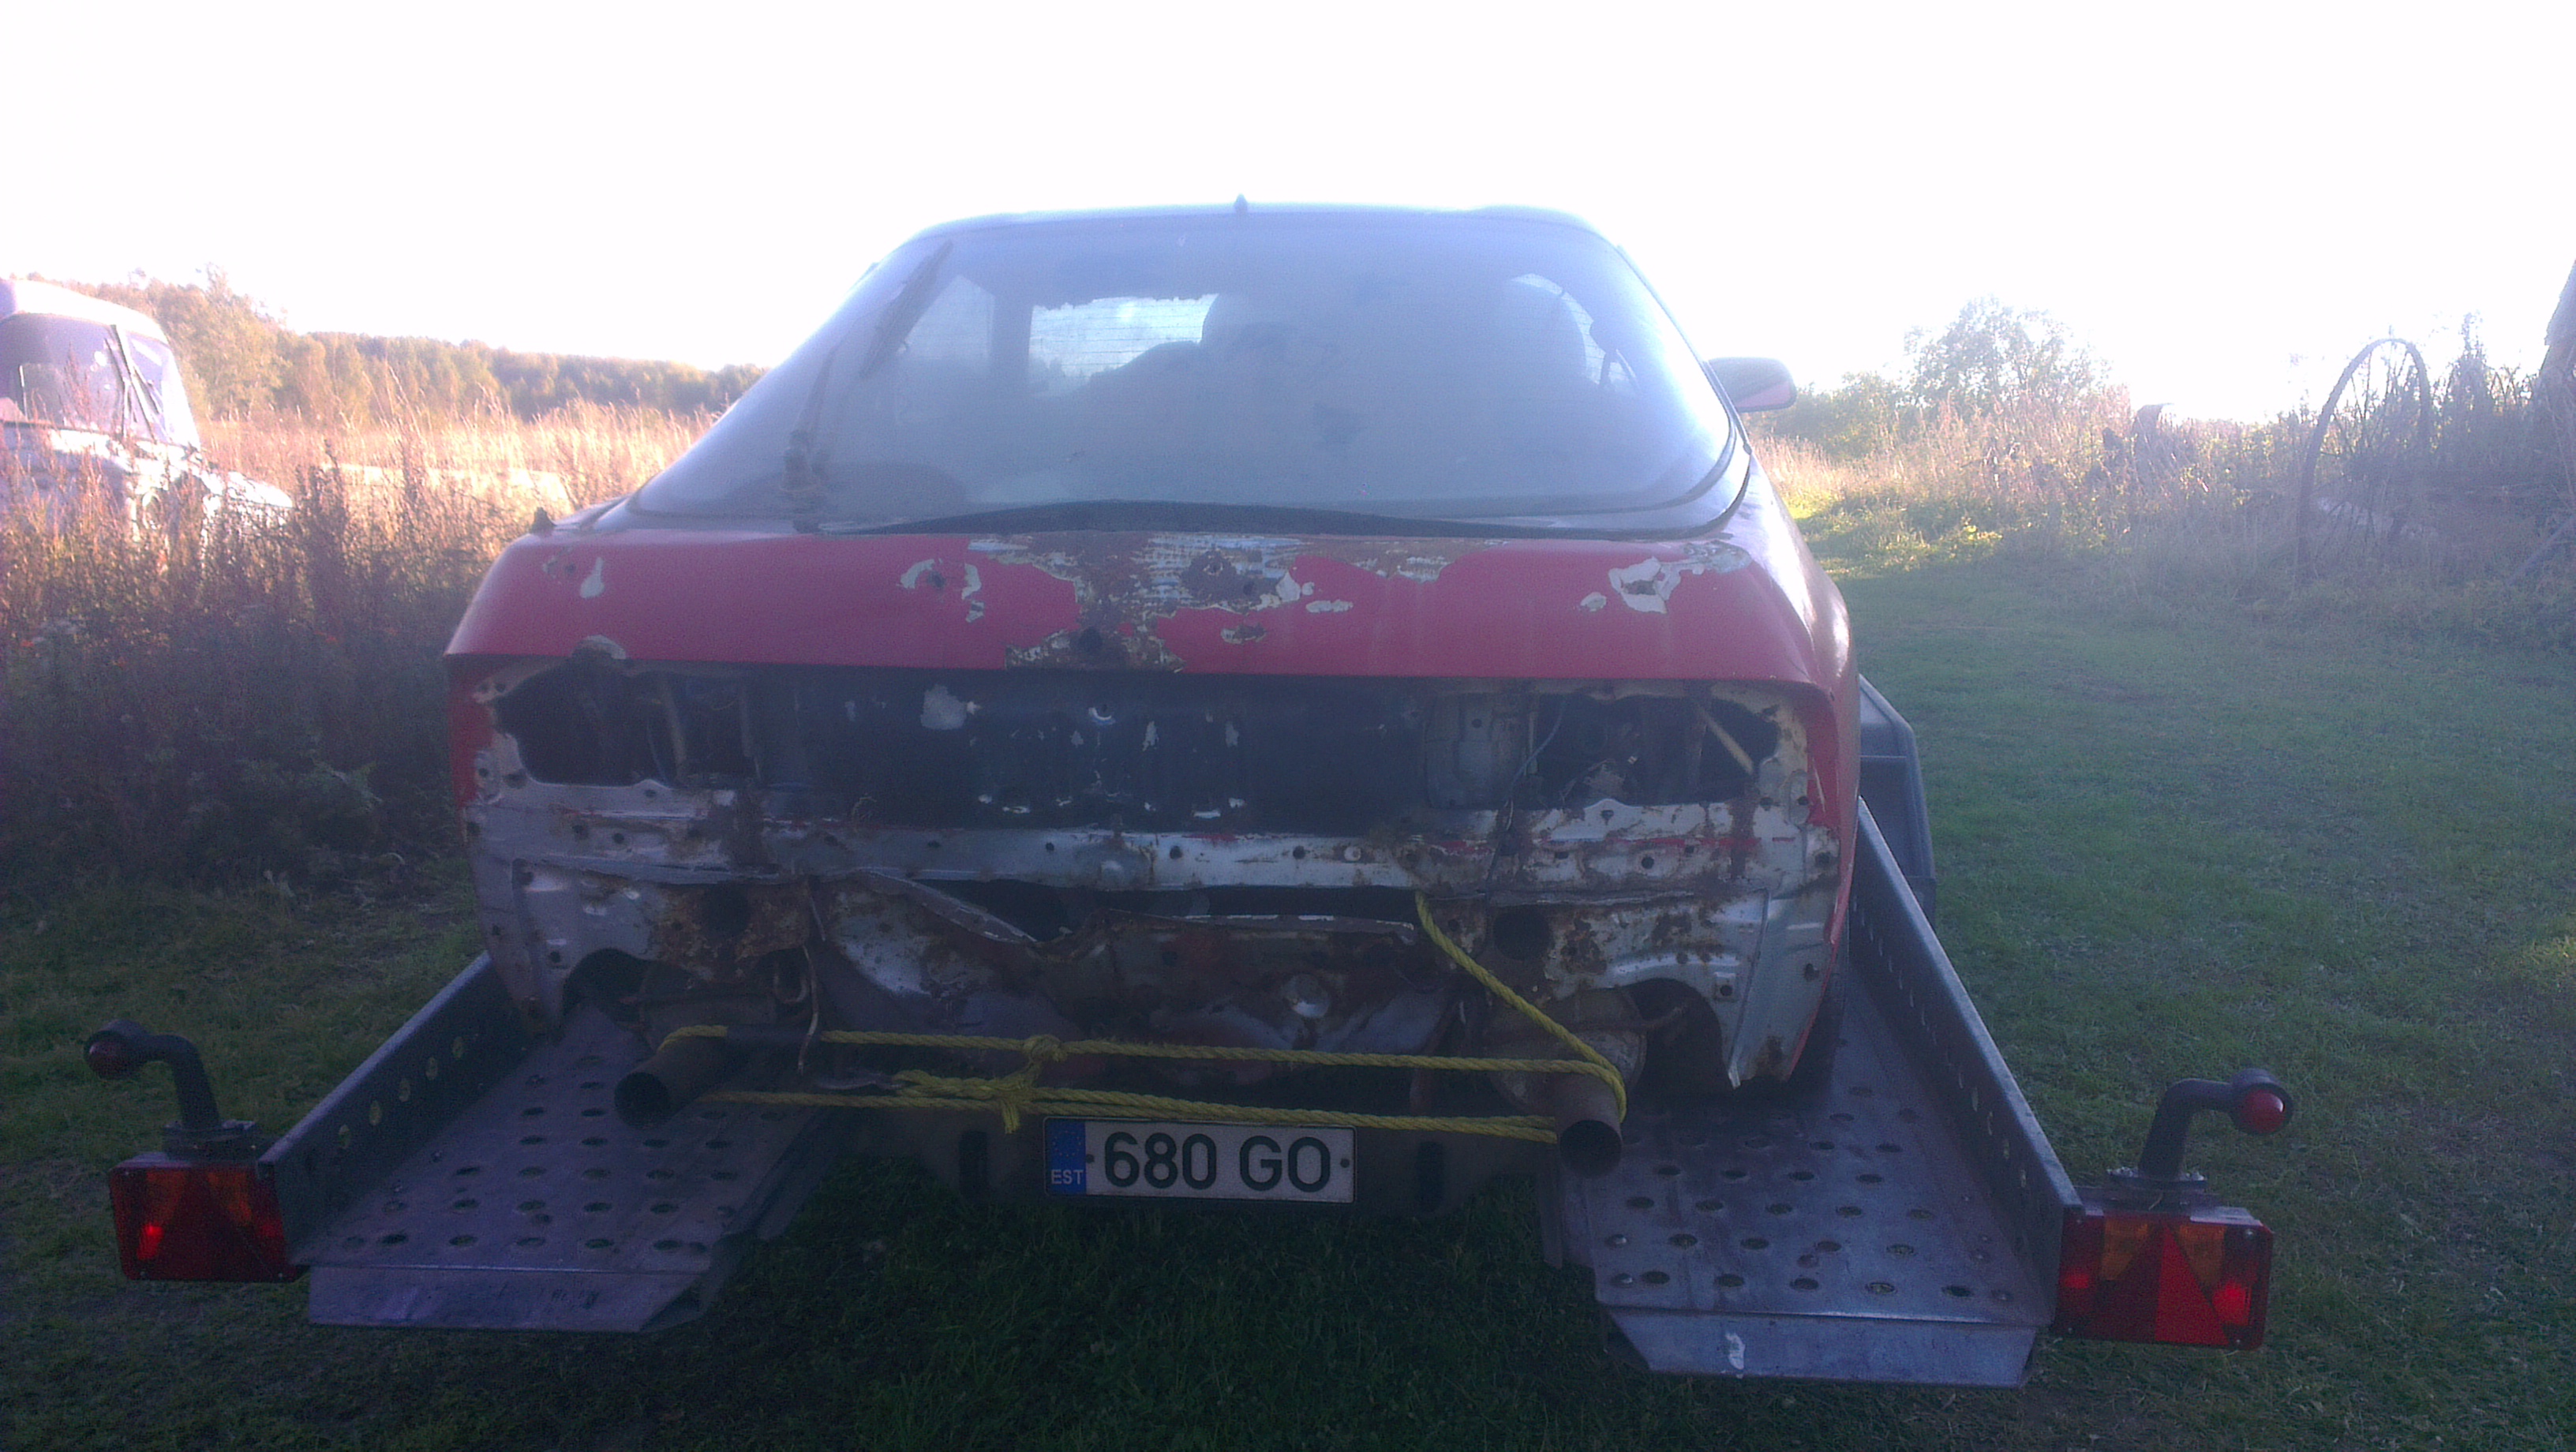
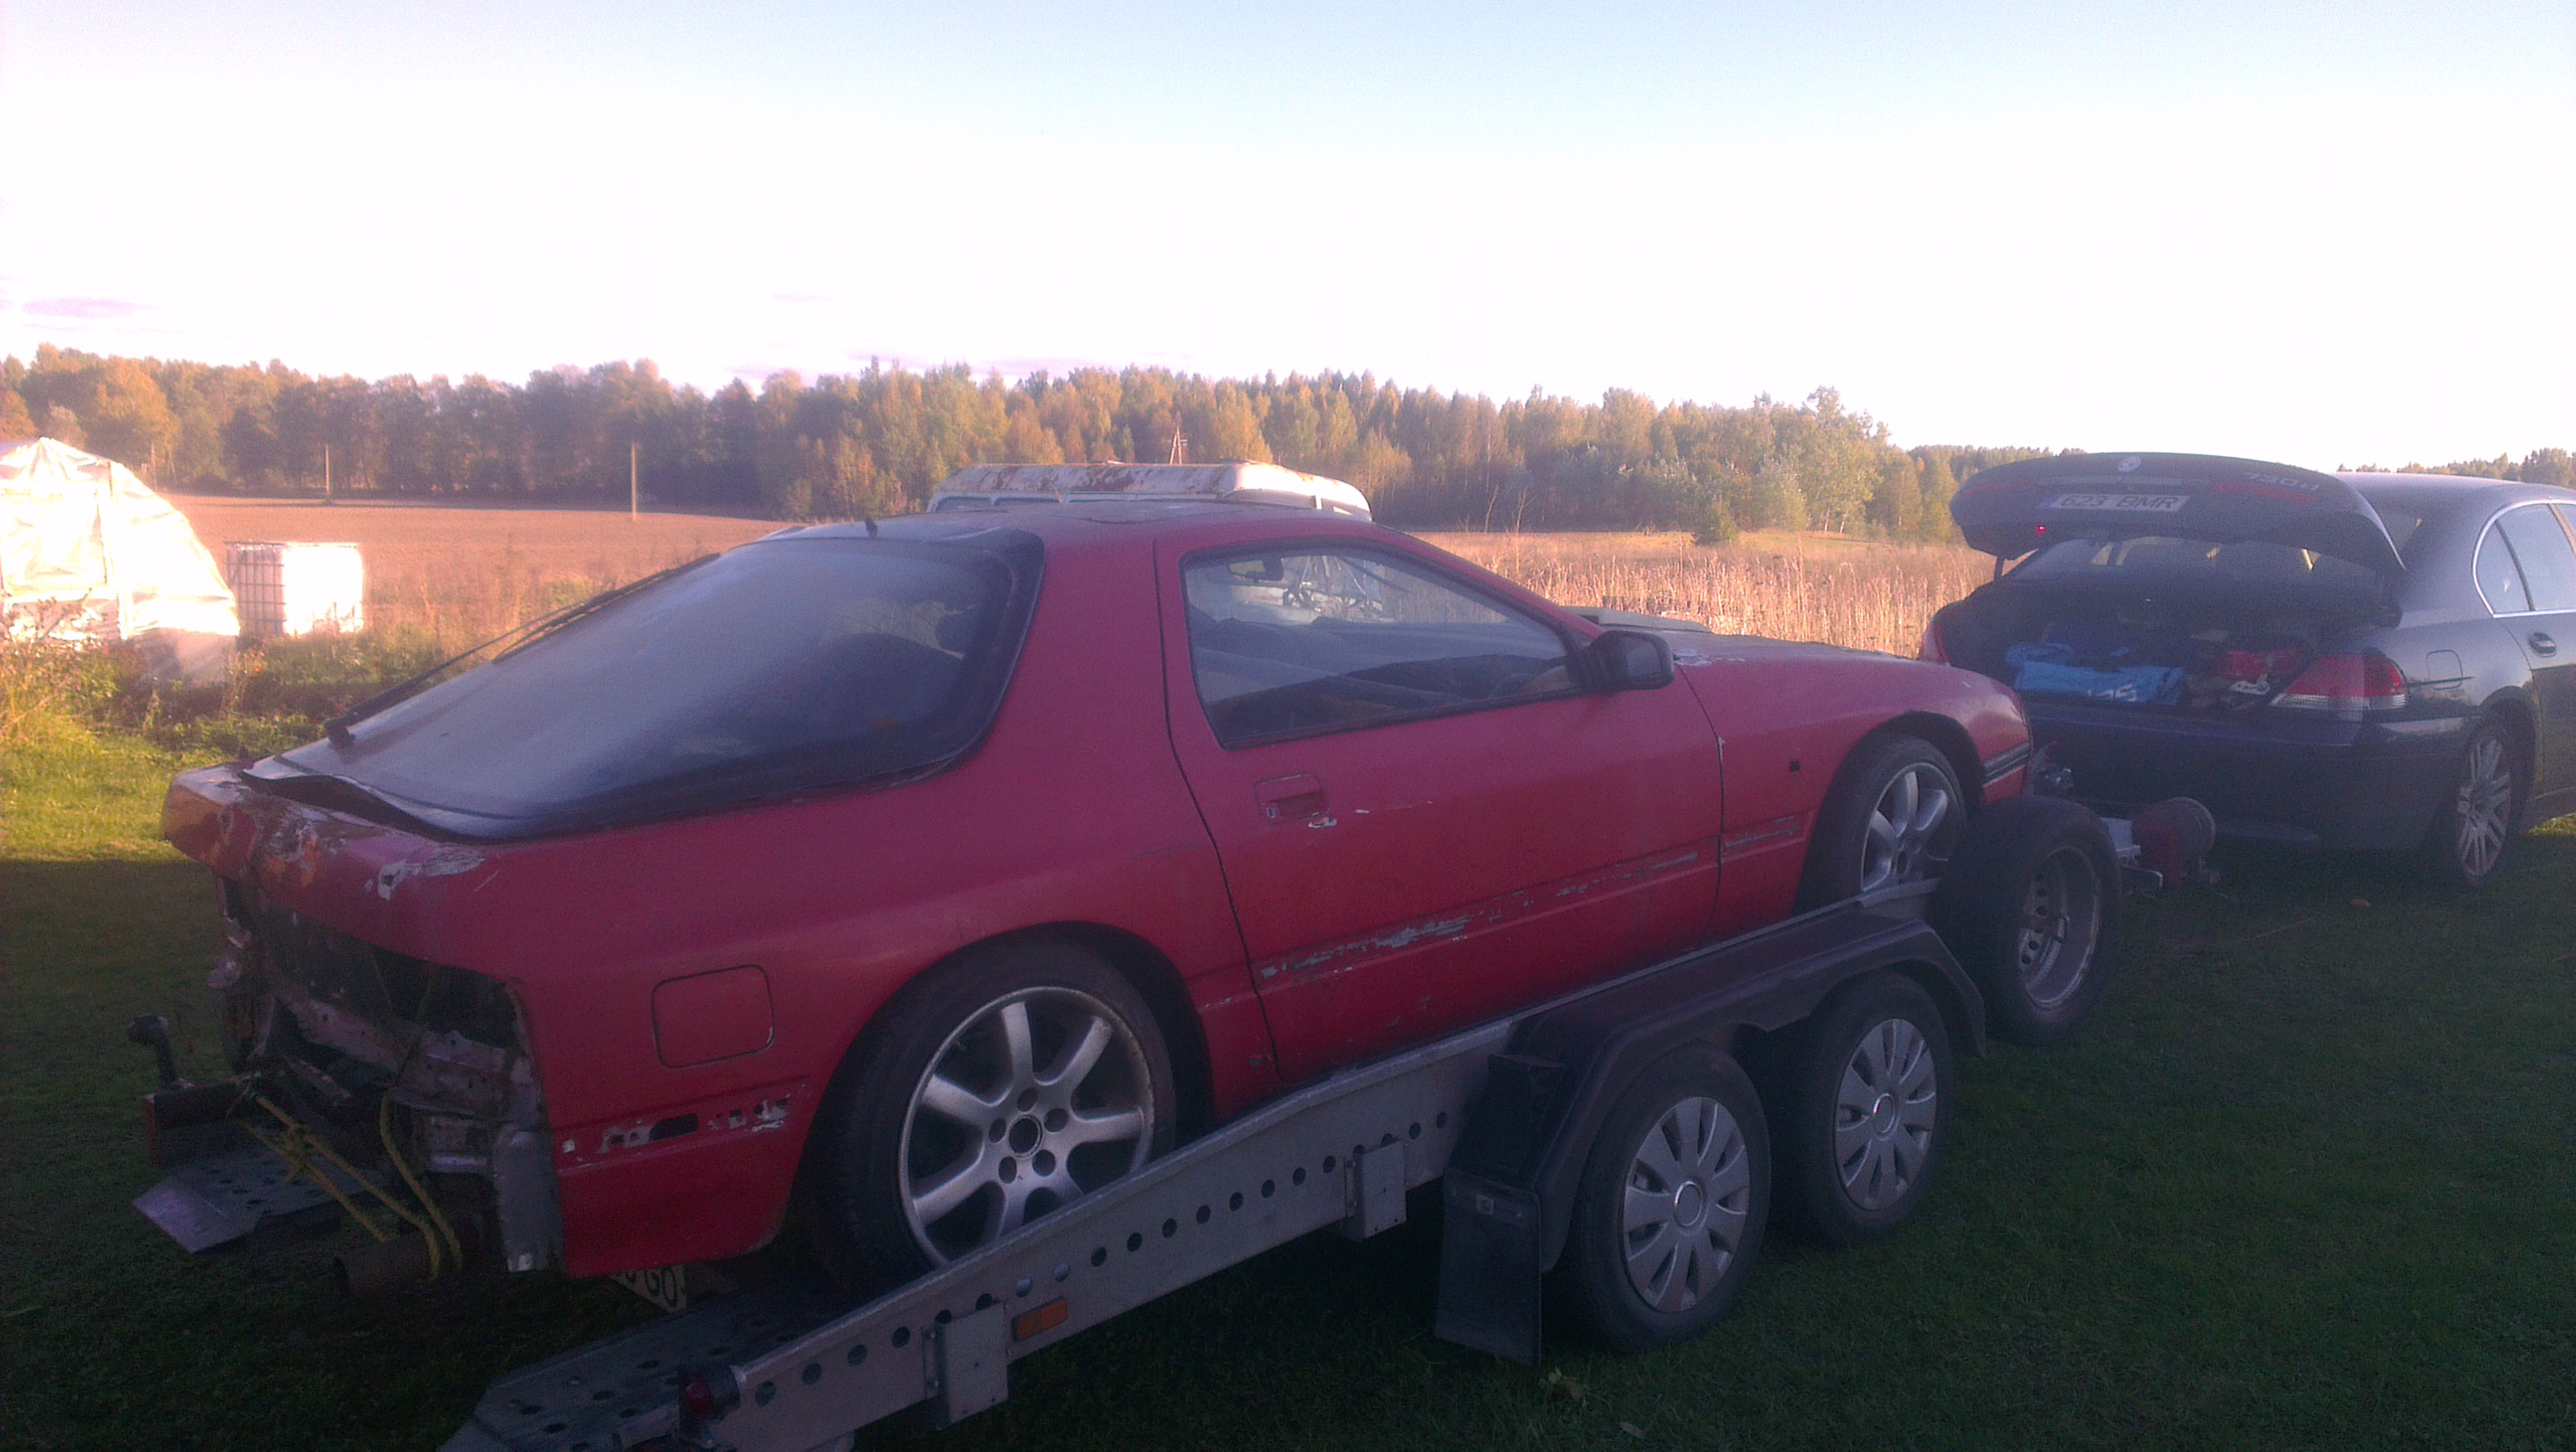
We drove south to bring the rx-7 to Tallinn for spare parts for two of us. So i now have 1,5 fc3s´s the car was only 100€ and wheels 75€. Rodents really love these cars, i found the remains of car documents in the passenger glove compartment

things were standing still for about two months, enjoyed the short summer while it lasted and my daily driver made me broke, still suffering in money problems but i do my best to get everything in order.
We drove south to bring the rx-7 to Tallinn for spare parts for two of us. So i now have 1,5 fc3s´s
the car was only 100€ and wheels 75€. Rodents really love these cars, i found the remains of car documents in the passenger glove compartment
11-02-15, 01:52 AM
#49
Senior Member
Thread Starter
Started making the exhaust manifold. The hardest part of it was placing the turbo, it really didnt want to fit there, it took a lot of time to find the right place, i have never done anything like this before so it was the first time for me.. found out that the lower radiator hose was in the wrong way, when turned right there was room for the oil drain pipe and the turbo fit nicely.
hose upside down in this pic
My friend helped me to fit the first pipe, that went so fast, i could see that he has done a lot of manifolds
I made 2 prototypes before but i dont have any pics of them.
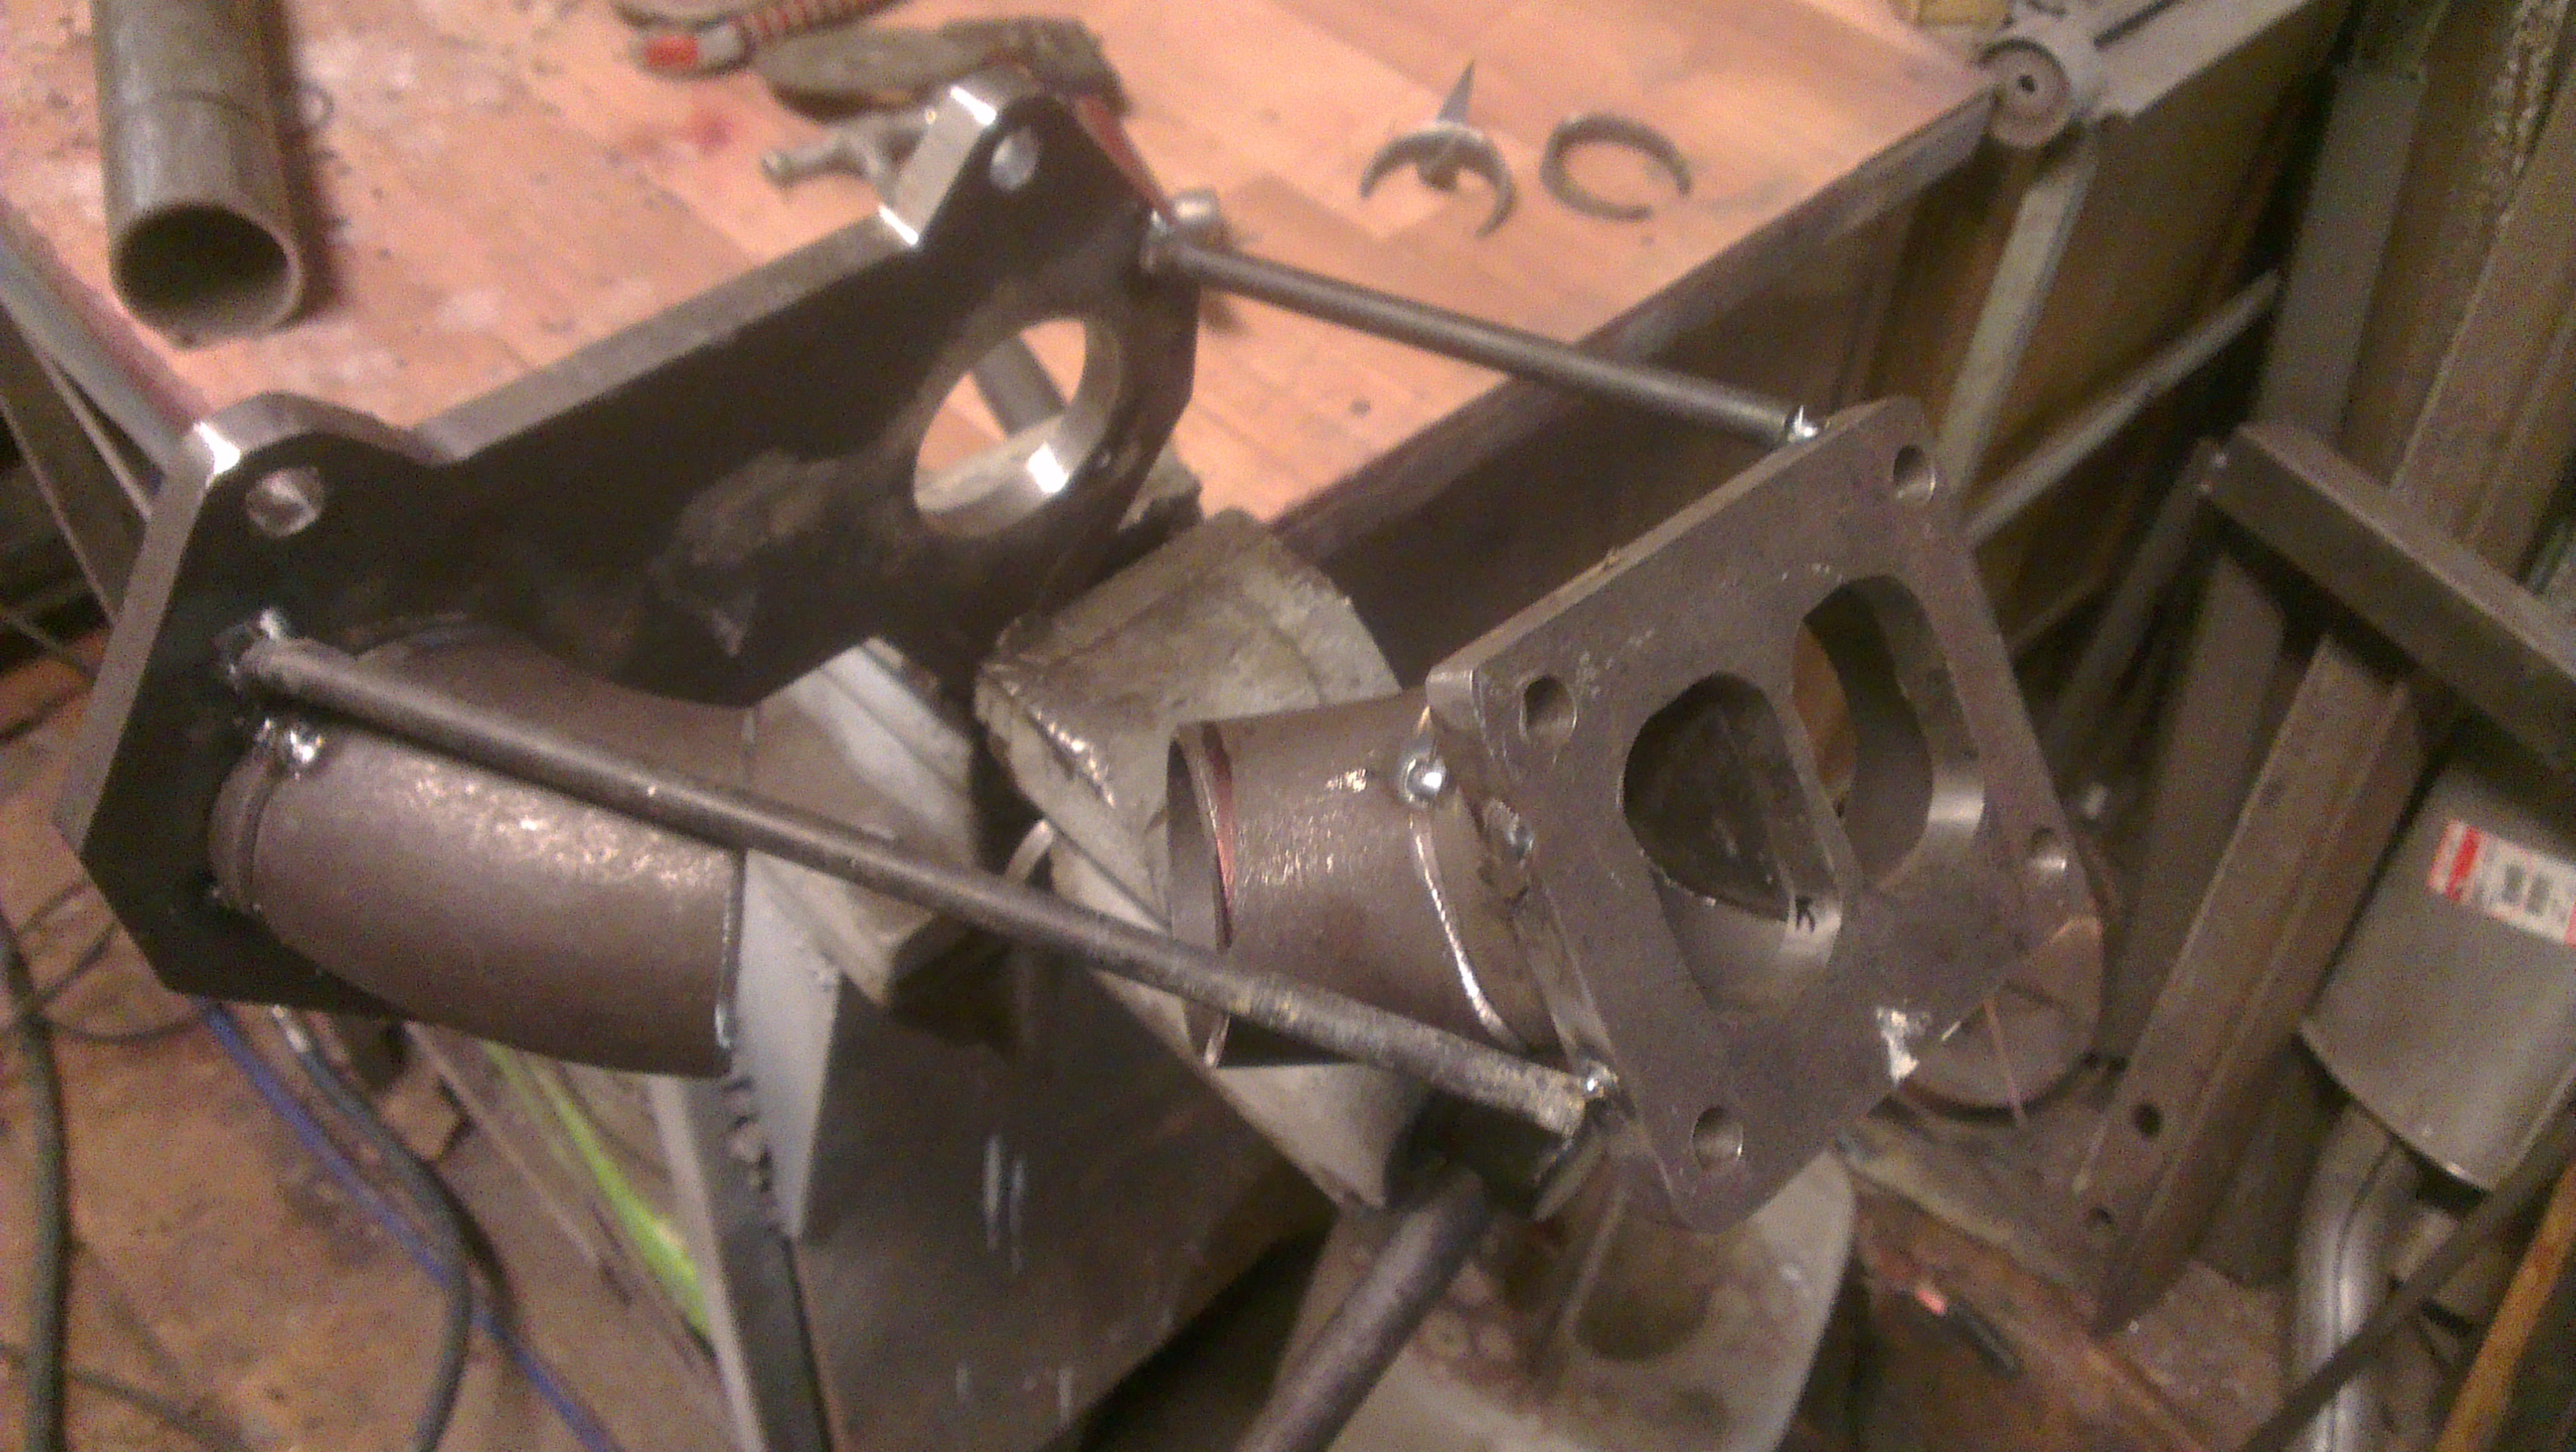
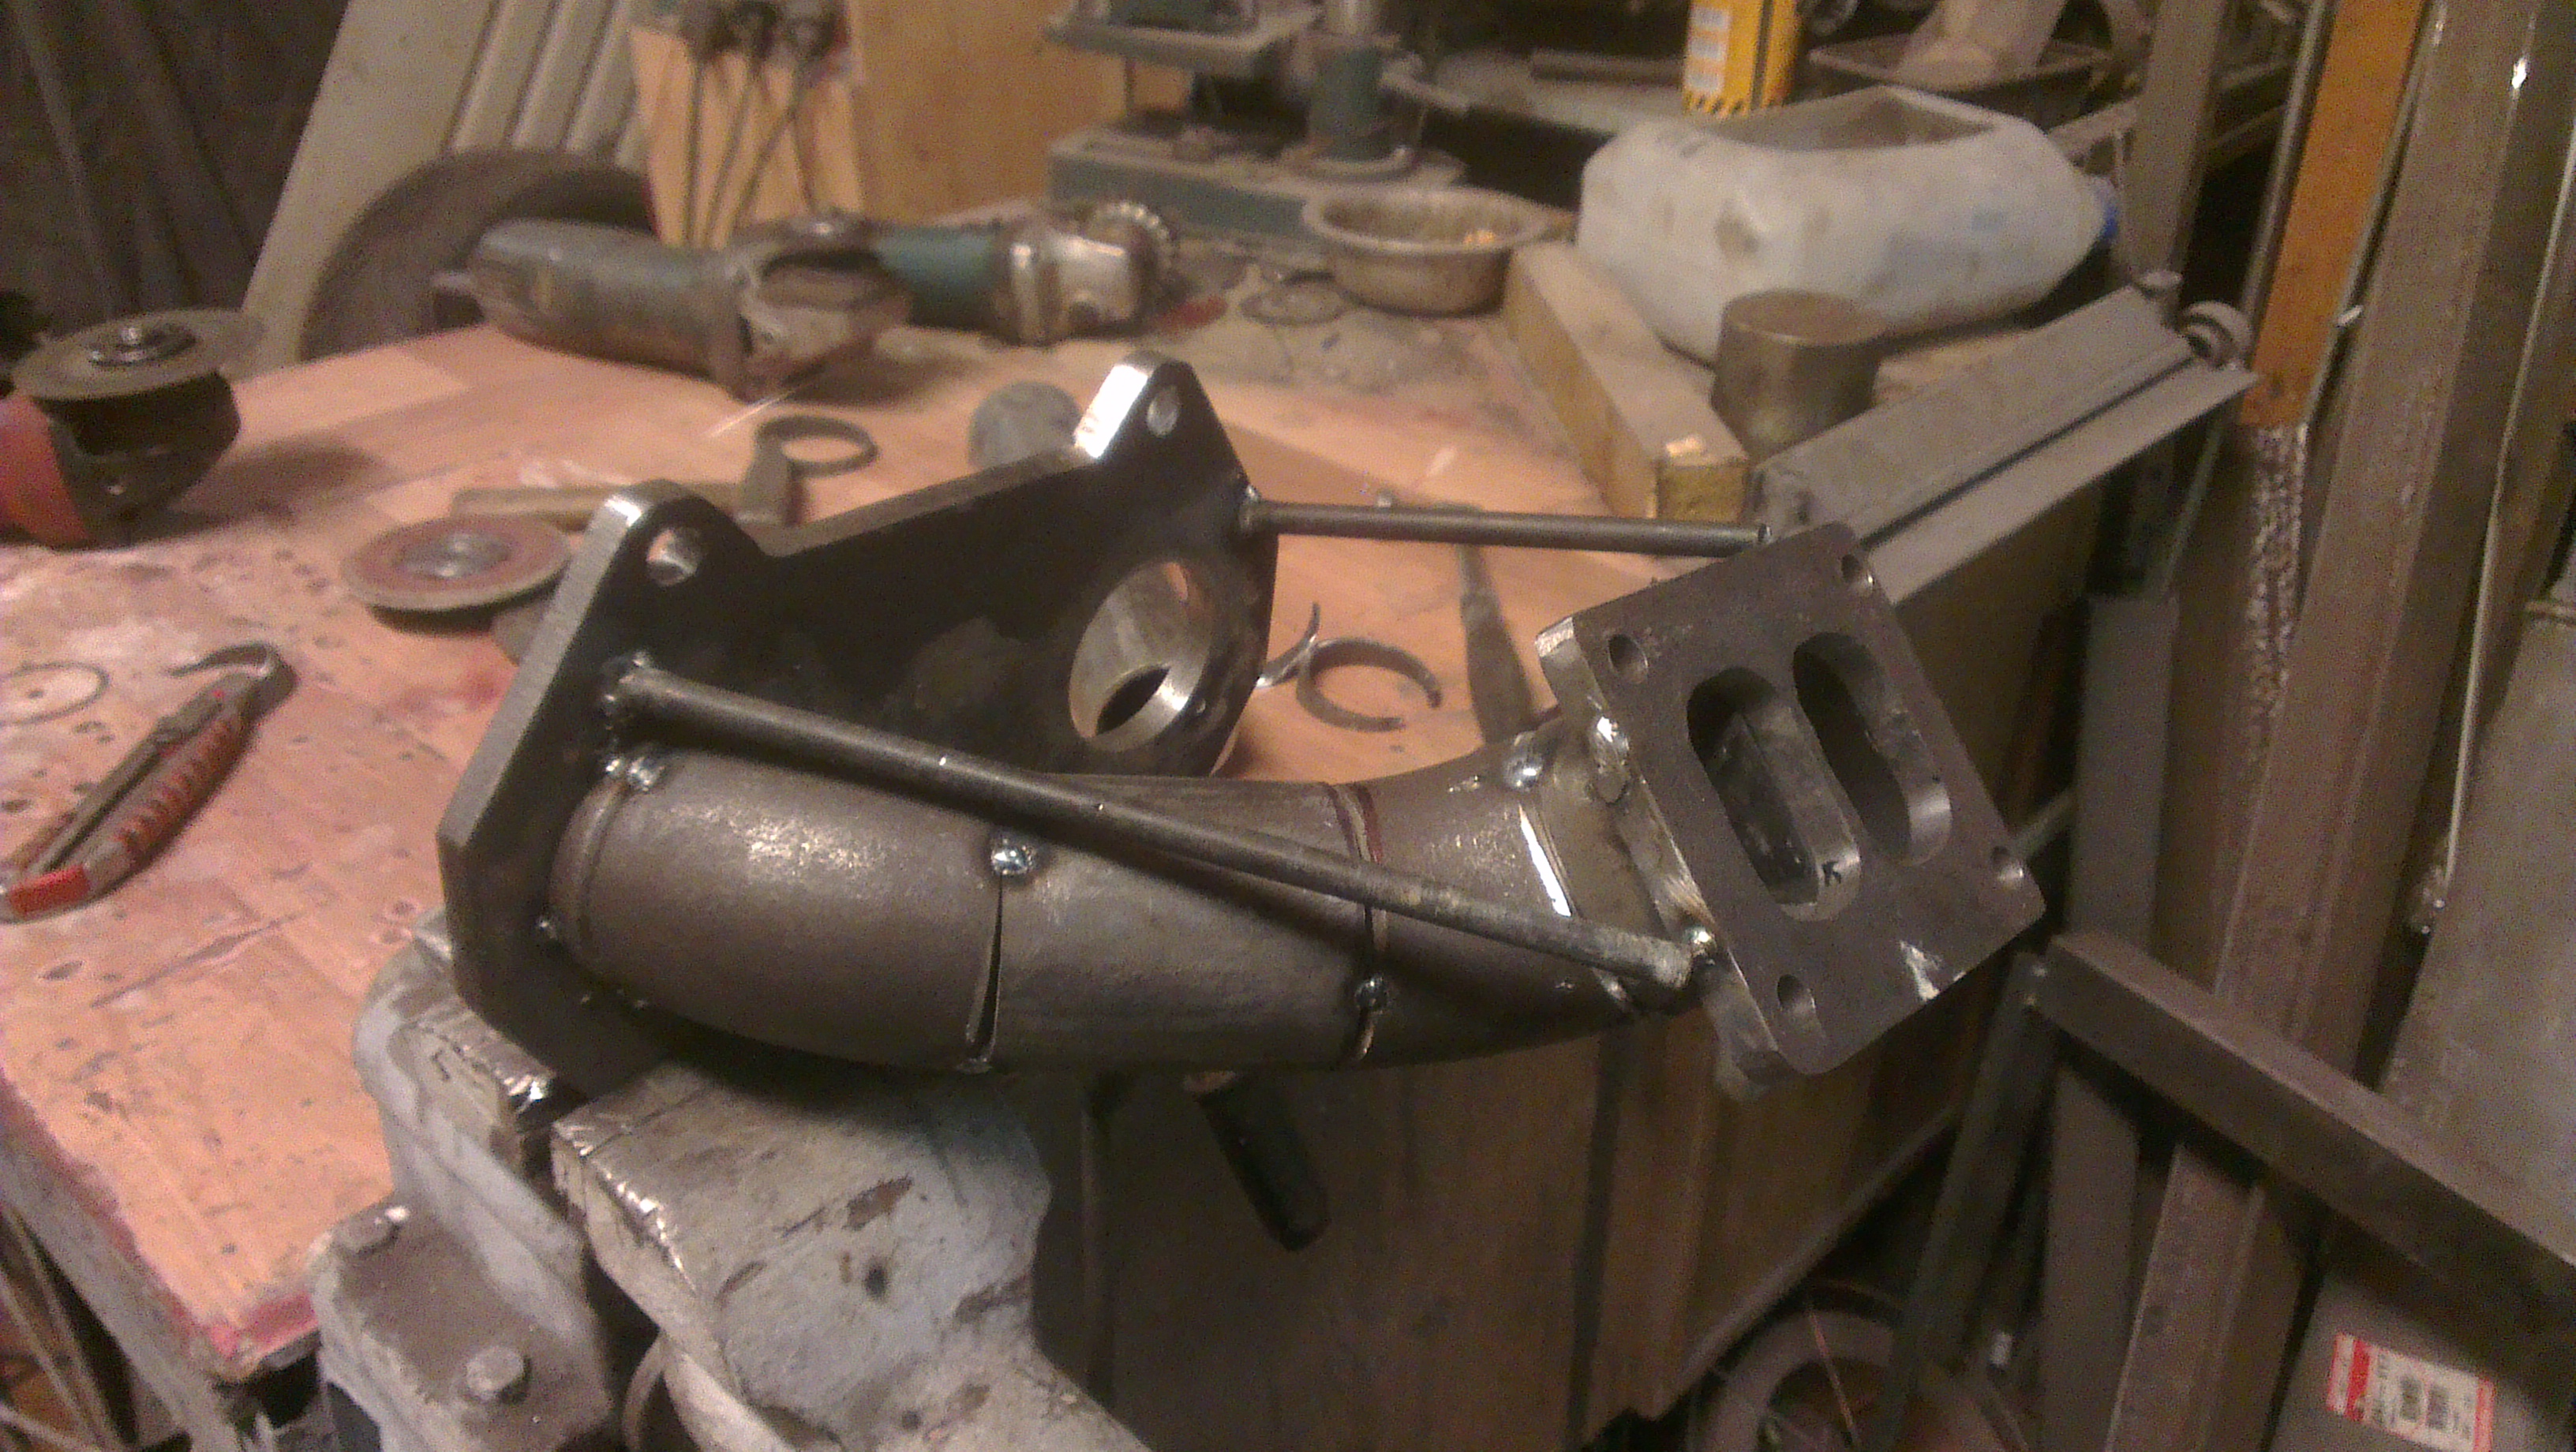
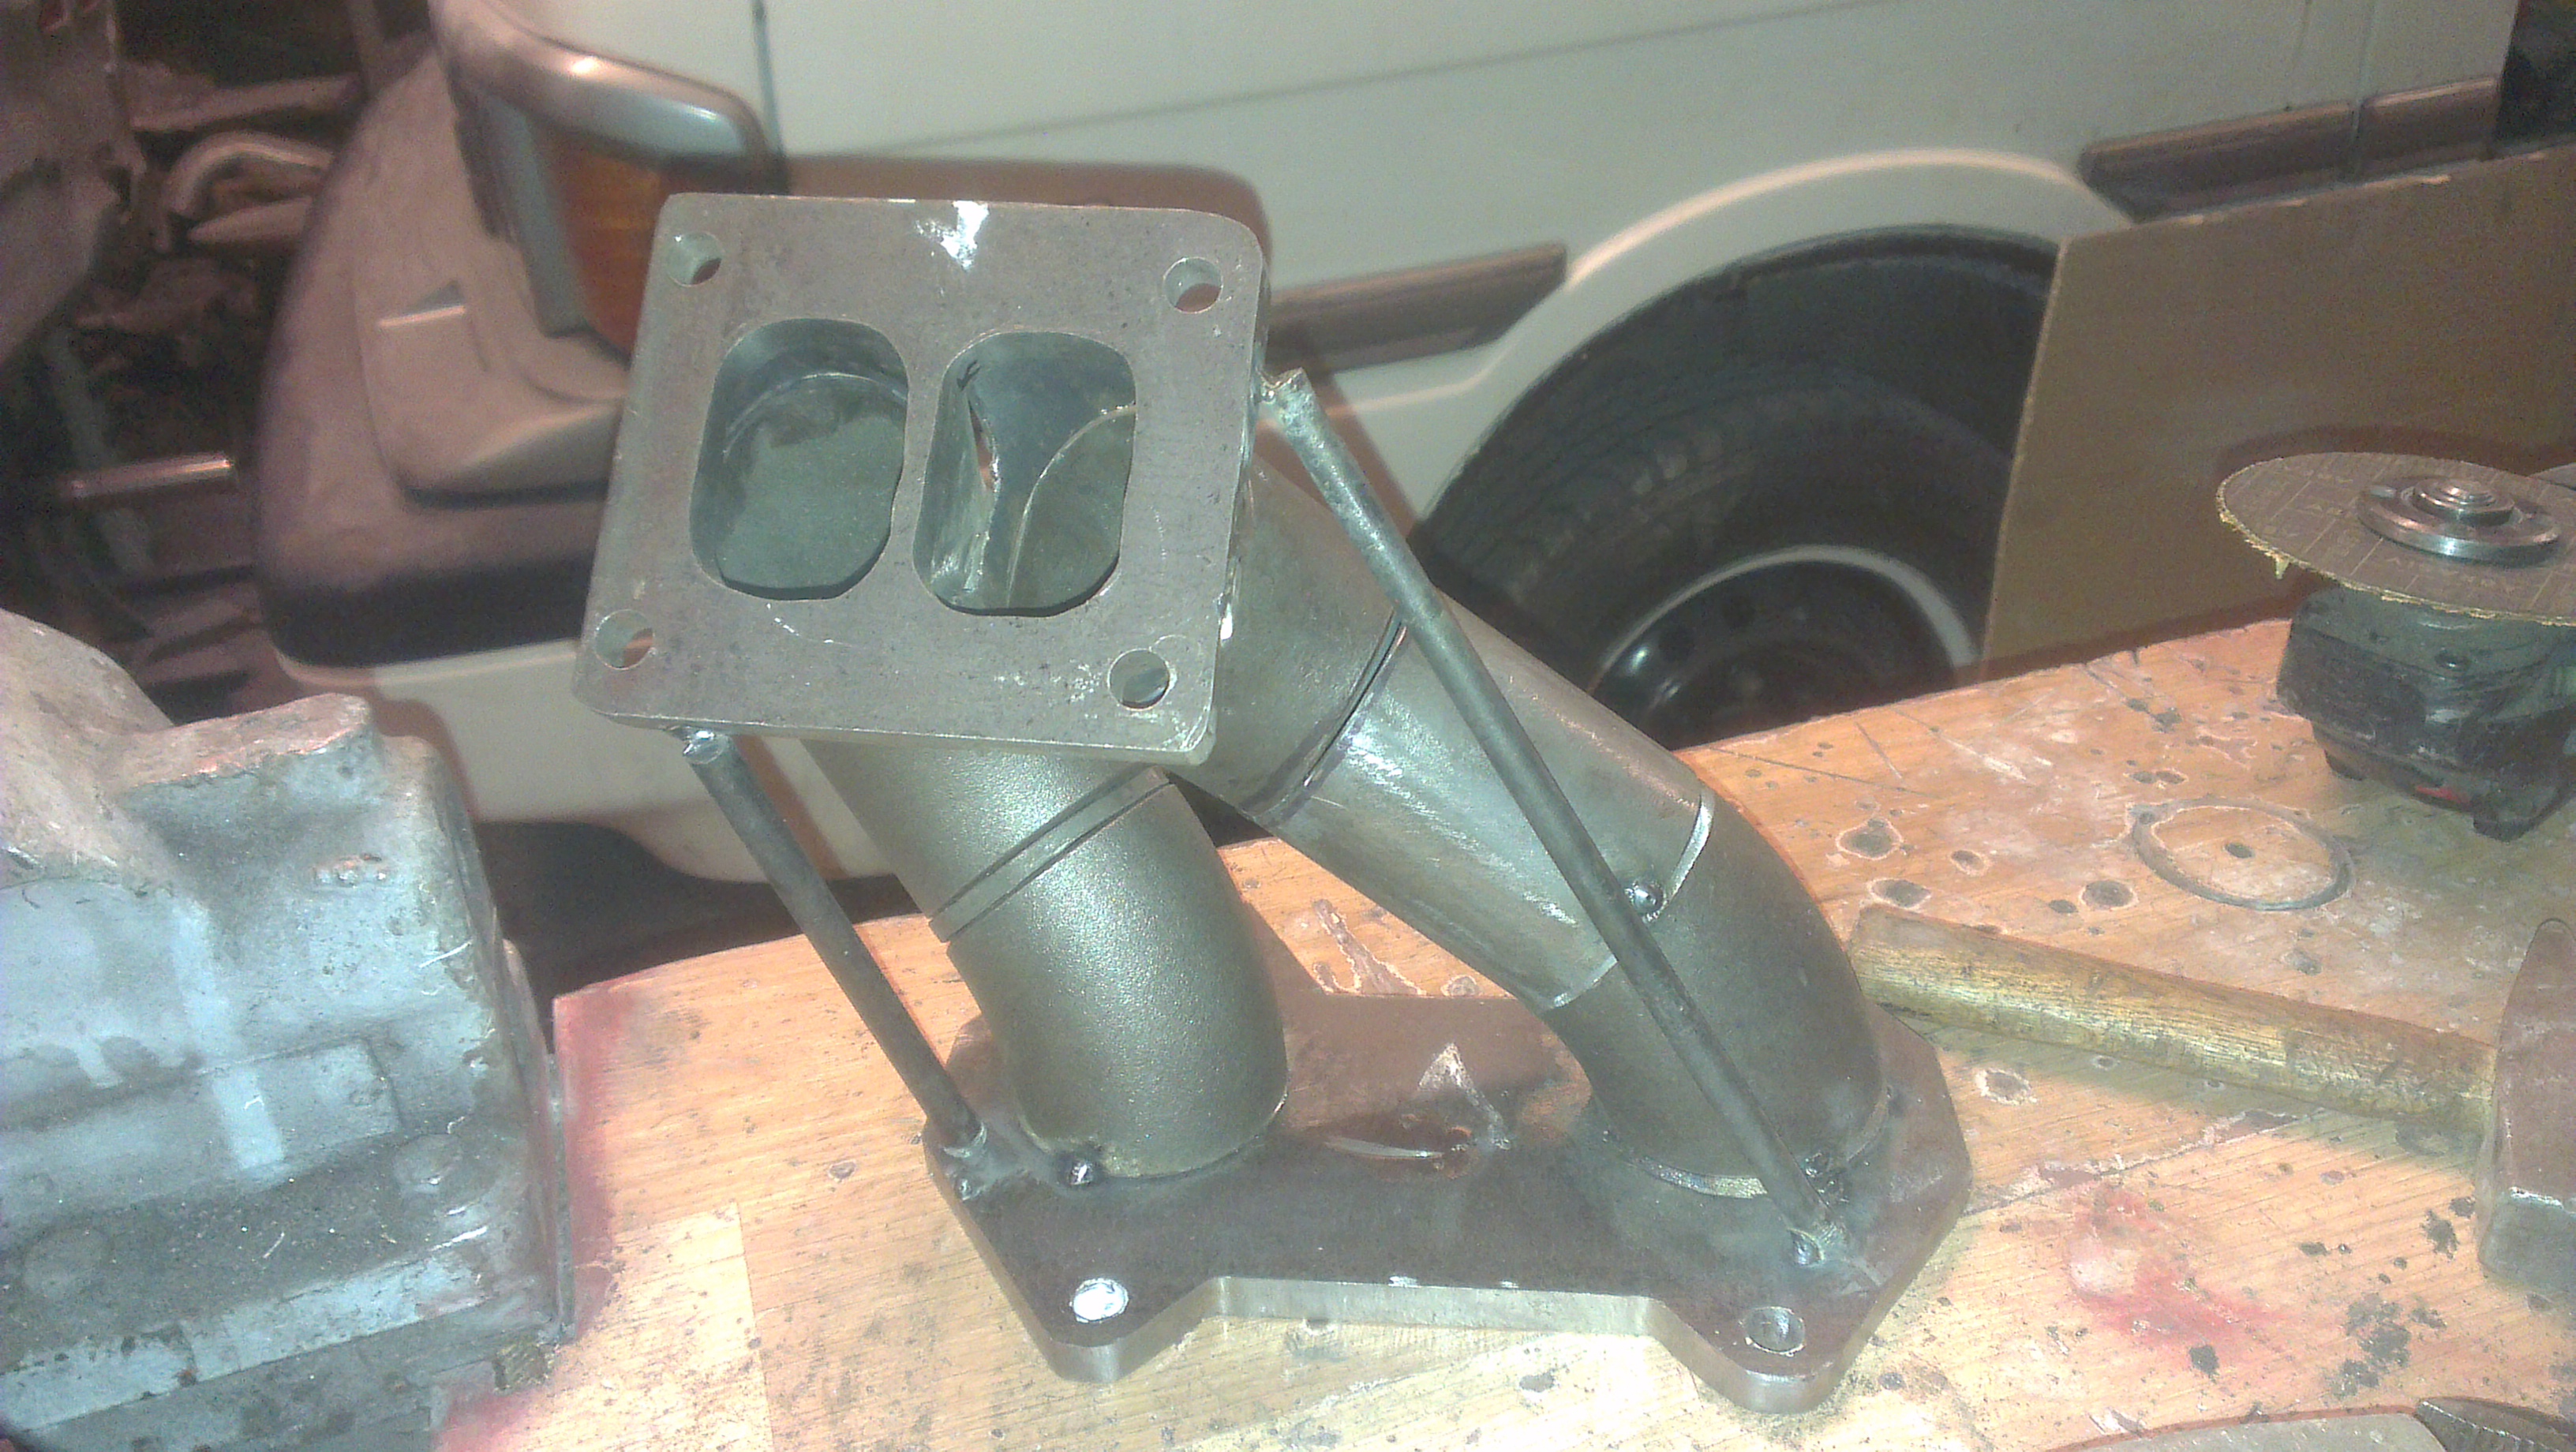
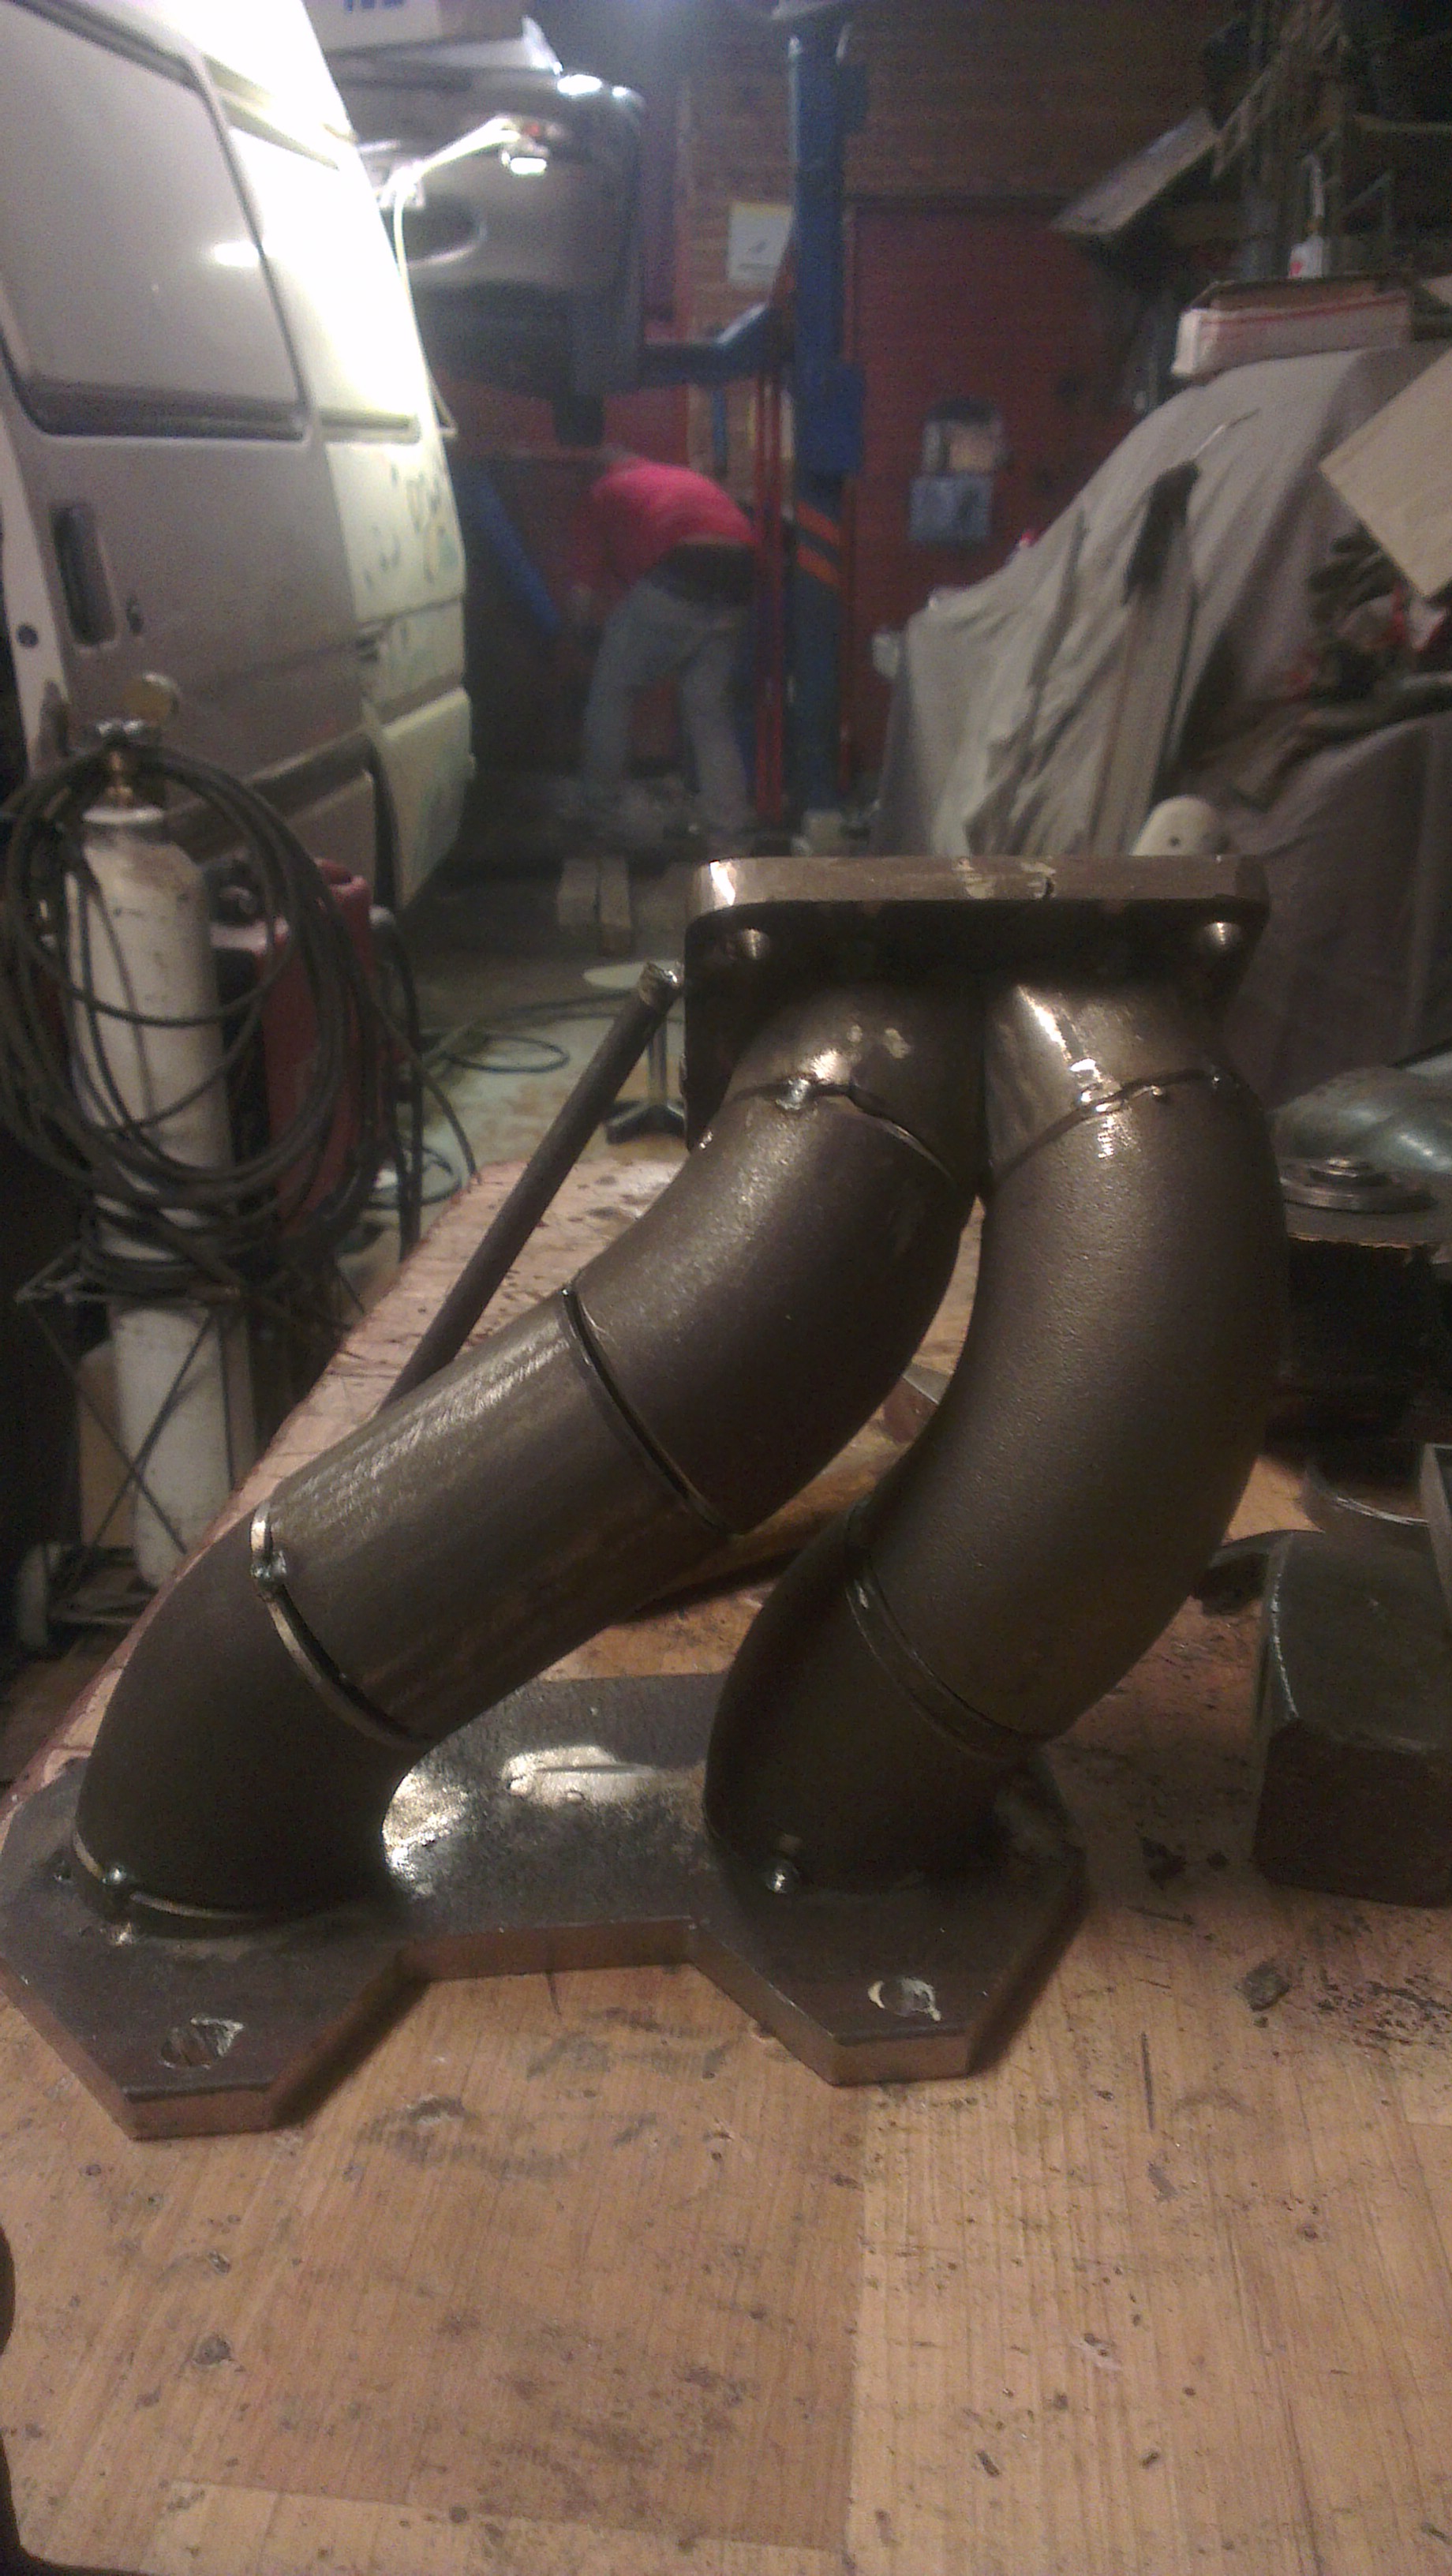
spot-welded together, now waiting to tig it.
hose upside down in this pic
My friend helped me to fit the first pipe, that went so fast, i could see that he has done a lot of manifolds
I made 2 prototypes before but i dont have any pics of them.
spot-welded together, now waiting to tig it.
11-02-15, 06:22 AM
#50
troubleshooting sucks
manifold looks good! ill be taking the same direction (turbo) as you later on so ill be watching this closely. sorry i didnt see your question earlier. i had it rebuilt by the same fella you bought some parts off in sweden. built quality was very good but having to wait a year for it was not as much fun. so nice that you have a garage youll be getting way much more than me done this winter! keep it up man