rotornoob 85 gs build thread
 05-21-13, 11:40 PM
#1
emissions r teh sux
Thread Starter
iTrader: (2)
Join Date: Dec 2005
Location: Stockton Ca
Posts: 888
Likes: 0
Received 0 Likes
on
0 Posts
rotornoob 85 gs build thread
Hello everyone!
It has been a long time since the last time I actually logged in, so I wanted to start by saying hello again. I notice some new members and recognise many more so I am glad to see the forums in good shape.
The last time I was on the forums, I had 3 first gen cars all with issues ( still seems normal) and had many many other personal issues that had to be addressed. I was thinking that just to be fun I would give a brief overview of what I have been up to since then....
I've gotten married, bought a house, had a daughter, bought 2 other vehicles to use as daily drivers (not at the same time), and recieved a promotion at work.
Well, after doing all of that I started to feel like something was missing, and after many long nights of drinking and feeling empty I figured out what it was....I miss my 7....
Since I found out that I missed the 7 that much I've decided to start ggetting it ready to drive again. As stated above, I have 3 of them so we will start with a brief history of issues and plans for the vehicles.
1) 1982 s - this car was the second 7 that I bought. Paid $300 and ran like a champ. Not currently operating due to the following :
A) was driving one night just cruising along when I heard a loud bang and smelled burning oil. Killed the engine and popped the hood to have a look but saw no issues...ever since then the housings would get way hotter than normal.
B) suspension is toast...2 years of nightly street racing will royally stress an original factory suspension...lesson learned...
C) rust, rust, rust....after the previous 2 issues I decided to see if the car was worth saving or if it should be a donor...answer...texas cars rust really bad....
Destiny of this chassis : donor car/junk yard food
 05-21-13, 11:46 PM
#2
emissions r teh sux
Thread Starter
iTrader: (2)
Join Date: Dec 2005
Location: Stockton Ca
Posts: 888
Likes: 0
Received 0 Likes
on
0 Posts
2 1983 gs - first 7 I bought. Great car after I rebuilt the carb...then it blew a coolant seal and won't start. No rust save for 1 small spot at the bins.
Destiny : restoration for my niece ( she is 10 right now and loves the car)
3 1985 gs - this is the car we are building in this thread. This car was my favorite to race and is in the best starting condition. There are some problems which I will discuss in just a bit, but was a solid little thing until it was joyridden. When I got it back i was unable to fix the car on my own as there was extensive rear quarter dMage. I got lucky and my buddy had an 85 that was the same color but stripped of everything but the unibody itself (fenders and hood were gone too) so we just swapped everything out and traded chassis
1983 gs - first 7 I bought. Great car after I rebuilt the carb...then it blew a coolant seal and won't start. No rust save for 1 small spot at the bins.Destiny : restoration for my niece ( she is 10 right now and loves the car)
3
1985 gs - this is the car we are building in this thread. This car was my favorite to race and is in the best starting condition. There are some problems which I will discuss in just a bit, but was a solid little thing until it was joyridden. When I got it back i was unable to fix the car on my own as there was extensive rear quarter dMage. I got lucky and my buddy had an 85 that was the same color but stripped of everything but the unibody itself (fenders and hood were gone too) so we just swapped everything out and traded chassis
05-21-13, 11:58 PM
#3
emissions r teh sux
Thread Starter
iTrader: (2)
Join Date: Dec 2005
Location: Stockton Ca
Posts: 888
Likes: 0
Received 0 Likes
on
0 Posts
The other issues with this car are :
It has a miss when running...I haven't checked compression or the condition of the seals themselves, but I'm betting that I have a cracked or stuck seal.
It smokes like someone at a cypress hill concert when it is warming up, and a little bit under heavy acceleration so I'm betting my oil seals are toast too.
Transmission shaft is off by a few thousands of an inch so the clutch wobbles and rubs against the flywheel. Needs tranny serviced..probably the bearings or a seal issue although I'm thinking bearings since its not leaking gear oil.
Harness has issues...aside from finding a million side taps in the center harness ( the one behind the stereo), any time I hit a bump it would blow the fuses for the stereo, interior dash lights, and one of the fusible links under the hood.
The suspension is shot...once again racing and driving aggressively on an already shot suspension leads to needing tires every 2 weeks and bottoming out on everything...ever hear the rear slam down on the bump stops for the springs at 80mph? Not fun...downright painful.
Gas tank filler is worn out to the point that even a new gas cap won't seal...Had to use 2 additional gas cap gaskets on top of the one supplied with the gas cap in order to avoid draining gas down my rear quarter panel.
Seals and weather stripping are rotten/cracked/ hard as a rock...
05-22-13, 12:02 AM
#4
emissions r teh sux
Thread Starter
iTrader: (2)
Join Date: Dec 2005
Location: Stockton Ca
Posts: 888
Likes: 0
Received 0 Likes
on
0 Posts
Unfortunately that is all I can post atm as I am at work and I have to close everything up for the night, but I will update this thread with pics of the 85 in its current state and a build list. My goal is to not only drive my beast again, but maybe get input from more experienced members regarding my part choices and any process ideas along the way. Thank you for taking the time to read this thread so far, and I hope to hear from you soon.
05-22-13, 02:22 PM
#5
emissions r teh sux
Thread Starter
iTrader: (2)
Join Date: Dec 2005
Location: Stockton Ca
Posts: 888
Likes: 0
Received 0 Likes
on
0 Posts
ok so i got some pics this morning but i couldn't upload them through the mobile app because they were too large. instead, i put them on photobucket. These are just to show the general state of the car at the moment before work begins. please exuse the messiness of the car as i have not had a chance to clean it up yet. that will happen this weekend.
anyways, in these pictures you can see the door seal rotting, and other small issues but for the most part the chassis is in good condition. the shots of the wheel wells are to document how far the suspension has sagged and weakened. the front end almost looks lowered! lol
later tonight i will start posting my proposed build list in the hopes that you will all be able to offer alternatives or opinions as you see fit.
85 Rx7 Build Slideshow by oninoronin | Photobucket
05-23-13, 04:18 AM
#6
emissions r teh sux
Thread Starter
iTrader: (2)
Join Date: Dec 2005
Location: Stockton Ca
Posts: 888
Likes: 0
Received 0 Likes
on
0 Posts
tonight at work i used my down time to start a build list for my suspension. i havent cross referenced any prices between the various vendors yet, but this is what i have so far. feel free to suggest changes or offer opinions of any parts you have experience.
Moog parts:
outer tie rod end $25.16 each x2
inner tie rod end $25.42 each x2
tie rod sleeve $8.14 each x2
pitman arm $50.96 each x1
idler arm $75.04 each x1
upper strut mount $74.42 each x2
Mazdatrix parts:
lower control arm; left $171.90 each x1
lower control arm; right $171.90 each x1
rear upper spring seat $17.85 each x2
strut boot $28.22 each x2
strut top height adj. shim $14.01 each x6
ST rear swaybar; adj. $210.82 each x1
ST front swaybar 1 1/8" $191.03 each x1
watts link, long; left $65.67 each x1
watts link, short; right $61.78 each x1
watts link pivot bracket $83.24 each x2
watts link pivot bracket reinforcement $37.50 each x1
Re-speed:
complete poly bushing kit $160.00 x1
as of now the cost total before taxes and shipping is somewhere around $2,033.58. if there is anything i missed please feel free to let me know. granted the list is not complete but i think its a fair start to a large project.
for springs, struts and shocks i havent really made my decision yet. im debating between the re-speed coil over kits, the TTT coilovers or trying to find something else to play with. im trying to set the spring rates to 350 front and 175 rear. i plan on using it as a dd once my wife starts driving the versa, but i also plan to start attending events after everything is broken in and so on. any suggestions?
anyways, this saturday and sunday i will be cleaning the car and beginnign to work on a few things here and there. i will make sure to take pics and post after progress has been made.
05-30-13, 01:48 PM
#7
emissions r teh sux
Thread Starter
iTrader: (2)
Join Date: Dec 2005
Location: Stockton Ca
Posts: 888
Likes: 0
Received 0 Likes
on
0 Posts
last saturday i went to my fathers house and started pulling body panels and such from the donor car. all that i have left to strip from the donor car is the engine/trans/rear end and the rear quarters. i will probably take the roof too, but i will be using it for materials during the fabrication process. i havent talked about this part of the build yet, but that will come later.
here are pics of what i got done on saturday. i took out the main harness, pulled the front fenders, header panel, headlight assembly, rear hatch glass and the driver door. i was intending to pull the engine and trans on sunday, but i had to make beer with my brother. those pics are below as well. monday the weather was crappy so i didnt do anything more than playing monster hunter :p
i started tyo repair a spare fender that i had. my neighbor had hit the car many years ago, and the fender had a very large dent just above the center of the wheel well area. hammerred it out, and now it is close enough to suit my purposes.
5x25x13 Photos by oninoronin | Photobucket
hopefully i can get more done this weekend. next step is to put the red car in the garage so that i can work on it, and finish stripping the black one so that it can go to the junk yard.
Trending Topics
06-04-13, 12:55 PM
#9
emissions r teh sux
Thread Starter
iTrader: (2)
Join Date: Dec 2005
Location: Stockton Ca
Posts: 888
Likes: 0
Received 0 Likes
on
0 Posts
Thanks for the luck so this weekend I was intending to pull the engine, tranny, and rear quarters from my donor car, but......that didn't quite happen...
The reason? 100+ degree temps make pulling parts dangerous when there is no shade to work in...
That doesn't mean I did nothing though...I managed to clean the garage and put the 85 inside where the elements are more forgiving. I installed the donor front fenders, and will begin modification shortly. I also decided on an engine build...or mostly...
I was speaking with chris at rotary workz via email, and have decided to do an s5 n/a swap....still working on the full build specs at the moment, but so far i am happy with the proposed build. The reason I'm staying n/a instead of doing a turbo swap is simple...I don't want to mess with turbo tuning/upkeep...the boost is nice I admit, but for what I plan on using the car for I think an n/a platform will suit me better.
If anyone here is near stockton ca and has a fender roller I could use I will gladly pay for said use and can probably even provide beer/bbq as a thank you...I just don't want to buy one yet...and no the baseball bat technique won't work for what I want to do...so if u have one, please pm me.
so this weekend I was intending to pull the engine, tranny, and rear quarters from my donor car, but......that didn't quite happen...The reason? 100+ degree temps make pulling parts dangerous when there is no shade to work in...
That doesn't mean I did nothing though...I managed to clean the garage and put the 85 inside where the elements are more forgiving. I installed the donor front fenders, and will begin modification shortly. I also decided on an engine build...or mostly...
I was speaking with chris at rotary workz via email, and have decided to do an s5 n/a swap....still working on the full build specs at the moment, but so far i am happy with the proposed build. The reason I'm staying n/a instead of doing a turbo swap is simple...I don't want to mess with turbo tuning/upkeep...the boost is nice I admit, but for what I plan on using the car for I think an n/a platform will suit me better.
If anyone here is near stockton ca and has a fender roller I could use I will gladly pay for said use and can probably even provide beer/bbq as a thank you...I just don't want to buy one yet...and no the baseball bat technique won't work for what I want to do...so if u have one, please pm me.
08-19-13, 07:51 PM
#10
emissions r teh sux
Thread Starter
iTrader: (2)
Join Date: Dec 2005
Location: Stockton Ca
Posts: 888
Likes: 0
Received 0 Likes
on
0 Posts
So its been a while since I posted in this thread. An update to where I am at right now. I have recently washed the car and cleaned the hell out of the interior. My wife decided that she will get her license soon ( finally!! ) and so in will run the 12a while saving money for parts. The suspension will need some work before I can drive it safely, but xmas and my bday are coming up at the end of the year so I may be able to get some parts to help me out
Decided that the modifications will start at the back of the car and move forward from there. Basically its gonna be some hardcore cleaning and painting while I save funds for the engine and fuel system upgrades.
In the mean time I removed the old corroded battery from the engine bay, and found some stuff to clean/paint under there when I reach the front of the car. Plans for this week are to fix my tail lights and clean/paint the sway bar and possibly the rear end housing.
I am also trying to figure out why the car has a miss while idling. I'm thinking its an ignition issue, but I'm not quite sure where to start tracking it down from. Will probably just start getting new ignition components and replacing them one by one. Its gonna have to get done eventually anyways...
So that's it for now. I will post some pics later this week to show current progress.
08-21-13, 03:13 AM
#11
emissions r teh sux
Thread Starter
iTrader: (2)
Join Date: Dec 2005
Location: Stockton Ca
Posts: 888
Likes: 0
Received 0 Likes
on
0 Posts
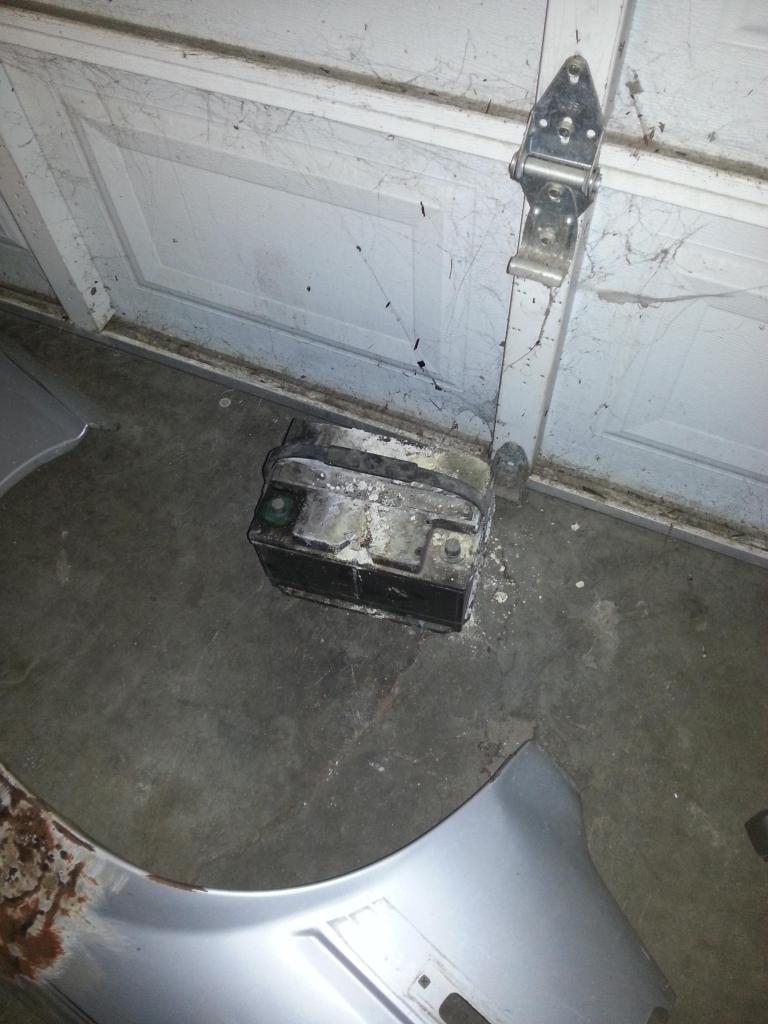
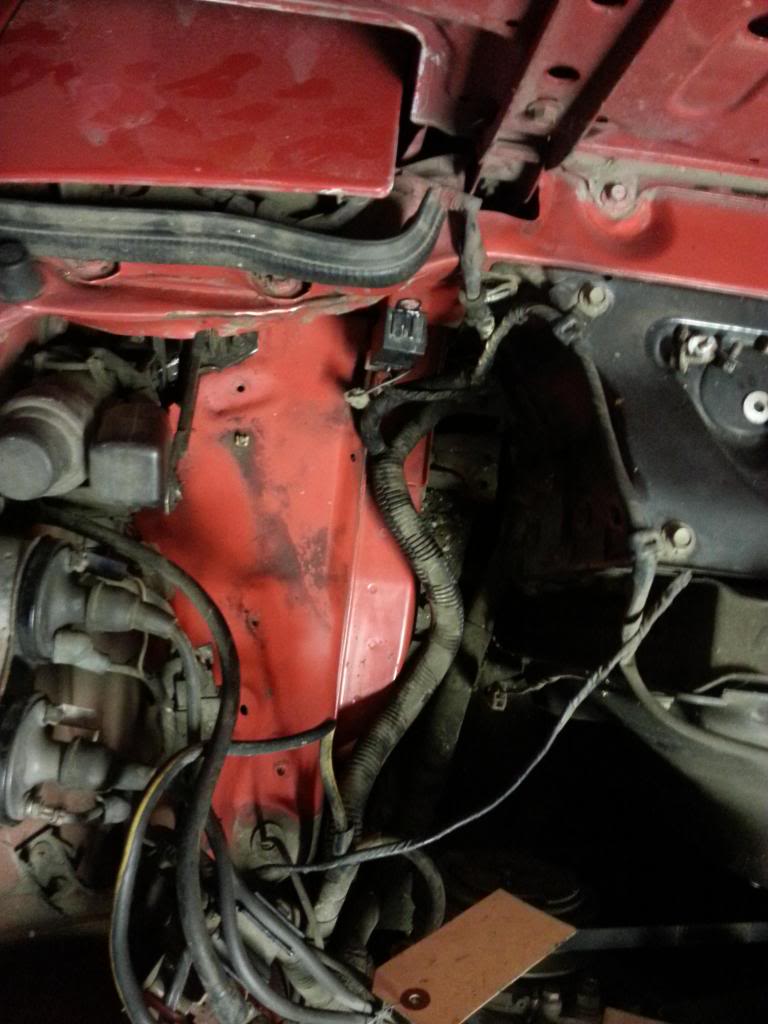
So this is the battery i pulled out of the car...definately sat too long..my bad 
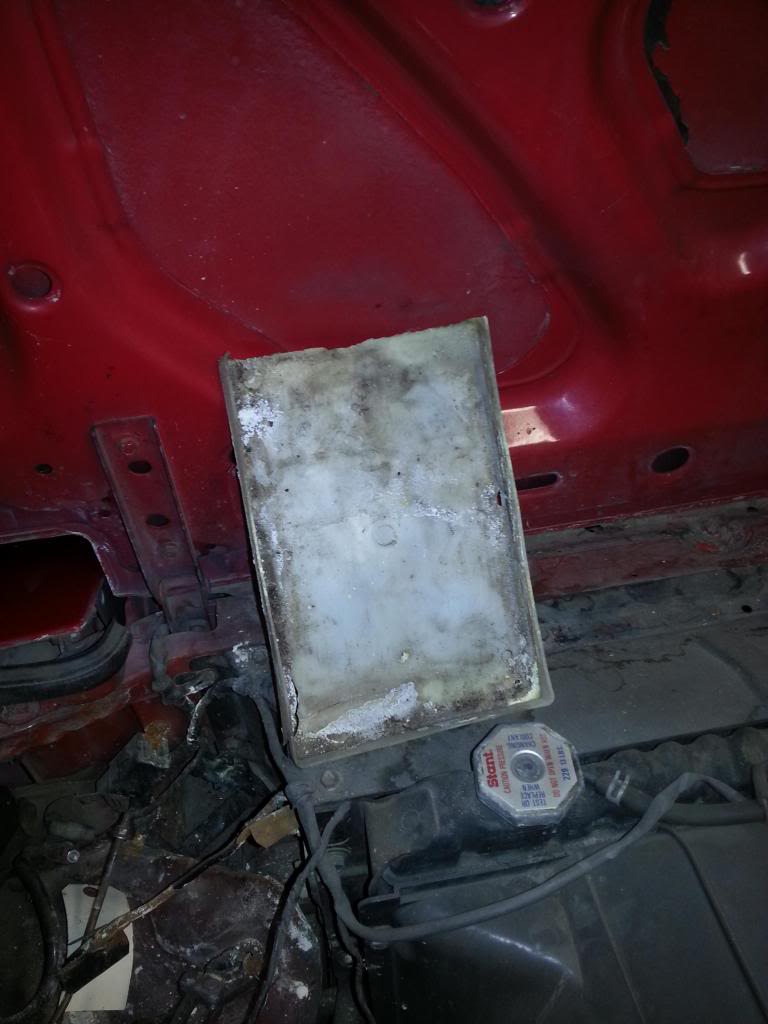
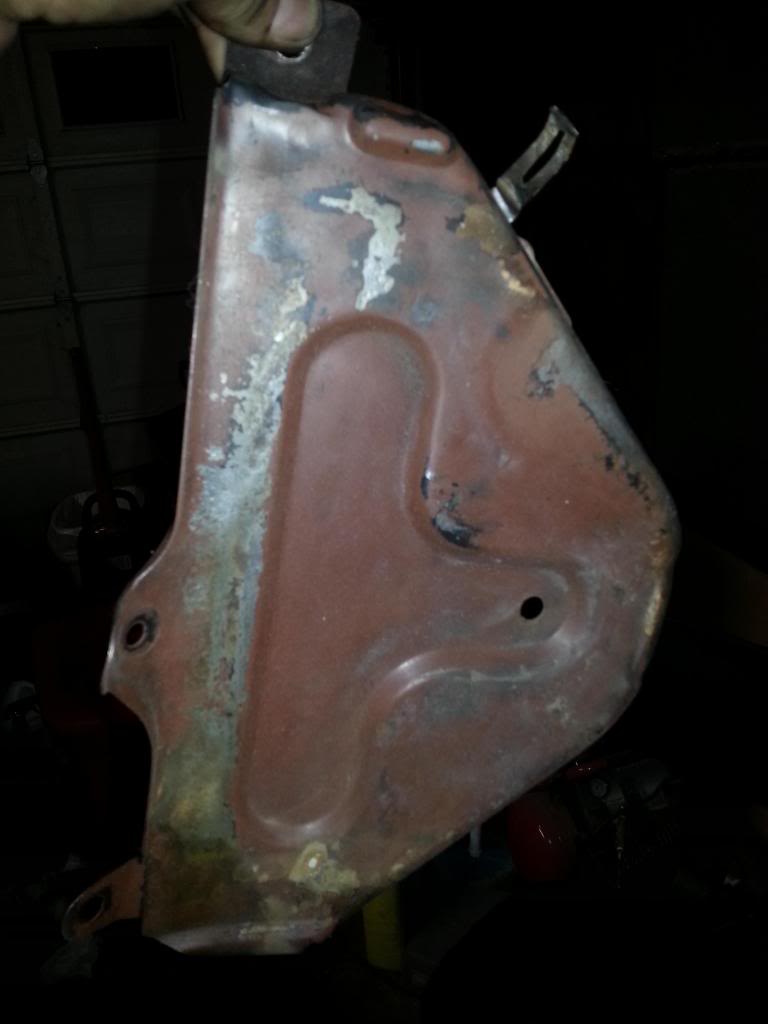
The battery tray
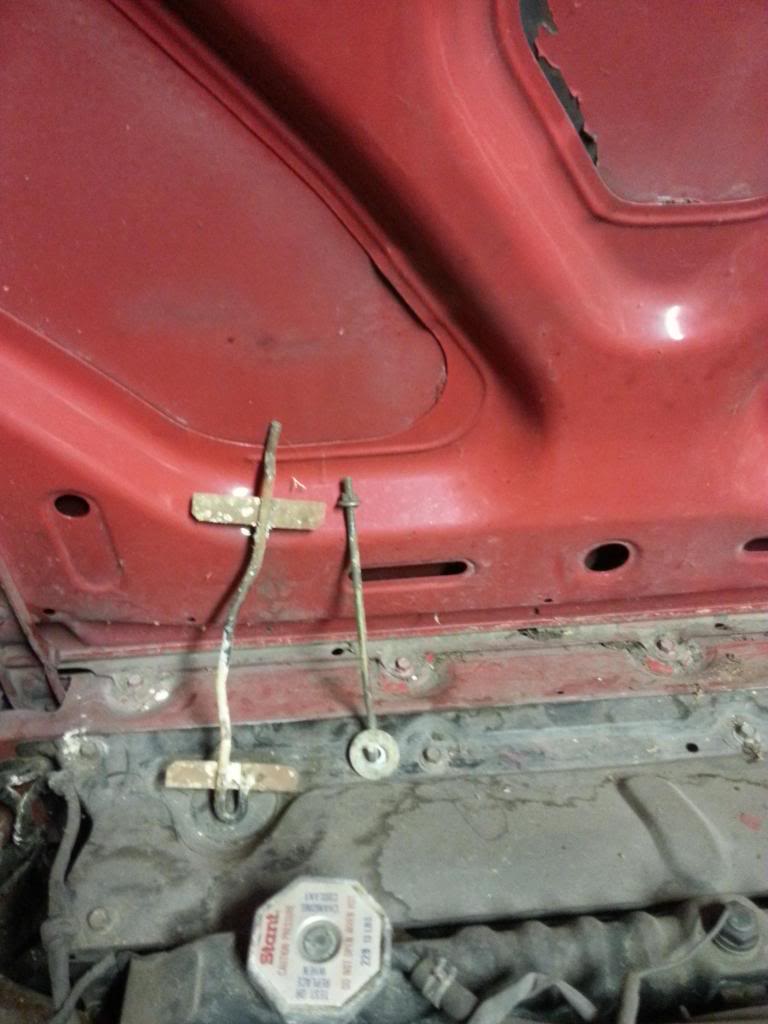
The battery hold down bracket and j bolt
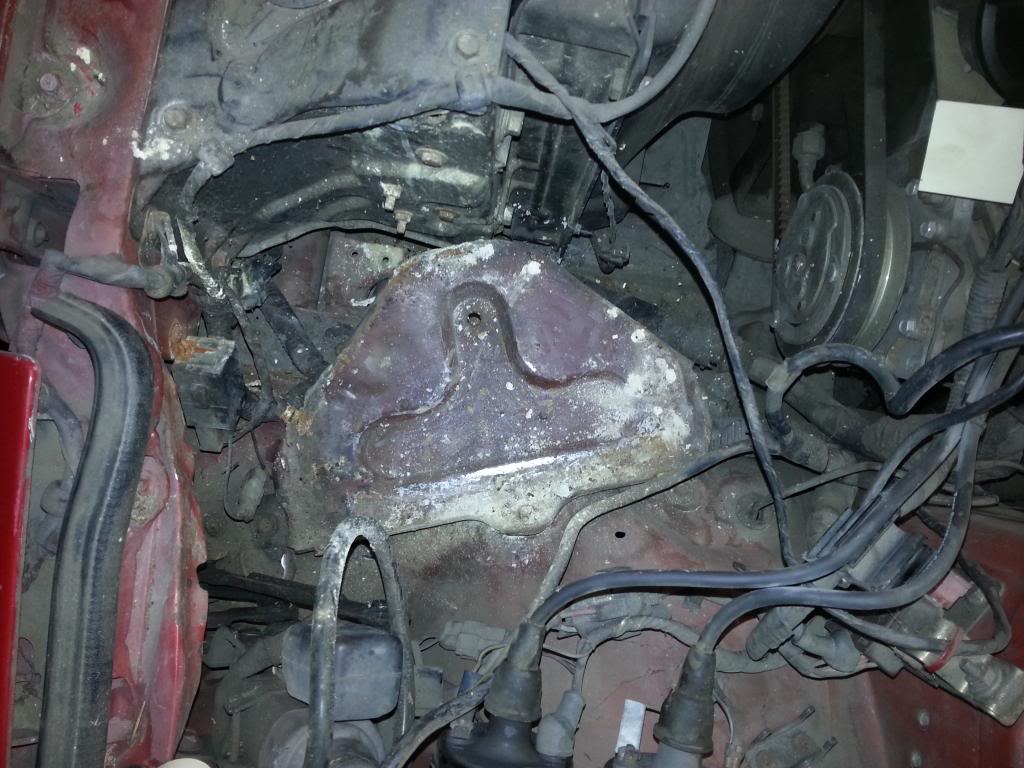
And the spot where the battery sits..
So, I guess I have some deep cleaning to do. I was planning to relocate the battery anyways so i guess this is as good of a time as any...but first the clean up. While I'm at it I may as well clean this a little bit too

excuse the crappy quality of the pics..im using my cell to take them at the moment

The battery tray

The battery hold down bracket and j bolt

And the spot where the battery sits..

So, I guess I have some deep cleaning to do. I was planning to relocate the battery anyways so i guess this is as good of a time as any...but first the clean up. While I'm at it I may as well clean this a little bit too

excuse the crappy quality of the pics..im using my cell to take them at the moment
Last edited by rotornoob; 08-21-13 at 03:18 AM. Reason: picture issues
09-21-13, 05:11 AM
#12
emissions r teh sux
Thread Starter
iTrader: (2)
Join Date: Dec 2005
Location: Stockton Ca
Posts: 888
Likes: 0
Received 0 Likes
on
0 Posts
So it's been about a month and I guess it's time for an update.
During this month I started cleaning up the mess made by the battery. I have only been able to log a few hours here and there but it's coming along.
I started by cleaning the area underneath the battery stand. I still need to do some more cleaning here, but it cleaned up pretty nicely so far. Does anyone have any recommendations as to how I can remove this stuff? Simple green got it this far, but there are a few stubborn spots.
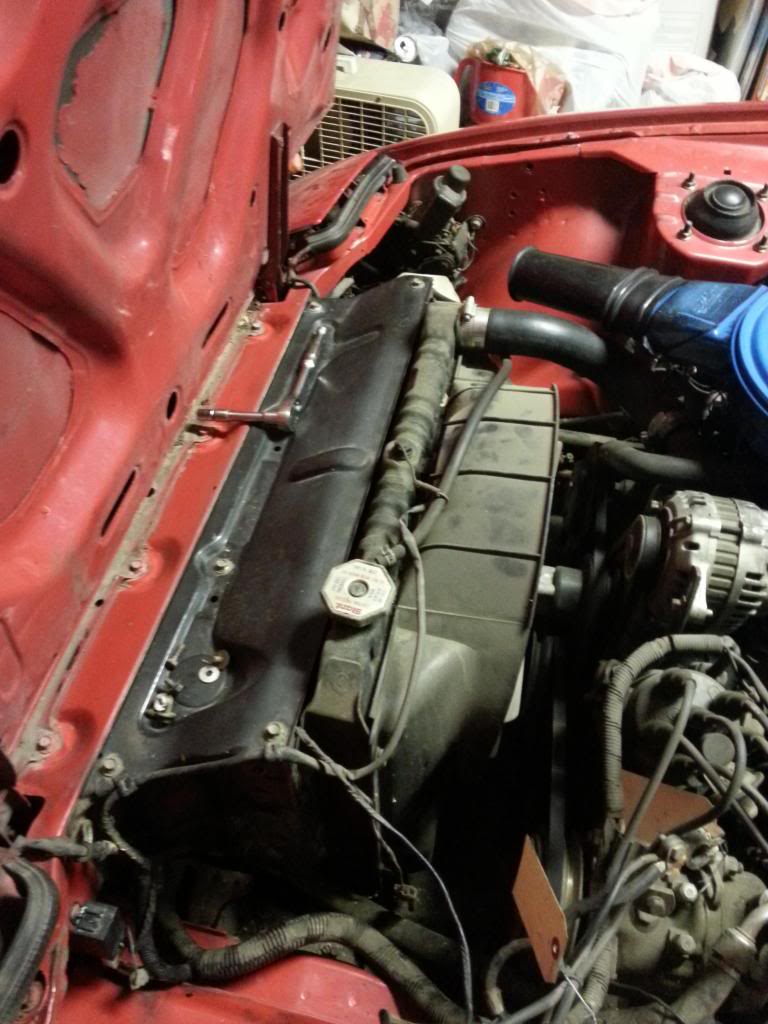
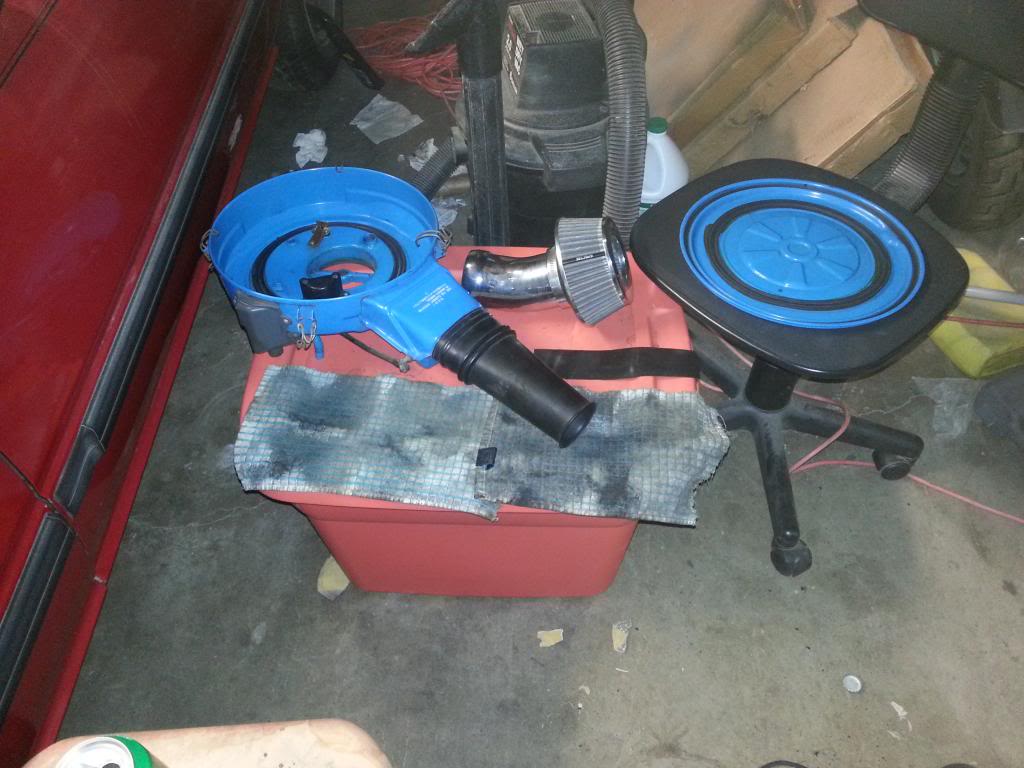
Then I continued cleaning the fenders, the air cleaner, and some of the wires and hoses. This is what I have now.
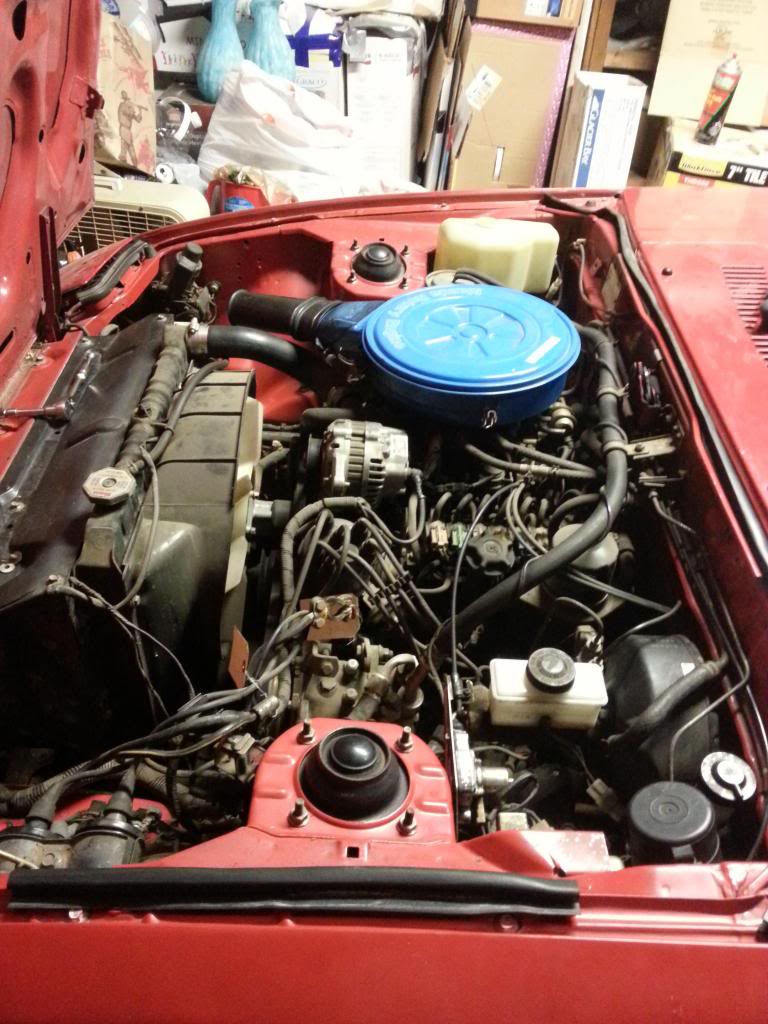
After getting to this point, I decided to take a break from the engine bay for a minute and clean up the interior a bit. I still haven't hit it with the shop vac yet, but that will come soon as well as more detailed pics of the interior.
During this month I started cleaning up the mess made by the battery. I have only been able to log a few hours here and there but it's coming along.
I started by cleaning the area underneath the battery stand. I still need to do some more cleaning here, but it cleaned up pretty nicely so far. Does anyone have any recommendations as to how I can remove this stuff? Simple green got it this far, but there are a few stubborn spots.

Then I continued cleaning the fenders, the air cleaner, and some of the wires and hoses. This is what I have now.


After getting to this point, I decided to take a break from the engine bay for a minute and clean up the interior a bit. I still haven't hit it with the shop vac yet, but that will come soon as well as more detailed pics of the interior.

 09-21-13, 05:12 AM
#13
emissions r teh sux
Thread Starter
iTrader: (2)
Join Date: Dec 2005
Location: Stockton Ca
Posts: 888
Likes: 0
Received 0 Likes
on
0 Posts
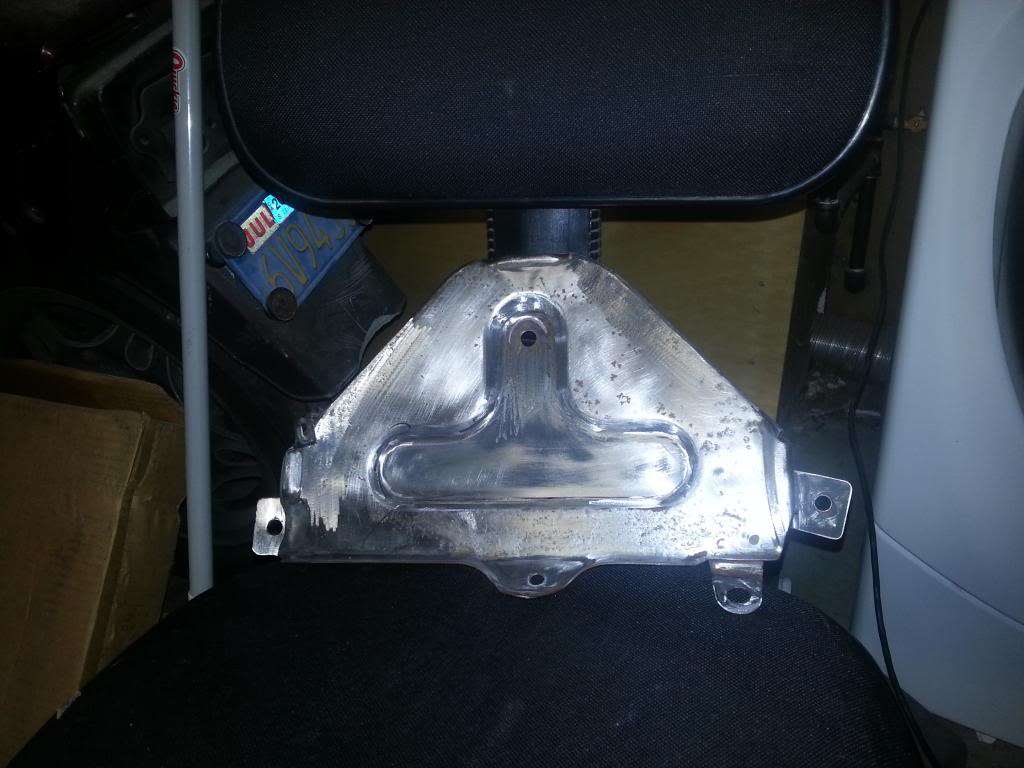
Then I decided to start repairing the battery stand. First, I cleaned it and sanded it a little bit to get rid of the loose crap. I then used my dremel to take it down to bare metal and see just where all of my corrosion was. Next I went over it with a wire wheel to clean the crap out of the pits. I forgot to take a picture after I did it and went straight in to priming. At this point, only the top side of the battery stand has been cleaned and primed. The bottom still has to get done, but it looks perfect so i wont have to do so much work.
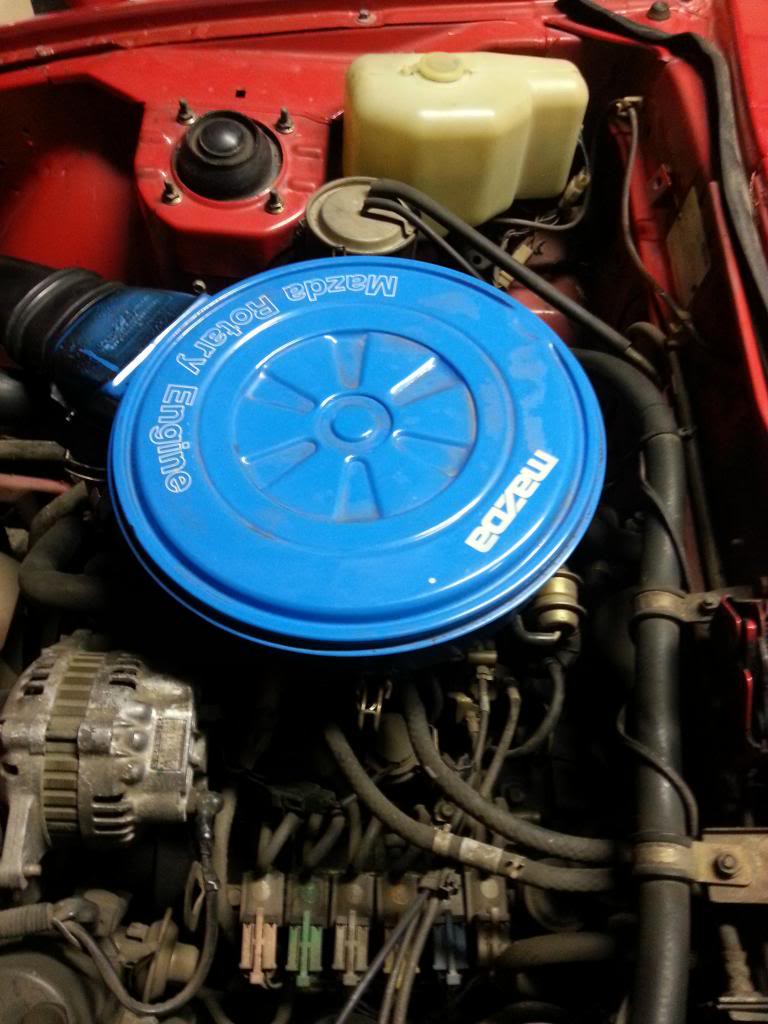
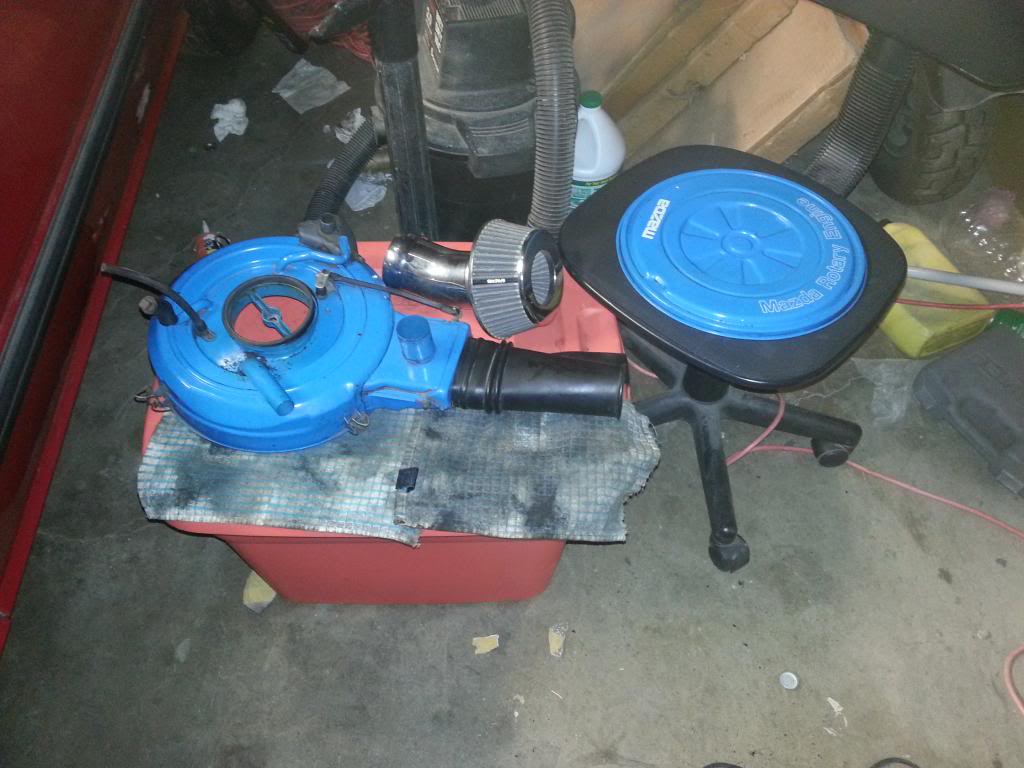
I was cleaning a bit in the garage and located my air cleaner from my donor car. After a brief cleaning, it seems to be in much better shape than my current air cleaner so i will swap them out. The cheap cone filter will be replaced later on and run through the front of the car to sit in front of the radiator. I also have a k&n filter inside of my current air cleaner that will be refreshed and used on this car.
and that's it for this round......


I was cleaning a bit in the garage and located my air cleaner from my donor car. After a brief cleaning, it seems to be in much better shape than my current air cleaner so i will swap them out. The cheap cone filter will be replaced later on and run through the front of the car to sit in front of the radiator. I also have a k&n filter inside of my current air cleaner that will be refreshed and used on this car.


and that's it for this round......
11-08-13, 06:00 PM
#14
emissions r teh sux
Thread Starter
iTrader: (2)
Join Date: Dec 2005
Location: Stockton Ca
Posts: 888
Likes: 0
Received 0 Likes
on
0 Posts
So I have made some progress but due to increased working hours and morning appointments it has been slow. I will post the pictures later.
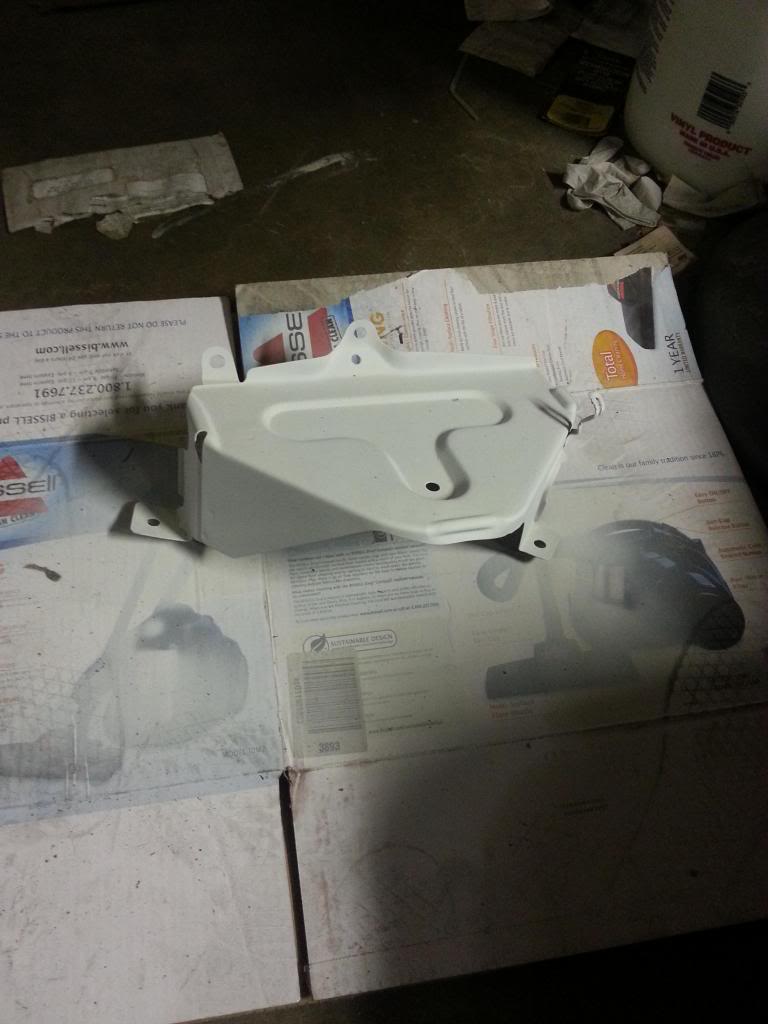
I finished the battery stand. It is currently painted black and stored on a shelf in the garage.
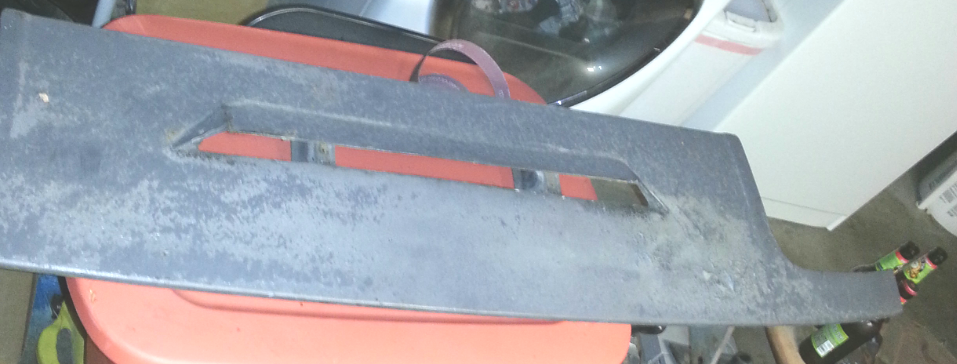
I managed to start repairing/modifying my old header panel. The last time i did this, the car was starting to run a bit hot at stoplights and during in town driving. Admittedly it was not the best looking mod ever, but it was effective so im gonna do version 2. So far I have removed the old scoop, ground off my old welds, sanded it, and primed it. Now I can start fabricating a new scoop for it.
I have purchased the required parts to start a big brake swap on the front of the car. I am going to use a 2nd gen spindle instead of fabbing brackets and bearing adapters. I will make sure to document this process well for future reference.
I replaced my busted antenna and mounted it properly this time.
"Repaired" my shifter boot. It now sits properly in the car.
I've done some miscelaneous cleaning inside of the car and have been thinking of all the little things that are left...there are so many of them..... I think that I should probably do the radiator and fmoc next just to free up some space in the garage.
I finished the battery stand. It is currently painted black and stored on a shelf in the garage.
I managed to start repairing/modifying my old header panel. The last time i did this, the car was starting to run a bit hot at stoplights and during in town driving. Admittedly it was not the best looking mod ever, but it was effective so im gonna do version 2. So far I have removed the old scoop, ground off my old welds, sanded it, and primed it. Now I can start fabricating a new scoop for it.
I have purchased the required parts to start a big brake swap on the front of the car. I am going to use a 2nd gen spindle instead of fabbing brackets and bearing adapters. I will make sure to document this process well for future reference.
I replaced my busted antenna and mounted it properly this time.
"Repaired" my shifter boot. It now sits properly in the car.
I've done some miscelaneous cleaning inside of the car and have been thinking of all the little things that are left...there are so many of them..... I think that I should probably do the radiator and fmoc next just to free up some space in the garage.
11-14-13, 03:49 AM
#15
emissions r teh sux
Thread Starter
iTrader: (2)
Join Date: Dec 2005
Location: Stockton Ca
Posts: 888
Likes: 0
Received 0 Likes
on
0 Posts
ok so here are the pics. this is the battery stand.
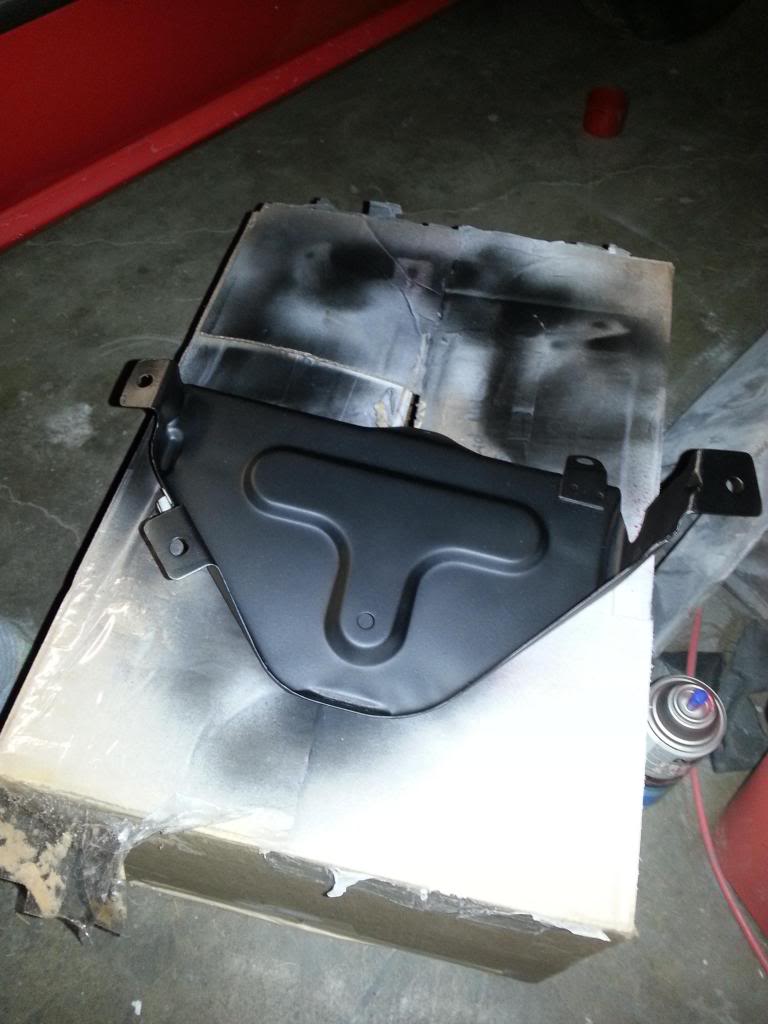
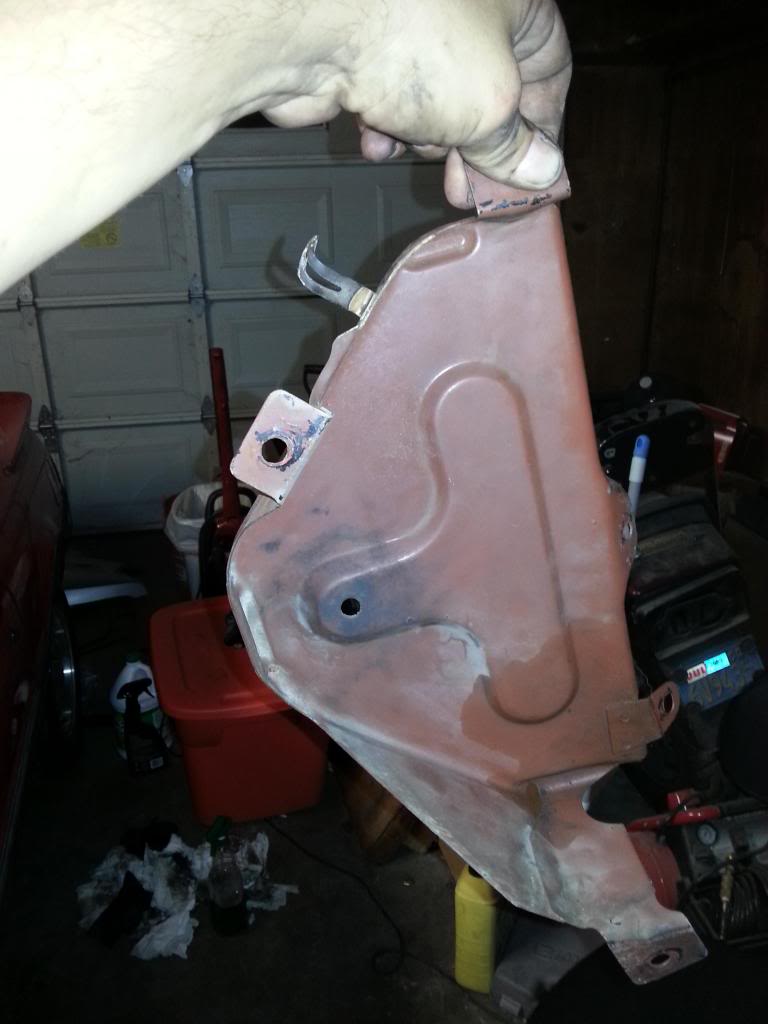
the header panel before i started the rehab.
and along the way...
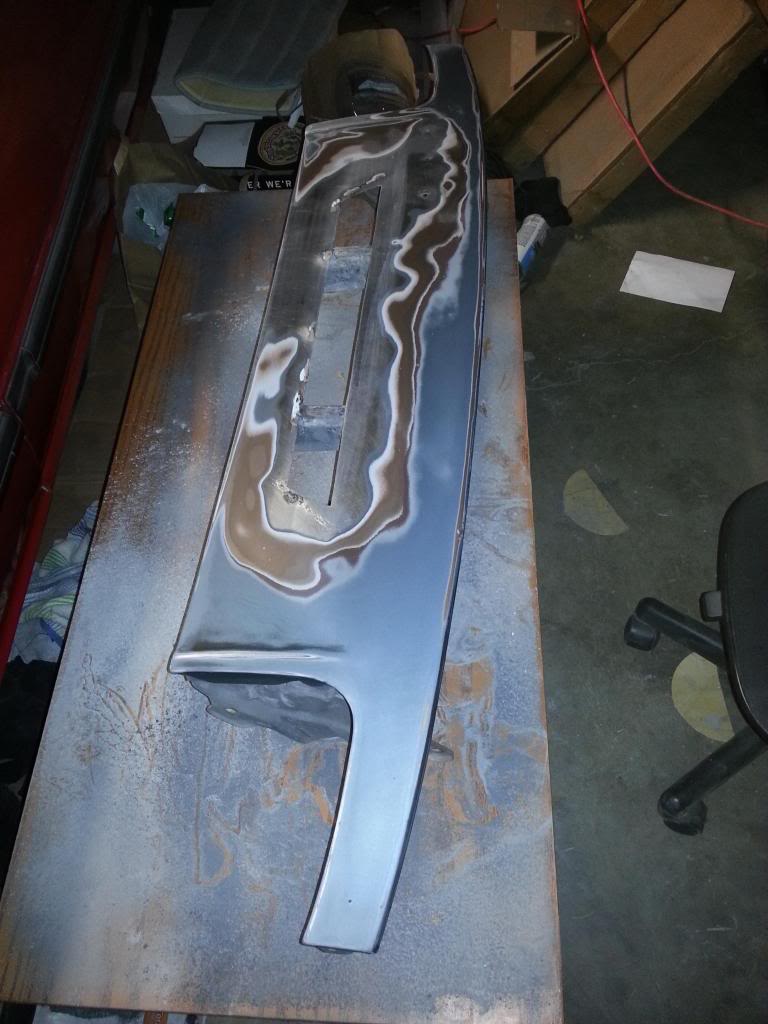
in general i really don't like the brown paint they used on these cars, but during sanding i managed to uncover some and i gotta say......it would have been a gorgeous color in the sun when it was new....hot damn!
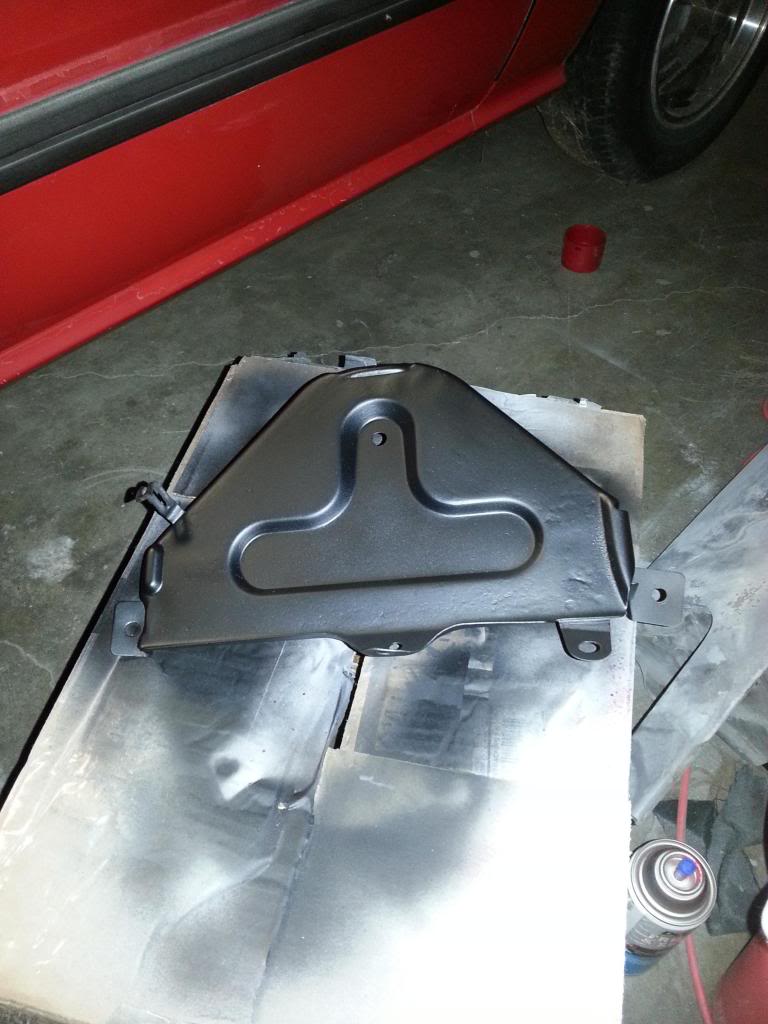
anyways, then i primed it and began to remove my old "welds" from the panel.
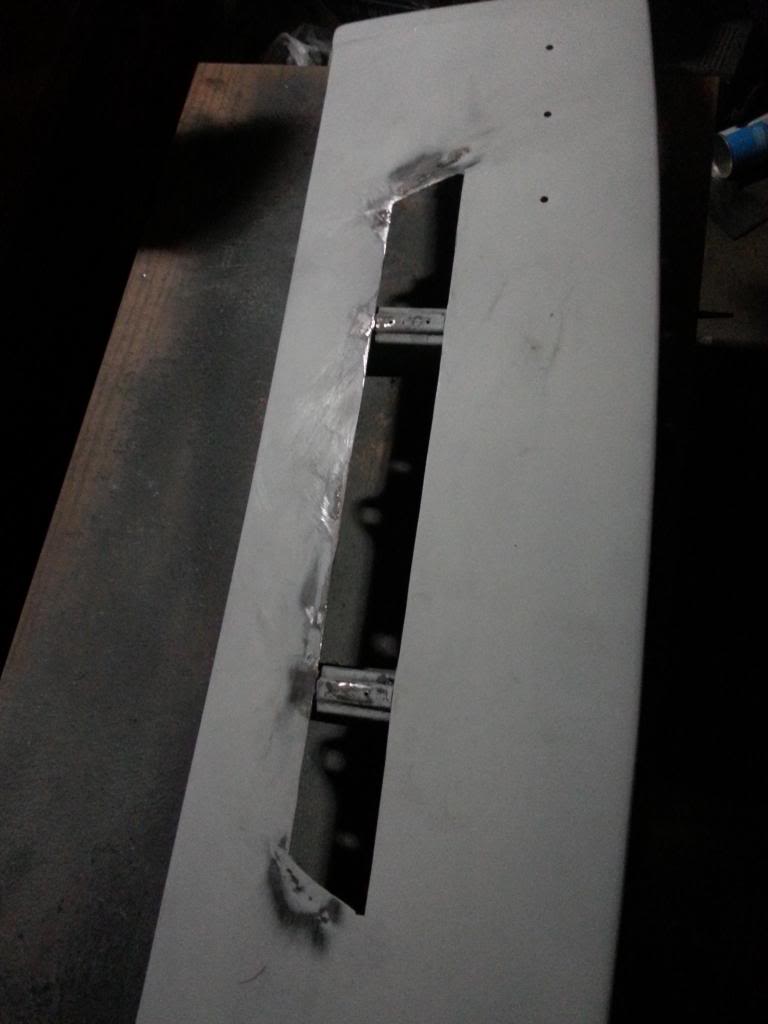
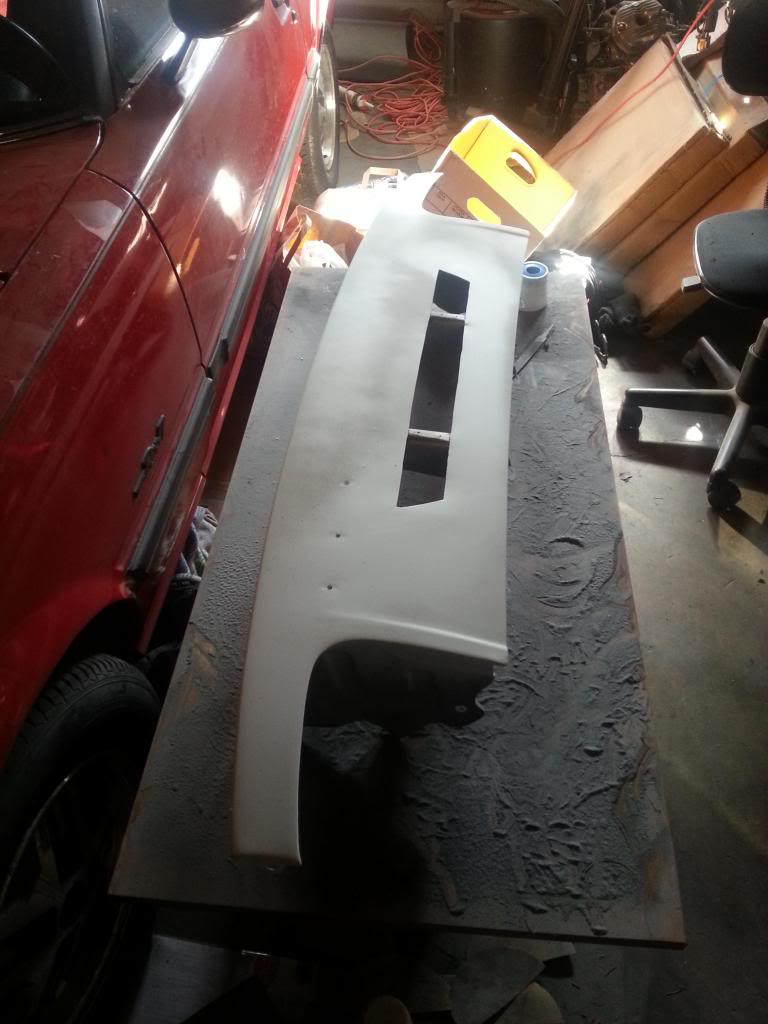
and stage 1 is complete....


the header panel before i started the rehab.

and along the way...

in general i really don't like the brown paint they used on these cars, but during sanding i managed to uncover some and i gotta say......it would have been a gorgeous color in the sun when it was new....hot damn!
anyways, then i primed it and began to remove my old "welds" from the panel.

and stage 1 is complete....
 12-15-13, 12:31 AM
#16
emissions r teh sux
Thread Starter
iTrader: (2)
Join Date: Dec 2005
Location: Stockton Ca
Posts: 888
Likes: 0
Received 0 Likes
on
0 Posts
Ok so in the last little stint between updates, I have made some more good progress. I am about 95% done with a power window conversion, just need the jumper harness for the switches. I have already paid for one from an 82, so when it shows up I should be able to re-pin a few things and tie this project up. I will make a walk through for this when I'm finished with the install.
The header panel has had no further progress as I still need to get a hold of a welder and some sheet steel.
I have begun preparations for the fc fuse block transplant, and trying to find/make a bracket to mount it in the engine bay before depining the old visible link connector. I'd rather not cut the wires if I can avoid it and I'd like to keep the connector as a fallback in case I need it somewhere later on down the line.
I obtained some rims for a good price, but there is no way in hell that they will fit properly on the car without serious modification so I will be putting them on the Lexus and attempting to get the lexus rims to fit on the car until I either sell them or find something better. The new rims are OZ ULTRALEGGERA 18x8 et40. The lexus rims are 16x6.5 et 50. Pretty sure I will need a spacer.
And in a surprising turn of events, I have some good news and bad news. First the good :
One night I was just sitting here looking at the car and wondered if it would start on its own, so I took a chance and trickle charged the supposedly dead battery from my Lexus and found out that it does in fact hold a charge. I then connected it and was able to get the car running
Now the bad :
The car may run, but it only wanted to run on one rotor...upon inspection of ignition components I have found that the dizzy cap and rotor are completely corroded on the contacts. I could probably clean them and they would work fine, but I am just going to replace them to avoid any future issues. While I am at it I will also do a complete tune up and attempt to start the car again. It should have no issues running after that unless I created a vac leak somewhere while cleaning.
I will post some pics later as well as a video of the startup. This is the first time i have started the car in about a year, so I'm actually really impressed that it ran at all.

 02-03-14, 06:47 PM
#19
emissions r teh sux
Thread Starter
iTrader: (2)
Join Date: Dec 2005
Location: Stockton Ca
Posts: 888
Likes: 0
Received 0 Likes
on
0 Posts
Ok so ive been busy as helk and havent had time to post those pics or the video yet, but i have a few minutes of downtime here at work so lets see if the mobile app will be nice to me today. Power windows are done. I thoight i had more pics, but appearantly not so i will take the doors apart and take more pics for the write up. The pics i have right now are from removing the manual regulators and cannibalising the power window switch harness from an 82 gsl.
Fc fuse block is installed but not tested. I will look through the fsm when i go home to double check my connections, and then i will apply power and see if anything gets fried XD
also traded my ultraleggera rims for some s5 rims. Not as pretty, but they will still look nice with the right tires.
No idea why some of the pics are sideways...will attempt to fix it later...
02-04-14, 05:11 PM
#21
emissions r teh sux
Thread Starter
iTrader: (2)
Join Date: Dec 2005
Location: Stockton Ca
Posts: 888
Likes: 0
Received 0 Likes
on
0 Posts
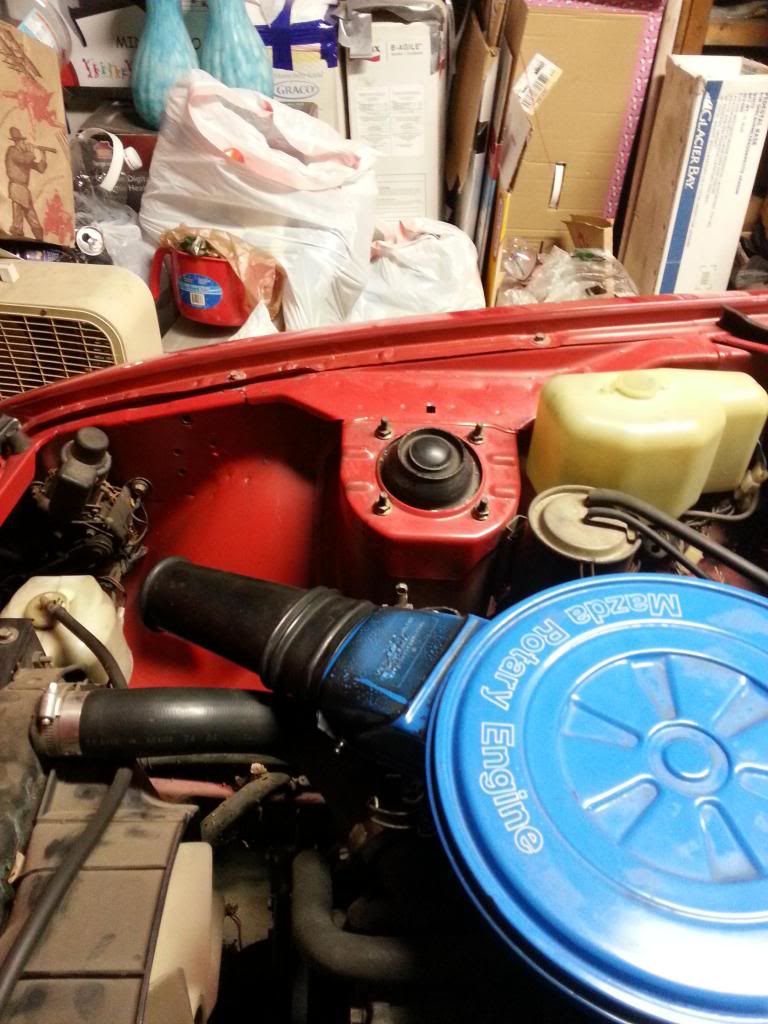
Got the fuse block figured out. Here is a pic of it in its temporary home. I will find a better mounting position when my bracket arrives.
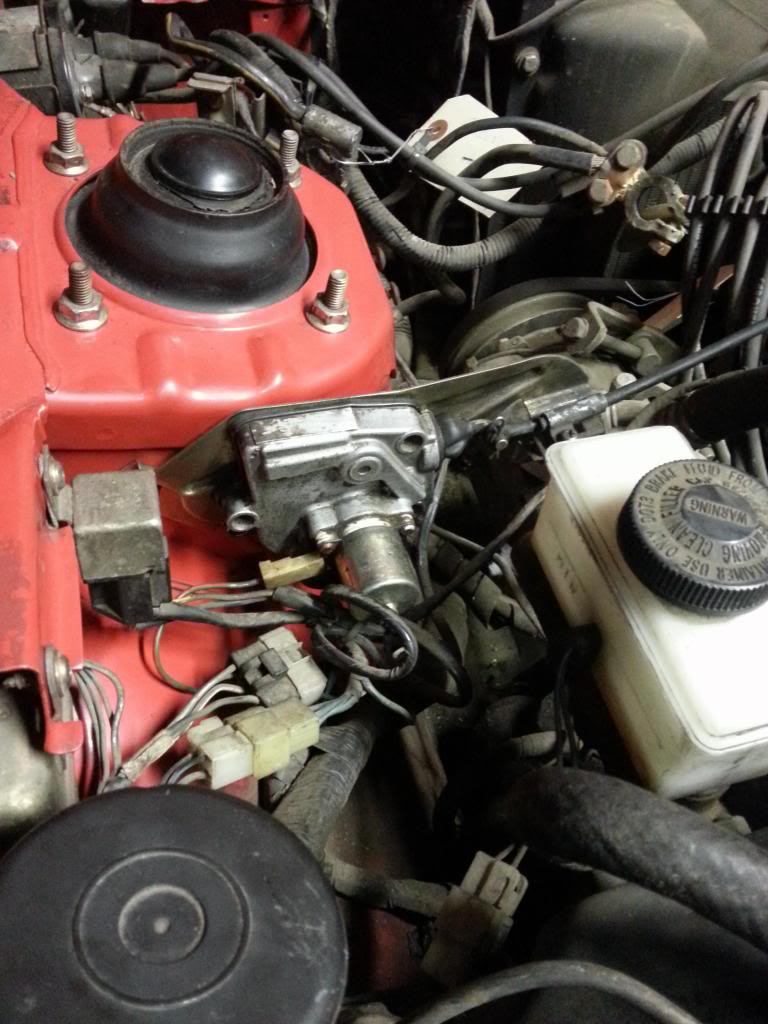
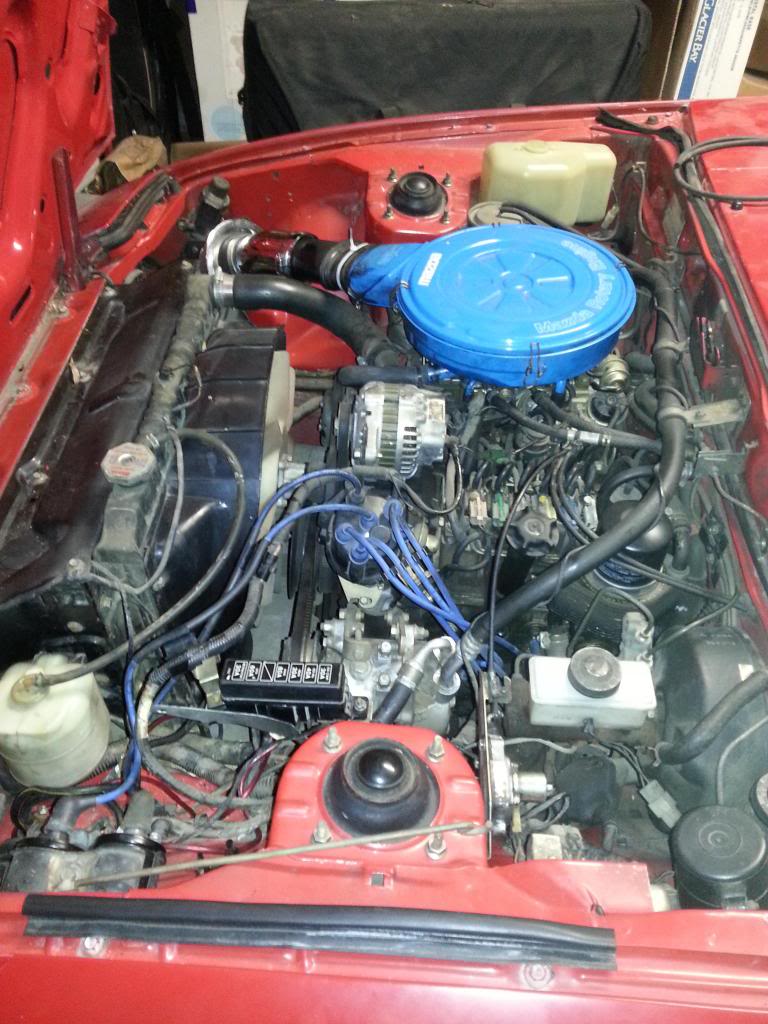
I also relocated my coolant overflow bottle to make room for my CAI piping, and cleaned up my distributor cap and rotor. I found some fairly new ngk wires in my parts box so i used them to replace the carquest wires that were on it. While inspecting the wires i noticed that one of the wires from the coil to the cap was missing half of its contact so i had to re use one of the carquest wires, but im using it on the trailing circuit since it doesnt do much as far as power is concerned. Forgot to take a pic of the engine bay after doing all that, so ill try to get an updated pic soon.
I also relocated my coolant overflow bottle to make room for my CAI piping, and cleaned up my distributor cap and rotor. I found some fairly new ngk wires in my parts box so i used them to replace the carquest wires that were on it. While inspecting the wires i noticed that one of the wires from the coil to the cap was missing half of its contact so i had to re use one of the carquest wires, but im using it on the trailing circuit since it doesnt do much as far as power is concerned. Forgot to take a pic of the engine bay after doing all that, so ill try to get an updated pic soon.
02-09-14, 10:25 PM
#22
emissions r teh sux
Thread Starter
iTrader: (2)
Join Date: Dec 2005
Location: Stockton Ca
Posts: 888
Likes: 0
Received 0 Likes
on
0 Posts
Here is the video of the start up. please exuse the mess, recycling day was the next day.
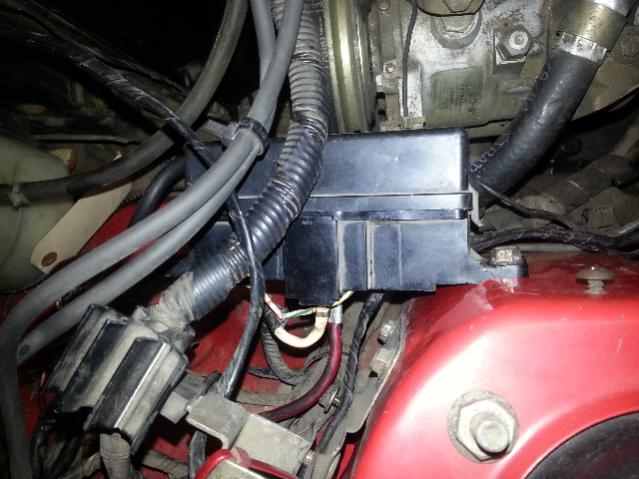
i received my fuse block bracket and installed it. it almost looks like it belongs.
ive been saving for a while and i can afford my welder shortly, so i should be able to finish the header panel soon.
i received my fuse block bracket and installed it. it almost looks like it belongs.

ive been saving for a while and i can afford my welder shortly, so i should be able to finish the header panel soon.
03-24-14, 06:27 PM
#23
emissions r teh sux
Thread Starter
iTrader: (2)
Join Date: Dec 2005
Location: Stockton Ca
Posts: 888
Likes: 0
Received 0 Likes
on
0 Posts
Ok so its been a while again, and its time for an update i guess. Not much to report at this moment, although i did manage to find a home for the motorcycle that was taking up half of my garage space.
I also managed to get a hold of my new engine. I purchesed a torn down s4 long block for this car. It will need new housings as one of them has some cracks by the spark plug holes, and the other one may be useable, but i have to spec it first. The plan is to use s5 internals to get the high compression i was looking for, but i should be able to find those easy enough. If not i will just use the s4 internals that i have. I dont plan on porting the engine as i think the block will have plenty of power in stock form for what i want to do. Now i just have to save up for the rebuild kit, and locate the housings. I will post pics of the parts later and start cleaning/painting them as i have time. Since i wilk be painting instead of powder coating, can i bake the irons and housings after i paint them? If so, what temperature should i bake them at and for how long? I want the paint to be durable and baking seems like an effective way to make it haopen.
Other than that, ive been practicing with my welder and am almost ready to finish the header panel and begin working on the 5 lug conversion. Im debating whether or not to just swap the second gen spindle on to the first gen strut, or build a hybrid setup with the second gen lower strut and first gen springs, hats, and camber plates. Any input would be appreciated.
 08-14-14, 08:03 PM
#25
emissions r teh sux
Thread Starter
iTrader: (2)
Join Date: Dec 2005
Location: Stockton Ca
Posts: 888
Likes: 0
Received 0 Likes
on
0 Posts
So update time once again. Still no pics as i have been swamped with family stuff and work stuff....sorry about that.
Ok so, when we last left this project i had recently aquired an s4 long block. The engine still sits in pieces, as i need housings (these ones are pretty rough). However i have aquired some new stuff for the car as well.
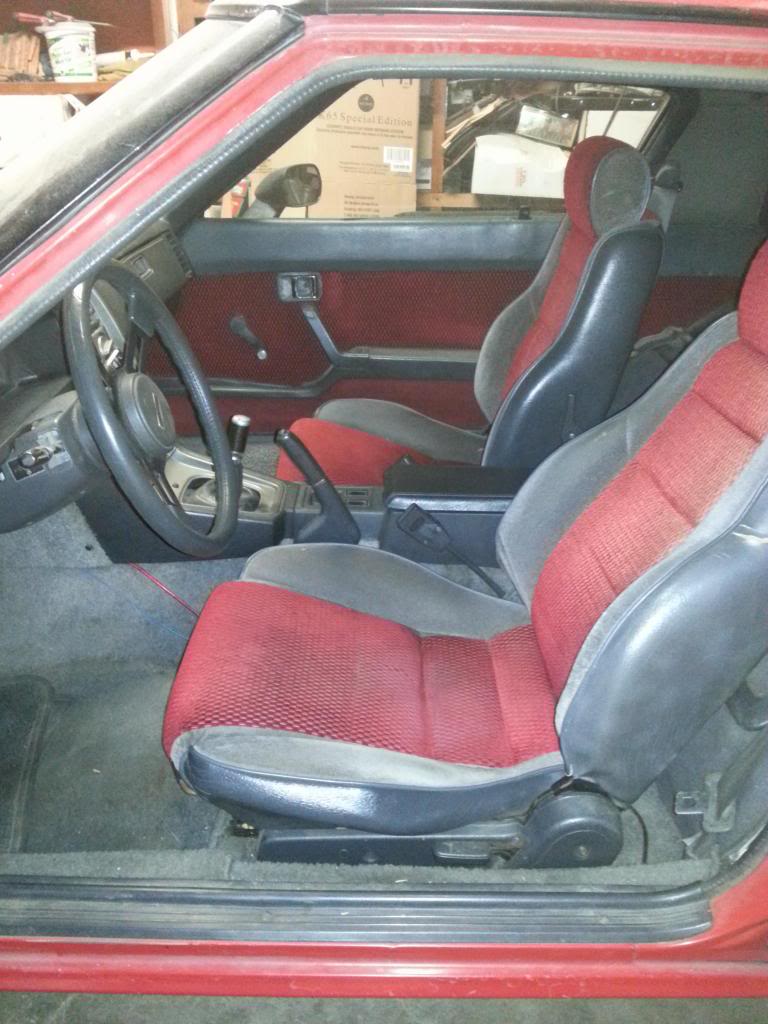
I managed to locate some nice fc seats and have installed them. I also managed to aquire some rear seats from an 83LE, which will be installed to allow my daughter to ride around with me.
Aquired a gsl-se crossmember to aid me in my engine swap, and managed to find a nice s.s. downpipe and presilencer for the s4 block.
Im still looking for a pair of front strut assemblies for an fc, and gsl-se axles in order to beginy big brake/5 lug conversion.
I was diagnosing my ignition system to find out why im missing at idle, and ive tracked it down to having too much end play on the distributor shaft, so a rebuild/replacement will be coming up soon.
The header panel is done, just needs a coat of cheap paint before i install it. I will most likely use black primer and micah red paint to get a preview of what the rest of the car will look like when its done. Other than that, not much has changed.
Ok so, when we last left this project i had recently aquired an s4 long block. The engine still sits in pieces, as i need housings (these ones are pretty rough). However i have aquired some new stuff for the car as well.
I managed to locate some nice fc seats and have installed them. I also managed to aquire some rear seats from an 83LE, which will be installed to allow my daughter to ride around with me.
Aquired a gsl-se crossmember to aid me in my engine swap, and managed to find a nice s.s. downpipe and presilencer for the s4 block.
Im still looking for a pair of front strut assemblies for an fc, and gsl-se axles in order to beginy big brake/5 lug conversion.
I was diagnosing my ignition system to find out why im missing at idle, and ive tracked it down to having too much end play on the distributor shaft, so a rebuild/replacement will be coming up soon.
The header panel is done, just needs a coat of cheap paint before i install it. I will most likely use black primer and micah red paint to get a preview of what the rest of the car will look like when its done. Other than that, not much has changed.