When you click on links to various merchants on this site and make a purchase, this can result in this site earning a commission. Affiliate programs and affiliations include, but are not limited to, the eBay Partner Network.
3.5 years after buying my 84 GSL-SE, it's time to fix it up and make it drive the way I want. It's been reliable the whole time I've had it but compression is getting low and the whole car needs some love. I decided to get way out of my comfort zone and do all the things I've never done but always wanted to do: paint it, rebuild the engine, swap in better parts, etc. etc. so one month ago I pulled the engine and transmission and started stripping it for paint.
Before picture (engine out):
I've already learned how to do bodywork, primer, and paint and as of Saturday the car has a solid coat of clearcoat ready for sanding, buffing, and polishing. The paint job is definitely not perfect but for my first time I am happy with it.
Sanded down (note the damaged rear quarterpanel I discovered under bondo):
New fender from Mazda:
Painted, engine bay and all:
So now while I work on finishing up the paint I am figuring out the next steps. To continue this idea of building my perfect FB and going way over my head (I'm in this deep already), I want to swap in an FC subframe and S5 NA engine to get the most NA power I can. This means I need to learn to weld and find a bunch of FC parts including an s5 13b & accessories like wiring harness and ECM, subframe, rack, front suspension etc. I'm still reading up on this but I'll be posting back here with questions soon!
Looks nice! Is that a single stage or are you going to shoot that with clear? Good luck with your build - it's ambitious but very doable. Looking forward to updates.
You night not need to do a S5 subframe to make it work. If you pull your front cover off your se engine and bolt it to your S5 engine, you can use your stock engine mount. This makes things easier
The interior is not in bad shape but I'll fix up the rear hatch plastics and carpet and eventually either reupholster the seats or swap them out.
Regarding the S5 subframe, I really want rack and pinion and the ability to drop in an S5 engine after that is a bonus.
I've been slowly sanding, buffing, and polishing. I keep ordering lousy pads and then placing another amazon order for different ones trying to find some that work. NEVER buy the harbor freight random orbital polisher by the way. I would have been done a month ago but I'm fighting that thing.
I finally got the driver's side completely finished
FINALLY finished the paint job and got a coat of wax on it today. It has a lot of small flaws close up, from scratches to spots where I sanded through clear to a mosquito in between clearcoat layers 2 and 3, but it looks great from a distance. A huge improvement.
The FC subframe is the next step but I am still searching for all the FC parts (engine included)
Now that my first DIY paint job is finished, I wrote up all the mistakes I made and put them in an album so other people can avoid them in the future! https://imgur.com/a/zDHcB4X
I've been working hard to track down replacement rubber trim pieces like the taillight seals and windshield trim, and I made a lot of progress. Someone in Australia actually reproduces the taillight seals: https://www.rx7club.com/1st-generati...pping-1132923/
I'm still looking for all the FC parts, too! They are surprisingly hard to find
Great photo album. You can't know until you know with this stuff. Many thin coats is better than trying to load it up a couple of times. And I didn't see it in the photo album, but were you wet sanding and using proper body work paper (400/800/1200 etc)?
Ultimately like you say, it's a huge improvement and what a great experience. Nice work.
I did a LOT of wet sanding before and after paint and after primer too. Unfortunately my technique was not always right but it got better as I went
Back in February I bought a bunch of FC parts for $500 down in Chattanooga. I got a complete S5 engine, and a complete S4 engine minus e-shaft and rotors. A bunch of accessories too. Unfortunately the S5 front iron and rear housing are bad, so I plan to use the S4 front iron but still need another S5 housing to build the S5 NA engine I want. PM me if you have one!
I'm also in the middle of the FC subframe swap. I've been doing a lot of measuring so the wheel gets centered, and started working on the 3/4" subframe spacers too. I highly recommend you get struts/coilovers before you attempt this because I've had a hard time measuring accurately with the hub flopping around. The subframe is actually in the right spot at 1" back but the wheel still looks too far forwards without a strut installed
Bonus picture: My S3 13b housing. I think I know why my compression dropped...
Well, 2 days after my last post my son was born, so now it's been a year since I posted an update! The project is still happening, just a little bit slower...
I've spent a lot of money on engine components, coilovers, wheels, tires, etc and it's finally coming together. The new subframe is coated with POR15 and bolted in 1" further back from the FB subframe, however the wheels still aren't quite centered in the wheel arch, at least not without weight on them. One nice thing about this location is that my GSL-SE transmission and driveshaft all bolt up like it did originally. No fabricating a new transmission mount or shortening the shifter or anything.
I went with 4 lug hubs (S4) so the bolt pattern matches my rear wheels. For now I took my rebuilt GSL-SE calipers and installed them into the S4 single pot brake bracket and it fits perfectly. I have a set of 4 pot calipers I'll install later when I want to do some more fabrication work. One thing I learned is that the factory GSL-SE wheel center bore is too small to fit over these 4 lug hubs, so I'll have to buy new wheels before I can put it on the ground.
I ordered just the front BC Racing gold coilovers. FC coilovers with custom FB tops. $630 and it took them only a couple days to ship. I'm very happy with them so far as they bolted right in to everything.
Finally settled on an engine color scheme and assmebled the engine in my basement over the winter using the parts from at least 4 different S5 engines. This is my first time building a rotary but between youtube and the Haynes manual I think I did ok. I really hope it runs....
I also splurged and powder-coated all the intake parts. Next time I might even do the irons
This weekend I got the engine test-fitted and then started installing accessories. I'm trying to use this coronavirus quarantine to get some car work done. It's coming up on 2 years since I parked the car and I'm sick and tired of not driving it!
So the S5 swap isn't too bad, but trying to use the GLS-SE ECM and wiring did make me get creative in a couple places.
The GSL-SE TPS doesn't bolt up, so I took a spare GSL-SE TPS bracket, cut it in half, and drilled holes out to mount another full TPS. It's a little crude but it's solid.
I also had to ditch the factory air filter and build a custom one adapted to the GSL-SE AFM (which will go away when I switch to full S5 electronics). More details here: https://www.rx7club.com/1st-generati...sl-se-1143609/
The last annoying part was timing. The distributor vacuum advance diaphragms hit the front iron because the peg for the engine hook is thicker on an S5. I had to flip the distributor around 180� to set it correctly, and now that means I can't have AC. It's a temporary fix but it works
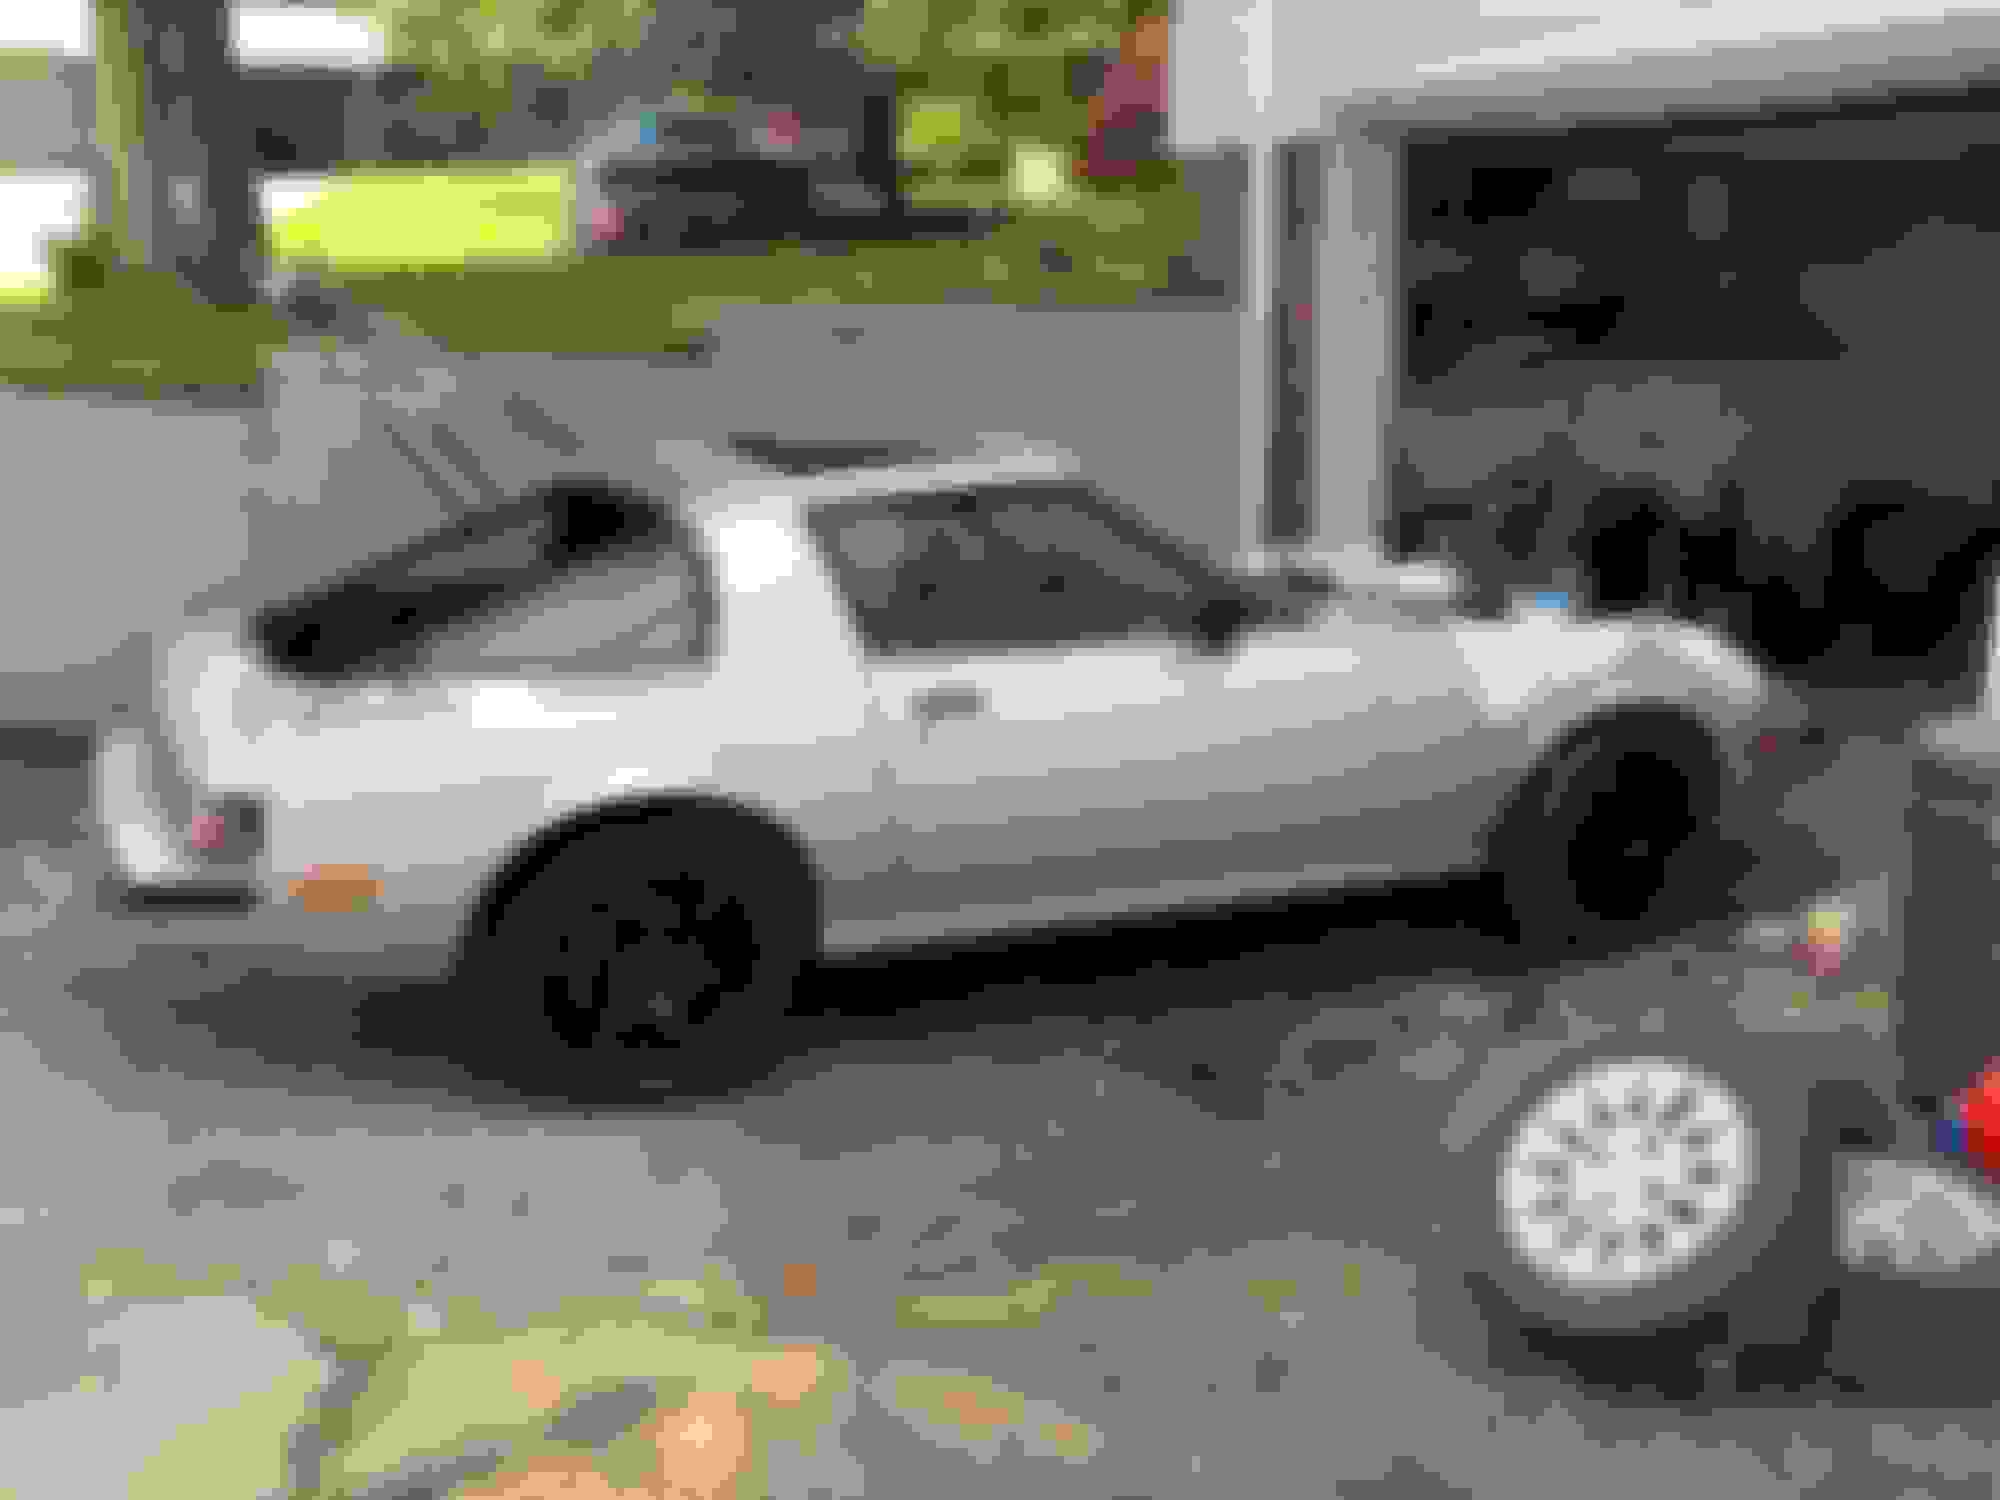
I also picked up new wheels! Motegi MR143s in satin black. 16x7, with brand new Firestone Indy 500 summer tires. Turns out they are right at the lip of the front fenders despite having a +40mm offset like stock, so I'm hoping it's not an issue in driving. I also think I might have to leave the black trim off the sides... I didn't expect it but I like the look as is
They are at fender lip because of +40 offset. You'll likely have fender/tire contact on hard cornering. The +40mm offset is perfect for factory wheel which is 5.5" wide and centers the wheel/tire in fenderwell. Same offset can't be kept on wider wheel,it must be moved further inboard to keep wheel/tire centered in fenderwell. Somewhere in area of +30-+33mm would be ideal for 7"wheel.
May change your mind re belt moldings...they are wonderful at preventing door fender dings/paint chips whether at your hand or others.
I feel like I checked every wheel calculator online before I ordered these. With much less offset I'd start making contact with the coilovers on the backside. I figured since the tire is a 215/45/16 verses the original 205/60/14 I'd only have a 10mm wider tire, and with an identical offset I'd have a tire sticking out 5mm more in front and 5mm in back. However when I put my new tires next to the old ones, they're significantly wider, like 1.5" or so. I'm still not sure where my math went wrong there.
At the end of the day I love the wheels and there's very little available in 4x114.3 that I like, so if I have to roll the front fenders just slightly I'll do it
Good point about the rubber... I didn't think about how much that could save the paint. I do have all the pieces in good condition so I'll see
I'm behind on my build thread, but I actually got the car started and driving last weekend. 2 weeks before that I tried to start it but wound up causing an engine fire when trying to de-flood the engine... I have a thread about that also. Long story short, I failed to kill the ignition after I killed the injectors and removed the plugs, so that gas vapor caught fire as it exited the spark plug holes. A dumb mistake.
LUCKILY I had a fire extinguisher on hand and the damage was pretty minimal. A couple burned wiring connectors, burned spark plug wires, and melted hose and cable shielding. I fixed it all in about a week. It didn't even mess up the engine paint. I used the little 'Element' fire extinguisher and I highly recommend it. There was no residue or anything. I'll be keeping one of these in every rx7 from now on https://elementfire.com/
I also had a lot of trouble getting oil pressure. I removed the oil filter and put a plastic bag over it but no amount of cranking would give me oil. I wound up having to pull the oil cooler line going to the front cover and filling it directly with oil while slowly turning the engine over. I think this is because I did not pack the oil pump full of oil when I installed it, so it was just pumping air and never picked up oil. After filling the oil cooler hose I got oil pressure pretty quickly.
And lastly... here's a video of the startup! Nothing too excited if you've built a lot of motors, but since I have done everything in this entire restoration myself including building a rotary for the first time this was a big moment
After getting the time set correctly and setting the TPS, it's running pretty well. I identified a vacuum leak causing an idle surge that I need to address. It doesn't seem too happy idling under 1000rpm but since it's got about 3 miles on it I'm not going to sweat that yet. Then I'll just need to install the rest of the windshield/door trim (I'm getting them powdercoated so they hold up better than my rattle can paint) and then hook up my power steering. As of now it's legally registered and insured again too!
I fixed my vacuum leaks last night. The intake manifold was loose and leaking where the lower and middle manifolds connect. It's now idling lower.... at about 500rpm. I'm amazed it's even capable of that. The tach is more or less at the bottom of the range. After some reading I think it could be because my BAC is unplugged and not hooked up to metered air, or because the thermowax isn't installed correctly and maybe the s5 throttle body is closing too much. I re-set the timing based on this new 500rpm idle instead of 1500rpm but I'm guessing it could still be off relative to a correct 800rpm idle.
I'm also hearing consistent backfiring after letting off the gas. I know people say when you remove the cat and have more open exhaust like I do it's 'normal', but it never happened with the consistency before. Maybe that's another timing issue. It has brand new plugs and wires
Exhaust leak letting air in system assisting in backfiring
I torqued the exhaust stud nuts to spec on the engine block and nothing else was ever disconnected, but I'll double check them. I agree though, not sure what else would cause it unless I'm just more likely to get it now due to the tune being wrong (bad TPS adjustment or something)?
Alright, I finally realized it's only running on one rotor!!
It took a weekend of troubleshooting but eventually I unplugged all plug wires while cranking the car, then pulled both leading plugs. The rear one was wet, the front one was dry! Turns out when I replaced the wiring pigtails on the injectors I didn't clip in the wires all the way, so the front injector wasn't firing. It was a simple fix, and the car is now running great on both rotors.
I am still struggling with a high idle though. I have the S5 intake and throttlebody with GSL-SE electronics and components (ECM, TPS, AFM etc) so I think I'm having trouble marrying the two. After setting timing, the TPS adjustment, and the fast-idle cam correctly, I'm idling smoothly at 1100 RPM. None of the throttle body shafts are stopping on a set screw or anything, and the idle adjust screw is all the way in. I pressurized the intake with 15psi and only found one leak under the thermowax, at the front double butterfly shaft bushing. Apparently this one is expected given the slot in the thermowax gasket. If I grab the throttle shaft and twist it all the way closed I can get it down to about 900rpm but the springs don't quite close it that far. Is this just an issue of the S5 throttle body flowing more air than the GSL-SE? Any ideas on what else I could do to reduce air at idle like messing with the BAC?
 08-27-18, 08:36 PM