My 1985 GSL-SE Project
 02-23-15, 12:10 PM
#1
My 1985 GSL-SE Project
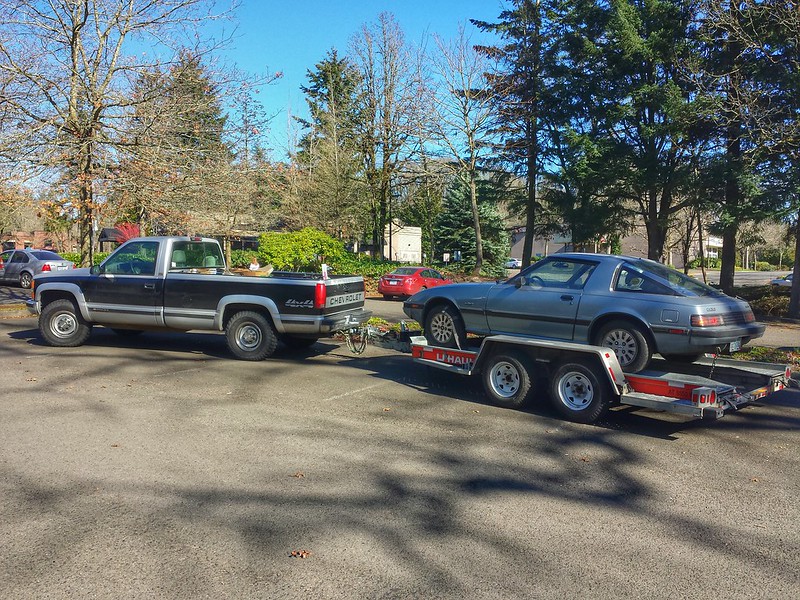
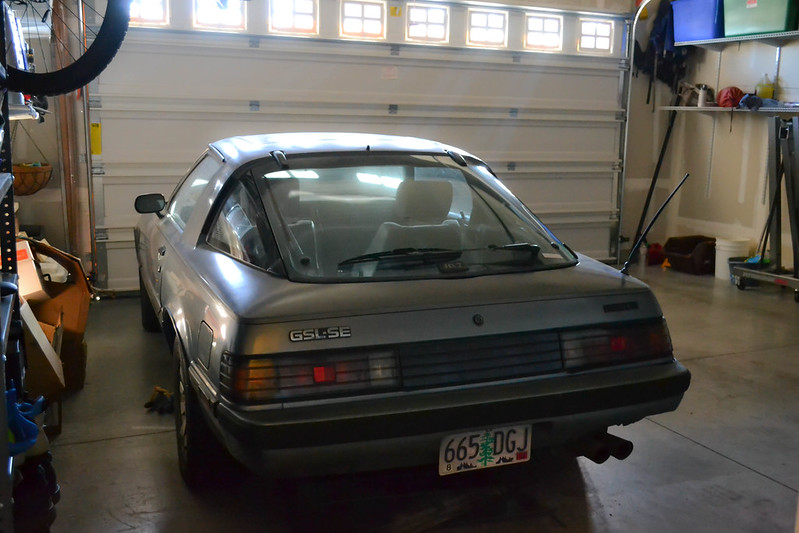
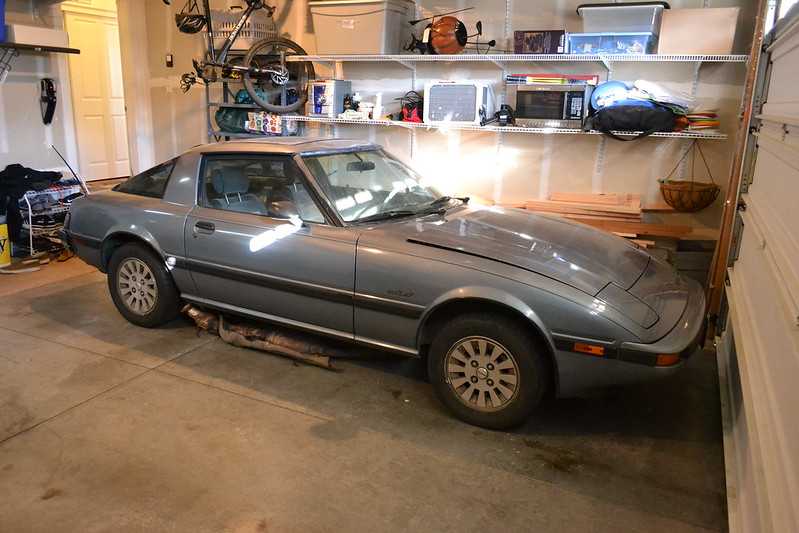
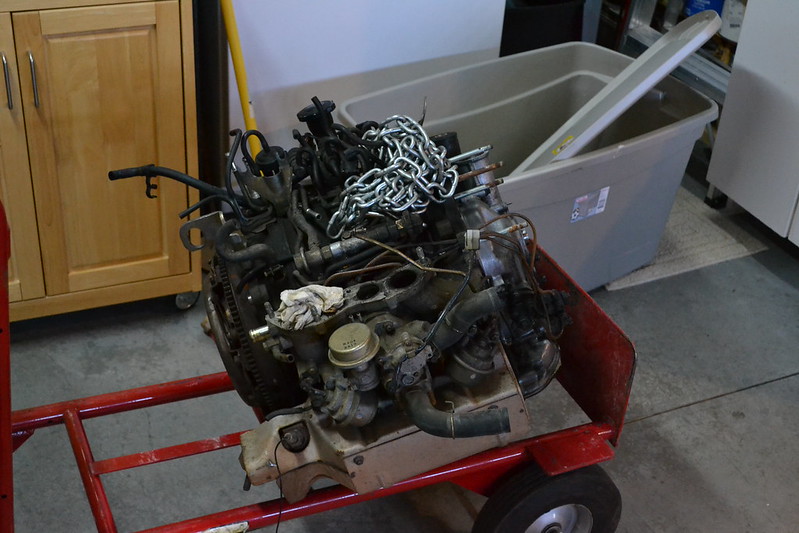
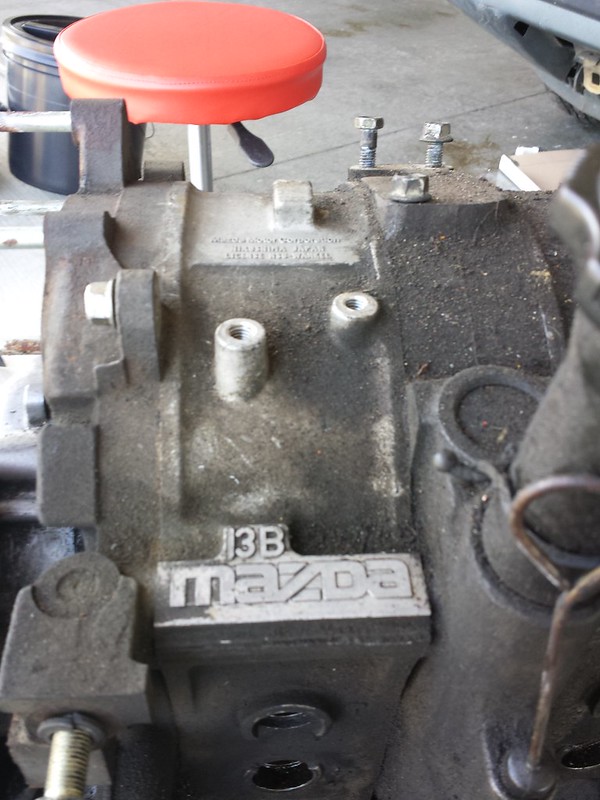
So it begins...I picked up a 1985 GSL-SE for $1100. Motor was pulled due to a seized rotor by the now previous owner and he was planning on a S4 Turbo Swap. My plan is to attempt to get the original motor going.
I brought the car home yesterday along with all the parts in boxes. The first steps with this is getting the motor to turn over. I also need to get all of the boxes of parts organized so this project is going to start slow. The plan is to get this car to a reliable state to become by commuter. So all of the standard things like brakes, fluids, hoses, etc first and then the fun stuff.
Anyways here is what I am starting with:
 20150222_133314_1 by tallbozo, on Flickr
 20150222_165812_1 by tallbozo, on Flickr
 DSC_0969 by tallbozo, on Flickr
 DSC_0971 by tallbozo, on Flickr
 DSC_0972 by tallbozo, on Flickr
 DSC_0975 by tallbozo, on Flickr
I brought the car home yesterday along with all the parts in boxes. The first steps with this is getting the motor to turn over. I also need to get all of the boxes of parts organized so this project is going to start slow. The plan is to get this car to a reliable state to become by commuter. So all of the standard things like brakes, fluids, hoses, etc first and then the fun stuff.
Anyways here is what I am starting with:
20150222_133314_1 by tallbozo, on Flickr20150222_165812_1 by tallbozo, on FlickrDSC_0969 by tallbozo, on FlickrDSC_0971 by tallbozo, on FlickrDSC_0972 by tallbozo, on FlickrDSC_0975 by tallbozo, on Flickr
 02-23-15, 10:41 PM
#3
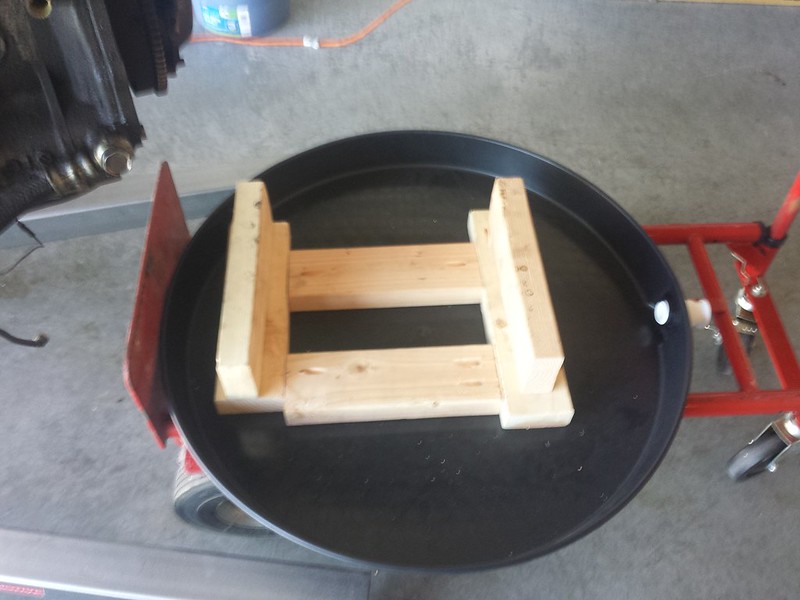
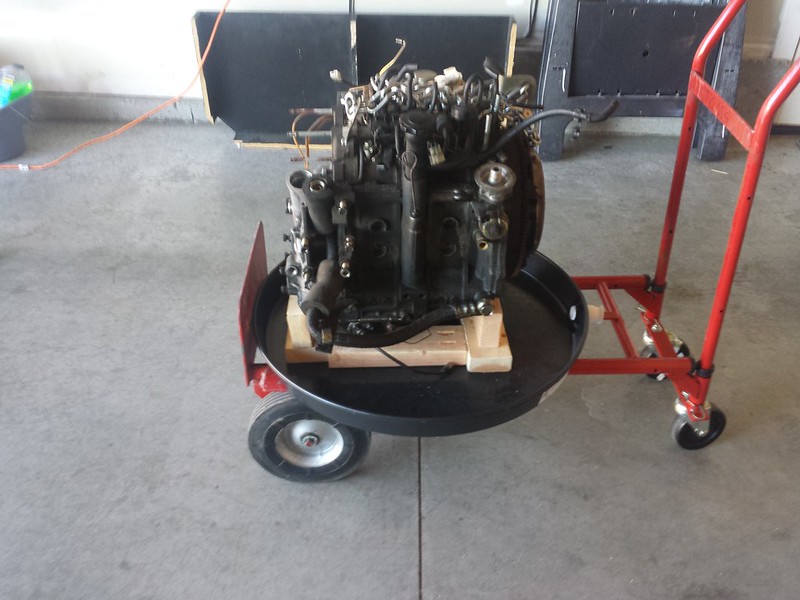
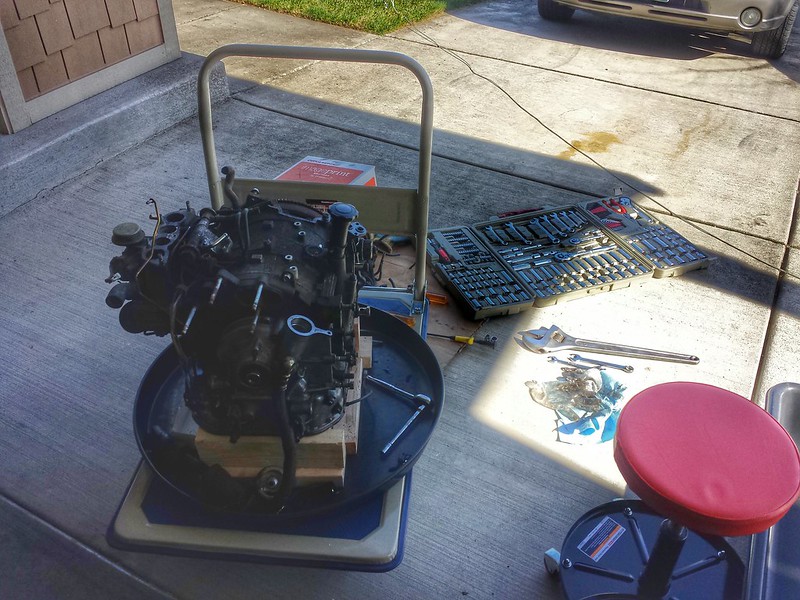
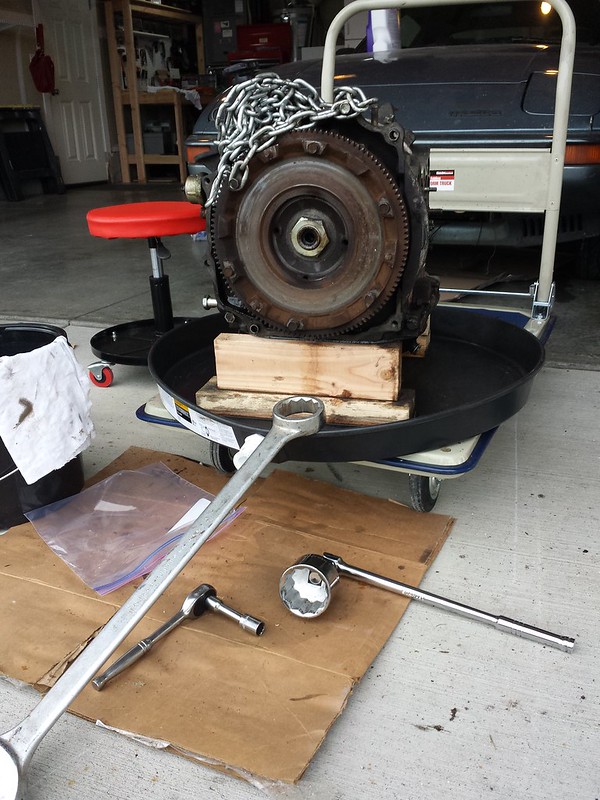
I was able to get the motor in a place to start working on getting it freed up. I made a small stand to not crush the oil pan and placed it in a shallow pan so I can get to soaking the internals and not make a mess all over the garage.
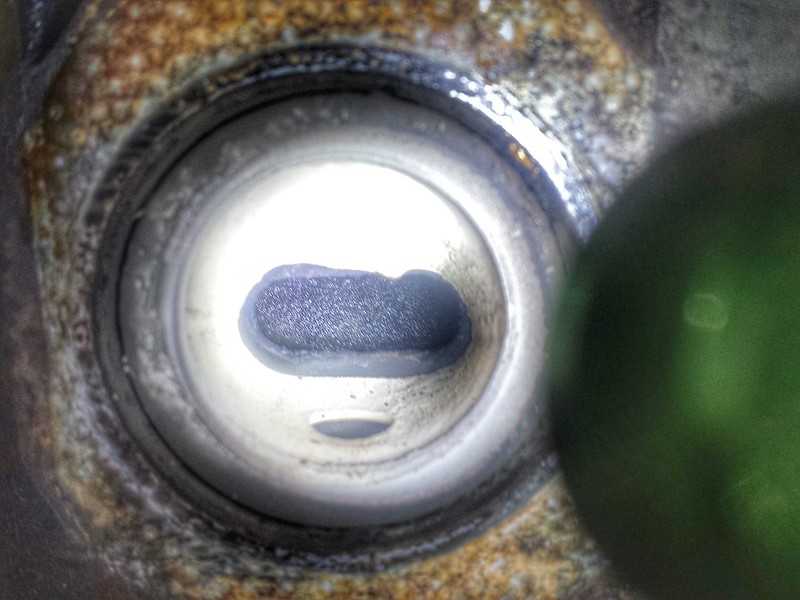
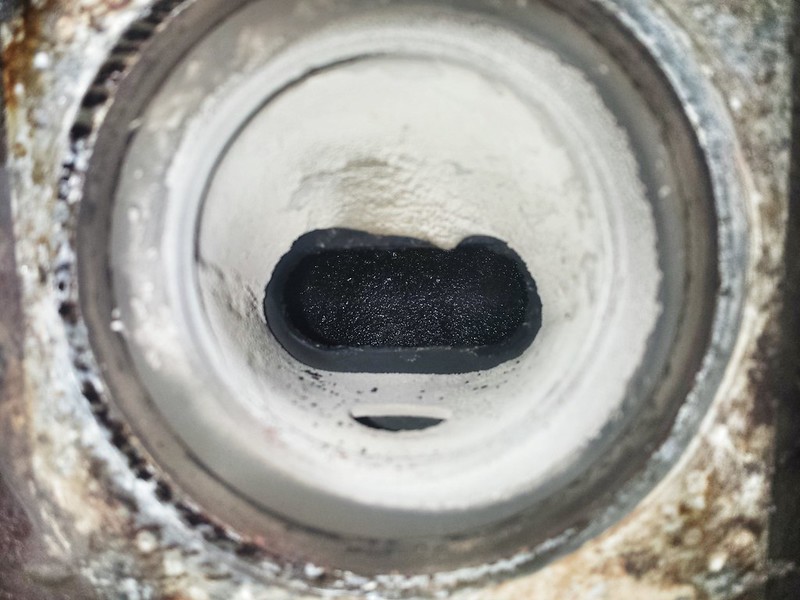
If I end up having to rebuild it, I will get a real engine stand for the rebuild. I got the exhaust manifold off and was able to take a little peek inside. The front rotor looks to be in better shape, Less buildup. The rear rotor on the other hand looked caked in carbon and oil. It was hard to get a picture but this was the best shot. I will get some spark plugs and block off the exhaust ports and dump MMMO down the intake manifold and see what happens. More updates to come
 DSC_0973 by tallbozo, on Flickr
 20150223_142757 by tallbozo, on Flickr
 20150223_142650 by tallbozo, on Flickr
 20150223_150510_1 by tallbozo, on Flickr
 20150223_145246_1 by tallbozo, on Flickr
If I end up having to rebuild it, I will get a real engine stand for the rebuild. I got the exhaust manifold off and was able to take a little peek inside. The front rotor looks to be in better shape, Less buildup. The rear rotor on the other hand looked caked in carbon and oil. It was hard to get a picture but this was the best shot. I will get some spark plugs and block off the exhaust ports and dump MMMO down the intake manifold and see what happens. More updates to come
DSC_0973 by tallbozo, on Flickr20150223_142757 by tallbozo, on Flickr20150223_142650 by tallbozo, on Flickr20150223_150510_1 by tallbozo, on Flickr20150223_145246_1 by tallbozo, on Flickr
02-25-15, 11:57 AM
#4
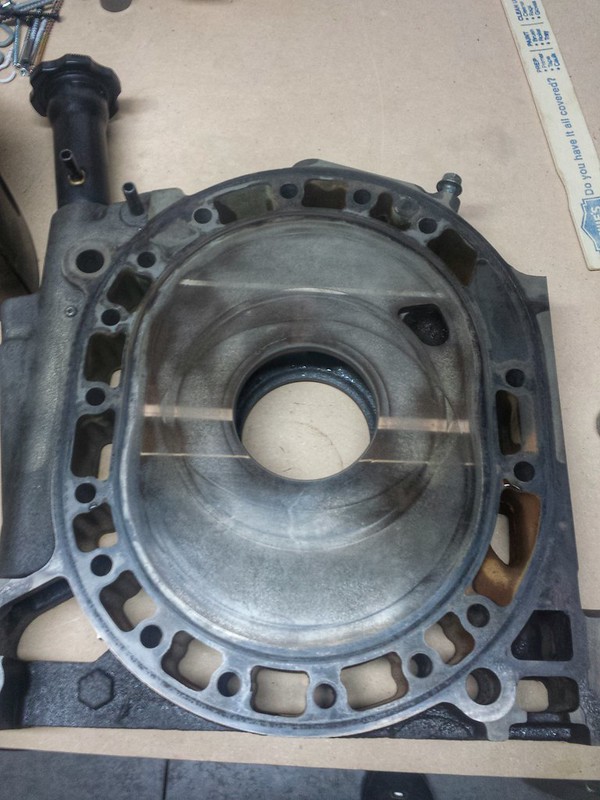
so it looks like a rebuild is inevitable. The rear rotor looks to have a bad oil control seal causes excess oil to get into the housing and cause the carbon buildup. Also the white glazing on the exhaust ports suggest coolant is also getting burned.
I will hopefully start to disassemble the motor this weekend and see which rebuild kit I'll need to get.
I will hopefully start to disassemble the motor this weekend and see which rebuild kit I'll need to get.
02-25-15, 01:37 PM
#5
The rotor housings might have good chrome. GSL-SEs tend to last forever. The only major wear part are the apex seals and seal slots in the rotors. Check for apex height and apex slot V wear. If the V isn't all that bad, throw some more apex seals in and call it good. Or get some Goopy oversized apex seals and a file kit. It takes a while from what I've read, but worth it.
Hmm, if burning coolant, check the rotor housings for pitting around the coolant port area (they are undrilled on SE housings, up around the intake port area).
Also check the other areas of wear like stationary bearings for copper and the oil pump for scoring. That's basically it. The nitrided side plates surfaces should still be very nice. The SE cars had good OMP oiling.
02-25-15, 09:43 PM
#6
Yea I am hoping the internals are re-usable and the housings are damaged. I am hoping to get the motor stripped down to the block this weekend. My Grandpa has some old wrenches from the 50's that are for old farming equipment. Supposedly he might have a 54mm wrench to help get the flywheel off.
Any tips to help get the flywheel nut off now that the engine is out? I have access to an Air-Gun but not sure how hard it will be to get off.
Any tips to help get the flywheel nut off now that the engine is out? I have access to an Air-Gun but not sure how hard it will be to get off.
02-25-15, 10:21 PM
#7
The flyweel nut is usually very easy because it's so large. There is a lot of leverage available. The front 19mm bolt, however, is actually a lot harder sometimes. If it's a factory engine the front nut might be pretty easy to buzz off with an impact, but not always. Once it's loose, you gotta be careful because the needle bearing stack could fall down and get damaged if you whack the flywheel with a hammer. My advice is to free up the flywheel first, then thread the nut back on a bit so you have something holding the engine to take the front bolt off. I like to use a flywheel stopper but you can rig a couple pieces of steel to hold the flywheel from turning while you work on the front nut.
Look for a 2 1/8" wrench or socket if you can't find 54mm.
Mazdatrix has a short video showing how to properly use a hammer on the flywheel to knock it loose. Flywheel Removal
Look for a 2 1/8" wrench or socket if you can't find 54mm.
Mazdatrix has a short video showing how to properly use a hammer on the flywheel to knock it loose. Flywheel Removal
Trending Topics
 03-01-15, 09:30 PM
#11
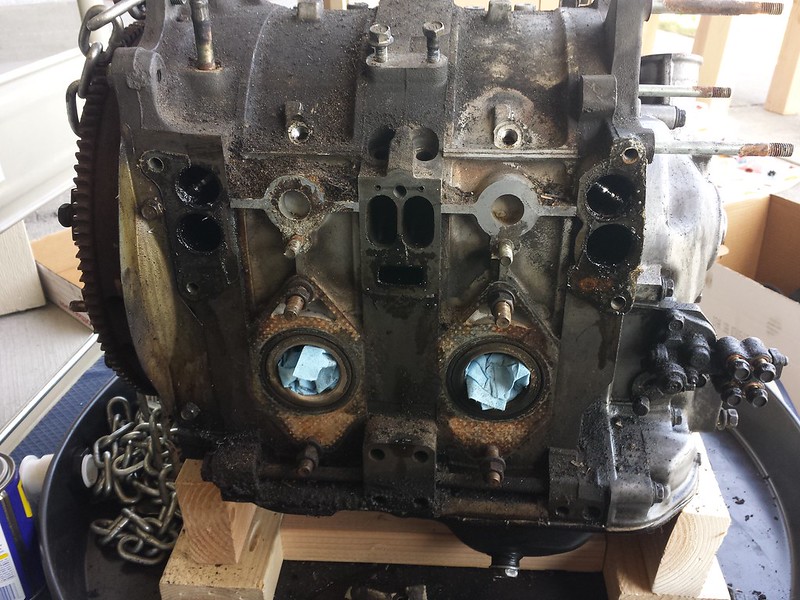
Alright, I got some work done today. Mostly cleaning and getting it stripped down to the block. It was pretty dirty and considering its the original engine, it had lots of buildup. I spend a lot of time getting old gaskets off and scrubbing caked on grease.
 20150301_124758_1 by tallbozo, on Flickr
 20150301_133054 by tallbozo, on Flickr
 20150301_133101 by tallbozo, on Flickr
 20150301_133725 by tallbozo, on Flickr
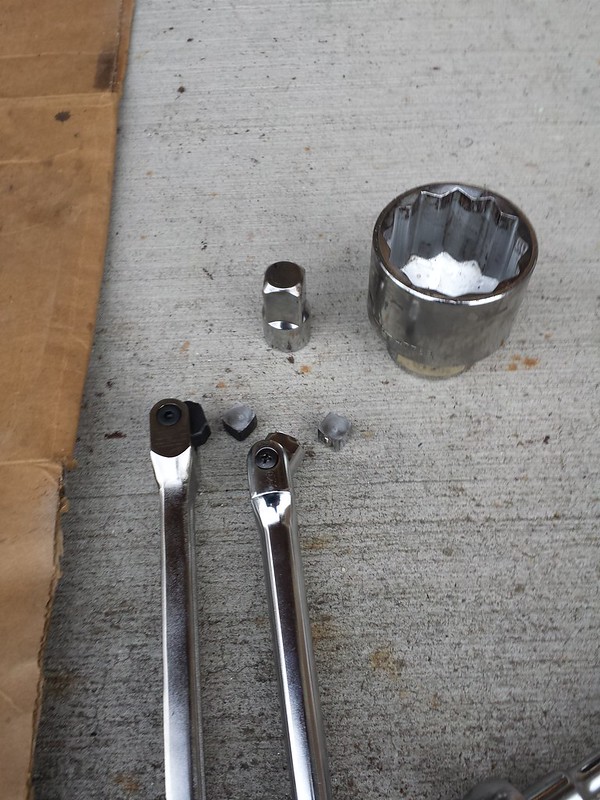
Then I got the socket to get the flywheel off and a breaker bar and 10 foot square tubing. First attempt snapped the breaker bar. Then my neighbor brought his over and that snapped too. I might take it down to the local tire shop and have them use their air gun and blast it off. More progress to come next weekend.
 20150301_162707 by tallbozo, on Flickr
 20150301_163930 by tallbozo, on Flickr
20150301_124758_1 by tallbozo, on Flickr20150301_133054 by tallbozo, on Flickr20150301_133101 by tallbozo, on Flickr20150301_133725 by tallbozo, on FlickrThen I got the socket to get the flywheel off and a breaker bar and 10 foot square tubing. First attempt snapped the breaker bar. Then my neighbor brought his over and that snapped too. I might take it down to the local tire shop and have them use their air gun and blast it off. More progress to come next weekend.
20150301_162707 by tallbozo, on Flickr20150301_163930 by tallbozo, on Flickr
03-02-15, 04:14 PM
#12
That's why I buy Craftsman tools when I can afford them. Take it in and walk out with a new one! I was able to use an air gun to zip off the 54mm nut and the front 19mm nut on the three engines I tore down. Had to get the pressure up to about 110 psi, but they came right off, so the guys at the shop should be able to do it for you faster than a NASCAR pitstop.
I used a couple cans of Gunk engine degreaser on the engines and they looked at least as bad as that one does to begin with. Let it soak for 10 or 15 minutes, scrub with a stiff brush, spray it again, and repeat then hose it off. But your driveway looks way to clean to do that! It will probably stain the concrete. I hosed mine off in the grass next to my garage on the side of the house. My yard is nothing but weeds, so only the weak ones died. If you have any other pesky gunk on there you can hit it with brake parts cleaner.
I used a couple cans of Gunk engine degreaser on the engines and they looked at least as bad as that one does to begin with. Let it soak for 10 or 15 minutes, scrub with a stiff brush, spray it again, and repeat then hose it off. But your driveway looks way to clean to do that! It will probably stain the concrete. I hosed mine off in the grass next to my garage on the side of the house. My yard is nothing but weeds, so only the weak ones died. If you have any other pesky gunk on there you can hit it with brake parts cleaner.
03-02-15, 05:16 PM
#13
No money. No love.
iTrader: (12)
Join Date: Jul 2004
Location: SACRAMENTO
Posts: 2,807
Likes: 0
Received 0 Likes
on
0 Posts
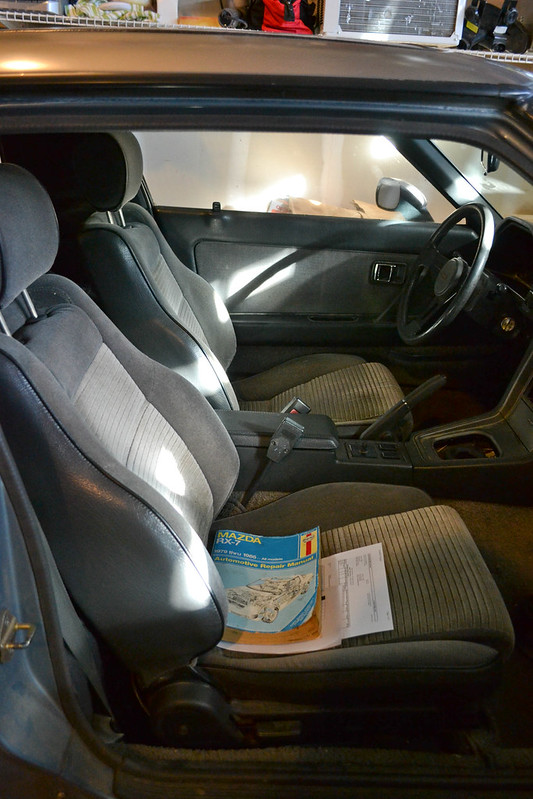
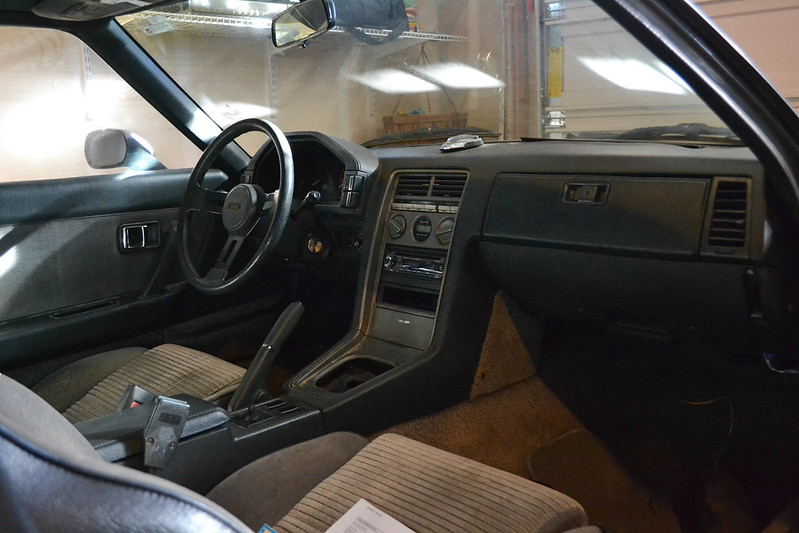
We're in opposite boats haha my engine runs GREAT, but the rest of the car needs attention. Your interior and exterior are amazing. Hopefully I can get mine up to par.
03-02-15, 05:55 PM
#14
Thanks unfortunately the exterior isn't as amazing as these pictures suggest. 5-10 feet away it's not bad. Roof and hood have some oxidation and the rest needs a good polish and wax. Lucky the interior is as nice as the pictures so I'm OK there.
03-08-15, 10:48 AM
#15
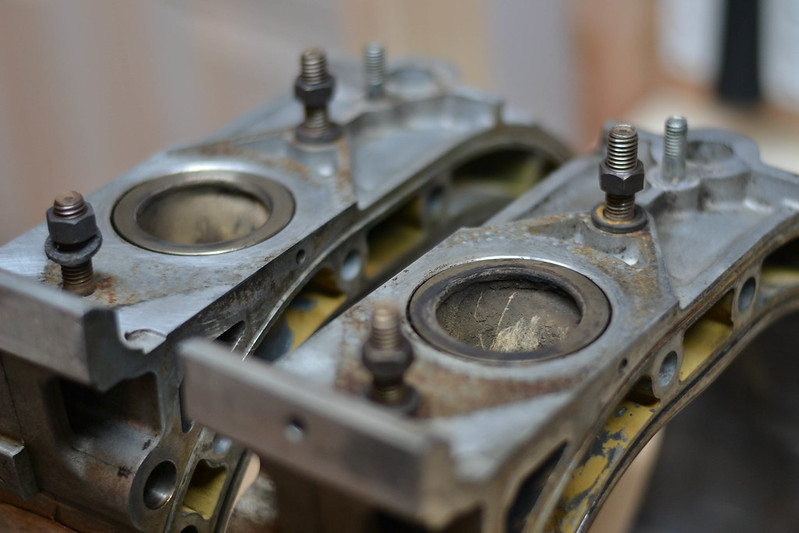
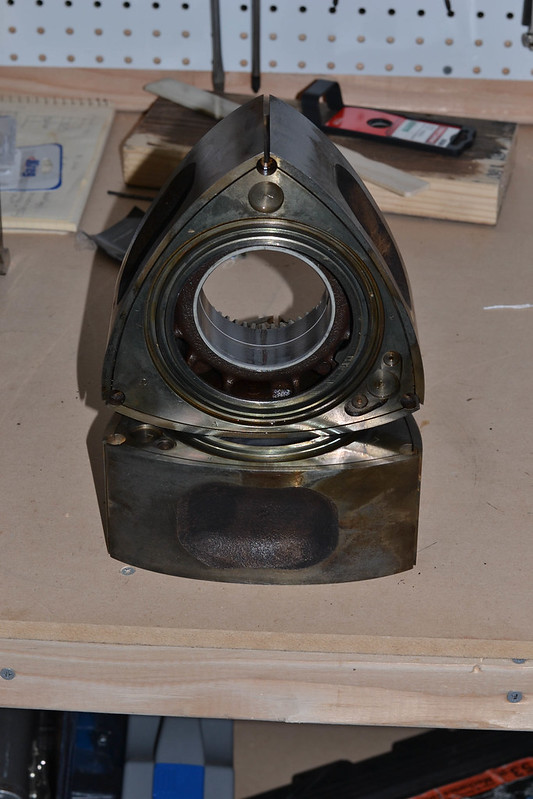
I have been able to get the motor dissassembled and am in the process of seeing if the housings and rotors are in good enough shape to be reused. My initial impressions are they are ok, but once i get everything cleaned up, I'll have a better idea. Here are some pictures of the engine.
 20150307_131638 by tallbozo, on Flickr
 20150307_132051 by tallbozo, on Flickr
 20150307_135306 by tallbozo, on Flickr
 20150307_151107_1 by tallbozo, on Flickr
20150307_131638 by tallbozo, on Flickr20150307_132051 by tallbozo, on Flickr20150307_135306 by tallbozo, on Flickr20150307_151107_1 by tallbozo, on Flickr


 03-30-15, 10:12 PM
#22
Update:
I had Robert (RW-7) inspect the housings and irons and rotors and they are in much better shape than i was expecting. I won't have to spend as much on the rebuild kit as I thought so that is good news. All of the side seals and apex seals are within factory spec which is where I am saving the most. Here is the kit I will be ordering along with the 6-port banked sleeves.
84-85 13B Rx7 Overhaul Kit A (ARE30)
84-92 Rx7 Atkins Designed Six Port Actuator...
I will be working on cleaning the engine bay and and all of the other external parts in the next few weeks so more updates to come.
04-01-15, 02:41 AM
#23
Airframe & Powerplant
iTrader: (2)

Join Date: Apr 2012
Location: California
Posts: 136
Likes: 0
Received 0 Likes
on
0 Posts
Congrats on getting back in a first gen! This thread is very entertaining. Seems the previous owner took decent care of this fine specimen of an SE, internals seem good and the body and interior are decent as well. Hard to find one this nice these days. Good find and good luck!
04-02-15, 05:14 PM
#24
Congrats on getting back in a first gen! This thread is very entertaining. Seems the previous owner took decent care of this fine specimen of an SE, internals seem good and the body and interior are decent as well. Hard to find one this nice these days. Good find and good luck!
06-04-15, 06:18 PM
#25
Well I'm stuck in a holding pattern at the moment. I have two options to get the car up and running. I have about $1000 worth of parts to get the car running: rebuild kit, clutch, misc fluids and tune up parts.
1st is to slowly buy parts over the next 6-8months and have the car running as my commuter by october. I would then sell my current commuter and use the money for wheels and tires and other upgrades.
2nd is to sell my commuter now and use my pickup to get to work as I use the proceeds to rebuild and get it running within 2 months.
It's hard to sell a good running vehicle but it might be what I need to do to get this baby running sooner. The truck isn't the best for commuting but would work. No AC for the summer. I will probably make a decision. In the next couple weeks so any input is appreciated

