When you click on links to various merchants on this site and make a purchase, this can result in this site earning a commission. Affiliate programs and affiliations include, but are not limited to, the eBay Partner Network.
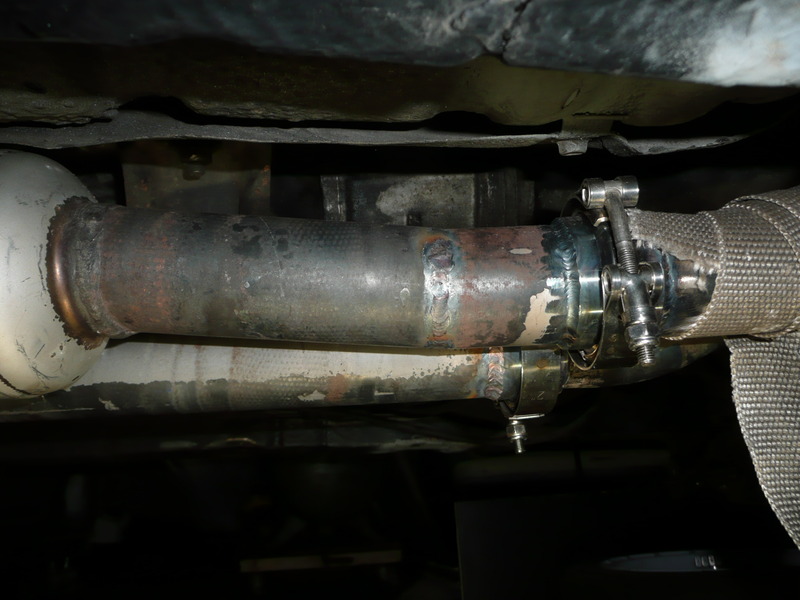
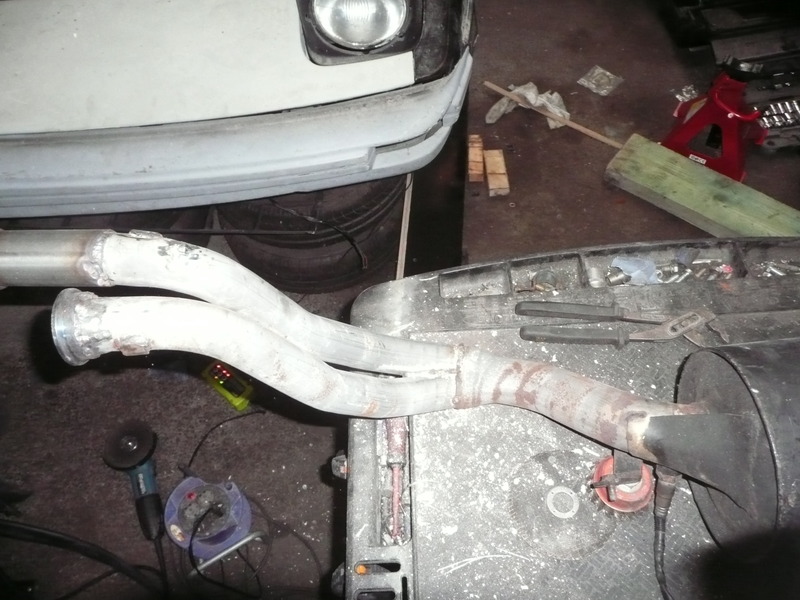
Yesterday I welded the 2 mid silencers to the front v-bands
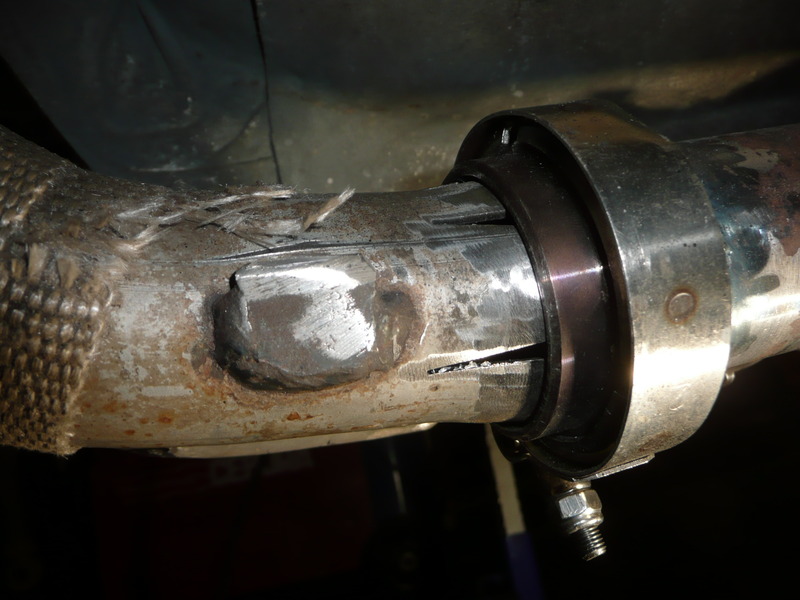
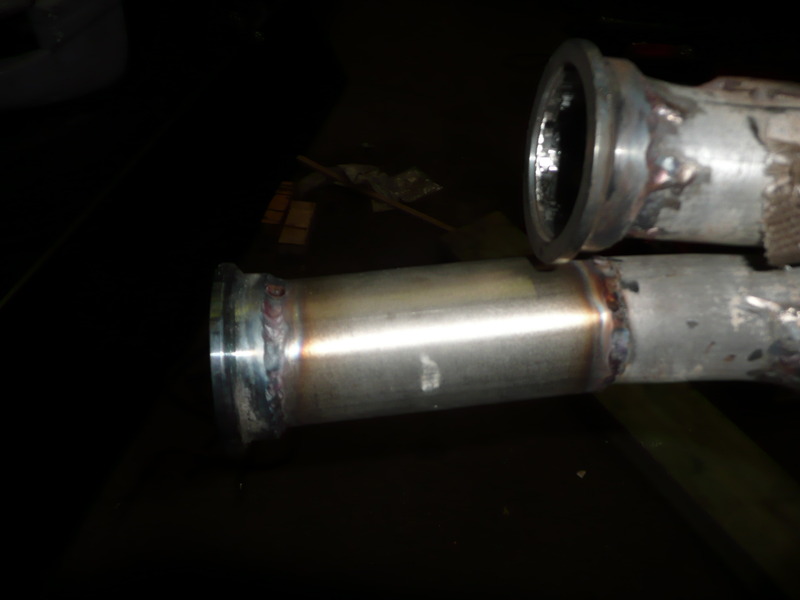
Then I encountered a piping issue
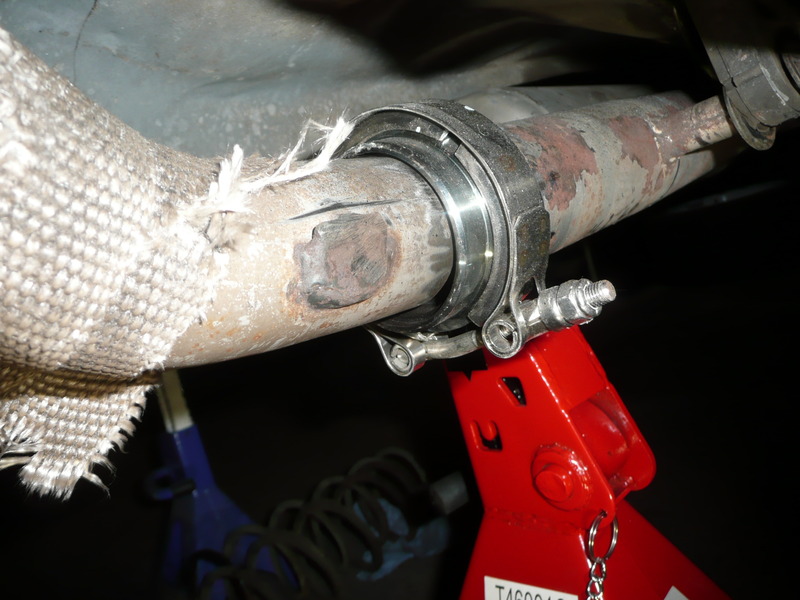
Yes Racing Beat uses different sized pipes :x, so today I tried to tackle it.
but on the car it looked like this
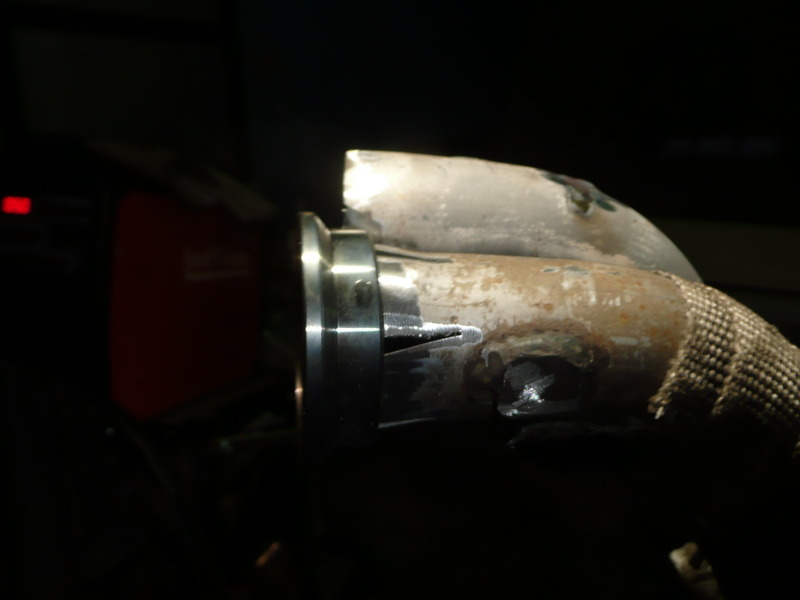
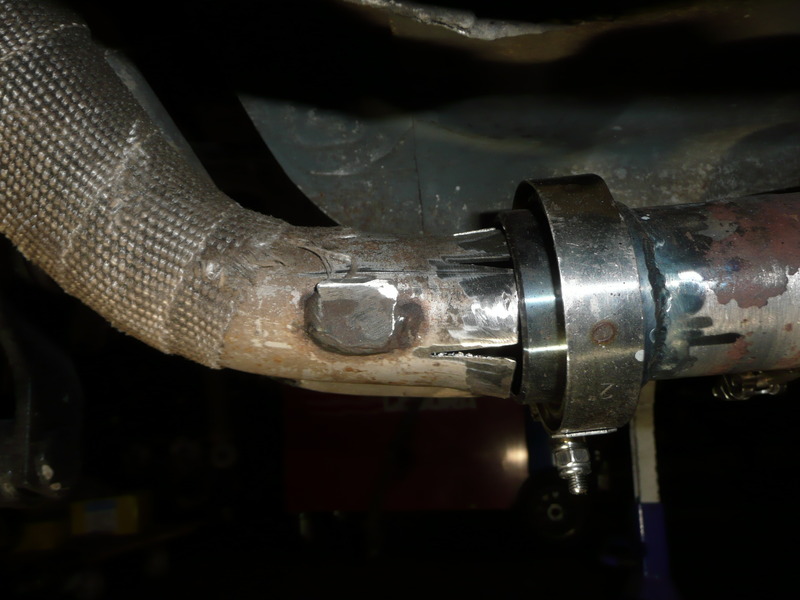
So after some massaging with the grinder, it fitted better
Yes I know, there's some tool that's called a pipe expander that makes nice expandings, but I don't have one of those.
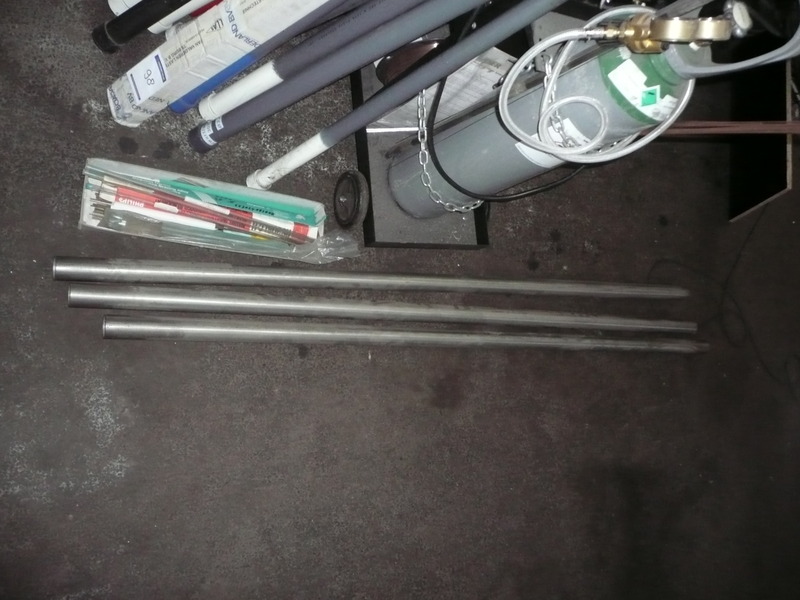
Jeej shops are back open :party: so first get some materials.
6m (in pieces of 2m) inox 2" pipe
11cm of it I use to make the connection piece
The rest is for new mid pieces, so Annabelle makes some more noizzzze
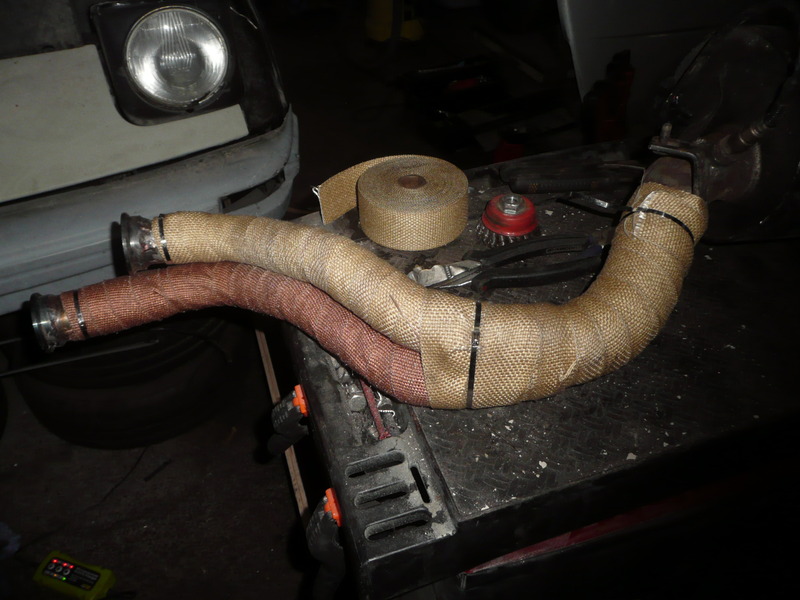
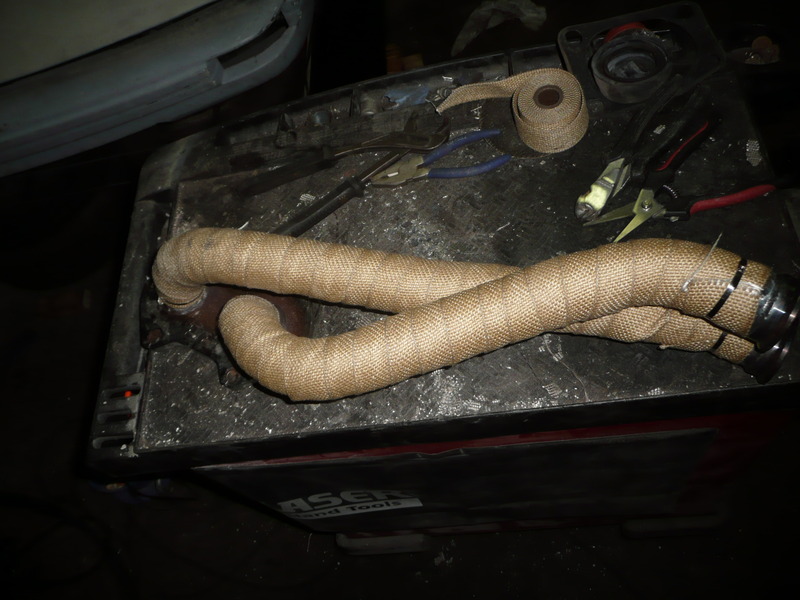
If that was finished it started with the heat wrap, so
Nope got still some body work to do and I can make my not so silence exhaust mid mufflers aka straight pipe also need to mount the rear axle and put some oil in the breaks and currently it's to cold to do anything without a heater.
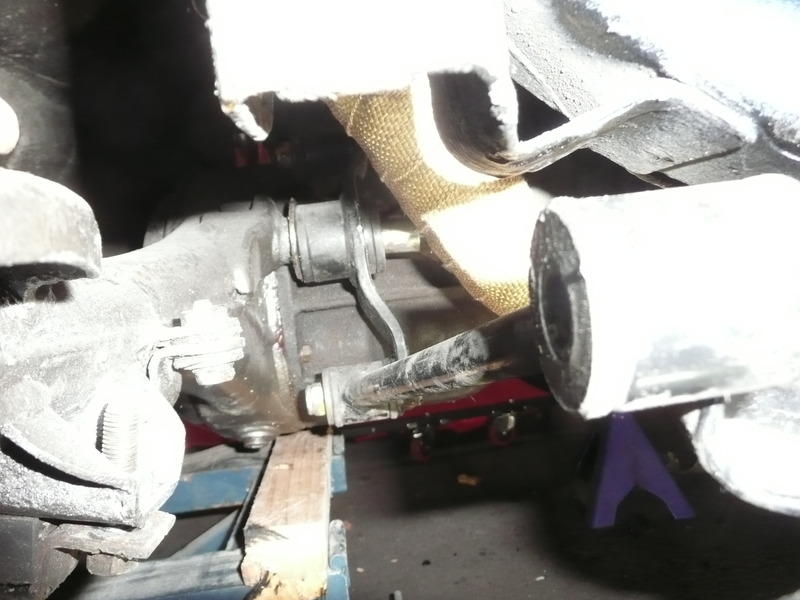
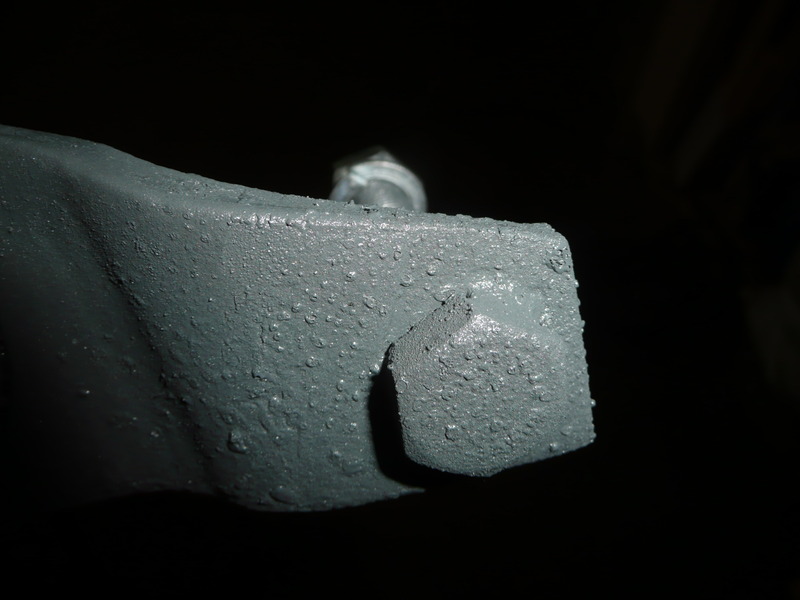
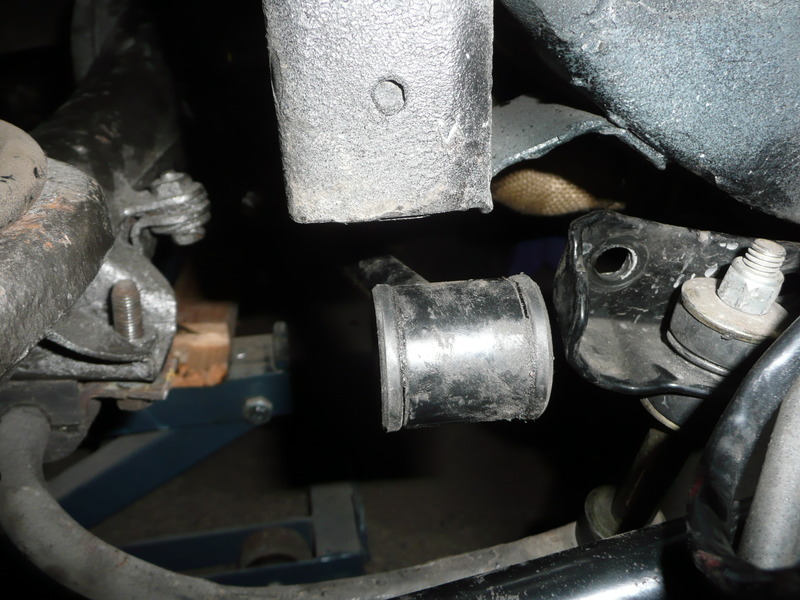
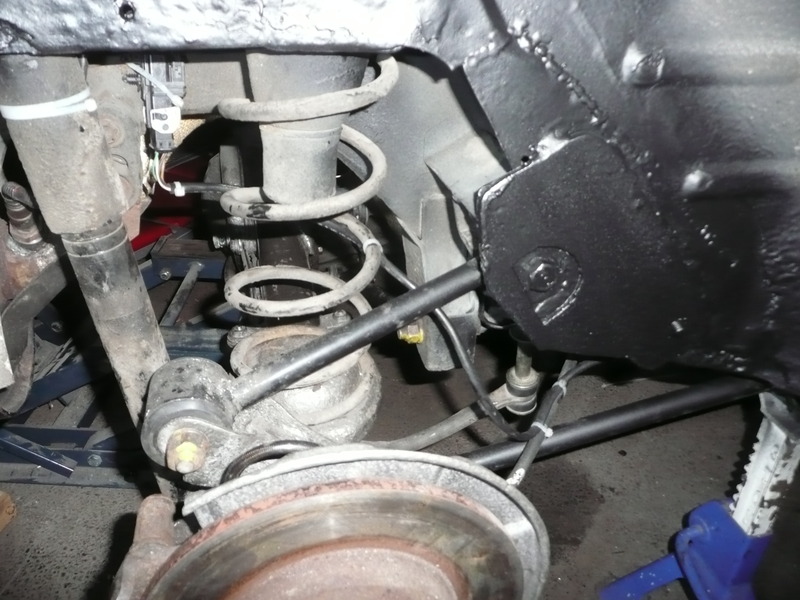
I'm currently tackling the rear end, something is not right, its "bolted" to the chassis with the 2 shock absorbers and the 2 long under links and when I pump the rear end up the whole car goes up, without the shockabsorbers going in.
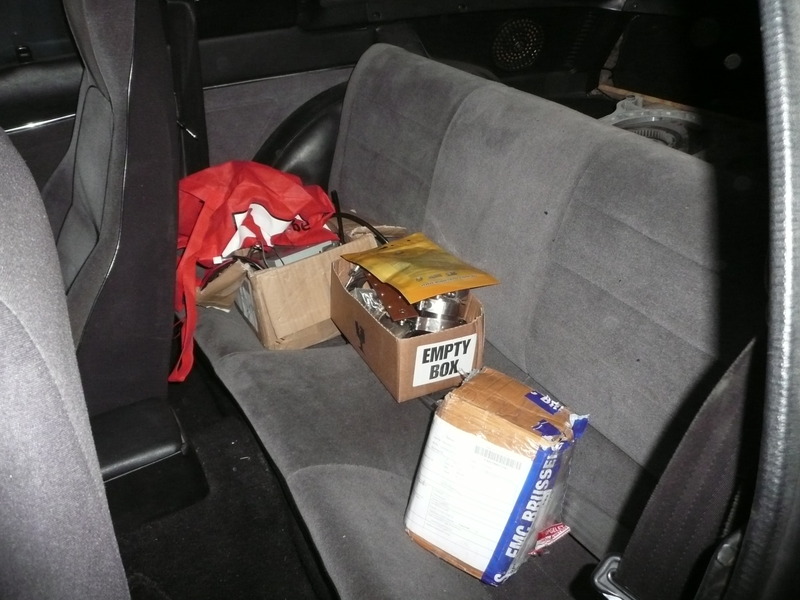
Anyway to cold to do any thing, but I received a small package today in the mail
Grommets to close up the front small lights, so they are waterproof with the new led boards in it.
I'm currently tackling the rear end, something is not right, its "bolted" to the chassis with the 2 shock absorbers and the 2 long under links and when I pump the rear end up the whole car goes up, without the shockabsorbers going in.
That's odd.... It almost sounds like your shock absorbers are already bottomed out. I assume you have your watts linkages in place also? Could it be bolted too tight to allow it to move and flex?
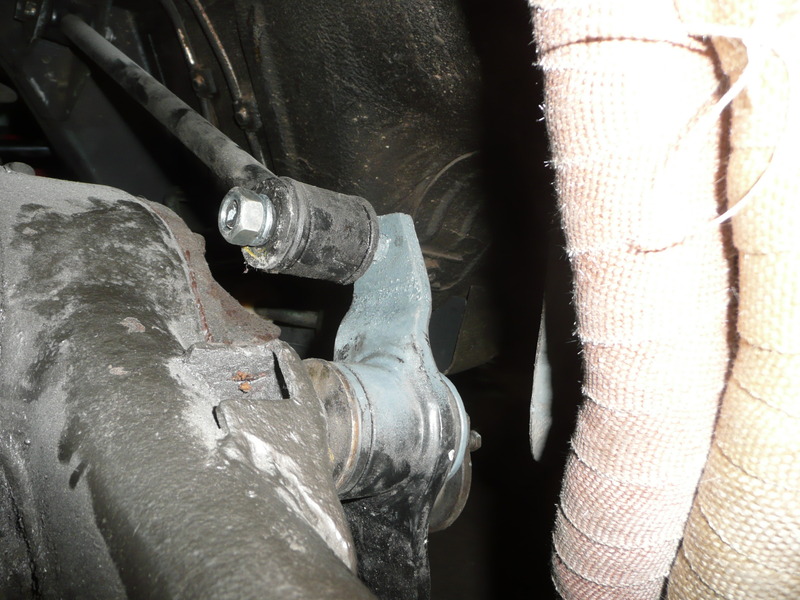
One of the previous days I putted all the bots in the right holes and today I torqued almost everything down. The only things that needs to be torqued is
* the left stabilizing link bracket
* the left bracket the hold the bushing of the stabilizing bar.
* the top Watts link bolt DONE
Then:
* need to bleed the brakes > tried it, the kit that I have is junk so I just ordered a new one on ebay * tension the hand brake cable DONE
then:
* body work
* led lights (depends when stuff comes in)
Then waiting for the gearbox, if the gb is back install it and driving like a mad men
Last edited by damic; 02-04-17 at 07:01 AM.
Reason: some work is done
Your car is a 1980 but interestingly, it has front and rear bumpers from an 81-85 (known here in the US as an FB model) Only the 79's and 80's in the US were SA's. Did a previous owner convert the cars bumpers?
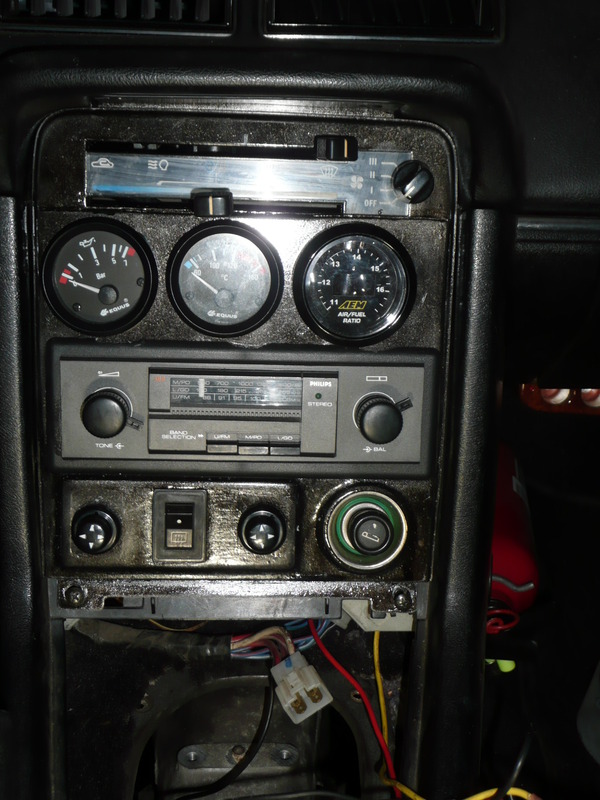
Also your interior, looks just like what came in the 79 Limited, a North American only model of which 3000 were produced. Grey velour, with the seats being a 2 tone: grey fronts with a dark blue rear fabric. The grey wrapped up over the headrest just like your seats appear to do. Do you know if they have been redone this way or are they original to the car?
You've accomplished an impressive amount of work on her too, my congrats!
Your car is a 1980 but interestingly, it has front and rear bumpers from an 81-85 (known here in the US as an FB model) Only the 79's and 80's in the US were SA's. Did a previous owner convert the cars bumpers?
Also your interior, looks just like what came in the 79 Limited, a North American only model of which 3000 were produced. Grey velour, with the seats being a 2 tone: grey fronts with a dark blue rear fabric. The grey wrapped up over the headrest just like your seats appear to do. Do you know if they have been redone this way or are they original to the car?
You've accomplished an impressive amount of work on her too, my congrats!
What I know of the car is the following: it was a special version only for Belgium in the year 1980 in a very small batch. Yes it is a '79 model with FB fenders and stuff, TWR rims (I got them all 5 ), "special" seats.
How hard can it be to order some grommets, 1 word HARD. Received some grommets with the right outer diameter but the inner is also to big so now I ordered a box of different grommets for a shorter "pain".
It'll be interesting to see how that air bleed setup works. My last two weekends have been taken up by new brakes on my wife's daily driver. New calipers, rotors, pads front and back. Luckily I have my kids to help bleed the brakes. It was surprisingly hard to find any new calipers in stock locally.
Me: "down"
Son: "down"
open bleeder until flow stops. Close bleeder.
Me: "up"
Son: "up"
Rinse. Repeat. Over. And over. Until new, clear fluid comes out.
I have the Harbor Freight version of your new bleeder. I had to turn my air up all the way to make it work efficiently. It does work though. Does take some time. The fluid doesn't come out as fast as you expect.
I also don't set the supply over the reservoir like they suggest. I was worried about it tipping over and spilling brake fluid all over the paint. I just keep an eye on the reservoir level and fill when it gets low.
Last edited by KansasCityREPU; 02-11-17 at 04:08 PM.
It'll be interesting to see how that air bleed setup works. My last two weekends have been taken up by new brakes on my wife's daily driver. New calipers, rotors, pads front and back. Luckily I have my kids to help bleed the brakes. It was surprisingly hard to find any new calipers in stock locally.
Me: "down"
Son: "down"
open bleeder until flow stops. Close bleeder.
Me: "up"
Son: "up"
Rinse. Repeat. Over. And over. Until new, clear fluid comes out.
That's a possible to.
Working principle is the same as a carburator air flows over a venturi and creates a vacuum, the problem is that it uses a lot of air to do that.
I had a one man set with a one way valve in it but the rubber is totally eaten up by the brake fluid.
Originally Posted by KansasCityREPU
I have the Harbor Freight version of your new bleeder. I had to turn my air up all the way to make it work efficiently. It does work though. Does take some time. The fluid doesn't come out as fast as you expect.
I also don't set the supply over the reservoir like they suggest. I was worried about it tipping over and spilling brake fluid all over the paint. I just keep an eye on the reservoir level and fill when it gets low.
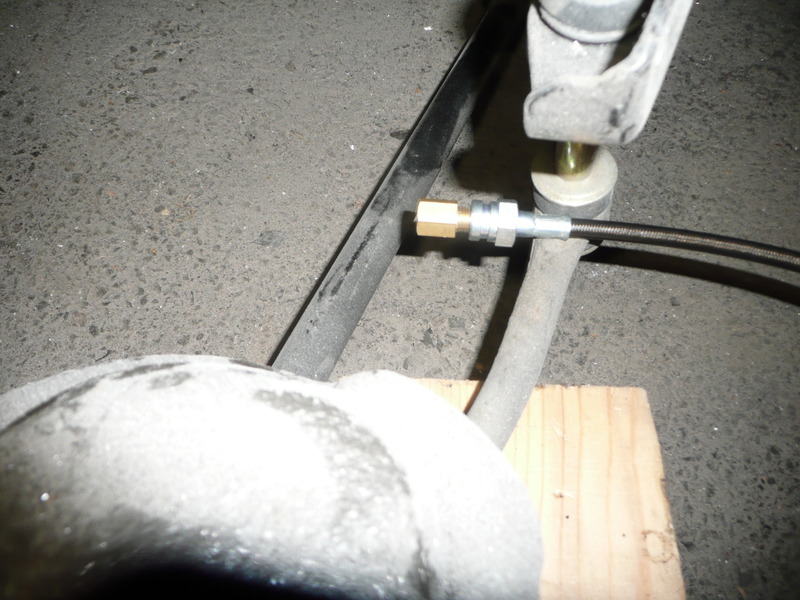
Maybe I can put a small valve between the bleed hose and the canister.
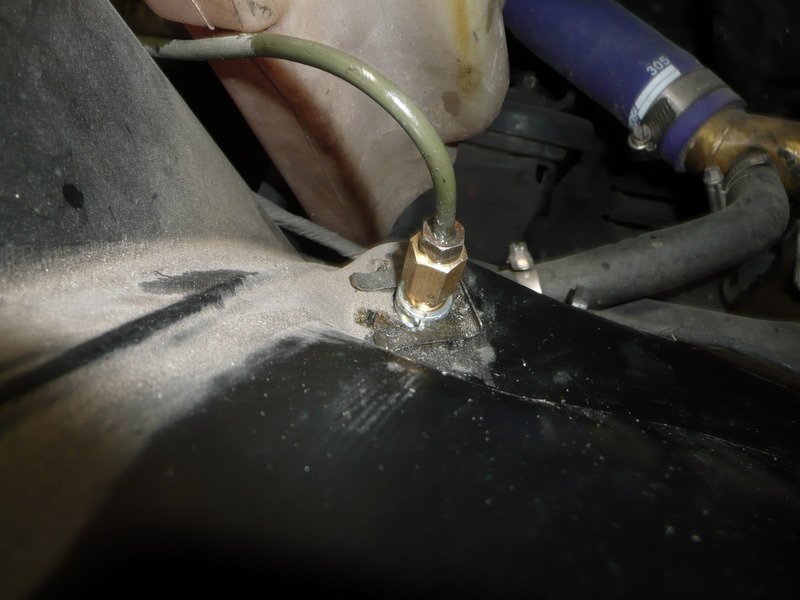
Mostly I do it like this:
1. get a 8mm wrench on the nipple and see that you can turn 1/4 of a turn
2. pull vacuum
3. still pulling vacuum and losen the nipple
4. wait until it clears
5. close the nipple
6. stop pulling vacuum
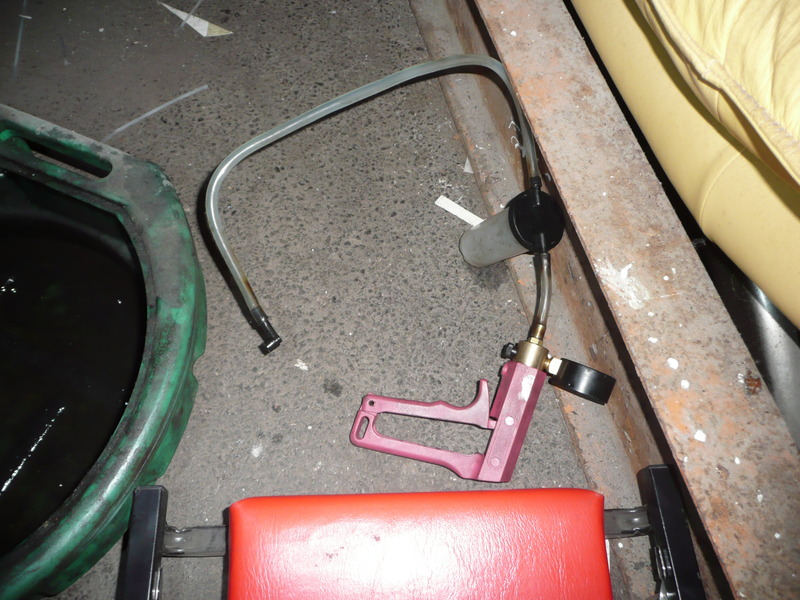
Story of today: QC of the Chinese is bogus, problem no vacuum on the nipple:
1. check if the venturi works > ok pulling vacuum hard
2. check if the canister is getting pulled vacuum > no problem at all
3. check the connection between the canister and the hose > why is there no hole in the center > drill a 3mm hole and test it again
4. Jeeej it works
Now I hope the master brake cylinder of the SA is good enough for the rear axle of the FB, I red somewhere that the FB mc is bigger.
Topday I got my box of different grommets and right a way I tried to find the right one and I found it: M7.5x12 now some cable and I can finish up the led lights
 12-25-16, 09:30 AM


 and currently it's to cold to do anything without a heater.


 air flows over a venturi and creates a vacuum, the problem is that it uses a lot of air to do that.
 > drill a 3mm hole and test it again
