Damic's Annabelle (SA)
 01-05-12, 01:43 PM
#1
Senior Member
Thread Starter
Hi my name is Michael or Damic.
I Live In Belgium and I'm born in 1984
I've been wondering around on the forum, but I'm very active on the Dutch RX-7 forum
Now my rex, I've called every car I own with a name or almost. It's easy-er to keep the cars separated (Gone in 60s). That's why I called her Annabelle.
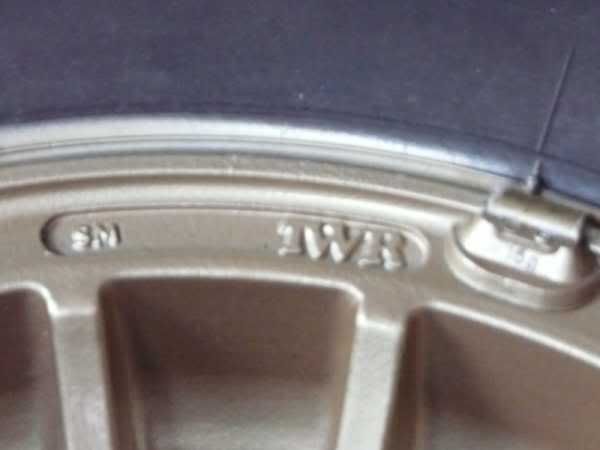
I got a SA from 1980 with a twr kit on it, its a fake twr but at least I got the TWR rims

New steer because I couldn't steer it well, I'm to big(1m92, long legs)

After the first year I thought I blew up the engine and drove it to a specialist (RX7-service Holland) and he said the engine is fine only it s a little bit rich, but the exhaust is leaking (probably because we made a custom insert for it, that didn't work).
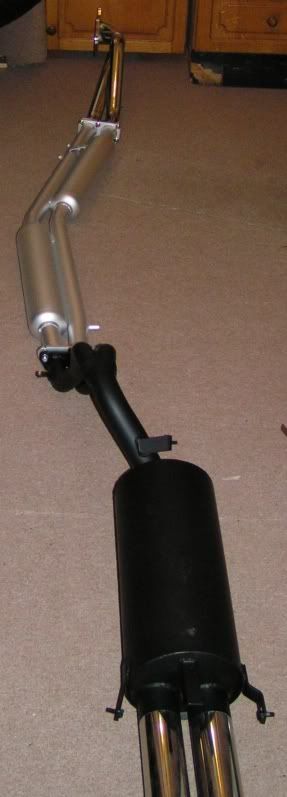
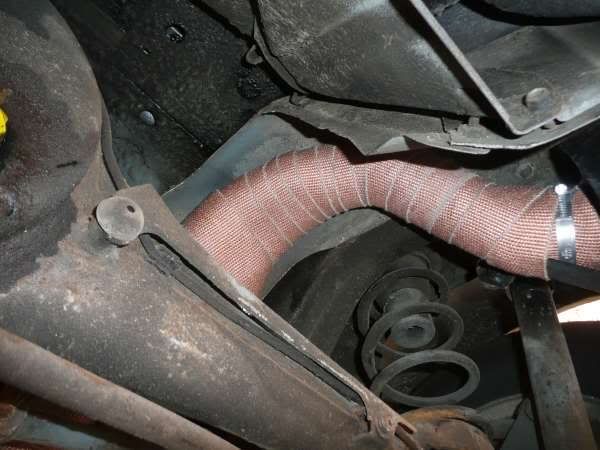
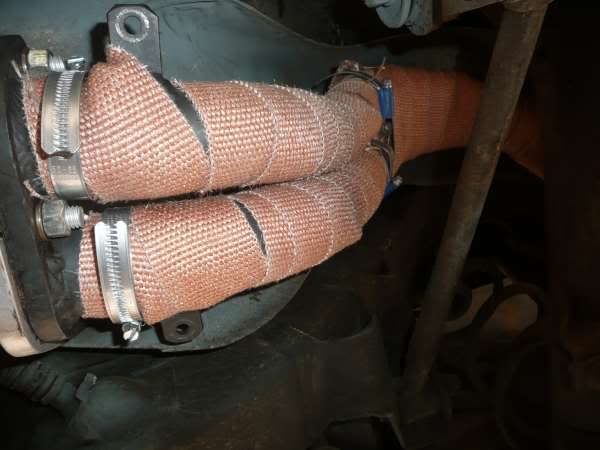
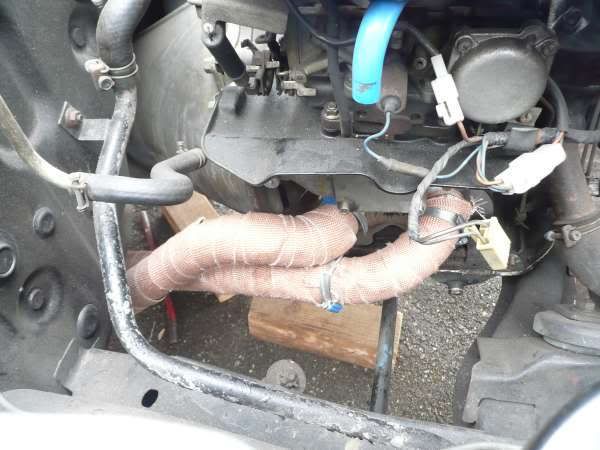
So a new exhaust it was: RB Dual-Street port exhaust
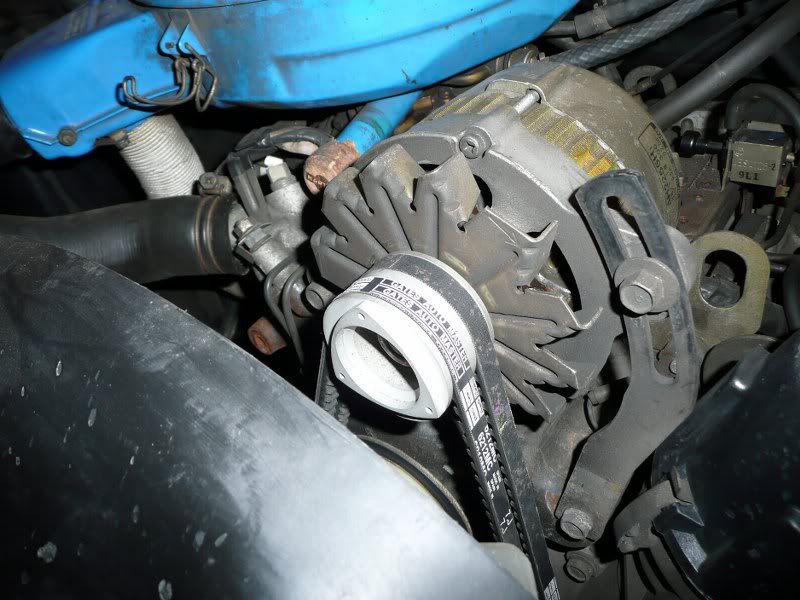
 also some other things like a K&N inlet filter and a dual rotor shape alternator pulley
When she was back home I did some other work:
I Live In Belgium and I'm born in 1984
I've been wondering around on the forum, but I'm very active on the Dutch RX-7 forum
Now my rex, I've called every car I own with a name or almost. It's easy-er to keep the cars separated (Gone in 60s). That's why I called her Annabelle.
I got a SA from 1980 with a twr kit on it, its a fake twr but at least I got the TWR rims
New steer because I couldn't steer it well, I'm to big(1m92, long legs)
After the first year I thought I blew up the engine and drove it to a specialist (RX7-service Holland) and he said the engine is fine only it s a little bit rich, but the exhaust is leaking (probably because we made a custom insert for it, that didn't work).
So a new exhaust it was: RB Dual-Street port exhaust
also some other things like a K&N inlet filter and a dual rotor shape alternator pulleyWhen she was back home I did some other work:
 02-20-12, 12:54 PM
#2
Senior Member
Thread Starter
After that done the next year a needed some new brakes so I went to Mazda and they said no stock, so after some searching I went to a brake renewer and said: "put some new brake dust on my brakes", not with that line but you get the point.
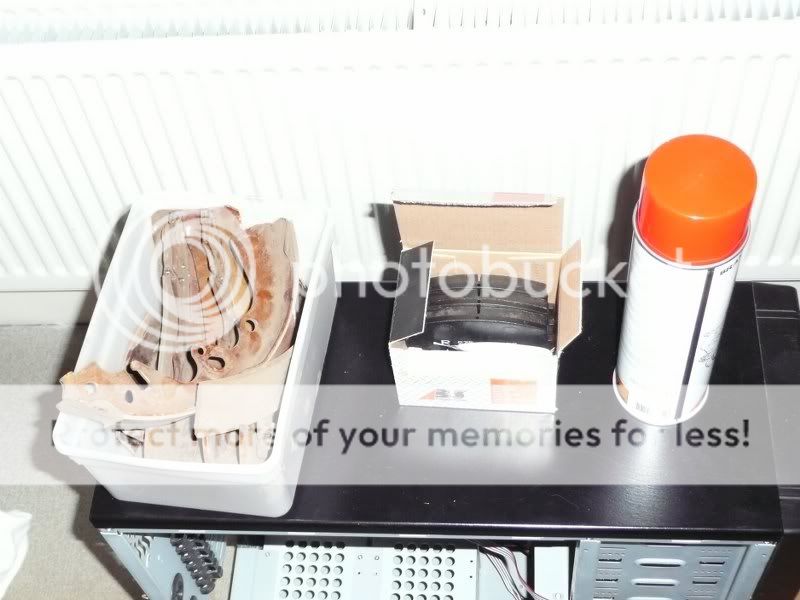
Right a fully new brake pads, still available and left are the OLD drum shoes + some cleaner.
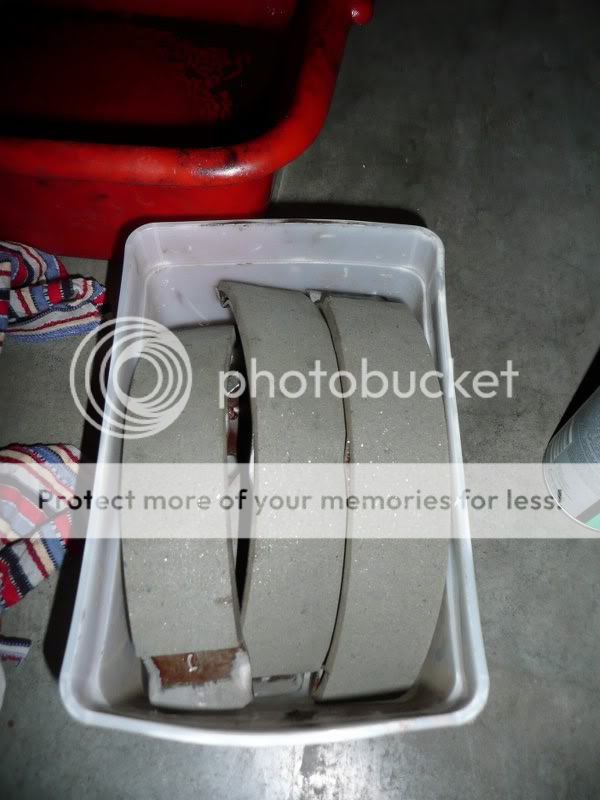
The new brake shoes.
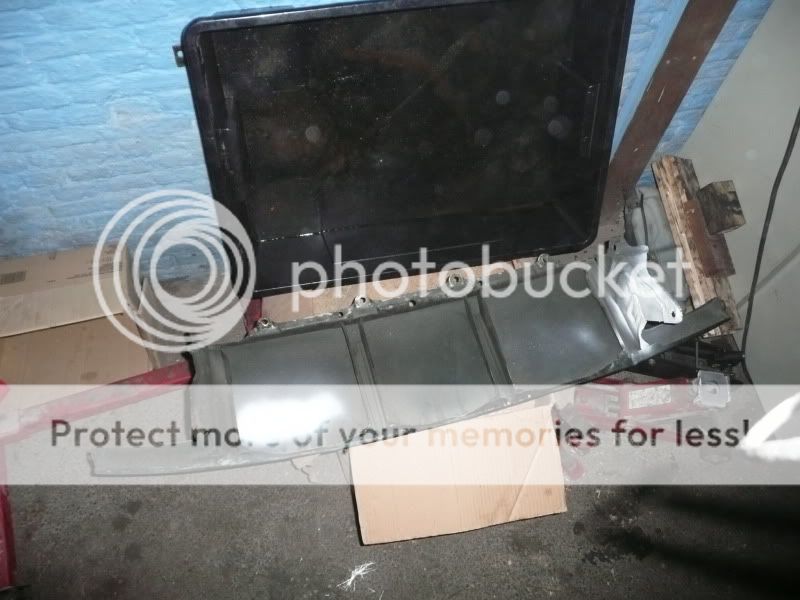
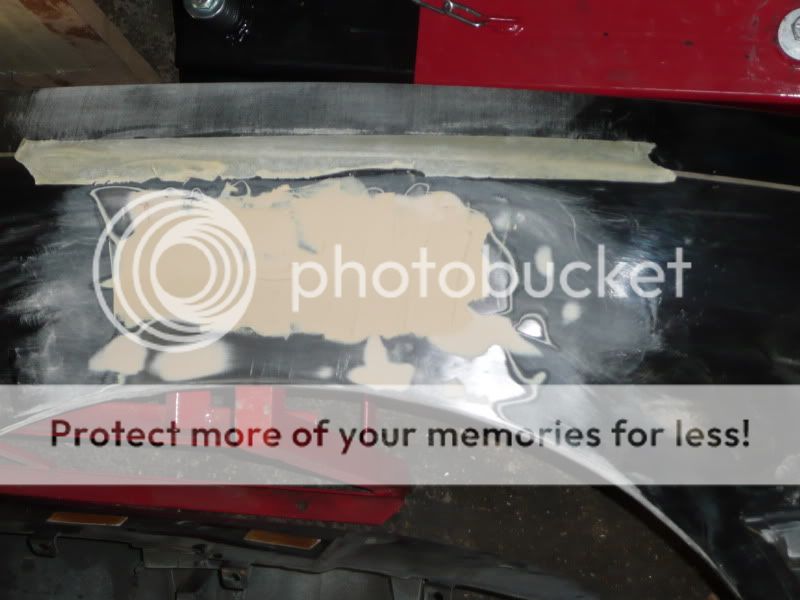
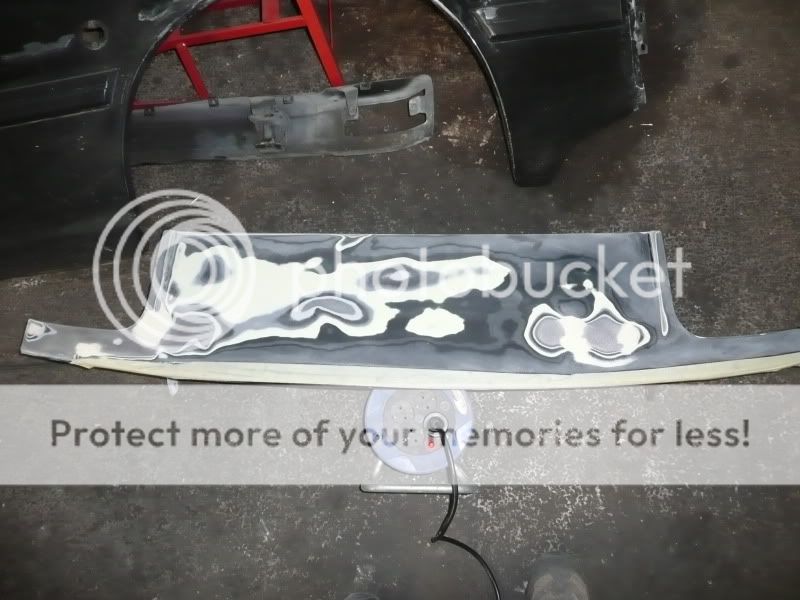
Did a clean up of the front diffuser and repainted it.
Before:


After:


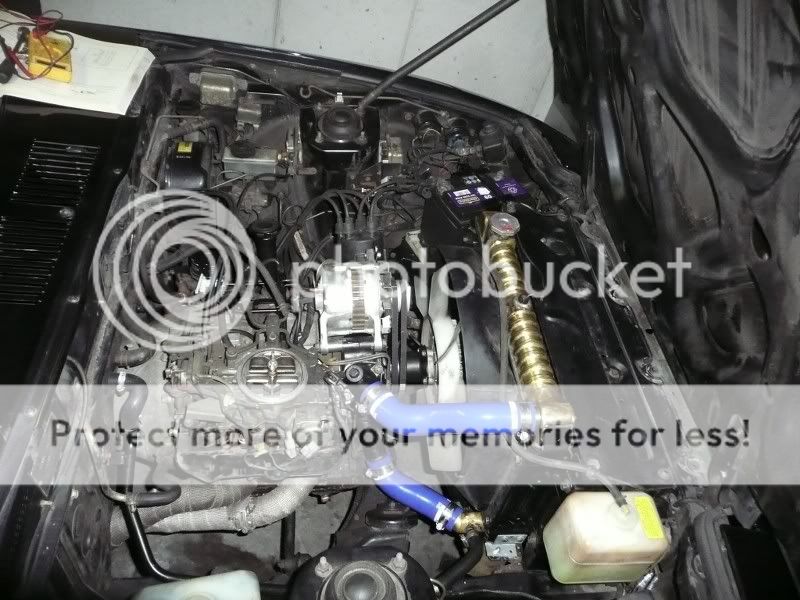
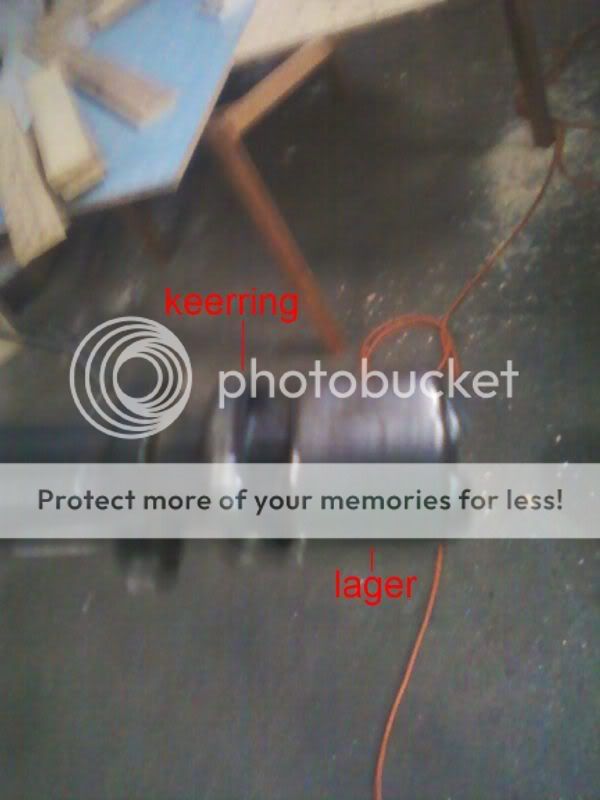
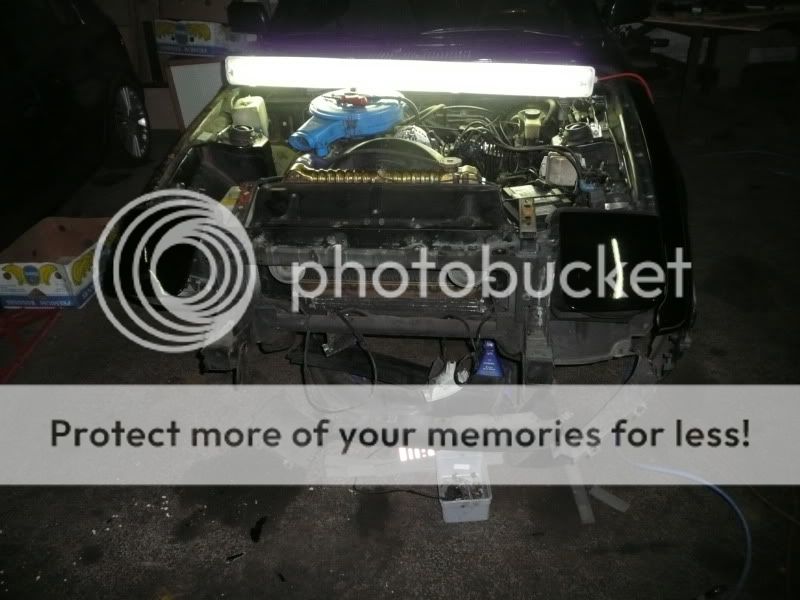
The next year I had a weird tick in the engine bay and It as going with the revs so after searching out, the next winter I revisited the alternator with new bearings and a new brush kit and it was like new but still the thick was there. So next thing was the water pump.
Tried to remove the pump from the pump housing and broke the pump. So after asking on the Dutch RX-7 forum the president had a new lying around. So I went to him and bought it.
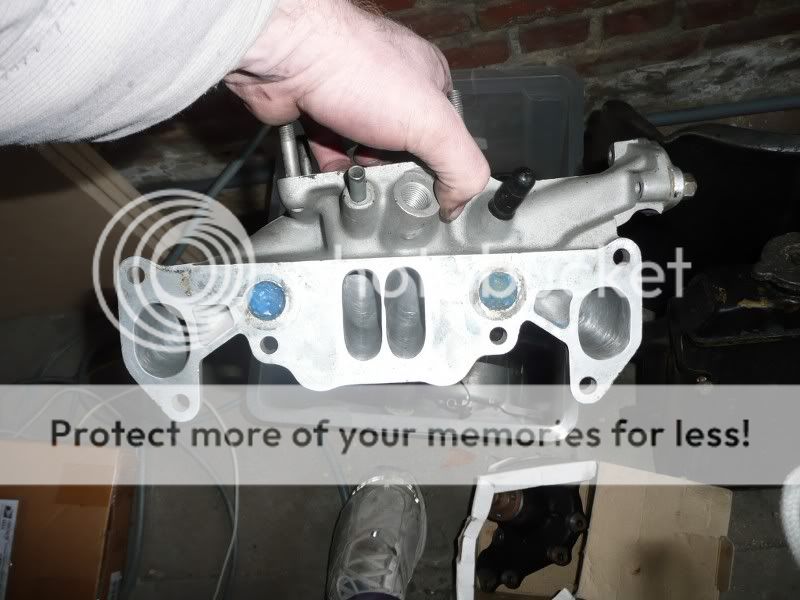
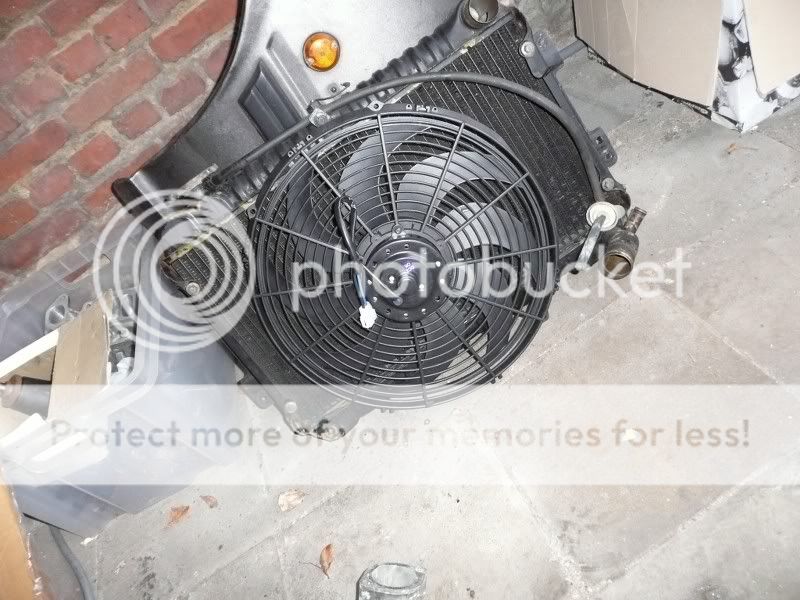
In the road trip to get the pump I got also some other parts like a ported intake, electrical 12" fan, spare radiator.
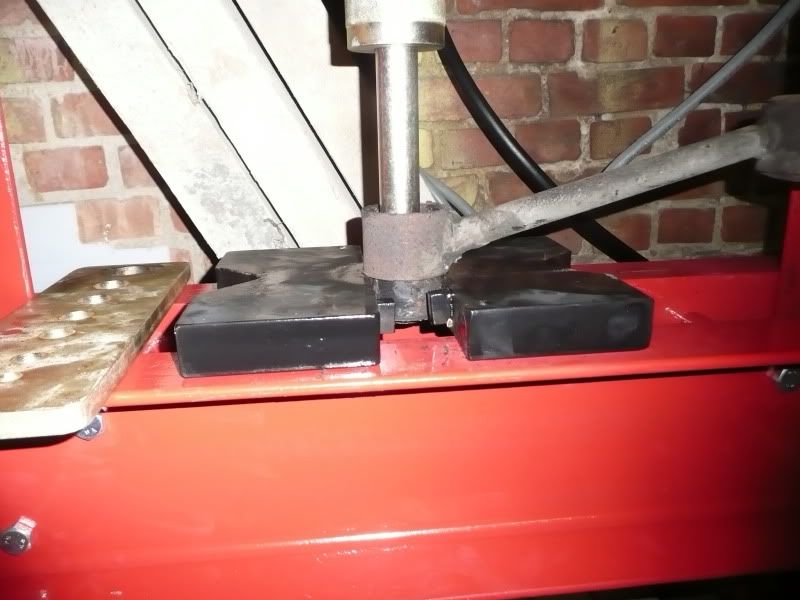
Made also some brackets for the big *** oil cooler
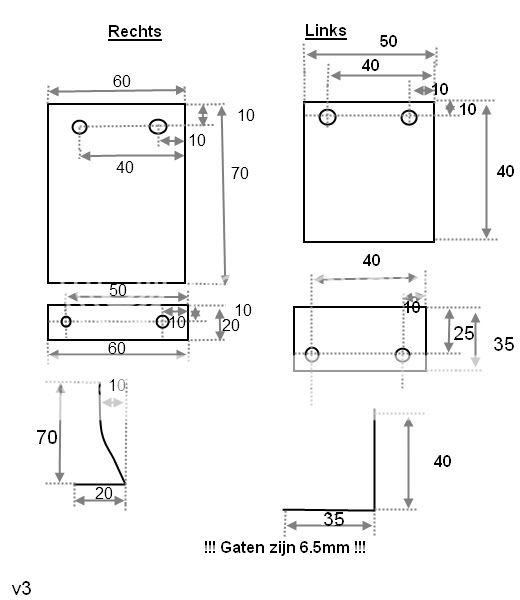
Measurements are in mm and the holes are 6.5mm
Right a fully new brake pads, still available and left are the OLD drum shoes + some cleaner.
The new brake shoes.
Did a clean up of the front diffuser and repainted it.
Before:
After:
The next year I had a weird tick in the engine bay and It as going with the revs so after searching out, the next winter I revisited the alternator with new bearings and a new brush kit and it was like new but still the thick was there. So next thing was the water pump.
Tried to remove the pump from the pump housing and broke the pump. So after asking on the Dutch RX-7 forum the president had a new lying around. So I went to him and bought it.
In the road trip to get the pump I got also some other parts like a ported intake, electrical 12" fan, spare radiator.
Made also some brackets for the big *** oil cooler
Measurements are in mm and the holes are 6.5mm
02-20-12, 01:22 PM
#3
Senior Member
Thread Starter
To go further with the story.
Ordered some parts in the USA (thought it was cheaper).
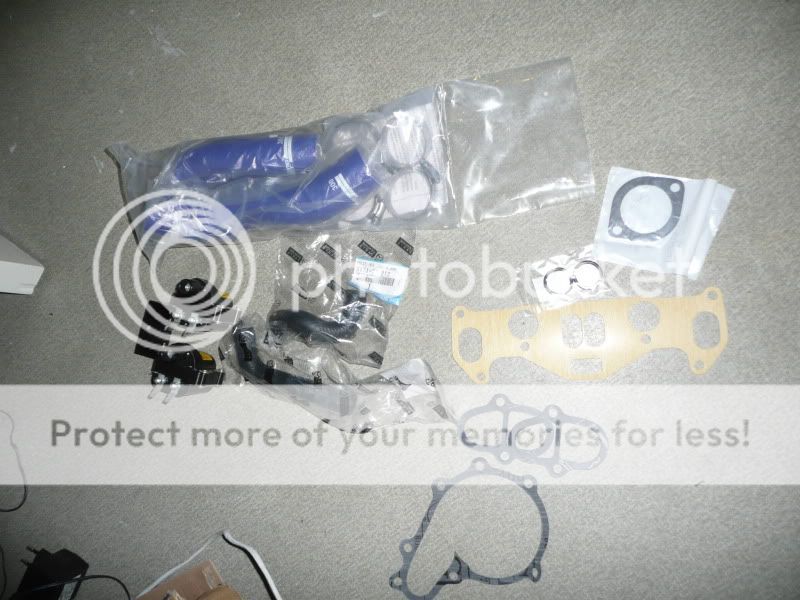
* water pump gasket set
* thermostat gasket
* inlet gasket set
* RB water hoses
* Mazda water slangen binnen radiator
* New extra bobbin set
Bought a spare carb to clean it up and tune it a little bit.
Had a small leak in the intake to the engine that's why she didn't start so good.
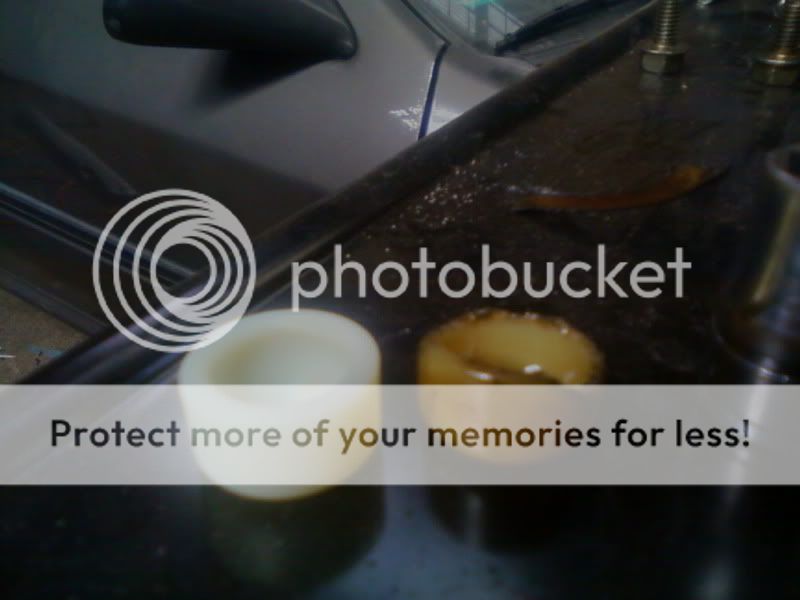
Bought some water plugs for in the rotor housings, cleaned up the radiator its nice to see a messing radiator so I just give it a varnish layer or 3 so it stays clean.
Ordered some parts in the USA (thought it was cheaper).
* water pump gasket set
* thermostat gasket
* inlet gasket set
* RB water hoses
* Mazda water slangen binnen radiator
* New extra bobbin set
Bought a spare carb to clean it up and tune it a little bit.
Had a small leak in the intake to the engine that's why she didn't start so good.
Bought some water plugs for in the rotor housings, cleaned up the radiator its nice to see a messing radiator so I just give it a varnish layer or 3 so it stays clean.
02-20-12, 01:41 PM
#4
Senior Member
Thread Starter
The tick wasn't still not gone after the whole job and I went crazy, but when I started to think about it and reeded some reactions on my question the said maybe check your V-belts and there it as they were too firmly strained.
Then in 2011 I found on a meeting out that I was loosing some metal pieces in a orange/brown color, yes rust, after searching (like 30seconds).
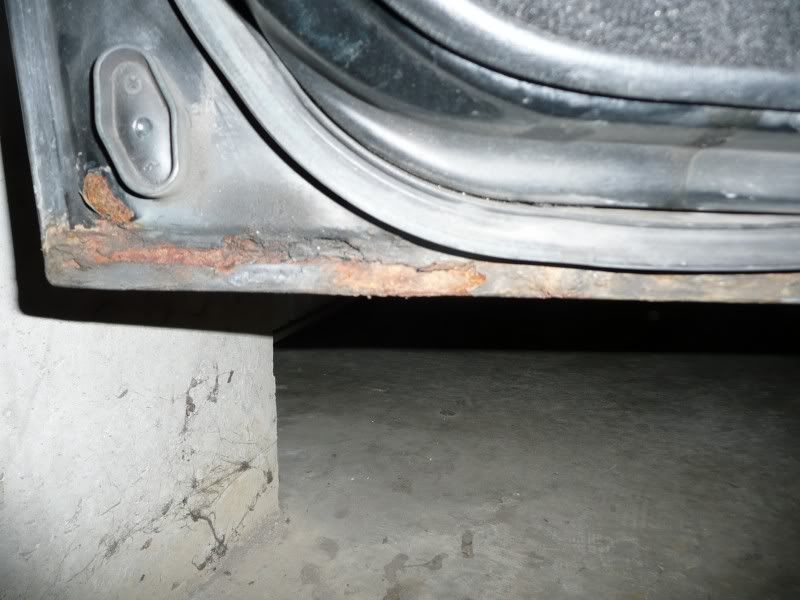
cleaned that and putted framento traitment (Loctite 7500) on it.
Click on the first link and then press Previous:
http://s63.photobucket.com/albums/h1...45_640x480.jpg
http://s63.photobucket.com/albums/h1...46_640x480.jpg
http://s63.photobucket.com/albums/h1...47_640x480.jpg
http://s63.photobucket.com/albums/h1...48_640x480.jpg
http://s63.photobucket.com/albums/h1...49_640x480.jpg
http://s63.photobucket.com/albums/h1...51_640x480.jpg
http://s63.photobucket.com/albums/h1...52_640x480.jpg
http://s63.photobucket.com/albums/h1...53_640x480.jpg
http://s63.photobucket.com/albums/h1...54_640x480.jpg
http://s63.photobucket.com/albums/h1...55_640x480.jpg
http://s63.photobucket.com/albums/h1...56_640x480.jpg
http://s63.photobucket.com/albums/h1...59_640x480.jpg
http://s63.photobucket.com/albums/h1...60_640x480.jpg
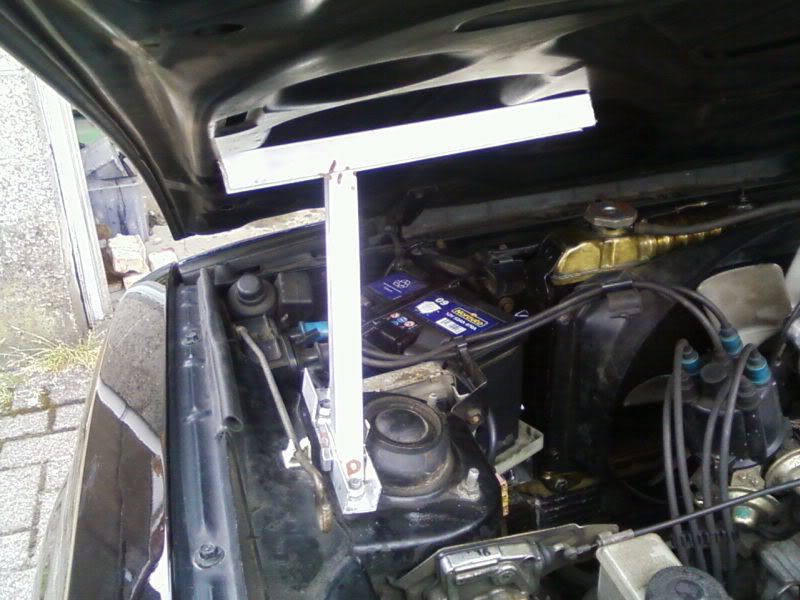
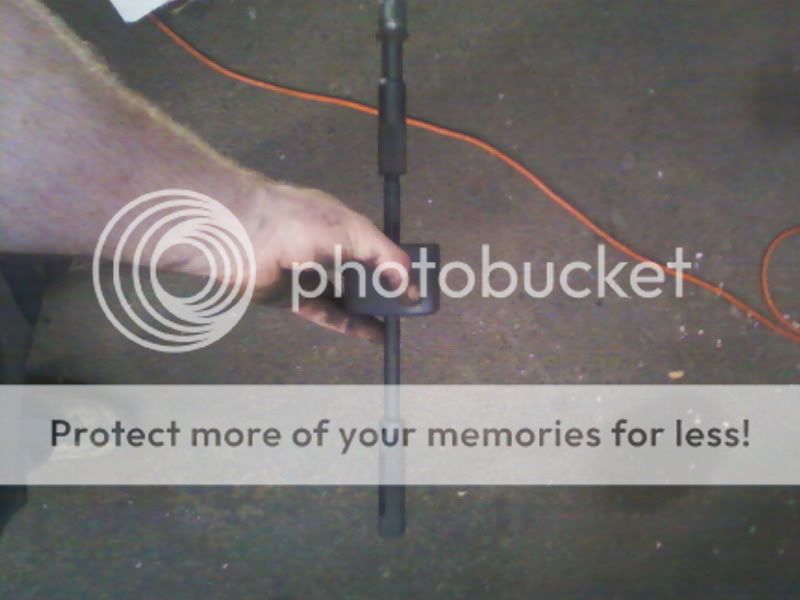
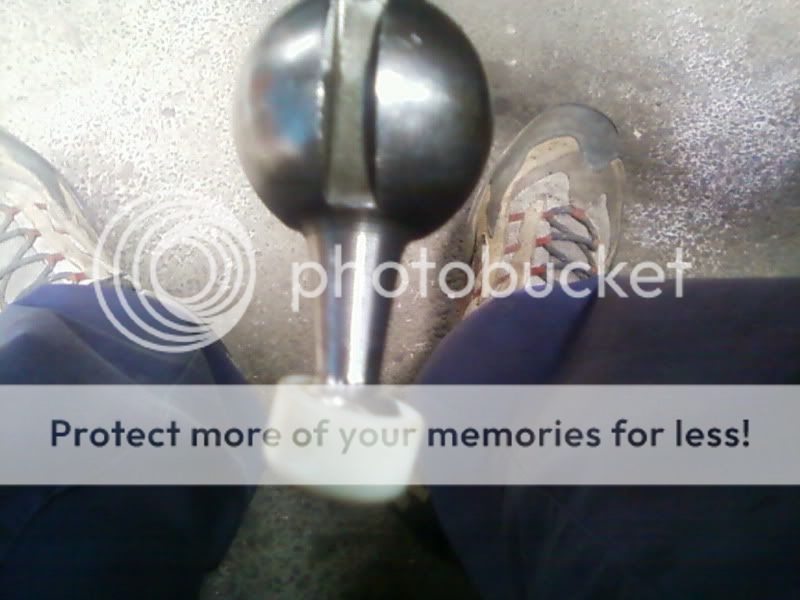
When I was on a meeting I couldn't stay the hood open when it was windy so I made myself a hood stopper, after wards thinking I just could bought some nice hood openers (maybe near future).
My hood holder/stopper:
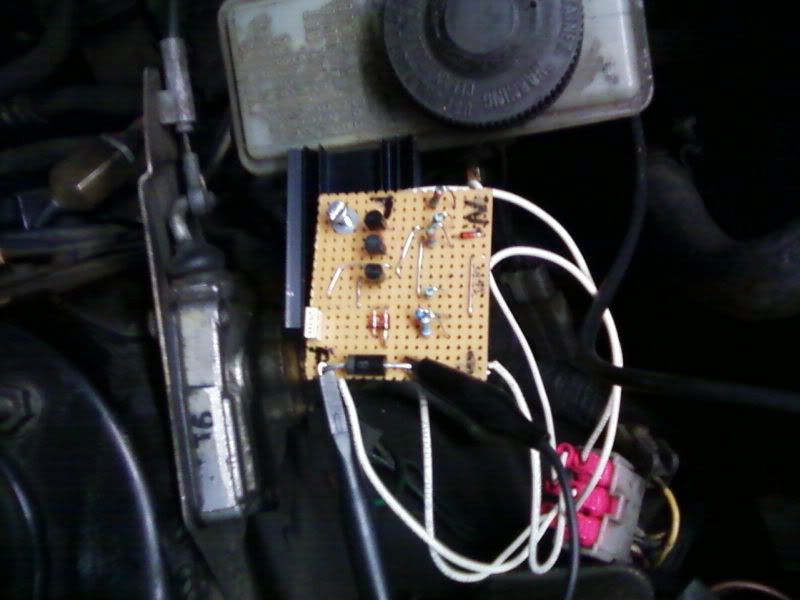
Then on the end of the season there where some meetings left and I wanted to help someone of the Dutch forum where his alternator regulator so I opened mine. afterwards when I putted back together I had the same problem as him and that on the evening before a meeting. Happily I buddy of mine has a "broke down" FC and I used the alternator of his with a small wiring mod on my harness. Afterwards I builded a electronic one and it does the job even better.
Test version: tested on a road trip of +500km (+ getting a package for the next winter 2011-2012)
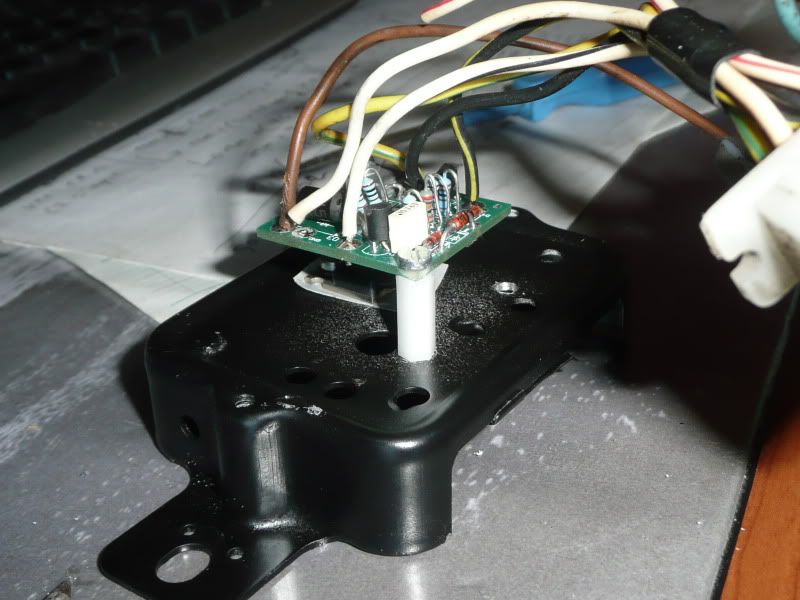
Small version
Big version (still to come):
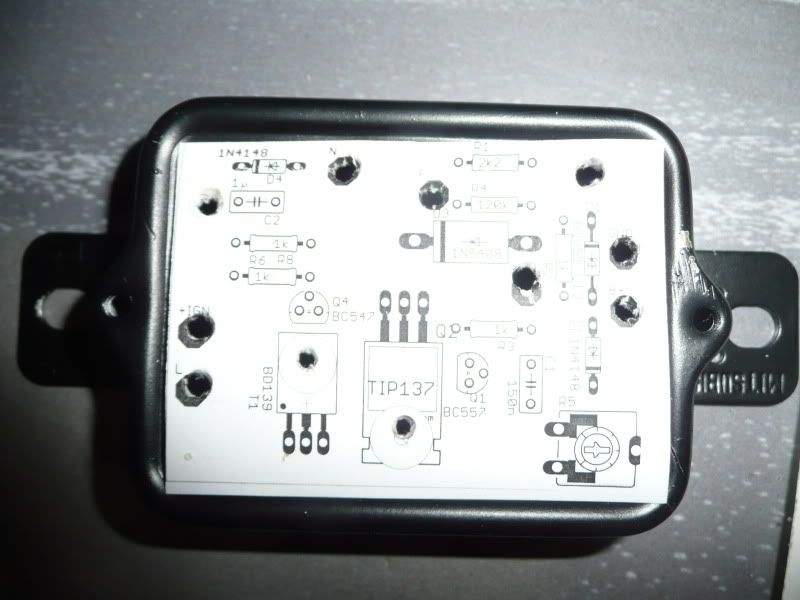
Schematic: http://i63.photobucket.com/albums/h1...eregulator.jpg
Then in 2011 I found on a meeting out that I was loosing some metal pieces in a orange/brown color, yes rust, after searching (like 30seconds).
cleaned that and putted framento traitment (Loctite 7500) on it.
Click on the first link and then press Previous:
http://s63.photobucket.com/albums/h1...45_640x480.jpg
http://s63.photobucket.com/albums/h1...46_640x480.jpg
http://s63.photobucket.com/albums/h1...47_640x480.jpg
http://s63.photobucket.com/albums/h1...48_640x480.jpg
http://s63.photobucket.com/albums/h1...49_640x480.jpg
http://s63.photobucket.com/albums/h1...51_640x480.jpg
http://s63.photobucket.com/albums/h1...52_640x480.jpg
http://s63.photobucket.com/albums/h1...53_640x480.jpg
http://s63.photobucket.com/albums/h1...54_640x480.jpg
http://s63.photobucket.com/albums/h1...55_640x480.jpg
http://s63.photobucket.com/albums/h1...56_640x480.jpg
http://s63.photobucket.com/albums/h1...59_640x480.jpg
http://s63.photobucket.com/albums/h1...60_640x480.jpg
When I was on a meeting I couldn't stay the hood open when it was windy so I made myself a hood stopper, after wards thinking I just could bought some nice hood openers (maybe near future).
My hood holder/stopper:
Then on the end of the season there where some meetings left and I wanted to help someone of the Dutch forum where his alternator regulator so I opened mine. afterwards when I putted back together I had the same problem as him and that on the evening before a meeting. Happily I buddy of mine has a "broke down" FC and I used the alternator of his with a small wiring mod on my harness. Afterwards I builded a electronic one and it does the job even better.
Test version: tested on a road trip of +500km (+ getting a package for the next winter 2011-2012)
Small version
Big version (still to come):
Schematic: http://i63.photobucket.com/albums/h1...eregulator.jpg
02-20-12, 01:52 PM
#5
Senior Member
Thread Starter
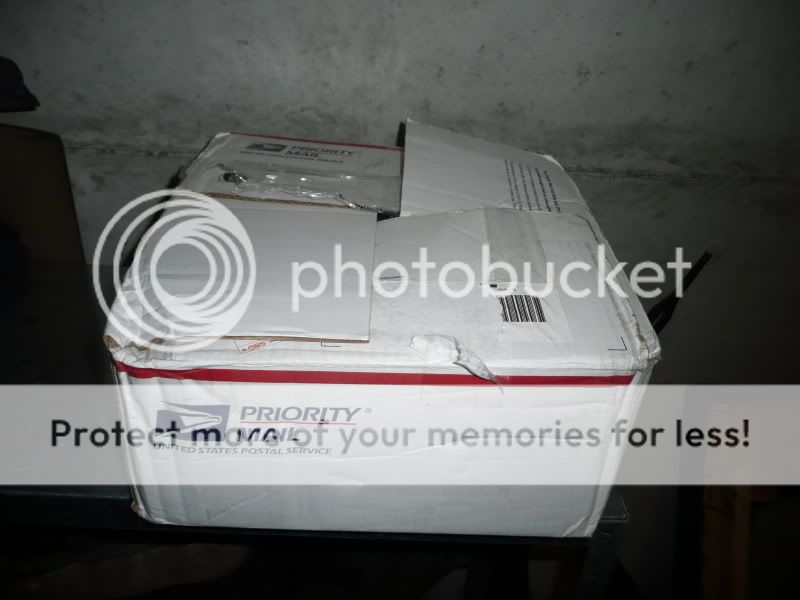
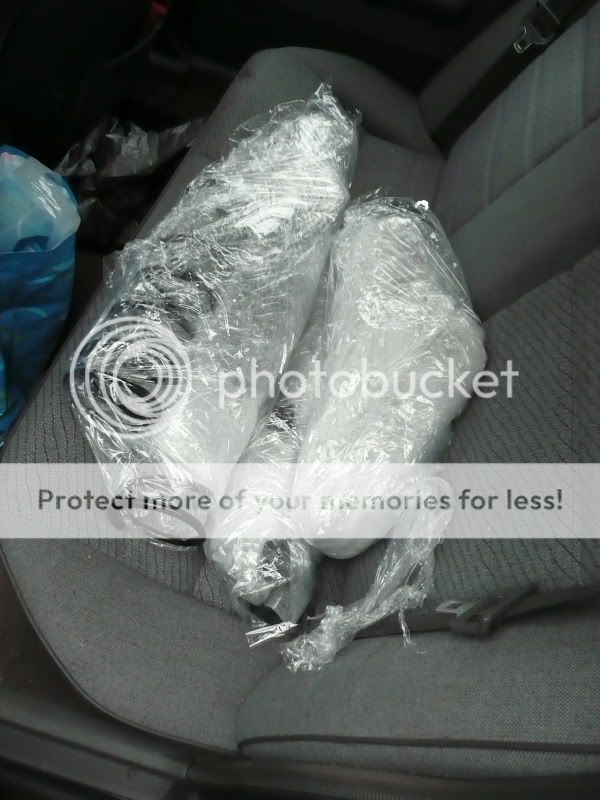
Package winter 2011-2012.
There was a box:
Let we open it up:
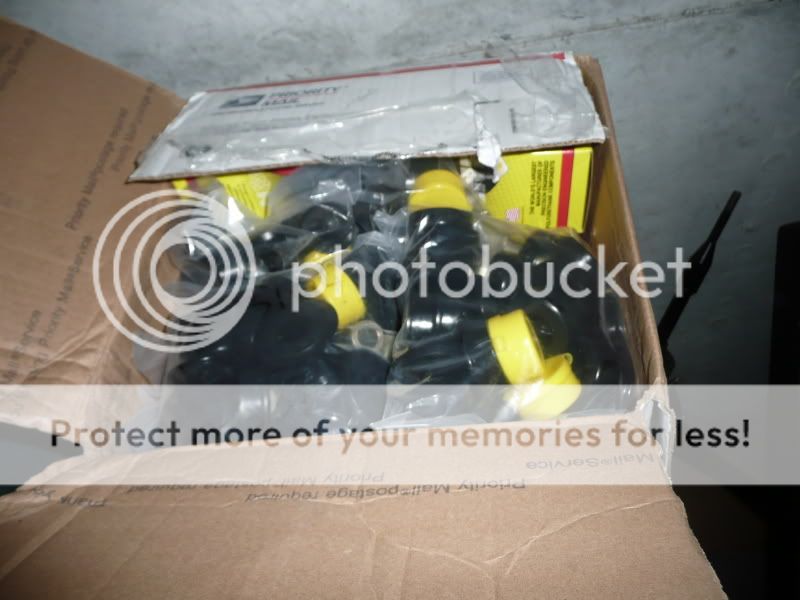
oooooh goodies
The necessary buses for 1 car:
What's in the boxes:
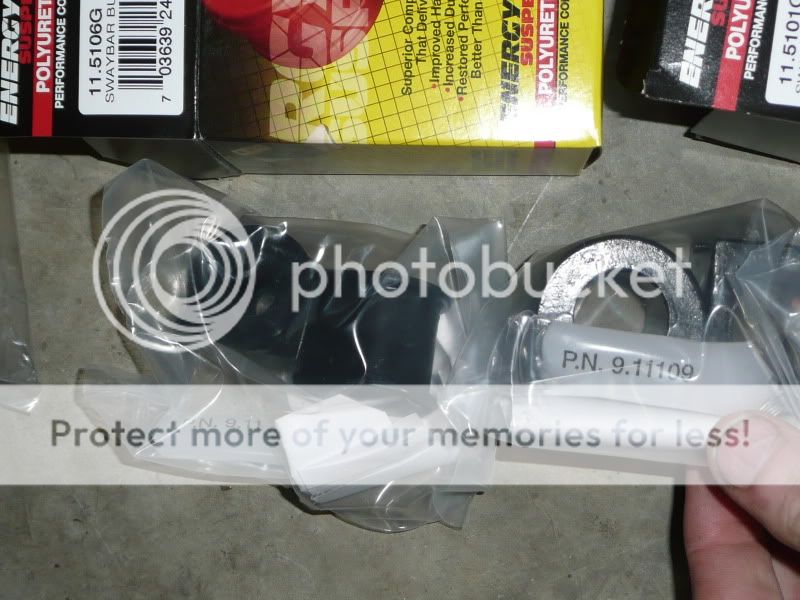
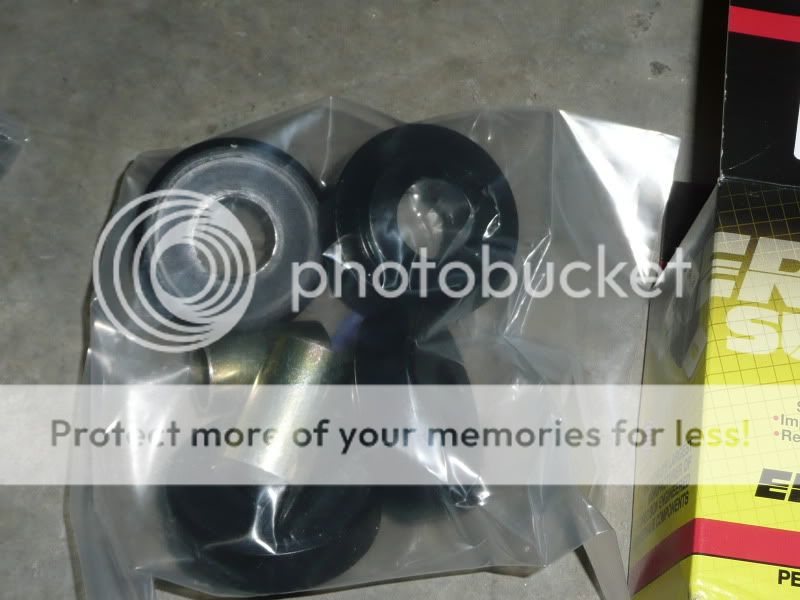
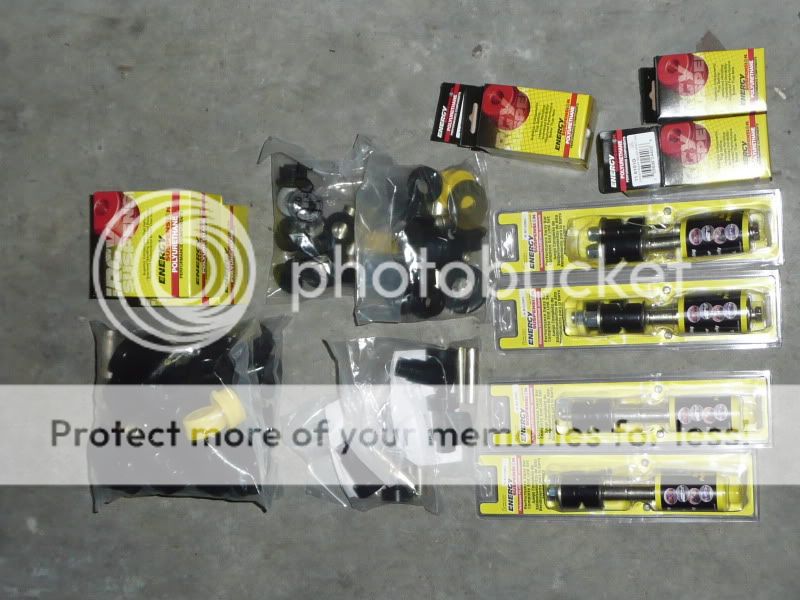
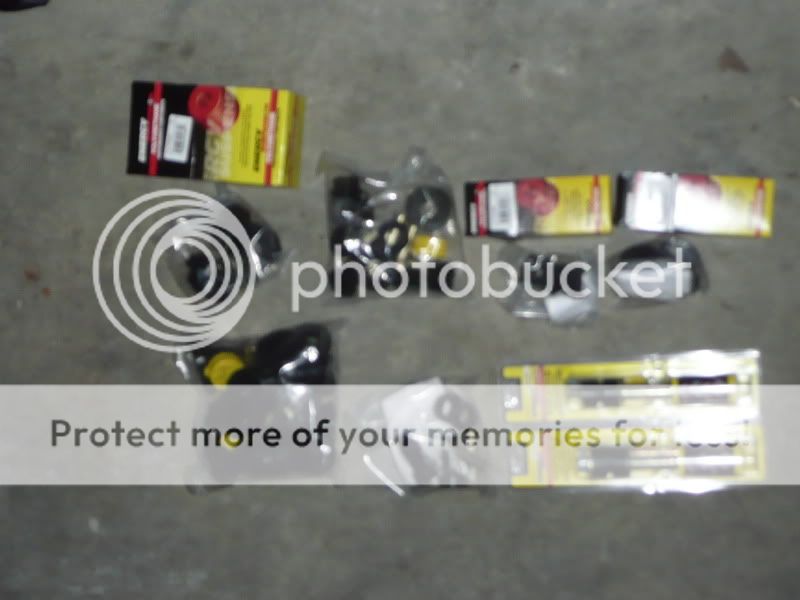
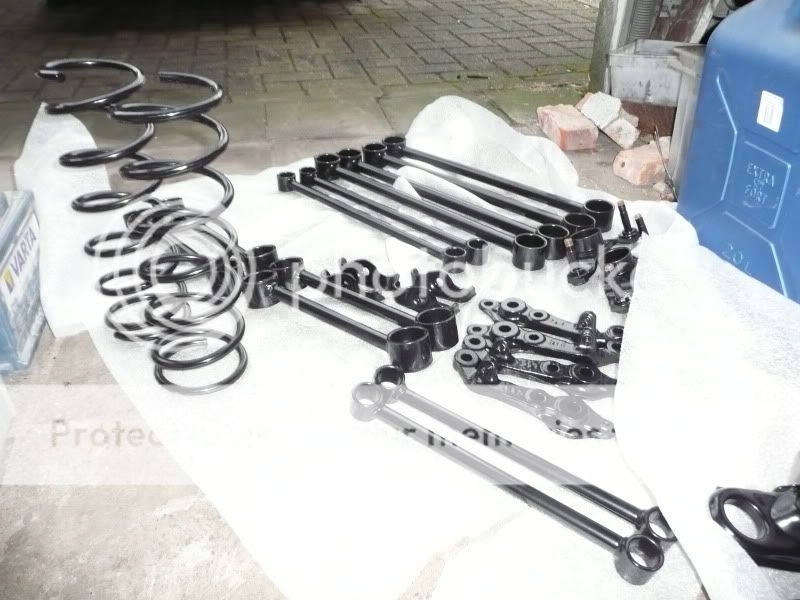
Our Annabelle become stabilized by Energy Suspension
Work shots:
http://i63.photobucket.com/albums/h1...7/P1050882.jpg
And then off to the sandblaster and powder coater
Back from the coater (first time I done that so I made some mistakes)
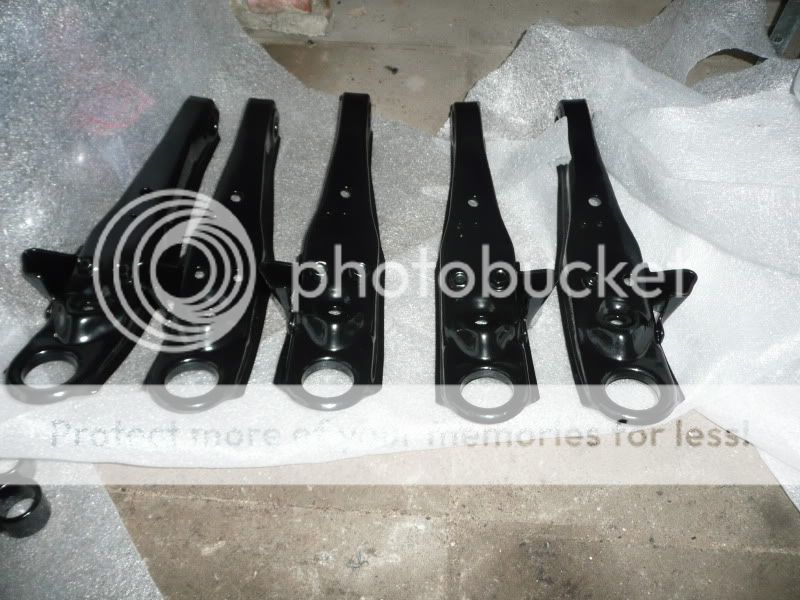
2 new nuccles
And in December we've decided to move to a bigger place, from a few garage boxes to 1 hangar of 210m� so that said we've prepared all the cars to get moved are already moved out.
That said, currently I need to refasten the stabilisation of mine Annabelle.
Thanks for reading.
There was a box:
Let we open it up:
oooooh goodies
The necessary buses for 1 car:
What's in the boxes:
Our Annabelle become stabilized by Energy Suspension
Work shots:
http://i63.photobucket.com/albums/h1...7/P1050882.jpg
And then off to the sandblaster and powder coater
Back from the coater (first time I done that so I made some mistakes)
2 new nuccles
And in December we've decided to move to a bigger place, from a few garage boxes to 1 hangar of 210m� so that said we've prepared all the cars to get moved are already moved out.
That said, currently I need to refasten the stabilisation of mine Annabelle.
Thanks for reading.
03-28-12, 03:32 PM
#6
Senior Member
Thread Starter
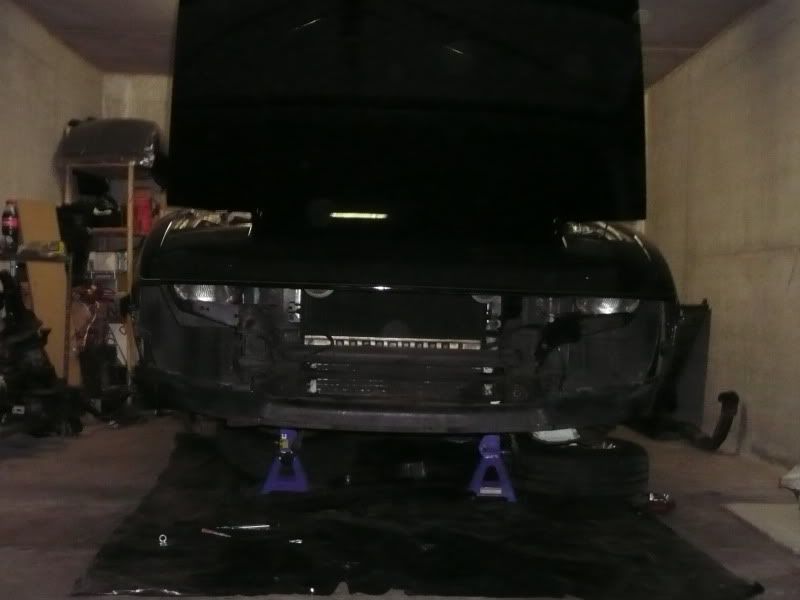
Currently she's back up running, made a appointment for next Saturday to get her aligned again.
Bought some new goodies for her to:
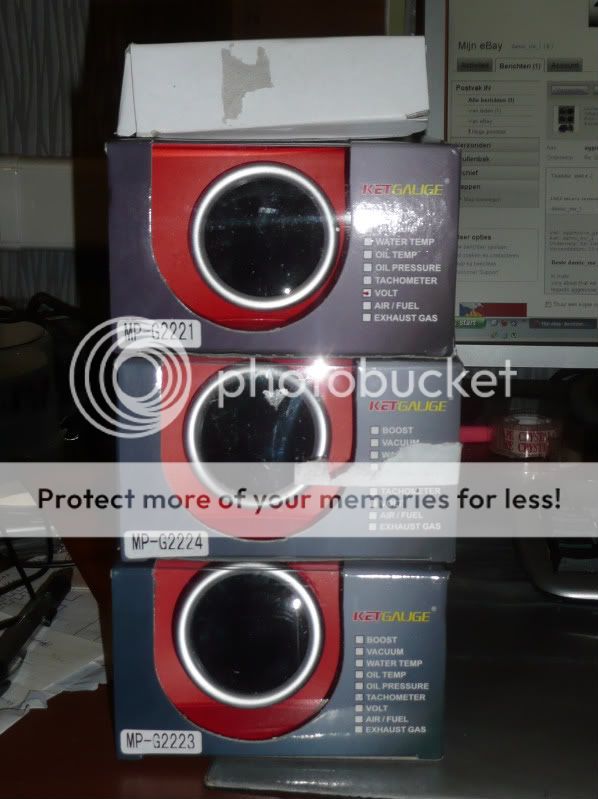
Whitebox:
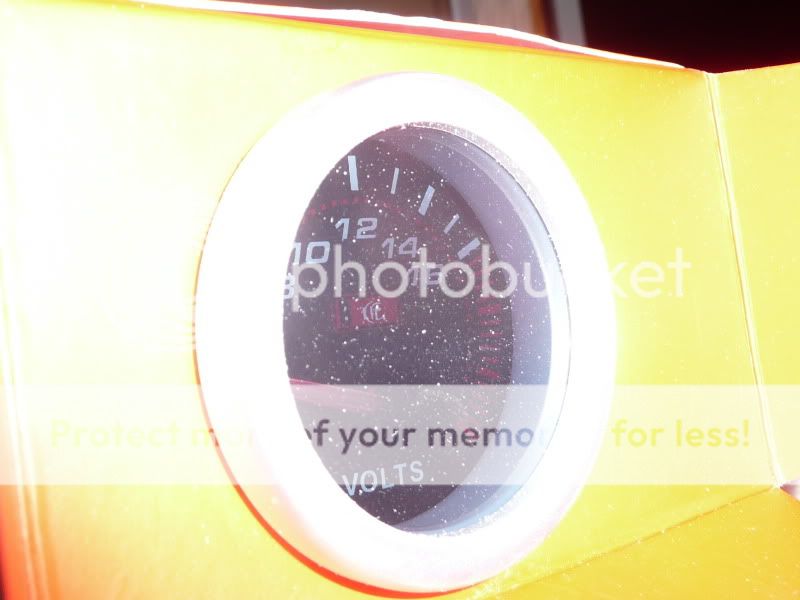
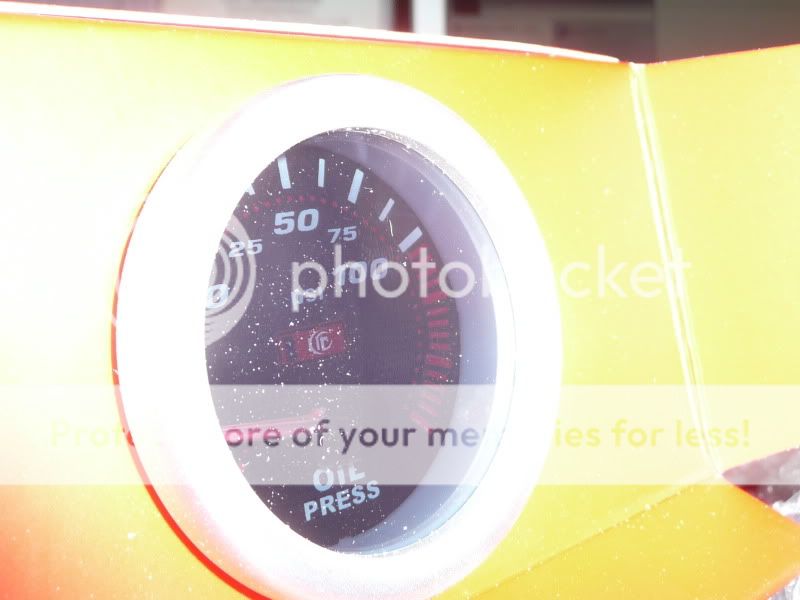
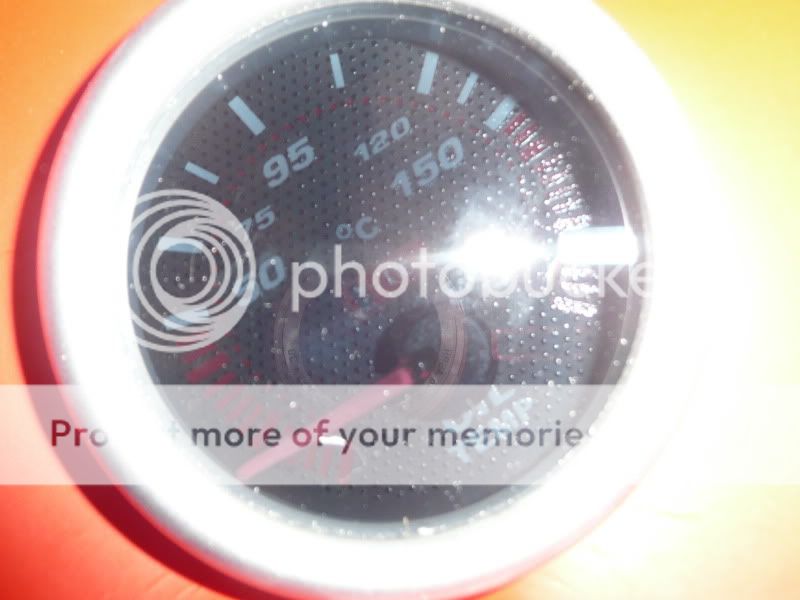
Oil pressure sender installed:
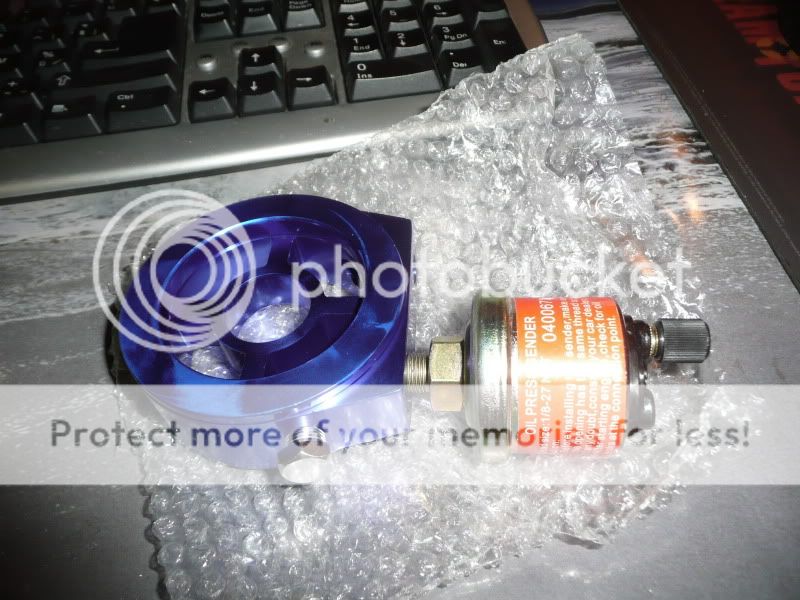
And all this for 115€ from ebay, but there is a second and third package under way because the temperature sender wasn't in the package. 3th package is something magnetic
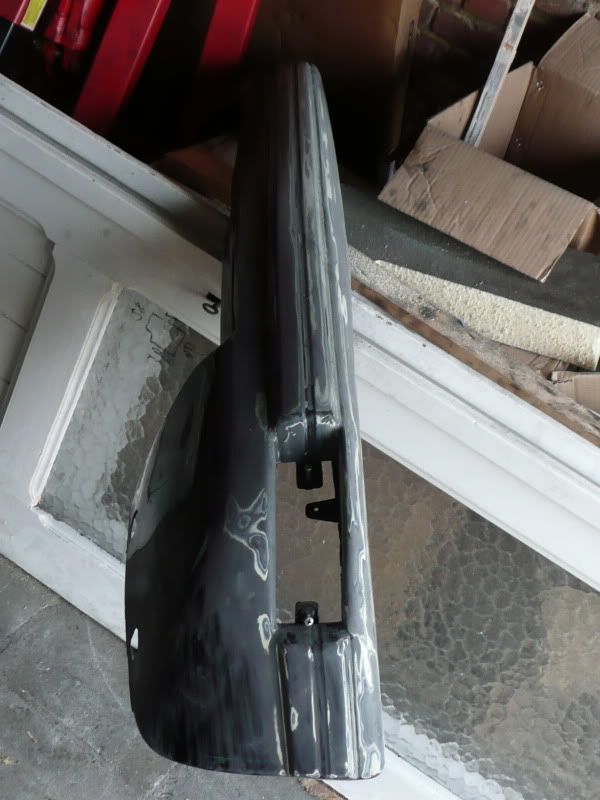
And the bumper status:
Since previous weekend I started to learn Solidworks and made some things in it.

Now this isn't finished yet, the details aren't enough and the arcs are the wrong degrease
Bought some new goodies for her to:
Whitebox:
Oil pressure sender installed:
And all this for 115€ from ebay, but there is a second and third package under way because the temperature sender wasn't in the package. 3th package is something magnetic
And the bumper status:
Since previous weekend I started to learn Solidworks and made some things in it.
Now this isn't finished yet, the details aren't enough and the arcs are the wrong degrease
03-28-12, 03:36 PM
#7
Senior Member
Thread Starter
The thing I made fully for her in Solidworks:


If you want it in pdf/png/jpg/solidworks format, send me a pm or mail.
After some grinding and stuff this is 1 of the results, moved 2 switches to below my shifter.
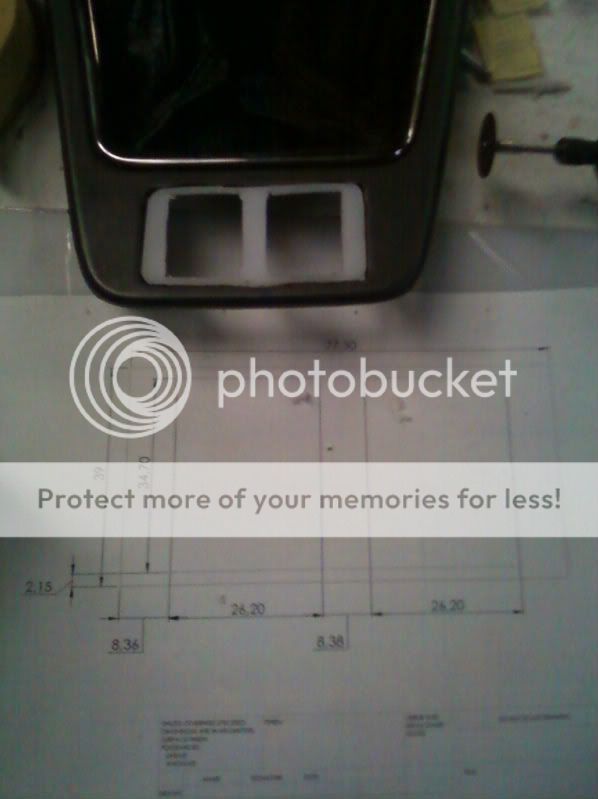
Made a second plate on top of it:
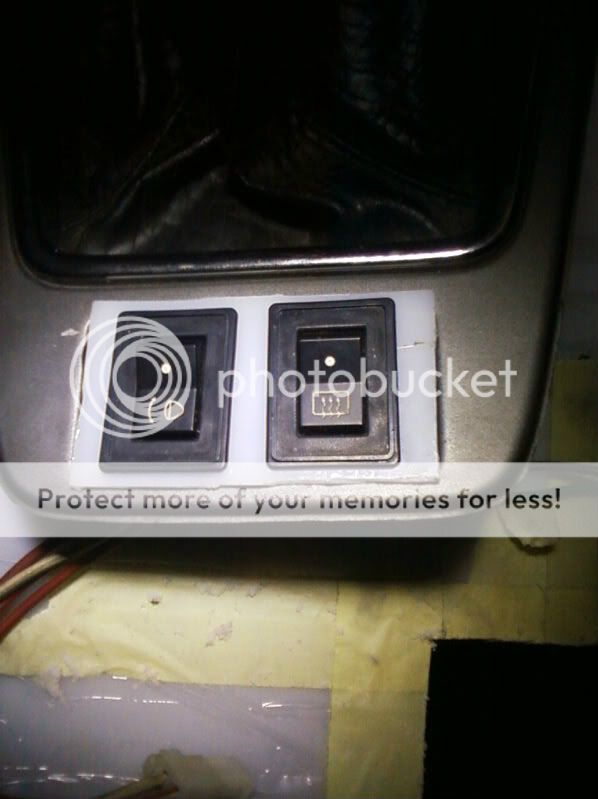

Meters in it:


If you want it in pdf/png/jpg/solidworks format, send me a pm or mail.
After some grinding and stuff this is 1 of the results, moved 2 switches to below my shifter.
Made a second plate on top of it:
Meters in it:
Trending Topics
 07-19-12, 02:19 PM
#10
Senior Member
Thread Starter
Ow time to give you guys and girls a update.
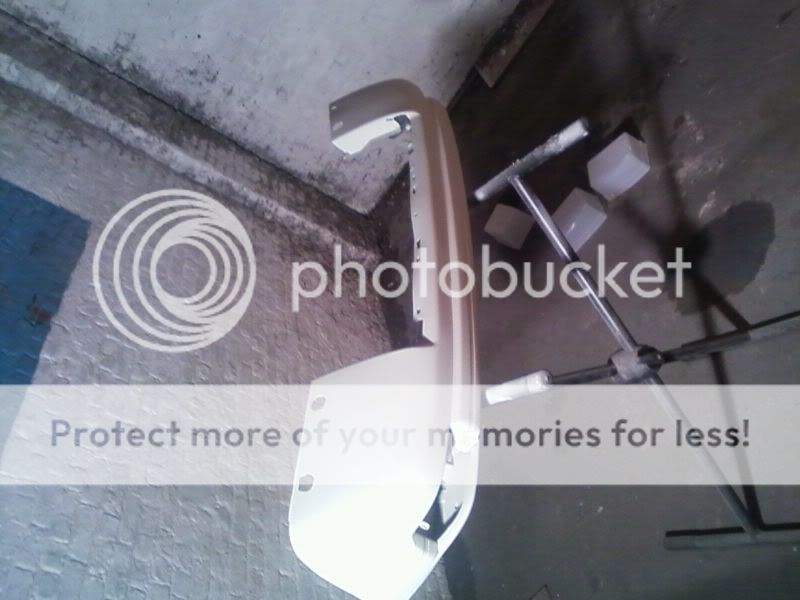
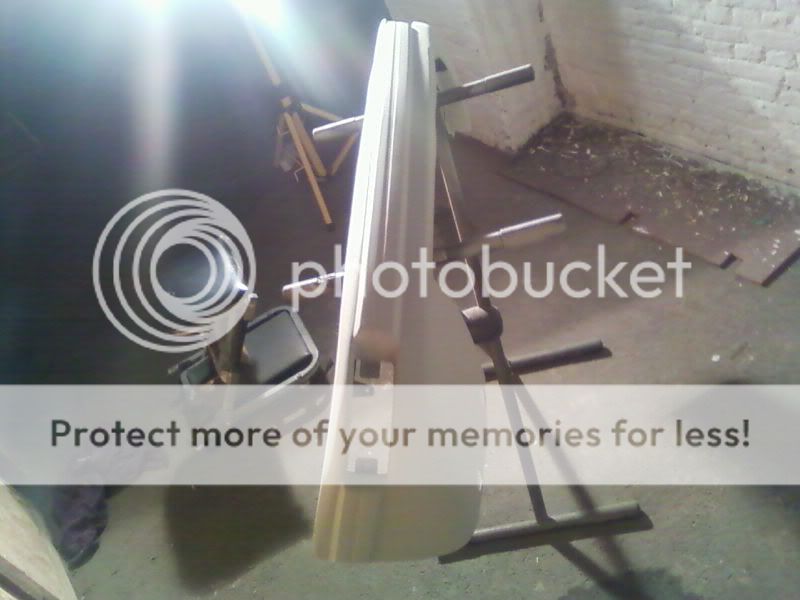
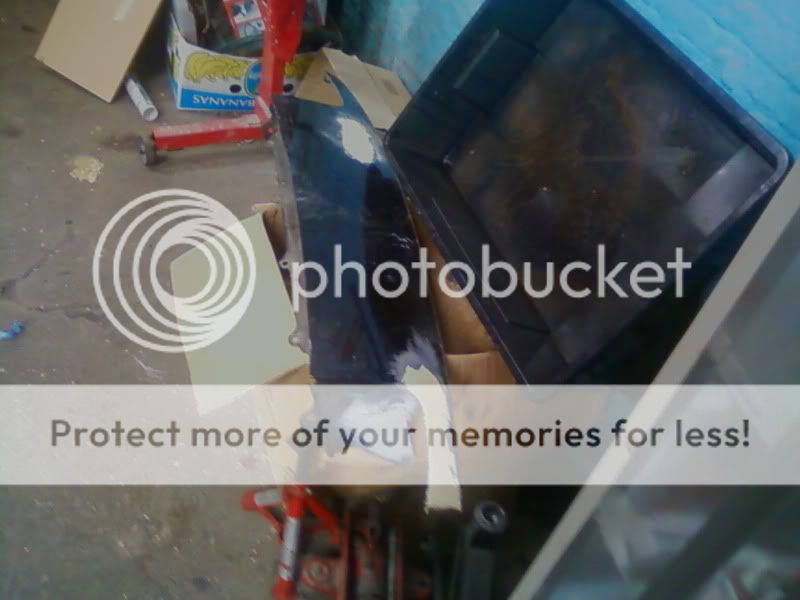
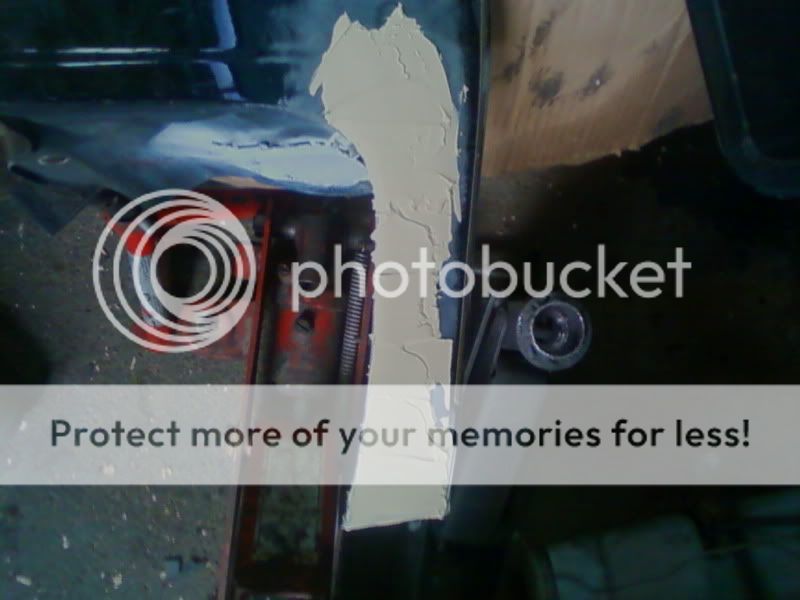
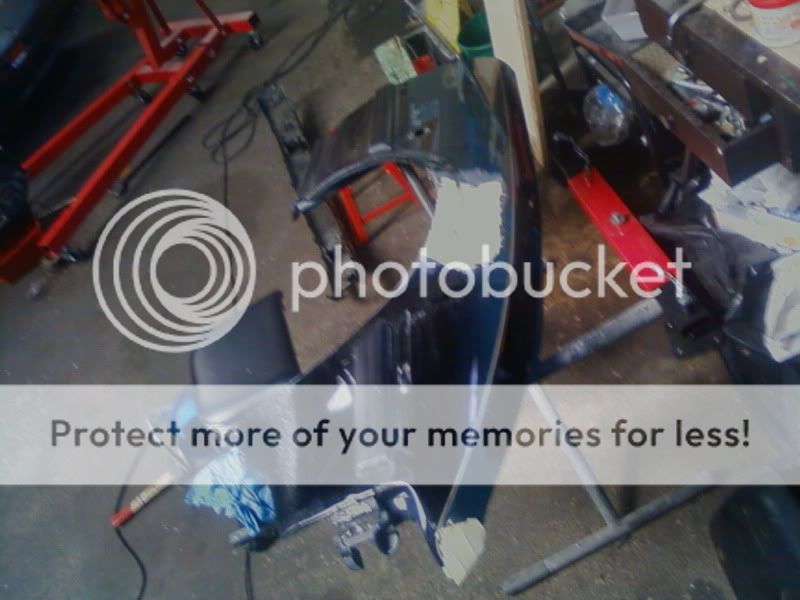
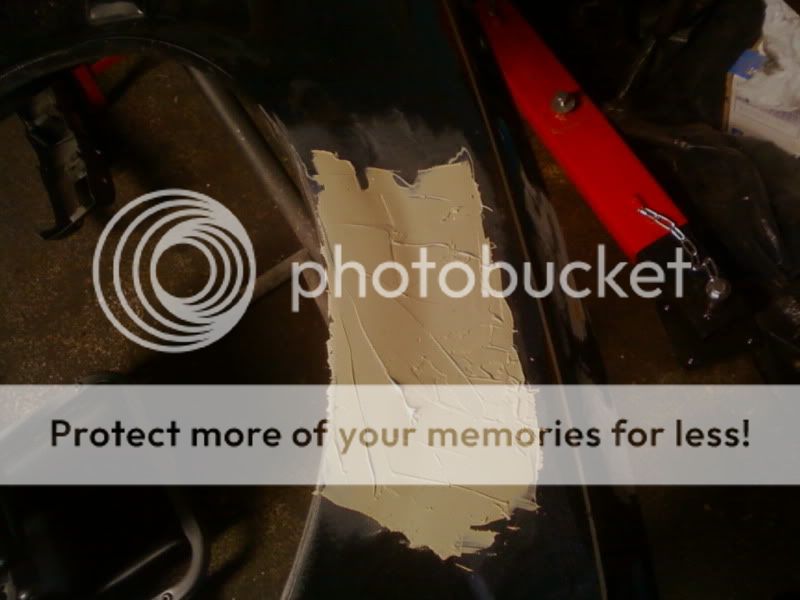
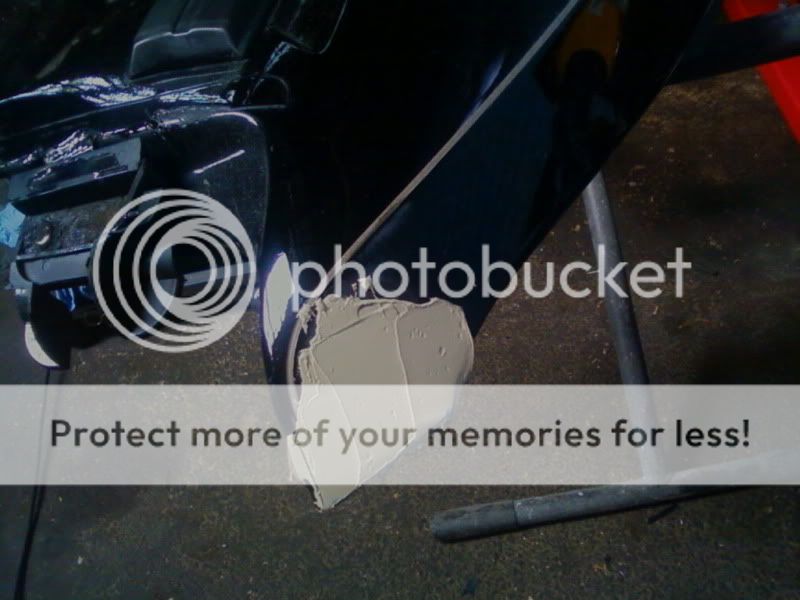
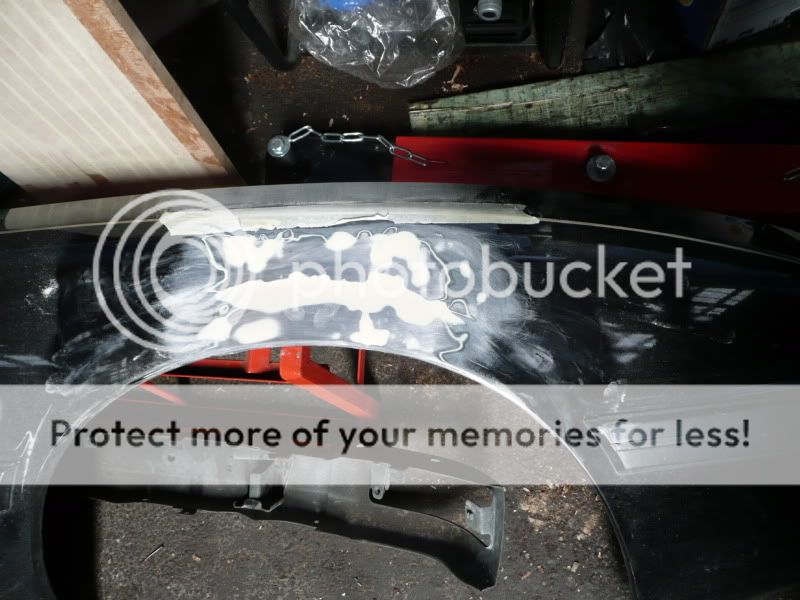
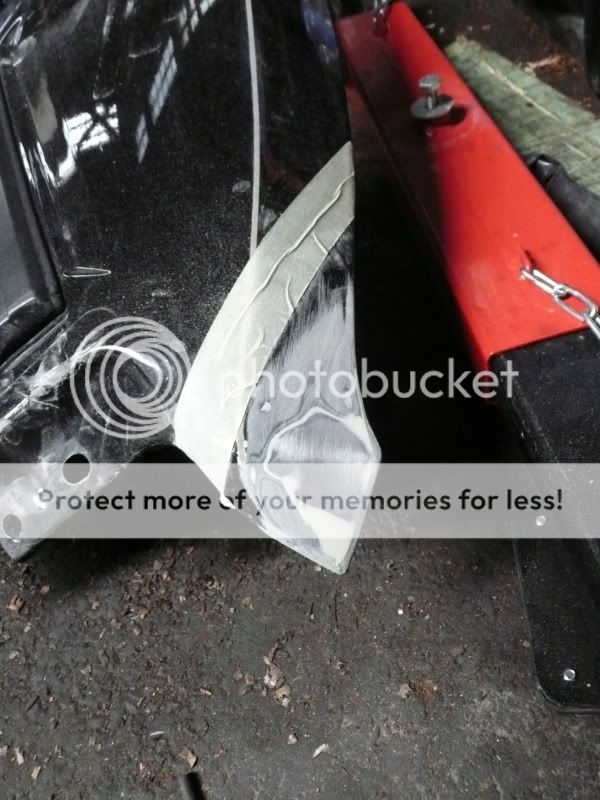
The fender was painted black and it was good, then putted some layers of varnish over it and it was rubbish, the varnish was bad so the whole fender must be painted again


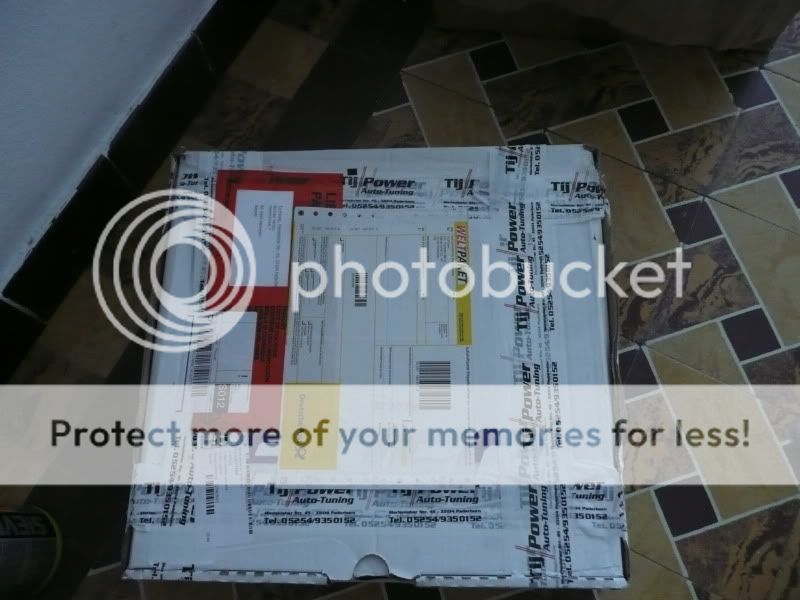
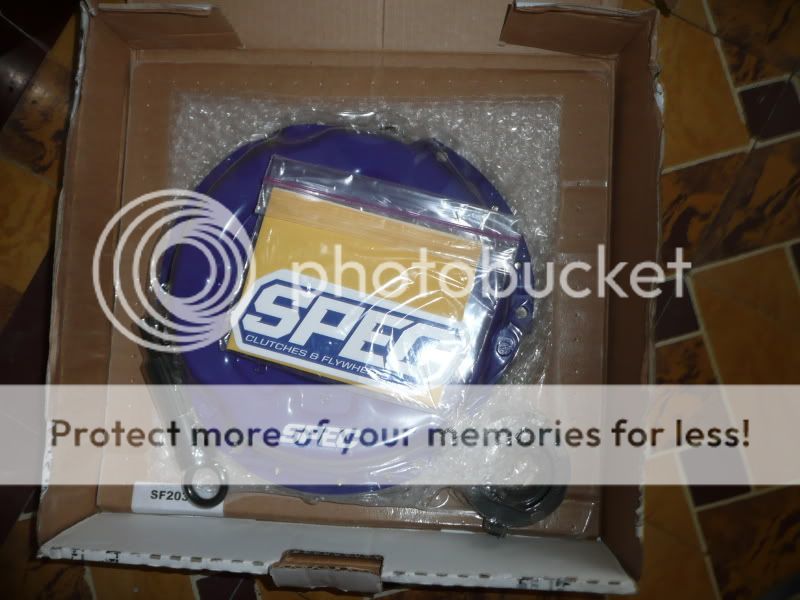
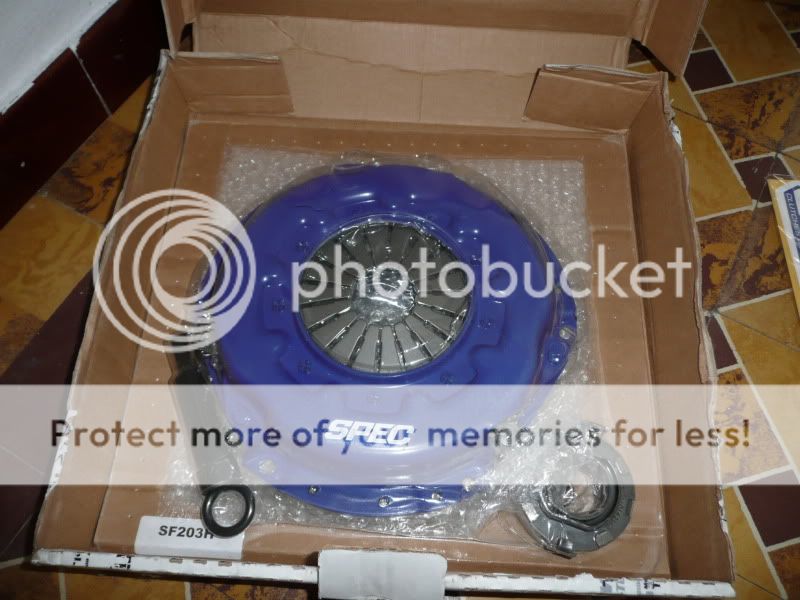
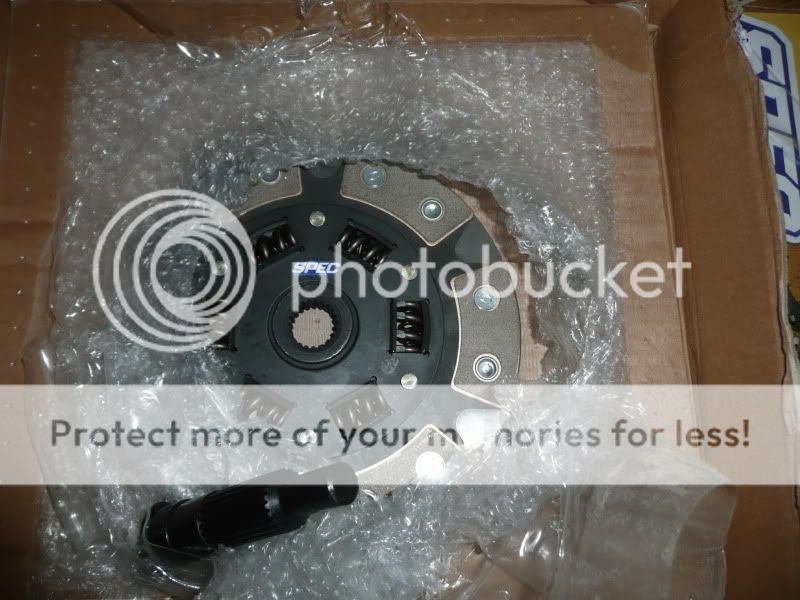
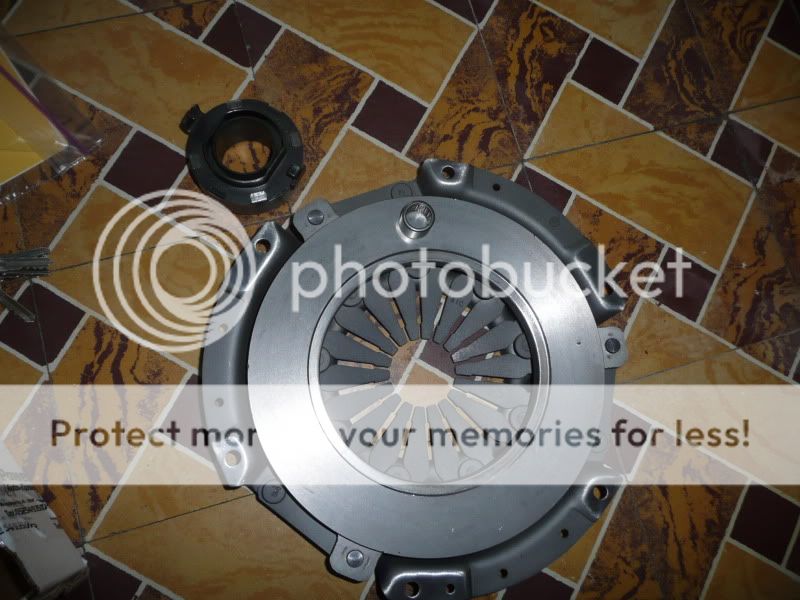
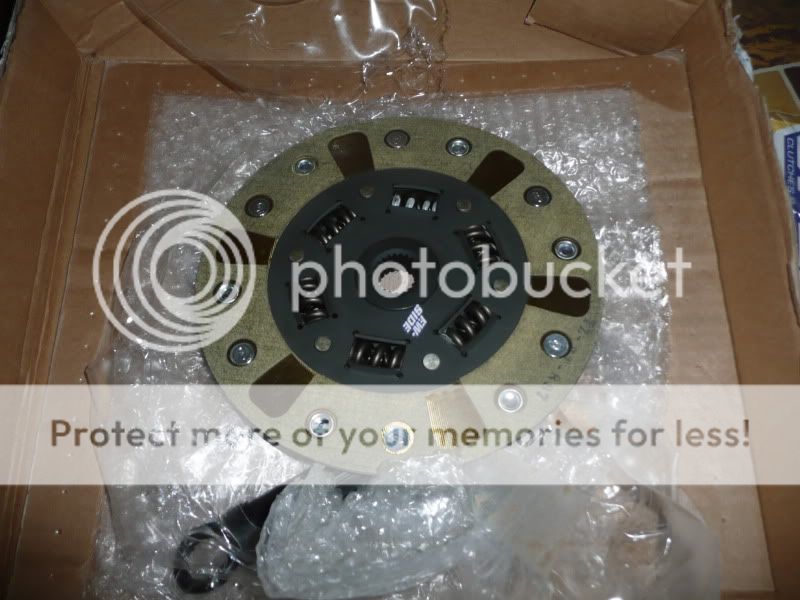
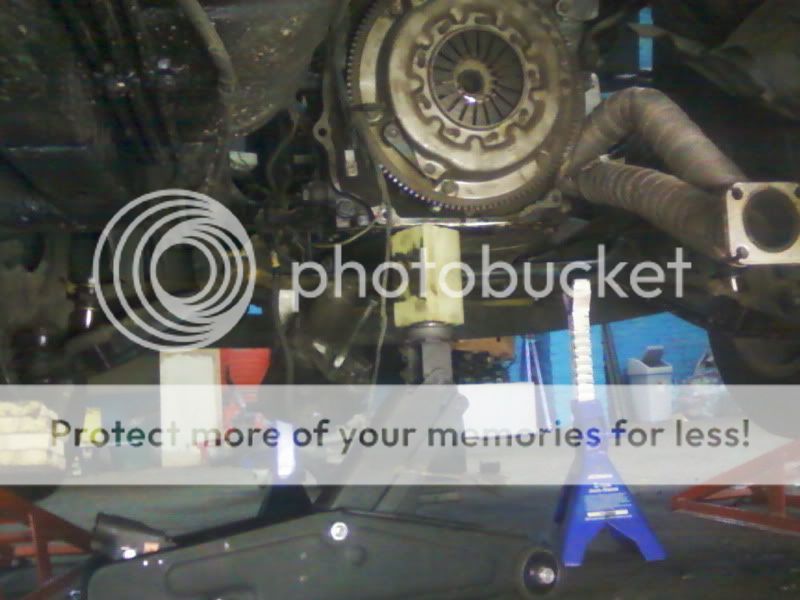
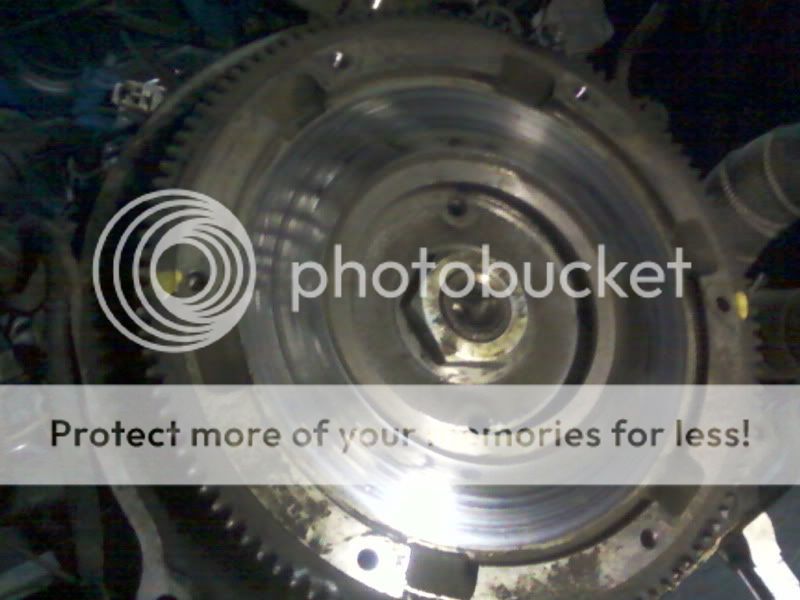
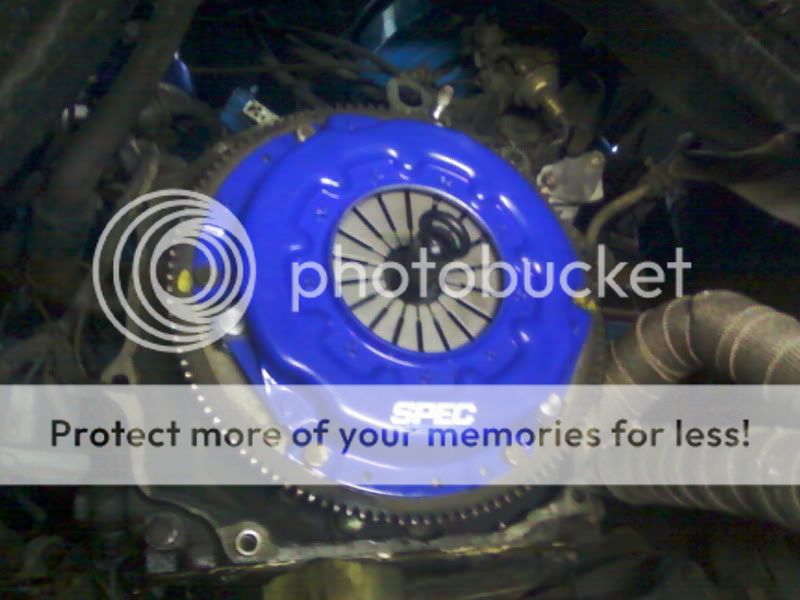
Then there was some other news, the clutch was so bad when I shifted the clutch was spinning and all that was behind the clutch was doing nothing, so ordered a new clutch.
SPEC Stage 2+ clutch set
The fender was painted black and it was good, then putted some layers of varnish over it and it was rubbish, the varnish was bad so the whole fender must be painted again
Then there was some other news, the clutch was so bad when I shifted the clutch was spinning and all that was behind the clutch was doing nothing, so ordered a new clutch.
SPEC Stage 2+ clutch set
07-19-12, 02:26 PM
#11
Senior Member
Thread Starter
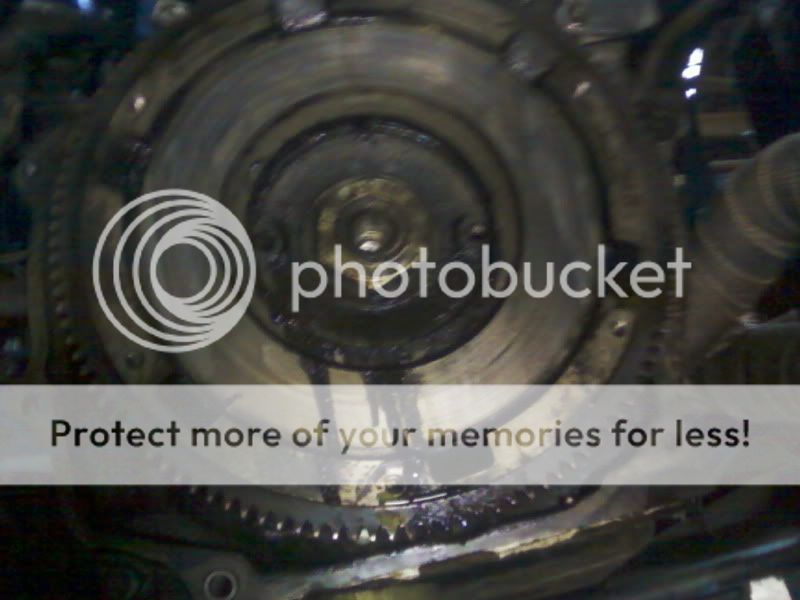
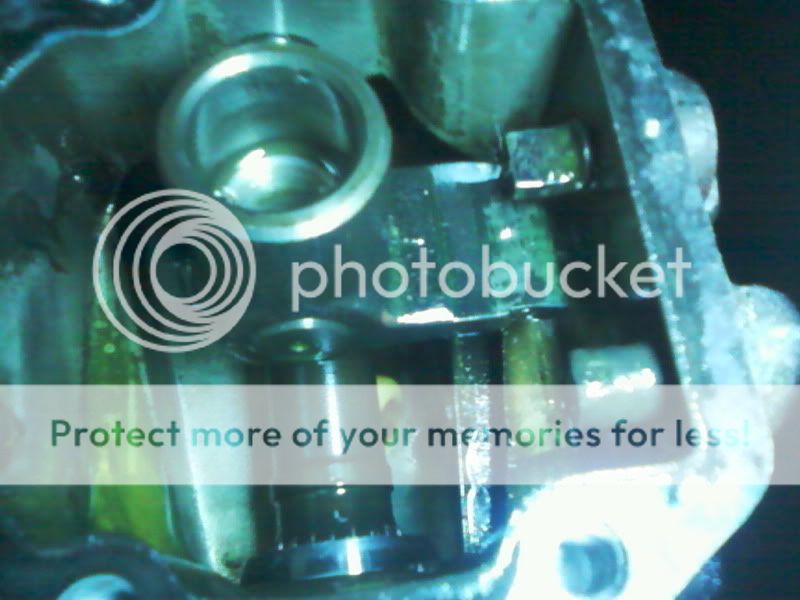
The problems with the gauges are solved, I taught I used a negative wire but I guessed wrong. It is a negative wire but for a other device, which I don't know but I made a new wire from the engine block tot the sensors and its all working know.


Pressure group side:

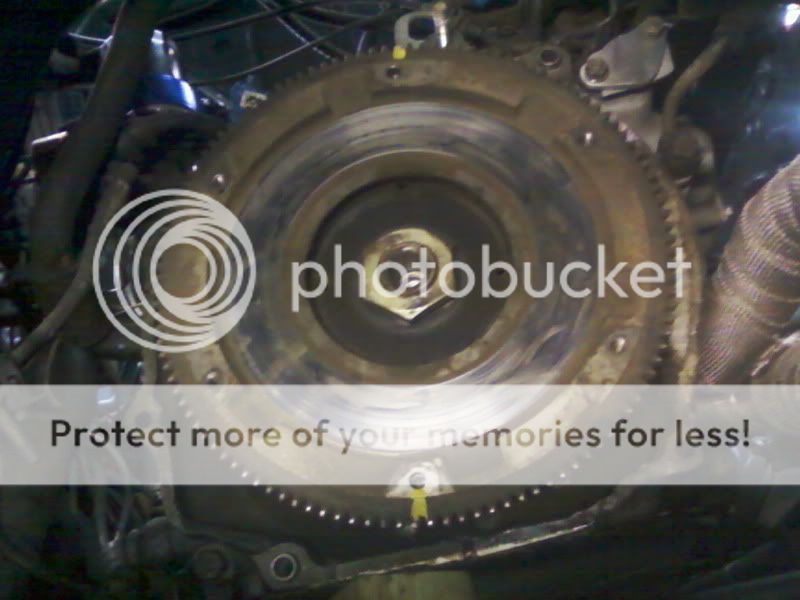
5 minutes to pull the bearing and "oil"seal out, thanks to the Mazda bearing puller.
Dirrrty:
Pressure group side:
5 minutes to pull the bearing and "oil"seal out, thanks to the Mazda bearing puller.
Dirrrty:
07-19-12, 02:34 PM
#12
Senior Member
Thread Starter
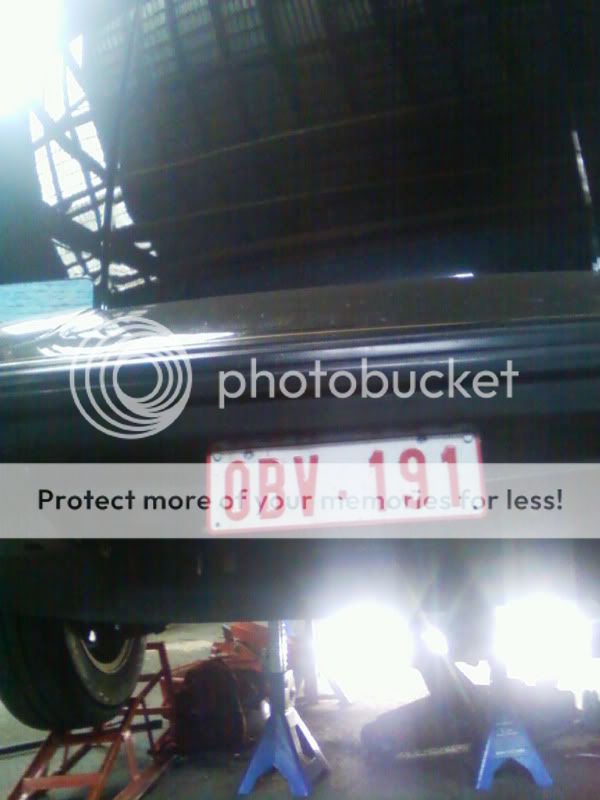
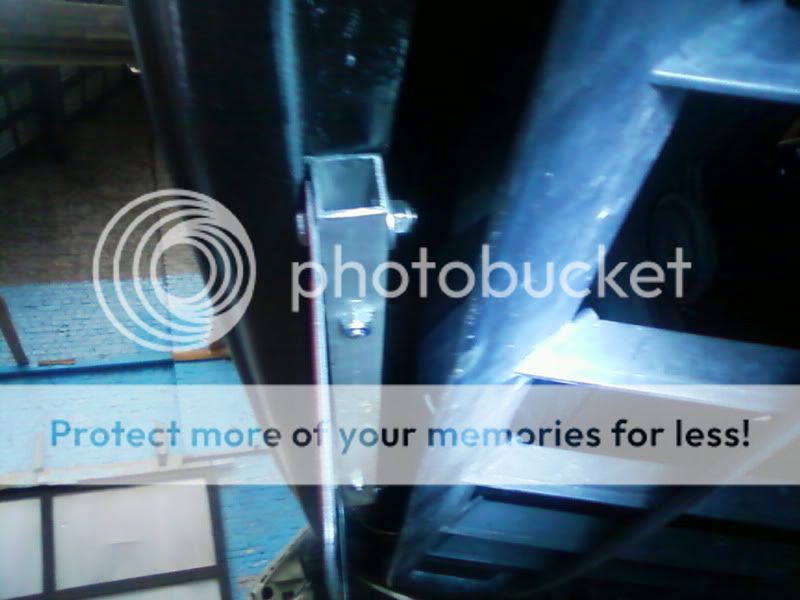
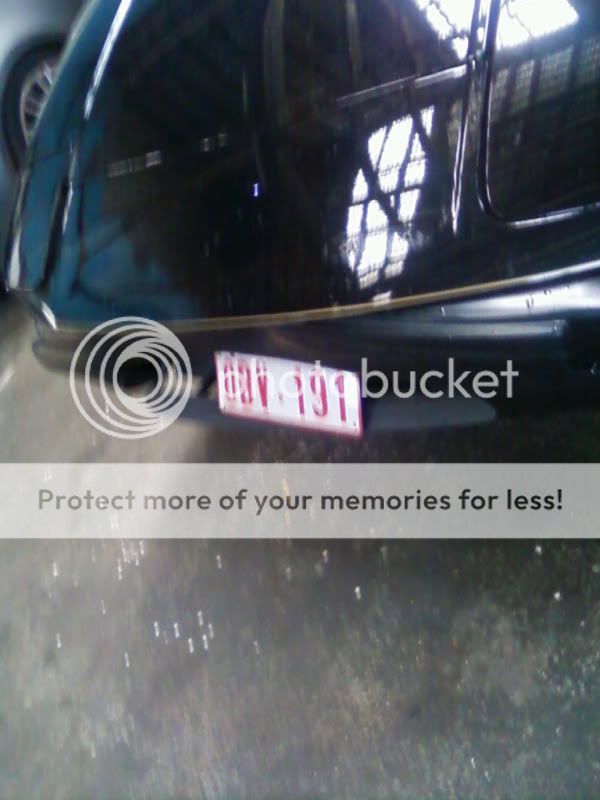
Since my license plate whas on the dashboard after the respray of the fender I must make something for it to get in its place again:
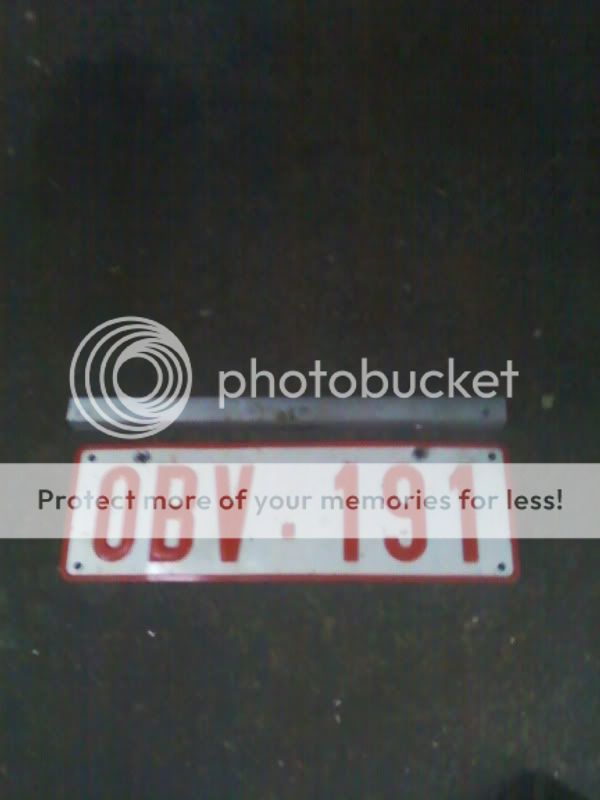
Aluminum square tube with a number of holes in
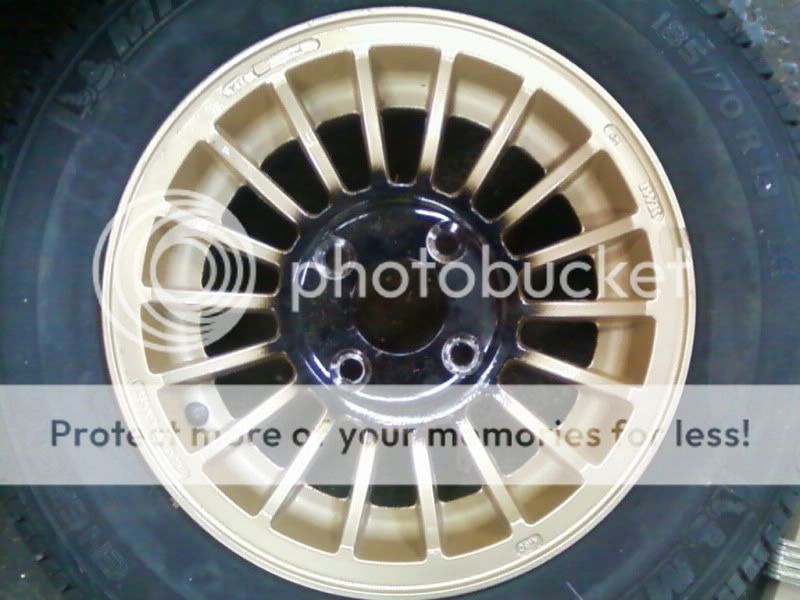
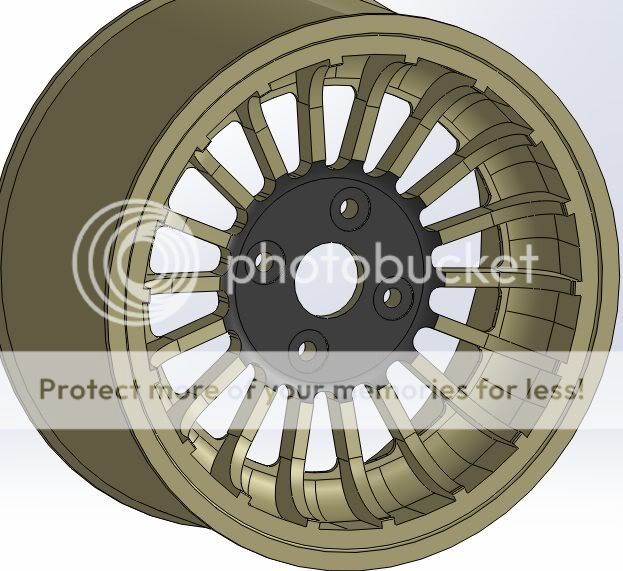
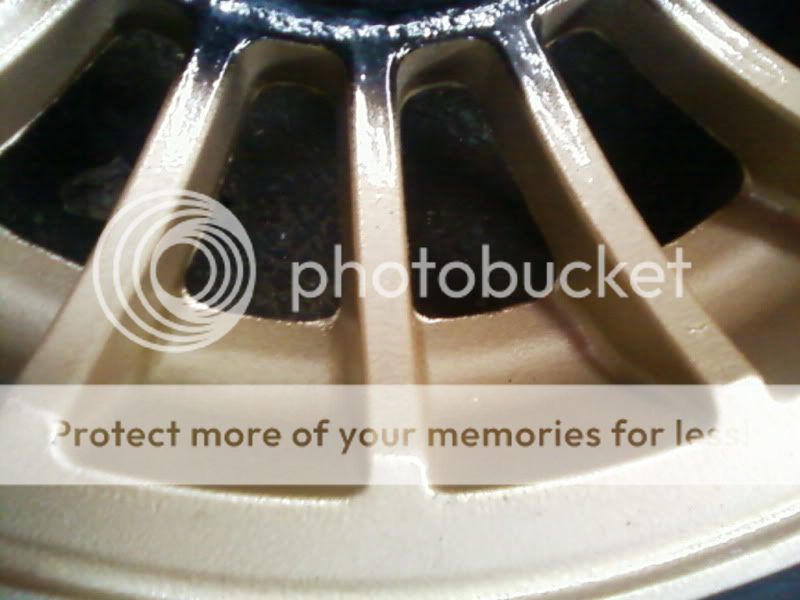
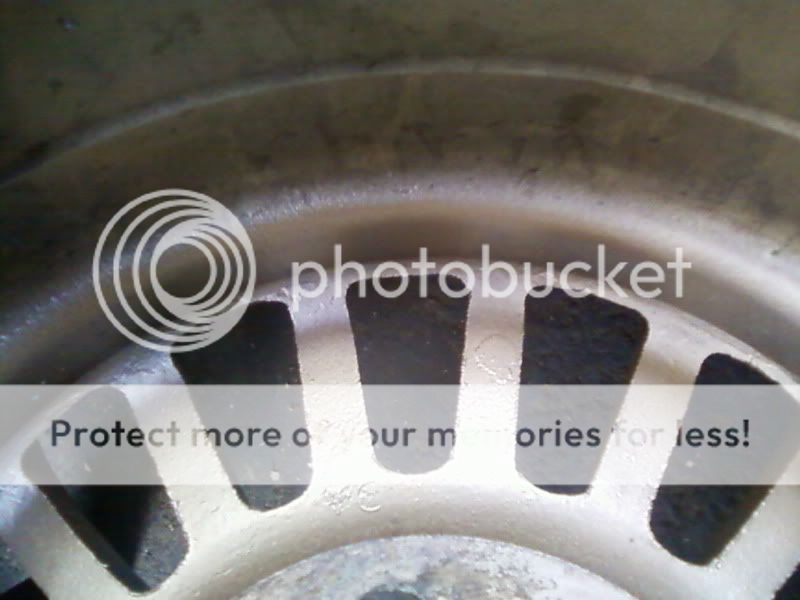
Want the same rims but then 2 sizes bigger so I modelled it in Solidworks (15" TWR)
More details of the detail:


Aluminum square tube with a number of holes in
Want the same rims but then 2 sizes bigger so I modelled it in Solidworks (15" TWR)
More details of the detail:
07-19-12, 02:35 PM
#13
Senior Member
Thread Starter
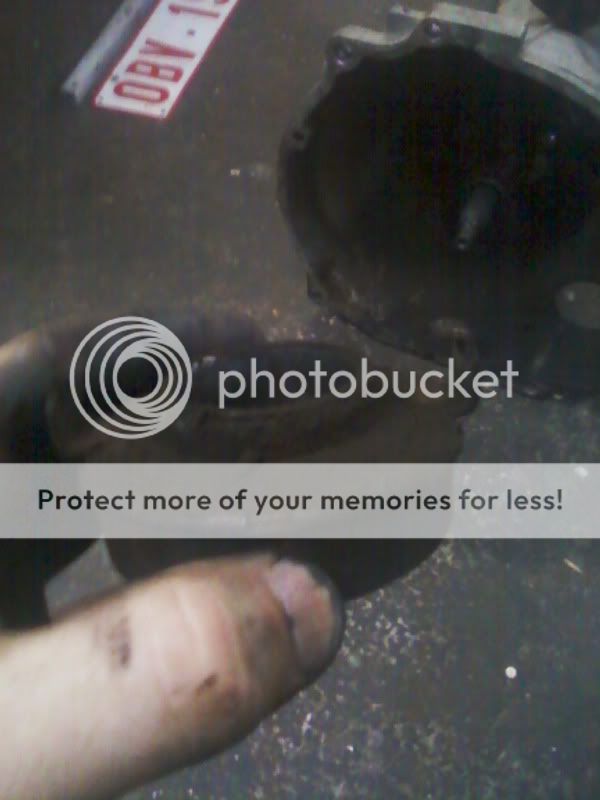
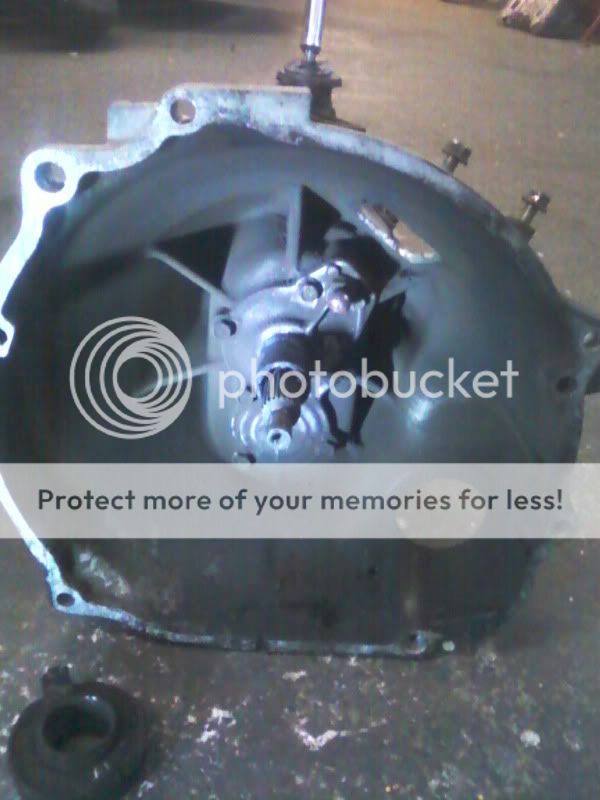
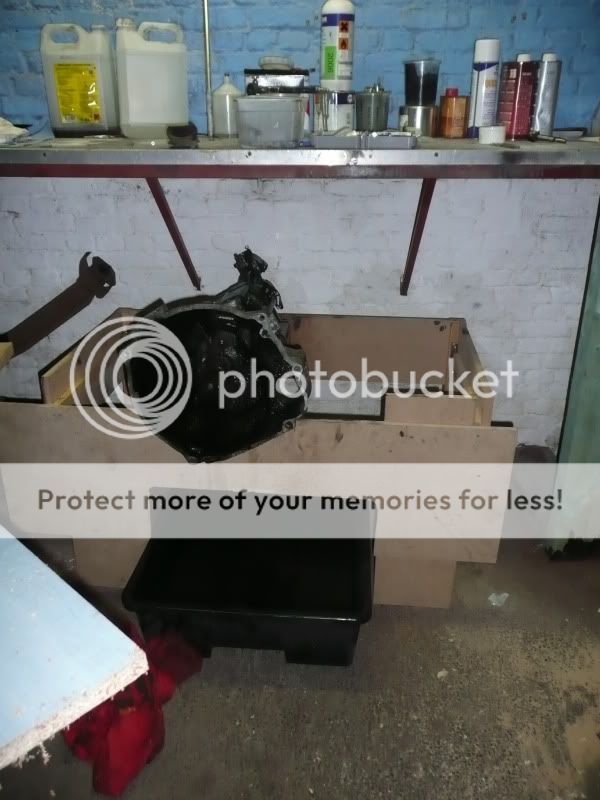
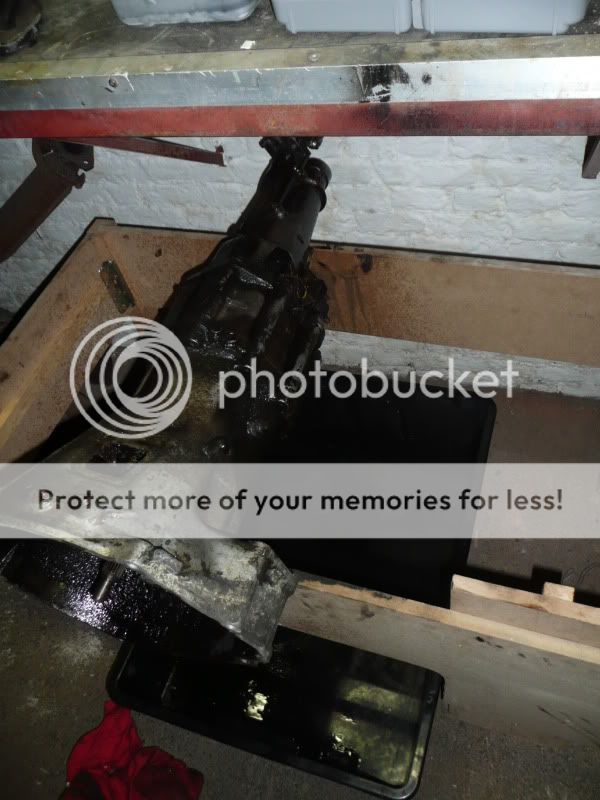
Made a "frame" for the gearbox

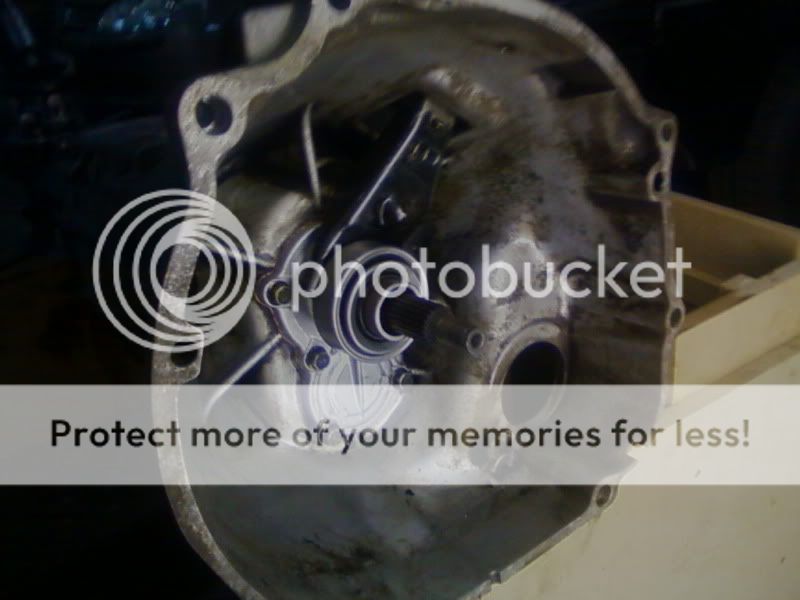
Dirty and cleaned
Is so easy when you have the right tools:


Oeh shiny blue :mrgreen:
That's it for now, hope you all enjoy it.
Dirty and cleaned
Is so easy when you have the right tools:
Oeh shiny blue :mrgreen:
That's it for now, hope you all enjoy it.
 *
*
 08-22-12, 06:06 PM
#16
Senior Member
Thread Starter
Sunday fifth of August she's back on the ground.

Spare gearbox project:
This one is fubar:
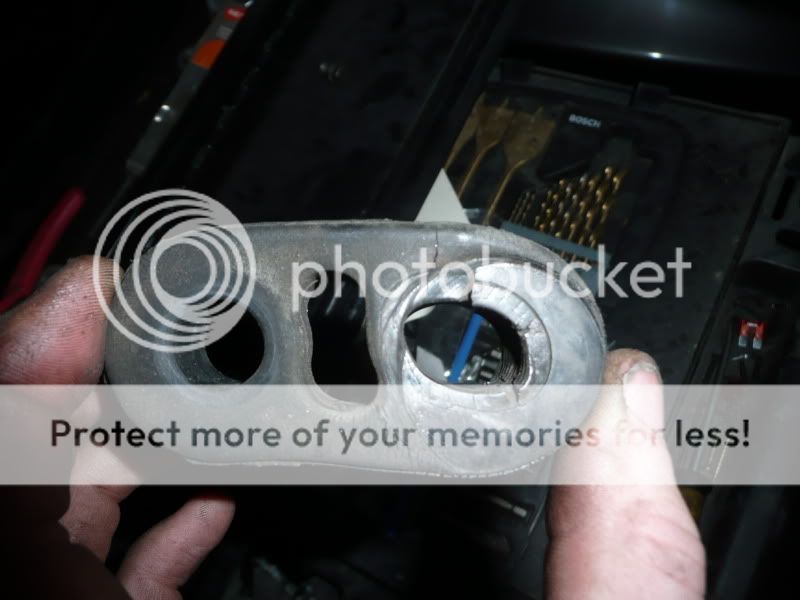
Then on a test drive the gear selector wasn't what is supposed to be, next pictures will tell you why:
Njom njom njom njom

New vs old
Spare gearbox project:
This one is fubar:
Then on a test drive the gear selector wasn't what is supposed to be, next pictures will tell you why:
Njom njom njom njom
New vs old
08-22-12, 06:12 PM
#17
Senior Member
Thread Starter
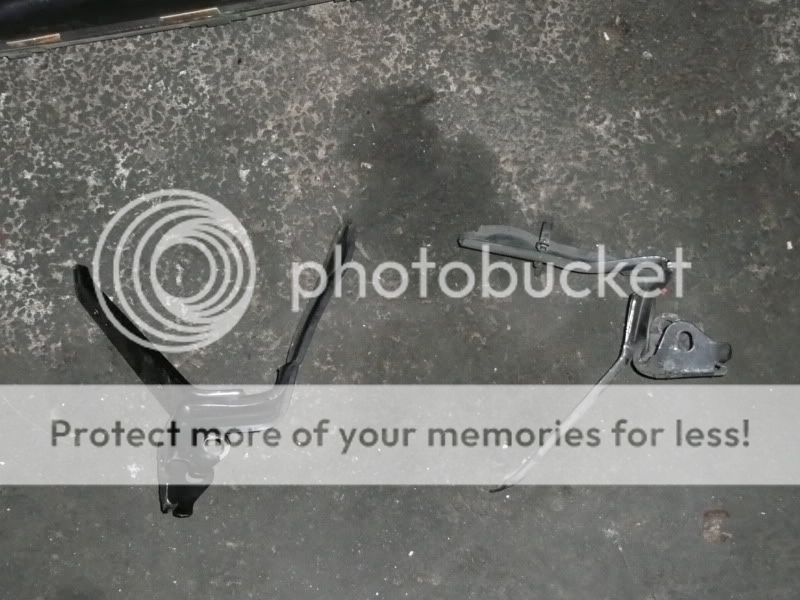
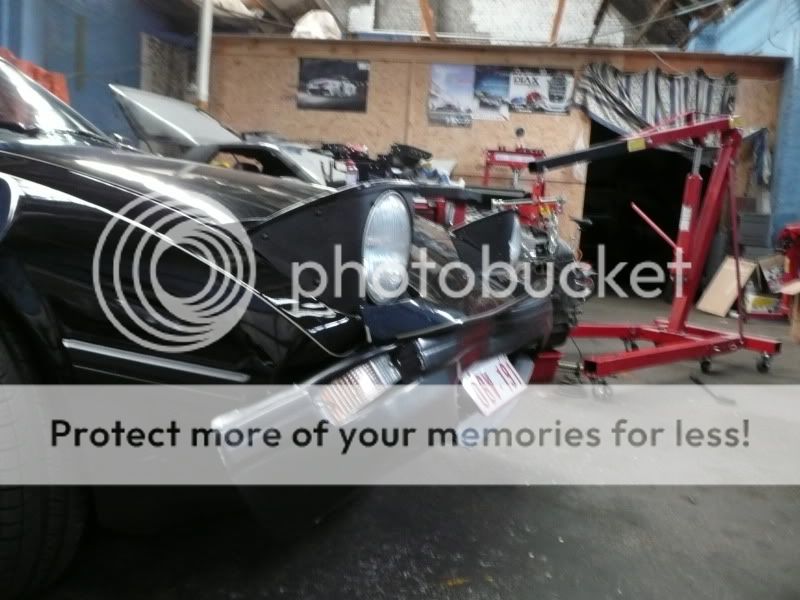
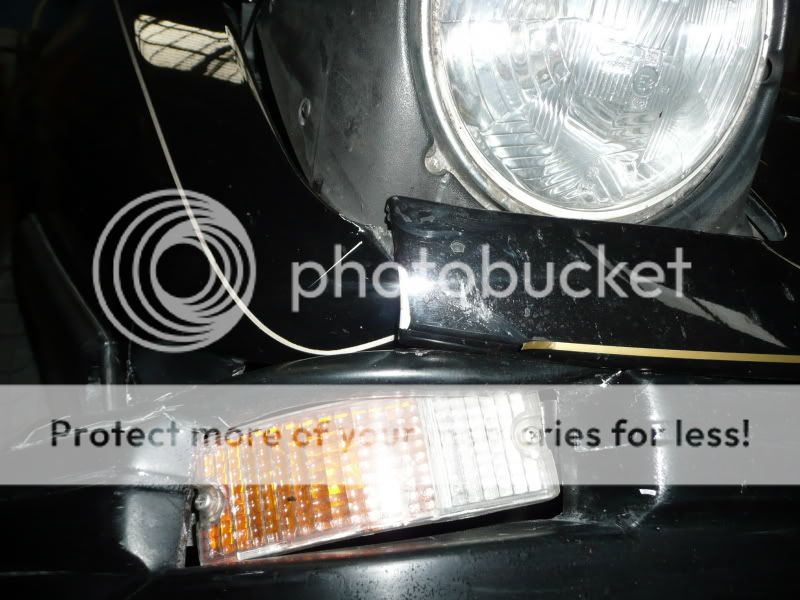
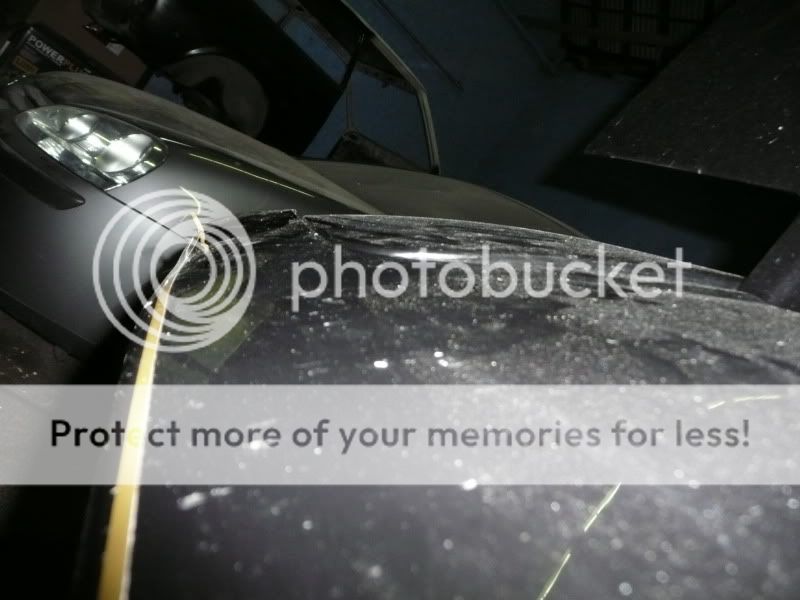
Then on monday the 20th I tryed to fixing some things (had some noizes from under de car) and then going for a test drive and then this happens

The other car was nothing on it :/ Im happy with that, this is easy replaceable/fixable.
The only parts that I need to replace are these once:
The rest of the pictures

The other car was nothing on it :/ Im happy with that, this is easy replaceable/fixable.
The only parts that I need to replace are these once:
The rest of the pictures
08-22-12, 06:13 PM
#18
Senior Member
Thread Starter
Details:
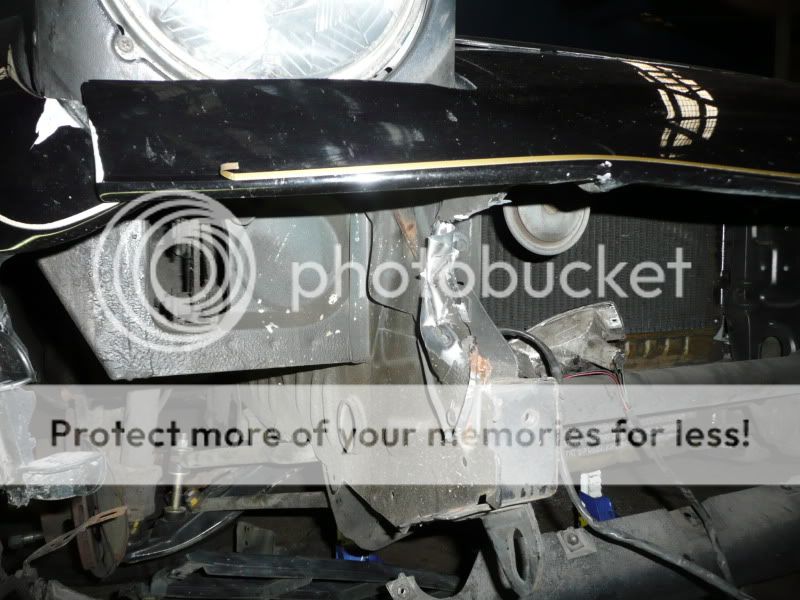
Hammering here, hammering ther and its way better:

Welding:
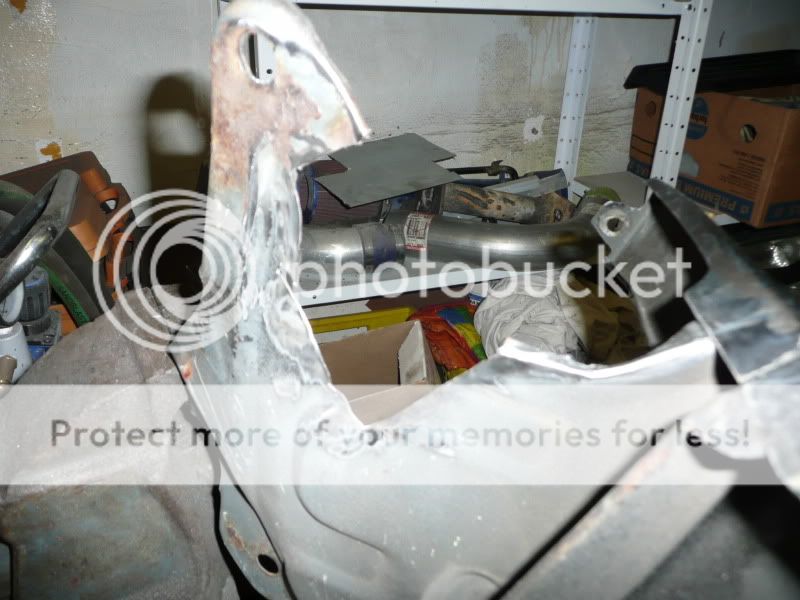

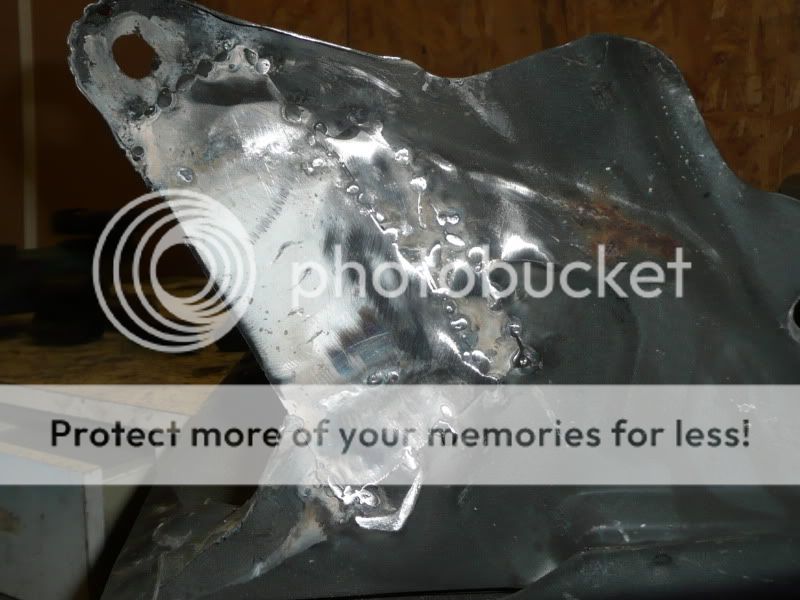
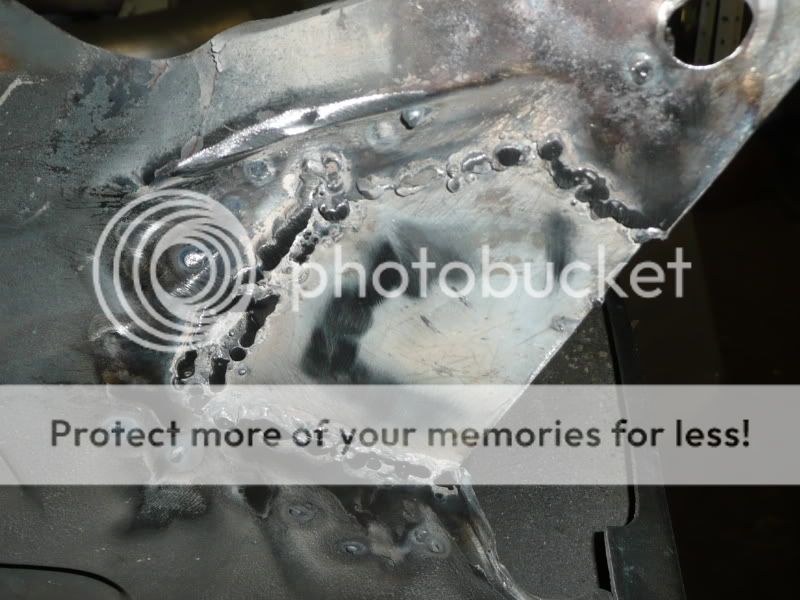
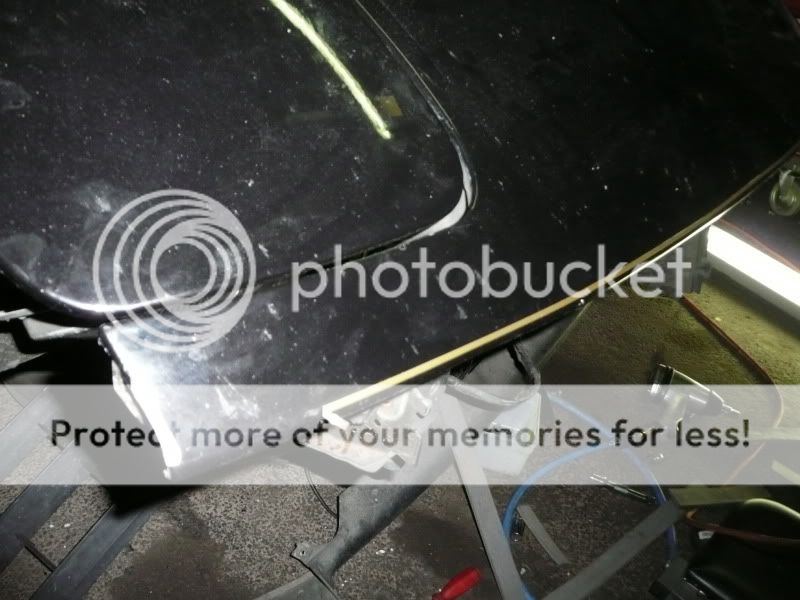
teaser
And now she looks like this :cry:
More pictures: accident pictures by fragme_dmc - Photobucket
Hammering here, hammering ther and its way better:
Welding:
teaser
And now she looks like this :cry:
More pictures: accident pictures by fragme_dmc - Photobucket
08-22-12, 06:17 PM
#19
Senior Member
Thread Starter
Bandeau pics:
When I was grinding suddenly the vacuum cleaner stops, tryed to repair it but no result, then bought a new and way much better one.
Old:

And new:

More pics
Grinded till p400:
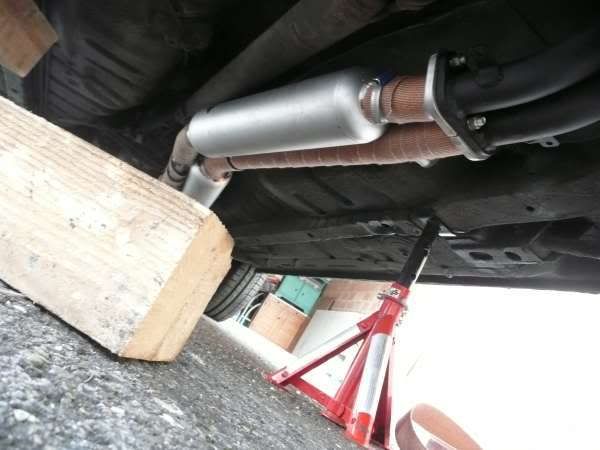
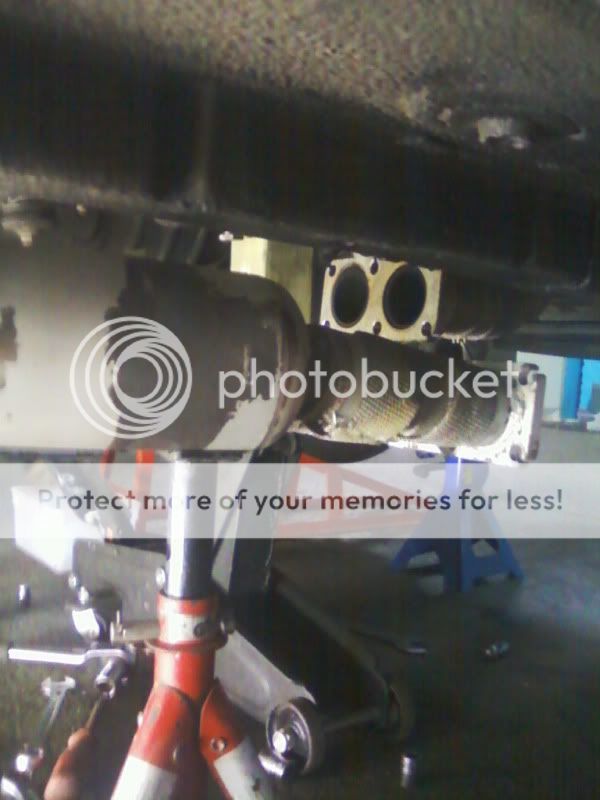
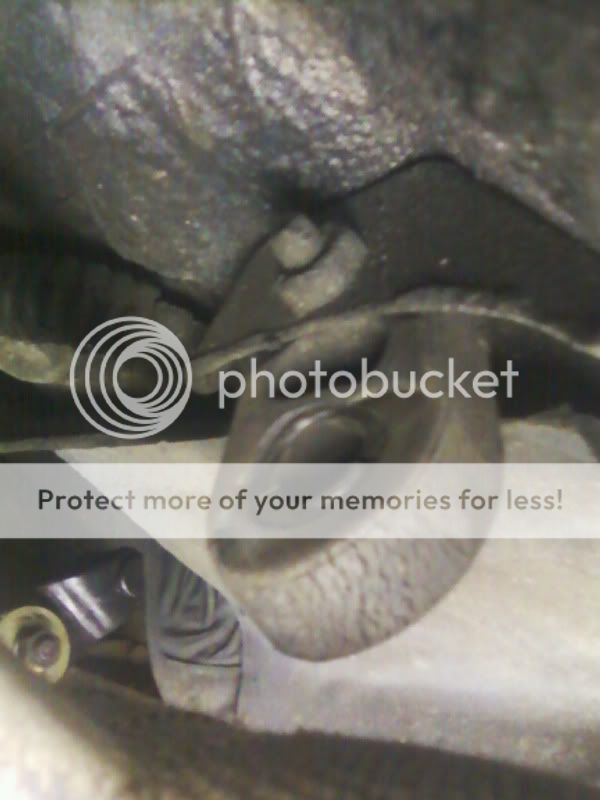
Also found hopefully the noises: the 4 bolts of the driveshaft where lose :o and 2 bolts of the exhaust where lose.
When I was grinding suddenly the vacuum cleaner stops, tryed to repair it but no result, then bought a new and way much better one.
Old:
And new:
More pics
Grinded till p400:
Also found hopefully the noises: the 4 bolts of the driveshaft where lose :o and 2 bolts of the exhaust where lose.

 08-23-12, 01:26 AM
#22
Junior Member
Hello countryneighbor,
u make a good work on your car.
I have a RX7 SA from 1985 but it is heavily rusted, and I put the work already for years in front of me. but when I saw yours, I get pleasure restore my car.
That is my car with K�We Bodykit

u make a good work on your car.
I have a RX7 SA from 1985 but it is heavily rusted, and I put the work already for years in front of me. but when I saw yours, I get pleasure restore my car.
That is my car with K�We Bodykit
Last edited by dr.pipe; 08-23-12 at 01:35 AM. Reason: Picture
08-23-12, 04:45 PM
#23
Senior Member
Thread Starter
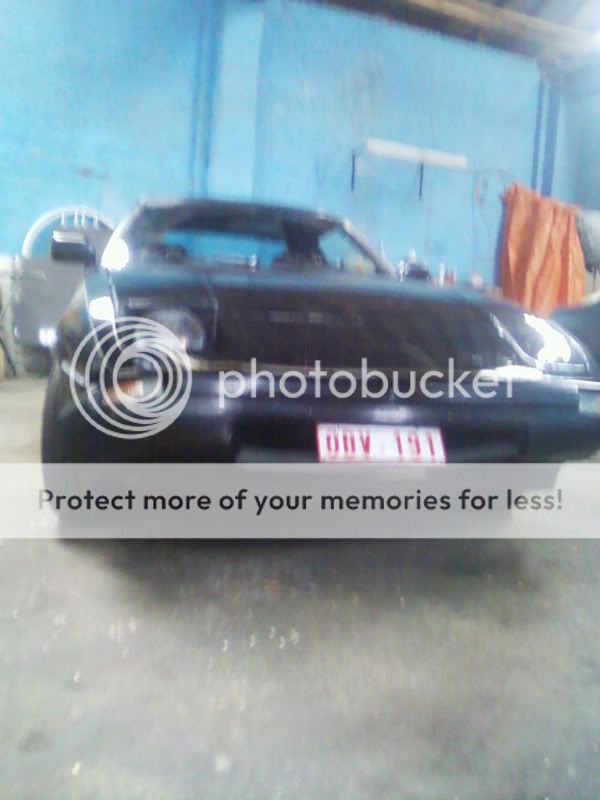
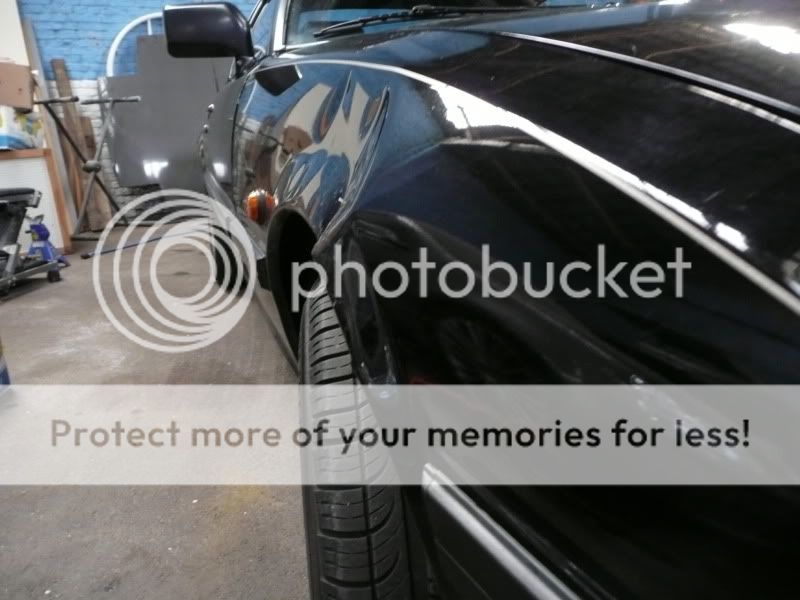
@dr pipe: that's a FB, but very nice bodykit and on mine is almost no rust. Seen cars with more rust.
I don't know if you guys mean it good or bad but hey if you want to see progress, there are the pics for.
and on mine is almost no rust. Seen cars with more rust.I don't know if you guys mean it good or bad but hey if you want to see progress, there are the pics for.

