When you click on links to various merchants on this site and make a purchase, this can result in this site earning a commission. Affiliate programs and affiliations include, but are not limited to, the eBay Partner Network.
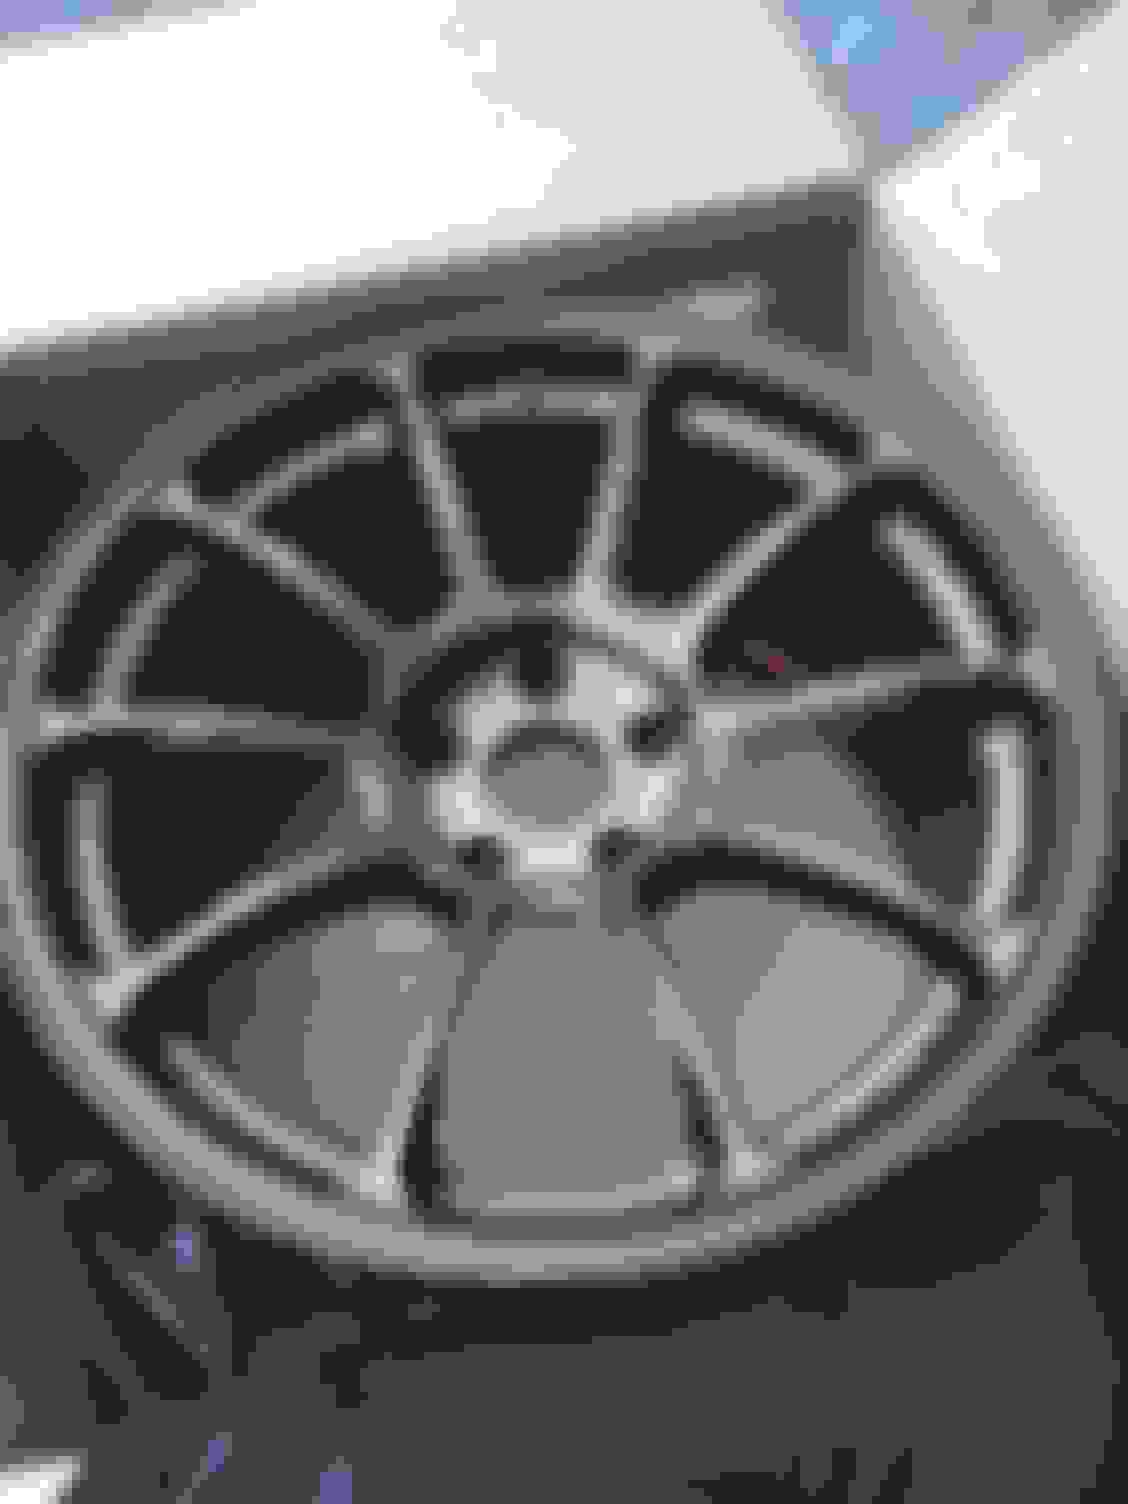
Ok, this thread got 2Legit2Quit with the addition of those Volks.... and this is coming from a Fikse ***** :rofL:
Sizes?
FYI, the Panspeed clusters were just posted up for sale here on the forum, go check them out
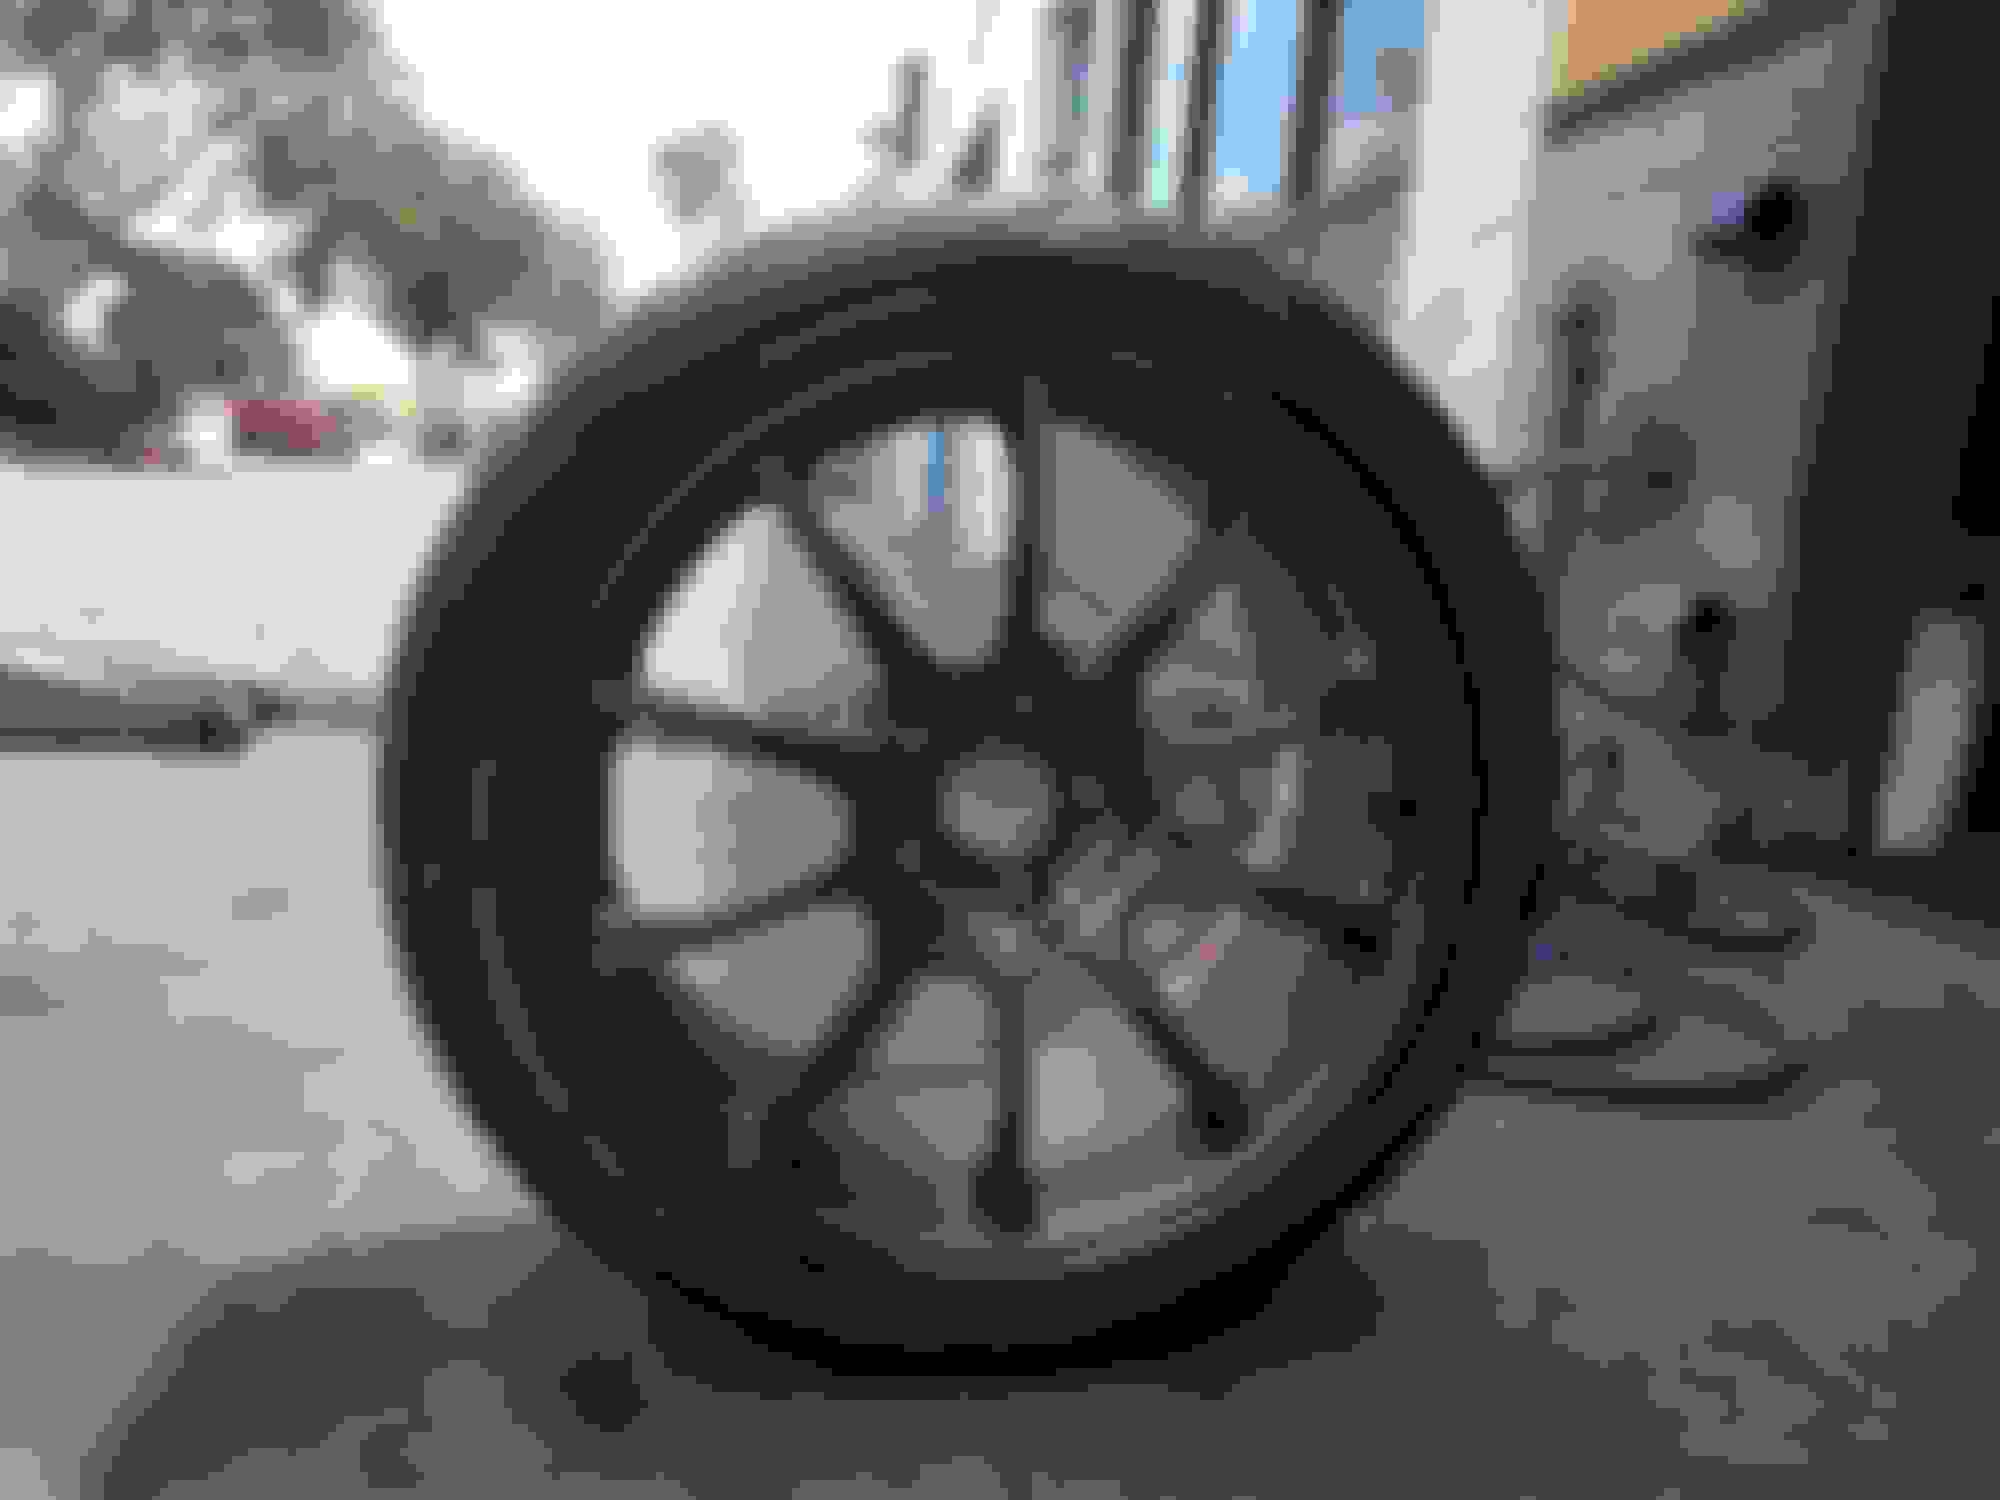
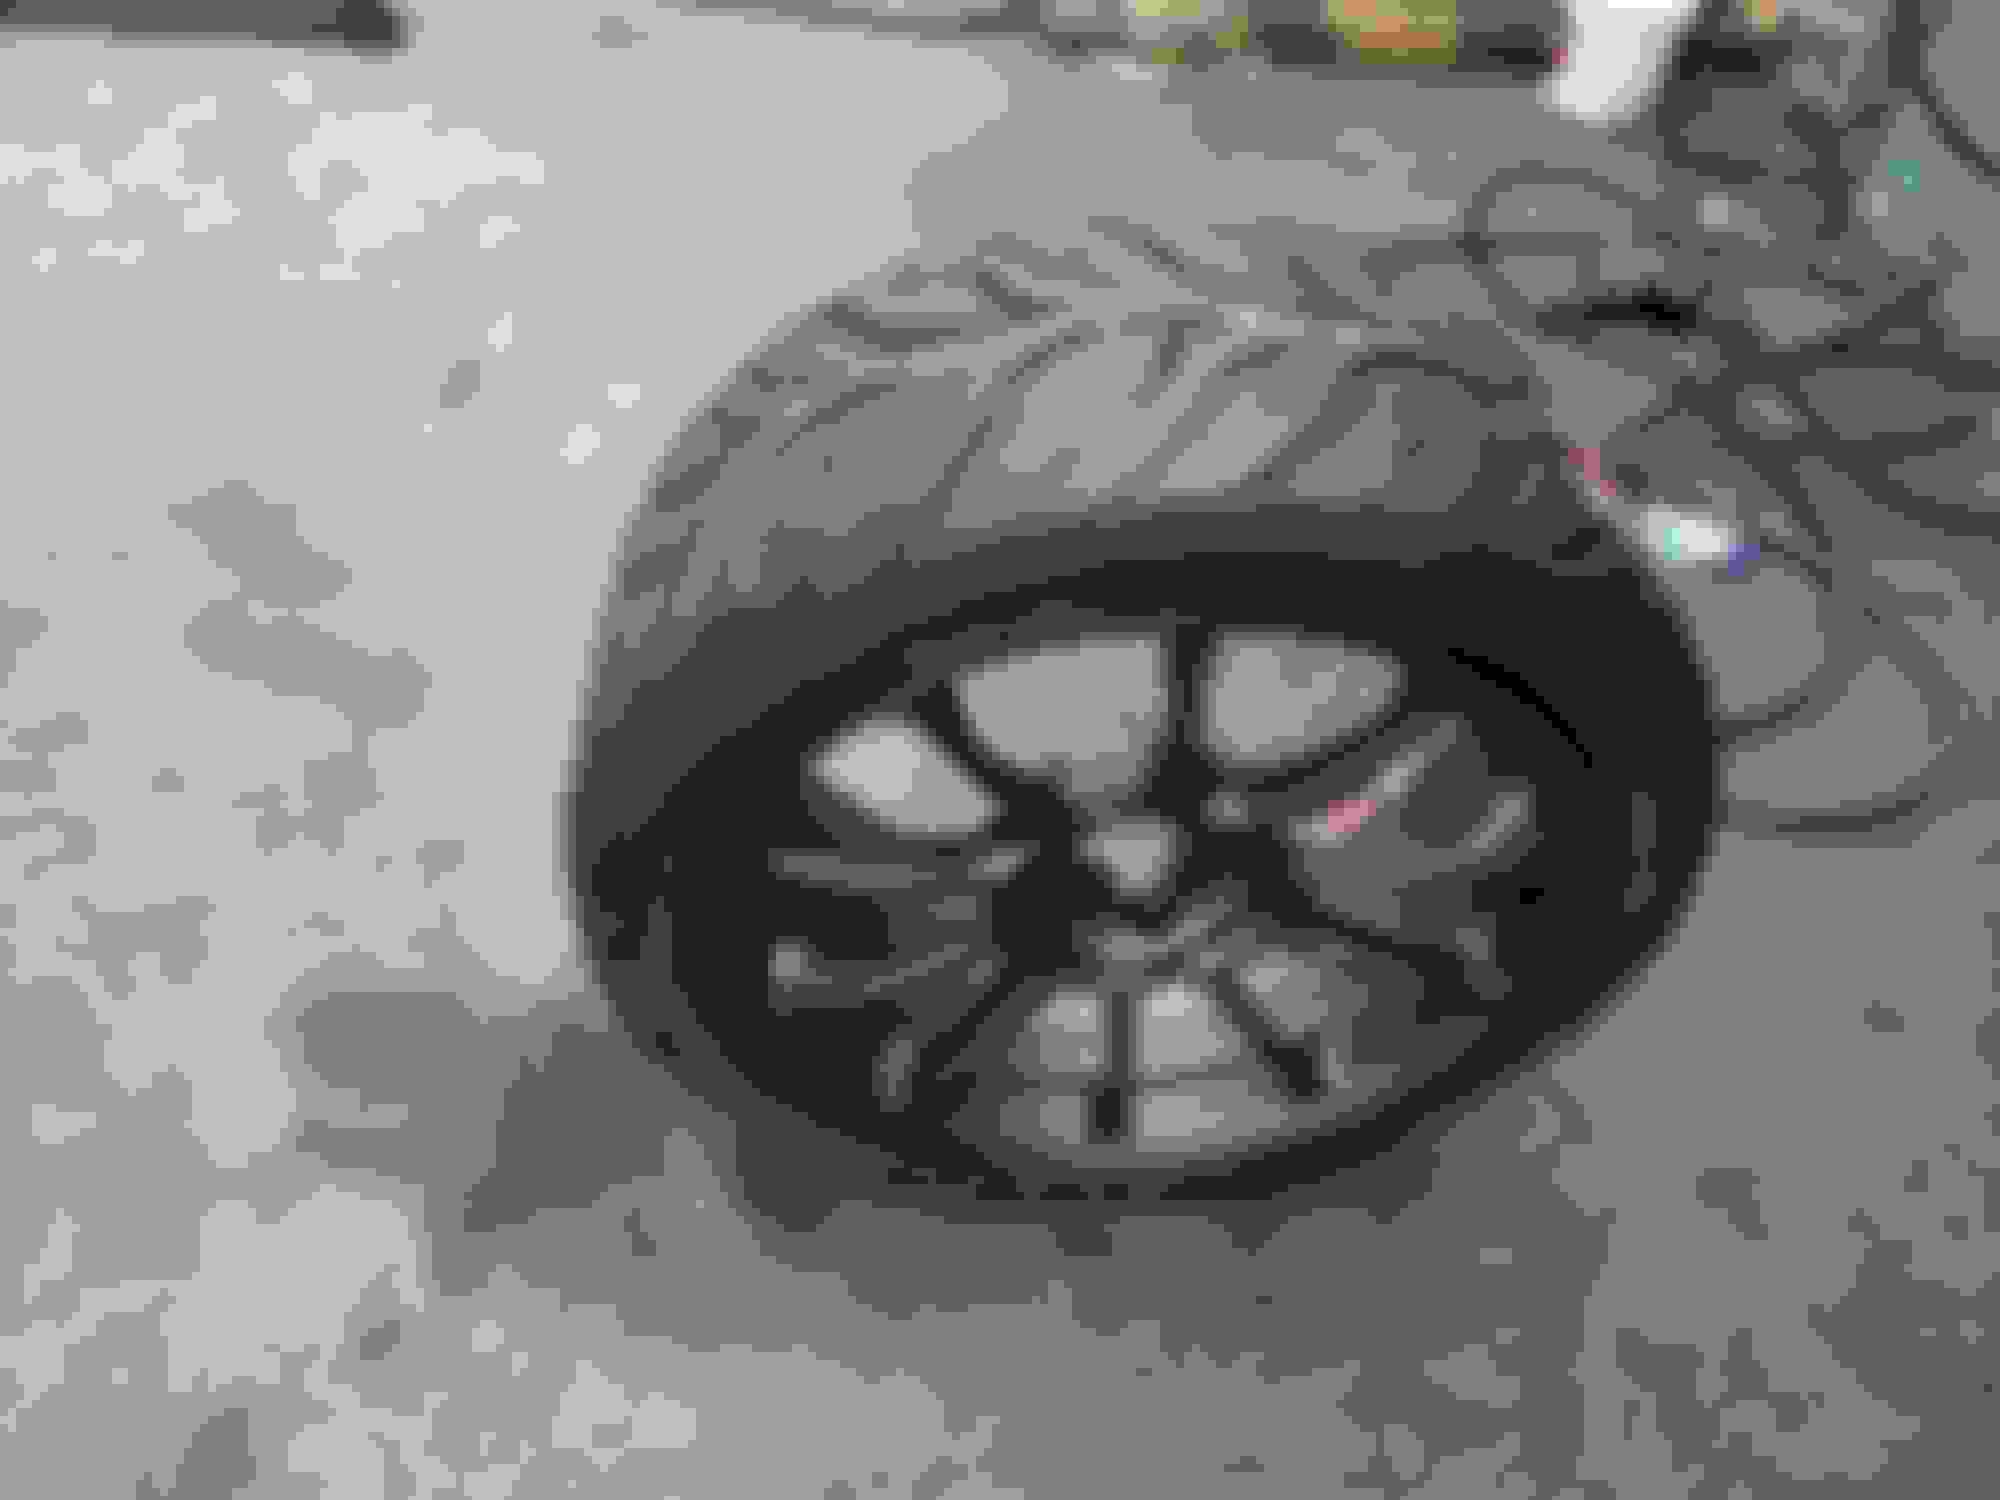
Lol thanks man! The sizes are 18x9 +35 and 18x10.5 +24, the guy threw in brand new 5mm spacers with them too, which Im assuming he was going to use with the fronts. Anyways I'm really hoping to get my tire sizes right this time to work and look great with the Panspeed fenders. The plan is to get these things wrapped in Dunlop Direzza ZII's and Im thinking of going with 255/35's and 275/35's. Im a big fan of the functional wheel and tire look and that's pretty much what Im trying to go for.
And thanks for looking out! Im gonna check it out.
Its been a little slow for me to do anything since Im currently in the process of trying to legitimately pass a CA emissions test to renew the registration on my car. Ive slapped all the stock parts back on it except for the precat and for some reason Im still failing. Ive been trying to dig up as much research as to what I can do to help my car pass such as checking the air pump functionality, emptying the little "fuel canister" underneath the throttle body elbow etc. So to eliminate my frustrations I've started the paperwork to get the car registered back home in Ohio so I don't have to deal with this BS test every other year.
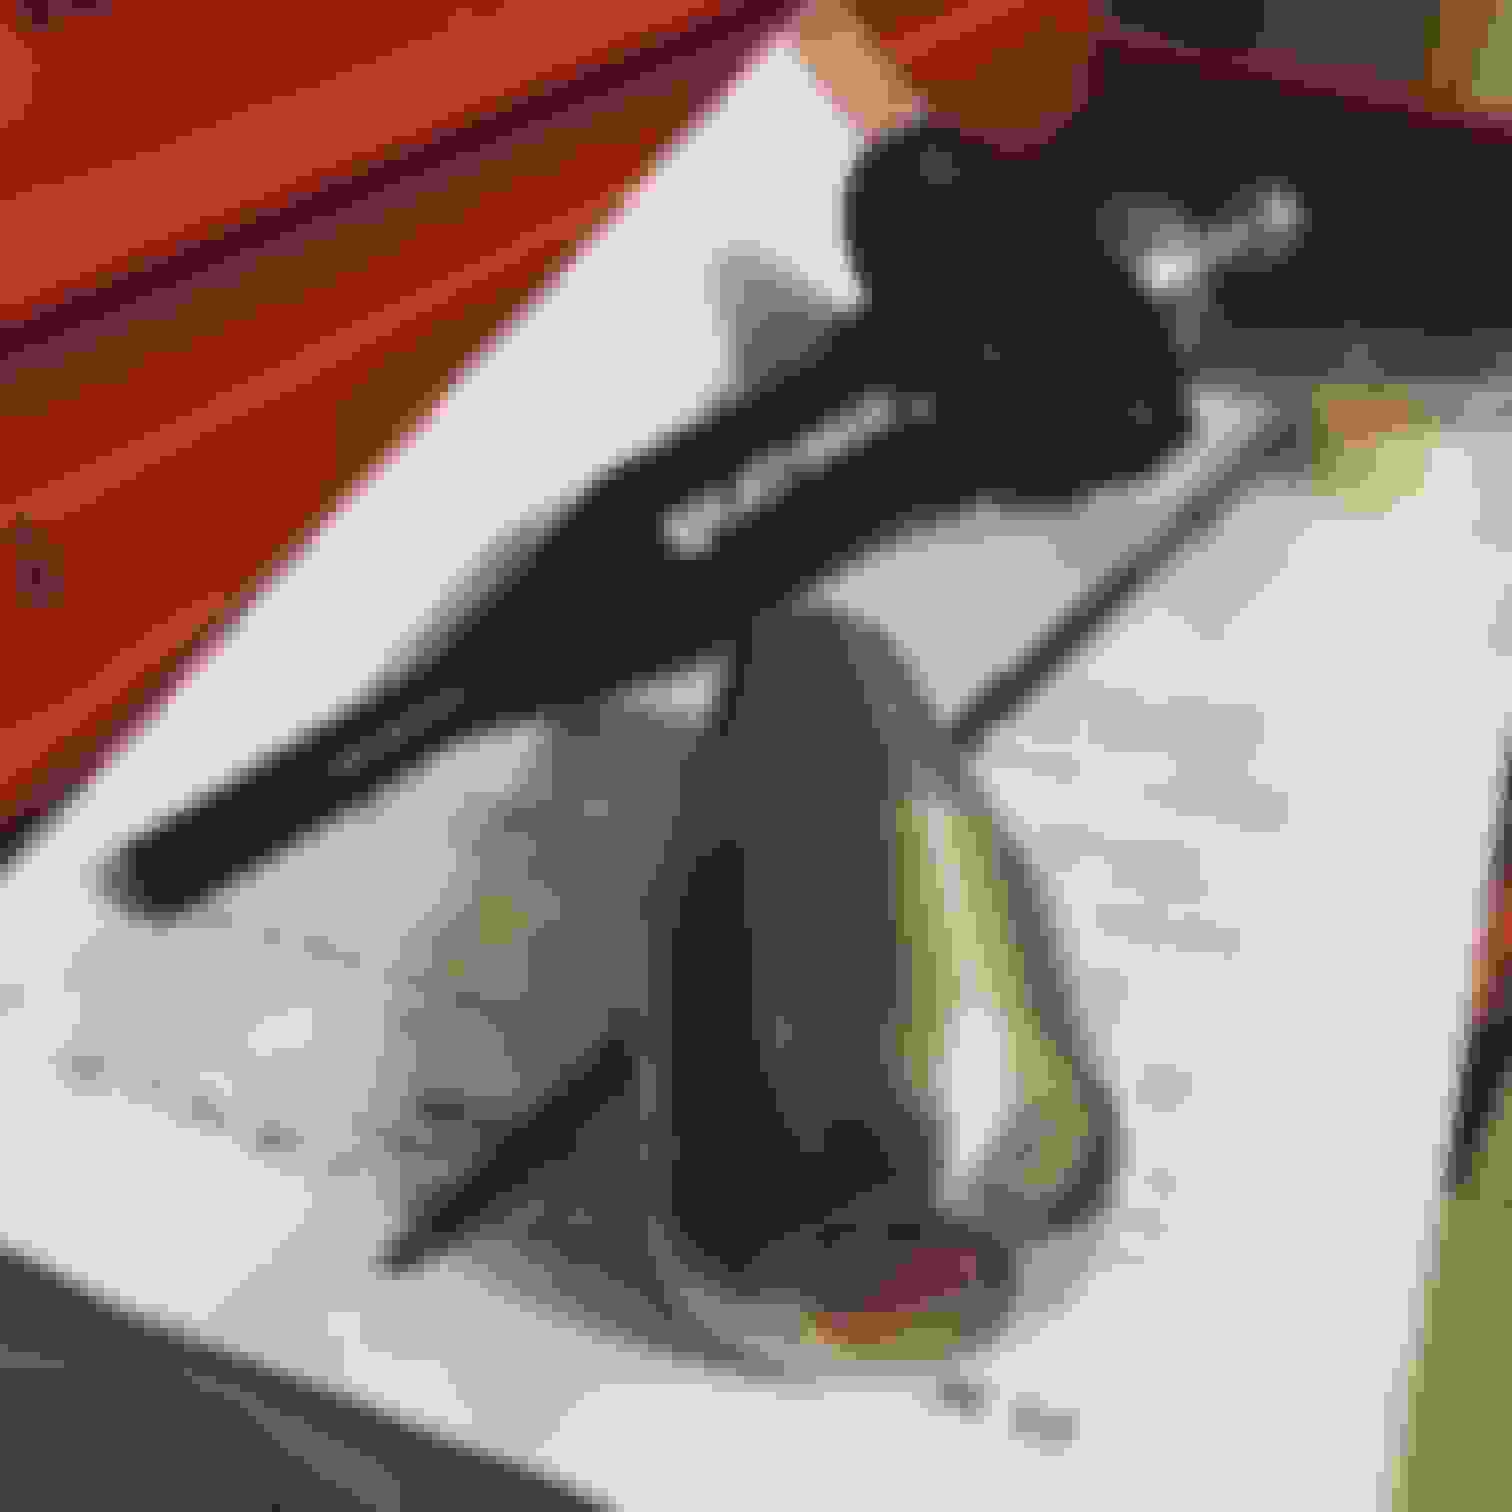
As far as a parts update I received a couple goodies in the mail earlier this week, and yes I bit the bullet and got the RE shifter. I couldn't resist.
I am in live with the FEED shift **** and it makes my interior look a touch better compared to that POS Carbing shift ****.
A couple days after the shifter and shift **** showed up I decided to sell my Gramlights wheels to a local buddy who wanted to use them on his RX8 as his track setup.
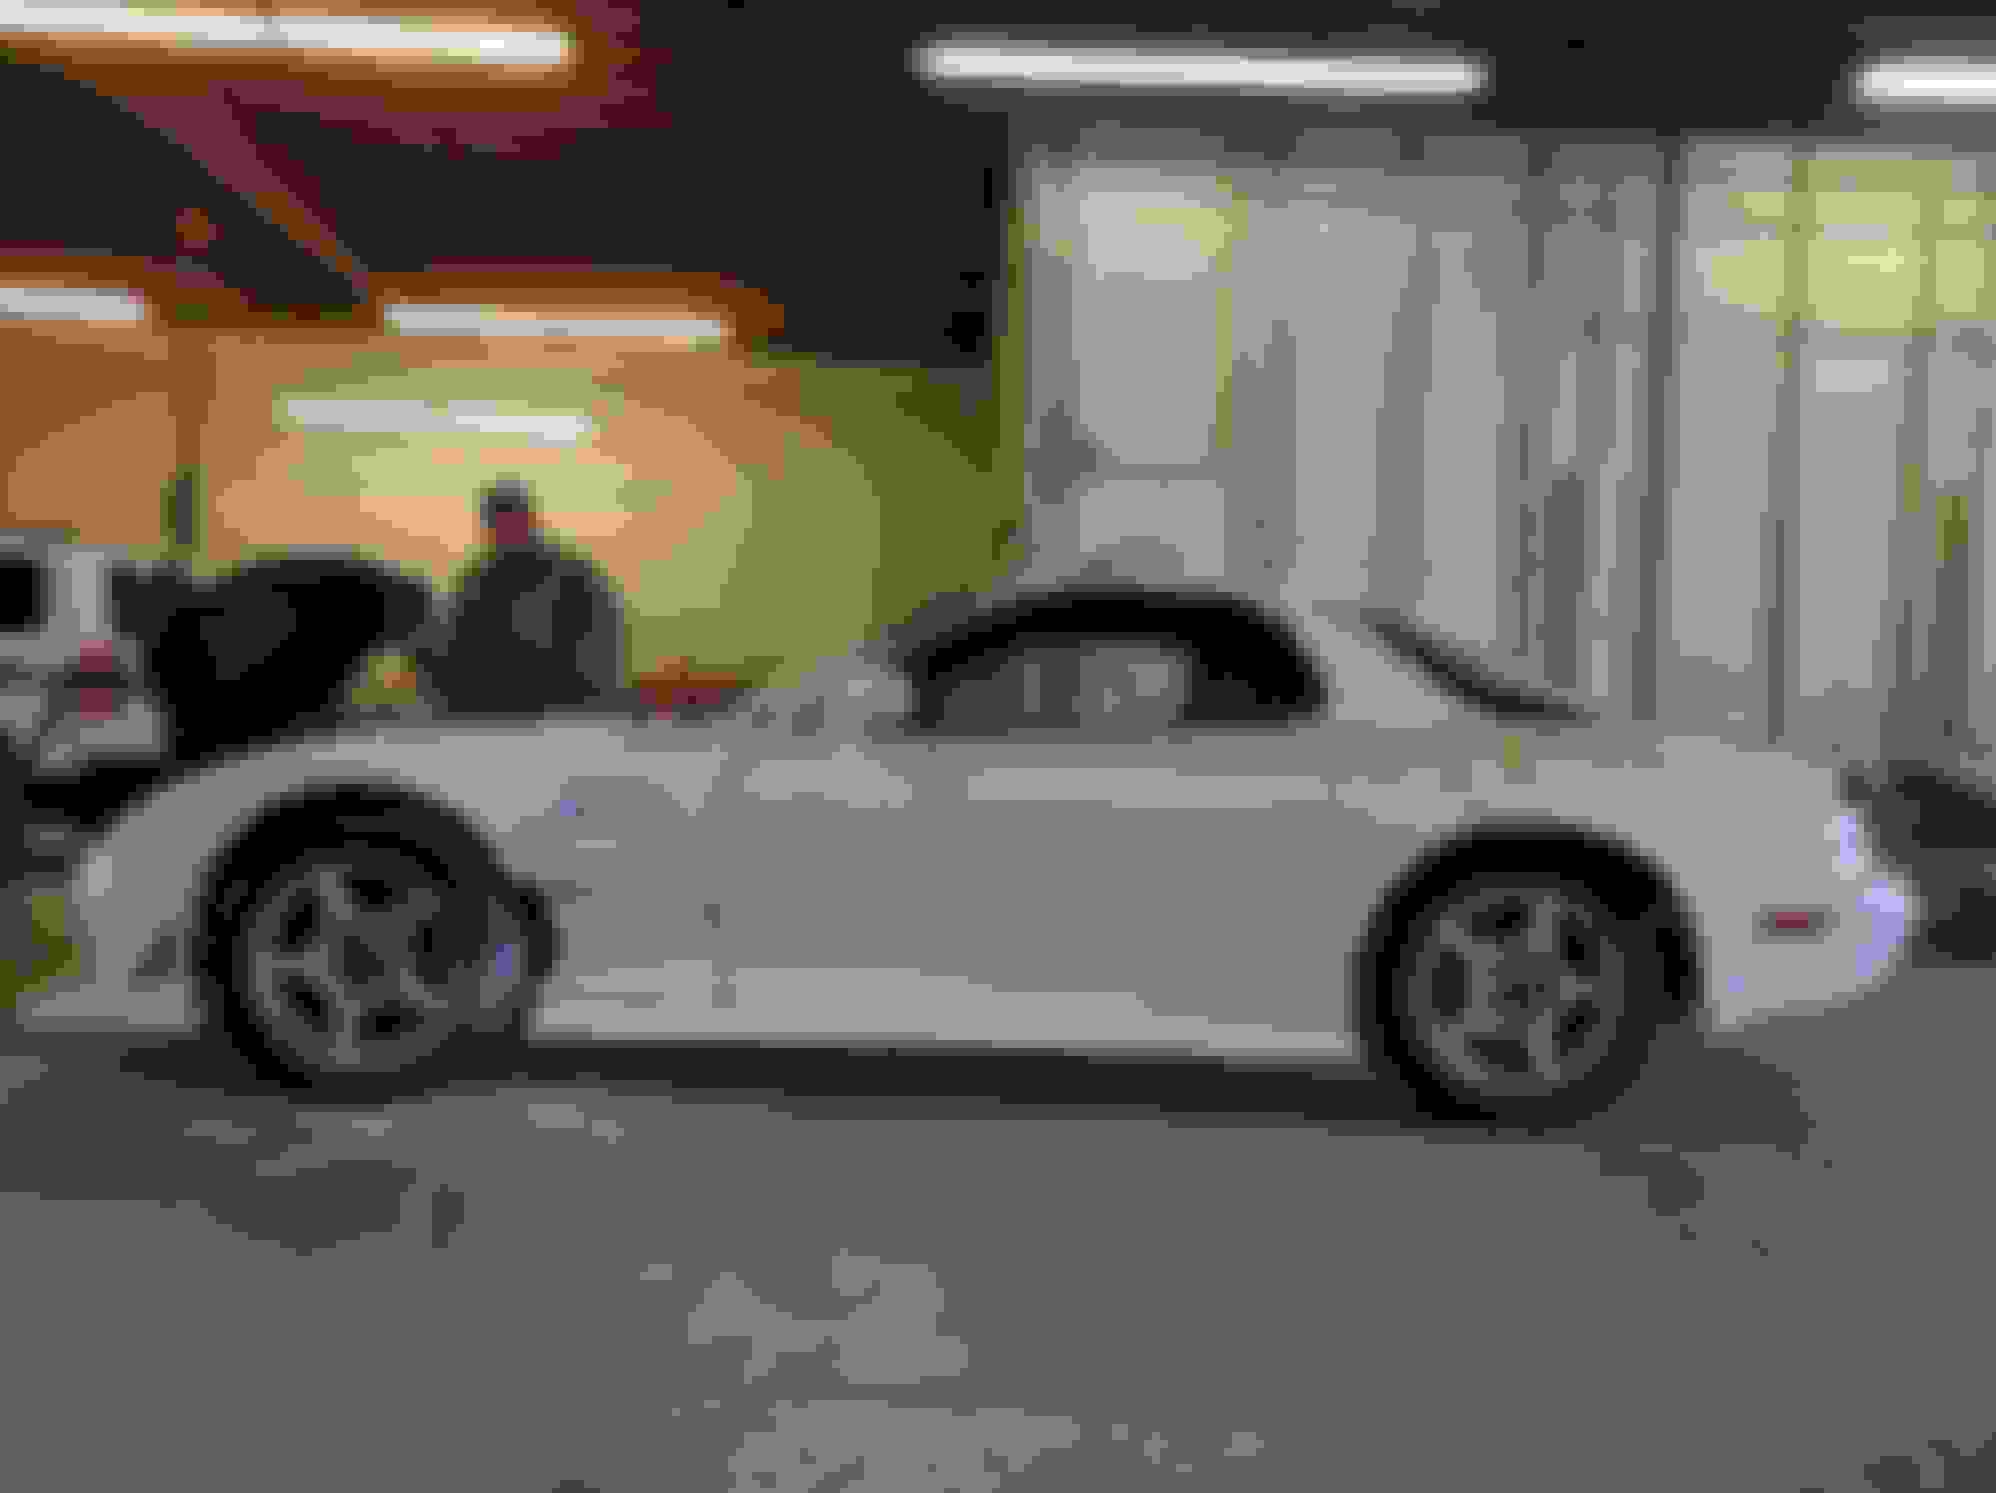
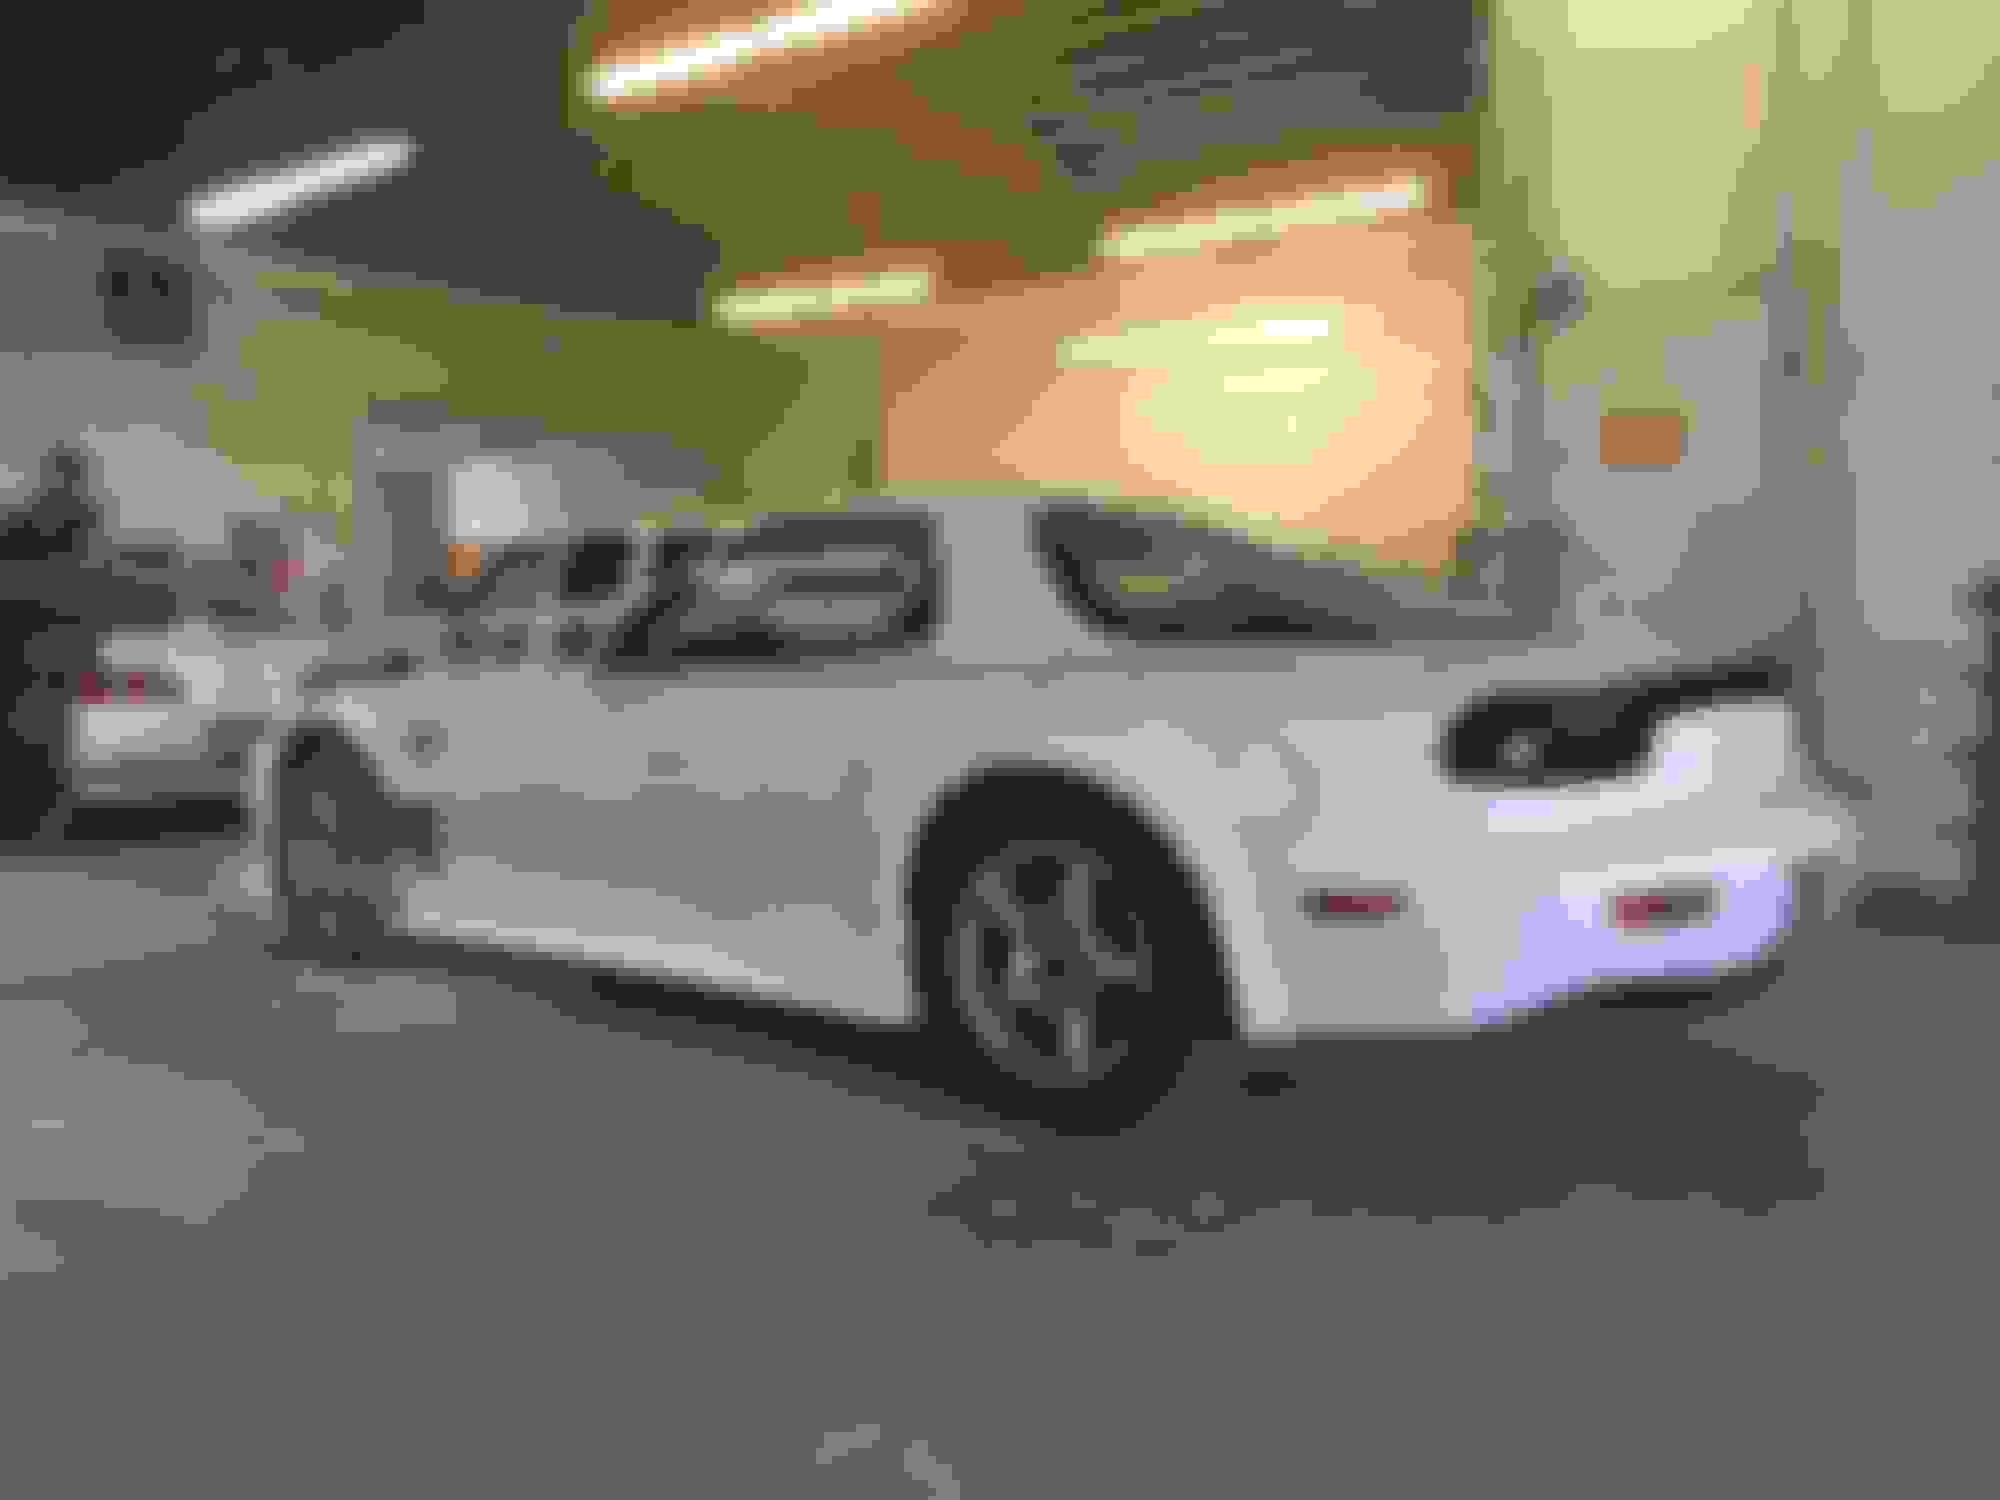
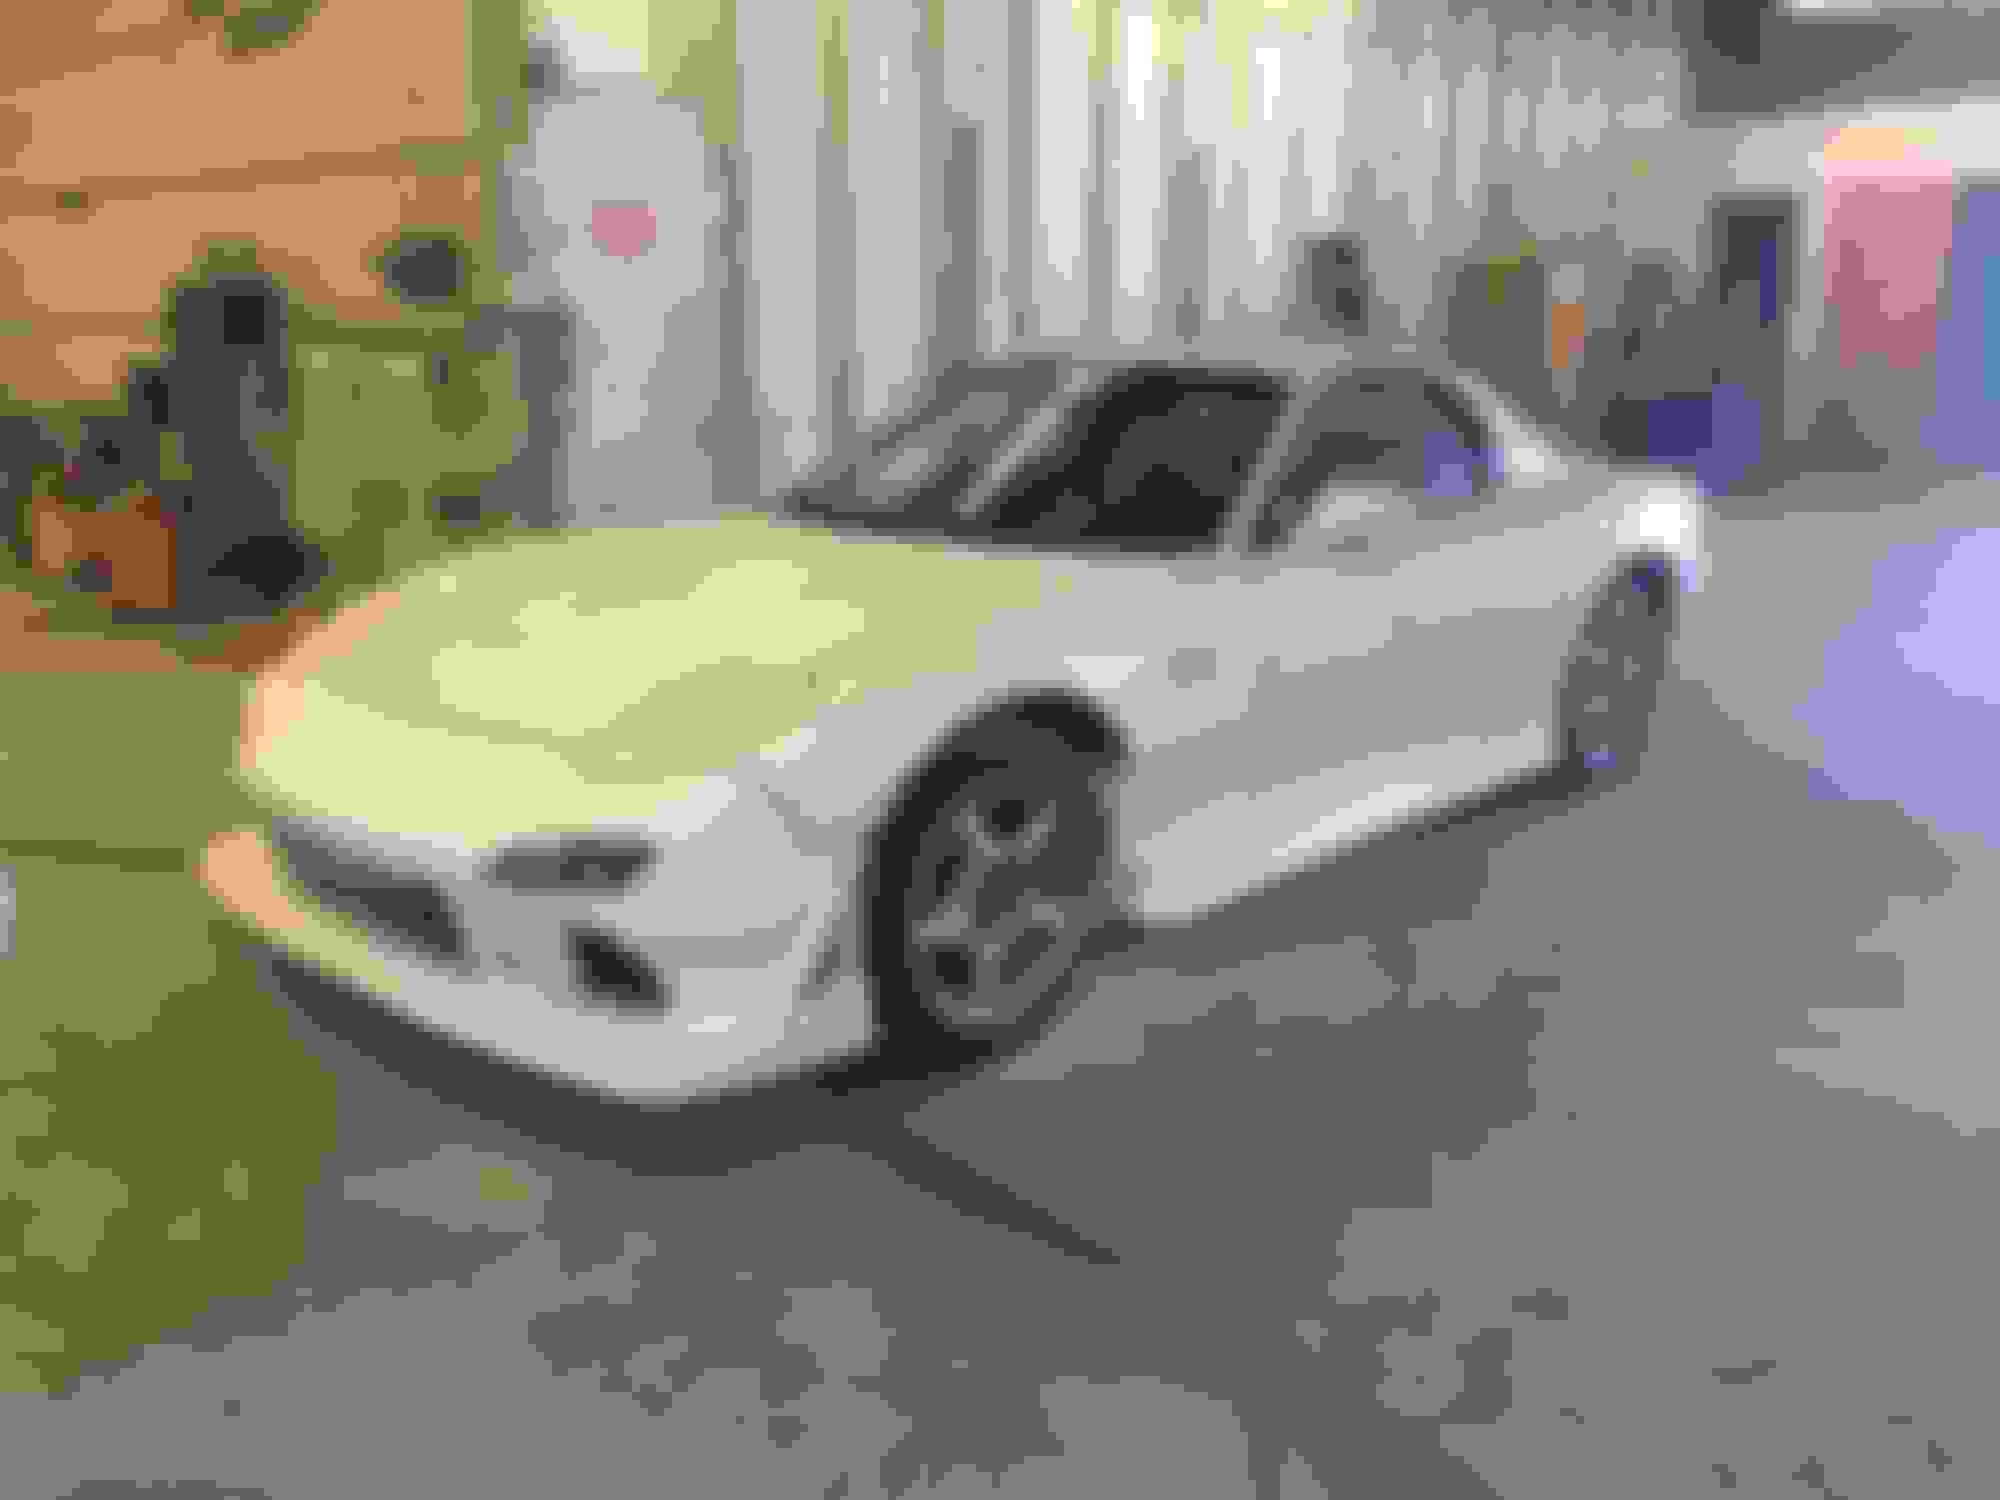
After the wheels were sold I managed to find these bad boys a couple days later for sale on here! I got a killer doeal on them too!
Hey Ben, i can get you a legitimate smog done in the LA county area. Cost me 250, cat or no cat, stock or not. It can be done. Let me know if you're interested, i'll give you my guys phone number!
Just a heads up that the Feed shift **** will not work on the RE shifter... I was not happy about. I love my Feed ****!
I'm able to run my FEED **** on my RE shifter, the threads on the shifter barely thread into the FEED shift **** however but I am still able to use it. I just picked up an RE **** not too long ago so I might switch to that. But so far I haven't had any problems with my FEED **** on the RE shifter.
Hey Ben, i can get you a legitimate smog done in the LA county area. Cost me 250, cat or no cat, stock or not. It can be done. Let me know if you're interested, i'll give you my guys phone number!
Smog has already been taken care of man, thanks for offering the help though
I actually post more on here than I do on Instagram in terms of my build. The reason being that my wife doesn't want me spending money on car parts. She has an Instagram and if I post pictures of new parts and she see's it then I'm a dead man. At least here she won't be able to know about it
Hilarious!!! Those Panspeed skirts are dope! Can't wait to see more progress!
It's been awhile since I've given an update but I started taking college classes after work and it's been keeping me super busy. Anyways, I picked up a good deal on a Greddy T78 turbo kit a few weeks back and so Im currently selling some items to help fund the conversion. But last night I decided out of nowhere to go ahead and just start tearing into the car. I'm hoping this goes as smoothly as possible but I doubt it I'll try to keep the updates coming, but my goal is to complete this transformation before Sevenstock later this year.
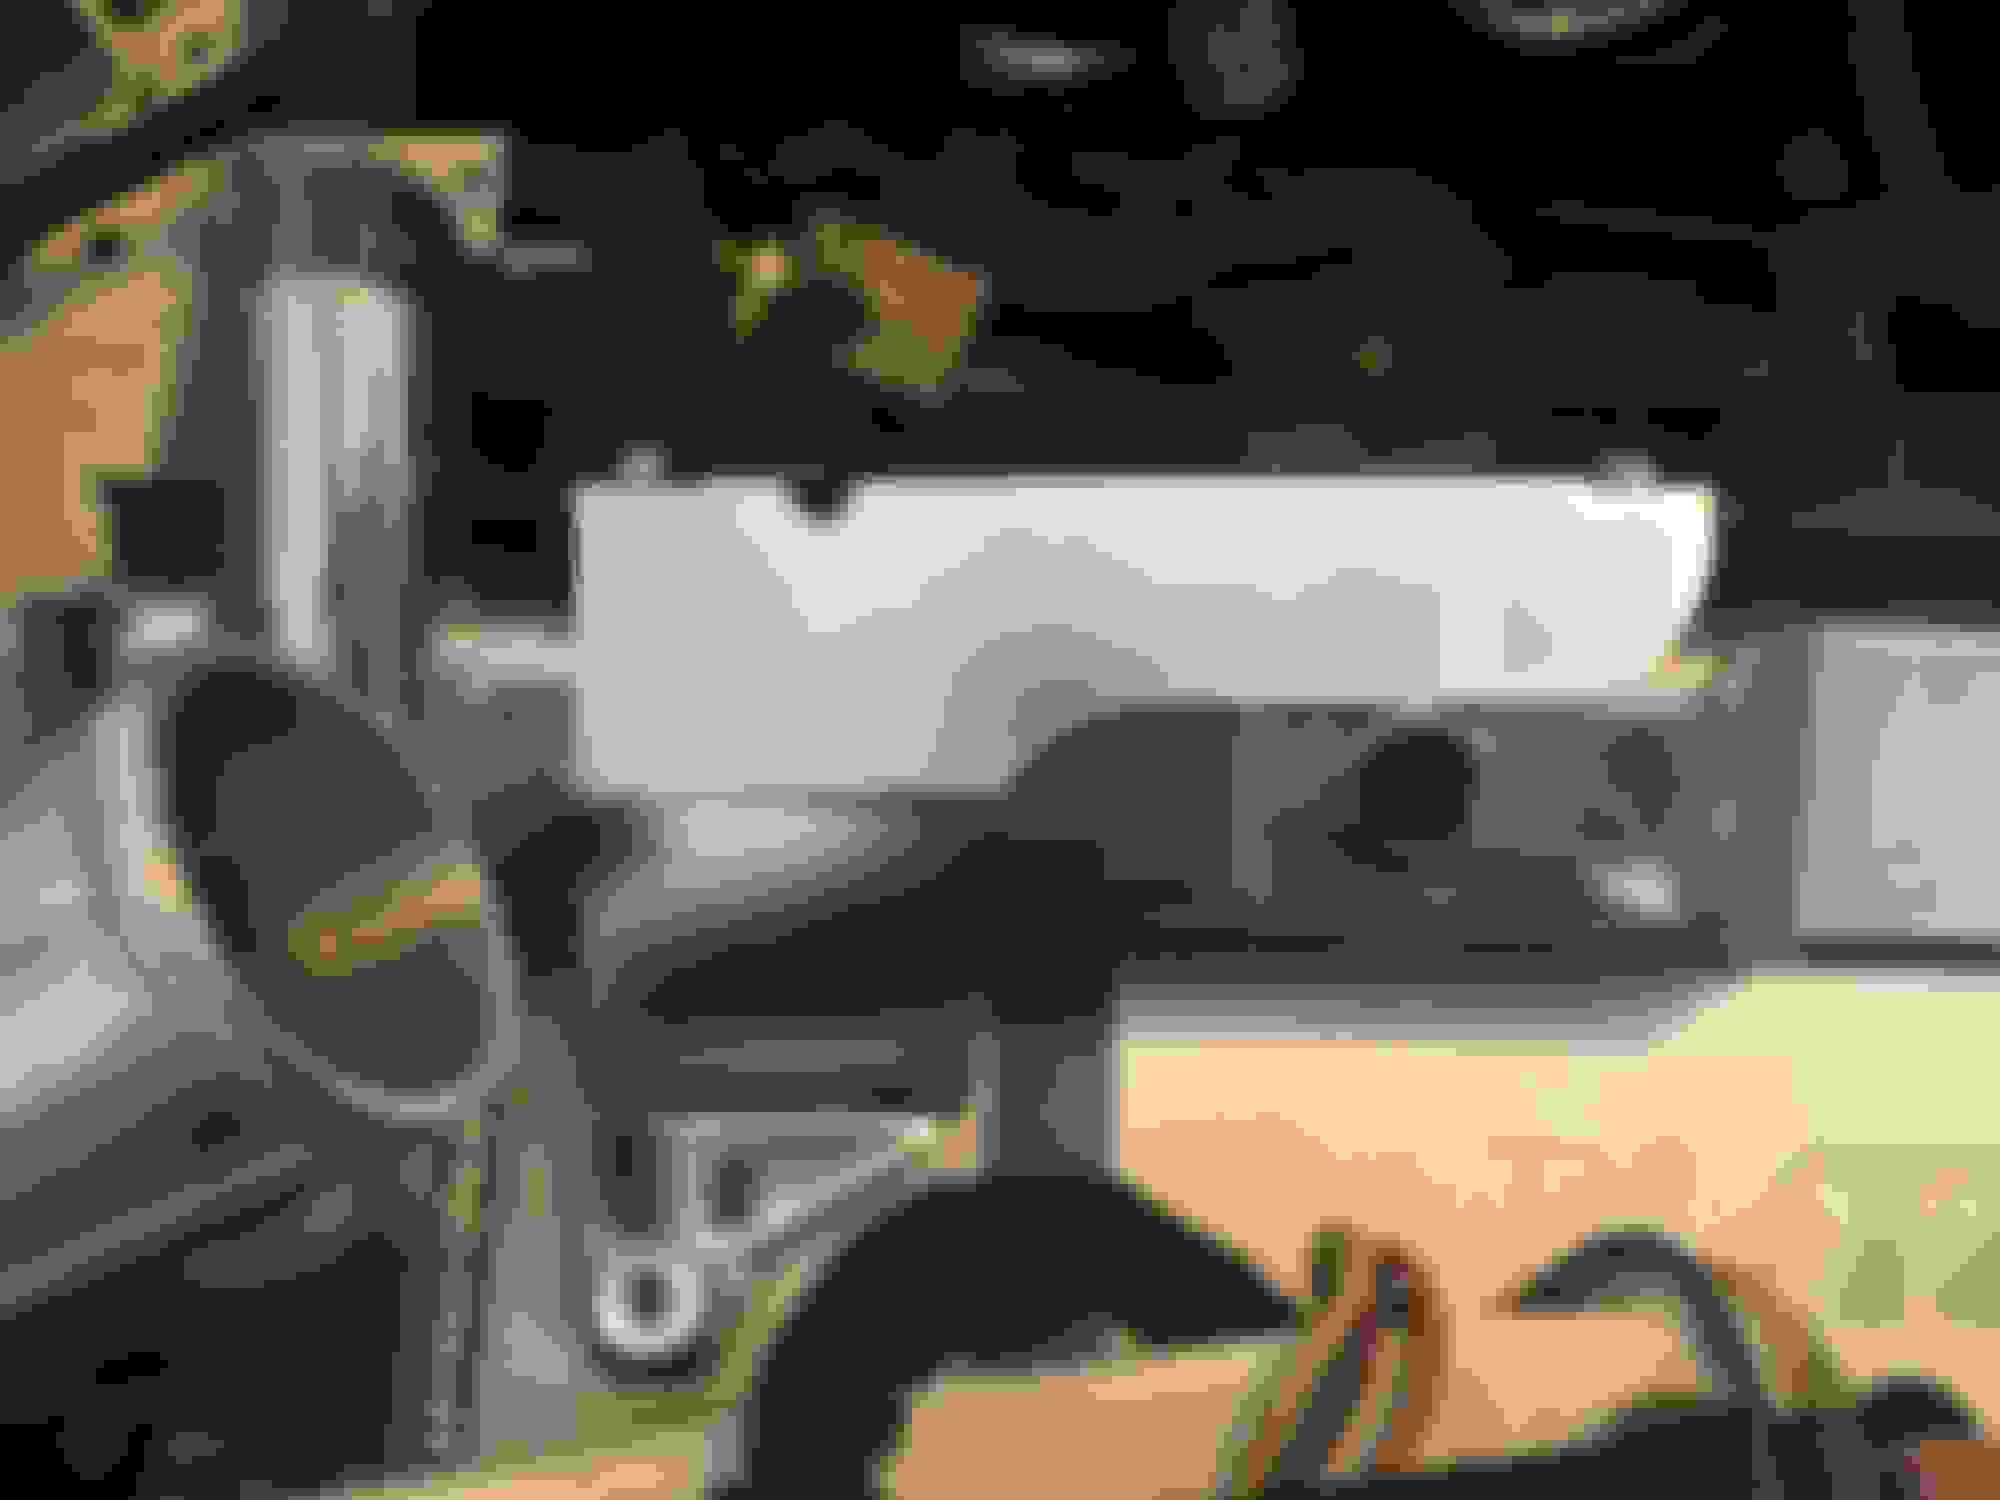
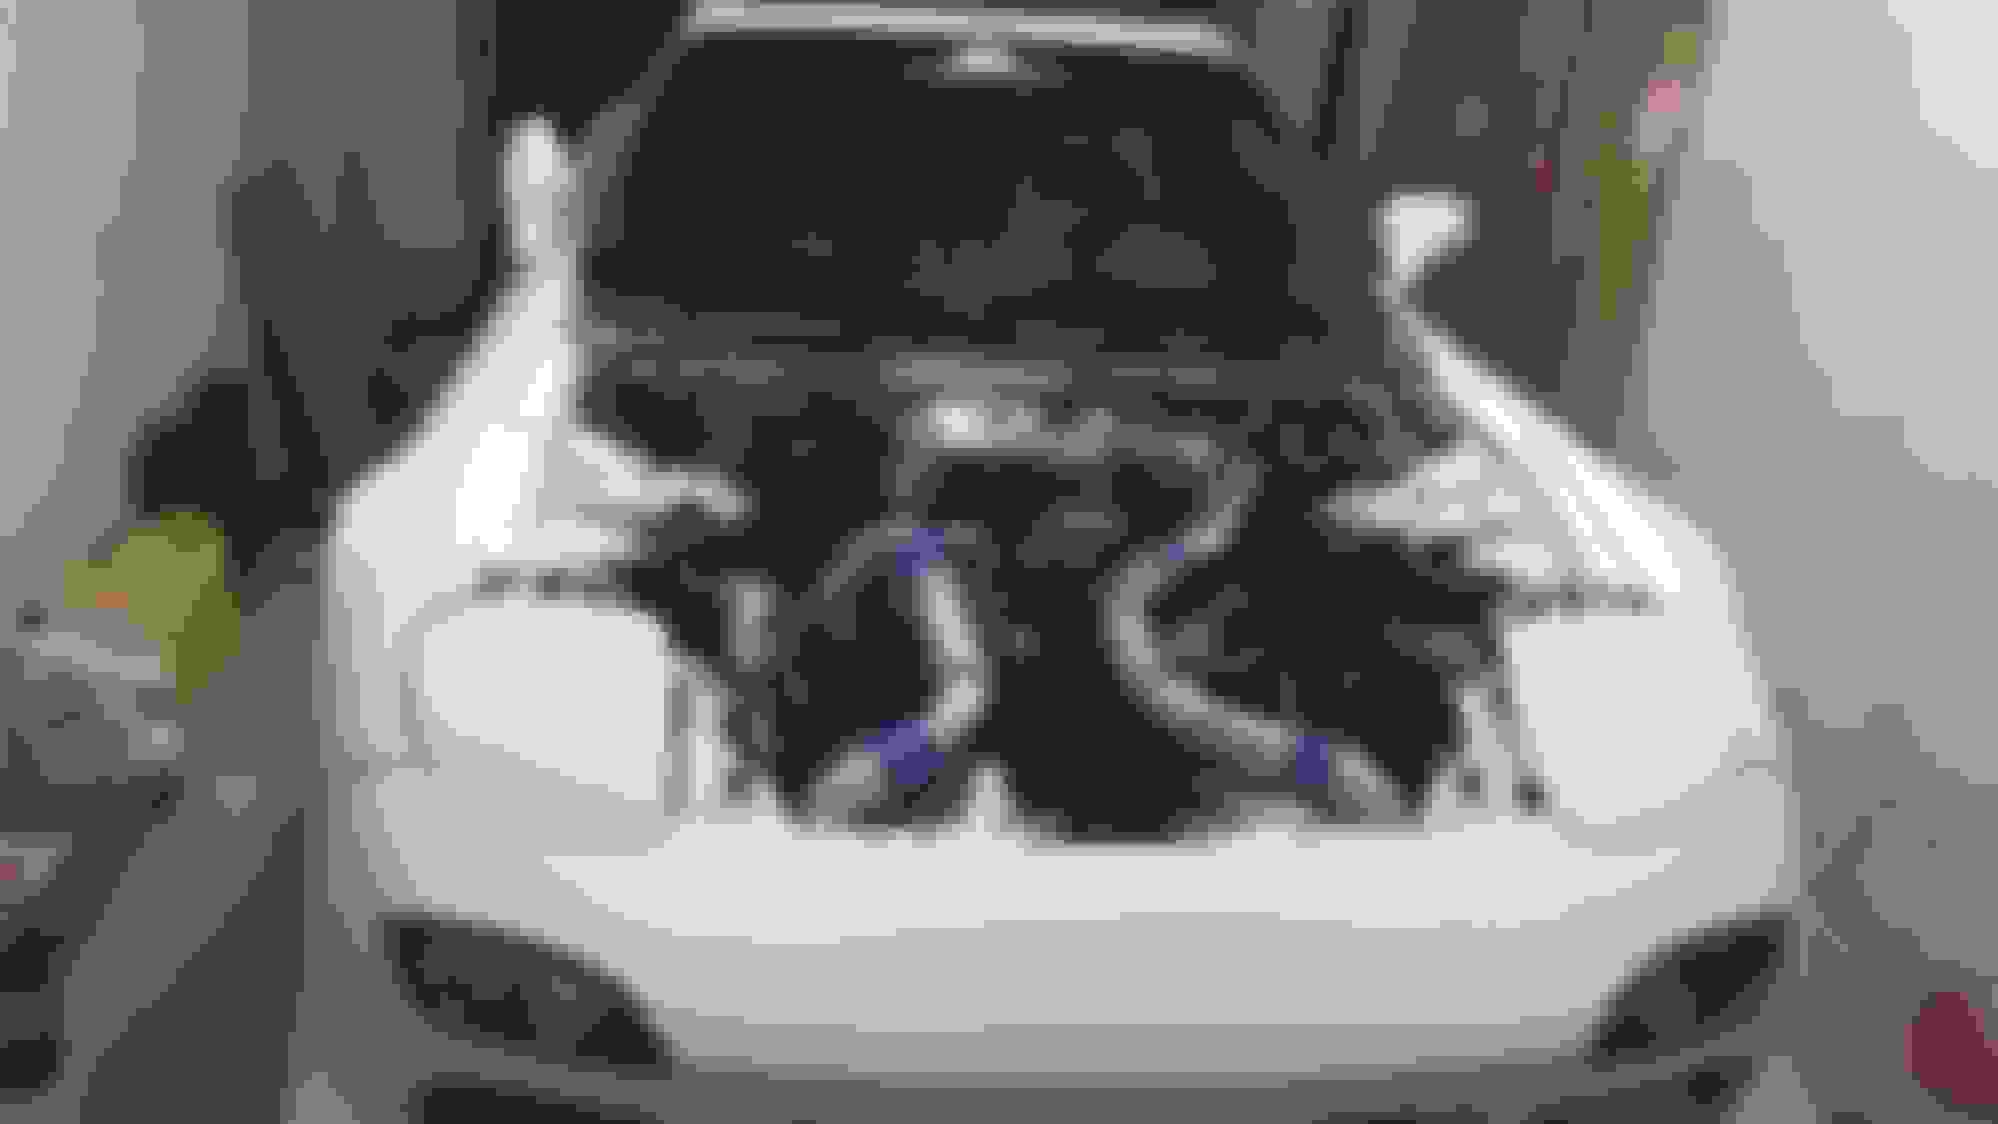
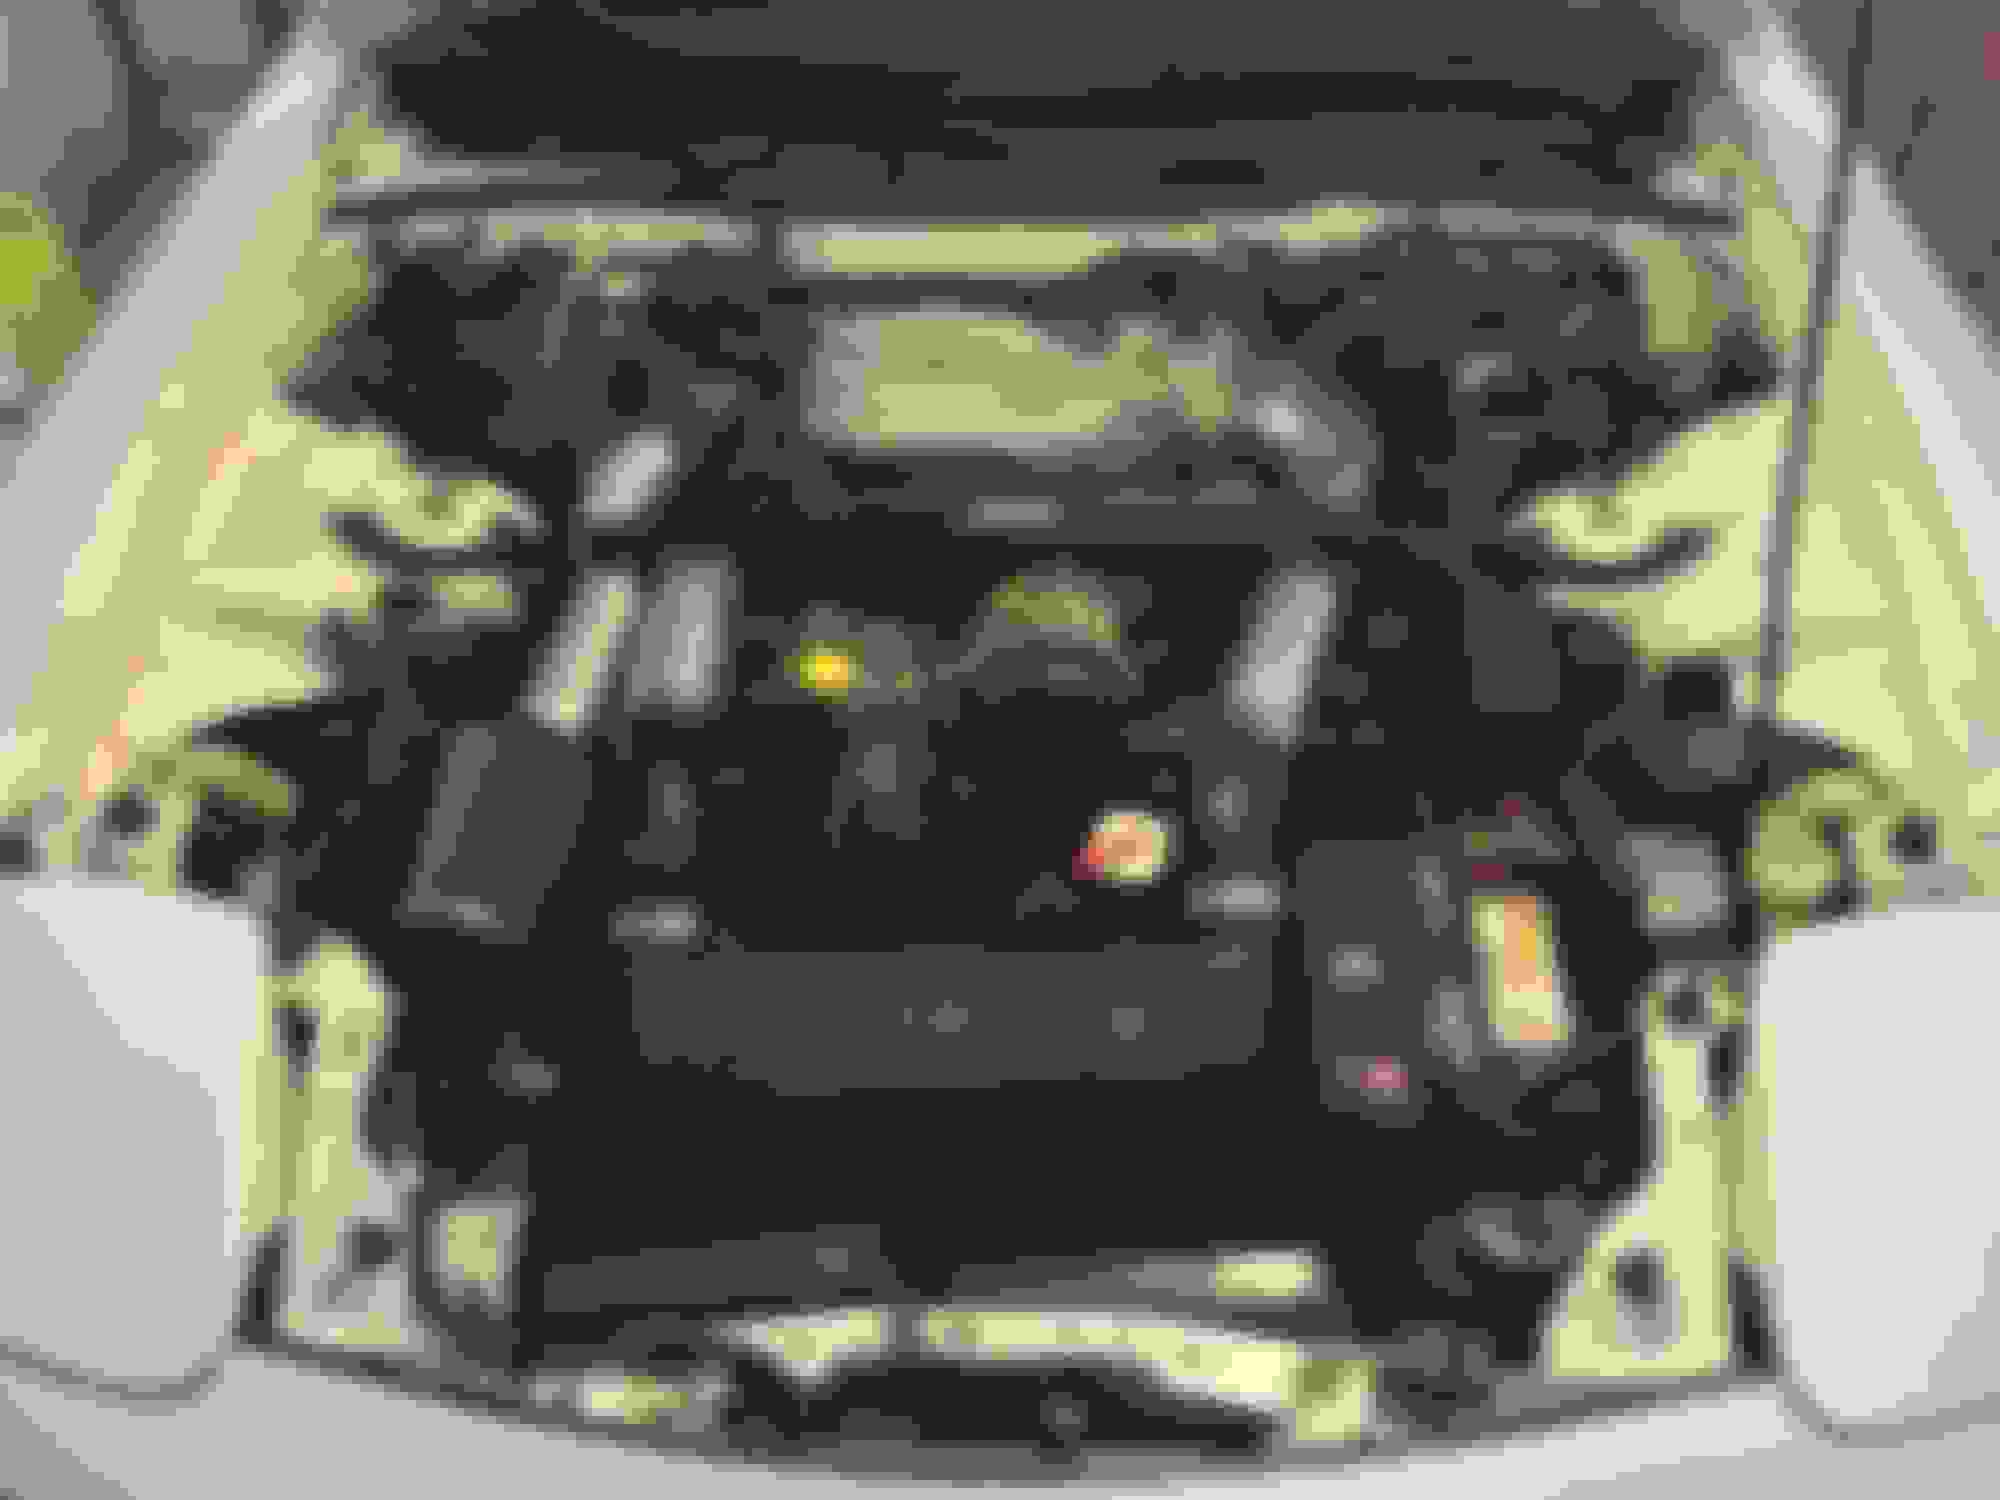
Pic of the engine bay before I start taking things out.
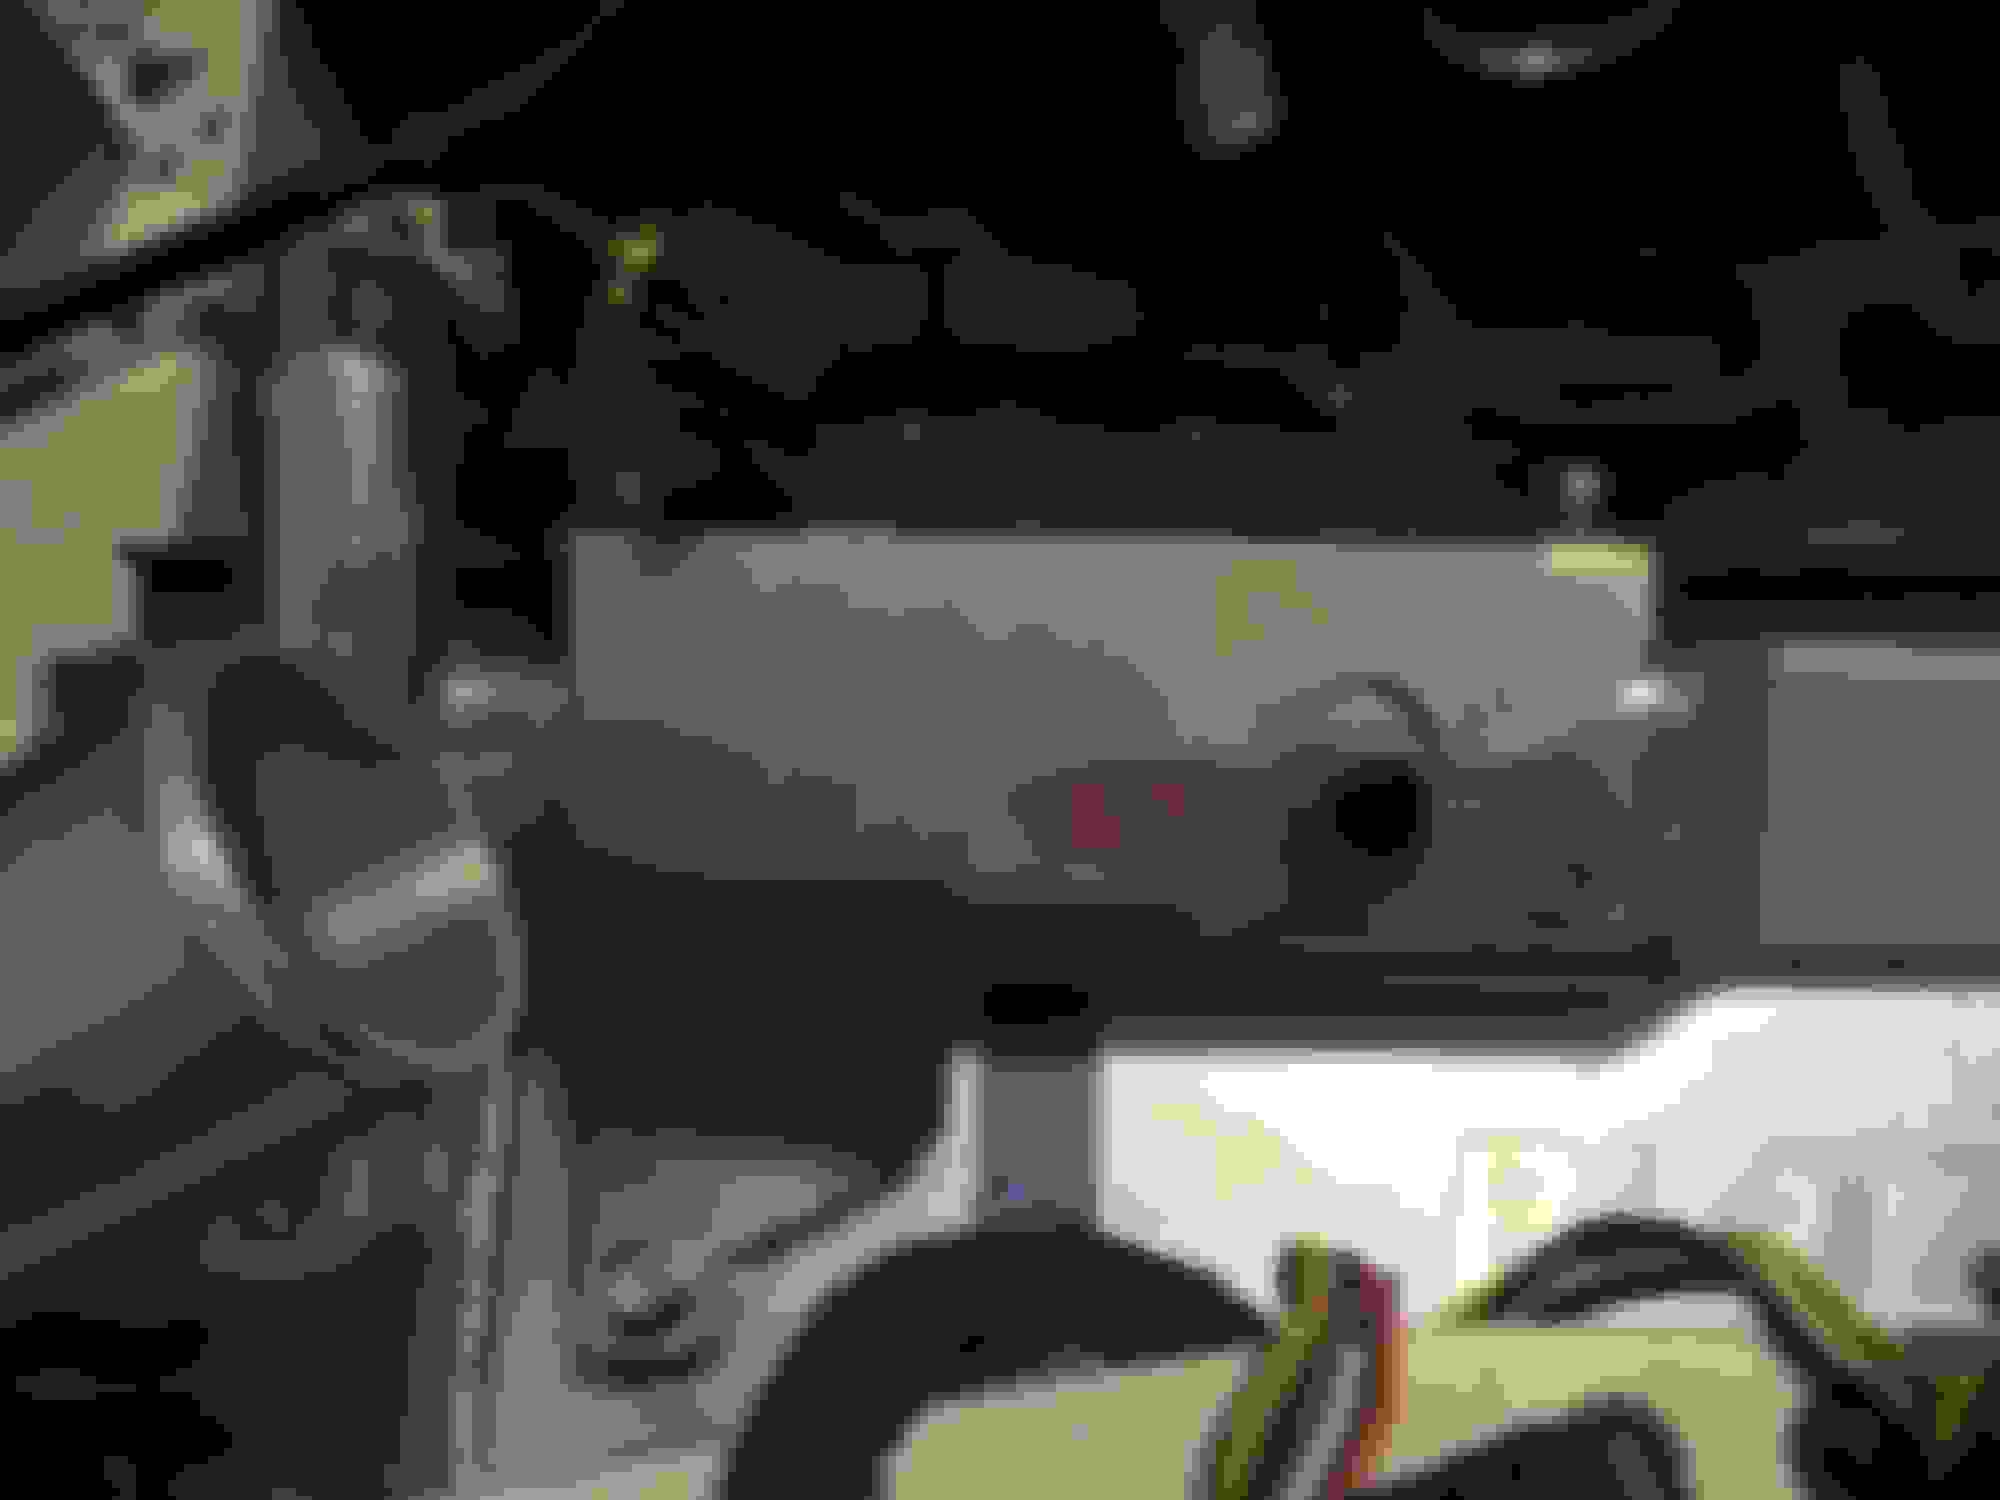
Little progress from today. Trying not to rush and get too ahead of myself.
As my college classes this semester draw closer to the end, finding time to work on the car has been very slim. I only have 2 more weeks left of classes and my wife goes on deployment in about 3 1/2 weeks. I should be able to make some huge headway on the car once the wife leaves for deployment Anyways, I was able to make some pretty good progress this weekend.
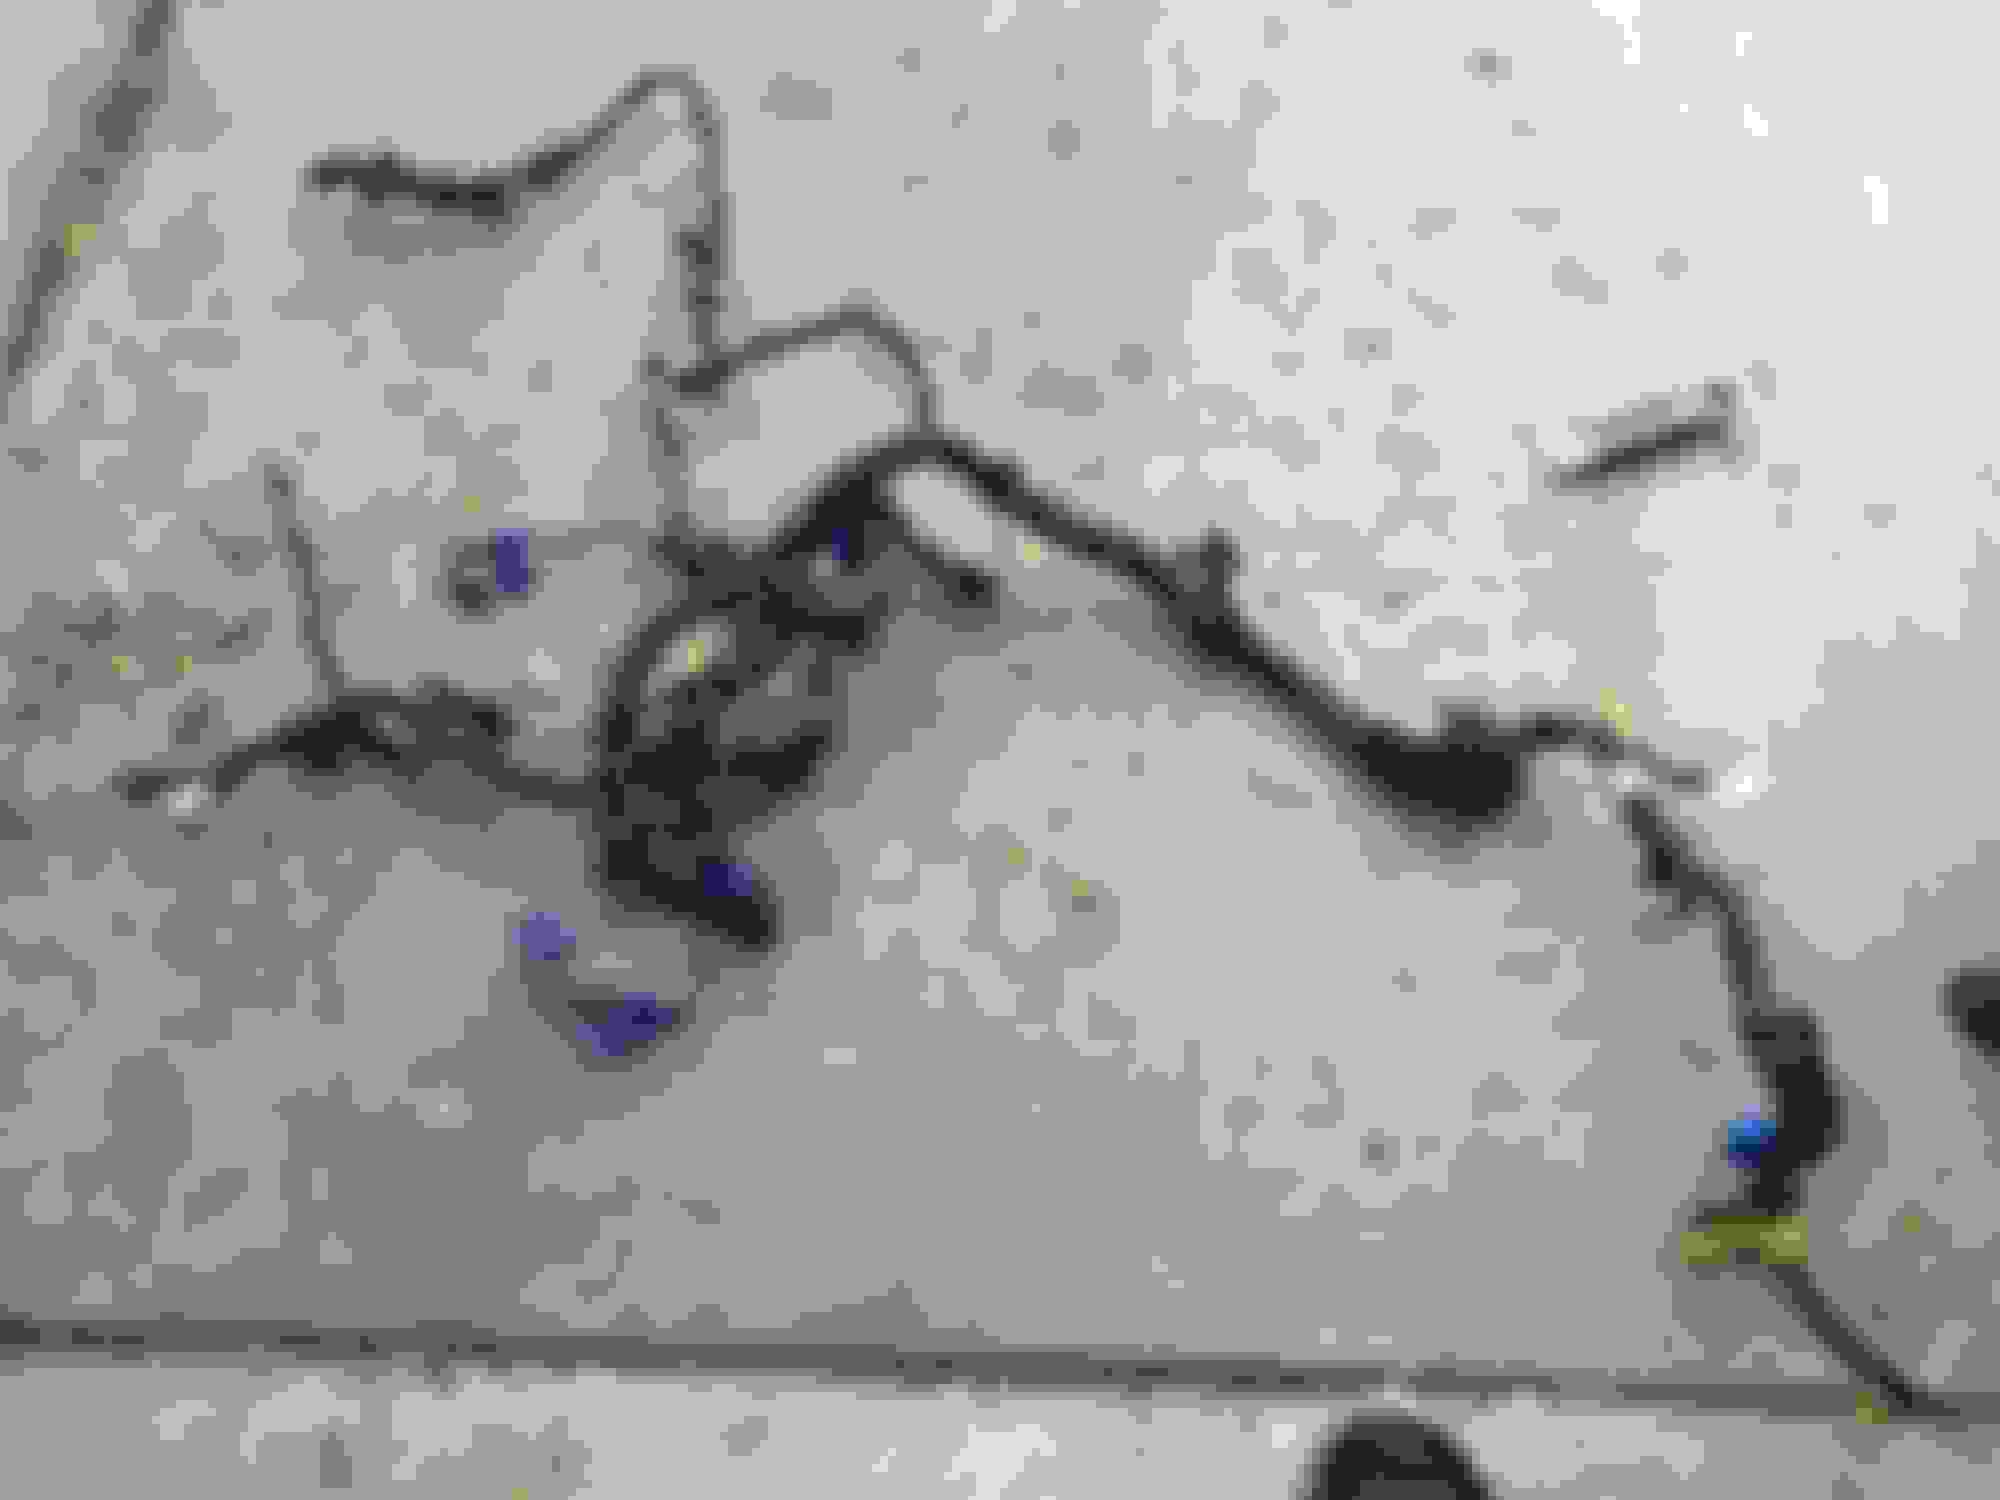
I finally got to meet the rats nest and I have to ask what the Mazda engineers were thinking when they designed that system. It was pretty much a nightmare for me to take off seeing as it was my first time dealing with it and trying to be careful and not breaks anything. Once I realized I was moving at a snails pace trying to be careful, I threw that idea out the window and decided to just start breaking sh*t off, I didn't care.
Long story short I removed the LIM, rats nest, and wiring harness. The wiring harness was pretty easy to pull out despite the ABS unit being in the way. Once the grommet was pried out, all I had to do was unbolt my ABS bracket and slightly move it to give just a little bit more clearance for the grommet to slide between the ABS unit and the firewall. Just like so many other pulled harness's, mine was really crispy. I spent the next few hours stripping it down and labeling all the connections. I then dropped it off to a local friend who can depin it and remove all of the unnecessary wires from the harness and make for a cleaner looking setup when this goes back in.
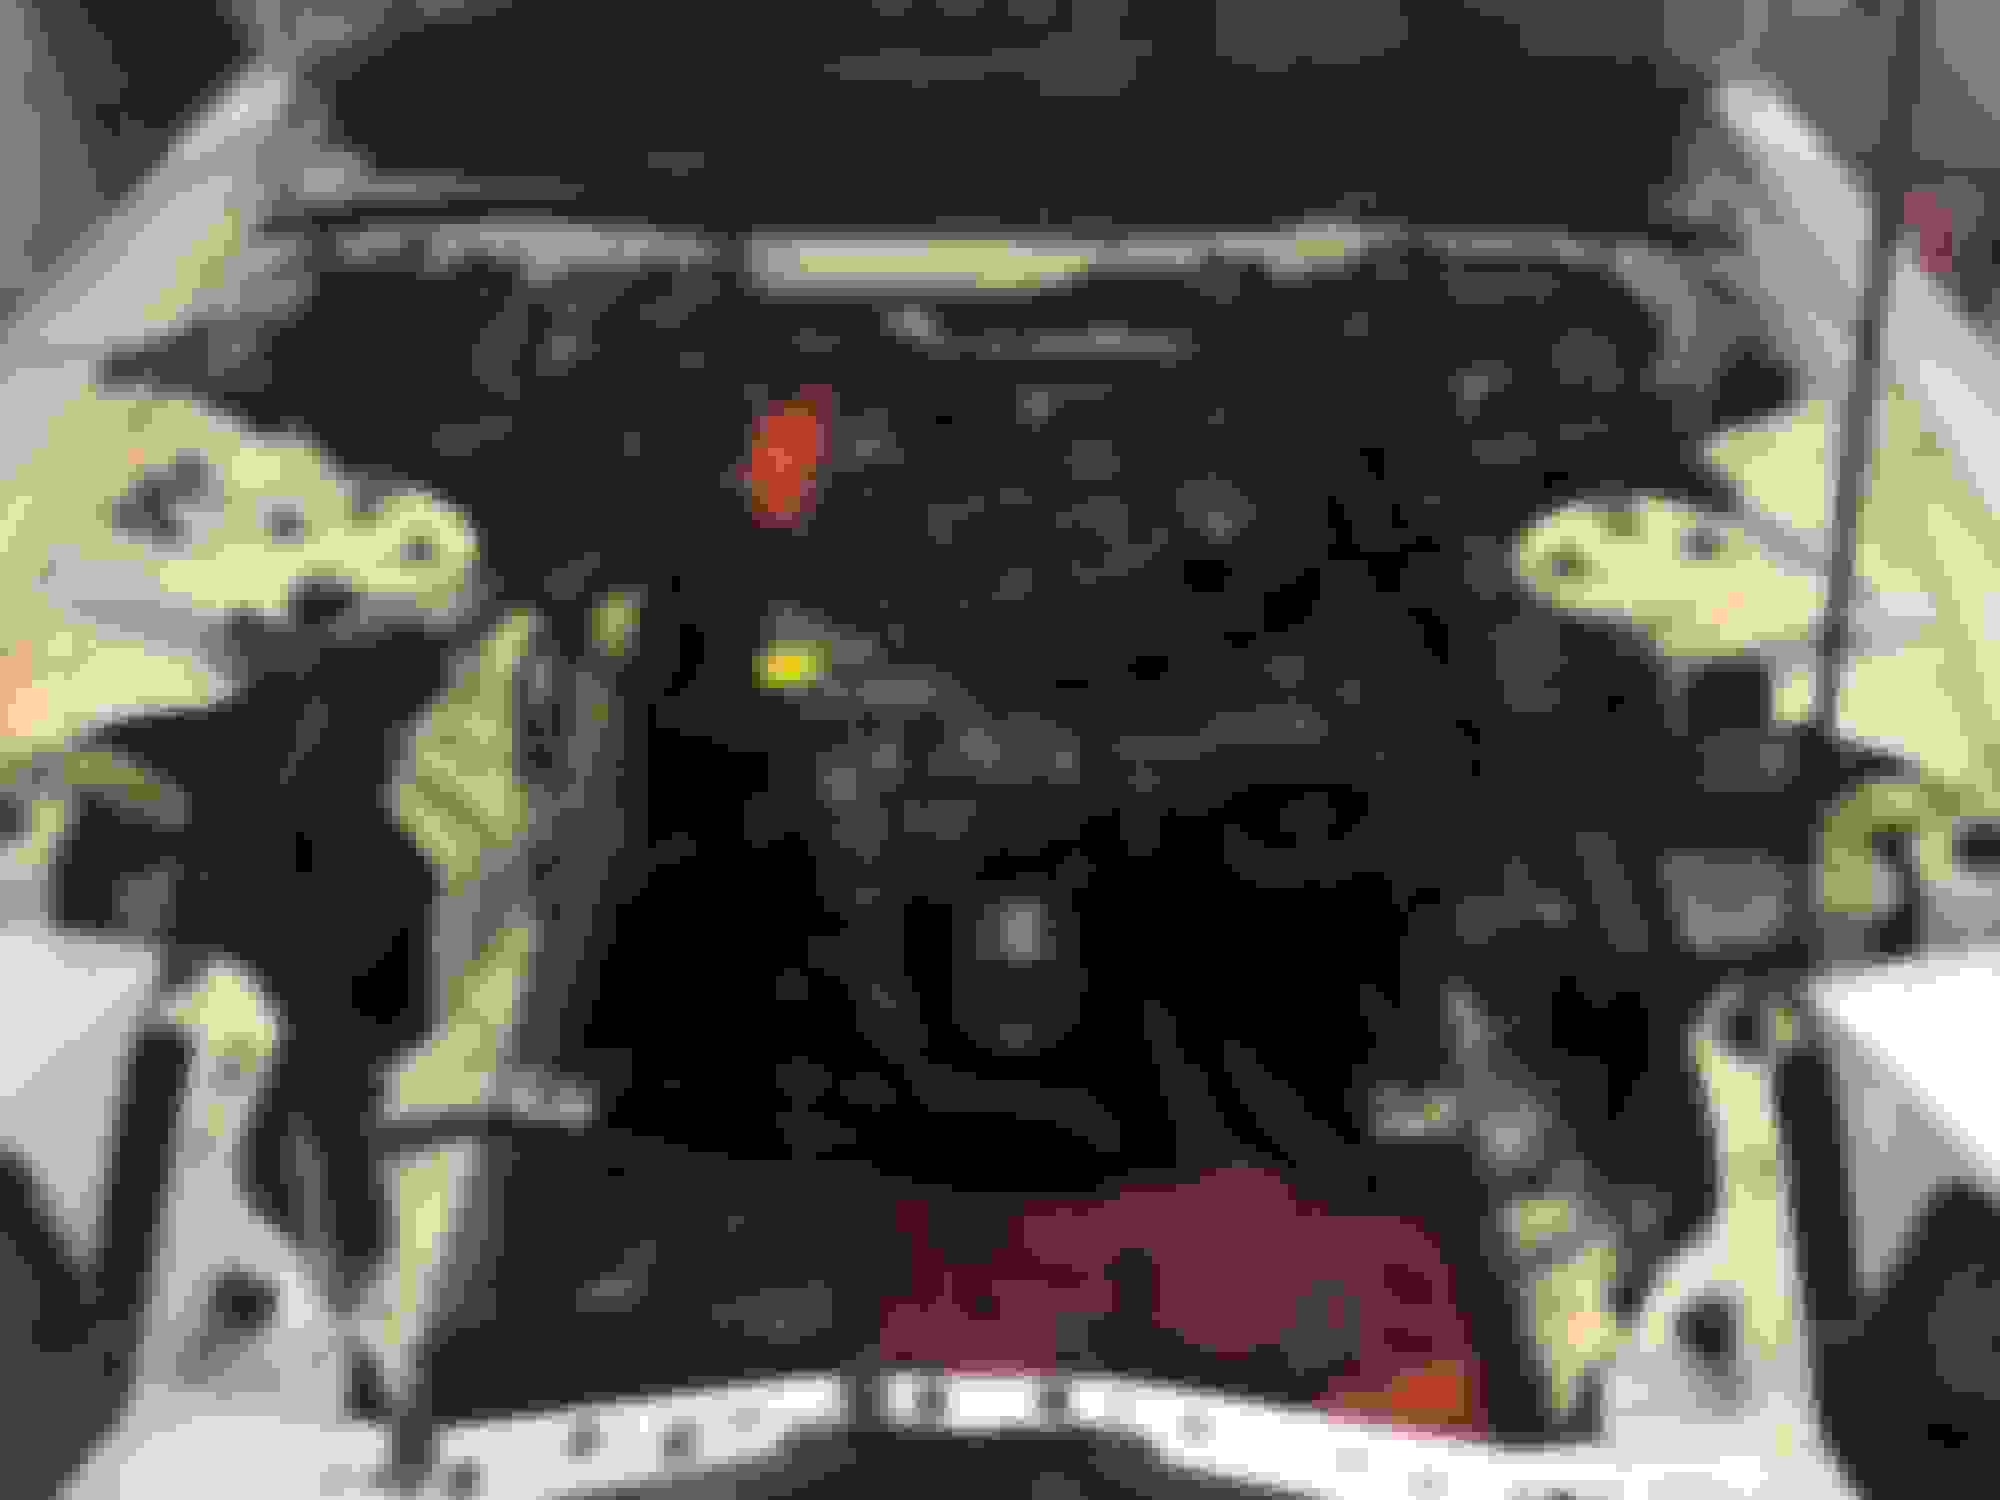
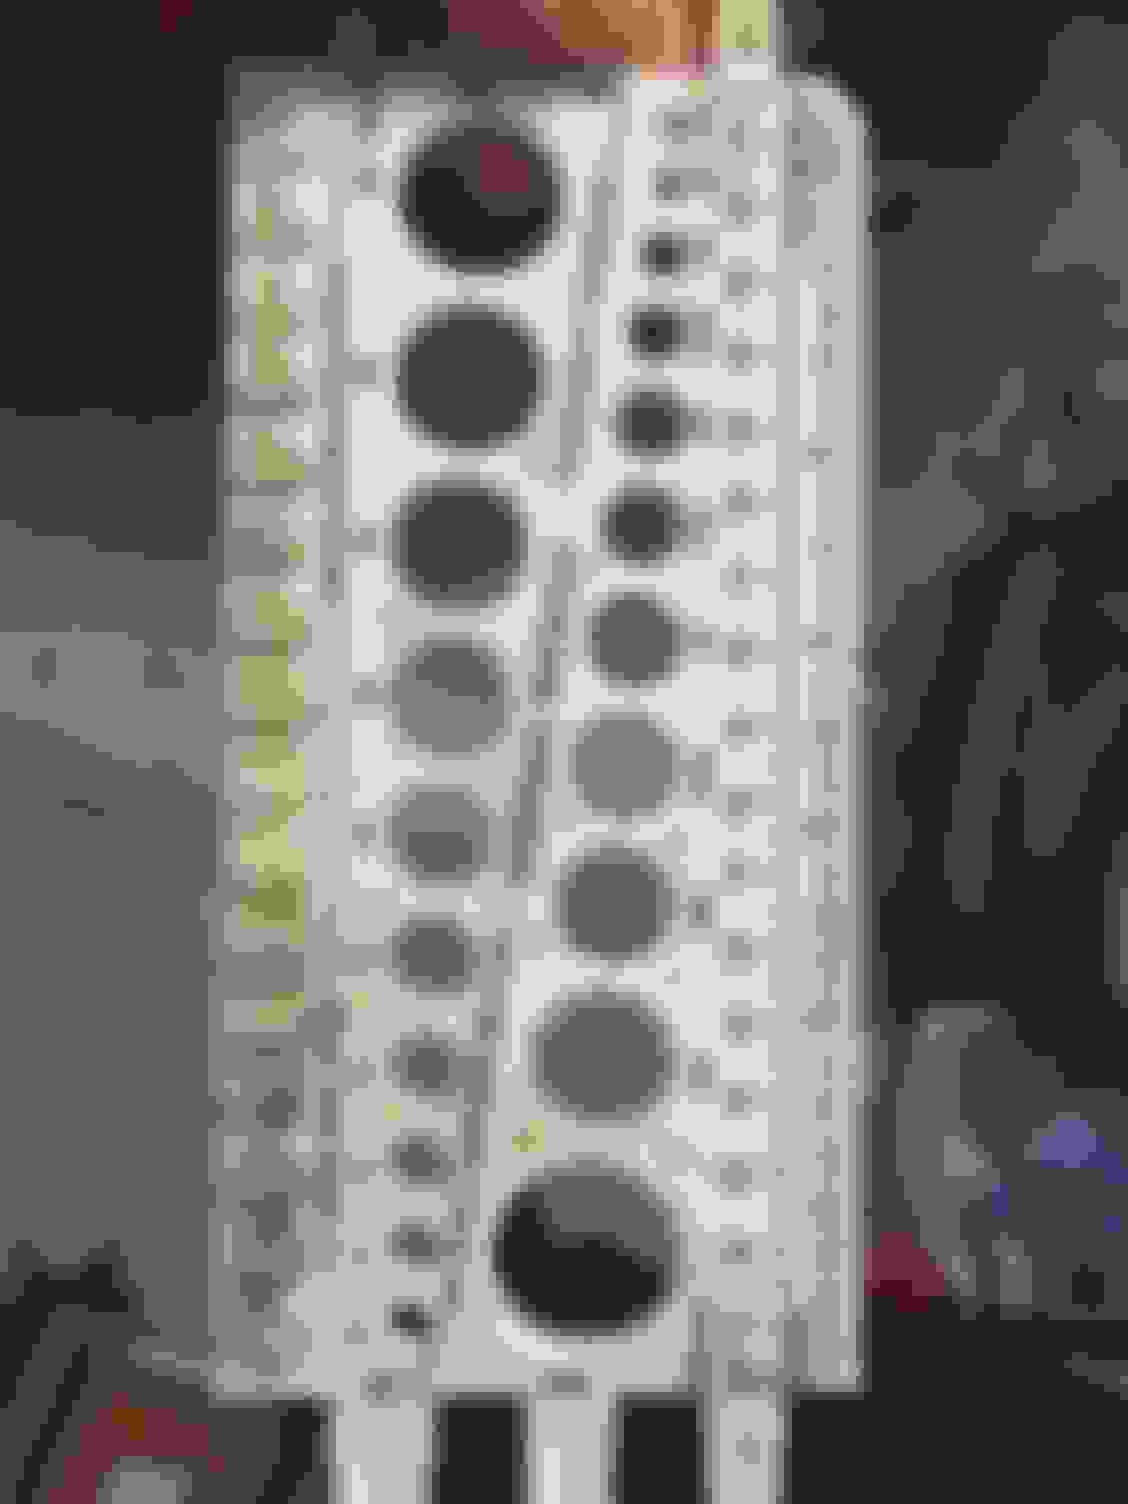
In the meantime, I decided to go ahead and degrease the areas of the block that looked like a chocolate covered cake and delete my OMP system.
I'll have some questions on a few things but I'll post again later today when I'm at home and can take some pictures.
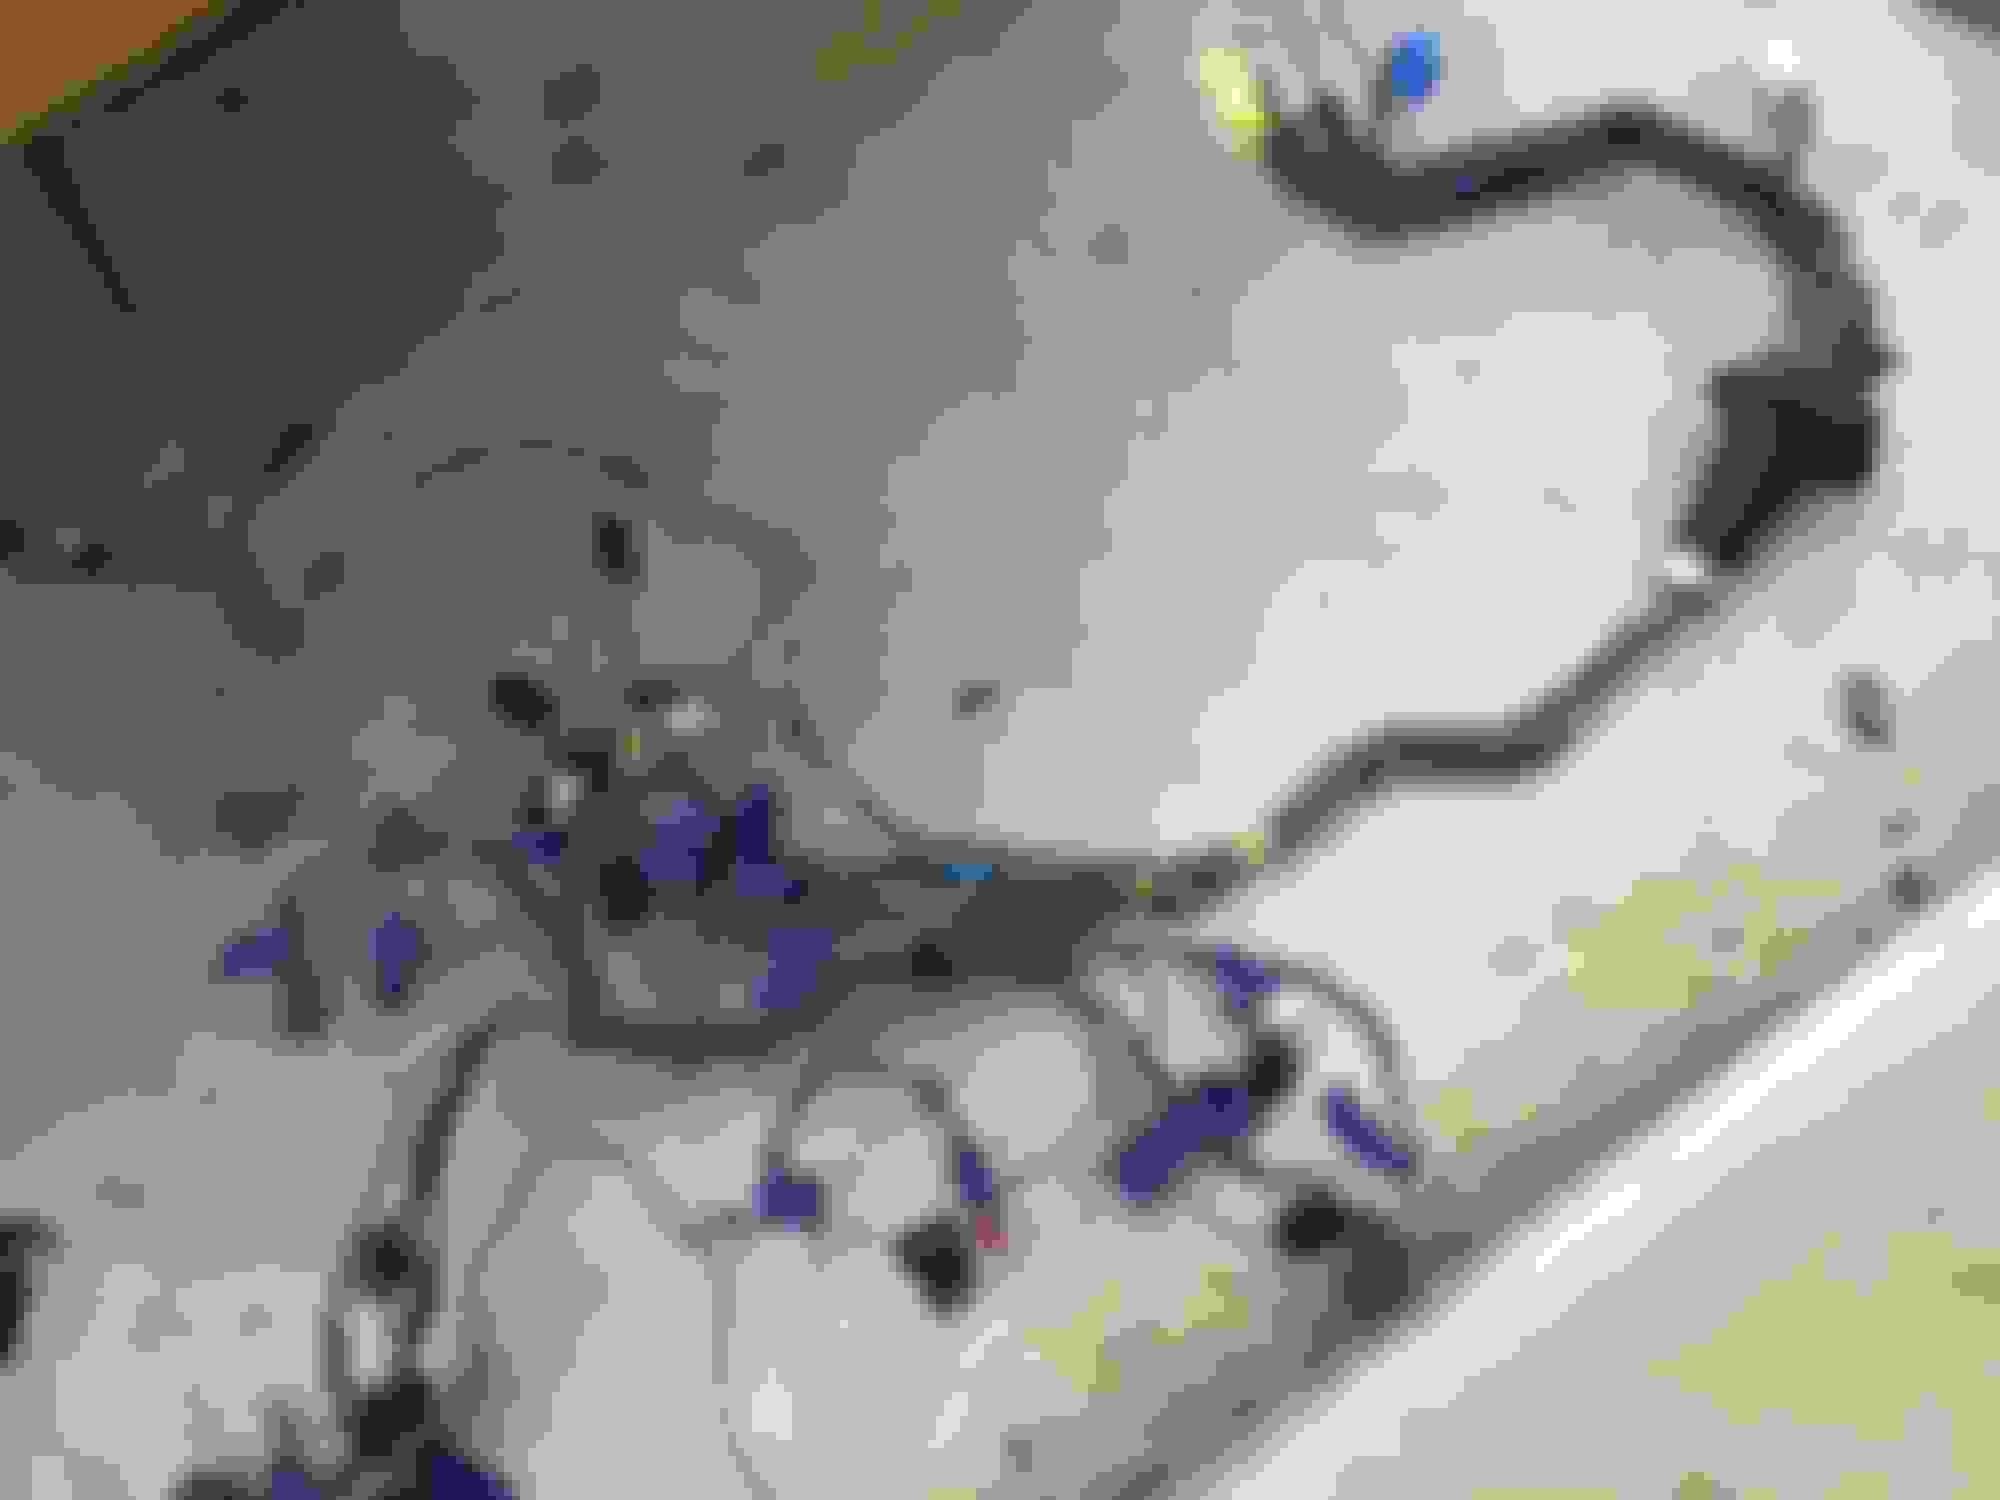
Since my college classes have finished I've had much more time to work on the car and I've been able to pick up the pace on this little project. I was able to finish my wiring harness conversion and it turned out pretty good IMO. Once the unnecessary wires were removed I used some 3M Temflex (self vulcanizing) tape that I picked up at Lowe's.
And this was how the wiring harness turned out. I'll tape up the ECU end once I get it plugged in and working.
Quick little tidbit, I found this cool little item at work inside one of the bolt bins so I decided to swipe it. I don't think anyone is going to notice it's missing anytime soon haha. Anyways this thing has been really helpful for me and I suggest picking one up if you ever find one at the store. Makes trips at the hardware store super fast and easy!
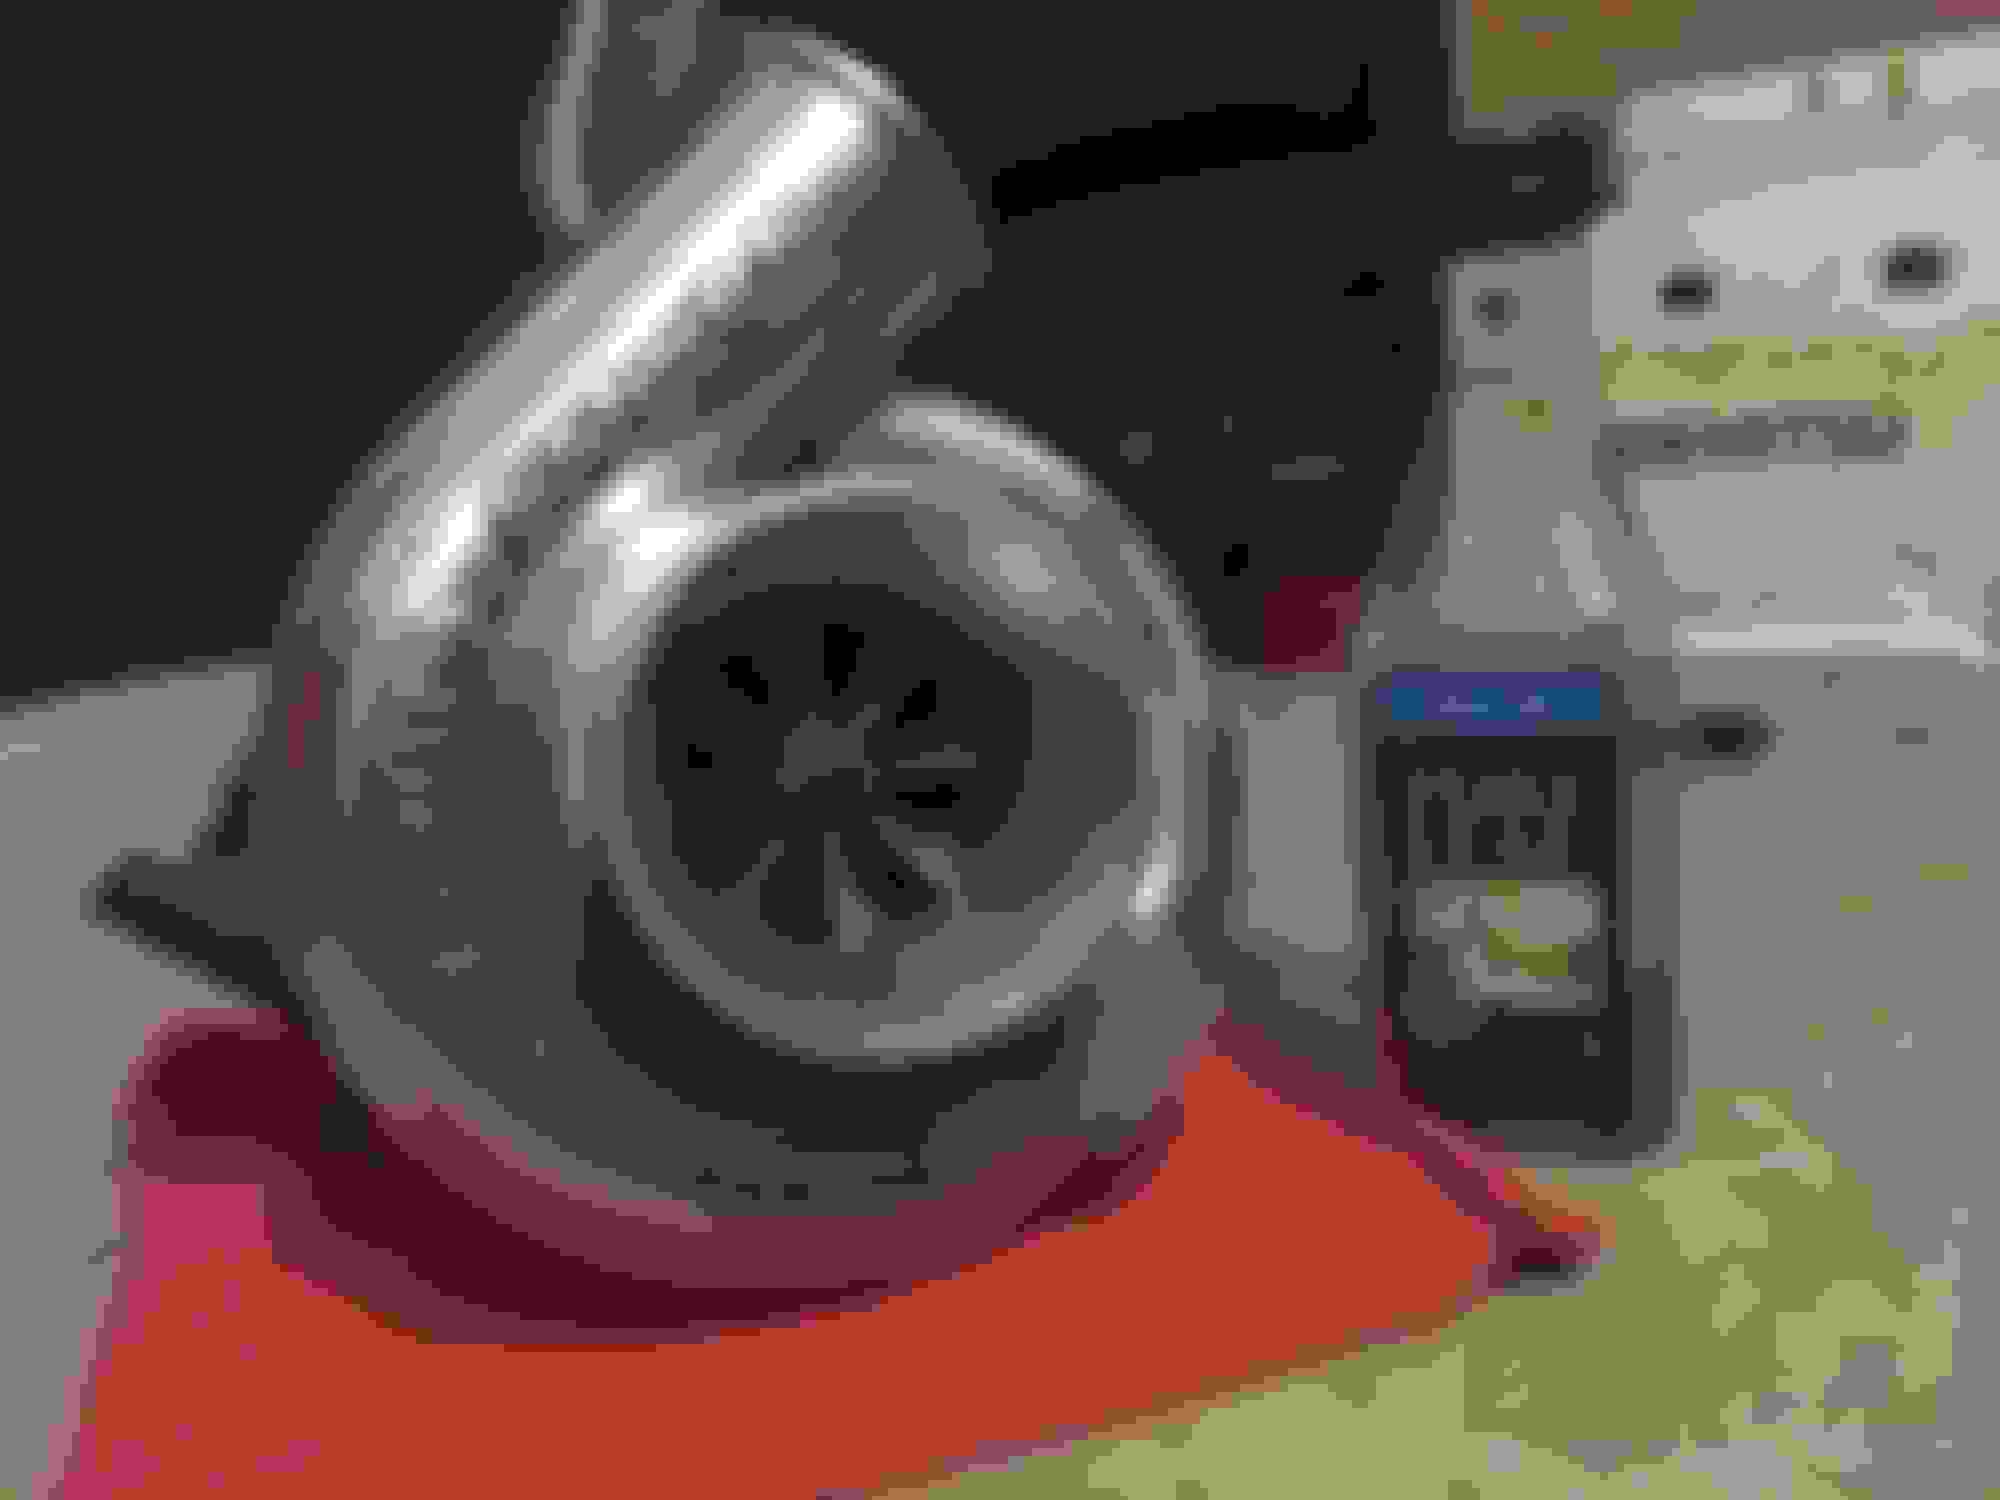
Anyways, on to the turbo.
I didn't like the oil drain fitting and rubber hose that Greddy supplies with their kit and so I changed it out for AN setup. I picked up a really nice -10AN fitting for the Greddy TD07 frame turbos on eBay. A very nice durable piece for $15 and it fit perfectly.
Bolted up my -10AN oil drain flange with a 45 degree Earls fitting.
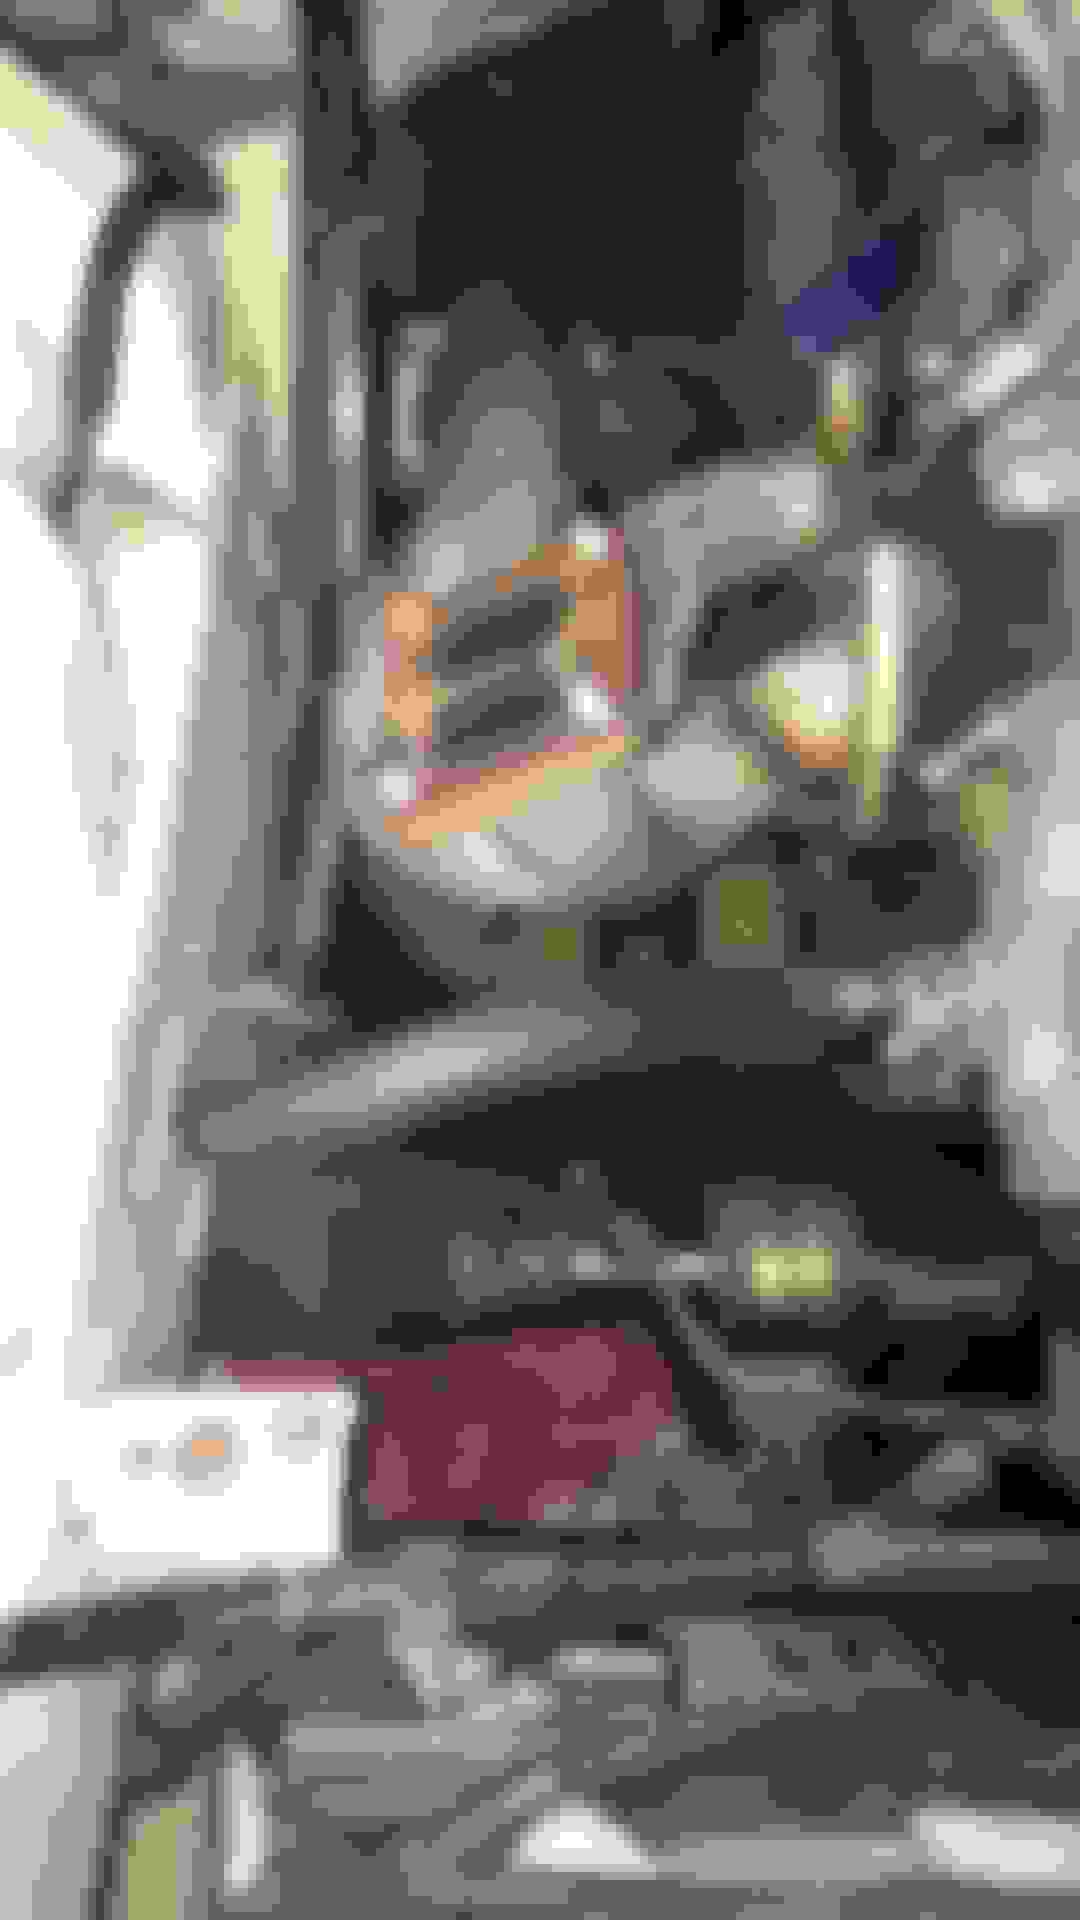
Mounted up the turbo manifold and flipped my heater hose to work with it.
Bolted up the polished LIM using a brand new Mazda gasket, mounted the turbo and installed the pulleys.
Got some parts in last week to do my turbo oil lines, -4AN and -10AN stainless braided hose along with fittings. Went with a 45 degree and a 90 degree female fittings for the oil feed and (2) straight -10AN female fittings for the oil drain.
A couple other cool little parts I found (and was able to figure out using my thread identifying tool) was these brand new banjo fittings. Bought one for the oil feed on the block and the turbo, and both are made for -4AN lines. Really loving eBay right now haha.
I also received my Greddy turbine to DP gasket (which seemed to be a little challenge to find) as well the T78/T88 heat shield from Japan, I was a little disappointed that the heat shield came without the "Trust" logo stamped in it since that's what they advertised in their pictures Anyways, the heat shield was WAY TOO BIG when I first put it on the turbo. I hate having to modify brand new parts but in order to make it fit I had to trim off about a half inch from the intake manifold side and then slightly bend the shield inwards in order to clear the LIM. Other than that, I think it looks good.
After making and installing my turbo oil lines, the next thing to do was to install my Blitz FMIC kit. After looking up a couple pictures on Google (since instructions were in Japanese) the I stallion was straight forward and honestly didn't take very long. I did however run into a couple small problems:
Apparently the supplied radiator brackets didn't line up with any of the mounting holes and I wasn't sure if it was because I had a thicker aftermarket radiator and that the kit was made for the stock radiator or maybe because I had a slightly bent passenger side sway bar mount. Either way I decided to make my own brackets. Since I work at a place where I can do almost anything mechanical and machining wise, I "acquired" a spare sheet of steel and went ahead trying to make slightly modified versions of the radiator brackets. It took me a couple days to have them made but I think the turnout was really good.
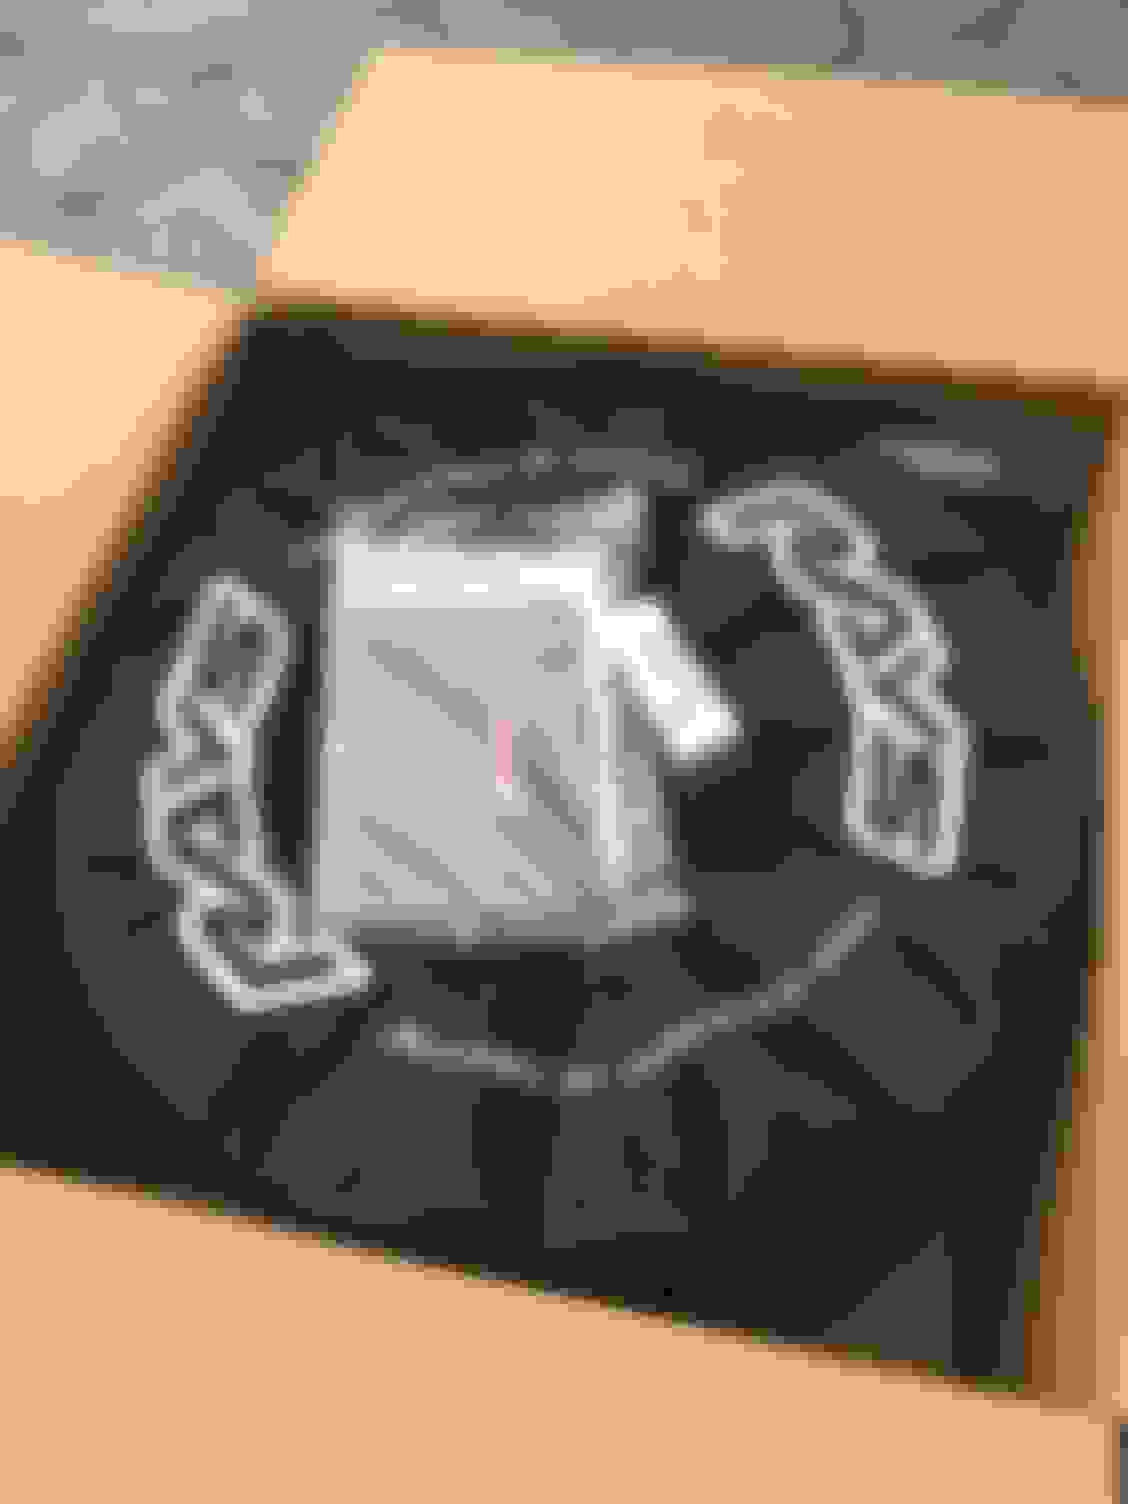
Lastly, the next part was something I've been waiting to do for awhile. Call me a ricer all you want but I wanted to have the Blitz logo sprayed on my IC and since the kit doesn't come with one I had to go through a friend of a friend to have the stencil printed and cutout on vinyl.
Current stopping point
Next on the to do list:
-Make a visit to the polishing shop and pick up my throttle body and alternator housing.
-Order a Magnaflow resonator to replace my HFC.
-Wait on my Greddy turbo elbow and KnightSports AST to come in from Japan.
-Battery relocation to the rear hatch area.
-Order Greddy BOV and get IC pipes modified so I can finish up in the engine bay.
-Startup with the new setup, and start fitting the Panspeed body kit
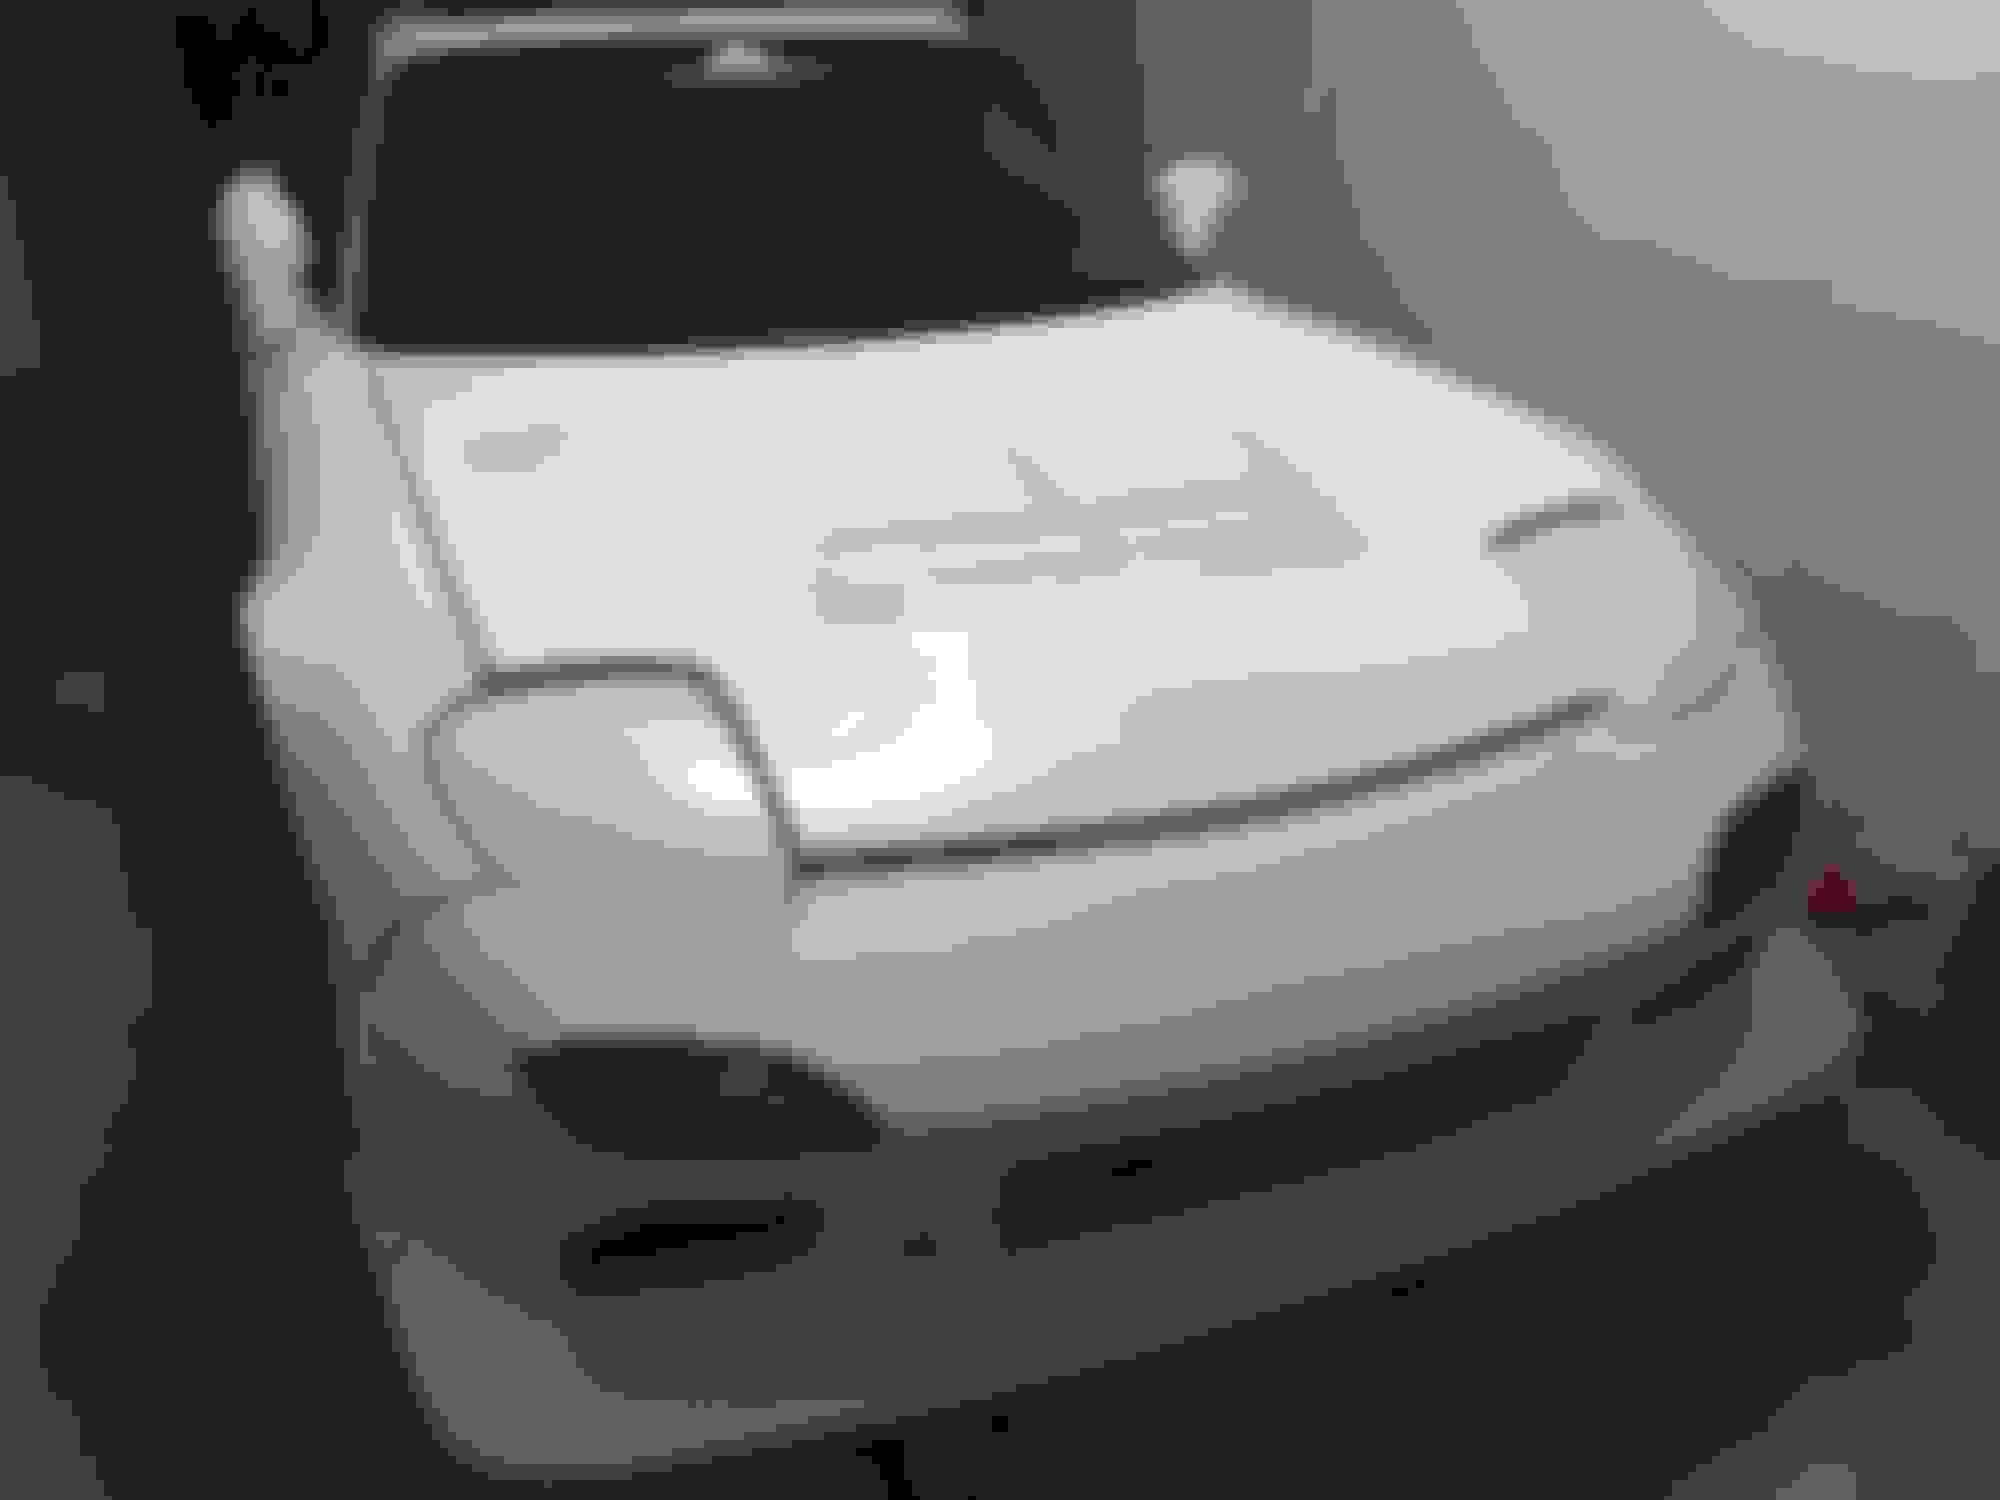
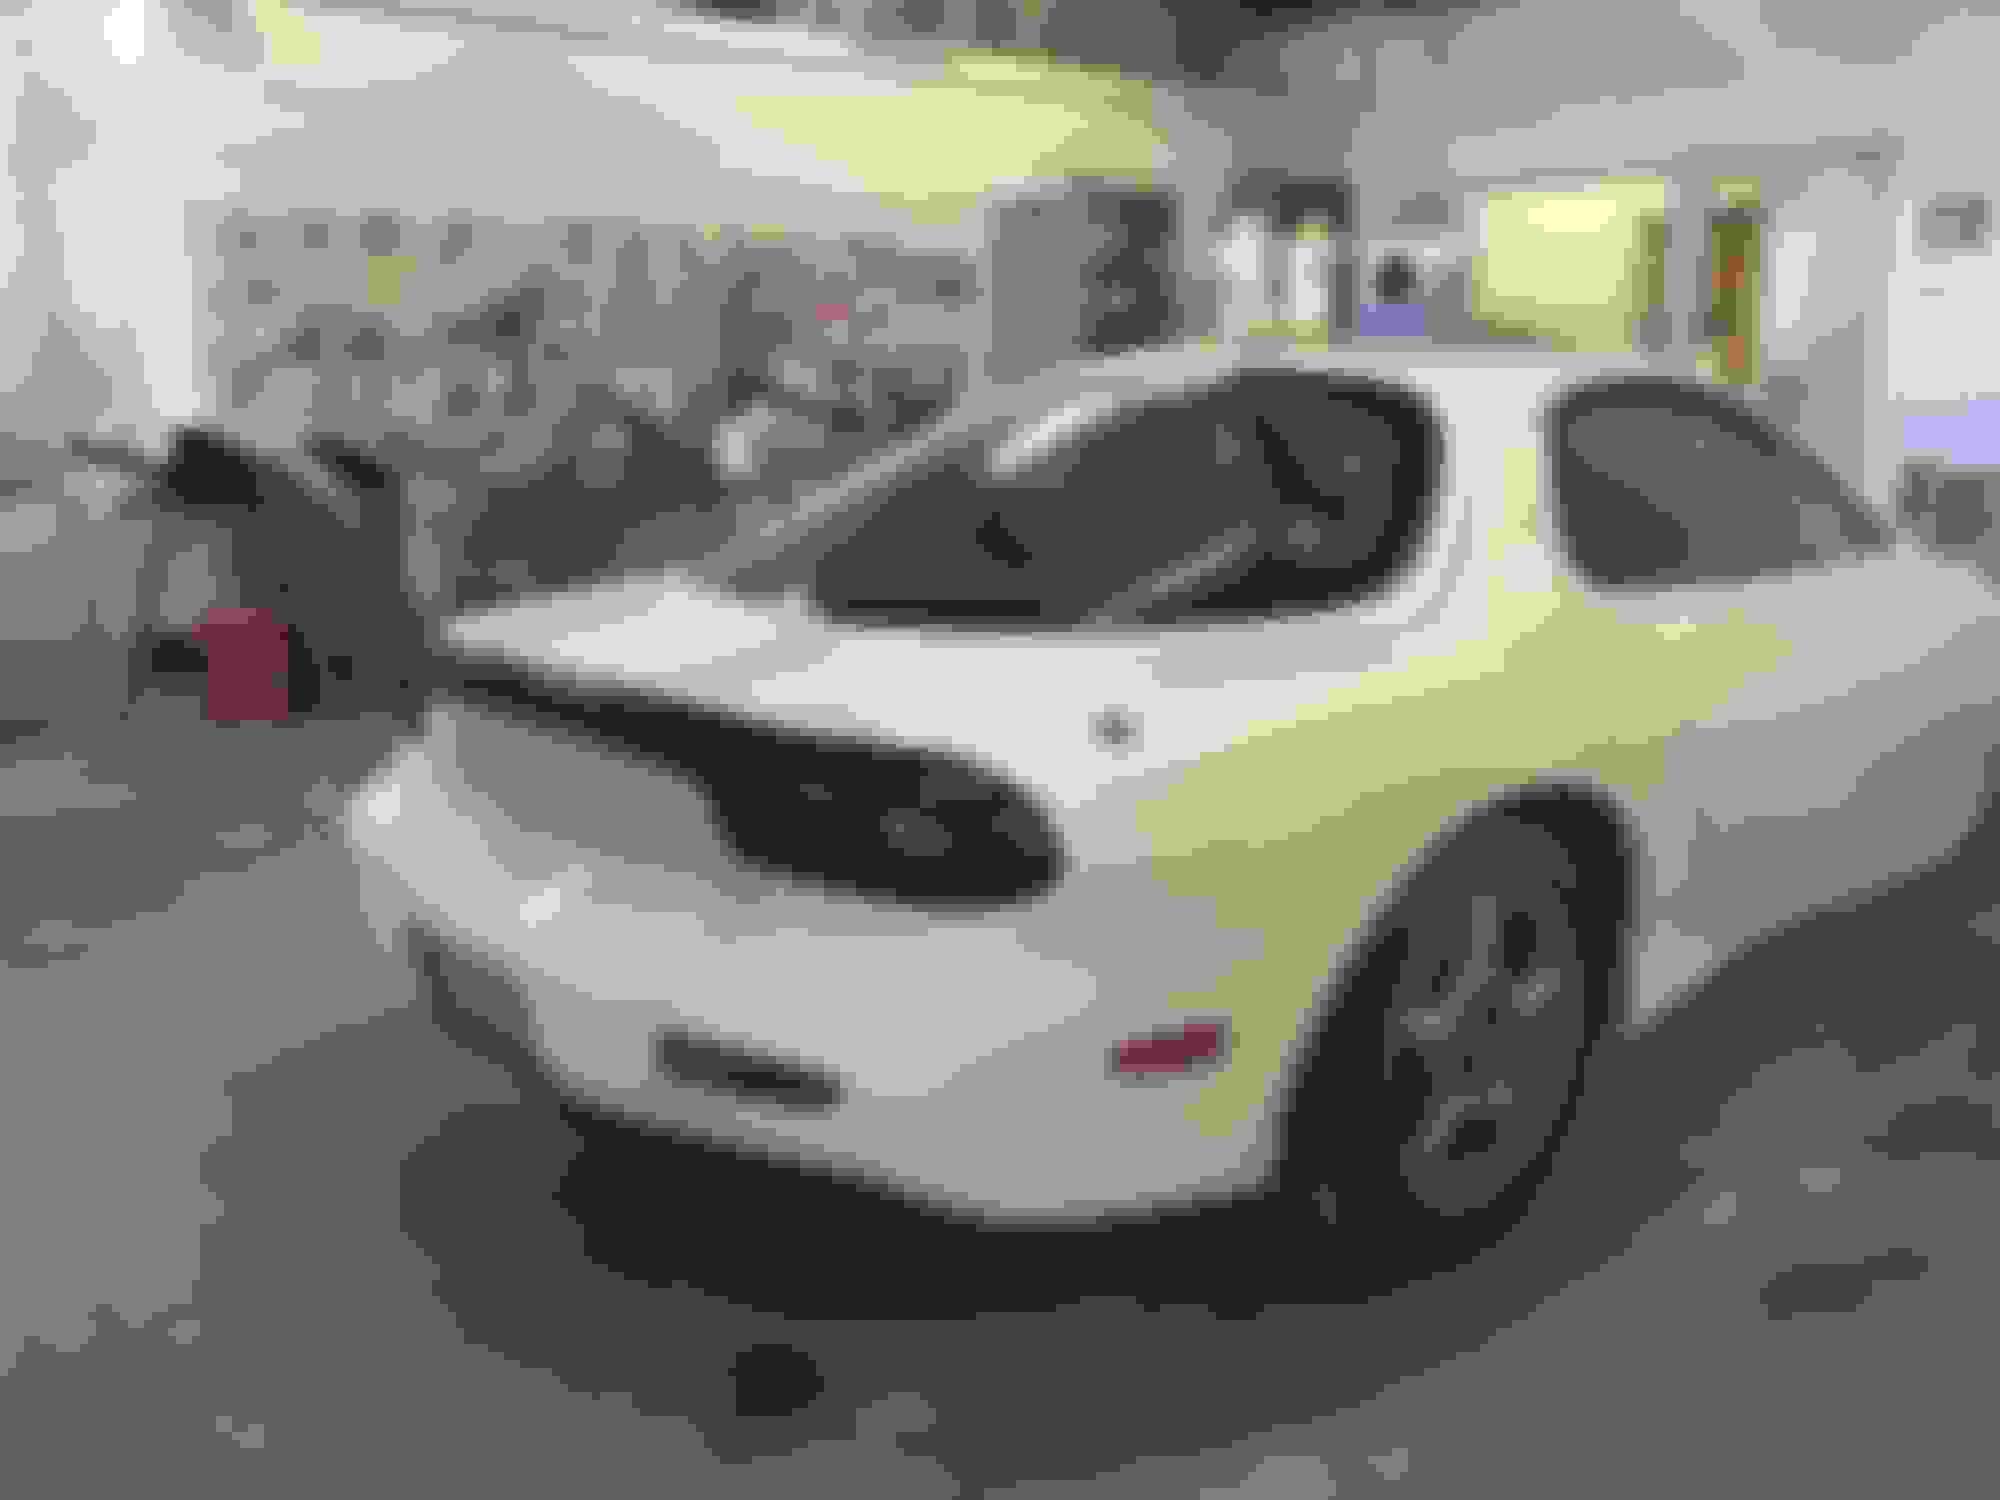
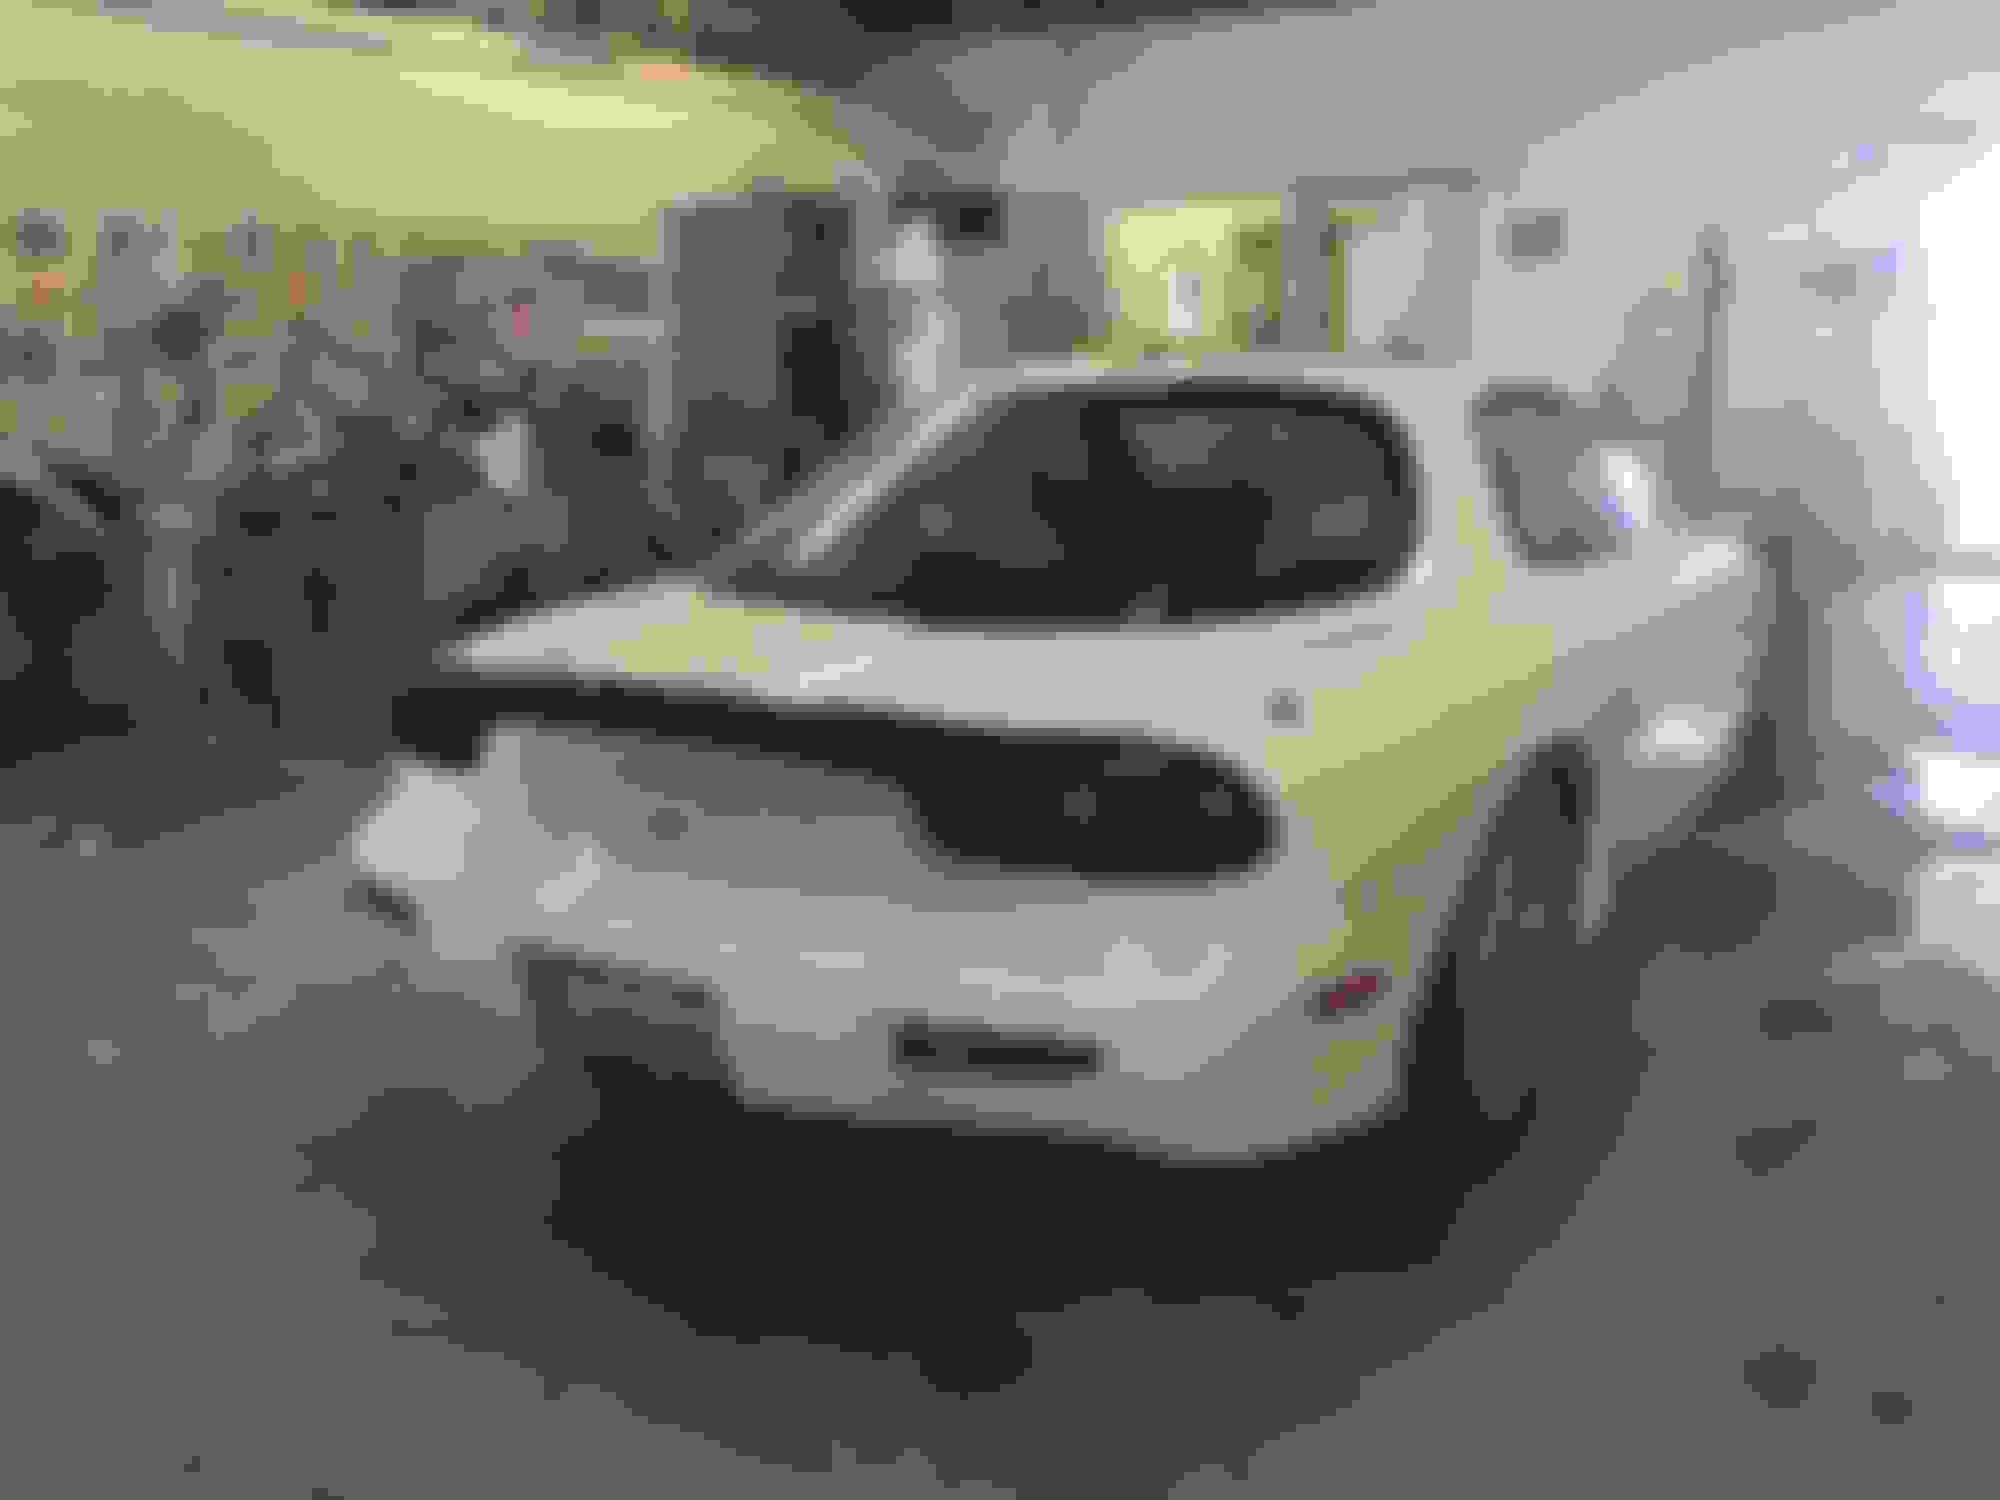
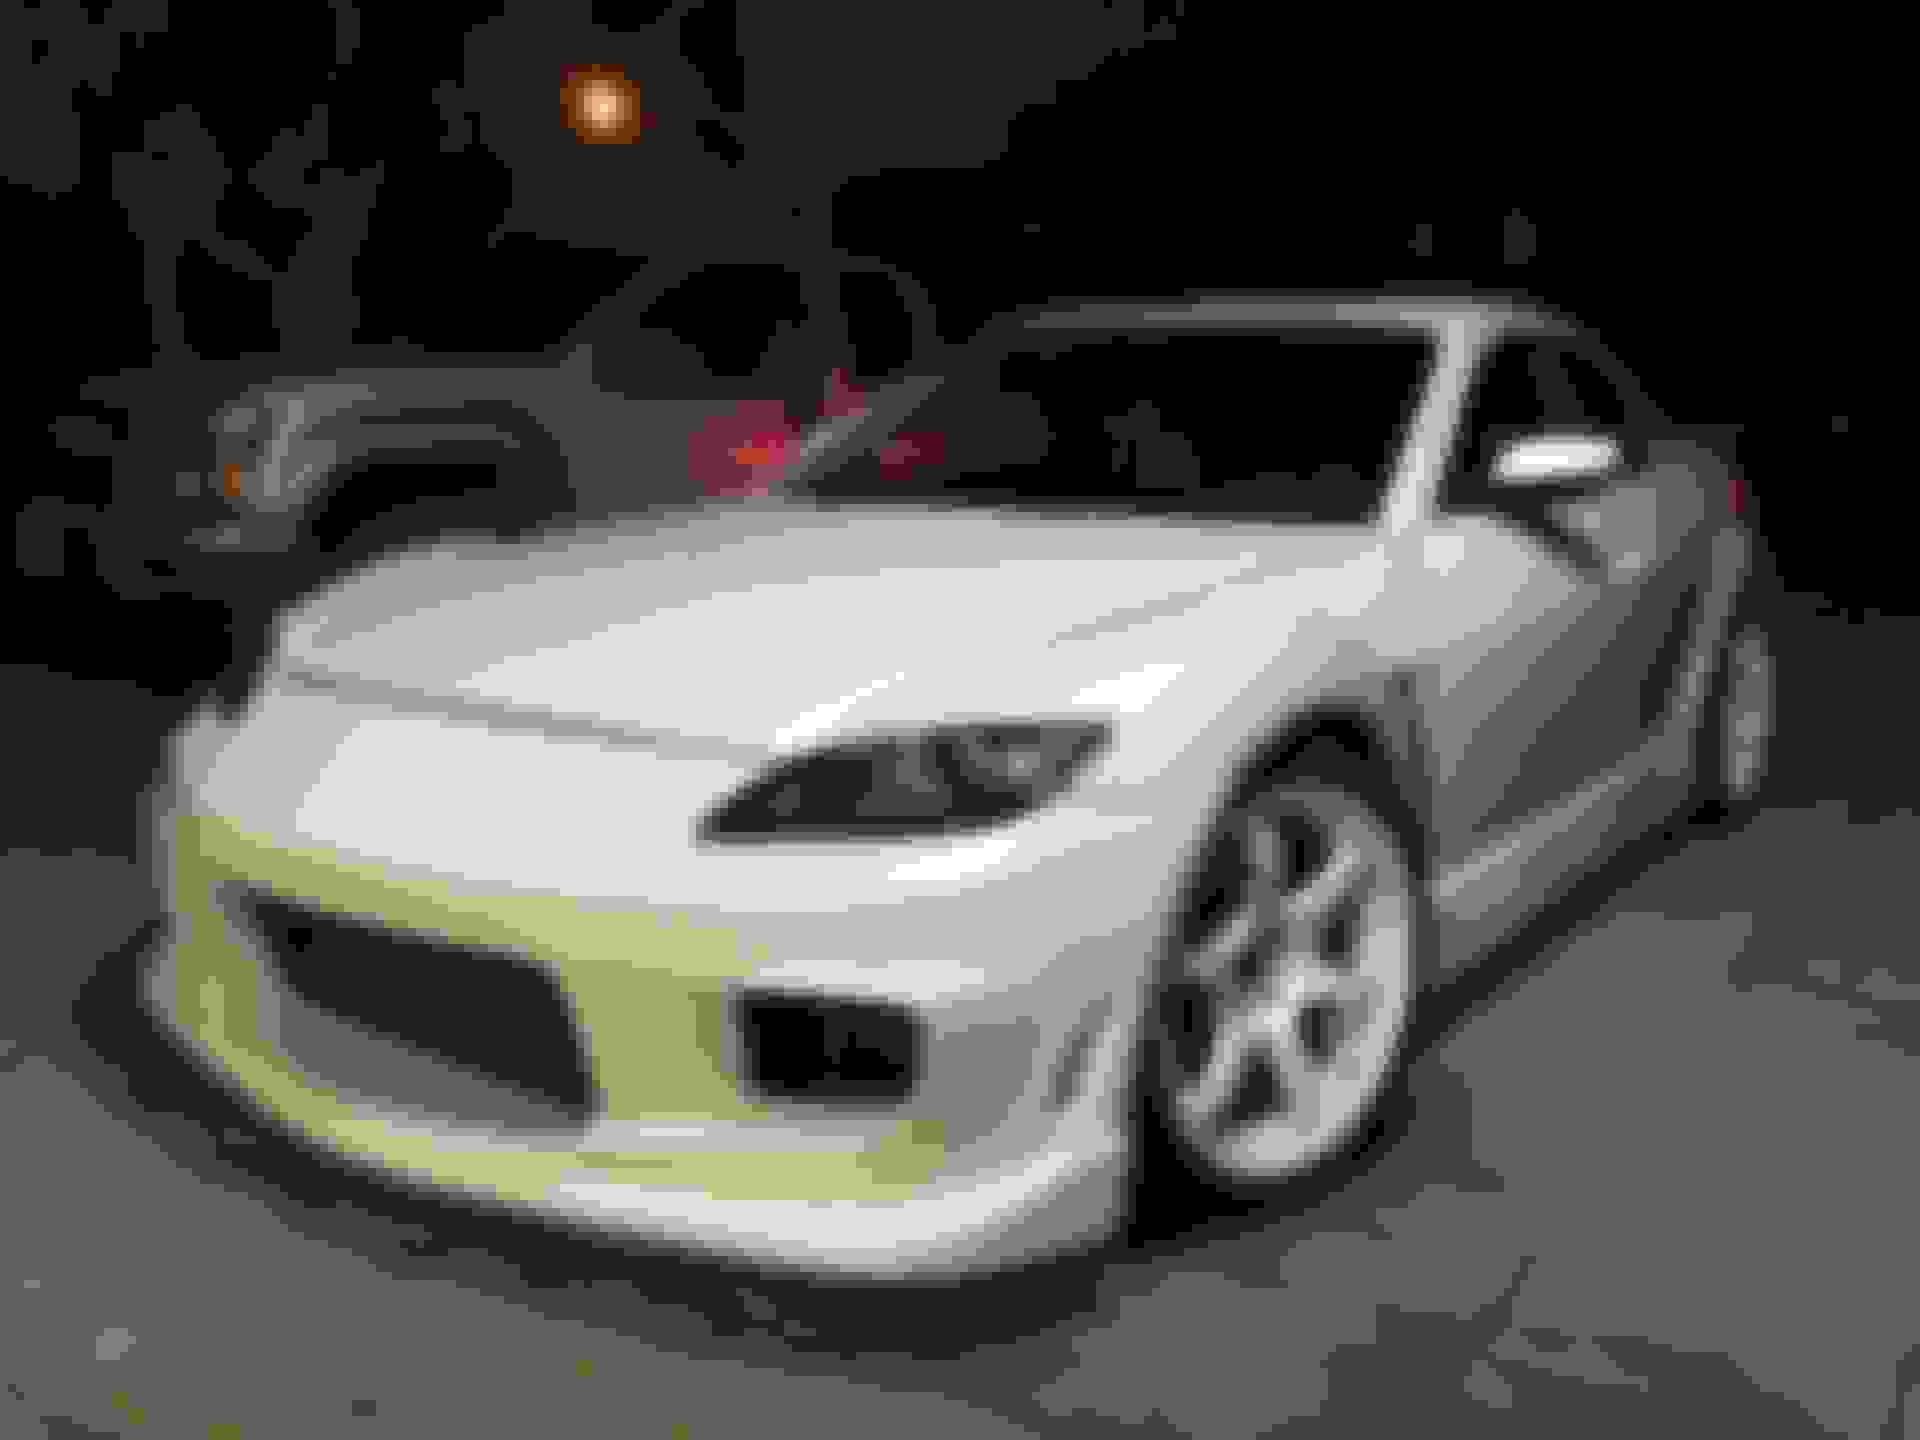
Got tired of posting on here but here is a small update on the car. Car is now at a friends body shop, Panspeed kit fitted and getting ready for prep and paint next week. Test fitted the wheel fitment. Then got a good deal on some Federal RS-RR's over the weekend, hopefully these will perform well until I get my hands on a good higher end tire. Still kind of stoked on the RR's though since not very many people here in the US have them yet. Anyways, wheel and tire combo is looking really nice and aggressive.
Thanks for the kind words my man there are still quite a few things that I need to do once the car is done with paint and body work until I'll be content with it for a while.
Body and rear bumper just got sanded and polished today. This seems to be the most exciting part of this whole paint process because you remember how the car came in and now you get to watch it transform into something else. I'm really anxious to see how it turns out.
Looking good! Hey you may have mentioned it but who did you go to for paint and body work? I'm getting to that point soon and need some recommendations.
Looking good! Hey you may have mentioned it but who did you go to for paint and body work? I'm getting to that point soon and need some recommendations.
I went through a local guy in my town, he doesn't do full body paint jobs anymore because he has shoulder issues, but he kind of bends the rules when it's friends or family. There is another shop here close to me in Saticoy called Saticoy Customs and they do a really good job. They will quote you for $5000 for a full exterior job, and that's if you don't need any body work done. They usually have a turn around time of 2 weeks. They've also painted a few local cars here including my buddy's 240z:
Nice idea with the vulcanizing tape, i need to re-wrap my accessory harness, how is it holding up so far?
It's holding up just fine, granted I've only driven the car on 3 occasions since I started her back up on the new setup. It's much cleaner to work with than electric tape and I think it looks a hell of a lot better too from a budget stand point. The thing you have to do though is stretch and keep it tight as you wrap the harness.
 03-06-16, 11:35 AM


 Anyways, the heat shield was WAY TOO BIG when I first put it on the turbo. I hate having to modify brand new parts but in order to make it fit I had to trim off about a half inch from the intake manifold side and then slightly bend the shield inwards in order to clear the LIM. Other than that, I think it looks good.