When you click on links to various merchants on this site and make a purchase, this can result in this site earning a commission. Affiliate programs and affiliations include, but are not limited to, the eBay Partner Network.
So I finally got the car together and running. I've been sorting out all sorts of issues from new wiring harness issues not controlling the new AZKnights Solenoids (my fault for not reading the FSM schematic!), oil leaks, minor coolant leak, and some stupid idle issues and a sticking TB. Hopefully I can get it sorted and tuned!
It has been sometime since I updated this build, but it does continue to evolve as do most builds.
I was able to get the car running well enough to drive to Chicago and have Nelson S tune the driveability on the car. I was pressed for time due to a military move back down to Ft. Benning, GA, so I didn't have the car completely sorted prior to the tuning session. The car did drive night and day better after the tune, but I was still experiencing boost issues on the dyno. We couldn't get the car over 11psi on the dyno which was fine since I only had 1000 miles on the car at the time. I was able to drive the car down to Georgia last August with no issues.
There were still a few things I needed to sort out and wanted to redo or rebuild on the car. Here was my list:
Boost issue
Brakes
Finish the hatch interior
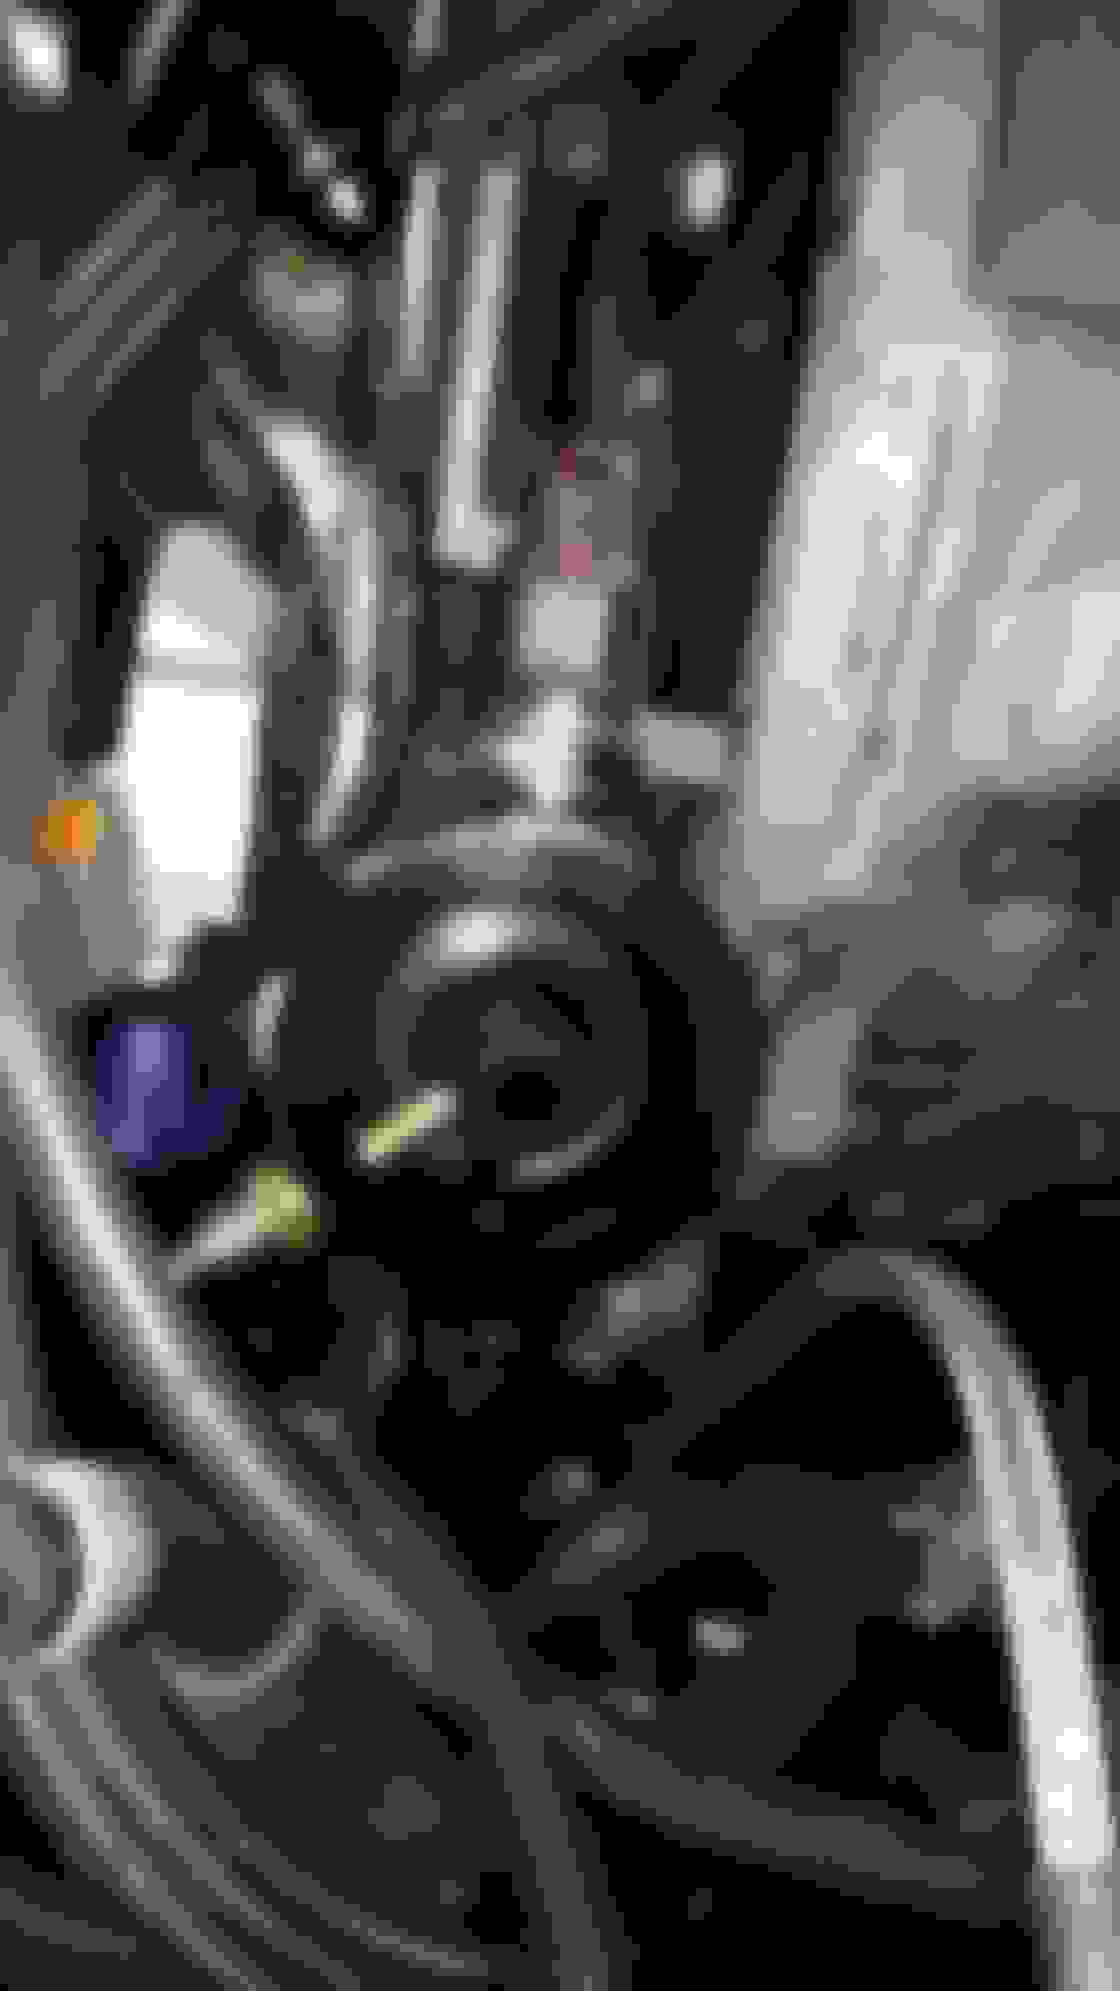
I was able to sort the boost issue that ended up being the secondary turbo WG arm holding it open, so it just needed adjustment. While trouble shooting the boost issue, I also played with the pills. I put a .47 carb pill in the primary turbo before I figured out the secondary WG arm needed adjustment...that produced 17psi which felt great, but caused some issues. I switched back to a .58 and experimented with a .54 pill to see how the turbos responded. I liked .54 more, but would hit 15-16psi of boost and the rebuilt twins did not like that a whole lot! The primary turbo committed suicide after about 10 months from start up and 3,000 miles or so.
I completely rebuilt the brakes with rebuilt calipers, Cquence Sport drilled and slotted rotors, StopTech pads, SS lines, and Motul 660 RBF. I also replaced an ABS sensor that was damaged when putting on the coil-overs during my original build, but I apparently have another bad sensor to replace on the front passenger side. I also just started having a rear bearing start whining too.
I finished the hatch interior last fall, but I just redid it again while I was adding the AEM water/meth kit and direct wiring my fuel pump. I built it to bolt down on the original anchor points. I recessed everything so it would sit flat in the trunk area too. I built it so I could remove the section above the fuel pump area without taking the subwoofer and everything else out of the hatch. I really like how it turned out. I still have some of the AEM kit to finish wiring too.
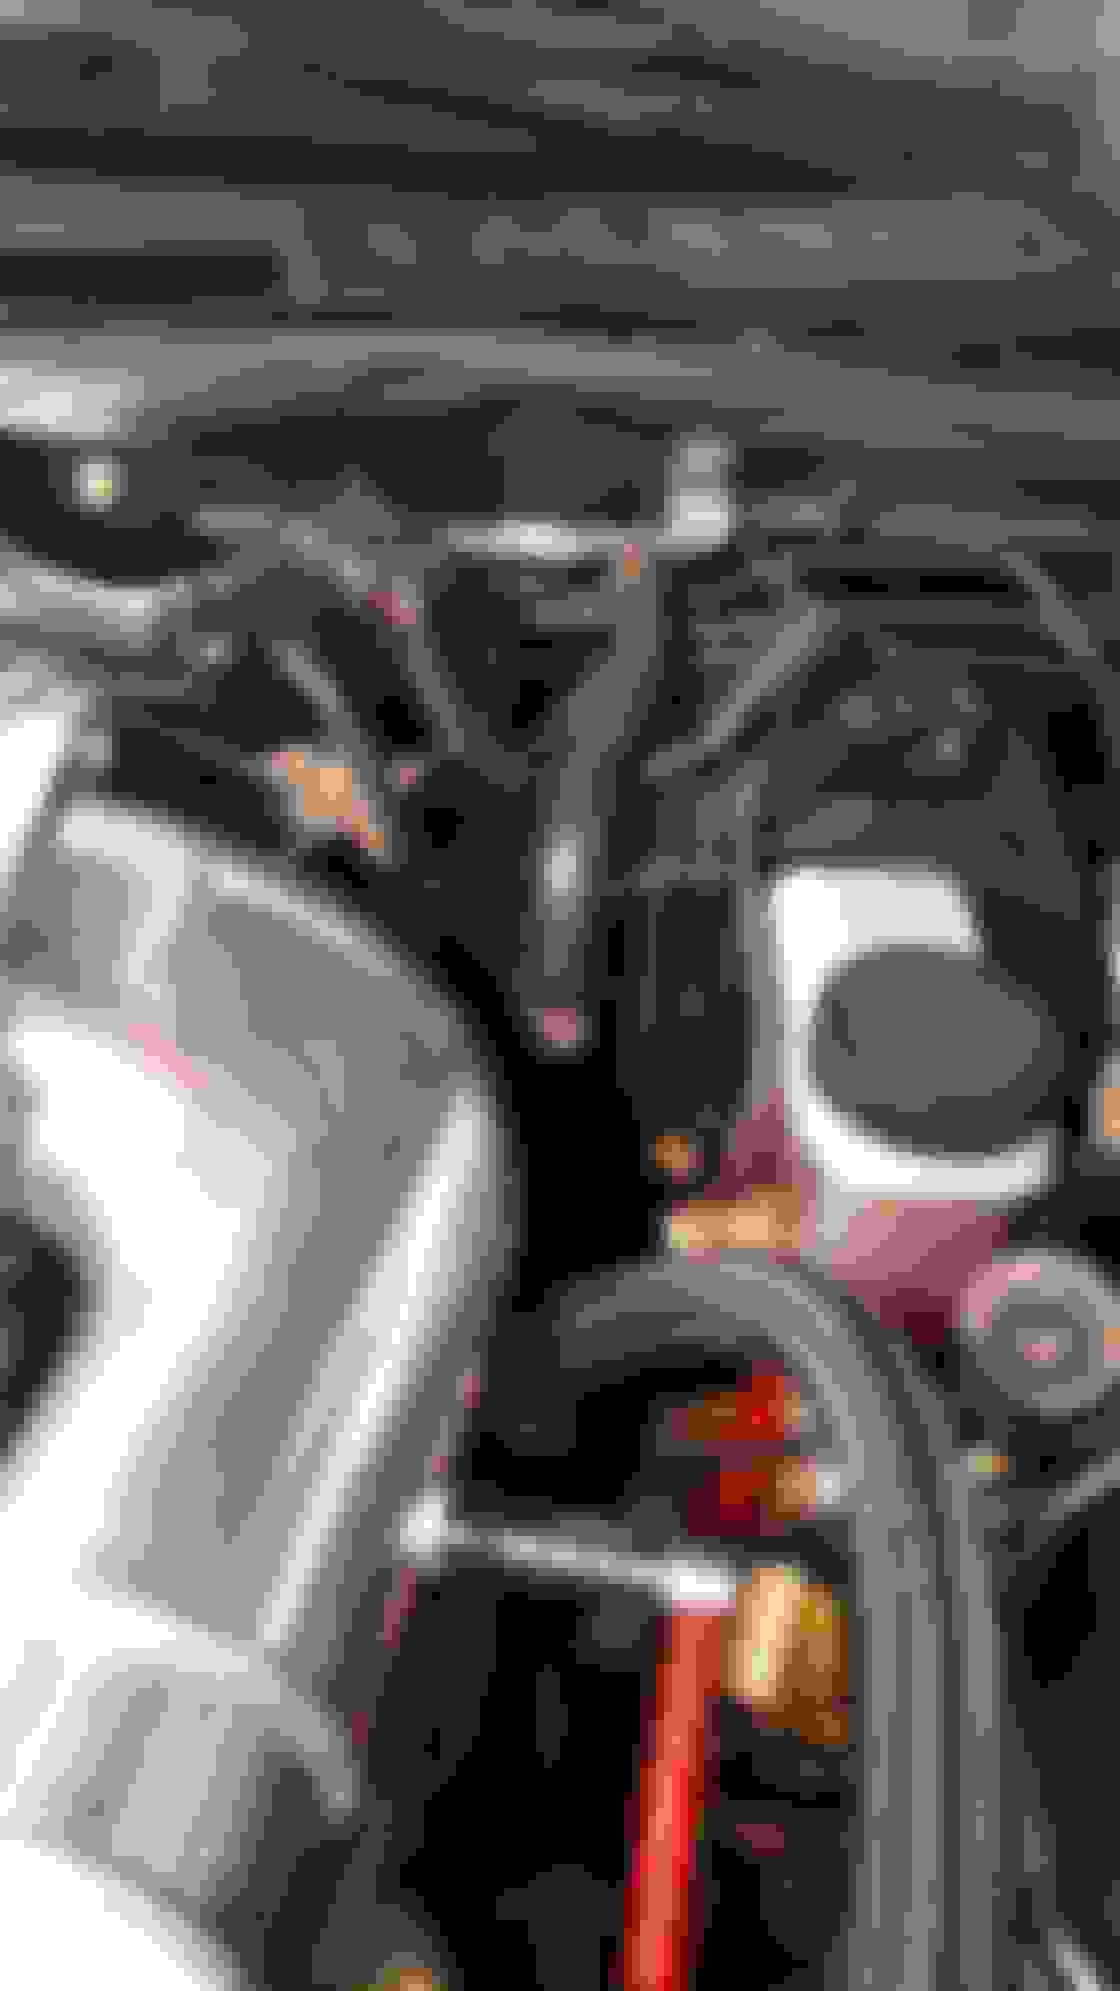
Everything on my fuel system was new or completely overhauled except the wiring from the bulkhead to the pump itself. I noticed that my car was running lean at 15-16 psi, and after talking to Nelson he thought I was losing pressure if the car was leaning out since his fuel curves are linear. So he suggested this bulkhead connector. I bought some 12 awg PTFE wires to use in the tank and verified that the Hondabond RTV would be okay in the tank. Finished it all up and bolted everything back in place.
I then started installing the AEM Meth/Water kit. I mounted the pump in the spare tire area and cut channels for the wiring. I wired the pump and level sensor, but need to finish wiring it to the batter, mount the controller, LED light, run the line with the fuel lines, and install the nozzle on the Greddy Elbow. I completed everything in hatch area and reinstalled everything except actually mounting the tank itself.
There is a lot more coming in the next few weeks as I get the car ready to be tuned again with some upgrades.
The List:
BNR Stage 3s
Fuel Injectors being cleaned
IRP's Oil Filler Tube
Moroso Catch Can
SakeBomb Garage Oil Filter Pedestal with oil pressure and temp sensor
Innovate Gauges for EGT and Oil temp/pressure
Eventually need to redo the transmission and rearend with DSS axles to complete everything.
I purchased a Sake Bomb Garage oil pedestal and an Innovate Dual Oil Pressure/Temperature gauge. This newer version has the pressure going up all the way to 145psi. The Sake Bomb piece is really nice and everything installed very smoothly. Setting up the gauge was pretty straight forward and works very well.
Next I added an IRP oil filler neck. I like how it is baffled, but does take a little more patient when filling the engine with oil! It is a great piece and -10AN too!
These BNR Stage 3s are the next evolution for the car. I've gotten to know Bryan lately and we share very similar tastes in cars. He is such a stand up dude and is very helpful! These bad boys will be pushed to their limits.
As part of my quest to monitor and instrument everything I can into datalogit, I decided to add dual EGT probes. I have the K probes in good locations, a quality booster wired in the datalogit for both sensors. During tuning or racing I will have both sensors plugged into the datalogit for logging, and during normal driving I will monitor the front rotor with the Innovate EGT gauge.
Since I plan on running 20psi+, I purchased a Banzai GM 3 Bar Map Sensor, pigtail, and bracket. It is a very nice kit. I mounted everything, went into tab 3 on the PFC and updated the scales, but the car wouldn't idle. I swapped the stock one back on and everything worked perfect again. I apparently need to have a tuner work on the scaling for the map sensor. I also added AEM meth kit and installed the nozzle in the elbow per a recommendation from Bryan at BNR.
I relocated my moroso oil catch can to the old battery location. The IRP oil fill tube and this catch are both running -10 AN lines. I will eventually powder coat the oil fill neck, catch can, and bracket satin black.
Just a random shot of the BNRs coming together. I was able to get everything back together today. I turned the car over several times to prime the turbos before adding fuel. Then I started the car. After changing out the map sensor everything worked fine. Warmed it all the way up and let all the oil and coolant burn off the engine.
I have scheduled a dyno tune session with Addicted Performance for the beginning of February since I will be in Pigeon Forge for vacation at that time. I still need to fab up some IC piping since I changed a few things. Getting close to complete...again! lol
I redid the ETS intercooler pipe for the turbo Y-PIPE to IC pipe so that it is shorter and more direct, but the powder coating isn't the same as the IC to TB pipe. I will redo the IC to TB pipe to make it shorter/more direct and have it powder coated to match the other side. I am expecting some parts in tomorrow to redo the HKS intake pipes too.
I added a new OLED Commander. After the intakes tomorrow, she will be ready for the dyno Monday!
So this car and engine build has been a long process. I hit a major snag on the dyno with Addicted Performance...some back story.
I rebuilt the engine in the spring of 2016 and put it in the car as seen in this thread. After getting the car running, I took it to Chicago for Nelson S to tune it during an Elite dyno day. On the dyno the crank case was being pressurized and blowing oil everywhere. I thought it was a bad PCV or bad twins at the time, so I added a catch can, deleted the PCV, and put on some good used twins.
At that point I thought the car was good and drove it to Ft. Benning, GA for an Army move. After the move until now I cleaned up some things here and there and most importantly added some BNR stage 3 turbos. I took the car to Addicted Performance in February, but the crank case again was pressurized and turning the catch can into a fountain in one pull.
So at this point, the engine builder and I decide to tear down the engine and see what was wrong. There was speculation that it was maybe a collapsed side seal or bad oil control rings, but it ended up being the Atkins solid corner seals. I had Rick Engman lap my plates during the rebuild, and apparently Atkins' solid corners don't play nice. There were 3-5mm grooves at the corner seals on the freshly lapped plates at only 3-4K miles. The builder, Myles, called Atkins about the issue and they said it was a "known" issue with lapped plates and that was it....
So at this point, I am doing a complete rebuild again. I had Chip renitride the plates and purchasing new rotor housings since we found some cracking at the leading plugs. So hopefully this year will be far kinder to me and the engine as we attempt to make some power on the BNR stage 3s.
Last edited by Show_off; 05-21-17 at 07:45 PM.
Reason: Add pics
Hey Show Off! Hope the move went well for you and your family! Sucks to hear about the lapped plates + Atkins solid corner seals. Ever get it back together since?
Hey Show Off! Hope the move went well for you and your family! Sucks to hear about the lapped plates + Atkins solid corner seals. Ever get it back together since?
Hey man! Yes, everything went well. The whole engine thing was a big bummer and The engine is being built right now and I have some other updates coming on the car too...
I have not updated this thread in some time due to my crazy life, but the entire car went through another major overhaul in the last 6 months or so that are worth sharing. Still working out some of the kinks...MTF shortly!
Super clean! Funny though, how you can put so much work into making everything on the shortblock spotless, and then it's just totally cluttered by literally everything else and you can't see it anymore.
Looking forward to seeing what's been done! Still Bridge ported? You'd be glad to know that I now have an FD of my own, if you're ever back in Michigan let me know.
So the car has gone through a major transformation over the last 6 months.
- The engine is a full bridgeport with re-nitrided plates by Chip, Elite Rotary studs, solid dowels, new S5 housings, OEM corner and side seals, and Power Seals Street Apex -Seals...everything in the motor was brand new or reconditioned except the rotors and e-shaft that Rick Engman balanced
- Exedy Twin Disk Clutch
- Transmission Rebuilt by Rick Engman
- Turblow IWG EFR8374 Kit
- ETS 4" FMIC
- TGS Tuning 3" Dolphin Tale Exhaust
- 4x FIC 1650z Injectors (purchasing 2 more now)
- Stock LIM/UIM with Greddy Elbow (Elite Rotary Full Intake System with 4 secondaries, ported TB, and spacer ordered)
- CJ Motorsports Fuel Rail kit with pulsation dampener and FPR
- CJ Motorsports Fuel Pump Hanger with 2x Walboro 450s & 2 new 3/8" fuel feed lines to the rails
- IGNa Coils w/ 10.5 spark plugs
- IRP 140 Amp Alternator (on order)
- Haltech Elite 1500
- LMS-EFI custom harness with flex fuel, methanol control for 93, individual fuel pump control, failsafes to protect the motor, and initial set-up & tuning
- Kept PS & AC
The car is currently on E85 at 21psi and feels really strong. Zach (Monsterbox) made a great video of the car and posted it to his youtube channel.
Happy to see you finally being able to enjoy the 7, great turbo choice too, what a fast 6 months it's been. Your car sounds incredible in that video! Hope all is well.
Dude, this build thread is awesome! Loving the enormous amount of pics. :icon_tip: I am going to try and learn as much as possible! I hope you won't mind me stopping in now and then to ask questions. I'm anticipating / planning a full engine teardown and rebuild in spring time.
You wouldn't happen to be in MI would you? I saw you had Chip do some work on your engine which is why I asked.
Im in the Army and was stationed at TACOM in Warren, MI, but I am no longer up there. Chip does great work!
 06-20-16, 09:42 PM


 I'm anticipating / planning a full engine teardown and rebuild in spring time.

