When you click on links to various merchants on this site and make a purchase, this can result in this site earning a commission. Affiliate programs and affiliations include, but are not limited to, the eBay Partner Network.
Looks great! You gonna be here for the Steve tuning in May?
That is the plan...I have all the parts ready to go minus the engine in my possession. I will get it installed as quickly as possible so I can break it in! Hopefully it will go together without too many headaches!
I put in my antenna adapter for the S2000 which allowed me to put the rear plastics back in. I'm waiting for some additional clips before I can out the passenger side together. I also sanded and painted my speaker grills.
So I finished up almost all of the interior stuff today. I still need to figure out how I want to build the floor in the hatch area, but that isn't super critical right now. I was pretty OCD making sure all the clips, retainer, and bolts were properly installed. I'm happy how it all turned out. Now I can focus on the engine stuff again.
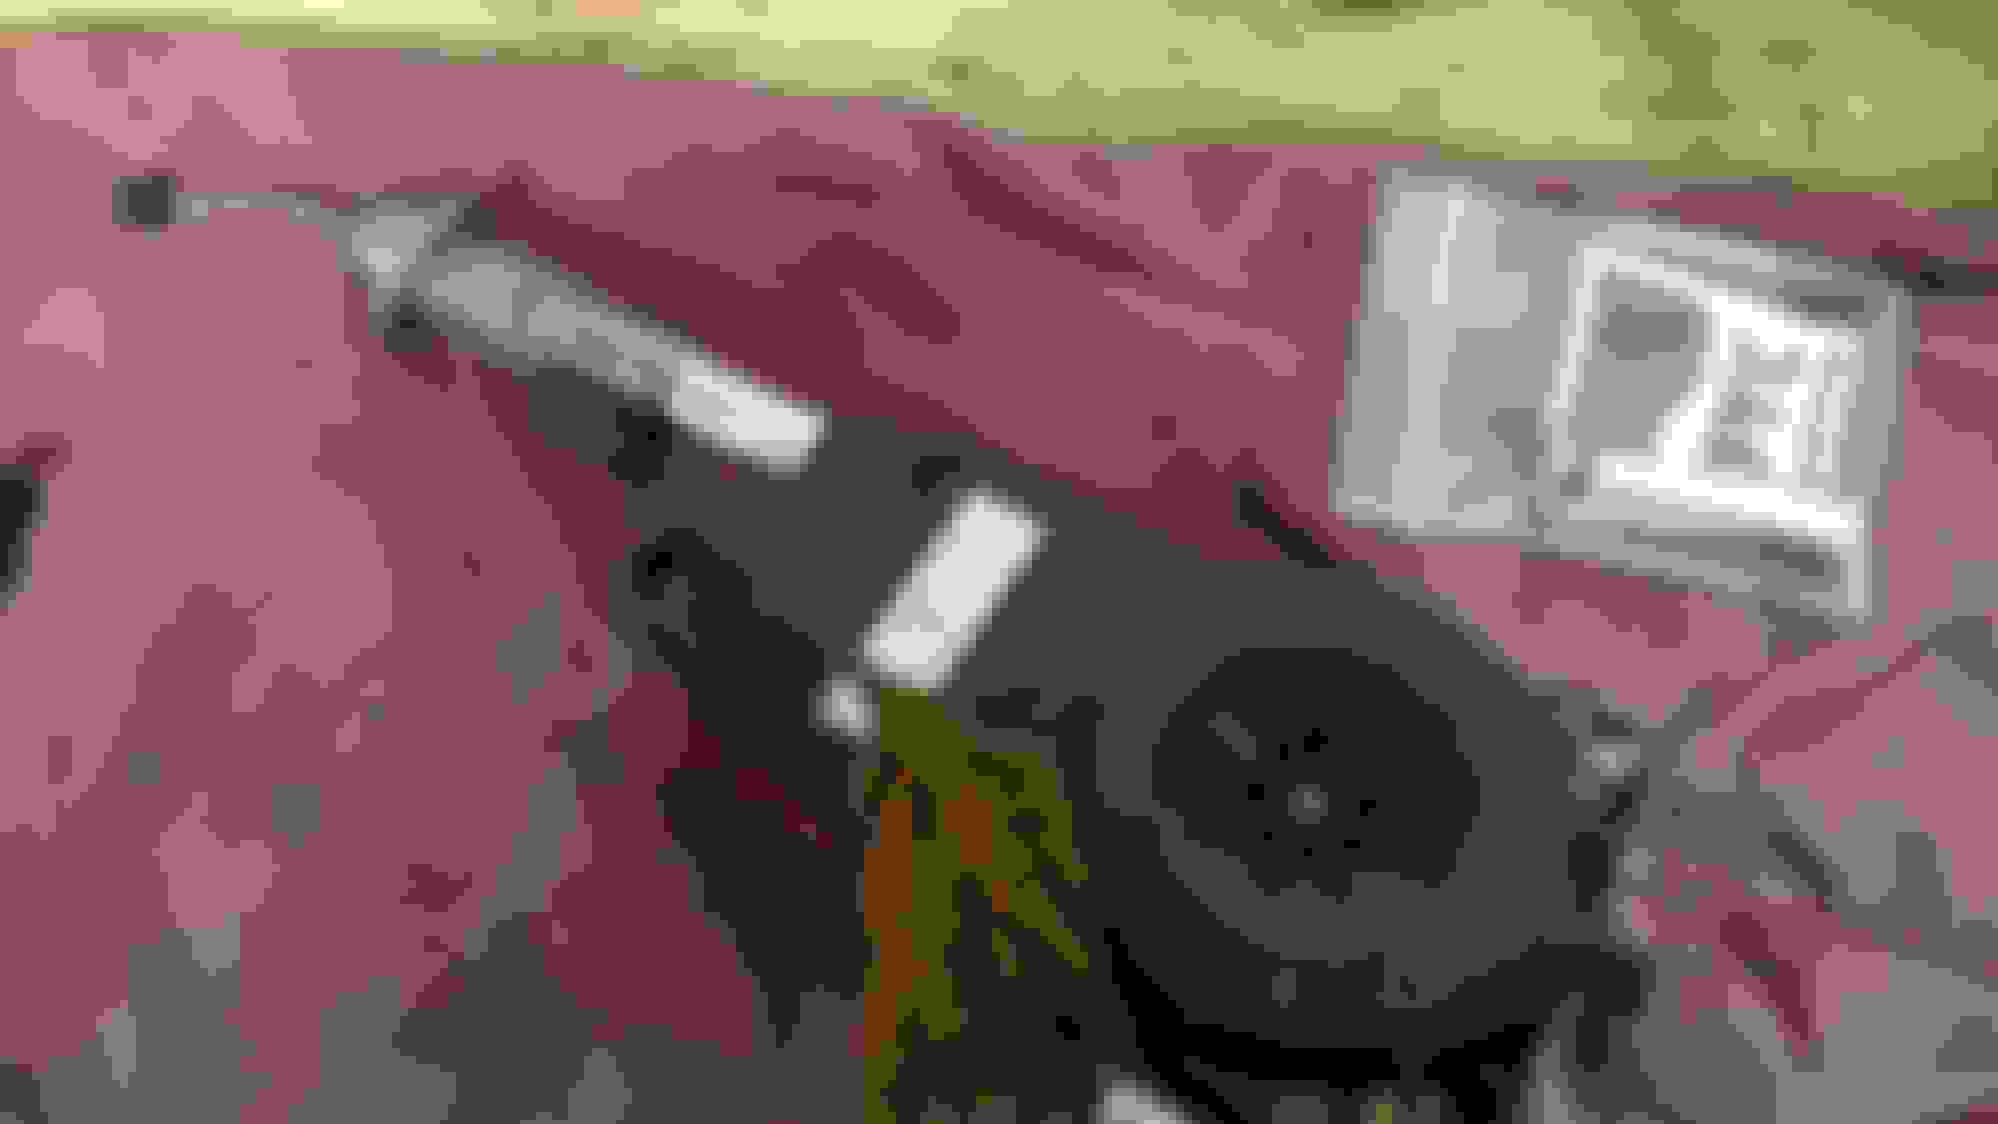
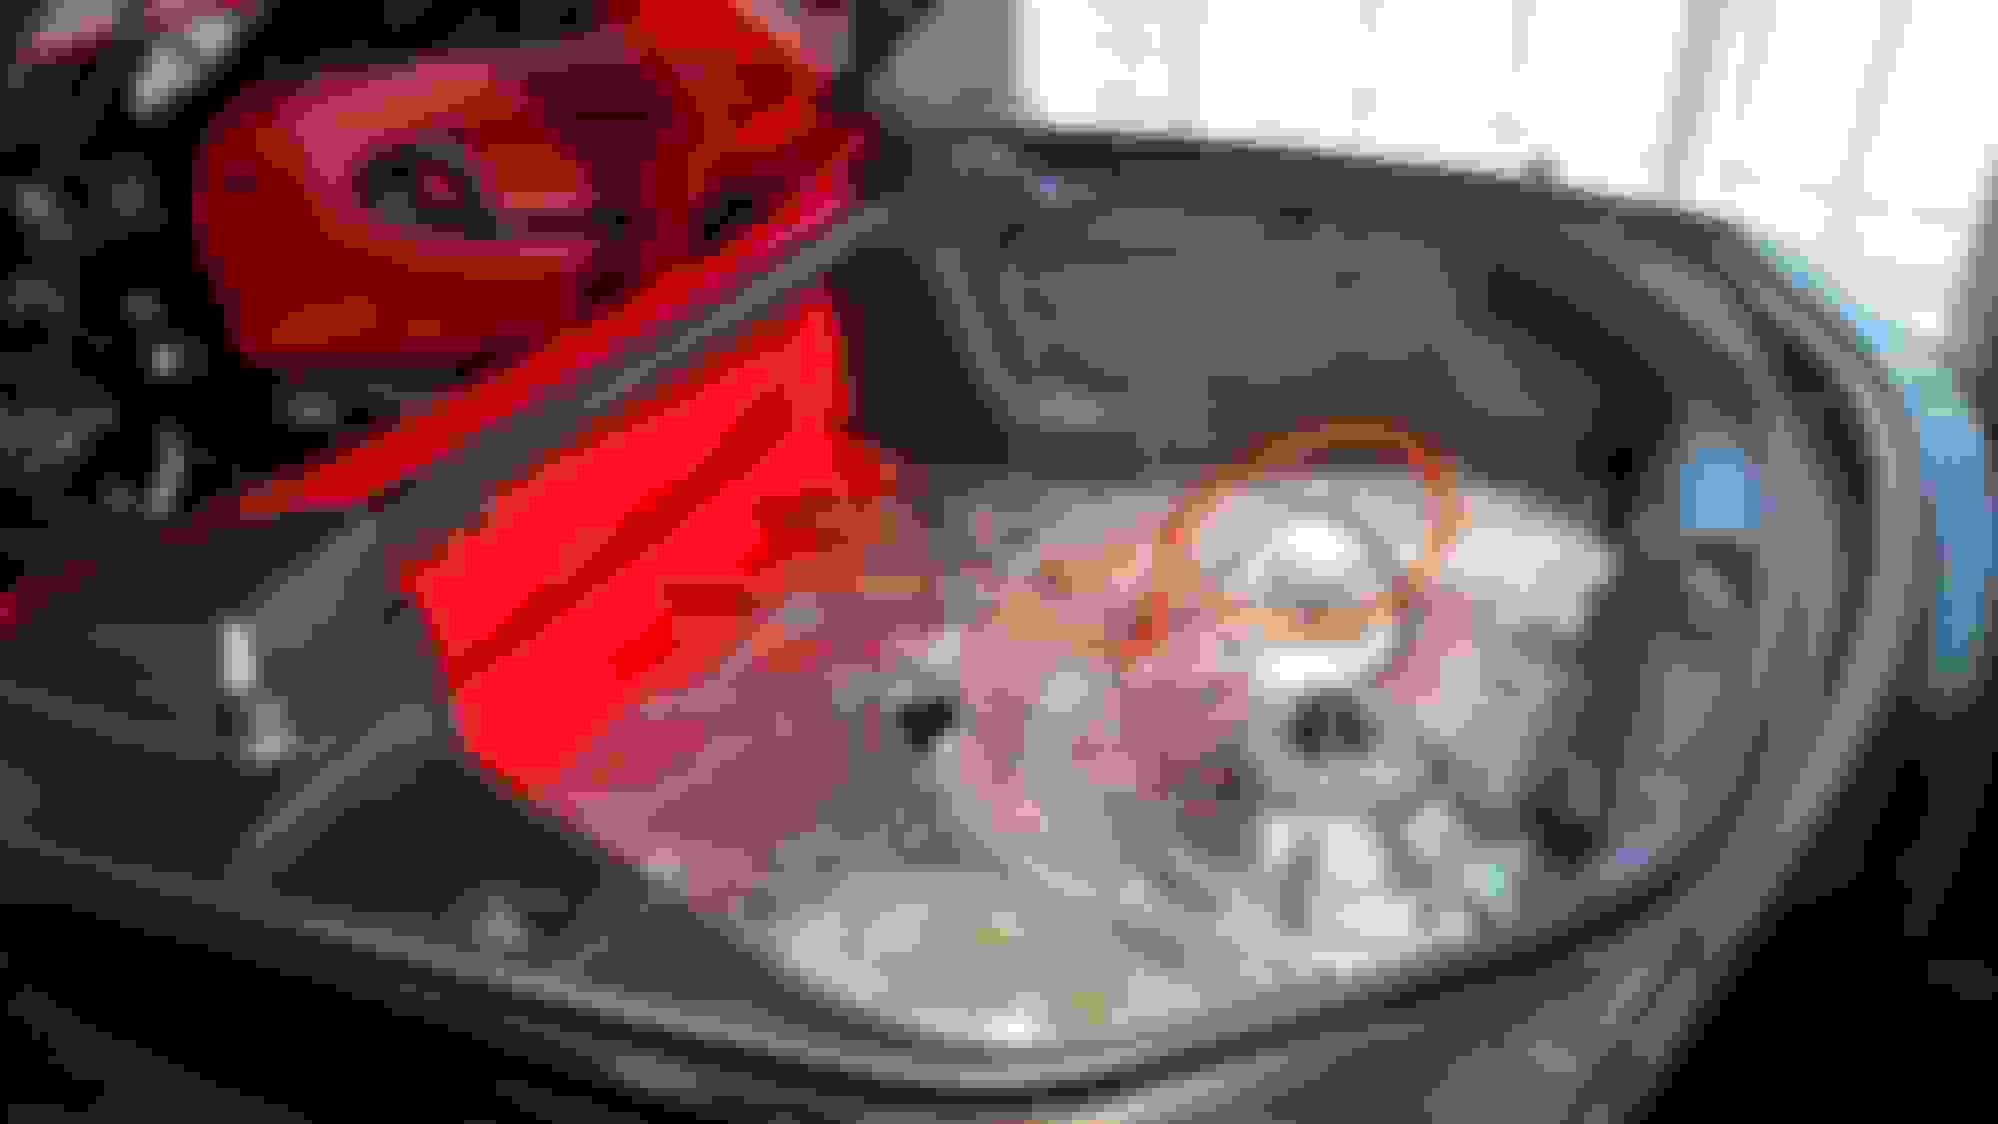
I took some time tonight and installed TurboJeff's Power FC mount. I ordered a new engine harness during this build, so I can't completely install everything just yet. The AC evaporator is out as I'm redoing all the AC components, so I took advantage to I cleaned up my wiring for the wideband inputs into the datalogit, run the commander wire better, and the serial cables for the wideband and boost gauges. I very happy how all of it turned out, and the PFC mount is freakin sweet!
I also finally got my last couple of engine parts from powder coating. I stalled the thermostat and sensors on it just waiting on the engine to arrive now...
Did you pull the evaporator with the dash in? I have a delete panel to install.
Yes, if you have a 93 (no airbag) it is very simple with the engine out. 94-95 with Airbags are a few more steps. If your engine is in and you are running twins, then the hardest part would be getting the lines loose at the firewall on the engine bay side. If your running a single turbo setup or the engine is out, then it is easy.
On a non-airbag car, it is plastic covers on the side by the glove box and computer, 2 screws for the glove box, a couple nuts or bolts for the metal brace, and a couple nuts that hold the plastic evaporator case in place (one up high on the inside of the firewall that requires the airbag to be pulled on 94-95 cars) and another one towards the floor, and the ac drain tube.
Difficulty depends on your engine/turbo situation.
That is the plan...I have all the parts ready to go minus the engine in my possession. I will get it installed as quickly as possible so I can break it in! Hopefully it will go together without too many headaches!
And started putting things back on and mocking up the fuel lines, not quite done yet on the lines. I'm waiting on all my parts and gaskets to arrive...
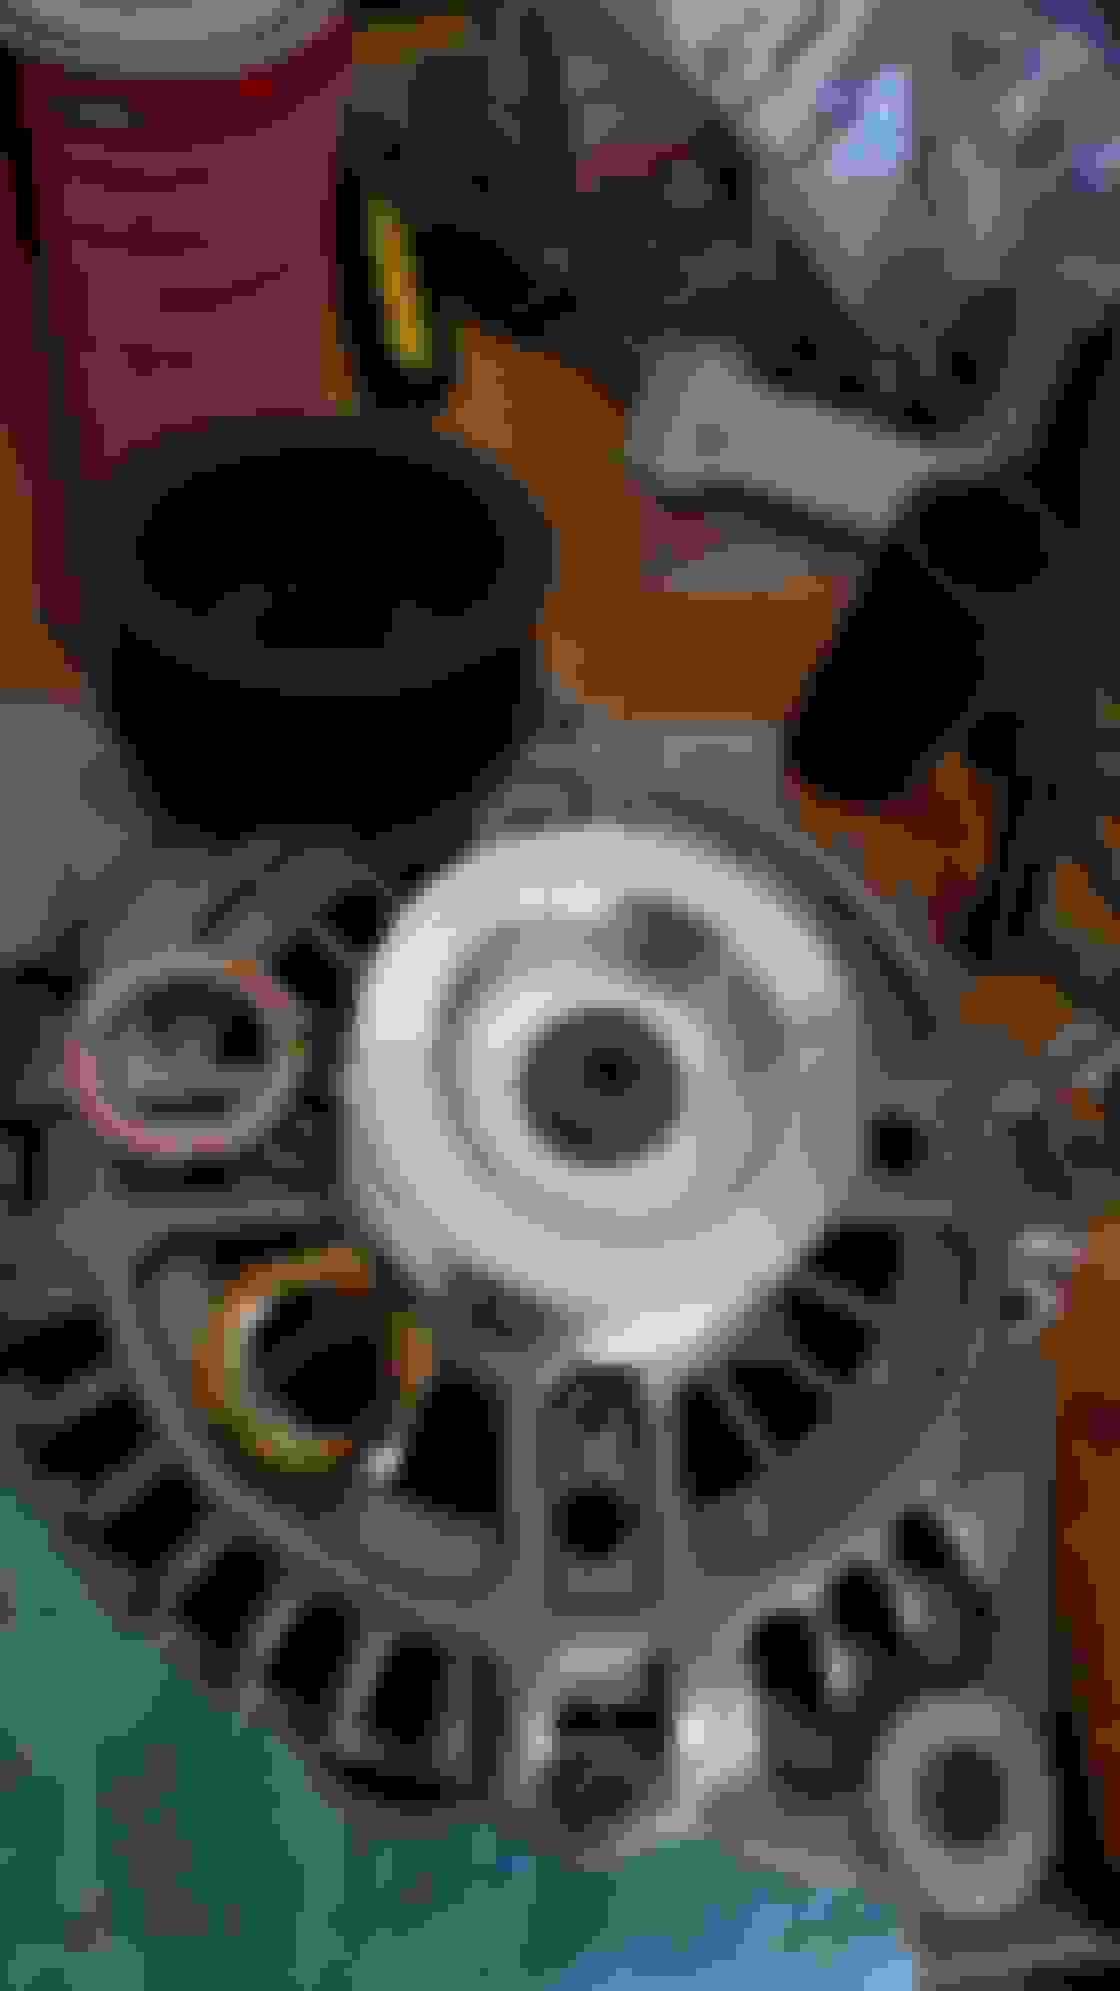
Alternator pulley issue...hopefully Chris a t Banzai can help me out. It is a 200 amp alternator from BNR out of Cali. The supplied pulley is deeper on the nut side and allows a lock washer and nut to be put on. The Banzai pulley has a thick billet center and the nut can only go on a little bit. At least it is black and goes with the color scheme.
Yes, if you have a 93 (no airbag) it is very simple with the engine out. 94-95 with Airbags are a few more steps. If your engine is in and you are running twins, then the hardest part would be getting the lines loose at the firewall on the engine bay side. If your running a single turbo setup or the engine is out, then it is easy.
On a non-airbag car, it is plastic covers on the side by the glove box and computer, 2 screws for the glove box, a couple nuts or bolts for the metal brace, and a couple nuts that hold the plastic evaporator case in place (one up high on the inside of the firewall that requires the airbag to be pulled on 94-95 cars) and another one towards the floor, and the ac drain tube.
Difficulty depends on your engine/turbo situation.
Great Info! I have a 93 single turbo with the lines already cut off (previous owner). Should be nice and easy.
I've received many new toys/parts for the build, but also had some minor set backs...
I stripped out the threads on the bottom two studs. I purchased some time serts to fix the issue, but the bottom two actually broke. I ordered BIG S ERTS and installed them tonight...I hope I can torque them down tomorrow without issues!
I had some time waiting for all the time serts to come in this week to reassemble the twin turbos. Brand new rebuild on them and ceramic coated hot side manifolds/parts to include the down pipe.
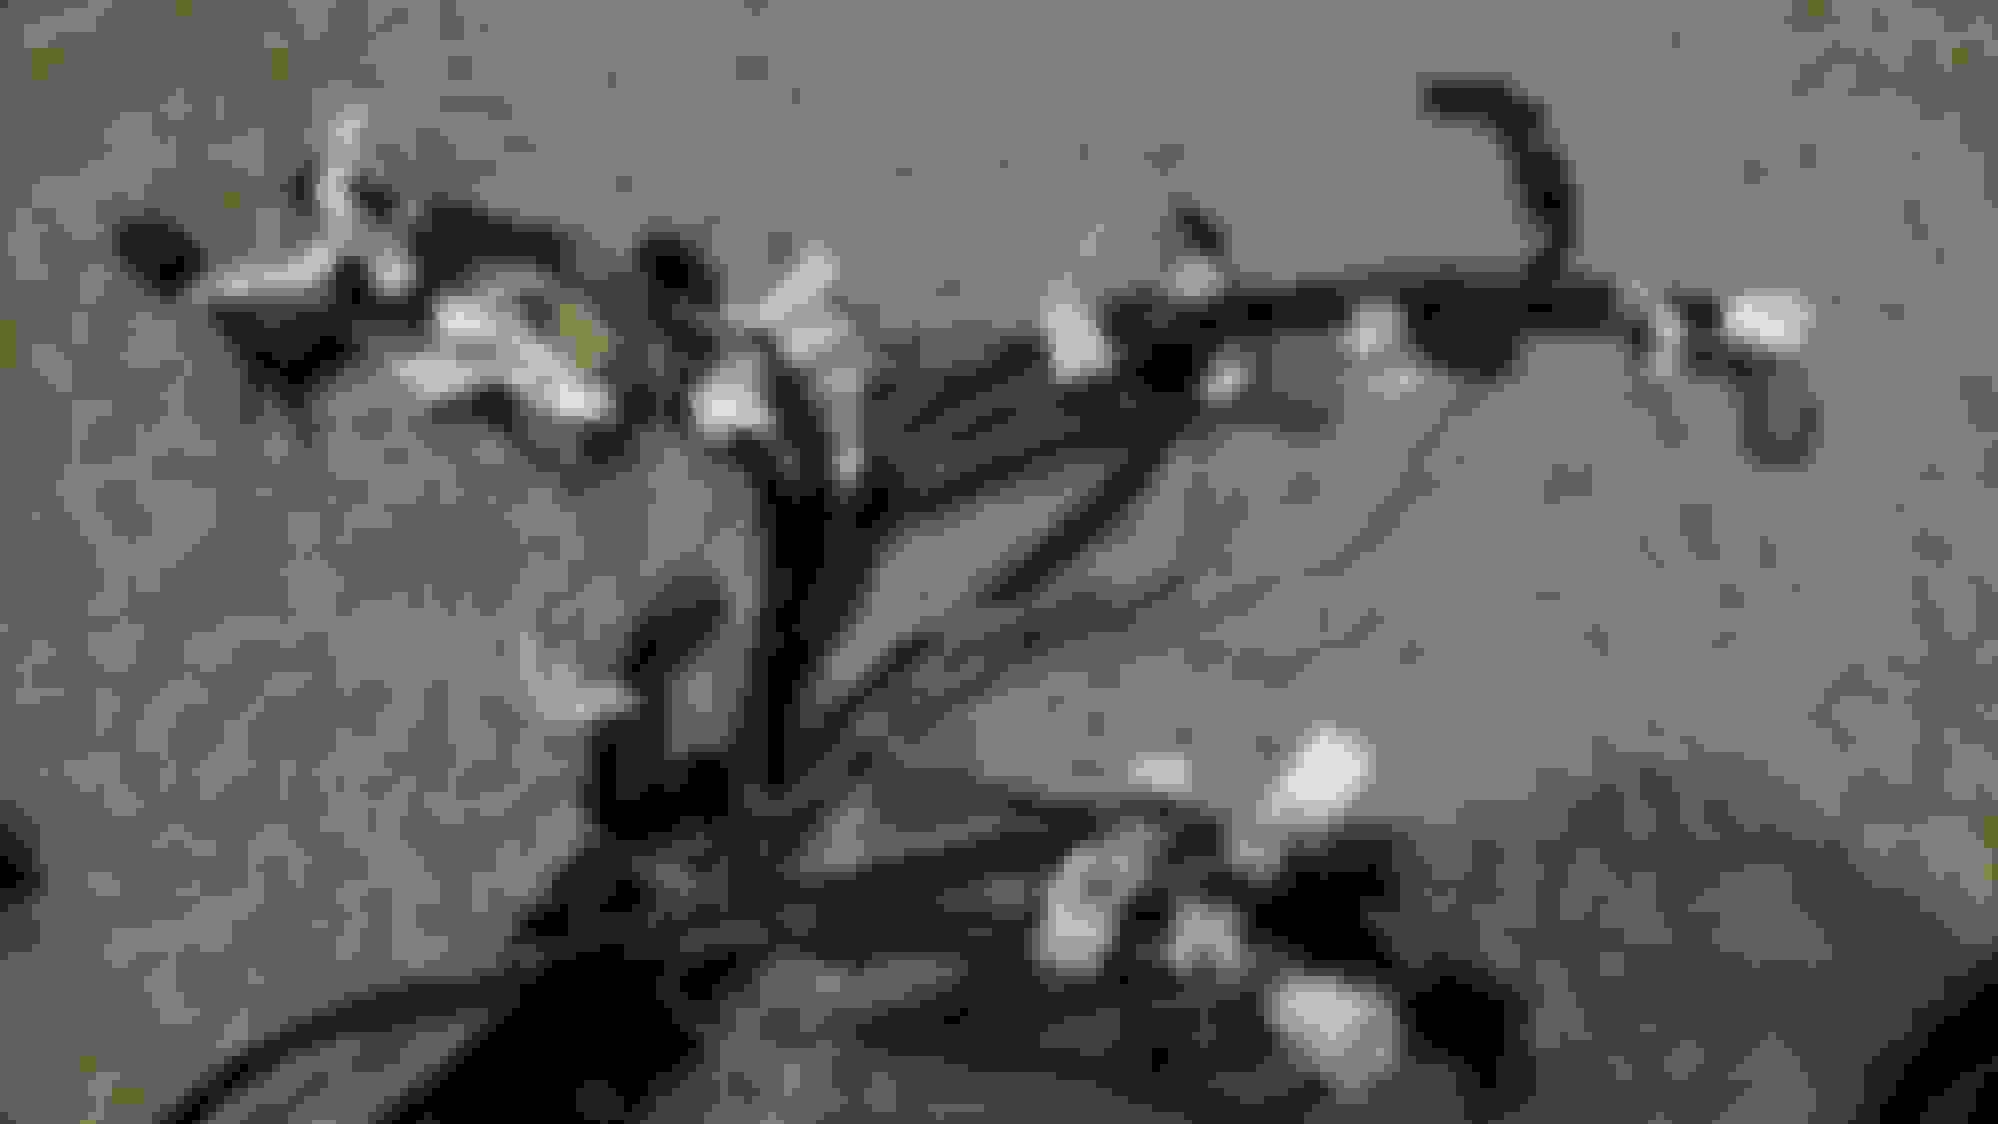
This part is where things get crazy...I bought a brand new FD engine harness and immediately dismantled it. I depinned all the emissions and unused connectors. I am running a simplified sequential set-up with AzKnightz's solenoid rack, so I moved all the turbo control wires and connectors to the ABS area. It was a lot of work and pained me to tear into a new harness, but it is done right and easy to depin the sequential stuff if I go single down the road.
Still waiting for a few more parts to come in like injector plug-n-play injector harness, water pump, couple coolant hoses, and engine mount piece. All the turbo stuff is locked down along with the LIM. I still need to figure out where to put the ingition coils too. It is the small detail stuff at this point. Very clean under the UIM with the cleaned up harness.
I've got to figure out if the triggers matter which one is in what position, as long as the harness is plugged in to the correct trigger.
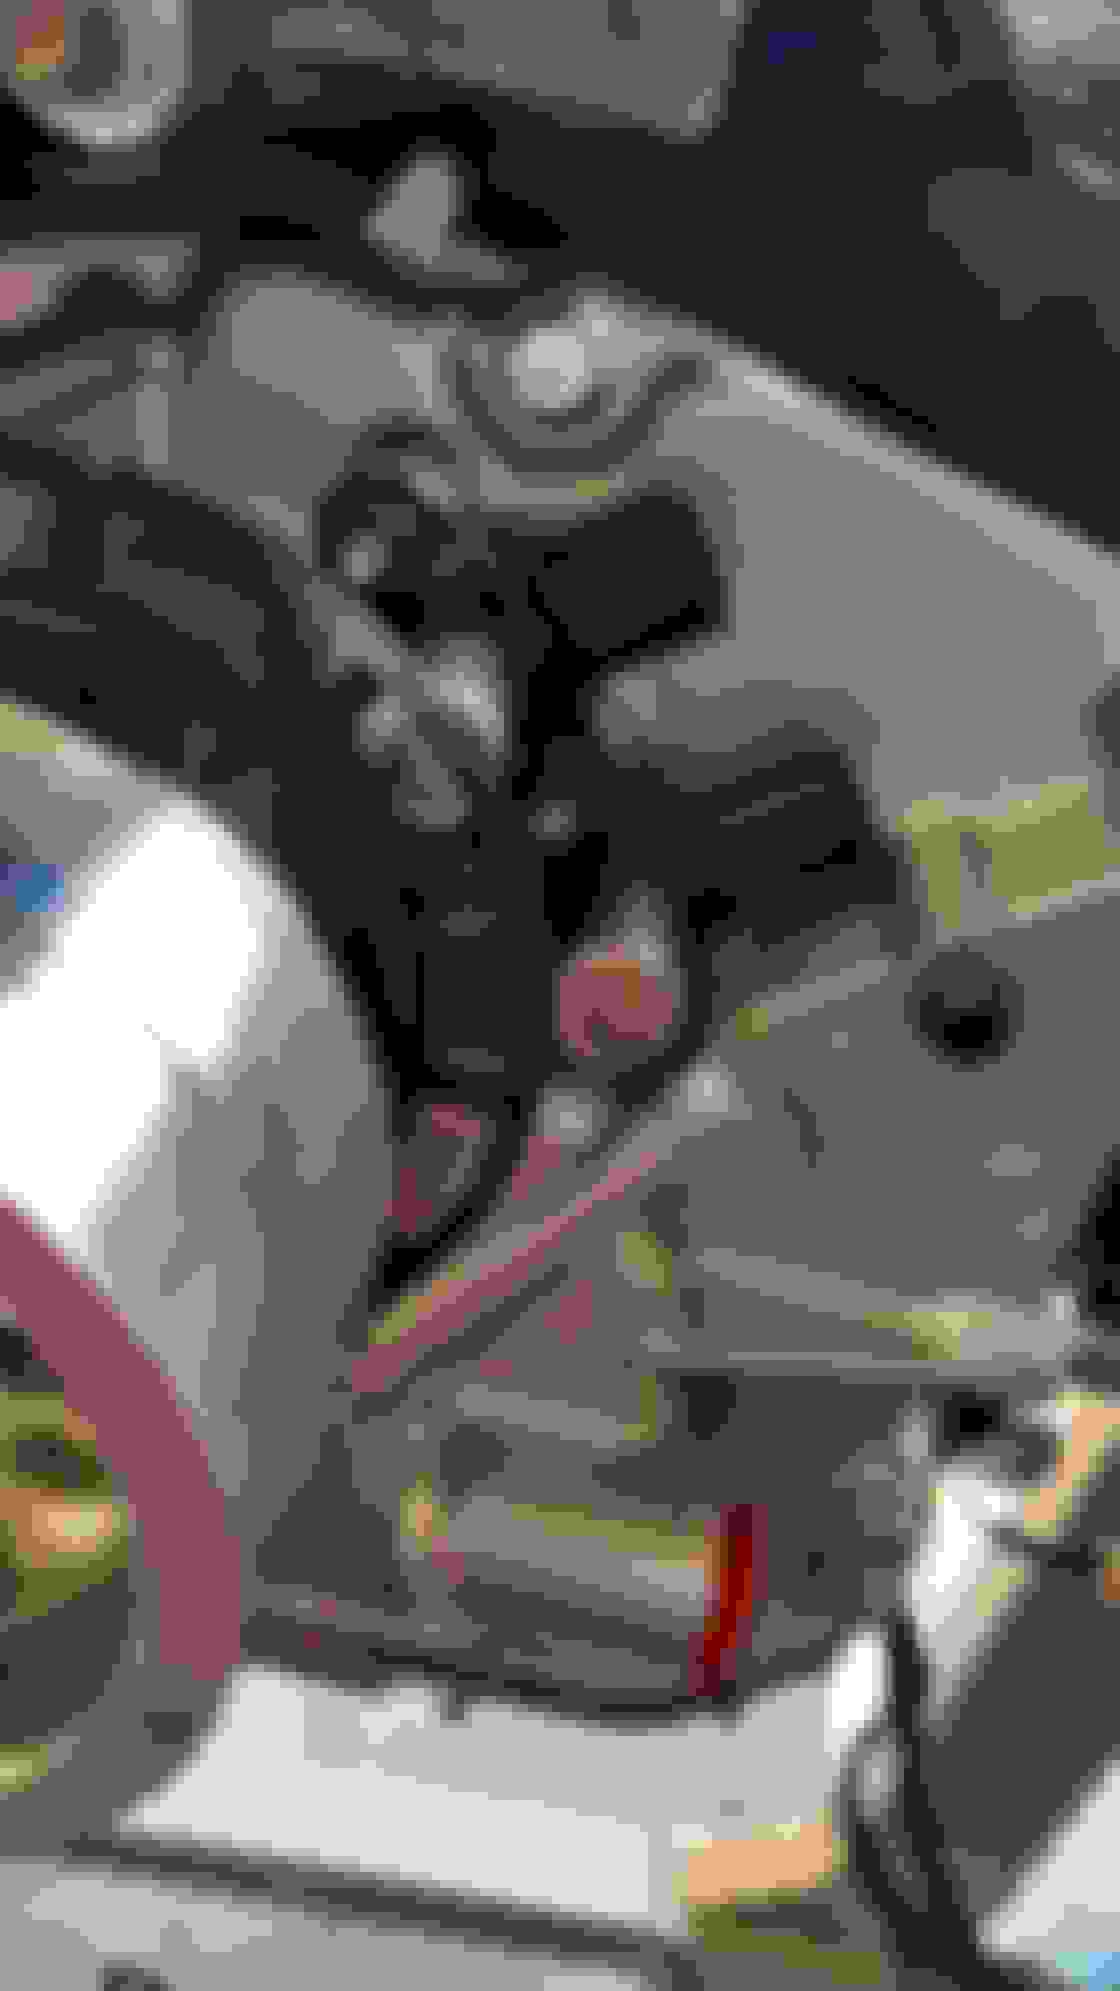
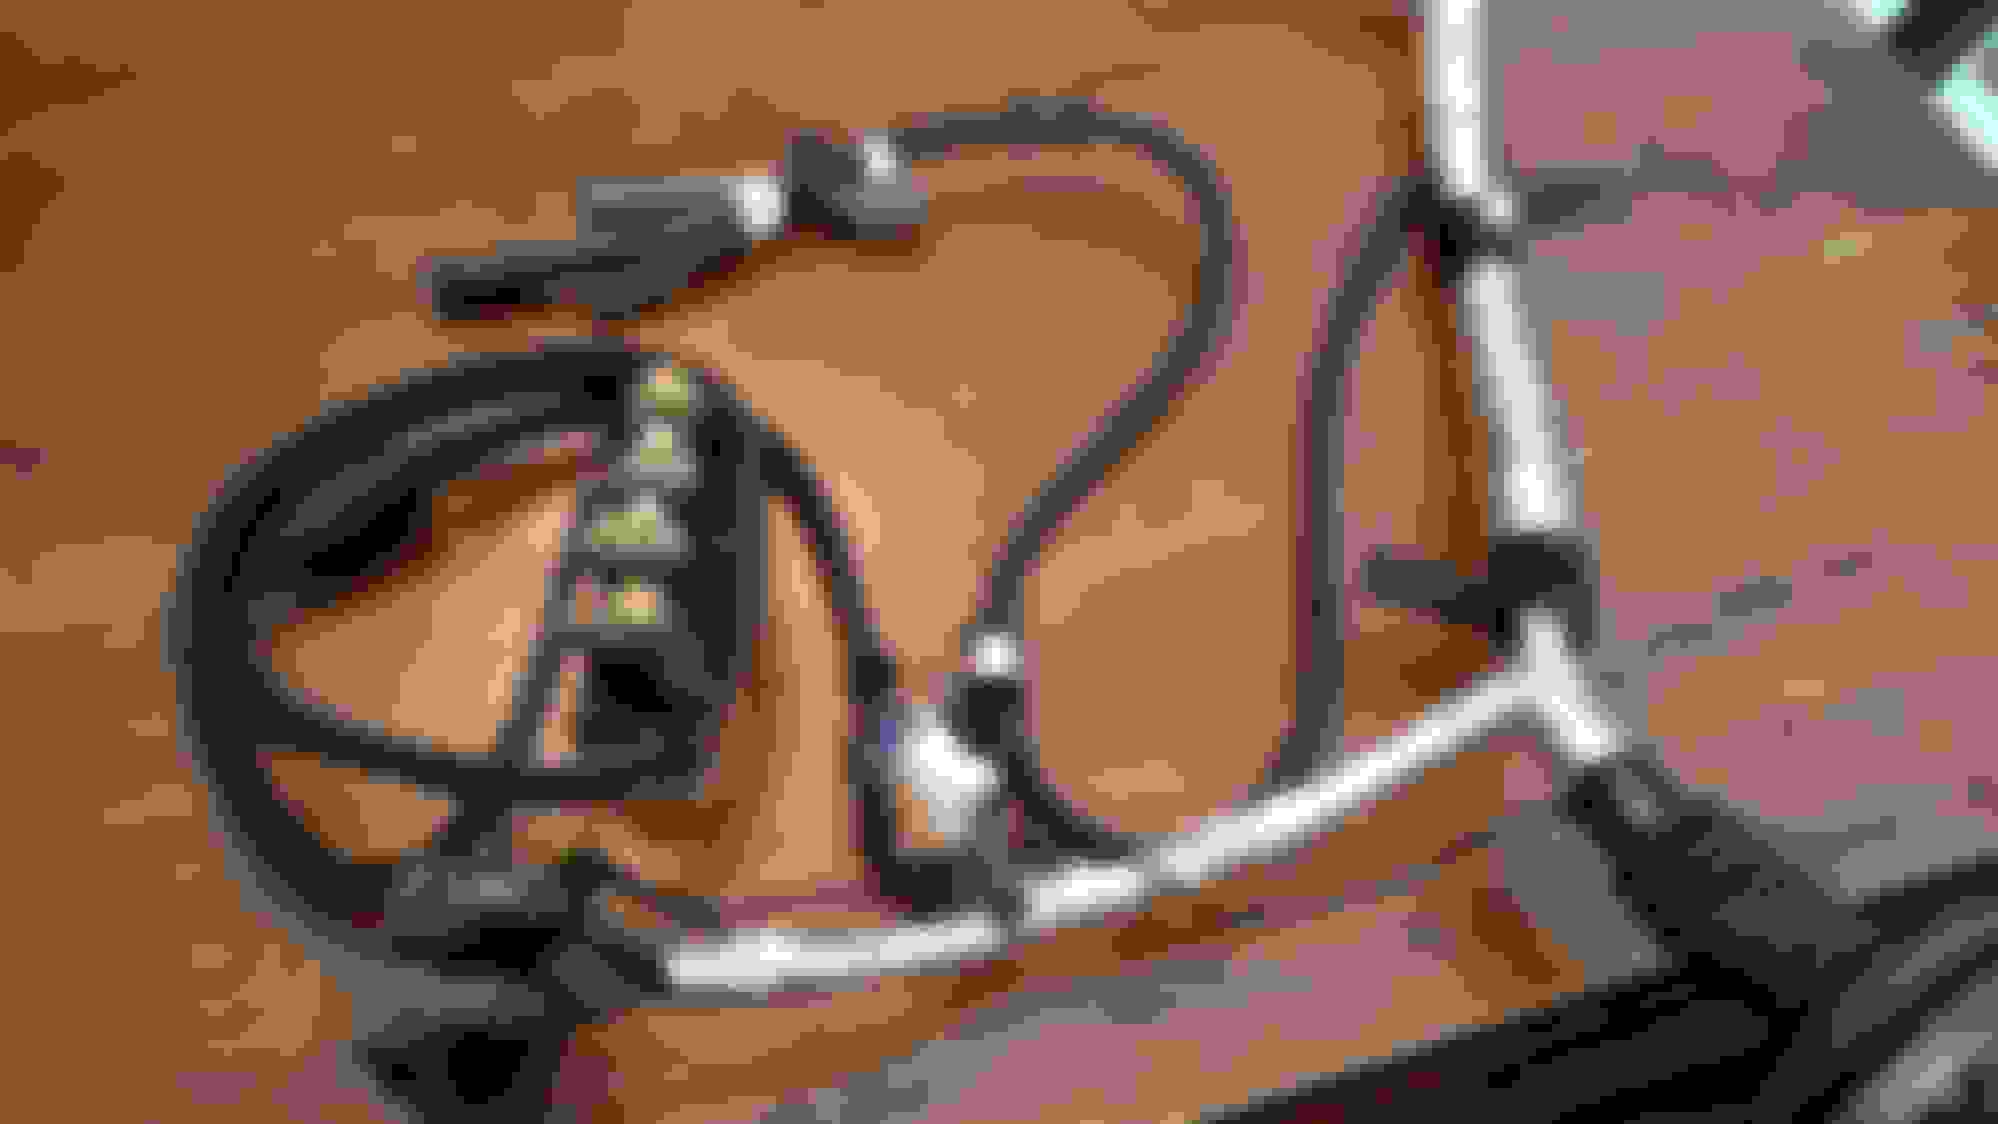
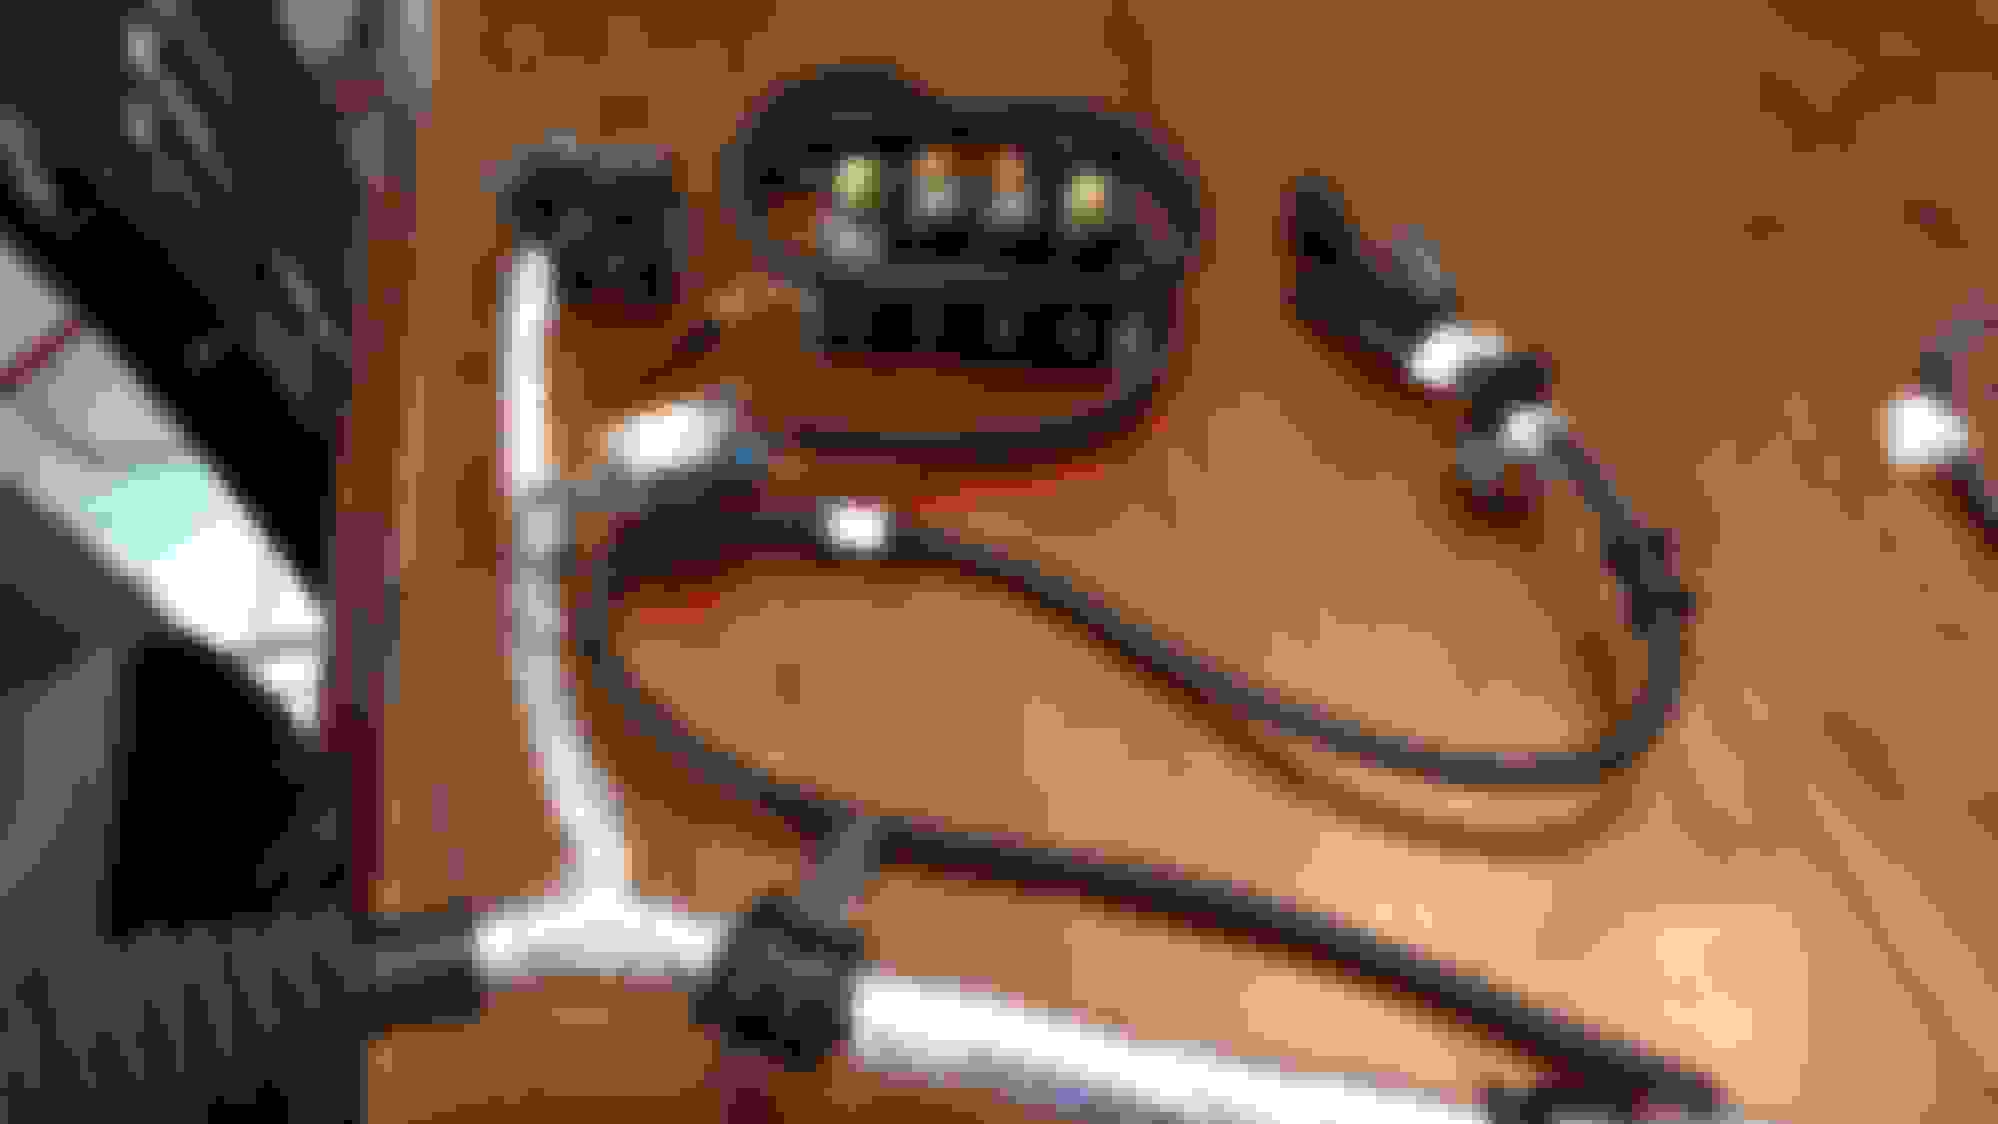
After mocking up the engine and harness layout, I was able to finish it up. I had to adjust a couple of item's locations and then wrapped it with DEI tape. All turbo control related items are relocated near the ABS.
"R" is the NE pickup and is connected to the white connector. "L" is the G pickup and connected to the grey connector.
Nice build BTW
Thanks, sorry if I wasn't clear. I was aware the placement for the white and gray plugs, but I was unsure if the magnets were different or interchangeable. I believe they are interchangeable as long as the white and gray plugs are in the correct position.
Thanks, sorry if I wasn't clear. I was aware the placement for the white and gray plugs, but I was unsure if the magnets were different or interchangeable. I believe they are interchangeable as long as the white and gray plugs are in the correct position.
Yep they're interchangeable. You should be able to confirm that with a parts search
Not 100% sure yet. I have the side skirts already, and Shine has a front bumper and hood I will probably go with down the road. Paint is a good 10 footer and I'll clean it up for now and repaint when the hood and front bumper go on.
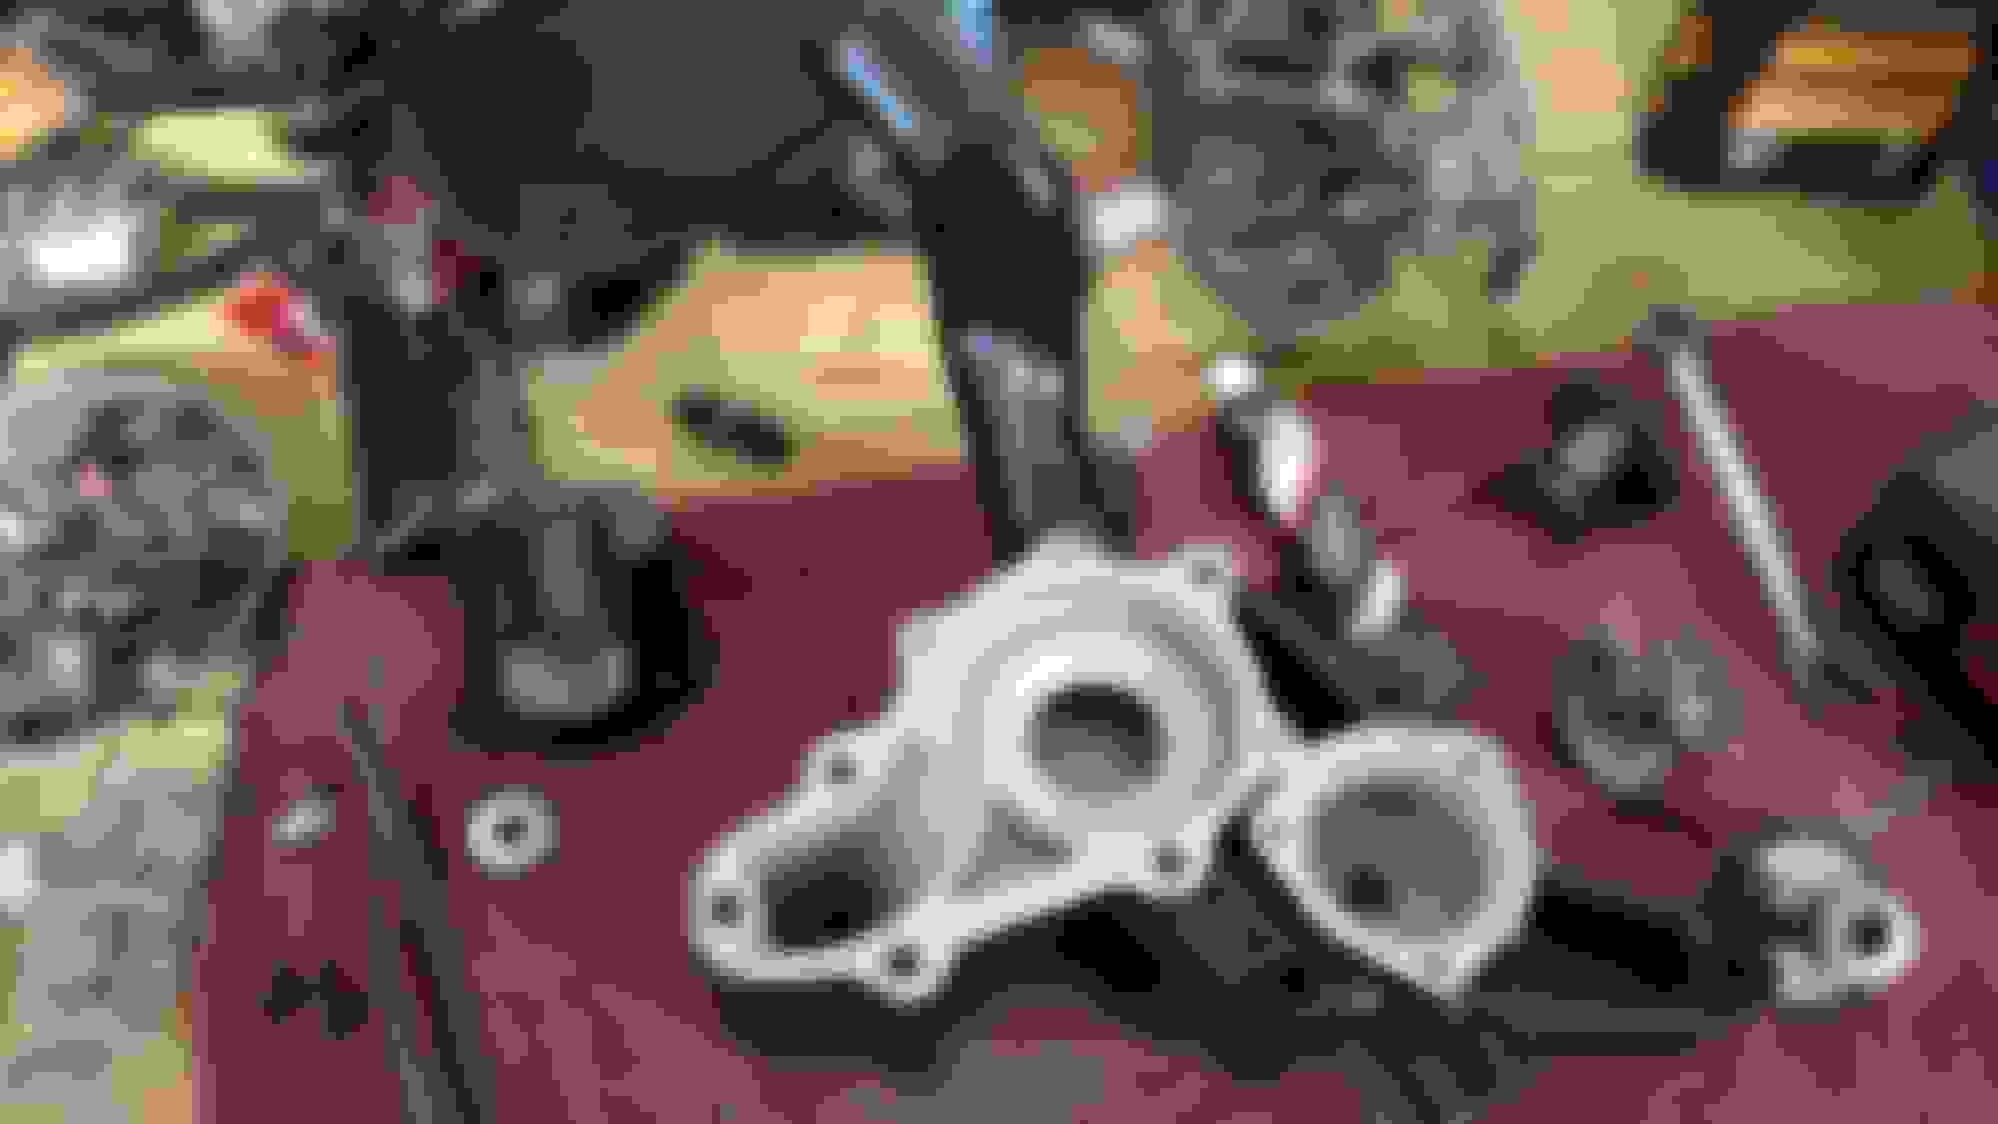
Pulled the tranny to do David Garfinkle's coil relocation and mated them up today. Added the PS bracket, PS pump, and AC compressor and it is ready to go back in!

 03-23-16, 02:09 PM

 Hopefully it will go together without too many headaches!