Quichedem's '93 Resurrection Money Pit Track Day Build
 11-07-14, 08:32 PM
#1

Quichedem's '93 Resurrection Money Pit Track Day Build
Pappy always said that if something's worth doing, it's worth doing right. I've wanted an FD since I was a kid. Finally in a place in life where I could acquire one of these, and partially realize my dream of being a race car driver (somewhat, haha).
What I'm after:
-A track day machine that I can actually drive to the track. I'll probably drive it to a local car show every now and then. Very minimal street use.
-As much reliability as one can achieve from an FD (LOL)
-300-325ish RWHP from stock porting, water or meth injection, stock twins, adaptronics ecu, defined v-mount, and other stuff
-Stripped, minimal interior (dash, center console, 2 racing buckets, and a 6-point cage)
-Excellent handling
-A big smile on my face when I drive it like I stole it on the track
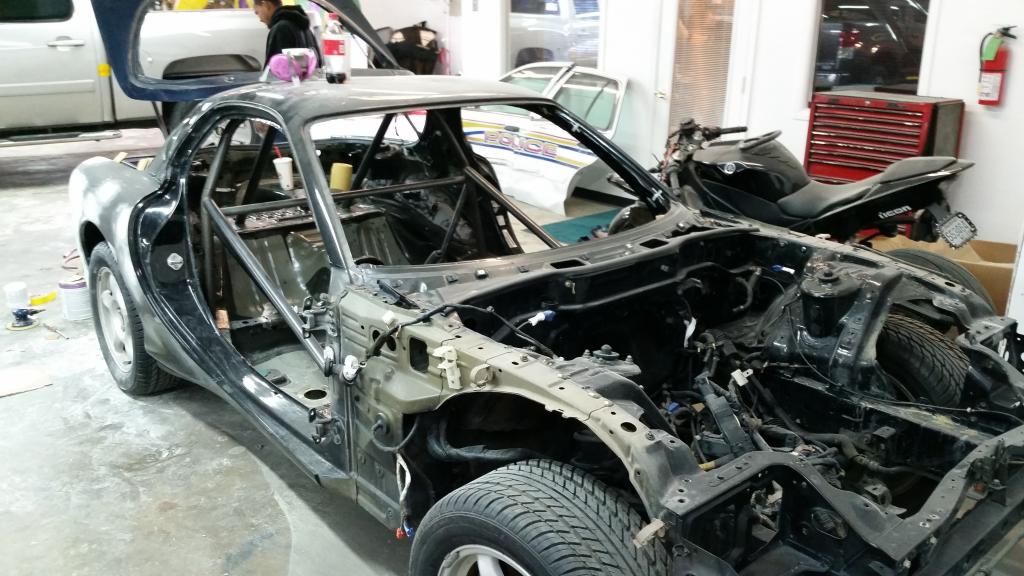
I didn't want to start a build thread until I was ready to make regular updates. For me, this point was where I was ready to get the car painted. Well, it's in the shop, so it's finally time. Let's start from the beginning. I was trolling the classifieds here early this year, and I ran across a '93 BB base model from a seller a couple of states away with a clear title. I Rented a U-Haul car dolly and made a day's trip to pick it up and come back home (thanks, Bucky5454!!). Kept it at my parents' place while I got to stripping it. Here is what it looked like when got it home:
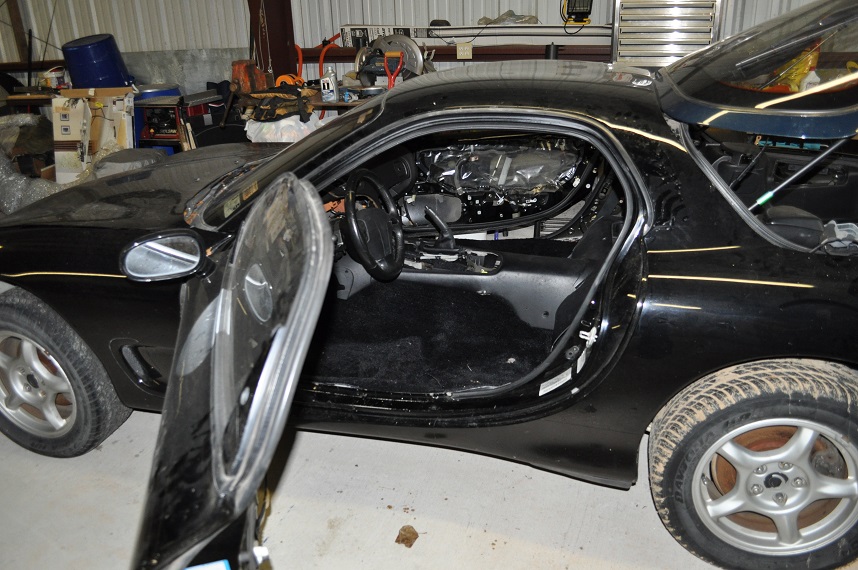
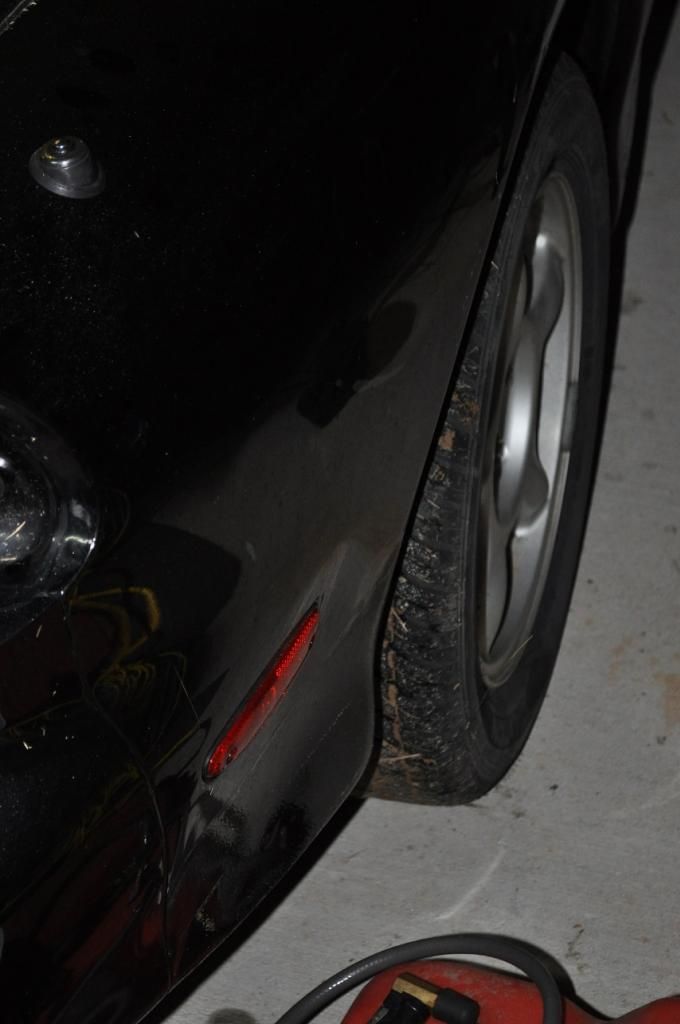
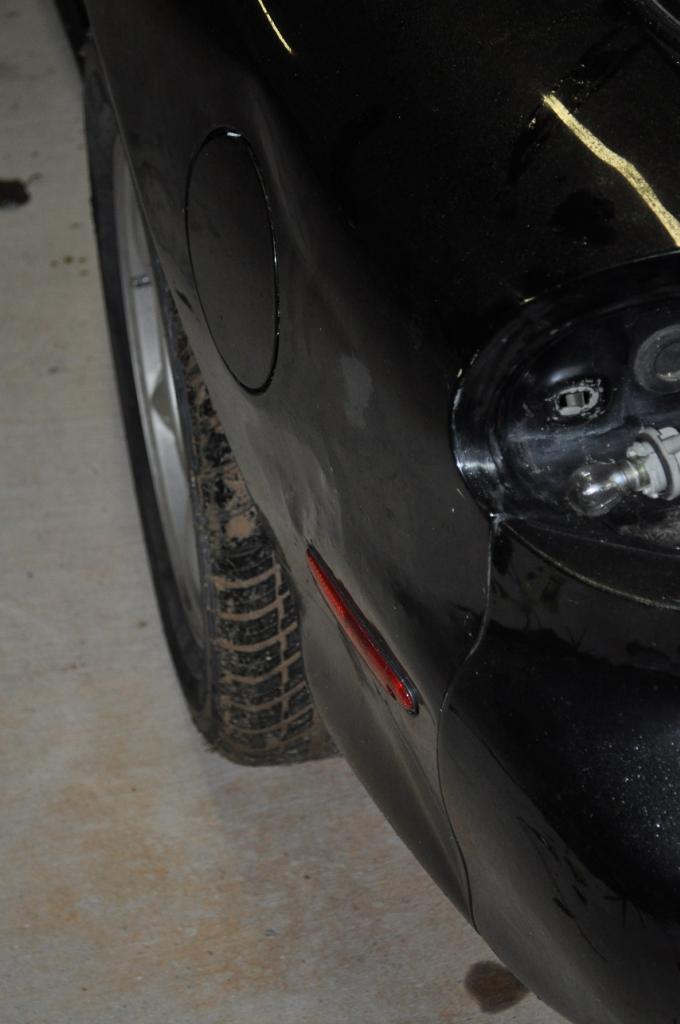
It has a straight body with no accidents that I can tell. Other than a MB rear hatch, various dings for it's 21 years of existence, and some bumped rear quarters, it is in very good shape.
What I'm after:
-A track day machine that I can actually drive to the track. I'll probably drive it to a local car show every now and then. Very minimal street use.
-As much reliability as one can achieve from an FD (LOL)
-300-325ish RWHP from stock porting, water or meth injection, stock twins, adaptronics ecu, defined v-mount, and other stuff
-Stripped, minimal interior (dash, center console, 2 racing buckets, and a 6-point cage)
-Excellent handling
-A big smile on my face when I drive it like I stole it on the track
I didn't want to start a build thread until I was ready to make regular updates. For me, this point was where I was ready to get the car painted. Well, it's in the shop, so it's finally time. Let's start from the beginning. I was trolling the classifieds here early this year, and I ran across a '93 BB base model from a seller a couple of states away with a clear title. I Rented a U-Haul car dolly and made a day's trip to pick it up and come back home (thanks, Bucky5454!!). Kept it at my parents' place while I got to stripping it. Here is what it looked like when got it home:


It has a straight body with no accidents that I can tell. Other than a MB rear hatch, various dings for it's 21 years of existence, and some bumped rear quarters, it is in very good shape.


 11-07-14, 08:33 PM
#2
It was quite disassembled from 2 owners ago. It has no engine, a handful of missing interior and under-hood pieces, and a transmission in unknown shape. My parents live a state away, and I have 2 kids, so time was difficult to come by which equated to slow progress. I spent the mean time ordering parts...
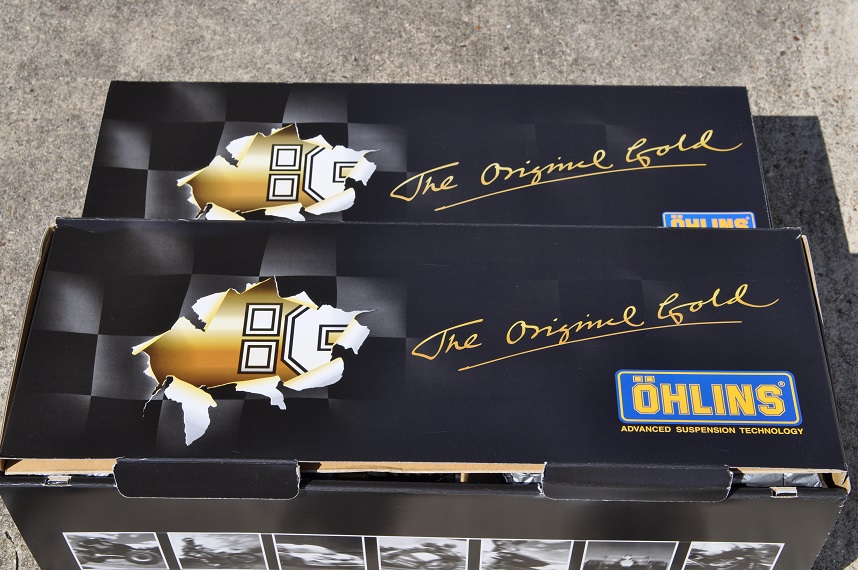
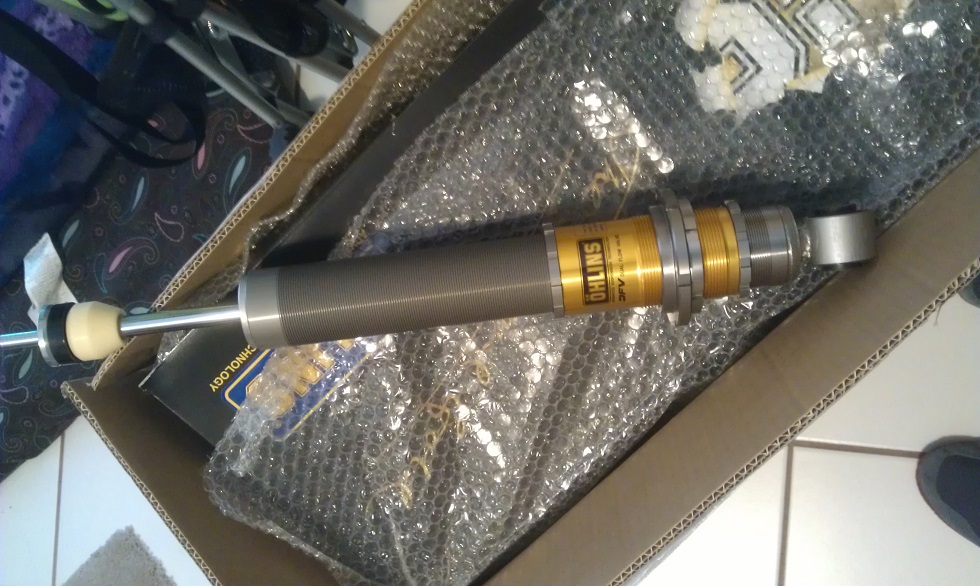
I resolved to start from the bottom up. First attention went to assessing the suspension. I happened to be in time for the Ohlins SBG group buy, so I scooped-up the DFVs offered there. These things are beautiful!
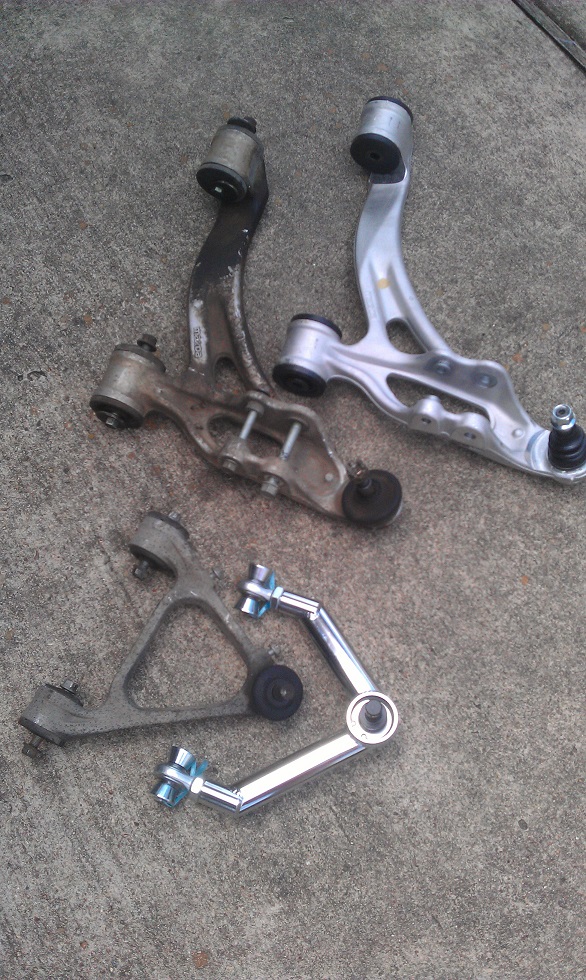
I then learned all about Mazda's frustrating design practice of building ball joints into their control arms. Since my ball joints were rather tired, and I wanted the option to change the ball joints in the future, I opted for all new arms from RHDJapan. Picked-up the set of Moonface Super Lap LCAs, and Nagisa Auto UCAs.
I am planning on ordering a whole lot more suspension parts when the car gets back from paint.
I resolved to start from the bottom up. First attention went to assessing the suspension. I happened to be in time for the Ohlins SBG group buy, so I scooped-up the DFVs offered there. These things are beautiful!


I then learned all about Mazda's frustrating design practice of building ball joints into their control arms. Since my ball joints were rather tired, and I wanted the option to change the ball joints in the future, I opted for all new arms from RHDJapan. Picked-up the set of Moonface Super Lap LCAs, and Nagisa Auto UCAs.

I am planning on ordering a whole lot more suspension parts when the car gets back from paint.
11-07-14, 09:00 PM
#3
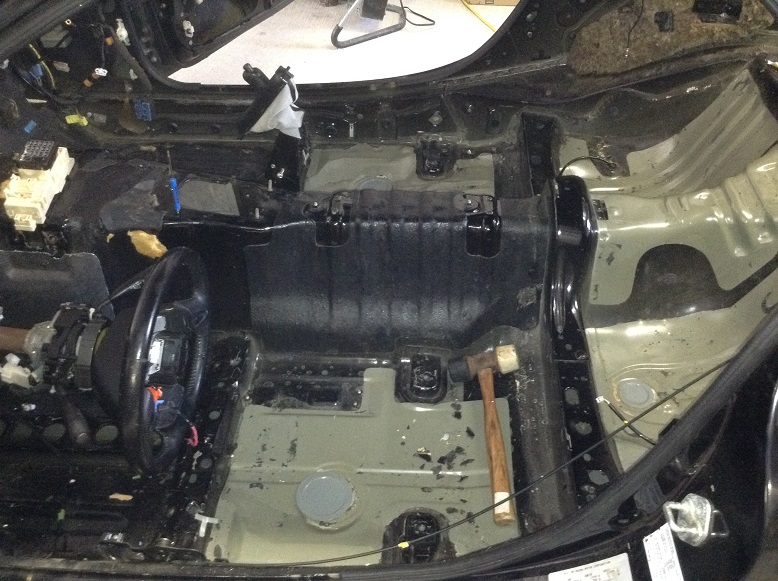
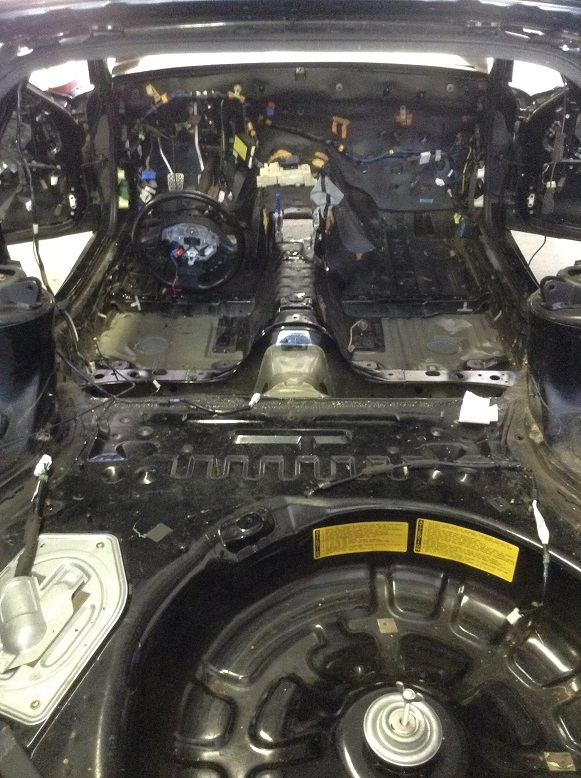
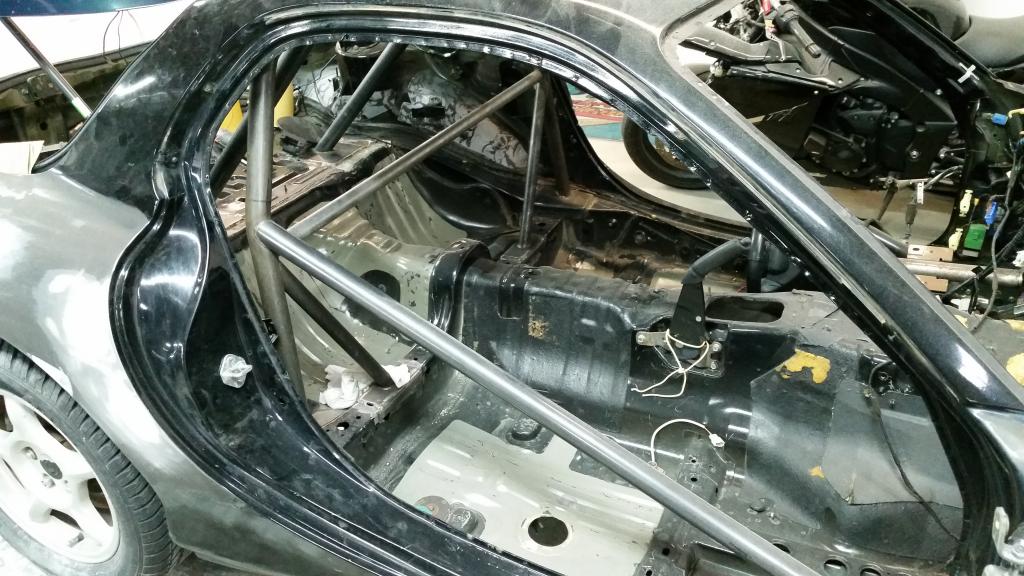
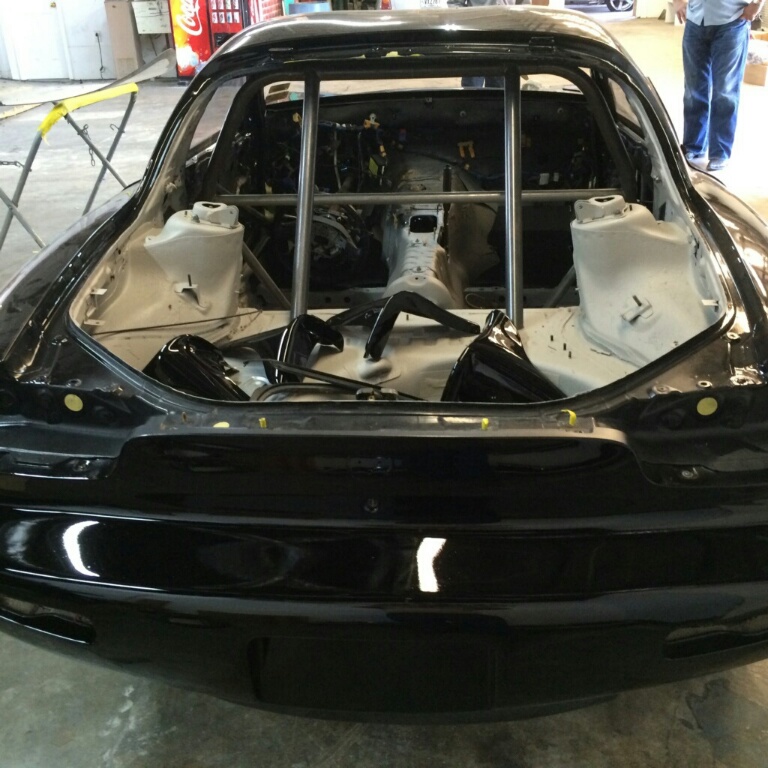
And I guess some shot of the car from some of my last work before dropping her off for paint. After stripping as much as I could, I used the old "dry ice to remove the insulation/sound deadening/tar stuff." It takes a little time, and it's tough on the vertical surfaces, but I figure the only easier method would be liquid Nitrogen. I couldn't get any of that stuff. Dry ice is cheap anyway. I left the stuff around the transmission tunnel, and in the footwell areas, as the center console and Techno Toy Tuning floor plates I ordered will cover that. I don't think hot feet would be fun, anyway.
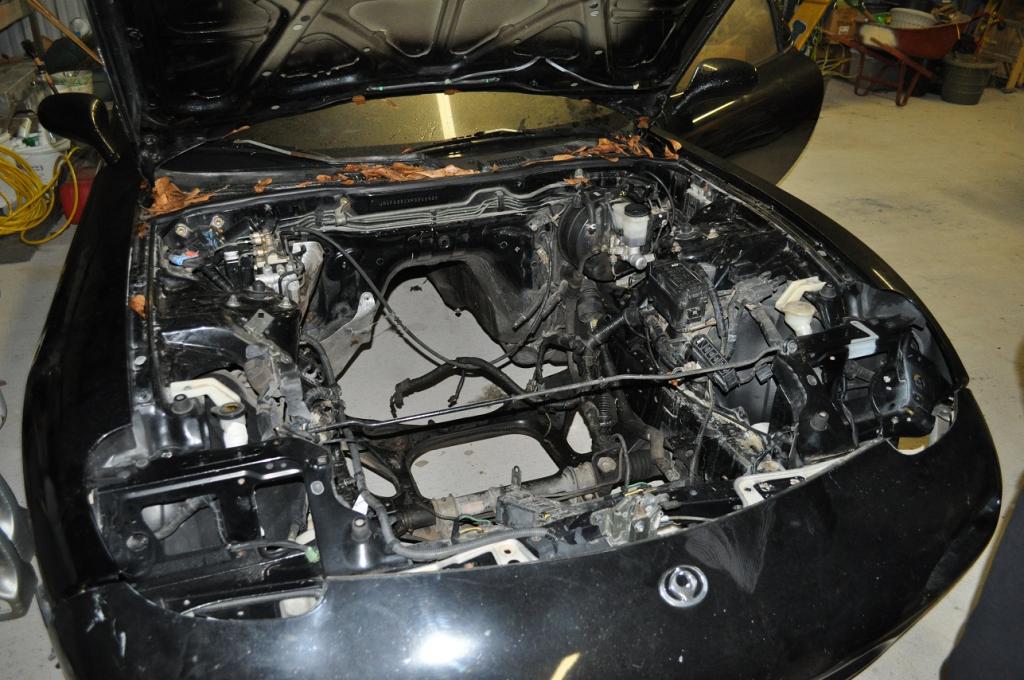
And under the hood. I'm having the engine bay sprayed as well.
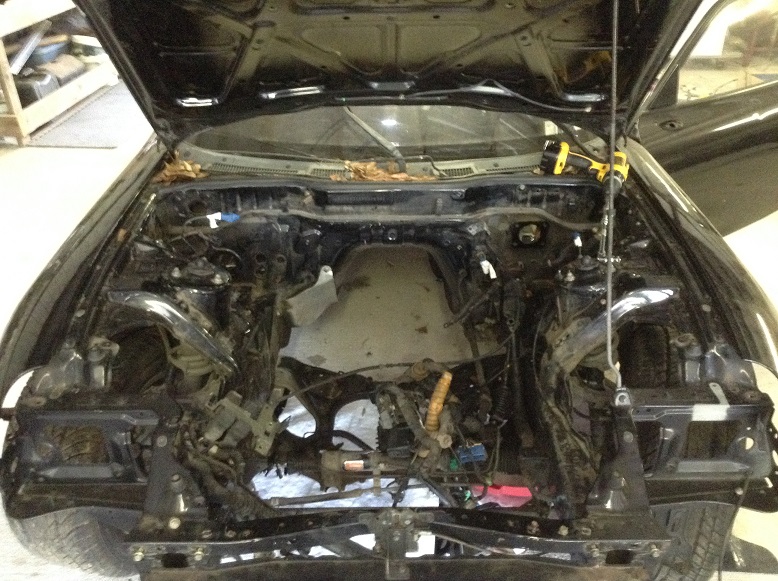


And under the hood. I'm having the engine bay sprayed as well.
 11-07-14, 09:15 PM
#4
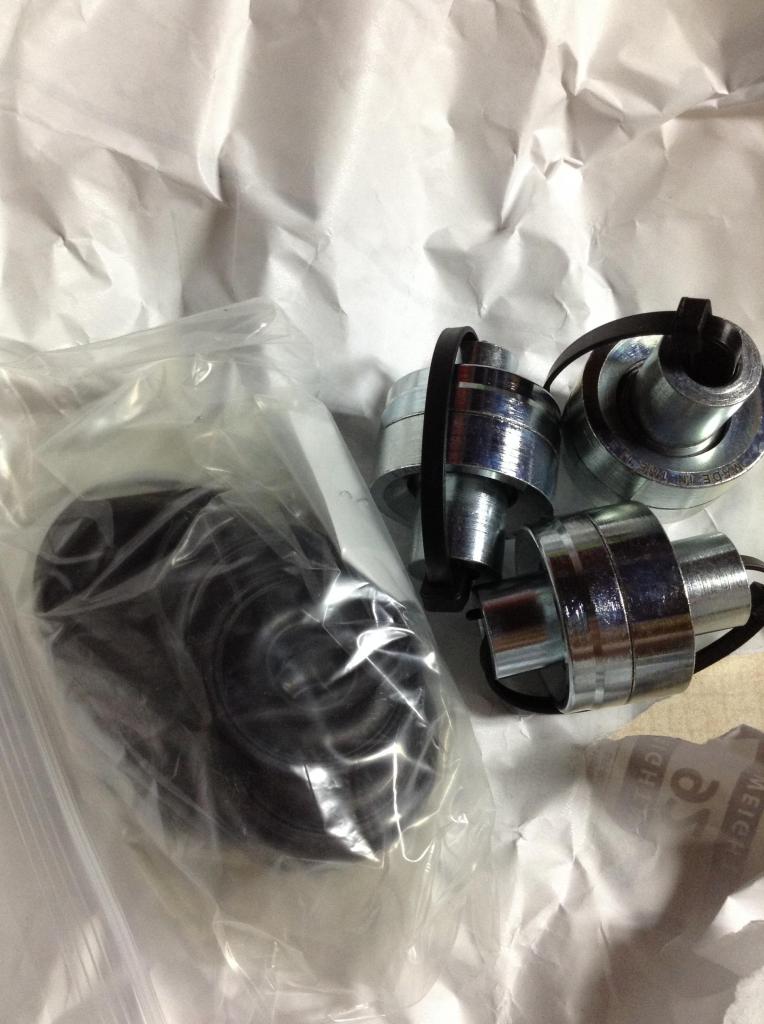
And a little group shot of some stuff I have on hand:
Power steering rebuild bits and pieces
The fancy-pants ABS delete kit
A couple new tanks from Ray as the ones that came with the car were beat

As far as suspension goes, my plan is is as follows:
Full set Super Pro bushings
adjustable rear toe links (Megan, I guess)
New wheel bearings all around with some of those ARP extended wheel studs that all the kids adore these days
Clean/paint/rebuild steering rack and brake calipers
When the car gets home, I'm planning on pulling the front and rear sub-frames. I'll paint those, and get to putting the suspension back together from there.
11-08-14, 06:59 AM
#6
Thanks! This car was in very good shape. The body is straight, no rust, panels have perfect gaps, and I cannot find any evidence of any wrecks or anything. In addition, it included so much stuff for the price I got it at. I was surprised at how much it included. I'm retaining everything as well as picking up parts I need as I go along. I want the option to cut the cage out and return the interior if I ever change my mind and want a street only machine.
Trending Topics
12-08-14, 08:15 PM
#8
Got a little bad news. Body shop called today and informed me that they are switching to a different shop to get my roll bar. It should set me back a week (if I'm lucky), so I'm hoping for a little bit of a Christmas miracle. Silver lining is that this is going to save me a couple hundred bucks! Meanwhile, I'm back to ordering parts...
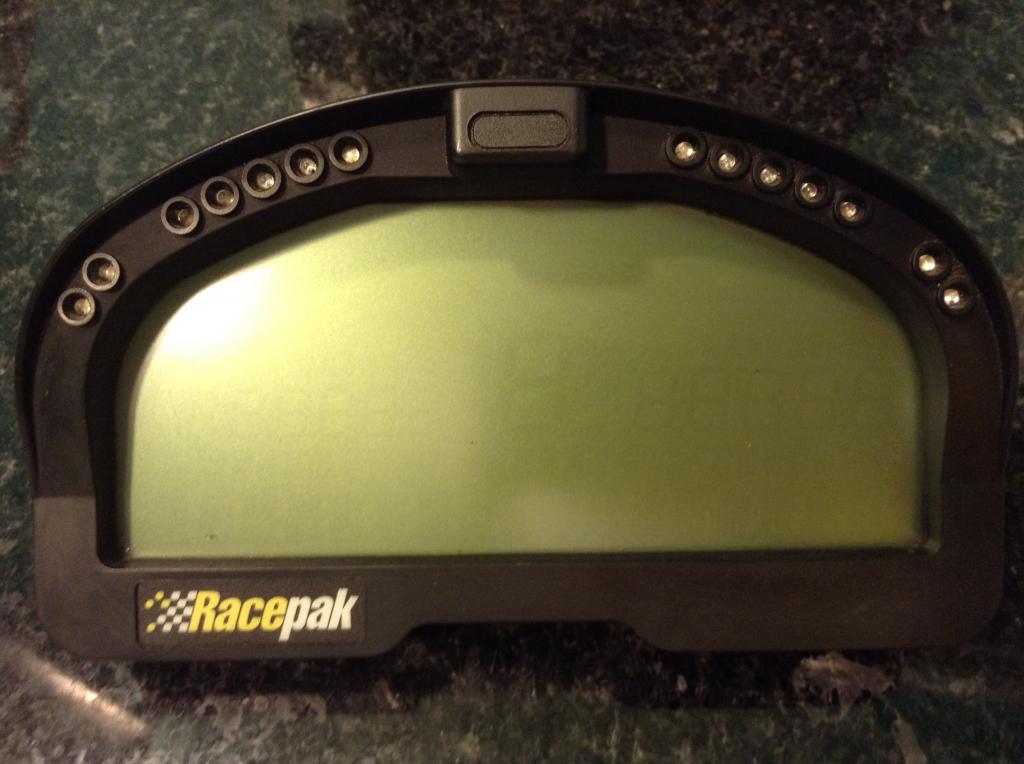
Started with this used Racepak IQ3 from the classifieds:
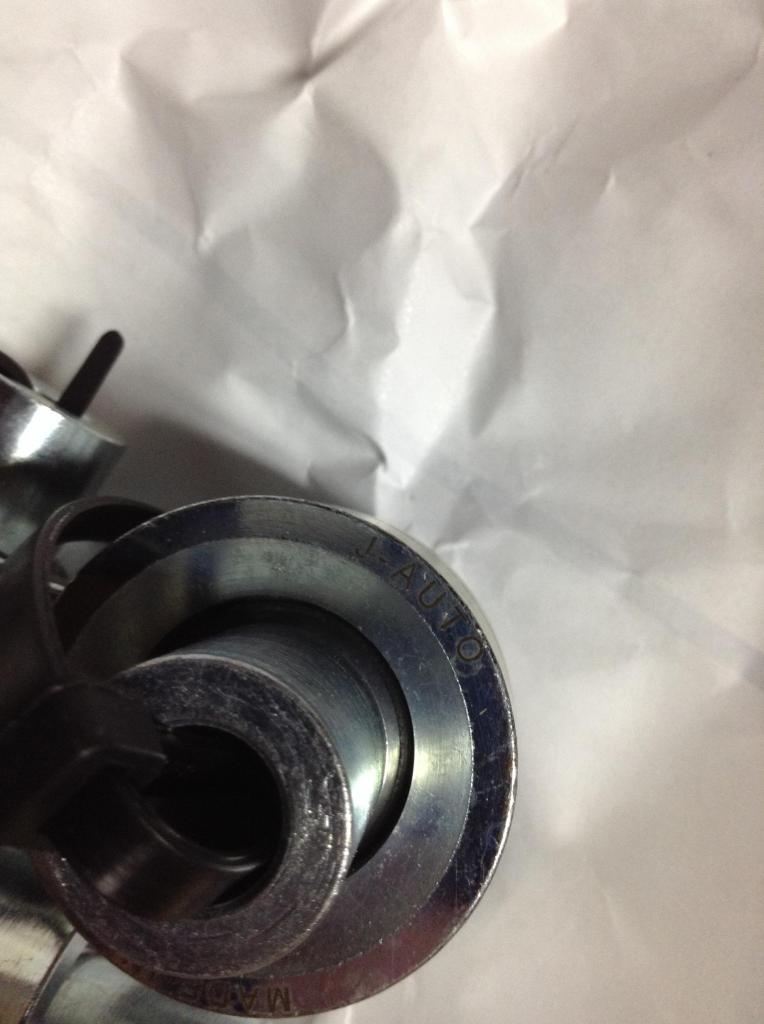
Then I saw J-Auto had a set of their own pillow ball bushings for a LOT less than Mazda OEM, so:
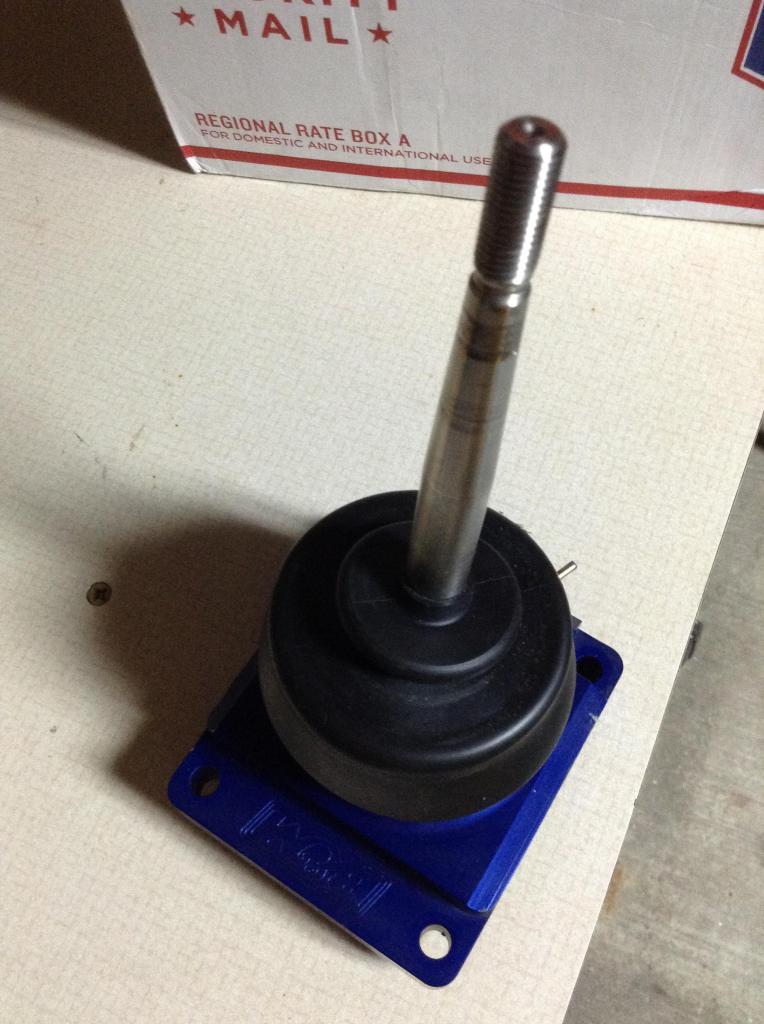
Finally, I picked up a B&M short shifter of the classifieds:
All in all, it should be interesting. I knew I wanted an Adaptronic ECU early on, so I started researching what dashes it was readily compatible with. Racepak was listed, so I kept an eye out for one. One turned up on the classifieds, and I impulse bought haha! After an email conversation with Adaptronic, I'm told I need an "EFI Interface cable" to get it hooked up. Hopefully I can get all that working later down the line. I'd like to function check the Racepak, so if anyone can help me on getting it to interface with my computer, I'd be greatful. I bought a Serial to USB cable, so I have to hook it to the computer to see if I can get it working.
Started with this used Racepak IQ3 from the classifieds:

Then I saw J-Auto had a set of their own pillow ball bushings for a LOT less than Mazda OEM, so:


Finally, I picked up a B&M short shifter of the classifieds:

All in all, it should be interesting. I knew I wanted an Adaptronic ECU early on, so I started researching what dashes it was readily compatible with. Racepak was listed, so I kept an eye out for one. One turned up on the classifieds, and I impulse bought haha! After an email conversation with Adaptronic, I'm told I need an "EFI Interface cable" to get it hooked up. Hopefully I can get all that working later down the line. I'd like to function check the Racepak, so if anyone can help me on getting it to interface with my computer, I'd be greatful. I bought a Serial to USB cable, so I have to hook it to the computer to see if I can get it working.
12-08-14, 08:31 PM
#9
Before the month is over, my goal is to have a full Super PRO bushing set, a full set of wheel bearings (front and rear), new Megan trailing arms, and new Megan toe links.
Now, I know what your saying to yourself: "Why did you order a full set of Super PRO bushings if your front UCAs and those Megan trailing arms have heim joints?" Well, I'm planning on doing something a little different. I'm going to have a machine shop make-up some fourbar links for me to replace the heim joints, looking like this:
https://www.google.com/search?q=four...ud%3B640%3B480
This way, I can use bushings made to fit stock arms. So, now you're probably thinking "why do you want to do all that?" Two reasons: 1. I can. 2. I want a little less of a rough ride. This thing will see occasional street use, and I like my tooth fillings.
Stay tuned! More to come.
 12-26-14, 06:32 PM
#11
So here's the whole Christmas haul. Not bad, if I do say so myself:

More bad news in that the body shop is still behind. It's really enraging me, but there really isn't anything I think I can do about it. My holiday wrench time is shot, so I'll be stuck with my wife's "do all this crap with the house" list. Aah, the holidays!

More bad news in that the body shop is still behind. It's really enraging me, but there really isn't anything I think I can do about it. My holiday wrench time is shot, so I'll be stuck with my wife's "do all this crap with the house" list. Aah, the holidays!
01-23-15, 06:21 PM
#12
Visited the body shop to settle up on my cage, as it was separate from the paint & body:
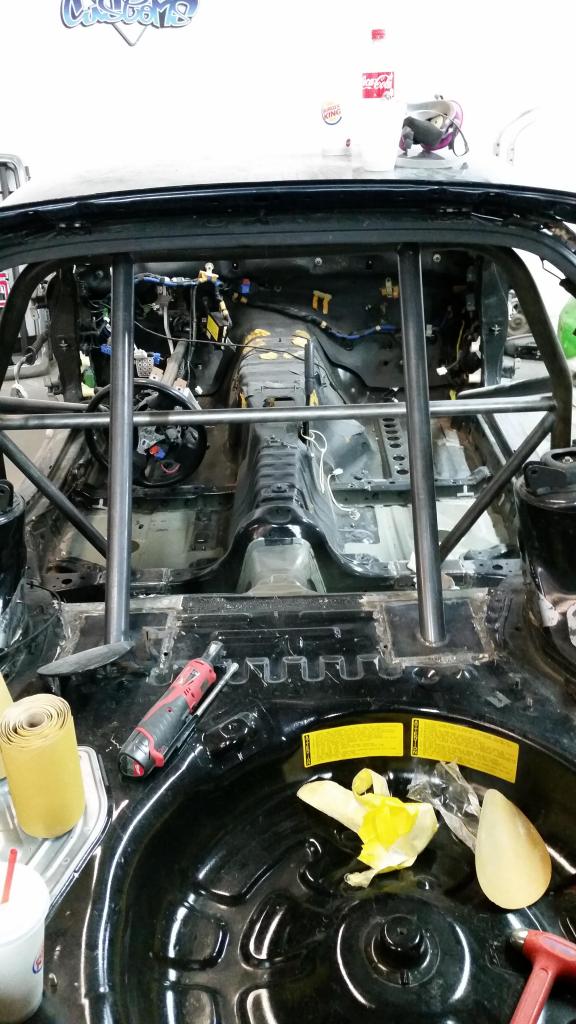
I'd say they did alright. Not surprising, they are still saying it should be another week. I picked gunmetal for the cage color, and they will be spraying the rest of the interior with a thinner bed liner coating in a battleship grey. It's getting close. In the mean time, I've been cleaning and organizing the garage. The waiting is killing me, but it's giving me more time to get the garage in proper shape.


I'd say they did alright. Not surprising, they are still saying it should be another week. I picked gunmetal for the cage color, and they will be spraying the rest of the interior with a thinner bed liner coating in a battleship grey. It's getting close. In the mean time, I've been cleaning and organizing the garage. The waiting is killing me, but it's giving me more time to get the garage in proper shape.
01-25-15, 08:55 PM
#14
I will, however, be collecting the interior pieces as I can, in the event that I want to turn this back into stock form. The roll bar will be the most radical modification I'll do to this machine, and I can always cut it out.
01-26-15, 08:53 PM
#16
Thanks! Sticking with the original Brilliant Black that came on it. Attempting to stay low-key. I did yank everything out of the engine bay so I could get that painted as well. I figured if I'm going through all the trouble of painting the rest of the car, I'd better not cut that corner.
 01-30-15, 07:24 PM
#19
Thanks, guys!
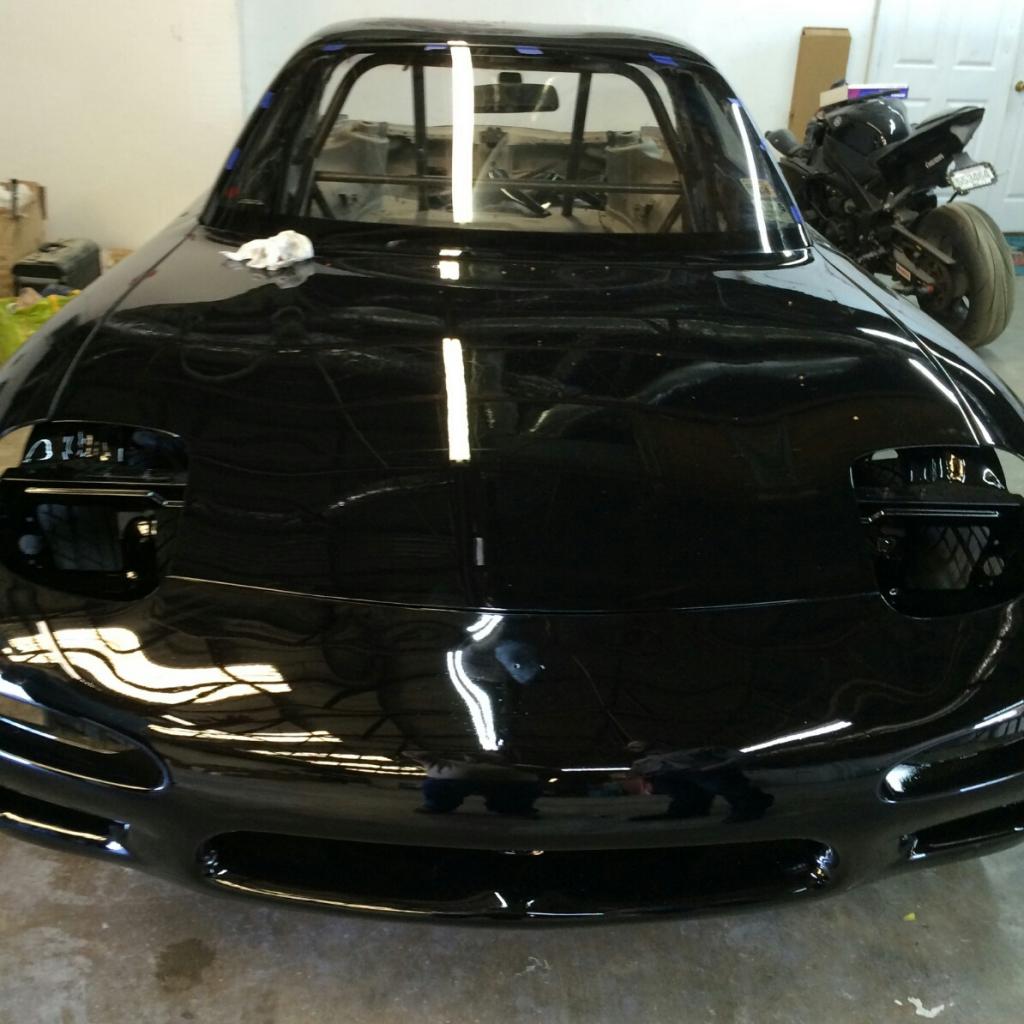
I'm told the bars are painted, and the interior has been sprayed. It's supposed to be finished this coming week, so I'll have a pic-intensive update when I get it home. Just have to hope the shop can stick to their schedule for once.
I'm told the bars are painted, and the interior has been sprayed. It's supposed to be finished this coming week, so I'll have a pic-intensive update when I get it home. Just have to hope the shop can stick to their schedule for once.
02-10-15, 06:44 PM
#20
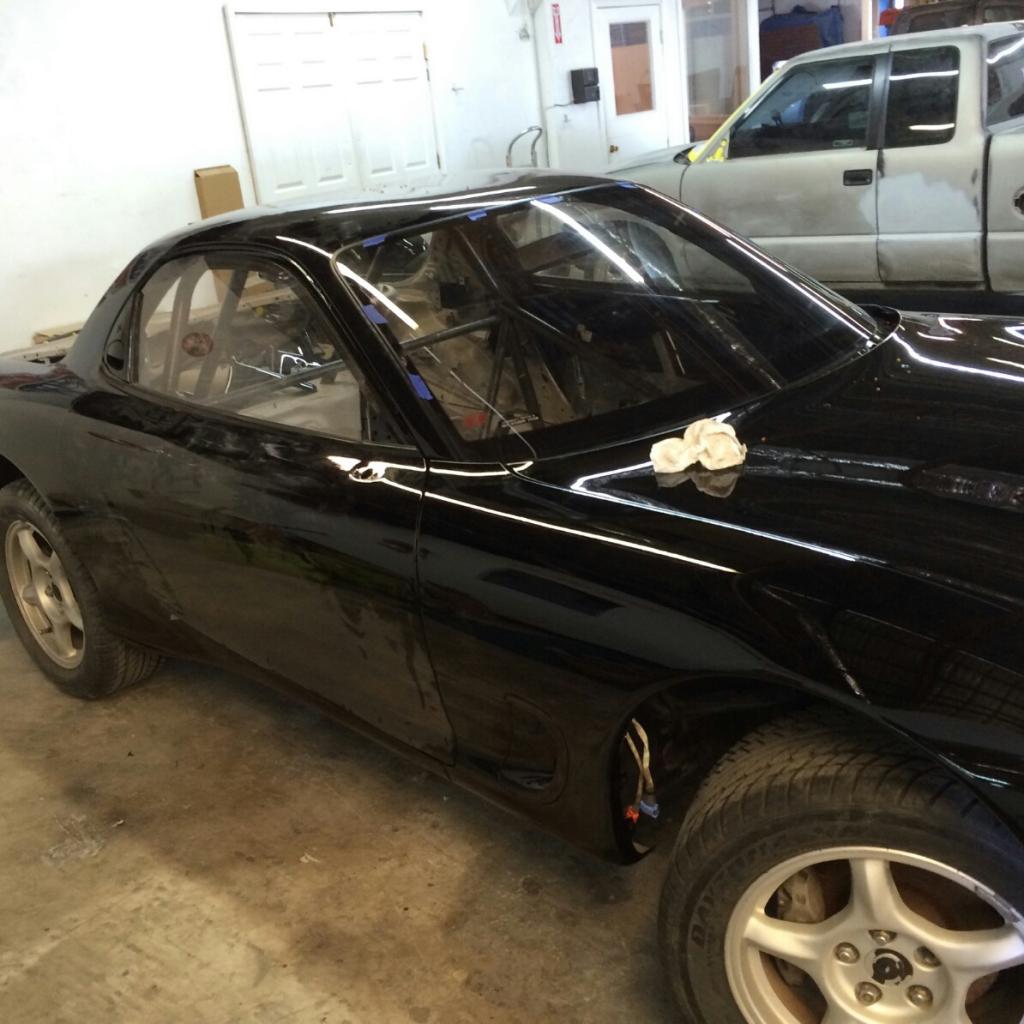
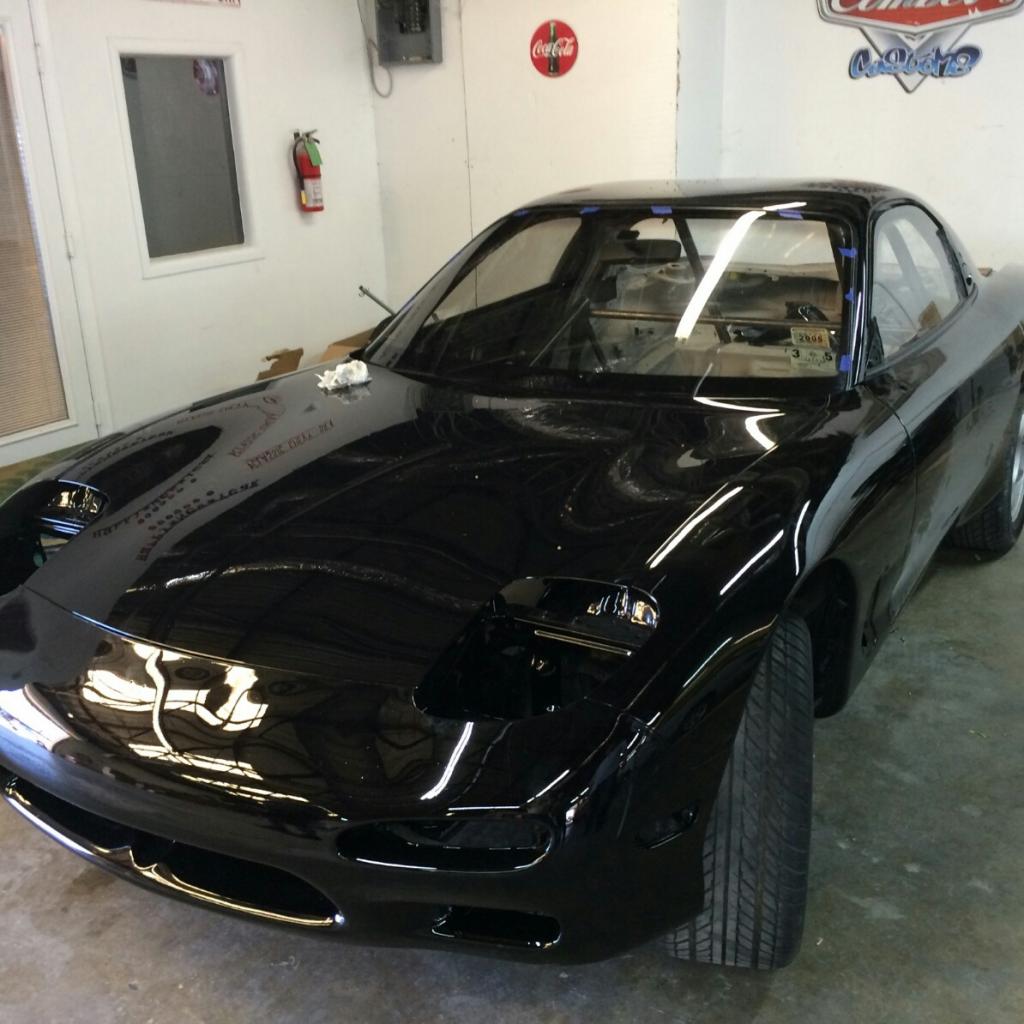
Got a bit of a sneak peek of the progress. It's supposed to be ready for inspection this Friday, but who the hell knows anymore. It was supposed to be ready for inspection in December...
Any way, the pics are promising. I'll post a bunch IF they did a good enough job to take it home. With how long it's taken, I figure the work ought to be flawless. So I'll be looking for every flaw I can find. At this point, my schedule is wrecked, so what's another few weeks.
Very slowly, but surely, we're getting there. If there's anyone in the New Orleans area that wants to know which body shops to AVOID, PM me, and I'll tell you where my car is.
Any way, the pics are promising. I'll post a bunch IF they did a good enough job to take it home. With how long it's taken, I figure the work ought to be flawless. So I'll be looking for every flaw I can find. At this point, my schedule is wrecked, so what's another few weeks.


Very slowly, but surely, we're getting there. If there's anyone in the New Orleans area that wants to know which body shops to AVOID, PM me, and I'll tell you where my car is.


 02-21-15, 08:08 PM
#22
It's a bittersweet homecoming. I'm happy to have the car back home, but I'm afraid I won't be able to get any big ticket items for awhile. Long story short, the low barrel of oil price is making the industry I work in unstable. Until things stabilize, I can't justify throwing big money at the 'Pit. In the mean time, I plan on doing odds and ends stuff. Updates won't be as frequent as I planned, but when does anything ever go as planned with a project car unless you're a multi-millionaire?
 03-24-15, 07:48 PM
#24
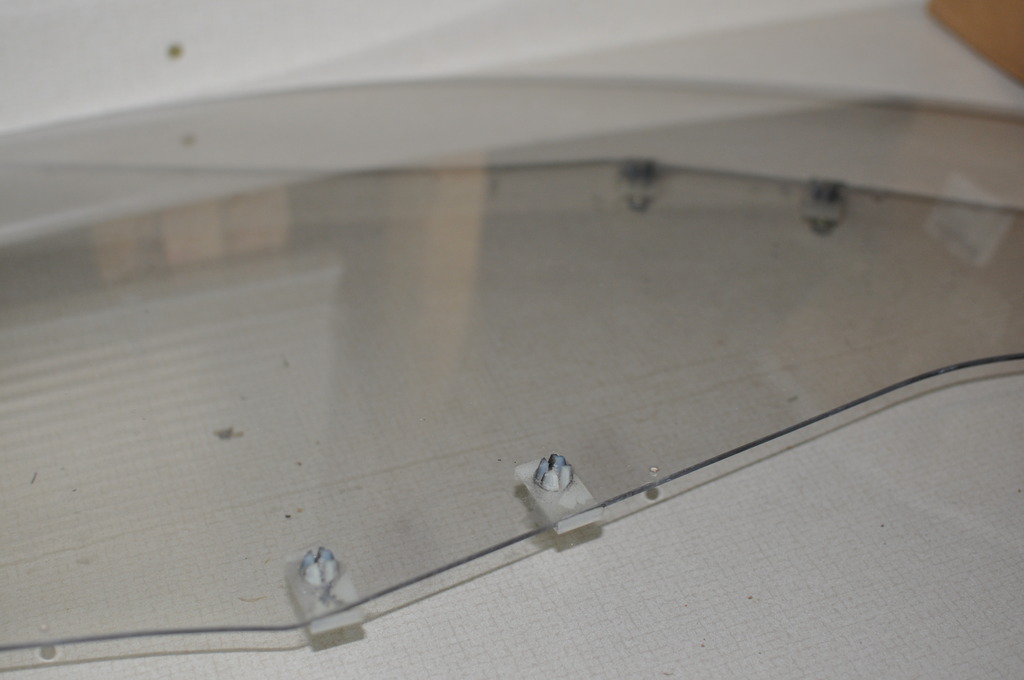
Got to work on the pit this past Sunday. Since I'm holding off on the big ticket items, I am focusing on getting odds and ends done. With a buddy's help, and a spare battery, I got the windows and mechanisms out to clean and lube. I should have taken some before shots up close, because the windows were filthy. They were also surprisingly very light weight! Here's a bunch of pictures because who doesn't like those!
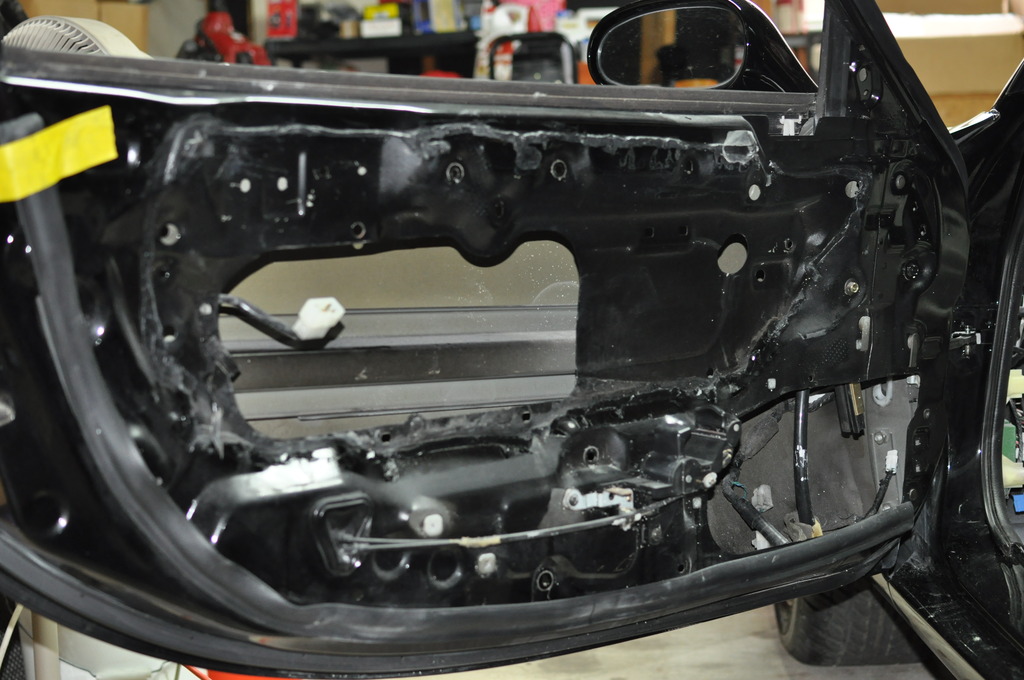
Also took out the exterior handle assemblies to service them as well

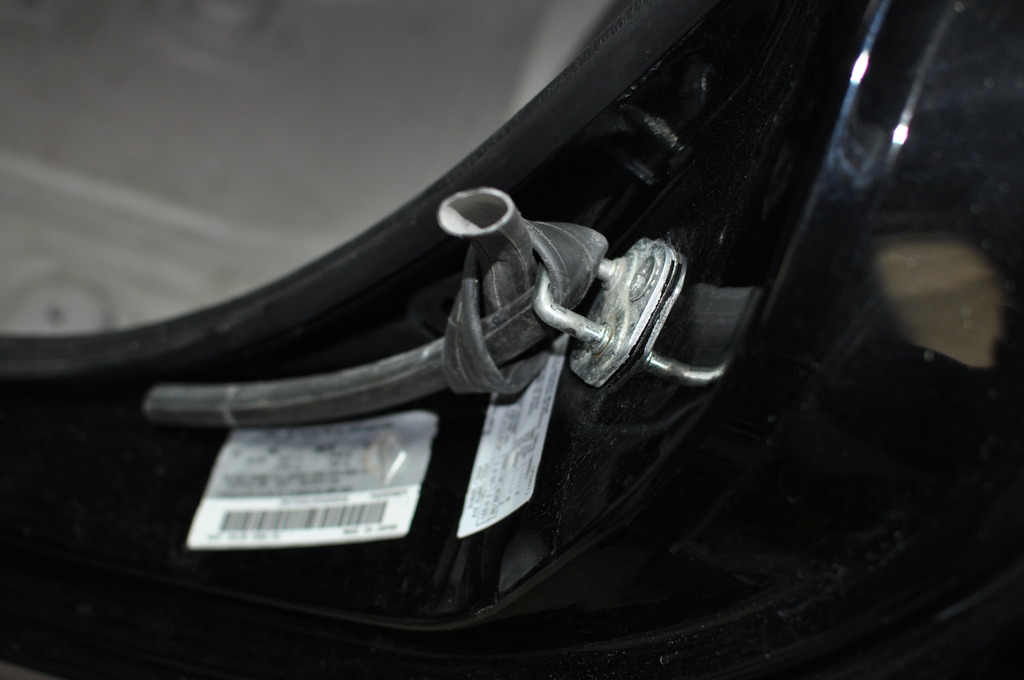
Here's my insurance policy against unwanted door latching while the handle assemblies are off
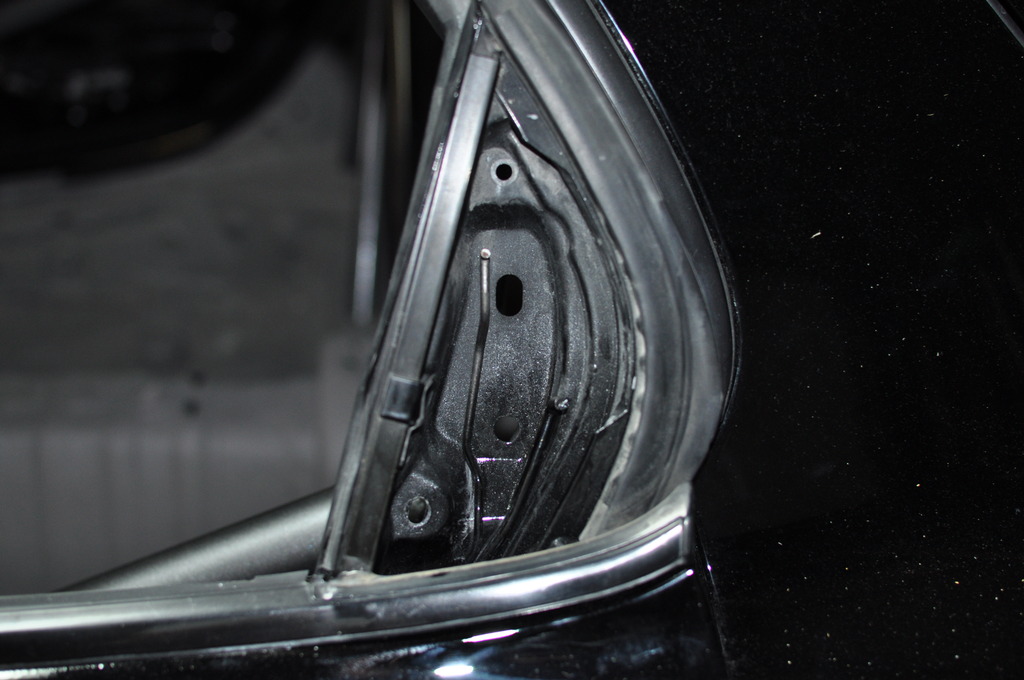
Glass out and cleaned, enough for now.
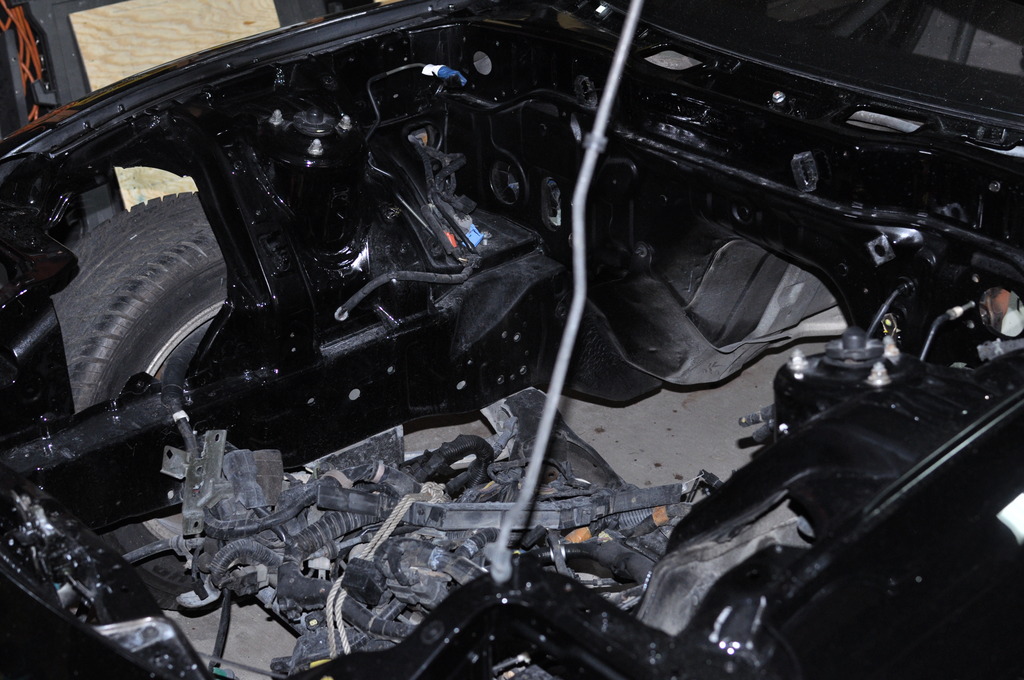
And a few random shots I took Sunday.
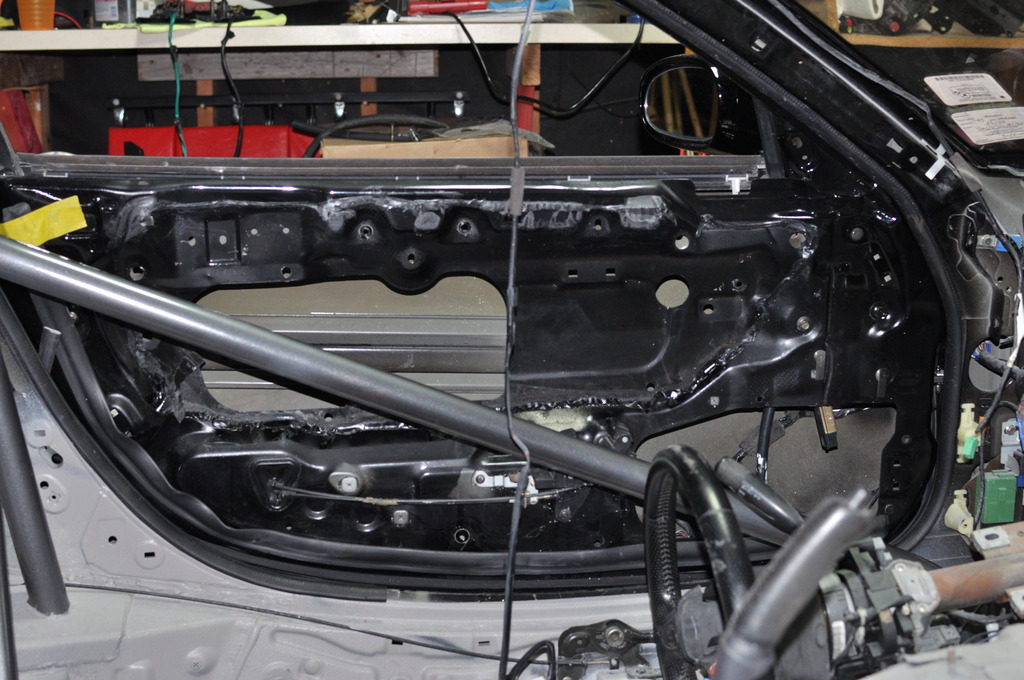
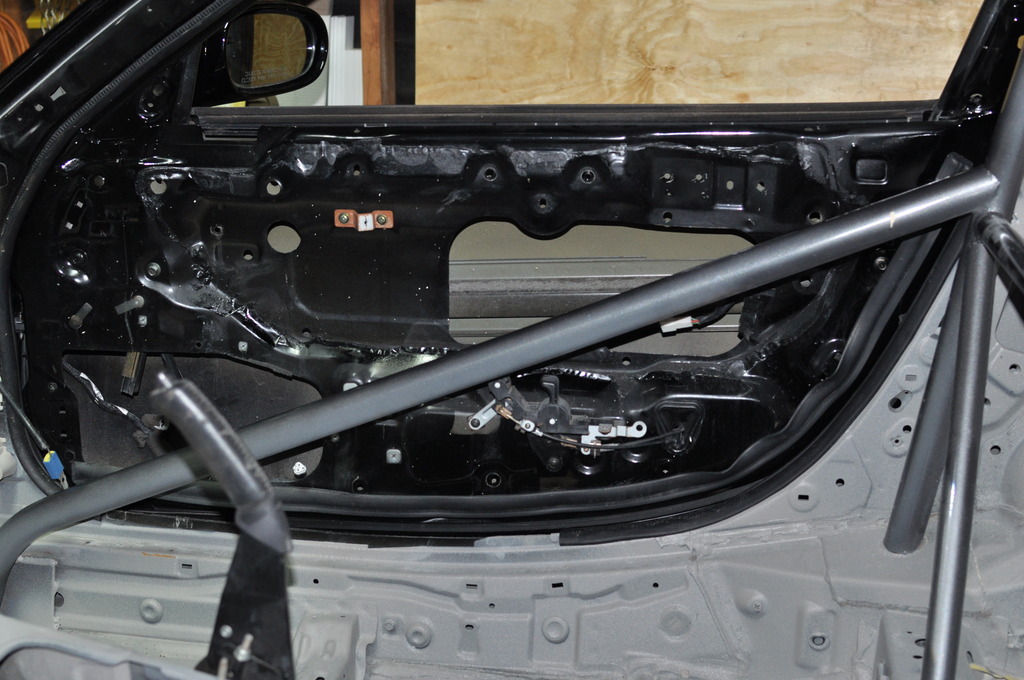

Also took out the exterior handle assemblies to service them as well


Here's my insurance policy against unwanted door latching while the handle assemblies are off

Glass out and cleaned, enough for now.

And a few random shots I took Sunday.


