Newt Gomez' Old Man Rx-7 Build


 01-15-16, 10:14 AM
#27
I am having a tough time deciding between mounting the gauges behind the factory lens or if drilling the big holes and using the speedhut trim rings like you did.
It's a tough decision.
Did you have to modify the black front cover that normally goes over the factory gauge lens?
It's a tough decision.
Did you have to modify the black front cover that normally goes over the factory gauge lens?
01-15-16, 10:25 AM
#28
Senior Member
Thread Starter

I am most likely having it tuned at Garage 808 here in Eugene because they have done excellent work on my teg, my dads Supra, and my brothers truck.
I did have to trim the hood if that's what you are talking about. If the trim rings arent used like most people do, I don't believe you have to trim the hood.
I did have to trim the hood if that's what you are talking about. If the trim rings arent used like most people do, I don't believe you have to trim the hood.
01-15-16, 06:29 PM
#30
Senior Member
Thread Starter
I know they tuned Leo (Clark?) red R1 when it was sold to Tanner and they must have done a good job because I never heard anything bad about it. It was also tuned on a Power FC. I know they also did a local rx8 and I'm sure have done a few more but I understand where you are coming from. They really specialize in Hondas and I would honestly rather have a rotary specialist tune mine but I haven't heard of any that exist in Oregon.
01-16-16, 01:08 PM
#31
I know they tuned Leo (Clark?) red R1 when it was sold to Tanner and they must have done a good job because I never heard anything bad about it. It was also tuned on a Power FC. I know they also did a local rx8 and I'm sure have done a few more but I understand where you are coming from. They really specialize in Hondas and I would honestly rather have a rotary specialist tune mine but I haven't heard of any that exist in Oregon.
Well keep us updated and whenever you get yours done maybe I'll go down there and have them tune mine as well.
01-22-16, 11:46 PM
#32
Senior Member
Thread Starter
So I hard wired my fuel pump to the battery and the car ran slightly better. Smoother shifts and slightly better running but I feel like the ignition coils need to be replaced just for safe measure and I still believe that my TPS is out of adjustment or something is out of wack. It also feels like my motor mounts or something related to motor or tranny placeholders need to be replaced because there is noticeable bucking when driving at certain points. It's hard to explain but that's what my gut says. Not really a huge update but I hope I can figure out these problems so I can get a tune.
01-25-16, 08:42 PM
#33
Senior Member
Thread Starter
So I noticed the car ran miles better after the fuel pump re wire, but it still had issues on deceleration and still bucked from time to time. So I finally tried out adjusting the TPS and it drives really smoothly now! Before I buy a Power FC, I want to change out my ignition coils and do my brakes because my pads are right around 30% and the front rotors are really warped! Only weird thing now is the idle when there are no accessories turned on is really rough. It's just below 750rpms when accessories are off, and an even pulsing 900rpms when you turn the lights or AC on.
02-11-16, 11:50 AM
#34
Senior Member
Thread Starter
I noticed some oil that got wet from todays rain in front of where I park my car so I decided to look under my car and there is no oil on the ground...Either someone else has an oil leak, or it just shot out a bunch right before I parked my car in the garage and decided to not leak when I parked it. I'm really curious where this mystery oil is coming from because it has not burnt anything since it was put back together...I know that the oil pan sweats just a little bit of oil but not enough to be a big concern. I'm considering pulling the motor just so I can clean it up, port my wastegates, and reseal my pan but I would like to know if it actually has a problem or not before I make such a big choice.
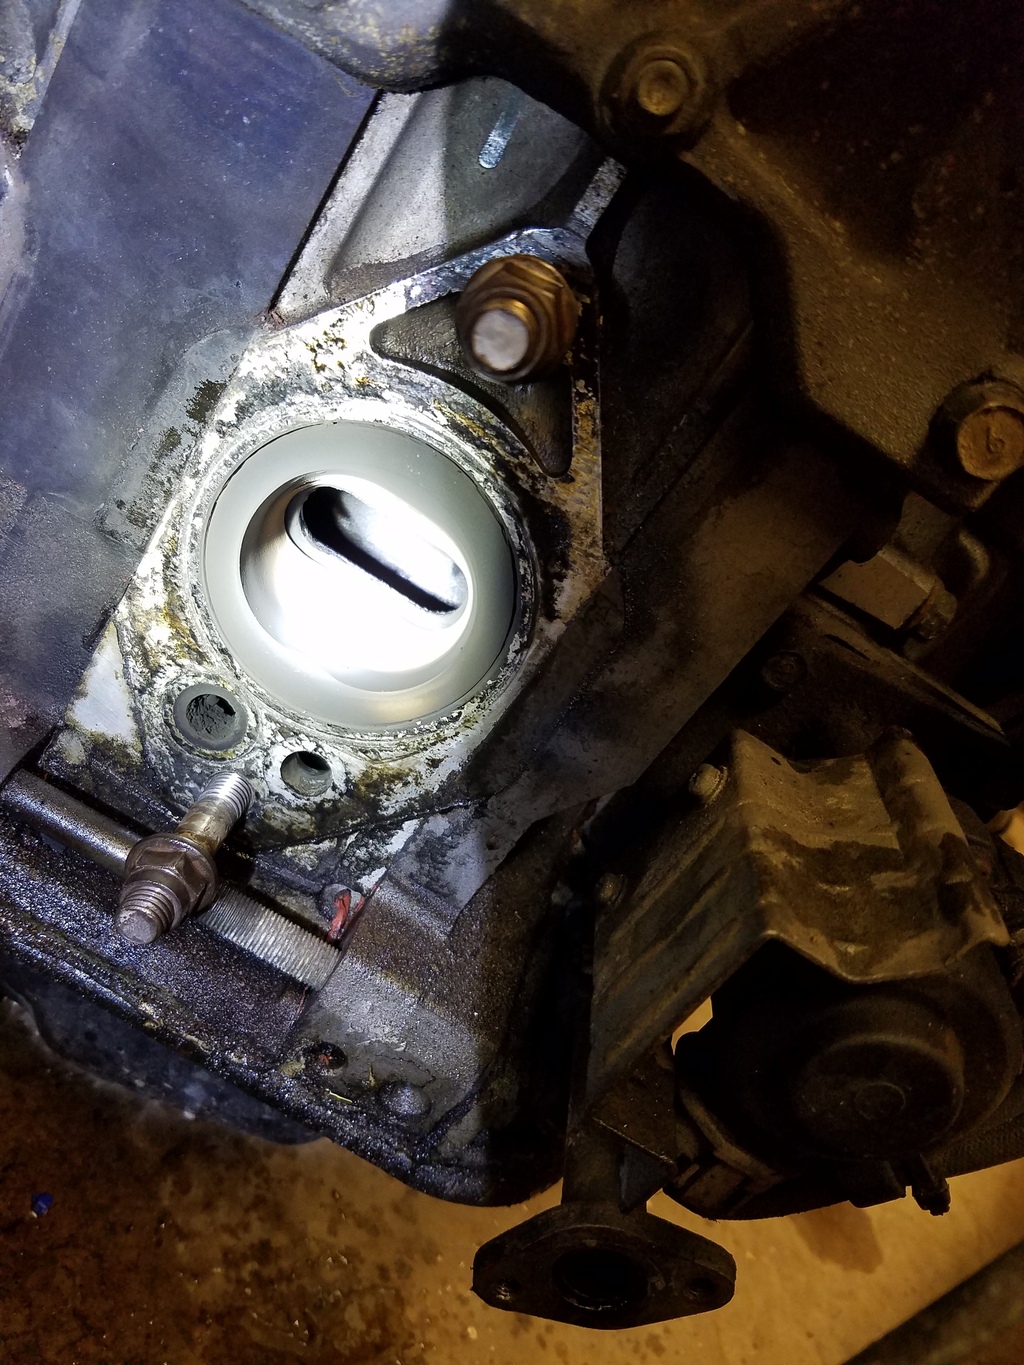
Everything runs great but at 1500rpms + or - 200 rpms, it bucks like a mother effer which leads me to believe I have crappy mounts (Also another thing I could do if I pull the motor). It's almost like it only does it at that specific range because of harmonic vibrations from the drivetrain and such.
Everything runs great but at 1500rpms + or - 200 rpms, it bucks like a mother effer which leads me to believe I have crappy mounts (Also another thing I could do if I pull the motor). It's almost like it only does it at that specific range because of harmonic vibrations from the drivetrain and such.
03-06-16, 08:54 PM
#35
Senior Member
Thread Starter
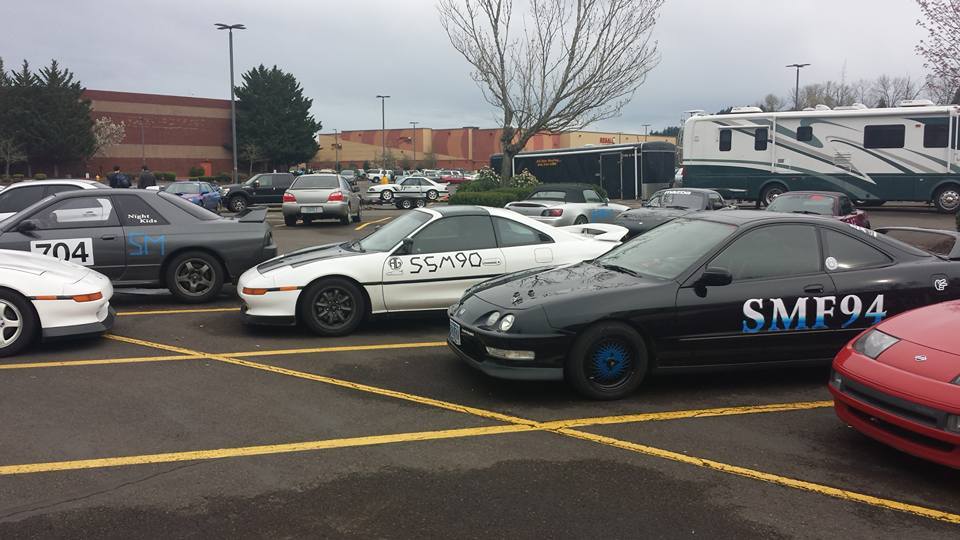
Just had the sickest weekend I have had in a long time! First off, today I got to race my racecar at the local autocross with my friends! My buddies GTR and my buddies MR2 both beat me by half a second but there isn't much I can do about having FWD lol.
Anyways! On to dorito news! I finally bought a gallon and a 16oz bottle of Red Line premix!...about 100 dollars later...
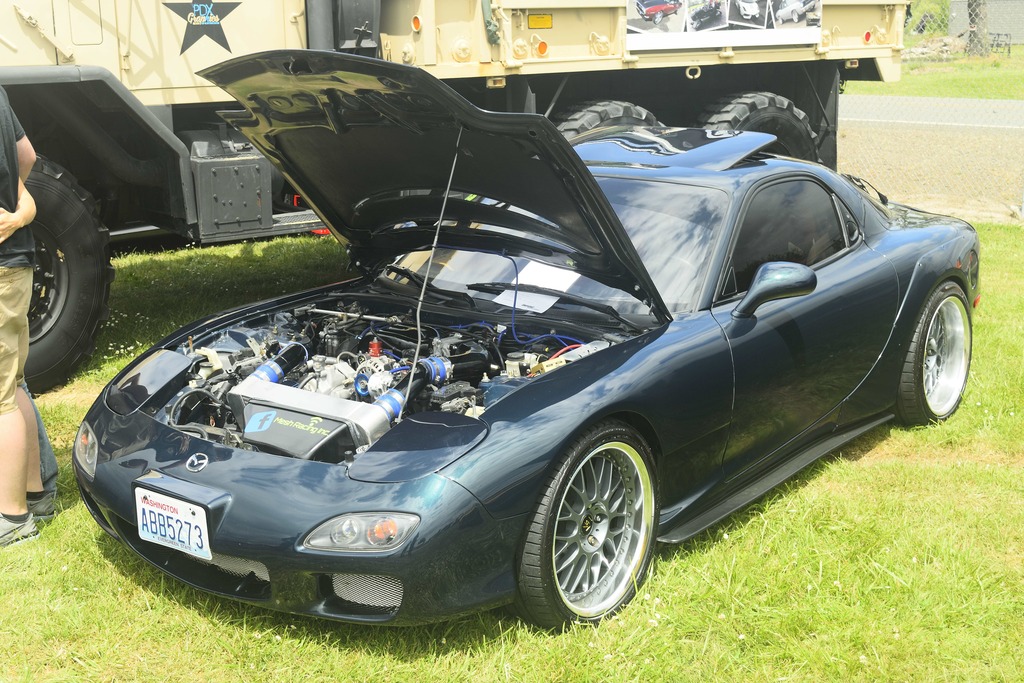
On friday there was a car meet and my buddy in his GTR showed up, a mk3 and mk4 supra showed up, I got swarmed by a ton of people in my FD (It's a nice change getting recognition for a car even if it's not the one you have poured your literal blood, sweat, and tears in to)....and then some thing happened that I really didn't think would ever happen...
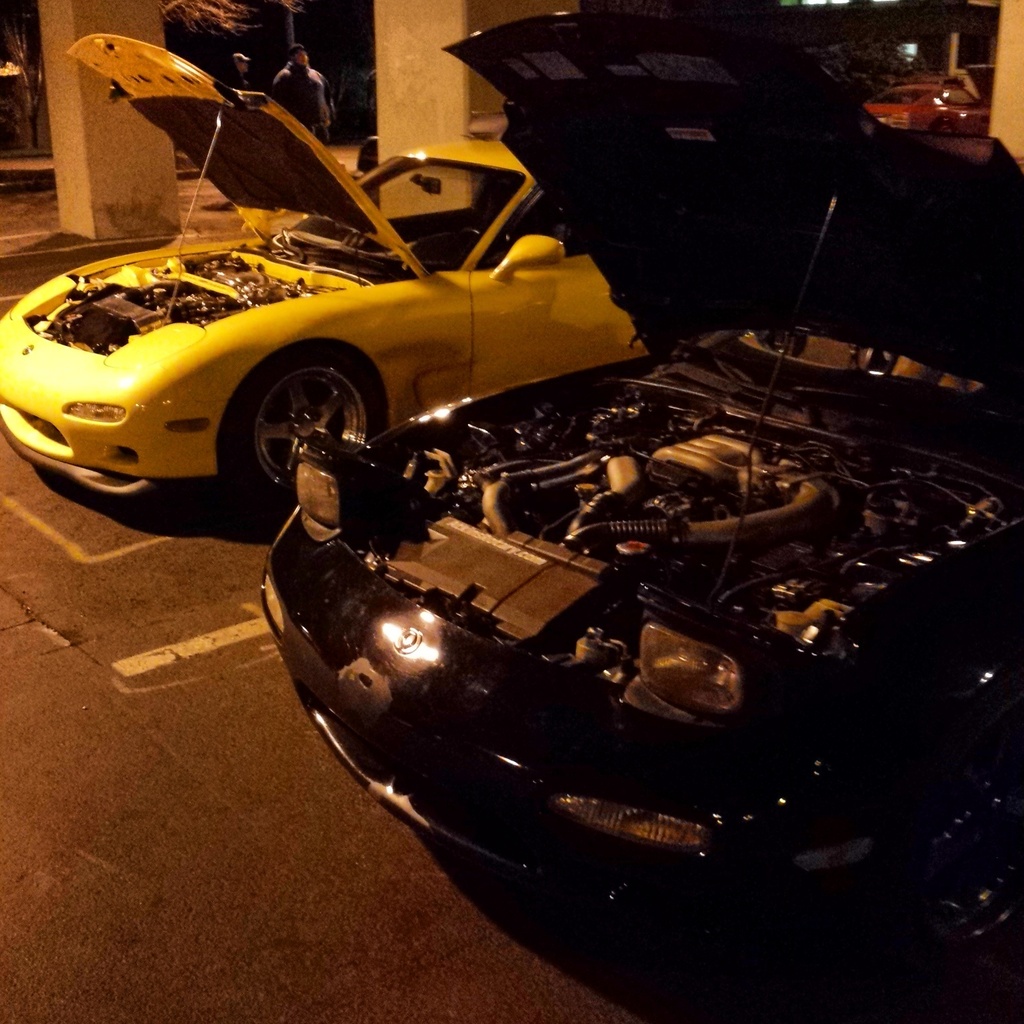
THE LEGENDARY TURBOJEFF SHOWED UP!!!!!!! It was so nice meeting another person who has an FD! I get tired of people asking me if the FD comes with twin turbos and it was a nice change. Made me realize how bad of condition my car is actually in lol.
I have been watching horsepower academy videos on how to tune and have been deeply considering tuning my car myself with the adaptronics PnP standalone unit. Everything looks pretty straight forward but I won't be tuning until I get my alignment and brakes fixed at the very least so that will give me tons of time to do research!
Anyways! On to dorito news! I finally bought a gallon and a 16oz bottle of Red Line premix!...about 100 dollars later...
On friday there was a car meet and my buddy in his GTR showed up, a mk3 and mk4 supra showed up, I got swarmed by a ton of people in my FD (It's a nice change getting recognition for a car even if it's not the one you have poured your literal blood, sweat, and tears in to)....and then some thing happened that I really didn't think would ever happen...
THE LEGENDARY TURBOJEFF SHOWED UP!!!!!!! It was so nice meeting another person who has an FD! I get tired of people asking me if the FD comes with twin turbos and it was a nice change. Made me realize how bad of condition my car is actually in lol.
I have been watching horsepower academy videos on how to tune and have been deeply considering tuning my car myself with the adaptronics PnP standalone unit. Everything looks pretty straight forward but I won't be tuning until I get my alignment and brakes fixed at the very least so that will give me tons of time to do research!
04-29-16, 09:05 AM
#36
Senior Member
Thread Starter
I finally got around to getting my tax money which means that my order of an Adaptronics select ecu has been placed through IRP! I also received my Innovate mtx-l wideband in the mail a week ago and just received my aluminum defrost vent from the group buy. Taking a term off from school was the best thing I ever did! I plan on porting my wastegates and getting new exhaust gaskets and re sealing my oil pan before the ecu goes in. It's nice to finally get some needed progress on this car!
05-01-16, 08:40 PM
#37
Senior Member
Thread Starter
Eugene had their first cars and coffee today so I decided to take the 7 and watch some mustangs kill some crowds! Lots of neat 60s european cars were there. Tons of subarus and miatas. Pretty much the usual for the area but it was fun talking to friends!

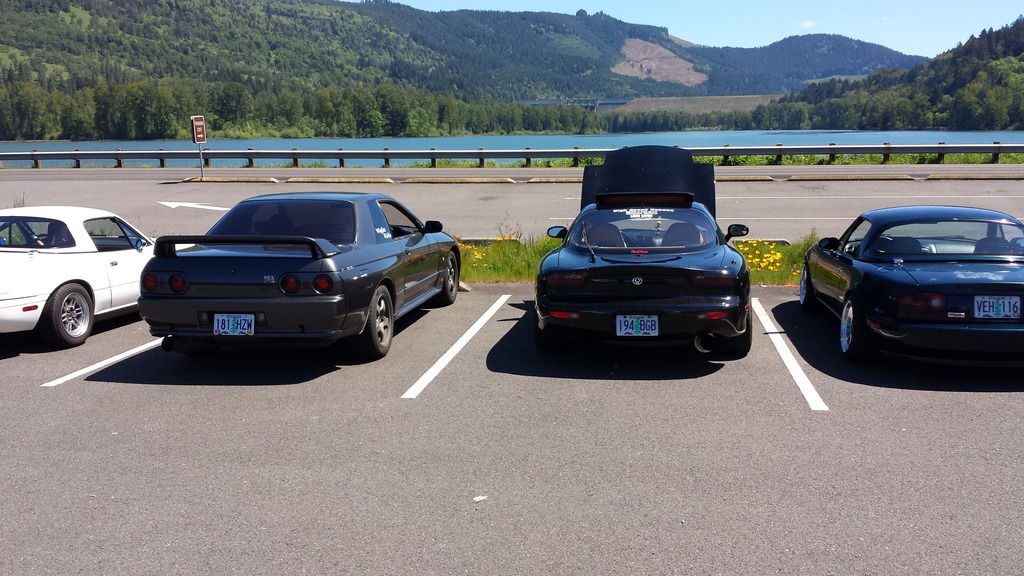
Decided that we shouldn't let the sunshine go to waste and headed up highway 58 to the Dexter reservoir! Met a guy up there with a bridgeport 12a in an FB. He was a pretty cool guy. Left to right is an NA miata, R32 GTR, myself, and another NA miata.
And I finally got around to spending an hour ish cussing and putting on my LRB group buy defrost vent. Looks great and is well made. Its just a pain working in that area and the retaining clips have to be in the perfect spot for the vent to be screwed in to.

Decided that we shouldn't let the sunshine go to waste and headed up highway 58 to the Dexter reservoir! Met a guy up there with a bridgeport 12a in an FB. He was a pretty cool guy. Left to right is an NA miata, R32 GTR, myself, and another NA miata.

And I finally got around to spending an hour ish cussing and putting on my LRB group buy defrost vent. Looks great and is well made. Its just a pain working in that area and the retaining clips have to be in the perfect spot for the vent to be screwed in to.
 05-08-16, 03:56 PM
#38
Senior Member
Thread Starter

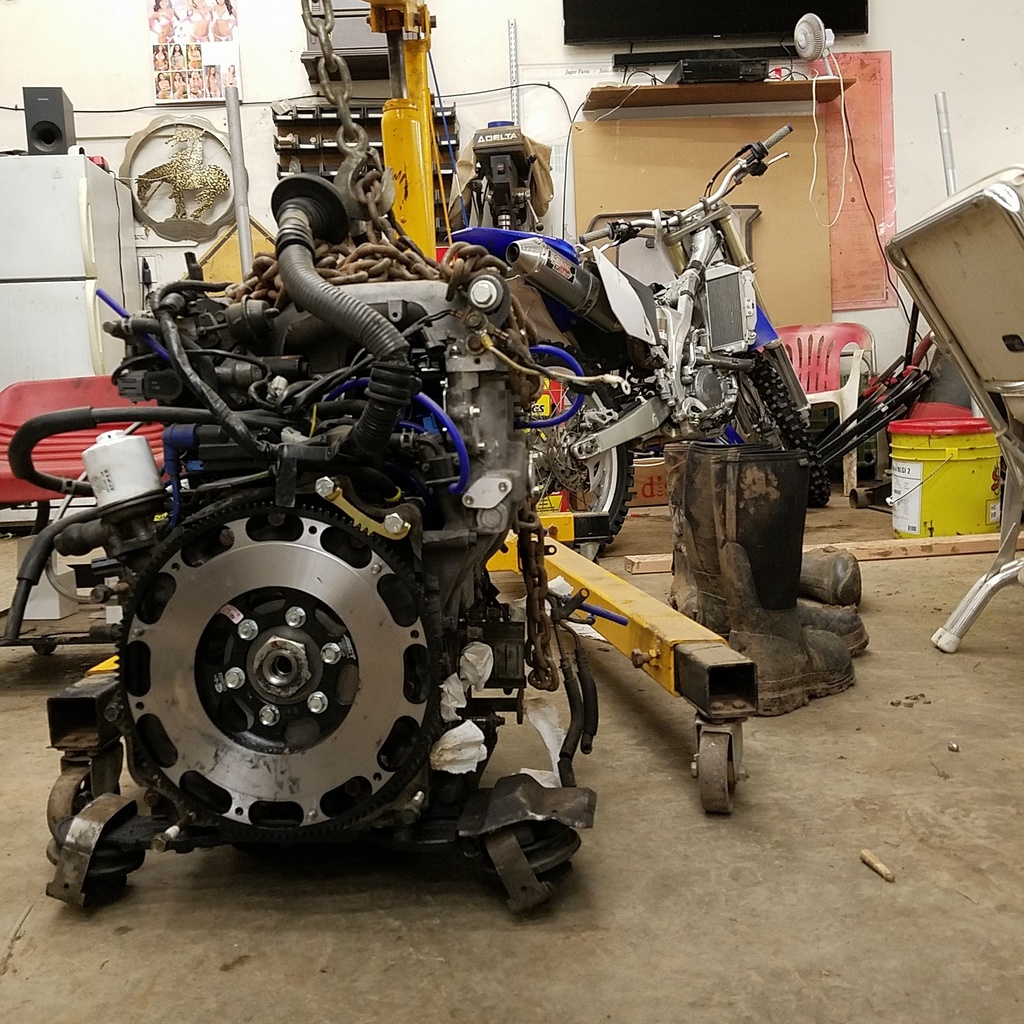
My face basically says it all. Finally got the motor pulled and started around 4:30pm and I got done at midnight. I had no one to help me which made it way harder than it should have been. The driver side motor mount caught on the subframe and made it a real PITA to lift the motor out. After probably an hour of lowering and raising and prying and getting under the car it finally came loose...then I fought the downpipe catching on some of the tunnels bent tin metal. Whoever messed with pulling out the motor and tranny the first (and possibly second) time really messed that tunnel metal up. They also did a shotty job with the sensor wiring on the tranny.
Also, when I pulled the midpipe, it had a badge that said Ichiba. Is that some sort of rare part I have never heard of?
Things to replace before even looking at the motor and tranny:
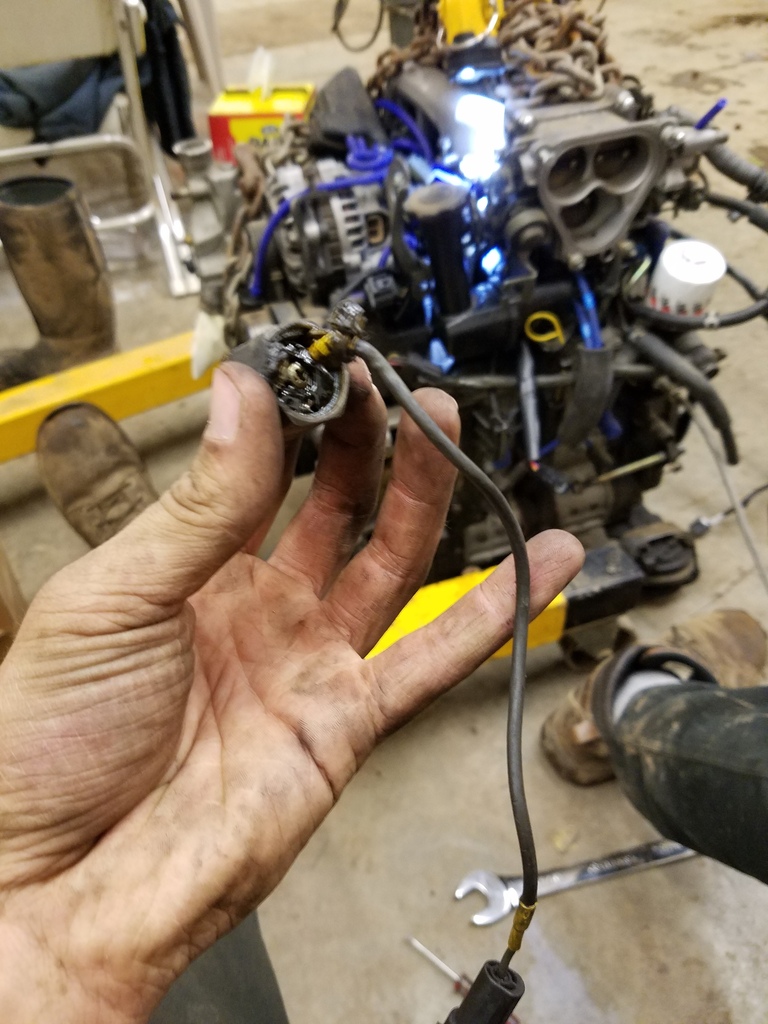
Alternator plug pigtails (Broke on me when I went to pull it out of the way)
Driveshaft seal on the end of the tranny
Permatex grey for the oil pan
Complete exhaust system gaskets
A/C lines that hook up to the compressor (Leaked freon everywhere when I pulled the compressor out of the way)
Replace my oil pressure sender
Check clutch, flywheel, and rear main seal when pulling apart the tranny
Replace slave cylinder just as a precaution
Spark plugs to 7s and 9s
Oil and coolant lines on the turbos
Heater core hose on the driver side
Center speaker gauge pod (Anyone know of any 3 hole 52mm pods?)
One thing I noticed when pulling the ecu wires is that there was a control box on the back of the ecu and I have no idea if it was for the auto tranny or if it's for the ABS or SRS system.
Can anyone think of anything that is usually overlooked when pulling a motor? I don't want to have to do this again until the motor goes out on me.
05-19-16, 08:02 PM
#39
Senior Member
Thread Starter
Had some time to order some parts today!
New set of plugs
Ignition wire sub harness
Dual gauge pod for the center speaker (No more eyesore)
Rotary double sensor egt gauge from Pineapple Racing
Knock sensor because the old one won't stop leaking and it's driving me up a wall looking at it
I have yet to start cleaning and tearing stuff apart due to time restrictions and because I want to film some of it and my friend has my camera.
05-27-16, 07:14 PM
#40
Senior Member
Thread Starter
So I pulled off my downpipe and one stud didnt come out because the nut free spun on the stud...So after about an hour of welding, heating, vice gripping, cussing, and grinding....I finally got the nut off and sent the downpipe off to get a bung welded in for my innovate wideband.
Then it got interesting! I pulled on my wastegate arms to see if they would move because they moved on my tegs turbo...No luck. They seem to be frozen in place. Then I started pulling off nuts that were all stuck on the studs...great... Then I finally pulled the turbos off of the exhaust manifold and set them on the ground and this is what I see..
Not good not bad from a distance...then I took a closer look...
They're cracked all the way through!!!!! Not good...Then I go deeper in to the motor...
Then I look at the OMP which is surrounded by oil I can only assume.
Doesn't tell me a whole lot. Here are some shots of the engine. I partially cleaned off the spark plug side already.
Then there were the exhaust ports...
This pic you might be able to see it but the rotors are CAKED in carbon from having emissions on it before I got the car I assume...The apex seals and what I can see from the housings look like they're in perfect condition. No chips or wear spots anywhere inside of the motor.
So now the two options are
1. Replace the twins and continue with my process
2. Get a turbo kit, go single, and never look back
Any input would be appreciated.
Also on a side note, the motor has no water, oil, or gas in it and will be sitting for a couple months to where I can figure this out so what precautions can I take to preserve my motor?
Then it got interesting! I pulled on my wastegate arms to see if they would move because they moved on my tegs turbo...No luck. They seem to be frozen in place. Then I started pulling off nuts that were all stuck on the studs...great... Then I finally pulled the turbos off of the exhaust manifold and set them on the ground and this is what I see..

Not good not bad from a distance...then I took a closer look...


They're cracked all the way through!!!!! Not good...Then I go deeper in to the motor...

Then I look at the OMP which is surrounded by oil I can only assume.

Doesn't tell me a whole lot. Here are some shots of the engine. I partially cleaned off the spark plug side already.


Then there were the exhaust ports...

This pic you might be able to see it but the rotors are CAKED in carbon from having emissions on it before I got the car I assume...The apex seals and what I can see from the housings look like they're in perfect condition. No chips or wear spots anywhere inside of the motor.

So now the two options are
1. Replace the twins and continue with my process
2. Get a turbo kit, go single, and never look back
Any input would be appreciated.
Also on a side note, the motor has no water, oil, or gas in it and will be sitting for a couple months to where I can figure this out so what precautions can I take to preserve my motor?
05-29-16, 06:28 PM
#41
Senior Member
Thread Starter
Got to enjoy some sun this weekend with my girlfriend and my Integra. It's pretty sad seeing the 7 all apart but I'll just have to face it that it will be my summer project. Anyways, I went to IFO in Woodburn and I'm pretty sure I spotted a member on my way out. The widebody kit looks so nice in person with the well taken care of paint. It's nice to see Rx7s with the rotary dream still going. There was a yellow first gen and a blue rx3 with a pineapple racing sticker on it that I took videos of and will post when I get around to it.
Overexposed picture but I kind of don't care about professional looking shots when I'm at a show.

Overexposed picture but I kind of don't care about professional looking shots when I'm at a show.
06-19-16, 06:14 PM
#42
Senior Member
Thread Starter
Looks like I need to spend even more money on this car...the bills keep piling up the more I take apart! But it's such a good time to replace everything so why not!
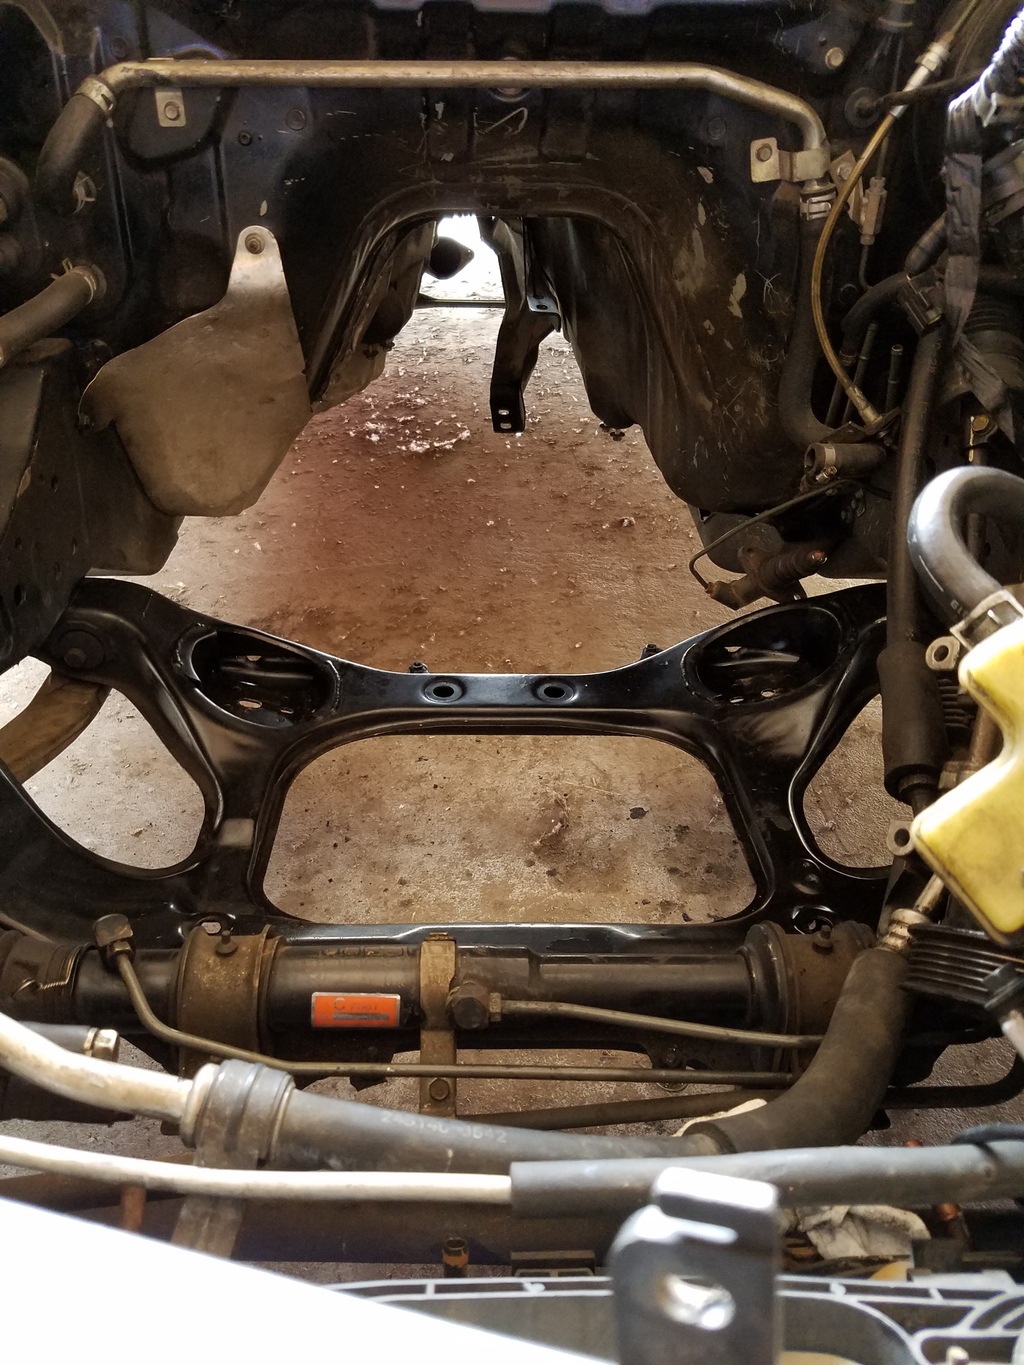
Today, I hammered some of the sheet metal in the tunnel somewhat out of the way because one of the previous owners bent the metal when pulling the tranny at some time. I also cleaned off the subframe and some parts around it and decided that was enough for now. On a side note, I am debating taping off some of the engine bay and touching up some of it with black. Would any auto part store black be just fine for matching the paint, or should I just buck up and buy a couple cans of Brilliant Black?
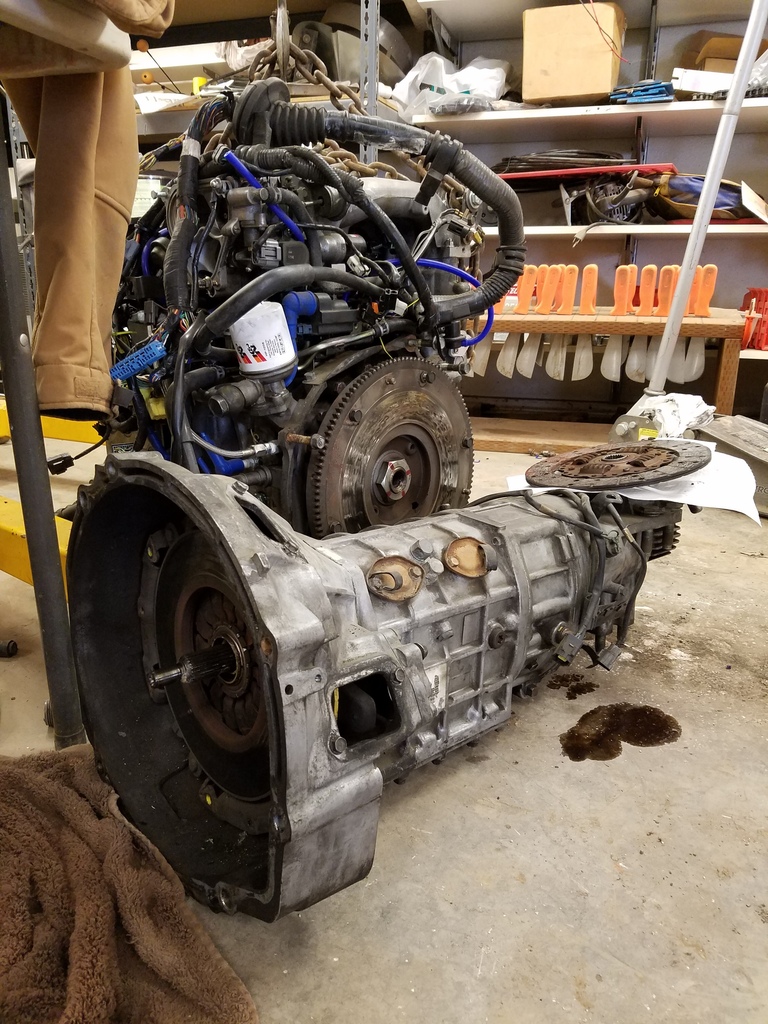
After dealing with the chassis, I finally got motivated to separate the tranny from the motor! That was by far the easiest separation I have ever done and that's most likely because it was out of the car and I could use an impact gun on all of the bolts!
So from what I can tell, it looks like the clutch and possibly the tranny swap was done around 2003! Wow that was some time ago! Running a finger across the clutch and flywheel was bumpy from material so I think it's time for this clutch and flywheel to go bye bye! The markings on the clutch say DK which makes it seem like an exedy clutch but usually those are silver or purple from what I generally see. My guess would be some street ACT clutch that is sprung. Serial numbers also don't come up with anything when I go to google.
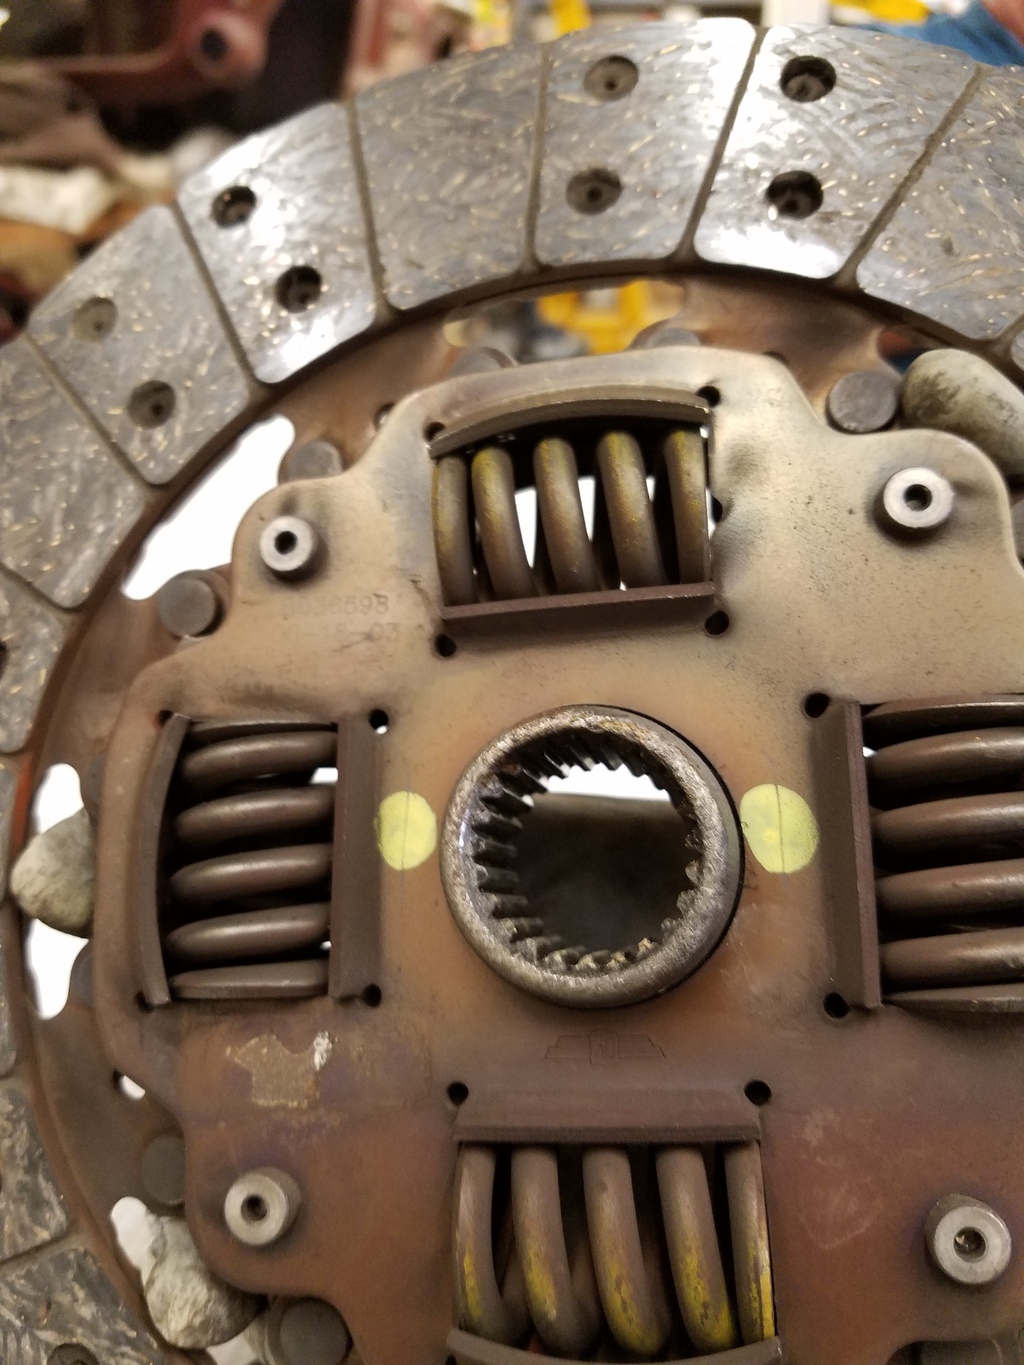
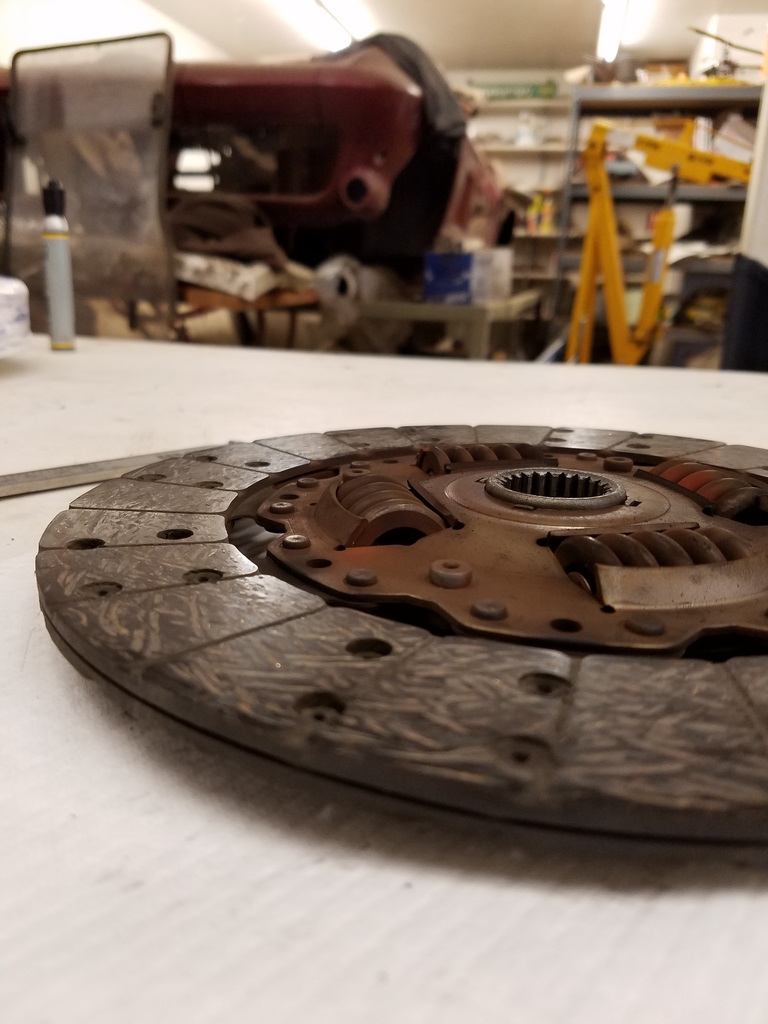
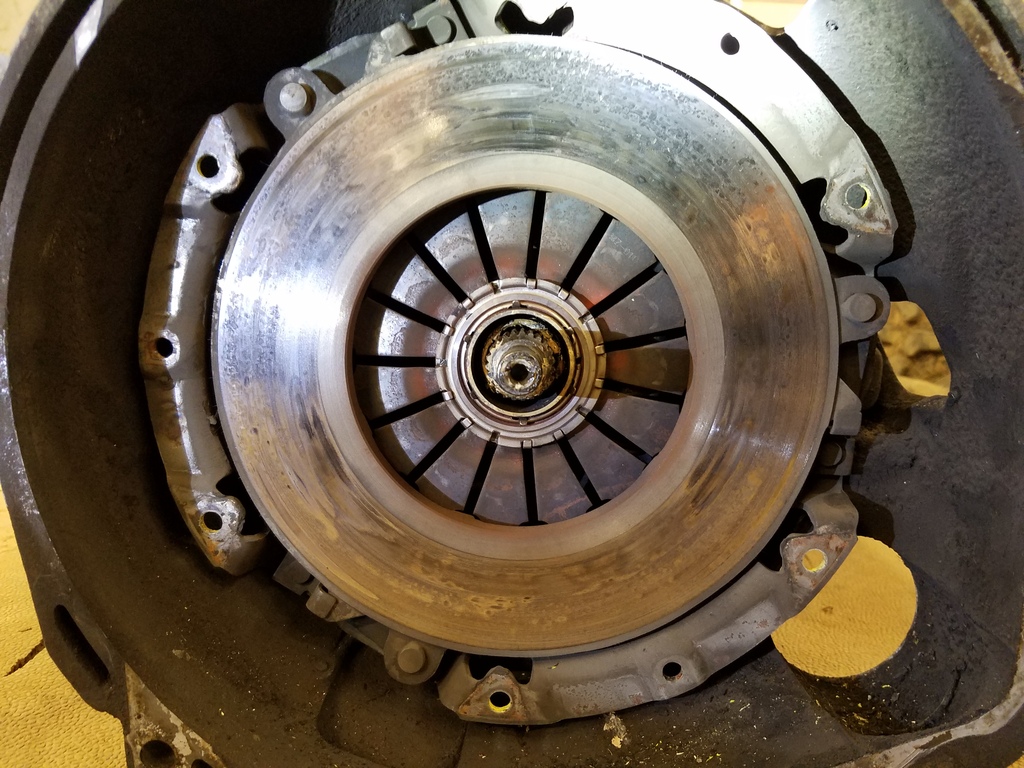
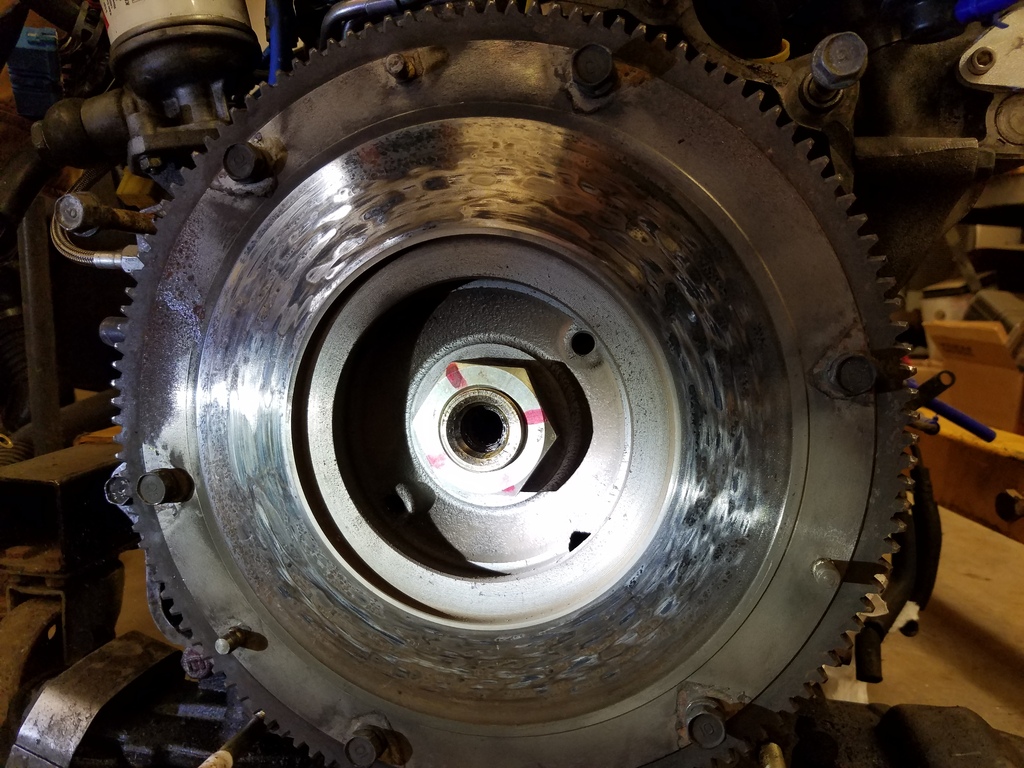
This last one was a picture behind the flywheel. I expected a counterweight but it almost seems as if it's an OEM flywheel. There doesn't look to be a whole lot of leaking out of the rear main seal so I'm on the fence about replacing it. The flywheel will be replaced by a lightweight unit and a clutch good enough for 400hp. I could probably get by with a resurface but I am patient and don't cut corners.
Anyways, cheers to more spending!
Today, I hammered some of the sheet metal in the tunnel somewhat out of the way because one of the previous owners bent the metal when pulling the tranny at some time. I also cleaned off the subframe and some parts around it and decided that was enough for now. On a side note, I am debating taping off some of the engine bay and touching up some of it with black. Would any auto part store black be just fine for matching the paint, or should I just buck up and buy a couple cans of Brilliant Black?

After dealing with the chassis, I finally got motivated to separate the tranny from the motor! That was by far the easiest separation I have ever done and that's most likely because it was out of the car and I could use an impact gun on all of the bolts!

So from what I can tell, it looks like the clutch and possibly the tranny swap was done around 2003! Wow that was some time ago! Running a finger across the clutch and flywheel was bumpy from material so I think it's time for this clutch and flywheel to go bye bye! The markings on the clutch say DK which makes it seem like an exedy clutch but usually those are silver or purple from what I generally see. My guess would be some street ACT clutch that is sprung. Serial numbers also don't come up with anything when I go to google.


This last one was a picture behind the flywheel. I expected a counterweight but it almost seems as if it's an OEM flywheel. There doesn't look to be a whole lot of leaking out of the rear main seal so I'm on the fence about replacing it. The flywheel will be replaced by a lightweight unit and a clutch good enough for 400hp. I could probably get by with a resurface but I am patient and don't cut corners.
Anyways, cheers to more spending!
06-28-16, 02:30 PM
#43
Senior Member
Thread Starter
Not much of an update since I went to Cabelas and bought a P90...OOPS! Lol.
My car is being moved around the farm from a storage bay to a smaller enclosed building in my dads backyard since we need the bay for seed storage. My friends went to move my car and found a dead mouse and a few maggots...greattttt... vacuumed everything out and cleaned the carpet where everything was at and am going to leave a cup of vinegar in the car until I put the motor back in a few months from now. It really sucks not being able to drive it during the sunniest time of the year.
My car is being moved around the farm from a storage bay to a smaller enclosed building in my dads backyard since we need the bay for seed storage. My friends went to move my car and found a dead mouse and a few maggots...greattttt... vacuumed everything out and cleaned the carpet where everything was at and am going to leave a cup of vinegar in the car until I put the motor back in a few months from now. It really sucks not being able to drive it during the sunniest time of the year.
06-29-16, 08:57 PM
#44
Senior Member
Thread Starter
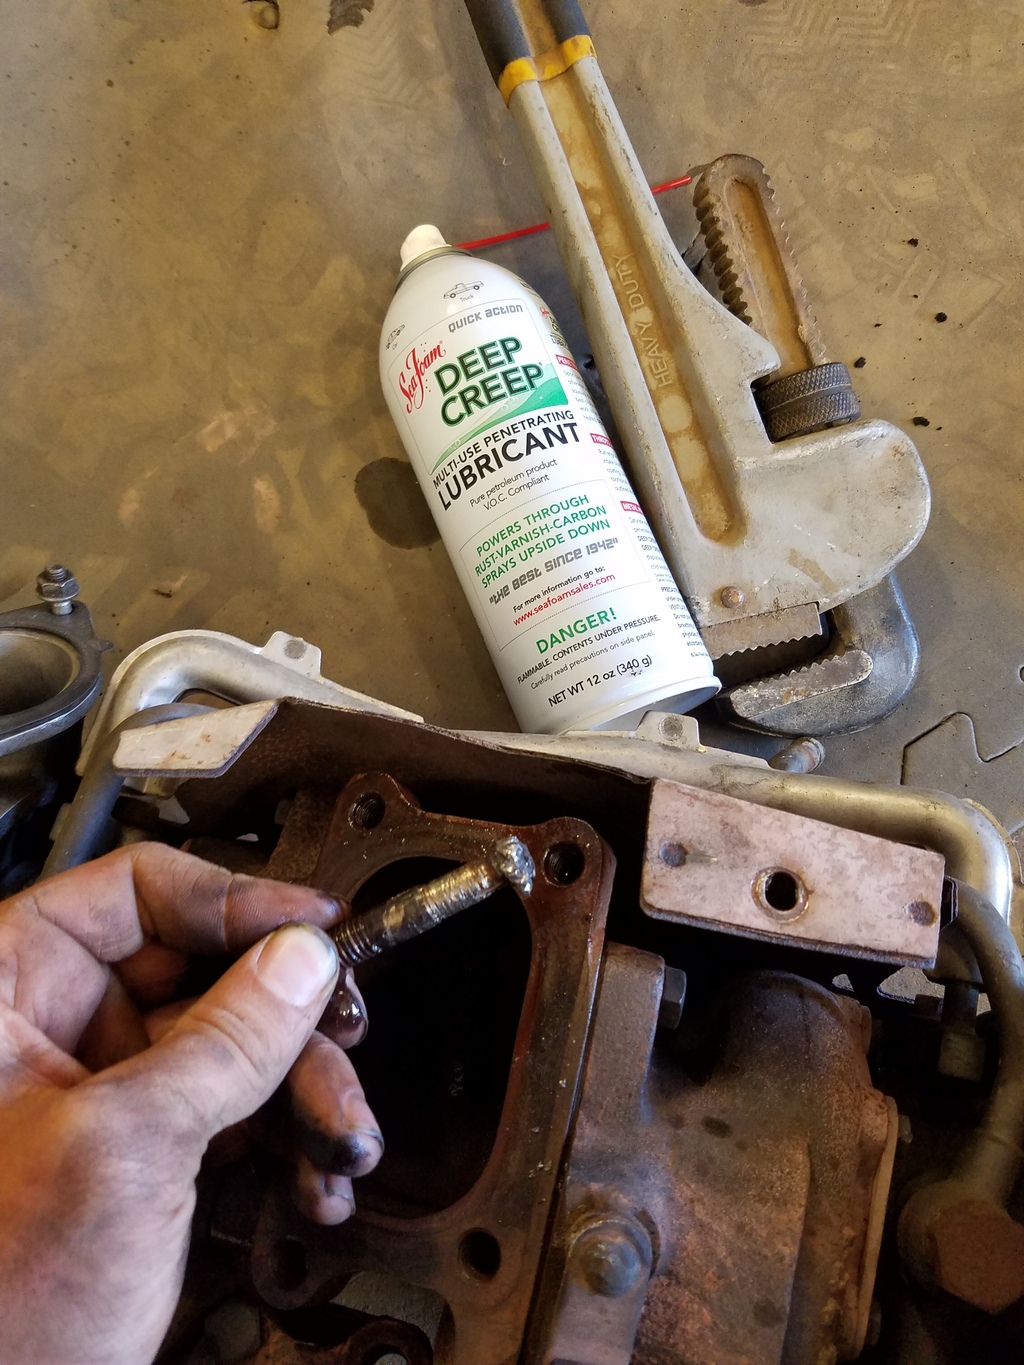
My dad bought some stuff from sea foam and its supposed to be a lubricant and a cleaner. Well I used it on my stuck stud and it actually soaked through unlike PB Blaster, wd40, and freeze off. Another thing I used was a pipe wrench to give a lot of torque because my dad took the good pair of vice grips to work on his boat. The pipe wrench worked great! I never would have guessed to use one because I usually have great success with good vice grips. Hopefully this can help out other people with stud problems!
 09-04-16, 07:05 PM
#45
Senior Member
Thread Starter
Not much has happened with this car lately but I am NOT losing motivation! I have been slowly ordering everything I need and the two big expensive bits I have left to buy are the flywheel and the subharness that is all dirty. Everything else should be cheap to get I hope!
I bought an extreme pressure plate ACT sprung street/strip clutch which I am almost certain that it's the same clutch that was on it...The main reason I went with this clutch was because sprung clutches that aren't 6 or 3 puck are easy to drive which was my biggest concern. This clutch is apparently capable of 450 ftxlbs of torque which will be more than enough for my end goal of 400hp.
MONEY SHOT!!!!!
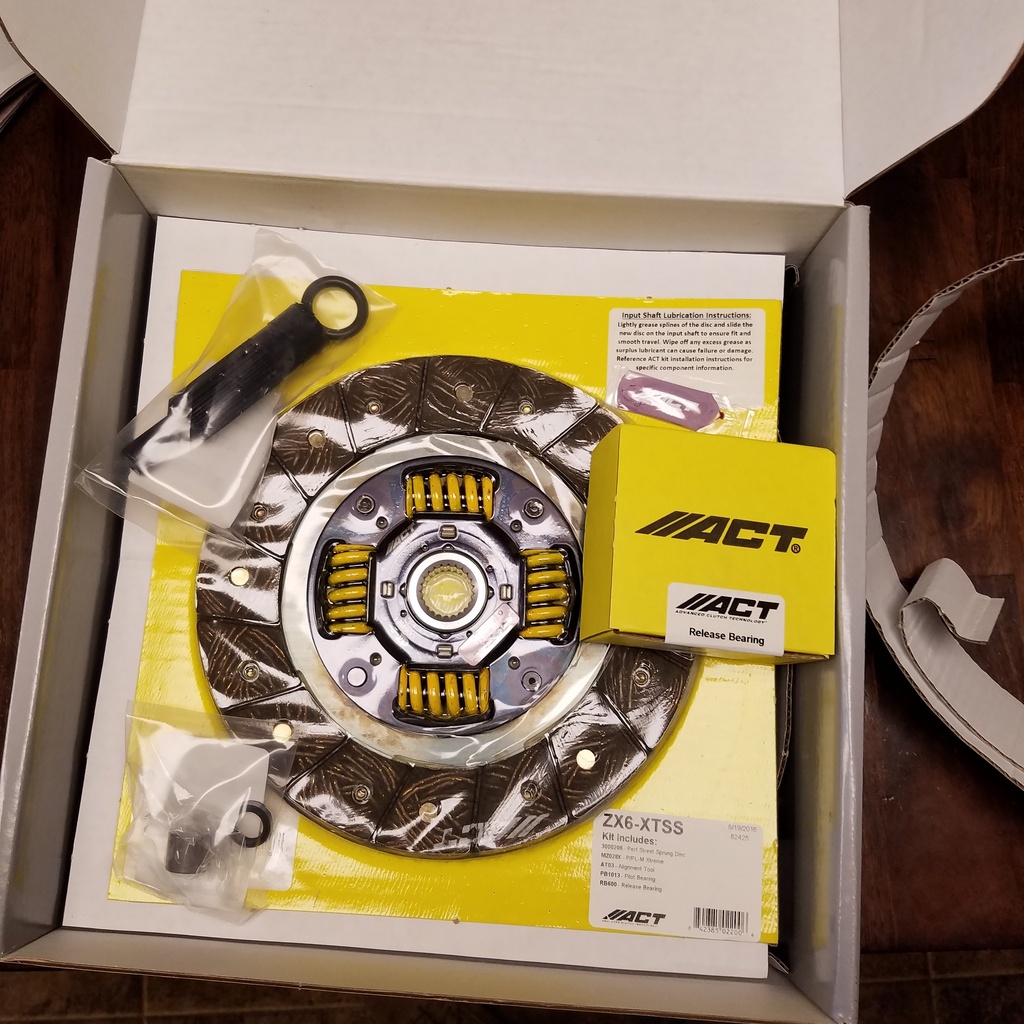
 10-04-16, 12:40 PM
#46
Senior Member
Thread Starter
Days go by and I can't stop thinking about this car and how it needs to be back together. Driving my racecar definitely helps but I need rotary noises back in my life!
So many parts have stock piled on my shelves and it's satisfting seeing replacement parts but emotionally devastating when the realization sets in...
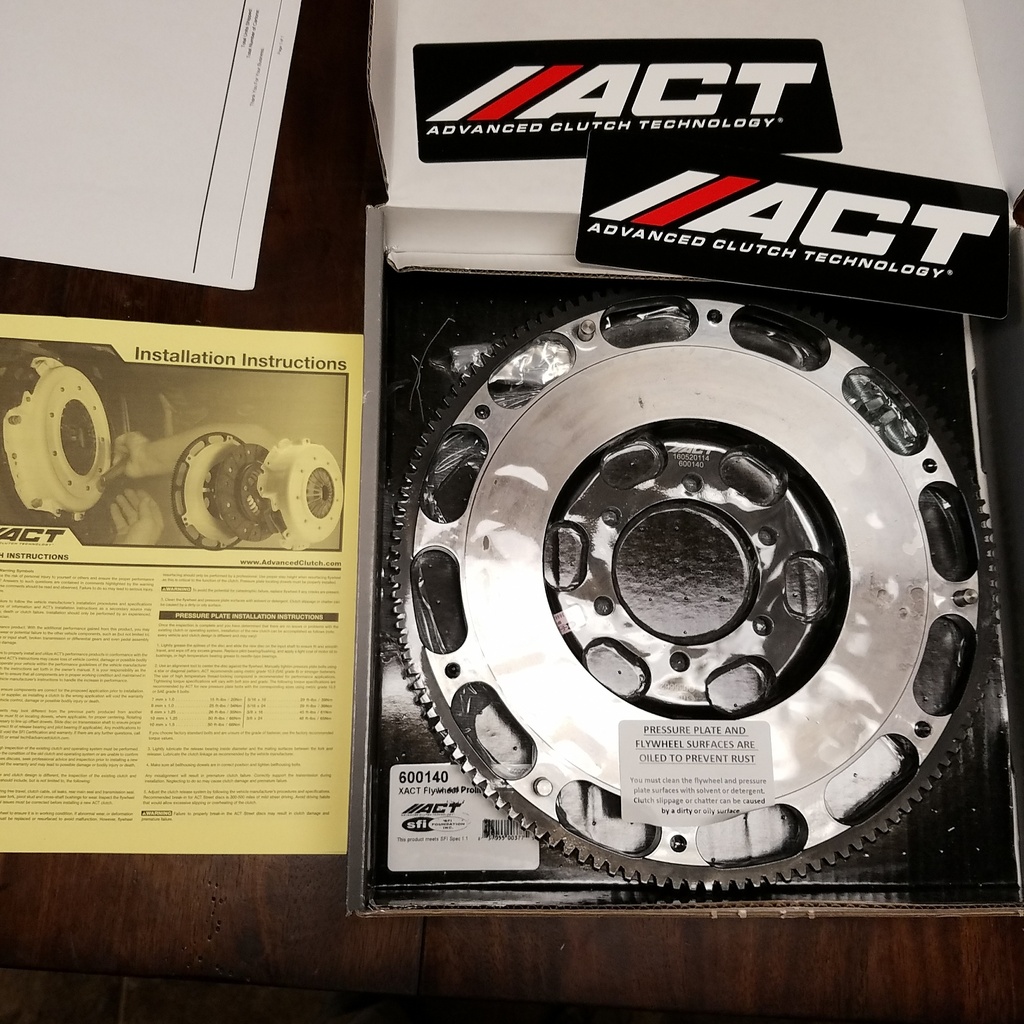
Enough about frilly emotions and bs no one cares about! I received my lightweight steel flywheel in the mail a while ago and these are always my favorite mod to do!
I have also taken off the rust on the outside of my heat shields and have decided to paint them matte black since attempting a polish would mean they would just rust again. I also bought some coarse sanding discs that should break down the aluminum parts better than 120 grit on a sander!
I'm probably going to mess with more polishing this weekend since I finally get saturdays off again.
Cheers to more modding!
So many parts have stock piled on my shelves and it's satisfting seeing replacement parts but emotionally devastating when the realization sets in...
Enough about frilly emotions and bs no one cares about! I received my lightweight steel flywheel in the mail a while ago and these are always my favorite mod to do!

I have also taken off the rust on the outside of my heat shields and have decided to paint them matte black since attempting a polish would mean they would just rust again. I also bought some coarse sanding discs that should break down the aluminum parts better than 120 grit on a sander!
I'm probably going to mess with more polishing this weekend since I finally get saturdays off again.
Cheers to more modding!
10-25-16, 09:27 AM
#47
Senior Member
Thread Starter
So after spending a whole day trying to polish one part...I'm just gonna finish the few other pieces I started and call it good because that process takes WAY too long!
I started to tear in to the back of the motor which was actually really easy...until the new rear stat gear o-ring, rear main seal, counterweight, and act flywheel were installed...All of this stuff was easy until I decided to tackle the pilot bearing...I have spent around 8 hours trying to get it out with bread, grease, towels, etc and haven't had any luck...So I ordered the specialty tool which will be here thursday!
This is where I am at currently. I am replacing parts slowly but surely a few hours a day after work.
So out with the old dirty knock sensor and in with the new!
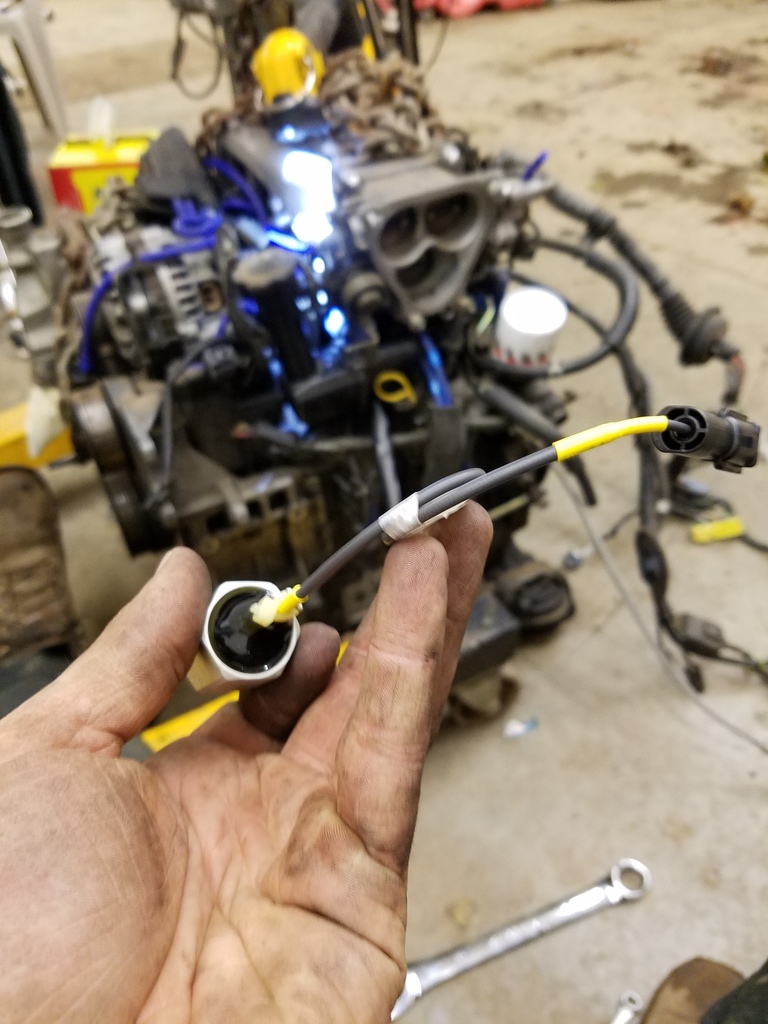
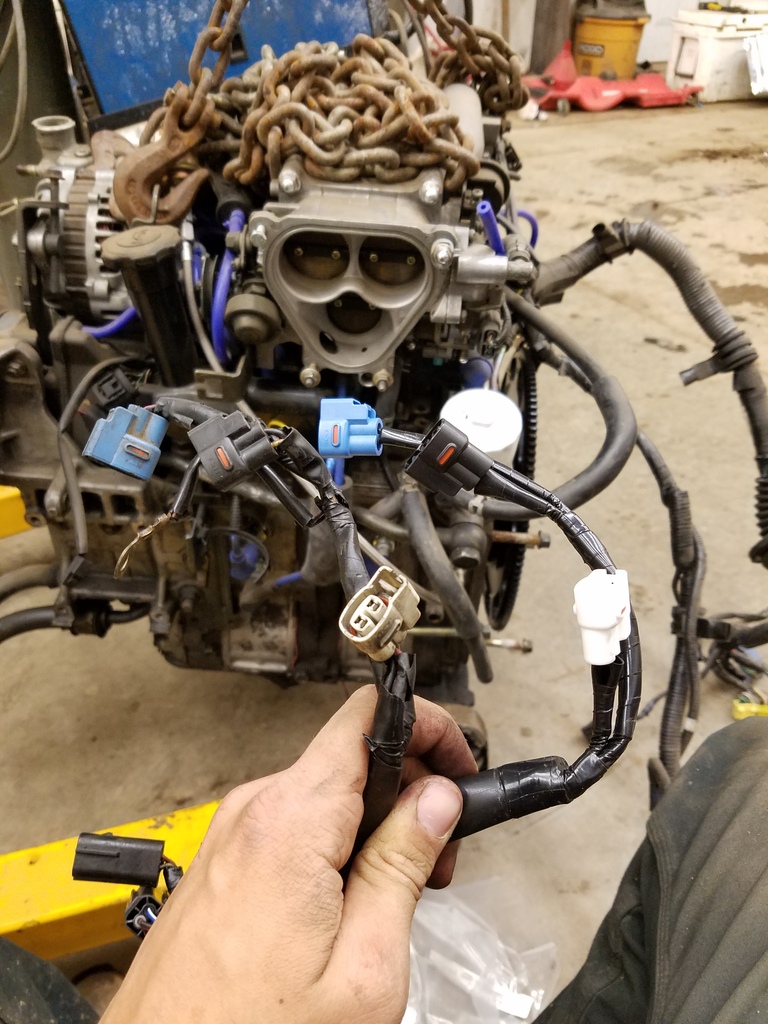
Out with the old ignition coil sub harness and in with the new harness that doesn't use a ground wire!
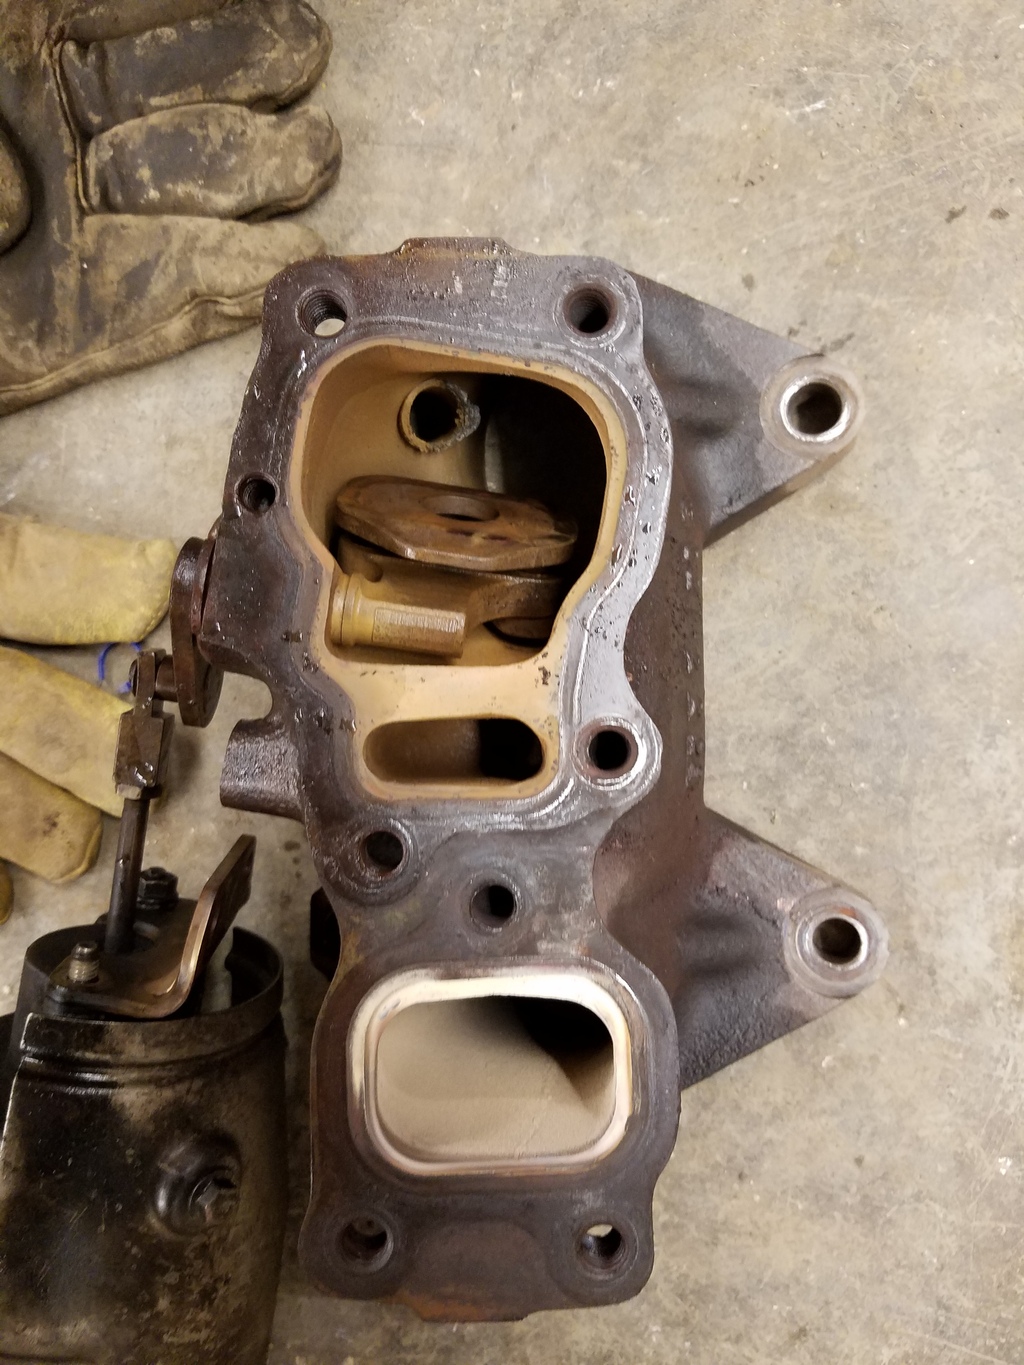
I basically just have to wait for the pilot bearing tool before everything gets put back together and then when the motor is in the car, I have to replace the subharness I screwed up and wire in my wide band and pyrometer so they will have power to them when I install the wideband sensor and egt probes.
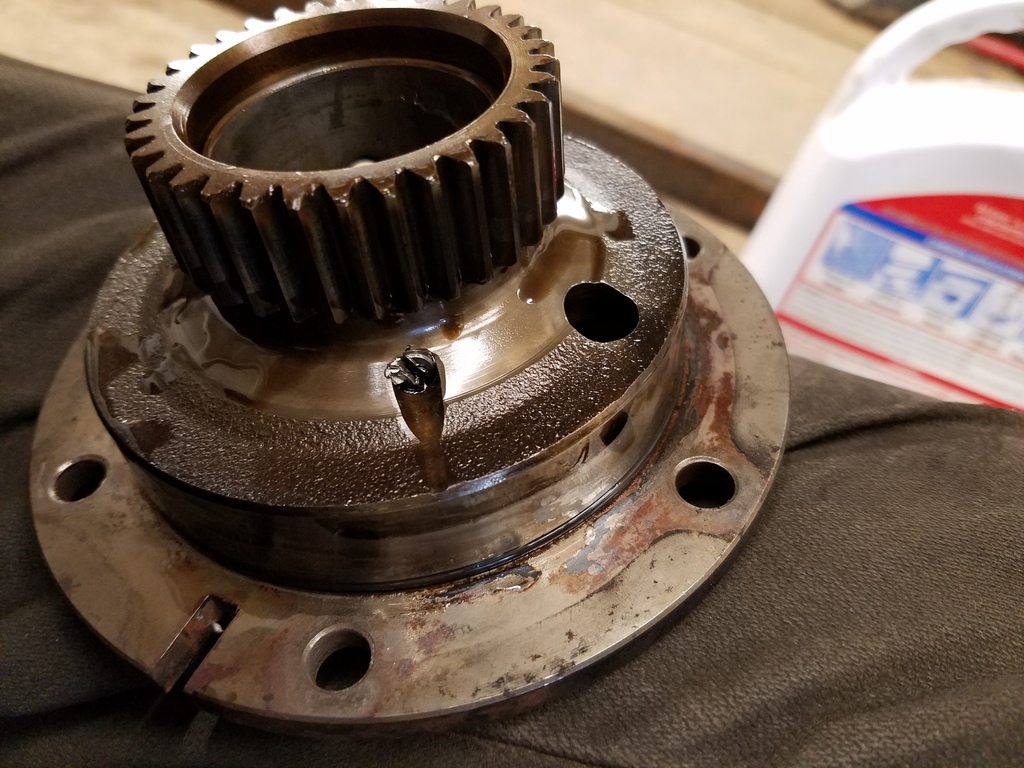
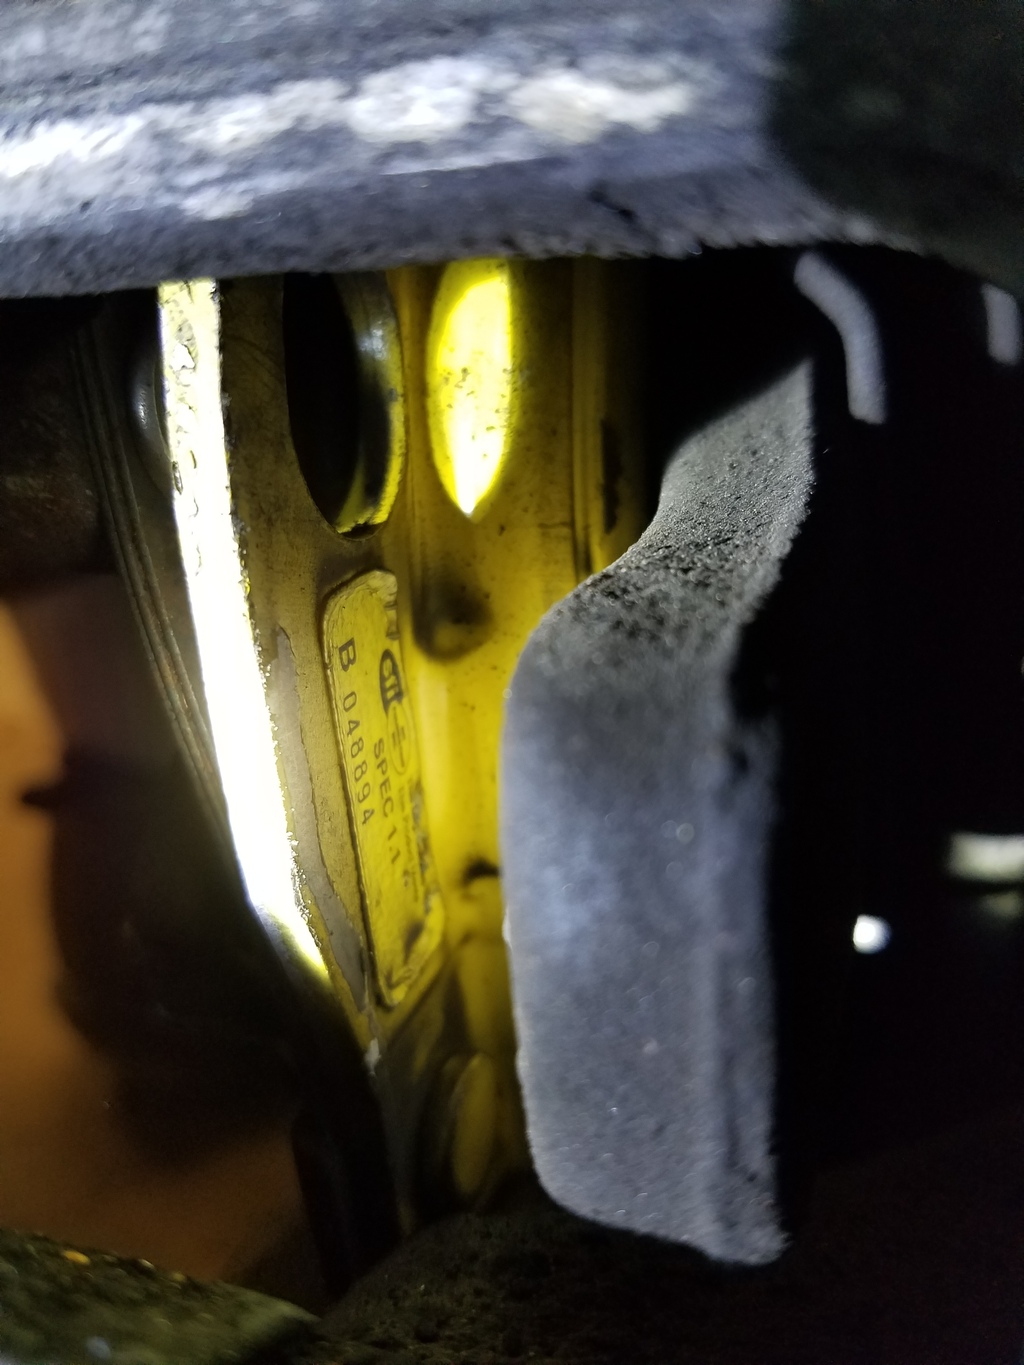
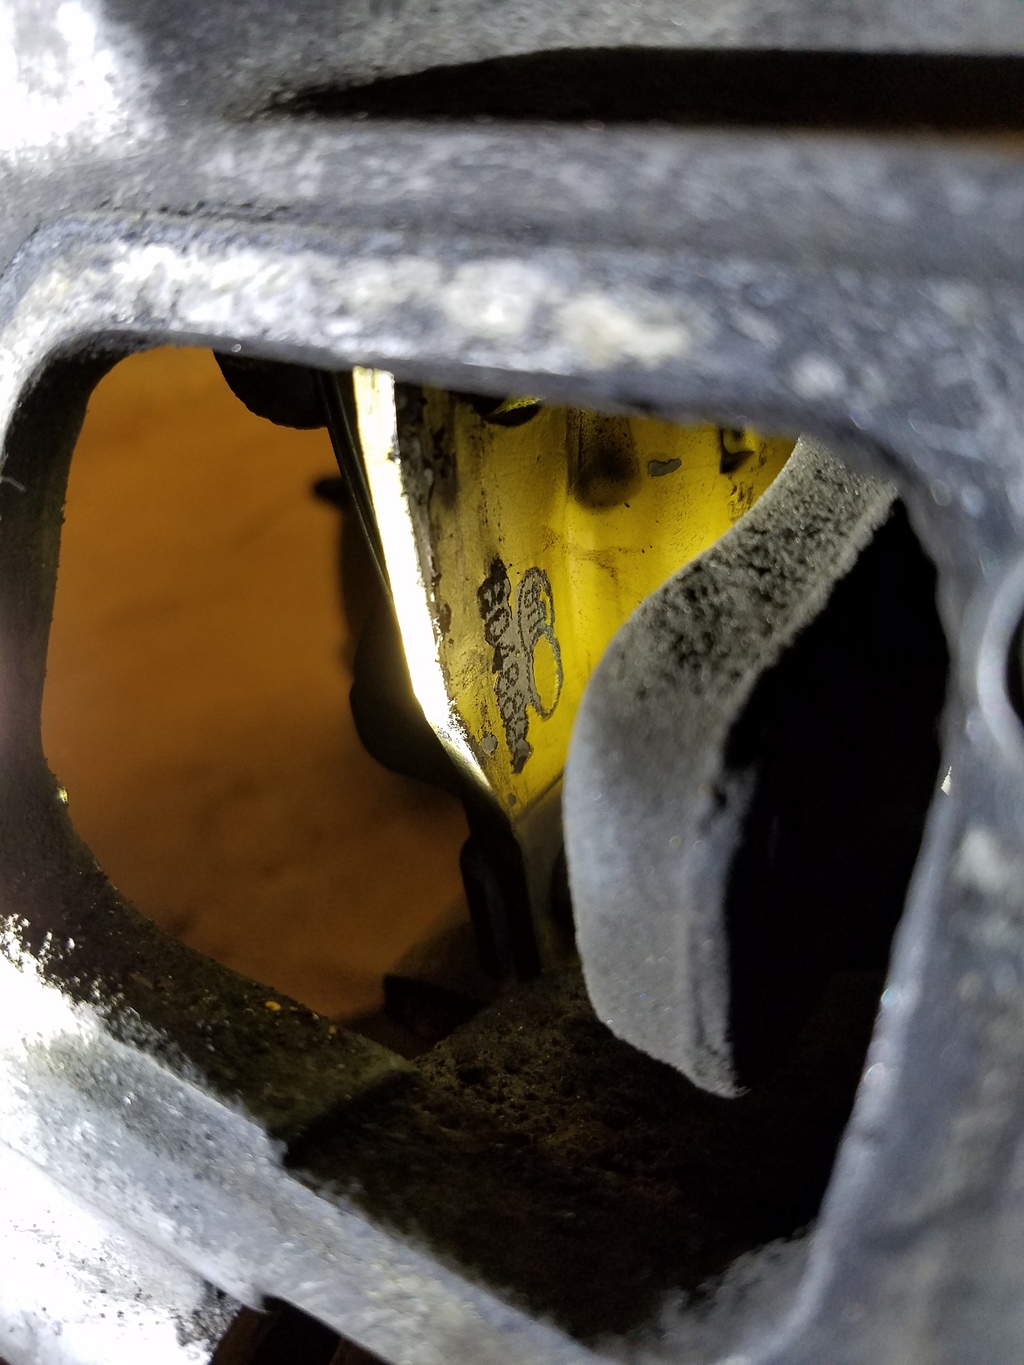
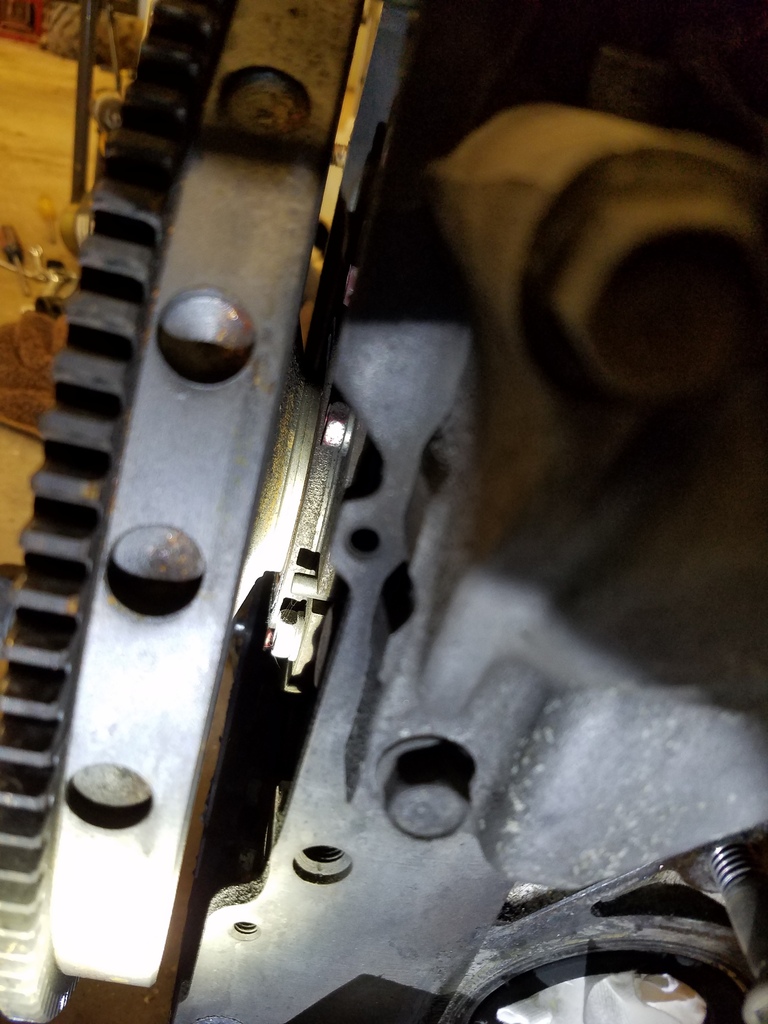
Rear stat gear was in okay condition. I noticed there is a flathead screw that looks like it was mangled and have no idea what to think of it...
Side note: I am using the dual probe EGT sensor from pineapple racing and was curious if anyone knew how to install the probes in to the cast manifold before the turbos...Am I correct to just assume drill a hole and tap it and screw in the probes?
I started to tear in to the back of the motor which was actually really easy...until the new rear stat gear o-ring, rear main seal, counterweight, and act flywheel were installed...All of this stuff was easy until I decided to tackle the pilot bearing...I have spent around 8 hours trying to get it out with bread, grease, towels, etc and haven't had any luck...So I ordered the specialty tool which will be here thursday!
This is where I am at currently. I am replacing parts slowly but surely a few hours a day after work.

So out with the old dirty knock sensor and in with the new!


Out with the old ignition coil sub harness and in with the new harness that doesn't use a ground wire!

I basically just have to wait for the pilot bearing tool before everything gets put back together and then when the motor is in the car, I have to replace the subharness I screwed up and wire in my wide band and pyrometer so they will have power to them when I install the wideband sensor and egt probes.

Rear stat gear was in okay condition. I noticed there is a flathead screw that looks like it was mangled and have no idea what to think of it...
Side note: I am using the dual probe EGT sensor from pineapple racing and was curious if anyone knew how to install the probes in to the cast manifold before the turbos...Am I correct to just assume drill a hole and tap it and screw in the probes?
Last edited by newtgomez; 10-25-16 at 02:58 PM. Reason: Picture addition
10-25-16, 08:35 PM
#48
Senior Member
Thread Starter
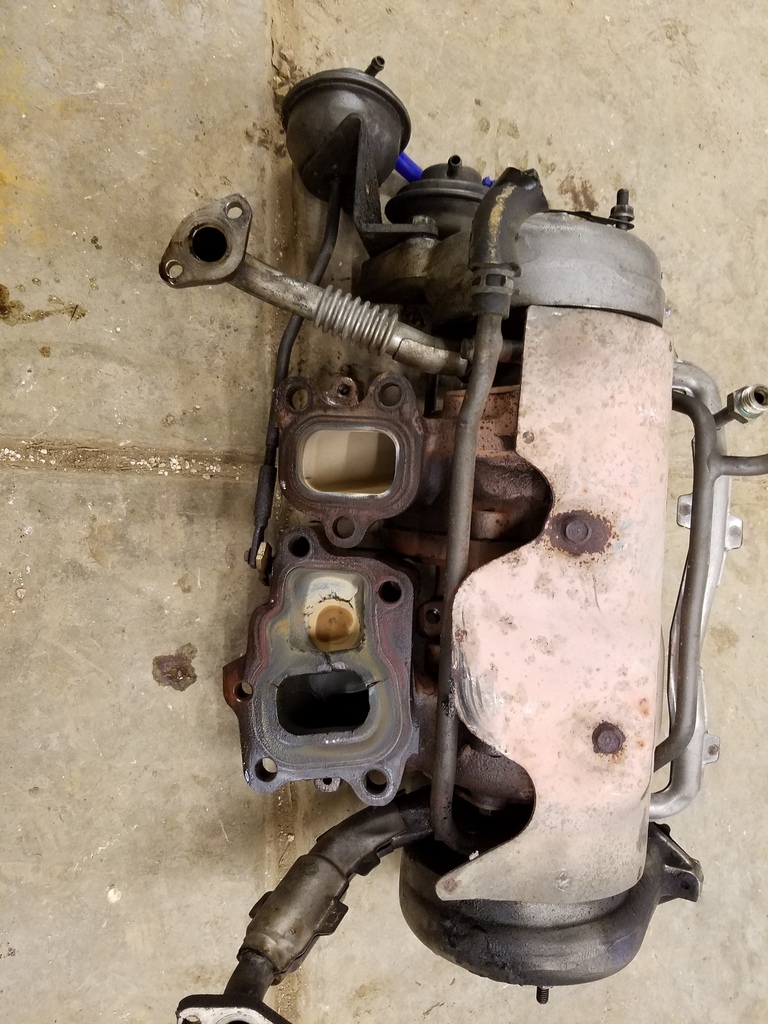
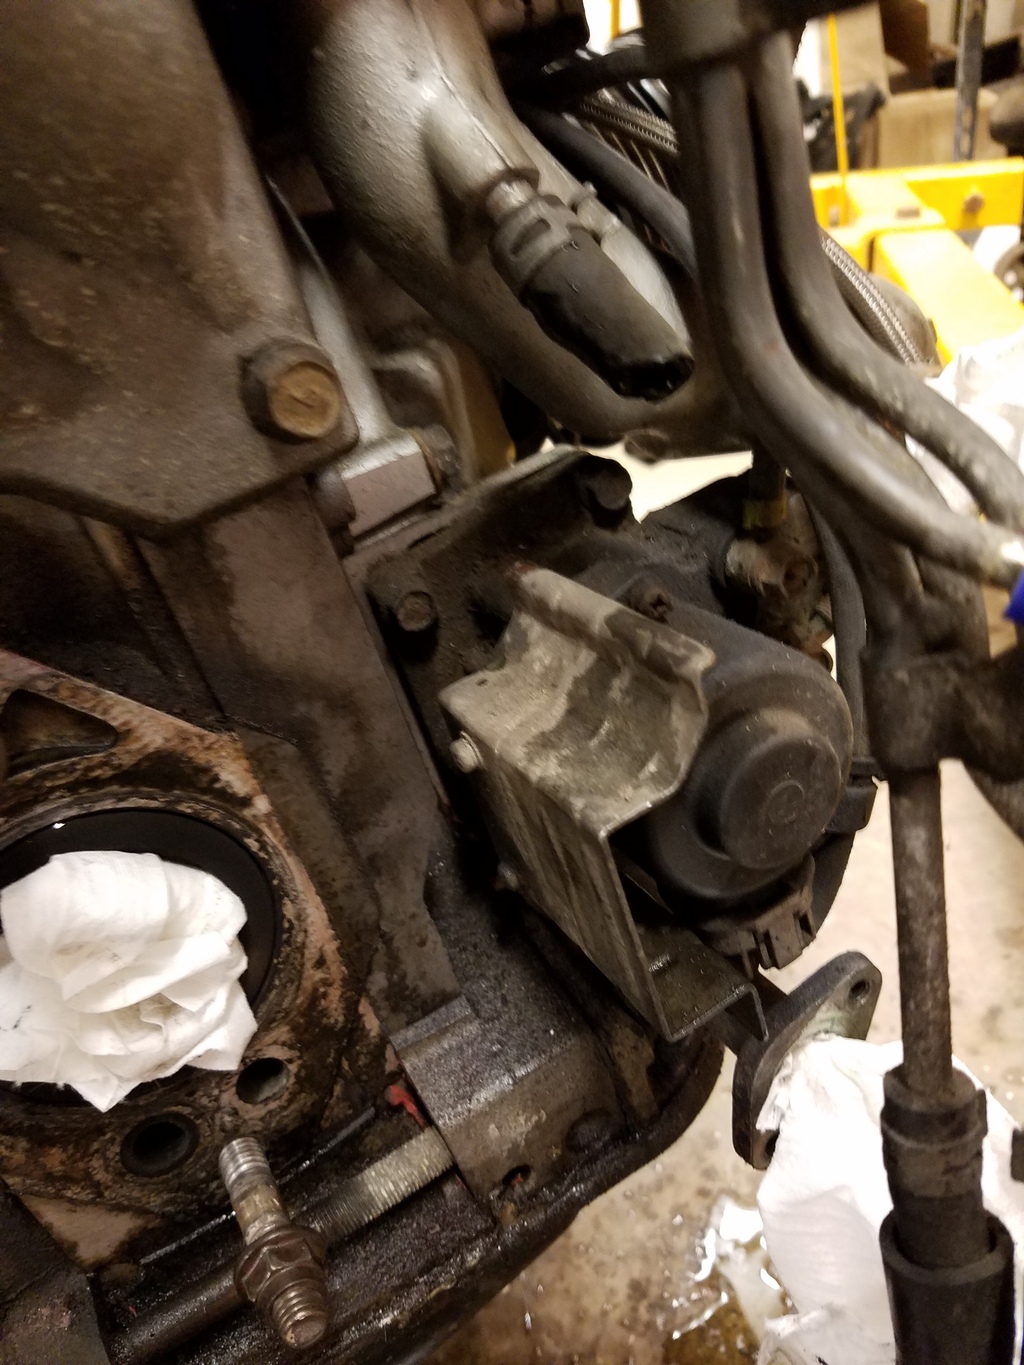
EGT Probe Install on Stock Twins!
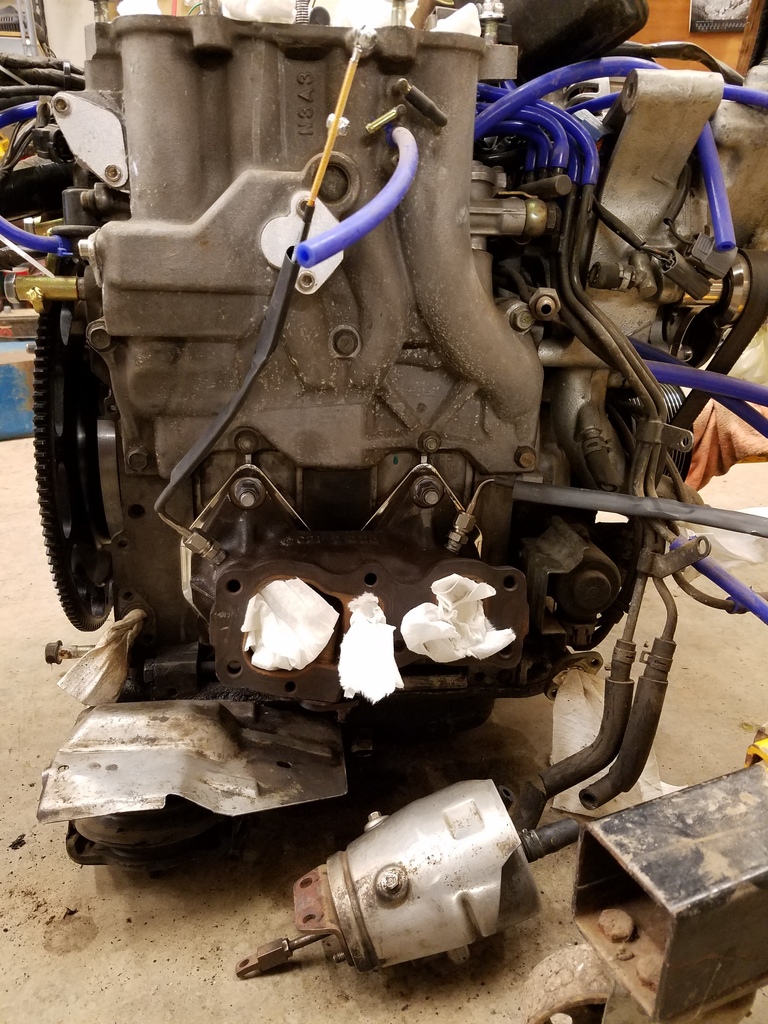
So I took off my uim to find I need to mess with the primary fuel rail to get it to stop leaking from the fittings that connect to it. I only did this because it looked like my lim leaked a little oil and Im really glad it did!
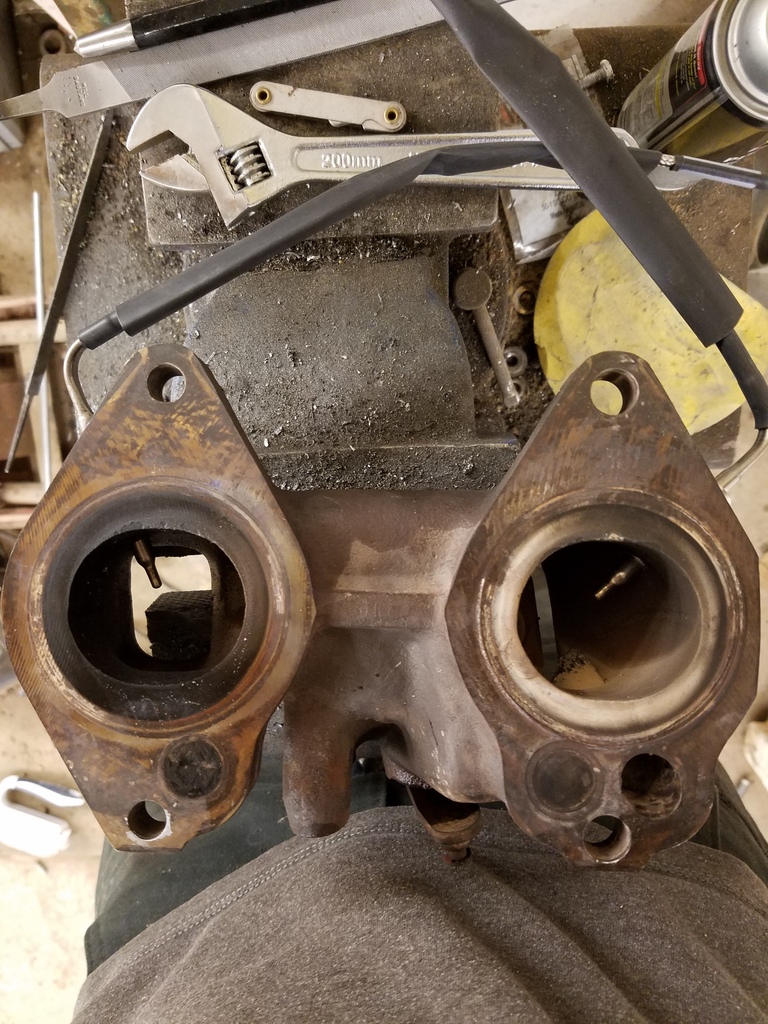
So aside from that, I put in my exhaust studs, egt probes, and the dirty cast manifold!
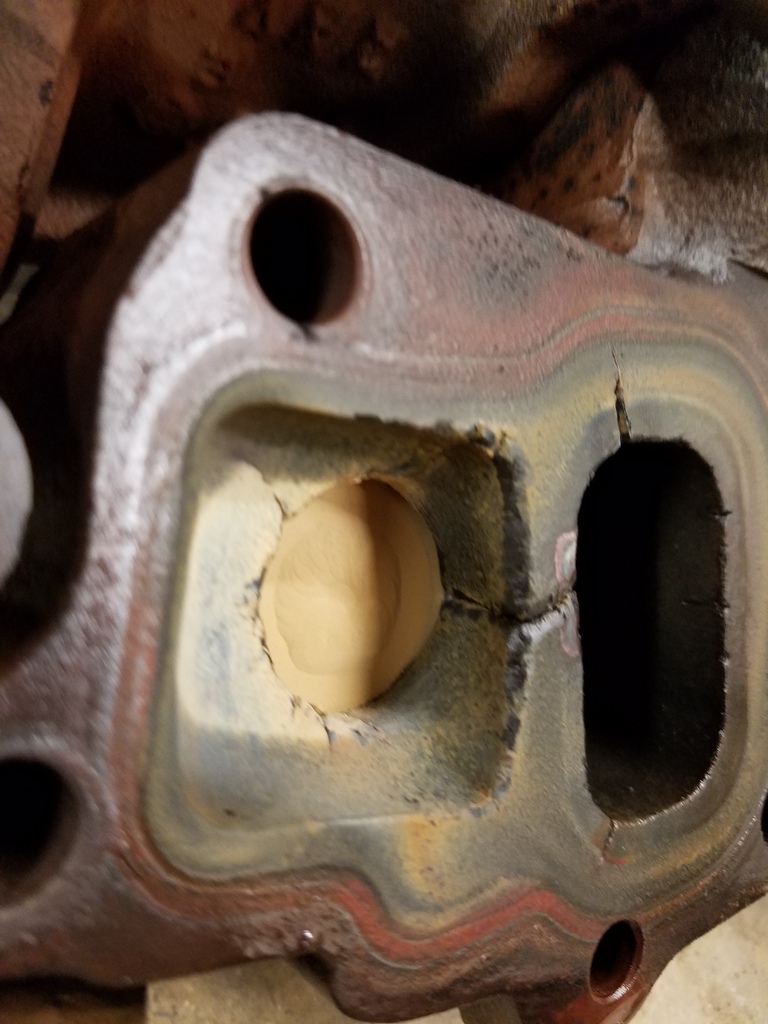
I started out by mounting the manifold on the block and then the turbos marking where everything needed to be and then used three drill bits to work my way up to the needed size for the 1/8-27 NPT tap. Then I tapped the holes and double checked everything. The secondary port is easier to do than the primary because of space restrictions.
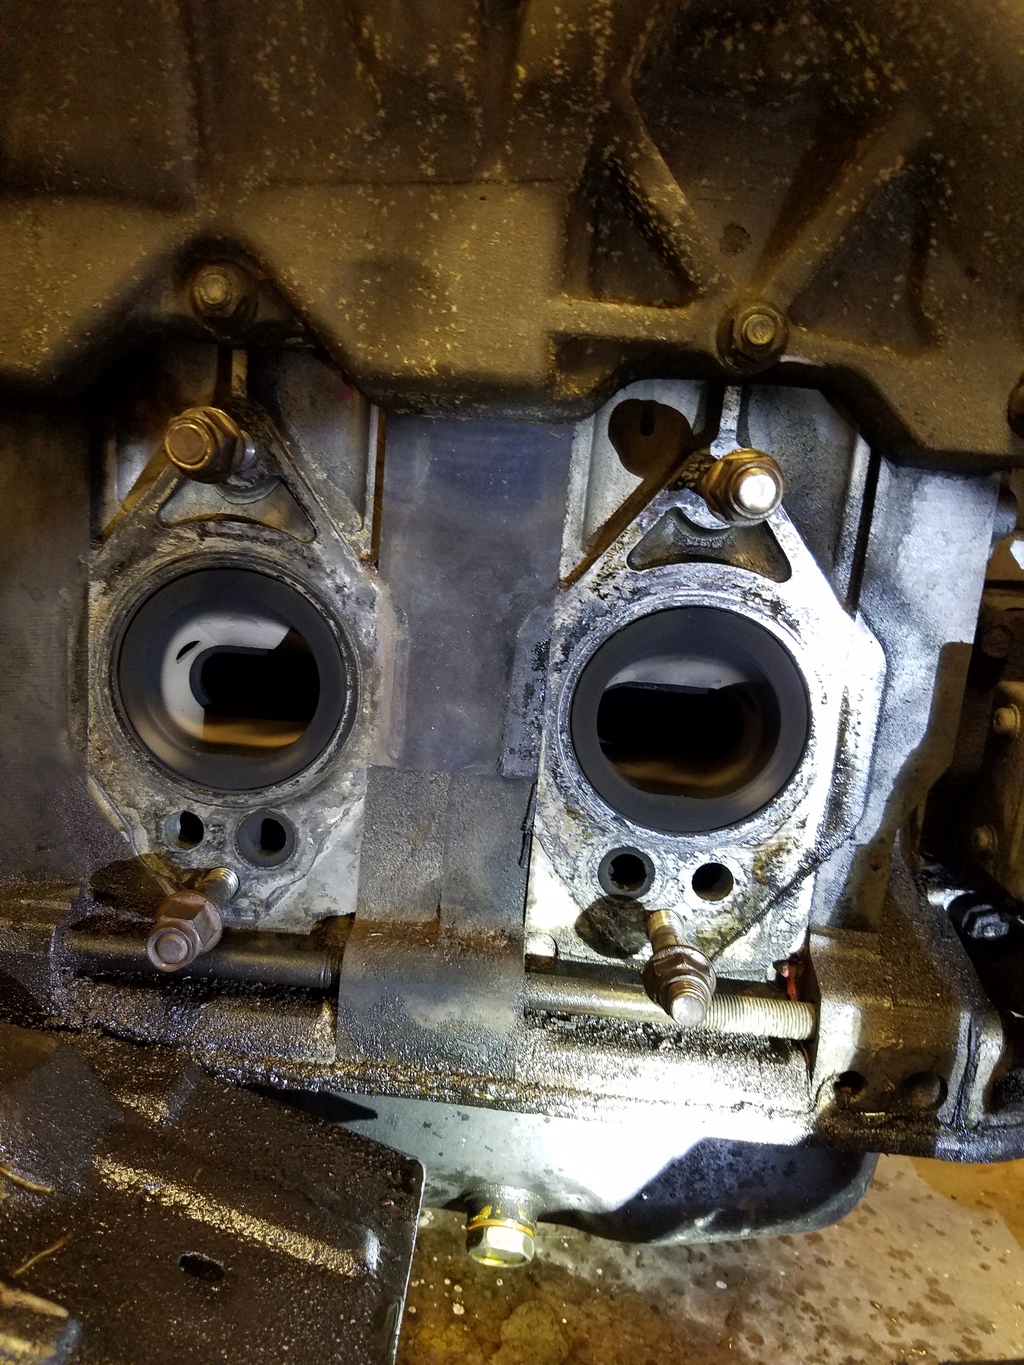
Secondary tapped and probed!

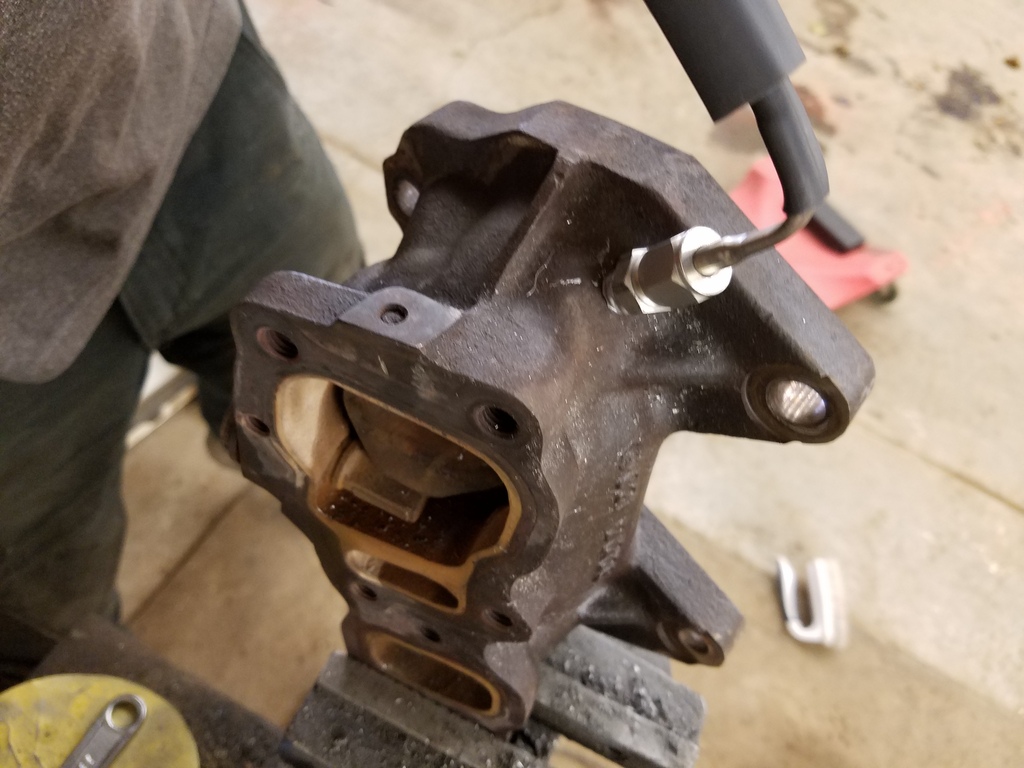
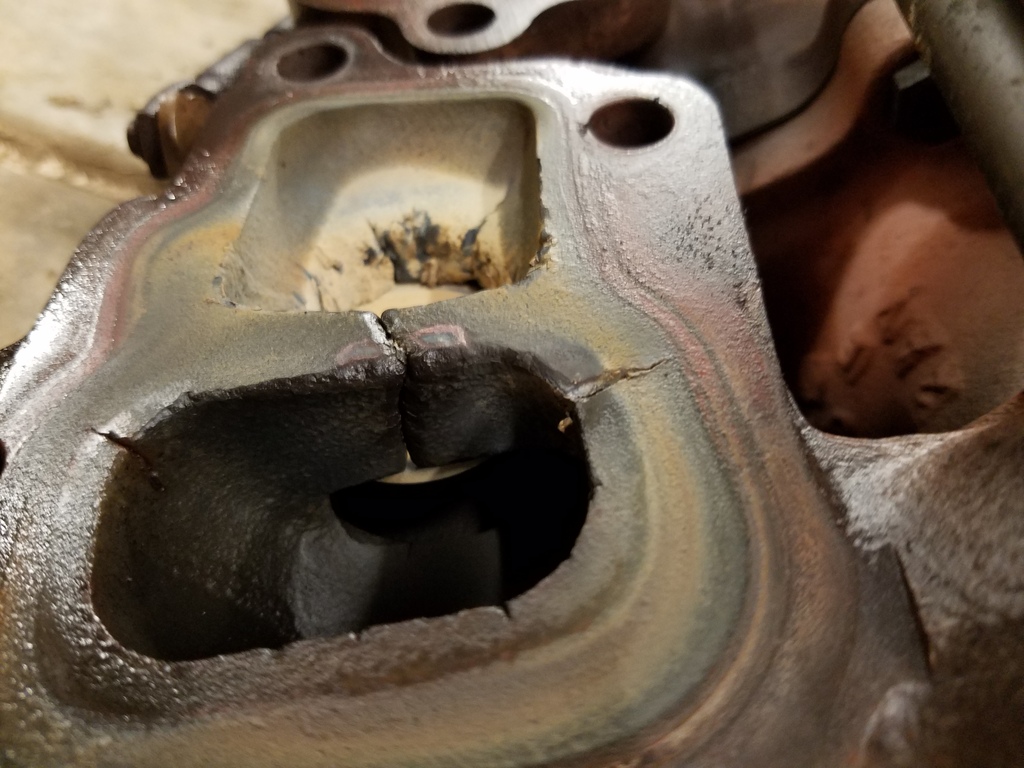
Then the primary! Both probes end up being basically right on the flanges.
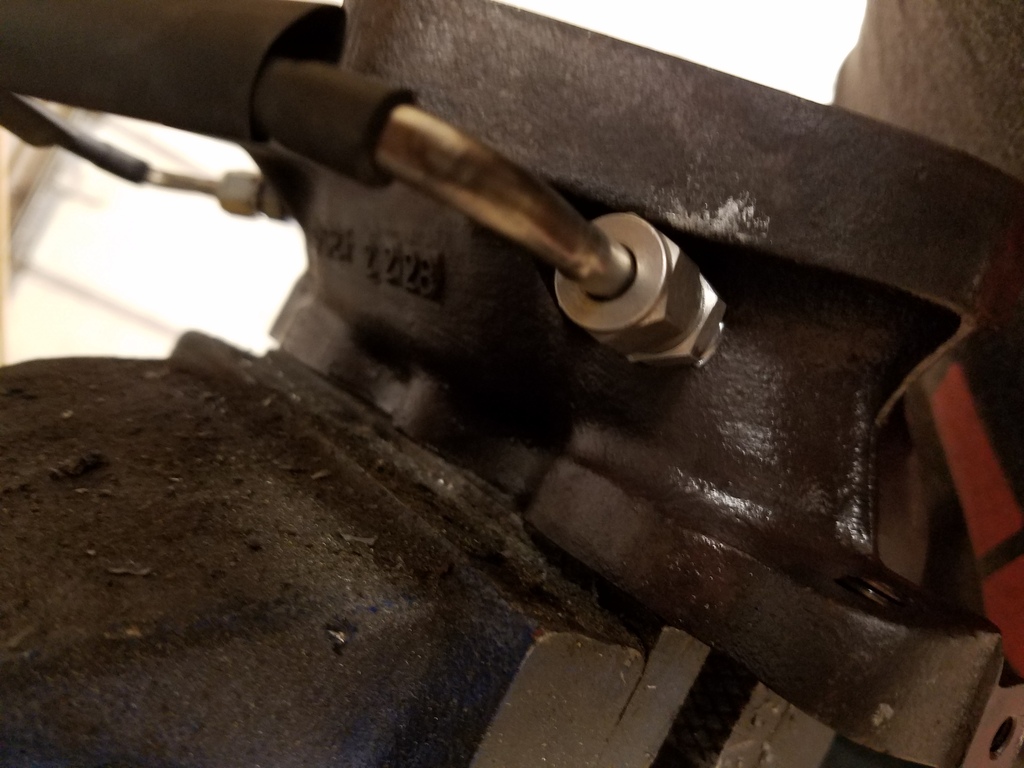
I used anti seize even though it's a lubricant, I figured I couldnt go wrong with it. The threads were really hard to do and I could only get the adapter so far before it felt like I was gonna break something. The bottom of the adapter can be seen from the inside of the manifold.
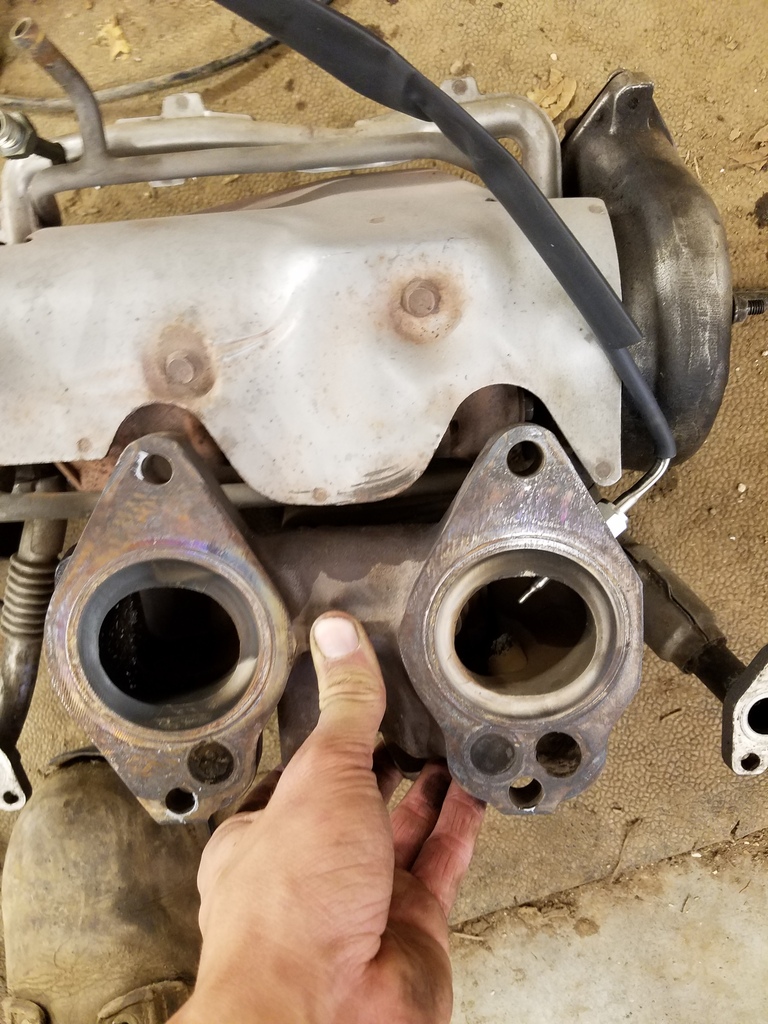
Extra pic to show secondary almost in place. I had to bend back the heat shield but nothing serious.
So aside from that, I put in my exhaust studs, egt probes, and the dirty cast manifold!

I started out by mounting the manifold on the block and then the turbos marking where everything needed to be and then used three drill bits to work my way up to the needed size for the 1/8-27 NPT tap. Then I tapped the holes and double checked everything. The secondary port is easier to do than the primary because of space restrictions.
Secondary tapped and probed!


Then the primary! Both probes end up being basically right on the flanges.


I used anti seize even though it's a lubricant, I figured I couldnt go wrong with it. The threads were really hard to do and I could only get the adapter so far before it felt like I was gonna break something. The bottom of the adapter can be seen from the inside of the manifold.
Extra pic to show secondary almost in place. I had to bend back the heat shield but nothing serious.
 11-08-16, 11:35 AM
#49
Senior Member
Thread Starter
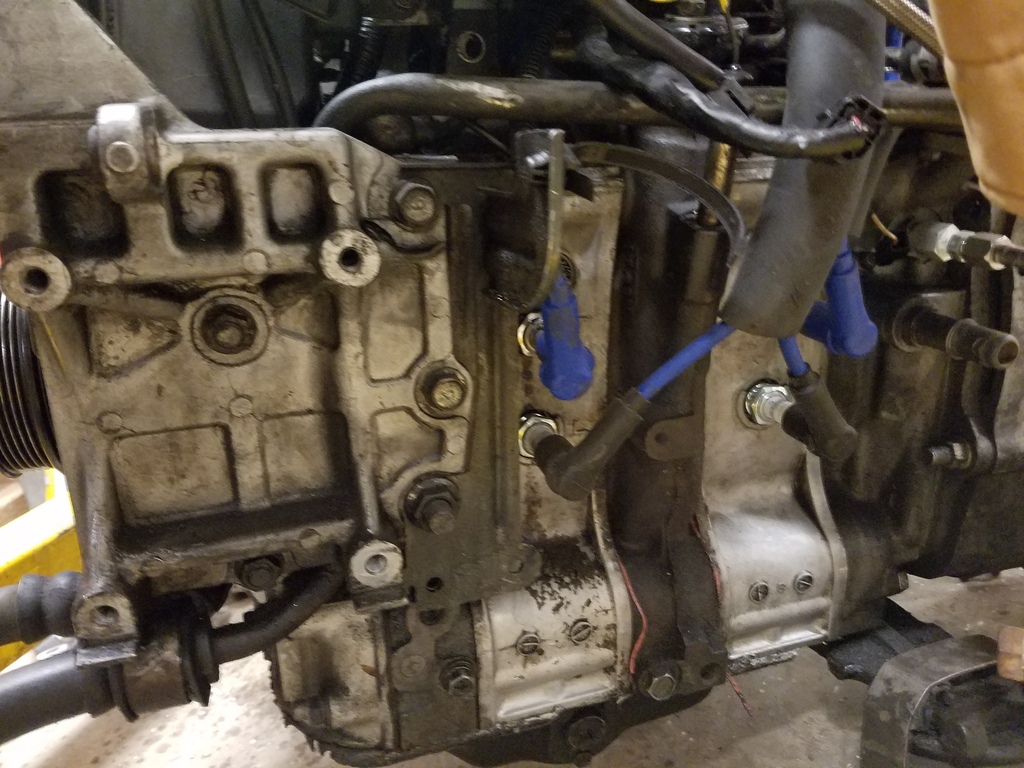
I finally got a half day to work on this nightmare of a project and decided to tackle the LIM gasket which really wasn't that bad knowing all I had to do was take out the ignition coil bolts and the bolts holding in the rats nest (Never thought I would have to go back there again). I replaced a vacuum line and used teflon paste on my fuel fittings. I really can't wait to go single and fix the mess down there.
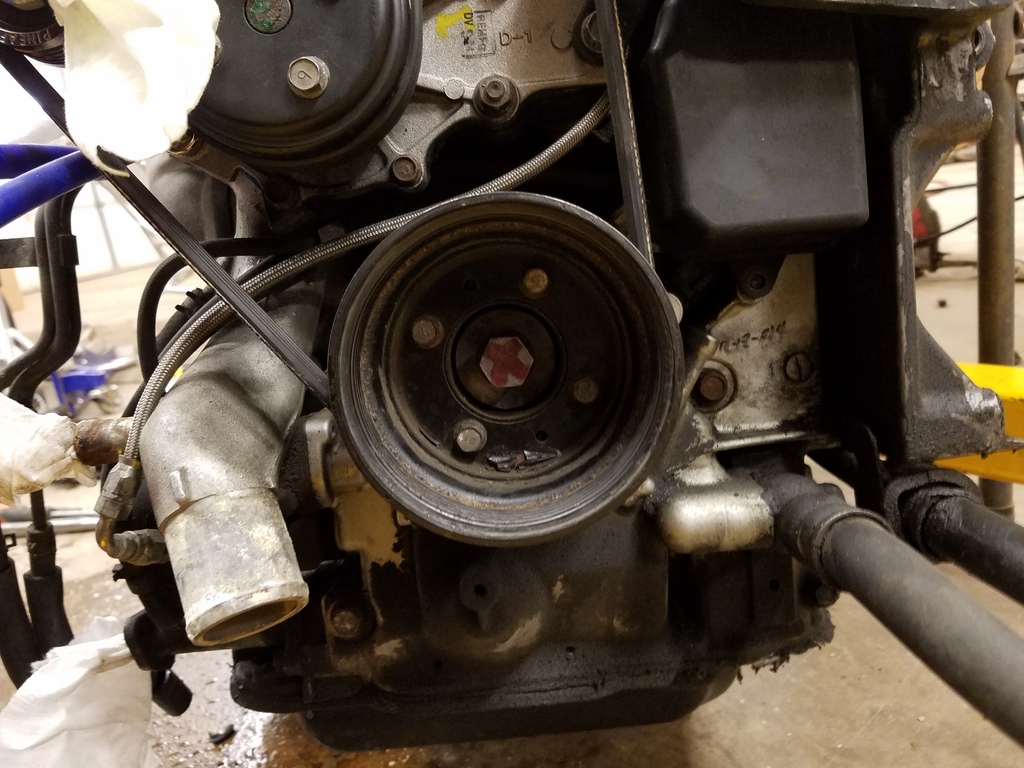
After getting the UIM bolted back up, I proceeded to mess with the turbos a bit. Turns out there is build up in the coolant ports on my primary turbo so I should figure out a way to deal with that. I also did some mild porting of the wastegate hole. I imagine I'll have to get a restricting muffler to fix the boost creep but I'm not too worried about that.
All in all, I'm really glad I took on this project even though I had a perfectly fine car before hand.
I ordered the charging harness from Atkins Rotary on sunday so hopefully that will get here around the time I have all of the other stuff prepared to get back in the car! I can't wait to drive this car again!
11-14-16, 06:36 PM
#50
Senior Member
Thread Starter
Just got word from Atkins that my harness has been shipped out today which means things are gonna happen!!!!!
Unfortunately, I still have work that needs to be done and I am getting over a sickness that doesn't want to go away...
Things to do:
-Install turbos
-Buy exhaust gaskets
-Install clutch, grease everything, install tranny
-Replace the bad wiring harness
-Wire in my gauges
-Replace air conditioning o-rings
-Replace turbo coolant lines
-Put the motor back in
-Re seal oil pan
-????????????
-BRAP!
...call my insurance company
So much to do with so little time! I can't wait to get her running again!

