My 93 Montego single turbo build

 05-28-14, 08:53 PM
#27
Not much to speak of. Pulled out most of the interior to change out the carpet and clean up wiring.
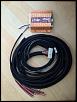
My delay is in the sale of my power fc. I was banking on the money I received to buy the microtech ecu. I sold it, but when it arrived on the other side it was damaged in shipping. So I refunded his money and I am waiting for it to get back to me. Stupid me didn't get insurance for it either. I am doing a couple side jobs to pay for parts and should get paid soon then I will get back at it.
My delay is in the sale of my power fc. I was banking on the money I received to buy the microtech ecu. I sold it, but when it arrived on the other side it was damaged in shipping. So I refunded his money and I am waiting for it to get back to me. Stupid me didn't get insurance for it either. I am doing a couple side jobs to pay for parts and should get paid soon then I will get back at it.
05-29-14, 10:50 AM
#28
Not much to speak of. Pulled out most of the interior to change out the carpet and clean up wiring.
My delay is in the sale of my power fc. I was banking on the money I received to buy the microtech ecu. I sold it, but when it arrived on the other side it was damaged in shipping. So I refunded his money and I am waiting for it to get back to me. Stupid me didn't get insurance for it either. I am doing a couple side jobs to pay for parts and should get paid soon then I will get back at it.
My delay is in the sale of my power fc. I was banking on the money I received to buy the microtech ecu. I sold it, but when it arrived on the other side it was damaged in shipping. So I refunded his money and I am waiting for it to get back to me. Stupid me didn't get insurance for it either. I am doing a couple side jobs to pay for parts and should get paid soon then I will get back at it.
08-03-14, 09:34 PM
#30
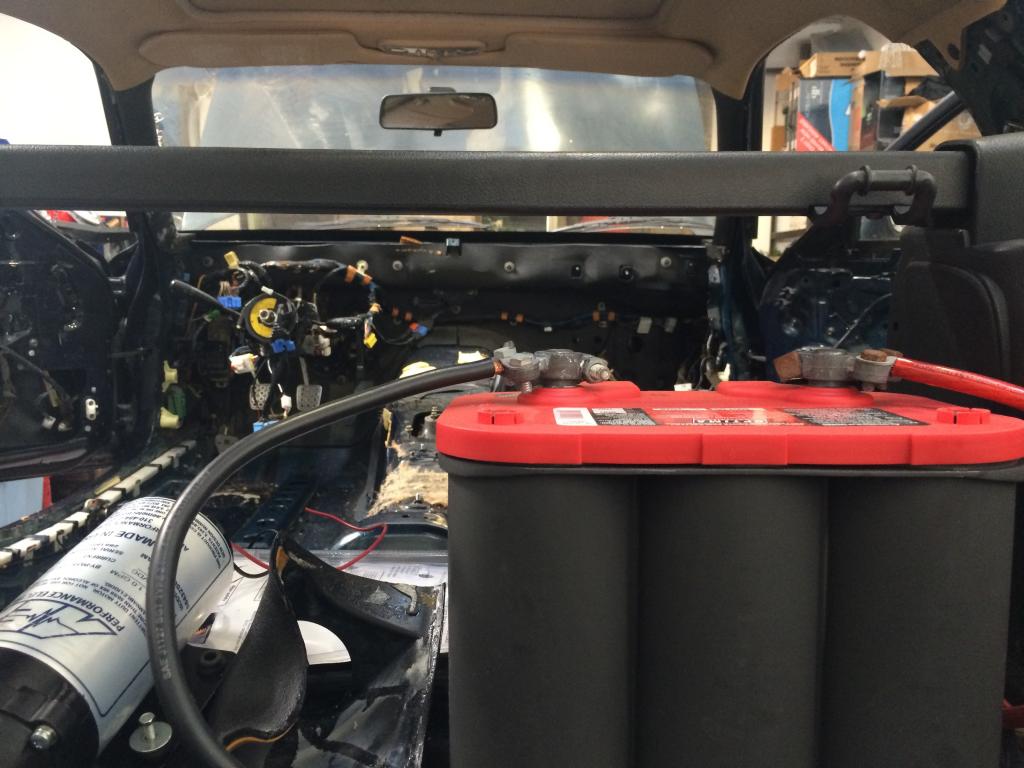
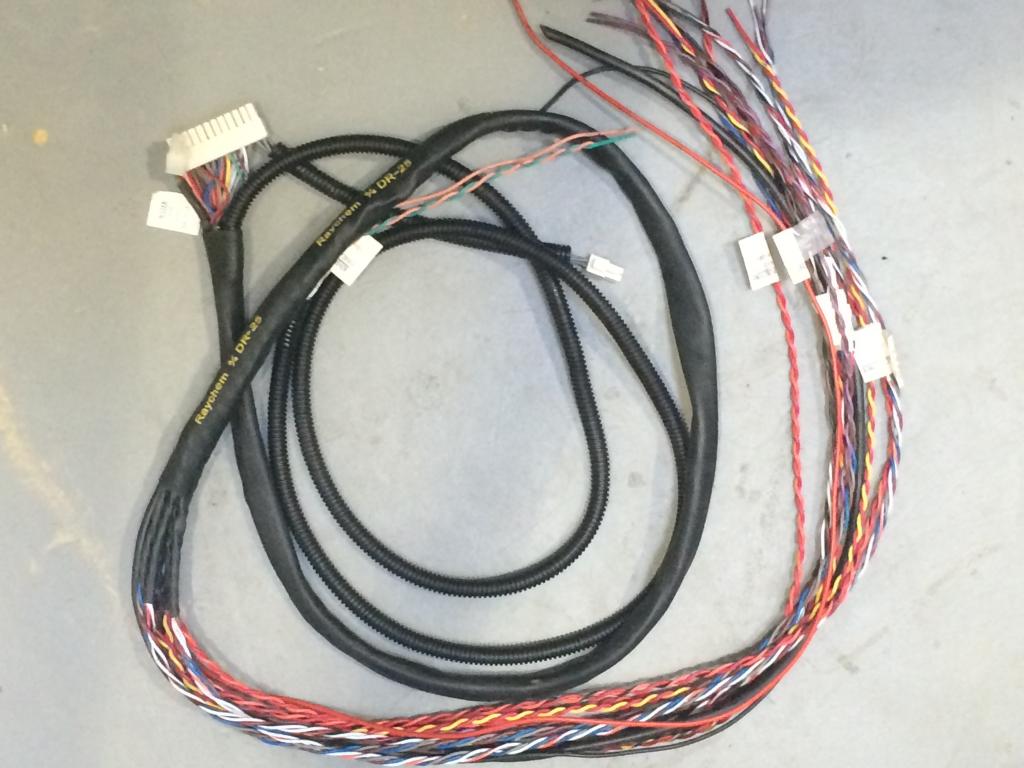
Well I'm back in business. Got my ems and my buddy Gabe and I have started the wiring for the engine harness, as well as a thorough cleanup of the existing wiring. Don't have any pictures from today's project however the scope of work includes Installing new injectors, removal of oil metering pump and Brittany and Jeremy pulled apart the dash.
 08-08-14, 12:09 AM
#32
http://i64.photobucket.com/albums/h1...psea8baa84.jpg
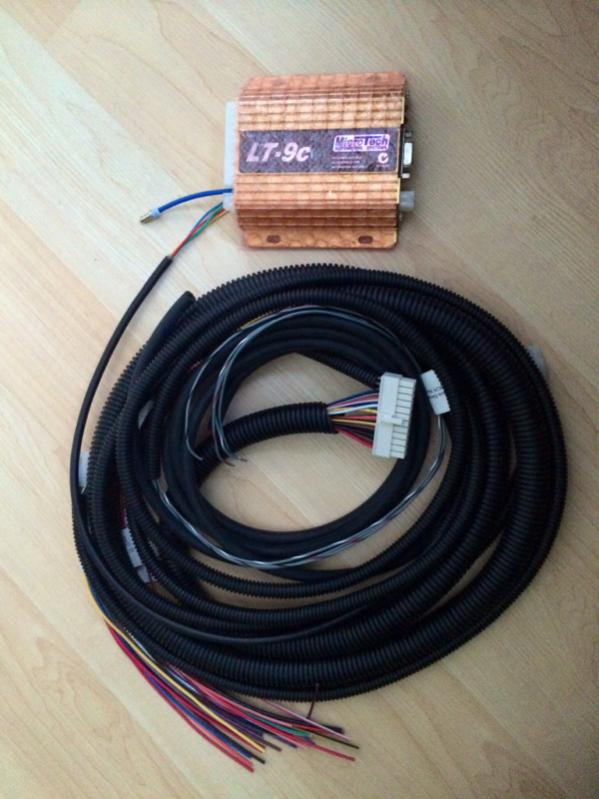
Carpet is out replacing the 20 year old tan with a new black aftermarket carpet. At the same time wiring will be cleaned up.
Got a few small things out of the way as well. Mounted an oil overflow and reinstalled my LIM with 1000cc ID injectors.
Carpet is out replacing the 20 year old tan with a new black aftermarket carpet. At the same time wiring will be cleaned up.
Got a few small things out of the way as well. Mounted an oil overflow and reinstalled my LIM with 1000cc ID injectors.
 08-19-14, 01:09 AM
#34
Spent the evening making a few brackets and tiding up time consuming details. I am procrastinating on getting sound deadening because I don't really want to bite the bullet for Dynamat. That is preventing me form getting my interior back together.
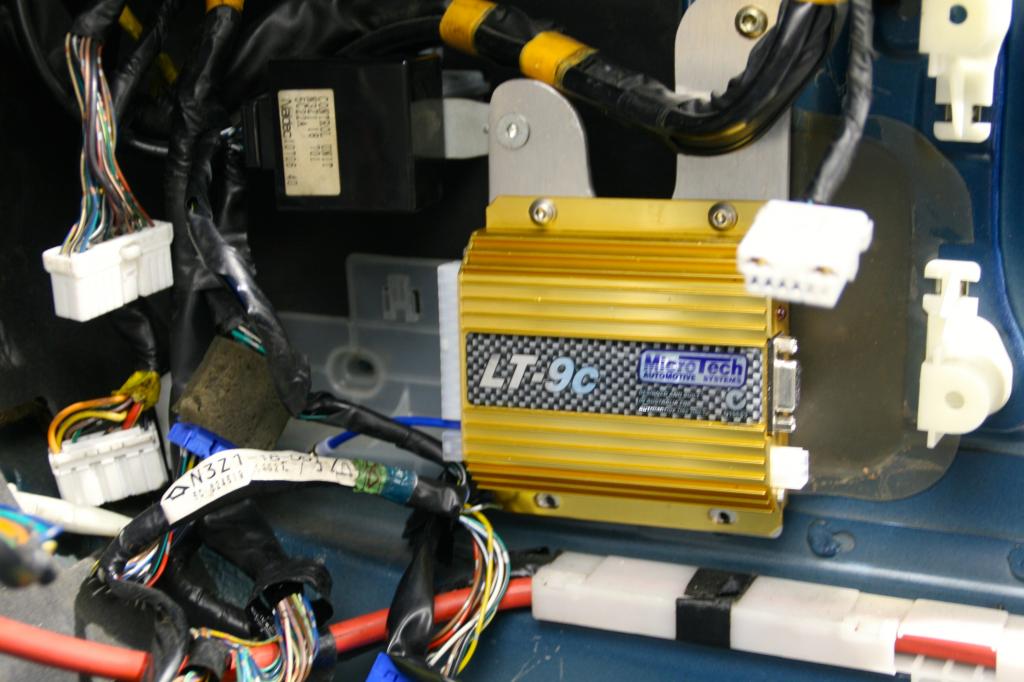
I got a bracket made for the fuse box, oil breather and EMS
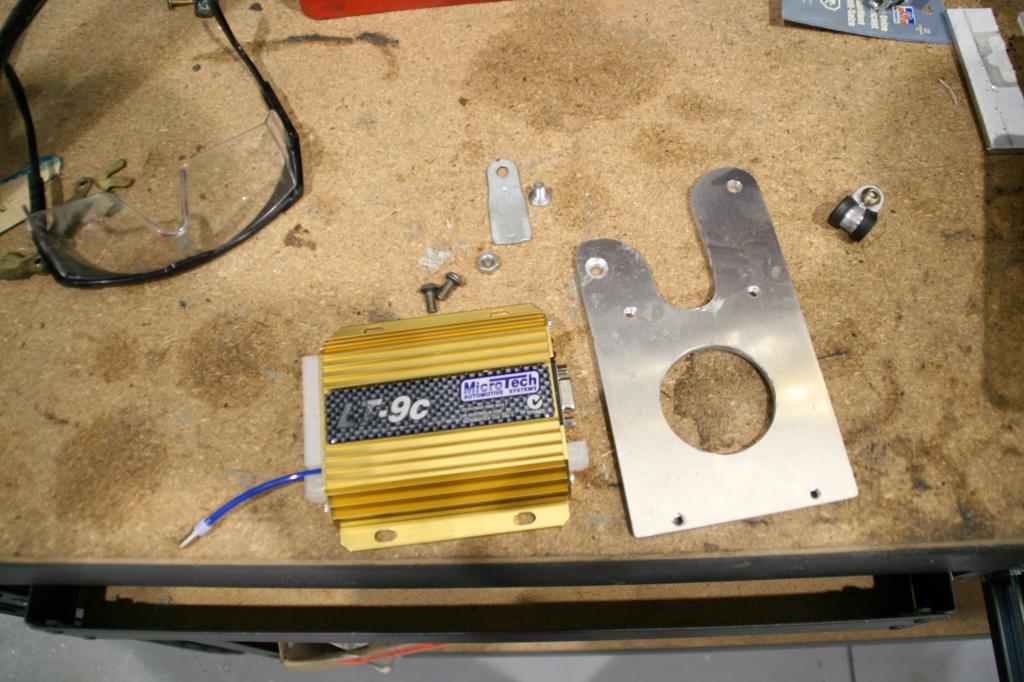
I also started taping off the trunk to create the sub enclosure. I think I will need a few more fibre glass mats so won't be happening tonight.
I got a bracket made for the fuse box, oil breather and EMS


I also started taping off the trunk to create the sub enclosure. I think I will need a few more fibre glass mats so won't be happening tonight.


 08-22-14, 12:41 PM
#37
I had a little practice fibreglassing while working on my cafe racer over the winter.
[IMG] [/IMG]
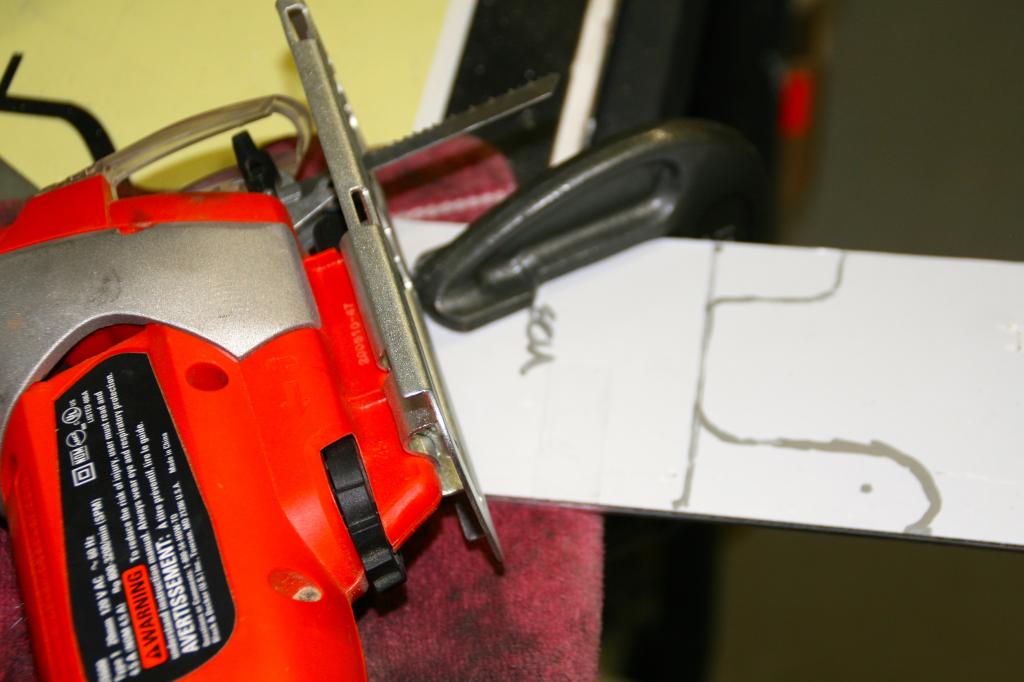
Its all a learning process. The biggest thing is prep work. Pre cut pieces and testing cutting shapes is key if you are doing lots of contours. Also lots of wax in your plug or mould. All being said I am still very much an amateur.
I have a 12" Hertz I got for a steal so I am using that. I think I would prefer a 10" according to the music I listen too. I am not really a car audio guy to begin with, but the sound deadening and stereo is a long term investment in my keeping both my girls (car and wife.)
[IMG]
 [/IMG]
Its all a learning process. The biggest thing is prep work. Pre cut pieces and testing cutting shapes is key if you are doing lots of contours. Also lots of wax in your plug or mould. All being said I am still very much an amateur.
I have a 12" Hertz I got for a steal so I am using that. I think I would prefer a 10" according to the music I listen too. I am not really a car audio guy to begin with, but the sound deadening and stereo is a long term investment in my keeping both my girls (car and wife.)
08-22-14, 04:59 PM
#38
I had a little practice fibreglassing while working on my cafe racer over the winter.
Its all a learning process. The biggest thing is prep work. Pre cut pieces and testing cutting shapes is key if you are doing lots of contours. Also lots of wax in your plug or mould. All being said I am still very much an amateur.
I have a 12" Hertz I got for a steal so I am using that. I think I would prefer a 10" according to the music I listen too. I am not really a car audio guy to begin with, but the sound deadening and stereo is a long term investment in my keeping both my girls (car and wife.)
 I fully get where you are coming from. I ether need to add a mid muffler or replace my exhaust along with add sound deadening for the same reason!
08-23-14, 10:24 AM
I fully get where you are coming from. I ether need to add a mid muffler or replace my exhaust along with add sound deadening for the same reason!
08-23-14, 10:24 AM
#39
Part of my scheme is to let the wife drive the car every once and a while to get groceries. I put on 30-40k miles a year so the rx7 isn't going to be doing that. She drives about 3,000 miles so if I make it fun for her I can burn rubber on the weekends.
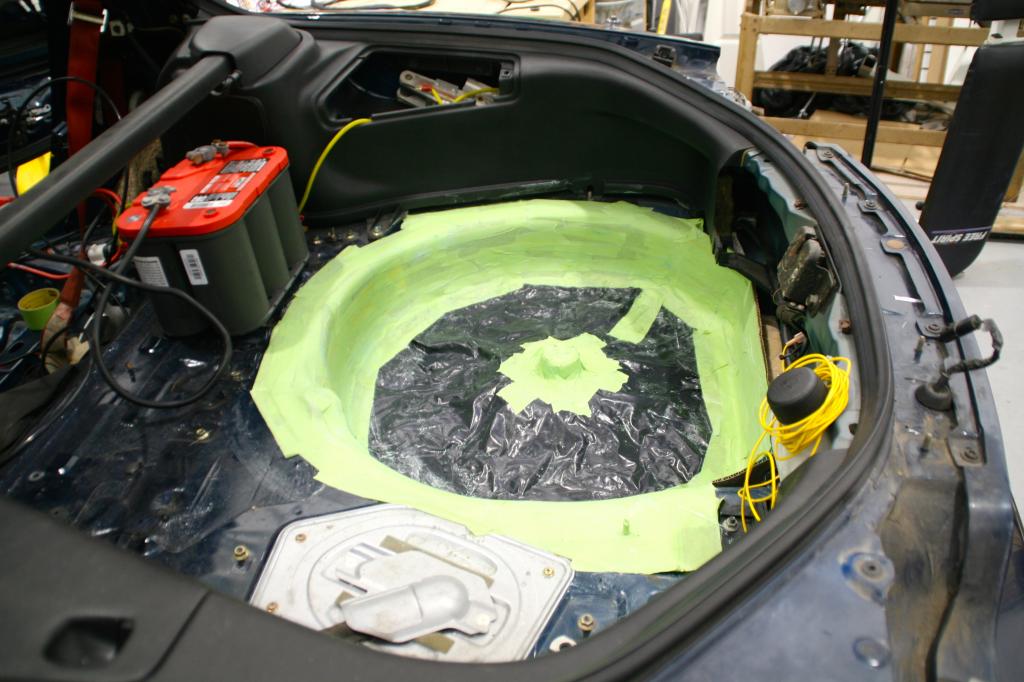
OK updates from late last night fg session.
Went through a ton of resin and went a little crazy with the hardener so I was working faster than I would have liked. Checked on it this morning and it seems pretty hard for the few layers of mat I used. The tough thing is going to be trying to get the stupid thing to release. Big rubber hammer and elbow grease seemed to get the lip to come loose but its the sides that look to be the stubborn part. I will no doubt be sweating and cursing for a while.
Pics of the process...
How I left it last night.
[IMG]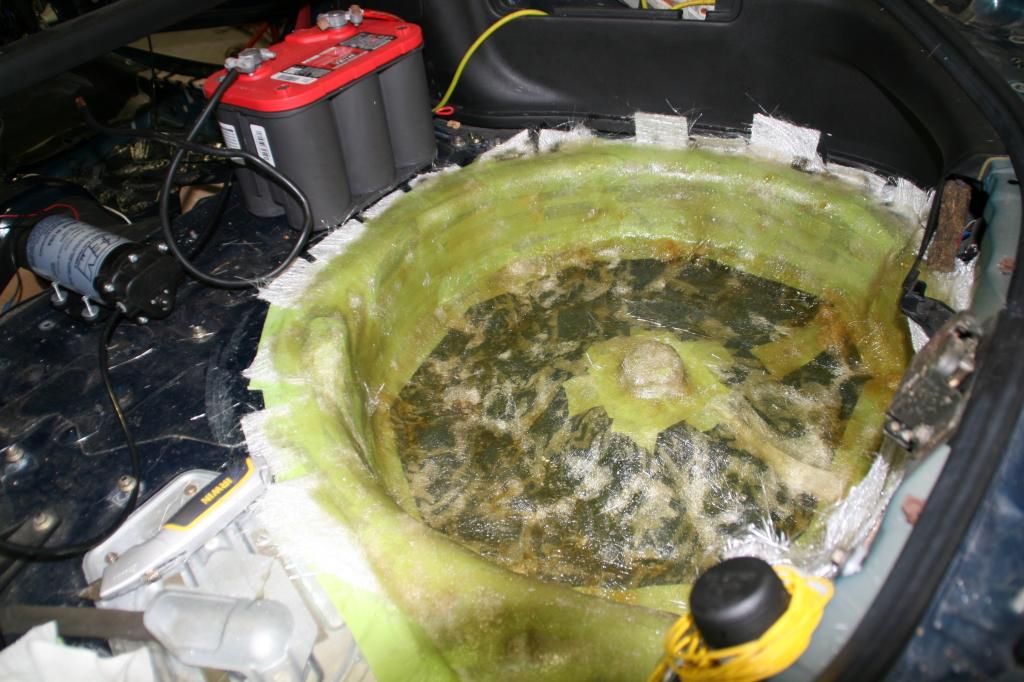 [/IMG]
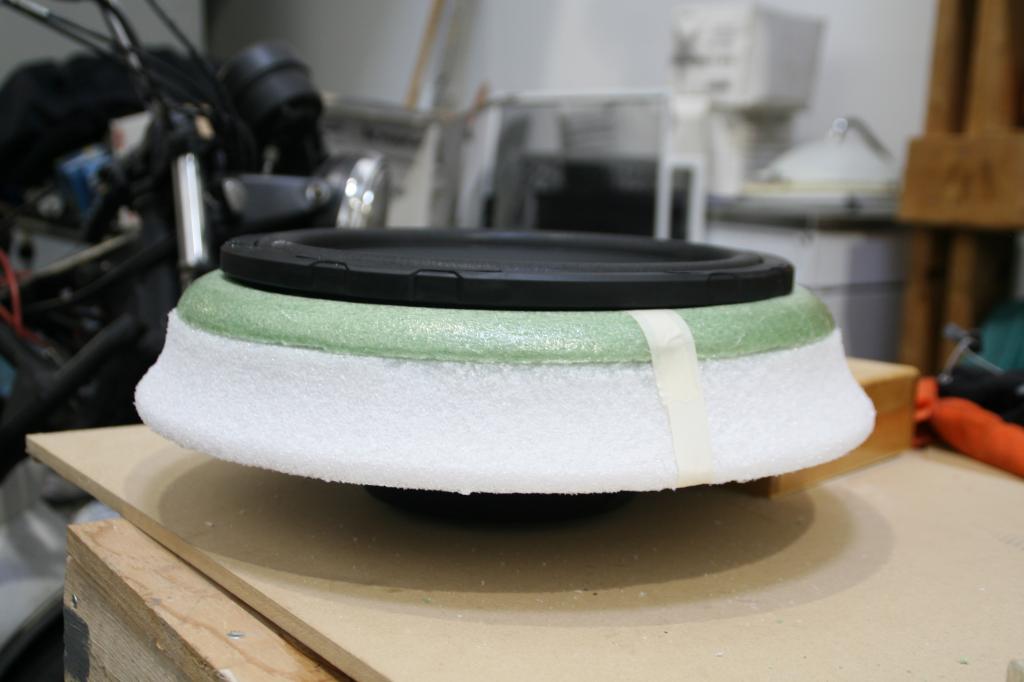
Making the riser for the sub to give it a little extra volume for it to function. I didn't want it to take any extra space so I just wanted to go up where it was already unusable.
[IMG]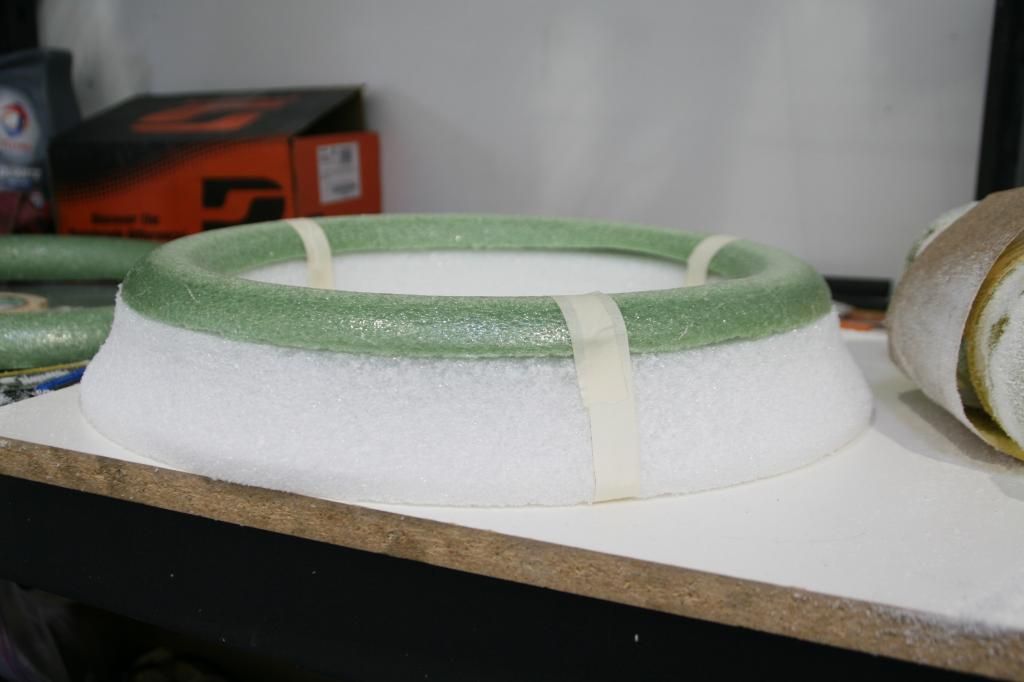 [/IMG]
OK updates from late last night fg session.
Went through a ton of resin and went a little crazy with the hardener so I was working faster than I would have liked. Checked on it this morning and it seems pretty hard for the few layers of mat I used. The tough thing is going to be trying to get the stupid thing to release. Big rubber hammer and elbow grease seemed to get the lip to come loose but its the sides that look to be the stubborn part. I will no doubt be sweating and cursing for a while.
Pics of the process...
How I left it last night.
[IMG]
 [/IMG]
Making the riser for the sub to give it a little extra volume for it to function. I didn't want it to take any extra space so I just wanted to go up where it was already unusable.
[IMG]
 [/IMG]
Last edited by duck91; 08-23-14 at 10:27 AM. Reason: Fixing Pictures
 08-23-14, 11:16 PM
#42
Long day at the shop, although I feel like not a lot got checked off the list. Seemed way to difficult to find a place that was stocking fibreglass. I tried several stores and was able to scrounge up a couple packs enough to get a bit of rigidity in the base of the sub box and to start the top. I was hoping I could have been done with glassing.
Anyways here is the top curing.
[IMG]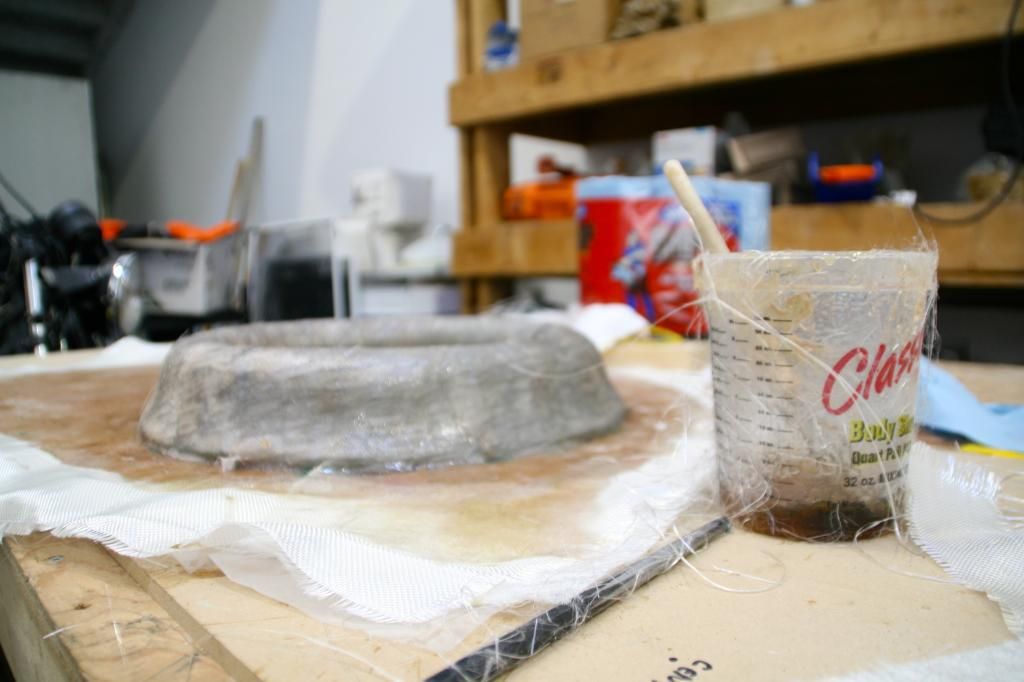 [/IMG]
I managed a bit better with the interior. The carpet is installed. I didn't use much for glue so I may have to add a bit later if it doesn't settle into place. The dash is in, that seems like an easier task than getting it out. I am talking a bit soon since I still have a mess of wiring to figure out rather than just ripping them out.
[IMG]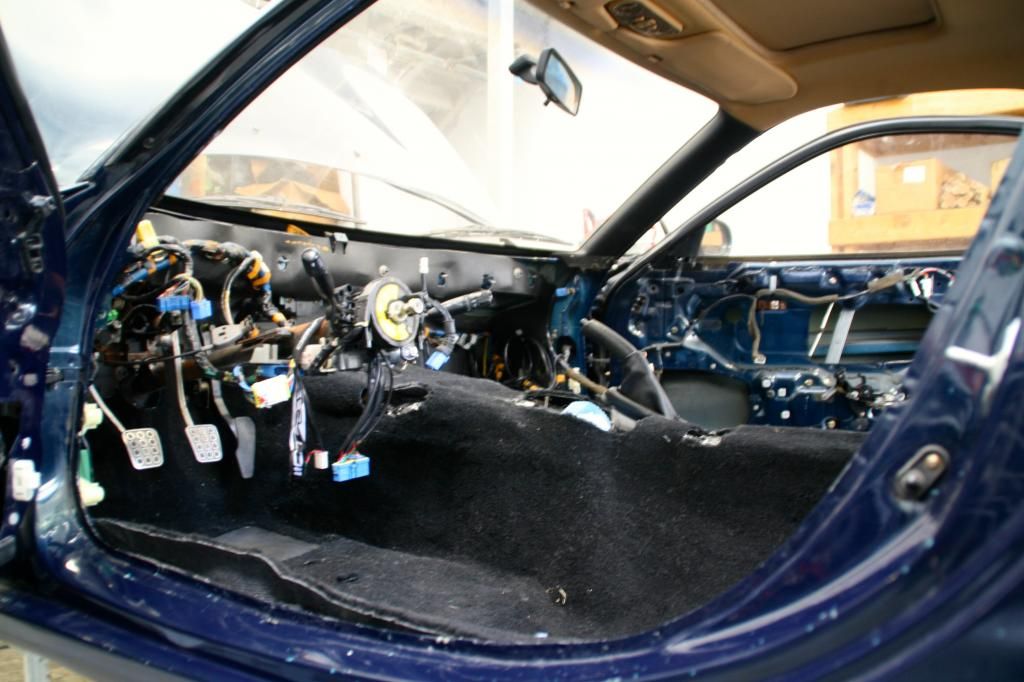 [/IMG]
[IMG]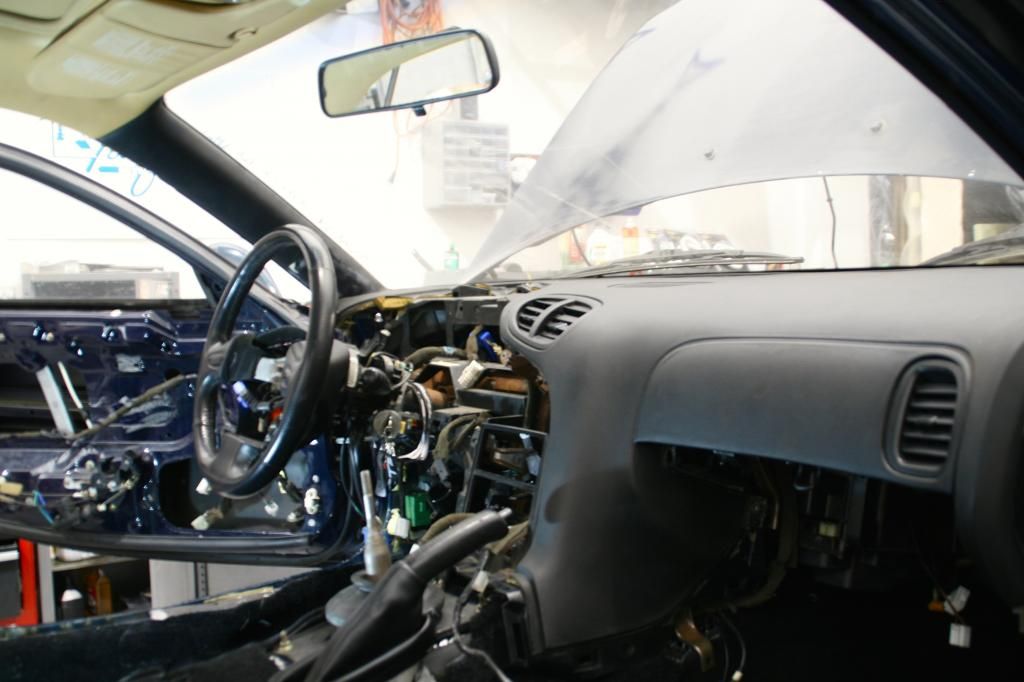 [/IMG]
Anyways here is the top curing.
[IMG]
 [/IMG]
I managed a bit better with the interior. The carpet is installed. I didn't use much for glue so I may have to add a bit later if it doesn't settle into place. The dash is in, that seems like an easier task than getting it out. I am talking a bit soon since I still have a mess of wiring to figure out rather than just ripping them out.
[IMG]
 [/IMG]
[IMG]
 [/IMG]
08-25-14, 12:09 AM
[/IMG]
08-25-14, 12:09 AM
#43
26 hours spent in the shop this weekend. The car is coming back together which is always pleasant. I have a great deal done in the interior. I would love to get back to the stuff that really matters. My buddy who is a wiz with wiring couldn't make it out this weekend so no wiring harness to run the car. But little things done in the engine bay including routing a few lines away from heat, and getting the intercooler piping on.
[IMG]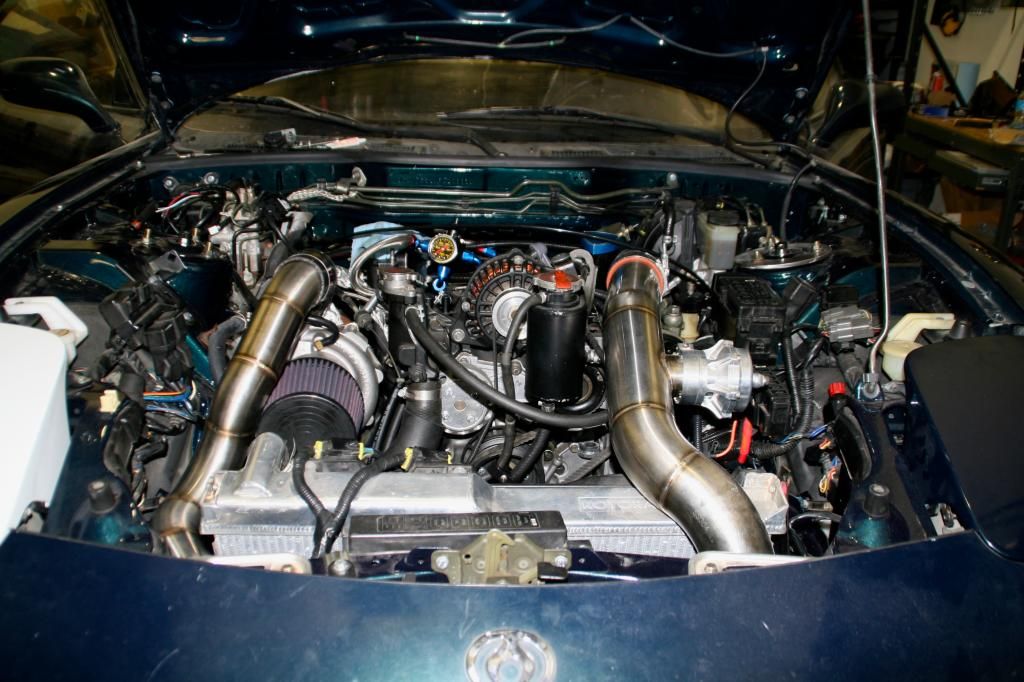 [/IMG]
[IMG]
 [/IMG]
 08-25-14, 12:18 AM
#44
Its actually a 1971 Honda CB 350. Its got a replica tank from CR450 Drixton racing bike. I was going for a late 70's vibe. They are fun projects to work on. I have a hard time chopping up the rx7 but when you start with a rusted up old bike frame your imagination is really the limit.
08-25-14, 09:23 AM
#46
[QUOTE=gmonsen;11791628]Car is coming along nicely. Having new carpet and cleaned up, quieter interior will go a long way with your wife... Very cool cafe'd 350. I have gotten a bit out of control lately on Hondas. Here's a picture of my CB350F. (Always wanted to do a cafe 350F...)
Gordon
Thanks Gordon, she will be much happier with that. I had to buy different seats a year or two ago because the old ones were to gross for her to sit on while hanging out in the shop. Got a nice condition red set off of fortuneseven. I will still have to source the sought after black panels at some point.
That CB350F looks Clean!! I looked at your signature and saw your collection, Im a bit envious. I would love to have a Moto Guzzi in that vintage the opposing cylinder design is my favourite.
My project was actually a barn find that came with a much cleaner CL350 my dad purchased so the bike was free to start with.
08-25-14, 09:30 AM
#47
Thanks 04G35S. I will trim the top and bottom tomorrow to see how they line up. I had a bit of a problem with the foam I used to shape the top. I knew that white foam isn't the best to use and it swelled and broke down. The shape is off so I poured a bit of extra resin on the low spot and will put a bit more mat on those deformed area's before bondo. I would rather build it up with a bit more structural material rather than just bondo since it will be under pressure and may very well be a mounting point for the sub. Live and learn I guess. The good news is my technique is getting better every time I work with FG maybe one day with a bit more experience I will try my hand at small CF parts.
08-29-14, 12:25 PM
#48
Haven't had a chance to work with the fibreglass but got a lot of the interior in. I will put a few hours in tonight. I am trying to gently pressure my friend to come over for a wiring party so I can get on with the exciting bit but I am not holding my breath. I gave it a quick wash after work because I couldn't stand looking at it under a layer of dust. I probably need to cut polish out the swirls, and that may give me a lifeline on the paint. If thats the case I will put the old right hand headlight cover back on and save paint for winter.
[IMG]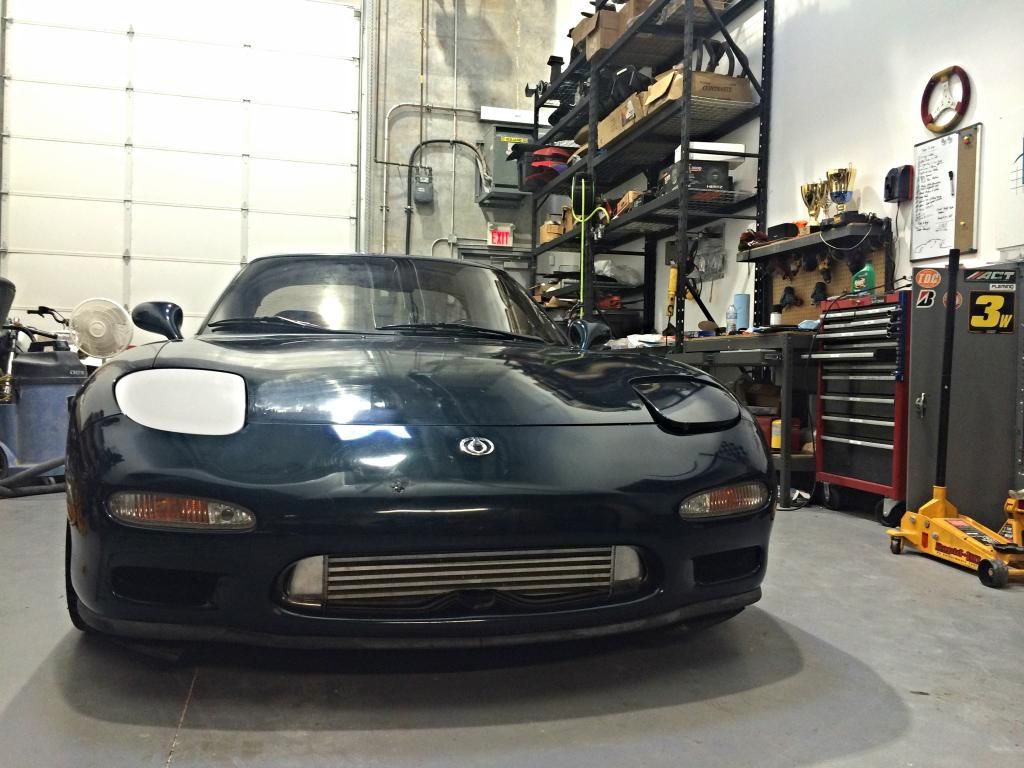 [/IMG]
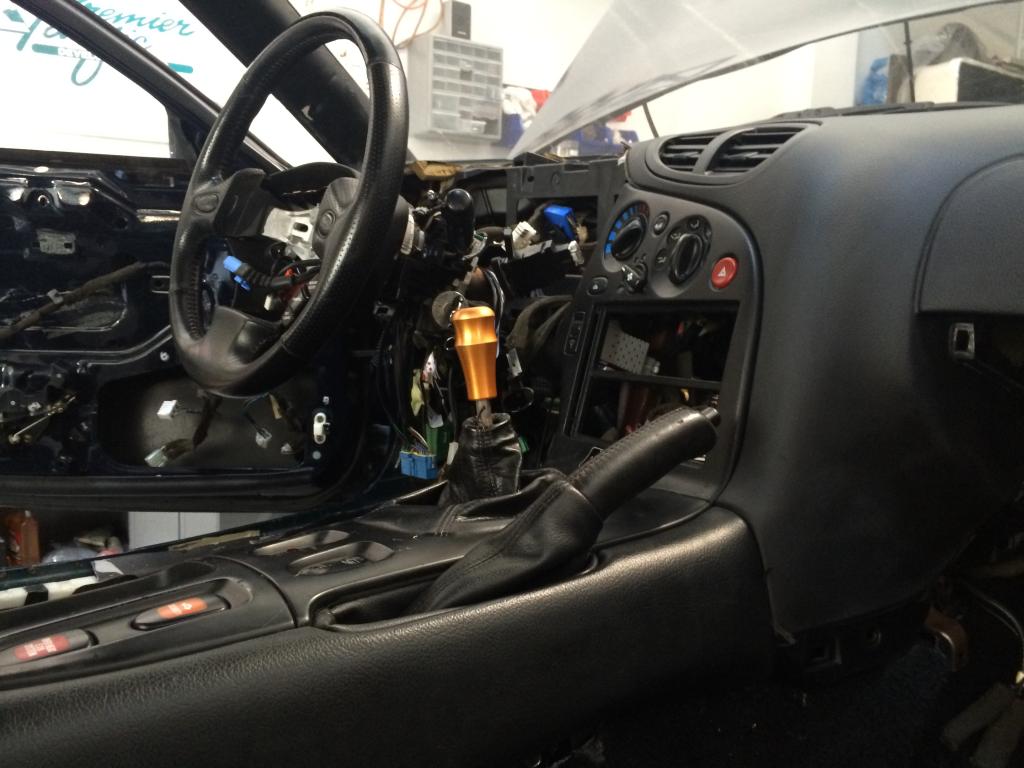
Also figured I would show off my ultra clashy interior. The beige panels have got to go but thats further down on the purchase list. I really am hesitant of painting or dying panels and would rather sell them, or keep them on the shelf with other stock equipment. I do get to rock pieces of flair from the 90's with the Sabelt/TRW/Sparco shoulder pads and the old kart shifter **** I modified.
[IMG]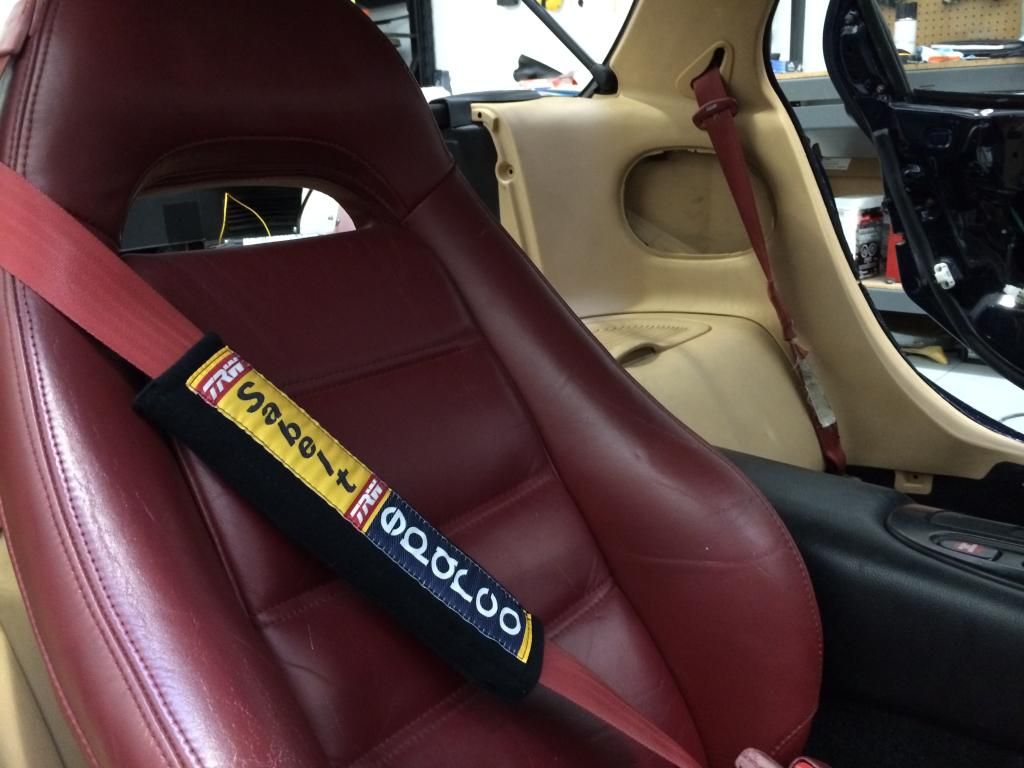 [/IMG]
[IMG]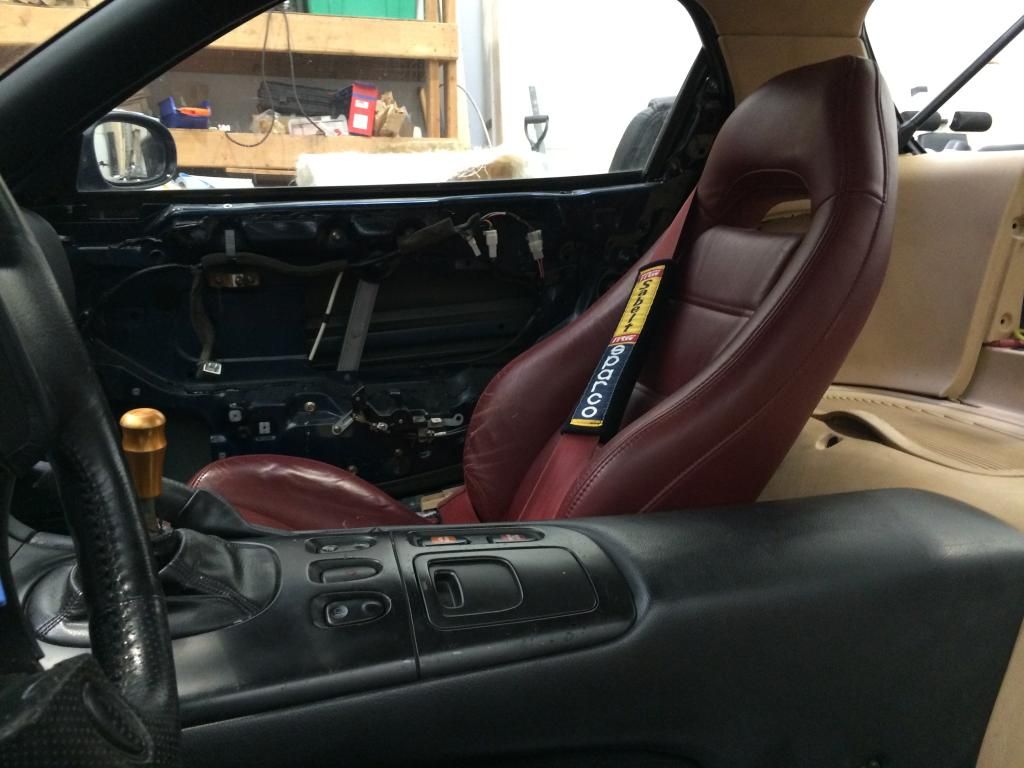 [/IMG]
[IMG]
 [/IMG]
Also figured I would show off my ultra clashy interior. The beige panels have got to go but thats further down on the purchase list. I really am hesitant of painting or dying panels and would rather sell them, or keep them on the shelf with other stock equipment. I do get to rock pieces of flair from the 90's with the Sabelt/TRW/Sparco shoulder pads and the old kart shifter **** I modified.
[IMG]
 [/IMG]
[IMG]
 [/IMG]
08-29-14, 12:54 PM
[/IMG]
08-29-14, 12:54 PM
#49
You could use interior paint on those tan panels... they look awful! lol.
I us the Duplicolor black on an old car with a plastic adhesion promoter and never had an issue with fading or pealing. Anything is better then multi color interior panels!
I us the Duplicolor black on an old car with a plastic adhesion promoter and never had an issue with fading or pealing. Anything is better then multi color interior panels!