
Mannykillers/ AAPARKAH Street/time Attack/Drift Build (heavy Pics) #Thisisthewolf

car is looking good.
in reference to your battery choice, have you heard about people using around 4 capacitors to use as a battery? It weighs about 5 lbs. I've seen a couple youtube videos of people using them to start 4 cylinder cars. I can't imagine the rotary would require more power to start then a 4 cylinder.
in reference to your battery choice, have you heard about people using around 4 capacitors to use as a battery? It weighs about 5 lbs. I've seen a couple youtube videos of people using them to start 4 cylinder cars. I can't imagine the rotary would require more power to start then a 4 cylinder.
I'd mount those smaller fire extinguishers at the bottom of the pillars if space permitted, just so I couldn't see the holes, I'd be so mad if I did that, I've had one or two fml cuts in my day lol. Those pillars bring the cars look to the next level of badass. Money well spent.
car is looking good.
in reference to your battery choice, have you heard about people using around 4 capacitors to use as a battery? It weighs about 5 lbs. I've seen a couple youtube videos of people using them to start 4 cylinder cars. I can't imagine the rotary would require more power to start then a 4 cylinder.
in reference to your battery choice, have you heard about people using around 4 capacitors to use as a battery? It weighs about 5 lbs. I've seen a couple youtube videos of people using them to start 4 cylinder cars. I can't imagine the rotary would require more power to start then a 4 cylinder.
Rotaries may not need as much power to start than a 4 cyl...but believe me.. you'll be cranking much more than a 4 cyl trying to make the bloody thing run haha
Update:
Alrighty, so I've been moving trying to get this thing back to dyno ready. Had a couple little hic-ups. So here we go!
I put in an order with Elliot at Turblown/Turbosource for the Innovate ssi-4. It'll allow me to log my fuel pressure and oil pressure with the Adaptronic Select ecu. It will also allow me to run a couple safety parameters in case of low fuel/oil pressure. The install in simple and the module is a good price. Good piece of mind, .....especially since i'll be going on my 4rth Motor since I've owned the car. So with this.....I've figured whatever I can do to help "PREVENT" a catastrophy...i'm going to do haha. Also got some electrical goodies to move all my aux wires for gauges, innovate products, and anything in the accessory department...straight through a single separate fuse box. This way everything will be easily accessible and right in front of me so I won't have to look around all over the place for install, or for trouble shooting. Question though!! Where should I pull Power from? I was thinking the Ignition Switch, so it'll all turn on when I turn the key. Any suggestions?
I also got a nice piece in from Fully Torqued Racing. The handbrake uses some really nice hardware and a Wilwood cylinder and reservoir. I wanted the reservoir so that I could run dual calipers and keep the two systems from interfering with each other in necessary situations.
 Love the handle... may be modifying the mount bracket though. we will see.
And finally got my motor back from Howard. Looking forward to getting this thing running again.
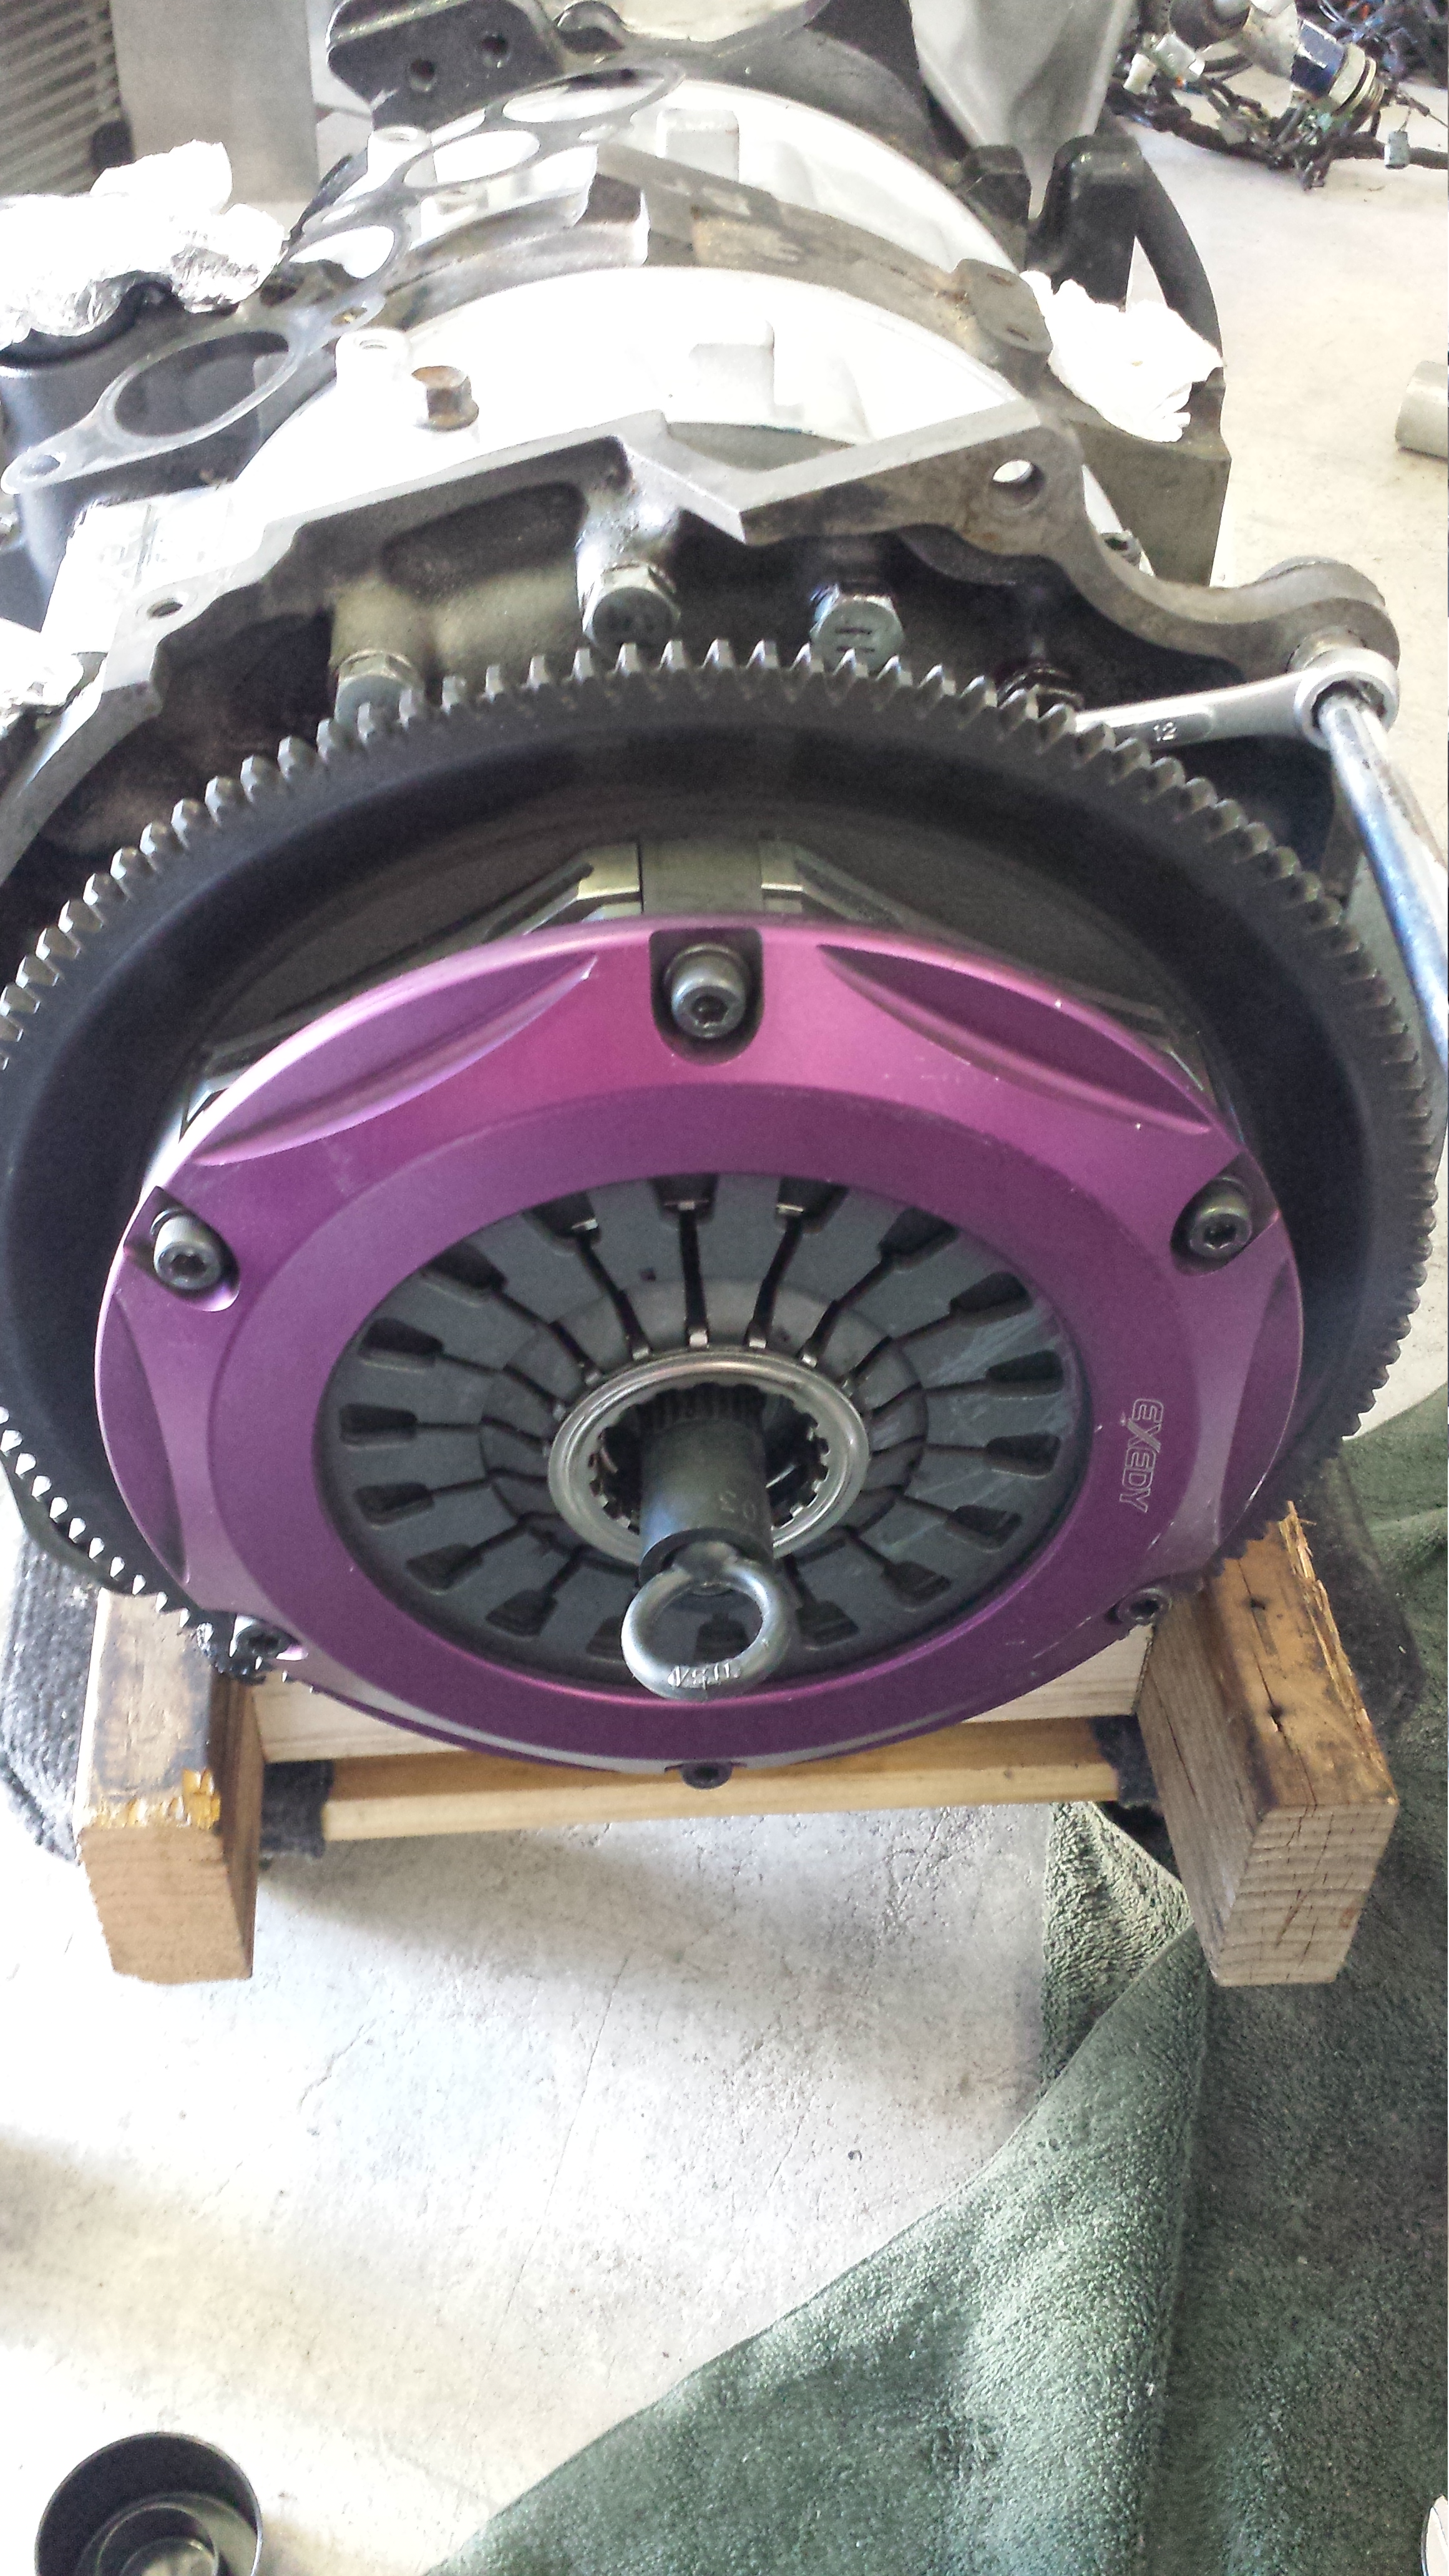
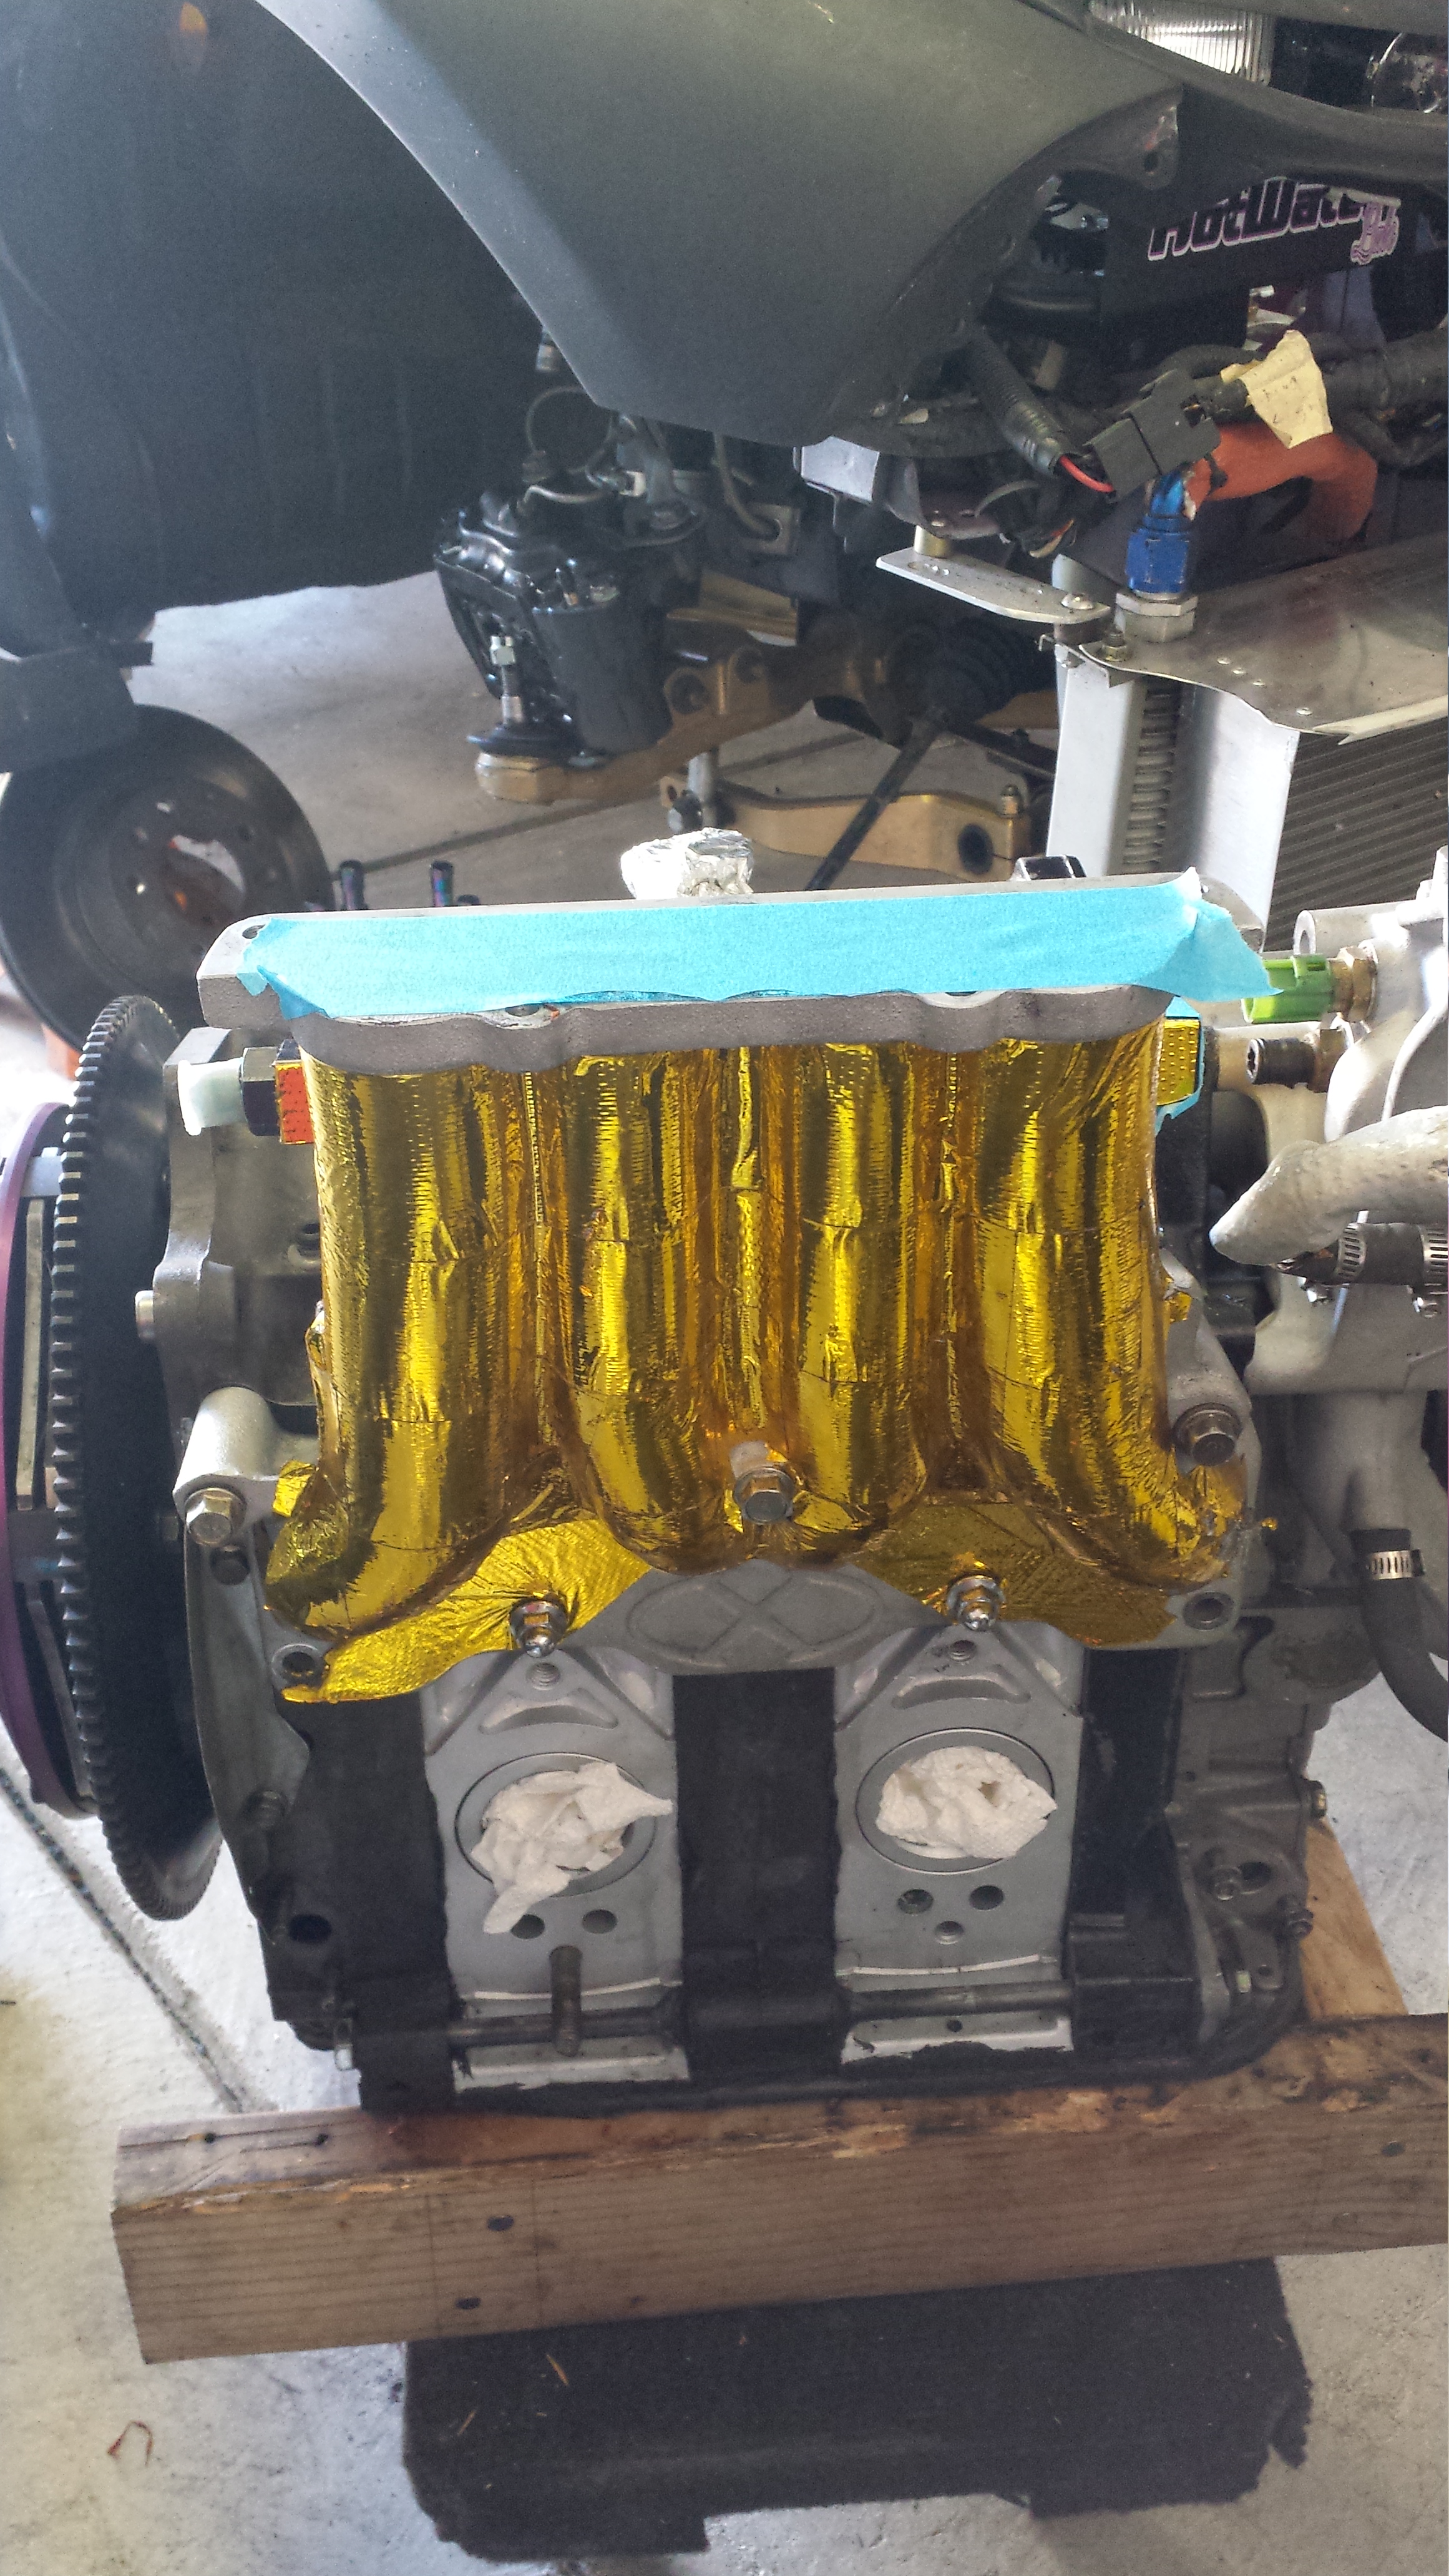
Exedy twin disc, Excessive LIM, Full Function Rails, I.D. 2200 Sec, and Water pump housing, tb and elbow. I still really want to run the RE cosmo UIM TB and Elbow but I can't seem to find one as of late and I really don't want to run into any weird flow problems etc. I know people run it without problems but i'm just wary at this point. we'll see, we'll see.
Waterpump housing installed
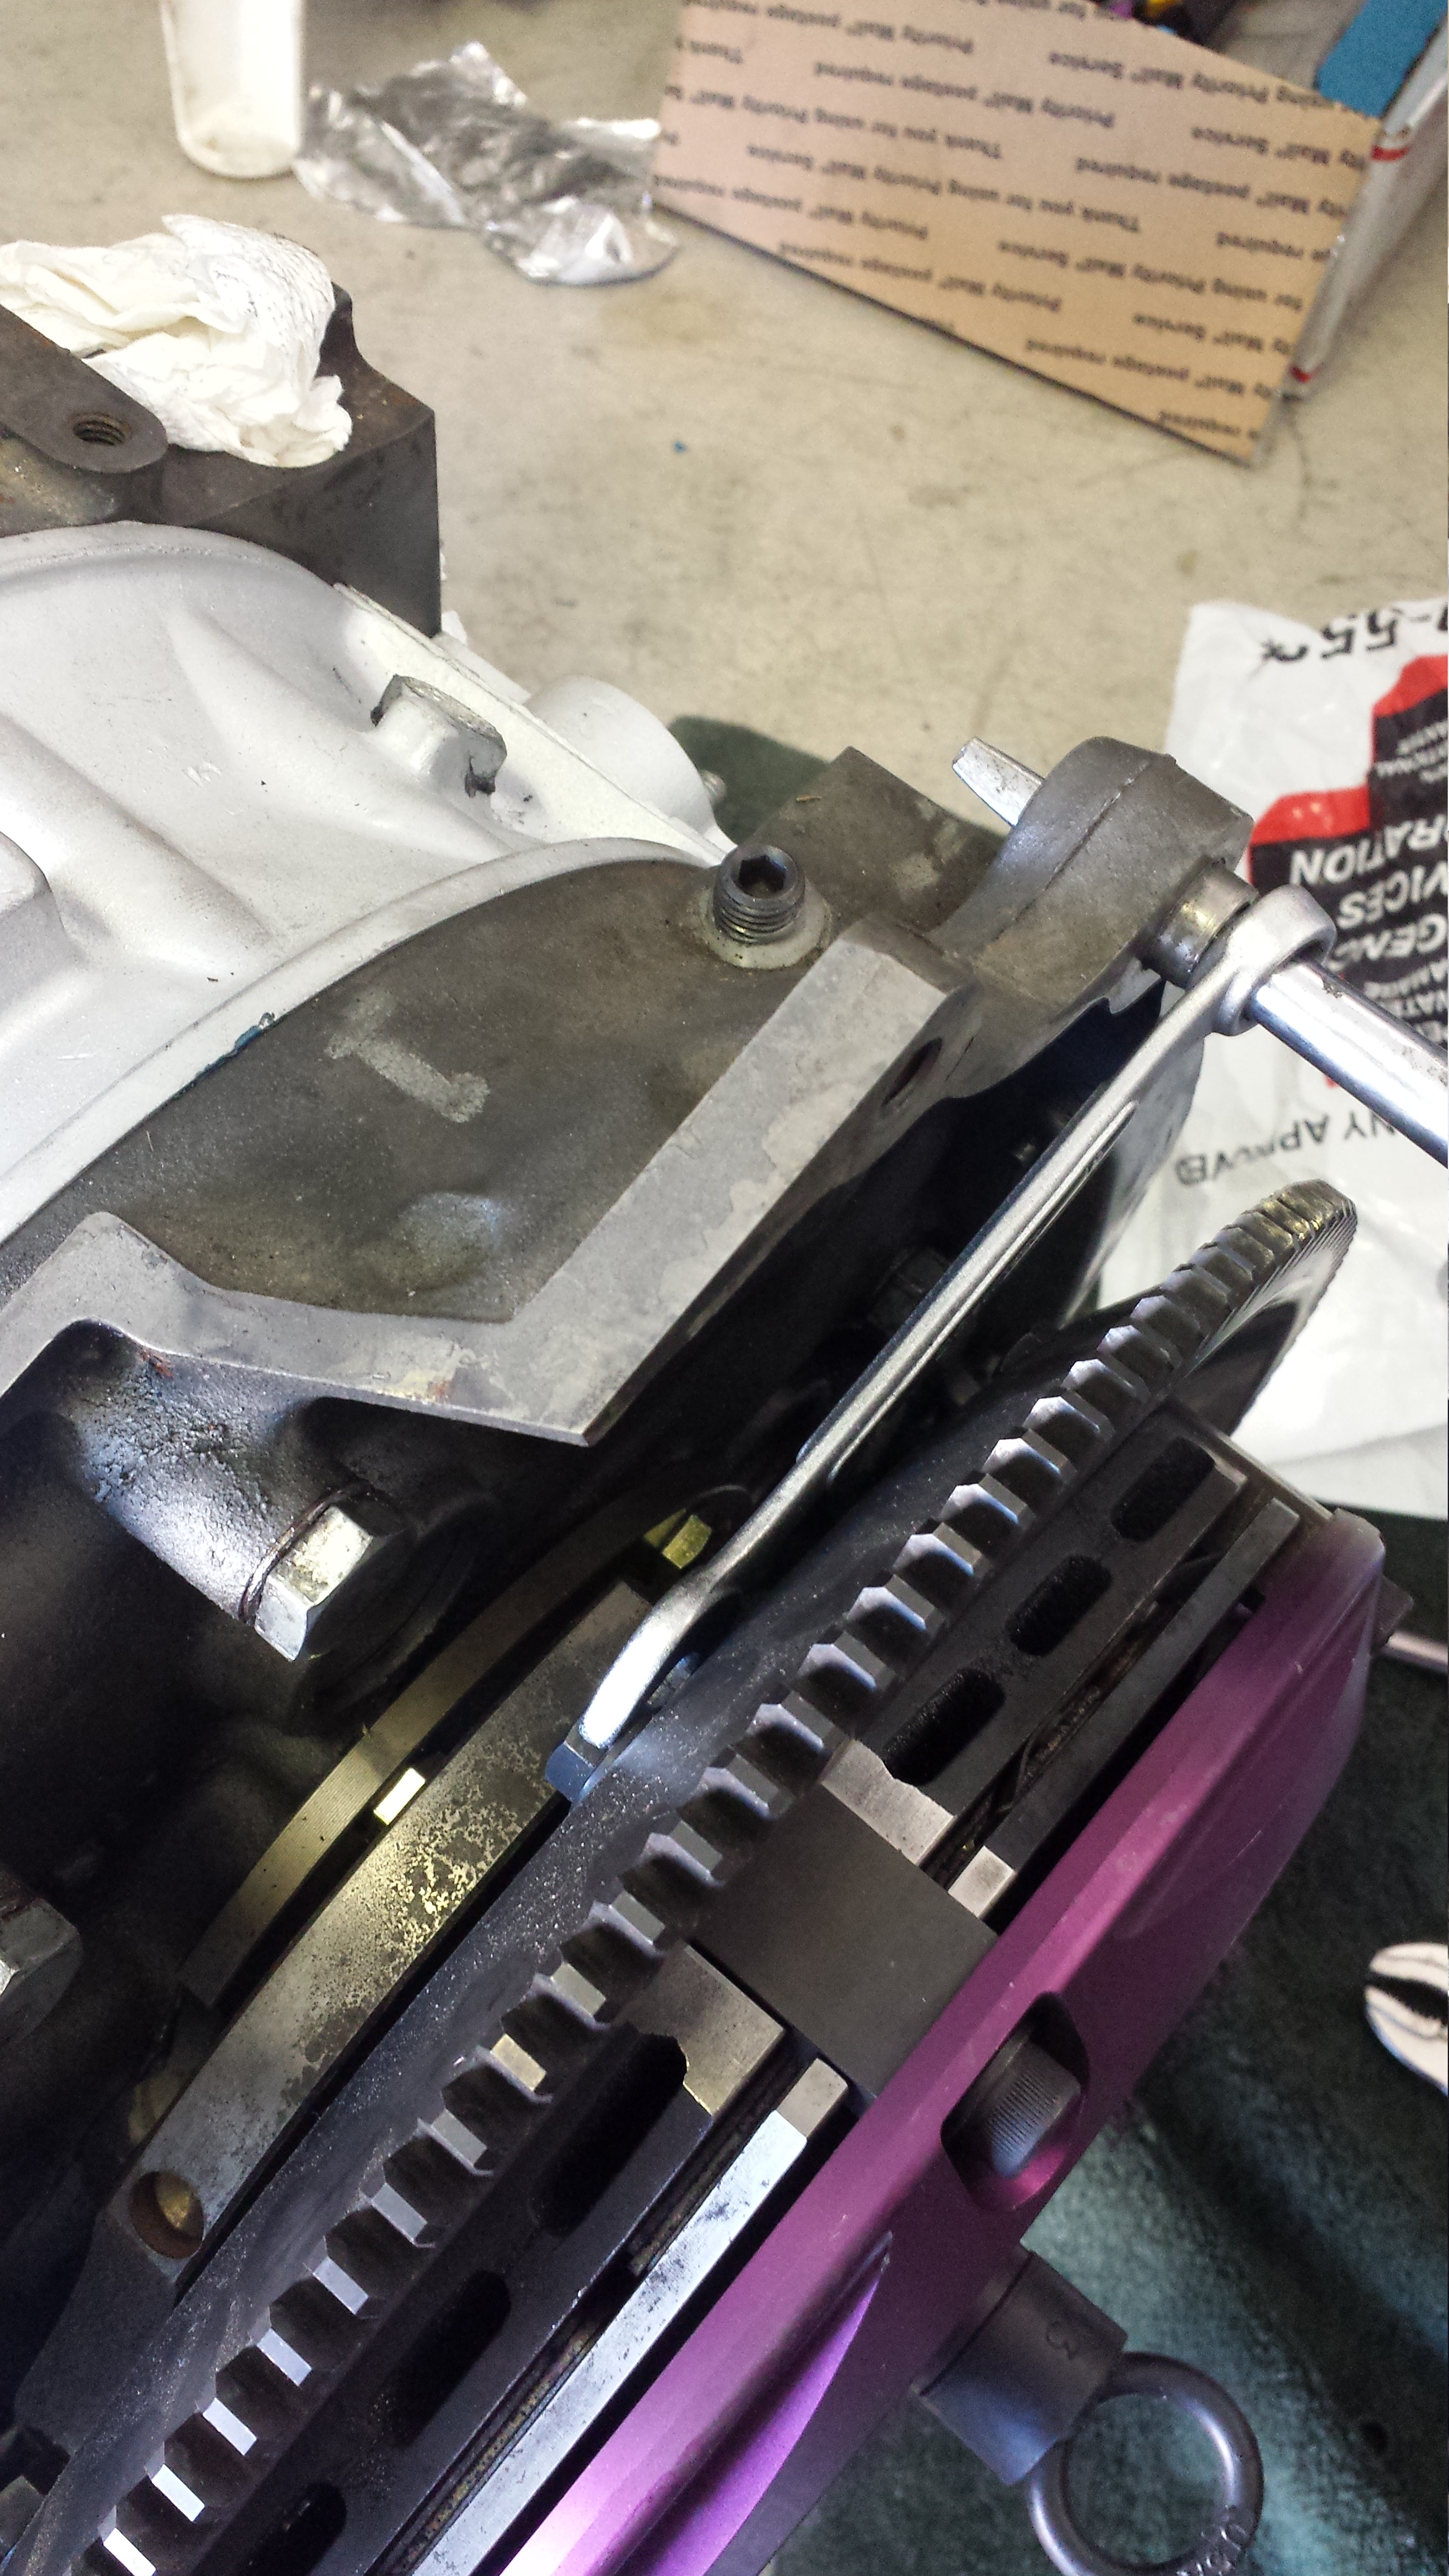
Clutch Install...and my makeshift flywheel stopper
Excessive LIM installed and ffe sec rail w/i.d. 2200
Alrighty, so I've been moving trying to get this thing back to dyno ready. Had a couple little hic-ups. So here we go!
I put in an order with Elliot at Turblown/Turbosource for the Innovate ssi-4. It'll allow me to log my fuel pressure and oil pressure with the Adaptronic Select ecu. It will also allow me to run a couple safety parameters in case of low fuel/oil pressure. The install in simple and the module is a good price. Good piece of mind, .....especially since i'll be going on my 4rth Motor since I've owned the car. So with this.....I've figured whatever I can do to help "PREVENT" a catastrophy...i'm going to do haha. Also got some electrical goodies to move all my aux wires for gauges, innovate products, and anything in the accessory department...straight through a single separate fuse box. This way everything will be easily accessible and right in front of me so I won't have to look around all over the place for install, or for trouble shooting. Question though!! Where should I pull Power from? I was thinking the Ignition Switch, so it'll all turn on when I turn the key. Any suggestions?
I also got a nice piece in from Fully Torqued Racing. The handbrake uses some really nice hardware and a Wilwood cylinder and reservoir. I wanted the reservoir so that I could run dual calipers and keep the two systems from interfering with each other in necessary situations.
Love the handle... may be modifying the mount bracket though. we will see.And finally got my motor back from Howard. Looking forward to getting this thing running again.
Exedy twin disc, Excessive LIM, Full Function Rails, I.D. 2200 Sec, and Water pump housing, tb and elbow. I still really want to run the RE cosmo UIM TB and Elbow but I can't seem to find one as of late and I really don't want to run into any weird flow problems etc. I know people run it without problems but i'm just wary at this point. we'll see, we'll see.
Waterpump housing installed
Clutch Install...and my makeshift flywheel stopper
Excessive LIM installed and ffe sec rail w/i.d. 2200
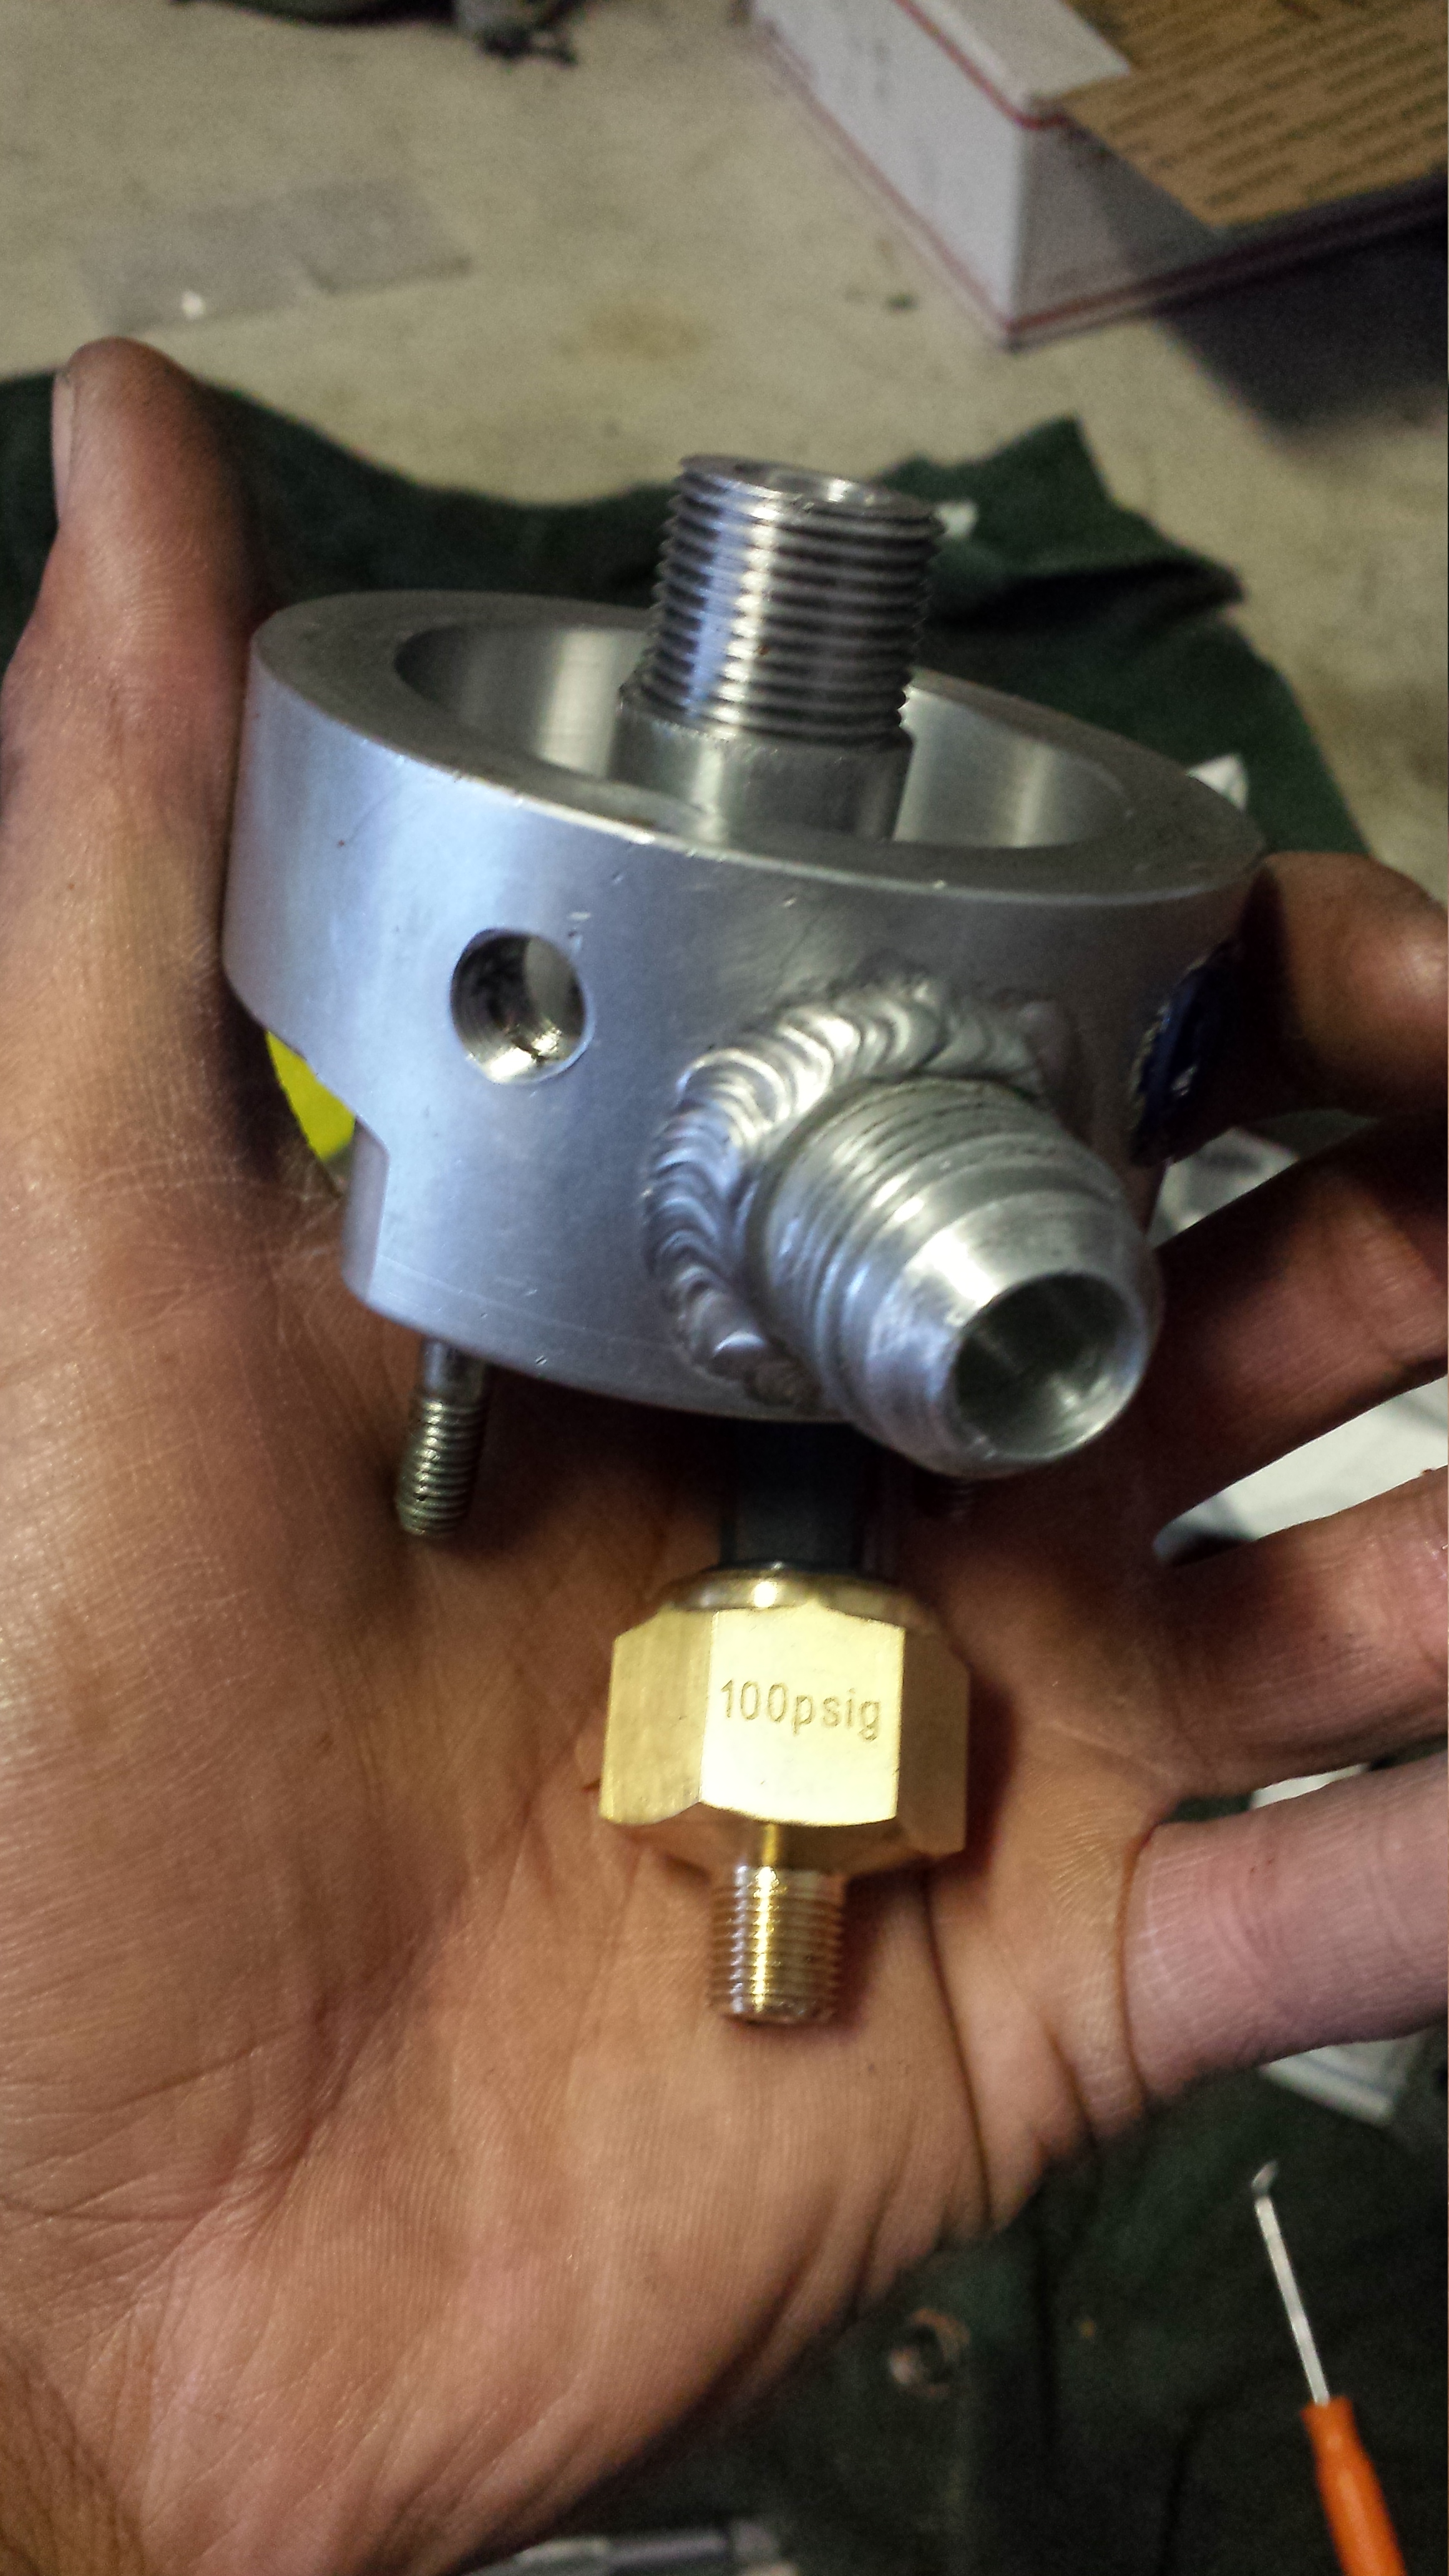
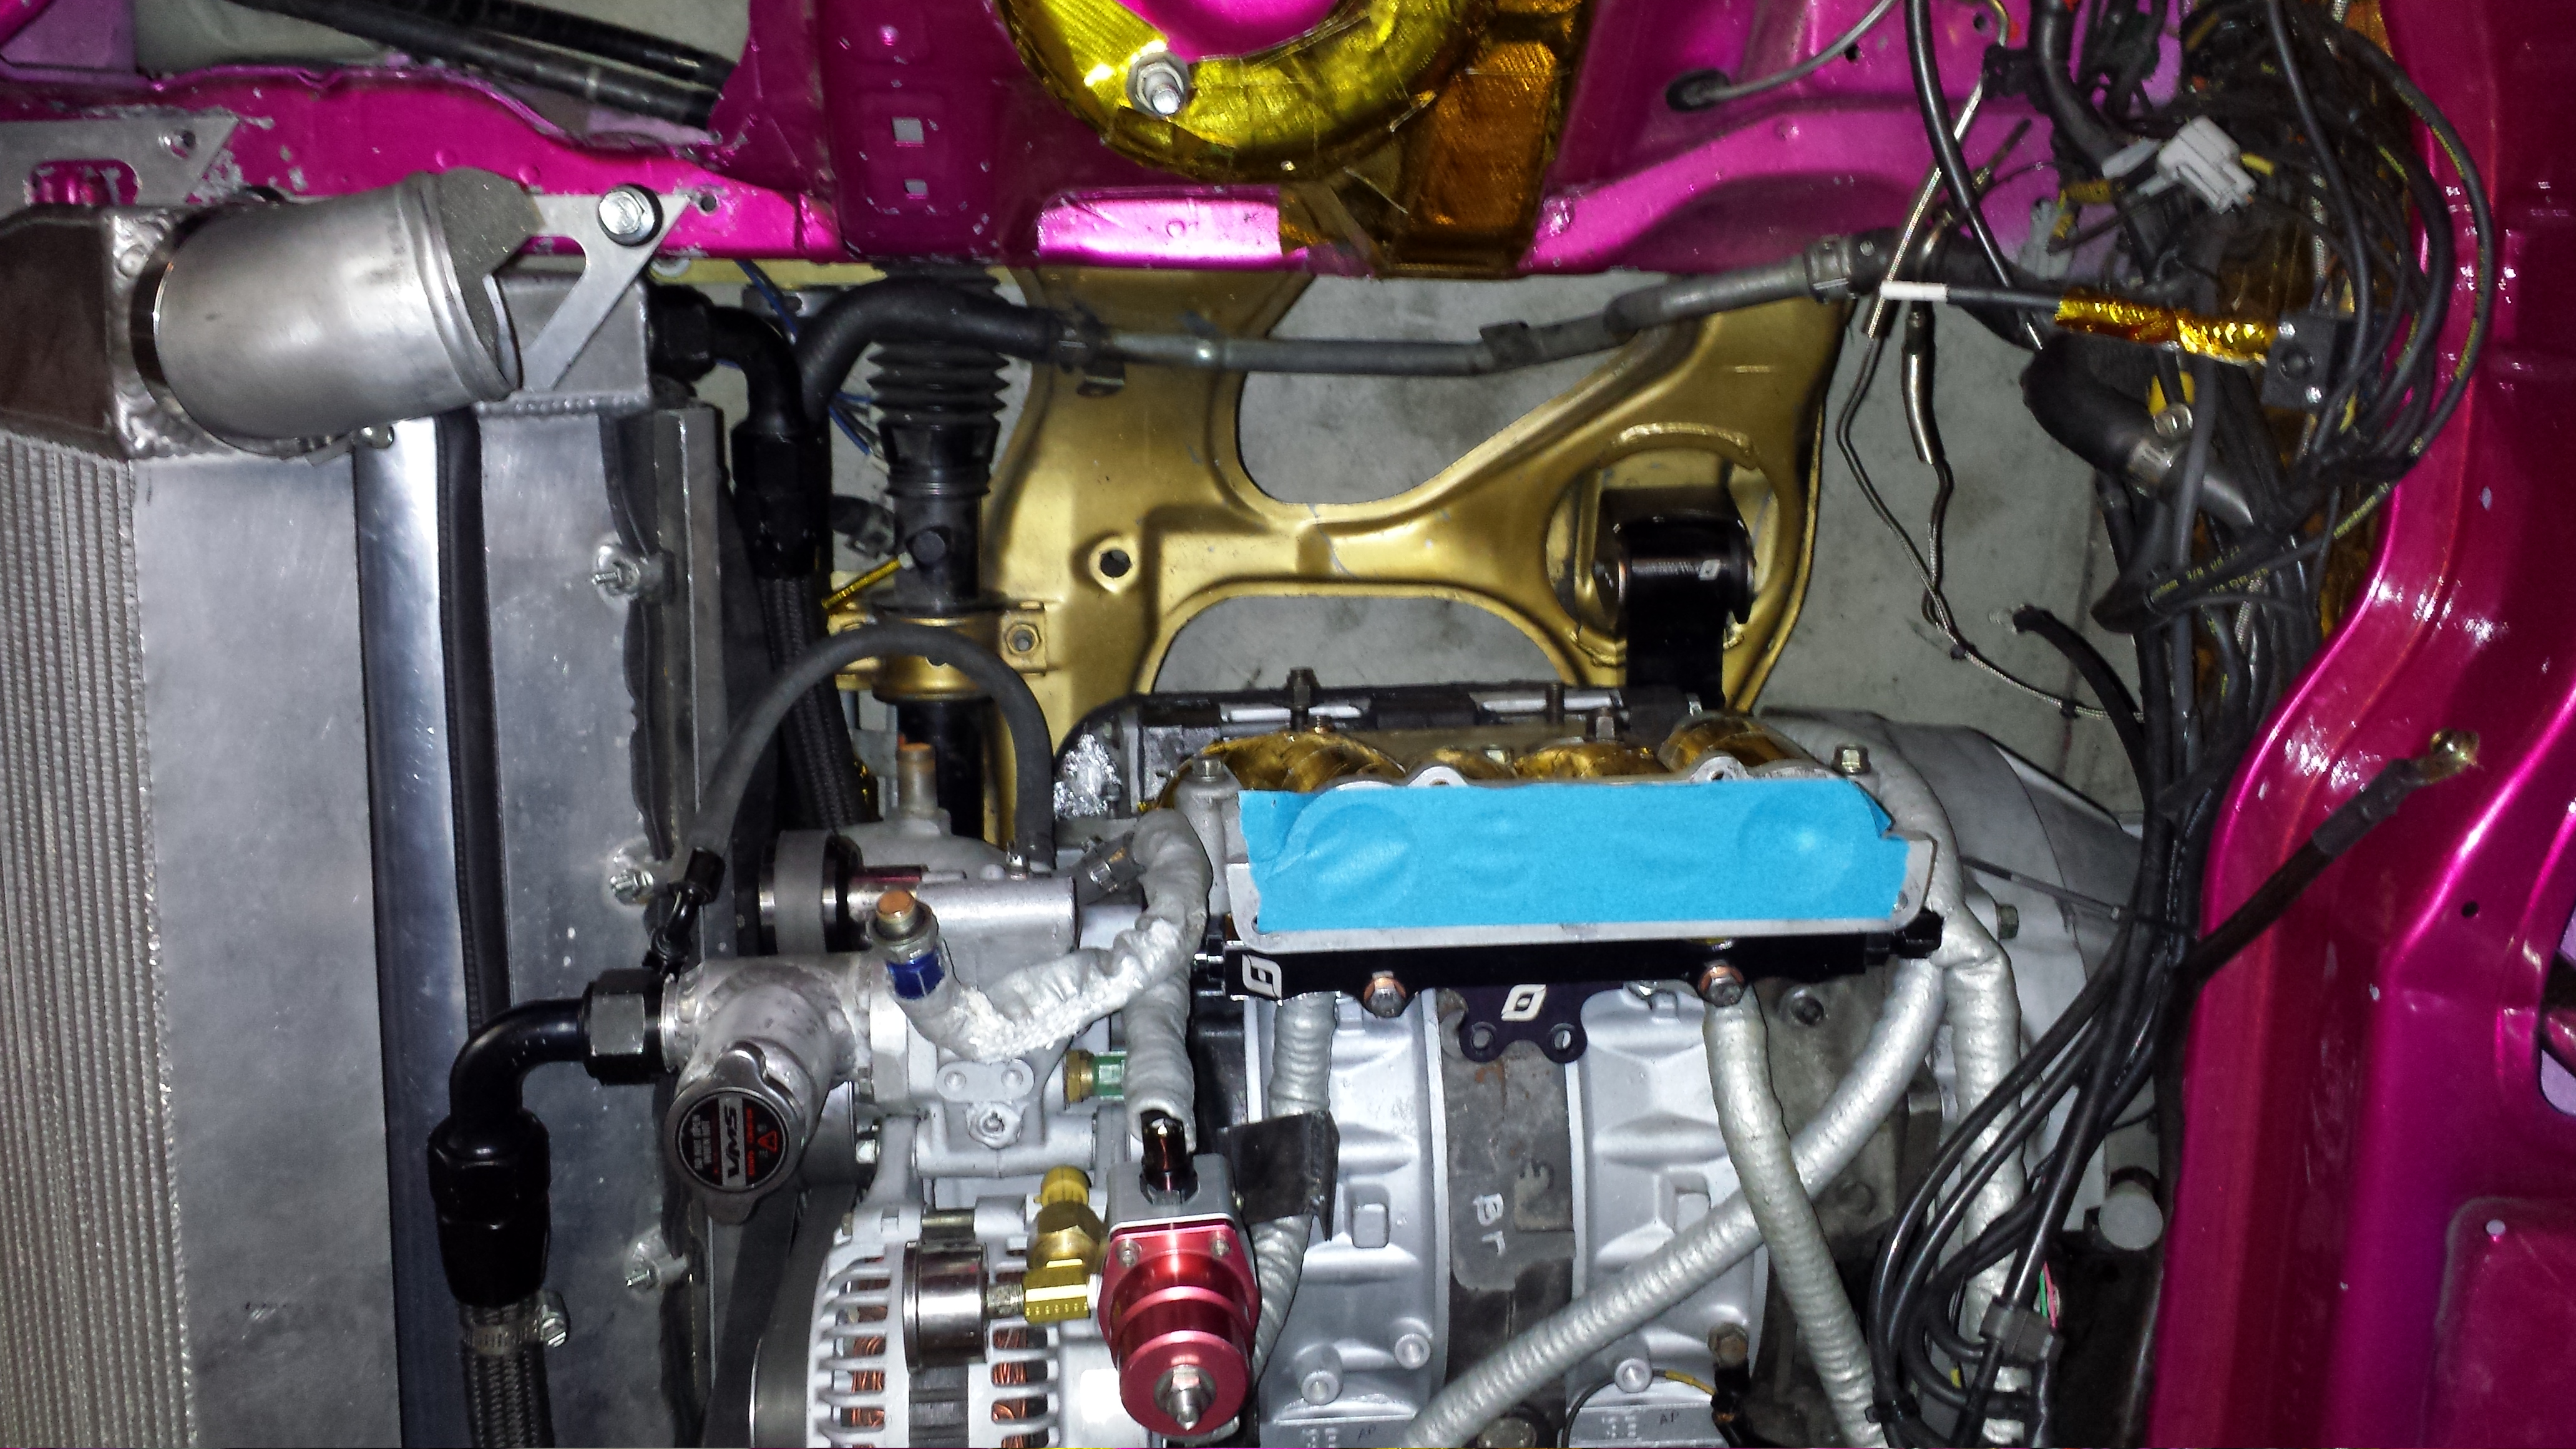
Picked this piece up when I first built the motor...forgot who I got it from but it's excellent. Has extra ports in it for temp and pressure.. So I used one of them for my new Oil pressure sensor to run to the innovate ssi4
installed..along with OEM temp sensor, pressure sensor, and spark plugs. Using the autolite 3932x's right now for the time being but have extra 3932's with the resistor strap as well. I was told the resister strapped plugs are a bit better.
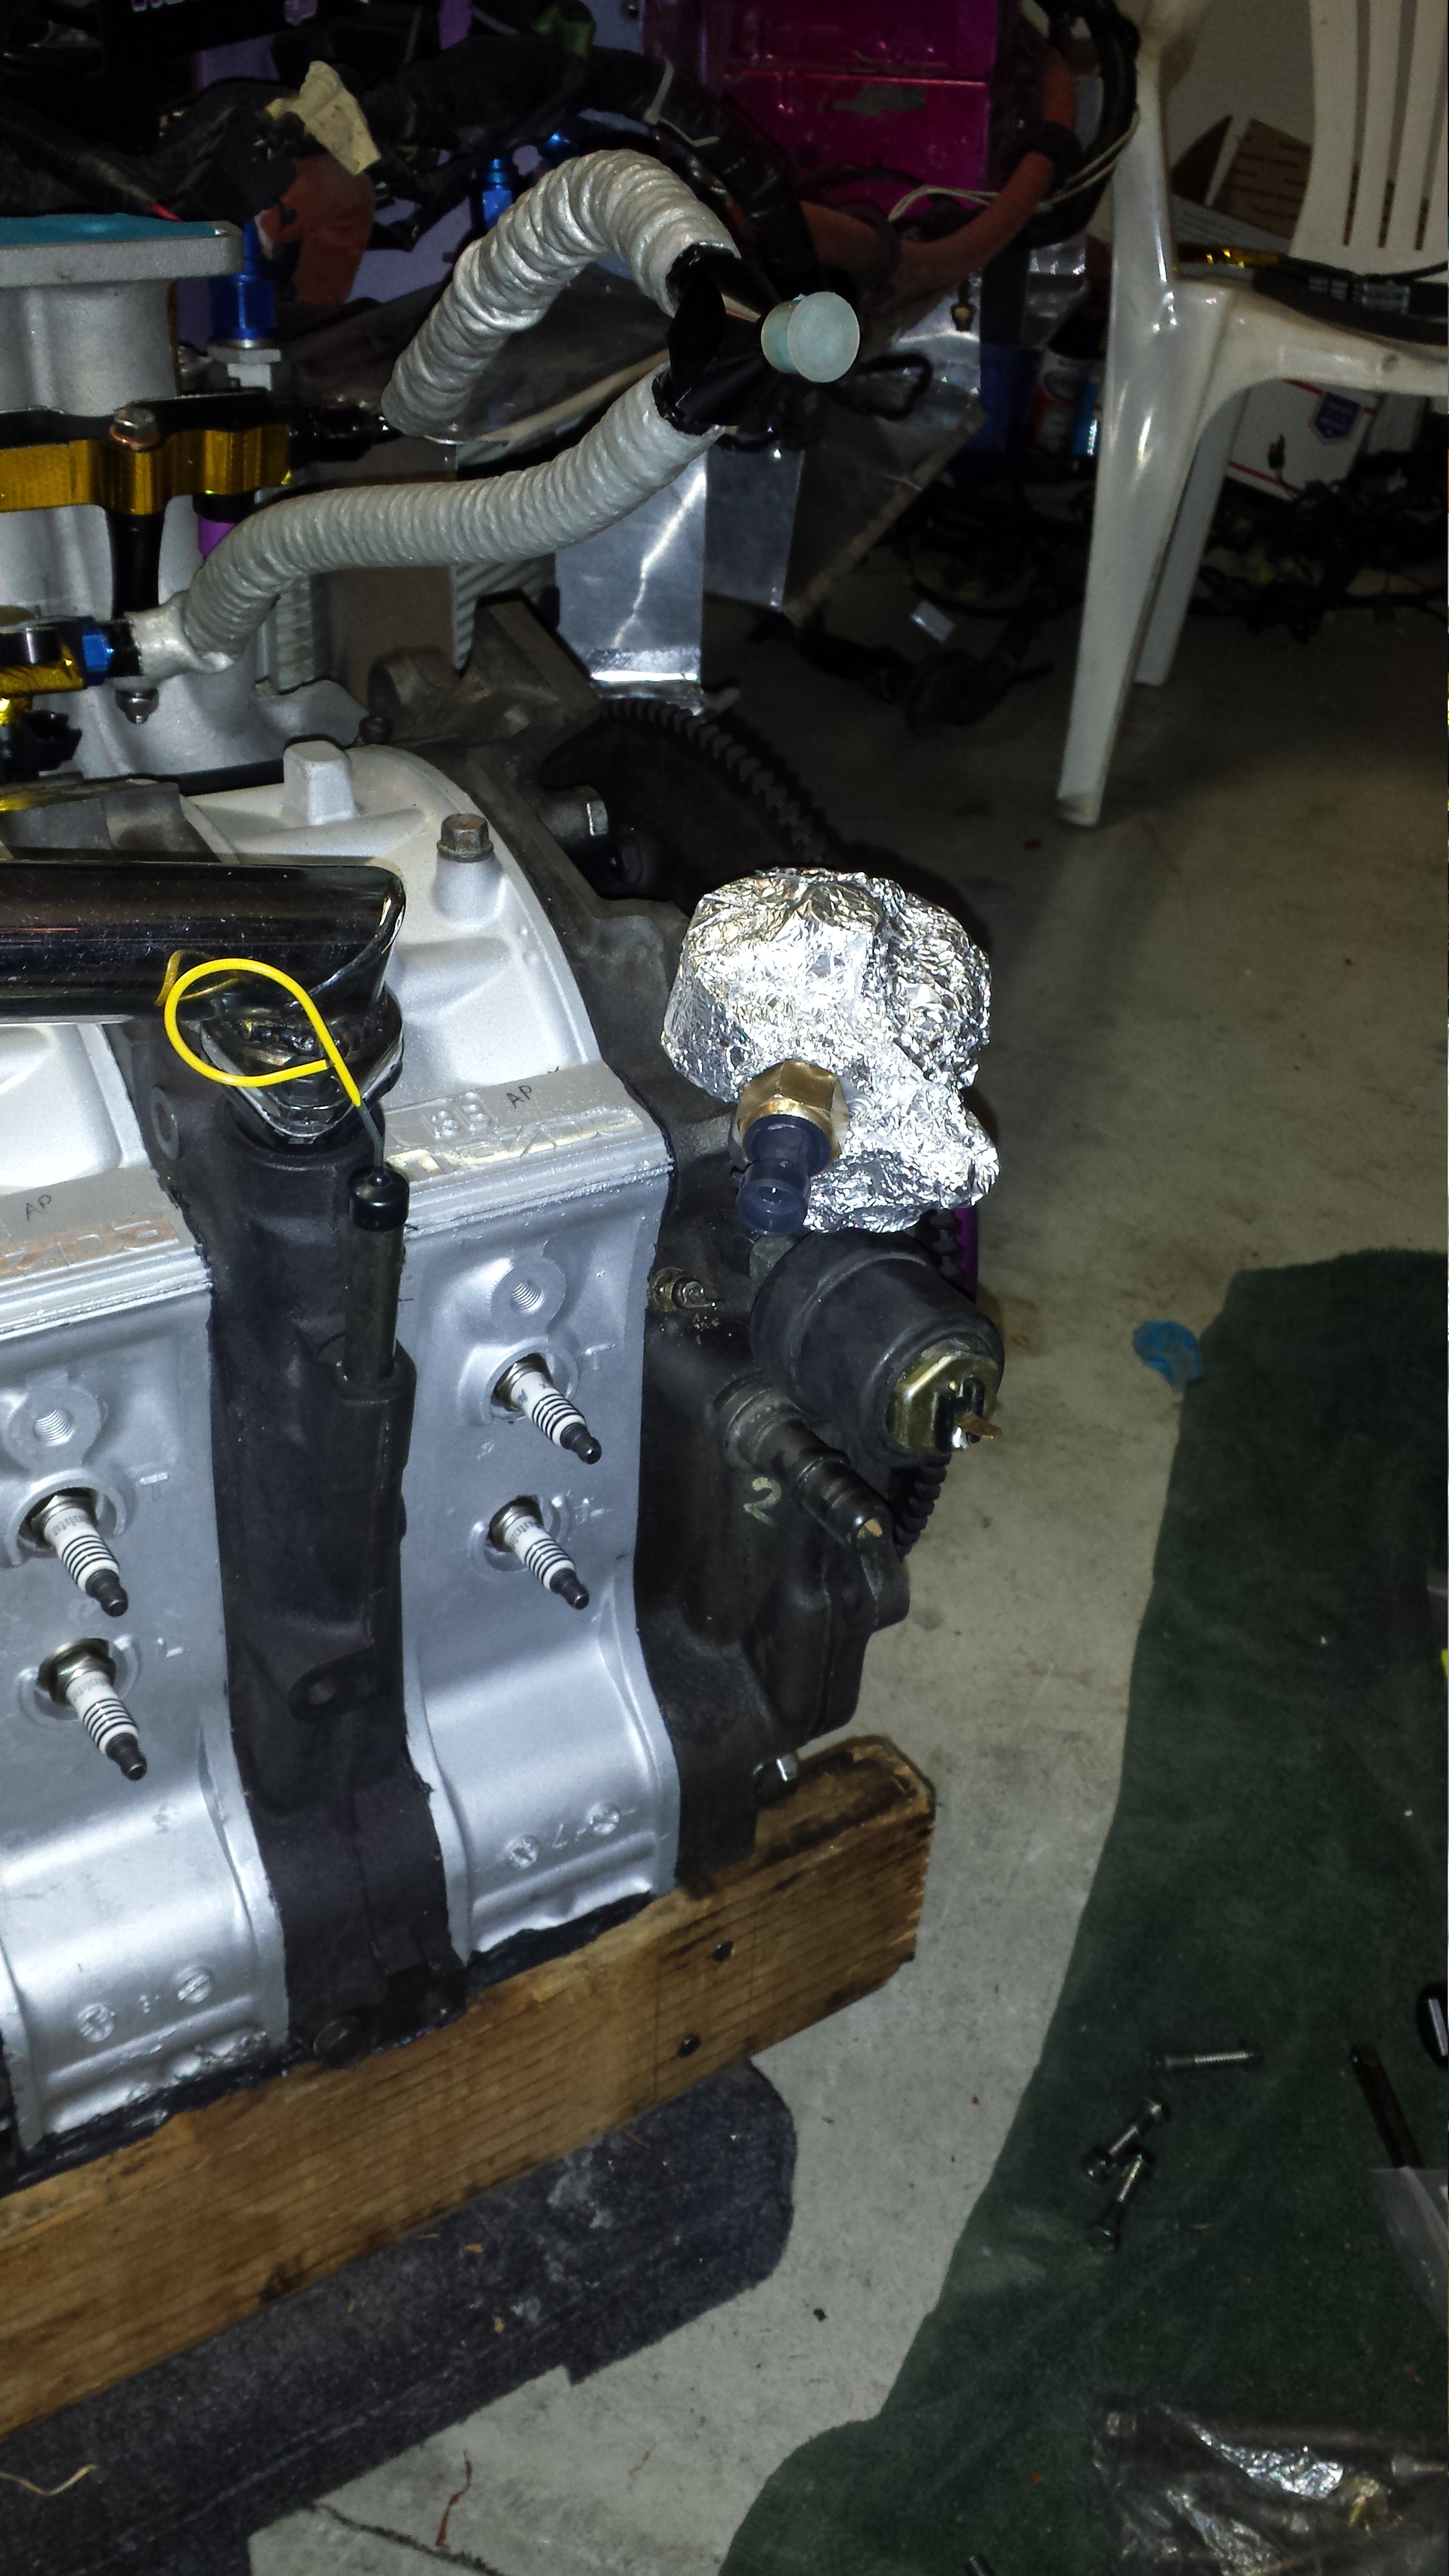
Oil filler neck fuel lines, aeromotive fpr and fuel pressure sensor installed
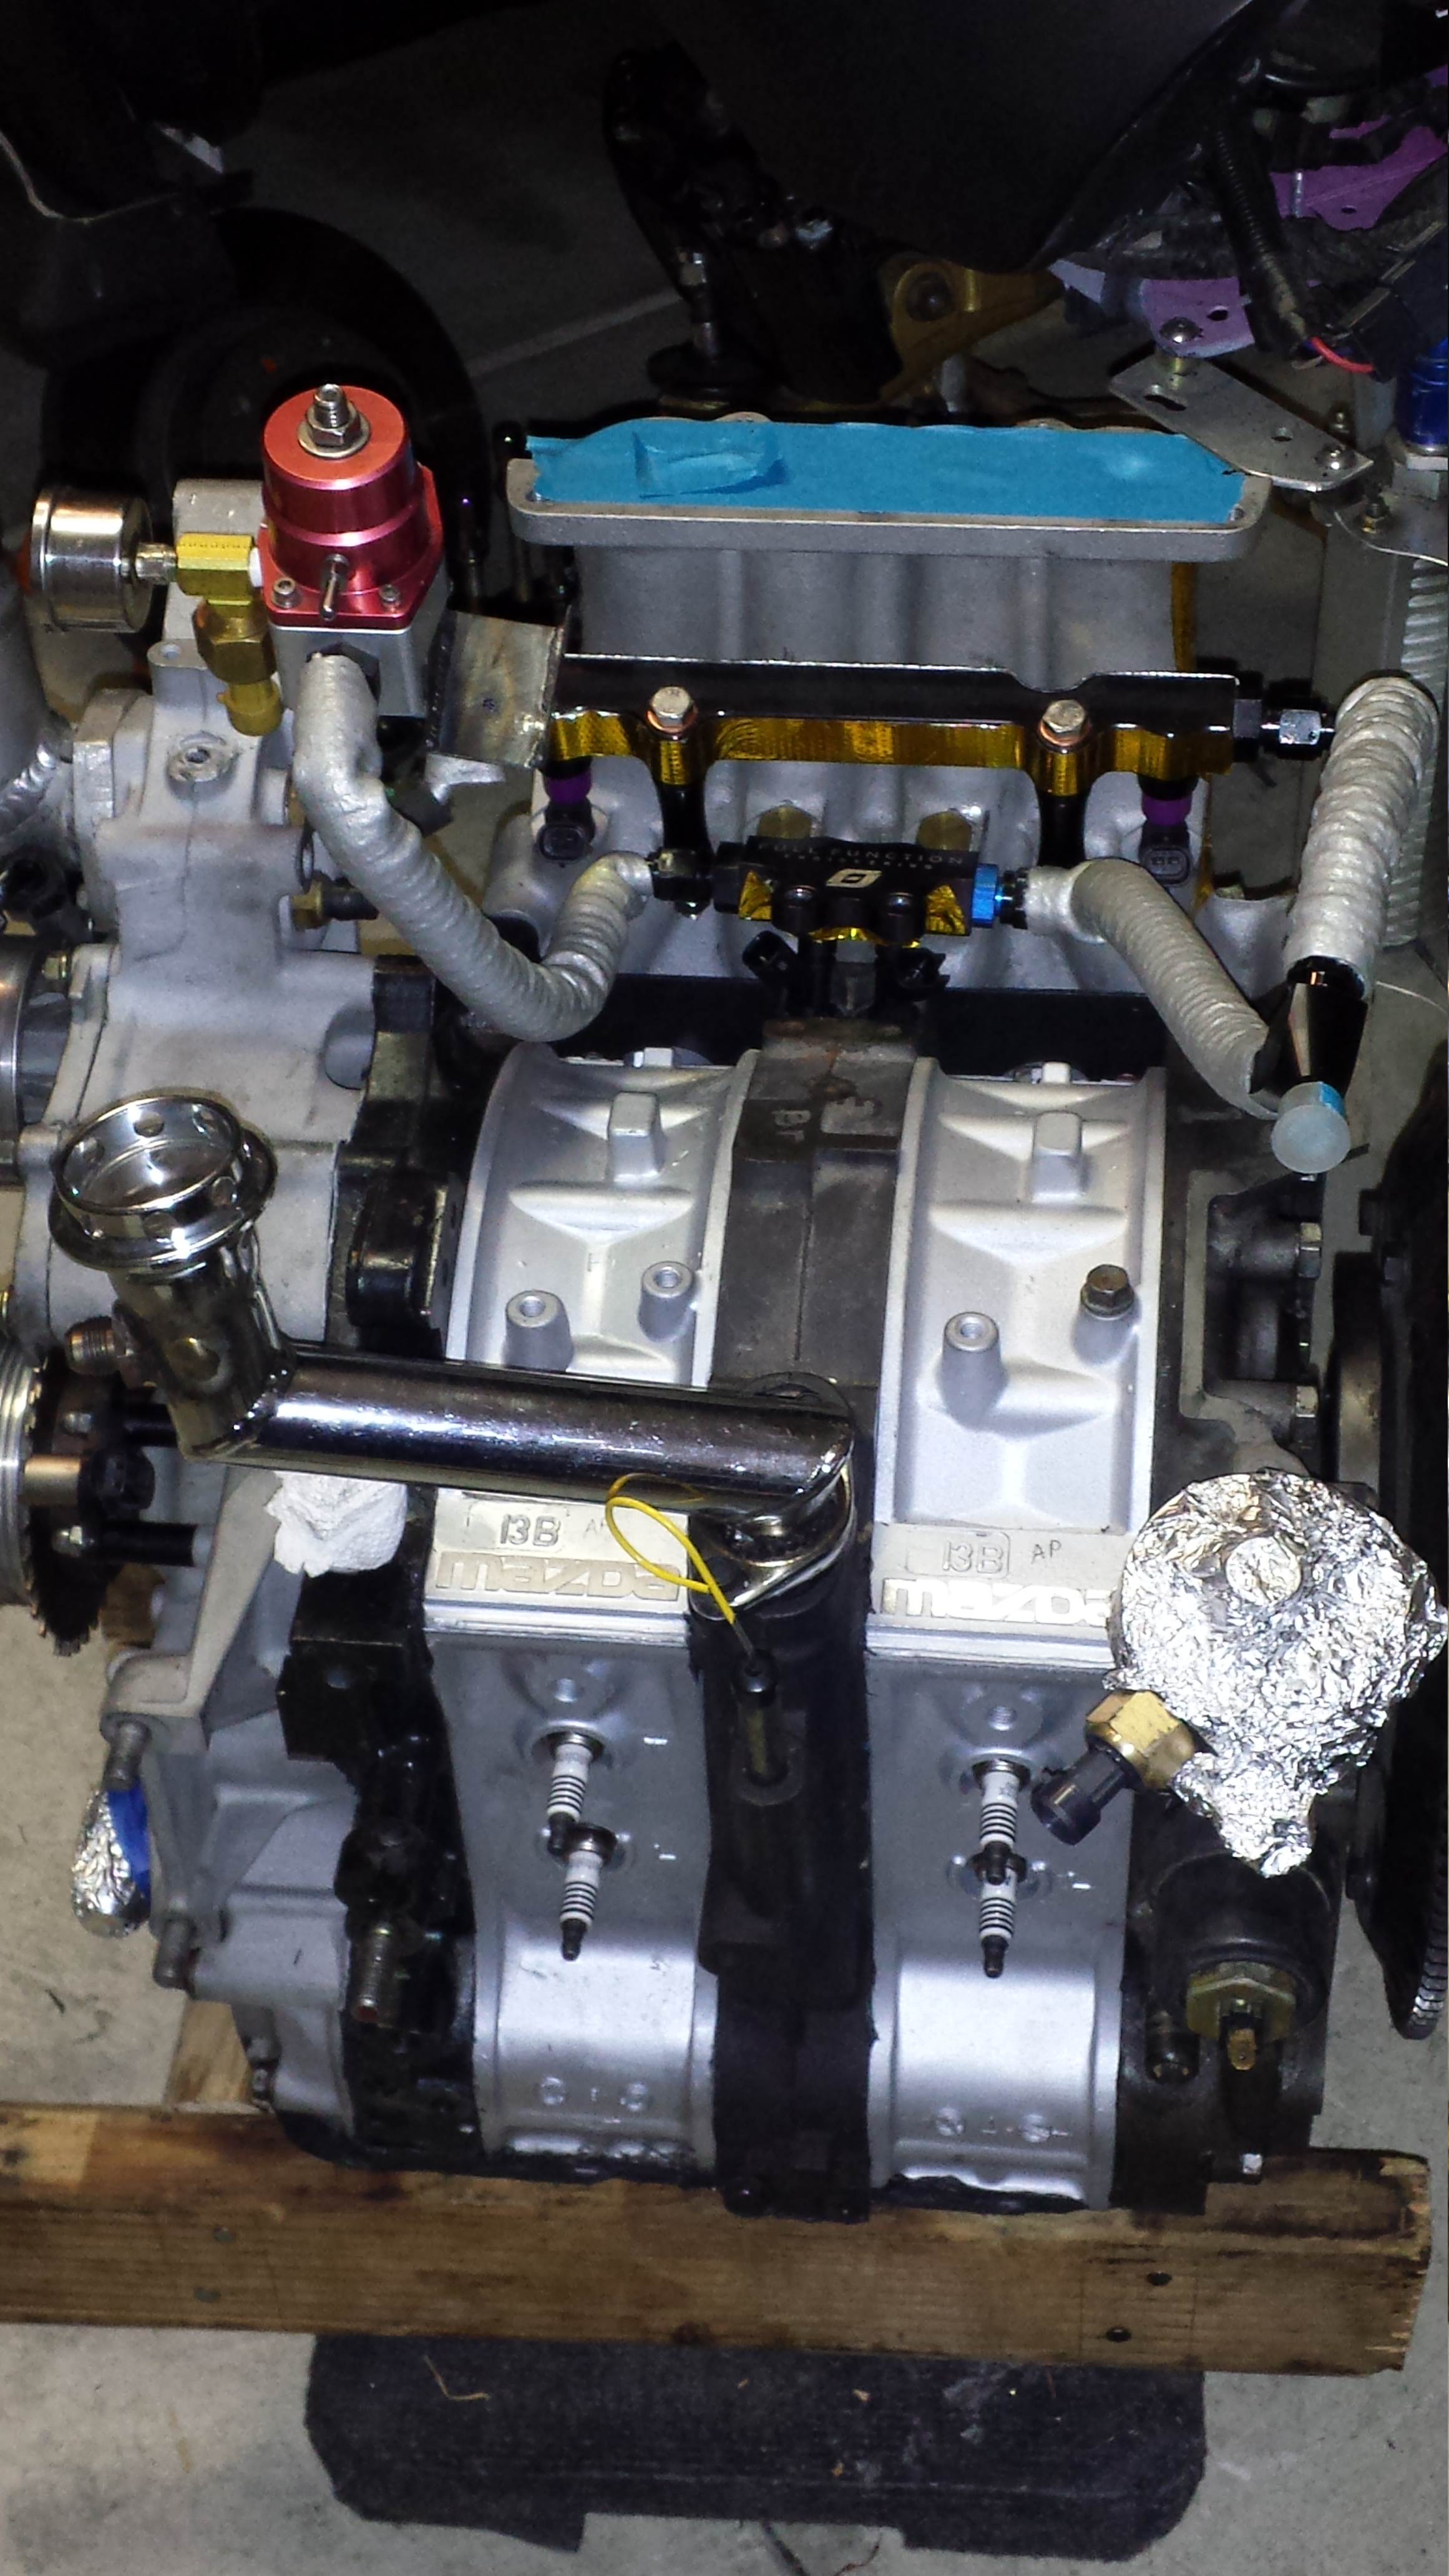
Calm before the storm...ready to go in.
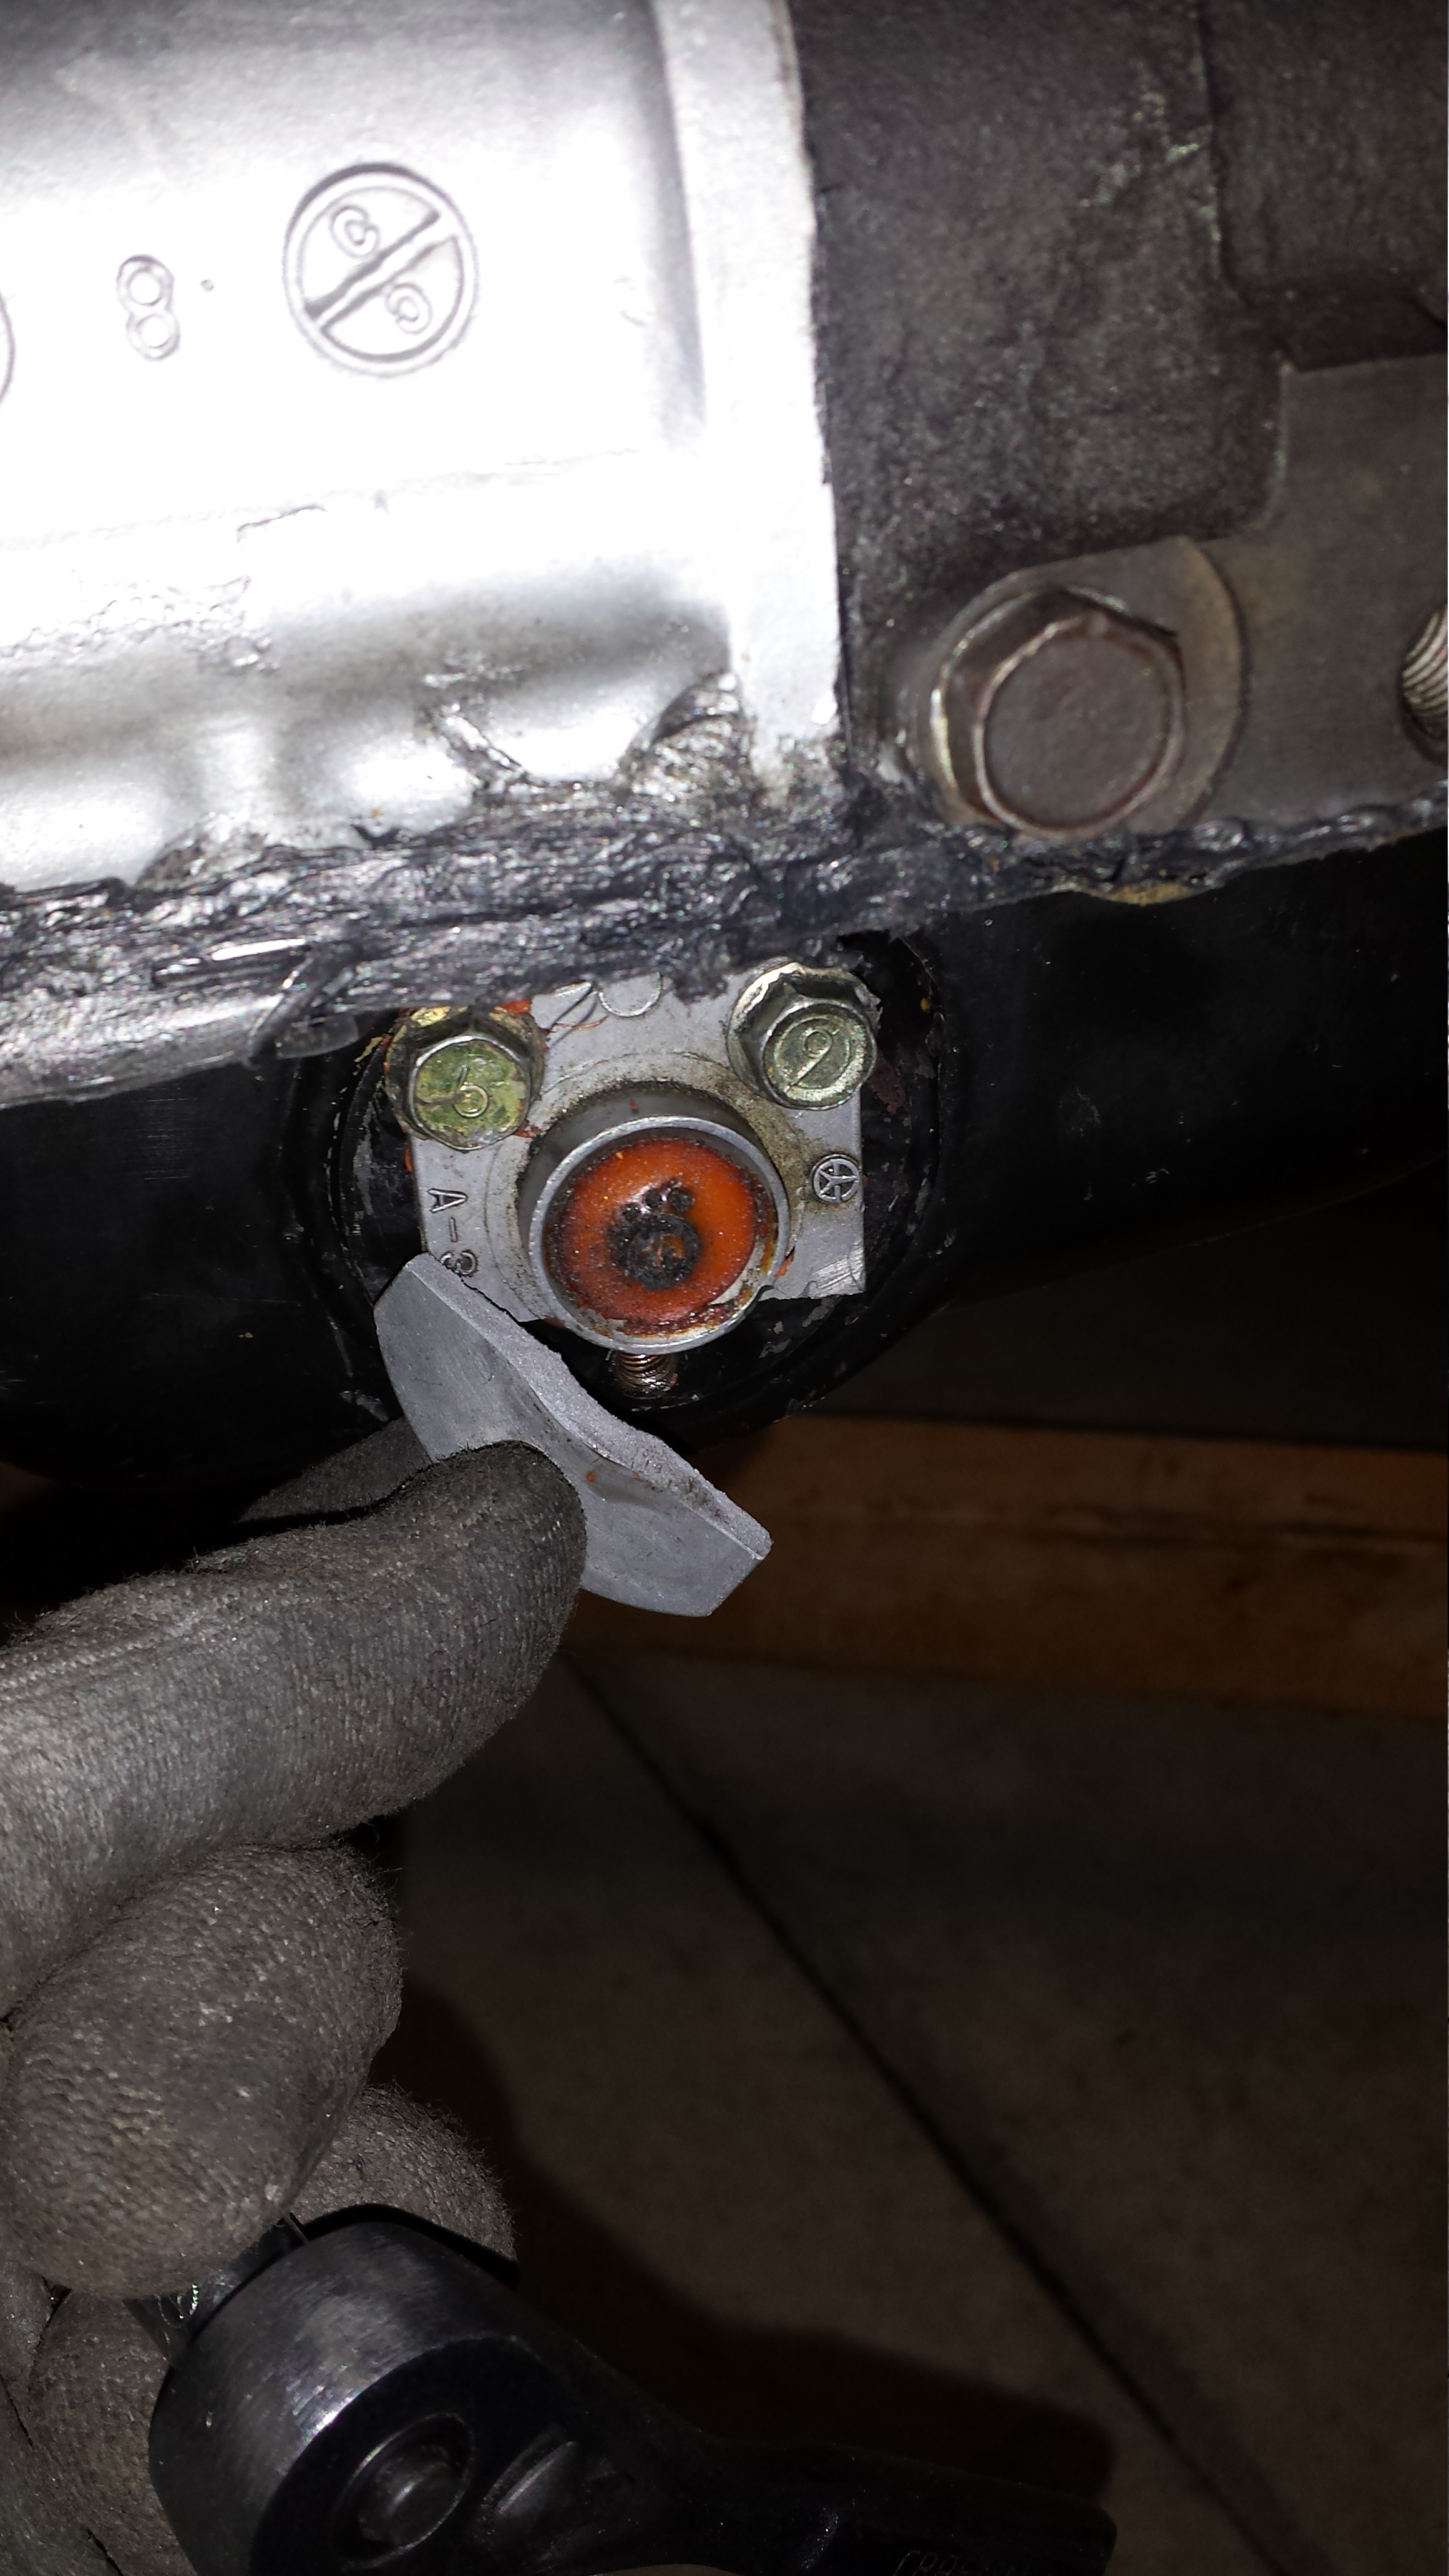
raised the motor on the hoist and remembered I needed to install the oil level sensor plug..even though I don't use it and it's just a plug. And the Full Function Engineering Motor mounts still needed to be installed. So I tried using a new Viton o-ring...and this happened...
Luckily I had a spare..and I forgot to snap pics of the Full Function Engineering Motor Mounts. But god they're nice.. I love them. I'm using them on the Lowest engine height setting BTW.
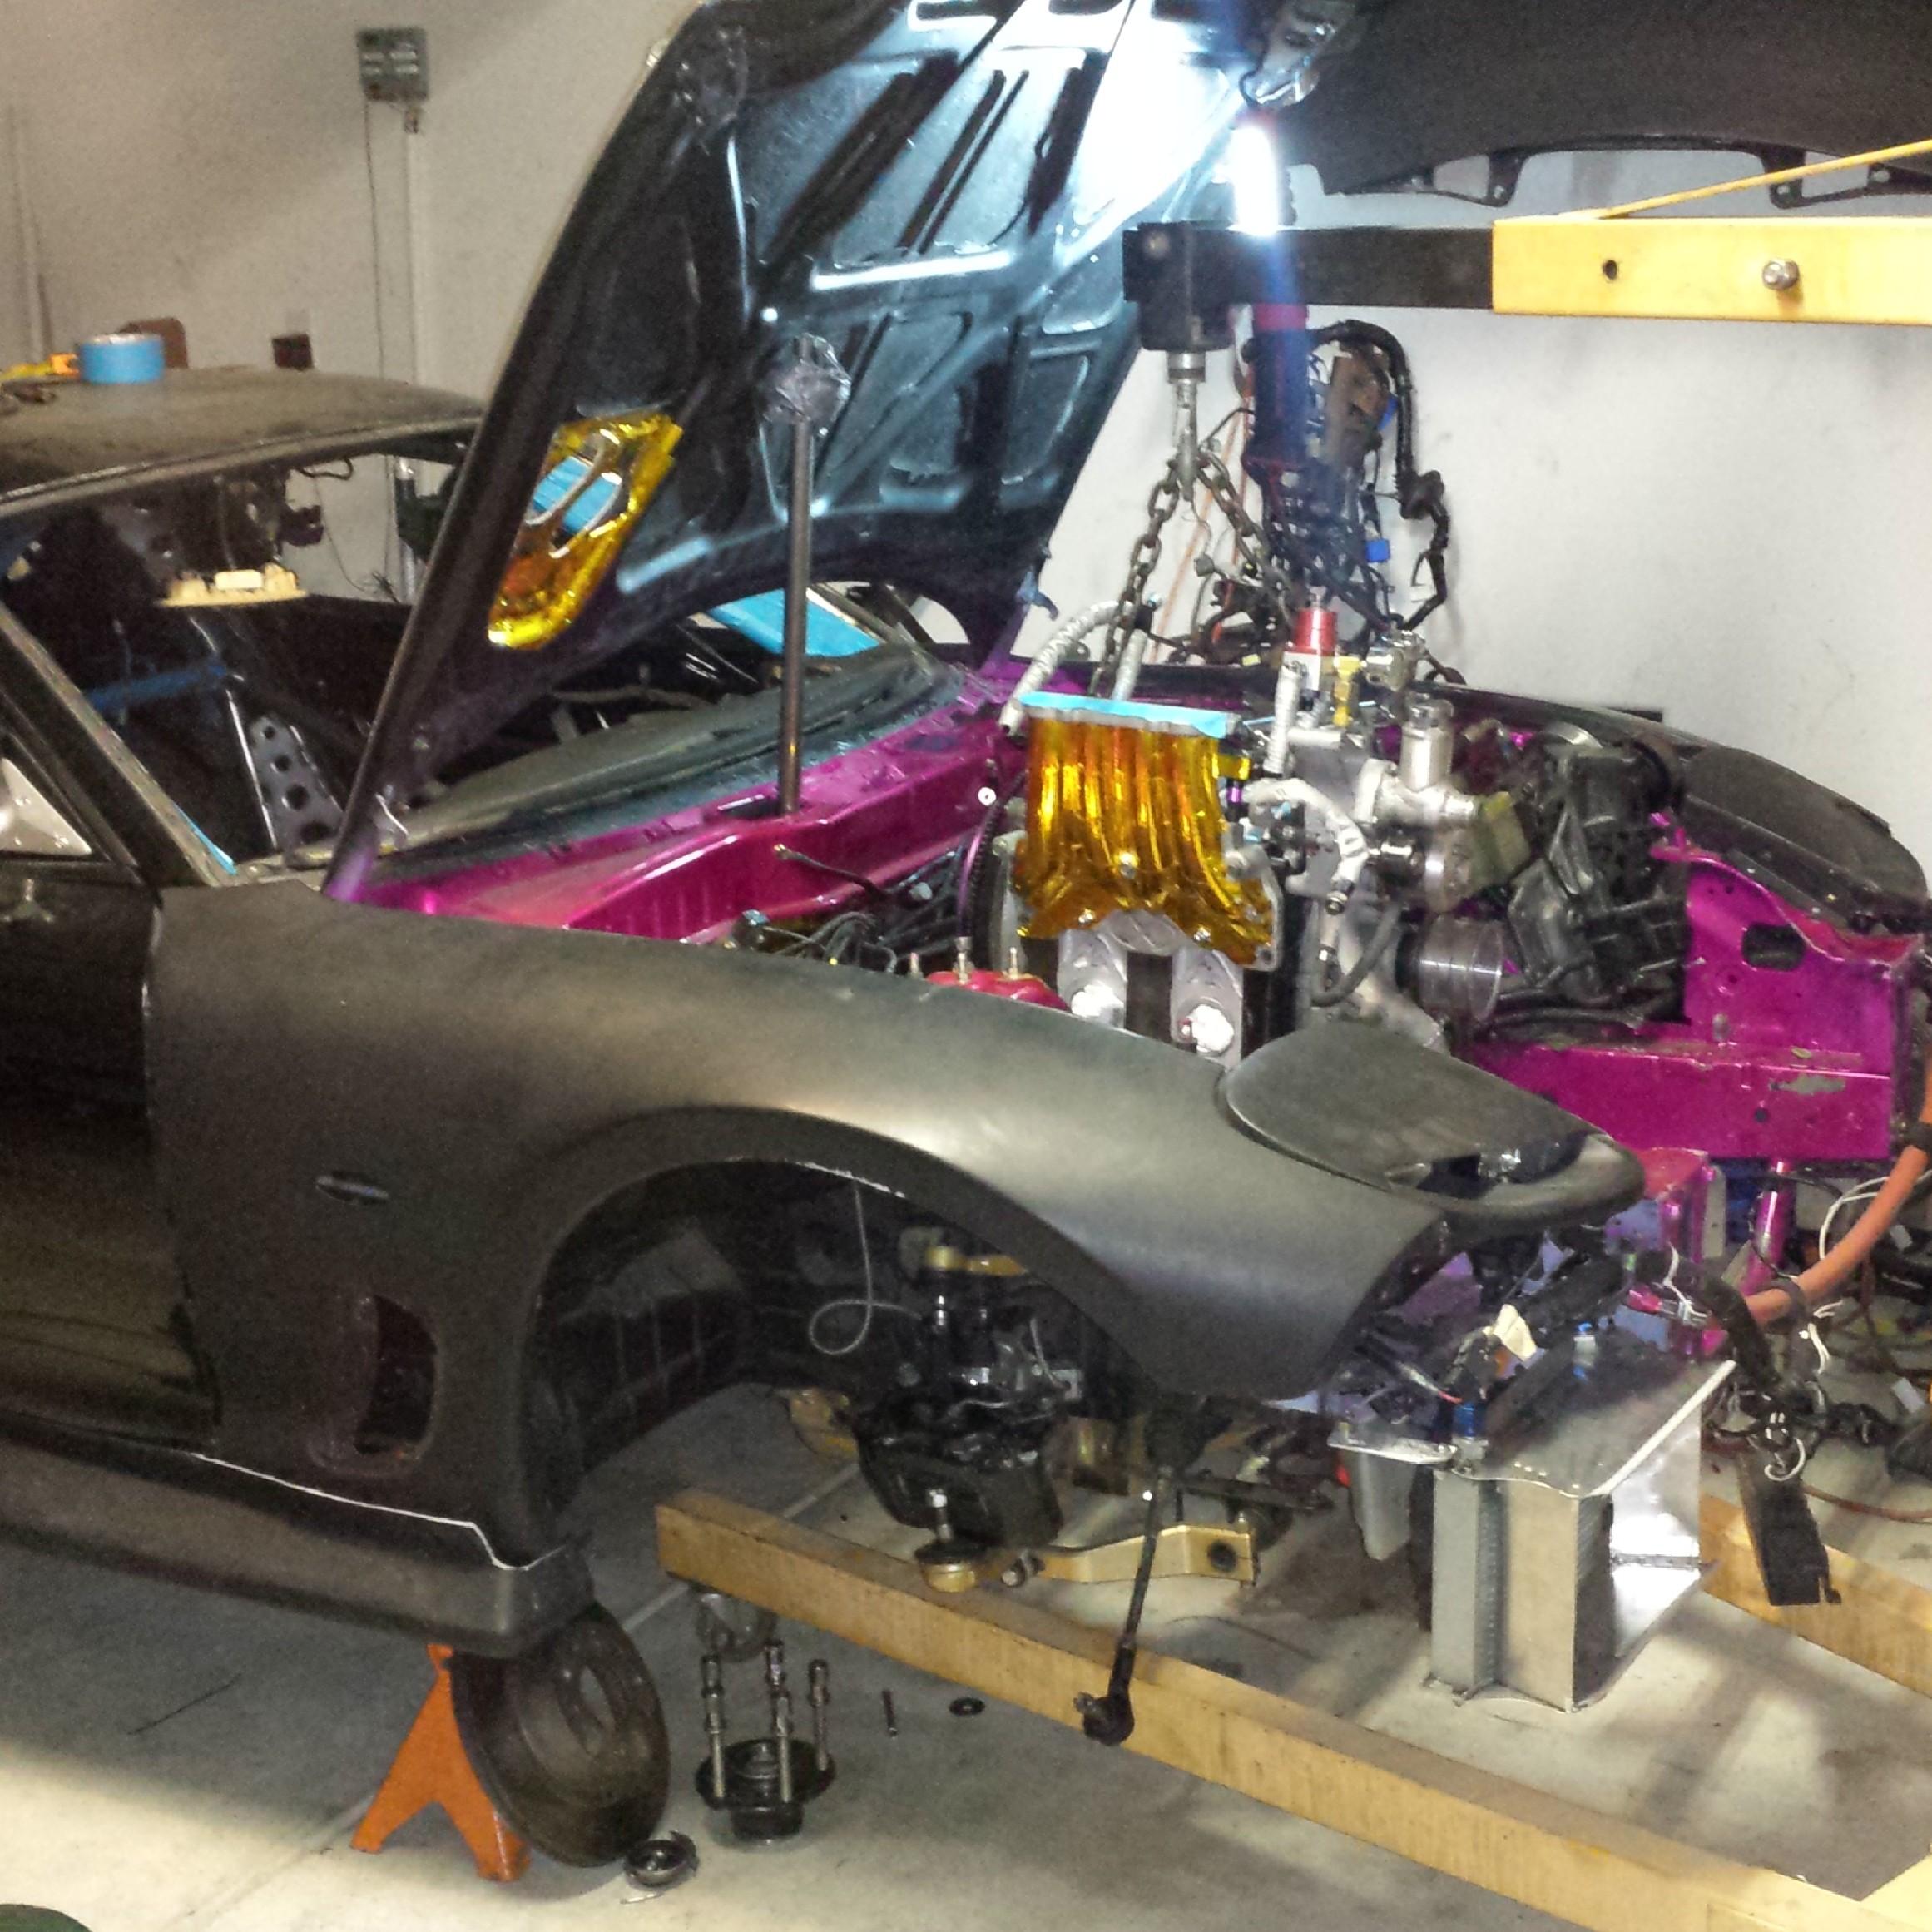
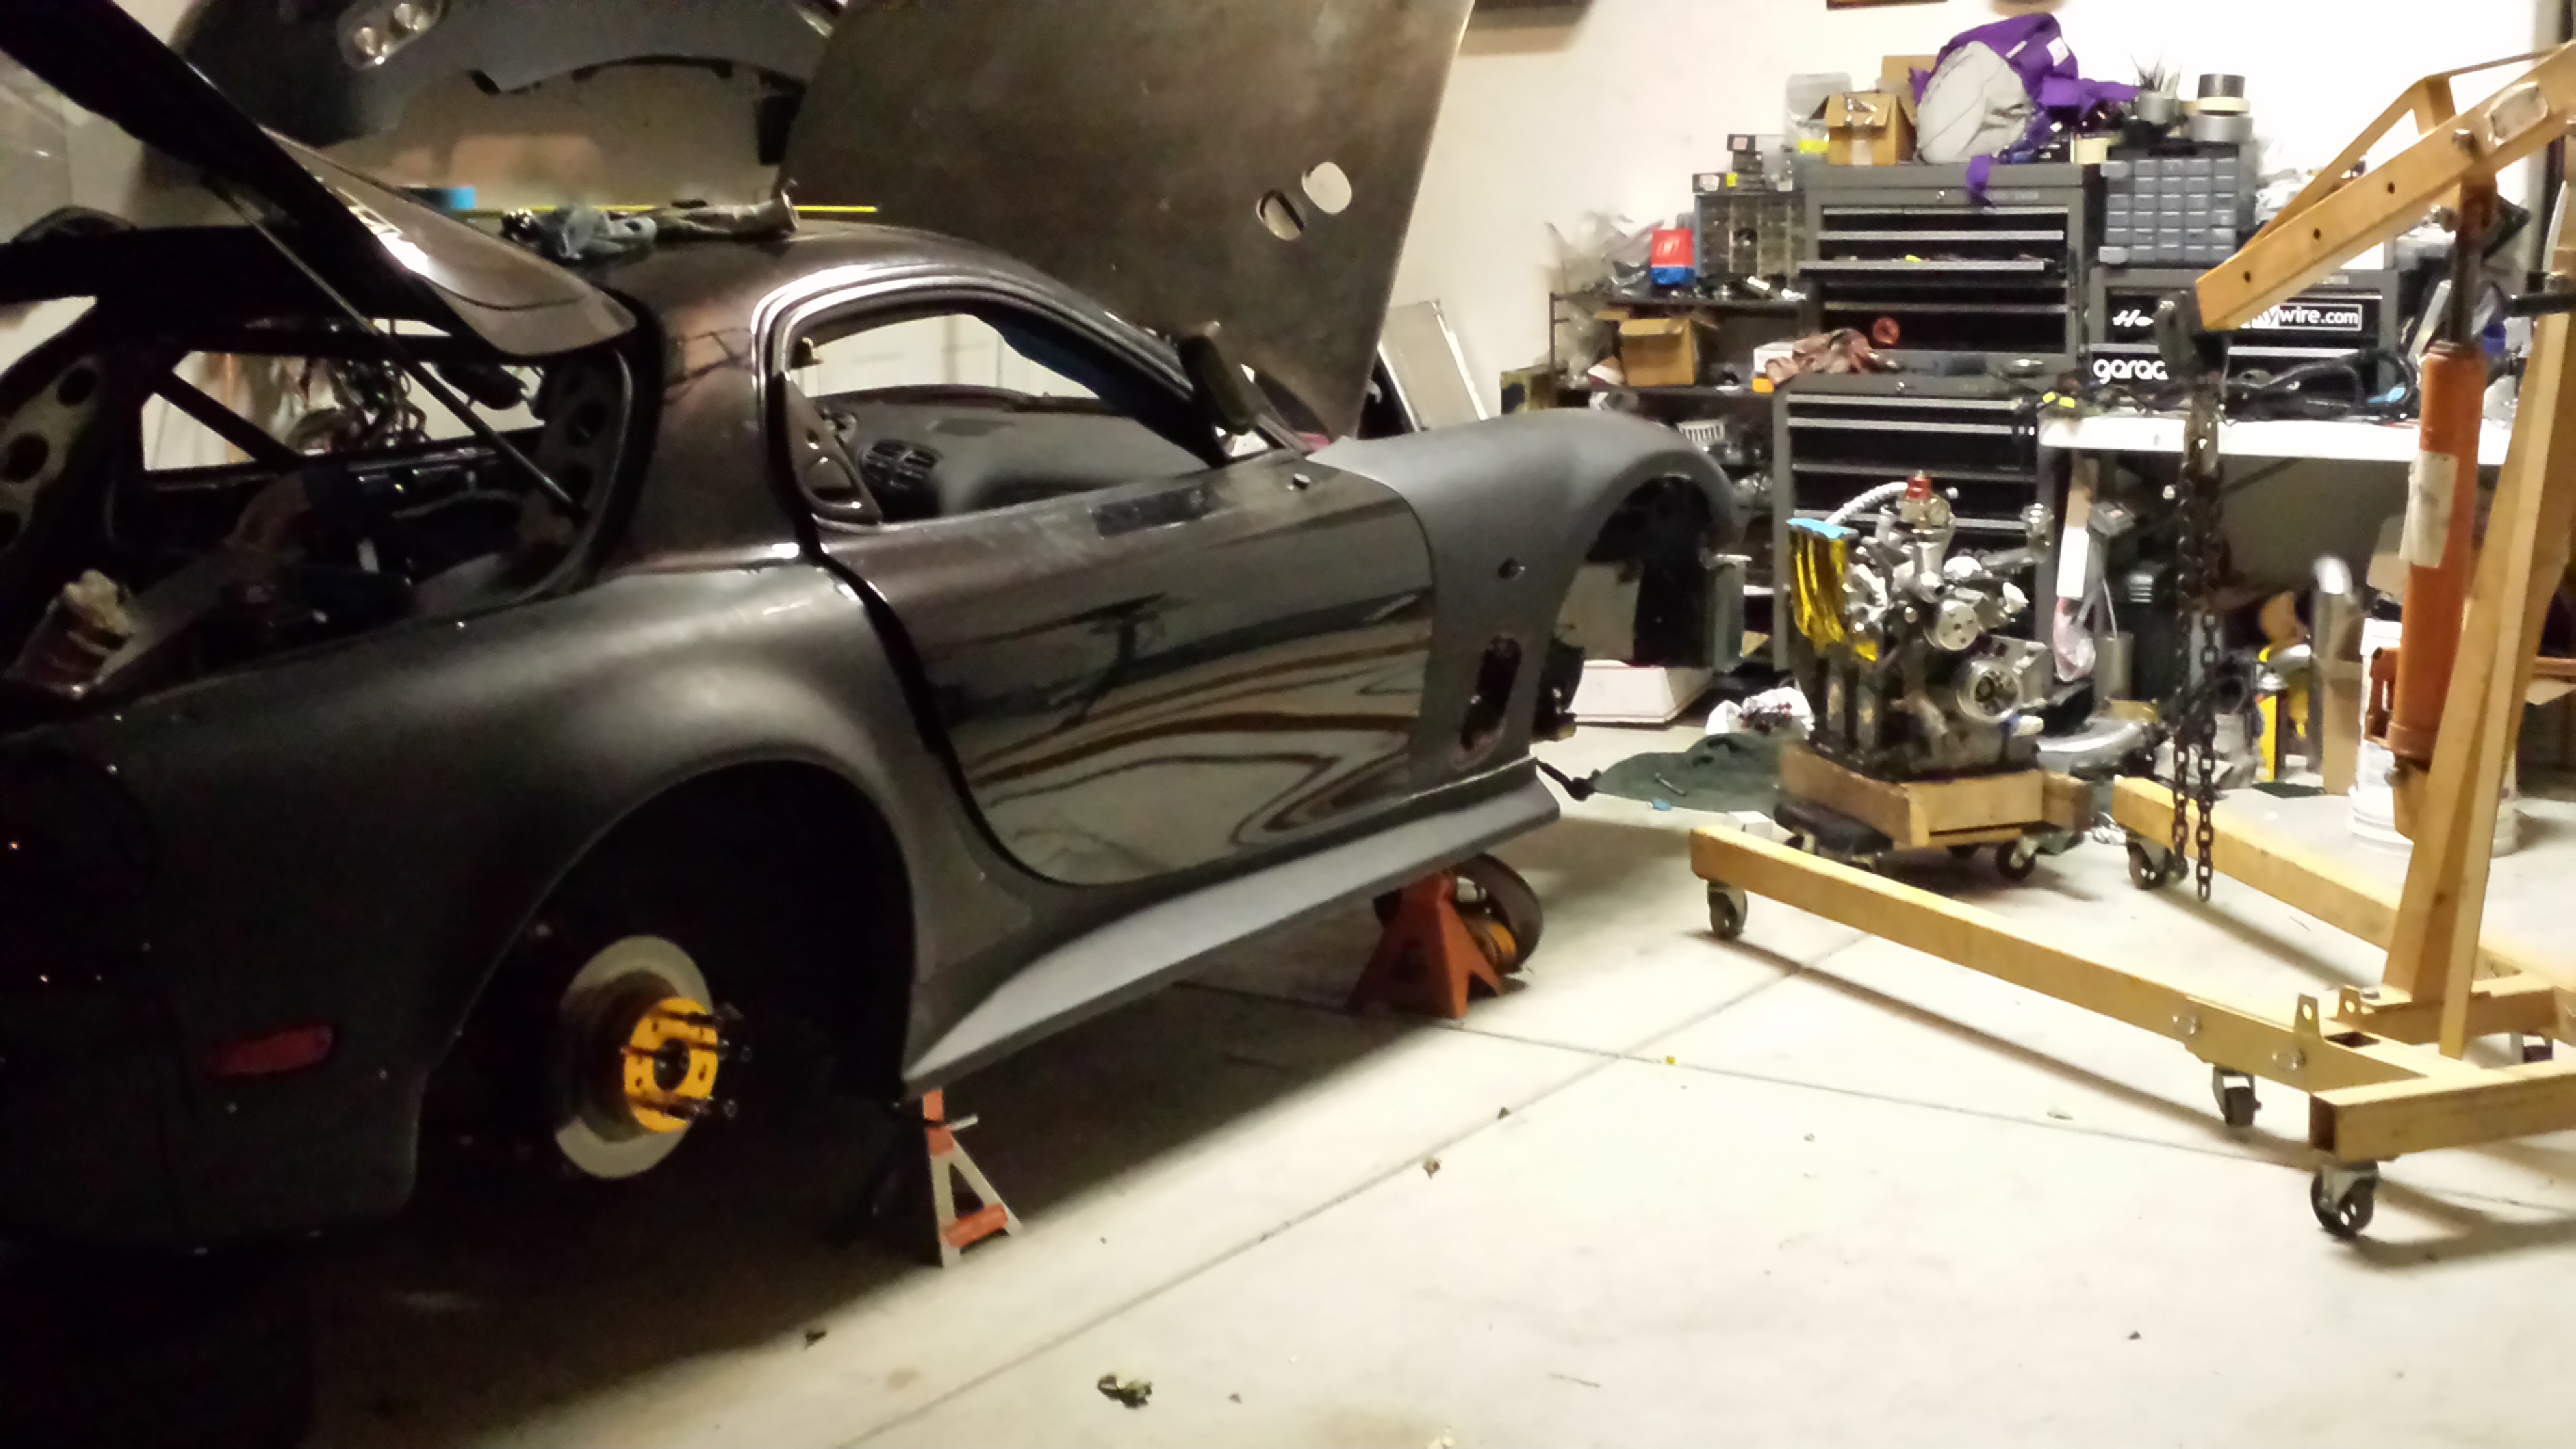
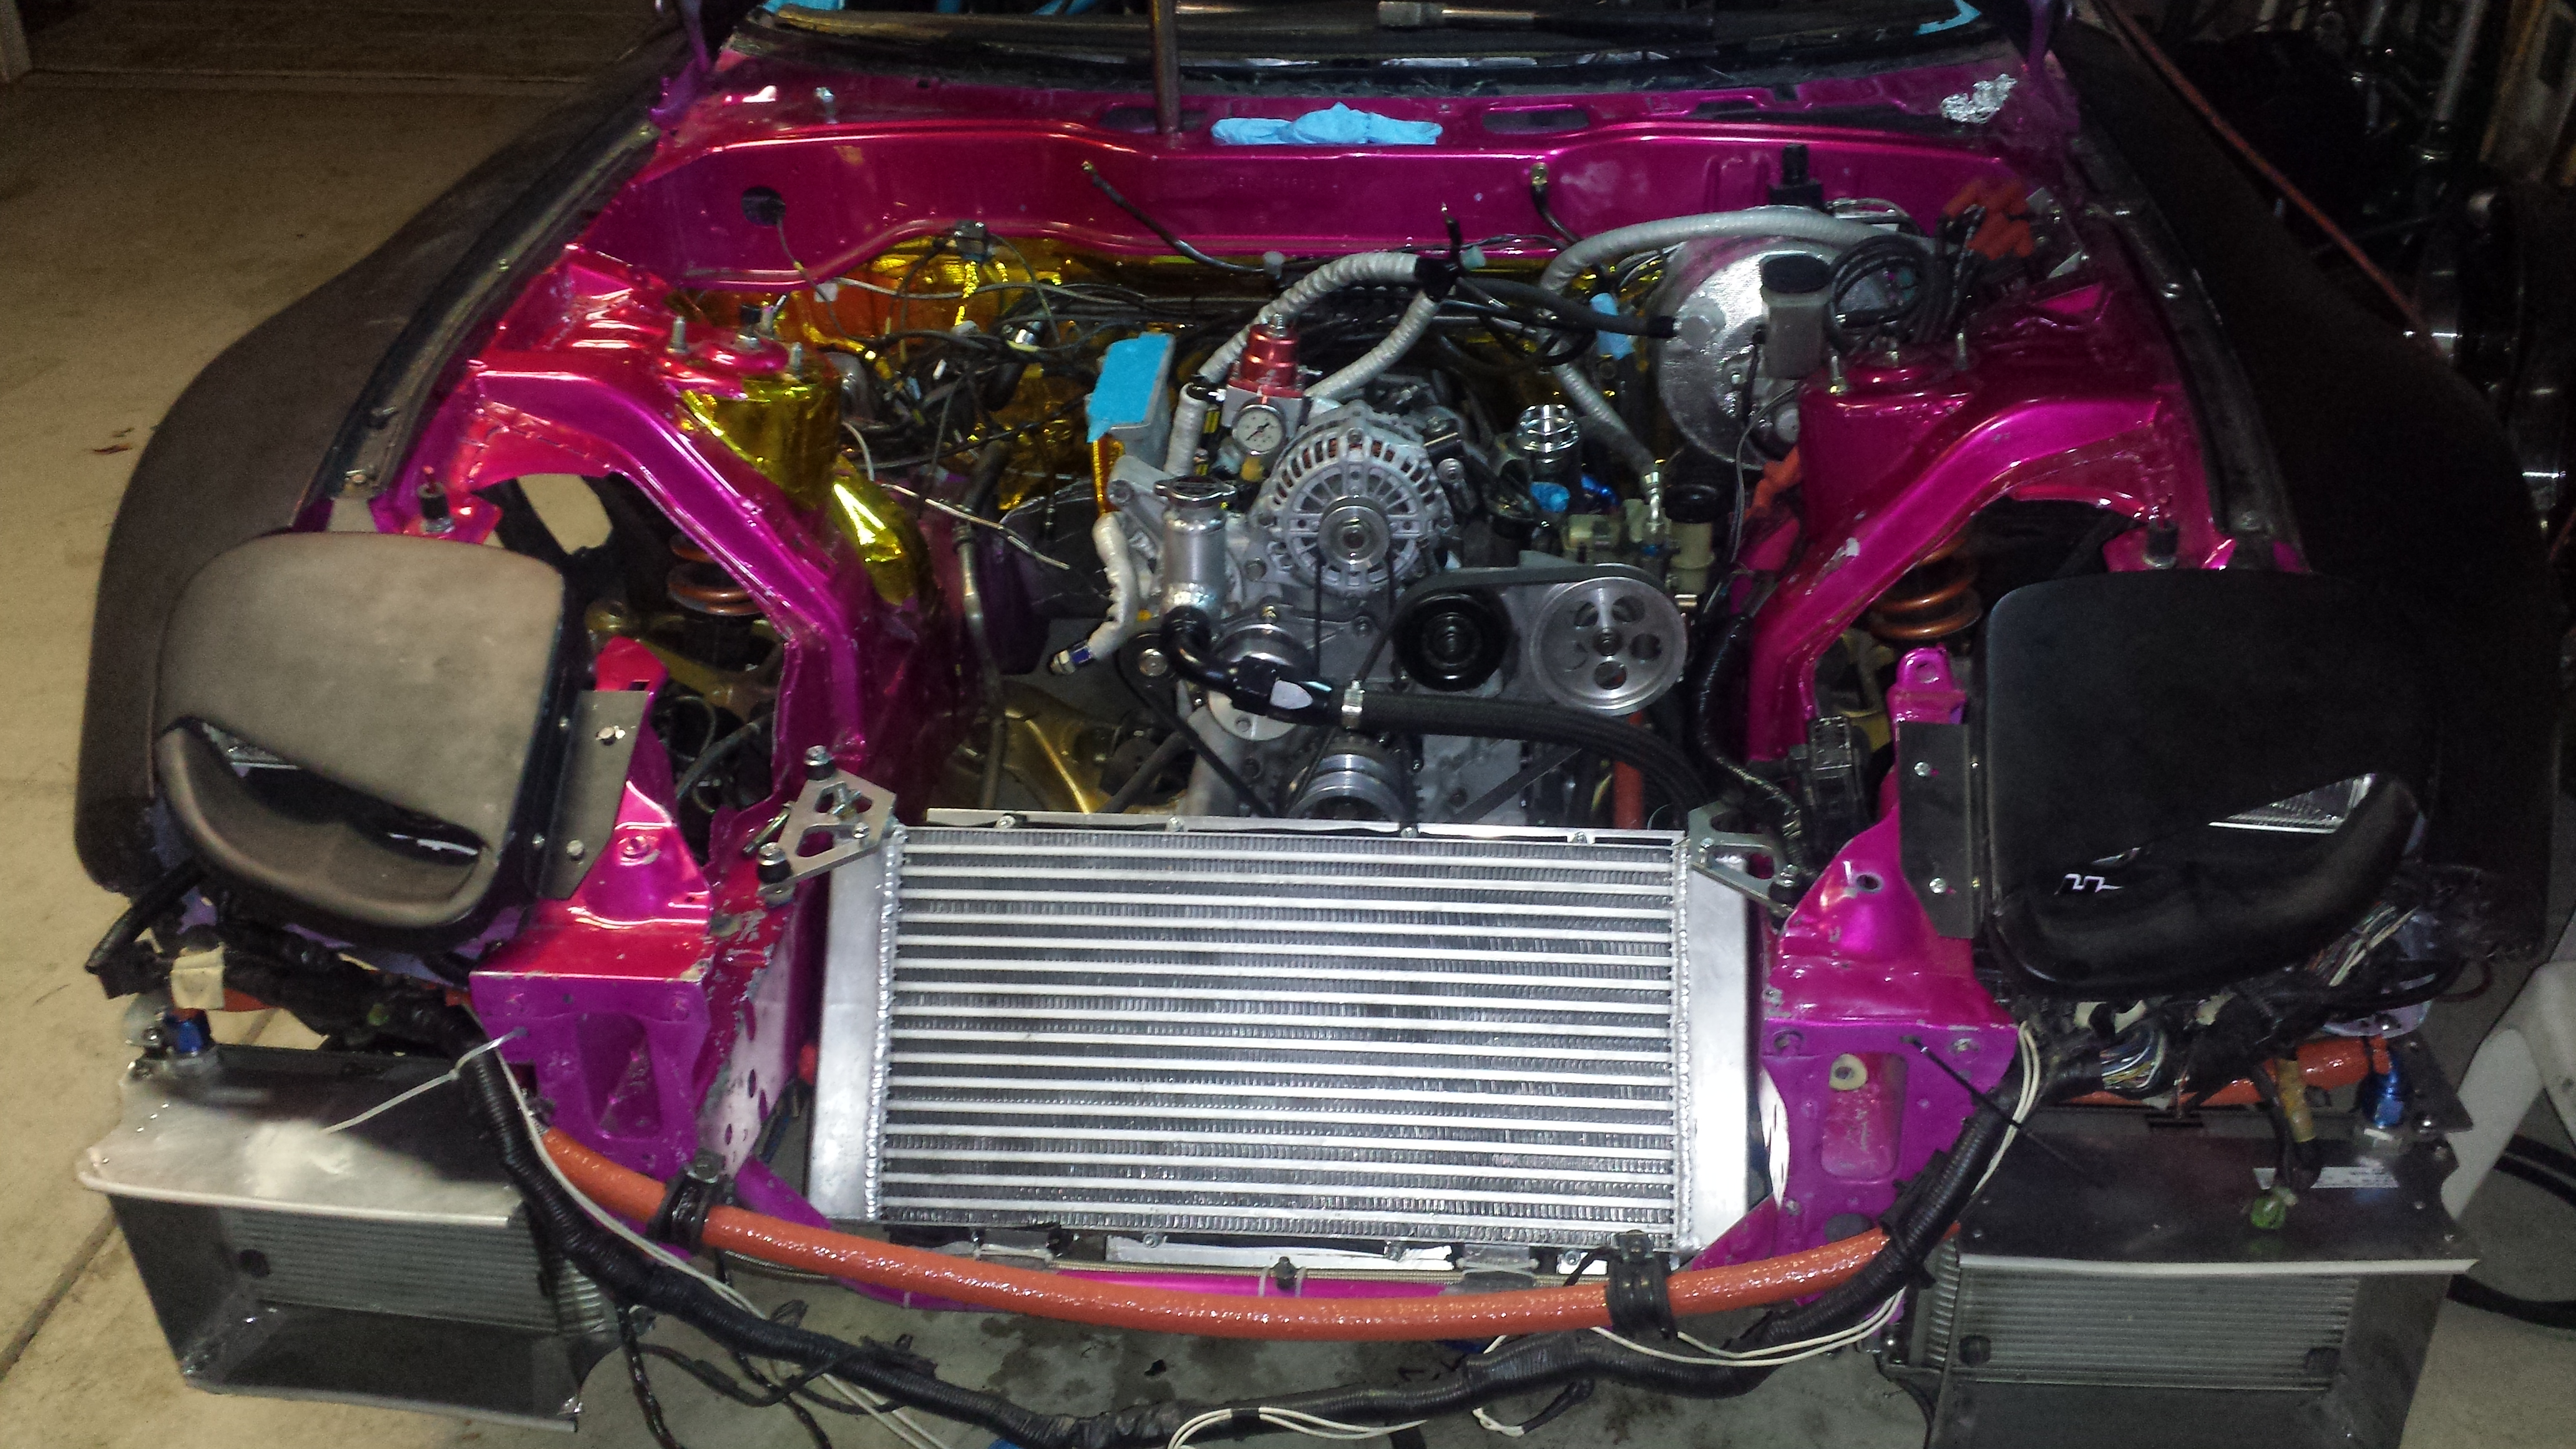
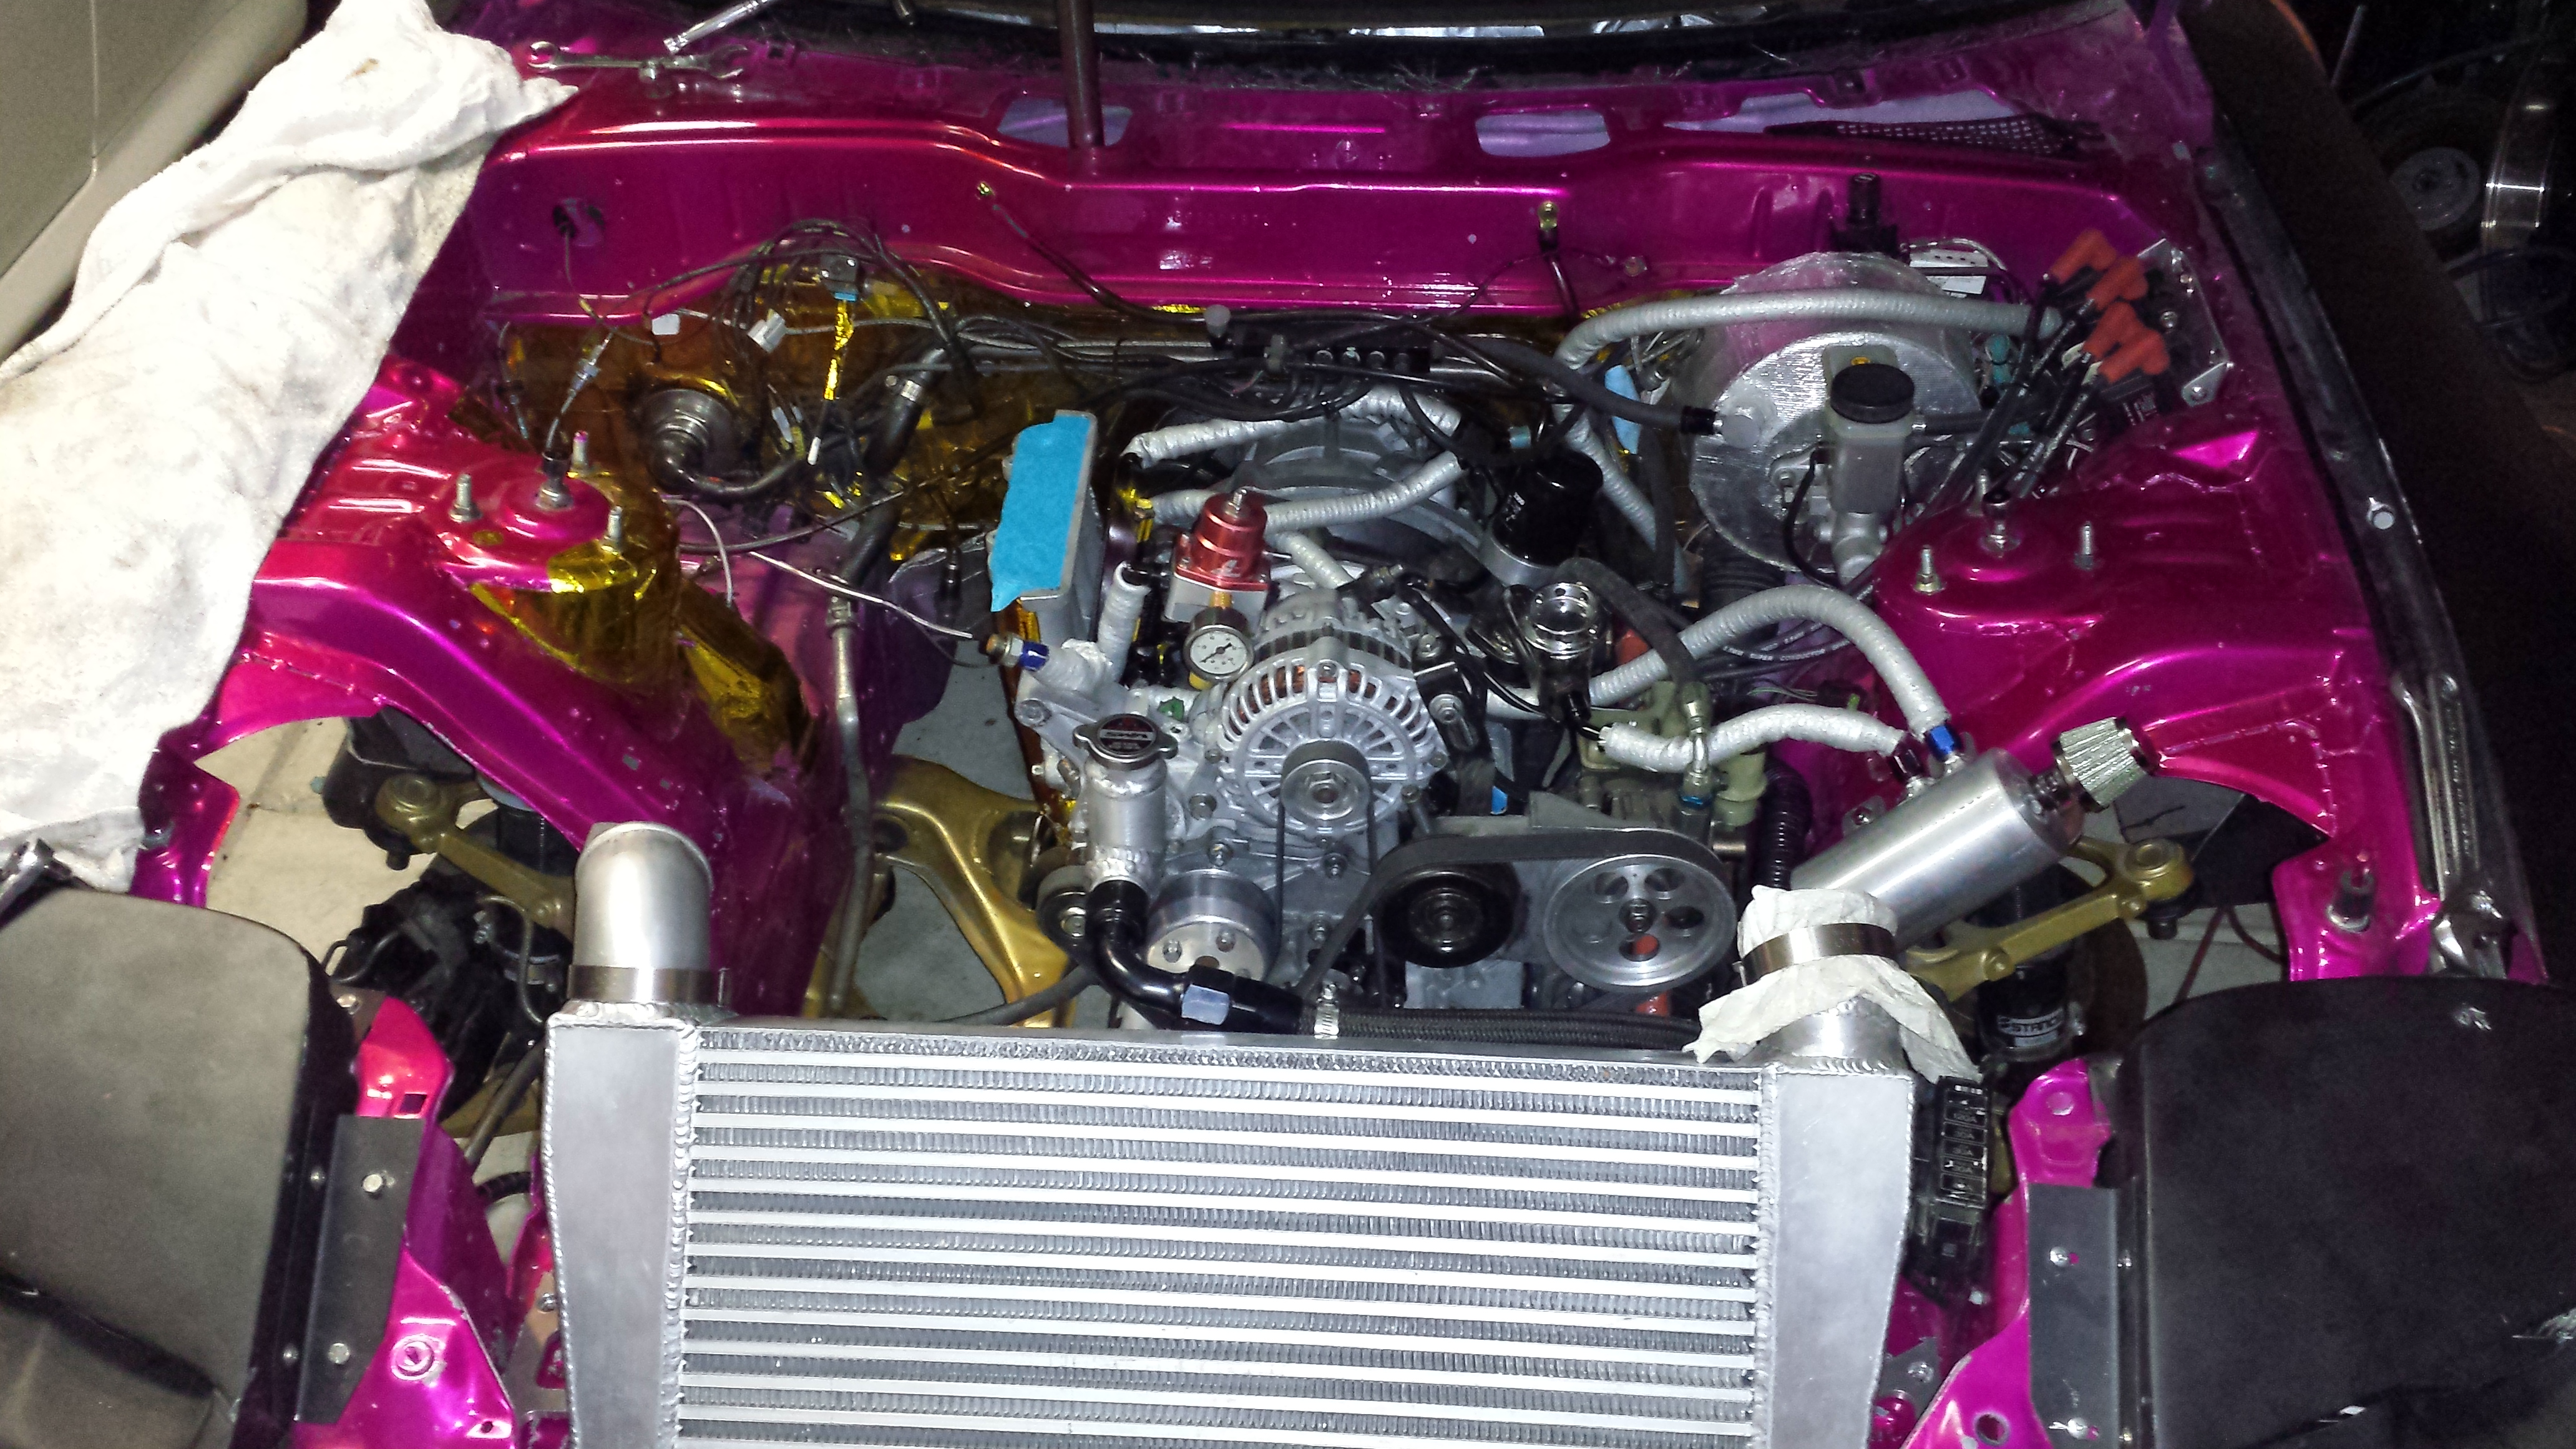
So I dropped everything in and buttoned up some of the little things like plug wires, starter, engaged the clutch, and made sure everything was nice and secured. Also installed the Radiator and fans. I love that it's all just one piece.. lines and all. There are 4 mount bolts that hold the entire thing in and the bottom mounts really hold the unit sturdy..... And waalahhh! installed!
installed..along with OEM temp sensor, pressure sensor, and spark plugs. Using the autolite 3932x's right now for the time being but have extra 3932's with the resistor strap as well. I was told the resister strapped plugs are a bit better.
Oil filler neck fuel lines, aeromotive fpr and fuel pressure sensor installed
Calm before the storm...ready to go in.
raised the motor on the hoist and remembered I needed to install the oil level sensor plug..even though I don't use it and it's just a plug. And the Full Function Engineering Motor mounts still needed to be installed. So I tried using a new Viton o-ring...and this happened...
Luckily I had a spare..and I forgot to snap pics of the Full Function Engineering Motor Mounts. But god they're nice.. I love them. I'm using them on the Lowest engine height setting BTW.
So I dropped everything in and buttoned up some of the little things like plug wires, starter, engaged the clutch, and made sure everything was nice and secured. Also installed the Radiator and fans. I love that it's all just one piece.. lines and all. There are 4 mount bolts that hold the entire thing in and the bottom mounts really hold the unit sturdy..... And waalahhh! installed!
Continued:
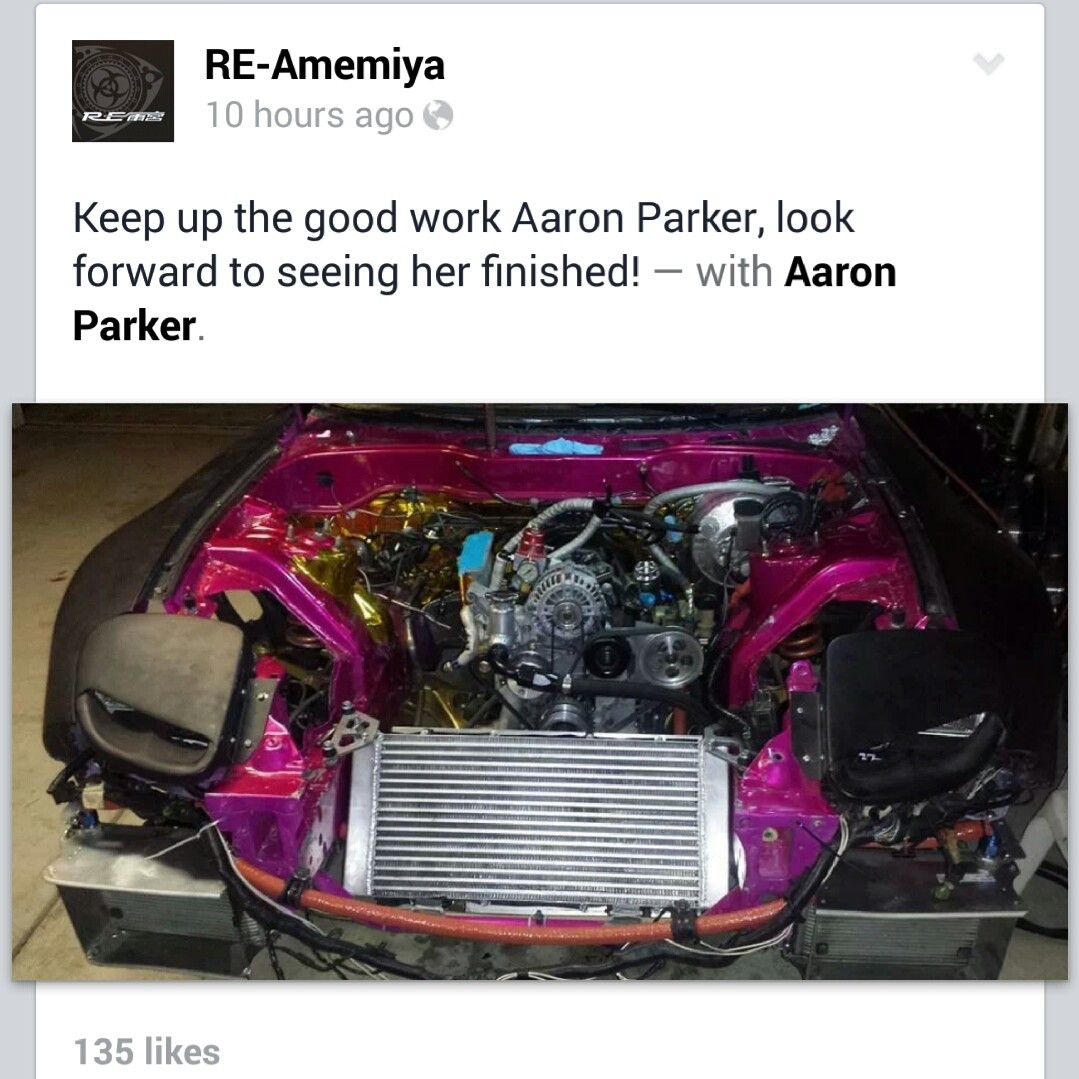
Then something awesome happened.... I got an update on my FB ...and looks like I got a sweet shout out from one of the best known rotary specialty shops in the world. RE-A!!! I had to screen shot this to share with you guys. After all the hard work.....even though the car doesn't run yet....this really just keeps me inspired and motivated to keep on going!
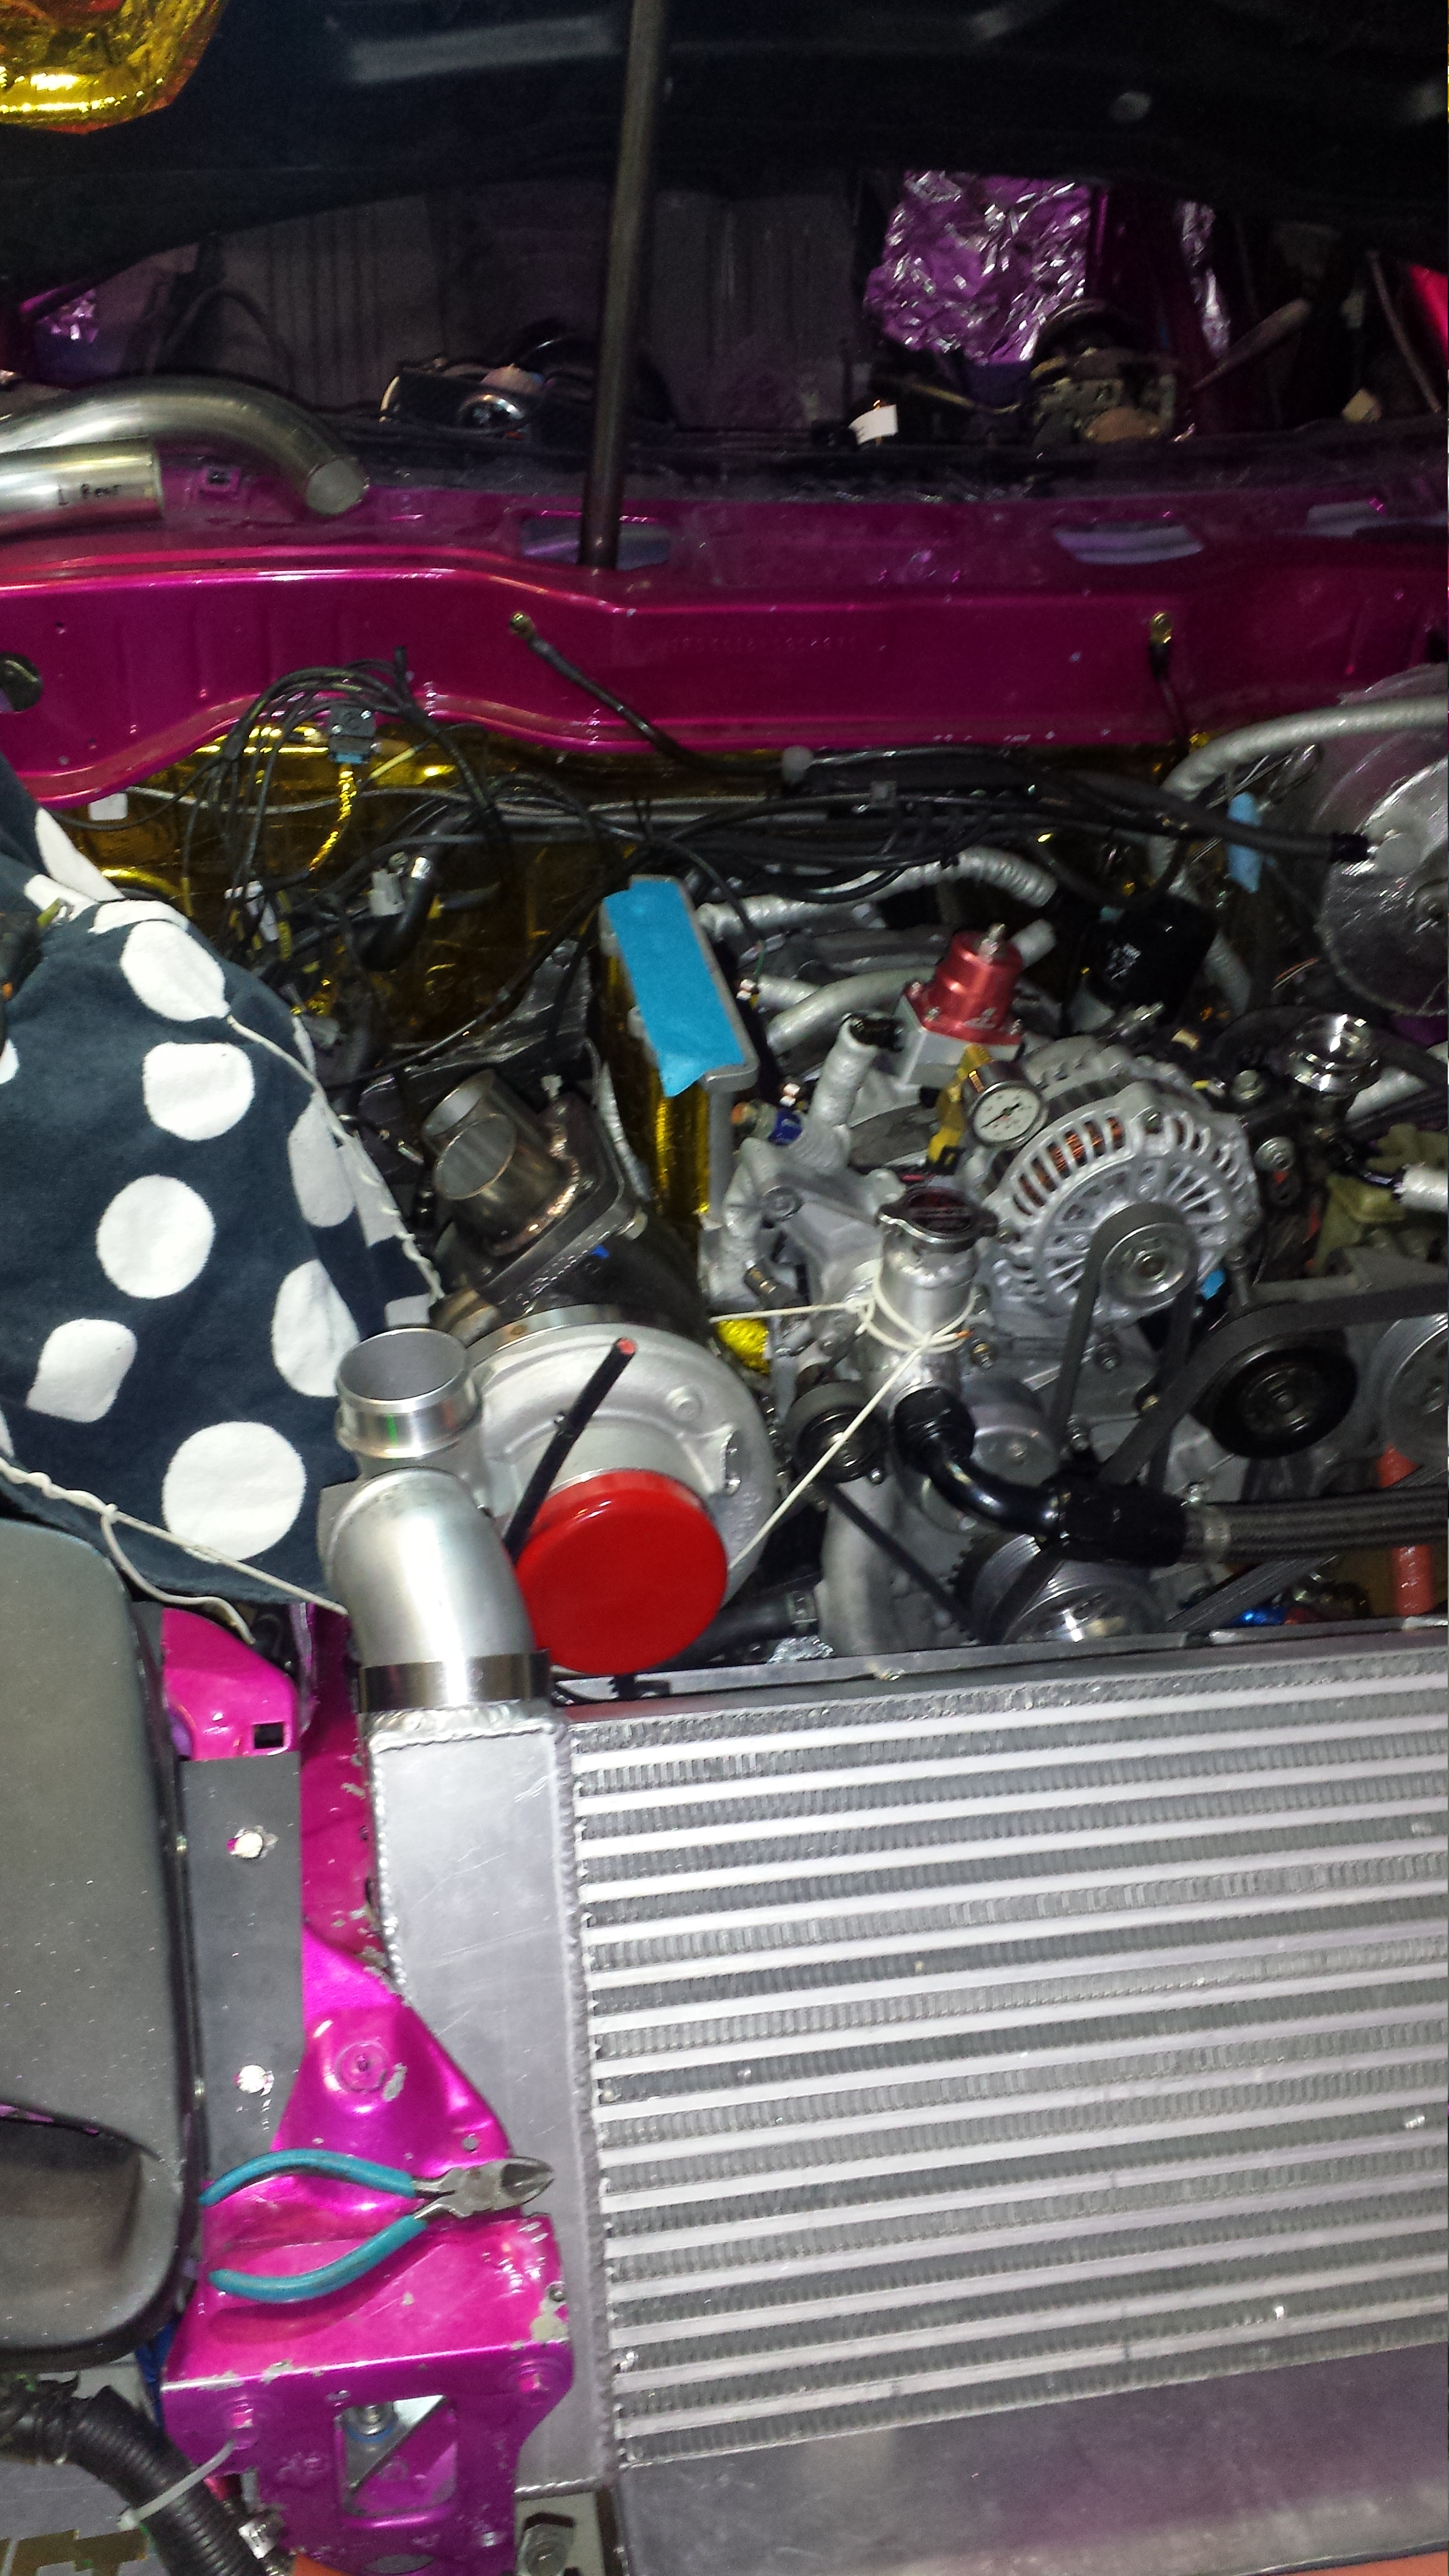
Here is the space I will have to fit my externally gated BW EFR 8374 in. I know everyone has mixed feelings about long runner manifolds. But I'm going to stick with my educated guess that the longer runners coupled with a far more capable turbo.. will boost low-end/midrange power and give me the power delivery I am looking for. Power under the curve and a nice Broad Tq Curve.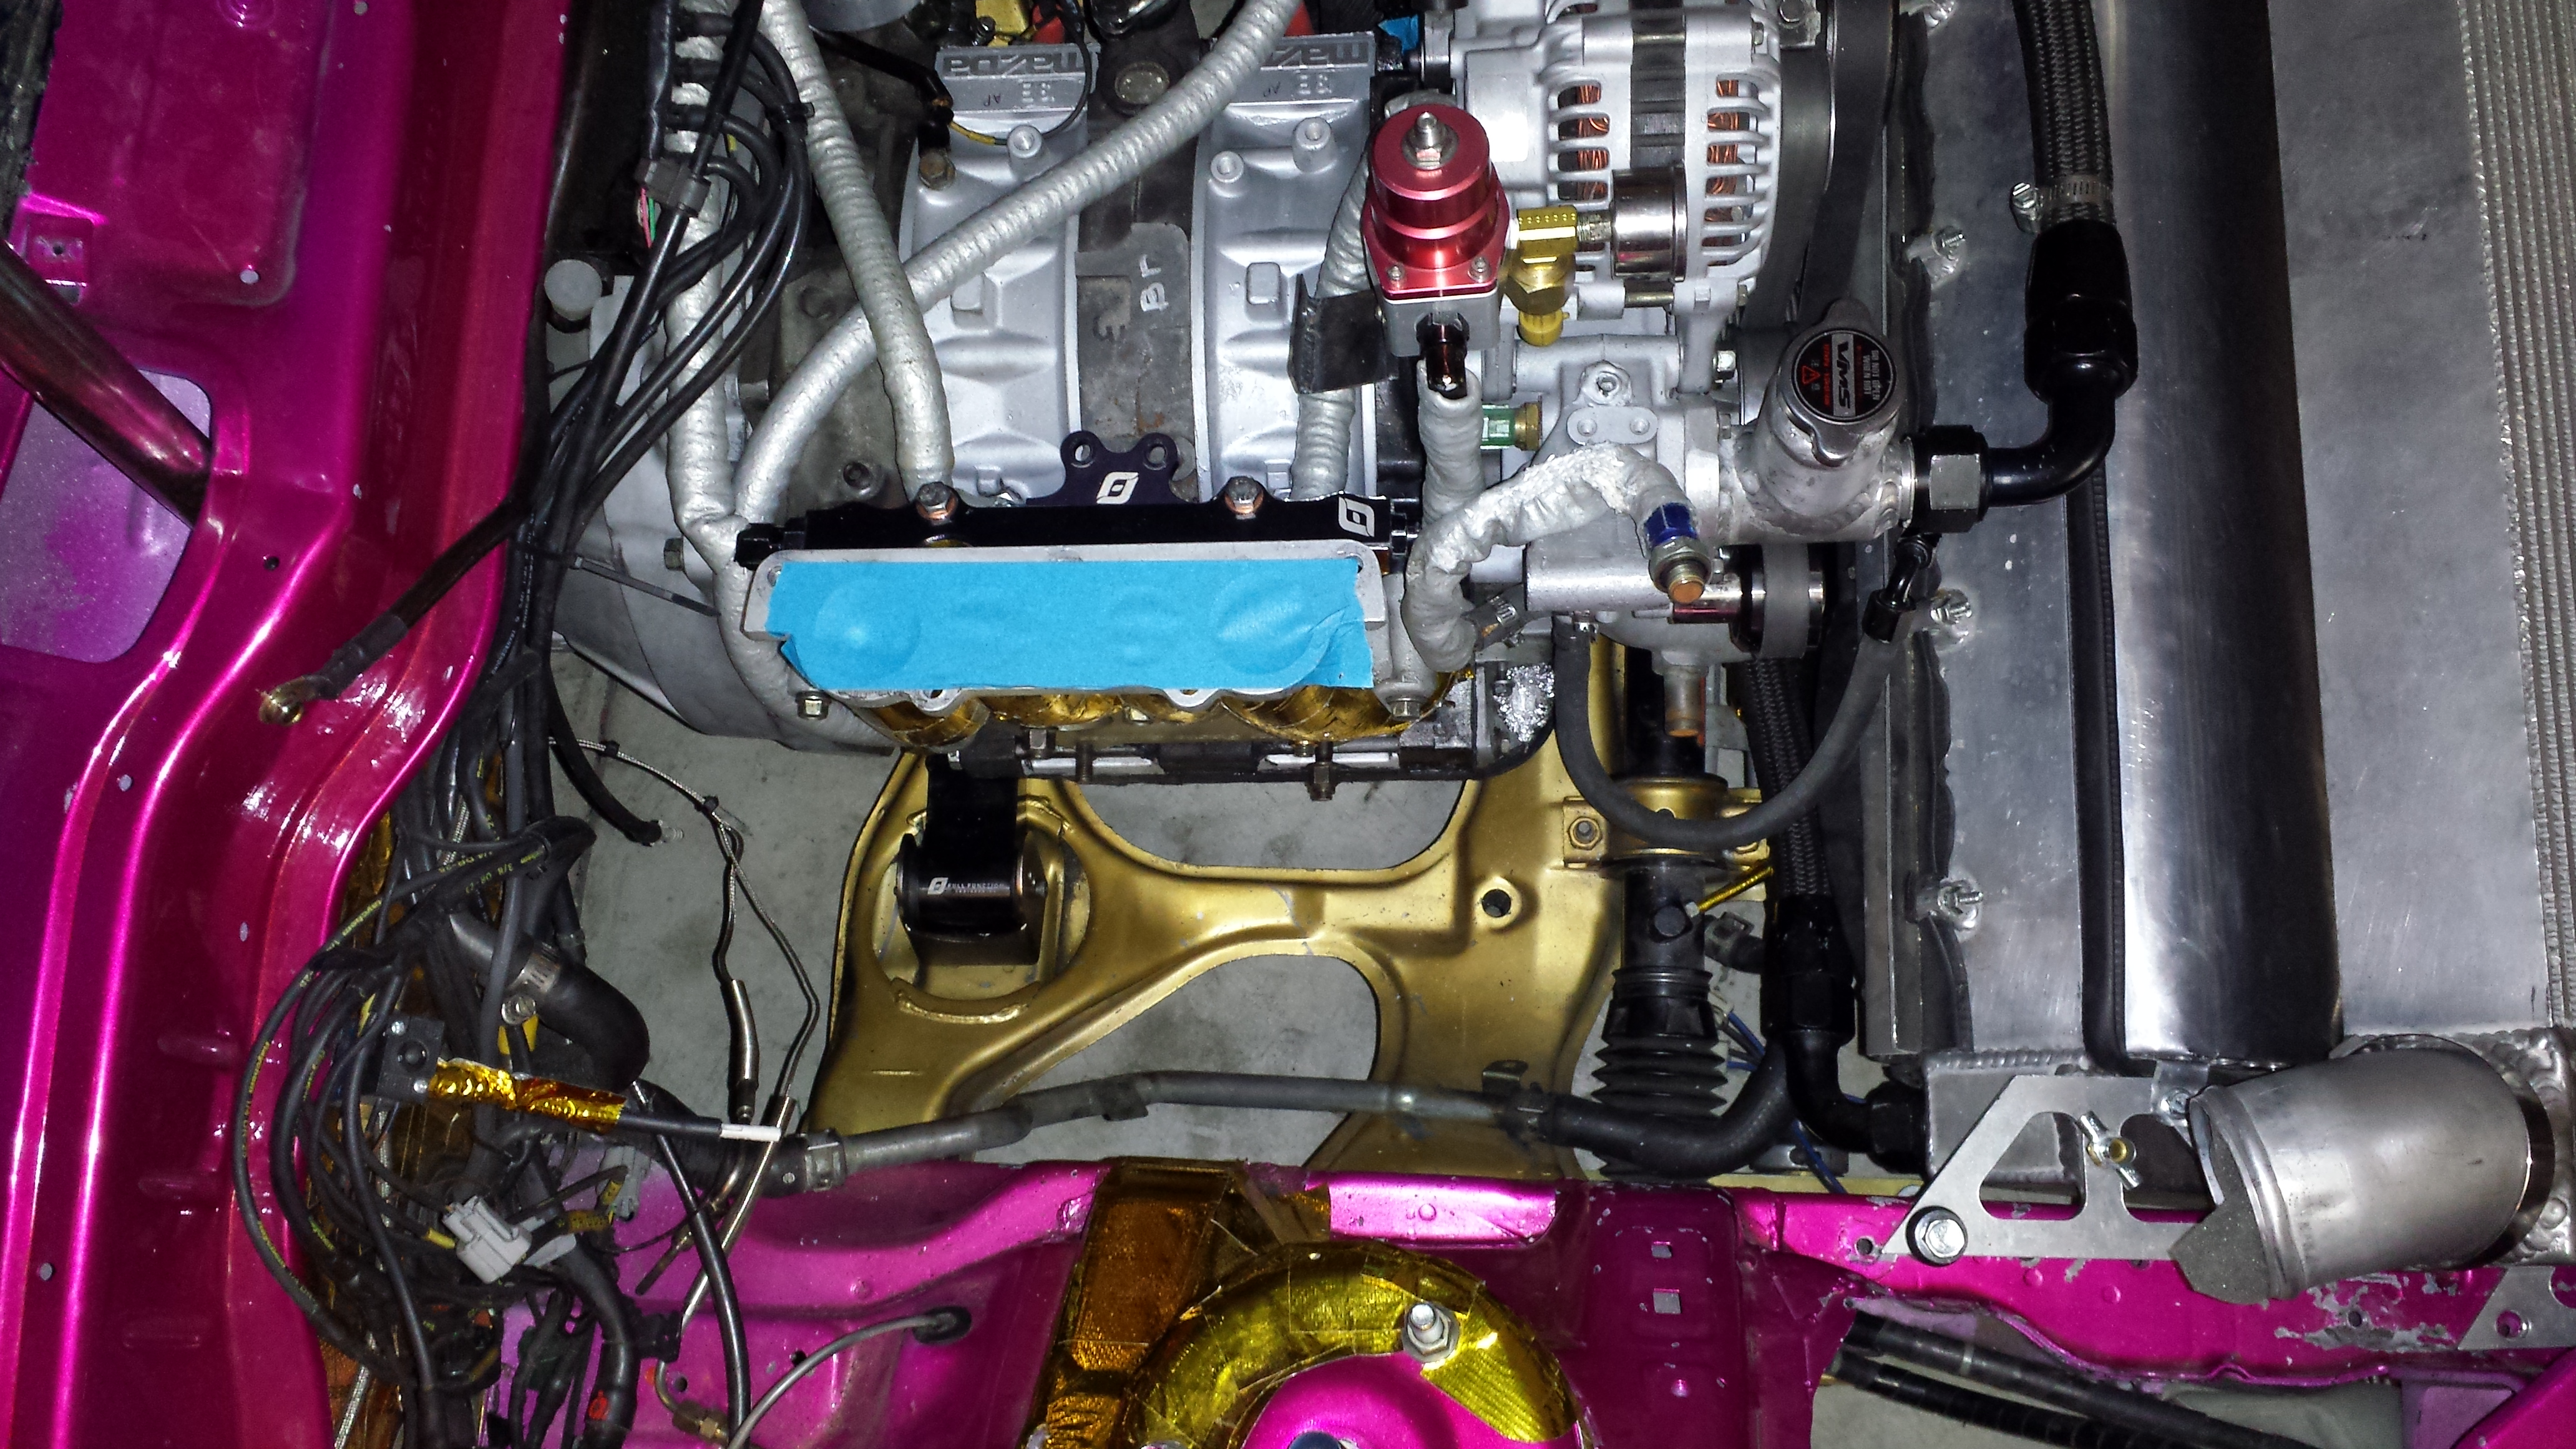
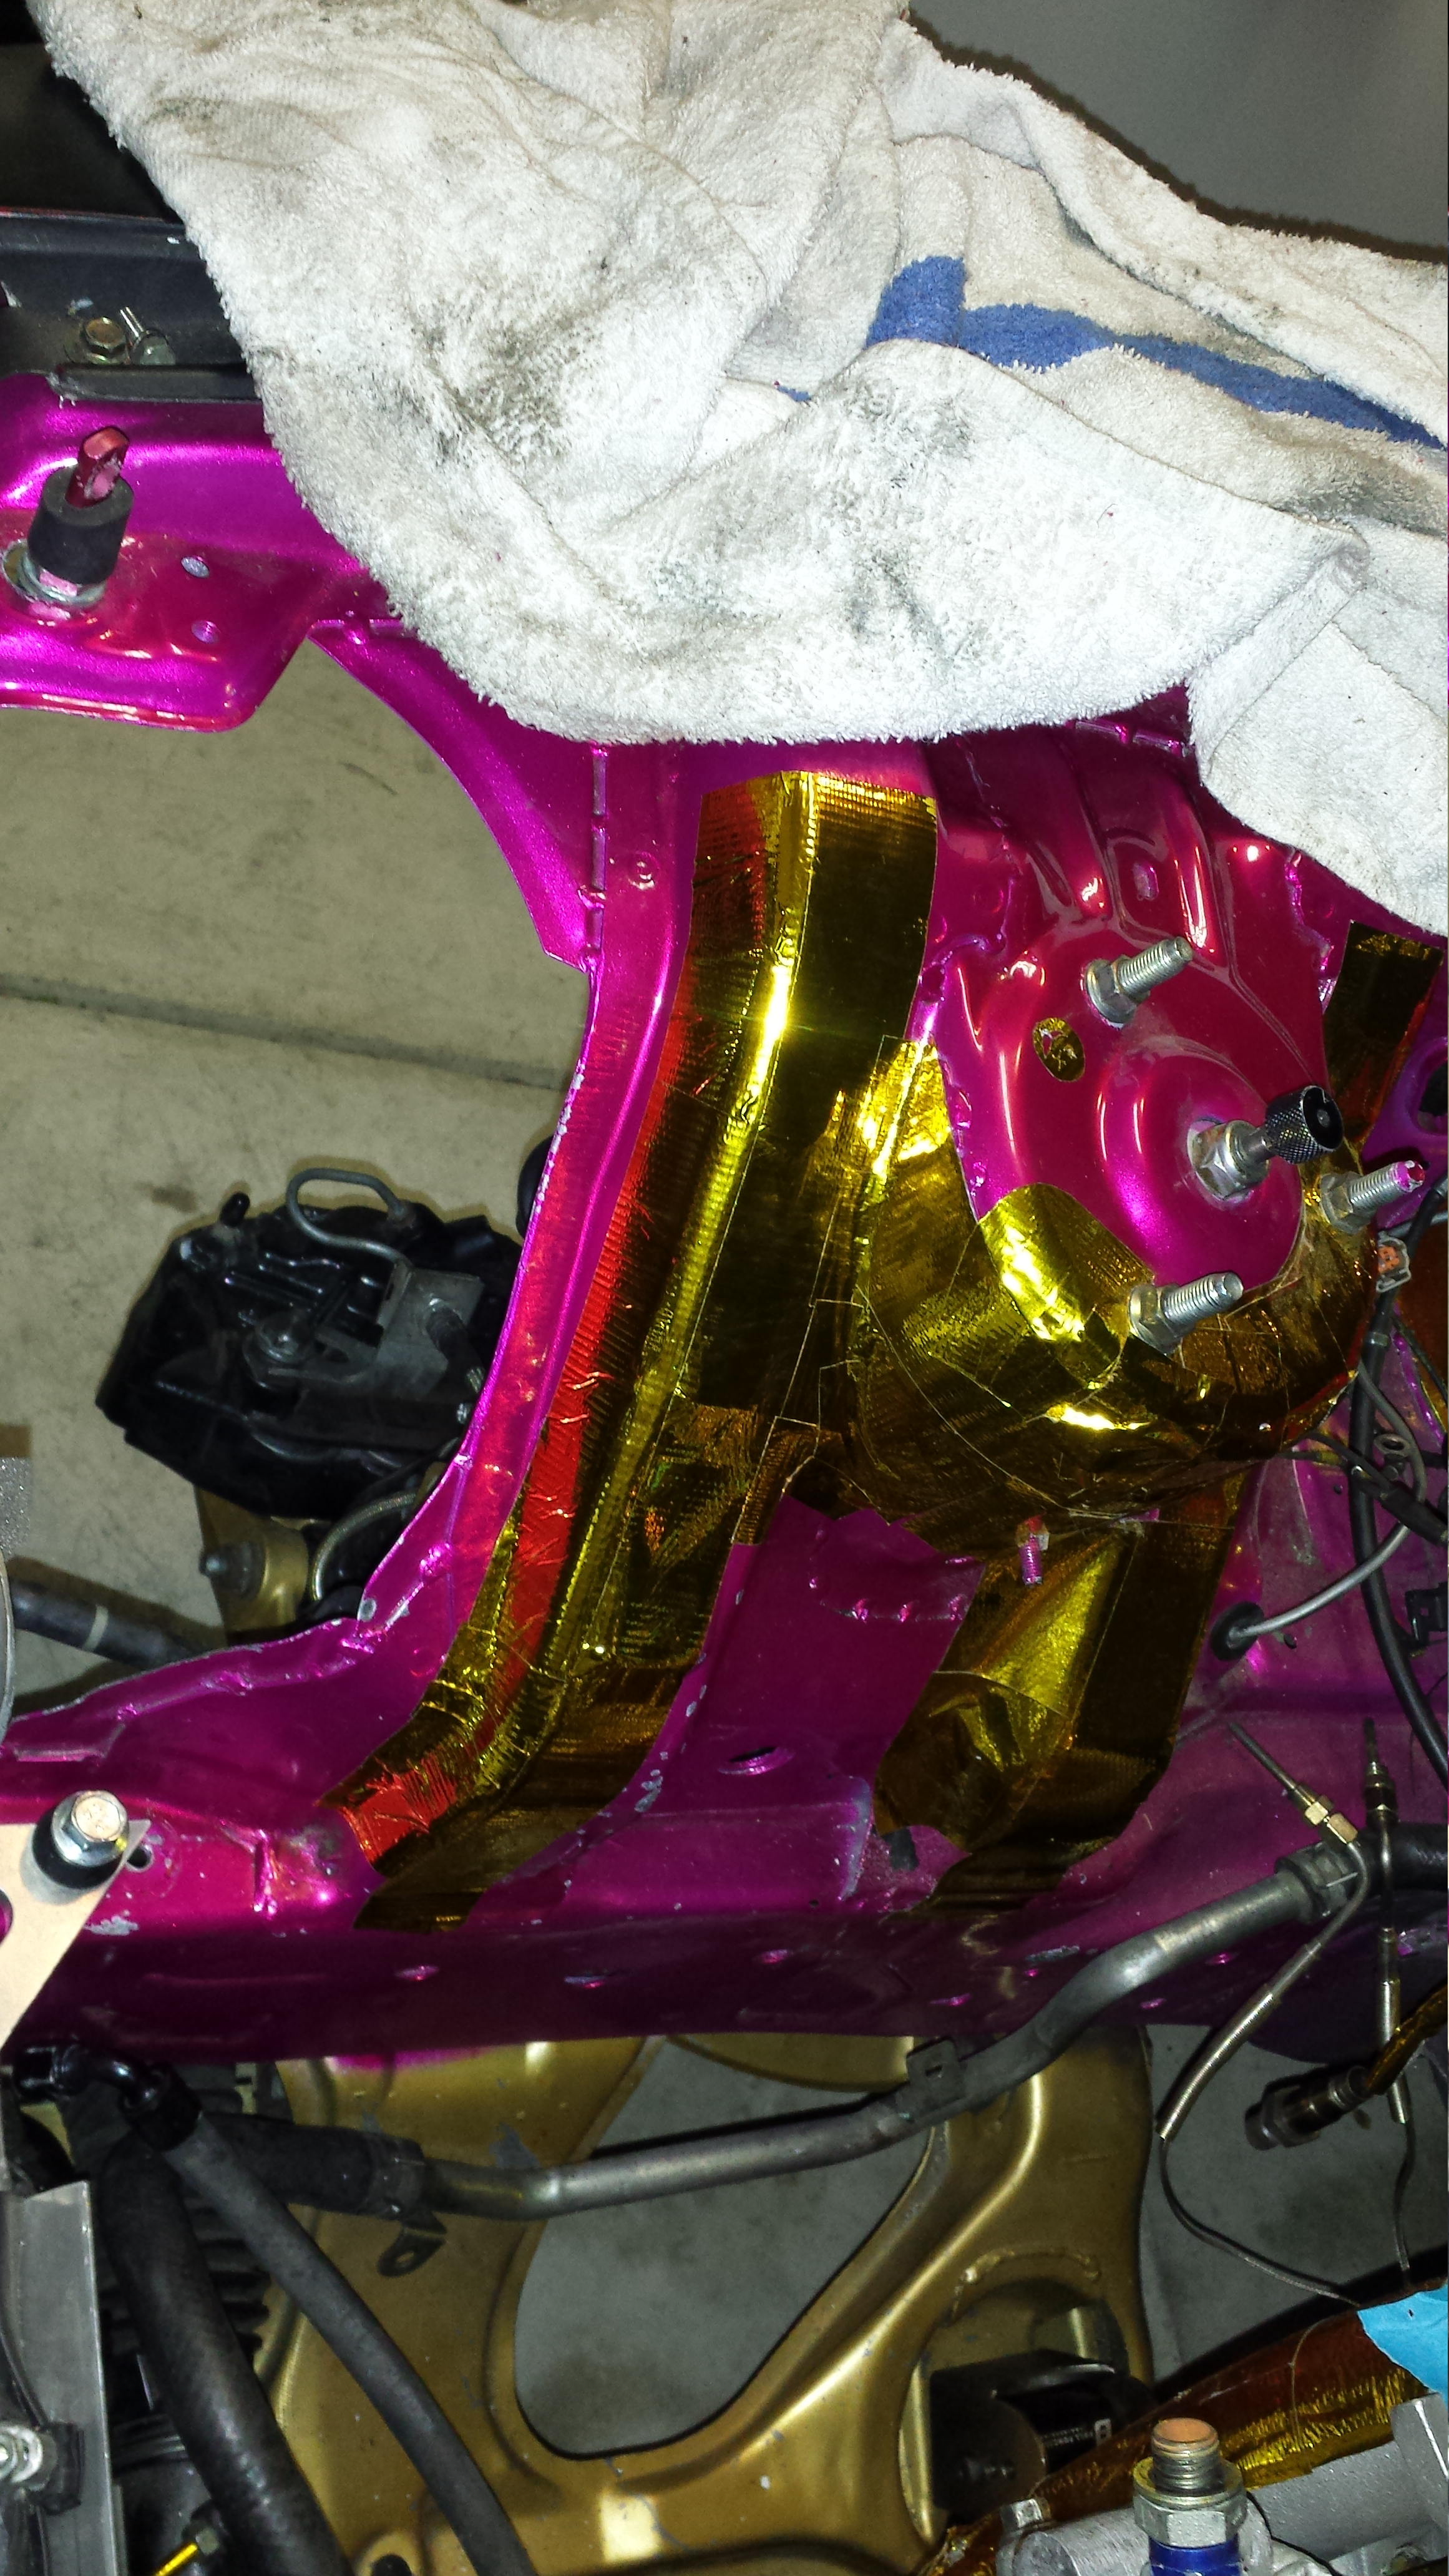
although I couldn't snap pics of the mock of where I want the turbo to fit.. it is going to be a tight fit. going to have to really shoe horn it in there. I'm not excessively happy with the bulkiness of it but I'll have to just suck it up and make a heat shield for the LIM. Oyhh yea..also installed my second eccentric case ventilation line haha (..had to change the crank to eccentric). As everyone does..I routed this to the rear OEM factory turbo drain location on the passenger side rear iron.
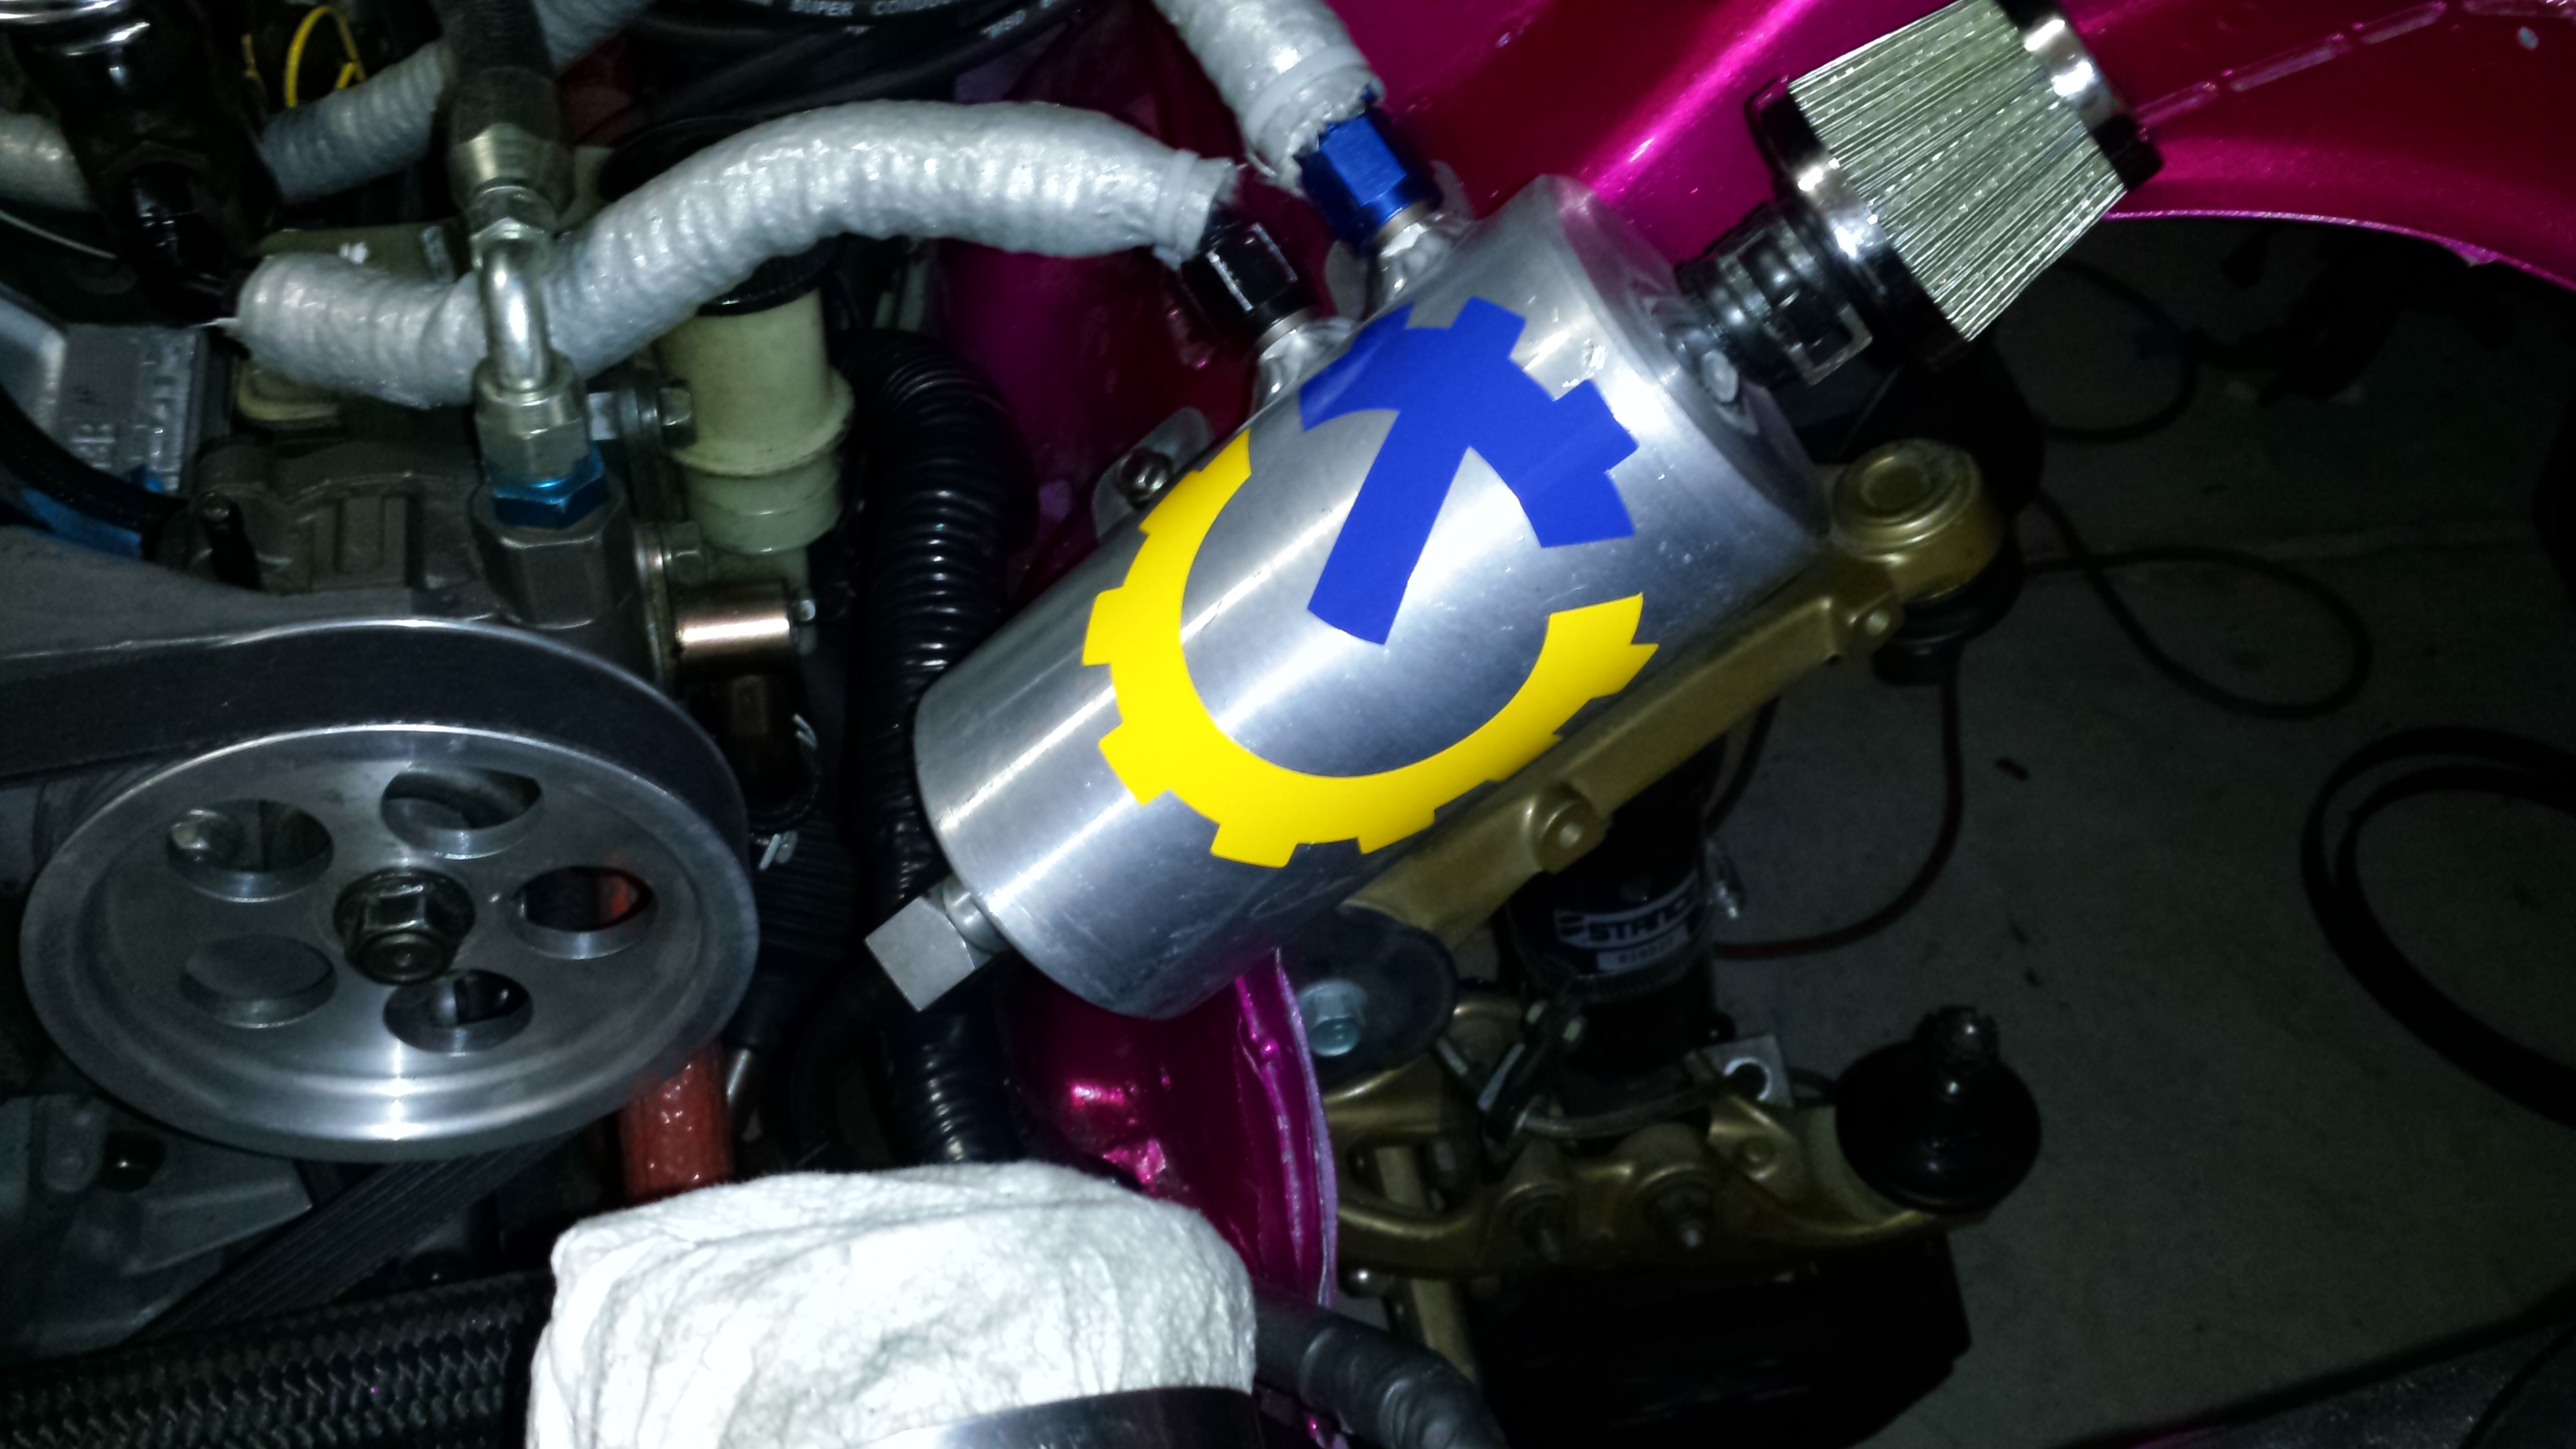
gotta love the Baker Fire Sleeve
Gotta give some love to Elliot at Turblown. Since my very first week here Elliot has always helped me out. Build advice, products, turbos, boost accessories...He's always been there and never taken advantage of me. I've done business with a TON of people even before this car..and I must say that he is one of the most positive good people I've come to know and call my friend. If anyone has any questions about the Adaptronic ECU's or any boost related gear...I urge you to contact him for all your needs. He will take care of you.
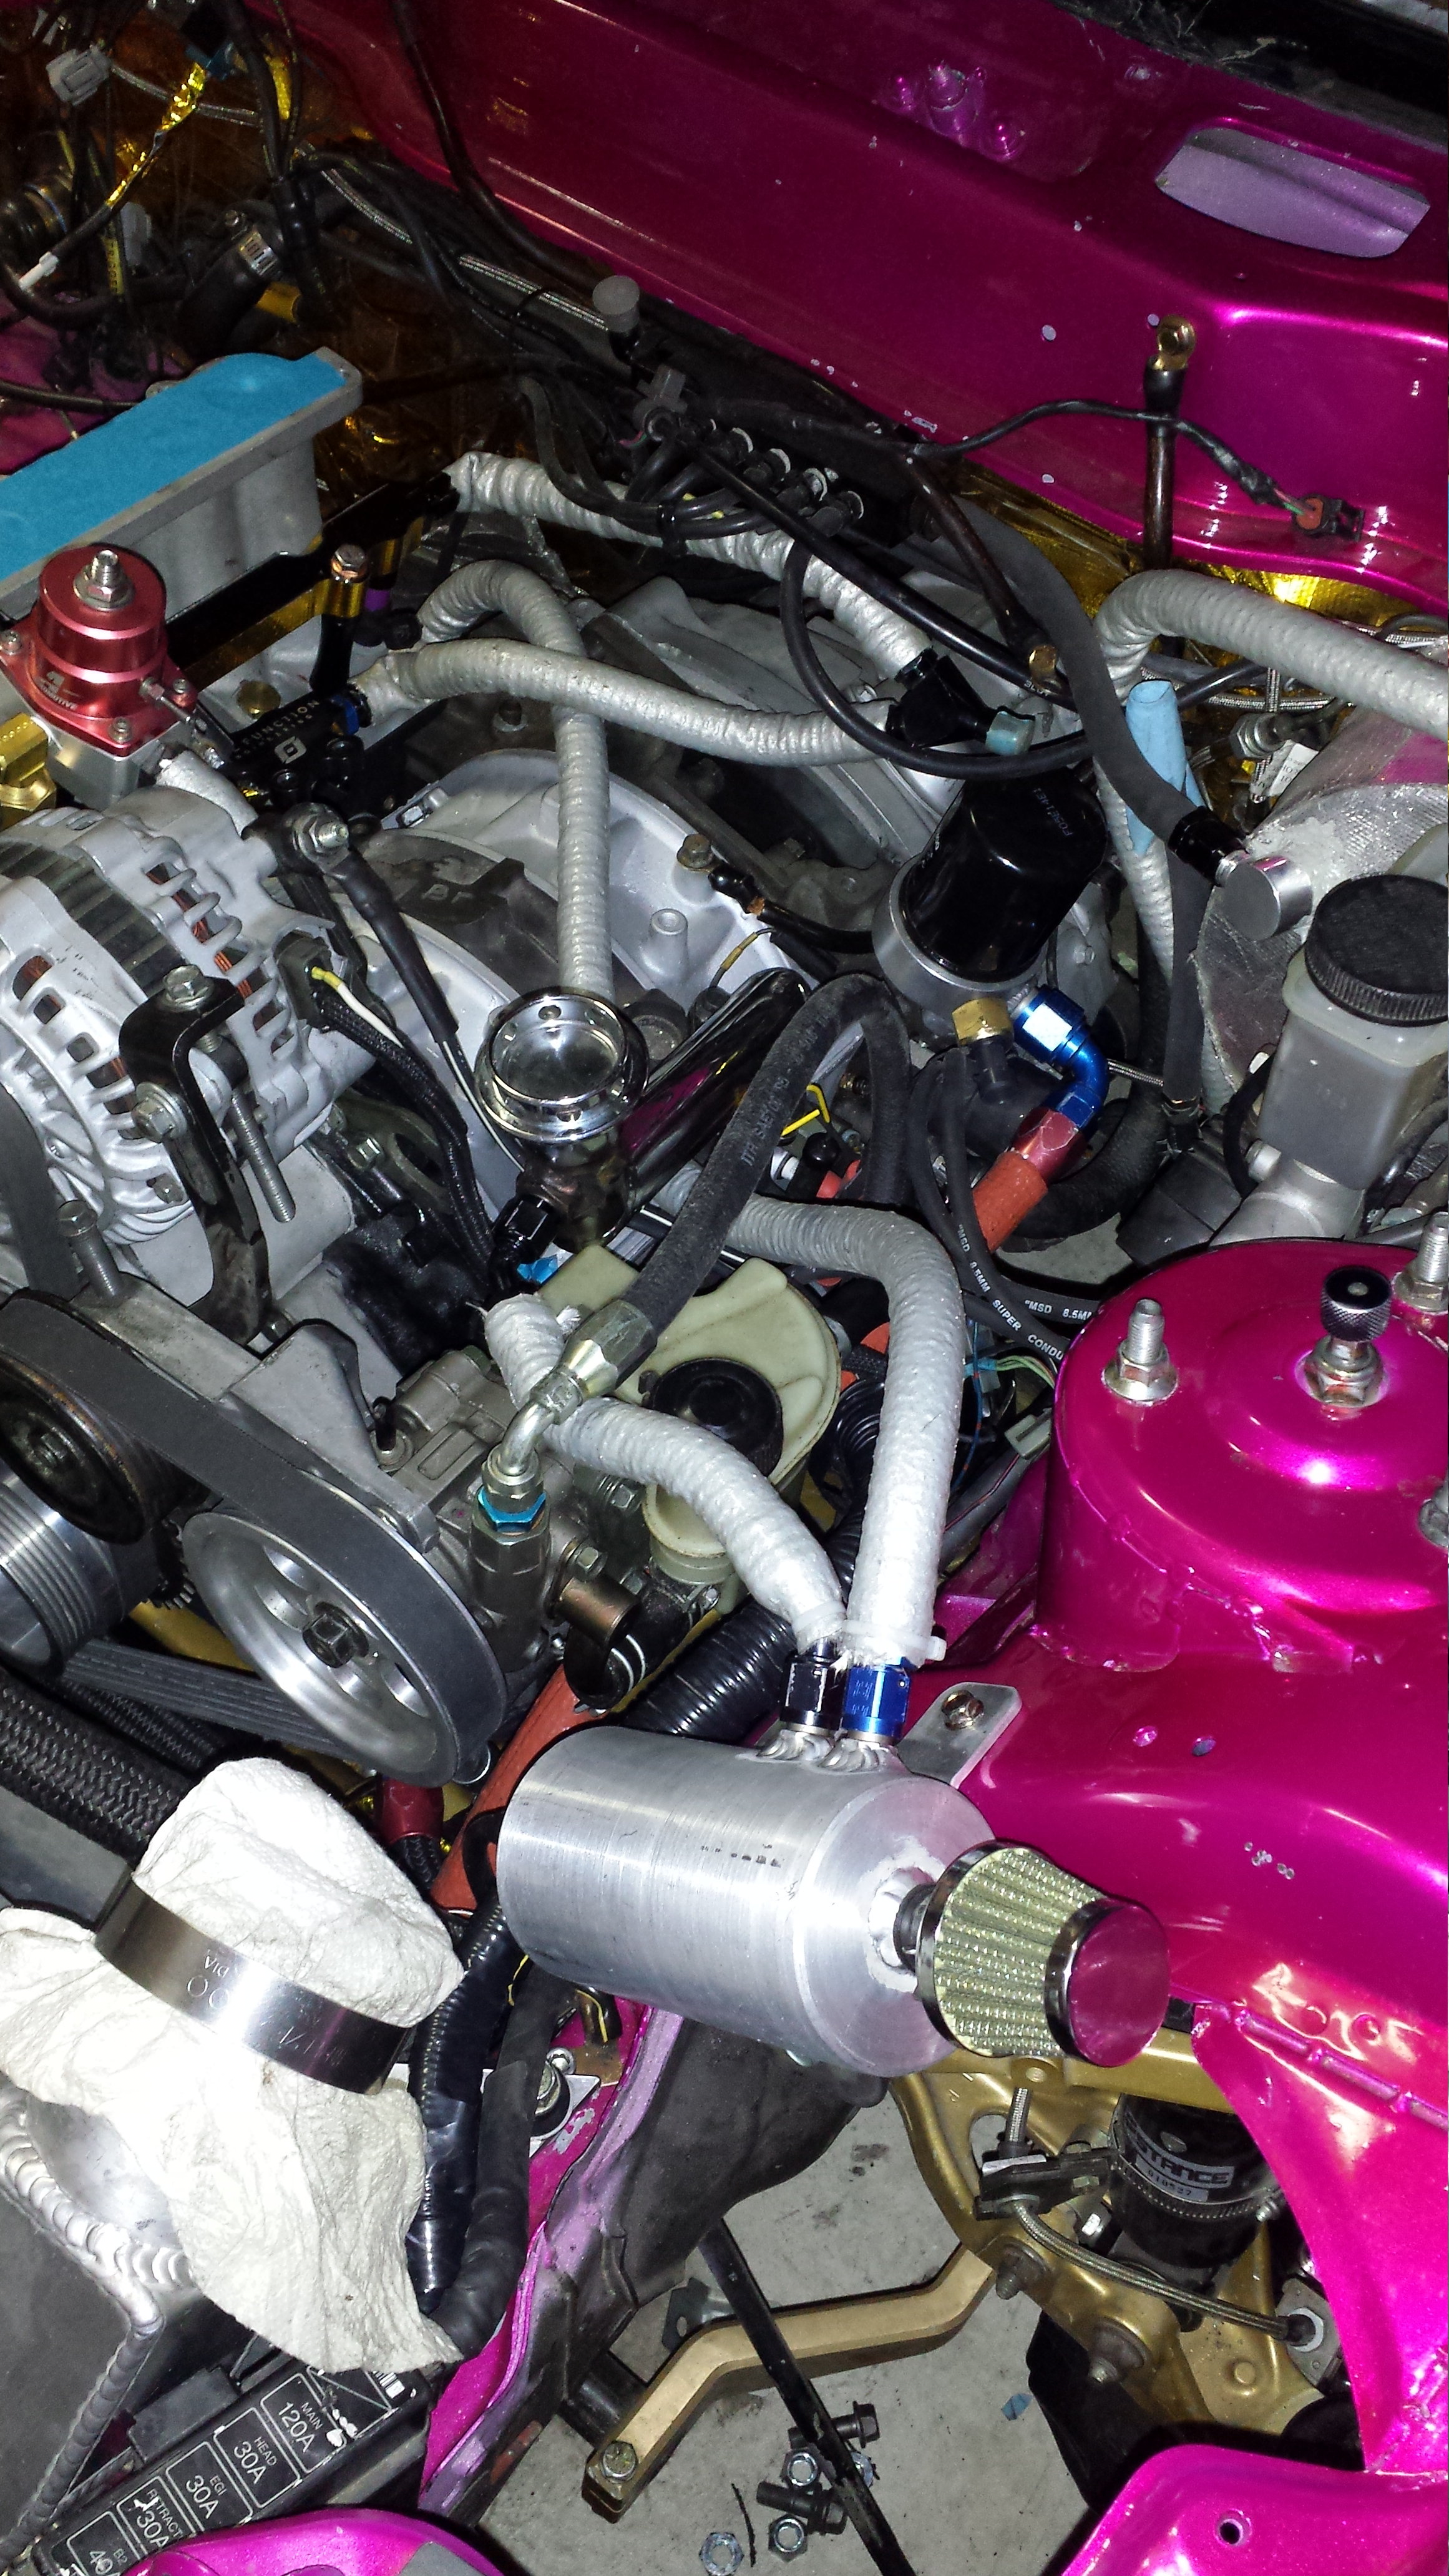
Going to need more of this
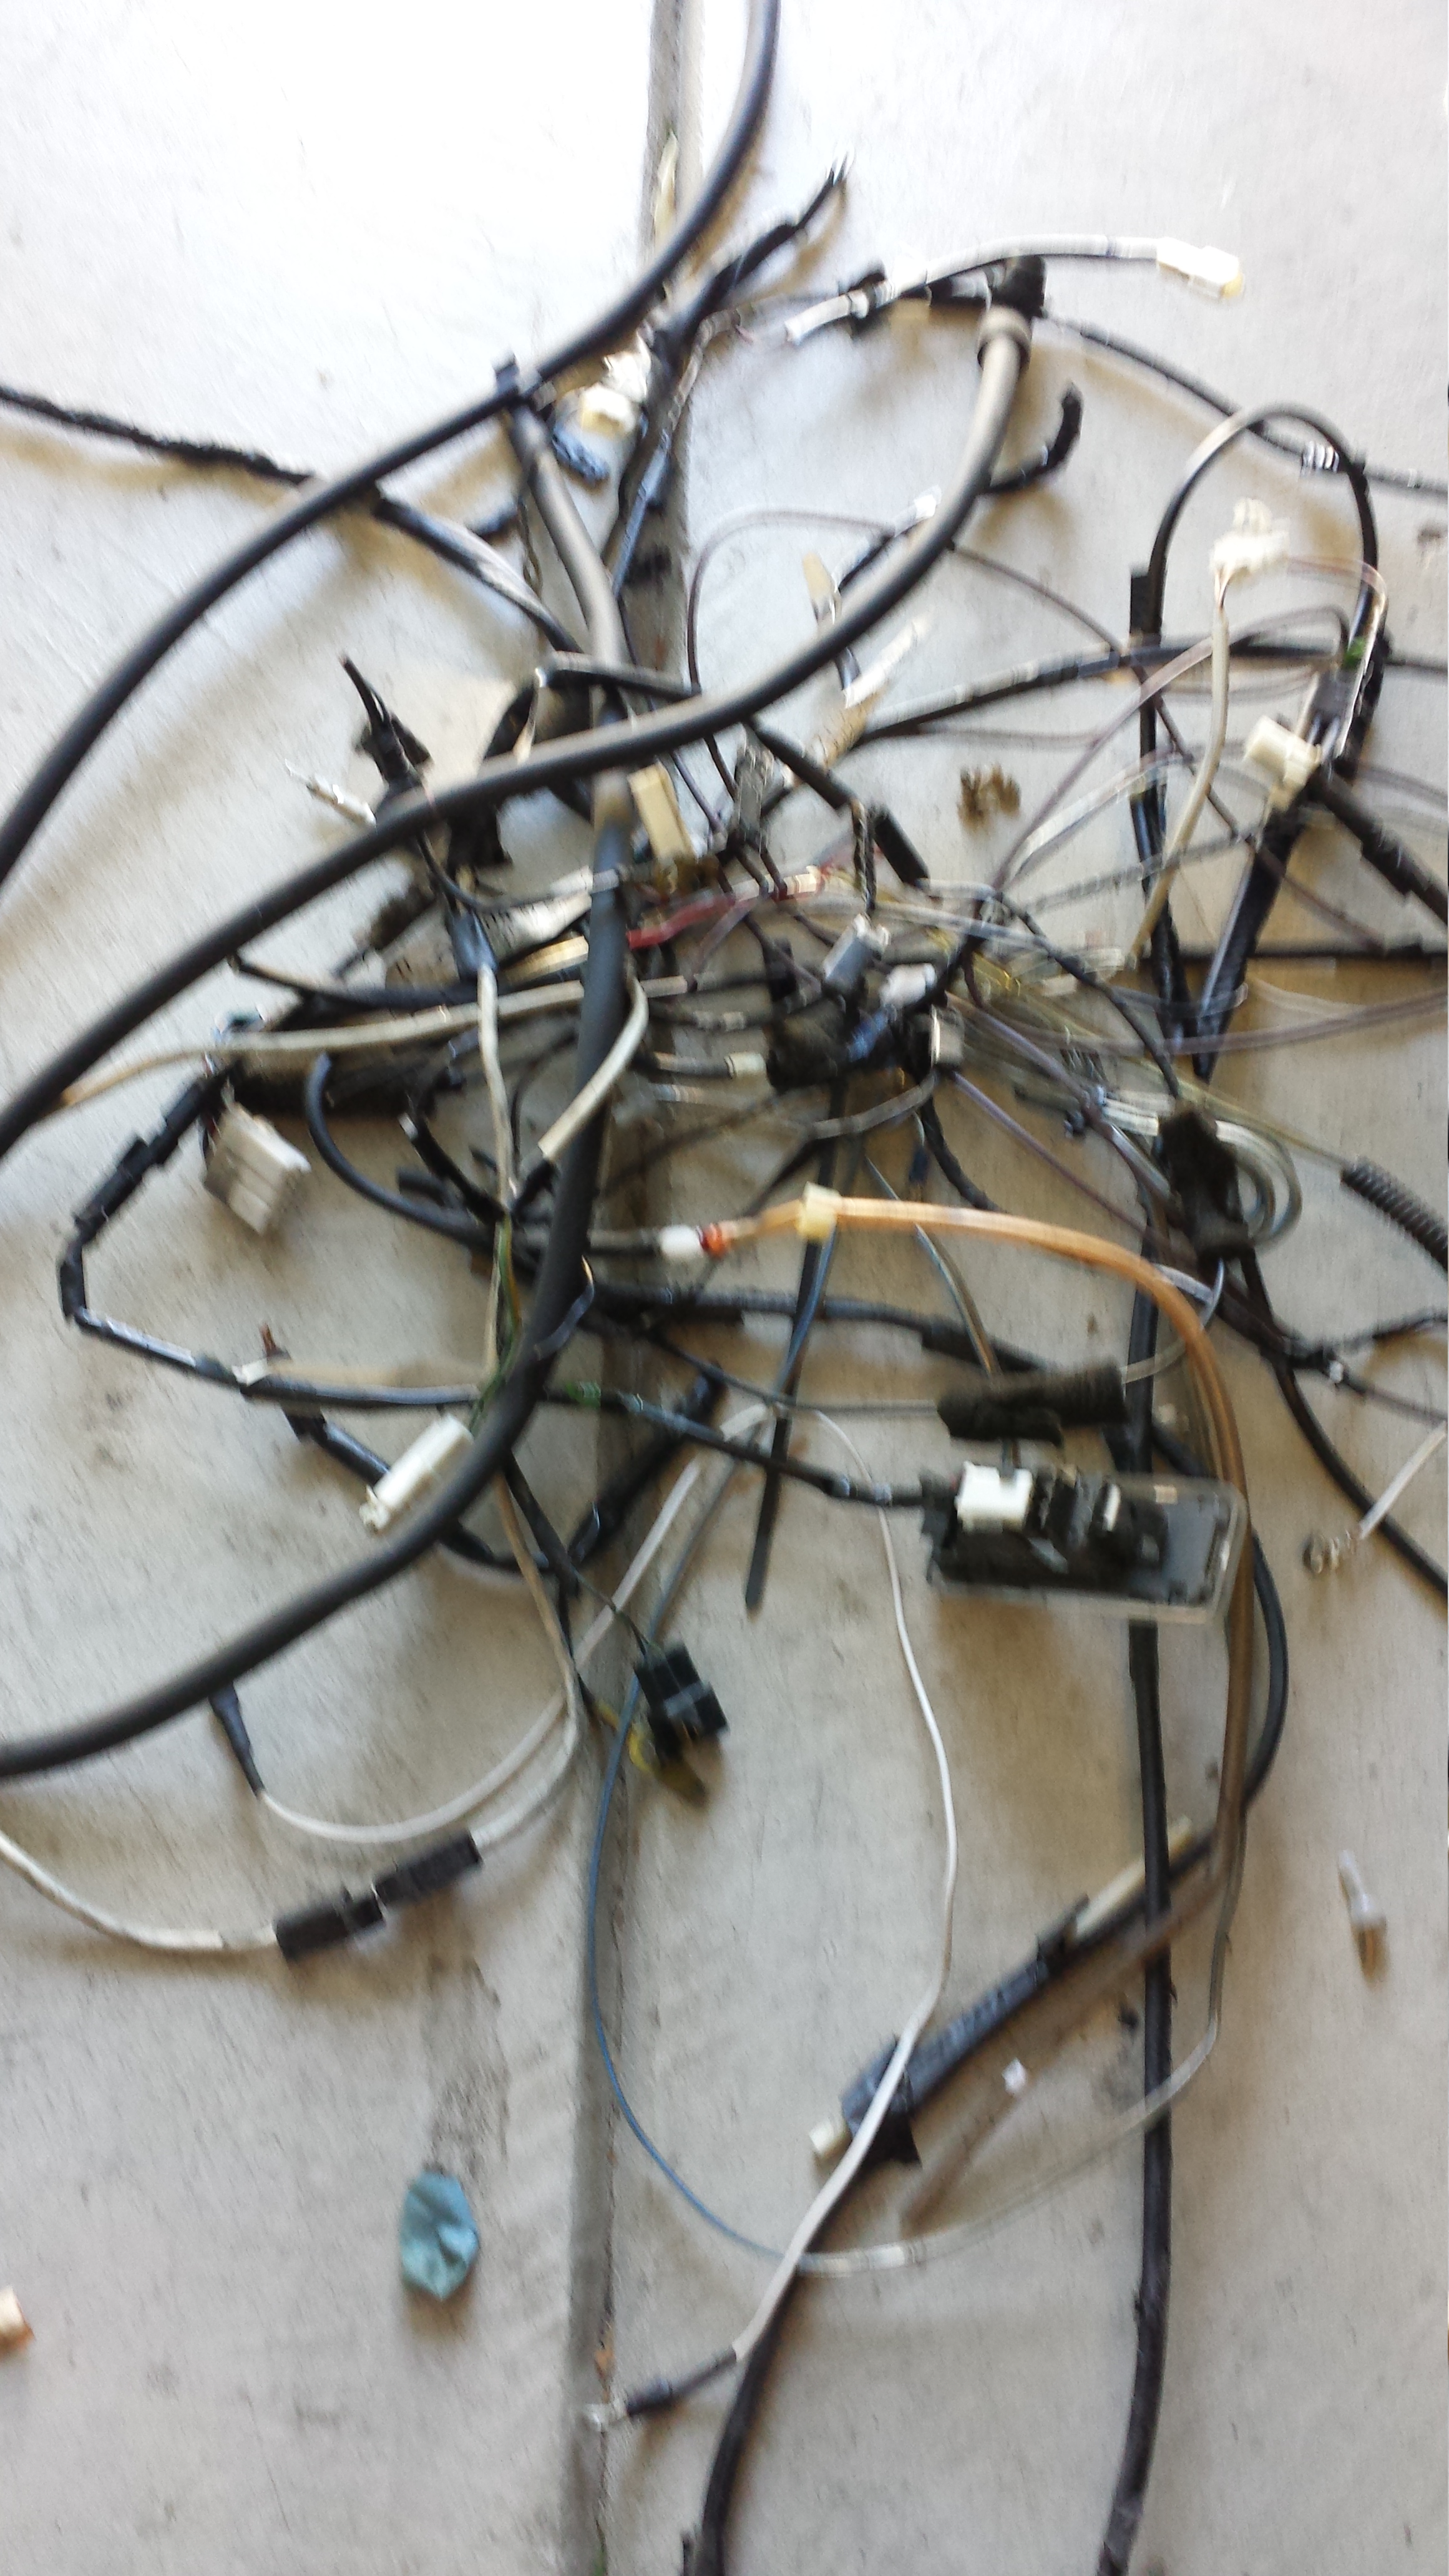
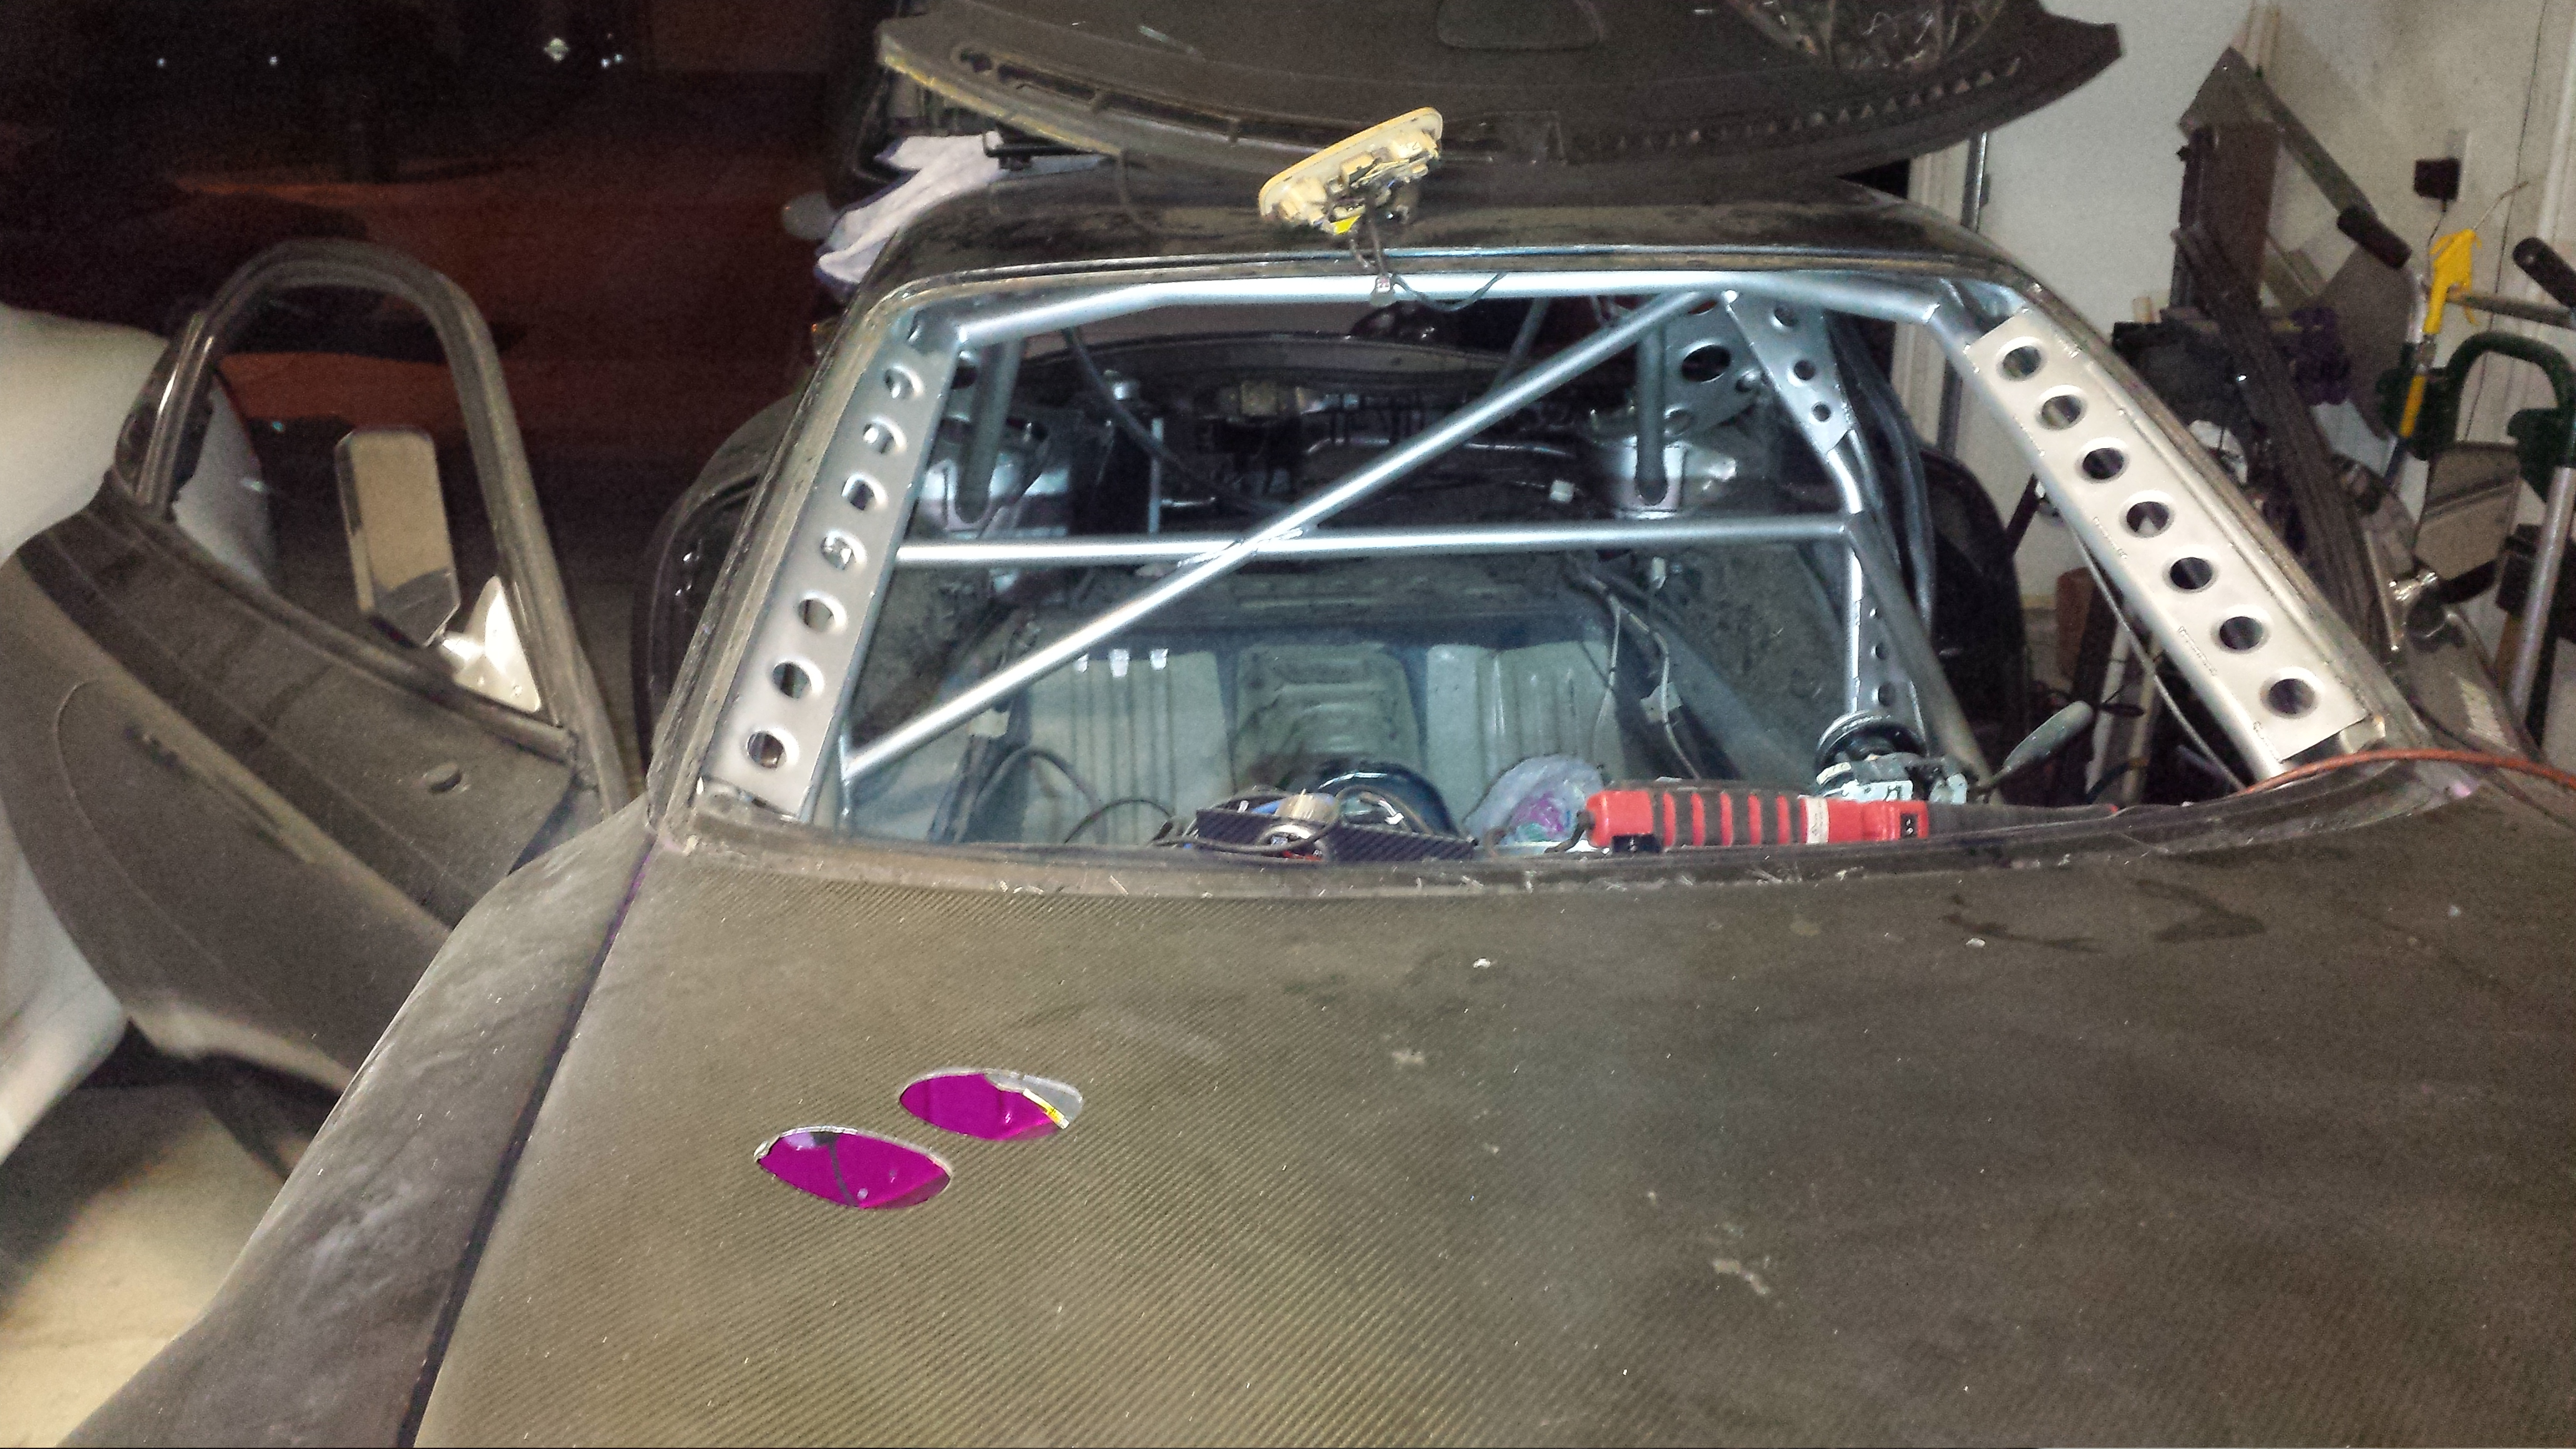
Then I started prepping the cabin for round 3. Needed to make things neat, reainstall the dash, paint the roll cage and re route my battery cables lines etc and do my accessory fuse box... so I finally followed every open lead and pulled out everything I wasn't and will not ever use again....
Then something awesome happened.... I got an update on my FB ...and looks like I got a sweet shout out from one of the best known rotary specialty shops in the world. RE-A!!! I had to screen shot this to share with you guys. After all the hard work.....even though the car doesn't run yet....this really just keeps me inspired and motivated to keep on going!
Here is the space I will have to fit my externally gated BW EFR 8374 in. I know everyone has mixed feelings about long runner manifolds. But I'm going to stick with my educated guess that the longer runners coupled with a far more capable turbo.. will boost low-end/midrange power and give me the power delivery I am looking for. Power under the curve and a nice Broad Tq Curve.
although I couldn't snap pics of the mock of where I want the turbo to fit.. it is going to be a tight fit. going to have to really shoe horn it in there. I'm not excessively happy with the bulkiness of it but I'll have to just suck it up and make a heat shield for the LIM. Oyhh yea..also installed my second eccentric case ventilation line haha (..had to change the crank to eccentric). As everyone does..I routed this to the rear OEM factory turbo drain location on the passenger side rear iron.
gotta love the Baker Fire Sleeve
Gotta give some love to Elliot at Turblown. Since my very first week here Elliot has always helped me out. Build advice, products, turbos, boost accessories...He's always been there and never taken advantage of me. I've done business with a TON of people even before this car..and I must say that he is one of the most positive good people I've come to know and call my friend. If anyone has any questions about the Adaptronic ECU's or any boost related gear...I urge you to contact him for all your needs. He will take care of you.
Going to need more of this
Then I started prepping the cabin for round 3. Needed to make things neat, reainstall the dash, paint the roll cage and re route my battery cables lines etc and do my accessory fuse box... so I finally followed every open lead and pulled out everything I wasn't and will not ever use again....
Continued:
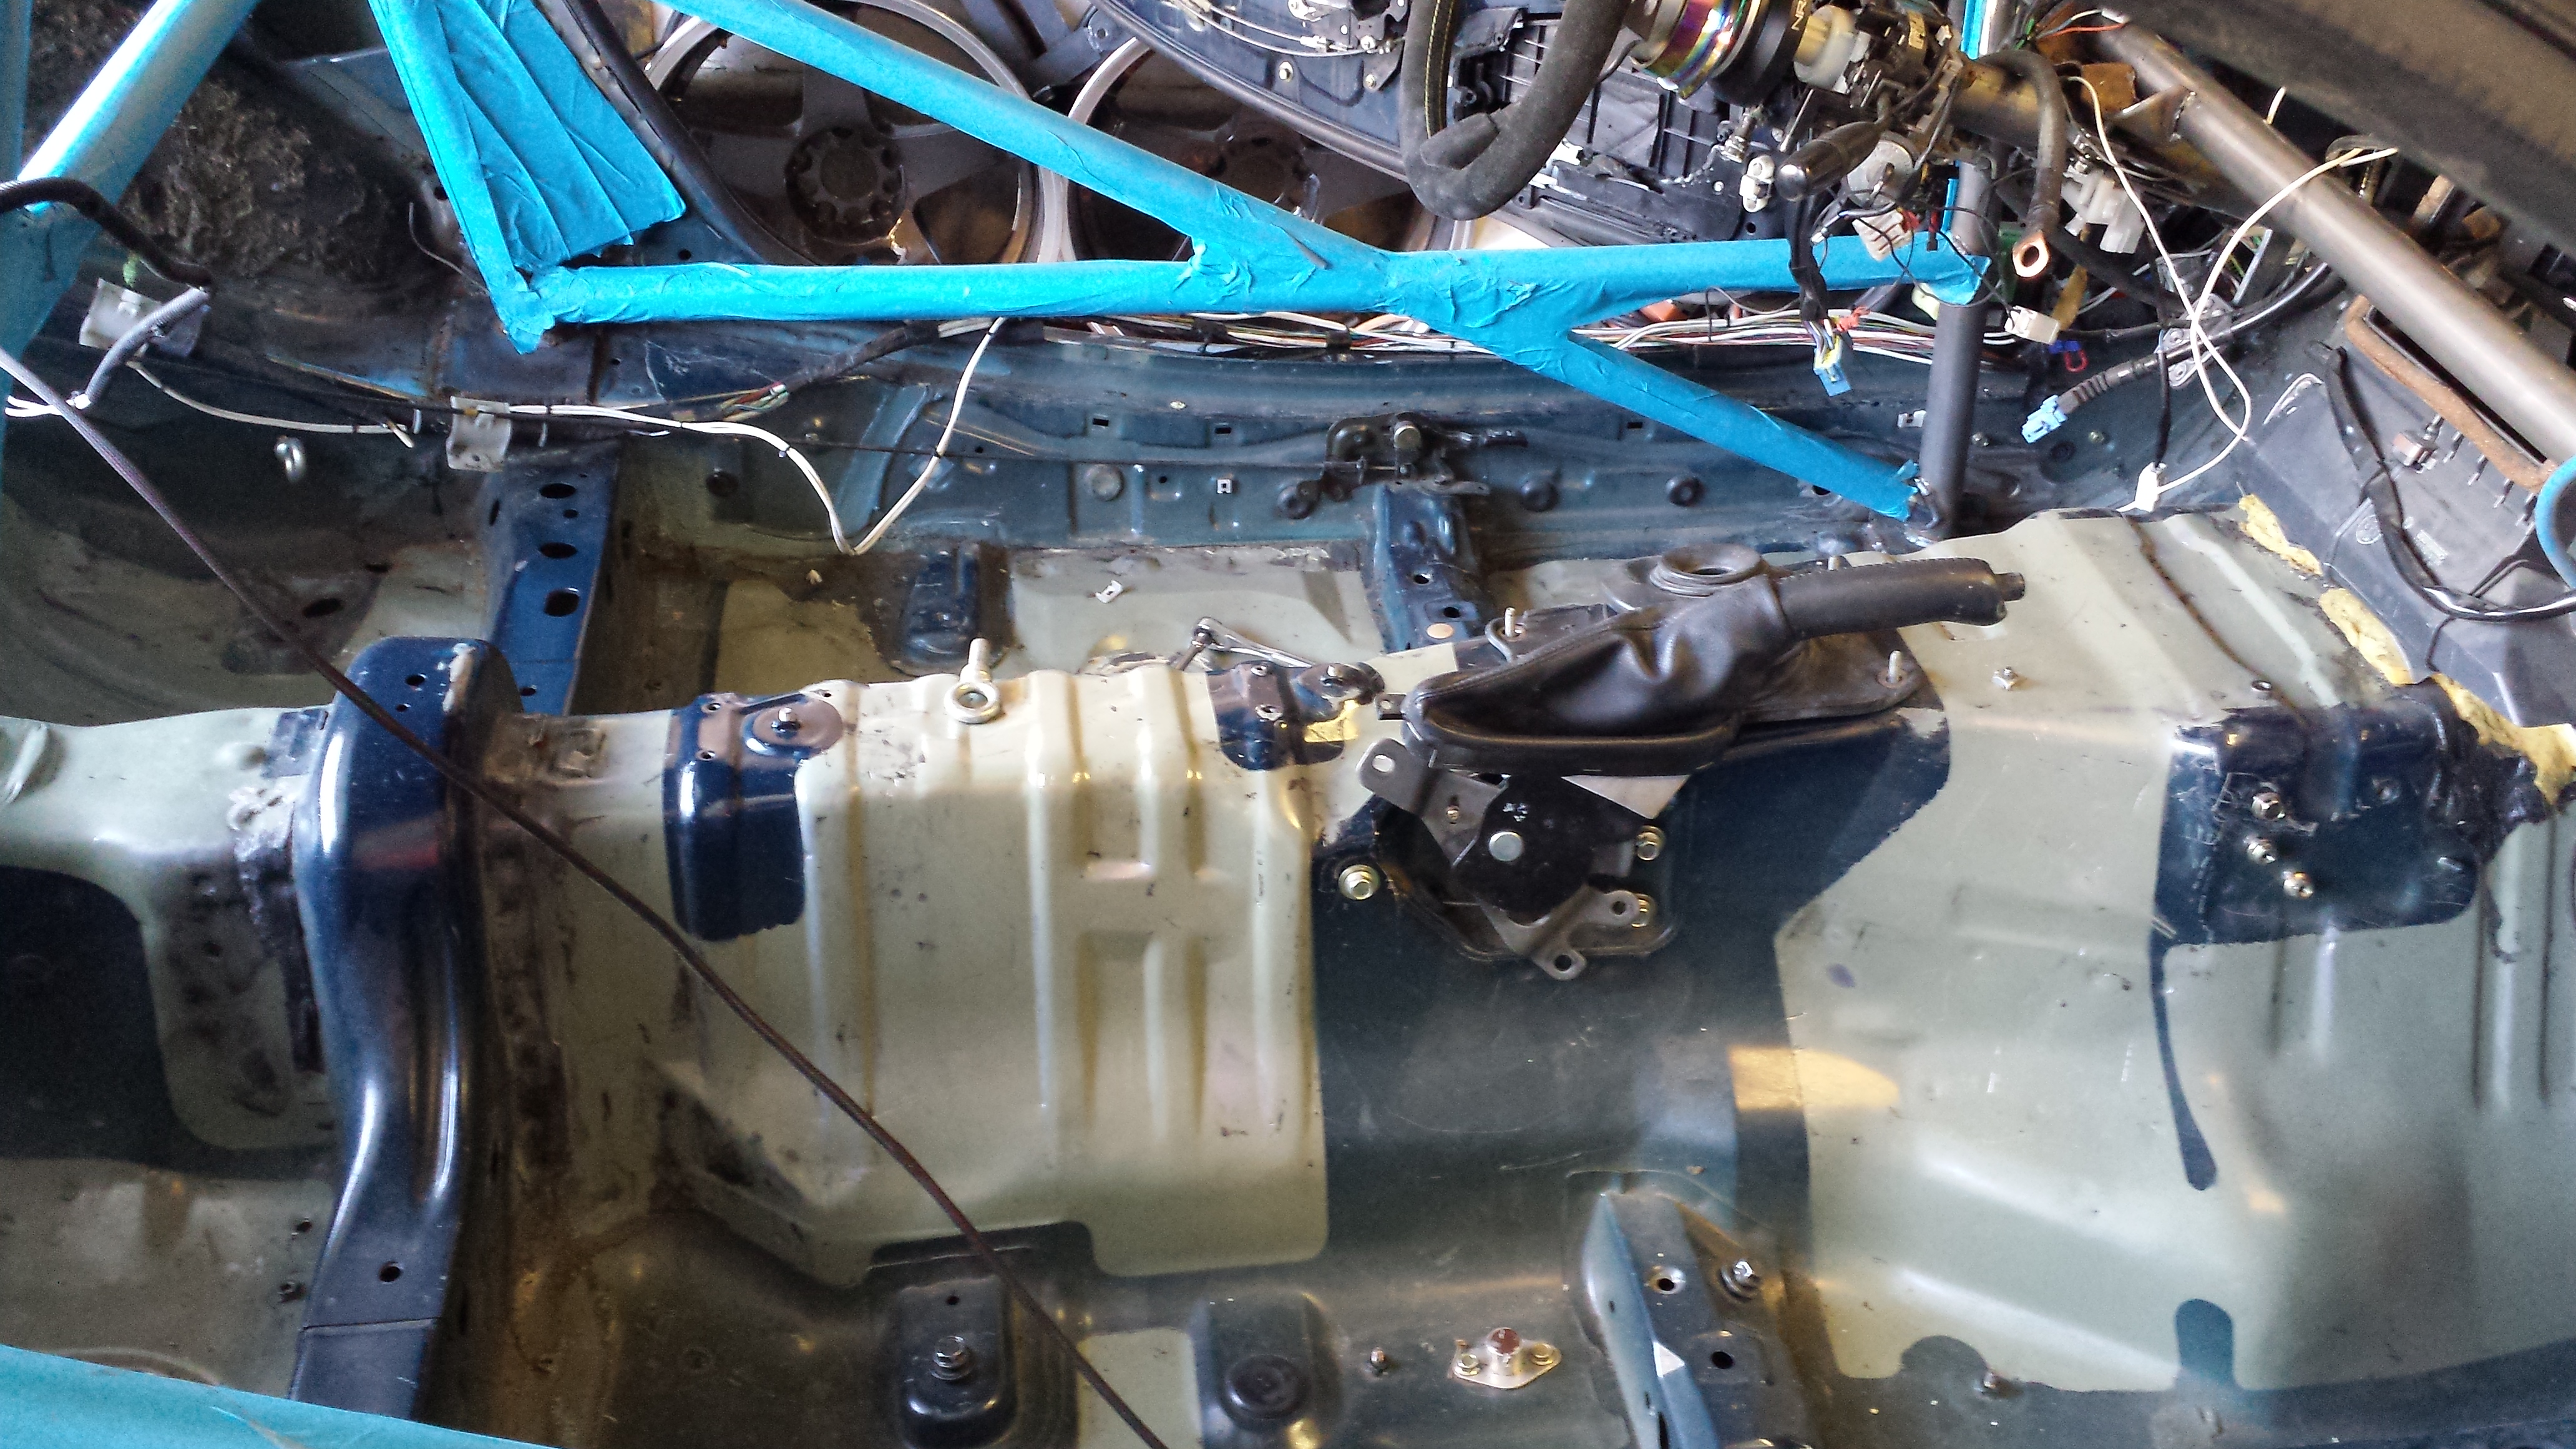
was good to get all that crap out of the cabin anyhow. Crap clankin around and looking like crap........End product. Not much better because factory colors look like doo haha
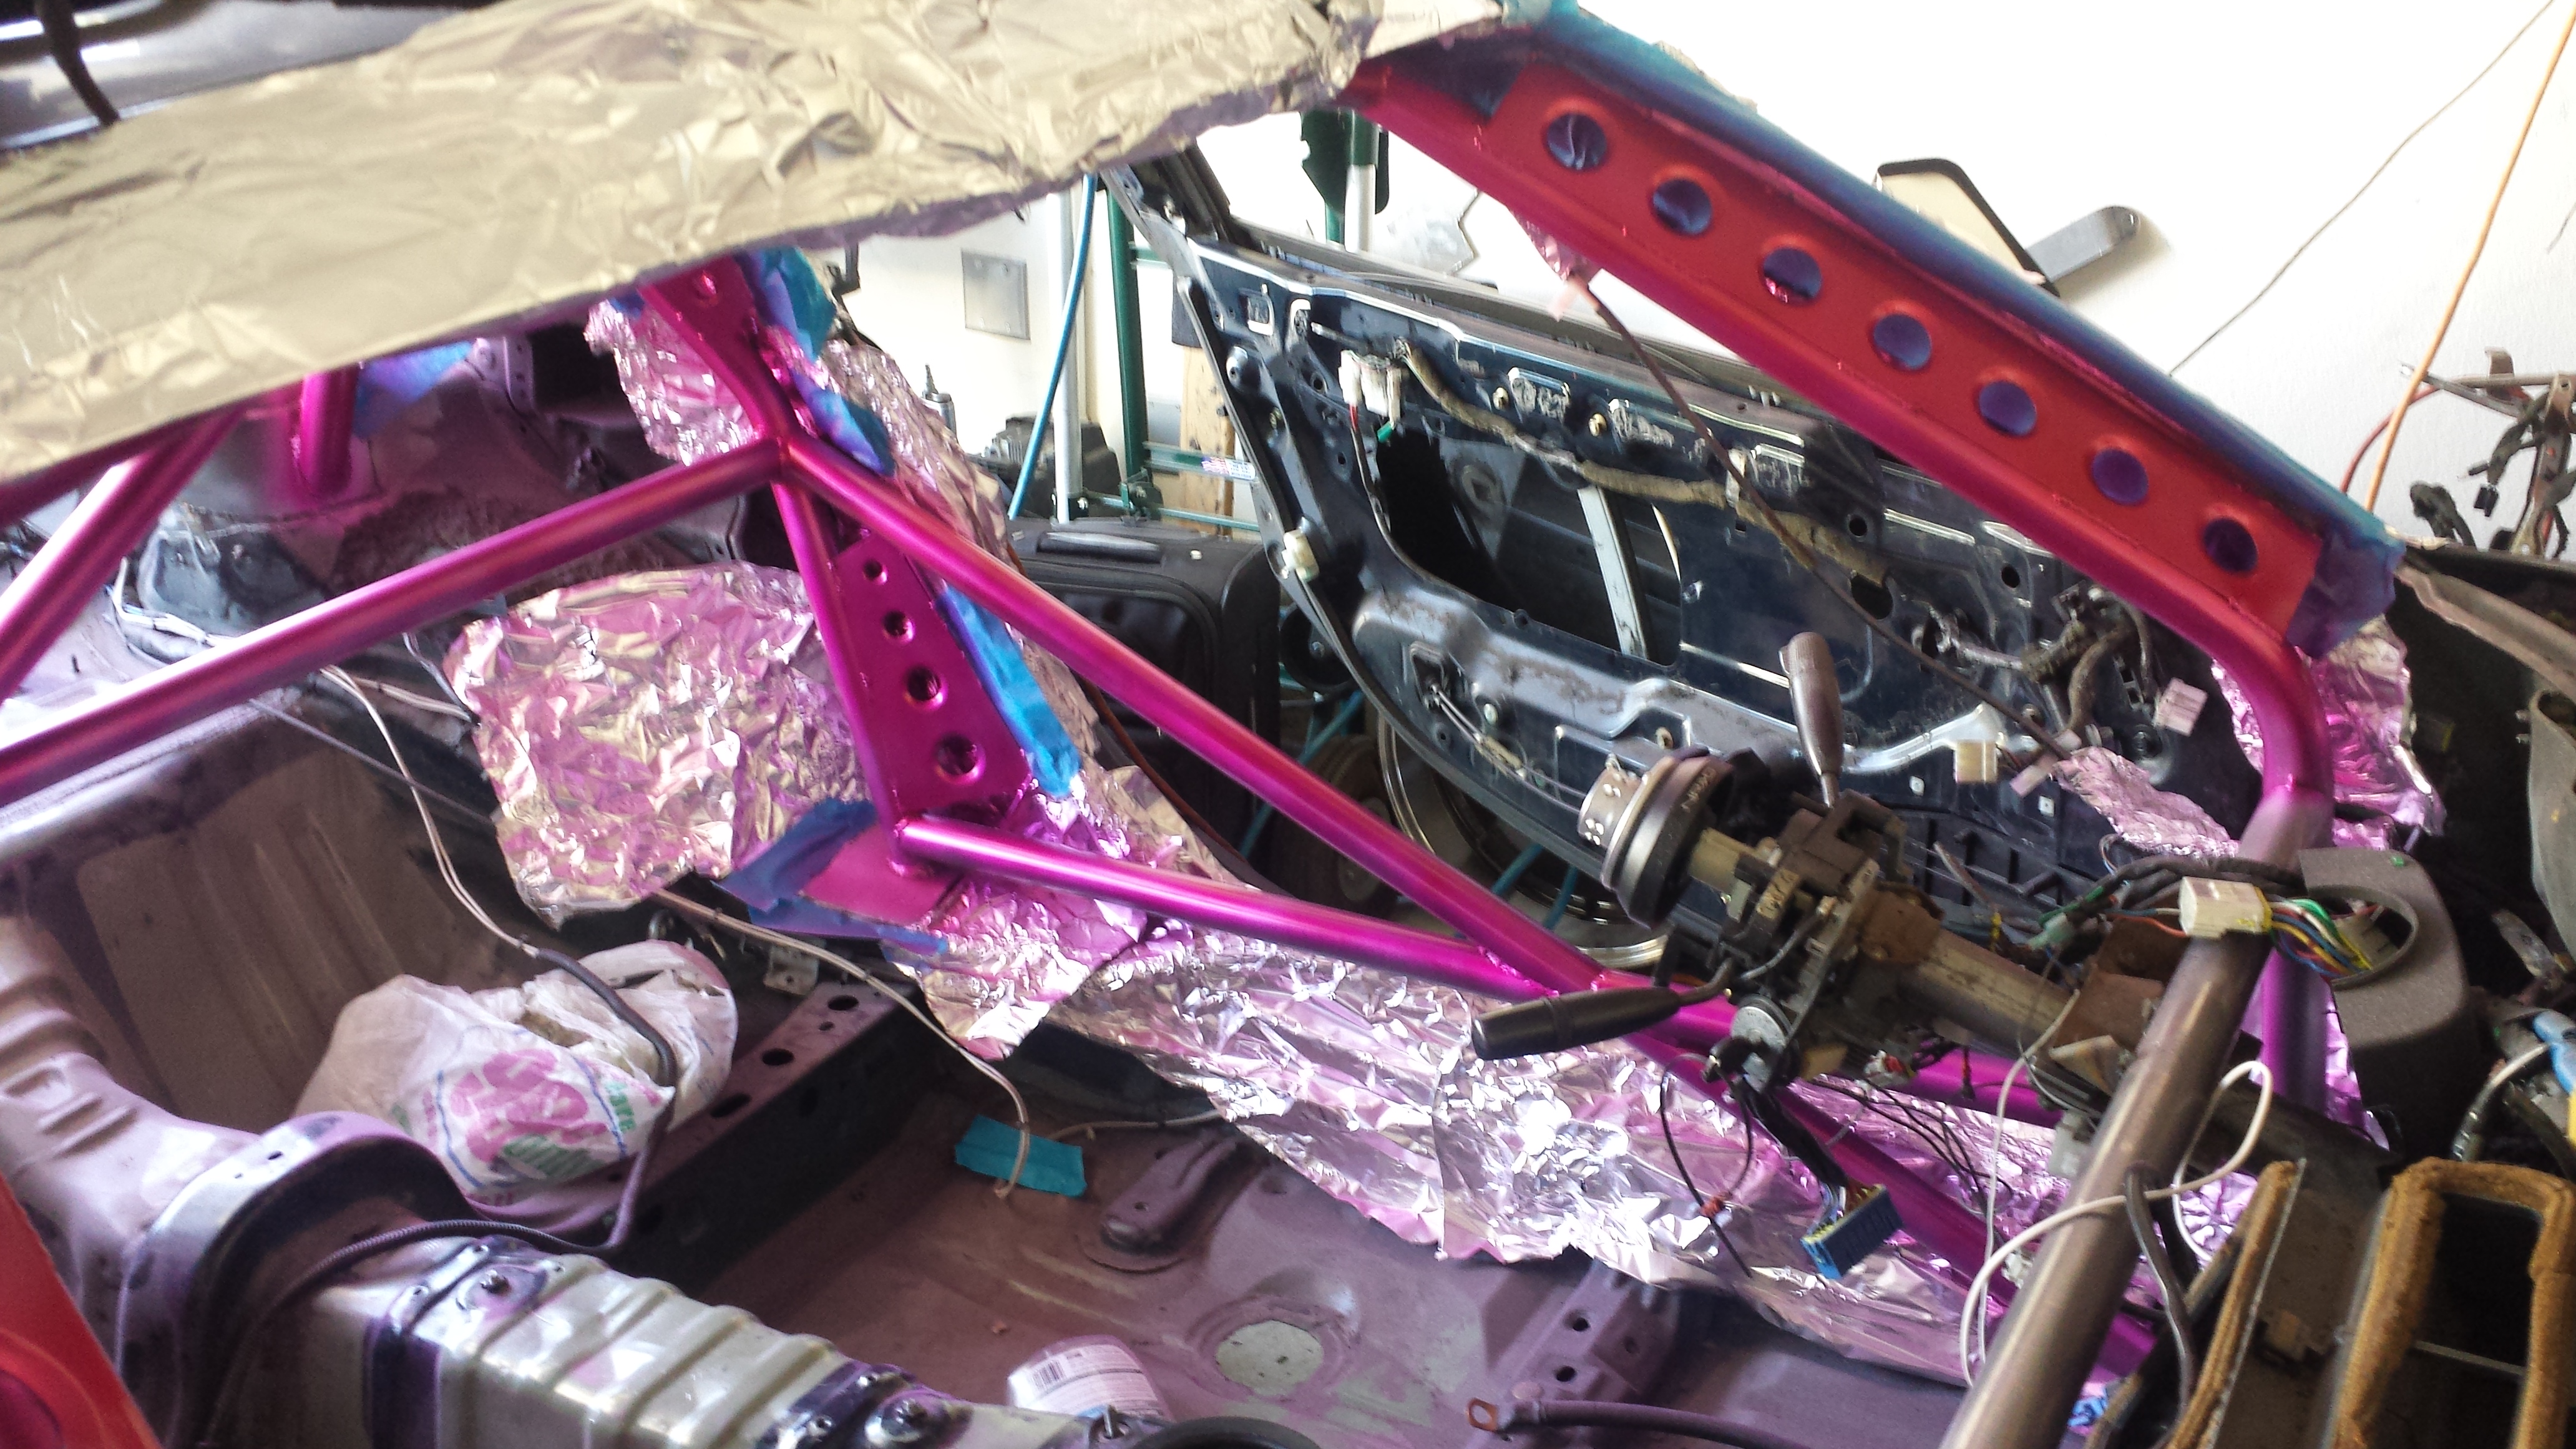
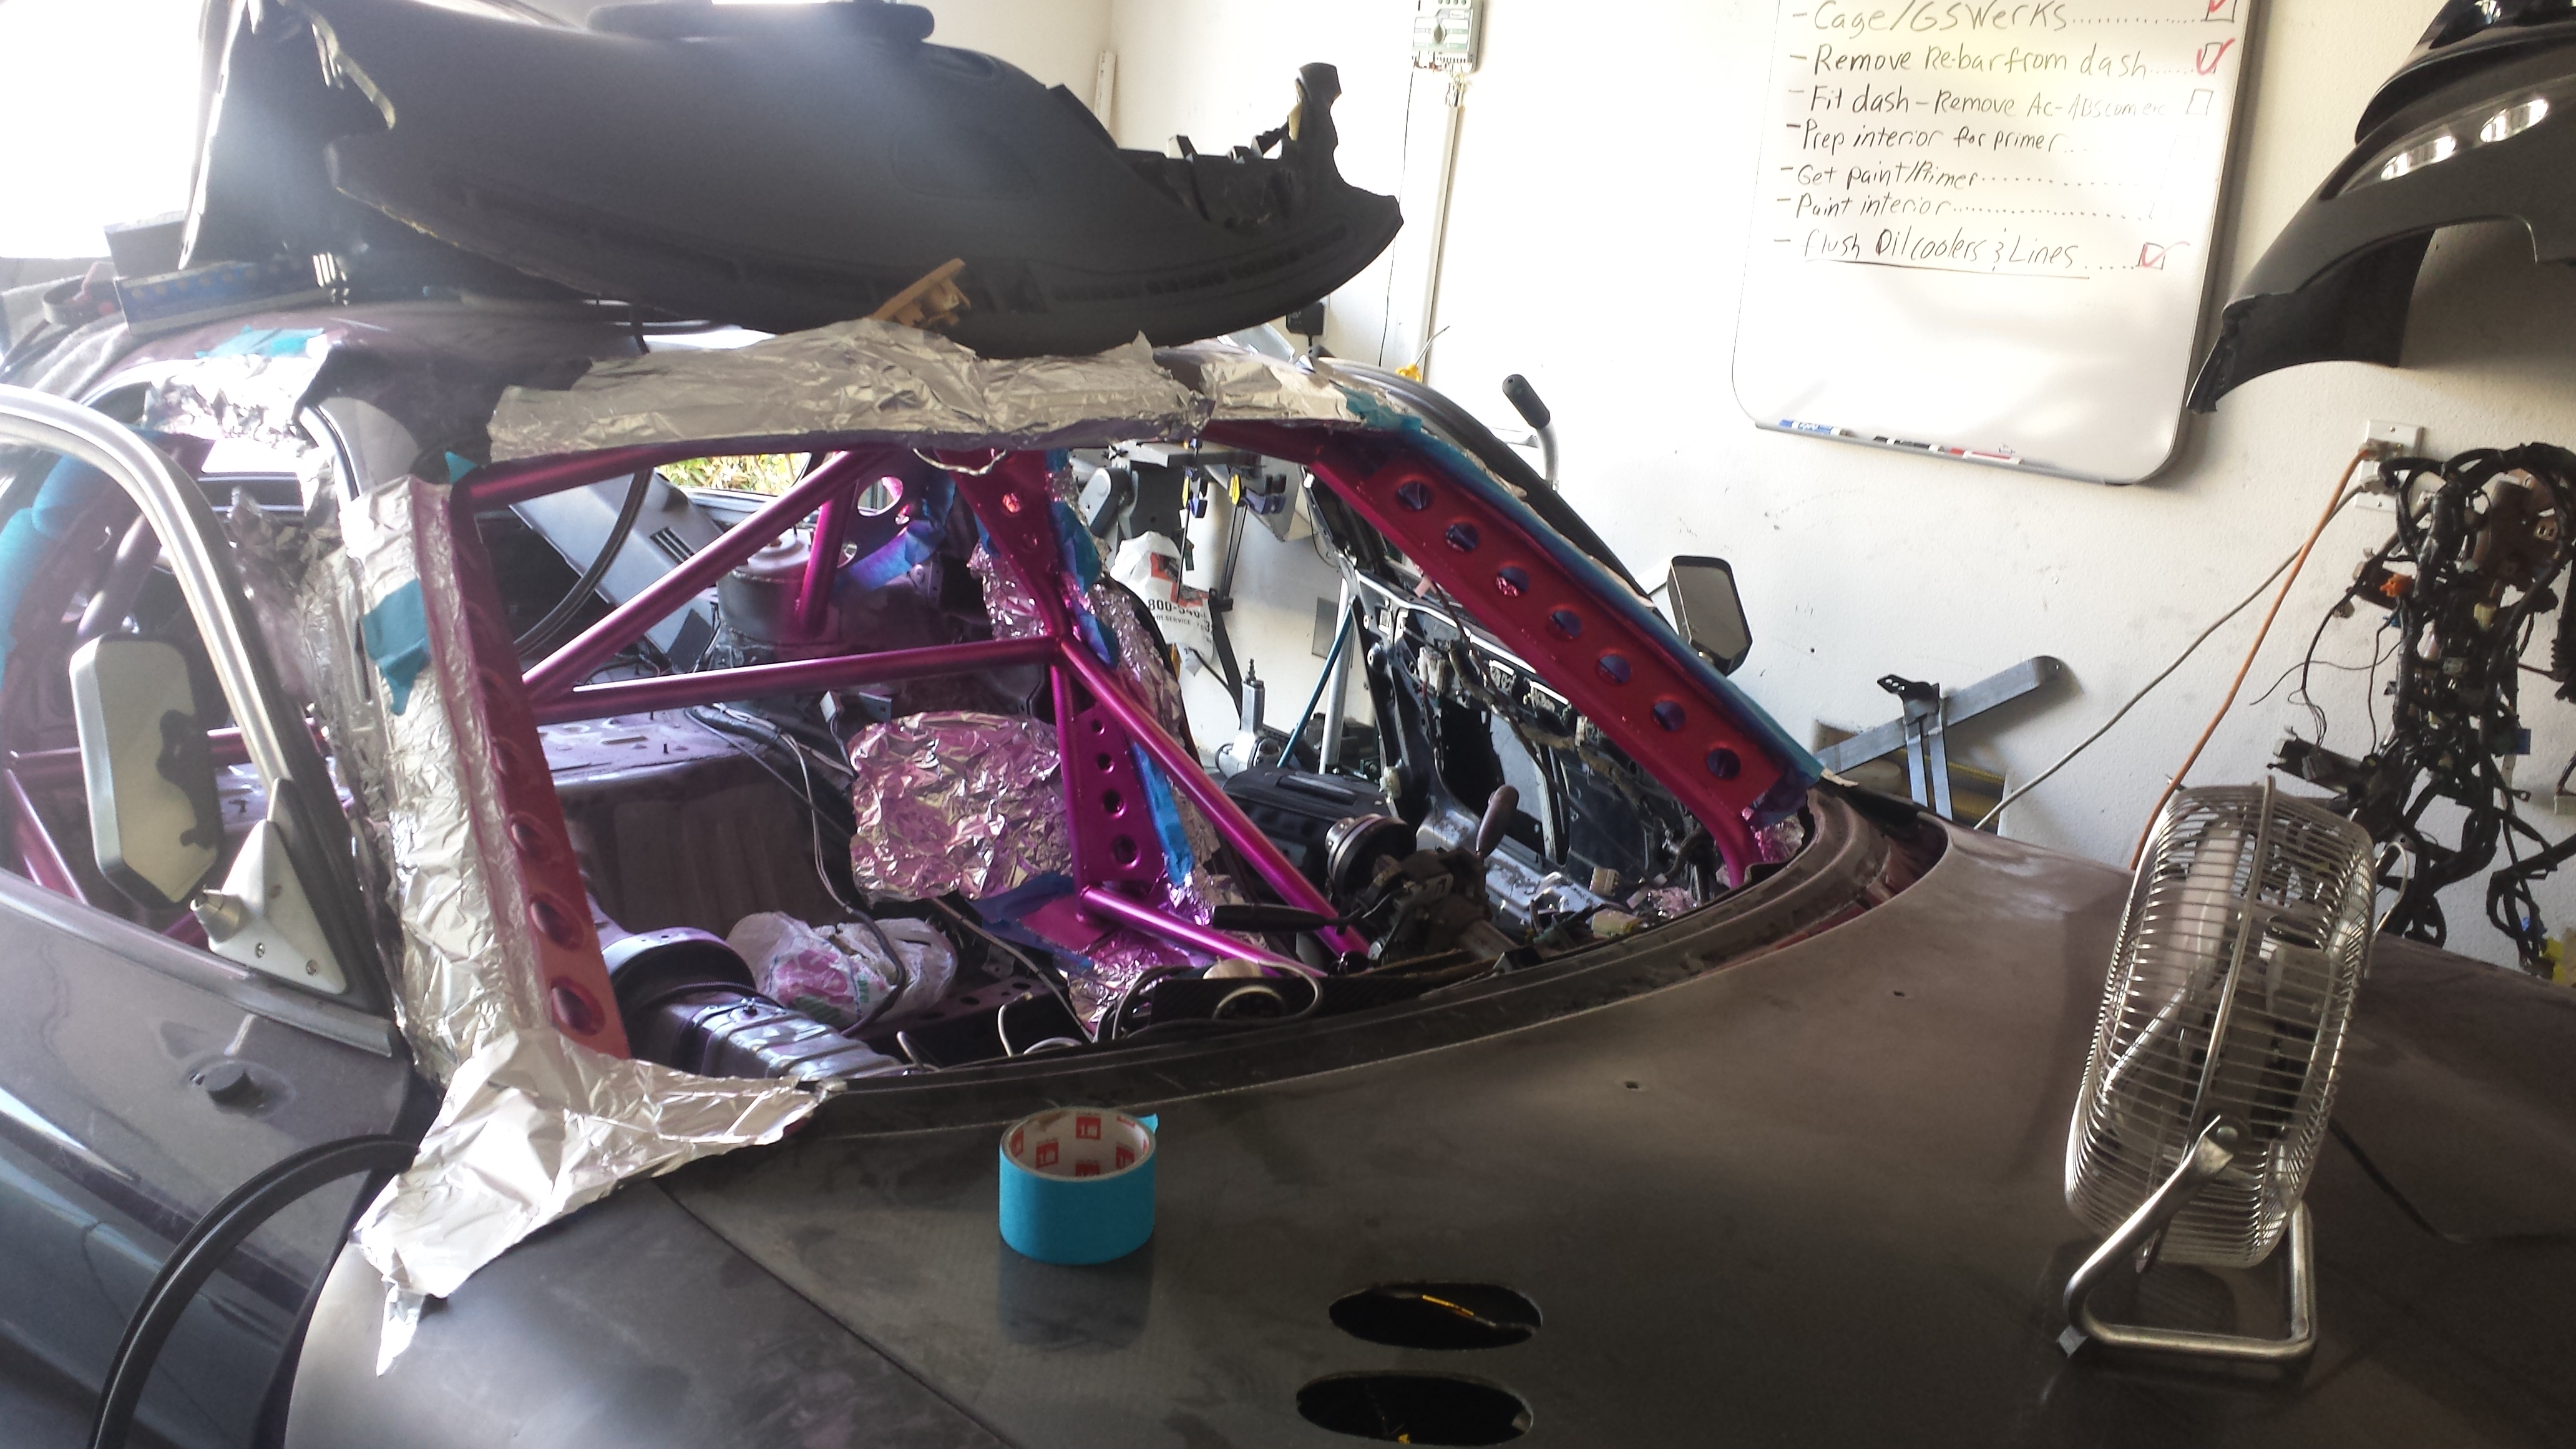
And sprayed self etching primer on the cage, then the silver flake base. Pink and clear to come.
god I hate painting
Also, I had to completely flush my oil system. I didn't want to take any chances given that the ceramic seals could have left ceramic dust particles in the oil. This stuff could really mess things up. I spent almost 2 days and 9 cans of Brake cleaner between mostly the two giant oil coolers, cycling brake cleaner then water and sitting and again and again...I don't even know how many times till the coolers were completely clean inside and no oil came out on the rinse/flashlight inspection. This was a real pain in the ***. But seriously necessary. The lines were pretty straight forward but still wanted to be sure they were clean and clear as well. Also did the Thermostat block thoroughly too. Anyways, stay tuned for this turbo manifold build and the buttoning up of the car before I get her started! Thanks guys! more soon!
was good to get all that crap out of the cabin anyhow. Crap clankin around and looking like crap........End product. Not much better because factory colors look like doo haha
And sprayed self etching primer on the cage, then the silver flake base. Pink and clear to come.
god I hate painting
Also, I had to completely flush my oil system. I didn't want to take any chances given that the ceramic seals could have left ceramic dust particles in the oil. This stuff could really mess things up. I spent almost 2 days and 9 cans of Brake cleaner between mostly the two giant oil coolers, cycling brake cleaner then water and sitting and again and again...I don't even know how many times till the coolers were completely clean inside and no oil came out on the rinse/flashlight inspection. This was a real pain in the ***. But seriously necessary. The lines were pretty straight forward but still wanted to be sure they were clean and clear as well. Also did the Thermostat block thoroughly too. Anyways, stay tuned for this turbo manifold build and the buttoning up of the car before I get her started! Thanks guys! more soon!

Man... I keep checking out this thread. You must have over a thousand hours in your FD. Beautiful work though. Looks awesome.
Your battery +/- signs are backwards. lol, had to point it out
Your battery +/- signs are backwards. lol, had to point it out

Joined: Aug 2004
Posts: 4,785
Likes: 145
From: Colorado Springs, CO
So wait a minute, I got the TC-4 but you're going to use the SSI-4? Maybe that's why my setup isn't working lol.
I'm also really digging those FFE engine mounts. I need something that sits lower, and those are probably much better than my delrin hockey pucks lol.
I'm also really digging those FFE engine mounts. I need something that sits lower, and those are probably much better than my delrin hockey pucks lol.
Man I almost wanted to return the 8374 just so I could have more room and get the turbo to sit in a more ideal location.

I haven't looked to see how much the FFE mounts are, but Xcessive makes shorter mounts for people who have oil pan braces.
Hey john do you have any spare aero laying around?
Small update:
I spent most of yesterday feeling pretty crappy. Felt like I had some type of crazy hangover.....except I don't drink. Pretty sure it was being in the garage at night and spraying the paint in closed quarters like I did. The door was open but there was literally zero wind. The paint shop called to tell me that they couldn't get this specific paint in CA now so i'm assuming that might have had something to do with it? Maybe not? who knows...either way I won't be spraying without a respirator again. Just not worth it. I was also able to lay down the first 2 coats of my hot pink magenta as well, but I didn't want to post pictures till I was finished. Well disaster struck and my last 2 cans both malfunctioned and the cans were compromised haha. It's actually not very funny at all because each can is 25 bucks. And lets hope to god they have enough to replace the two cans that were ruined so I can finish the cage and make sure the paint is nice and even. Right now it's kinda Blotchy. But heres a couple pics.
messed up can

I was also able to start working on turbo placement. Once again...sticking with the long runner design. But the Manifold needed to have/and be the following:
Nice and smooth Bends for better flow
be as close to 20-22" of runner length as possible
fully divided
be as far away from the LIM as possible
allow top mount wastegate placement
have excellent priority wastegate placement (tear-dropped)
dual egt bungs easily accessible
Easily accessible turbo mount hardware
Be able to install the manifold while the motor is in the car
be braced easily
After 3-4 hours of messing with placement ideas I finally realized that there were a few things I would need to sacrifice in order to retain my existing Intercooler position. I was going to move the Ic....but that would require re-doing my ducting...which I really don't want to do.
So I came up with this position..

More updates to come but i'm going tobe busy here for a few days so I may not get to posting. Stay tuned!!
I spent most of yesterday feeling pretty crappy. Felt like I had some type of crazy hangover.....except I don't drink. Pretty sure it was being in the garage at night and spraying the paint in closed quarters like I did. The door was open but there was literally zero wind. The paint shop called to tell me that they couldn't get this specific paint in CA now so i'm assuming that might have had something to do with it? Maybe not? who knows...either way I won't be spraying without a respirator again. Just not worth it. I was also able to lay down the first 2 coats of my hot pink magenta as well, but I didn't want to post pictures till I was finished. Well disaster struck and my last 2 cans both malfunctioned and the cans were compromised haha. It's actually not very funny at all because each can is 25 bucks. And lets hope to god they have enough to replace the two cans that were ruined so I can finish the cage and make sure the paint is nice and even. Right now it's kinda Blotchy. But heres a couple pics.
messed up can
I was also able to start working on turbo placement. Once again...sticking with the long runner design. But the Manifold needed to have/and be the following:
Nice and smooth Bends for better flow
be as close to 20-22" of runner length as possible
fully divided
be as far away from the LIM as possible
allow top mount wastegate placement
have excellent priority wastegate placement (tear-dropped)
dual egt bungs easily accessible
Easily accessible turbo mount hardware
Be able to install the manifold while the motor is in the car
be braced easily
After 3-4 hours of messing with placement ideas I finally realized that there were a few things I would need to sacrifice in order to retain my existing Intercooler position. I was going to move the Ic....but that would require re-doing my ducting...which I really don't want to do.
So I came up with this position..
More updates to come but i'm going tobe busy here for a few days so I may not get to posting. Stay tuned!!
manny, while i appreciate your ambition and dedication, do you not get the feeling you're over-working yourself to implement this long runner manifold concept?
i saw your last two pictures and was just reminded how easy it was to paypal Elliot for the EFR turbo and manifold, then just bolt the damn thing on 3 days later and move on to the other fish i had to fry. the cost can't be too far off, judging by how much material you are using to make that long manifold (and possibly labor? or maybe you're doing a lot / all of this on your own?)
no offense intended, of course. it just seems like you have such a large project, and you're spending valuable TIME and resources making a long runner manifold.


LOL Jacob. I already told him that, I've got manifolds sitting on the shelf FINISHED, ready to ship!

Jacob, his name is Aaron not Manny.
Aaron, as he has said before and a few years ago when me and him butted heads he is doing this not because it is easy but because it is hard .
.
He thinks a long runner manifold is going to miraculously raise mid range torque. Obviously we dont agree with that but he is going to do it anyway.
Aaron, as he has said before and a few years ago when me and him butted heads he is doing this not because it is easy but because it is hard
. He thinks a long runner manifold is going to miraculously raise mid range torque. Obviously we dont agree with that but he is going to do it anyway.
Jacob, his name is Aaron not Manny.
Aaron, as he has said before and a few years ago when me and him butted heads he is doing this not because it is easy but because it is hard.
He thinks a long runner manifold is going to miraculously raise mid range torque. Obviously we dont agree with that but he is going to do it anyway.
Aaron, as he has said before and a few years ago when me and him butted heads he is doing this not because it is easy but because it is hard
. He thinks a long runner manifold is going to miraculously raise mid range torque. Obviously we dont agree with that but he is going to do it anyway.
manny, while i appreciate your ambition and dedication, do you not get the feeling you're over-working yourself to implement this long runner manifold concept?
i saw your last two pictures and was just reminded how easy it was to paypal Elliot for the EFR turbo and manifold, then just bolt the damn thing on 3 days later and move on to the other fish i had to fry. the cost can't be too far off, judging by how much material you are using to make that long manifold (and possibly labor? or maybe you're doing a lot / all of this on your own?)
no offense intended, of course. it just seems like you have such a large project, and you're spending valuable TIME and resources making a long runner manifold.
i saw your last two pictures and was just reminded how easy it was to paypal Elliot for the EFR turbo and manifold, then just bolt the damn thing on 3 days later and move on to the other fish i had to fry. the cost can't be too far off, judging by how much material you are using to make that long manifold (and possibly labor? or maybe you're doing a lot / all of this on your own?)
no offense intended, of course. it just seems like you have such a large project, and you're spending valuable TIME and resources making a long runner manifold.
Well your right I a sense. And truthfully I am almost out of patience when it comes to building the car. I mean dumb things like the paint spray can messing up....just make you want to give up. But if it were easy..everyone would do it right? Believe me when I say sometimes I get so frustrated I just want to smash something. ...like the paint can. I wanted to chuck it as hard as I could after it crapped out on me. But it would leave me in the same situation....prob worse. I'm in a predicament slightly because I don't want to throw anymore cash at it. I want to utilize the long runner manifold because I know its going yo give me the power delivery I'm looking for. I have all the material for a manifold and down pipe...to complete the entire set up. I just someone willing to not cut corners to weld it out. My one buddy has been working crazy hours and hardly has time to breathe key alone help me out. So i have a couple options. Take my car to a shop where it'll prob sit, get charged up the *** for a half *** job, and have it turn out the way the fabricator wanted it, ...or just slowly keep plugging away at my place and hopefully I can get someone ti come tack it up for me. And eventually have someone back purge the thing.
After a loooong day of thinking and working on the car. I've realized that although I have in fact talked to Elliot about using his manifold...I would be selling myself short if I abandoned my project. Not in terms of quality...because His products are very nice, but in terms of exactly what I want. Even If I were to use the same manifold the R-magic Pink #6 car were using...it still wouldn't be mine. I'm going to stick with my design and I know it'll turn out good.
Small Update:
The defected spray cans were replaced for free (Thank god) and I was able to finish off spraying the pink. ...and clearing it. Let's hope it holds up just as well as my Engine bay paint. Also, I hate painting and I won't be painting again. I despise it. But a lucky tip off from a buddy of mine had me throwing on my clothes and speeding down to Los Angeles last night to go pick up a very rare piece.
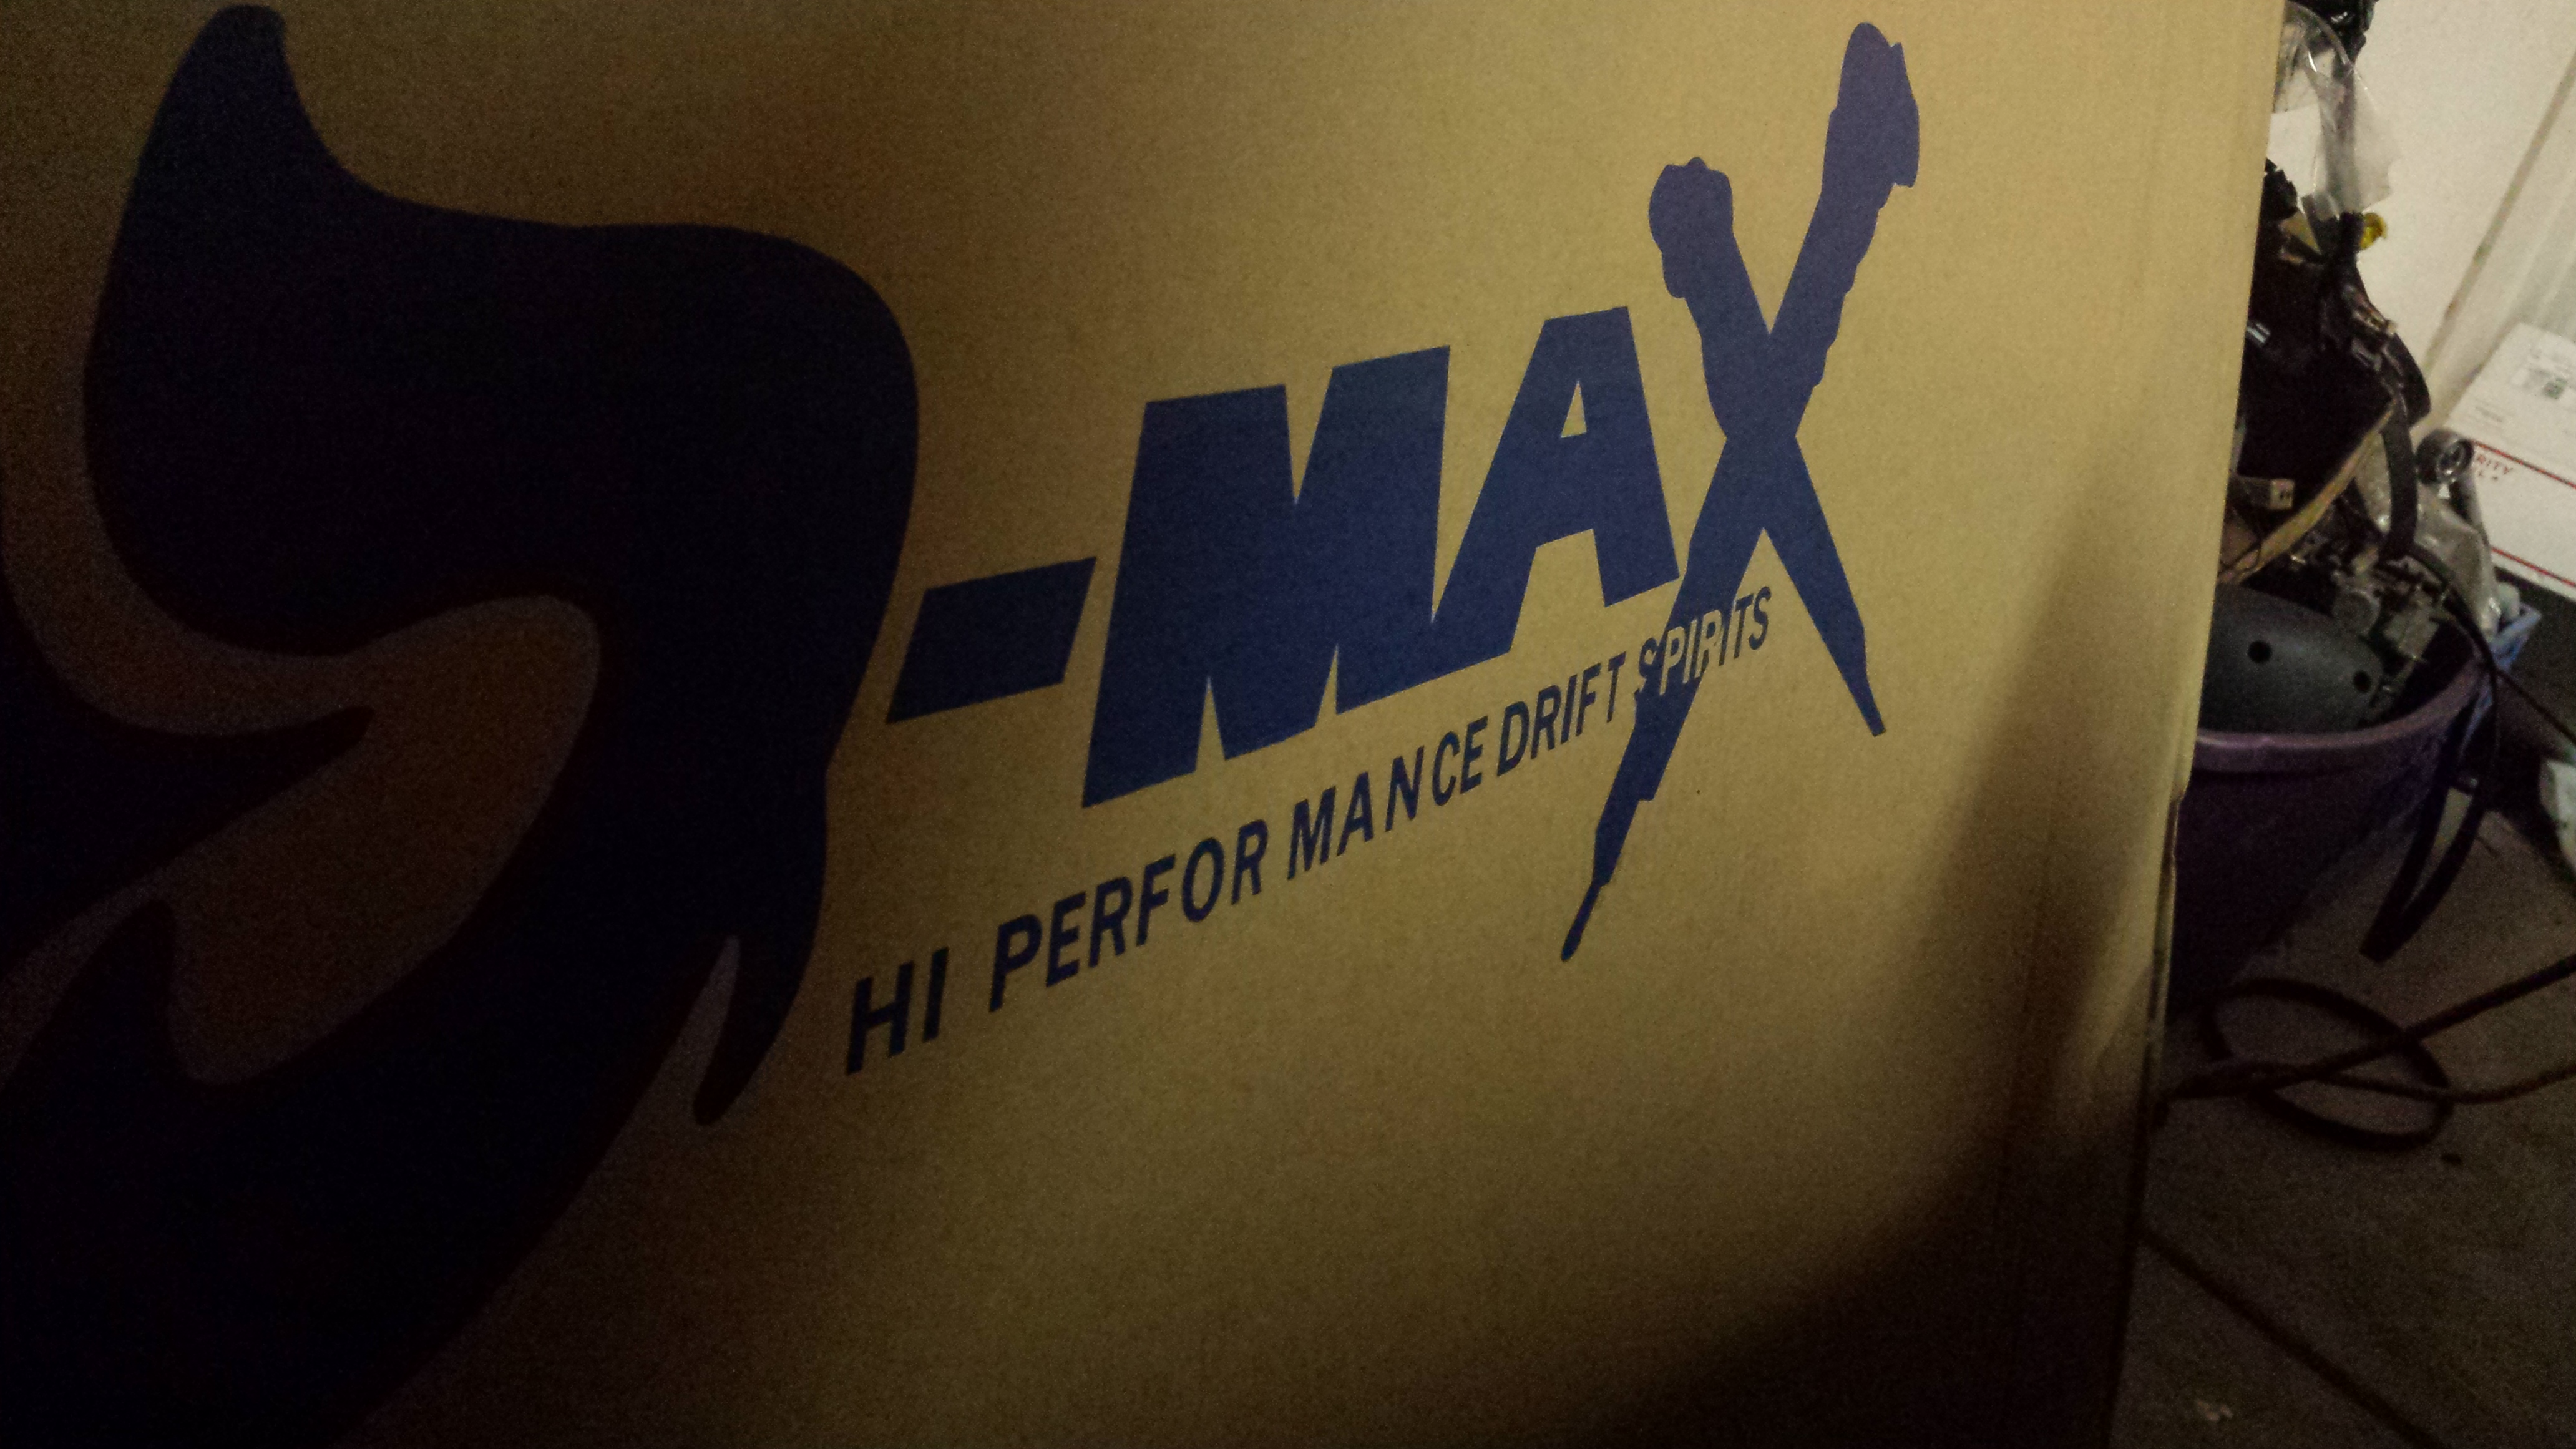
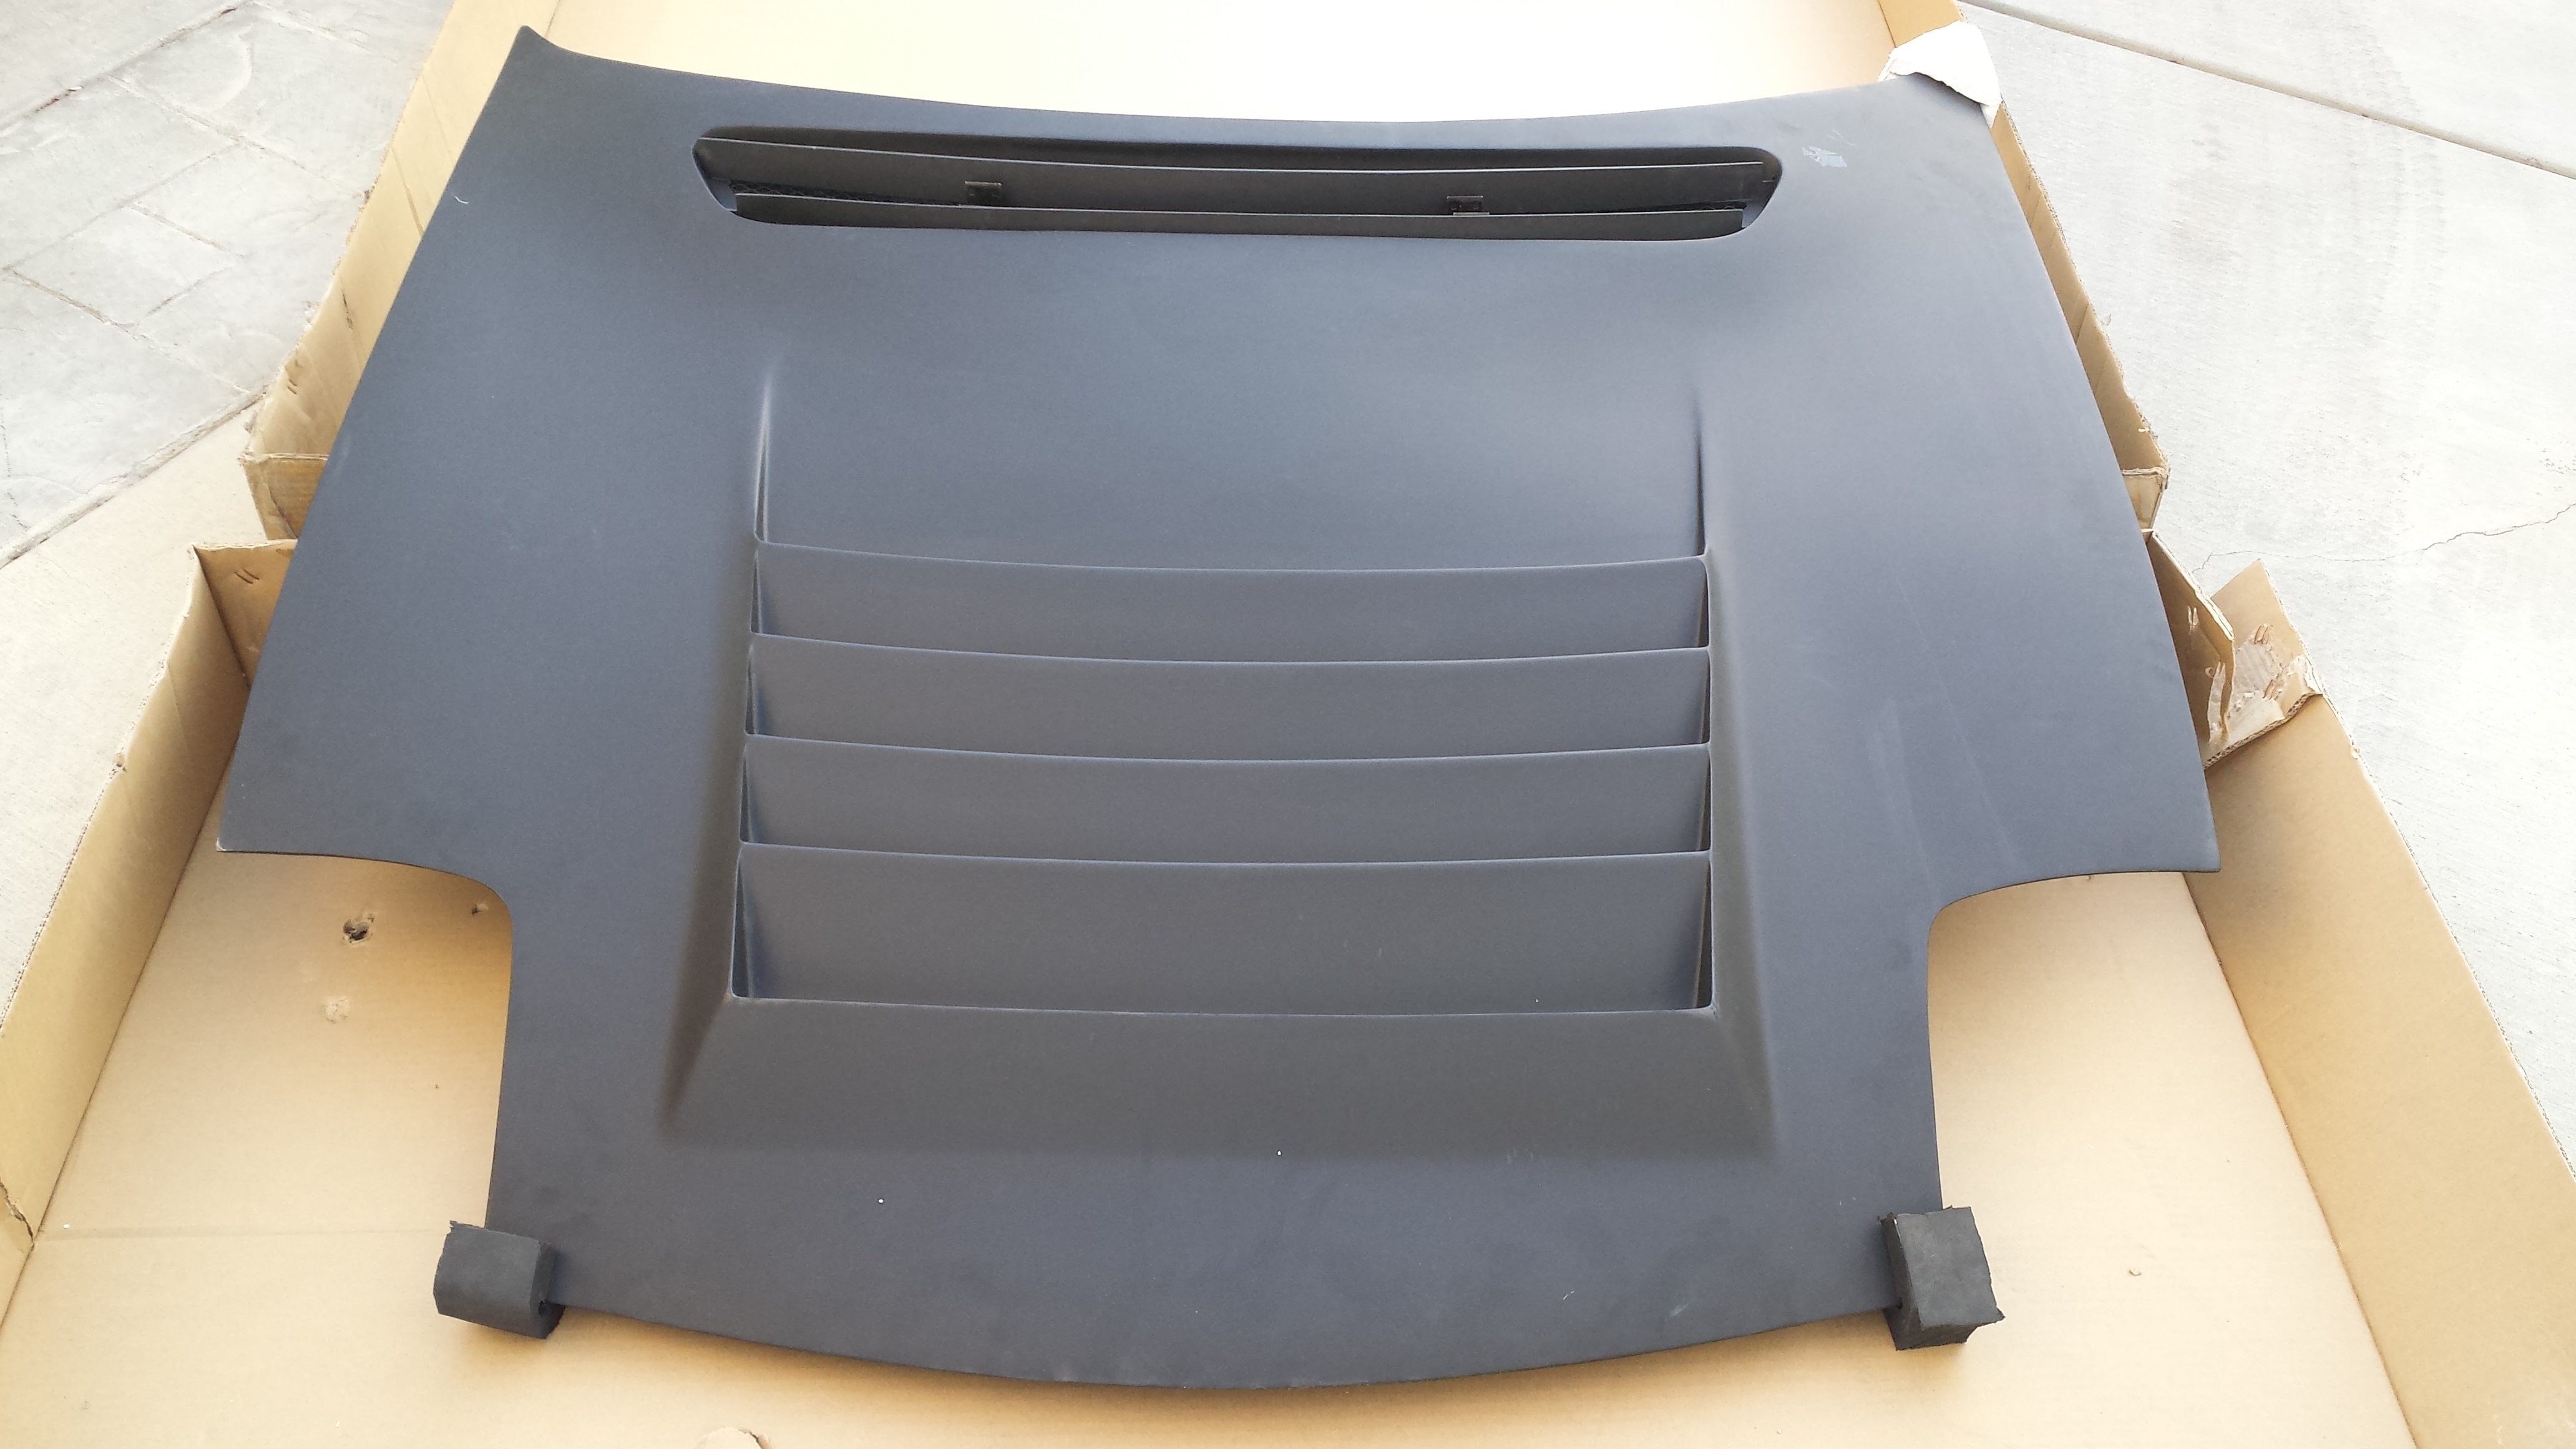
Thanks Bruce Kress for the tip off on the rad hood. This may very well be one of 3..and the only BNIB Authentic D-max hood in the States.
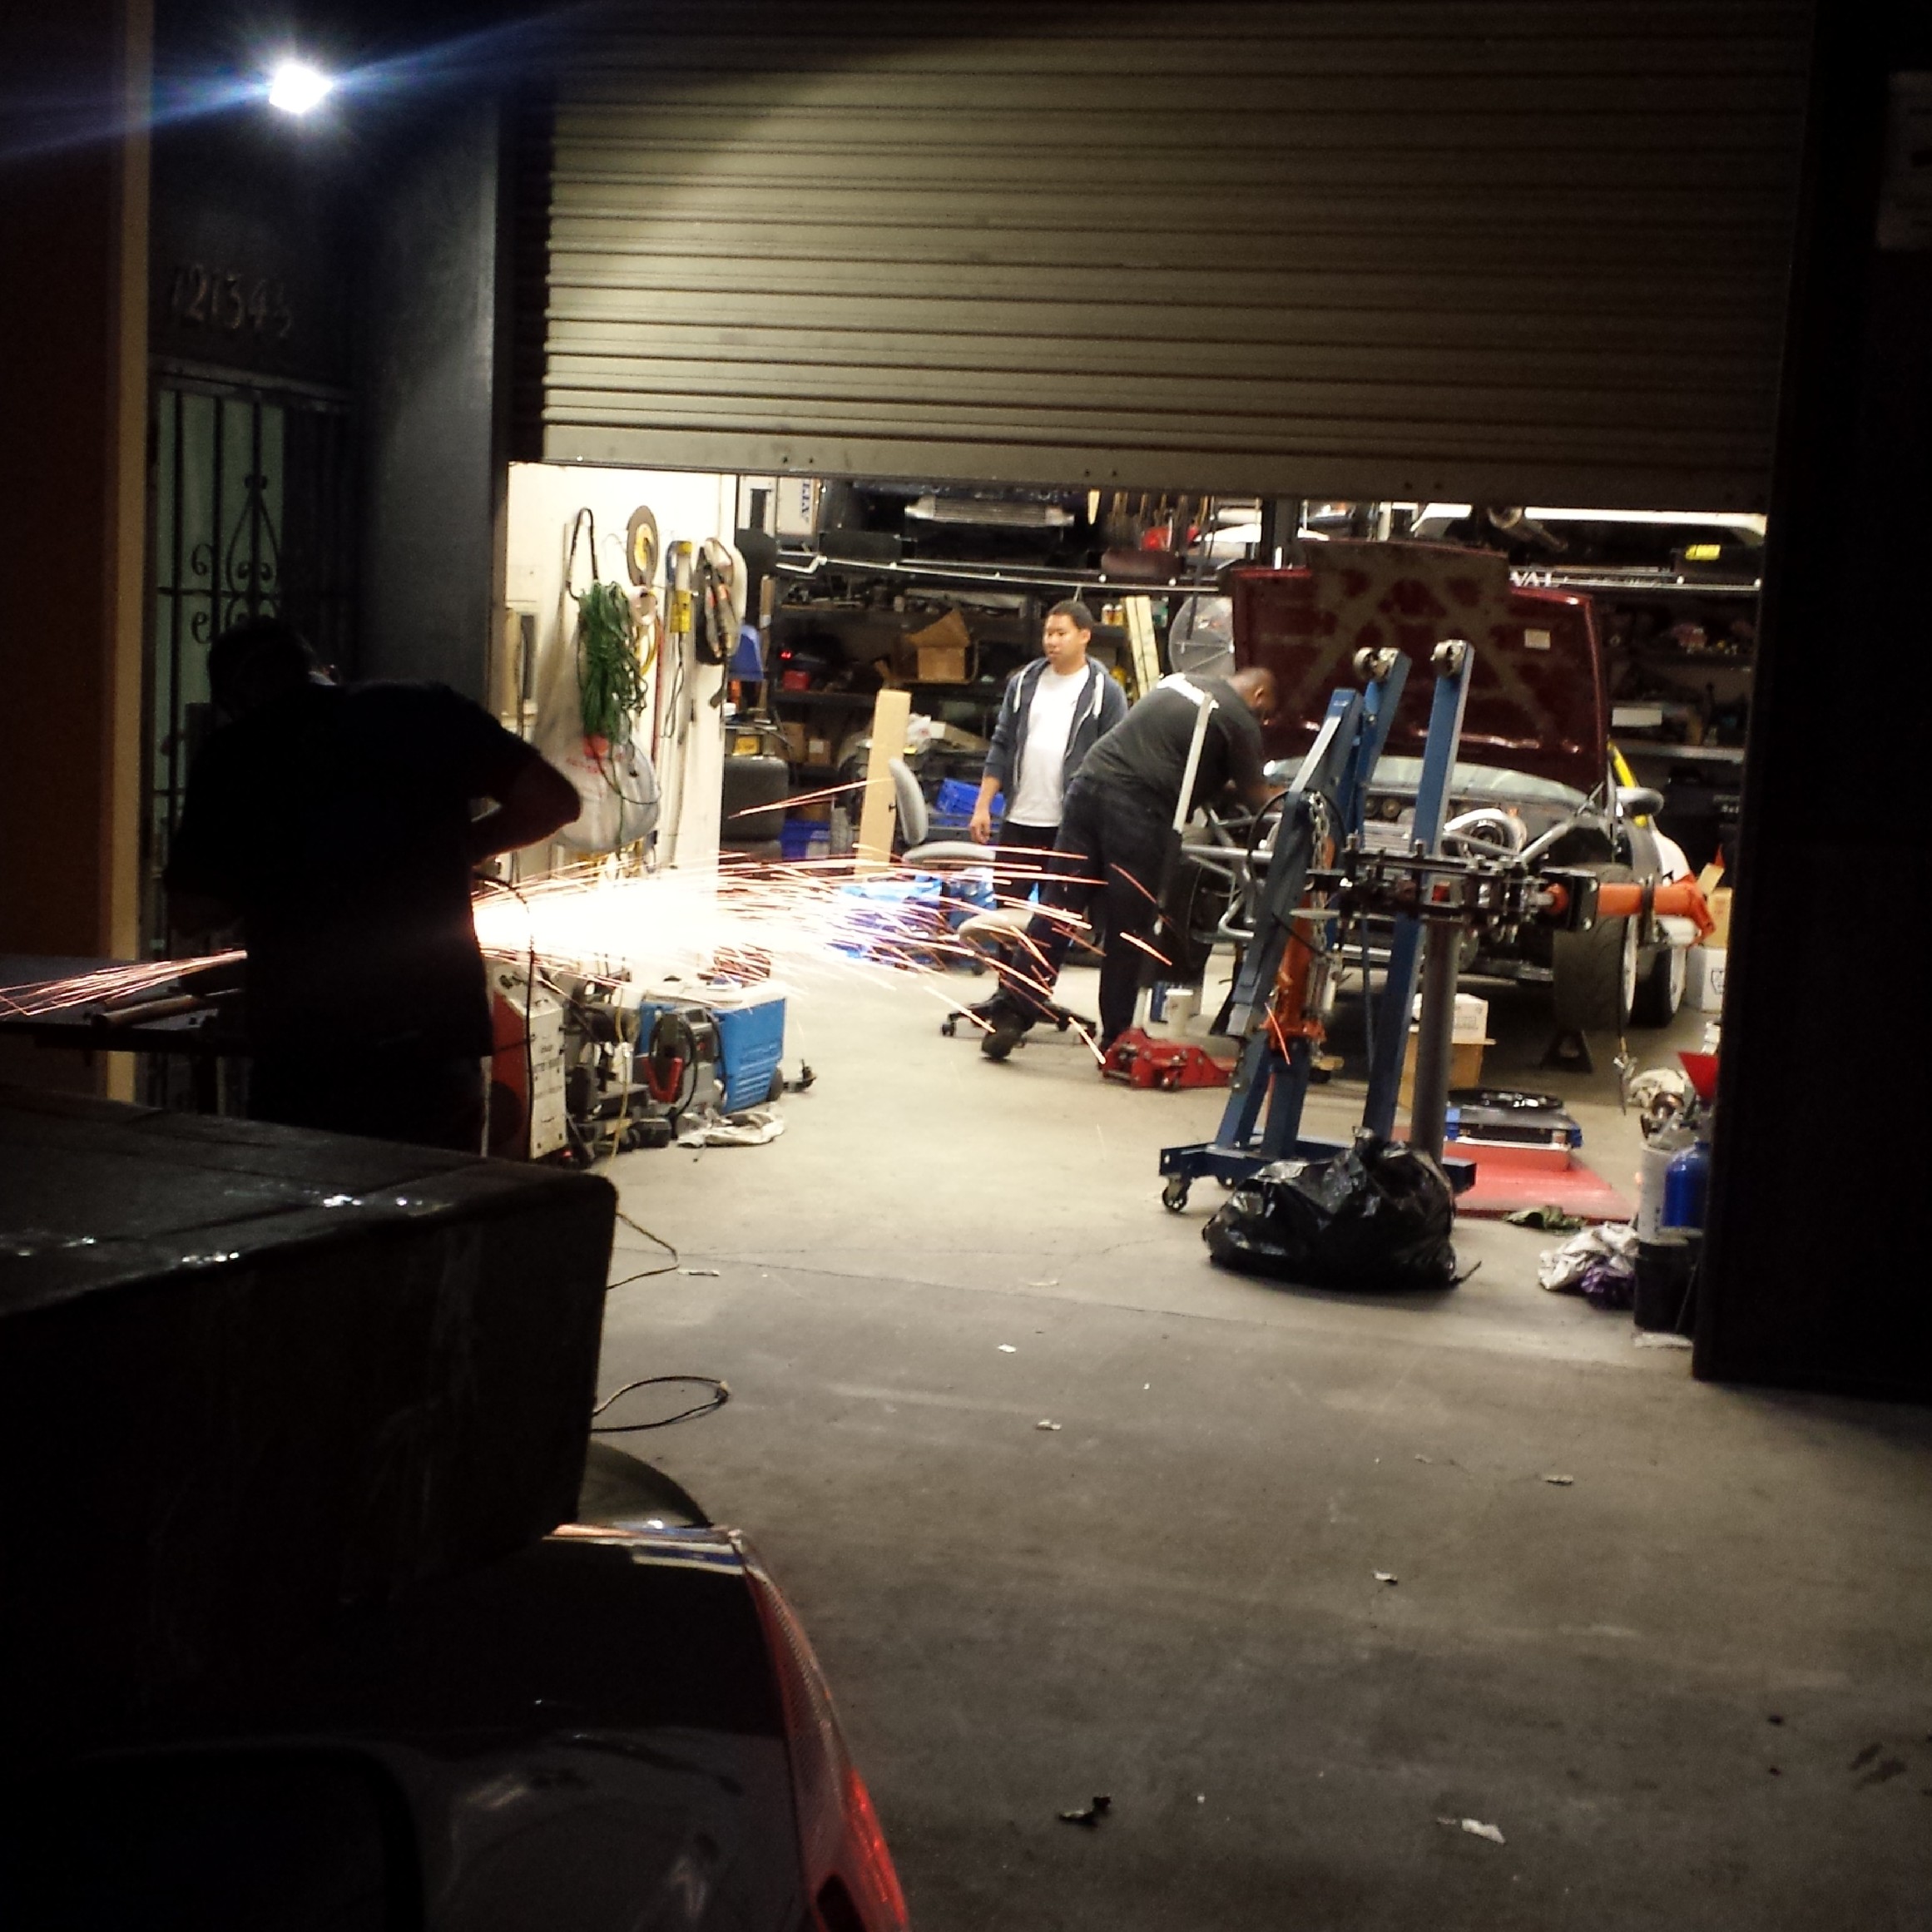
gotta love showing up to an actual shop, strapping it to the top of my Prius for the long haul home on the freeway was sketch for sure. I drove 55-60mph all the way home haha. Was afraid my prius would catch air...or worse..my hood fly off and ruined lol
Drove home and admired it some more.
Small Update:
The defected spray cans were replaced for free (Thank god) and I was able to finish off spraying the pink. ...and clearing it. Let's hope it holds up just as well as my Engine bay paint. Also, I hate painting and I won't be painting again. I despise it. But a lucky tip off from a buddy of mine had me throwing on my clothes and speeding down to Los Angeles last night to go pick up a very rare piece.
Thanks Bruce Kress for the tip off on the rad hood. This may very well be one of 3..and the only BNIB Authentic D-max hood in the States.
gotta love showing up to an actual shop, strapping it to the top of my Prius for the long haul home on the freeway was sketch for sure. I drove 55-60mph all the way home haha. Was afraid my prius would catch air...or worse..my hood fly off and ruined lol
Drove home and admired it some more.