College kid build
 01-28-15, 09:33 AM
#51
What do you mean stock proportioning valve?
The kit comes with one and a T
This is how mine looks on my rhd
Attachment 551985
I'm planning to move to Proportioning valve in the cabin tho, and put WI tank there
Marc , maybe you can ask Alex If he didn't ship your order to put you enough line to install it in the cabin
The kit comes with one and a T
This is how mine looks on my rhd
Attachment 551985
I'm planning to move to Proportioning valve in the cabin tho, and put WI tank there
Marc , maybe you can ask Alex If he didn't ship your order to put you enough line to install it in the cabin
 01-28-15, 09:29 PM
#55
Senior Member
Thread Starter
iTrader: (5)

Join Date: Jul 2014
Location: Ontario, Canada
Posts: 273
Likes: 0
Received 0 Likes
on
0 Posts
i don't think he was referring to the ssbc proportioning valve that comes in alexs kit.. ill probably tackle the brakes this weekend and show pics of what I've done
01-29-15, 08:33 AM
#56
That would be great. I am planning on getting the ssbc proportioning valve instead of OEM for my setup now but it is more along the lines of 100.00 not 40.00. Alex's kit is great, I just wanted a cleaner look than a bunch of steel braided lines so I am doing a custom bent hard line setup.
02-24-15, 05:29 AM
#57
Senior Member
Thread Starter
iTrader: (5)
Join Date: Jul 2014
Location: Ontario, Canada
Posts: 273
Likes: 0
Received 0 Likes
on
0 Posts
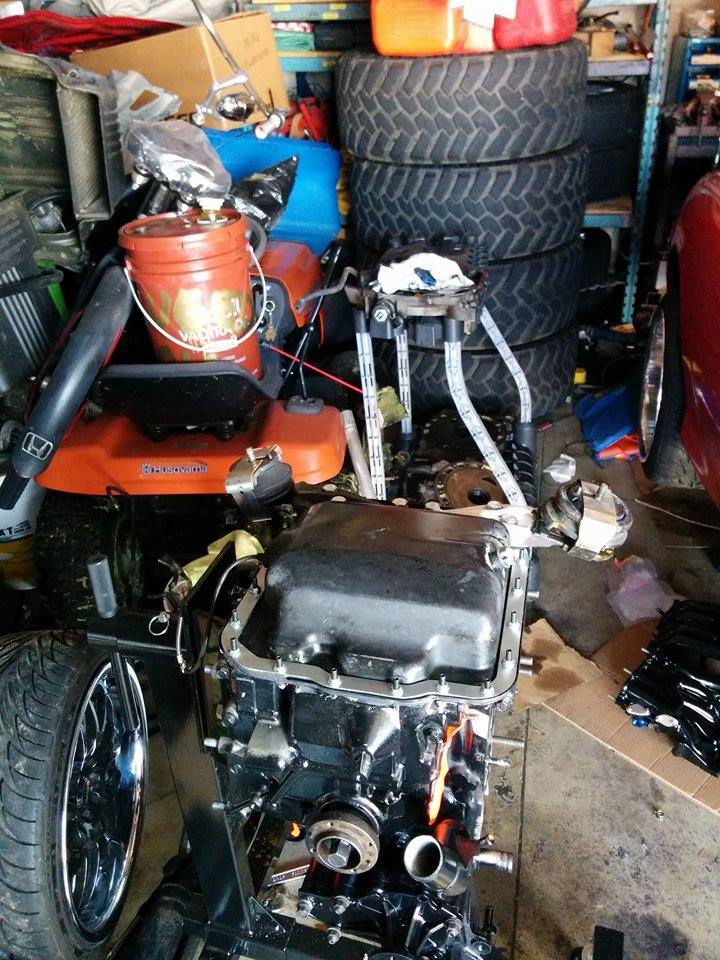
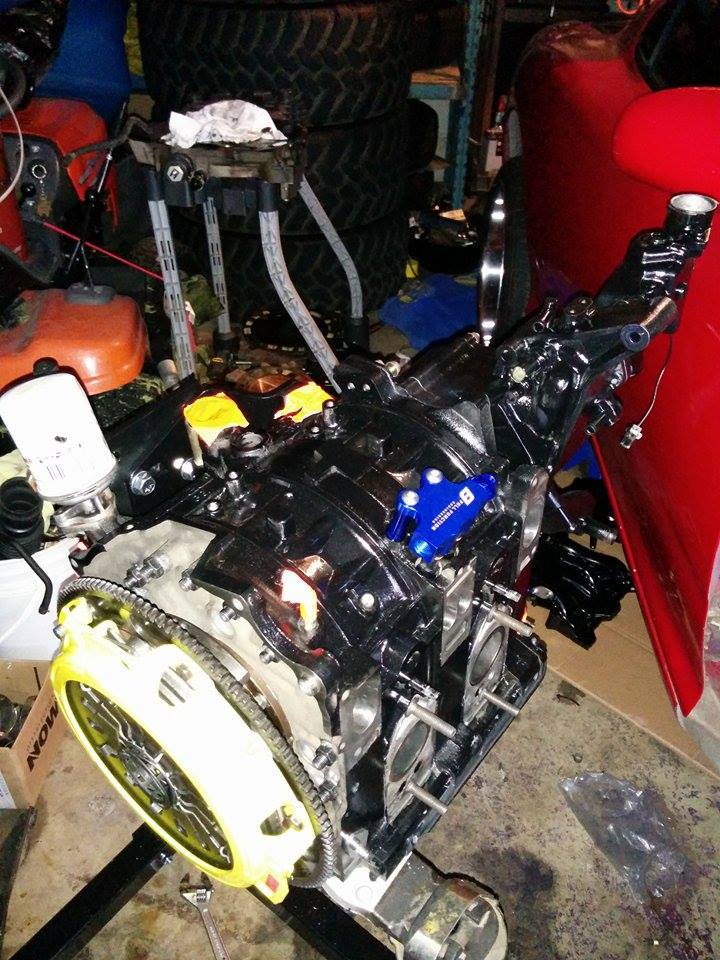
I've been getting lazy with working on the car, I'm almost done with depowering the steering rack, just getting the pinion welded up then i can reassemble everything else. the wiring harness is done and wrapped up.. ill have to take some pictures of that. Addicted performance has started my motor and should be done later today- large street port with goopy seals and all new bearings
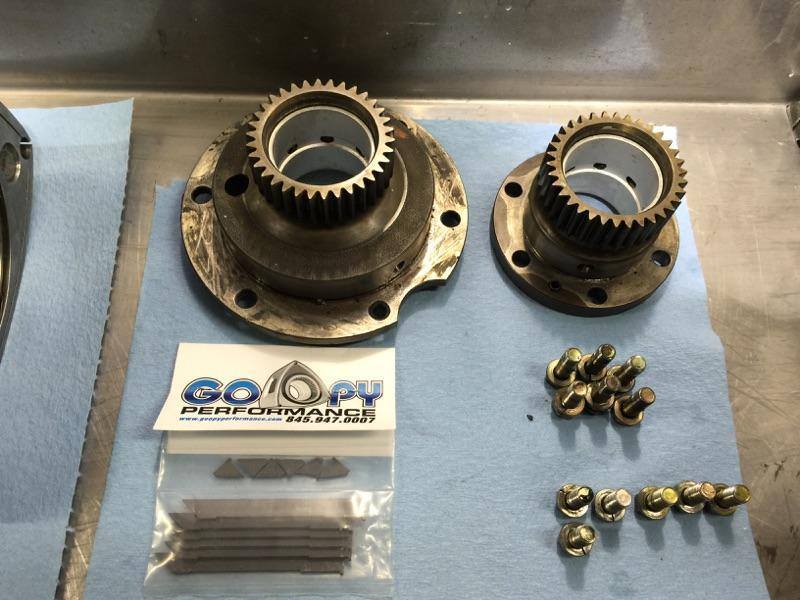
cleaned rotors
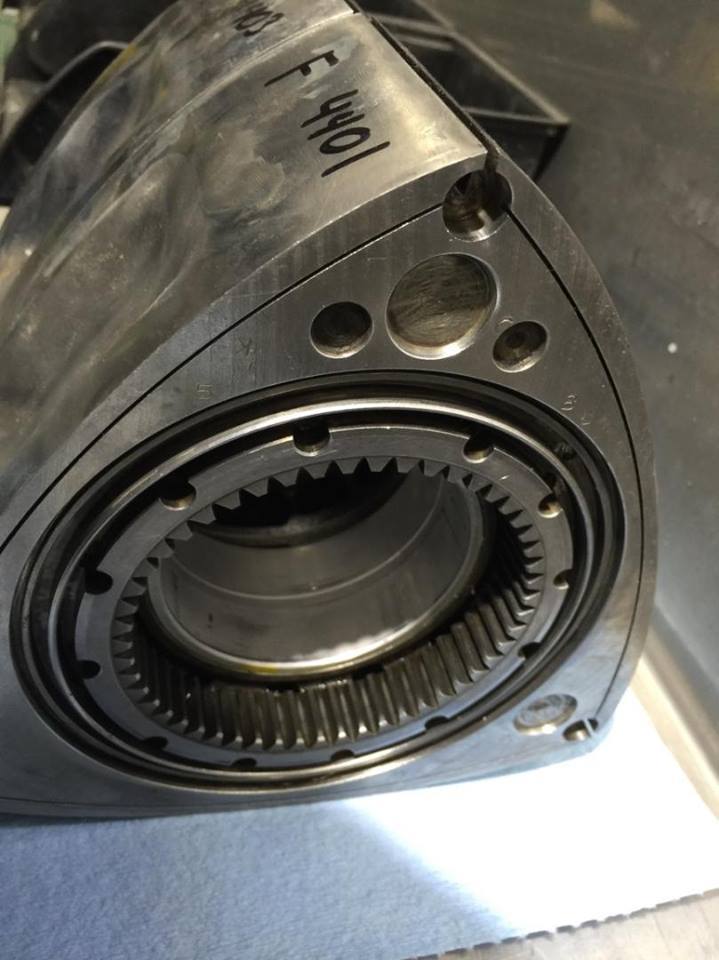
motor

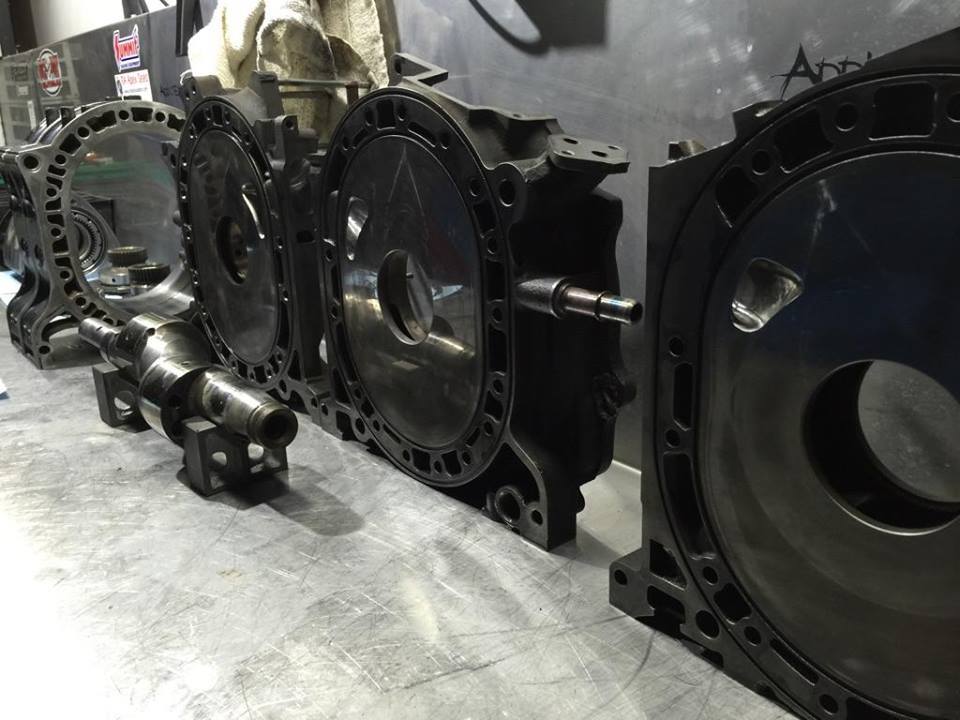
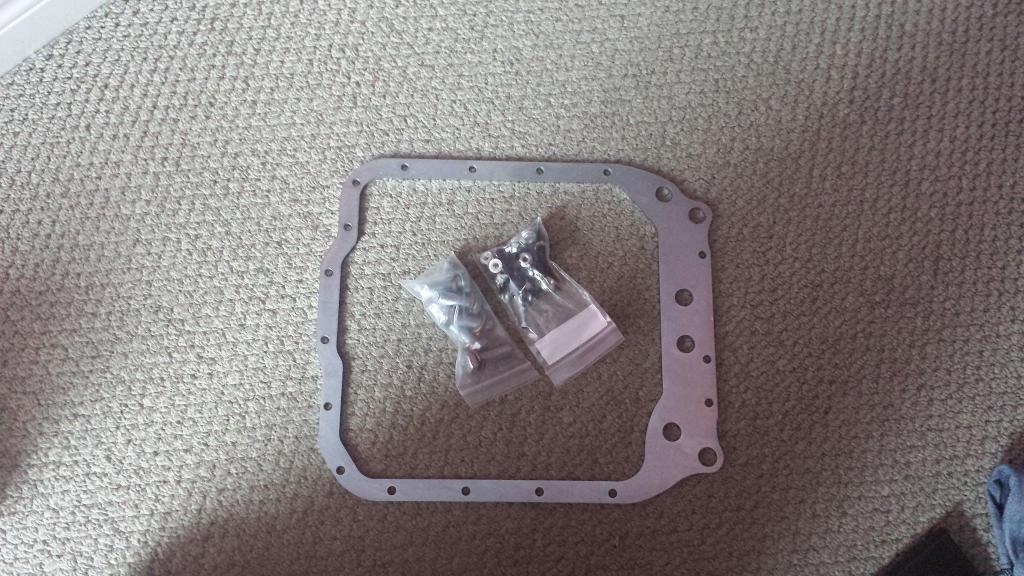
oil pan brace from banzai racing

cleaned rotors

motor


oil pan brace from banzai racing


 03-08-15, 07:17 PM
#60
Senior Member
Thread Starter
iTrader: (5)
Join Date: Jul 2014
Location: Ontario, Canada
Posts: 273
Likes: 0
Received 0 Likes
on
0 Posts
Yea i like to murder everything out, I'm gonna have little chrome accents so it will all pop out more
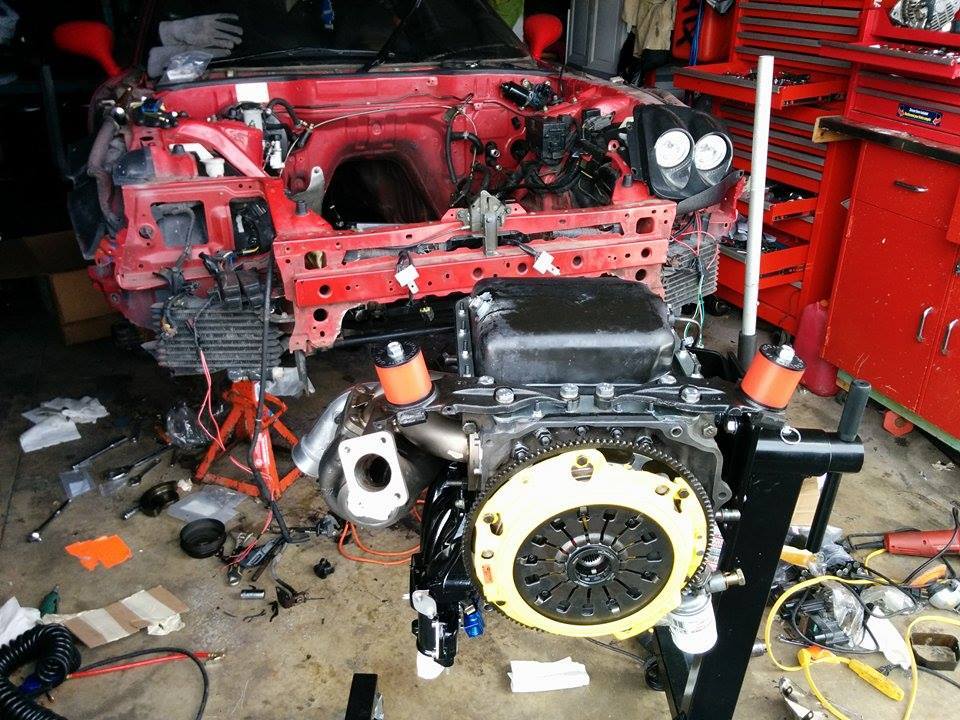
More of an update:
oil pan and brace buttoned up
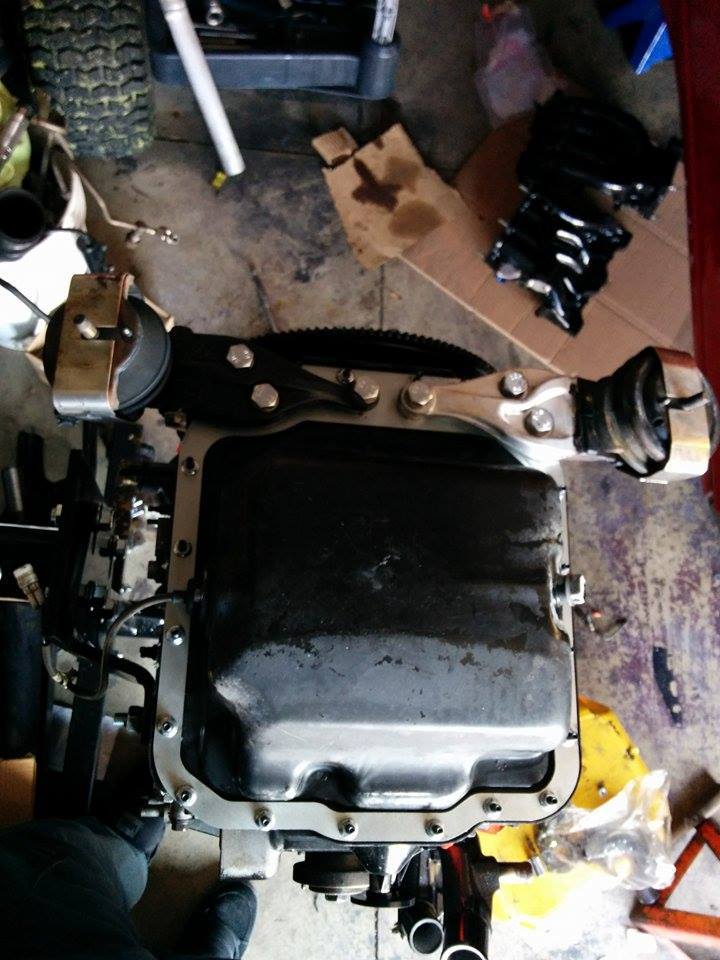
clutch is on and aligned
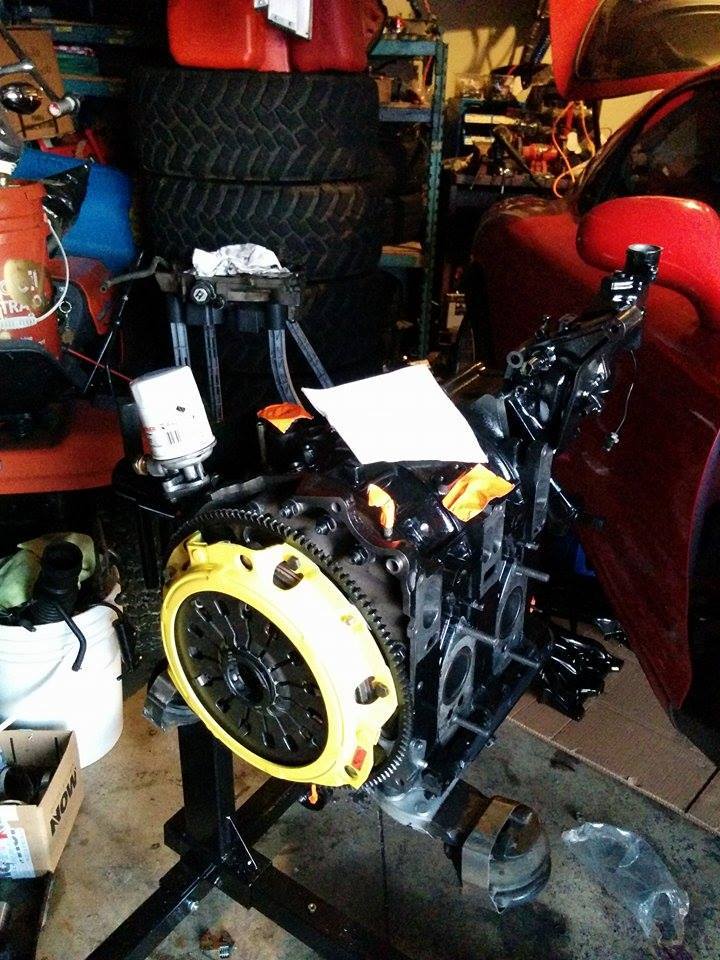
Primary FF fuel rail with EV 14 1000cc injectors
going to be the last couple days on the sled, its been above melting point and it feels like spring!

More of an update:
oil pan and brace buttoned up


clutch is on and aligned

Primary FF fuel rail with EV 14 1000cc injectors

going to be the last couple days on the sled, its been above melting point and it feels like spring!

 )
)
 03-09-15, 08:59 PM
#62
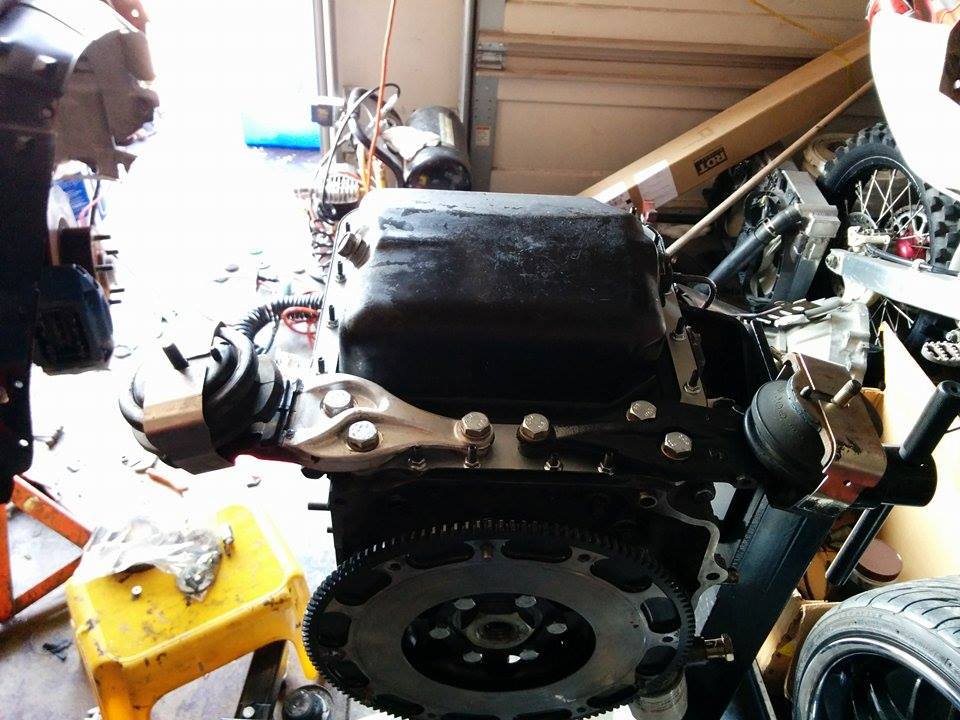
Great build... I always hate to be the one to nit-pick. But why not swap out that aluminum motor mount arm? I can understand (and relate) to keeping the rubber mounts... but the arm is a known weak point and they can be had pretty cheap.
Otherwise - keep up the good work!
Otherwise - keep up the good work!
03-09-15, 09:09 PM
#63
I did notice that too..
Rollcoal the rubber is still good on that ? I remember mine was soooo bad (It does look a little bit too from the picture) You don't necessarily need to get the steel mount Just get the engine mounts, drill a hole and bit of grinding on the aluminium so the mount seat flush. Otherwise , AWSOME !!! Nice and clean !! I'm so jealous you got your engine back already !! keep the good work
Rollcoal the rubber is still good on that ? I remember mine was soooo bad (It does look a little bit too from the picture) You don't necessarily need to get the steel mount Just get the engine mounts, drill a hole and bit of grinding on the aluminium so the mount seat flush. Otherwise , AWSOME !!! Nice and clean !! I'm so jealous you got your engine back already !! keep the good work
03-10-15, 11:11 AM
#65
Senior Member
Thread Starter
iTrader: (5)
Join Date: Jul 2014
Location: Ontario, Canada
Posts: 273
Likes: 0
Received 0 Likes
on
0 Posts
Yea i realized I put them on wrong aha. To be honest I just needed clamping force for the silicone on the oil pan so I didn't want to undo it until it cured. These motor mounts are toast so I will be getting a set of semi hard mounts as well as a new bracket. So they need to come off again .. I'll be making an order once I get paid. Its getting down to the small things that I need to buy which is gonna hold me back from the final stages of running and tuning.. I'm hoping by June it should be tuned with all the kinks worked out
Last edited by rollcoal; 03-10-15 at 11:23 AM.


 03-13-15, 04:17 PM
#70
Senior Member
Thread Starter
iTrader: (5)
Join Date: Jul 2014
Location: Ontario, Canada
Posts: 273
Likes: 0
Received 0 Likes
on
0 Posts
Put the intake manifolds on
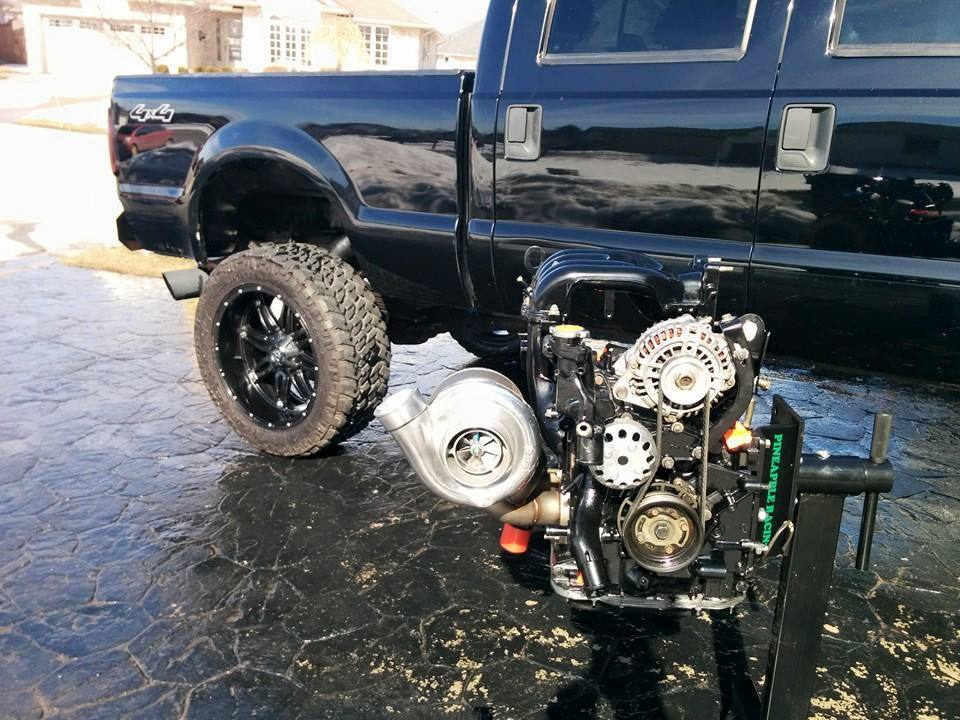
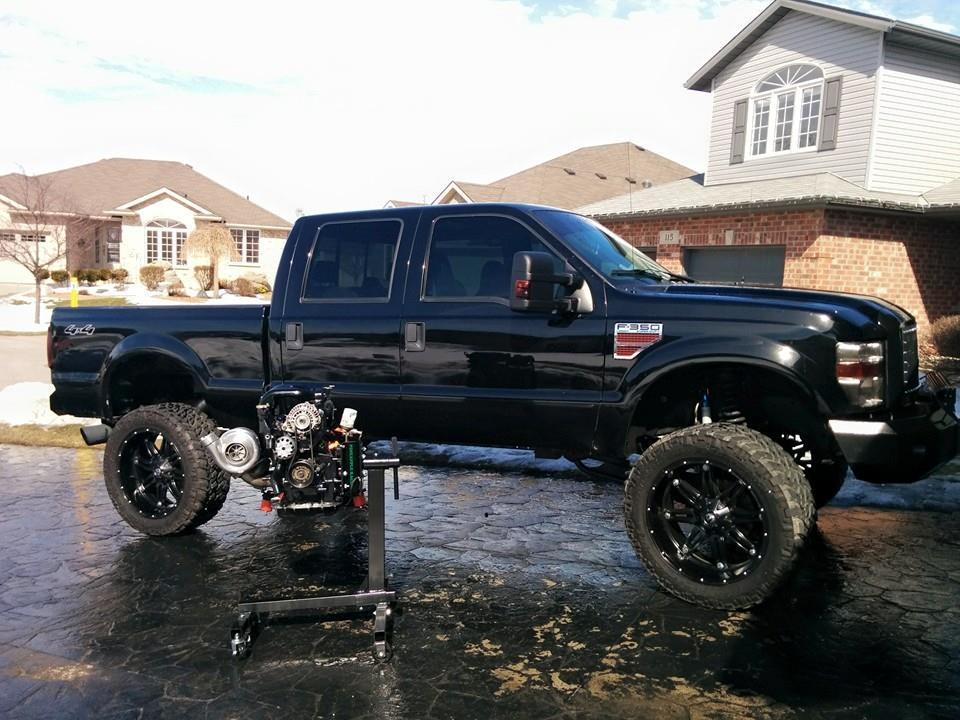
Next to my truck
Steel motor mount bracket with new mounts.. don't mine the mess i was trying to find something and tore everything up aha, its cleaner now :P

Next to my truck

Steel motor mount bracket with new mounts.. don't mine the mess i was trying to find something and tore everything up aha, its cleaner now :P


 03-24-15, 02:57 PM
#75
Senior Member
Thread Starter
iTrader: (5)
Join Date: Jul 2014
Location: Ontario, Canada
Posts: 273
Likes: 0
Received 0 Likes
on
0 Posts
I'm going to be switching up my turbo manifold.. I sandblasted then sanded and then powder coated my long block parts.. You want to sand down all the caating grits off to get that smooth look.. I just got eye surgery done so ivwojt ve working on the car for a bit 