1980 RX7 Restoration
 09-12-08, 05:14 AM
#1
Aaron
Thread Starter
Join Date: Mar 2008
Location: Anchorage
Posts: 33
Likes: 0
Received 0 Likes
on
0 Posts
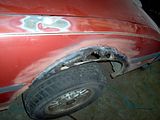
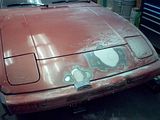
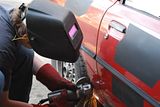
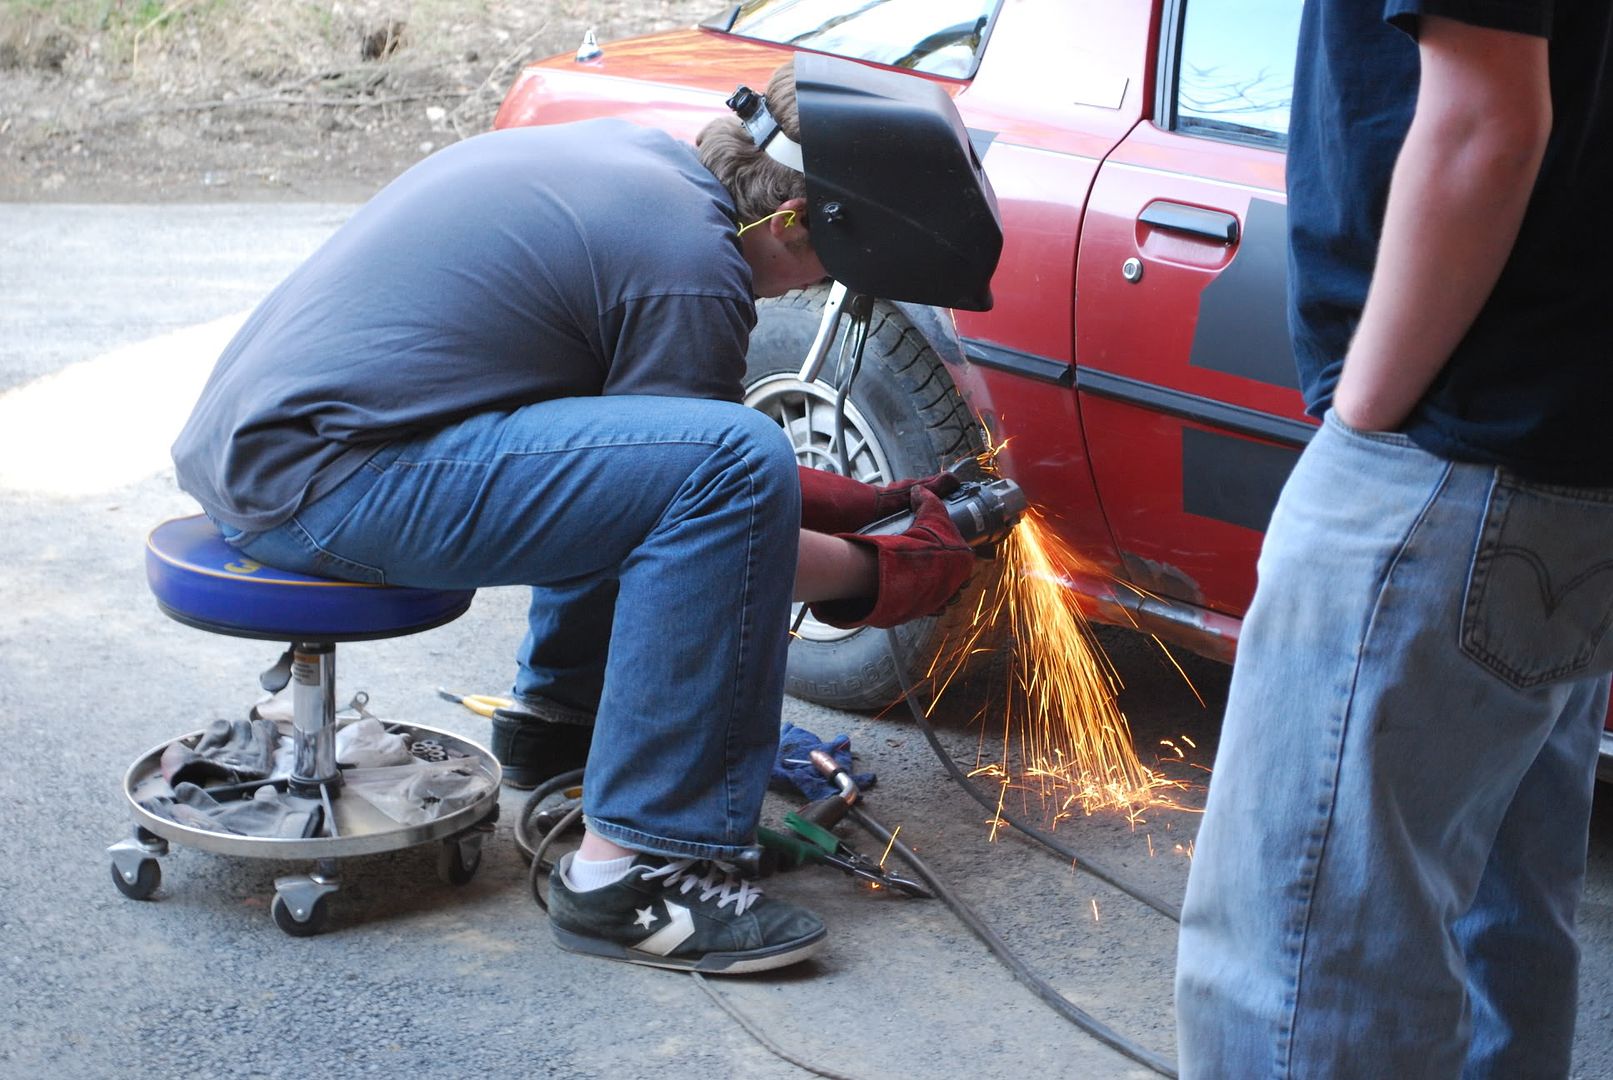
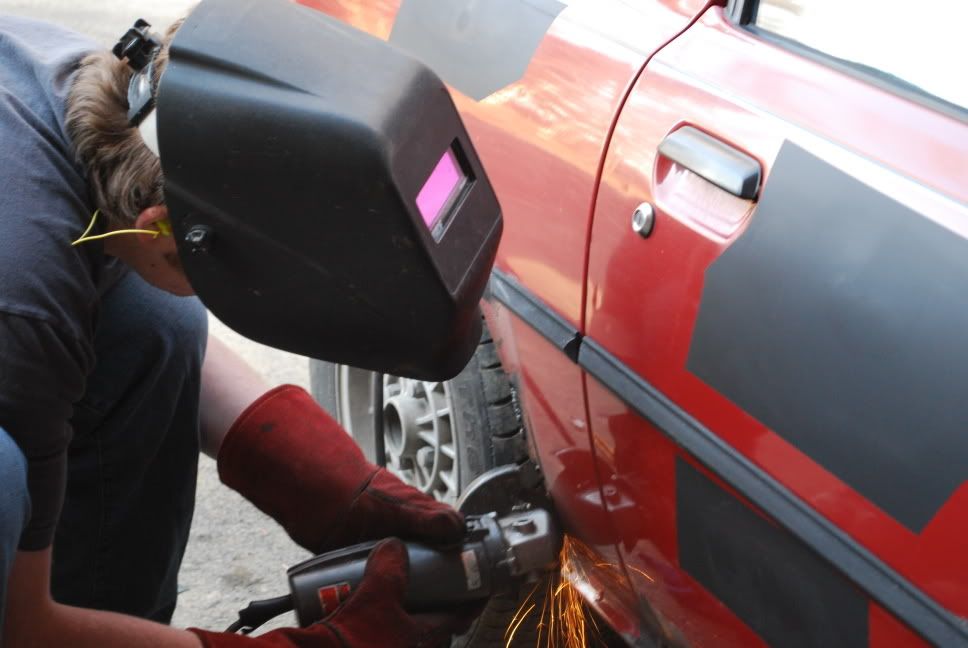
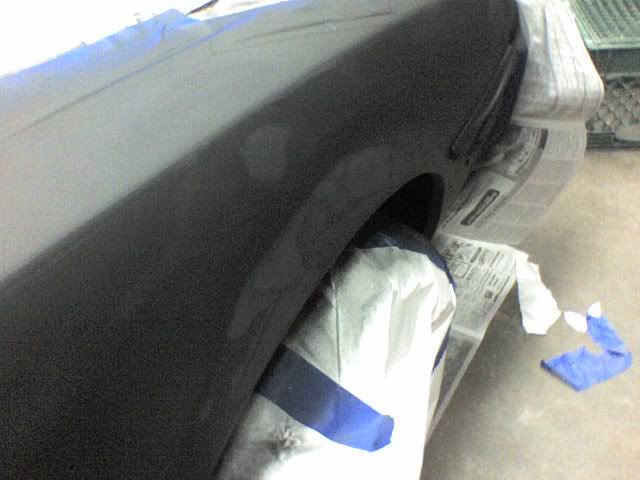
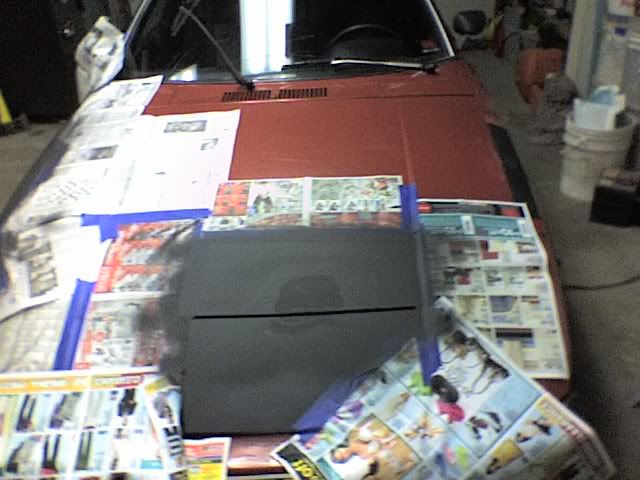
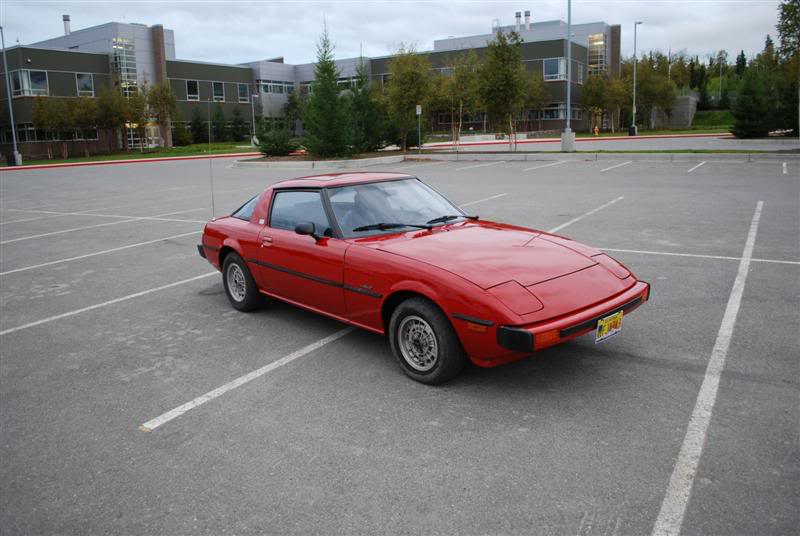
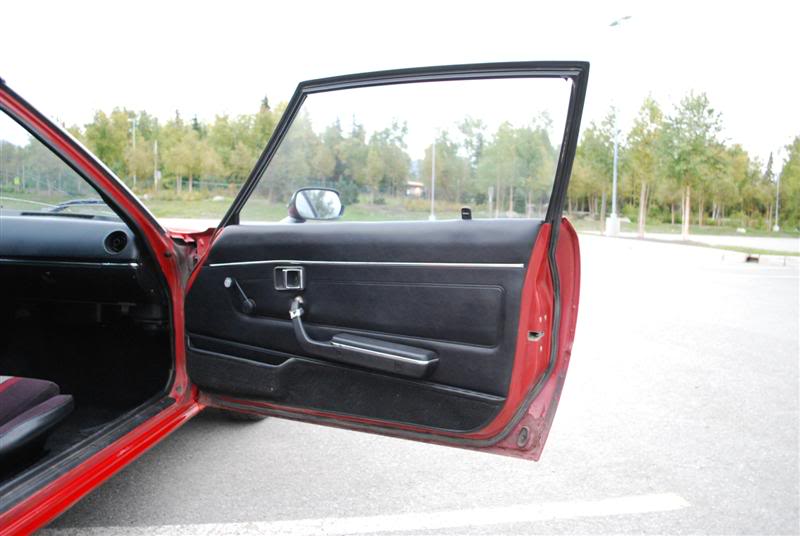
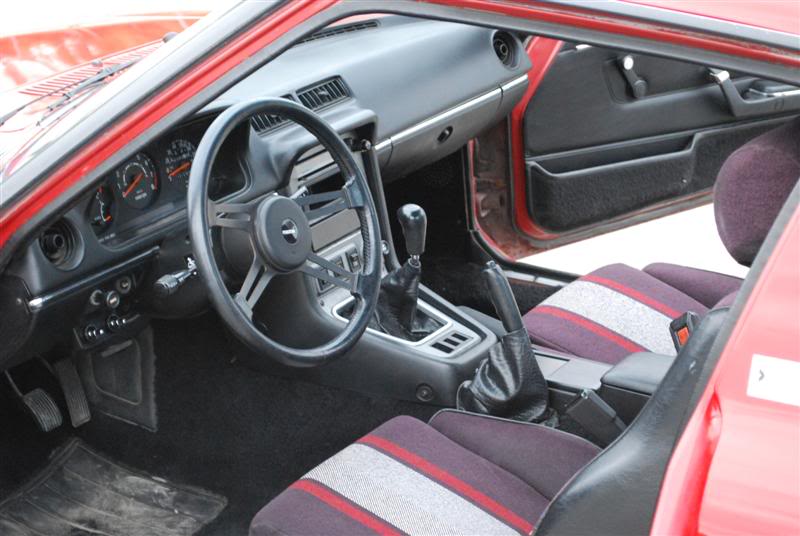
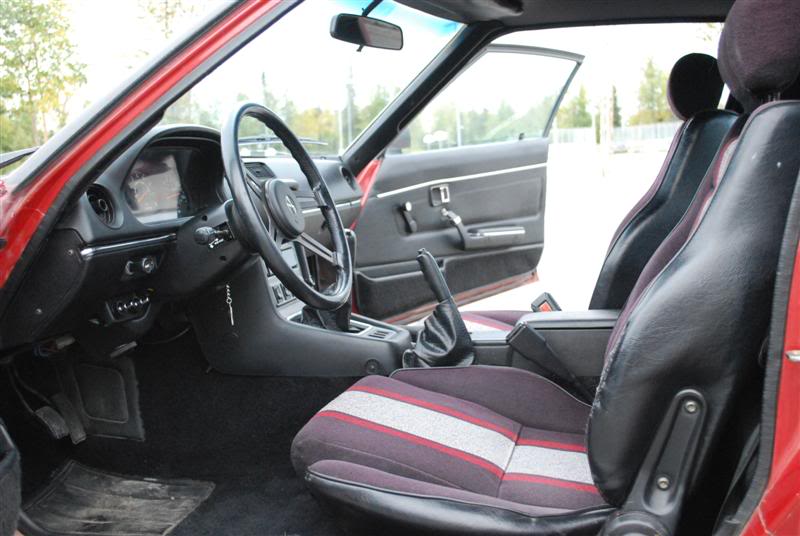
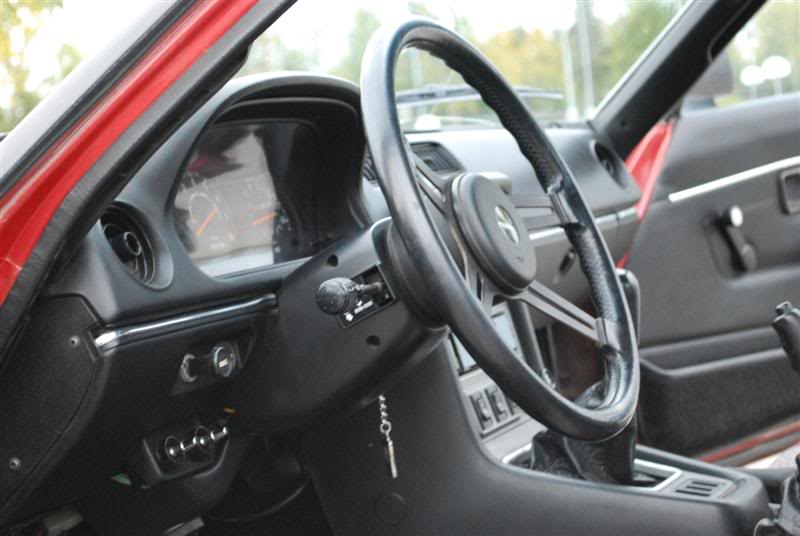
Hey. I finally just finished my RX7 Restoration. I bought the car in late march, knowing that it needed work. Over the last few months, I have taken off too much rust to even think about, and welded in new metal in places that you'd never guess would ever rust out. Unfortunately, in Alaska during the 1980s, they used salt to de-ice the roads during the winter, and since the previous owners drove the car during the winter, the salt on the roads ate away at the paint and started the rust. Anyway, Here are some pictures of my car during the bodywork and primer stages. I will post pictures of the final paint job tomorrow, I just put the last coat on today. The next project is thoroughly cleaning the interior  .
.
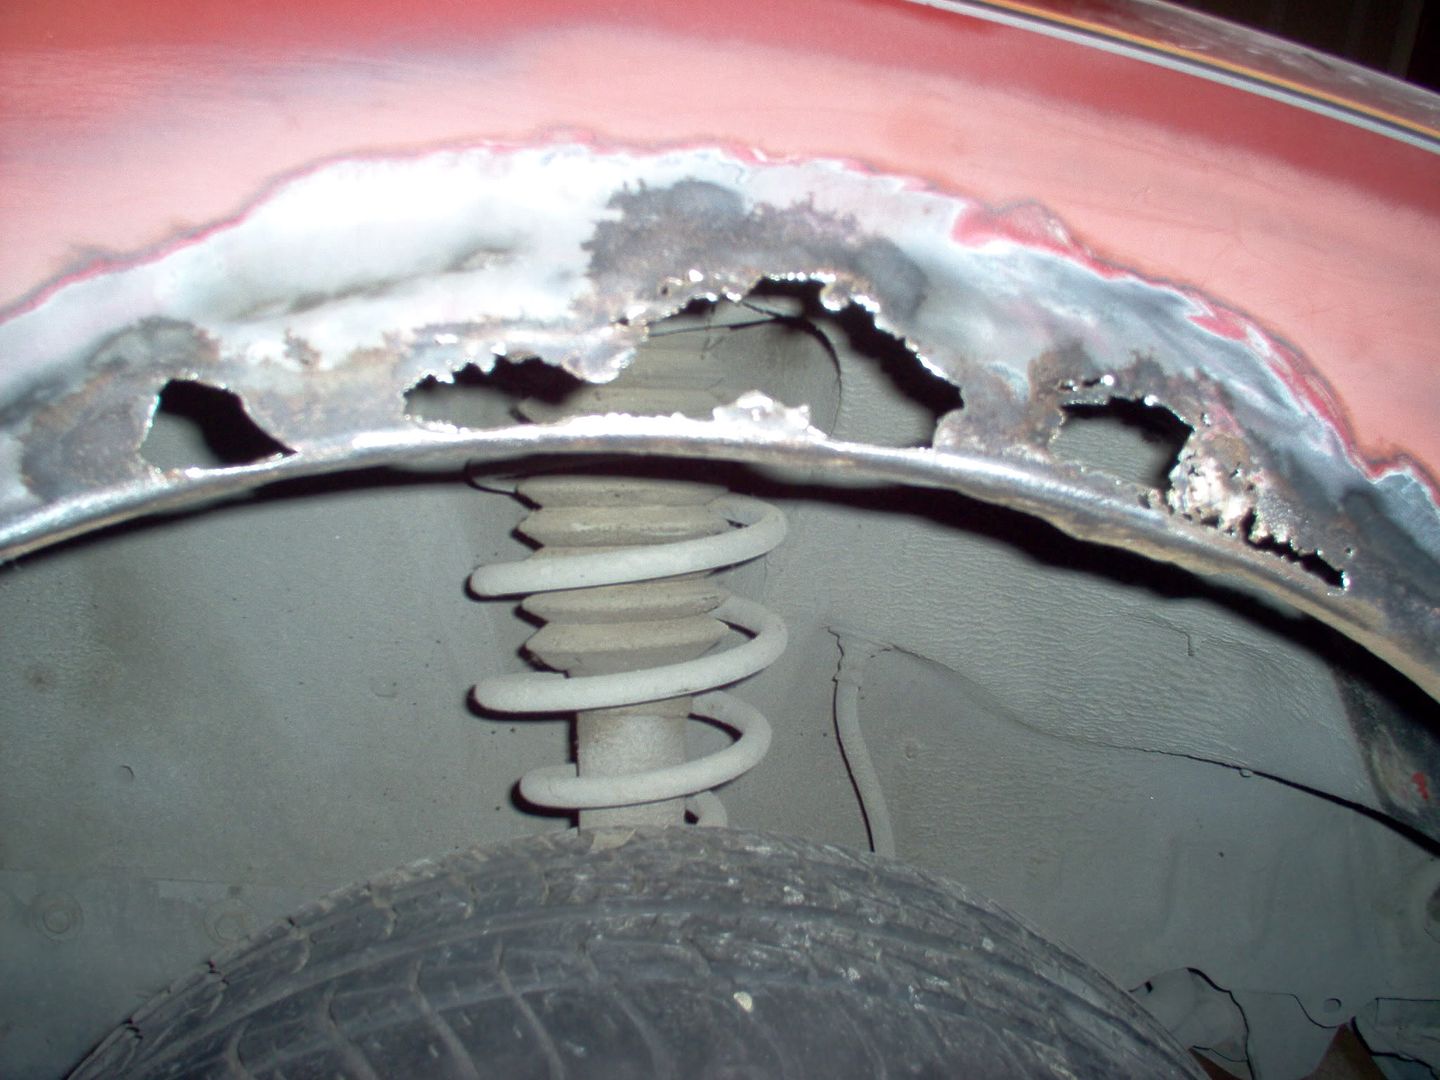
O ya, In some of the pictures, there is a fender with holes rusted through it. I fixed this by cutting out the holes, and welding new sheet metal to fill in the holes. I'm actually pretty amazed with how good it turned out.


And here's a video of the first part of the paint job:
http://www.youtube.com/watch?v=heWLXrvlptg
. O ya, In some of the pictures, there is a fender with holes rusted through it. I fixed this by cutting out the holes, and welding new sheet metal to fill in the holes. I'm actually pretty amazed with how good it turned out.


And here's a video of the first part of the paint job:
http://www.youtube.com/watch?v=heWLXrvlptg
Last edited by akman360; 09-12-08 at 05:23 AM.

 09-12-08, 05:51 PM
#5
you know you want this
looks like its goin pretty good. if you have any performance questions, Nick at Underground Performance across from the tower on fifth knows his stuff pretty damn good.
09-13-08, 04:54 AM
#7
Full Member
Join Date: Mar 2008
Location: Roseburg, Oregon
Posts: 142
Likes: 0
Received 0 Likes
on
0 Posts
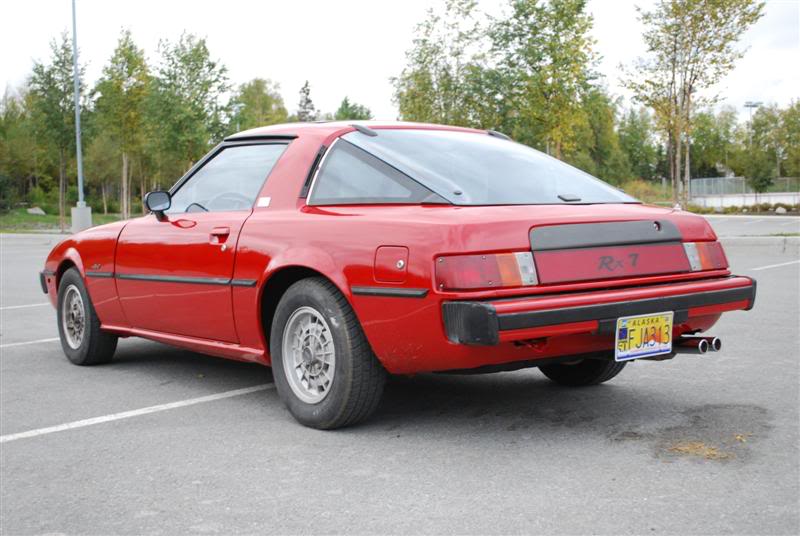
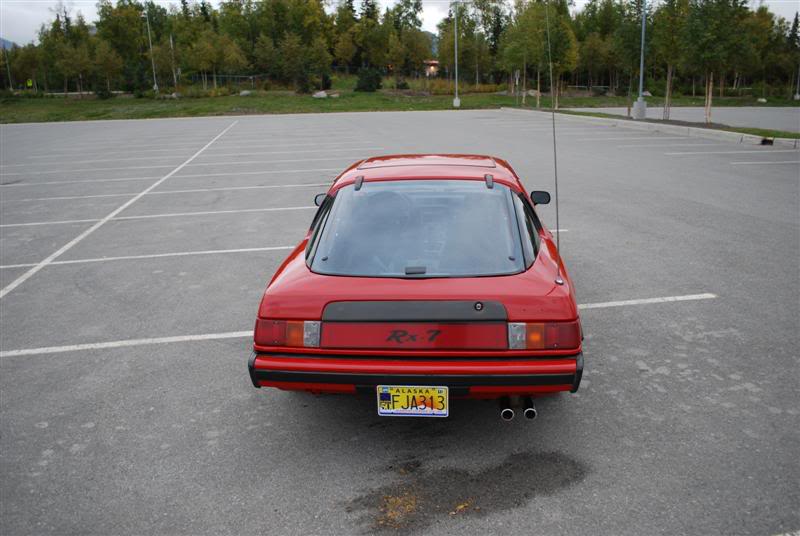
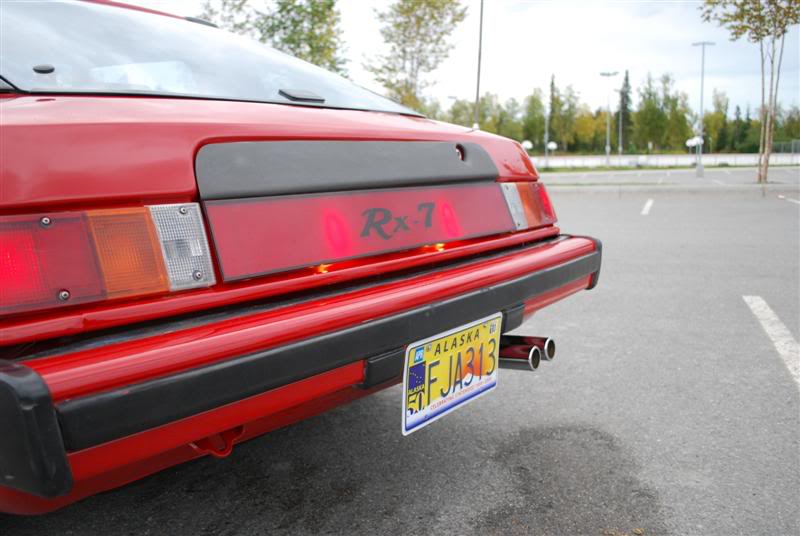
Looking great. I love the look of the back end without the huge license plate lights, but where do you plan on putting the rear license plate? I've been toying with the idea of rebuilding the rear of mine with fiberglass and having the recess just around the license plate with less obtrusive license plate lights, or building a license plate bracket into the section below the bumper.
Trending Topics
09-14-08, 12:52 AM
#8
Aaron
Thread Starter
Join Date: Mar 2008
Location: Anchorage
Posts: 33
Likes: 0
Received 0 Likes
on
0 Posts
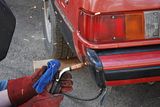
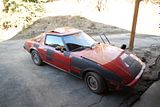
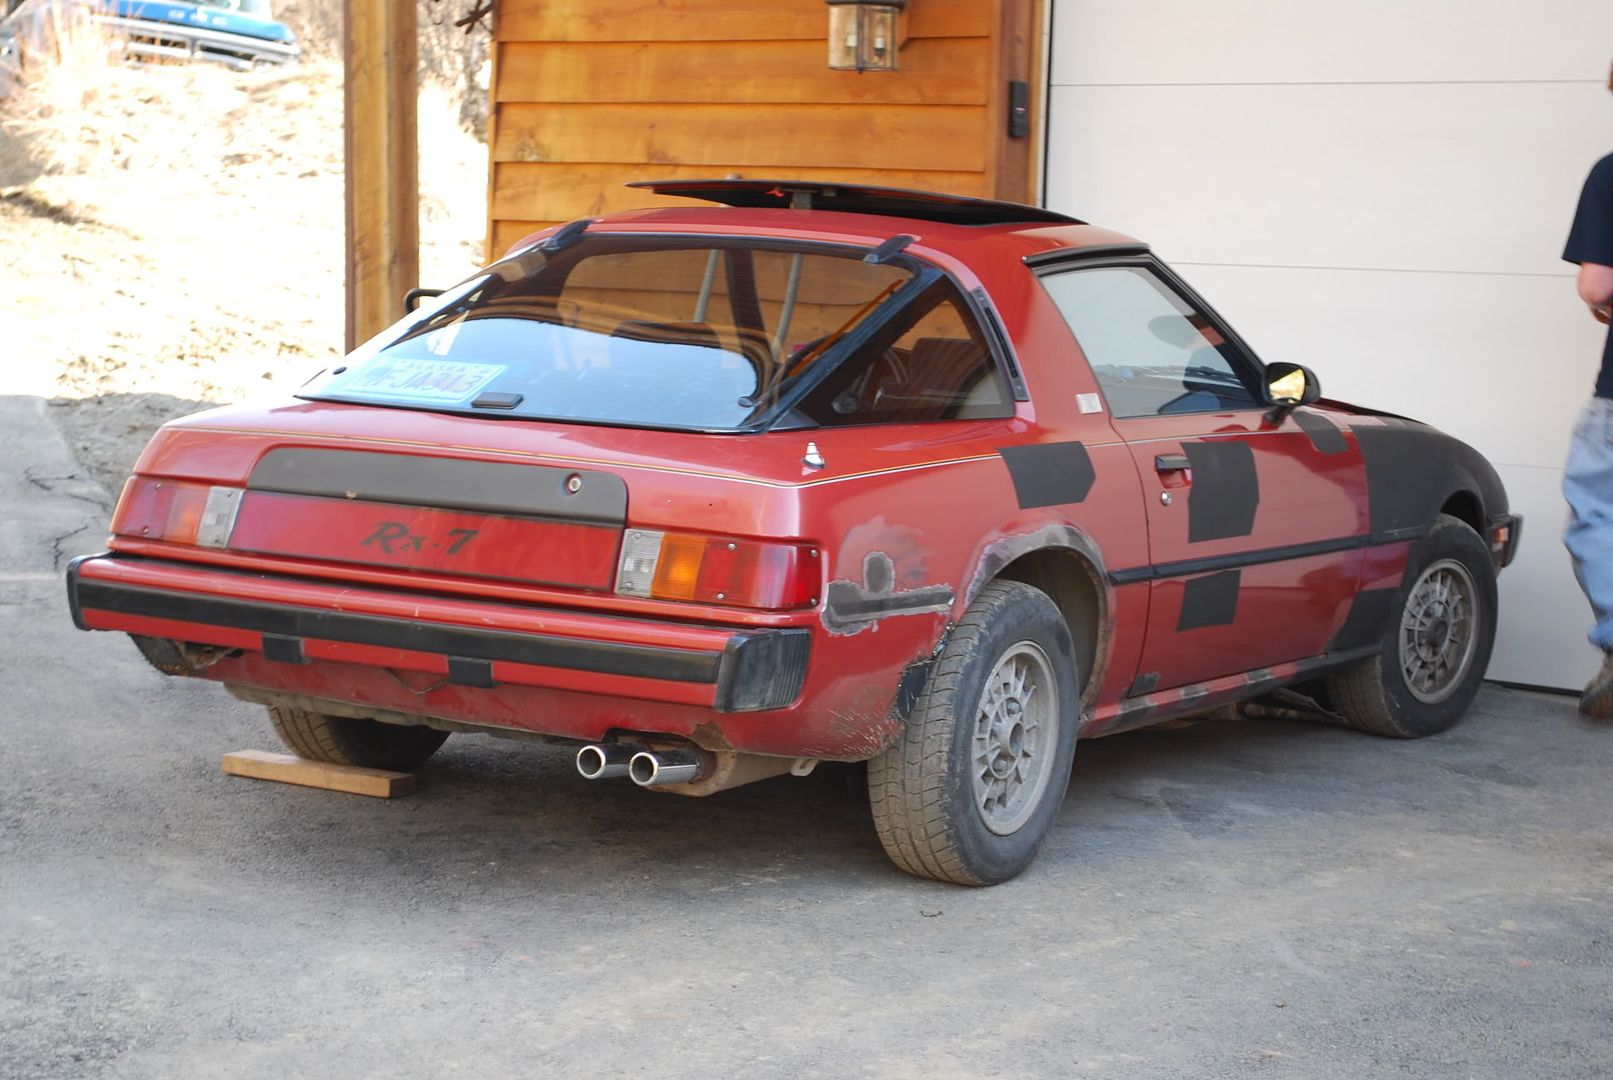
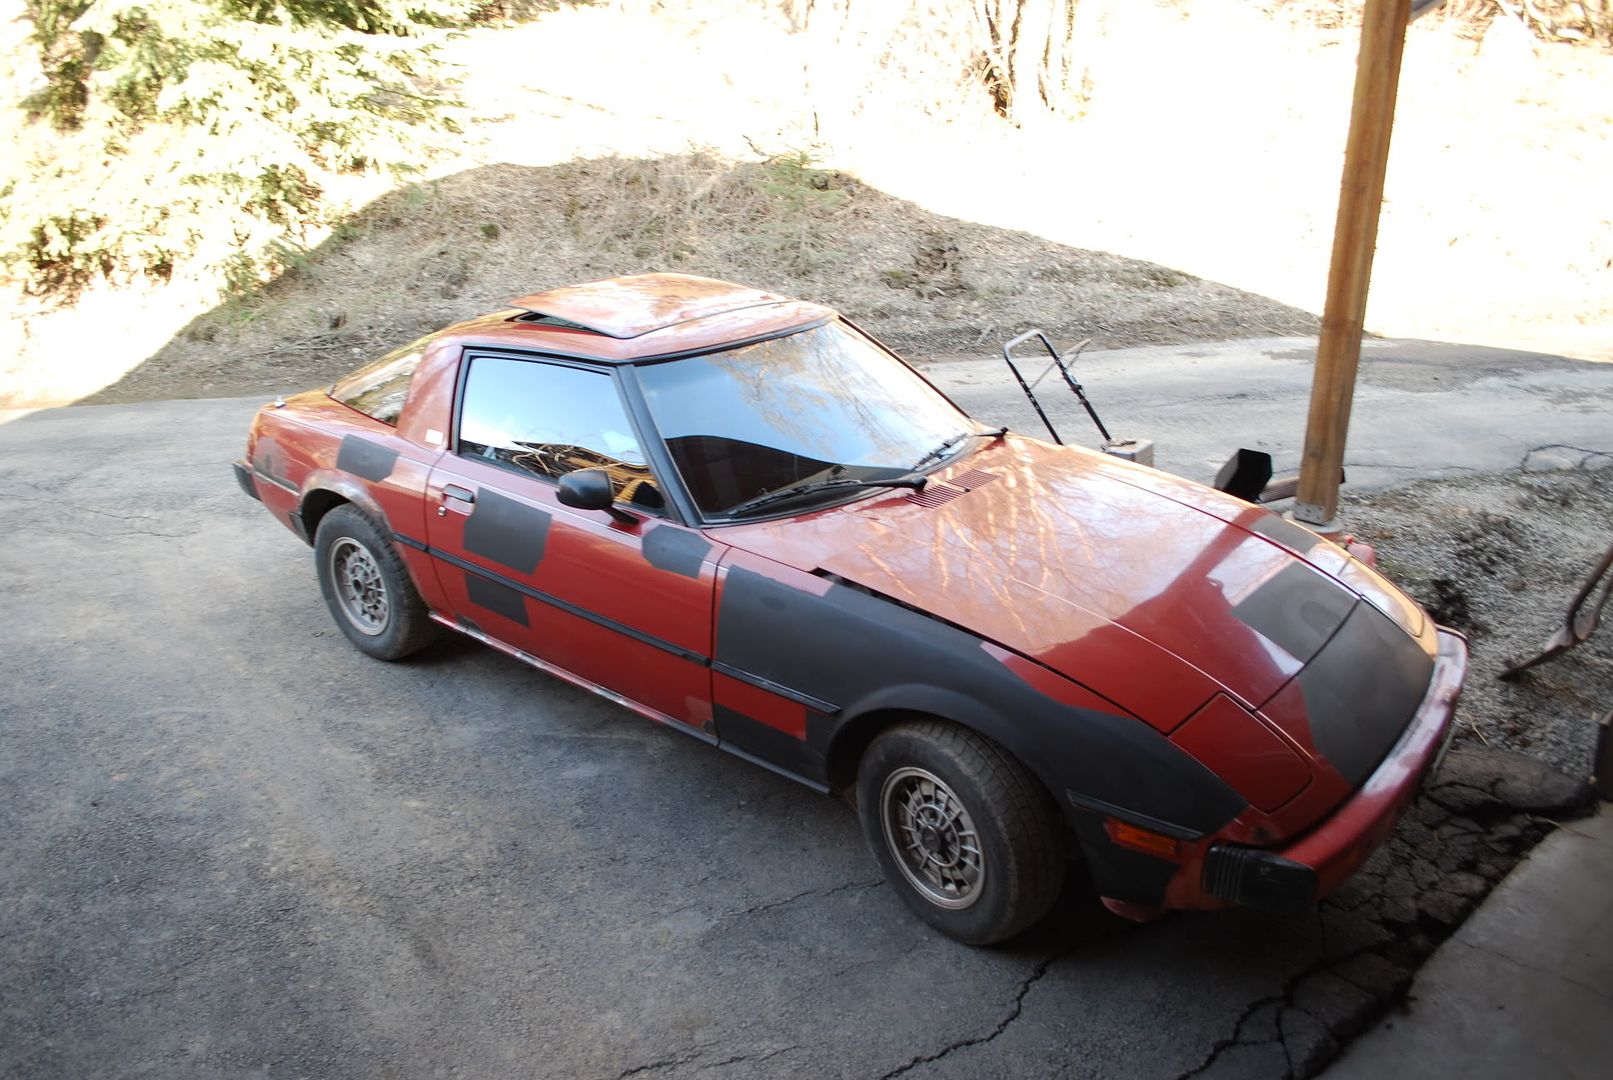
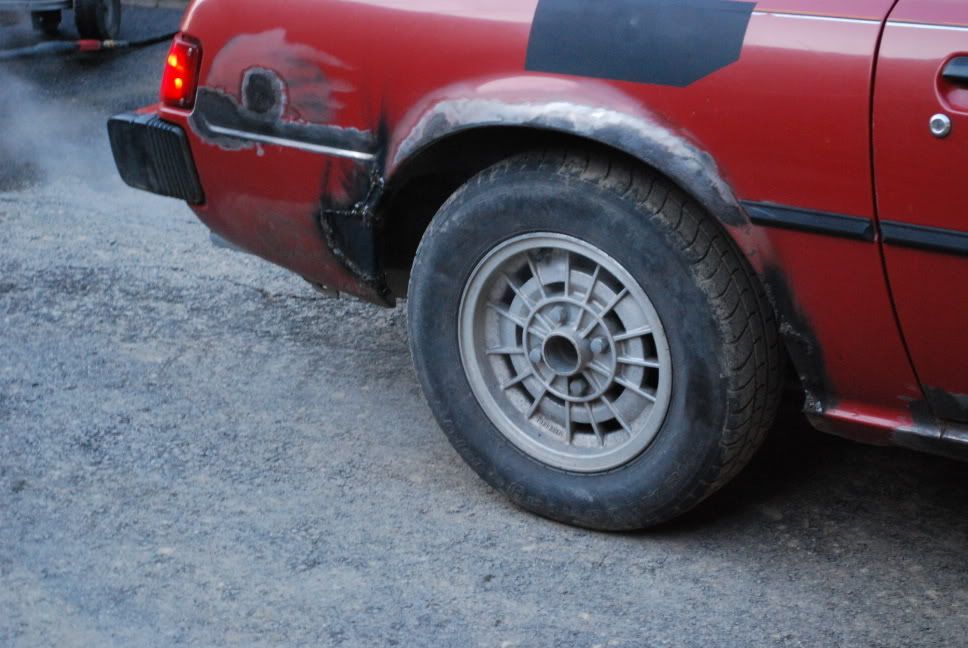
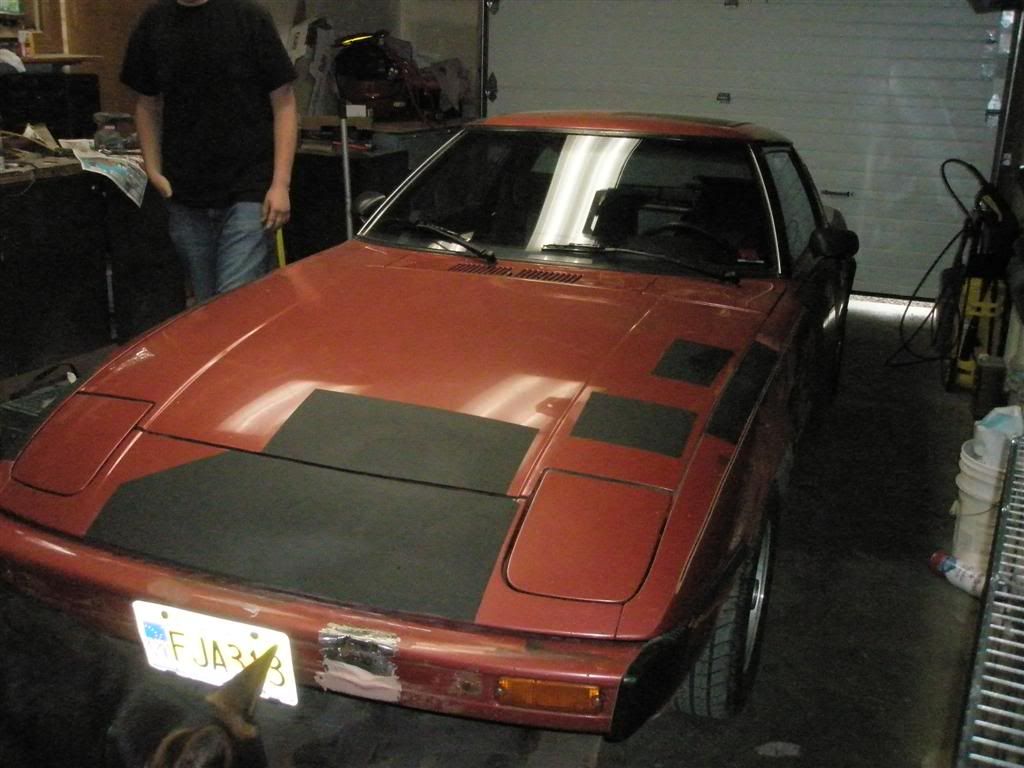
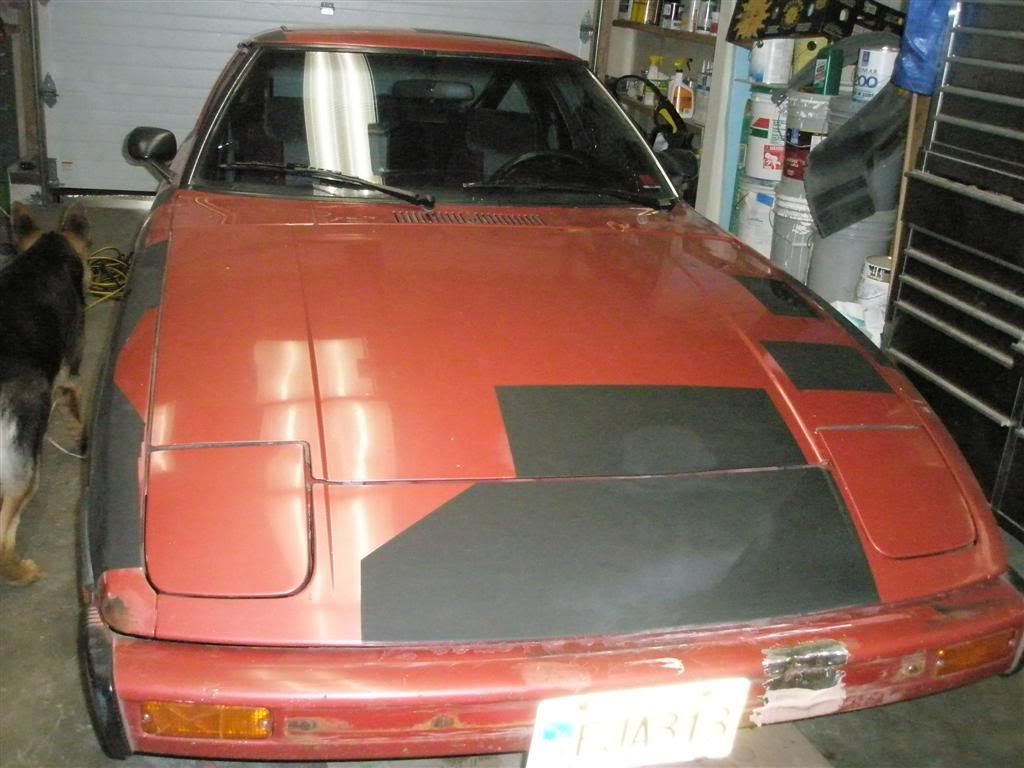
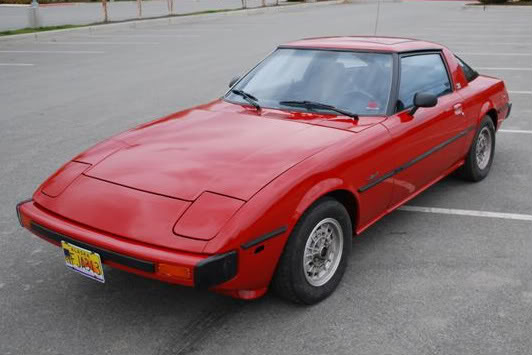
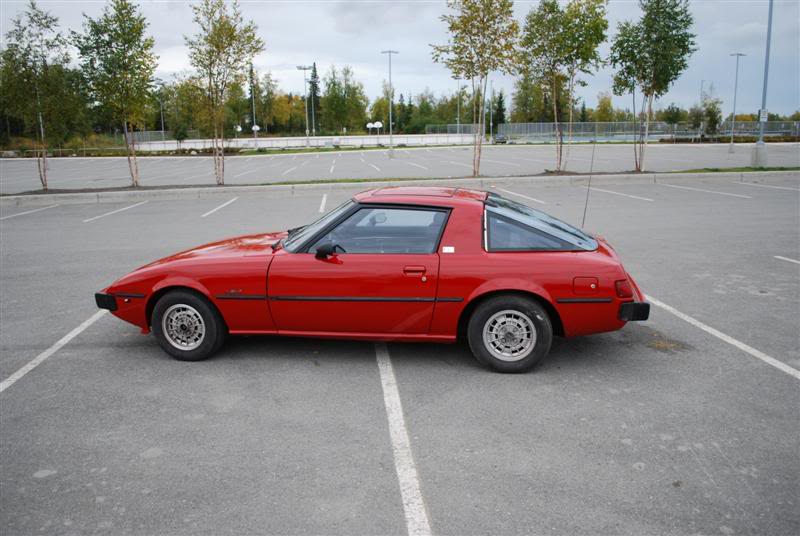
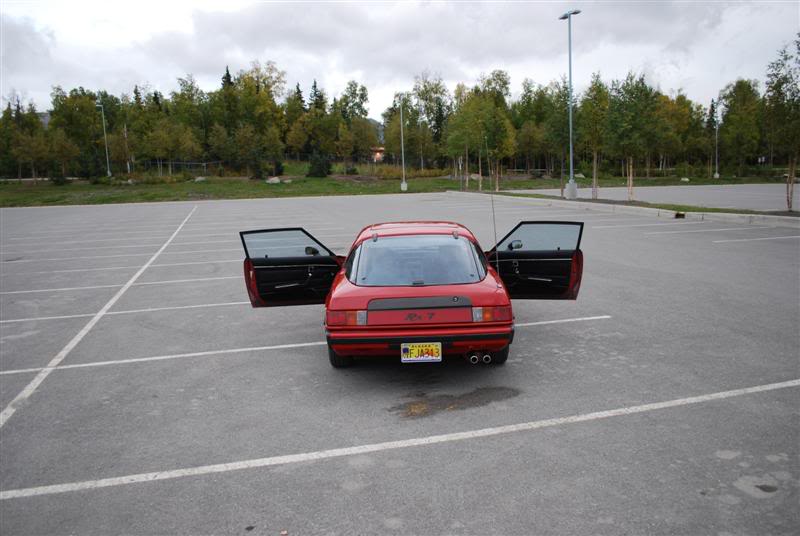
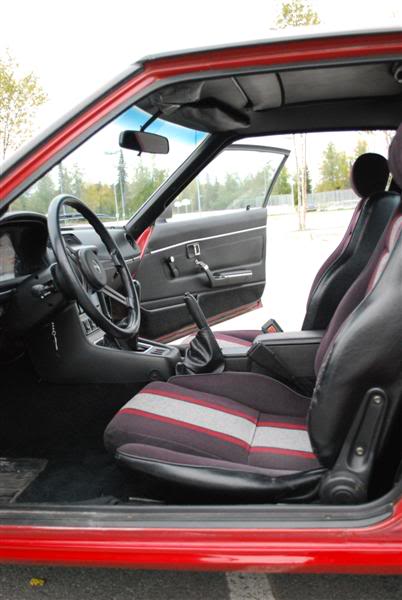
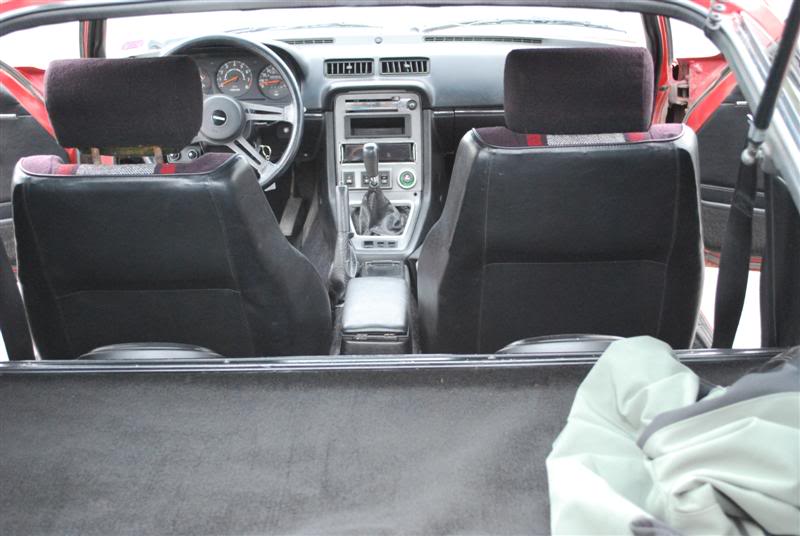
Ok, I finally finished putting everything back together after painting, and I have to say, it came out amazing. For the paint, I actually decided to go with rustoleum regal red, mixed 1:1 with acetone. I think I ended up spending about $32 in paint, which is funny because I easily spent 2 to 3 times that amount in all the bondo that I used  . The Next project is to fix the exhaust, which is customized to be extra ricey by rust. The the control arm bushing on the passenger side is also gone, so that will be first priority. Anyway, here are some pics the finished car. And remember, this is rustoleum.
Note: The Alaskan dirt on the tires! This came from a muddy driveway, and I didn't have a chance to clean them.
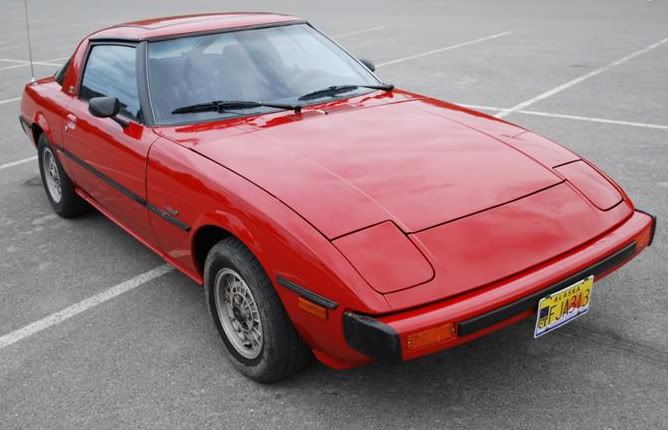
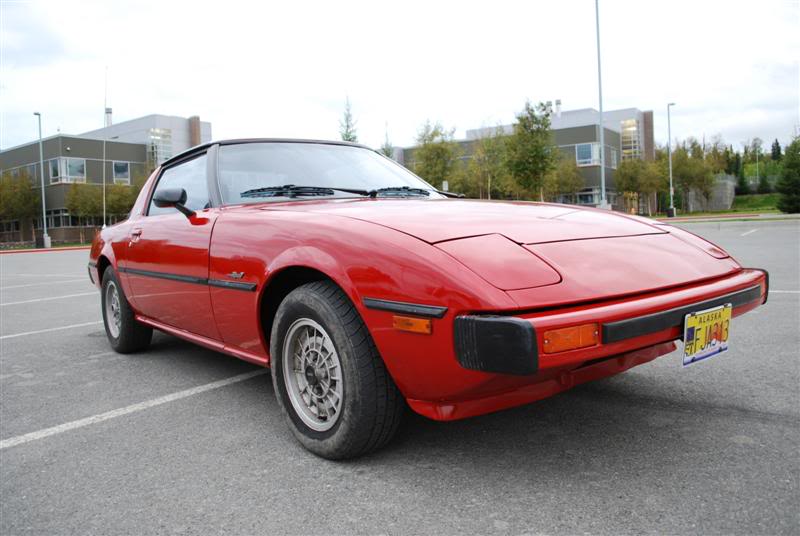

. The Next project is to fix the exhaust, which is customized to be extra ricey by rust. The the control arm bushing on the passenger side is also gone, so that will be first priority. Anyway, here are some pics the finished car. And remember, this is rustoleum. Note: The Alaskan dirt on the tires! This came from a muddy driveway, and I didn't have a chance to clean them.

 09-14-08, 12:55 AM
#10
Aaron
Thread Starter
Join Date: Mar 2008
Location: Anchorage
Posts: 33
Likes: 0
Received 0 Likes
on
0 Posts
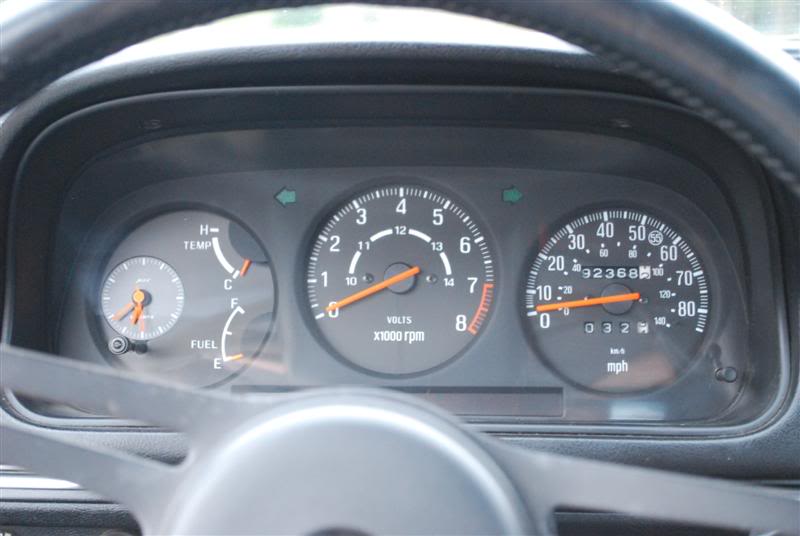
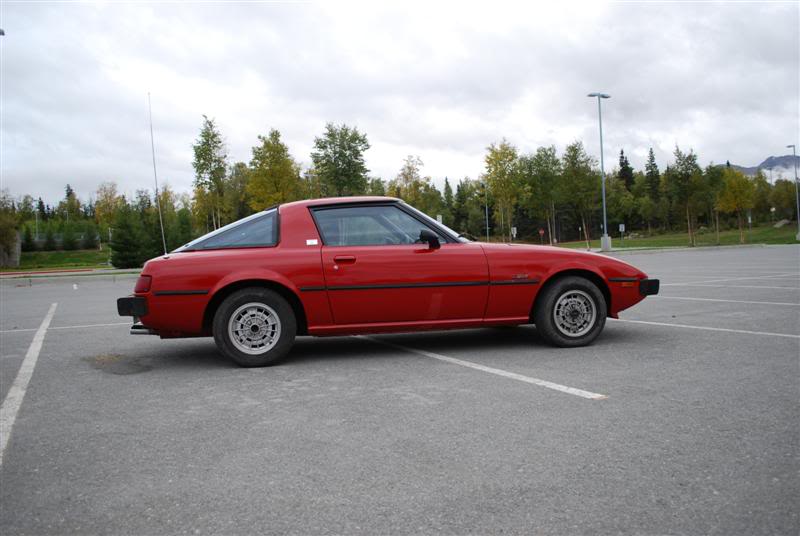
92,000 original rusty miles
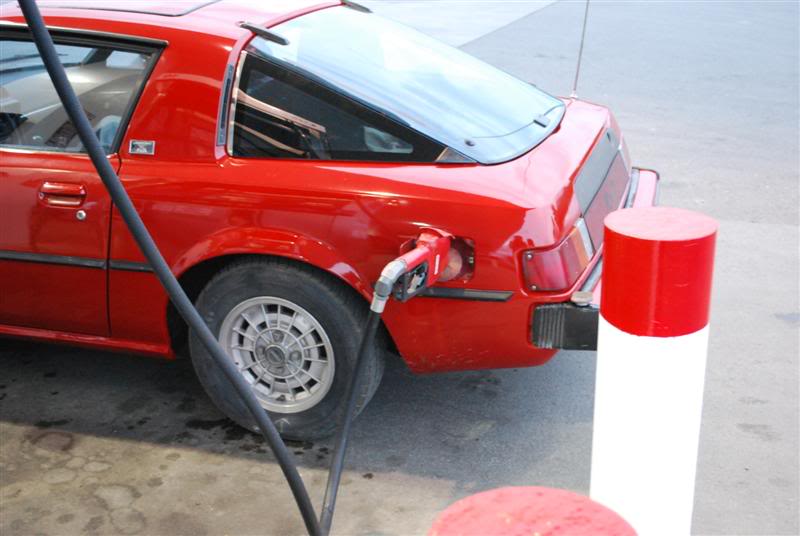
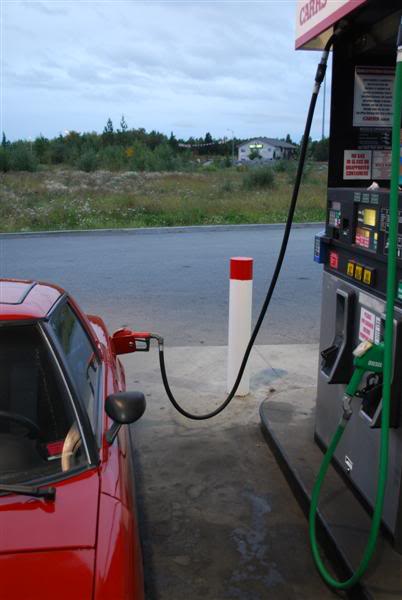
And, since gas in Anchorage is currently 4.16 a gallon, It only cost $40.39 to fill it up! This is about half of what it costs to fill my truck.
Last edited by akman360; 09-14-08 at 12:58 AM.
09-14-08, 03:46 AM
#12
Aaron
Thread Starter
Join Date: Mar 2008
Location: Anchorage
Posts: 33
Likes: 0
Received 0 Likes
on
0 Posts
Here's the video of the second part of the Rustoleum Paint Job:
http://www.youtube.com/watch?v=XIjfT...&feature=email
http://www.youtube.com/watch?v=XIjfT...&feature=email
09-14-08, 08:54 PM
#14
djessence
nice! could someone (OP mayve) post a similar shot of the back end up close (bumper and under) but of the FRONT? always been curious how exactly it differs from FB's
09-15-08, 05:21 PM
#15
Full Member
Join Date: Mar 2008
Location: Roseburg, Oregon
Posts: 142
Likes: 0
Received 0 Likes
on
0 Posts
 ), but basically it's the same except the bumper. The fenders and air dam are slightly different, but just so that the bumper fits right. If you were to take the bumper off of an SA or FB the only way that you would easily be able to tell which it was is if it was an FB with the vents on the air dam in front of the tires and I believe the fenders on the FBs don't have the bottom part that would be under the bumper on an SA. I can't wait till I get the SA bumper cleaned up and put on my car so I can get rid of the hideous FB bumper that is on it (they really look horrible on an SA, or maybe it just wasn't put on very well.), but I plan on making the carbon fiber replacements for all the black rubber pieces on the bumper first. So it might be a while still.
09-15-08, 05:26 PM
), but basically it's the same except the bumper. The fenders and air dam are slightly different, but just so that the bumper fits right. If you were to take the bumper off of an SA or FB the only way that you would easily be able to tell which it was is if it was an FB with the vents on the air dam in front of the tires and I believe the fenders on the FBs don't have the bottom part that would be under the bumper on an SA. I can't wait till I get the SA bumper cleaned up and put on my car so I can get rid of the hideous FB bumper that is on it (they really look horrible on an SA, or maybe it just wasn't put on very well.), but I plan on making the carbon fiber replacements for all the black rubber pieces on the bumper first. So it might be a while still.
09-15-08, 05:26 PM
#16
Full Member
Join Date: Mar 2008
Location: Roseburg, Oregon
Posts: 142
Likes: 0
Received 0 Likes
on
0 Posts
I saw how you put the license plate on the rear of the car, but isn't that going to be a problem for you if you drive it at night? I know the cops here love pulling people over for not having a license plate light or if it's burned out.
09-15-08, 06:16 PM
#17
Senior Member
Join Date: Aug 2001
Location: Fort McMurray, Alberta
Posts: 723
Received 0 Likes
on
0 Posts
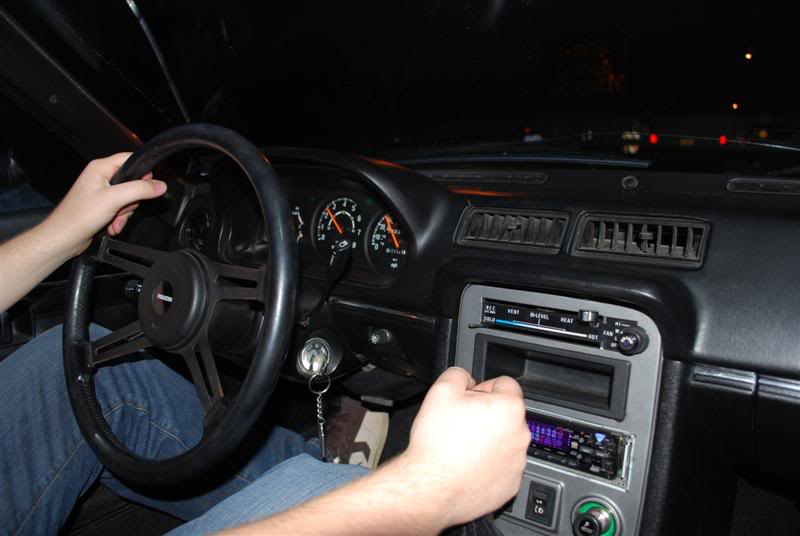
Well done man! I watched your first video the other day, I'll be sure to check out the second half now. I like your interior too, well maybe it's just SA dashes in general, I don't think I could have a first gen without it. This is definately inspiring me to get off my *** and back on my project. Cheers
George
This is definately inspiring me to get off my *** and back on my project. CheersGeorge
09-23-08, 08:34 PM
#18
Smoke moar
The brake lights, and maybe the one under that part in the center prolly light up the plate enough.
09-23-08, 10:35 PM
#21
Aaron
Thread Starter
Join Date: Mar 2008
Location: Anchorage
Posts: 33
Likes: 0
Received 0 Likes
on
0 Posts
Yes, they do. I tried this first (painted the driver's fender inside with it) but I didn't like how bright it was so I decided to go with regal red instead. Still, for $32 worth of paint, it turned out pretty good.
09-23-08, 11:14 PM
#23
Aaron
Thread Starter
Join Date: Mar 2008
Location: Anchorage
Posts: 33
Likes: 0
Received 0 Likes
on
0 Posts
The paint seems pretty durable, I did a scratch test with a Flathead screwdriver on a test scrap of metal I painted before I did my car, and it scratched less easily than the stock paint that was on the rx7. From my experience, I would say the paint is very durable. And no, I did not clear coat it. I did wax it after I took these pictures, and that made it even shiner.
09-24-08, 02:19 PM
#24
Rotary Enthusiast

Join Date: Dec 2007
Location: Texas
Posts: 1,079
Likes: 0
Received 0 Likes
on
0 Posts
Nice. You should put a clearcoat enamel on top of that paint. Nice job.
edit: It's the UV that will kill it. But that's damn good for home spray without clear.
edit: It's the UV that will kill it. But that's damn good for home spray without clear.
Last edited by Vashner; 09-24-08 at 02:25 PM.
09-25-08, 03:50 AM
#25
Great work and thank you for posting the vid of what can go wrong during painting. Since the fisheye's didn't show up until the 3rd coat, I suspect it's due to air born dust that settled or cross contamination from the sanding process and wasn't followed up with a thorough Prep-Sol wipe and tack rag. Paint flows away from dust, waxes and silicone's.
Fwiw, I remove every bolt on that I can when I spray. bumpers, emblems, door handles, etc.. Overall, I'd rate the paint results at a B+, an A+ for the a 1st gen 'Tightass Award'. 
Fwiw, I remove every bolt on that I can when I spray. bumpers, emblems, door handles, etc.. Overall, I'd rate the paint results at a B+, an A+ for the a 1st gen 'Tightass Award'.