What did you do to your FB today?

 10-31-14, 08:32 AM
#5302
ordered the M-speed duraflex bodykit off eghey. will be repairing the damaged urethane fbc and bending back the turn signal bracket, installing new turn on one side. will be tearing it down this winter for rust repairs and paint. 3 pc imsa wing will complement the kit. thinking inca gold from a 1 yr paint code that Jeep ran back in like 2005 should really POP compared to the tired old gold on it now with peeling clear.
10-31-14, 08:40 AM
#5303
Waffles - hmmm good
iTrader: (1)
Removed the bumpers, as the last step before sanding. Weather permitting, I'll have her to paint man next week.
Attachment 545961
Attachment 545961
You know with the front bumper off, 1st gens have a kind of mean looking shark
front end and a lot of space for air to get in too! Fill the space in with some nice
wire mesh and add a big duckbill lip and it might be a mean looking modified look.
A J-tin hotrod anyone?
10-31-14, 11:28 AM
#5304
Or am I off-base with that? I haven't experimented all that much with tires on this car. Either size is still considerably wider than stock, after all.
Anyone got a good brand recommendation for puzzle-lock lugbolts?

 10-31-14, 12:30 PM
#5306
dd, calculate offset by measuring the backspacing and using online backspace to offset charts like the one found here: https://www.rsracing.com/tech-wheel.html
also, keep in mind that different tire manufacturers have different sidewall profiles...some are more square while others are more rounded. so one tire may rub while another from a different maker may not even for the same size tire.
but in ur case, i don't see why not just go w/ a 195 just to be safe.
10-31-14, 12:49 PM
#5307
According to that chart, I did it right, and the stock waffle has a 25mm offset:
Wheel size 5.5", backspace was 108mm (4.252") - table says that's a 25mm offset.
Smarter than I thought I was, apparently.
As to why 205's... well, wider IS better, so long as it fits...
The Epsilon rims actually measure out, outer bead to outer bead, as 205mm wide. So the rim and the sidewall would theoretically align (since 205 is section width on tires, not tread width), whereas the 195's would be narrower than the rims.
I'm not a big fan of the 'stretched' look (it's not 'period-correct'), and having the rim protrude beyond the tire is a recipe for rim damage if you should misjudge a curb when parking.
10-31-14, 01:10 PM
#5308
I like the fact that the 205 is taller. The rx7 to me looks better with some sidewall.
Tim, when my 1st rx7 was wrecked back in 92 I thought about the shark nose look, and still do. With chrome nerf bar bumpers, and the same treatment rear. Maybe one day if I get a beater. After all the kids are grown. When my lotto hits. Yeah, like that.
Tim, when my 1st rx7 was wrecked back in 92 I thought about the shark nose look, and still do. With chrome nerf bar bumpers, and the same treatment rear. Maybe one day if I get a beater. After all the kids are grown. When my lotto hits. Yeah, like that.
11-01-14, 02:49 AM
#5313
Changed the auto-x wheels for my dukes of hazzard street wheels this evening. If I have time this weekend, I need to get it to the paint shop so they can smooth the paint on the areas I'll be putting decals. Still need to install those last 2 extended lugs. Will do that sometime soon.
Also ordered a pair of turndowns that I plan on modding and installing for my track day at Laguna Seca in December. The sound limits are pretty strict (90dB). My RB cannister is getting a little rattly from the backfiring issue I had several months ago, so I don't want to take any chances on getting meatballed.
fm
11-01-14, 12:48 PM
#5314

To stay on topic.
I didnt really do anything to the SA except dust it off, but I have started a garage cleanup and repaint. I got some Spackle done and plan on throwing a thin touch up coat of my brittish racing green on.
11-01-14, 01:21 PM
#5315
Moderator
iTrader: (3)
Join Date: Mar 2001
Location: https://www2.mazda.com/en/100th/
Posts: 30,770
Received 2,562 Likes
on
1,822 Posts
on the race cars we've found that Mazda's fit is actually pretty optimal, we went from a 225/45/16 on a 7" wheel, and went to an 8" wheel, and its better.
the other variable is the tire, for example the R6 hoosier in a 225/45/15 is 1/2" wider than any other 225 tire, so we have it on a 9" wheel, and as you can see, there is no stretch to be found!
 11-01-14, 01:22 PM
#5316
Moderator
iTrader: (3)
Join Date: Mar 2001
Location: https://www2.mazda.com/en/100th/
Posts: 30,770
Received 2,562 Likes
on
1,822 Posts
11-01-14, 02:44 PM
#5317
The thing that's driving me crazy is the "nominal" nature of tire dimensions; that "205" section width number can vary many mm based on the width of the test wheel used to measure it, even on the thickness of logos / raised lettering / rimguard lips, etc.
Even varies from tire to tire within the same brand and size.
Here's the fit on the current tires and rims, wheel hanging. As the springs get wider as you go up, it's near impossible to figure what suspension travel will do to the clearance.
Argh.
Even varies from tire to tire within the same brand and size.
Here's the fit on the current tires and rims, wheel hanging. As the springs get wider as you go up, it's near impossible to figure what suspension travel will do to the clearance.
Argh.


 11-01-14, 06:46 PM
#5320
The thing that's driving me crazy is the "nominal" nature of tire dimensions; that "205" section width number can vary many mm based on the width of the test wheel used to measure it, even on the thickness of logos / raised lettering / rimguard lips, etc. Even varies from tire to tire within the same brand and size. Here's the fit on the current tires and rims, wheel hanging. As the springs get wider as you go up, it's near impossible to figure what suspension travel will do to the clearance. Argh.
11-01-14, 10:24 PM
#5321
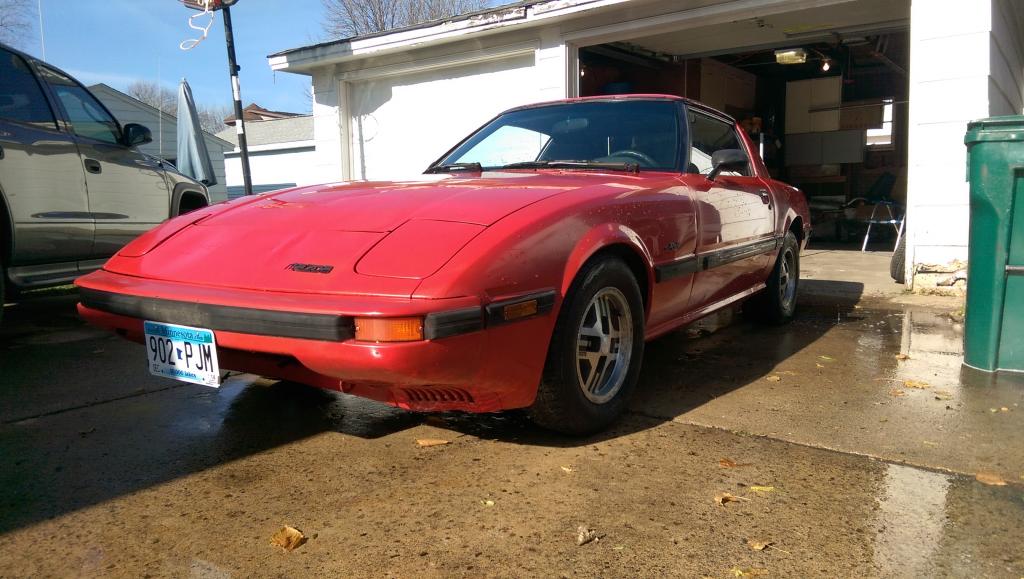
I got the interior of the car completely detailed except for the glass yesterday. She cleaned up really nice, I can say I'm pleasantly surprised! Should make for an extremely clean, mostly-original, very comfortable and beautiful interior with a few small touches this winter.
Also found out that it's not getting fuel right now and I'm pretty sure it's not getting spark either. Just need an assistant to help me check spark so I don't have to try to turn the key and watch for spark. Fuel pump I'm guessing is either:
1. Dead and needs to be replaced
2. B-06 Fuel Pump Cut Relay isn't putting power out to the pump
3. Pump itself is unplugged
Going to check for continuity at each of these points tomorrow and see if I can get the pump to put fluid out. If I find it has power to the pump itself I'll assume that it's dead and needs to be replaced.
I'm betting right now though that there's something going on with the Auto Transmission somewhere that's saying it's not in Park or Neutral which is causing the no spark/no fuel pump issue. But I'm not seeing any sensors for that in the wiring diagram - any ideas?
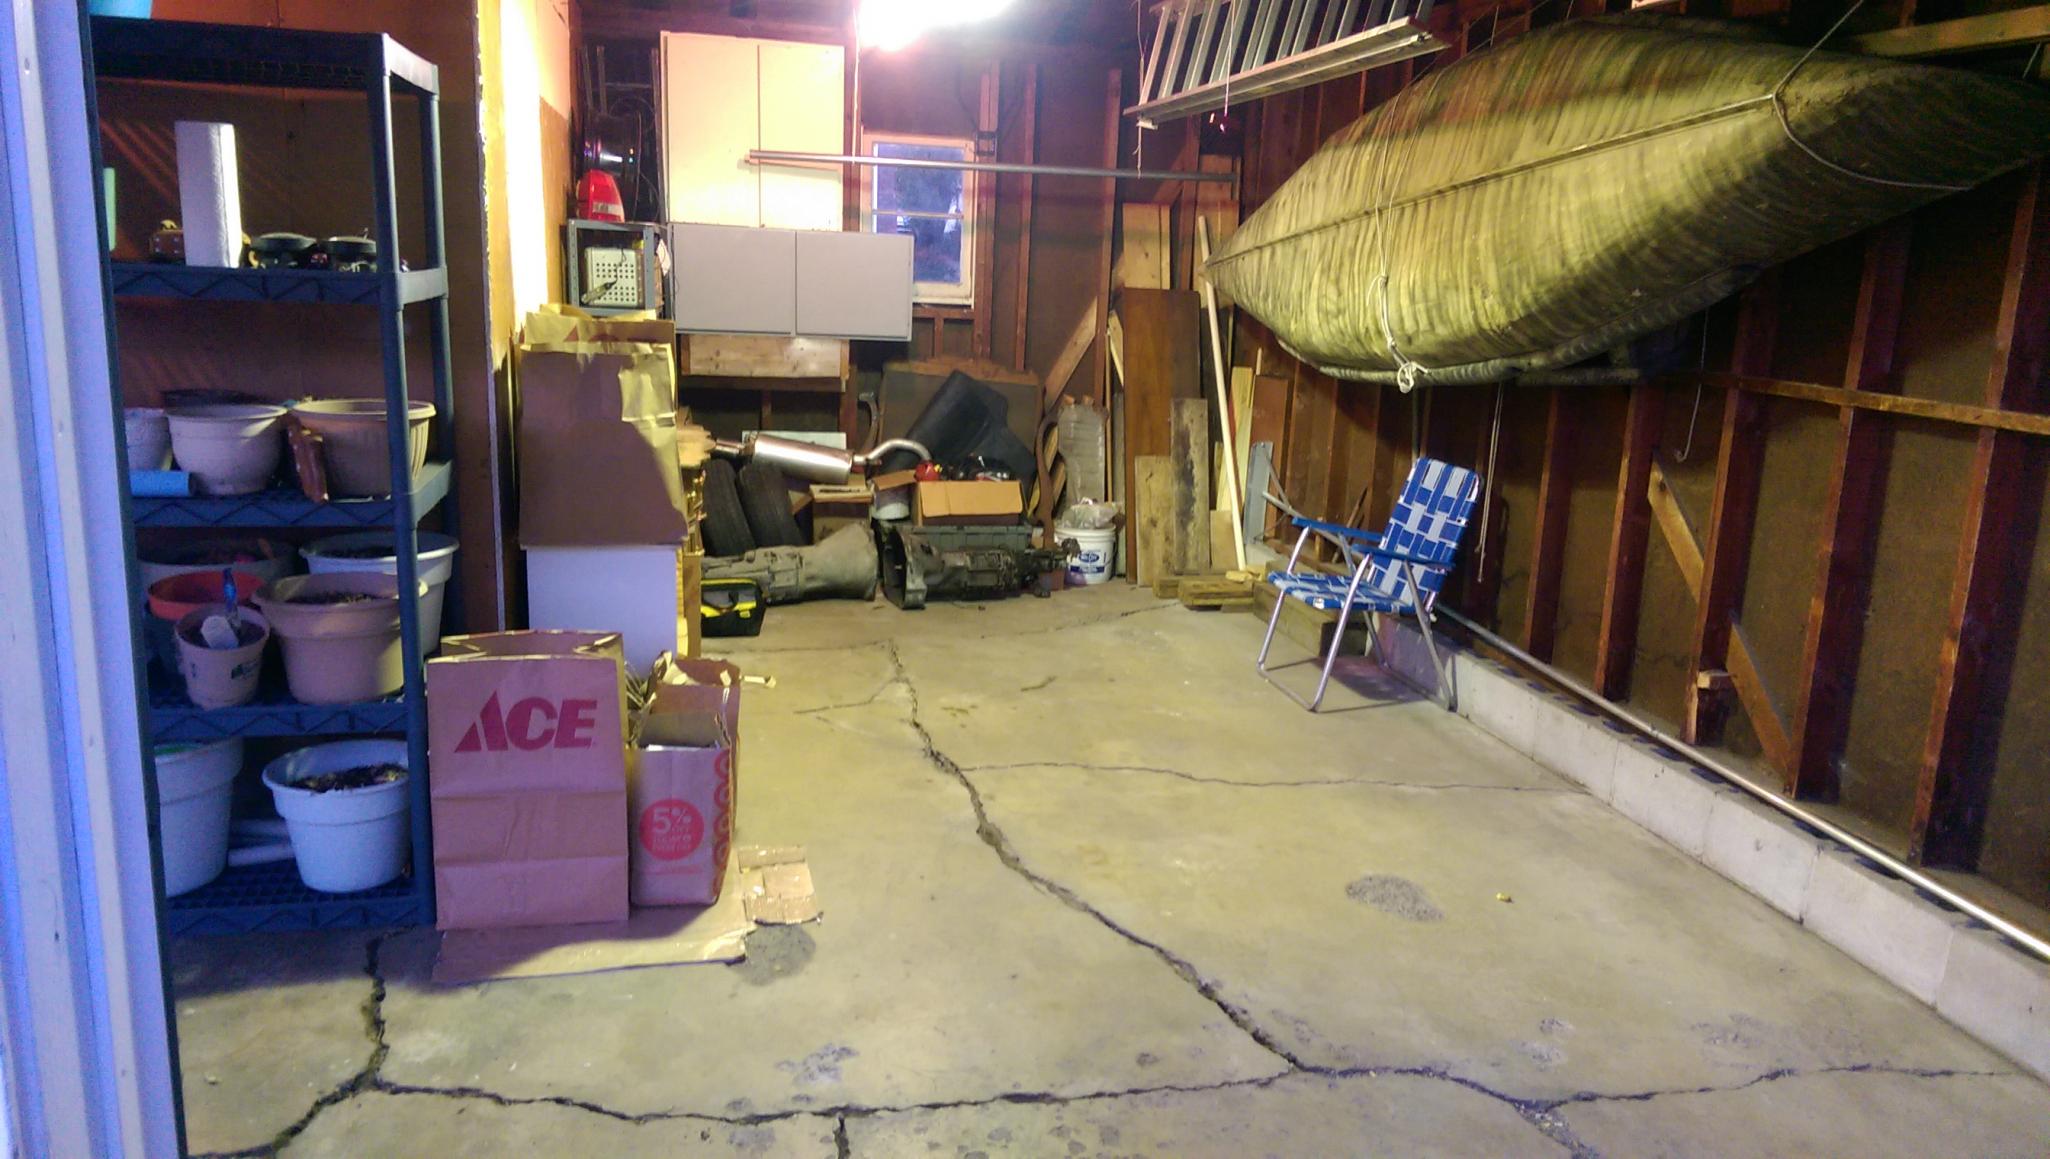
Got the car's new home mostly organized and cleaned up for the winter. Should afford me enough room to maneuver around the vehicle enough to work on it. Much better than the last time I had a car in here.
Also found out that it's not getting fuel right now and I'm pretty sure it's not getting spark either. Just need an assistant to help me check spark so I don't have to try to turn the key and watch for spark. Fuel pump I'm guessing is either:
1. Dead and needs to be replaced
2. B-06 Fuel Pump Cut Relay isn't putting power out to the pump
3. Pump itself is unplugged
Going to check for continuity at each of these points tomorrow and see if I can get the pump to put fluid out. If I find it has power to the pump itself I'll assume that it's dead and needs to be replaced.
I'm betting right now though that there's something going on with the Auto Transmission somewhere that's saying it's not in Park or Neutral which is causing the no spark/no fuel pump issue. But I'm not seeing any sensors for that in the wiring diagram - any ideas?
Got the car's new home mostly organized and cleaned up for the winter. Should afford me enough room to maneuver around the vehicle enough to work on it. Much better than the last time I had a car in here.
11-02-14, 09:26 PM
#5322
Well I'll go again here since no one else has chimed in.
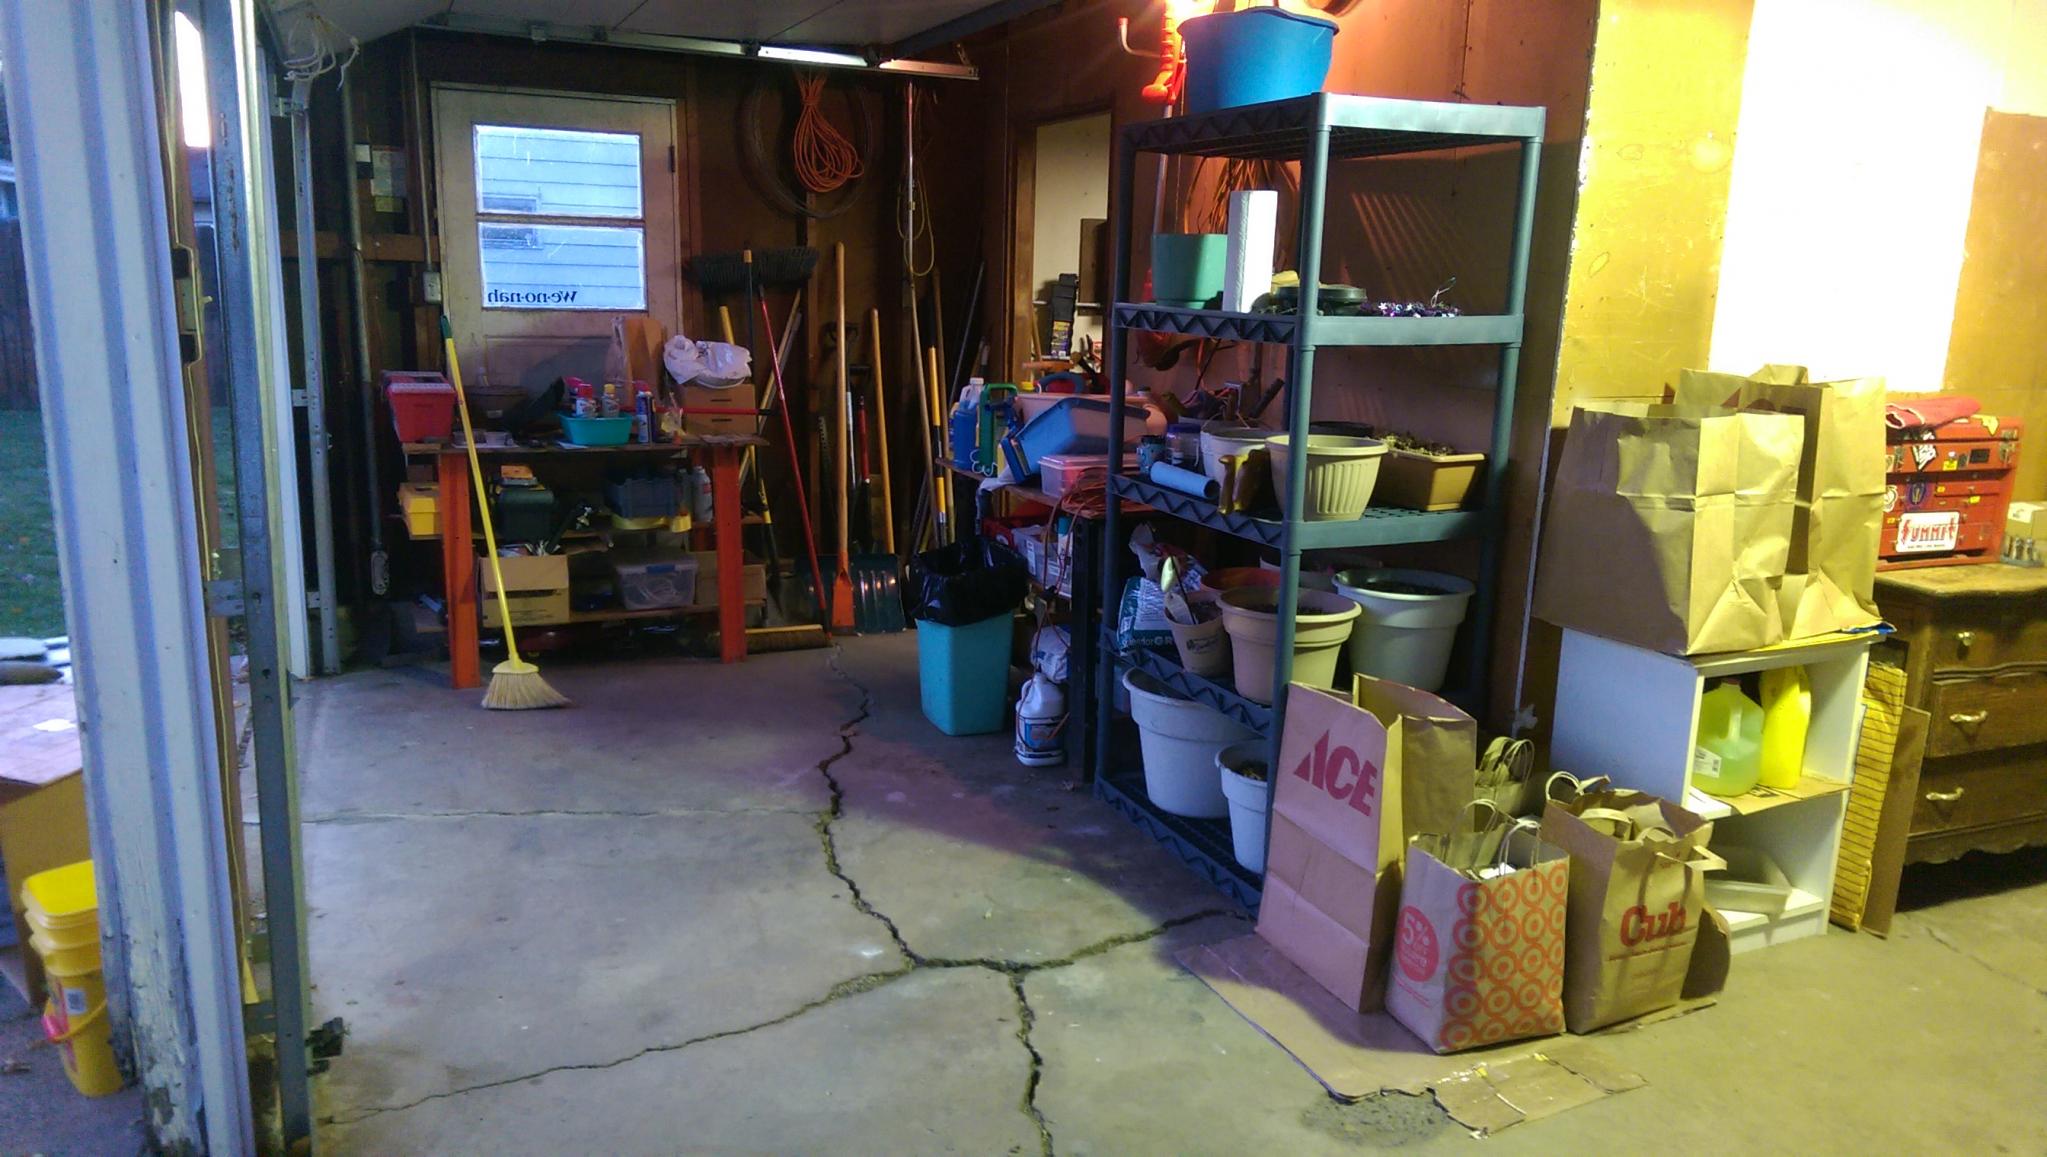
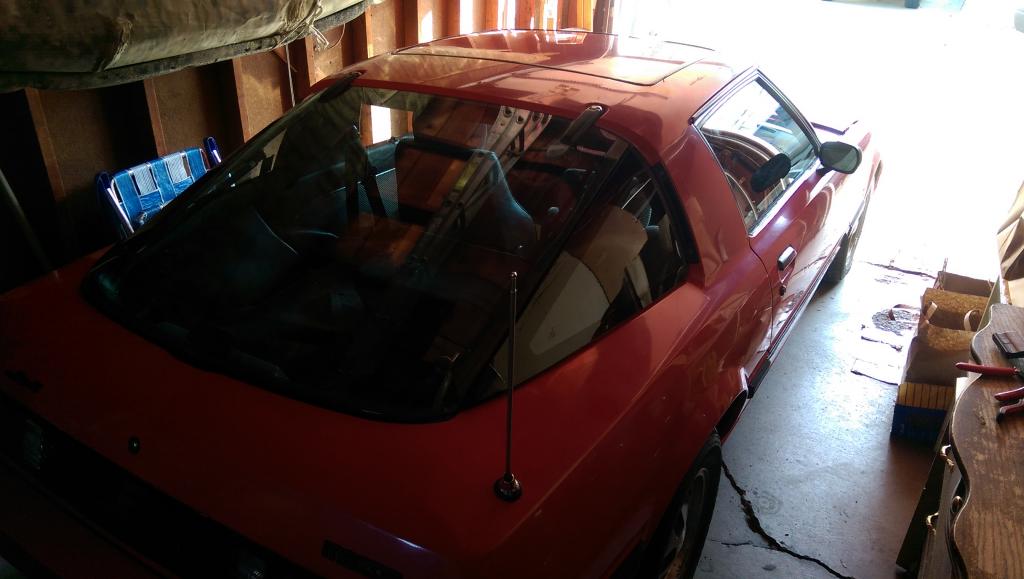
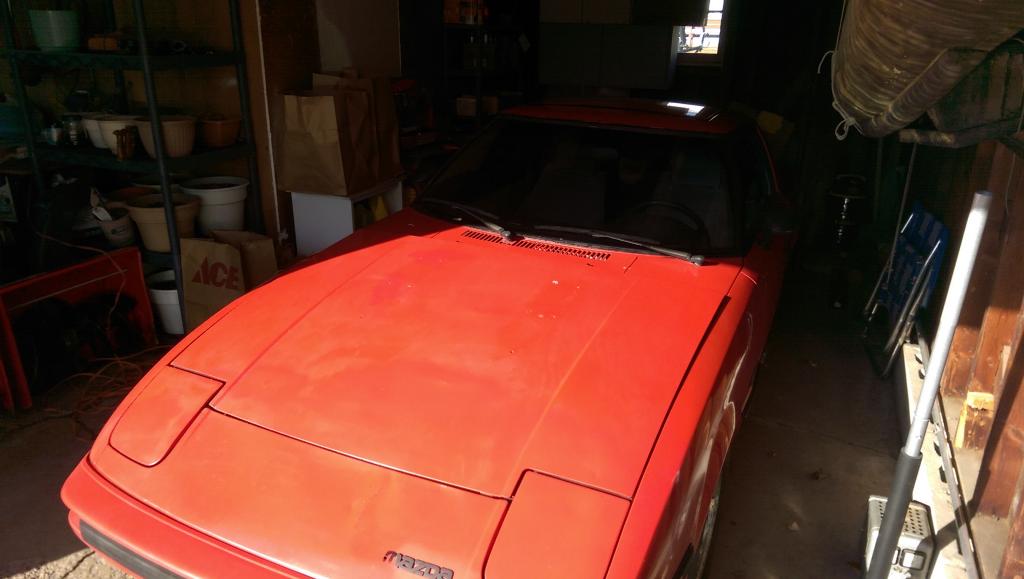
Cleaned the outside of the car today and I admit that it cleaned up rather nicely. Still many body blemishes that really bother me, but I'll be fixing those over the winter. Once she was mostly dry I pushed it into its new home that I cleaned out, it fit rather well. Pretty snug in there but better than sitting outside!
Worked on the car today and got a lot done in my opinion. The car still won't start, heck it won't even fire!
3 basic things to get a car to at least fire:
Fuel - yes
The fuel pump cutoff relay is now jumpered so the pump turns on when it's supposed to. Tested the flow and it appears to be working well enough to feed the Nikki. It's delivering and returning fuel so I'm not too terribly worried about fuel at the moment. (The ECU isn't sending power out to the B/Y wire in the fuel pump cutoff relay so I have to check out why that's happening, but the jumper is solving that problem for now). If anybody has any helpful ideas let me know. I'm thinking it has something to do with the Auto transmission, maybe a parking/neutral switch or something?

Air - yes
The throttle cable works correctly and it's getting air to the rotors. Pretty simple.
Spark - yes
We checked spark and it's getting spark at each plug. Both trailing and leading coils are working, getting power and creating spark.
My guess? Timing is way off.
Previous owner said he replaced the plugs, wires, distributor cap and rotor. I'm betting something got screwed up in the system there and caused the timing to go haywire. Ended up redoing the timing marks on the pulley because they were impossible to see with the corrosion. Got both the accessory and main pulleys off of the car to do this. Once off I used a triangle file and made new indentations for the timing marks and used paint marker to fill in the notches for easy visibility. Re-installed the pulleys and the belts at top dead center according to the timing marks and rear counterweight location (it's an Auto) and everything is lined up the way it should be. I did that so I can check the timing with a light once it's actually running. Last thing to do timing-wise is to re-stab the distributor just to make entirely sure that everything is lined up how I want it to be.
That was about it for the night, in playing Shadow of Mordor right now on Xbox One for a destresser.
Cleaned the outside of the car today and I admit that it cleaned up rather nicely. Still many body blemishes that really bother me, but I'll be fixing those over the winter. Once she was mostly dry I pushed it into its new home that I cleaned out, it fit rather well. Pretty snug in there but better than sitting outside!


Worked on the car today and got a lot done in my opinion. The car still won't start, heck it won't even fire!
3 basic things to get a car to at least fire:
Fuel - yes
The fuel pump cutoff relay is now jumpered so the pump turns on when it's supposed to. Tested the flow and it appears to be working well enough to feed the Nikki. It's delivering and returning fuel so I'm not too terribly worried about fuel at the moment. (The ECU isn't sending power out to the B/Y wire in the fuel pump cutoff relay so I have to check out why that's happening, but the jumper is solving that problem for now). If anybody has any helpful ideas let me know. I'm thinking it has something to do with the Auto transmission, maybe a parking/neutral switch or something?

Air - yes
The throttle cable works correctly and it's getting air to the rotors. Pretty simple.
Spark - yes
We checked spark and it's getting spark at each plug. Both trailing and leading coils are working, getting power and creating spark.
My guess? Timing is way off.
Previous owner said he replaced the plugs, wires, distributor cap and rotor. I'm betting something got screwed up in the system there and caused the timing to go haywire. Ended up redoing the timing marks on the pulley because they were impossible to see with the corrosion. Got both the accessory and main pulleys off of the car to do this. Once off I used a triangle file and made new indentations for the timing marks and used paint marker to fill in the notches for easy visibility. Re-installed the pulleys and the belts at top dead center according to the timing marks and rear counterweight location (it's an Auto) and everything is lined up the way it should be. I did that so I can check the timing with a light once it's actually running. Last thing to do timing-wise is to re-stab the distributor just to make entirely sure that everything is lined up how I want it to be.
That was about it for the night, in playing Shadow of Mordor right now on Xbox One for a destresser.
 11-03-14, 03:44 PM
#5325
It's funny that my plans aren't huge right now. Goal is to get it running reliably so next summer I can cruise around on weekends in a beautiful red FB. Maybe a suspension swap to GSL-SE with new wheels, manual transmission that I already have and a respray are the main things I plan on doing to the car. It's staying 12a for now and I want to build it up so eventually I will do some crazy stuff with it. But for now I want to do a resto-mod style build, only tasteful upgrades and make it a great cruiser car.

