What did you do to your FB today?

 04-14-14, 01:36 AM
#4602
Last night I got the carb/intake manifold back on the car. However, when I went to put the throttle linkage back on, the cable was too short. After scratching my head an hour, removing the linkage, reinstalling it this way and that, I threw in the towel and called it a night.
Today, after much head scratching, I figured out that the carb's previous owner had used a throttle cable that was too short, so after mounting the bellcrank throttle linkage, he just forced it around to the right orientation. That explains why the center mounting point (which should be rectangular) was severely worn. It still works... barely.
So to fix the problem, I just took the bracket that the throttle cable connects to and bent so that it brings the cable closer to the linkage. This worked perfectly. However, the existing bellcrank is so sketchy, I've ordered a new one (the one for the 48/51IDA) from RB. This should work, although I think it will put the mounting point a little further away than the old bellcrank, but that shouldn't be a problem. Pretty sure I have plenty of cable now.
Once I get the new part, I'll fill up the rad and try getting her started.
fm
04-14-14, 10:17 PM
#4603
Today I was driving the GSL-EV to lunch and as is usual I depressed the clutch pedal in order to switch gears. What was not usual was the pedal went to the floor and stayed there. My first thought was "Let the clutch still be engaged." The reason I thought this was because this is an EV and you don't strictly speaking need the clutch to shift or even at all really. And the clutch was still engaged. Since I was stopped I put it into third gear when the RPM hit zero and finished my drive to lunch. After lunch I started looking for the problem in the parking lot of the restaurant. Clutch reservoir was almost full. Slave cylinder was not extended. Fluid found around the bleeder nipple. Bleeder nipple was loose. Tightened with fingers and then released the clutch pedal from its fully depressed position and I now have a working clutch again. What I think happened is when the motor/transmission moves around under hard acceleration the bleeder nipple might be touching something. I will have to inspect it and look for signs of rubbing and make more clearance. Or maybe I just didn't get it tightened up.
May all your 1st Gen problems be as easy to solve as this one was!
May all your 1st Gen problems be as easy to solve as this one was!
04-15-14, 10:54 PM
#4604
Tightened up the clutch bleeder nipple on the GSL-EV before I drove it to work. 8mm box end.
Received a replacement rear wiper arm for the GSL-SE. I think it was almost stripped when I got the car and a heavy snow this winter did it in completely. Also received a hood rod clip but saved that for another day.
Received a replacement rear wiper arm for the GSL-SE. I think it was almost stripped when I got the car and a heavy snow this winter did it in completely. Also received a hood rod clip but saved that for another day.
04-16-14, 11:32 PM
#4606
Noob and trying to learn

Today on the 84 12a FB i swapped out the leading coil for an msd blaster 8222. Improving the engine performance drastically.
Tomorrow I will take the time to re-time the engine accordingly. As well as finally do the dreaded compression test... Wish me luck
Tomorrow I will take the time to re-time the engine accordingly. As well as finally do the dreaded compression test... Wish me luck
04-17-14, 11:40 AM
#4607
Last night, I couldn't stand it any longer, so I started her up before I got the new bell crank in. Stomped on the gas twice and cranked her, but as usual, no go. After cranking a couple of times, I went back to my old standby of taping up the chokes on the carb and cranking her over. Kicked over right away. Except the engine was immediately racing at 4000 rpm. Hmmm.
So I get out, unstick the throttle, mess with it a bit and manage to get it to idle smoothly at 1000 rpm. I mess some more and was able to get it to run smoothly at 800 rpm. But every time I blipped the throttle, it would race again.
I un-stuck the throttle again, let it run at around 800 rpm and then killed the engine. No backfire. Very good. While it was off, I realized I'd tightened up the throttle shaft nuts too tight, causing the throttle plates to bind and stick open. This also may very well have been the reason why the car wouldn't start immediately after stomping on the gas a couple of times. It was late, the car was warmed up, so I couldn't test the cold start anyway, so I'm going to put on the throttle bell crank in tonight and give it another go. I'm hoping that it starts with little trouble, idles where it should, and the throttle doesn't stick. Wish me luck.
fm
I
04-17-14, 03:14 PM
#4608
Bought a yard each of 1/4" & 1/2" backed open-cell foam sheet & a can of spray glue. Did some plotting and conniving.
I need a couple meter-long pieces of pultruded carbon fiber strips, somewhere around/under 1/4" x maybe .050" thick. I can order them on-line but at that small a quantity I'd end up paying more in "handling charges" than the materials cost. I'm hoping one of the local RC hobby shops can set me up.
I need a couple meter-long pieces of pultruded carbon fiber strips, somewhere around/under 1/4" x maybe .050" thick. I can order them on-line but at that small a quantity I'd end up paying more in "handling charges" than the materials cost. I'm hoping one of the local RC hobby shops can set me up.
04-18-14, 03:21 PM
#4609
Got some CF strips at Ultimate Hobbies at lunchtime. Little thinner than I wanted, but I think they will serve.
Also got some spring steel music wire - not a fan of the coat-hanger-wire method for upholstery bolsters, as it rusts, then the rust eats the bolster tubes. Makes things come untucked.
I'll use music wire & paint it before installing.
Also got some spring steel music wire - not a fan of the coat-hanger-wire method for upholstery bolsters, as it rusts, then the rust eats the bolster tubes. Makes things come untucked.
I'll use music wire & paint it before installing.
04-18-14, 08:30 PM
#4612

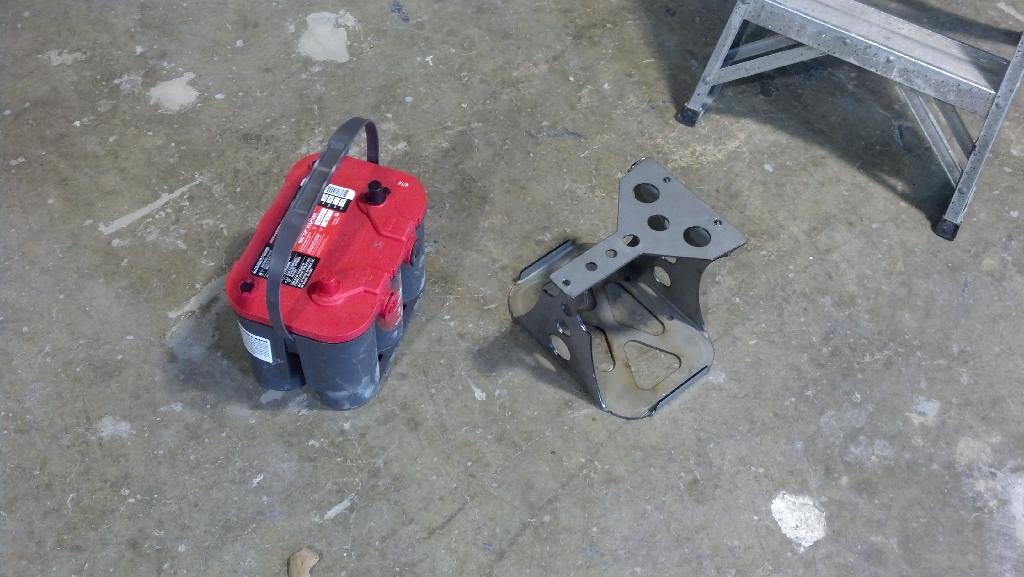
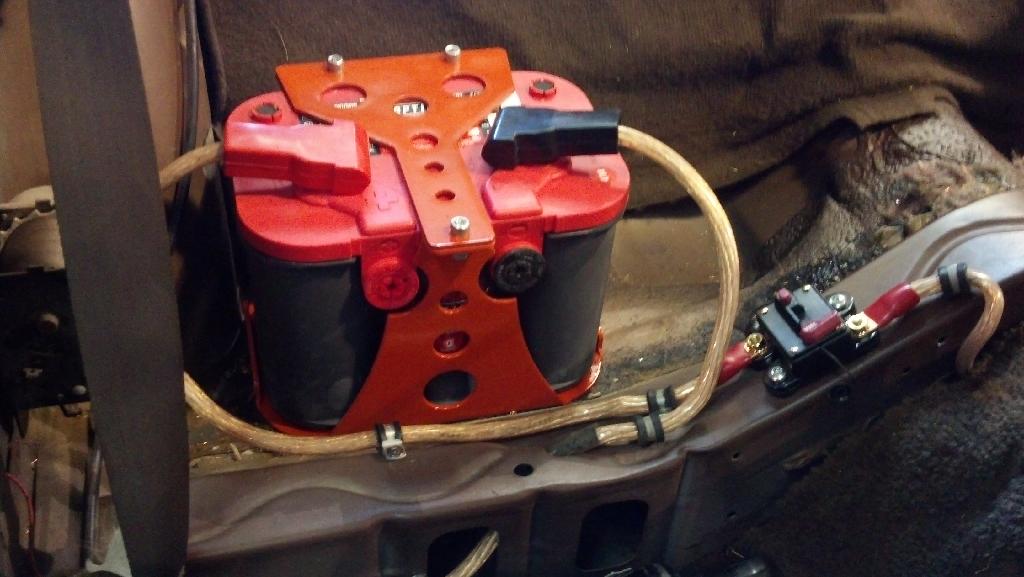
Ordered a new second gen water pump from RockAuto for my S4 water pump housing conversion on my 12A. Also ordered a 16mx1.5 tap so I can use the first gen water temp sensor on the S4 water pump housing. I hate waiting for parts. Going to blast and powder coat what I can tomorrow.
 04-19-14, 01:30 AM
#4615
My new throttle lever came in. Of course, it won't work...the cable attachment is in the wrong place. Had to go back to the sketchy lever. Once I got it on and secured with a tabbed washer, it was fine. I ended up relocating the secondary throttle return spring to the opposite side of the carb. That made a big difference ...the plates snap shut nicely and the throttle has a nice, solid feel to it.
The car idles at 750rpm and the idle is as smooth as glass....just purrs. I don't think it idled that well with my stock Nikki. Oh, and it started up the first time. No pumping. The throttle plates just needed to be shut completely for the gas to make its way into the starter circuit. Couldn't be happier that the carb drama is over.
Next...exterior cosmetics.
fm
 04-20-14, 06:13 PM
#4619
85 GSL-EV: Went for a drive around town. Washed it. Did a little work on the heater I will need this fall.
Worked on the two pin Mazda replacement badge for the right rear. I molded one out of clear epoxy. I finished polishing up the front and sanded the back back with 600 grit so it would be just slightly grainy, and then painted the back with plastic chrome paint. From the photos you can see it came out looking quite nice. The slightly rough back face causes the light to reflect all around inside and it appears to glow in the sun. Quite striking actually. I need to let the paint dry and then I will put it on the car with double sided trim tape.
The first shot is just holding it in position on the car. The car was repainted in the mid 1990s and I think they matched the H1 paint code (Sparkling Metalic Black.) The second shot I rested it on the ledge above the position so I could see what a different angle of light looks like. The third one I rested the badge on the old one on the Sunrise Red GSL-SE to see how it would look on that car.
04-20-14, 10:47 PM
#4620
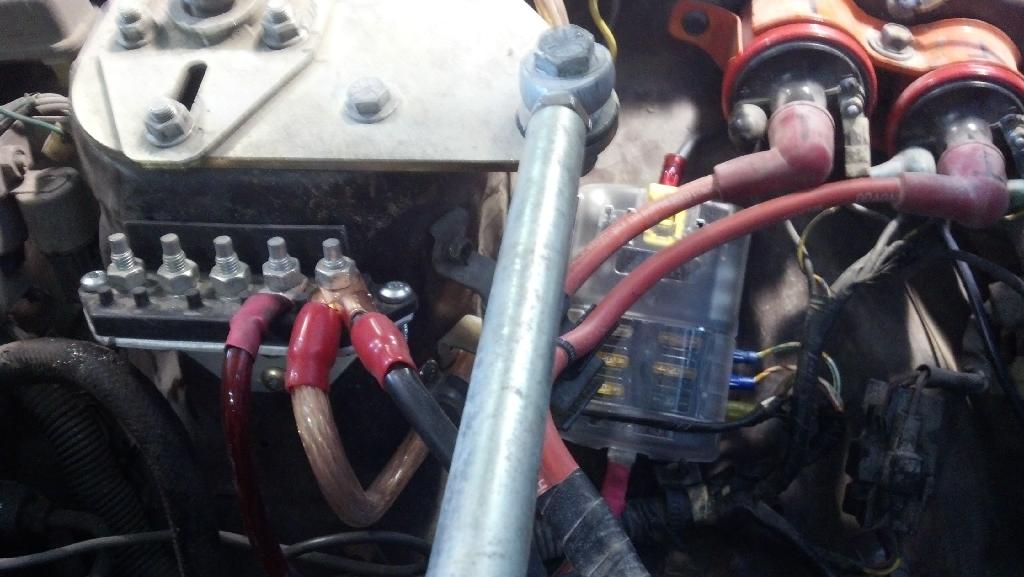
Last night, I cleaned up the passenger side of the engine bay with degreaser. The driver's side and firewall will need more time as it'll require I pull wiring harnesses out to get to everything. Thinking that can wait until I'm ready to do an engine swap.
Also mounted a Holly fuel pressure regulator on the firewall. Not as easy as I thought it should be. For some reason, the stupid bracket mounting holes on the bottom weren't tapped, so I had to self-tap them with the provided screws. While that went OK, the location I chose (where the sub-zero start mech would have been if this had been a non-CA car) made it very difficult to mount the screws under the regulator. What a pain, but it's done.
About a week ago, I sourced the same ultra-accurate low pressure gauge that RESpeed sells (or used to sell). Once I get it installed later this week, I'll post pics.
fm
04-21-14, 12:24 AM
#4621
Spent about 12 hours in the garage today, working on upholstery. Forgot how much of a workout that give the hands... hard to type, heh.
Turns out that the castable urethane foam that I was planning to use to mold new seat cushions is also a dandy way to fix bad spots in old cushions.
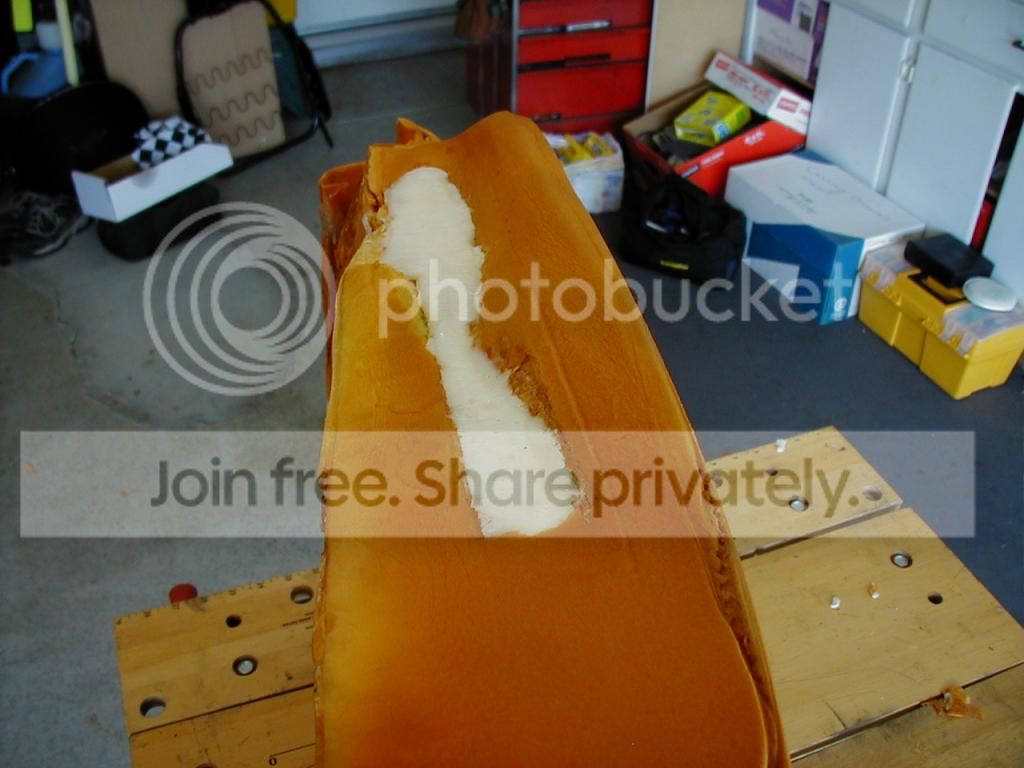
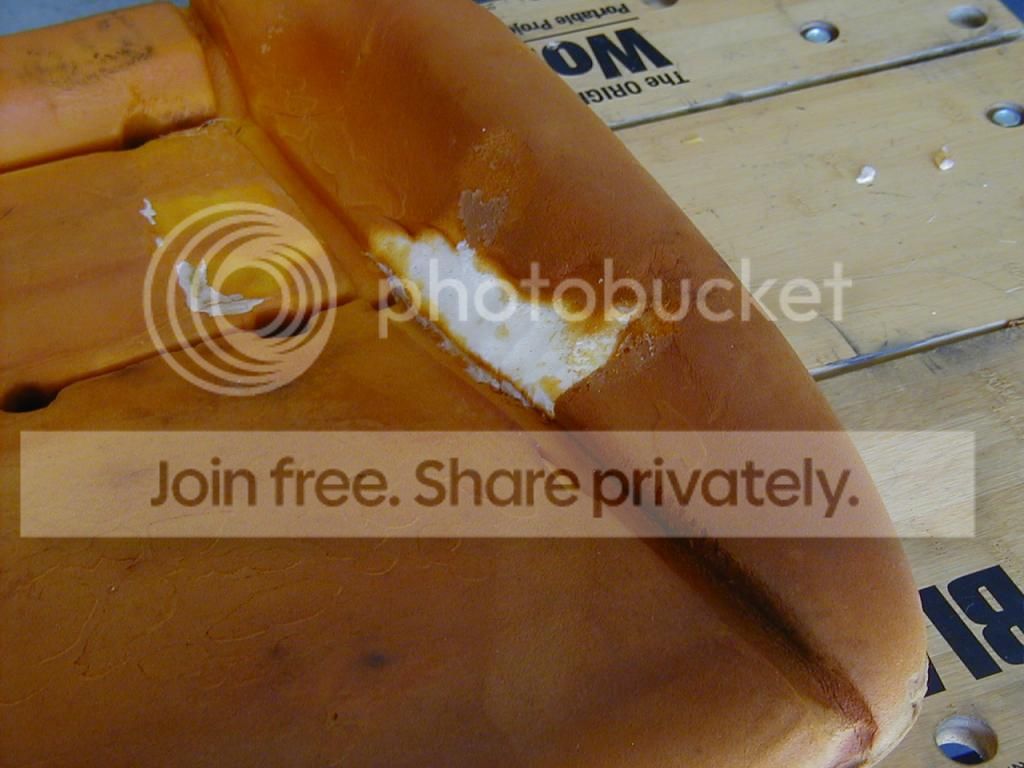
Fills in and expands, and bonds to the original foam.
One of the things that finally came out of their big box from Racing Beat:
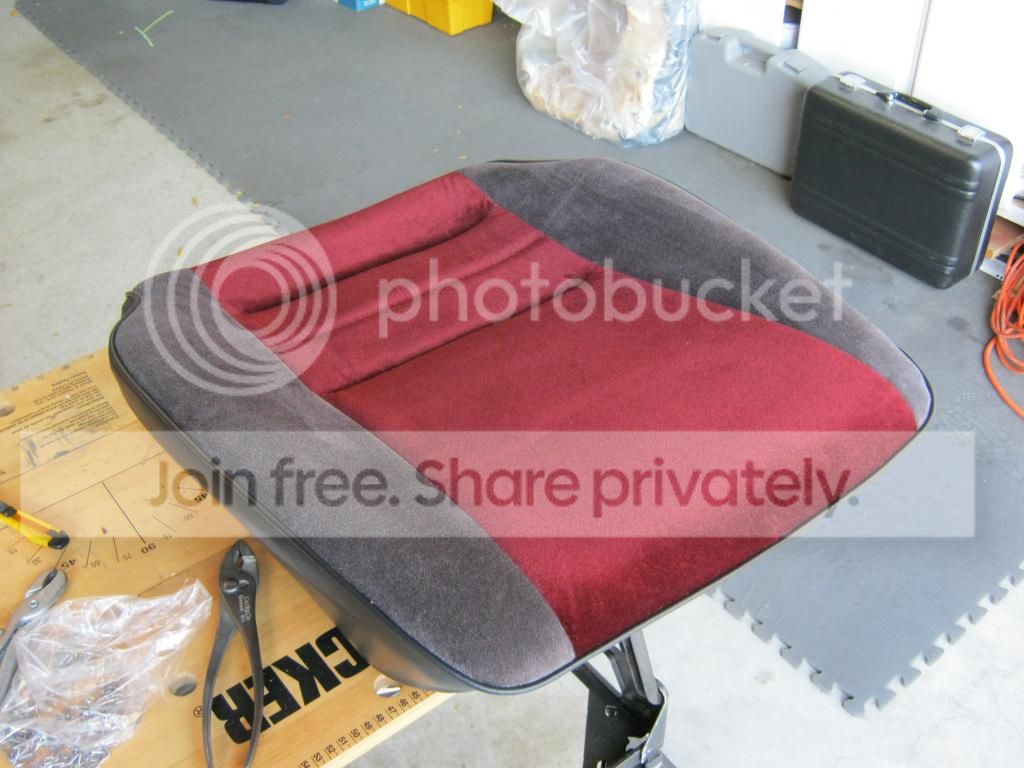
Custom-made seat skins for my '80 highbacks. Got matching cloth to do the door cards, too.
Turns out that the castable urethane foam that I was planning to use to mold new seat cushions is also a dandy way to fix bad spots in old cushions.
Fills in and expands, and bonds to the original foam.
One of the things that finally came out of their big box from Racing Beat:
Custom-made seat skins for my '80 highbacks. Got matching cloth to do the door cards, too.
04-21-14, 07:39 AM
#4622
done a good interior cleaning on the new-to-me 83 GSL. tops of door cards need redone but the rest is OK. headliner needs retucked. add-on coil springs in the rear are in the way of the exhaust and need to take a hike. plan to polish the wheels out this week, give it a tune up and more detailed engine bay cleaning to hunt down all of the oil leaks.
 04-21-14, 09:44 PM
#4624
replaced a clapped out clutch master , slave to follow and ordering lines to freshen the whole system up. proper ngk plugs, FMOC is being pondered, the beehive cooler has leaks from both oil lines. hope it's the majority of engine crud due to leaks and not the engine itself aside from probably an oil pan gasket. removed some rear helper springs from the axle, returned the car to stock height.