Diy modifications (those of us on a budget)
 10-25-12, 08:34 PM
#1
Senior Member
Thread Starter

Diy modifications (those of us on a budget)
I wanted to start this thread because I know the majority out there like myself our on a real tight budget. Those of us that can barely afford a new or used performance part without having to save a couple months of wages. So all my fellow 7 owners out there lets see those great ideas you have come up with, using very few or no dollars at all.
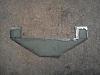
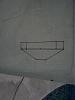
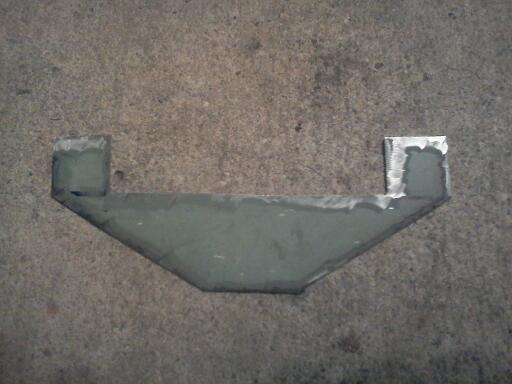
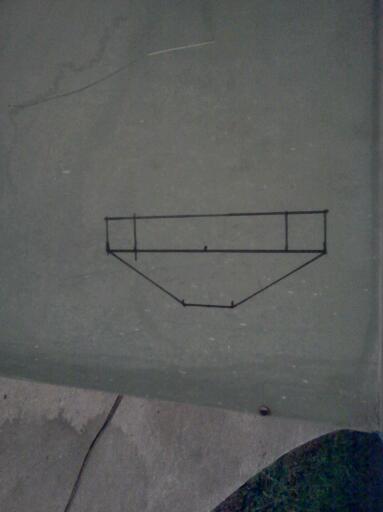
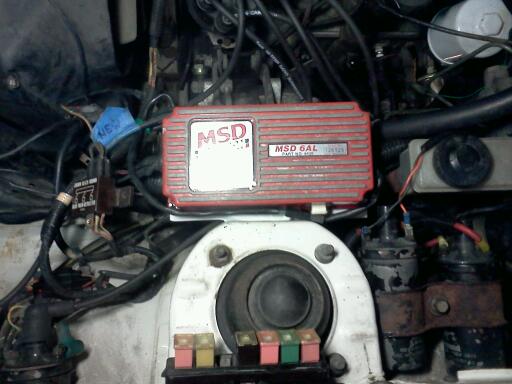
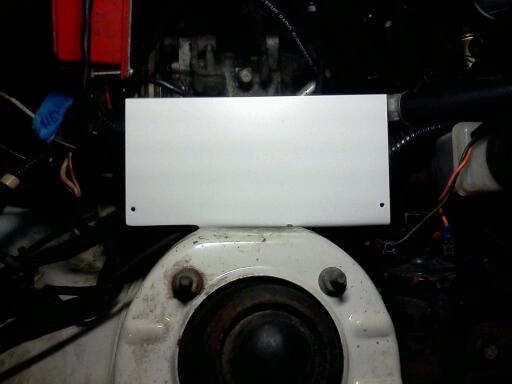
Heres one that I came up with using a piece of sheet metal , to make a bracket to hold my 2nd gen fuse box.
Amount invested, zero, time invested, 1/2 hr
 j
j
Heres one that I came up with using a piece of sheet metal , to make a bracket to hold my 2nd gen fuse box.
Amount invested, zero, time invested, 1/2 hr
 j
j
 10-26-12, 06:44 AM
#6
死*神*
iTrader: (4)
Join Date: Apr 2008
Location: Delaware
Posts: 728
Likes: 0
Received 0 Likes
on
0 Posts
RX-7 owners come and go, but ol' schoolers last a lifetime.
75 RX-3 (light blue) = small bumpers and SP tailights (sold!)
73 RX-3 (midnite blue) = SS9 best old school
73 RX-3 (jet black) = took longer than expected to complete
RIP Goofyrotor/Sidepex Norman
not enough?
75 RX-3 (light blue) = small bumpers and SP tailights (sold!)
73 RX-3 (midnite blue) = SS9 best old school
73 RX-3 (jet black) = took longer than expected to complete
RIP Goofyrotor/Sidepex Norman
not enough?
Trending Topics
10-26-12, 07:49 AM
#8
Senior Member
Thread Starter
RX-7 owners come and go, but ol' schoolers last a lifetime.
75 RX-3 (light blue) = small bumpers and SP tailights (sold!)
73 RX-3 (midnite blue) = SS9 best old school
73 RX-3 (jet black) = took longer than expected to complete
RIP Goofyrotor/Sidepex Norman
not enough?
75 RX-3 (light blue) = small bumpers and SP tailights (sold!)
73 RX-3 (midnite blue) = SS9 best old school
73 RX-3 (jet black) = took longer than expected to complete
RIP Goofyrotor/Sidepex Norman
not enough?
10-26-12, 08:15 AM
#9
死*神*
iTrader: (4)
Join Date: Apr 2008
Location: Delaware
Posts: 728
Likes: 0
Received 0 Likes
on
0 Posts
lol, im just trying to figure out what you are going at with the thread. most members (especially 1st gen owners) are self taught fabricators and modifiers. So by definition what you had asked him is irrelevant.
And since you are trying to find other things. I will list a few
1978 Mazda RX7: Complete disassemble of the car. complete change over to modern parts. custom motor mounts utilizing the respeed R&P kit to fit a 5.7l all aluminum motor with a T56 transmission and a the famous 8.8 solid rear. I have FD brakes at the corners and a custom made roll bar (by me). Thats just the beginning, every nut, bolt, wire, etc was removed from the car and replaced with something better. And that is a brief overview
2005 SV650s: the most heavily modified SV on the planet. It won SVotm in 2010 and was runner up to SVoty of the same year. Trust me, cutting and welding a japanese sport bike frame is not easy.
2001 Saturn SC2: started with 85whp and sold it with a huge freakin turbo, as well as ever imaginable modification to it.
Or how about my first tuner car 1989 shelby daytona: Pulled the motor (2.2T) and swapped it with the 2.5l and kept the turbos on it running MS to contol it all.
I think we are good bro.
 10-26-12, 09:29 AM
#11
Senior Member
Thread Starter
Lol, I apologize I should have been more specific. Lets see your low budget, on the cheap parts that you have built for your 7's not chopped up sport bikes, unlimited funding thousand horsepower turbo showcar mustangs, just cheap parts, modifications, not full restored cars wit new parts or bolts or wiring, just low dollar parts, for those of us with no money lol, and plz pics wit some description
10-26-12, 10:48 AM
#14
死*神*
iTrader: (4)
Join Date: Apr 2008
Location: Delaware
Posts: 728
Likes: 0
Received 0 Likes
on
0 Posts
I got the honda s2000 starter button and it wouldnt work. I had to take it apart and fix it. that pic is my solution.
first pic is the R&P kit I mentioned. that was draft one. I upgraded the design when I seen a minor flex in one of the mounts. It is ten times stronger now at least.
second pic shows how I had to cut the frame up and fab new radiator mounts. It was relatively easy to do. I think taking the header panel off took more time than the radiator install
4th pic is the shifter surround I made. the stock SA22c piece has the shifter up top and coin holders under it. the T56 shifter ended up being 4" further back than the stock 12a 5 speed.
and the last pic was how I got the heat out of the cabin since there was a huge gaping hole there.
I got tons of pics and tons of projects. That is why we kinda flamed you a bit for being vague on your request. These cars require tons of custom on the cheap work. If I had started with a FD, I woulda finished a year ago and it woulda cost a bit less to do what I wanted. Ironic how that works,.
10-26-12, 11:12 AM
#15
Senior Member
Thread Starter
No problemo @ busting my *****, im glad you did so I could get a thread going showing the work that all of us can do to our cars, and hopefully inspire others to not be afraid of working on their cars either. I also have done many things to my fb, but jus wanted to put that simple little bracket up as an example and a start to what I thought would be a great thread to read. Thx for your input
10-29-12, 06:46 PM
#17
Don't Cross The Streams..
iTrader: (3)
Join Date: Apr 2009
Location: Houston, TX
Posts: 842
Likes: 0
Received 0 Likes
on
0 Posts
wasnt the point of this thread to list cheap and or free mods? 
this is coming from a guy whose never built **** lol
cheapest mod ive done was using a bread tie to wire my secondaries.

this is coming from a guy whose never built **** lol
cheapest mod ive done was using a bread tie to wire my secondaries.


 11-05-12, 10:13 PM
#23
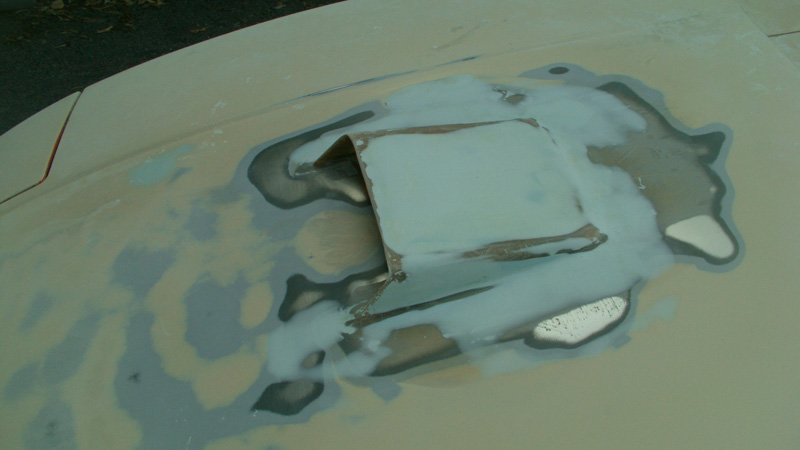
Here's one of mine. I was prepping the car for paint and decided I wanted to do something semi-unique to help the car breathe a bit.
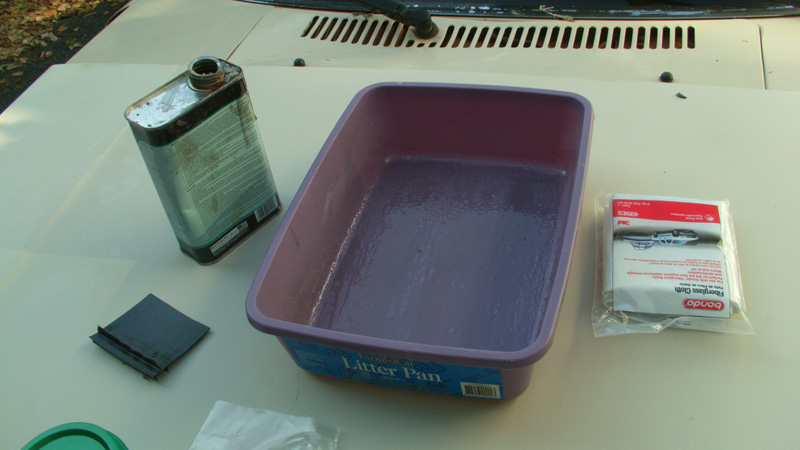
Yes, a litter box is a great way to add performance to your car. Material cost was less than 20 bucks, not including paint.
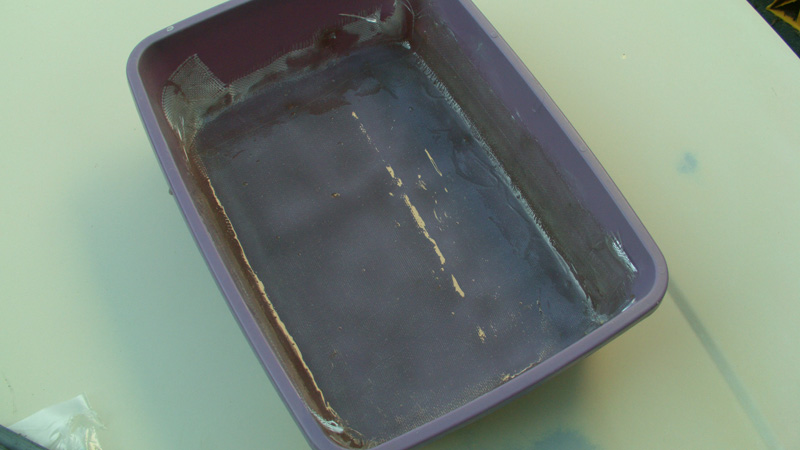
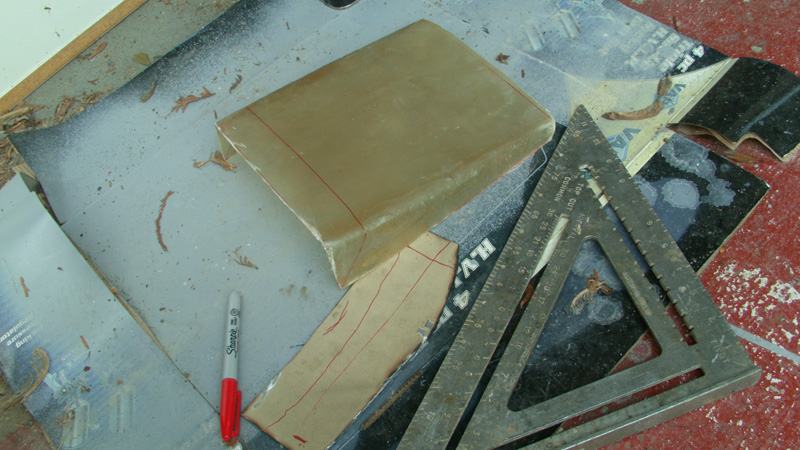
Hand-laid fiberglass using the litter box as a mold.
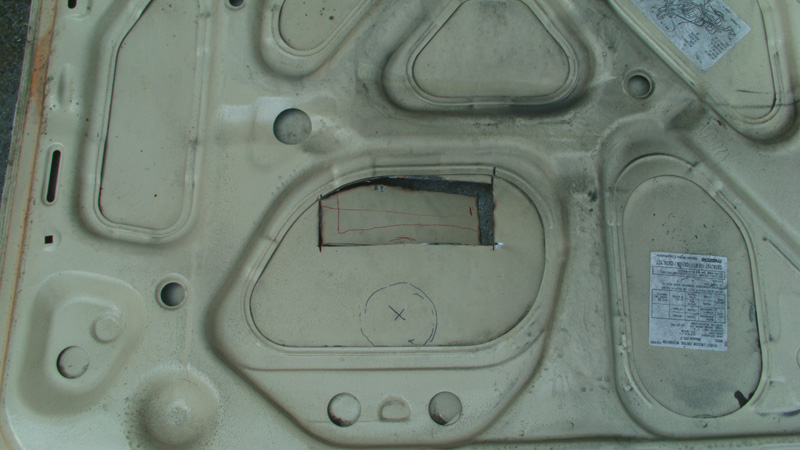
Cut a nice chunk out of the hood. The markings are where the factory carb lines up. The goal was to bring air in just ahead of the carb, which had one of those edelbrock air filters on it. I cut up the rubber part of a plunger to make an adapter to seal the filter to the stock carb. And no worries, no toilet germs went into my engine. I bought a new plunger for the project
I used resin to mold it straight to the bare steel. I scuffed the bare metal with 80 grit paper so the resin would bond and hold.
More pics coming in the next post, stay tuned...
Yes, a litter box is a great way to add performance to your car. Material cost was less than 20 bucks, not including paint.
Hand-laid fiberglass using the litter box as a mold.
Cut a nice chunk out of the hood. The markings are where the factory carb lines up. The goal was to bring air in just ahead of the carb, which had one of those edelbrock air filters on it. I cut up the rubber part of a plunger to make an adapter to seal the filter to the stock carb. And no worries, no toilet germs went into my engine. I bought a new plunger for the project
I used resin to mold it straight to the bare steel. I scuffed the bare metal with 80 grit paper so the resin would bond and hold.
More pics coming in the next post, stay tuned...
11-05-12, 10:37 PM
#24
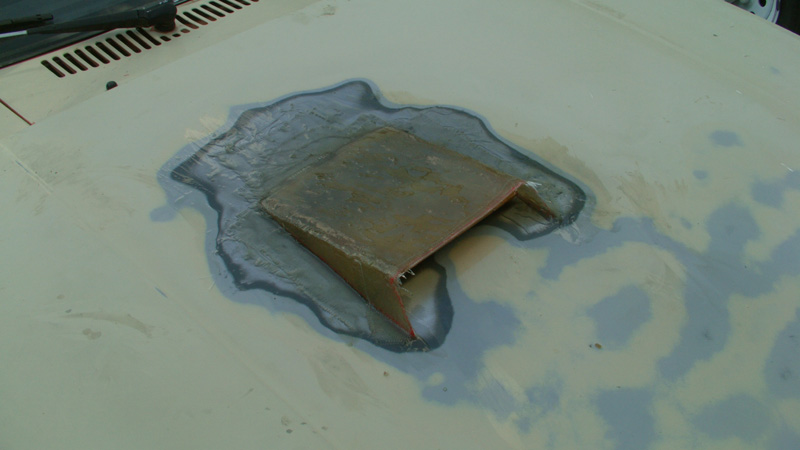
A lot of sanding, and a lot of bondo to smooth it all out:
Primer:
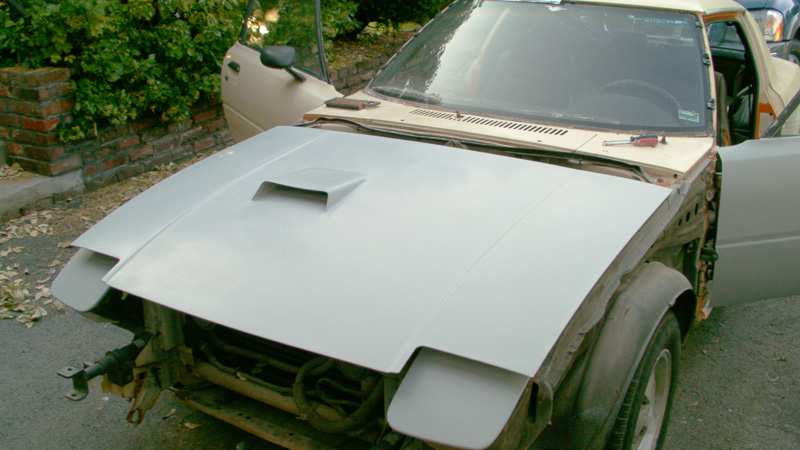
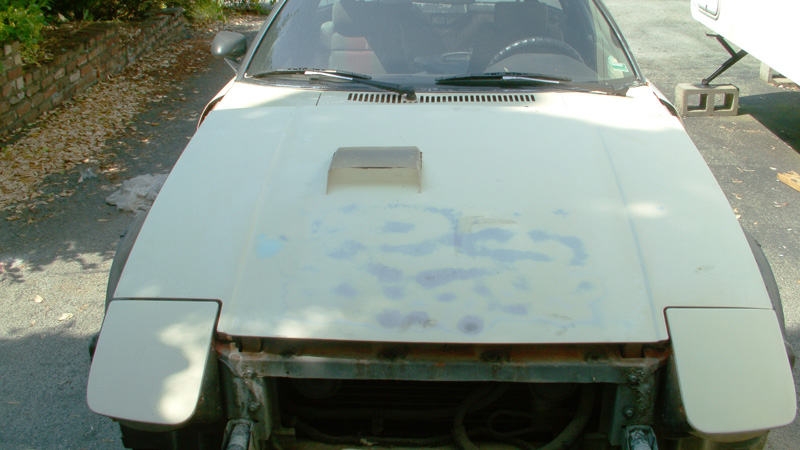
Paint! I added in some wood spars to add integrity. Coated them in fiberglass resin and then molded them in place. I was surprised by how strong the thing was. You can literally lift the hood open with it.
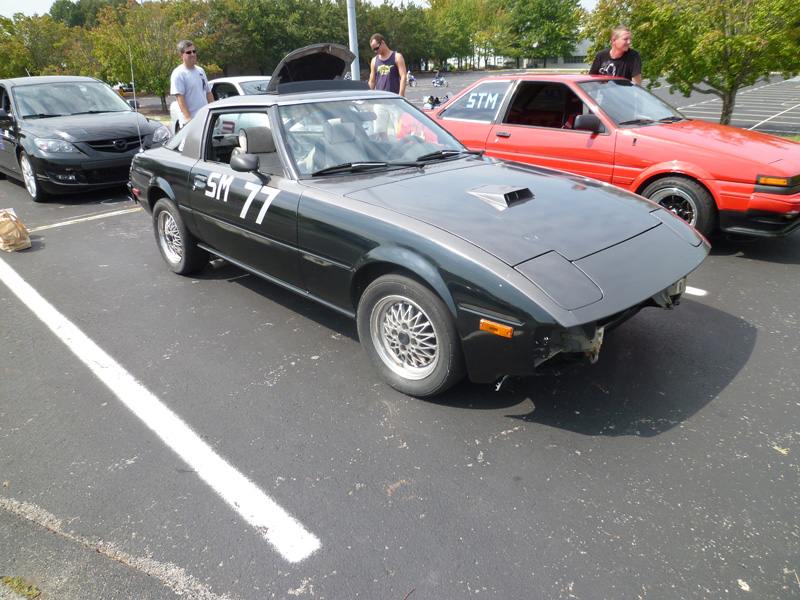
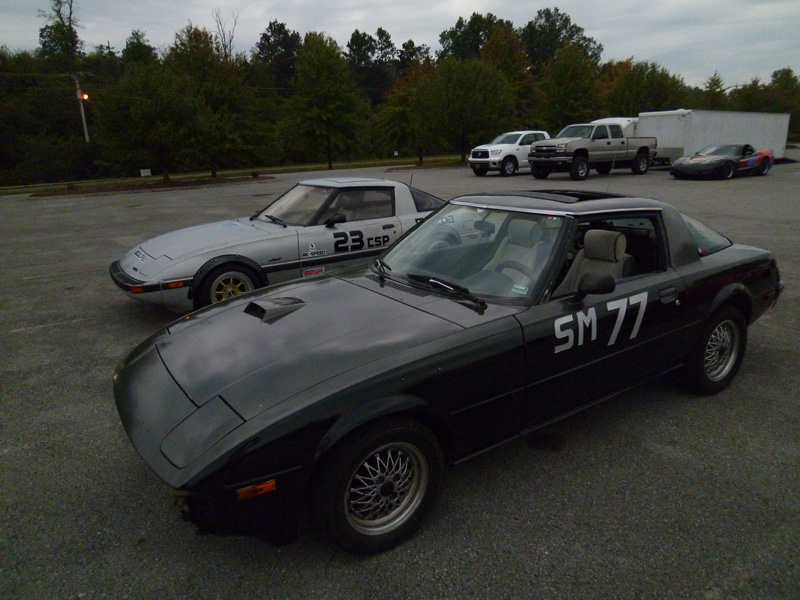
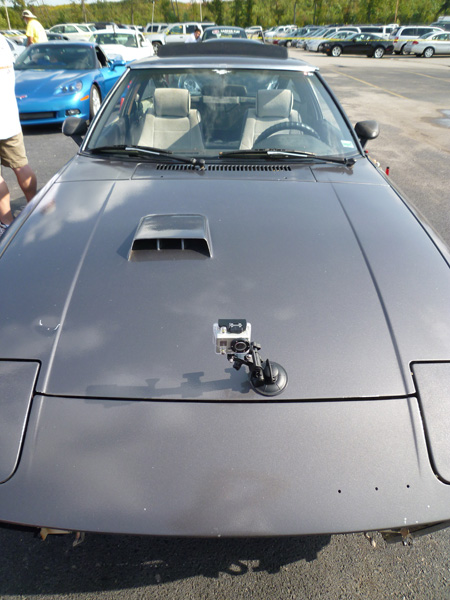
The first pics were taken in the summer of 2010, while the last couple are recent. As you can see, it's held up perfectly. Even after a couple icy winters, a legendary hail storm, and 105 degree temps over this summer it hasn't shown any sign of cracking. I had originally planned to make a box to surround the filter and duct in the air, but I decided to go turbo. I'm using a FMIC but I'm toying with the idea of making a heatsink for the carb hat to make use of the airflow. My next fiberglass experiment will be something for that bumperless front end
Primer:
Paint! I added in some wood spars to add integrity. Coated them in fiberglass resin and then molded them in place. I was surprised by how strong the thing was. You can literally lift the hood open with it.
The first pics were taken in the summer of 2010, while the last couple are recent. As you can see, it's held up perfectly. Even after a couple icy winters, a legendary hail storm, and 105 degree temps over this summer it hasn't shown any sign of cracking. I had originally planned to make a box to surround the filter and duct in the air, but I decided to go turbo. I'm using a FMIC but I'm toying with the idea of making a heatsink for the carb hat to make use of the airflow. My next fiberglass experiment will be something for that bumperless front end